How to Decorate a Living Room With a Split-Level Floor
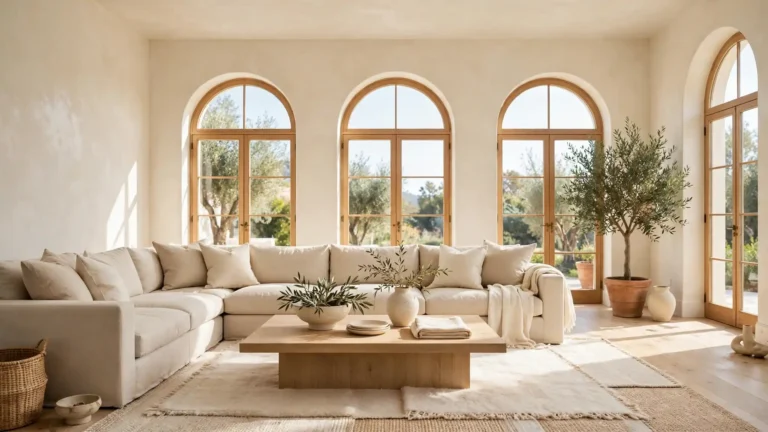
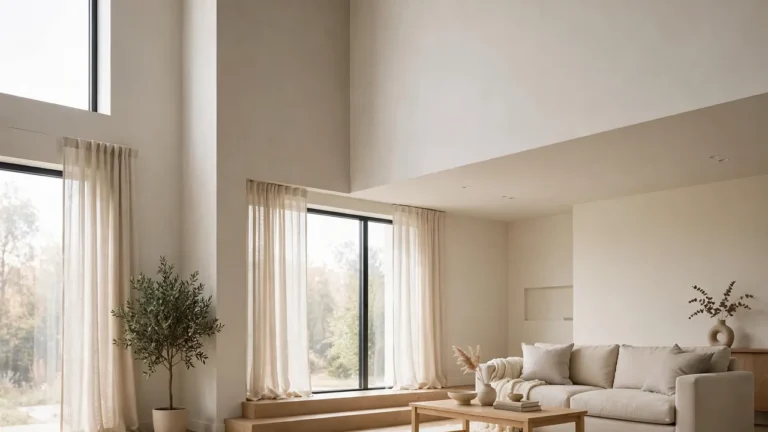
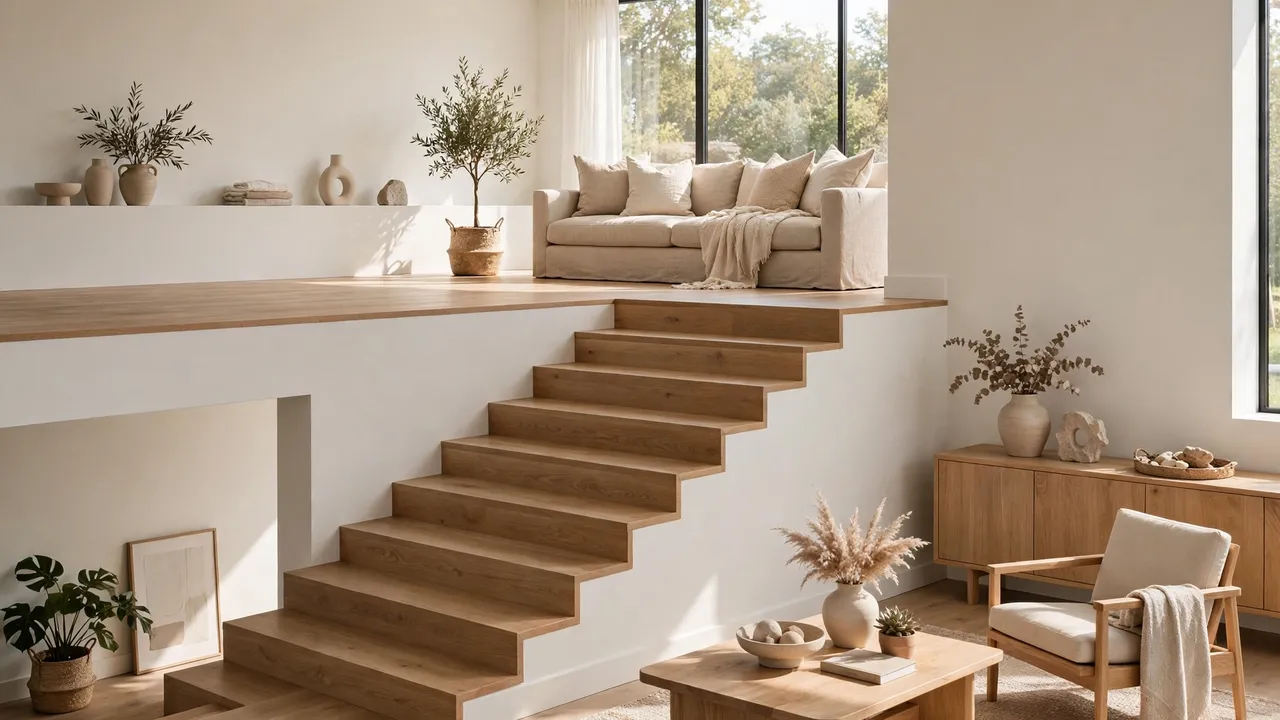
A split-level floor can make a living room feel full of character, but it can also leave you unsure where one zone ends and another begins. Learning how to decorate a living room with a split-level floor starts with seeing the levels as one flowing space instead of two separate rooms.
When you connect the levels with a shared palette, smart lighting, and furniture that respects the steps, the whole room feels intentional and calm. For more ideas on joining open zones, see how to make an open kitchen and living room feel connected.
This guide walks you through ten practical moves, from mapping each level to adding final layers that tie everything together. In my experience, even small changes on the steps themselves make a big difference.
Map Each Level Before You Buy Anything
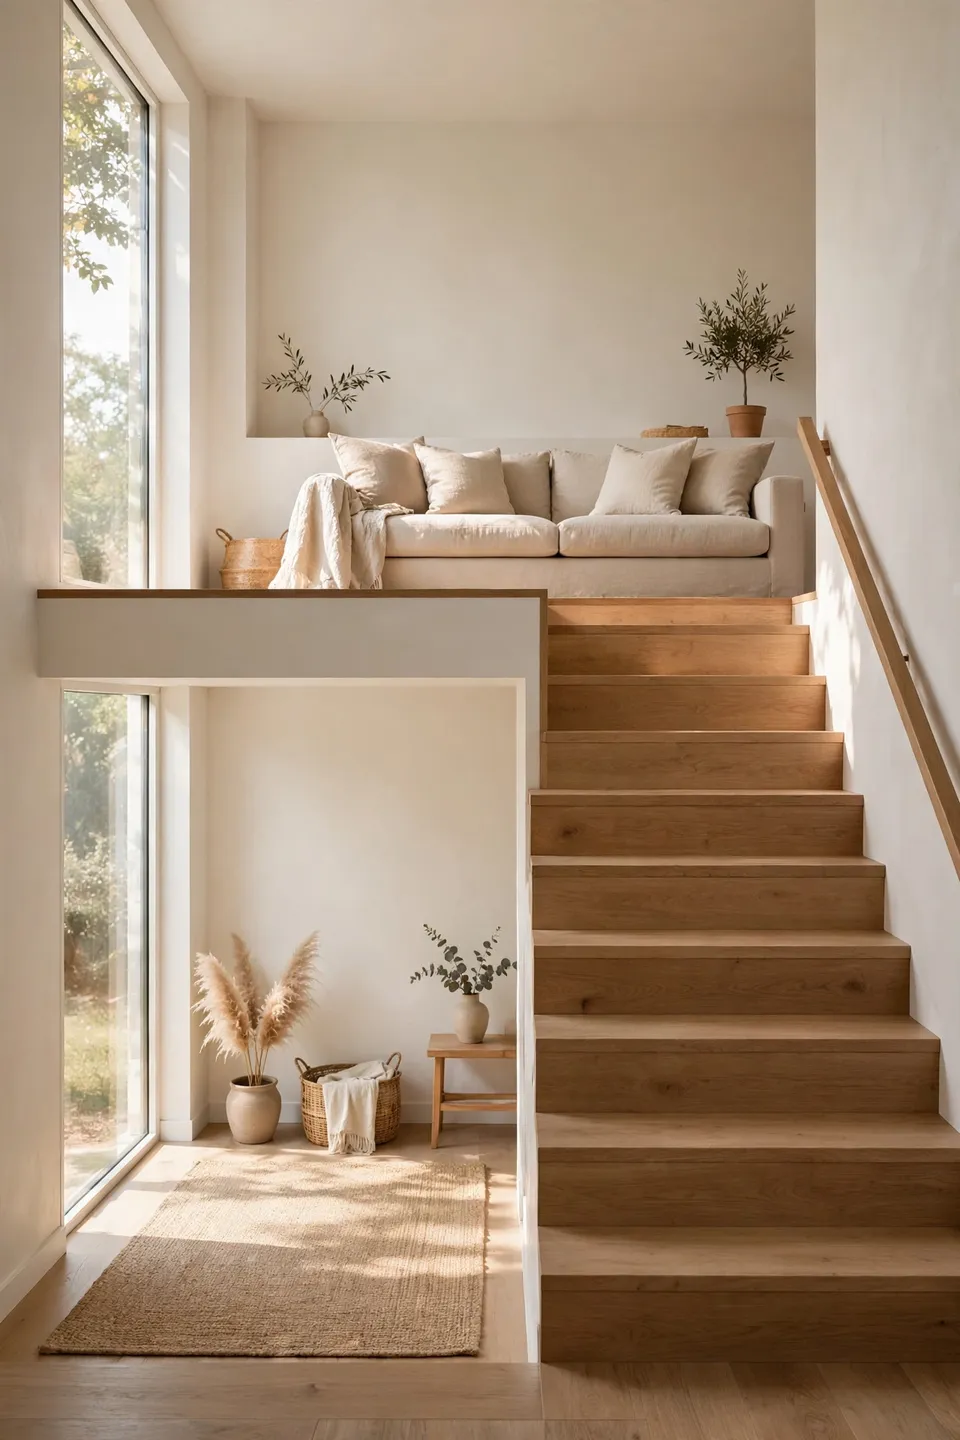
Split-level living rooms punish guesswork, so start with a tape measure and a rough sketch. Note the width and depth of each level, the number of steps between them, and where natural light falls through the day. Measure twice and you will decorate once.
Mark traffic paths between the levels on your sketch, because the steps are a walkway first and a design moment second. Decide which level holds the main seating and which becomes the quieter zone, like a reading corner or media spot. Clear zones make every later choice easier.
Choose One Palette That Flows Across Both Levels
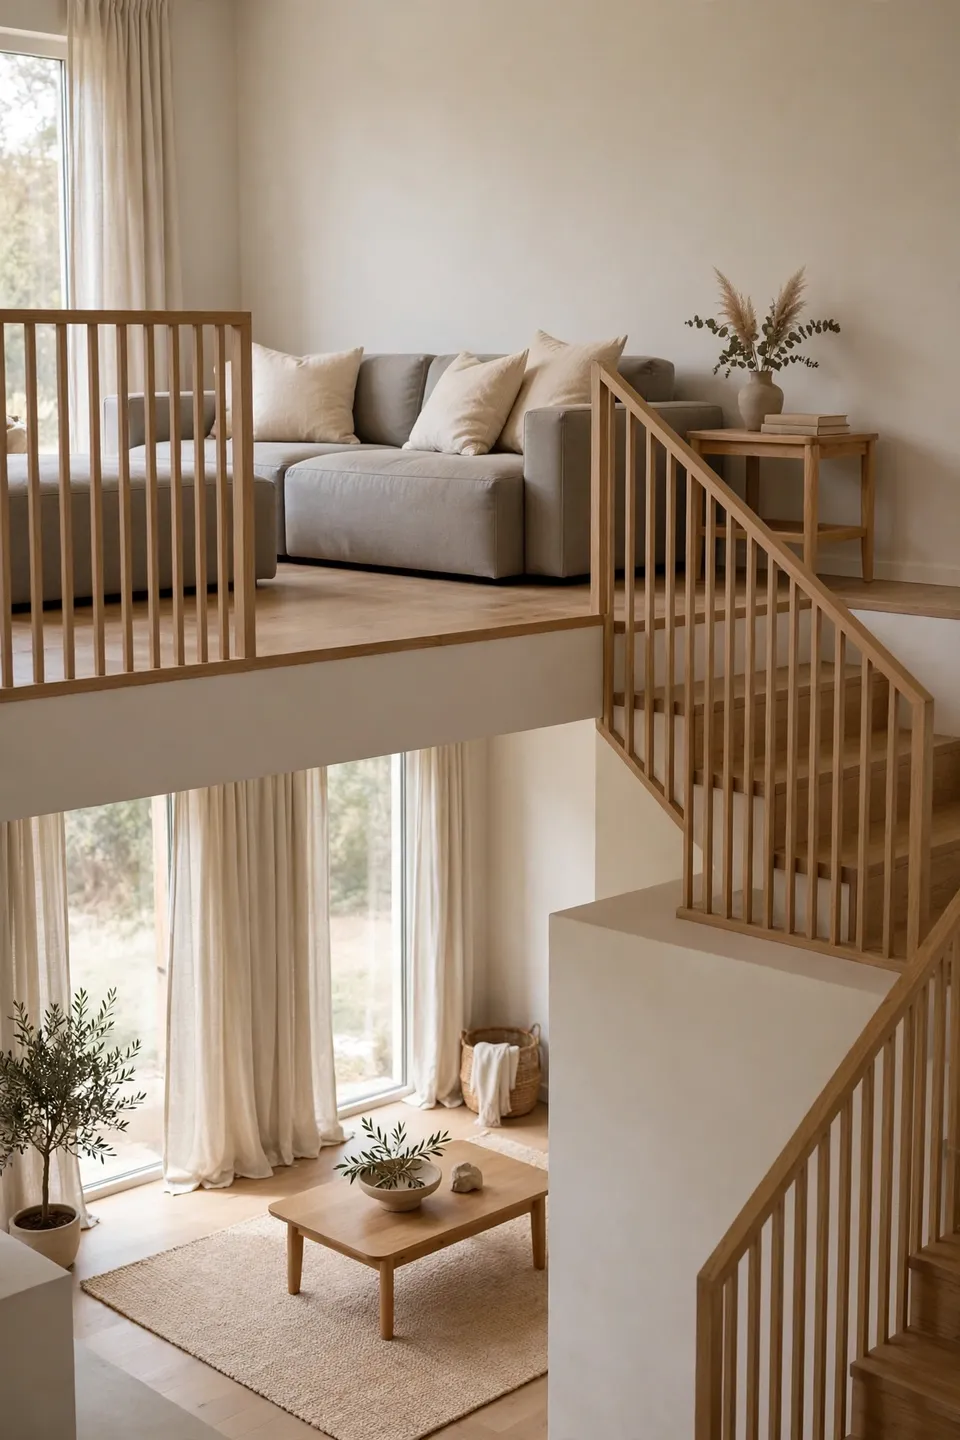
A shared palette is the fastest way to make two levels read as one room. Pick one dominant neutral, one supporting tone, and one accent, then repeat all three on both levels, from the sofa to the stairs, so the eye travels without interruption.
- Start with walls: keep the same wall color on both levels so the architecture feels continuous rather than chopped up.
- Let the rug echo the palette: choose rugs for each level in the same color family but slightly different patterns.
- Repeat the accent twice per level: a throw pillow upstairs and the same-toned vase downstairs ties the eye together.
- Finish with wood tones: matching or closely related wood finishes on both levels keep the transition calm.
Treat the Steps as a Design Feature
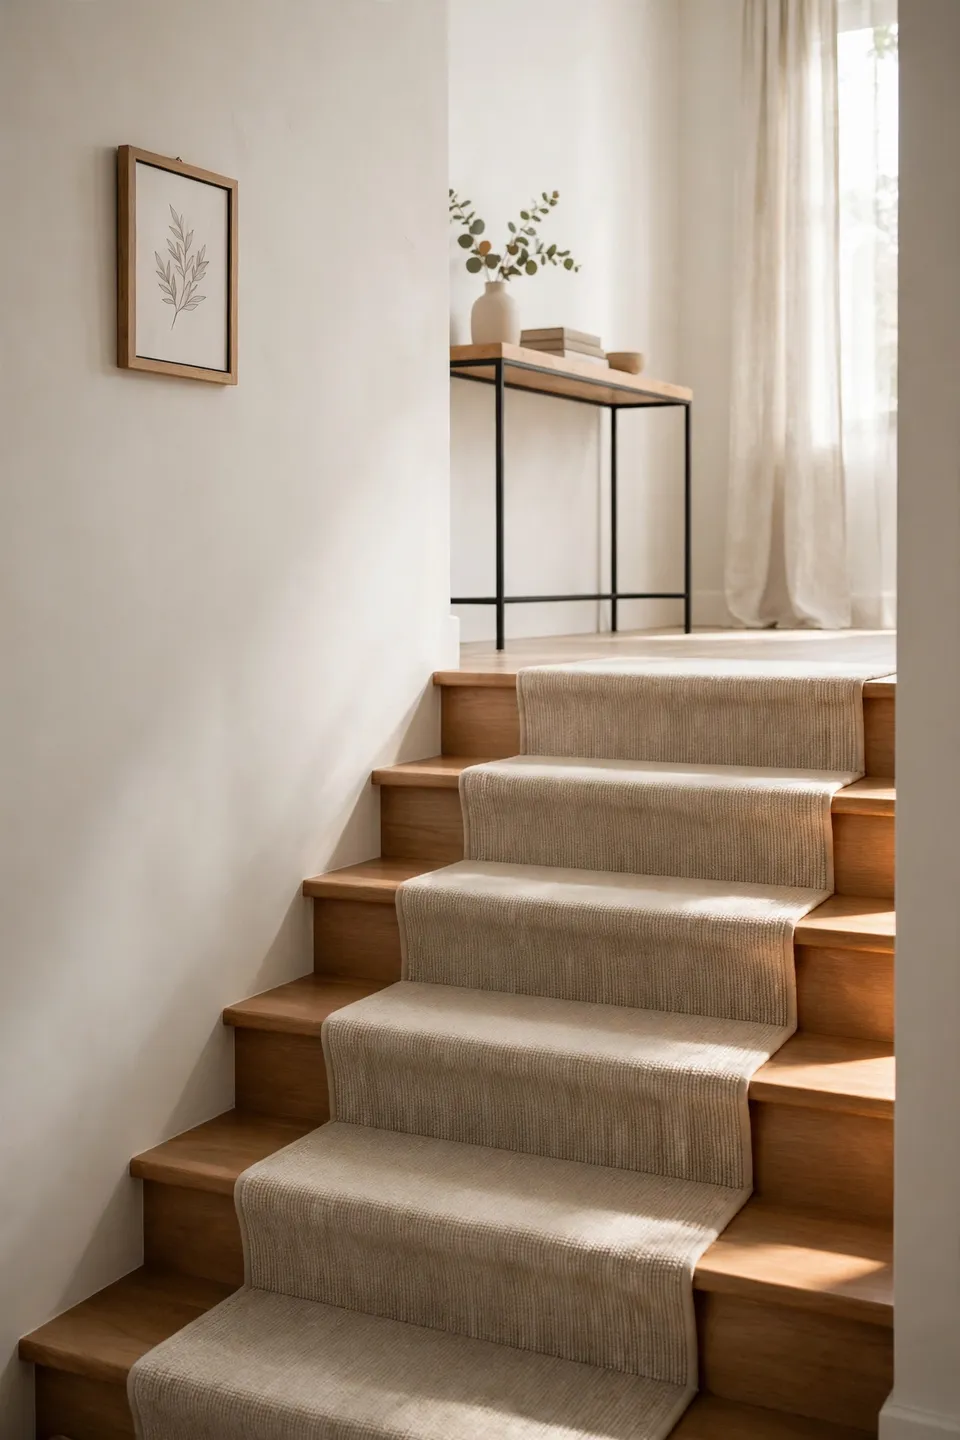
Quick Tip: Run a low-pile runner up the steps in the same palette as your rugs. It softens the transition, quiets foot traffic, and makes the staircase look like a planned design moment instead of an afterthought.
Bare steps between two decorated levels look unfinished, like a hallway nobody styled. A runner, a row of art frames along the stair wall, or a slim console at the top landing turns that in-between space into part of the room. I’ve seen this make a real difference where steps once felt like an obstacle.
Stop Decorating the Levels as Two Separate Rooms
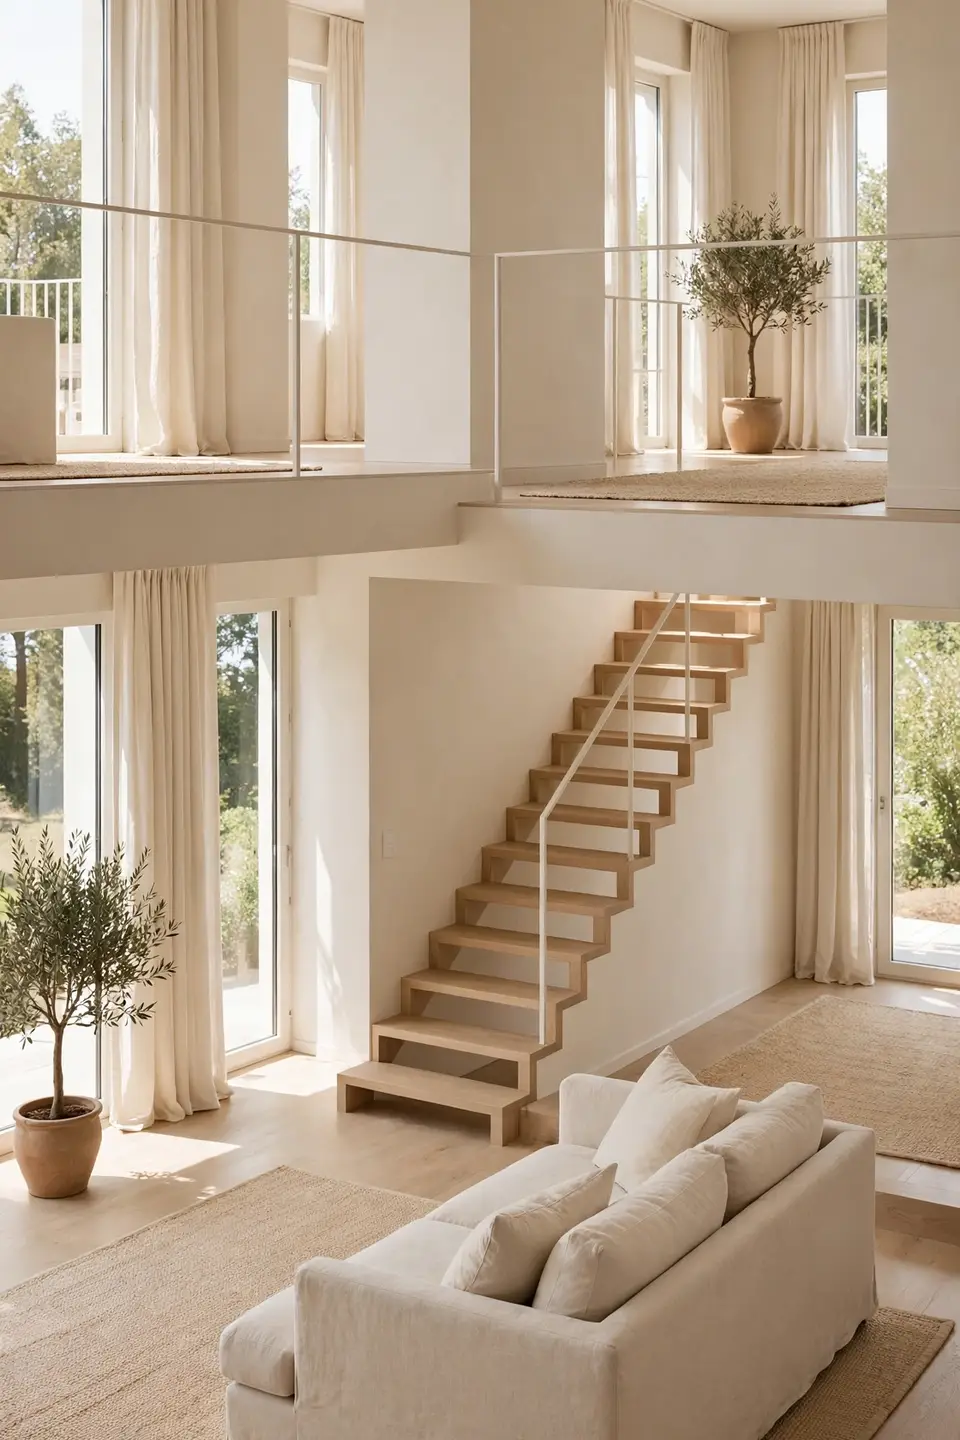
Common Mistake: Most people style the upper and lower levels like two different rooms, with clashing rugs, mismatched curtains, and furniture that turns its back on the steps. The result is a space that feels divided instead of generous.
The Fix: The fix is simple: repeat key elements on both levels. Use the same curtain fabric, echo the rug pattern, and angle at least one piece of furniture so it faces the steps and invites movement between levels.
When both levels share visual language, the room reads larger and calmer. Stand at the bottom of the steps and look up: if the upper level feels like a continuation of where you stand, you have it right. Cohesion beats novelty in split-level spaces every time.
Gather Pieces That Visually Unite the Levels
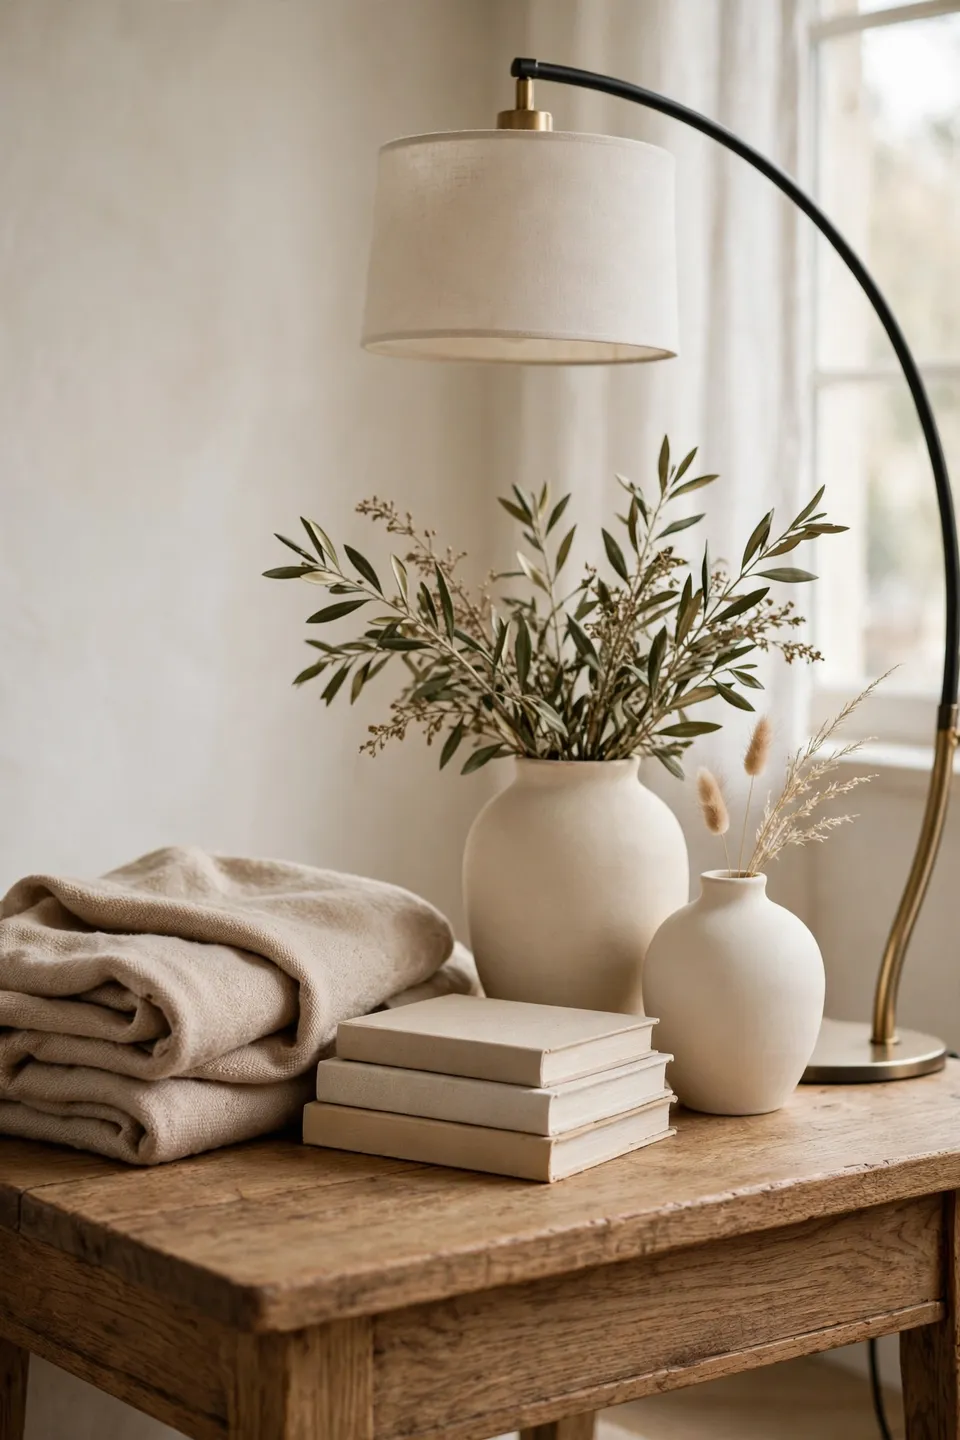
What You Need:
- A shared rug family: two rugs in the same color story, one per level, so the floors speak the same language.
- Matching curtain fabric: the same linen or cotton on every window keeps sightlines calm across the step.
- One repeated accent: a throw, vase, or art print in the same tone placed on both levels.
- Layered lighting: a floor lamp upstairs and a table lamp downstairs at similar heights for balance.
- A transitional runner: a low-pile stair runner that echoes your rug palette.
You do not need to buy everything at once. Start with the rugs and curtains, since they cover the most visual ground, then add the repeated accent once the big pieces settle. Small repeated notes do more for unity here than one expensive statement piece.
Dress the Step Edge Instead of Hiding It
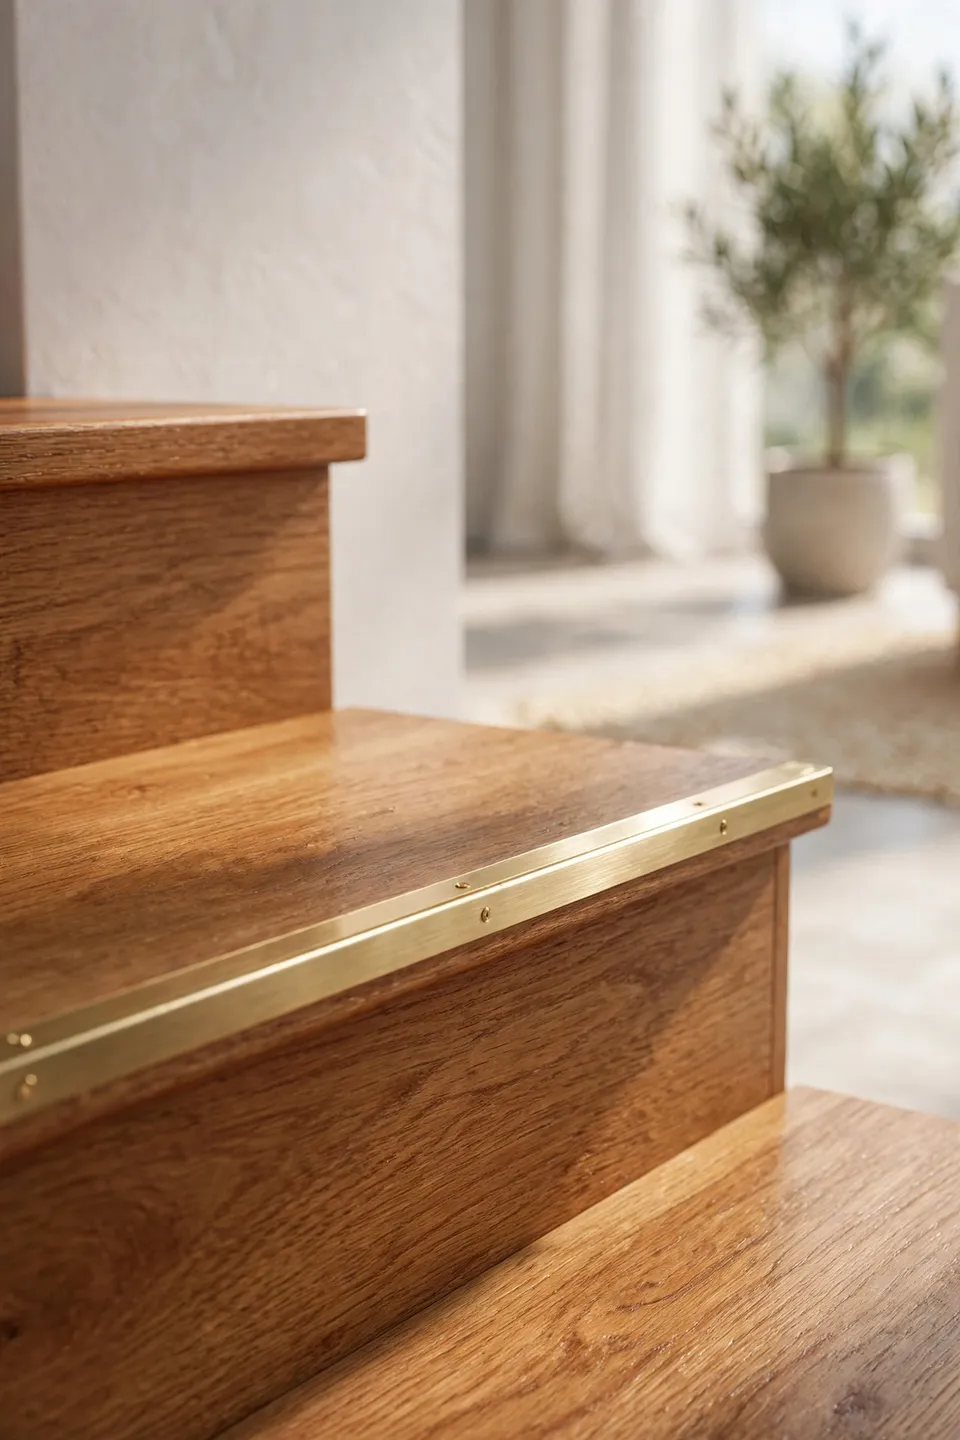
BEFORE: Before, the step edge was scuffed and ignored, a pale strip of worn paint that drew the eye for all the wrong reasons. Guests hesitated at the drop, and the room felt unfinished between its two halves.
AFTER: After, the risers wear a warm wood stain that matches the floors, with a slim brass strip marking the edge for safety and style. The steps now look like a deliberate feature, and the room flows from level to level without a visual stumble.
Small architectural quirks deserve attention, not camouflage. Just as awkward angles can become character, as shown in how to decorate a room with slanted and uneven walls, a dressed step edge turns a transition into a highlight. Treat the architecture as a partner, not a problem.
Place Furniture to Guide the Eye Across Levels
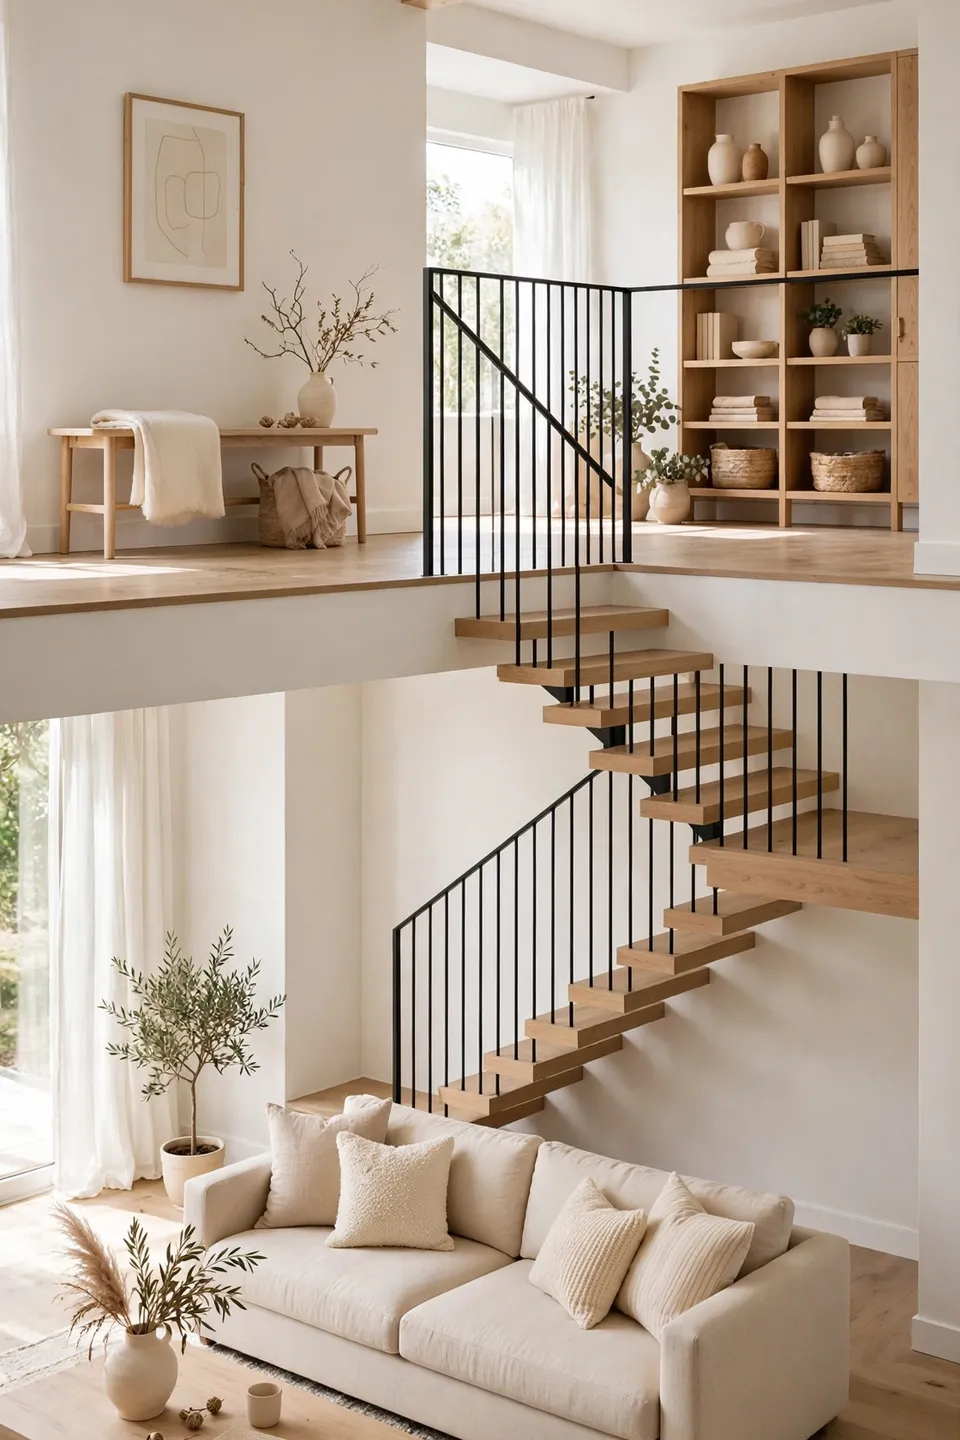
Do This:
- Angle the main sofa so it faces the steps, inviting the eye to travel between levels.
- Keep tall furniture against the outer walls so sightlines stay open across the split.
- Use a console or narrow bench at the top landing to anchor the transition.
- Repeat one silhouette, like matching armchairs, on each level for rhythm.
Avoid This:
- Never block the steps with a bulky piece that forces an awkward detour.
- Avoid back-to-back seating arrangements that turn each level away from the other.
- Skip oversized sectionals that swallow the smaller level whole.
Furniture placement is traffic choreography. Walk the path from the front door to the farthest seat and remove anything that interrupts the flow. When movement feels natural, the split level reads as one generous room instead of two cramped ones. Test it at night too, when lighting changes how open the path feels.
Split-Level Styling Quick Facts
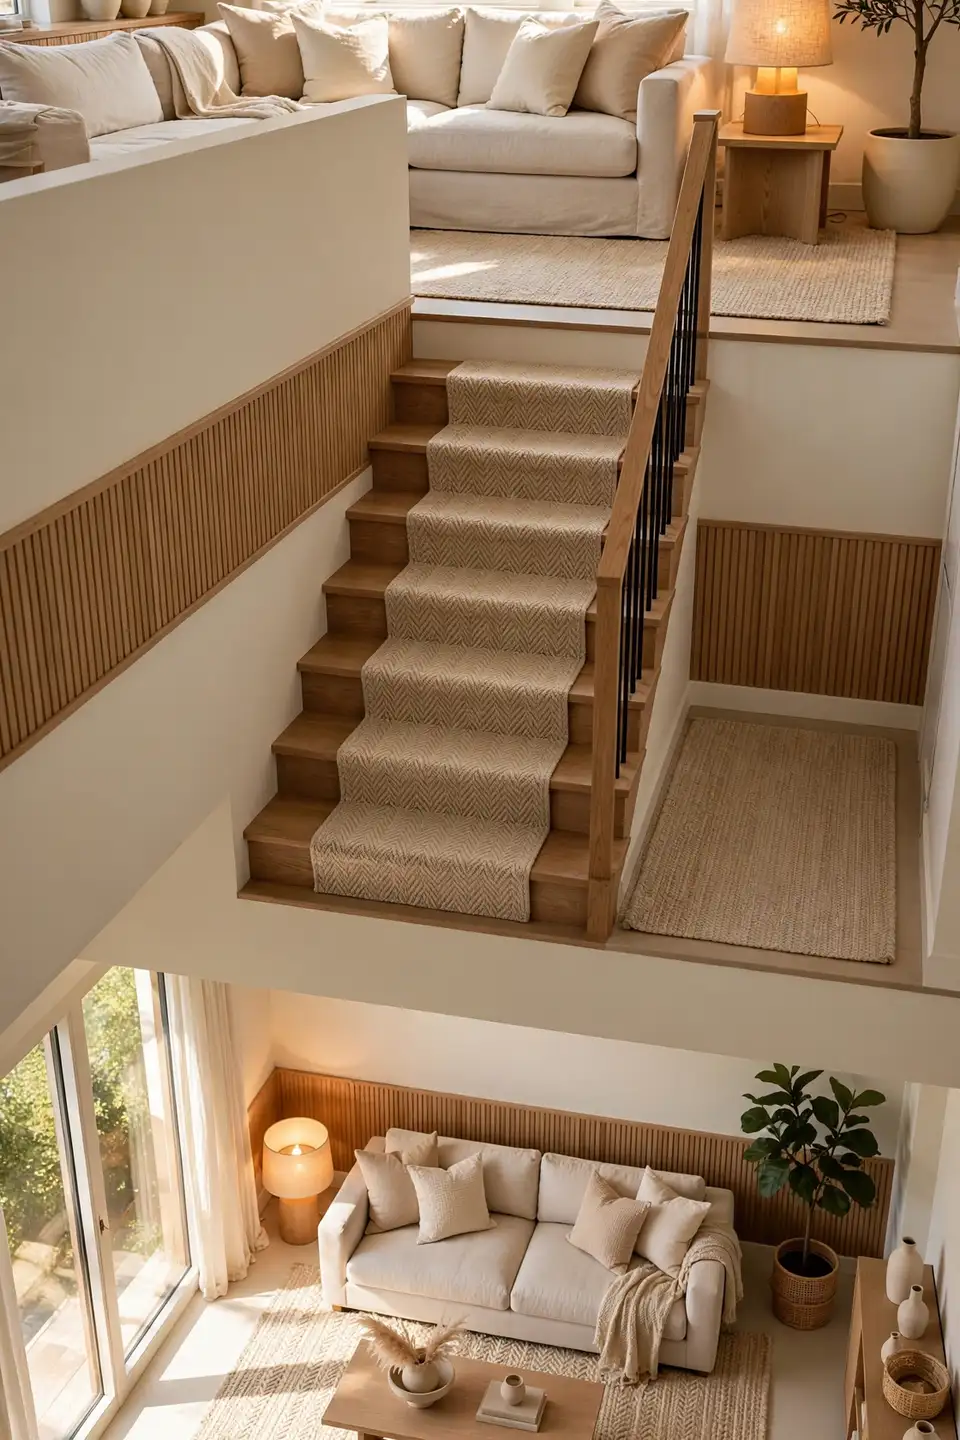
Best rug strategy: Same color family on both levels, different patterns for interest.
Ideal step treatment: Low-pile runner with a slim metal edge strip.
Lighting rule: Match lamp heights across levels so neither side feels dimmer.
Budget note: Paint and runners deliver the biggest unity boost for the least money.
Keep these facts taped inside a closet door while you shop, and check them before every purchase. They prevent the small mismatches that make split levels feel chaotic, like a clashing rug or a lone curtain style. Return to them whenever a purchase tempts you away from the shared palette.
Light Both Levels So Neither Feels Forgotten
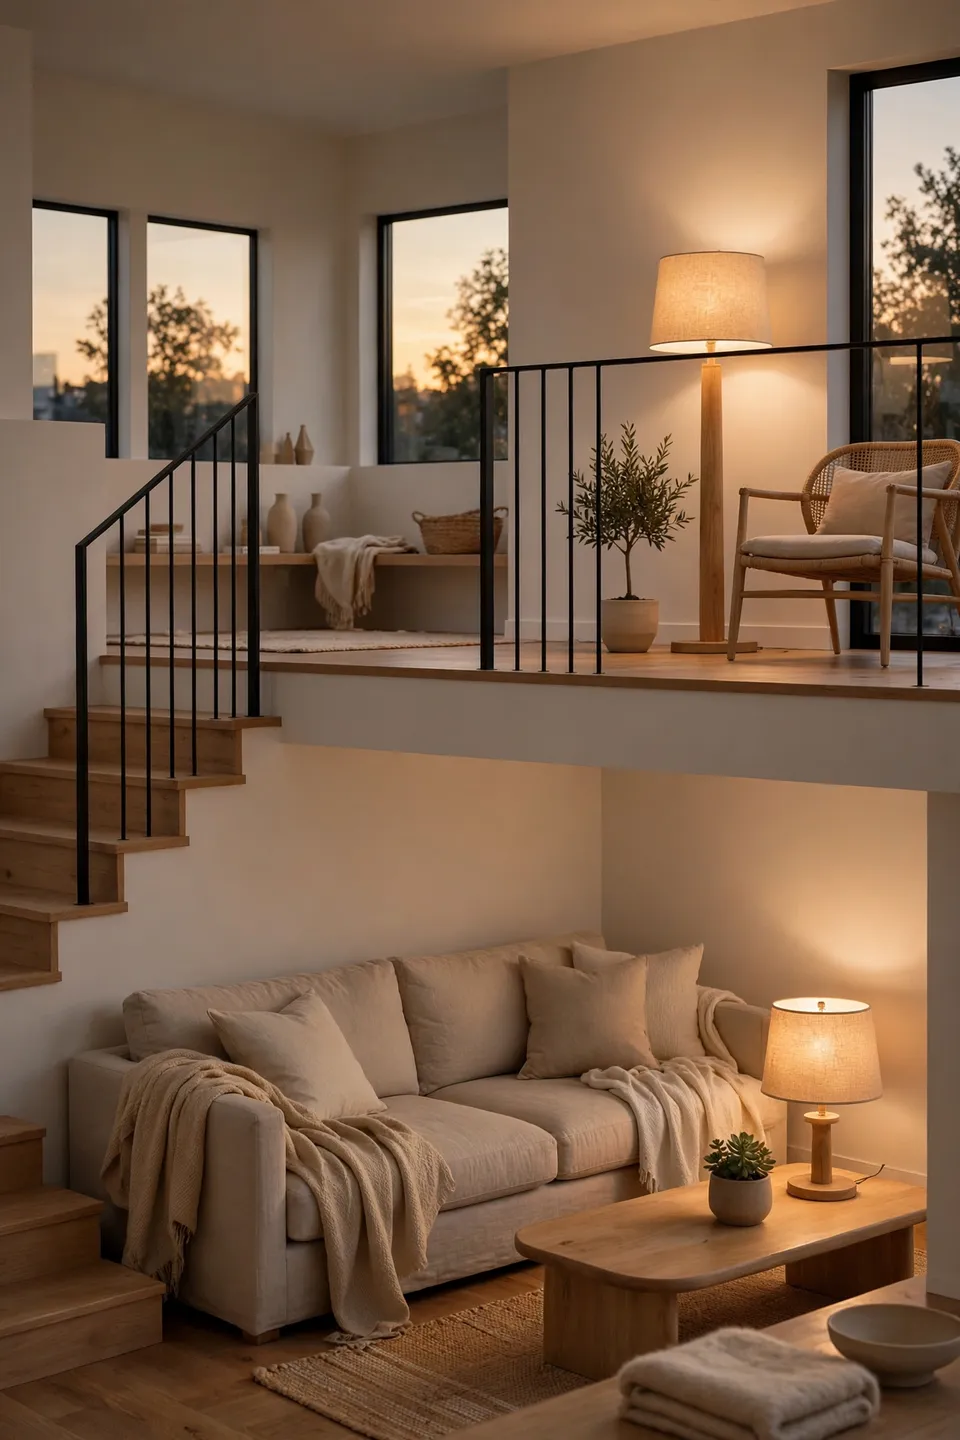
Split levels create shadow zones, and the lower level usually loses the light battle. Place a floor lamp or table lamp on each level at roughly matching heights so brightness feels even. In my experience, one forgotten dark corner is enough to make a level feel like an afterthought.
Use warm bulbs in the 2700K range on both levels for a consistent glow. Add a slim picture light or LED strip under the step nosing to outline the transition safely. Even lighting quietly tells the eye that both levels belong together.
Add Final Layers for a Finished Look
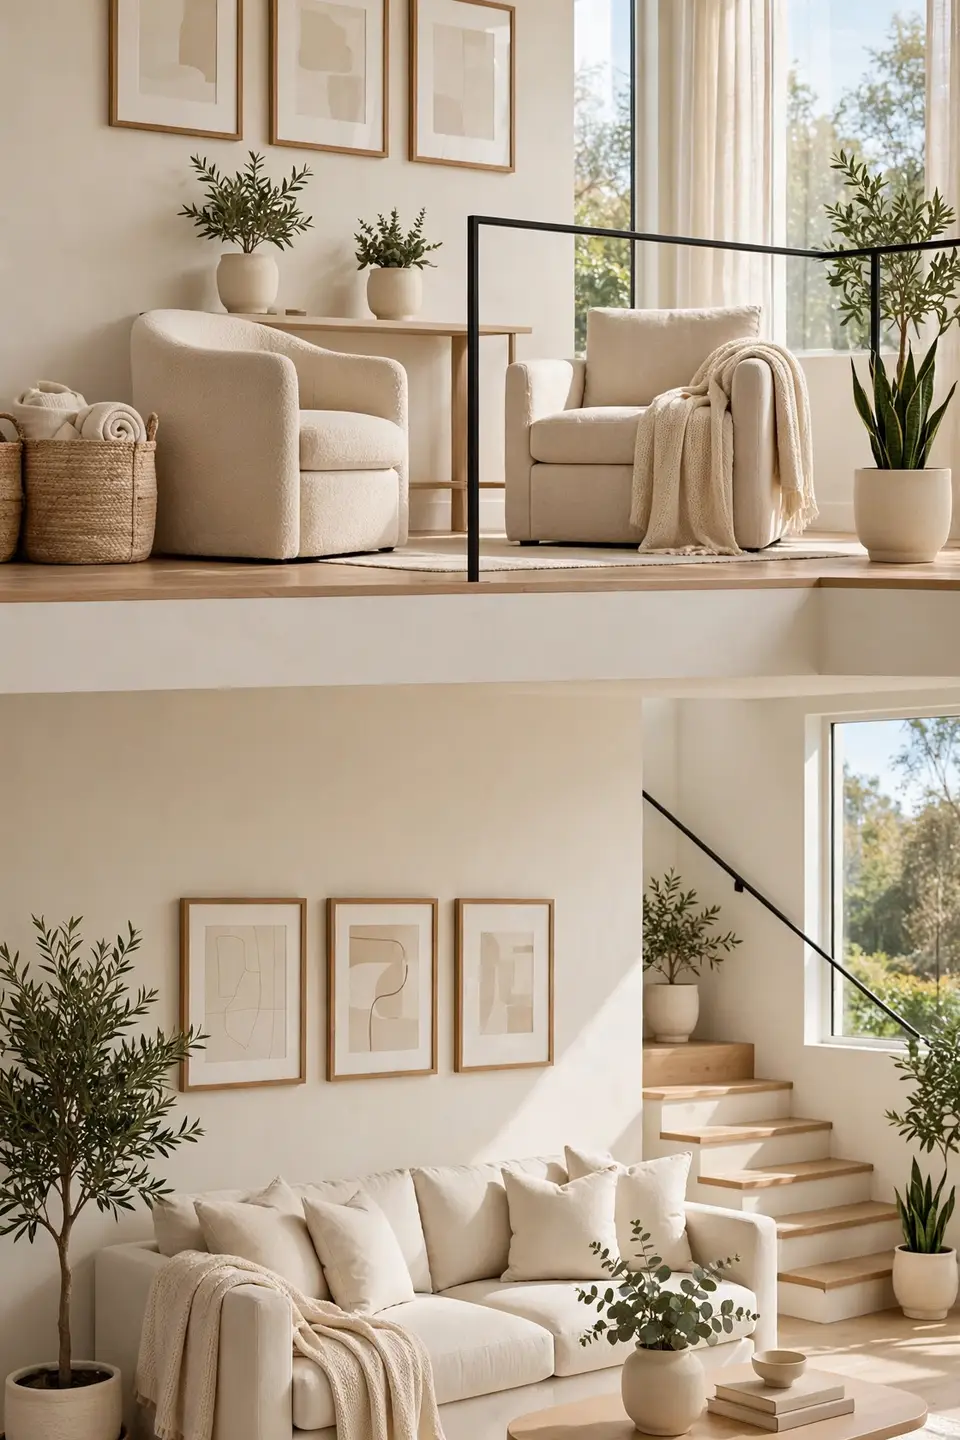
Final layers are what make a split-level living room feel styled rather than simply arranged. Throws, art, and plants repeated across both levels soften the architecture and give the eye places to rest. These small touches cost little but finish the room like nothing else.
- Drape a throw in your accent color over seating on each level for instant warmth.
- Hang art at matching heights on both levels so the walls feel related.
- Place one plant upstairs and one downstairs in similar pots.
- Style the stair wall with two or three small frames for a gallery moment.
Conclusion
A split-level floor is a gift once you decorate it with intention. Shared colors, thoughtful lighting, and furniture that welcomes movement turn two awkward halves into one room that feels larger and calmer than its footprint suggests. Learning how to decorate a living room with a split-level floor is really about honoring the architecture instead of fighting it. Save this guide to your living room board on Pinterest so you can revisit each step while you shop and style. Start with the palette and the steps, and the rest will fall into place beautifully.