21 Gallery Wall Layout Ideas for a Beautiful, Balanced Look
A blank wall can feel like a missed chance, and a strong gallery wall layout ideas plan turns that empty stretch into the most loved spot in the room. Grids, salon hangs, ledges, and hallway runs all follow the same simple rules: steady spacing, one clear anchor, and a mix of sizes that keeps the eye moving without chaos. The right plan also lets your favorite prints, photos, and small objects share one wall without fighting for attention.
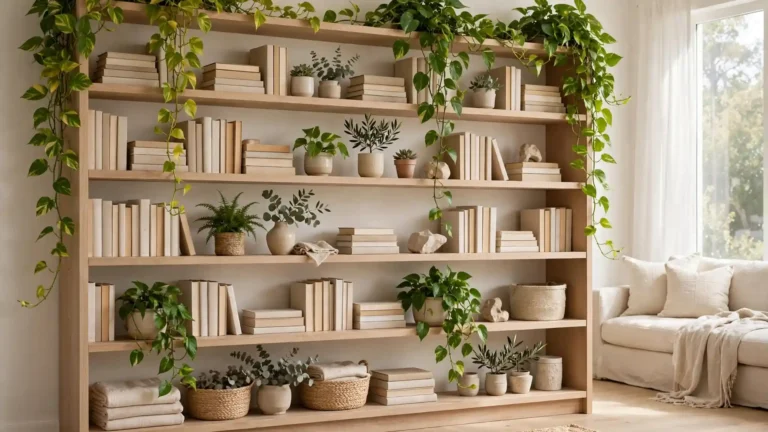
Before a single nail goes in, measure the wall, note the furniture below it, and gather frames in two or three finishes so the group feels warm rather than random. Readers who love layered shelves may also enjoy these bookshelf decorating ideas for styling the pieces that sit beneath a wall display. With a paper template on the wall first, hanging day stays calm, quick, and fun.
Classic Grid Layout

Credit: Dom J
A grid never misses when a wall needs order fast. Equal frames, equal mats, and equal gaps turn nine or twelve prints into one calm panel that reads like a single piece of art. Black frames on a white wall keep the look crisp, while pale oak frames soften the same grid for a warmer room. Measure the full block first, mark the center of the wall, and build outward so the edges stay even on both sides.
Small prints suit a tight grid over a console, while larger squares hold their own above a long sofa. Keep two inches between frames, step back often, and let the outer edges line up for a tailored finish.
Salon Style Display

Credit: Hallie
- Start with the largest piece slightly off center, then build outward in every direction.
- Mix portrait and landscape frames so the group feels lively rather than stiff.
- Keep gaps near two inches so the wall reads as one display, not scattered art.
- Add one small mirror or round frame to break long rows of rectangles.
- Stop when the outer shape feels balanced, then step back and check from the doorway.
A salon hang suits collectors who keep finding pieces they love, since new art can join the wall without a full rehang. Photograph the wall before moving anything, keep the biggest frames near eye level, and leave a little breathing room around light switches and vents.
Above Sofa Arrangement

Credit: Jennifer Krug
Quick Tip: Hang the center of the display about eight inches above the sofa back, and keep the full width near two thirds of the sofa length for a settled look.
A sofa wall asks for a wide, low shape that echoes the furniture below it. One long row of three large frames works well in a calm room, while a loose cluster of mixed sizes suits a livelier space with plants and patterned cushions nearby. Leave the same gap between every frame, line up the bottom edges, and check the view from the far end of the room before the last nail goes in.
Staircase Gallery Flow
Credit: Mathias Reding
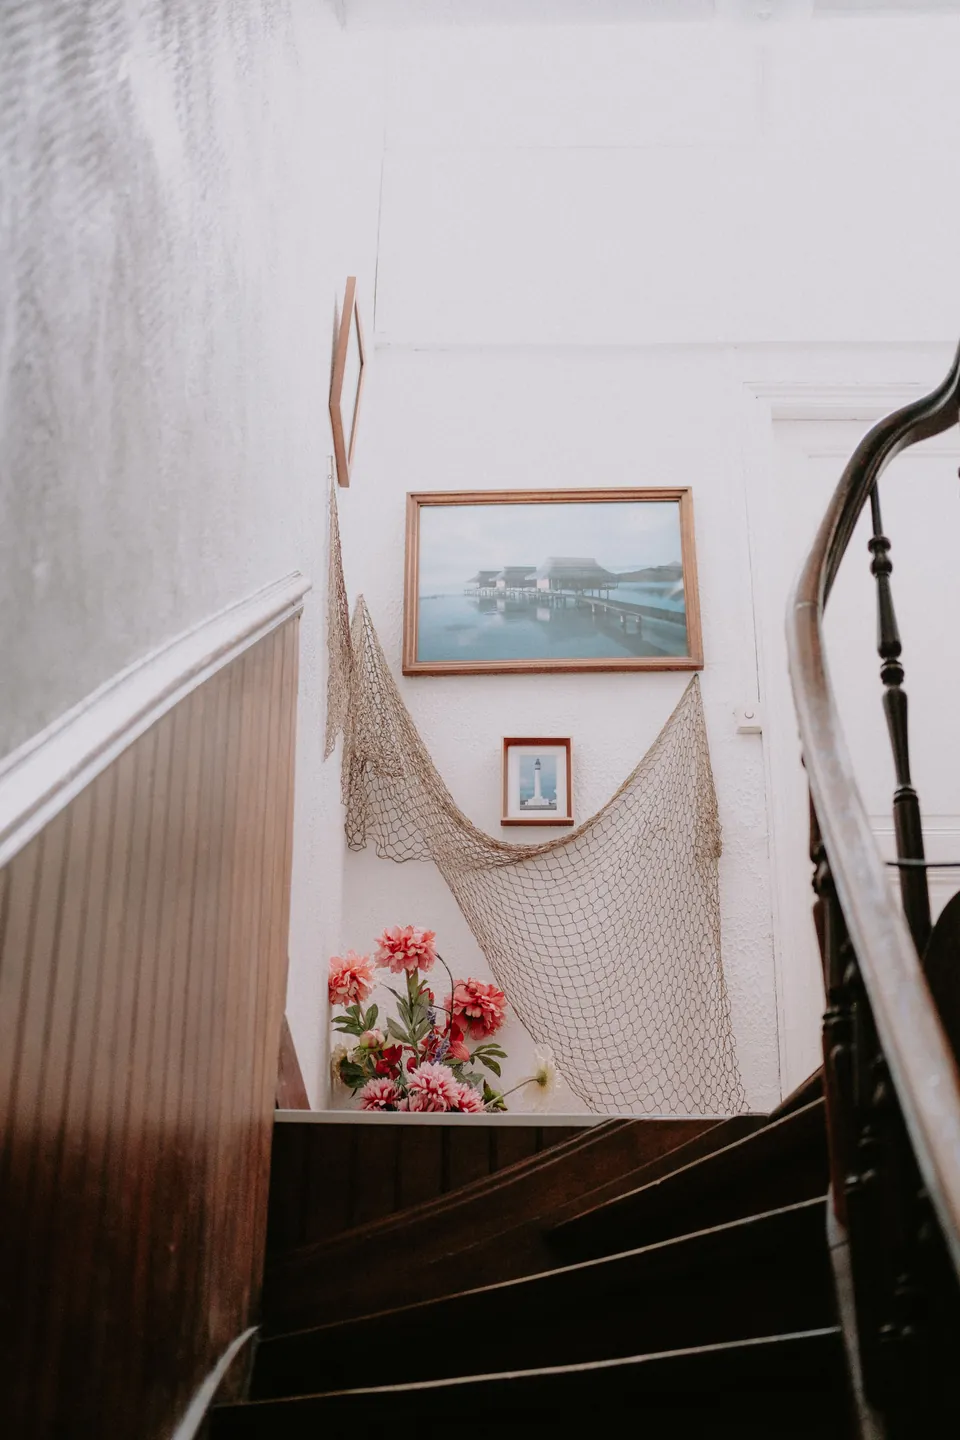
BEFORE: Bare stair walls with one small frame lost near the ceiling and a long empty stretch above the handrail.
AFTER: Frames rising with the slope at eye level from each step, so every landing offers a fresh print to enjoy.
Stairs give a gallery natural motion, since the eye climbs with the steps. Tape paper shapes along the slope first, keep the center line parallel to the handrail, and space frames evenly as the wall rises. Family photos suit this busy spot well, and a small ledge on the landing gives room for one leaning frame beside the whole climb.
Ledge Shelf Layers
Credit: Anna Tarazevich
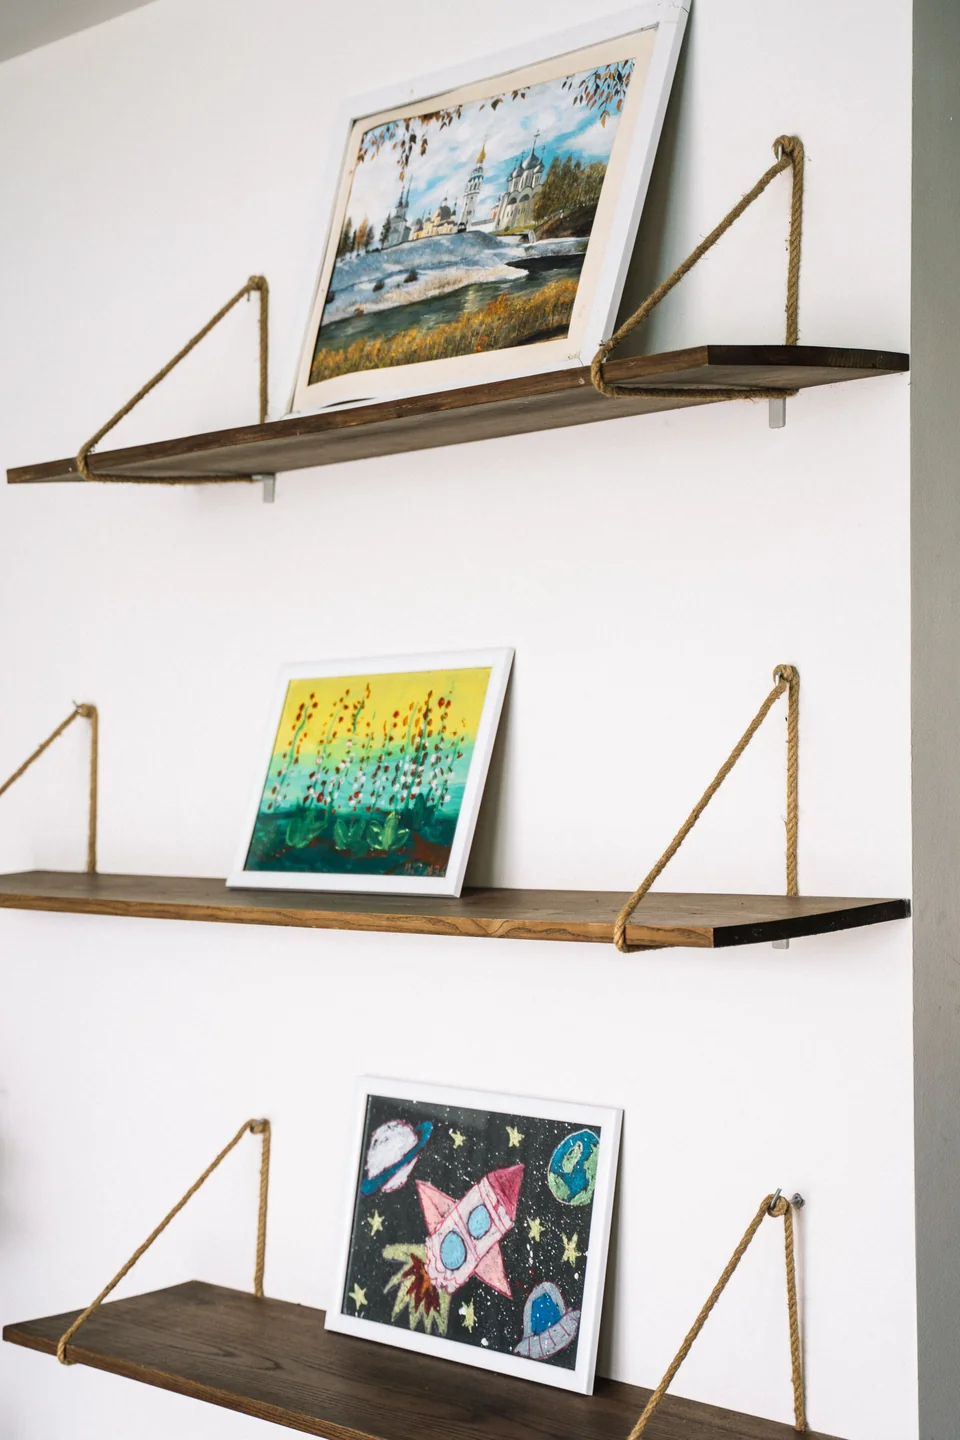
- Fix the longest ledge at eye level, then add a shorter ledge above it.
- Lean the tallest frame at the back and layer smaller frames in front.
- Tuck a small plant or vase at one end to soften the straight lines.
- Swap one frame each season so the shelf always feels fresh.
- Leave a hand width of empty ledge at each end for balance.
Ledges suit renters and anyone who hates extra holes, since frames rest on the shelf instead of hanging on nails. Overlap frames slightly for depth, keep the front row low so nothing hides, and dust the shelf edge when prints change.
Mixed Frame Sizes
Credit: Johnny Ng
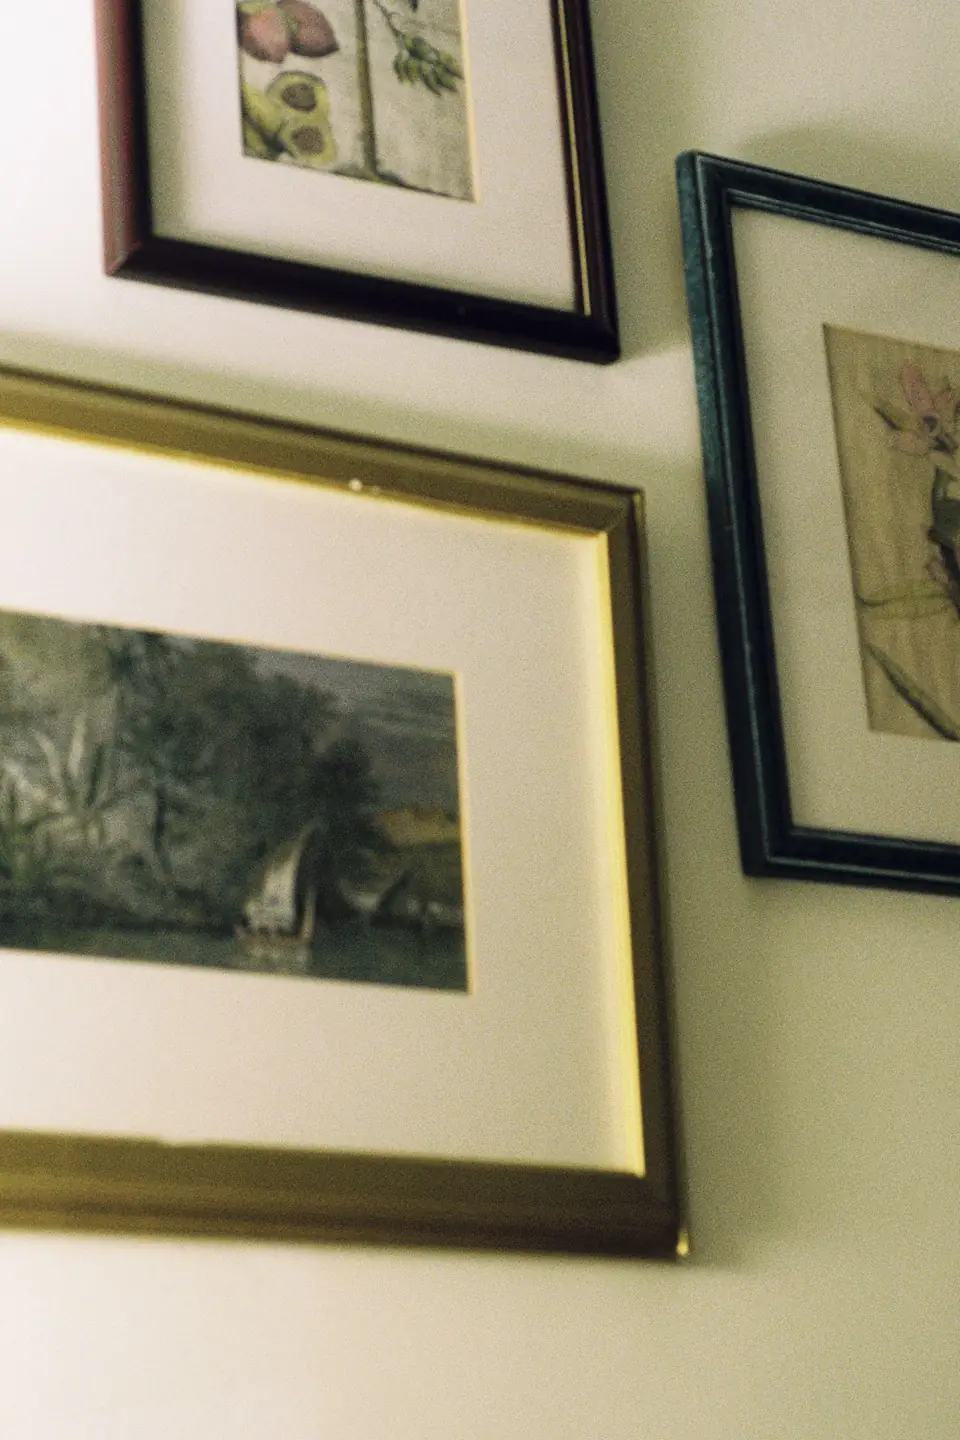
One size can feel flat, so a mix of large, medium, and small frames brings a wall to life.
| Frame Size | Where It Works |
|---|---|
| Large | Above a sofa or console |
| Medium | Beside doors and windows |
| Small | Filling gaps and corners |
Start with the largest frame, then place medium frames near it and use small frames to fill the gaps that remain. Keep one finish or color running through the group so the mix feels planned, and repeat one shape, such as an arch or a square, in at least three frames for rhythm. Step back after every third frame to check the balance before the next nail goes in.
Monochrome Photo Wall

Credit: Nascimento Jr.
Do:
- Print every photo in the same black and white tone for instant unity.
- Use one frame color across the whole wall for a calm gallery feel.
- Add varied sizes so the single palette still feels full of life.
Don’t:
- Do not mix warm and cool photo tones in one display.
- Do not crowd frames so tight that the mats touch.
- Do not hang a bright color print inside a monochrome group.
A monochrome wall flatters almost any room, since one palette ties travel shots, portraits, and street scenes into a single story. Wide white mats add air around small prints, and soft daylight keeps the blacks rich without glare.
Botanical Print Collection

Credit: betül nur akyürek
Cost: $40 to $120 for prints and simple frames
Time: One afternoon from measuring to hanging
Skill Level: Beginner friendly with paper templates
Best For: Calm bedrooms, dining rooms, and sunny hallways
Leaf and flower prints bring a gentle green note to a wall without the care of live plants. Pressed fern prints suit a quiet bedroom, bold banana leaves wake up a dining wall, and a row of small herb prints charms a kitchen corner. Keep the frames slim and pale so the green shapes stay the star, and group prints from one plant family for a collected, thoughtful feel.
Hallway Gallery Run
Credit: Esra Erdem
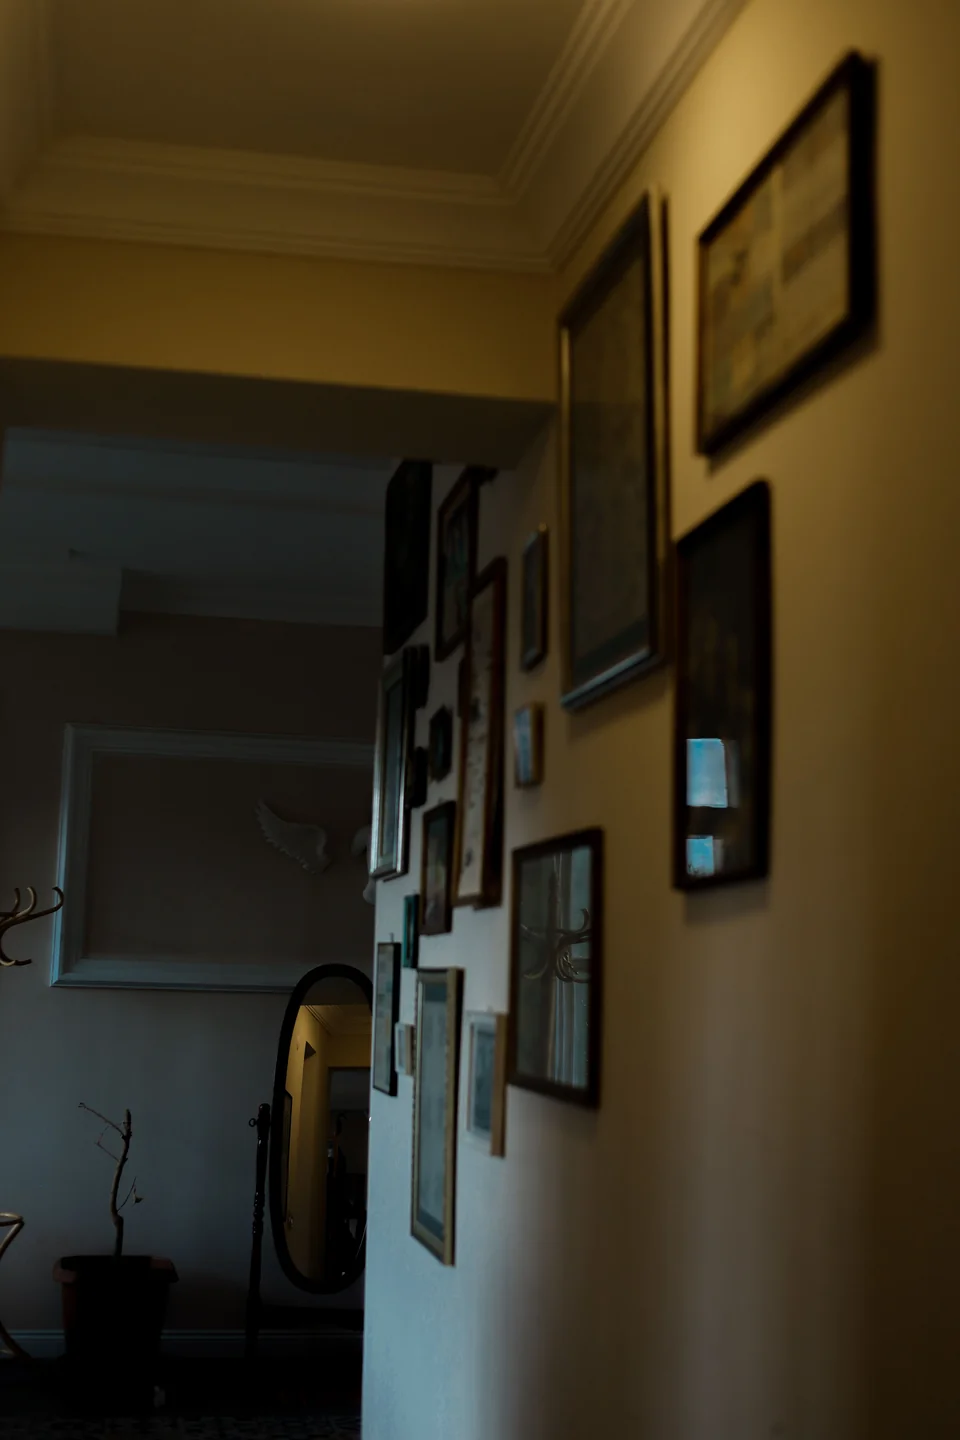
A hallway wall is a gallery waiting to happen, since guests pass it slowly and look closely at each frame. Hang prints at one steady height, keep the line unbroken past doorways, and let the frames march in a calm rhythm from one end to the other. Narrow halls suit small frames, while a wide hall can carry larger art with ease.
Picture lights or a slim ceiling track help a dark hall shine, and a runner rug below ties the whole passage together. Leave the wall near doors a little lighter so the run never feels crowded at the turns.
Corner Wall Wrap
Credit: Katia Miasoed
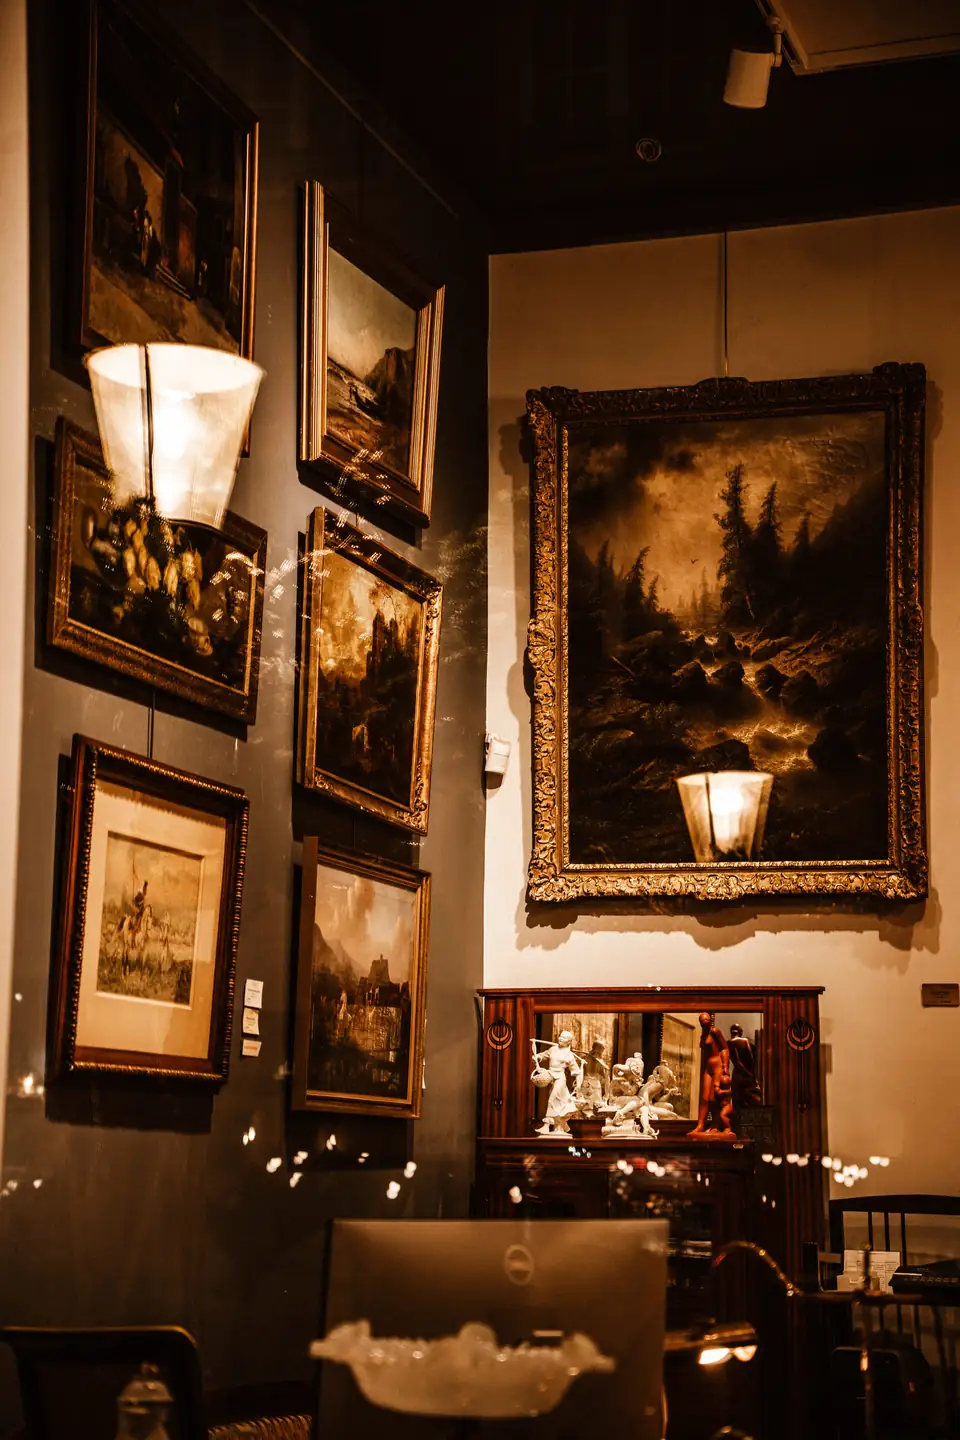
- Carry the same frame finish around the corner for one smooth edge.
- Place the corner frame first, then build both walls outward from it.
- Keep gaps equal on both walls so the wrap reads as one display.
- Use smaller frames near the corner so the turn feels gentle.
- Add a plant or chair below to ground the corner display.
Corners often sit empty, yet they give a gallery extra length without taking another wall. Let the corner piece anchor both sides, match mat colors across the turn, and check the display from the doorway where both walls show at once.
Oversized Anchor Piece
Credit: Suki Lee
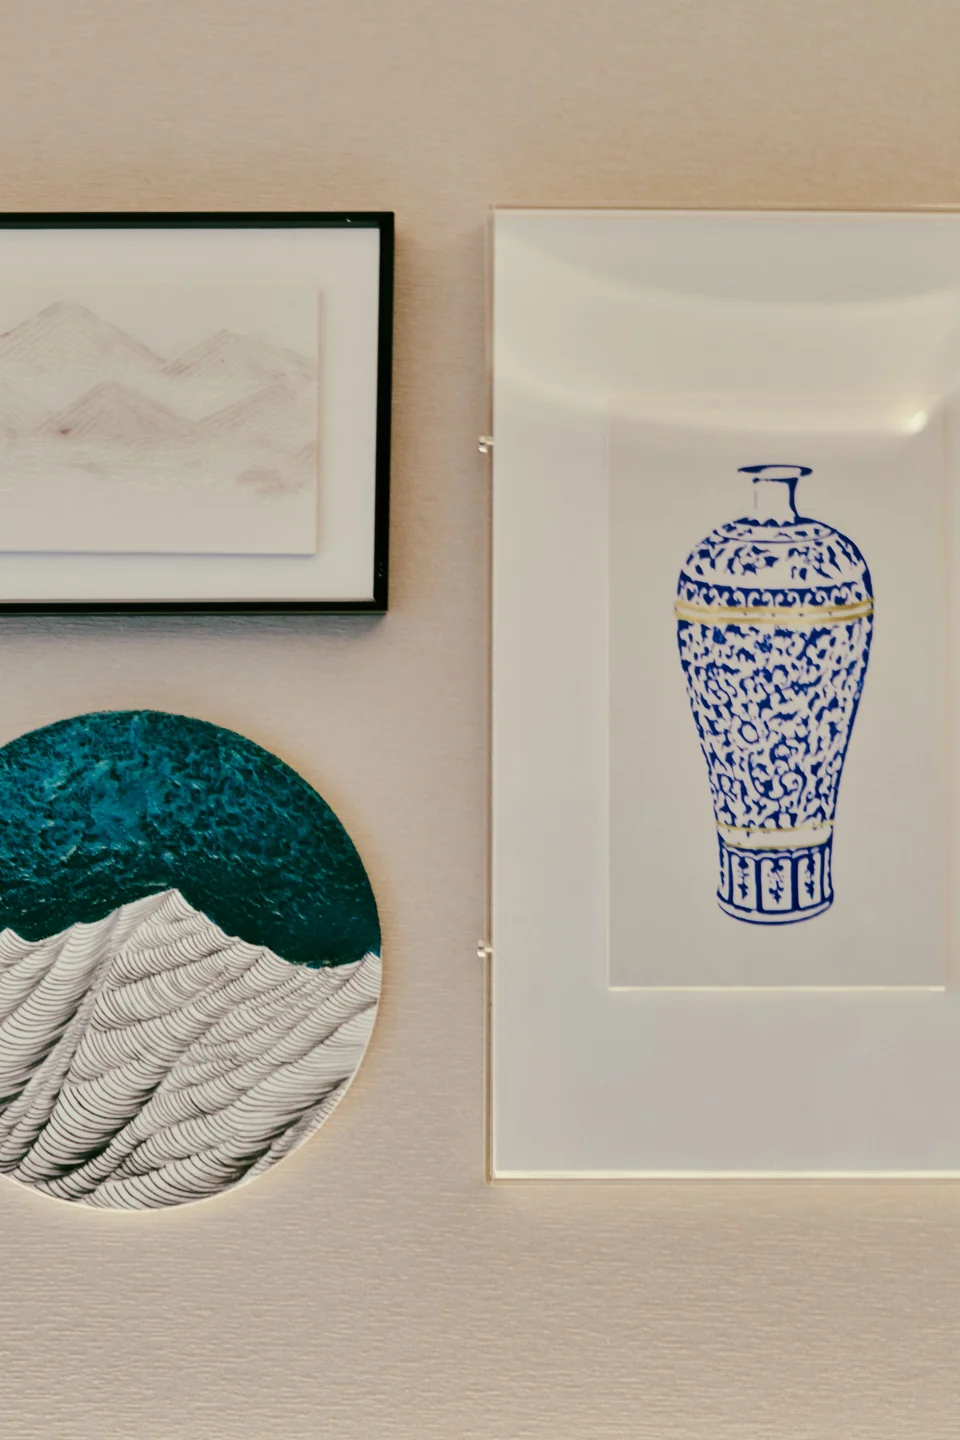
Quick Tip: Let one frame take up at least half the display width, then hang smaller frames around it like satellites around a sun.
A single large print settles a wall fast and gives smaller pieces a home. Hang the anchor at eye level first, then fill the sides with medium and small frames that echo its colors. Leave wider gaps around the anchor than between small frames, so the big piece keeps its starring role. A bold landscape or abstract print works well here, and a slim frame keeps the focus on the art itself. Step back twice while hanging to keep the anchor centered.
Small Space Clusters

Credit: cottonbro studio
BEFORE: One tiny frame floating alone on a big empty wall above a small desk.
AFTER: A tight cluster of six small frames that fills the same wall with warmth and story.
Small walls reward tight groups, since a cluster reads as one bold panel instead of scattered bits. Keep gaps near one inch, repeat one frame color, and mix one landscape print with portrait photos for variety. A cluster above a desk, bed, or reading chair turns a forgotten corner into a favorite view. Start with the middle frame, then add pairs on each side until the shape feels even.
Family Photo Timeline

Credit: cottonbro studio
- Sort prints by year and pick one favorite from each chapter.
- Print them in matching sizes so the years flow as one story.
- Hang the earliest photo at the left and move right through time.
- Leave one gap at the end for the next chapter to join.
A timeline wall turns a hallway or stair wall into a family story guests love to follow. Black and white prints keep decades looking unified, and small date labels under key frames help younger visitors place each family memory. Refresh the end of the line each year so the story keeps growing strong.
Art And Mirrors
Credit: gökçe erem
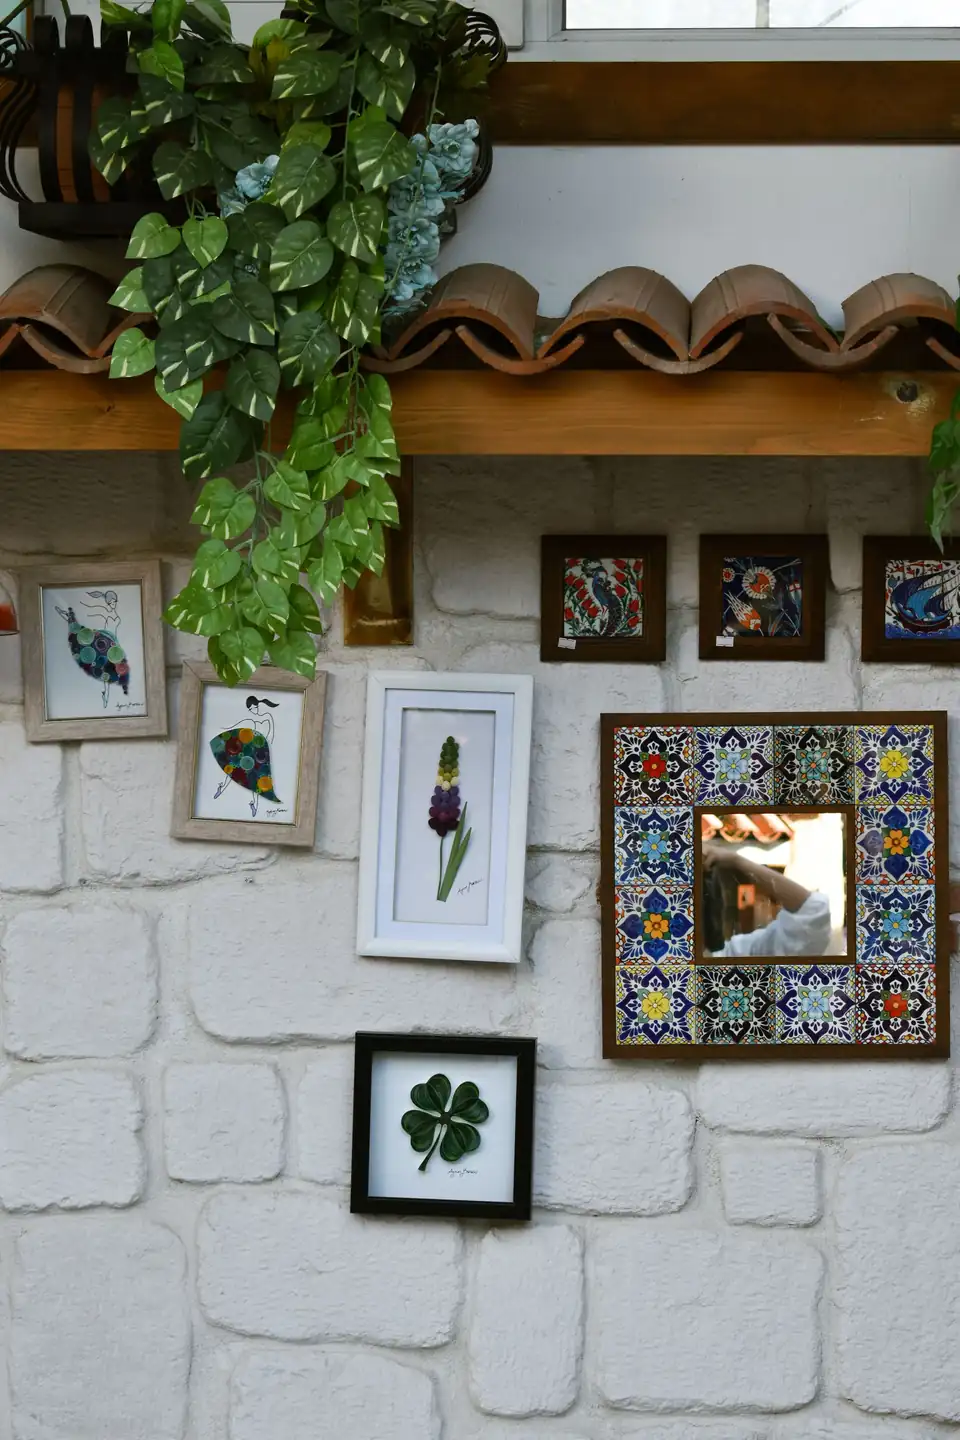
Mirrors open a room while art adds soul, so pairing them on one wall doubles the charm and the light.
| Pairing | Best Spot |
|---|---|
| Round mirror | Center of a frame group |
| Arched mirror | Beside tall art prints |
| Small mirrors | Between frame clusters |
Hang the mirror first, then build frames around it so reflections stay clear of glare. These gallery wall layout ideas work best when the mirror reflects a window or a plant, since the doubled light makes the whole room feel brighter. Keep mirror glass free of fingerprints and match its frame finish to the art frames nearby. Step back to check the reflection before the last frame goes up.
Warm Wood Frames

Credit: kübra zehra
Do:
- Choose oak, walnut, or pine frames for a warm natural glow.
- Repeat the same wood tone in furniture or shelves nearby.
- Pair wood frames with cream mats for a soft gallery look.
Don’t:
- Do not mix five wood tones on one small wall.
- Do not pair heavy wood frames with tiny delicate prints.
- Do not forget to seal raw wood in a sunny room.
Wood frames warm up white walls fast, and they suit art with earth tones, landscapes, and family photos alike. Keep the wood tone close to the floor or furniture wood, and let one darker frame anchor the group for depth.
Gallery Shelf Styling

Credit: Pavel Danilyuk
Cost: $30 to $90 for two ledges and hooks
Time: Under two hours including measuring
Skill Level: Beginner friendly with a level
Best For: Renters, changers, and small walls
A shelf gallery invites play, since leaning art can move without new holes. Layer tall frames behind short ones, add a trailing plant at one end, and place a small clock or vase in front for depth. Rotate prints with the seasons, keep the shelf dust free, and leave one empty stretch so the display never feels crowded. A narrow ledge above a desk or sofa holds three to five frames with ease, and a second ledge doubles the display without more wall damage.
Bedroom Gallery Wall

Credit: alleksana
A bedroom wall above the bed asks for calm art and soft colors that help the room rest well. Hang the display low enough to enjoy from the bed, keep the width near the bed width, and choose prints in muted tones with one gentle accent. Matching frames keep the look peaceful, even when the prints differ in style.
Leave space above pillows so frames never feel close to the head, and use secure hooks rated for each frame weight. A small pair of prints on each side of the bed can flank a larger center piece with quiet grace.
Dining Room Display
Credit: Beyzaa Yurtkuran
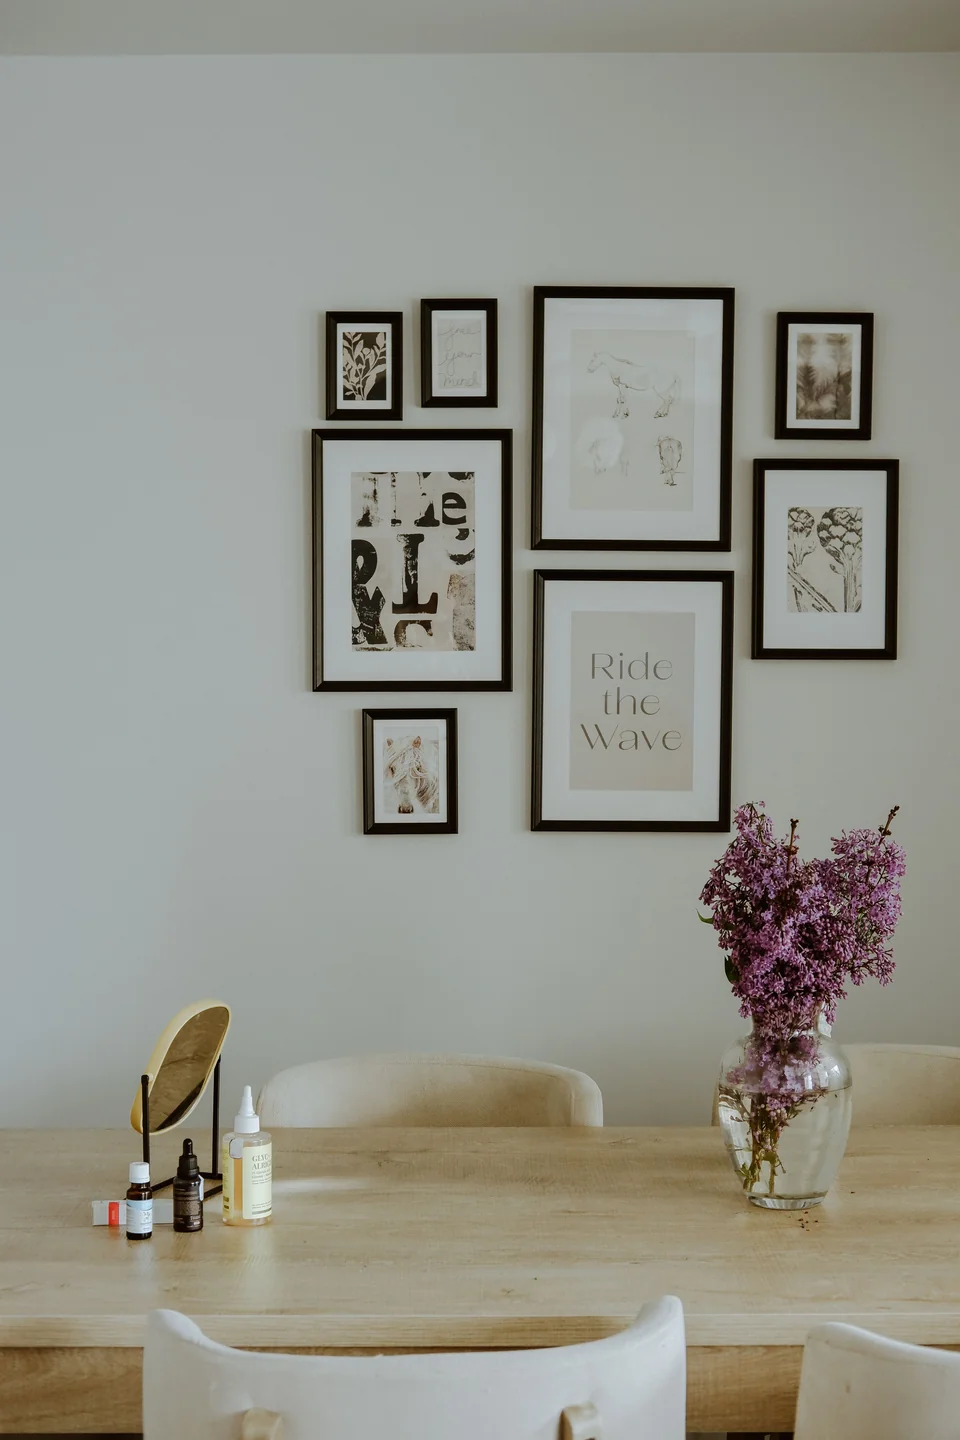
- Hang art low enough to enjoy from a seated chair.
- Keep frames clear of steam and splashes near serving spots.
- Match frame finishes to the table wood or chair legs.
- Use one large piece on the main wall for dinner conversation.
- Add small prints on the side wall to finish the room.
Dining walls suit warm art with food, landscape, or abstract themes that spark talk without stealing focus. Glass over prints guards against splashes, and dimmable lights let the same wall glow softly for evening meals. Keep the center of the display near eye level from a chair, not from standing height, so guests see art without craning.
Entryway Gallery Welcome

Credit: Curtis Adams
Quick Tip: Keep the entry display near eye level and leave hooks below it free, so guests see art first and bags second.
The entry sets the tone for the whole home, so a small gallery here pays off every day. Hang two or three frames above a console, add a mirror for last checks, and keep one frame low enough for children to enjoy. A console styled with care ties the wall together, and these entryway table decorating ideas show how the table below can echo the frames above. Fresh flowers or a bowl for keys finish the welcome without clutter.
Kids Art Showcase

Credit: Cup of Couple
BEFORE: Rolled drawings in a drawer and taped sheets falling off the fridge door.
AFTER: A proud rotating gallery where each child picks the newest favorite for the wall.
Children love seeing their art honored, and a dedicated wall gives every drawing a proper stage. Use clip frames or magnetic rails so swaps take seconds, hang art at child eye level, and date the back of each piece before it retires to a keepsake box. Rotate monthly so the wall always shows fresh pride. Let each child choose the frame color for their own row so the wall feels truly theirs.
Seasonal Swap Display

Credit: Rahib Yaqubov
- Choose frames with front loading glass for fast seasonal swaps.
- Print one set of art for each season in matching sizes.
- Store off season prints flat in one labeled folder.
- Swap the whole wall on the first weekend of each season.
- Keep one anchor frame unchanged so the wall keeps its balance.
Seasonal swaps keep a gallery fresh without new holes or new frames. Spring leaves, summer coast prints, autumn branches, and winter scenes rotate through the same frames, so the wall always matches the mood outside. Keep the swaps simple and the wall stays a favorite all year long.
Conclusion
Your walls are ready for their close up, and these gallery wall layout ideas prove that a little planning goes a long way. Pick one layout to start, gather frames you already own, and hang the first row this weekend. Save this post on Pinterest so the full set of 21 layouts stays handy when the next blank wall calls, and share your finished wall with friends who need a little wall inspiration too. Before the first nail, tape paper shapes on the wall, live with the layout for a day, and adjust gaps until the whole group feels calm and balanced.