21 Decorative Wainscoting Living Room Ideas for Timeless Charm
Bare walls make even a lovely sofa feel like it is floating in an empty box. The rooms people save again and again usually share one quiet detail: decorative wainscoting living room ideas that give flat drywall rhythm, shadow, and a sense of history. Panels break one big wall into graceful sections, and suddenly the whole room feels built on purpose.
Wainscoting also works hard behind the scenes. It shields the lower wall from scuffs, hides uneven plaster, and hands art and lamps a structured backdrop. In my experience, paneling pairs beautifully with soft shapes, so anyone who loves curved furniture interior design ideas will find the two balance each other: curves soften, panels steady. The twenty one ideas ahead range from weekend paint jobs to full traditional millwork, each sized for real homes and real budgets.
Classic Picture Frame Molding
Credit : Max Vakhtbovych
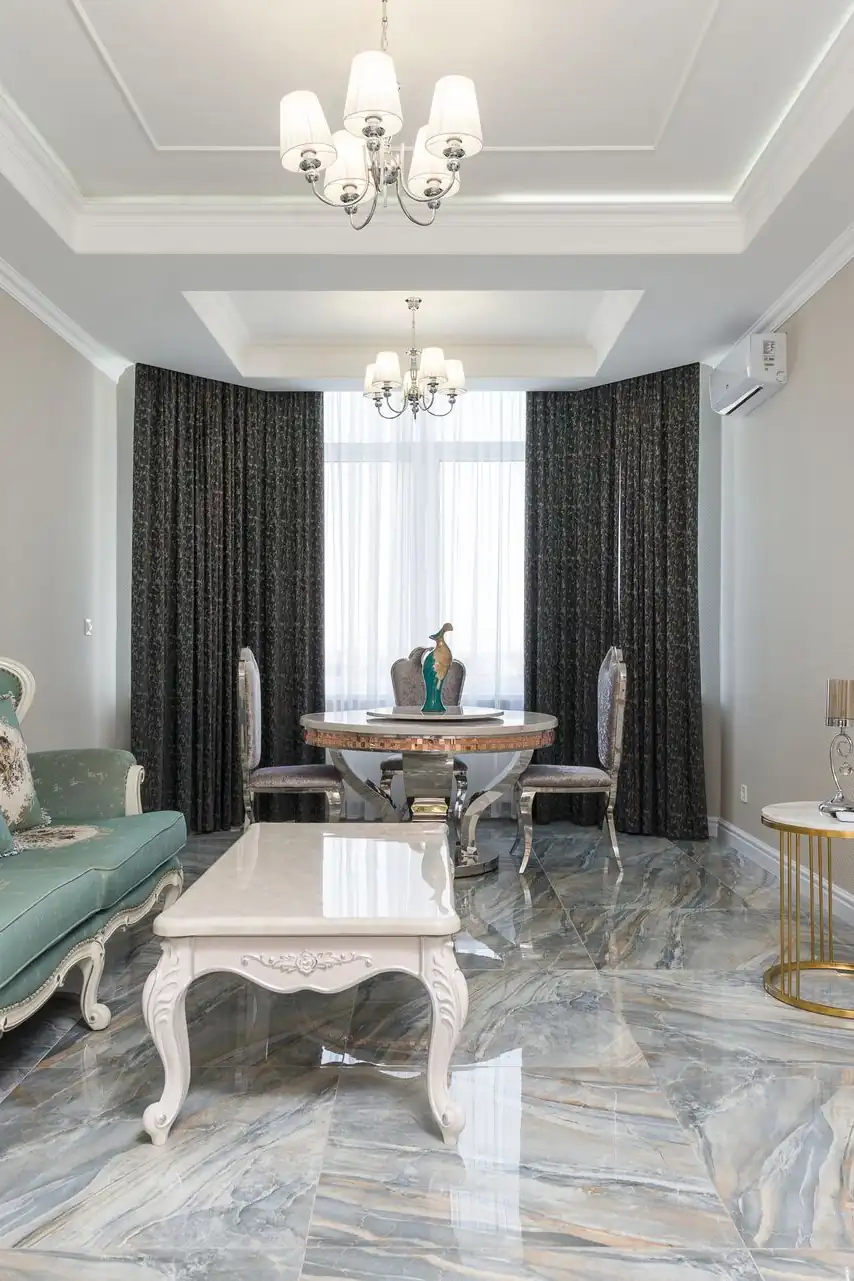
Nothing reads timeless quite like slim rectangles of trim floating on a smooth wall. Picture frame molding splits one flat surface into a row of calm panels, and the eye instantly slows down. Keep the boxes evenly spaced, four to five inches from corners, the ceiling line, and the baseboard, so the rhythm feels measured rather than random.
Paint the trim and the wall inside each frame the exact same color for a soft, shadow based effect. In my experience, this tone on tone approach suits smaller rooms best, because the texture adds depth without darkening a single wall. Rest a tall mirror inside one frame and the paneling starts to feel like architecture, not decoration.
Tall Board And Batten
Credit : Team Picsfast
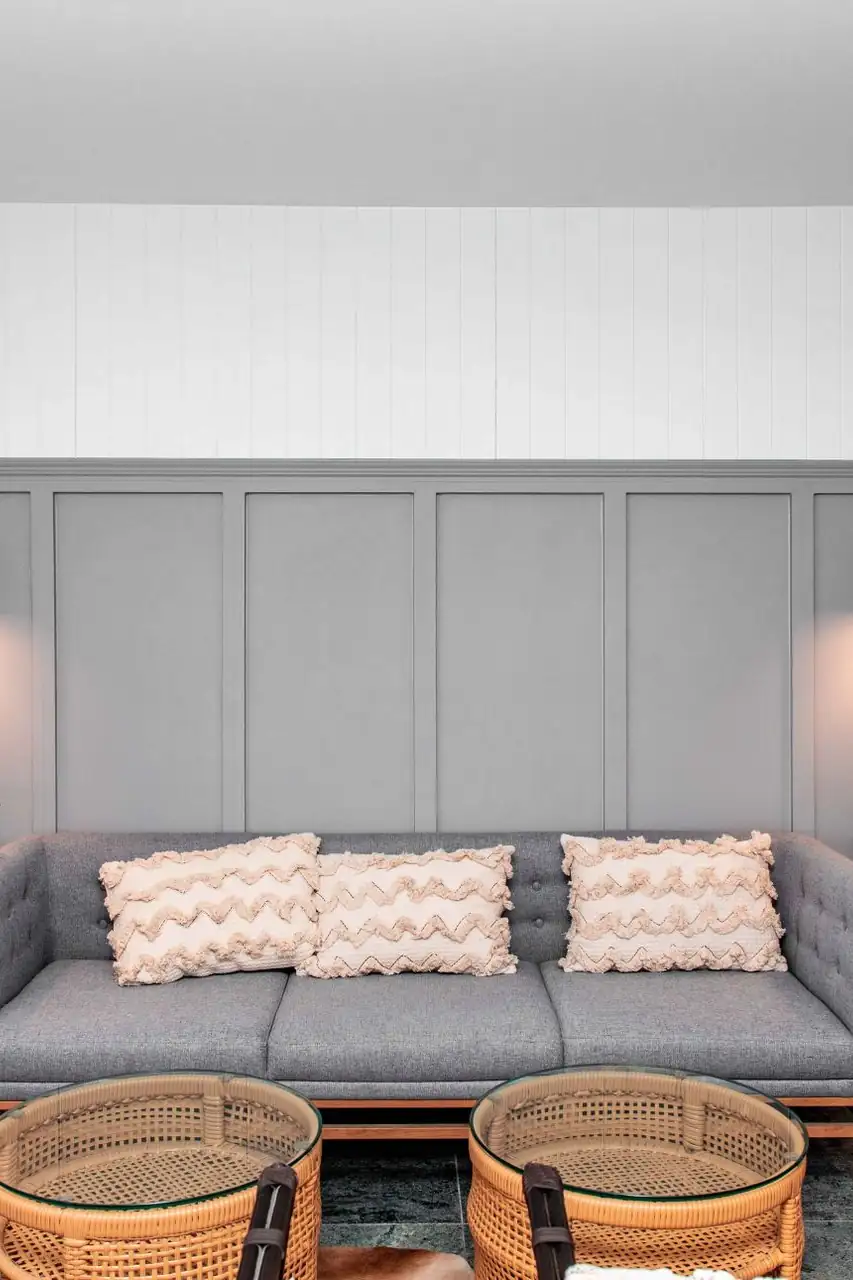
- Vertical lift: battens running two thirds up the wall pull the eye upward, so standard eight foot ceilings feel taller than they are.
- Even rhythm: space the battens twelve to sixteen inches apart and the grid stays calm instead of busy.
- Strong finish line: a chunky top rail gives lamps, frames, and the sofa back a natural line to answer to.
- Paint payoff: one deep color across boards, battens, and baseboard reads as expensive custom millwork.
Board and batten began on farmhouse exteriors, which explains its sturdy, no nonsense charm indoors. I’ve seen this work well in many cases where a long, hallway feeling living room needed one strong wall. Run it behind the sofa, keep the upper wall pale, and let the contrast do the decorating.
Soft Sage Panel Walls
Credit : betül nur akyürek
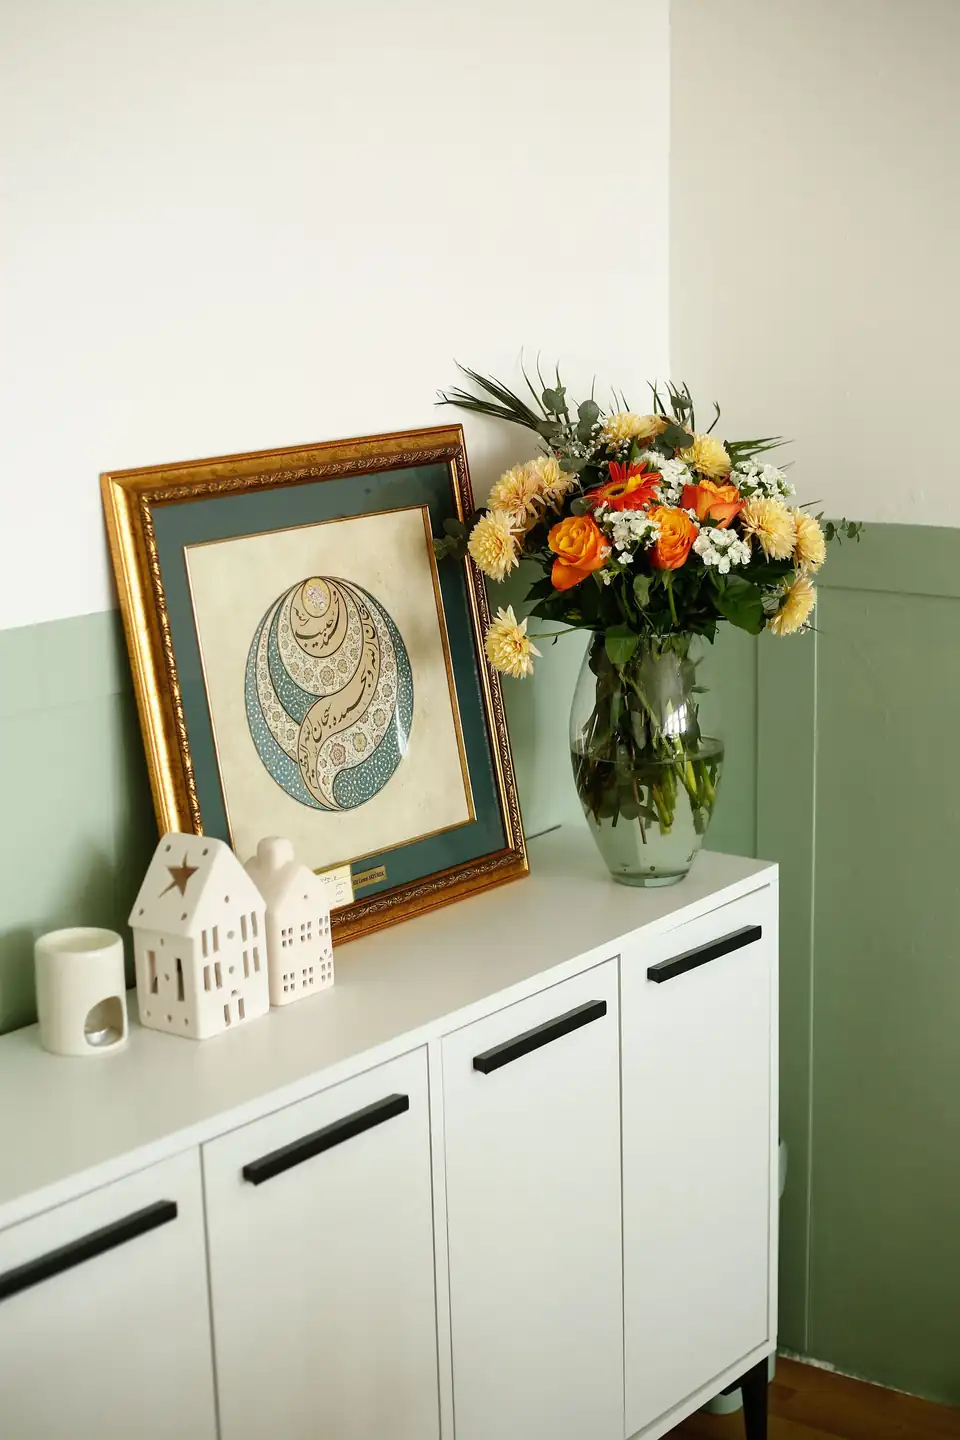
Quick Tip: test sage paint on one finished panel first, never on bare drywall. The raised trim catches light differently, and a shade that looks pale on a swatch can read a full step deeper once shadows gather in every corner of the frame.
Sage and paneling were made for each other. The color feels botanical and calm, while the frames keep it from drifting into plain pastel territory. Cream sofas, warm oak floors, and brass lamps all settle happily against it. In my experience, a matte or eggshell finish flatters sage panels most, since gloss spotlights every tiny brush mark along the trim.
Plain Walls To Paneled Charm
Credit : Curtis Adams
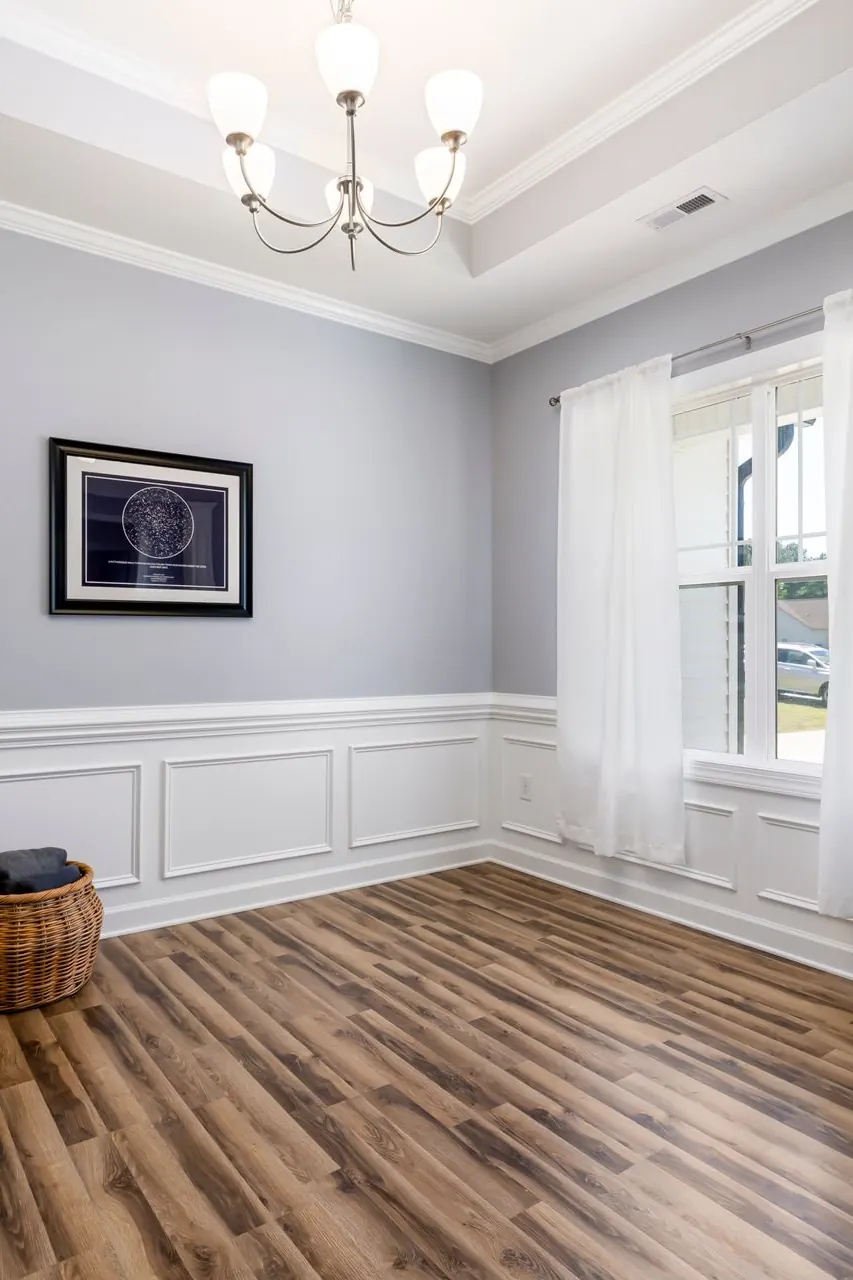
BEFORE: the room had long, unbroken walls the color of cold oatmeal. The sofa sat against nothing in particular, art hung at lonely heights, and every echo made the space feel rented rather than owned.
AFTER: simple shaker style panels now run around the room, painted a warm white two shades deeper than the upper wall. The sofa anchors against one centered panel, the art sits inside frames of trim, and the whole room sounds softer, like it finally grew bones.
No furniture changed in that makeover, which is the honest magic of millwork. The panels cost less than one armchair and took a single long weekend. That’s why many experts recommend starting with the walls when a room feels unfinished, however nice the furniture already is.
Half Wall Paneling Steps
Credit : Taryn Elliott
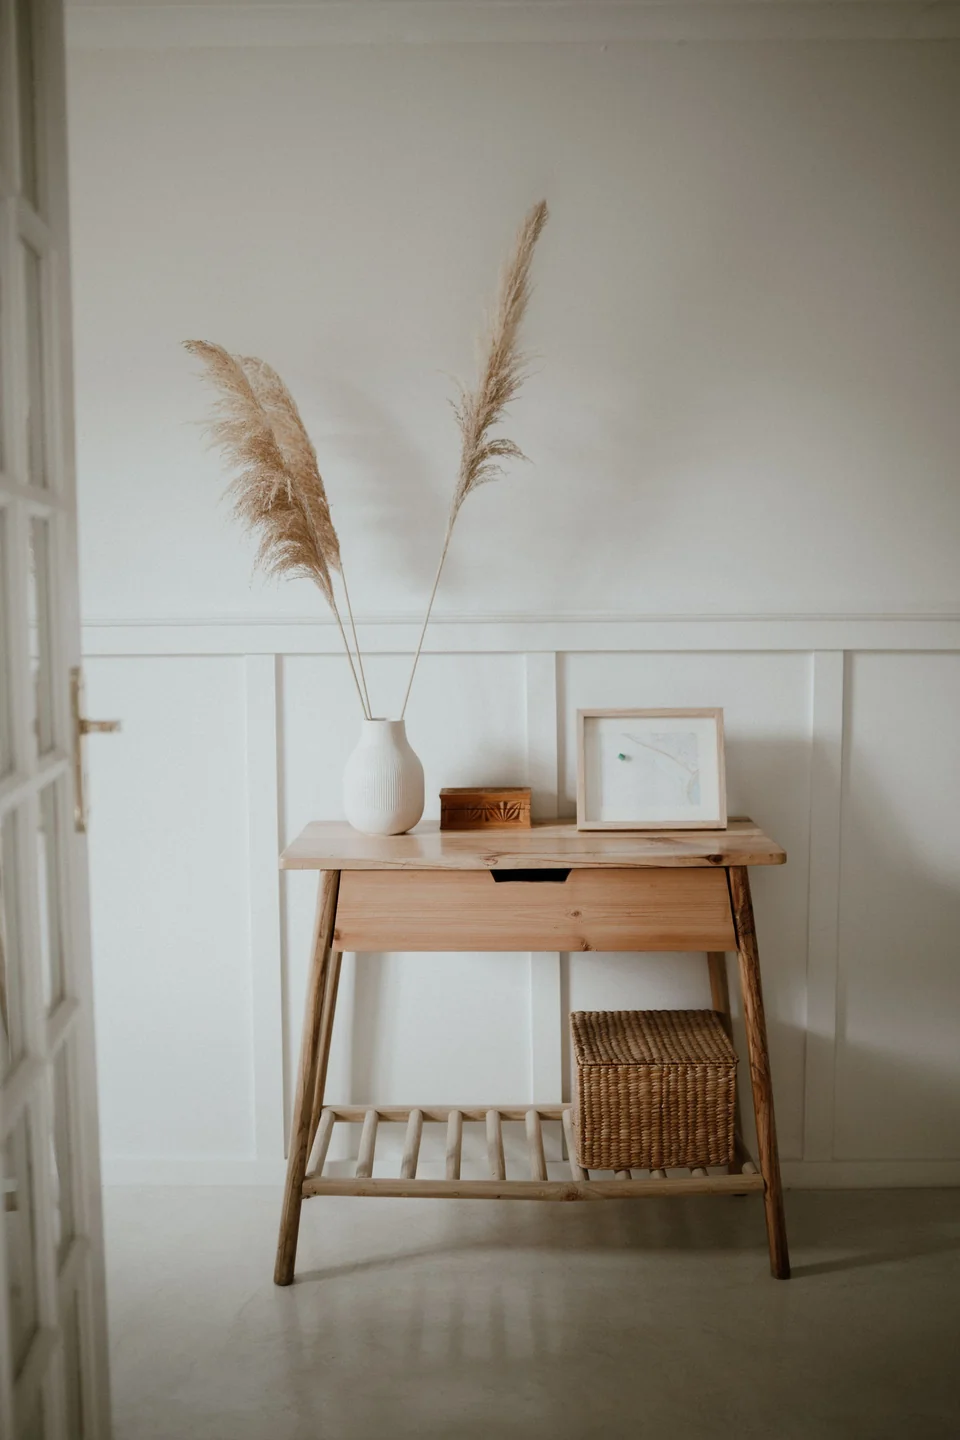
What You Need: MDF boards, level, chalk line, adhesive, miter saw, caulk, paint.
- Mark the height: snap a level chalk line at chair rail height, about thirty six inches, around the room.
- Set the rails: fix horizontal boards along the line and at the baseboard, joints tight.
- Add the stiles: glue and pin vertical battens at even intervals, checking spacing twice.
- Caulk and fill: seal every seam and nail hole, because paint hides nothing now.
- Paint as one: coat panels, trim, and baseboard together so the wall reads built in.
Half wall paneling suits rooms where full height millwork feels heavy, and the painted break lets bolder color sit below something quieter. Measure twice, because that chalk line decides the whole project.
Painted Versus Natural Wood
Credit : Max Vakhtbovych
| Aspect | Painted Panels | Natural Wood Panels |
|---|---|---|
| Finish | Smooth color that hides seams and filler | Visible grain with warmth and variation |
| Cost | Lower, since paint grade boards cost less | Higher, quality hardwood costs more |
| Mood | Crisp, tailored, and traditional | Rustic, warm, and organic |
| Upkeep | Easy touch ups with leftover paint | Needs oil or varnish over time |
| Best For | First projects and bright rooms | Statement walls and cozy dens |
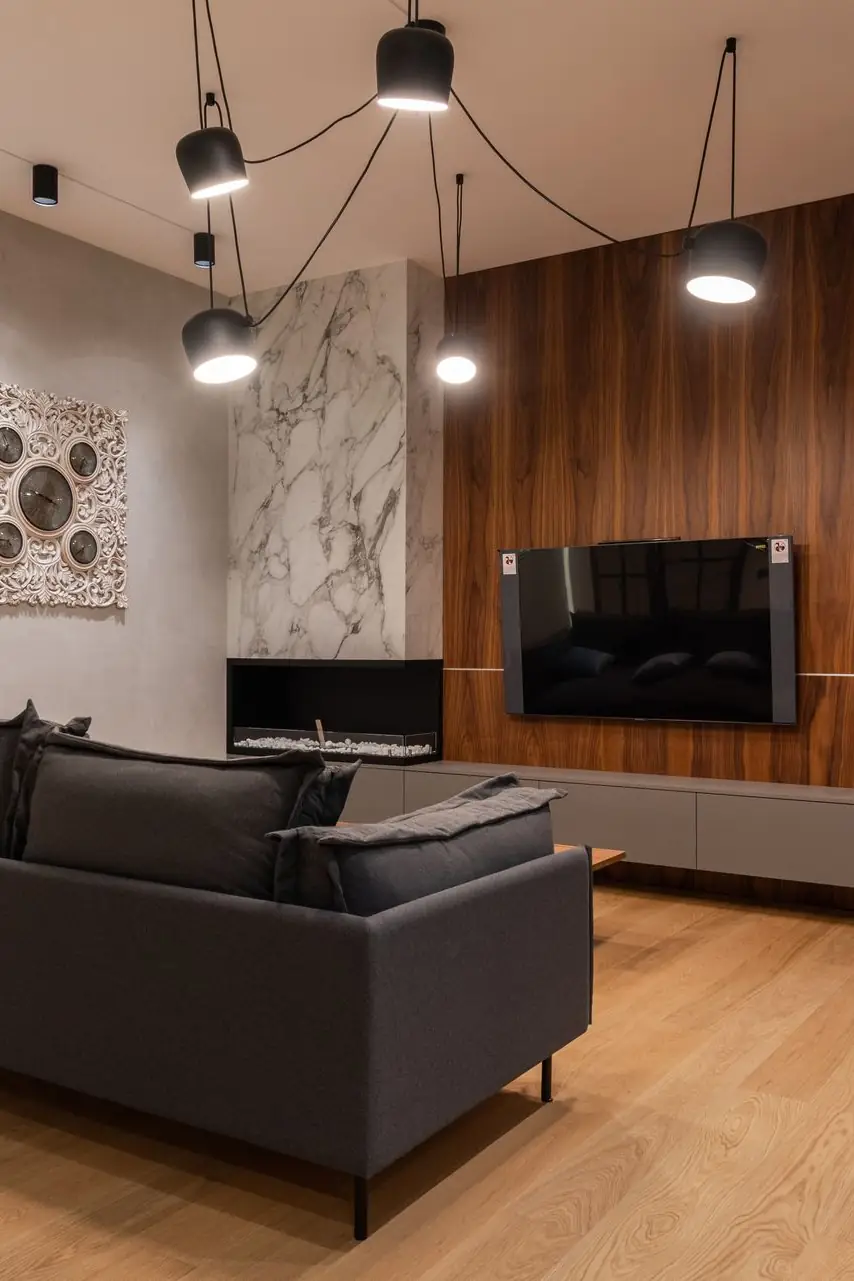
Neither side wins outright. Painted panels forgive beginner mistakes and stretch a budget, while natural wood brings a richness paint cannot fake. I’ve noticed many homeowners paint the panels and stain only the top rail, a quiet compromise that borrows the best of both finishes.
Navy Wainscoting Drama
Credit : Max Vakhtbovych
Do:
- Balance the depth with pale upholstery, cream cushions, and at least one light rug underfoot.
- Light the panels well, since sconces and lamps keep navy reading rich instead of flat.
- Carry the color onto the door and trim for a wrapped, cocoon feeling.
Don’t:
- Pair navy panels with black furniture, because the room loses its edges and turns murky.
- Stop the color at an uneven height; a clean, level line is the whole effect.
- Skip test pots, since navy shifts dramatically between morning and lamplight.
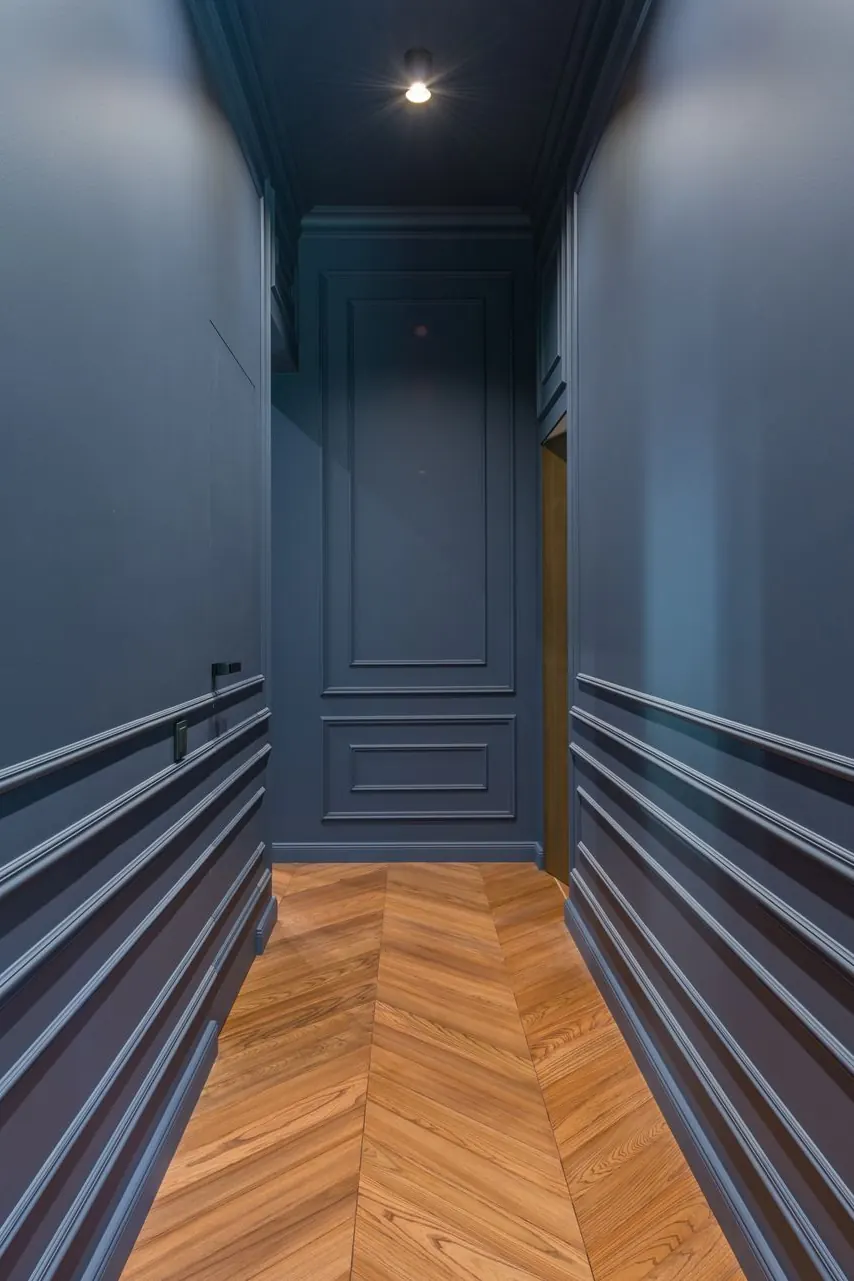
Navy wainscoting is the boldest move in this guide, and the one guests photograph most. It behaves like a neutral once on the wall, anchoring bright art and warm metals. In my experience, north facing rooms wear it best, deepening without turning cold.
Wainscoting Cost Quick Facts
Credit : Stephen Leonardi
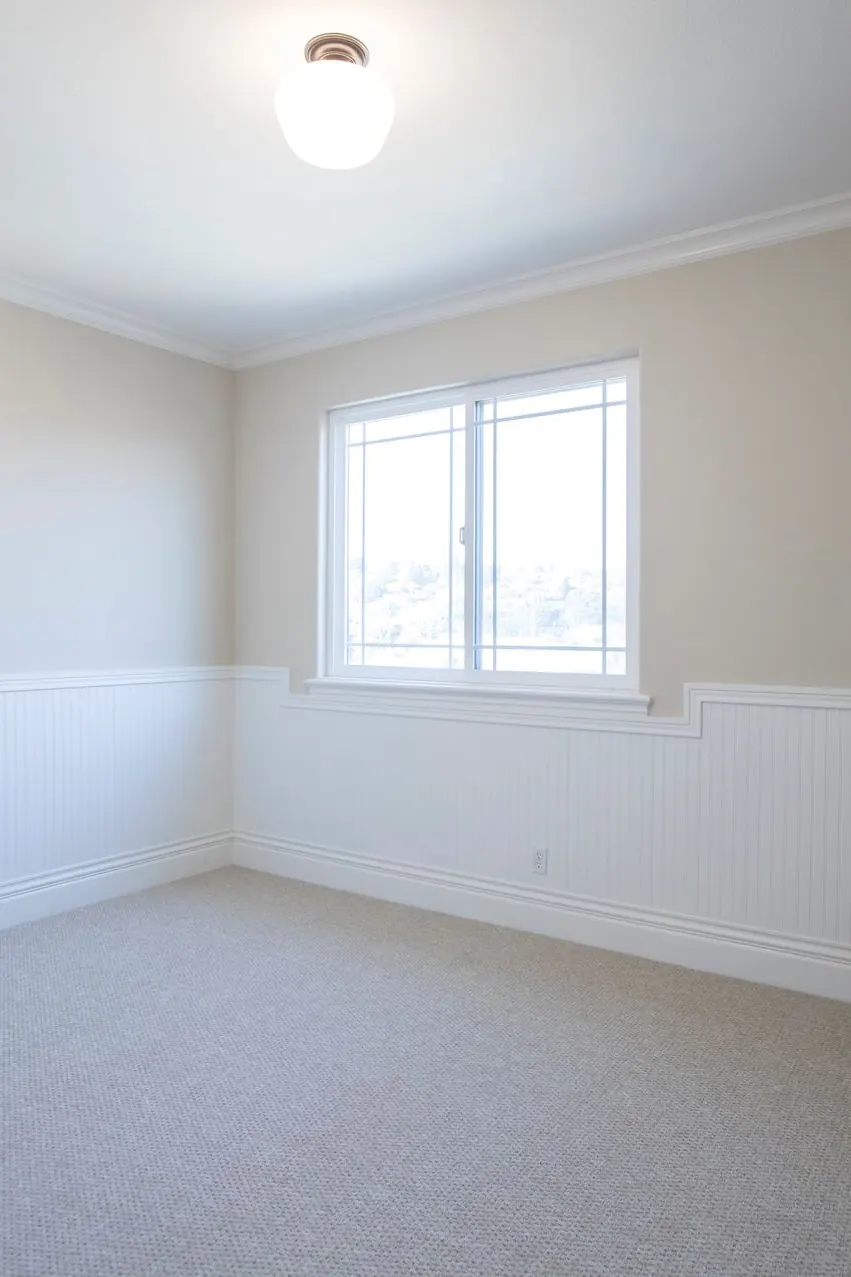
Cost: Paint grade MDF panels run roughly three to eight dollars per linear foot. Time: One wall in a weekend, a full room in two. Skill Level: Confident beginner with a level and a saw. Best For: Flat, character free walls that need structure fast.
Costs swing with materials more than with labor, because most of the work is measuring, cutting, and painting. Renting a miter saw for one day keeps the tool budget tiny. In my experience, the cheapest upgrade with the richest return is paint alone: one deep color below the rail makes budget boards look bespoke. Quotes from carpenters usually land at triple the DIY cost.
Two Tone Panel Elegance
Credit : Dan Hadley
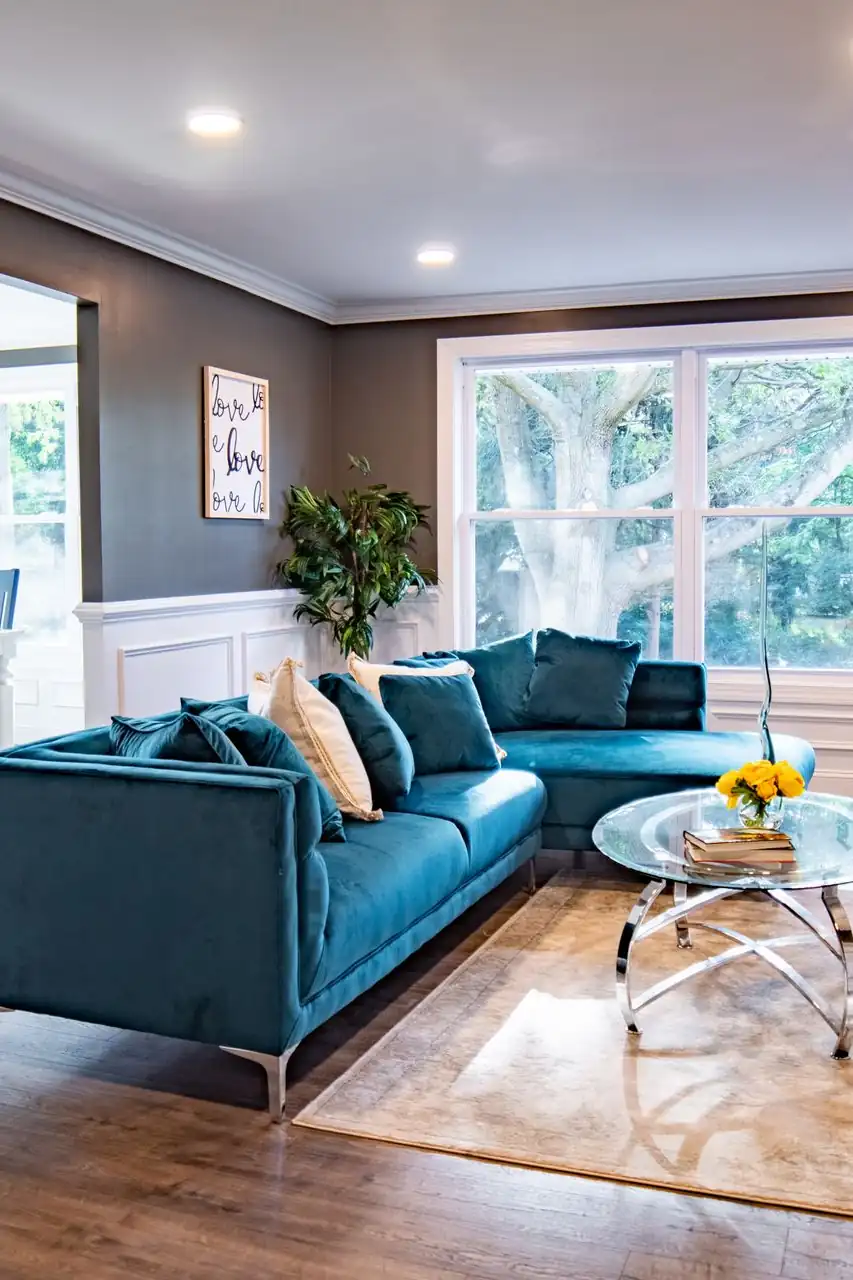
Two colors, one wall, instant architecture. A deeper shade below the chair rail grounds the room, while a paler twin above it keeps everything airy. The split also hides a multitude of daily sins: scuffs, fingerprints, and paw prints gather low, exactly where darker paint shrugs them off.
Choose both colors from the same paint strip and the pairing can never truly clash. I’ve noticed this trick calms indecisive decorators, because the family resemblance does all the matching work. Echo the lower color in one cushion or a throw, and the whole scheme looks planned from rug to ceiling line.
Chair Rail Gallery Wall
Credit : Curtis Adams
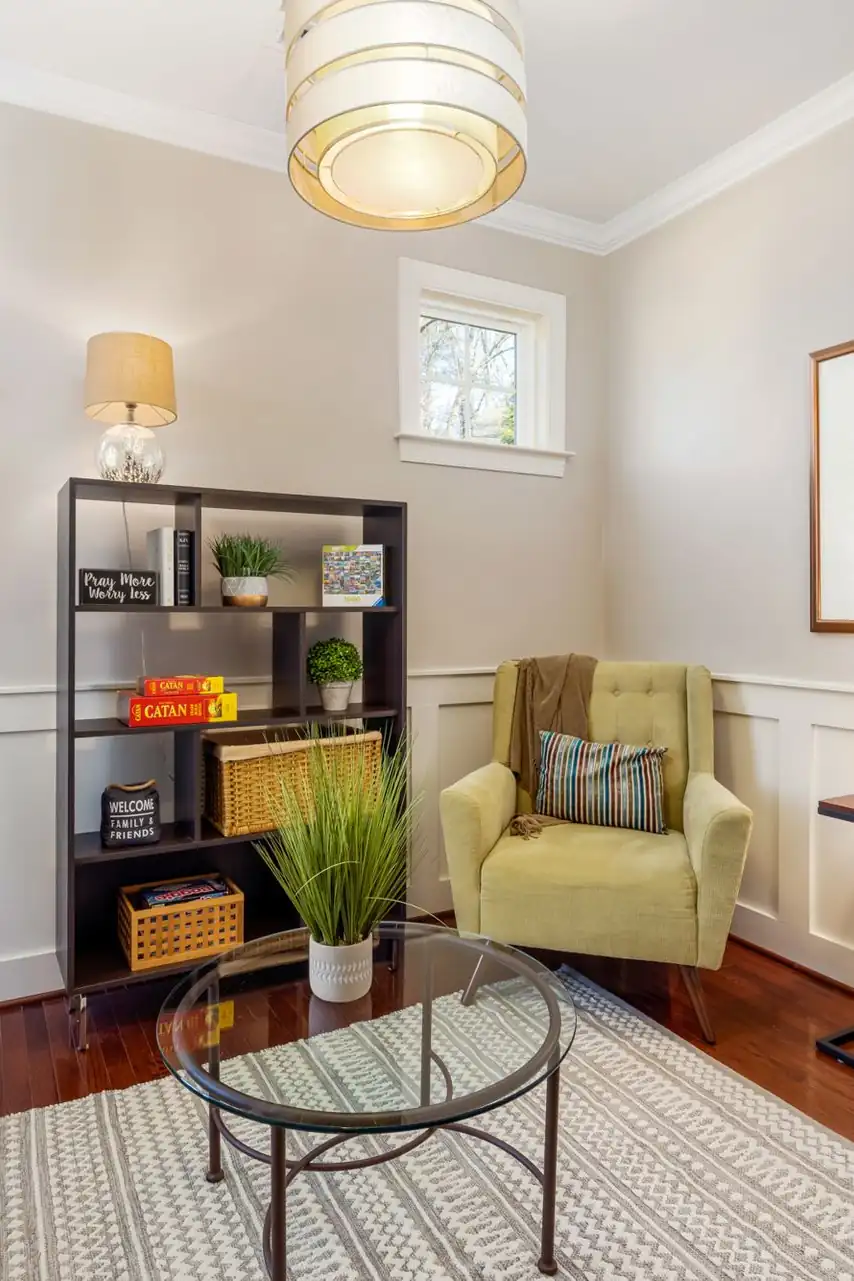
- Hang inside the lines: center each frame within a panel and the wall gains instant, quiet order.
- Mind the rail: keep frame bottoms a hand’s width above the chair rail so nothing looks crowded.
- Repeat one frame finish: matching frames in black, brass, or oak tie mixed artwork together.
- Start with the hero: place the largest piece first, then let smaller prints fill the quieter panels.
A gallery wall floating on bare drywall can look scattered by Tuesday. Panels hand every picture a boundary, and the arrangement suddenly reads deliberate instead of accidental. Paper templates taped inside each frame let you live with the layout for a full day before a single nail goes in.
Fireplace Wall Panel Focus
Credit : Max Vakhtbovych
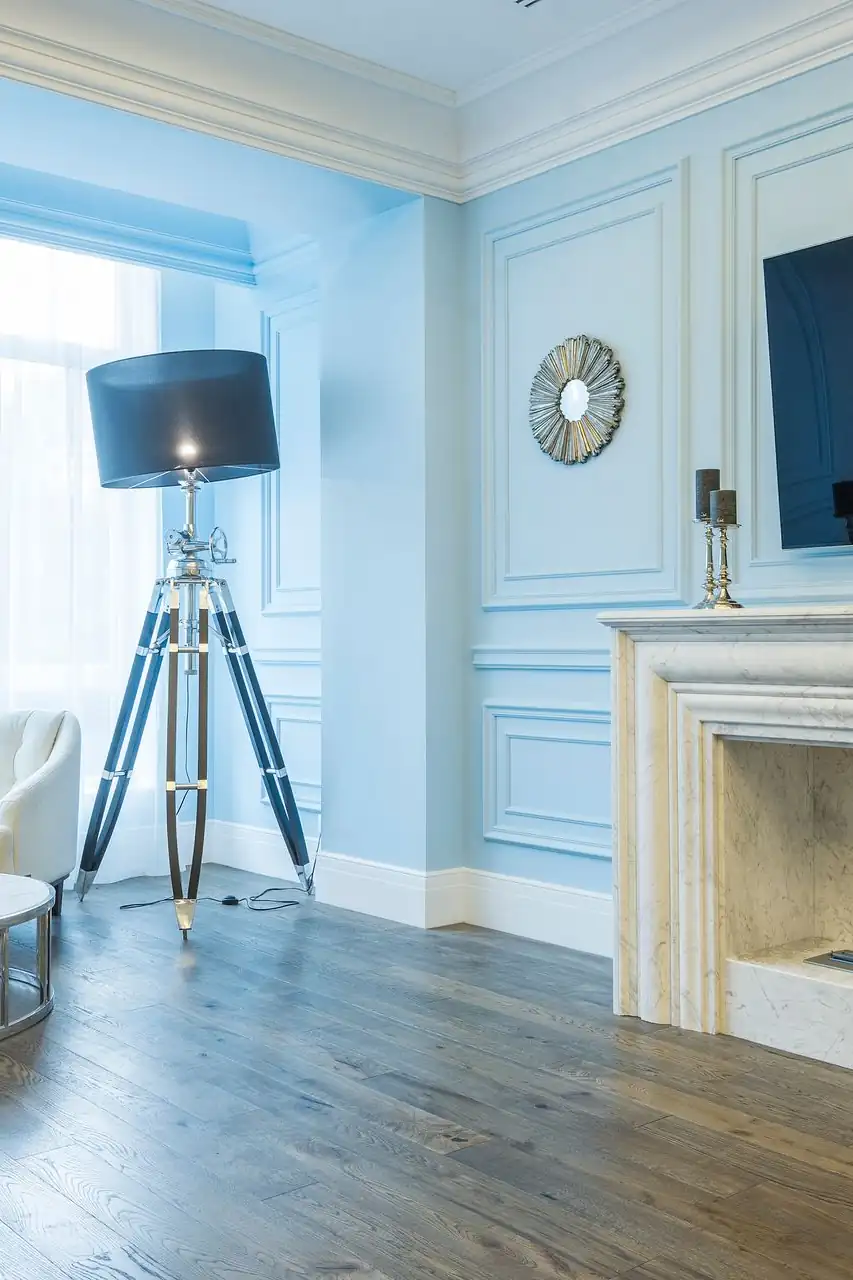
Quick Tip: center the middle panel exactly on the firebox, then work outward in both directions. Slightly uneven end panels hide quietly at the corners, while an off center hero panel announces itself every single time you sit down at night.
Paneling the fireplace wall turns the hearth into a true focal point instead of a dark rectangle lost in drywall. The frames give mantel styling a rhythm to follow, so vases, candles, and art can repeat the spacing. Paint the panels and the mantel surround one color, and the whole wall reads as a single carved piece of furniture.
Dark And Dated To Bright
Credit : Curtis Adams
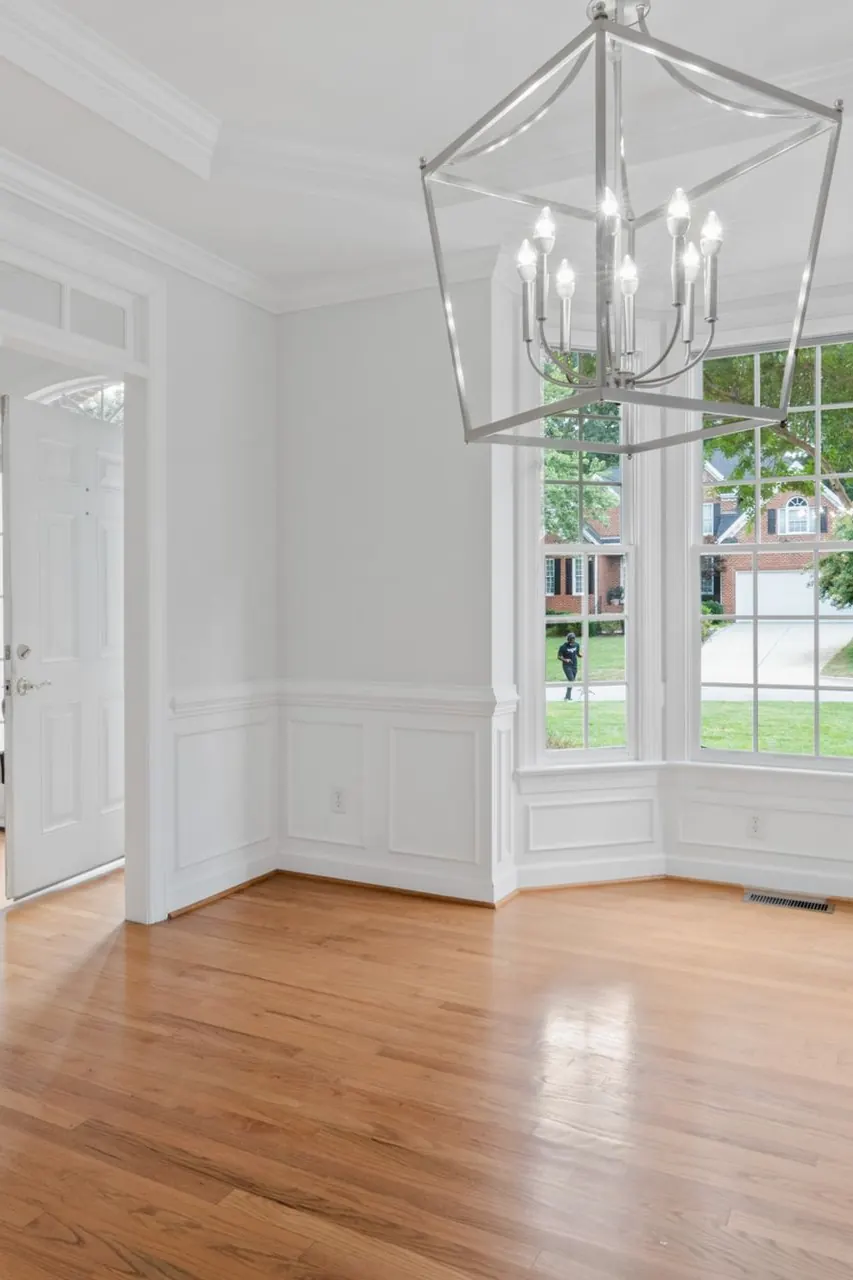
BEFORE: heavy stained panels from decades past swallowed every drop of light, and the living room felt like a basement set in a period drama. Guests admired the craftsmanship politely, then drifted toward the kitchen windows.
AFTER: two coats of warm white paint changed everything. The same panels now throw soft shadows, the grain still whispers through the finish, and daylight finally travels across the room instead of dying at the wall.
It is the most forgiving of all decorative wainscoting living room ideas, because the character is already there hiding under the stain. Keep one small section unpainted behind a picture if your conscience needs it. Everyone else will simply see a brighter, calmer room.
DIY Picture Frame Panels

Credit : Karola G
What You Need: Trim lengths, a miter saw, construction adhesive, a pin nailer, a laser level, caulk, and paint.
- Plan on paper: sketch the wall to scale and settle every panel width before buying a single length of trim.
- Cut at forty five: miter each corner and dry fit every frame flat on the floor first.
- Glue and pin: spread adhesive on the back, then pin the corners so each frame stays square.
- Mount in order: start with the center frame and work outward, checking level after every piece.
Picture frame panels forgive wobbly walls better than board systems, because each frame is its own small project. Buy trim with a simple profile, since ornate moldings collect dust and complicate every miter cut.
MDF Versus Real Wood
Credit : ROMAN ODINTSOV
| Aspect | MDF Panels | Real Wood Panels |
|---|---|---|
| Price | Budget friendly and sold everywhere | Costs more, especially in hardwood |
| Cutting | Cuts cleanly with no splintering | Needs sharp blades and patience |
| Moisture | Swells if it soaks up water | Handles humid rooms far better |
| Finish | Paints to a flawless smooth surface | Stains beautifully, grain on show |
For most living rooms, MDF wins on price and paint finish, and nobody can tell once the paint dries. Save real wood for the top rail, where hands actually touch the paneling every day. That single upgrade gives the whole wall an honest, solid feel under your palm.
Cottage Beadboard Charm
Credit : Olena Bohovyk
Do:
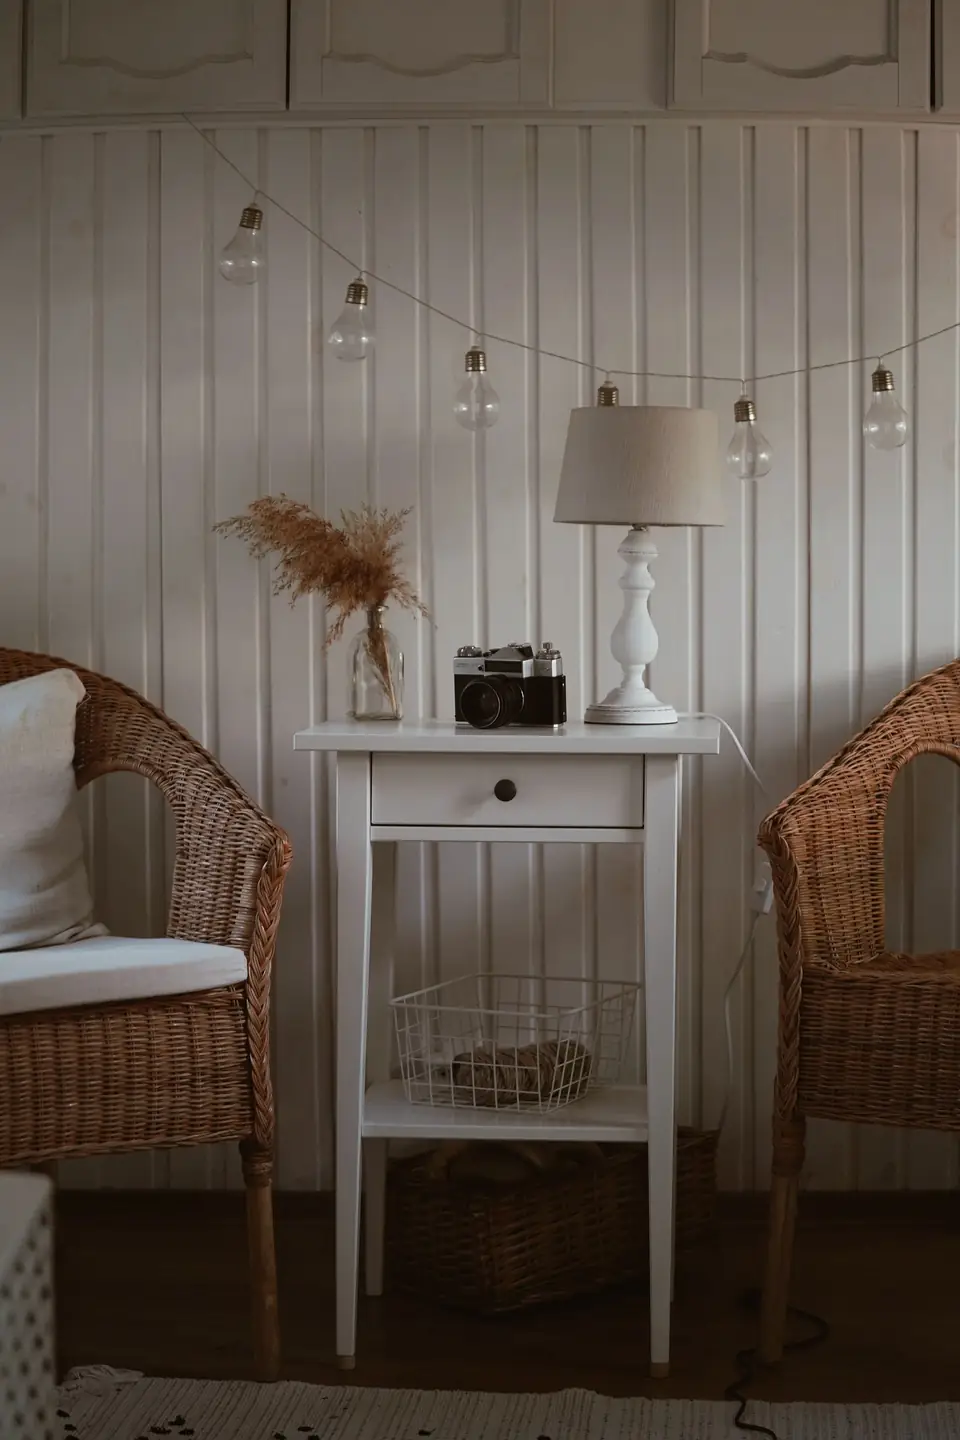
- Run beadboard to chair rail height and cap it with a ledge for plants and photos.
- Paint it soft white or cream, so the narrow grooves read as texture instead of stripes.
- Pair it with slipcovered sofas and woven baskets to complete the cottage mood.
Don’t:
- Carry beadboard to the ceiling, where the lines start feeling like a fence.
- Mix beadboard with ornate crown molding, because the two styles argue all day long.
- Skip the top cap, since raw edges collect dust and always look unfinished.
Beadboard brings a porch swing softness indoors, and it hides a heroic amount of wall damage behind its grooves. Sheets arrive pre primed, so a small room can be wearing it by Sunday.
Panel Height Quick Facts
Credit : Peter Vang
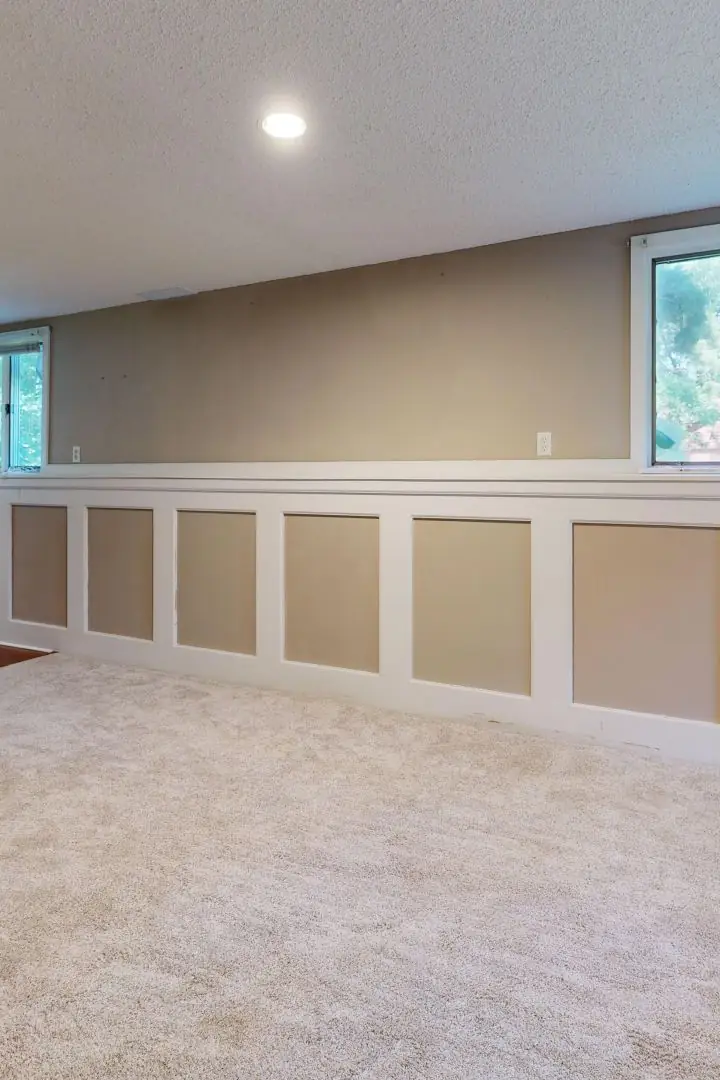
Cost: Tall panels use about a third more material than half wall work. Time: One extra full day for full height cutting and fitting. Skill Level: Intermediate, since long cuts must stay true. Best For: High ceilings and formal rooms that need real presence.
Height changes everything about how paneling feels. Low panels read as a frame for the furniture, while tall panels become the backdrop and the mood in one move. When in doubt, tape the line at two different heights and live with both options for a week. The right answer usually announces itself clearly by day three.
Warm Wood Panel Warmth

Credit : Vitali Adutskevich
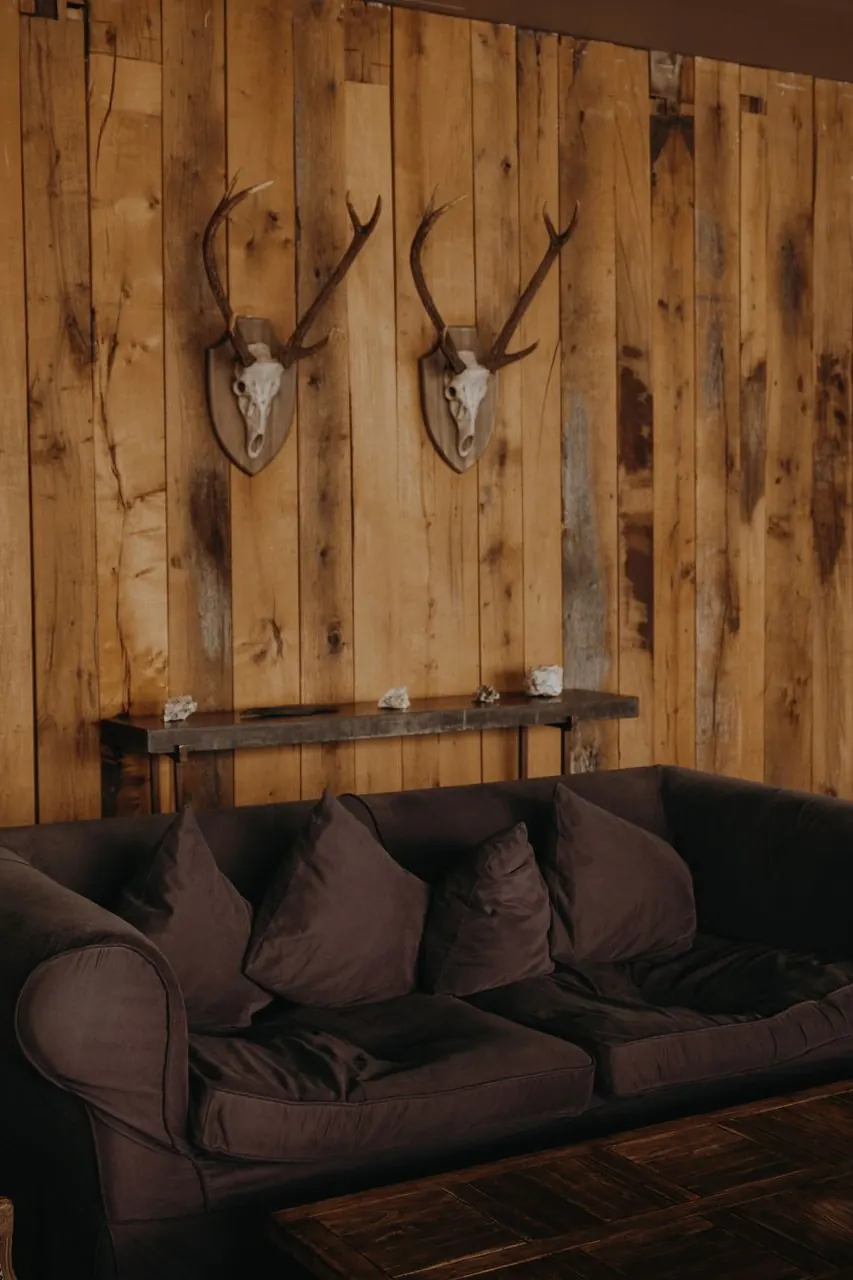
Stained oak and walnut panels bring a library warmth that paint simply cannot imitate. The grain does the decorating here, shifting from honey to amber as the light moves across the room. Paired with cream upholstery, the effect stays calm rather than cabin, rich rather than rustic.
Wood loves company: leather chairs, wool throws, and the whole earthy palette celebrated in rust color living room inspiration all sit happily against real grain. Keep the finish matte, because shine cheapens wood faster than any scratch can. One wall of wood is usually plenty; let the painted walls do the quiet work around it.
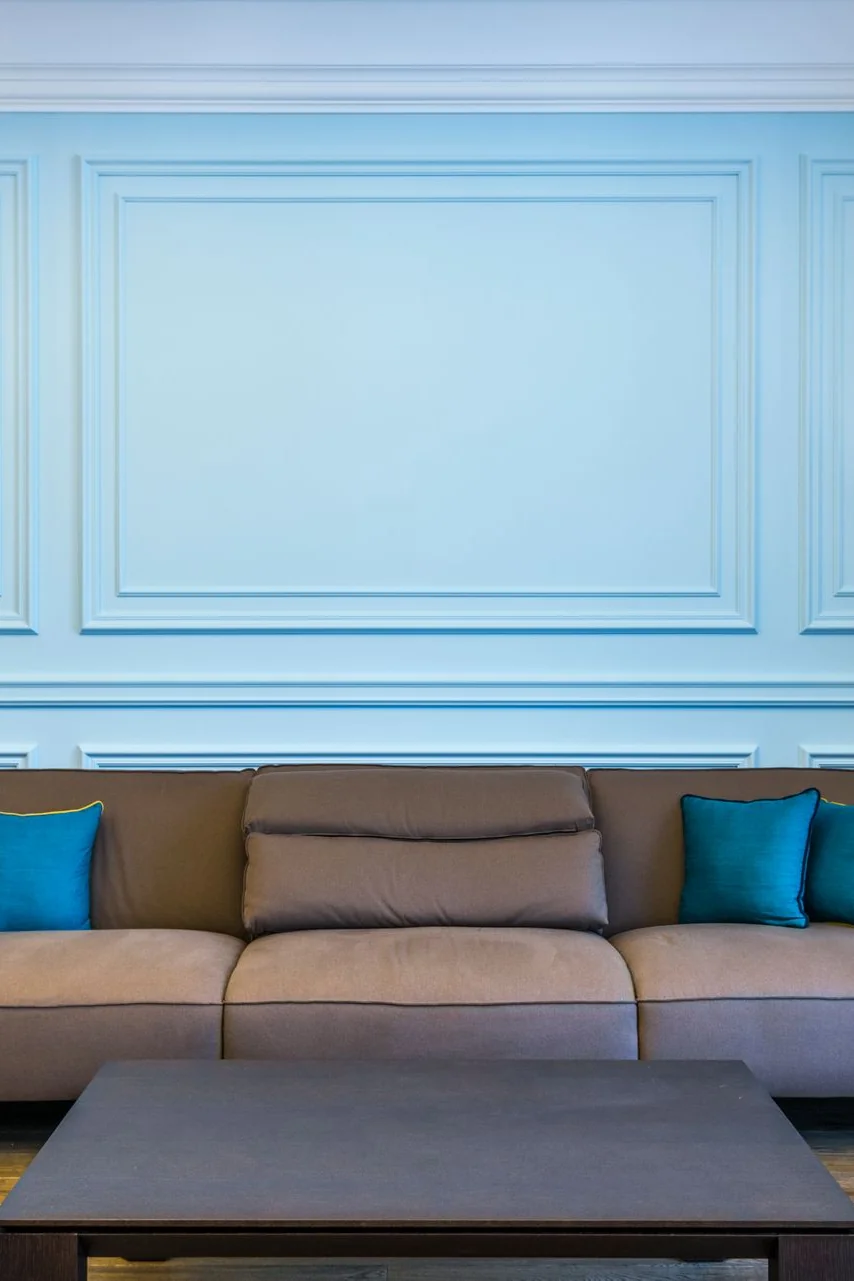
Panels Behind The Sofa
Credit : Max Vakhtbovych
- Center the middle panel: align one panel with the sofa’s center, so the seating looks placed rather than parked.
- Leave breathing room: keep the sofa a few inches off the wall so shadows can model the trim.
- Hang art higher: pictures centered in the panel, above sofa back height, stay safe from leaning heads.
- Match the rhythm: side tables sized to the panel spacing make the whole arrangement feel built in.
The wall behind the sofa does more visual work than any other in the room, yet it usually gets one lonely print. Paneling gives it structure at every hour, lit or unlit. I’ve noticed sofas look more expensive against panels, even the well loved, slightly sagging ones.
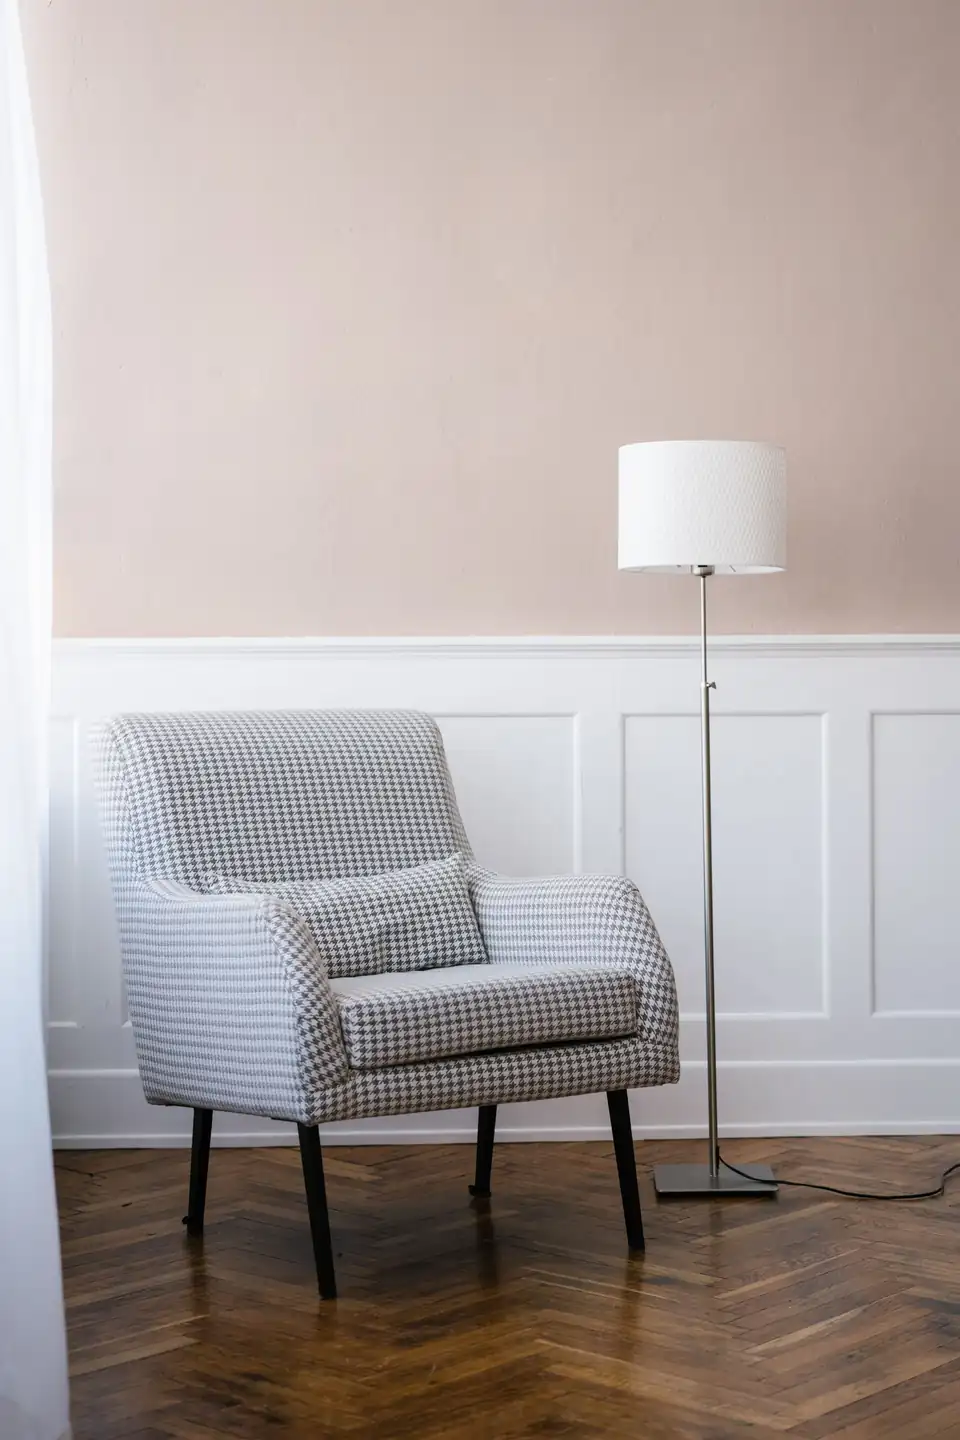
Small Room Panel Tricks
Credit : Mikhail Nilov
Quick Tip: paint small room panels the exact same color as the upper wall. The texture still shows in raking light, but the unbroken color keeps the room feeling wide instead of chopped into horizontal bands.
Small living rooms gain the most from paneling, oddly enough. The frames hand the eye several small destinations, so the wall feels composed rather than cramped. Keep the panels narrow and evenly spaced, and skip any heavy top rail. A slim cap keeps the scale honest and the mood light. Mirrors inside one or two panels bounce the daylight around and double the trick.
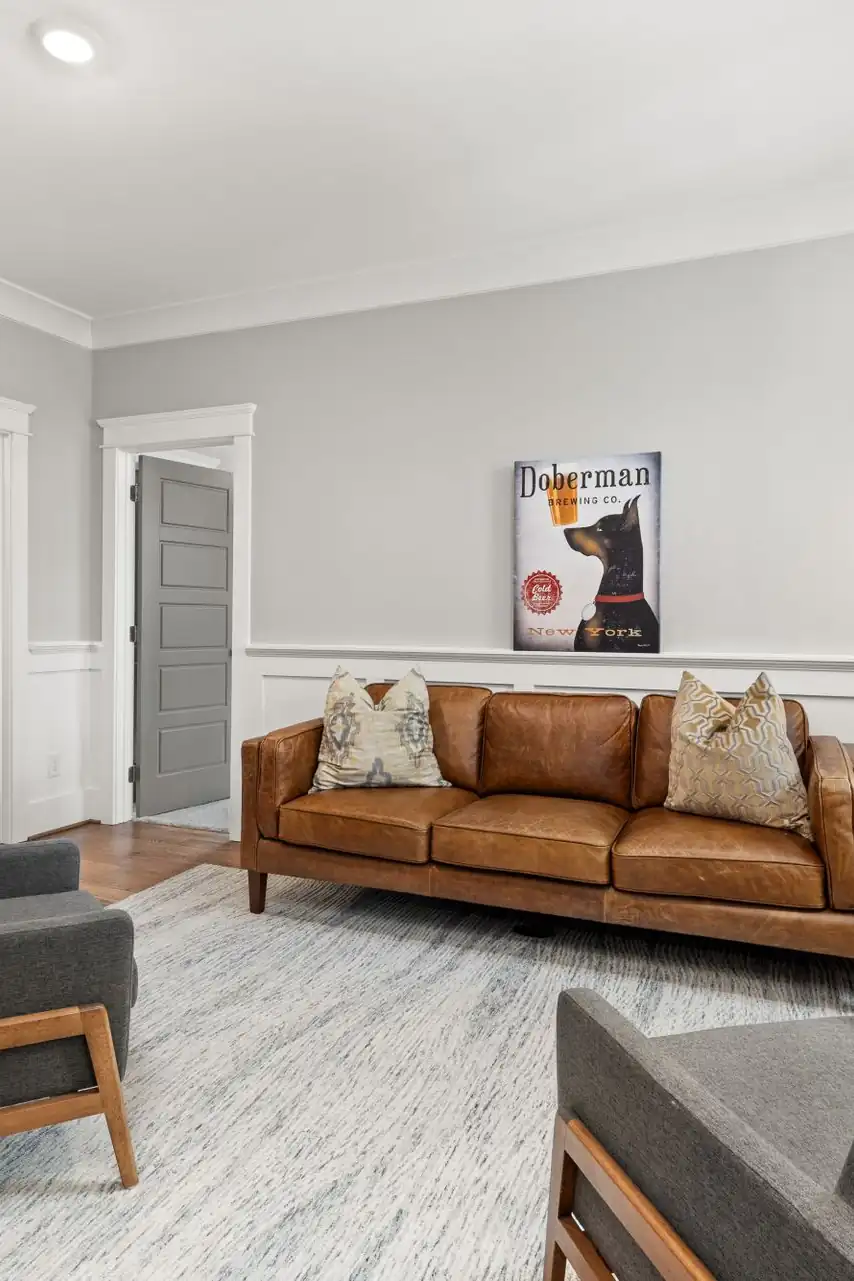
Rental Friendly Panel Makeover
Credit : Curtis Adams
BEFORE: the rental living room wore builder white on every wall, and the lease banned paint, screws, and anything described as permanent. The furniture was fine. The room simply had no memory and no manners.
AFTER: lightweight frames went up with removable adhesive strips, painted to match the wall on a drop cloth first. The panels read as real millwork, catch the same soft shadows, and peel away clean when moving day comes.
Removable panels have quietly changed what renters can attempt. Test one frame behind the sofa first and check the adhesive after a warm week. If it holds firm and releases clean, the rest of the room is fair game, security deposit fully intact.
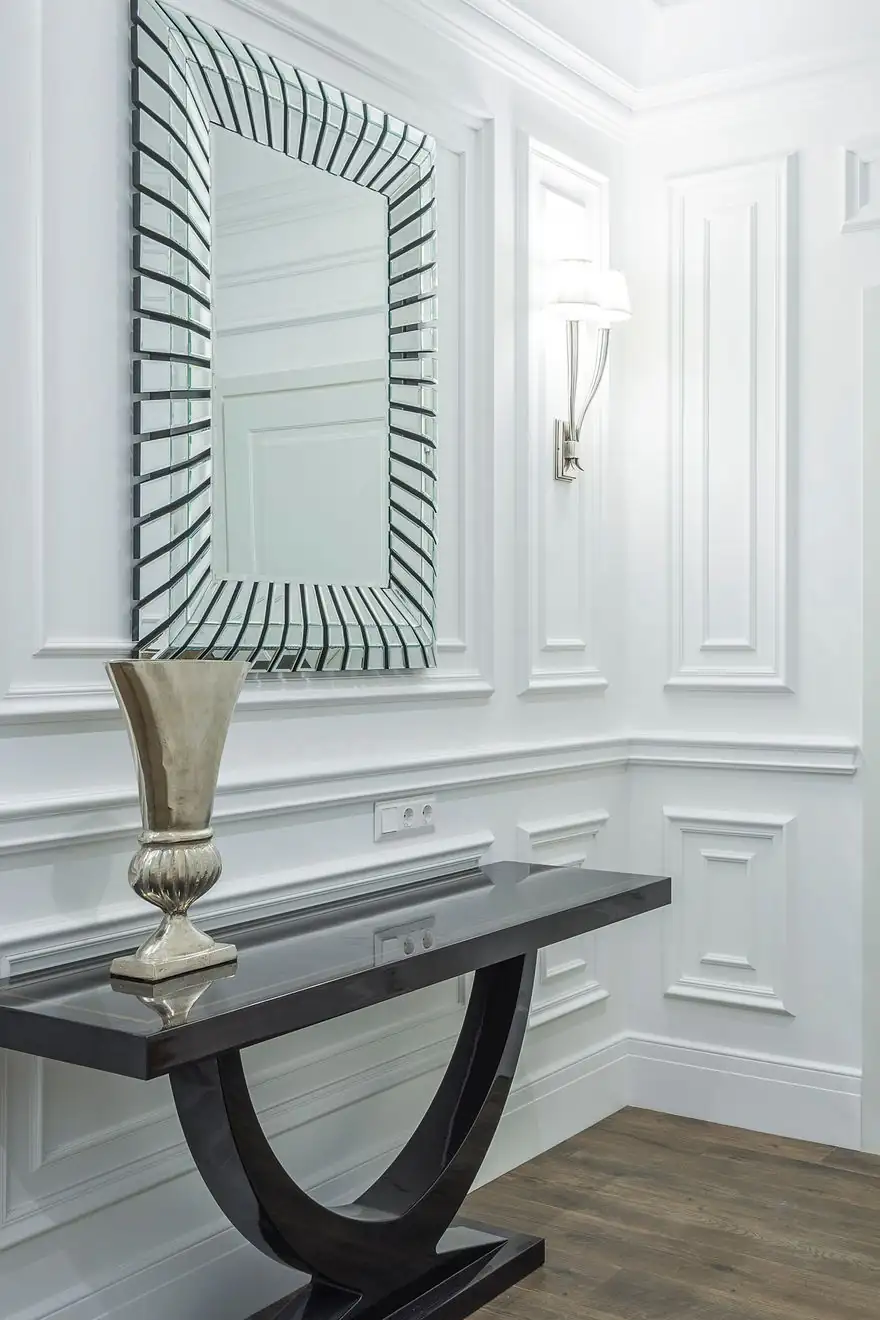
Wainscot Styles Compared
Credit : Max Vakhtbovych
| Aspect | Raised Panel | Flat Panel |
|---|---|---|
| Look | Beveled center panel, formal and traditional | Clean recessed panel, calm and modern |
| Era Feel | Georgian and colonial homes | Craftsman and transitional homes |
| Effort | Harder, needs routed or layered trim | Easier, straight boards and battens |
| Pairs With | Ornate mantels and heavy crown molding | Simple furniture with clean lines |
Both styles share the same bones: rails, stiles, and a cap rail on top. The difference is purely the mood each one sets the moment you walk through the door. Walk your own home slowly and listen to its architecture first. Houses usually whisper which style they want, and they are rarely wrong.
Conclusion
Wainscoting asks for one free weekend and a little patience, then pays you back every single day. Start with one wall, live with it, and let the compliments decide whether the rest of the room follows. These decorative wainscoting living room ideas prove that character rarely comes from buying more furniture; it comes from giving the walls a job to do. Save this guide to your living room board on Pinterest before your next project weekend, try one idea, and share a photo when the first panel goes up. I’ve seen plain rooms turn quietly proud with nothing more than trim, paint, and a little nerve.