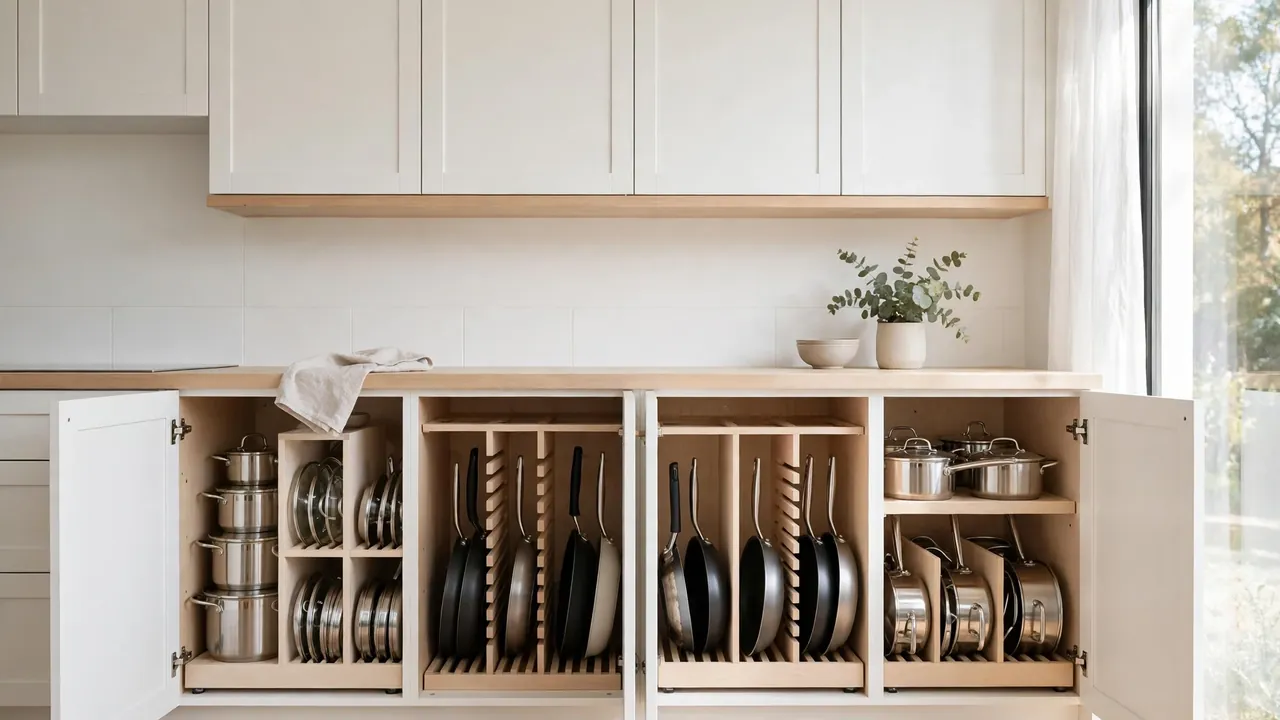
How to Organize Kitchen Cabinets for Pots and Pans
Every time you reach for a skillet, an avalanche of lids and handles tumbles out. If your cabinets feel like a chaotic metal maze, learning how to organize kitchen cabinets for pots and pans will change your daily cooking routine. In my experience, most kitchens have plenty of space, it is just used badly.
This guide walks you through a simple system that works in any cabinet size. You will sort, zone, and store every pot and pan so each one is easy to grab. No more digging, no more clanging towers.
For more small-space ideas, see how to decorate a dark hallway with no natural light for brightening tight spots around your home.
Why Pots and Pans Pile Up
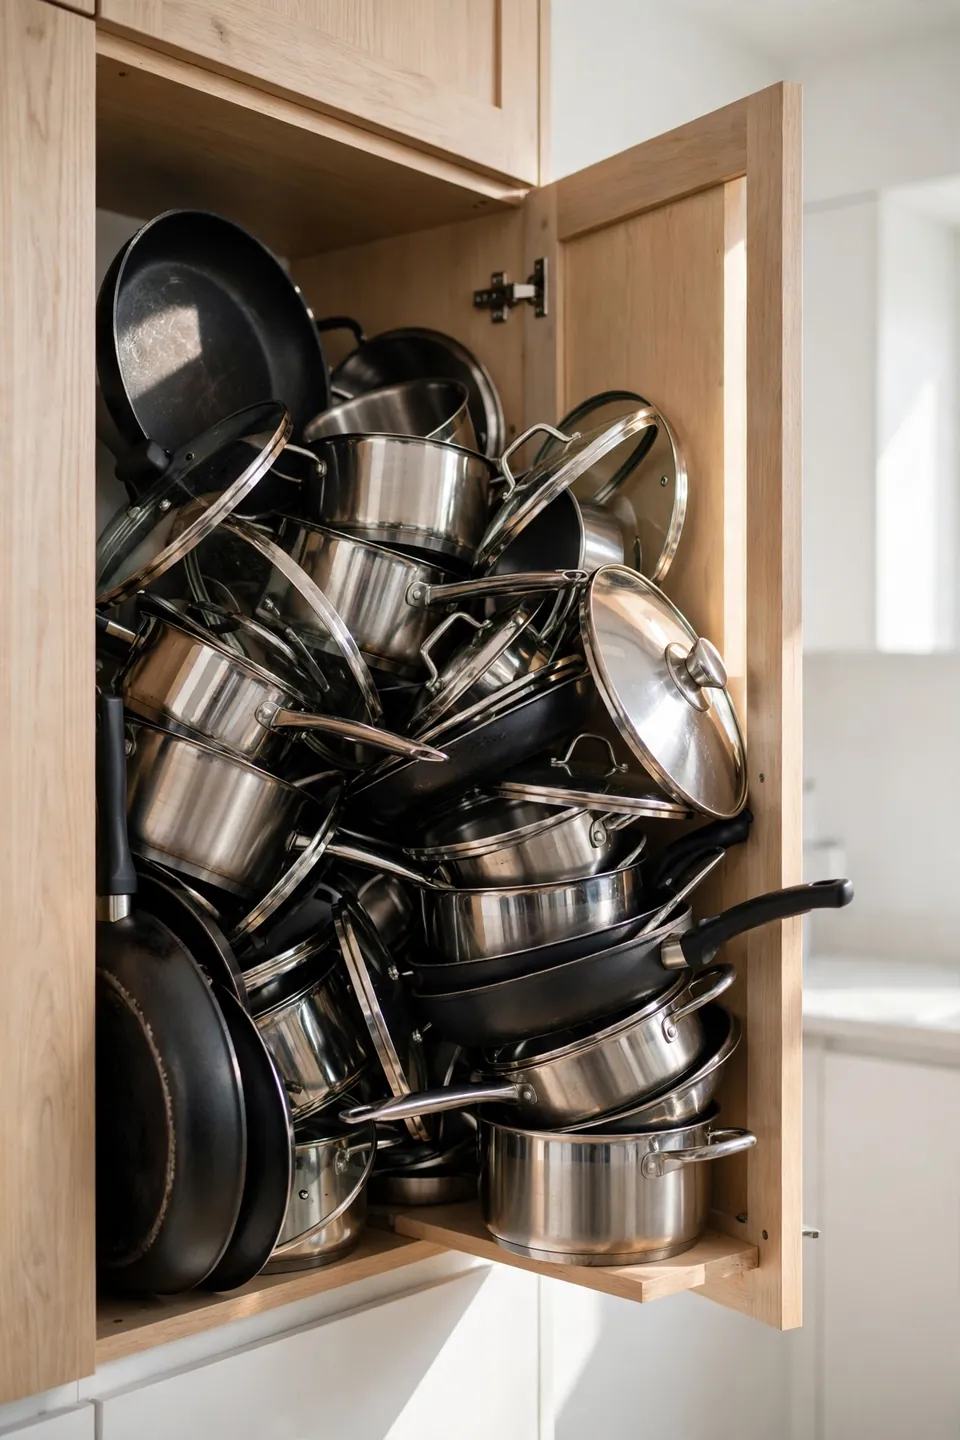
Pots and pans are bulky, heavy, and oddly shaped, so they defeat normal stacking logic completely. One deep cabinet becomes a graveyard where the pan you need always sits at the very bottom. Round lids slide sideways, long handles poke out past the door, and nested stacks fuse together from sheer weight.
The real culprit is rarely too much cookware. It is the lack of a system. Without dividers or zones, everything lands wherever it fits in the moment. A few small changes to how you store each piece will end the daily dig for good.
Empty and Sort Everything
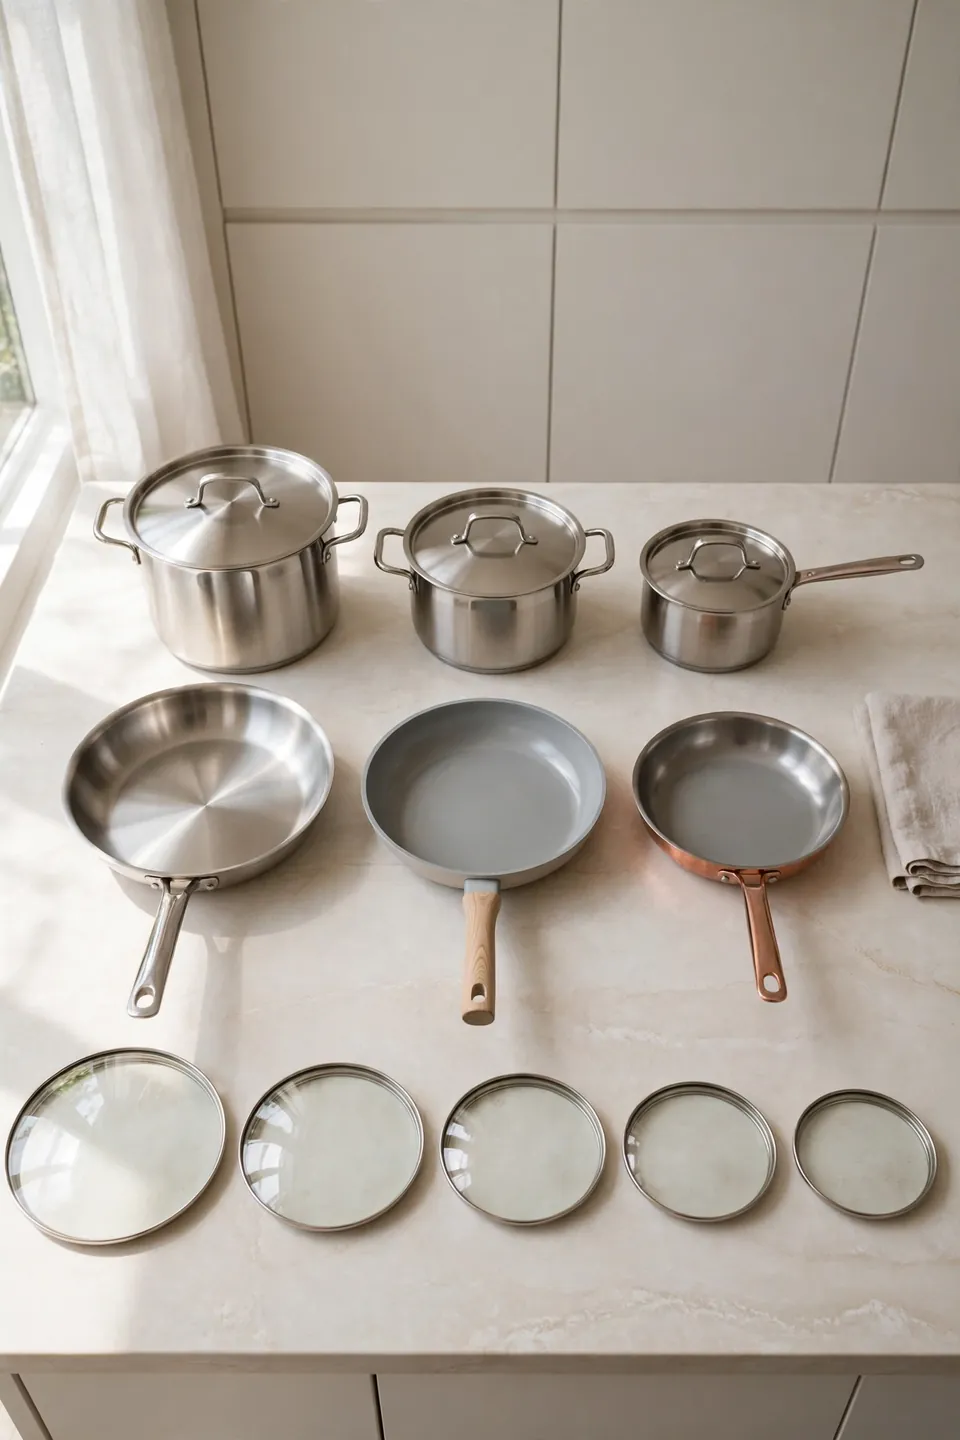
Before buying a single organizer, pull every pot, pan, and lid out of the cabinets onto a clear open surface. Sorting everything in the open shows you exactly what you own and which pieces you actually reach for each week.
- Group by type: skillets together, saucepans together, stockpots together, then line up all lids separately.
- Set aside duplicates and pieces you have not touched in months, and be honest about warped or scratched pans that should go.
- Measure your cabinet interiors, noting depth, width, and shelf height, so any divider or rack you buy truly fits.
- Wipe the empty shelves clean, since dust and grease build up fast under heavy cookware.
Use Vertical Dividers
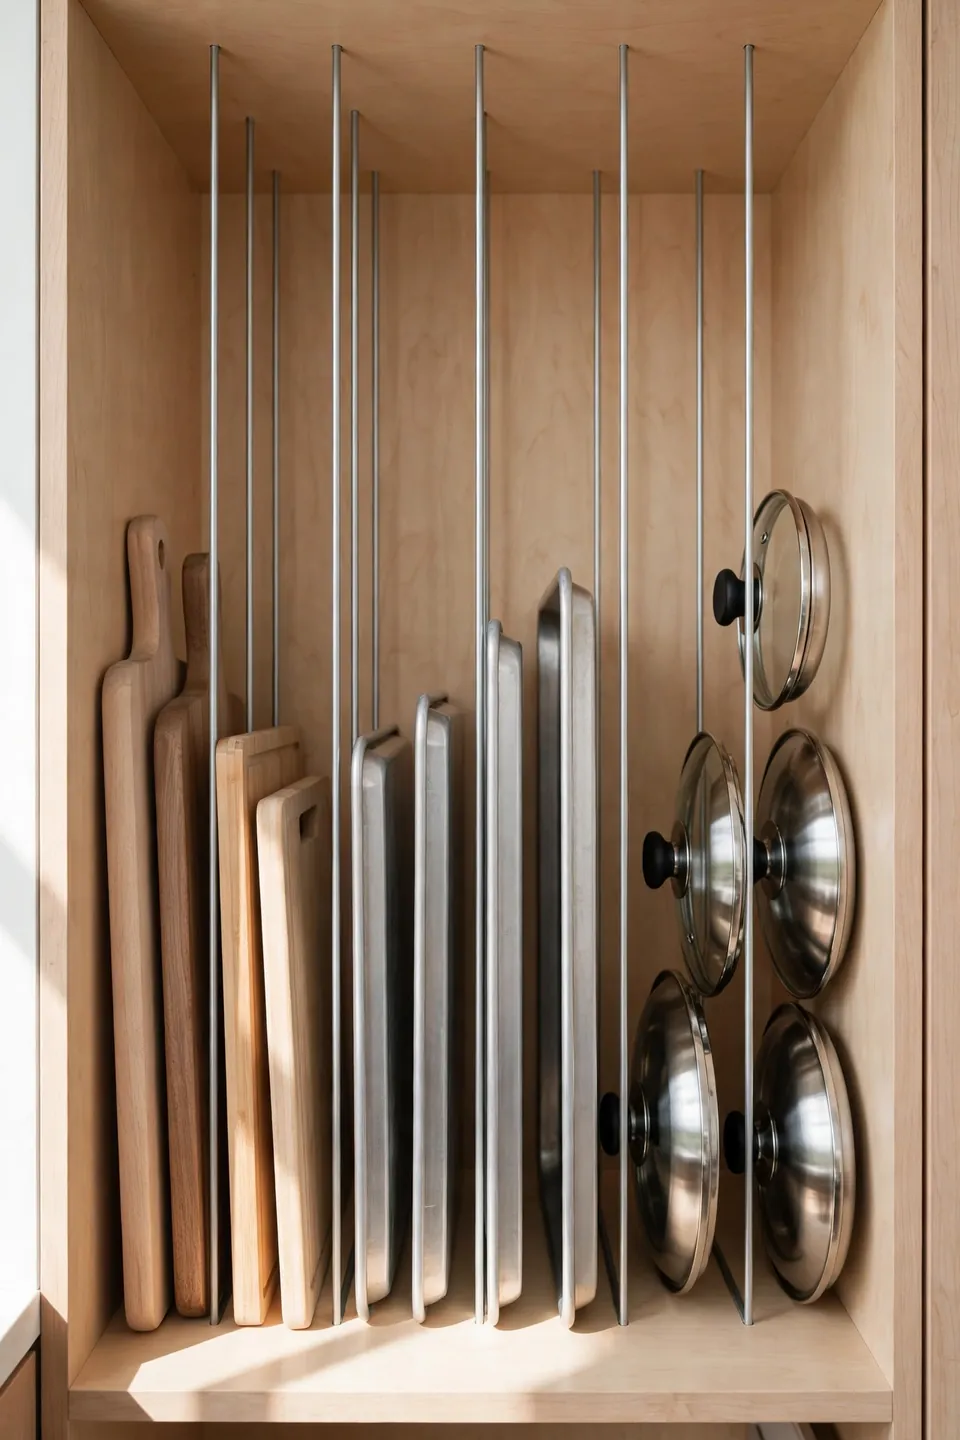
Quick Tip: Store skillets, lids, and sheet pans on their sides like files in a drawer. Vertical slots stop the leaning tower problem completely, and you can slide out one pan without lifting the whole stack. Tension-style dividers need no screws and adjust to any cabinet width.
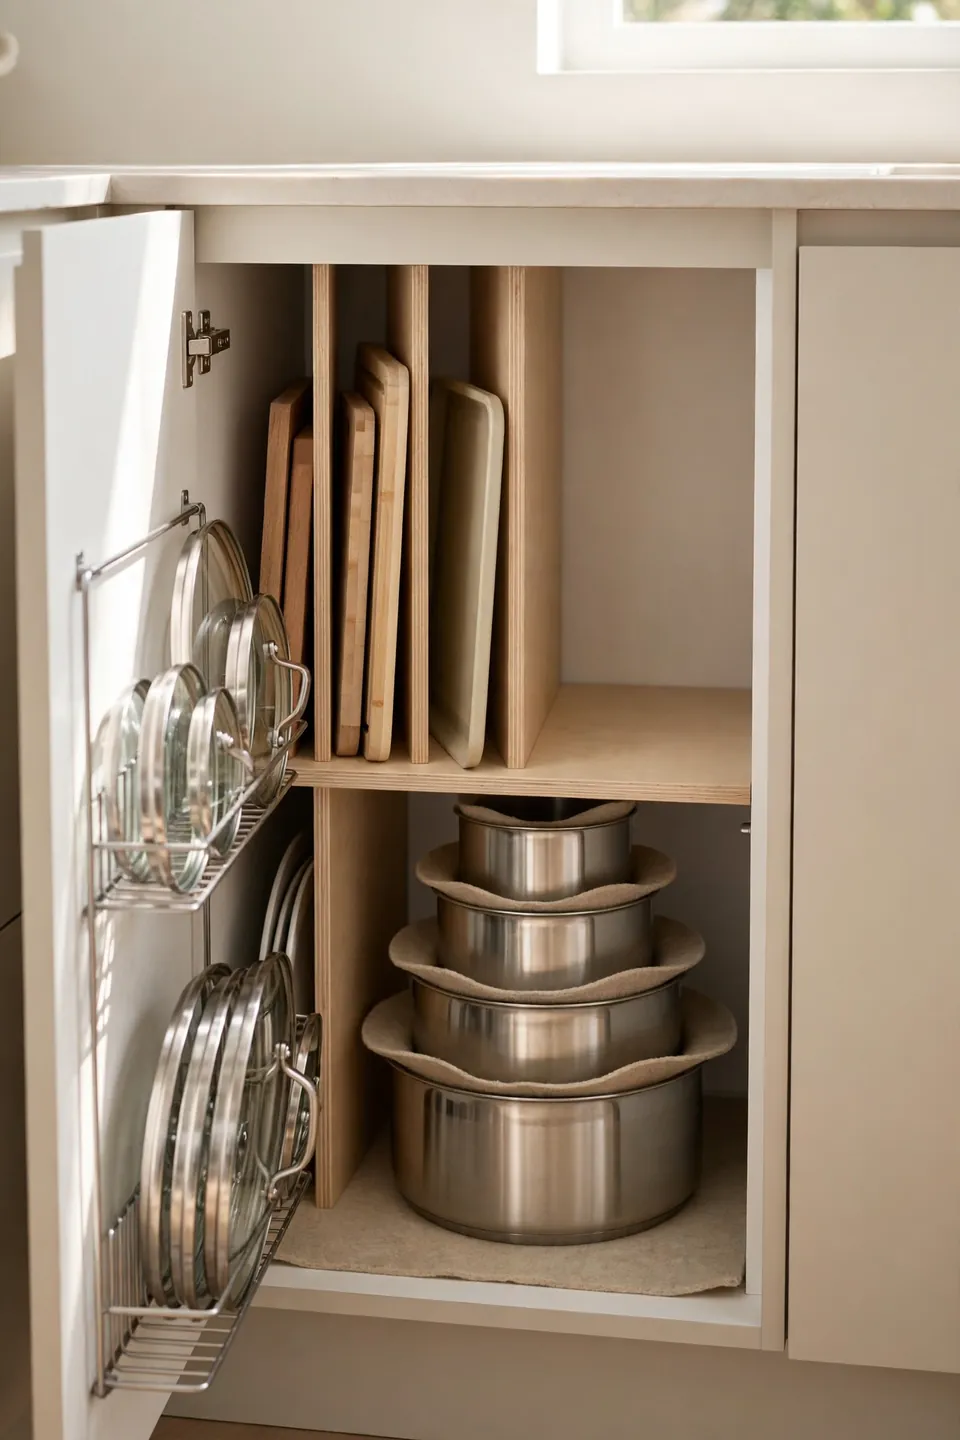
Place the dividers in your deepest lower cabinet, spacing slots to match your thickest pan plus a finger of clearance. Heavy cast iron goes nearest the cabinet walls where the shelf is strongest. Once everything stands upright, grabbing the right size takes seconds instead of a full excavation.
Stack Smartly
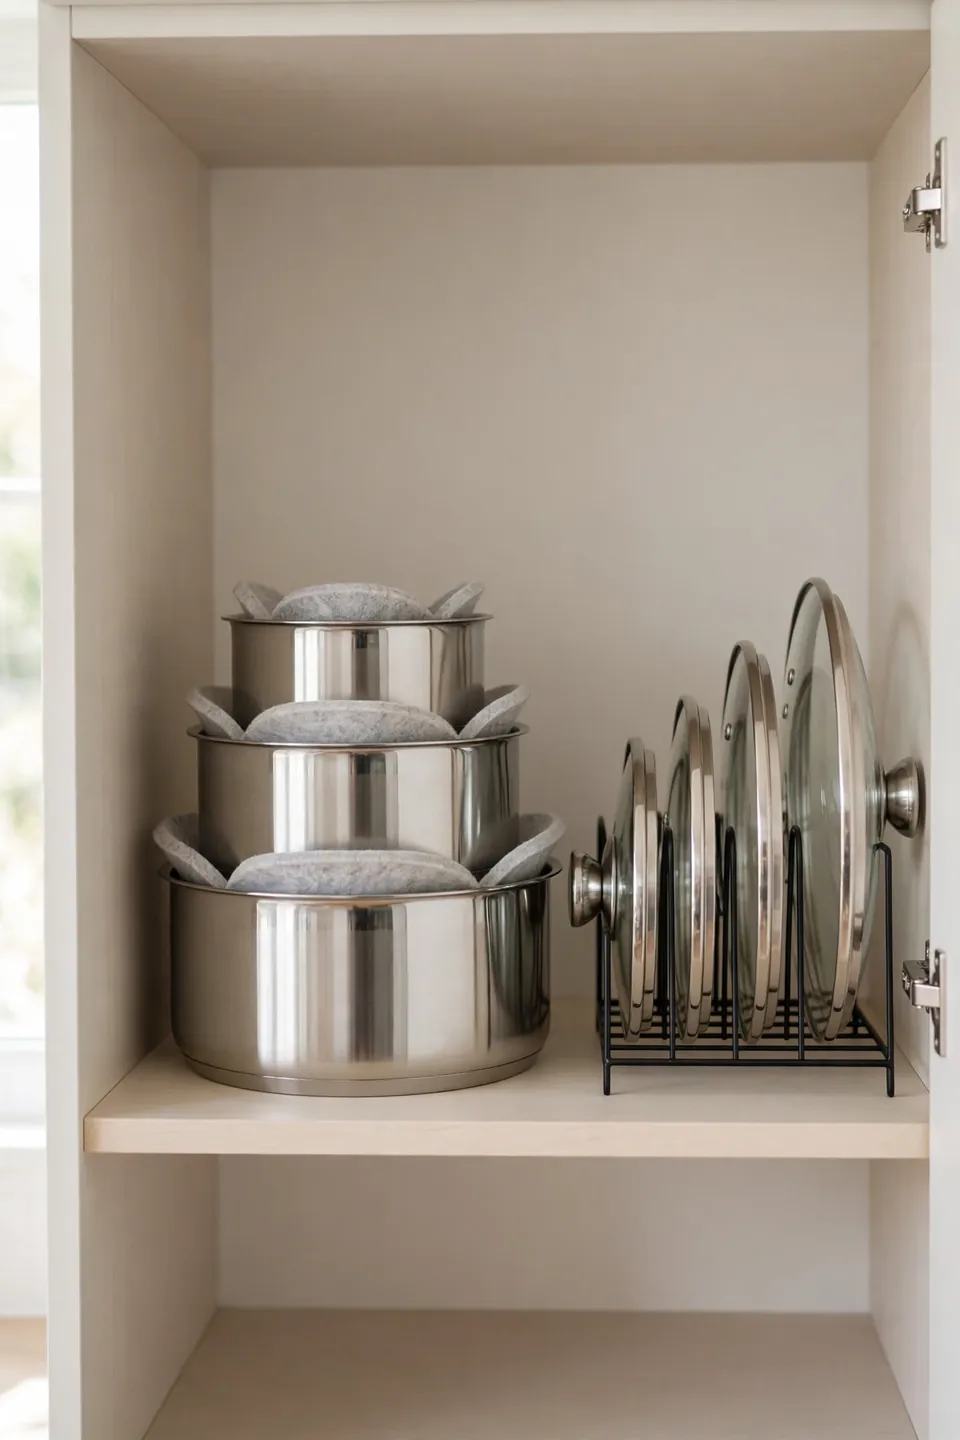
Common Mistake: Most people nest every pot inside the next biggest one with lids jammed on top. The stack gets so tall and heavy that the bottom pan becomes unreachable, and nonstick coatings scratch against bare metal with every pull.
The Fix: Nest only two or three same-shape pots together, slipping a felt pad or paper towel between each. Store lids separately on a rack or the cabinet door. Shallower stacks stay light enough to lift with one hand.
Keep your most-used skillet on top of its small stack, never buried underneath where you cannot reach it. If a stack wobbles when you open the cabinet door, split it into two shorter piles right away. Stable, shallow nesting protects coatings and saves your back every single day.
Hang Them Up
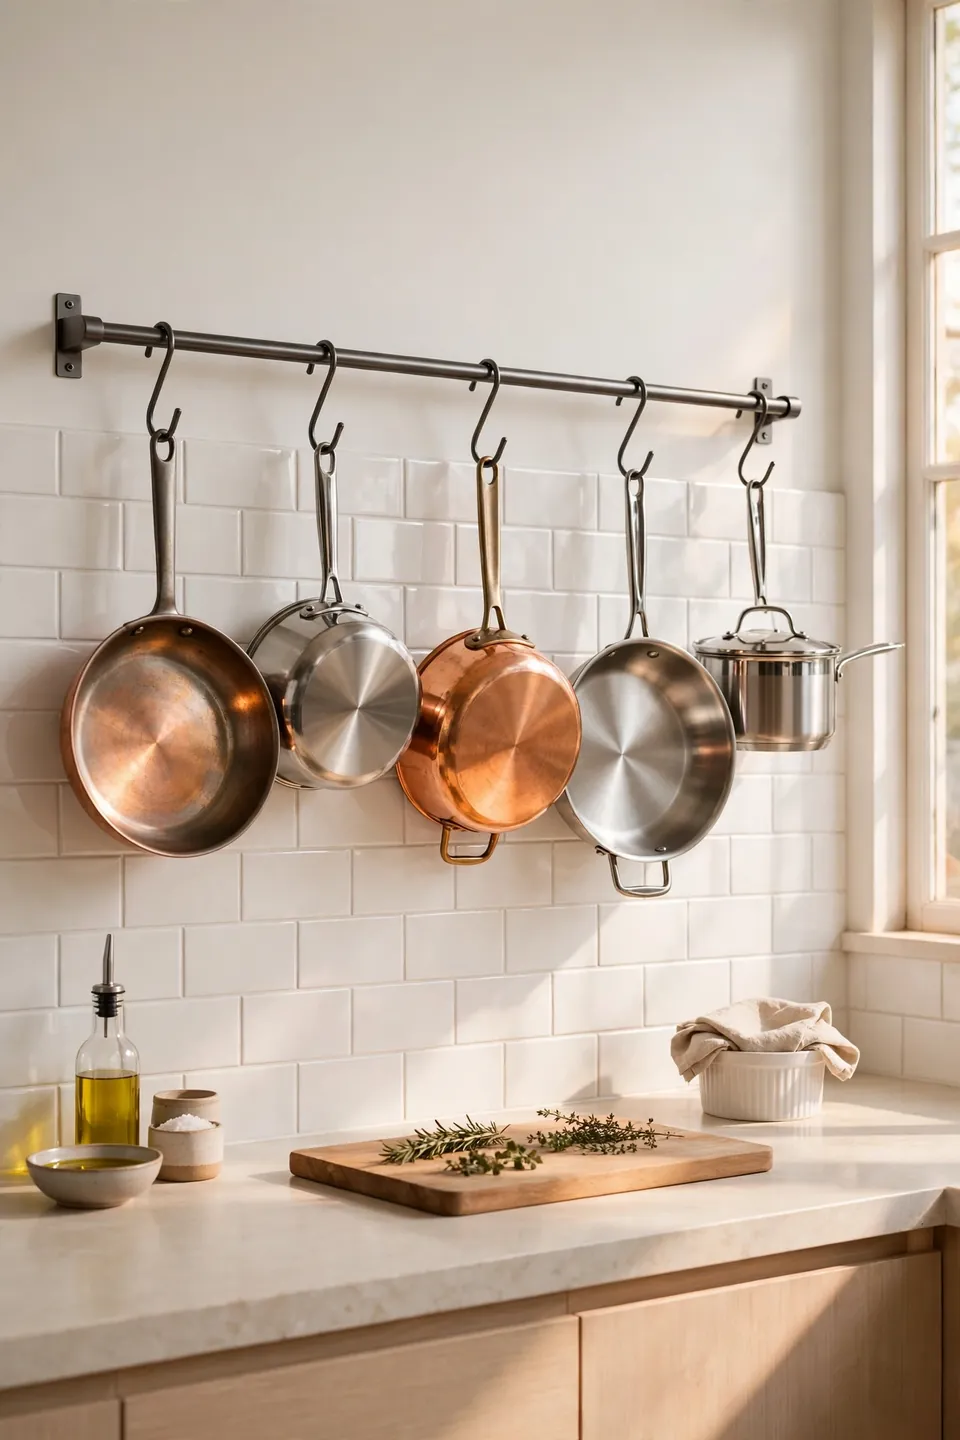
What You Need:
- Wall rail with hooks: A stainless bar screwed into studs holds heavy pans safely within arm’s reach.
- S-hooks: Open hooks let you lift pans off instantly without unclipping anything.
- Stud finder: Hanging loaded cookware from drywall alone risks a midnight crash, so anchor into wood.
- Ceiling rack: A hanging pot rack frees an entire cabinet for renters with sturdy ceiling joists.
- Pan protectors: Felt sleeves keep hanging pans from clanking and chipping each other.
Getting daily pans out of the cabinet entirely is the fastest win when learning how to organize kitchen cabinets for pots and pans in a tight kitchen. Hang your two most-used skillets and one saucepan near the stove. Keep rarely used pieces, like the giant stockpot, stored away instead.
Use the Doors
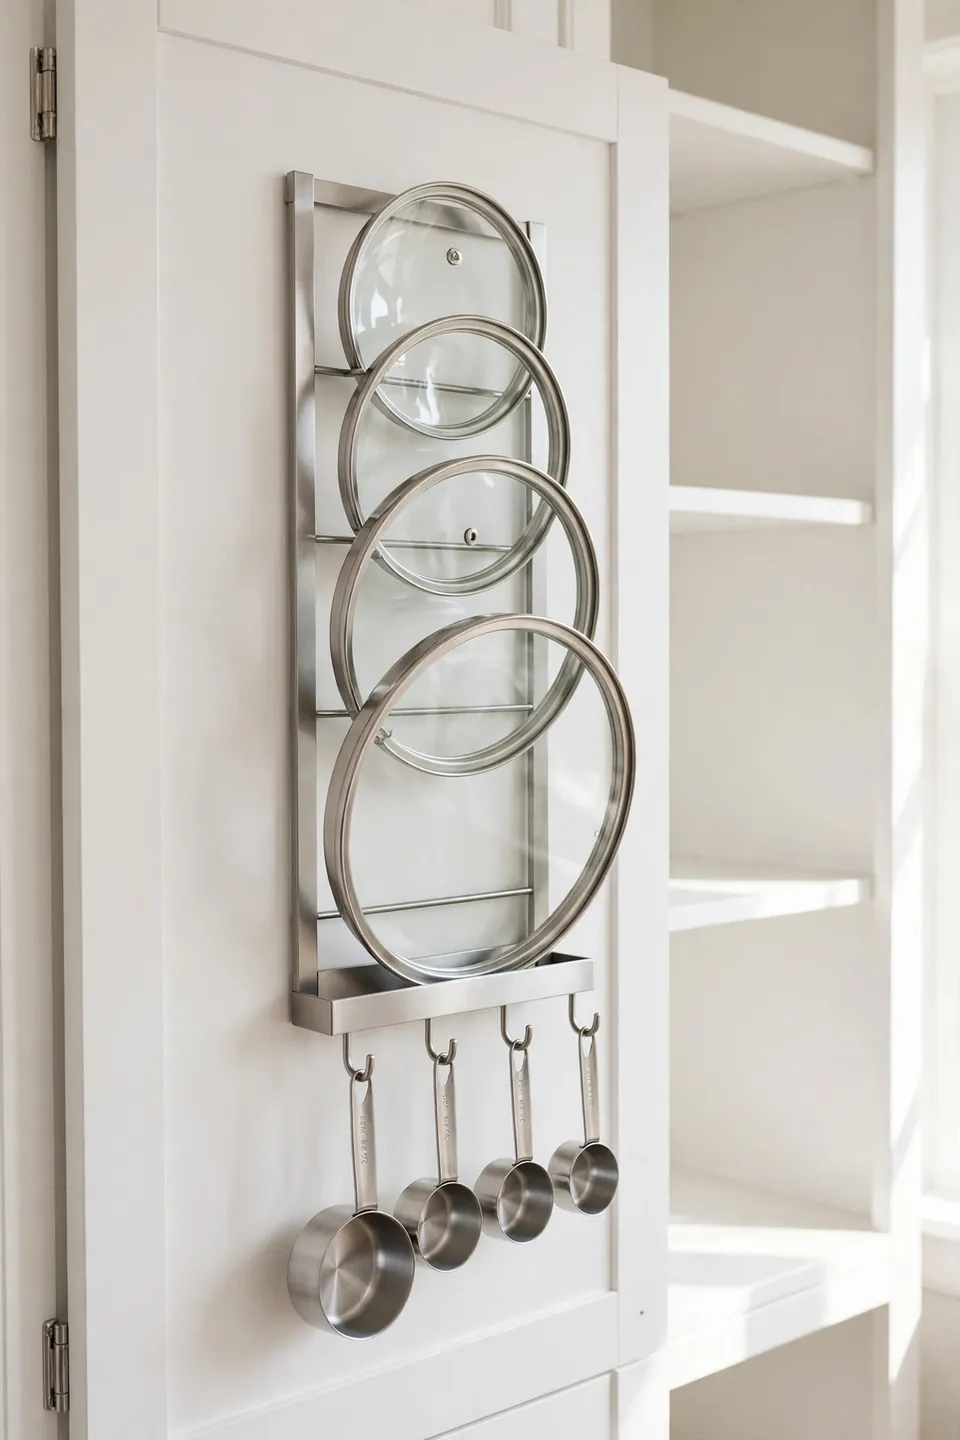
Before: Cabinet doors sat empty while lids rattled loose inside the cabinet, sliding under pots and vanishing. Every lid hunt meant unloading half the shelf, and the clutter spilled onto the counter during busy cooking nights.
After: Slim racks screwed inside each door hold every lid upright and visible. Hooks on the neighboring door corral measuring cups and small tools. The main shelf stays clear for pots alone, and lids are grabbed in one motion.
Measure door clearance carefully before buying any racks so they do not hit the shelves when fully closed. Adhesive-mounted options work really well for renters who cannot drill into cabinets at all. This single change often frees up a full third of a cabinet instantly.
Protect the Surfaces
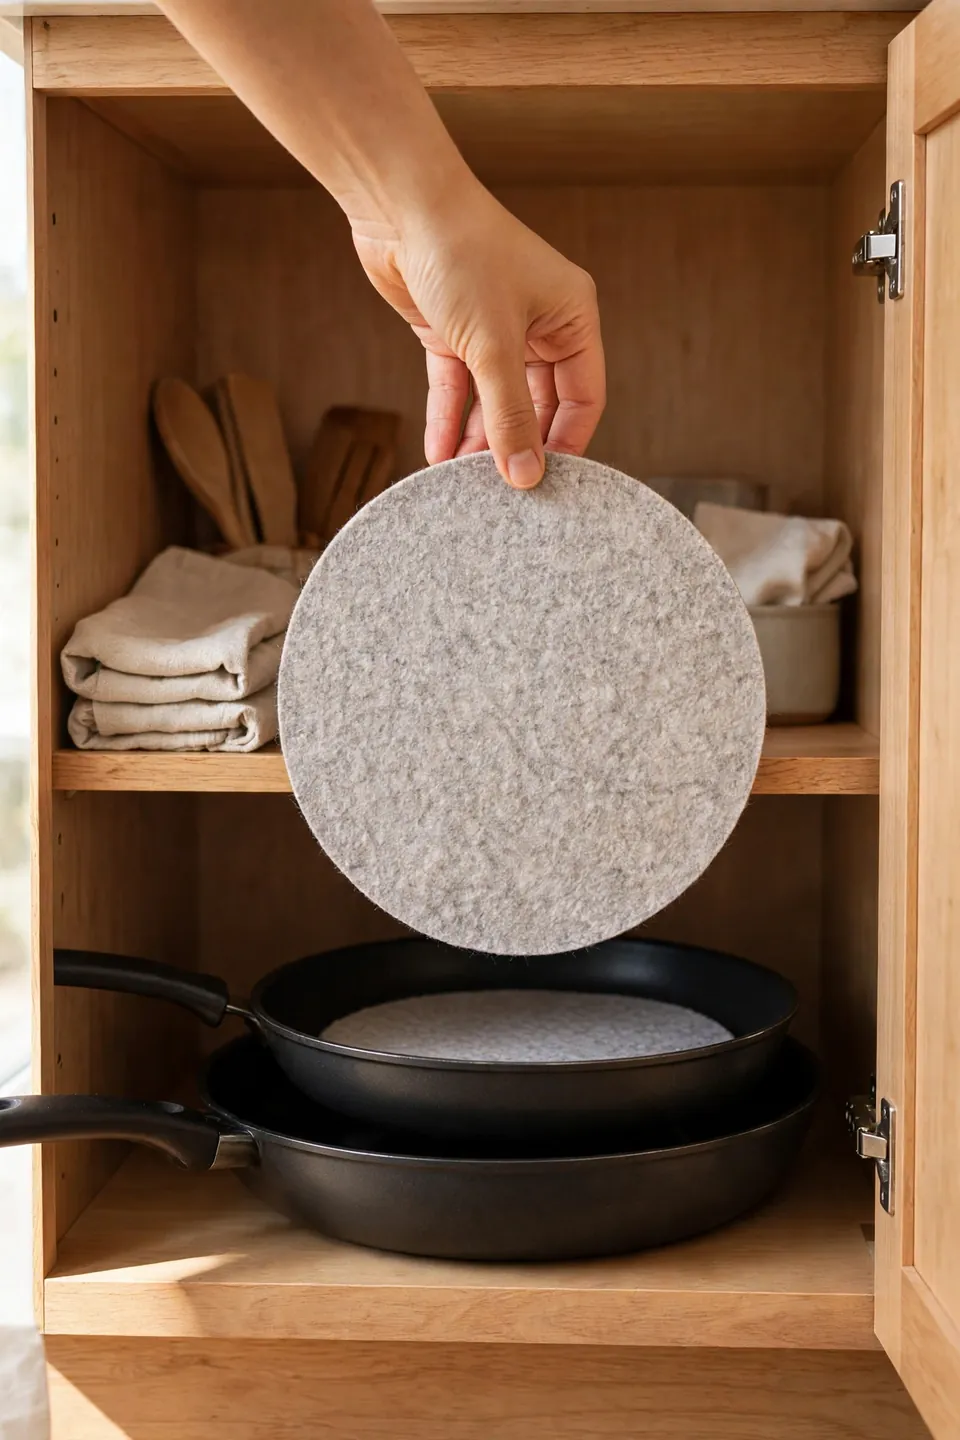
Do This:
- Slip a felt pad or folded paper towel between every nested pan.
- Store cast iron completely dry with a paper towel inside to absorb moisture.
- Keep nonstick pans in their own uncrowded zone away from metal tools.
Avoid This:
- Do not stack bare metal on nonstick, since scratches ruin the coating fast.
- Never store a damp lid sealed on a pot, because trapped moisture breeds odors.
- Do not force an oversized pan into a tight slot that scrapes its sides.
Protection takes ten seconds during put-away and adds years to your cookware’s useful life. I’ve noticed that most people skip this step and then wonder why pans look worn within a year. Make pads live right inside the cabinet so the habit sticks easily every time.
If your kitchen lacks a pantry too, these same zoning ideas pair well with how to organize a kitchen without a pantry for a fully streamlined space.
Keep Lids Together
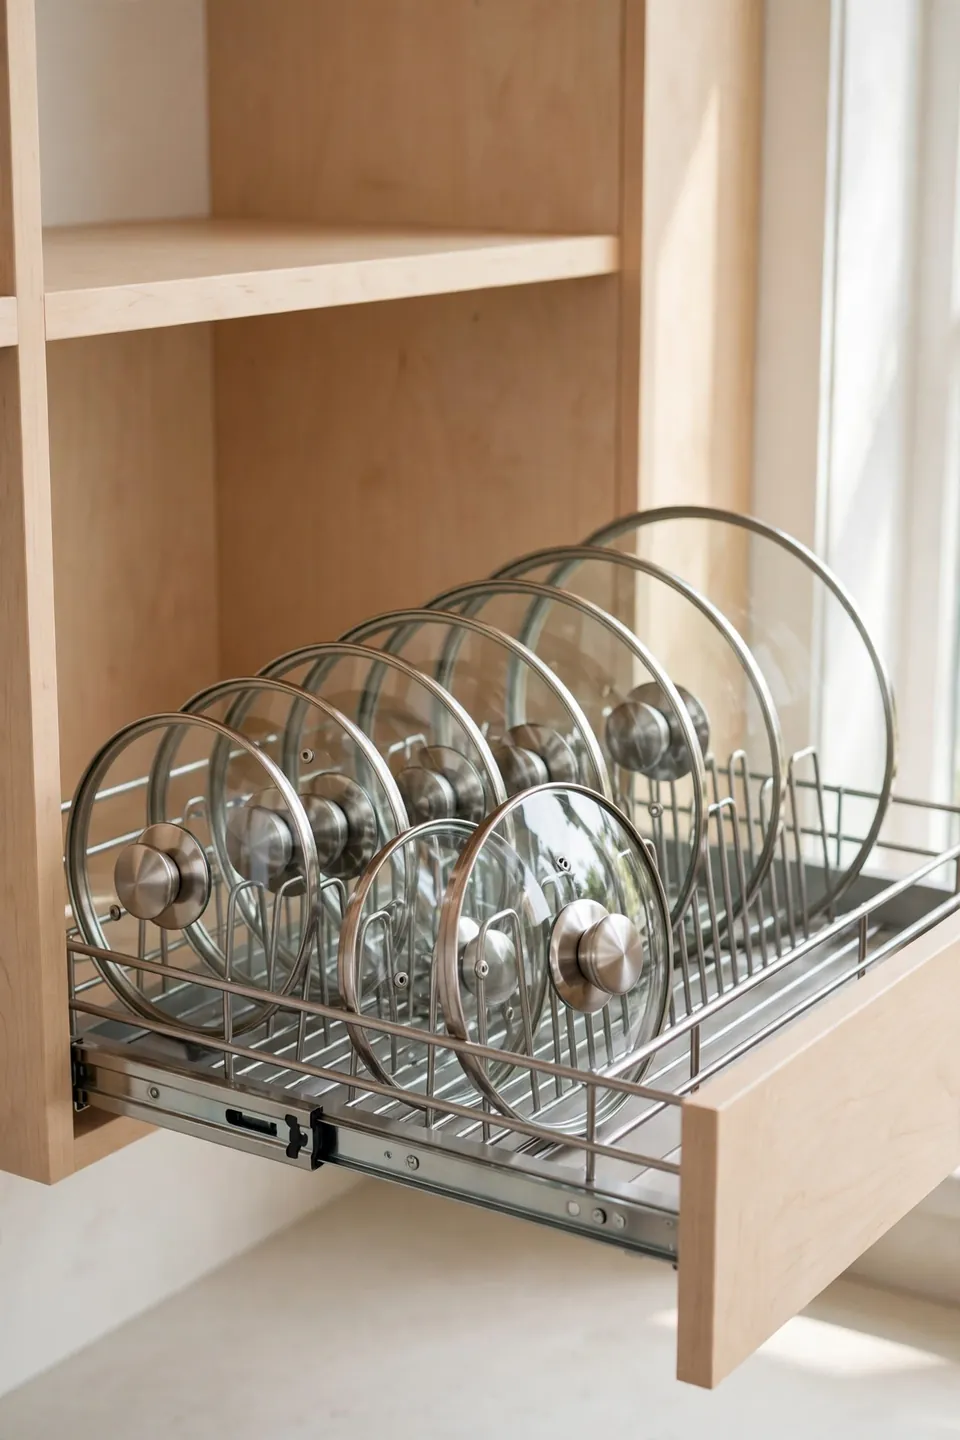
Time Needed: 20 minutes | Difficulty: Easy | Cost: Low | Best For: Kitchens with more lids than cabinet space
Lids cause half the chaos because they match no stack neatly. Dedicate one narrow zone, a door rack, a vertical divider, or a pull-out lid organizer, and never let a lid live loose among pots again. Match each lid to its pot once during setup, then return it to the same slot every time.
Common Pot Mistakes
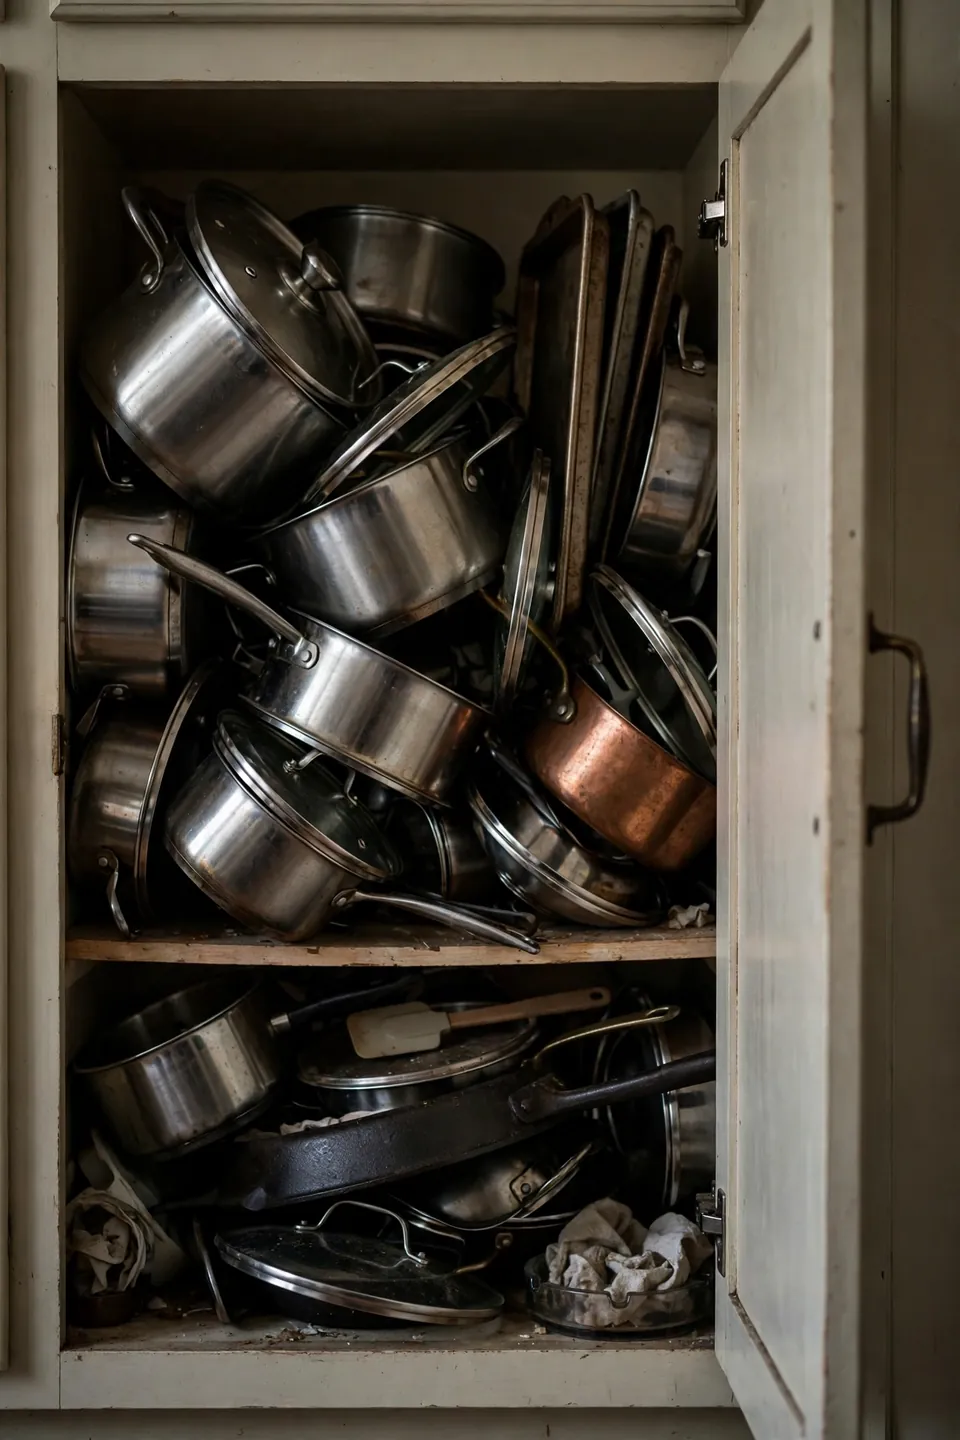
The biggest mistake is keeping every pot you have ever owned. Duplicate saucepans, warped bargain skillets, and specialty pans used once a year eat the space your daily cookware needs. Another classic error is storing the heaviest Dutch oven on a high shelf, which turns every use into a risky lift.
Fix both by editing ruthlessly and zoning by weight. Daily pans live at waist height in the prime cabinet. Heavy pieces sit low near the floor. Occasional-use items move to a harder-to-reach spot. Your cabinets should serve your real cooking, not your aspirational cooking.
Pro Tips for Tidy Cabinets
Once the basics are in place, a few simple pro habits keep the whole system working smoothly for many months ahead. These small routines take only seconds each day and stop clutter from slowly creeping back into your cabinets again.
- Return each pan to its exact slot right after drying, never just inside the cabinet generally.
- Do a two-minute lid check weekly, rematching any strays to their pots before chaos rebuilds.
- Reassess every season, moving holiday-only pieces like roasters to higher storage.
- Keep one empty slot on purpose, so new pieces or gifts have a home instead of breaking the system.
Conclusion
An organized pot cabinet turns cooking from a treasure hunt into a pleasure. Sort once, add a few dividers, hang what you use daily, and give every lid a home, and the system mostly runs itself. Learning how to organize kitchen cabinets for pots and pans pays off every single time you cook.
Save this guide on Pinterest so you can follow the steps during your next kitchen reset. I’ve seen how making this one change can completely shift the result, turning the most dreaded cabinet into the easiest one to use. Share it with someone whose pots are currently staging a rebellion.
2 Comments