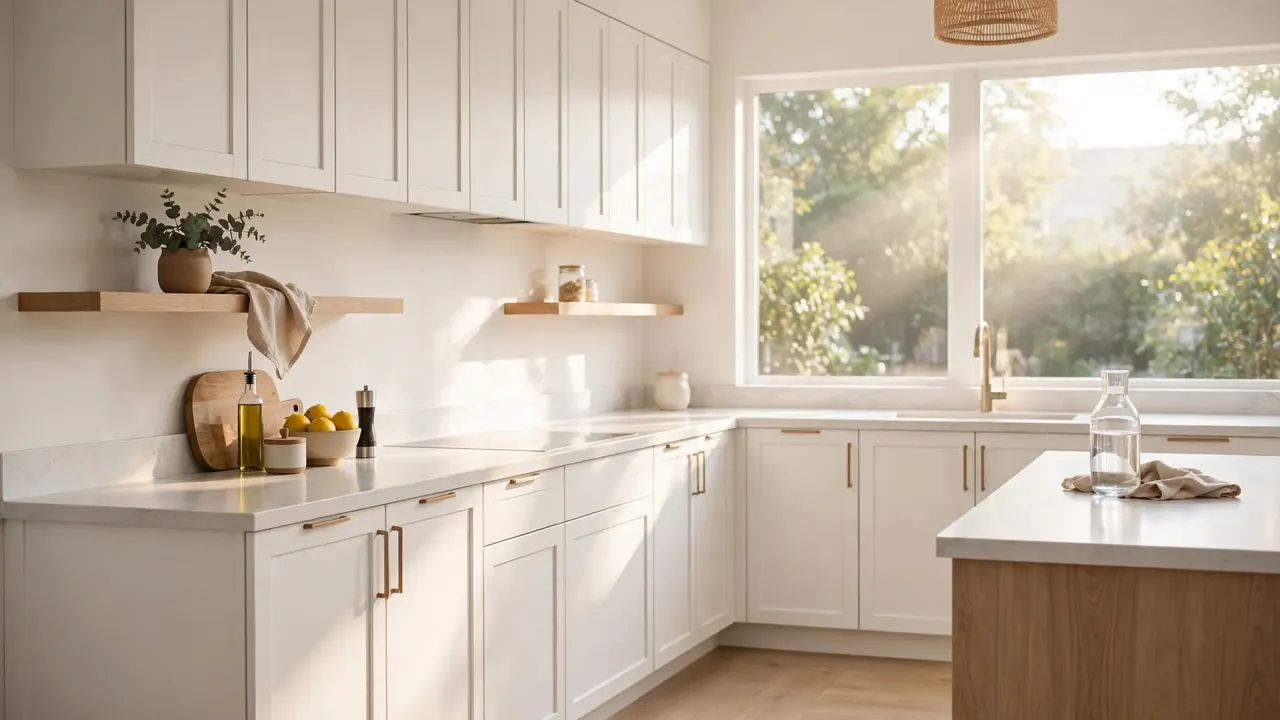
How to Organize Kitchen Countertops
Every morning you walk into the kitchen and the first thing you see is a mess of mail, small appliances, and jars crowding every inch of the counter. When you learn how to organize kitchen countertops properly, that daily frustration finally disappears. Clear counters make cooking faster, cleaning easier, and the whole room feel calmer.
In my experience, most cluttered counters are not a storage problem. They are a decision problem. Below you will learn exactly what deserves counter space and which simple tools keep it tidy. Our guide on how to make a small kitchen look bigger pairs perfectly with these steps.
Why Countertops Become Chaos

Counters become landing zones because they sit where life happens. You come home and drop mail, keys, and bags on the nearest flat surface. Small appliances creep in until there is barely room to chop an onion. Nobody plans a messy counter. It builds through tiny decisions.
The good news is that chaos follows patterns, and patterns can be broken. Once you see why clutter collects, you can build simple systems that stop it at the source. This guide walks through each fix in order, starting with a full reset of the surface.
Clear Everything Off
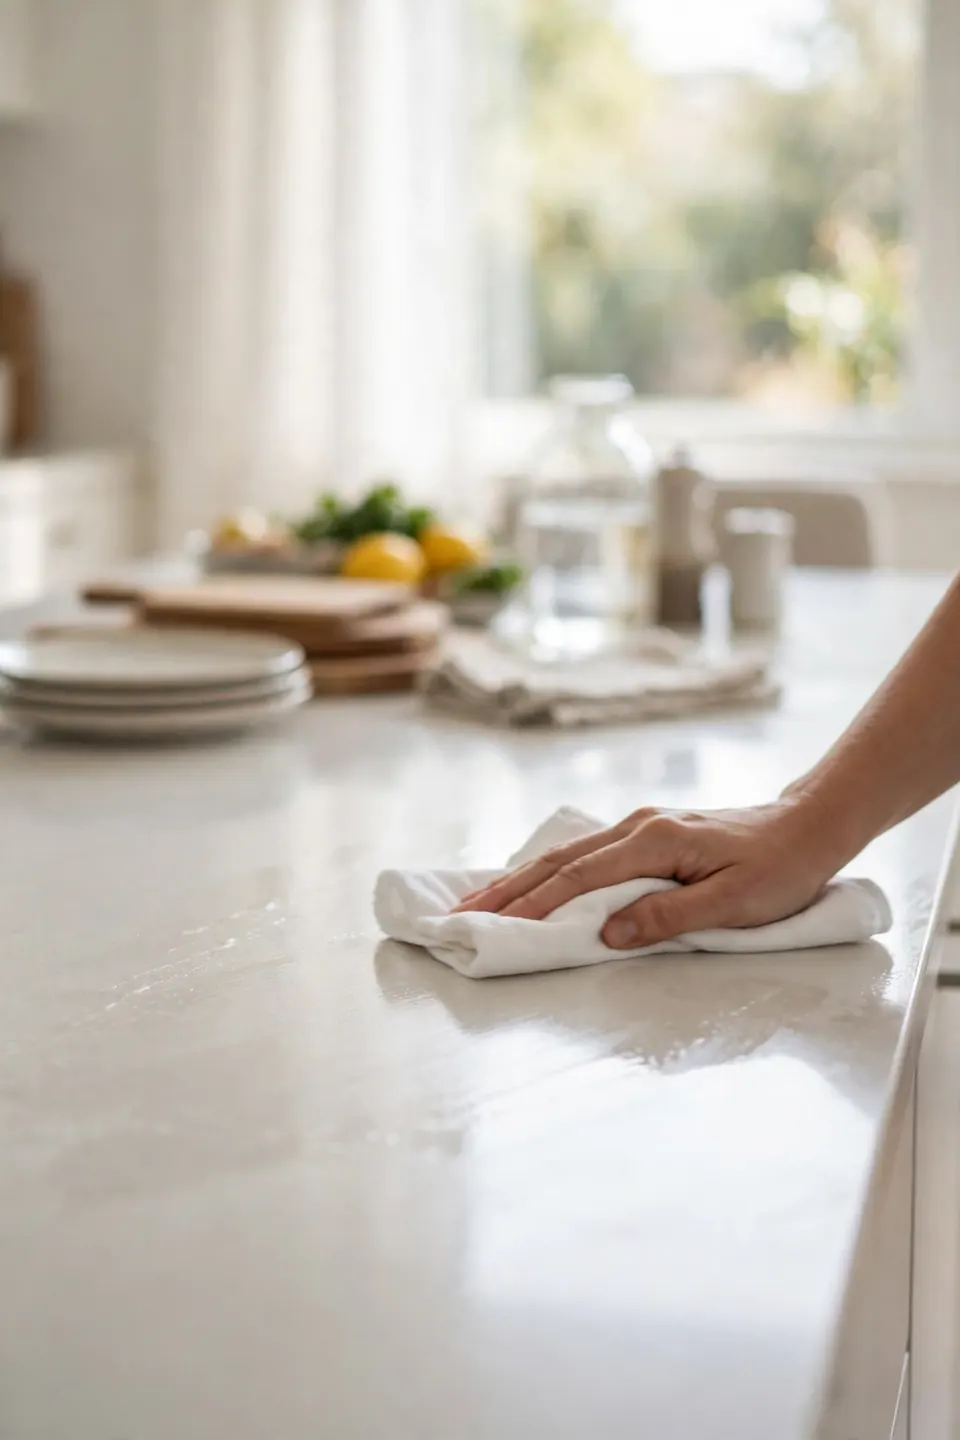
A true reset beats any organizing trick because you cannot arrange clutter, you can only move it around. Stripping the counter bare lets you see the real surface you have and decide what truly belongs. Give yourself twenty unhurried minutes for this step.
- Pull every single item off the counters, including appliances, and set it all on the dining table. Wipe the bare surfaces with a damp cloth so you start truly fresh.
- Sort everything into three piles: daily cooking tools, weekly items like the stand mixer, and things that do not belong in the kitchen at all.
- Return the daily tools first, placing each near where you actually use it. Then find cabinet or pantry homes for the weekly items.
- Walk the non-kitchen pile straight to its proper rooms right now. Do not let it sit in a bag by the door, or it will migrate back.
Keep Only Daily Essentials
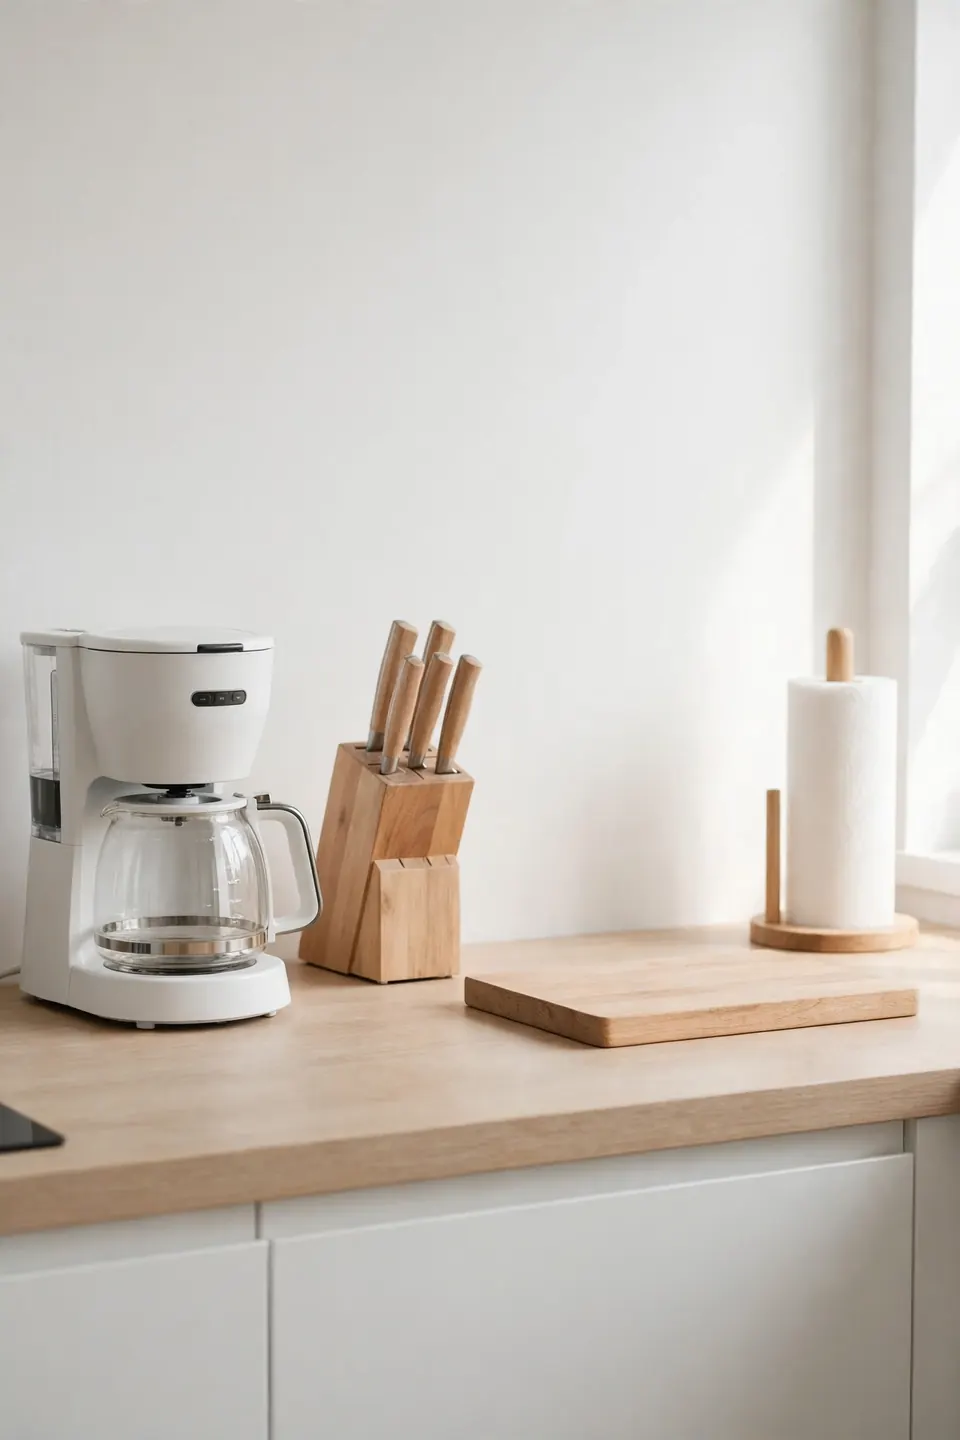
Quick Tip: If you use it less than three times a week, it does not earn counter space. The toaster you grab daily stays, while the bread maker you use twice a year moves to a cabinet. This one rule alone clears half the clutter in most kitchens.
Daily essentials are the short list you reach for without thinking: coffee maker, knife block, cutting board, paper towels. Everything else can live one arm’s reach away in a cabinet and still be easy to grab. Fewer items on the counter also means wiping it down takes seconds, not minutes.
Create Cooking Zones
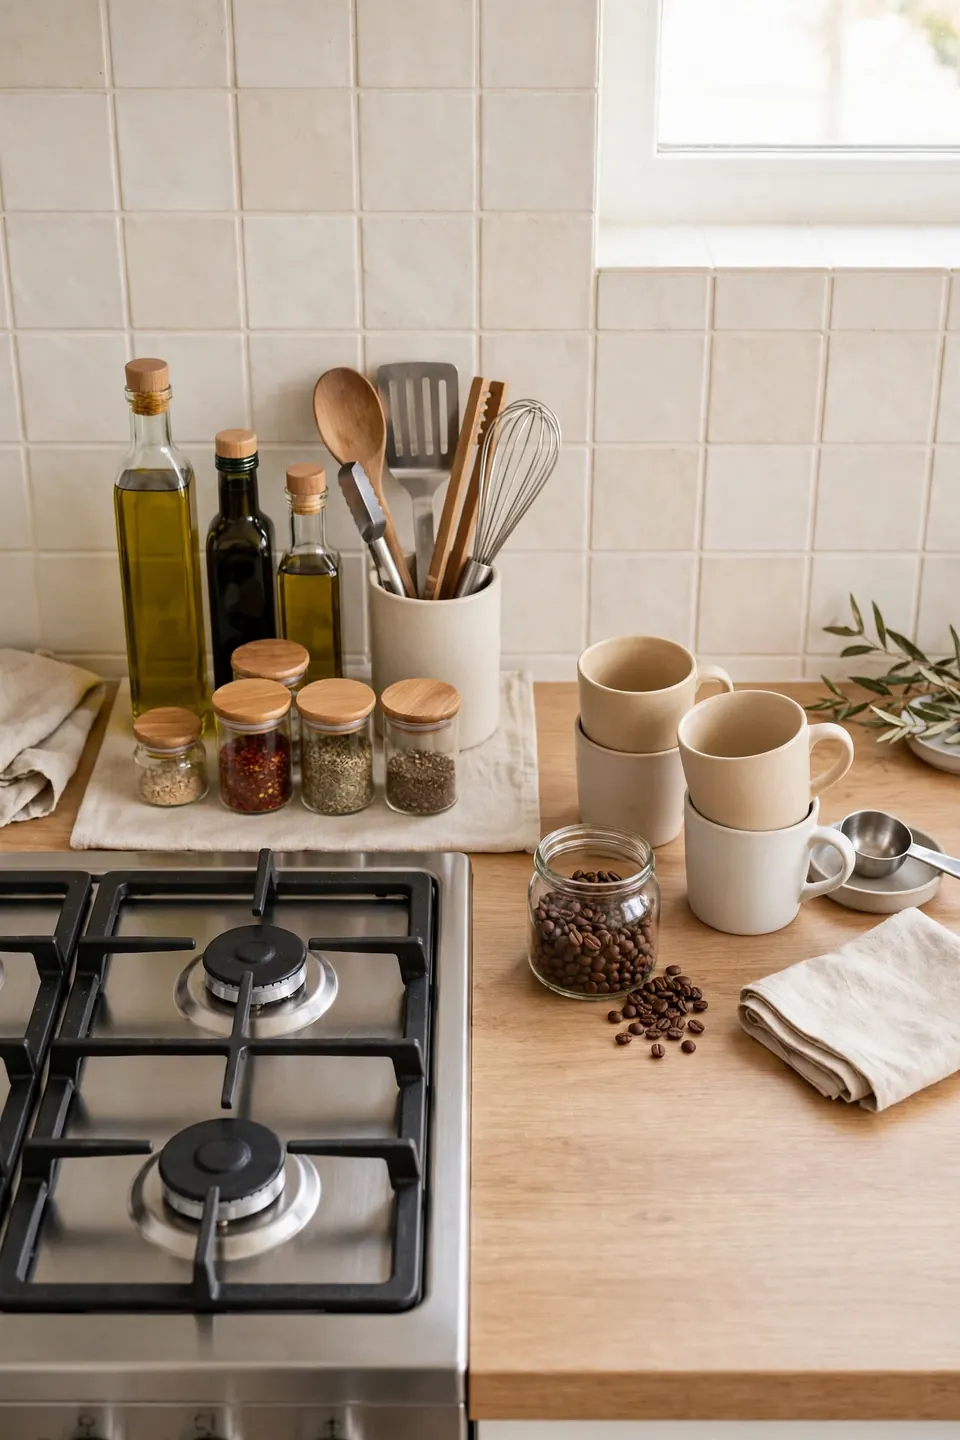
Common Mistake: Most people scatter tools randomly, so the spatula lives by the sink and the olive oil sits across the room. You end up crossing the kitchen a dozen times for one meal. That wasted motion is why cooking feels exhausting even when the recipe is simple.
The Fix: Group items by the task they serve, keeping oils, spices, and utensils together near the stove. Place the coffee station with mugs, filters, and beans in one tight cluster. When everything for a job lives in one spot, cooking flows.
Zones turn a counter into a small team of workstations instead of one crowded shelf. You will chop, stir, and brew without hunting for tools mid-recipe. Start with just two zones, cooking and coffee, and add more only if your routine truly needs them each day.
Use Trays to Corral
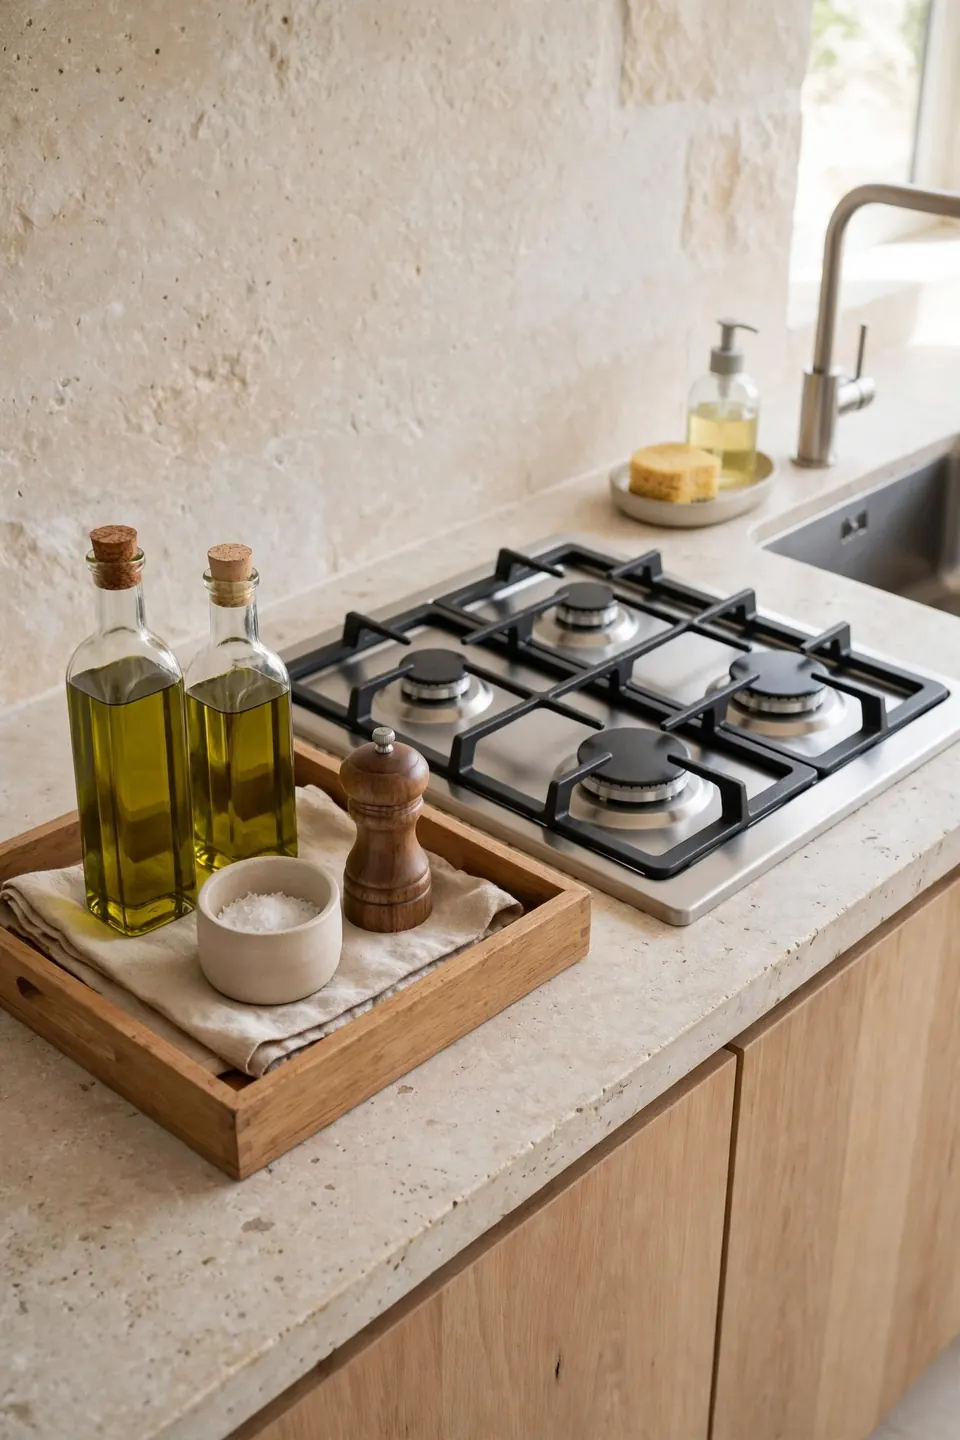
What You Need:
- A large wooden tray: gathers oils, salt, and pepper into one movable unit near the stove.
- A small ceramic dish: holds the sponge and dish soap by the sink so they stop sliding around.
- A narrow utensil crock: keeps spatulas and wooden spoons upright and within arm’s reach.
- A lidded canister set: stores coffee, sugar, and flour neatly instead of half-open bags.
- A slim paper towel holder: frees counter space while keeping towels exactly where you need them.
Trays work because they turn scattered objects into one intentional group, which is the quiet secret of how to organize kitchen countertops that stay tidy. You can lift the whole tray to wipe underneath in seconds. Choose trays in wood or stone that match your kitchen, and they will look like decor instead of storage.
Go Vertical
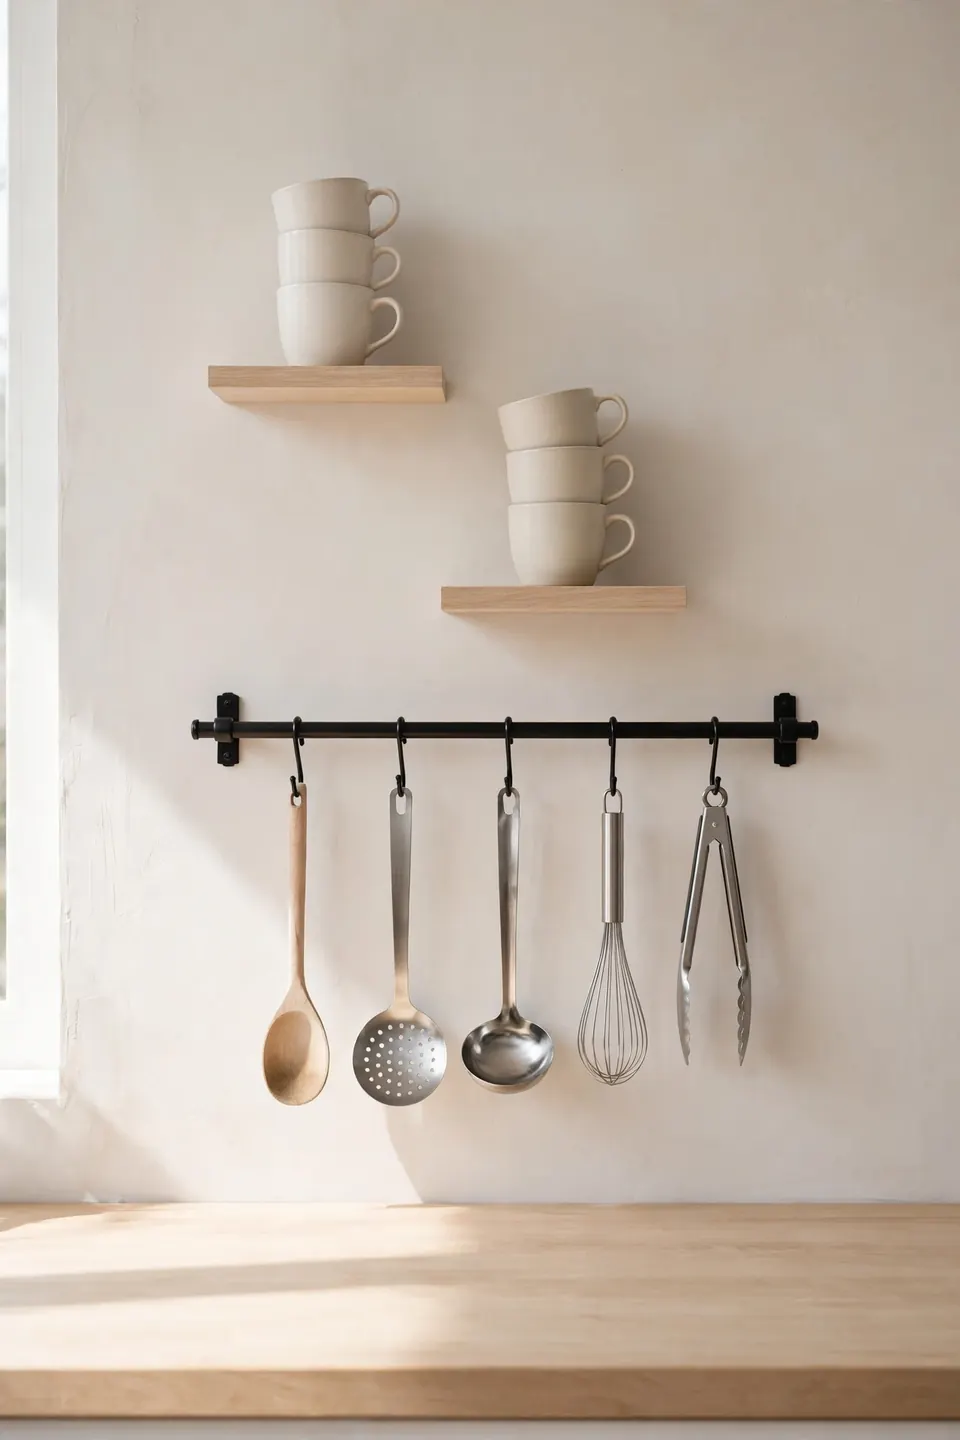
Before: Every tool and jar sits directly on the counter because the walls and cabinet sides go unused. The surface fills up fast, and you lose prep space to things that could easily live higher. Cooking starts to feel cramped even in a decent-sized kitchen.
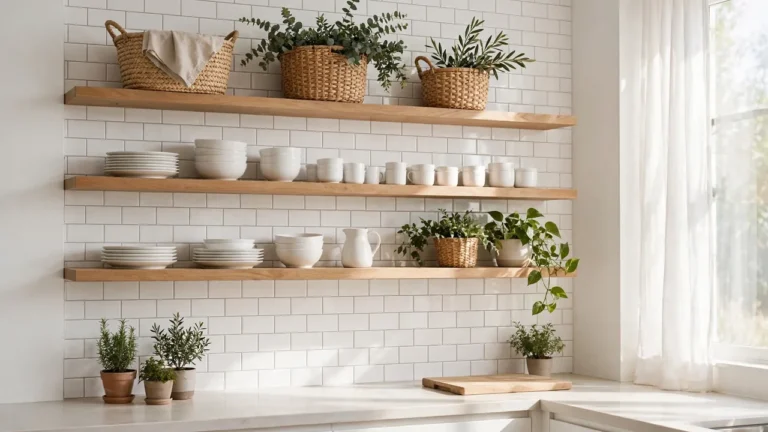
After: A rail with hooks holds utensils, a shelf above the coffee station stores mugs, and magnetic strips keep knives off the counter. The same items take up a fraction of the footprint. Suddenly you have real room to spread out ingredients and actually enjoy cooking.
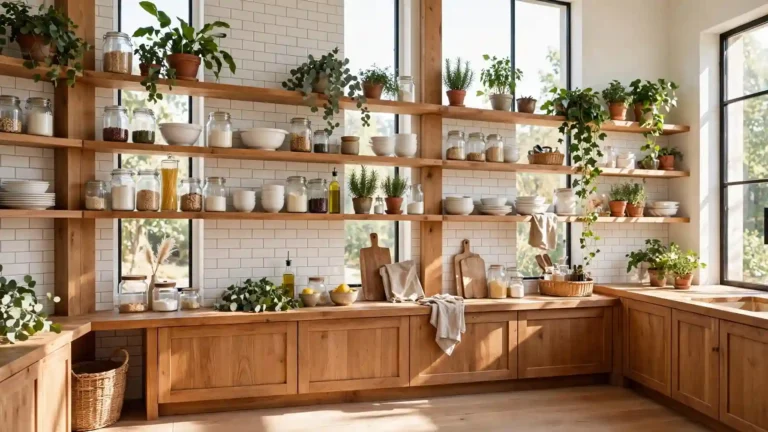
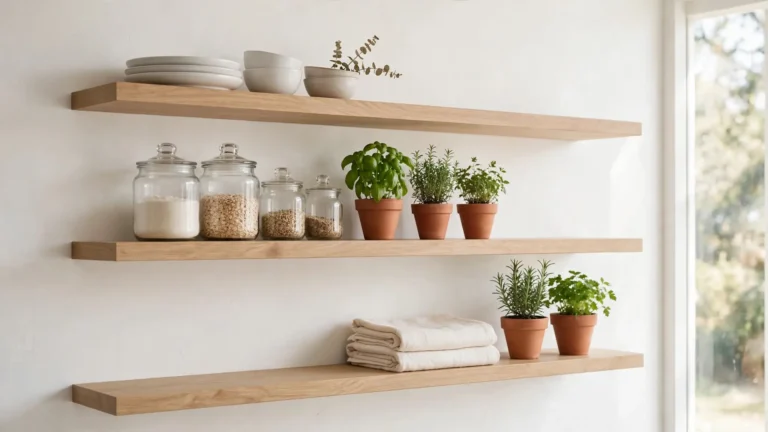
Walls are free real estate in almost every kitchen. A single rail or two small shelves can absorb a surprising amount of clutter without any renovation at all. Mount them at a comfortable reaching height, keep the prettiest pieces on display, and the counter below stays gloriously clear.
Hide Small Appliances
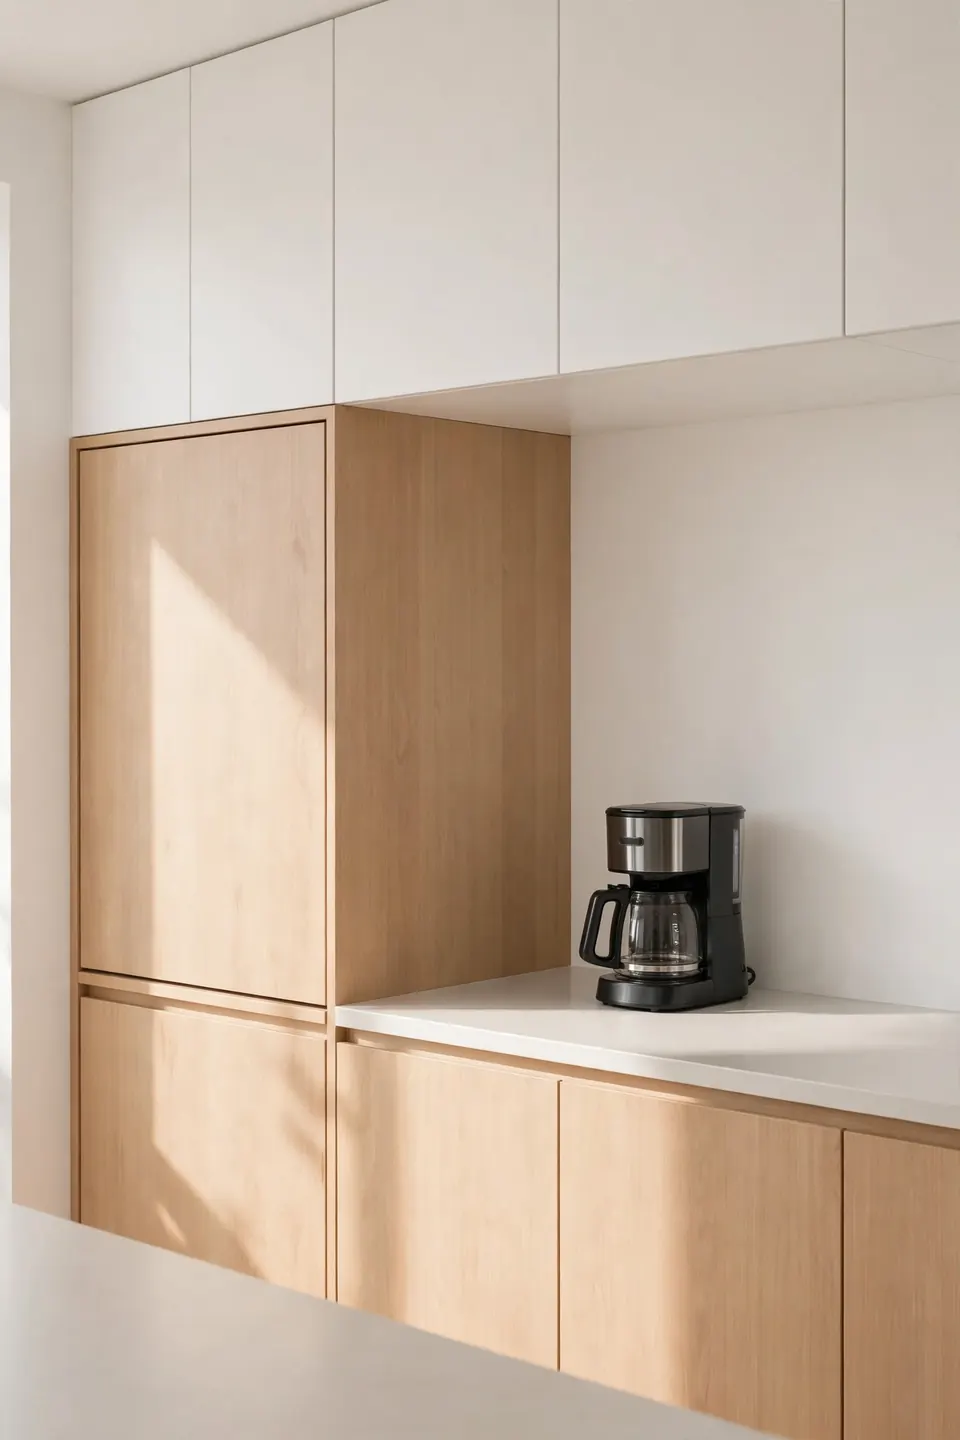
Do This:
- Store the stand mixer and food processor in a lower cabinet with a pull-out shelf.
- Keep only the one appliance you use daily, like the coffee maker, on the counter.
- Use an appliance garage or a lidded basket to hide the toaster between uses.
- Charge small gadgets in a drawer with a power strip instead of on the counter.
Avoid This:
- Do not line up every appliance you own along the backsplash like a showroom.
- Avoid storing appliances on top of the fridge where they collect dust and grease.
- Never leave cords dangling; wrap them with a velcro tie before storing.
- Do not keep broken or duplicate gadgets out of guilt; donate them.
Appliances are the biggest counter hogs because each one claims a permanent footprint whether you use it or not. Hiding the ones you only touch weekly frees a shocking amount of space. Your kitchen will look twice as big with just the daily coffee maker out, and pulling the mixer out will take seconds.
Maintain Daily
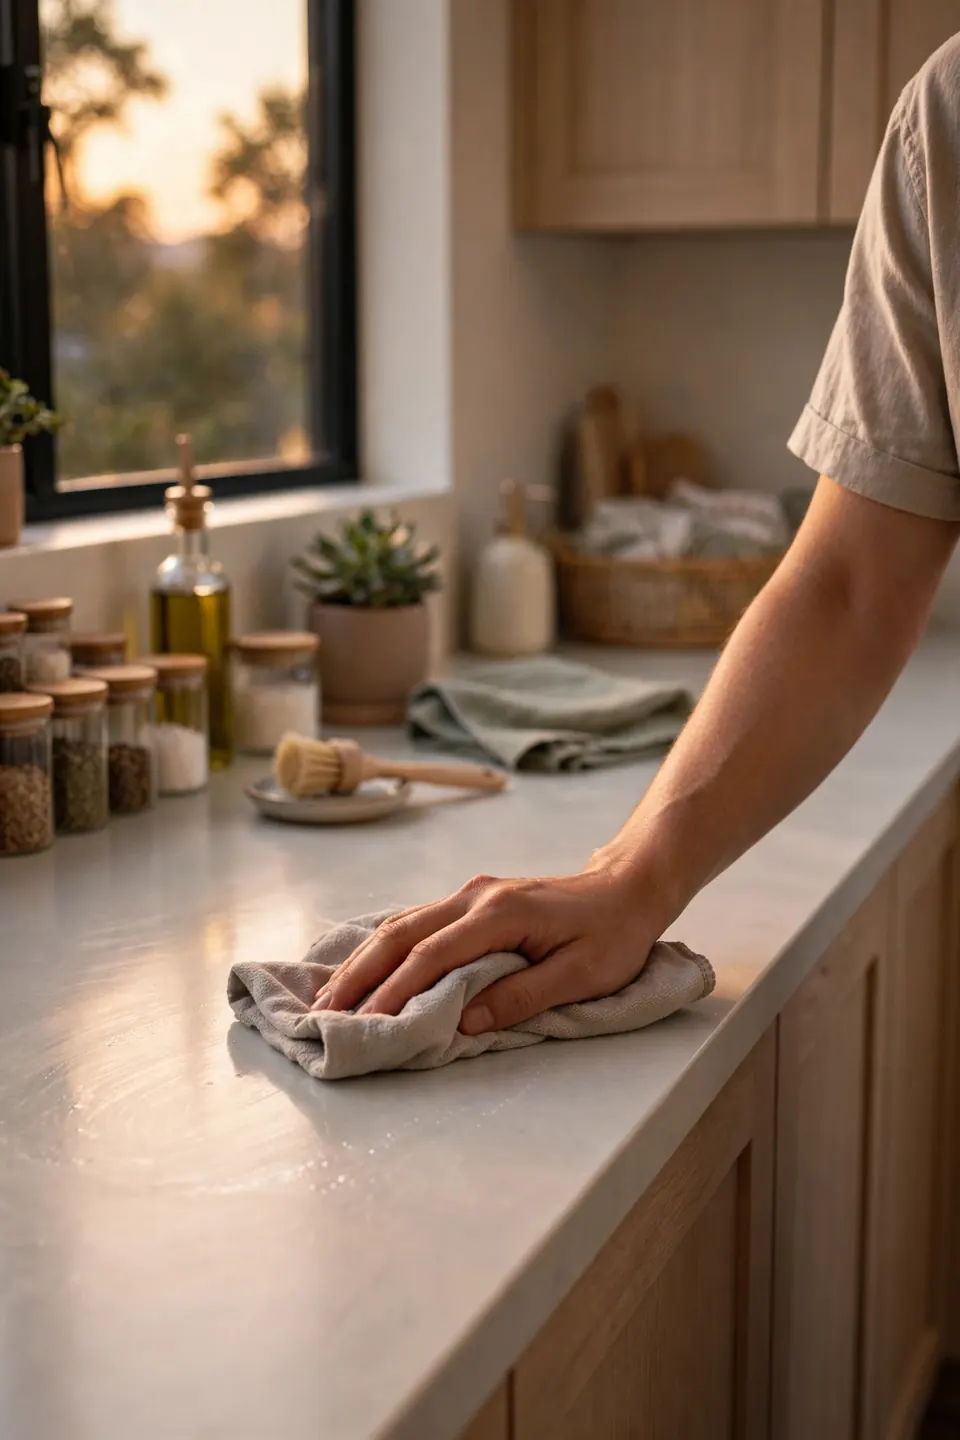
Time Needed: 5 minutes each evening | Difficulty: Easy | Cost: Free | Best For: Keeping counters clear between deep cleans
Maintenance is the step everyone skips, and it is the only one that keeps the system alive. A quick nightly reset stops clutter from rebuilding overnight. Put the mail in its tray, return tools to their zones, and wipe the surface. You will wake up to a kitchen that feels brand new.
Once your counters are clear, turn to the corners. Our guide on how to decorate an awkward corner shows how to style those forgotten spots beautifully.
Common Countertop Mistakes
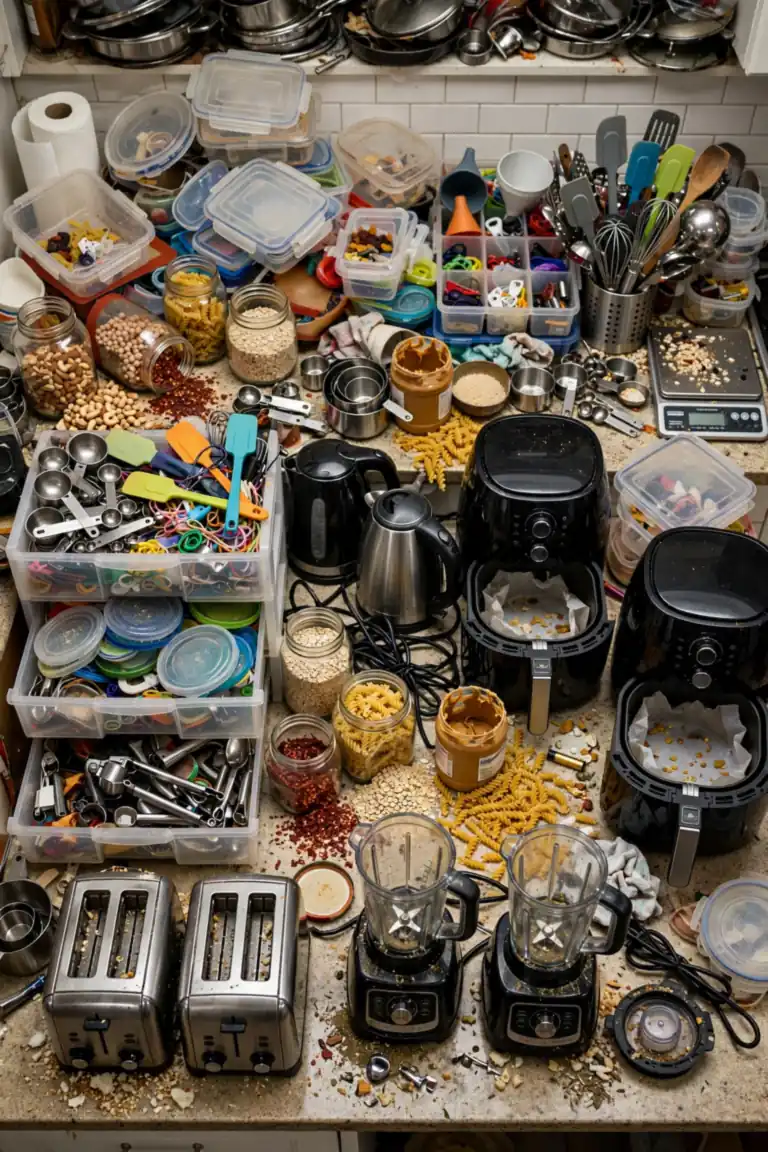
The biggest mistake is treating the counter as storage instead of workspace. Every jar, appliance, and paper pile that lives there permanently steals room you need for cooking. Another common error is buying organizers before decluttering, which just gives the same clutter fancier containers.
People also forget the landing zone problem. Without a designated tray for mail and keys, those items spread across the whole counter within days. Fix the incoming flow first with one simple tray, and the rest of the system holds together with far less daily effort.
Pro Tips for Clear Counters
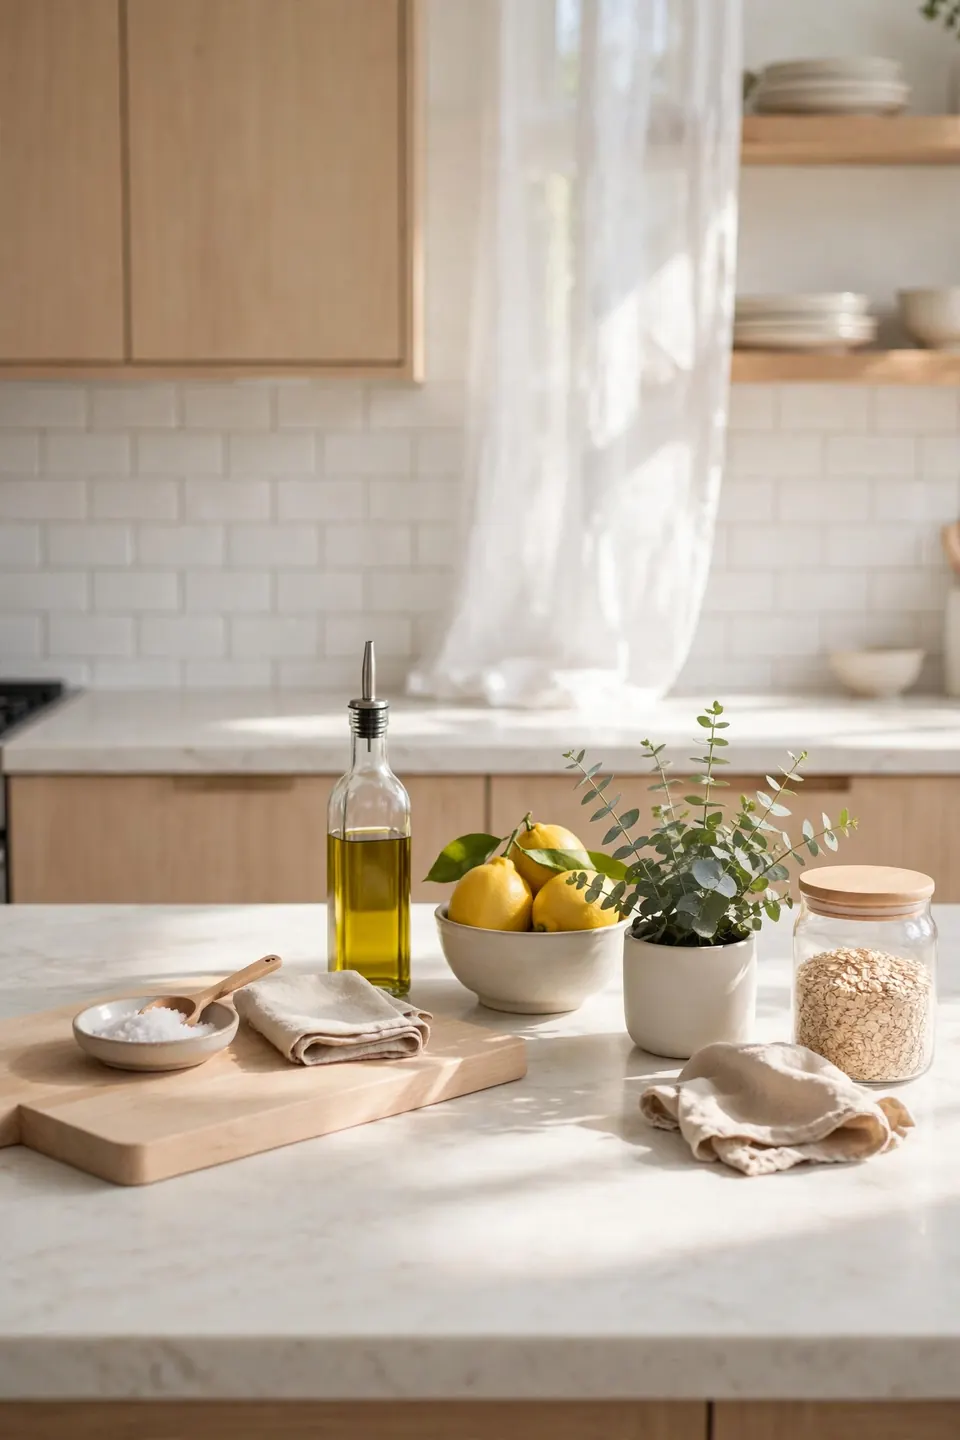
These are the small habits that separate tidy kitchens from chaotic ones. None of them take more than a minute, but together they protect all the organizing work you just finished. Pick just two to start with this week, then add more as they stick.
- Do a one-minute scan before bed and return anything homeless to its zone.
- Keep a small donation box in the pantry for gadgets you never reach for.
- Wipe counters right after cooking so crumbs never become a project.
- Re-audit your essentials every season; needs change and counters should too.
Conclusion
Clear counters change how your whole kitchen feels, and now you know exactly how to organize kitchen countertops that stay that way for good. Start with the full reset, keep only your true daily tools out, and let zones and trays do the quiet work behind the scenes. Save this guide on Pinterest so you can revisit each step whenever you need a refresh. I have seen how one clear surface can make cooking feel joyful again instead of stressful. Your turn starts tonight with that simple five-minute reset right now.
One Comment