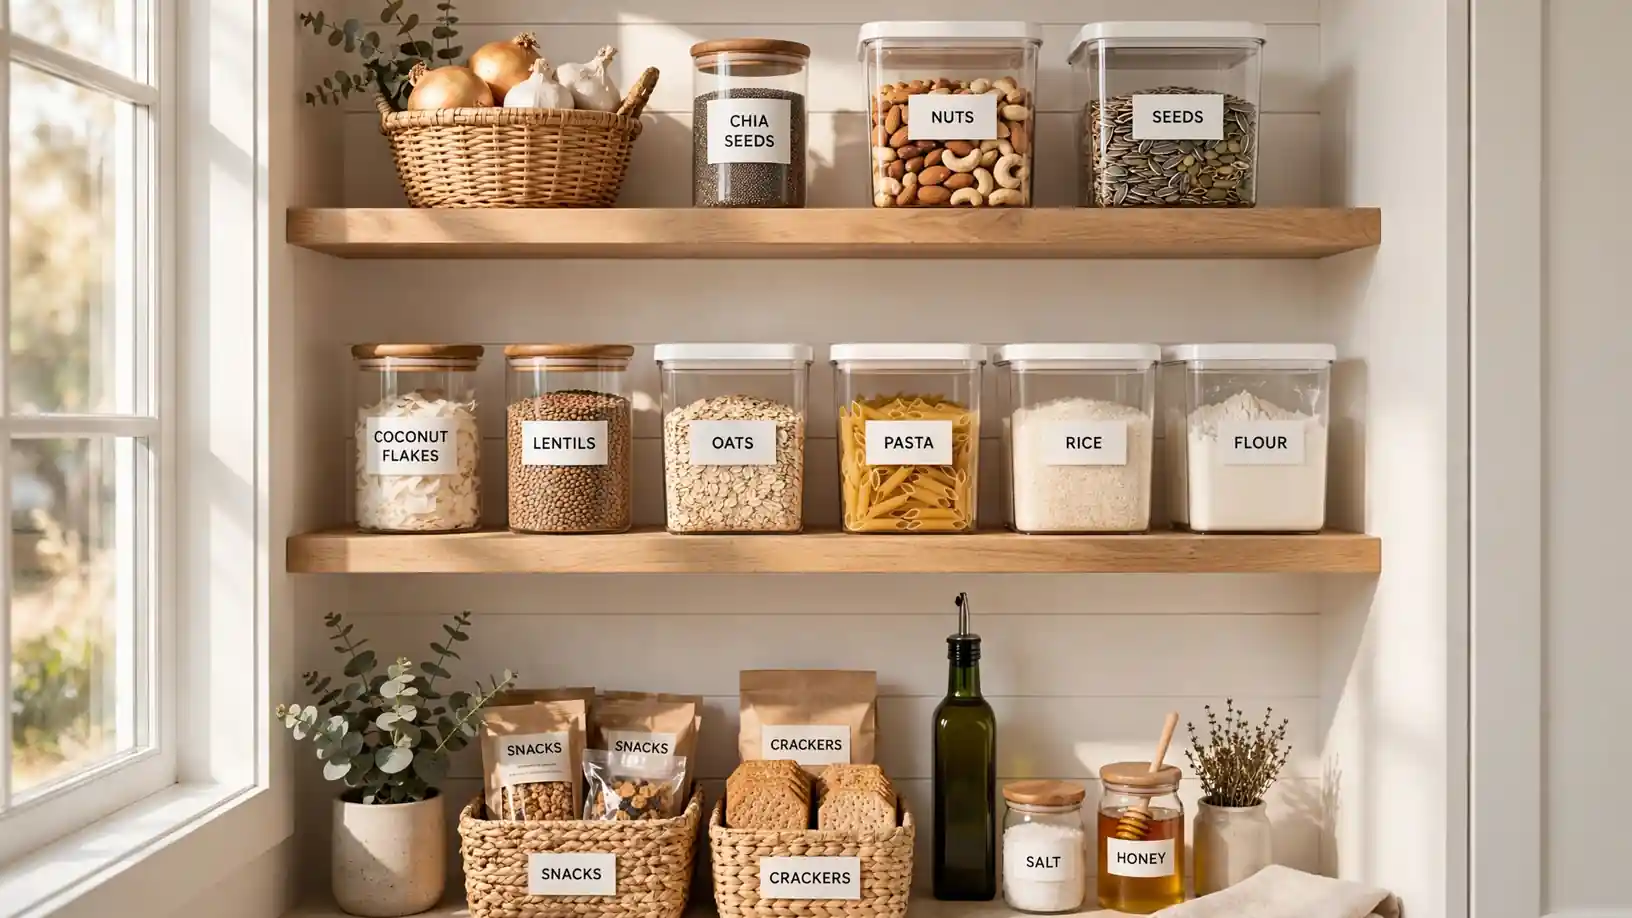
23 Small Pantry Organization Ideas to Maximize Every Inch
A cramped pantry can turn every meal into a scavenger hunt. With these small pantry organization ideas, you can double your usable space without knocking down a single wall. I have helped dozens of friends rework tiny pantries, and the same simple principles work every time. The secret is using every inch, from the door to the ceiling, with smart containers and clear zones.
In my experience, the biggest win comes from grouping like items together so nothing hides in the back. Cans with cans, snacks with snacks, baking supplies in one clear spot. Most of these projects cost under twenty dollars and take a single afternoon. For more kitchen storage inspiration, check out these kitchen counter organization ideas that keep the rest of your kitchen just as tidy. Ready to love your pantry again?
Clear Bin Zones
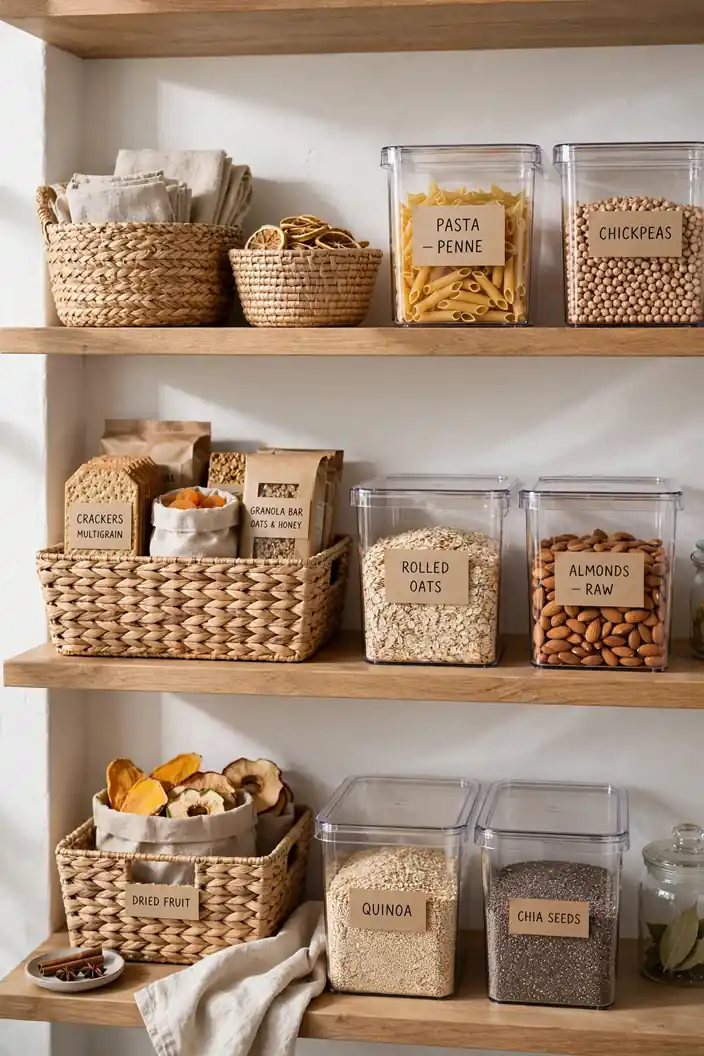
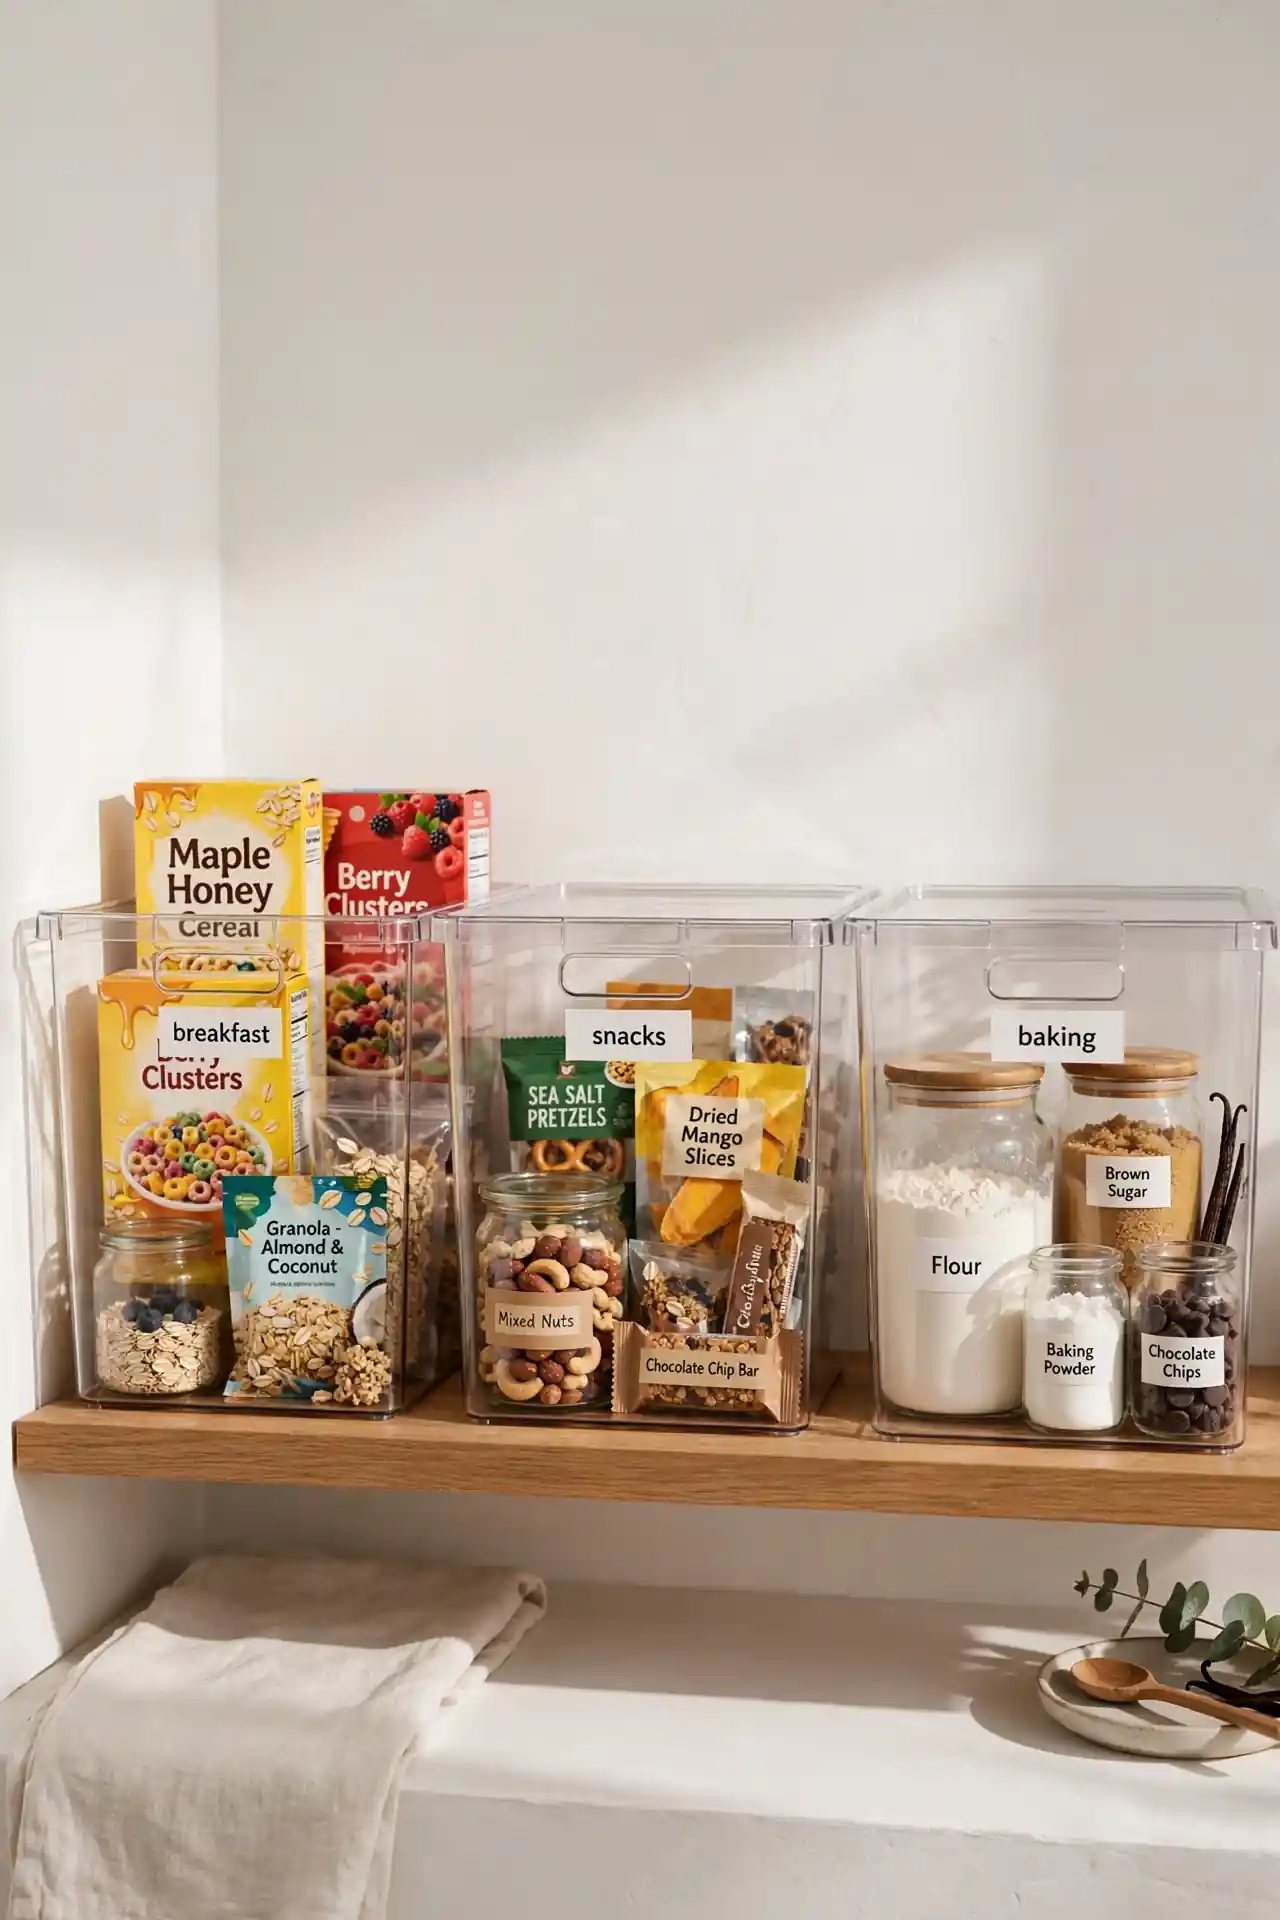
Grouping your pantry into clear zones is the fastest way to end the daily dig. Assign one bin for breakfast foods, one for snacks, one for baking, and one for dinner staples. When every category has a visible home, you stop buying duplicates. Clear bins work best because you can see what is inside without pulling everything out.
Start by pulling everything out and sorting it on the counter. Toss expired items, then group what remains into piles by category. Slide each pile into its own bin and place the bins back on the shelves with labels facing out. I have noticed that families who maintain these zones cut their grocery bills because they finally see what they already own.
Turntable Corner Fix
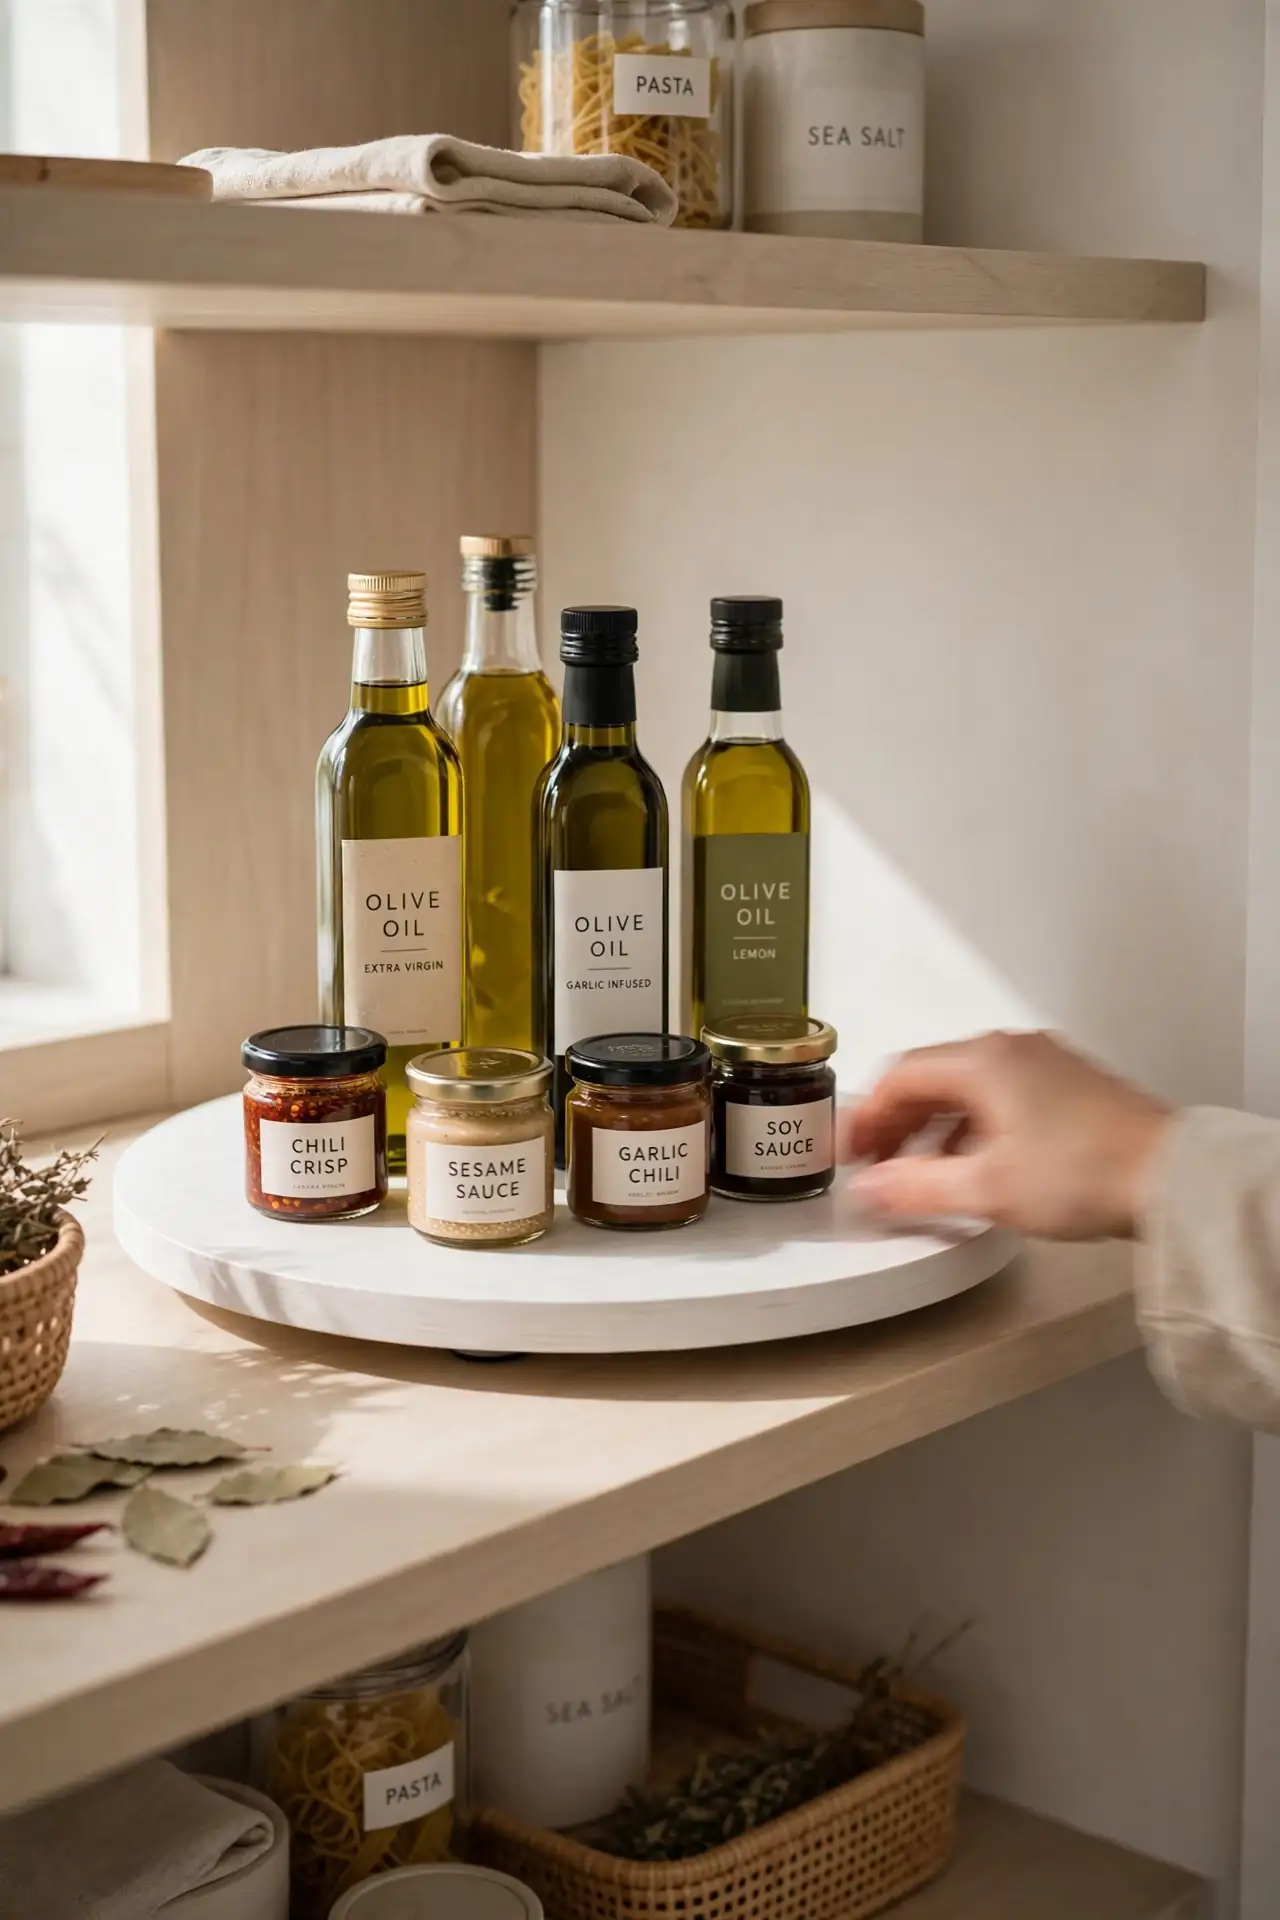
- Place a turntable on deep shelves so items in the back spin forward with one twist.
- Use one turntable for oils and vinegars, and another for sauces and condiments.
- Choose turntables with raised edges so bottles never slide off during the spin.
- Measure your shelf depth before buying so the turntable fits with room to rotate.
- Wipe turntables monthly since spills collect in the center over time.
Deep corners waste the most space in any small pantry. A turntable turns that dead zone into the most used spot on the shelf. I have seen this work well in many cases, especially for tall bottles that get lost in back rows. One spin brings everything into view without moving a single jar.
Door Rack Storage
Quick Tip: Hang a narrow over the door rack on the inside of your pantry door. Store spices, packets, and small jars in its shallow shelves. Keep the rack slim so the door still closes fully. This one move adds the storage of an entire extra shelf without taking any shelf space.
The back of the door is the most ignored surface in a small pantry. Shallow racks keep small items visible and reachable instead of buried behind tall boxes. I have noticed that spice packets and seasoning envelopes fit perfectly here. Choose a rack with adjustable shelves so it grows with your needs.
Shelf Riser Layers
BEFORE: Short cans and jars disappear behind tall boxes. You buy a second jar of cumin because you cannot see the first one. Half the shelf height goes unused while items stack in unstable piles.
AFTER: Wire risers lift the back row so every label faces you at a glance. Short items sit in front, tall items stand behind on the raised platform. Nothing hides, and the whole shelf reads like a tiny grocery store.
Risers cost less than ten dollars and need zero tools. Measure your shelf height so the riser plus your tallest jar fits underneath the next shelf. I have tried this in my kitchen, and it doubled what I could see. Stackable risers work best for renters who cannot drill.
Label Everything System
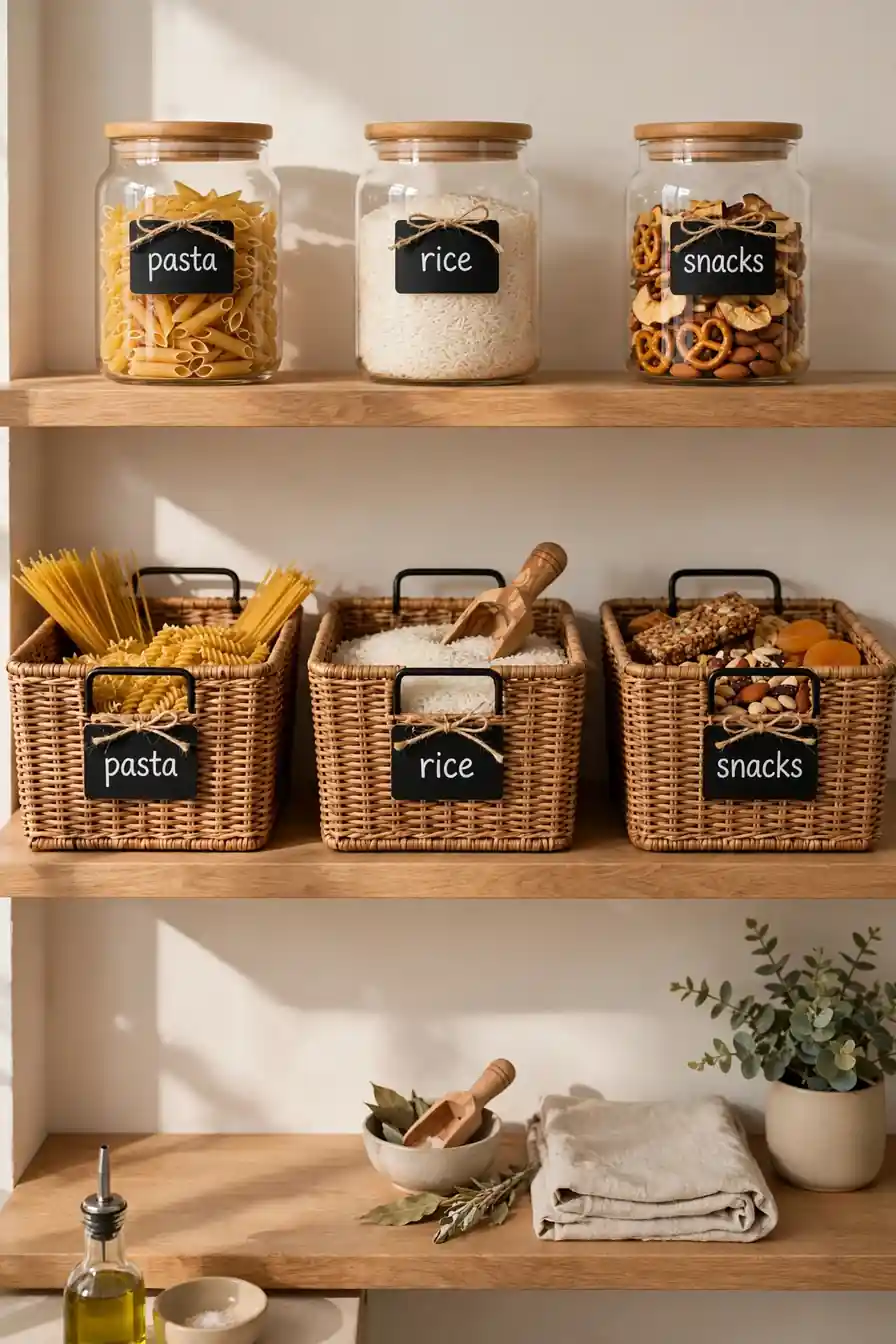
- Buy a label maker or a pack of chalkboard labels that stick to bins and jars.
- Write short names like pasta, rice, snacks, and baking on every container.
- Place labels on the front face so they read clearly from the doorway.
- Update labels the moment a bin changes purpose so the system stays honest.
Labels turn guesswork into a system everyone in the house can follow. Kids put snacks back in the right bin, and partners stop asking where the flour lives. That is why many experts recommend labeling even clear containers. Walk through your pantry once a season and refresh any label that has faded or changed.
Baskets vs Bins

| Feature | Woven Baskets | Clear Bins |
|---|---|---|
| Visibility | Hide clutter nicely | See contents instantly |
| Best for | Snacks and packets | Cans and dry goods |
| Cleaning | Shake out crumbs | Wipe with damp cloth |
| Look | Warm and textured | Modern and uniform |
Both baskets and bins earn their place in a small pantry. Use baskets where you want a softer look, like the snack zone, and clear bins where visibility matters most. I have noticed that mixing the two keeps the pantry pretty and practical. Match the container sizes to your shelf depth so nothing sticks out past the edge. Woven baskets also hide messy packets that would look chaotic in clear bins.
Can Dispenser Rows
DO:
- Stack cans two deep so the next can rolls forward.
- Group cans by type so soups never mix with vegetables.
- Check expiration dates each month and move older cans to the front.
- Use a gravity fed rack on deep shelves.
DON’T:
- Do not stack cans more than two high without a rack.
- Use dented cans first instead of mixing them with good ones.
- Do not place heavy cans on high shelves where they could fall.
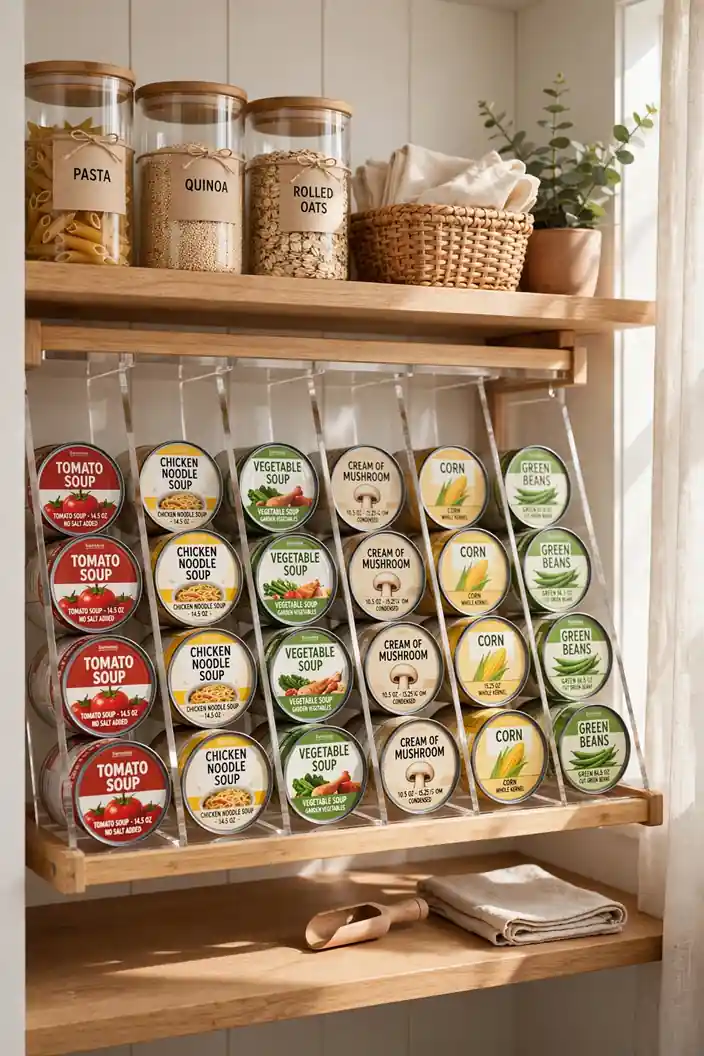
A can dispenser ends the avalanche that hits when you grab tomato sauce. Gravity rotates stock for you, so the oldest can always comes first. I have seen this work well in pantries with deep shelves. Measure can height before buying a rack so it fits.
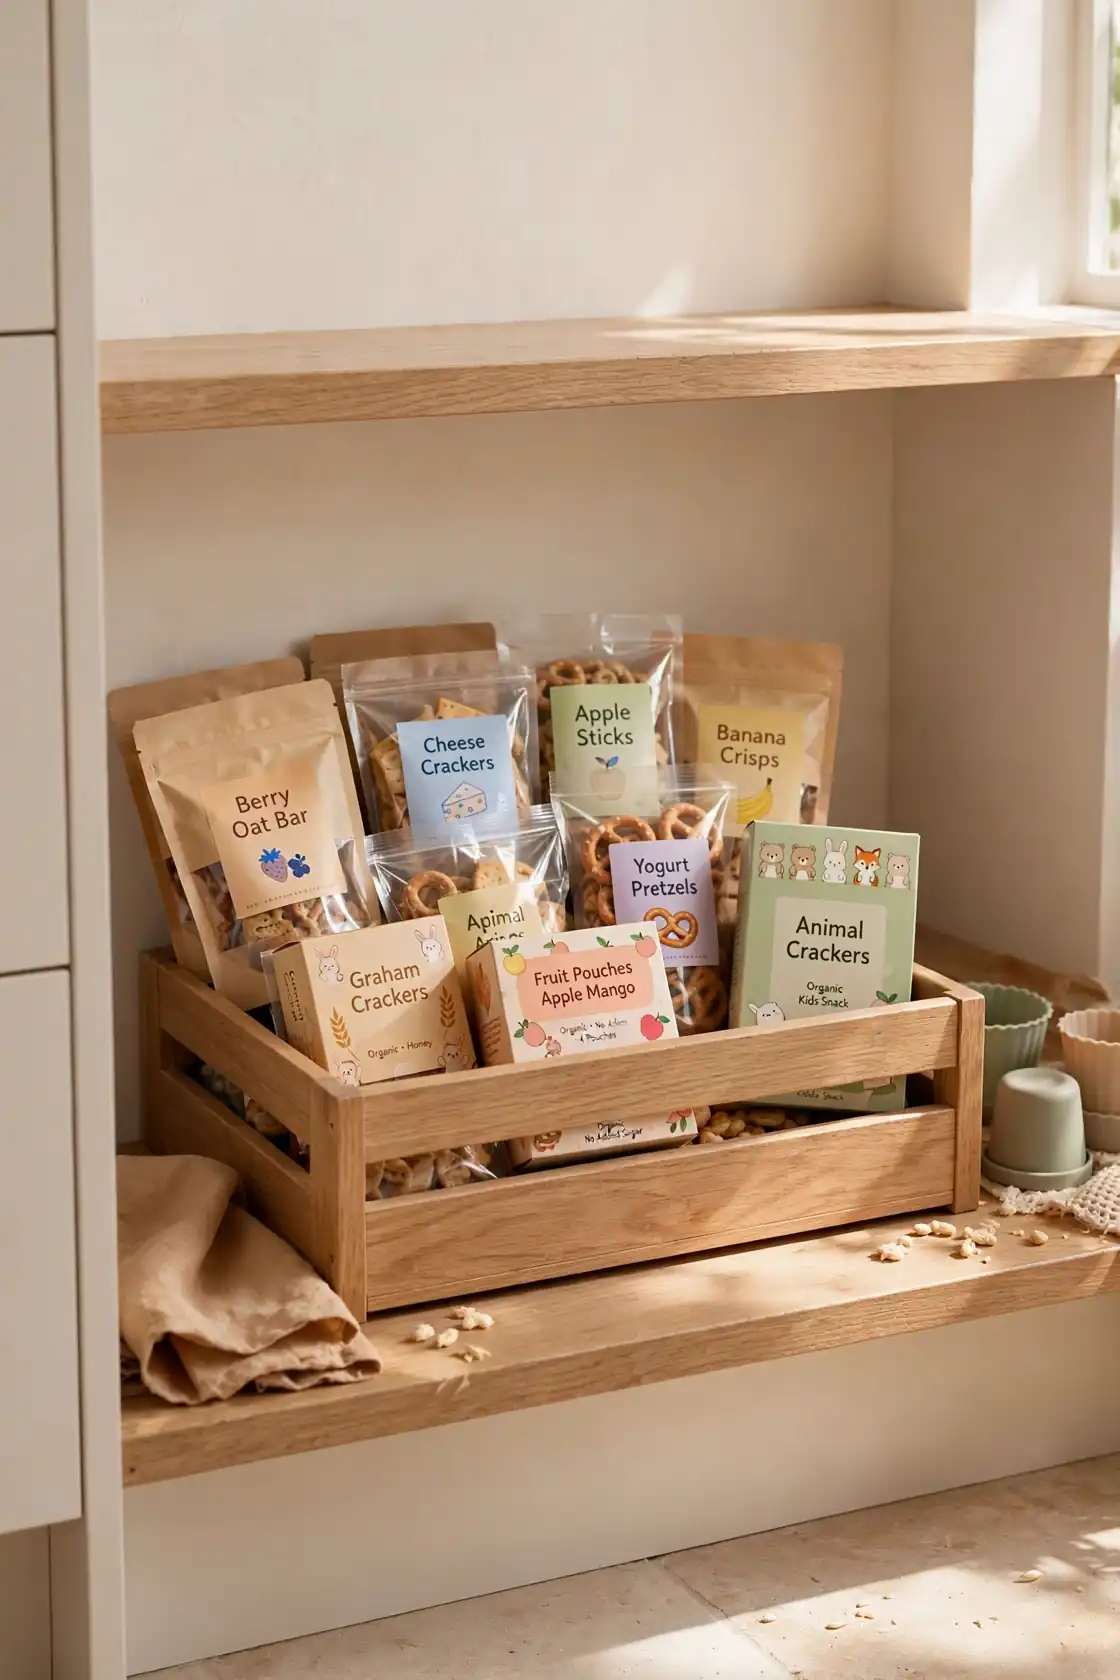
Snack Station Setup
Cost: Low | Time: One hour | Skill Level: Beginner | Best For: Families with kids
A dedicated snack station stops the all day pantry raid that leaves every shelf messy. Fill one low bin with portioned snacks kids can grab without asking, and keep it at kid height on the lowest shelf so little hands reach it safely. Refill the bin every Sunday with a fresh mix of crackers, fruit pouches, and granola bars. I have noticed that kids snack less mindlessly when portions are set. This single zone keeps the rest of your pantry calm and organized all week long.
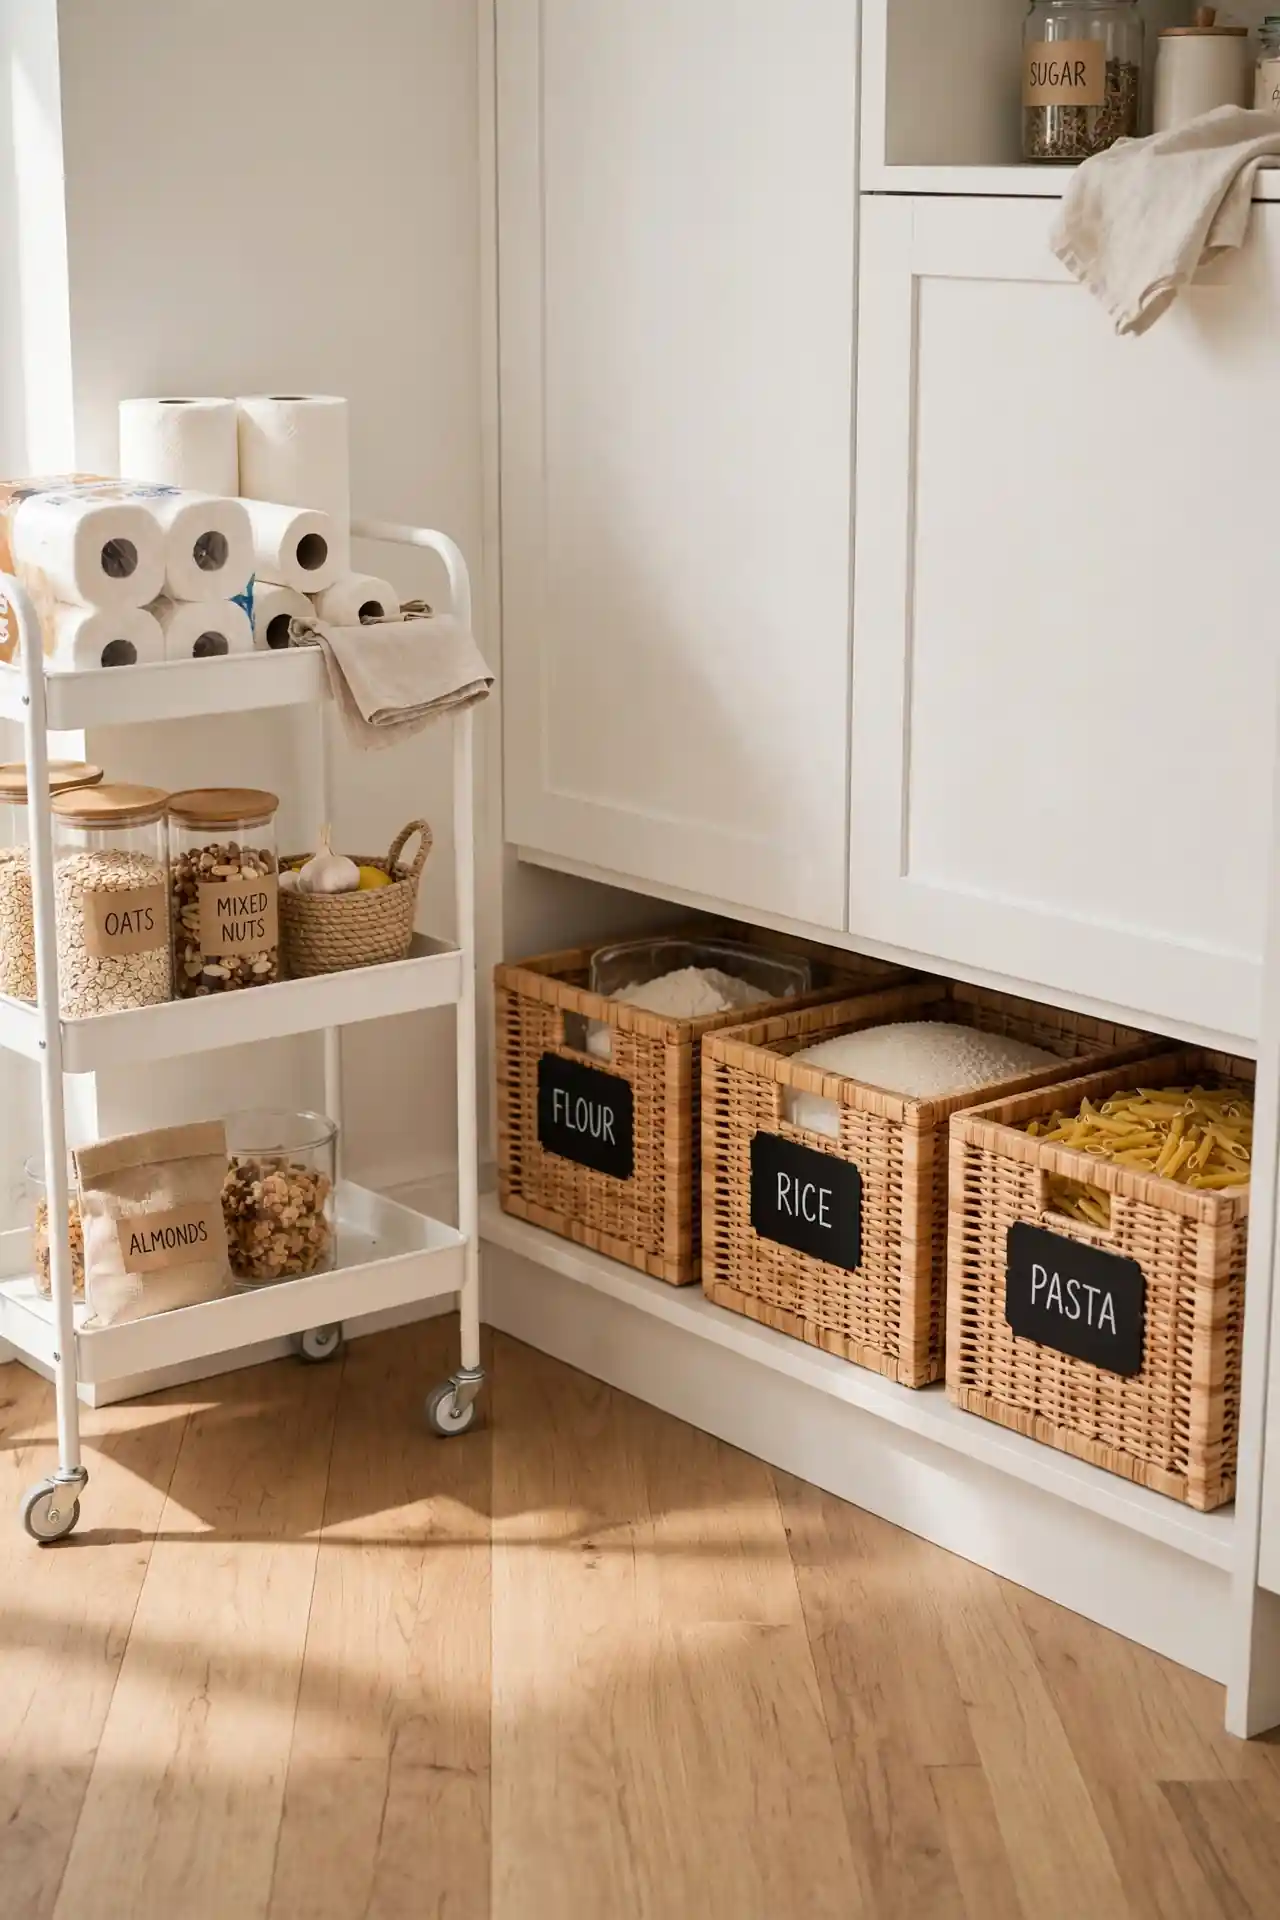
Decant Dry Goods
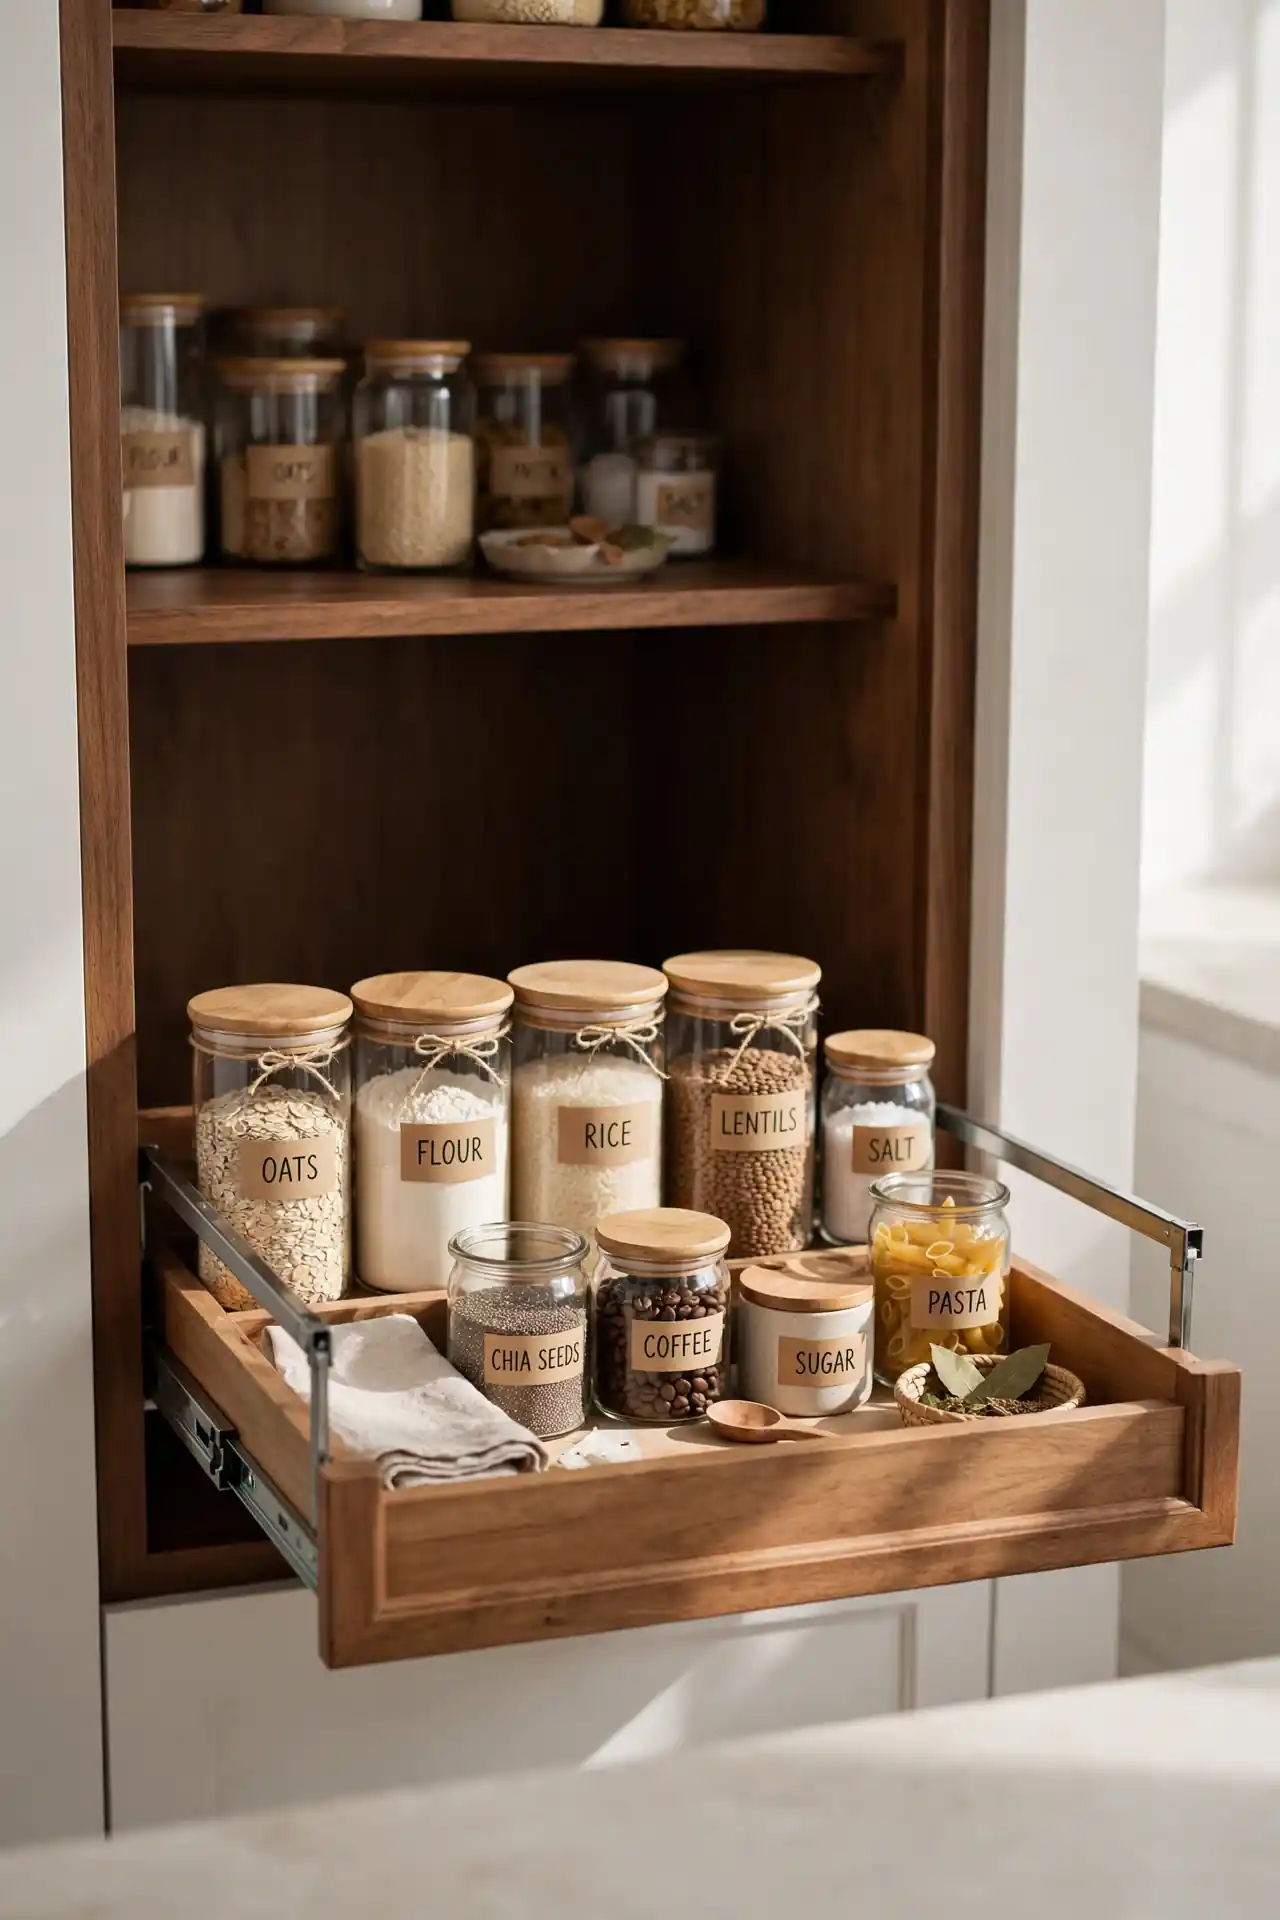
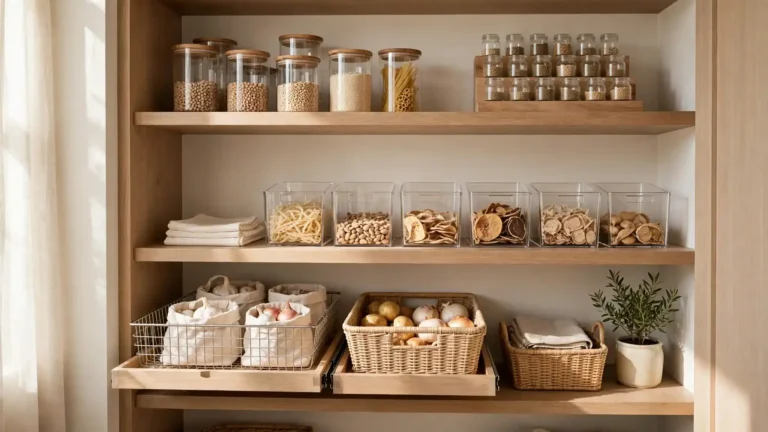
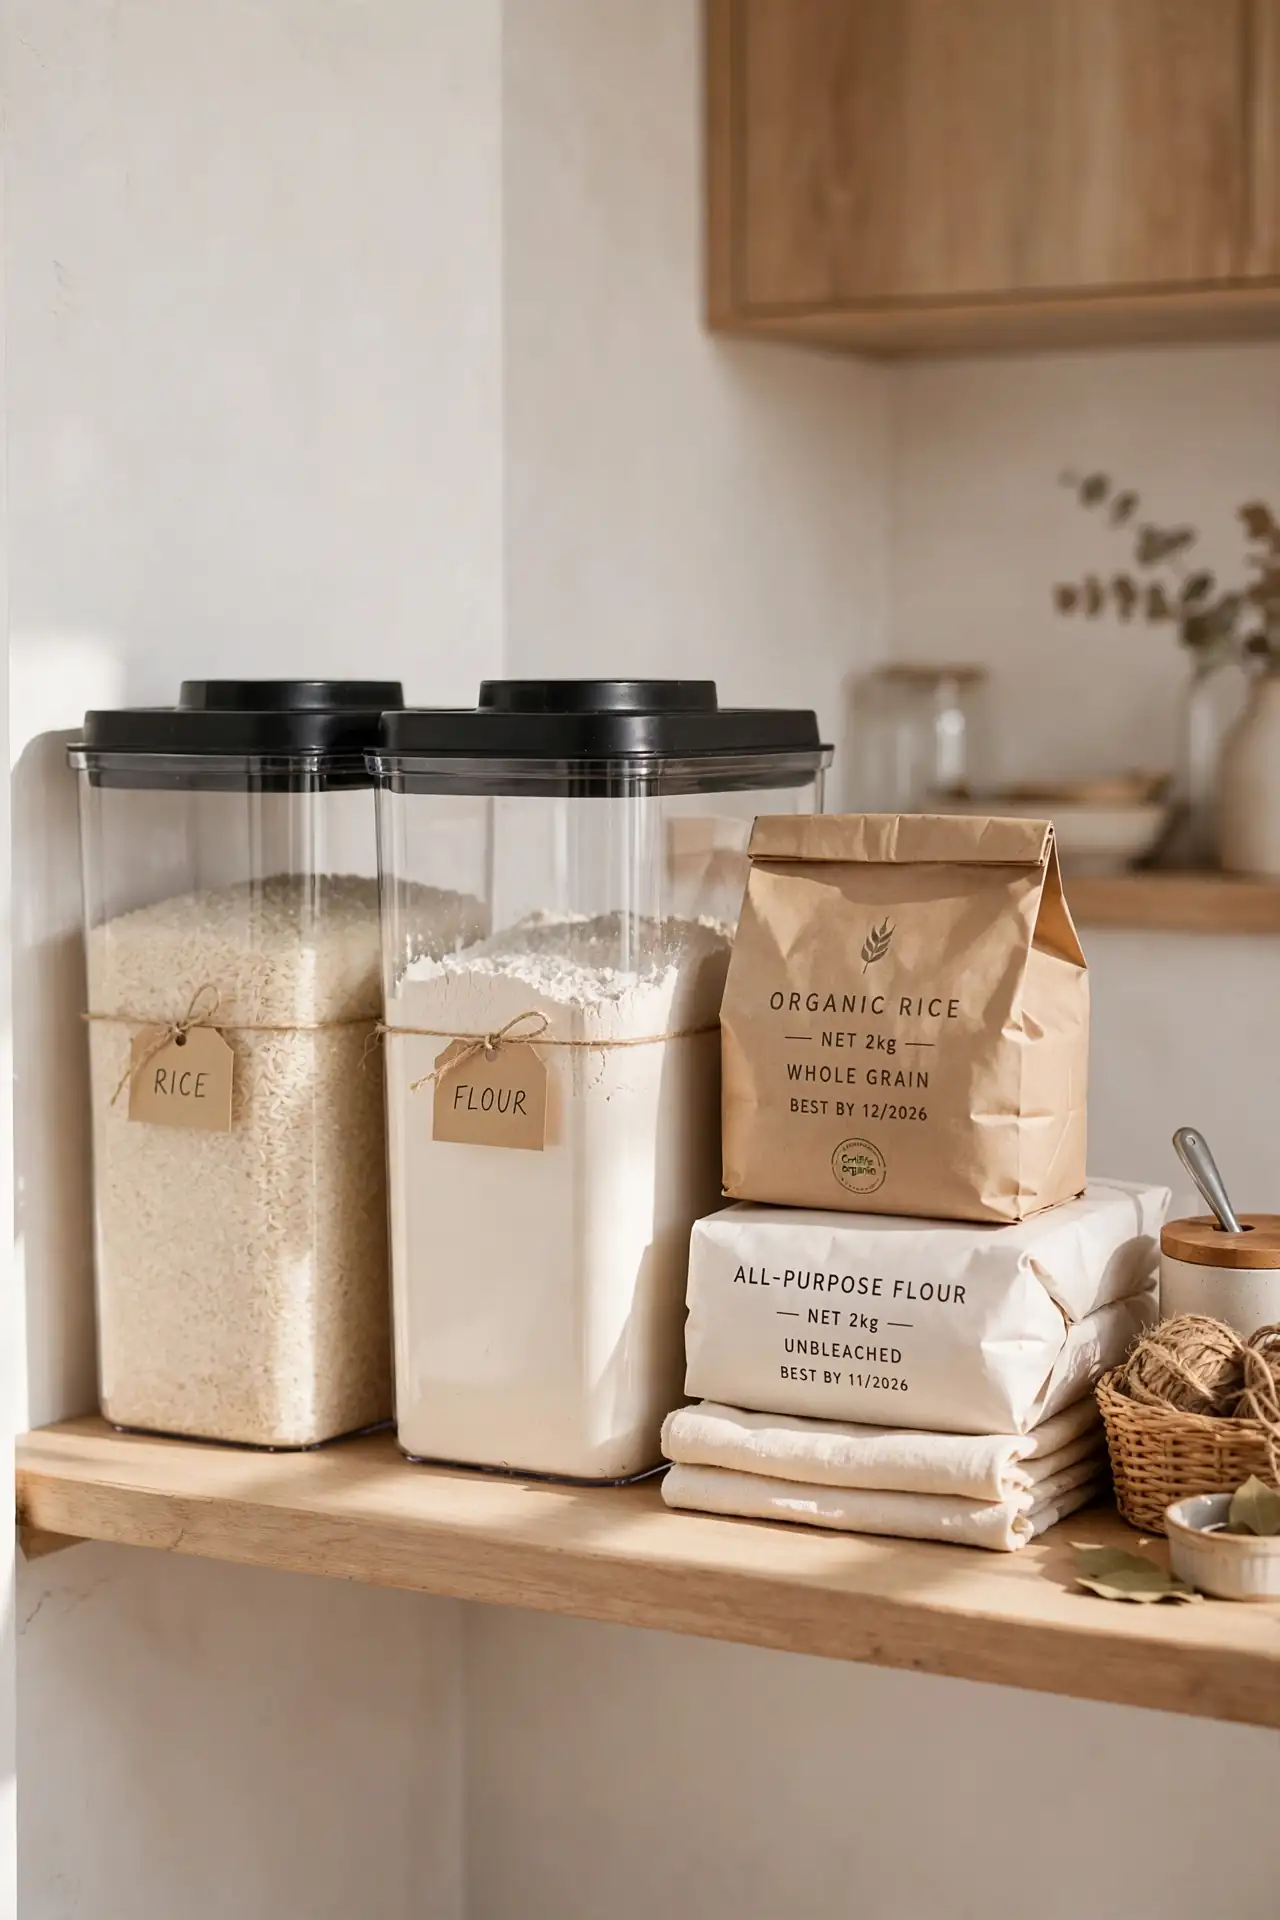
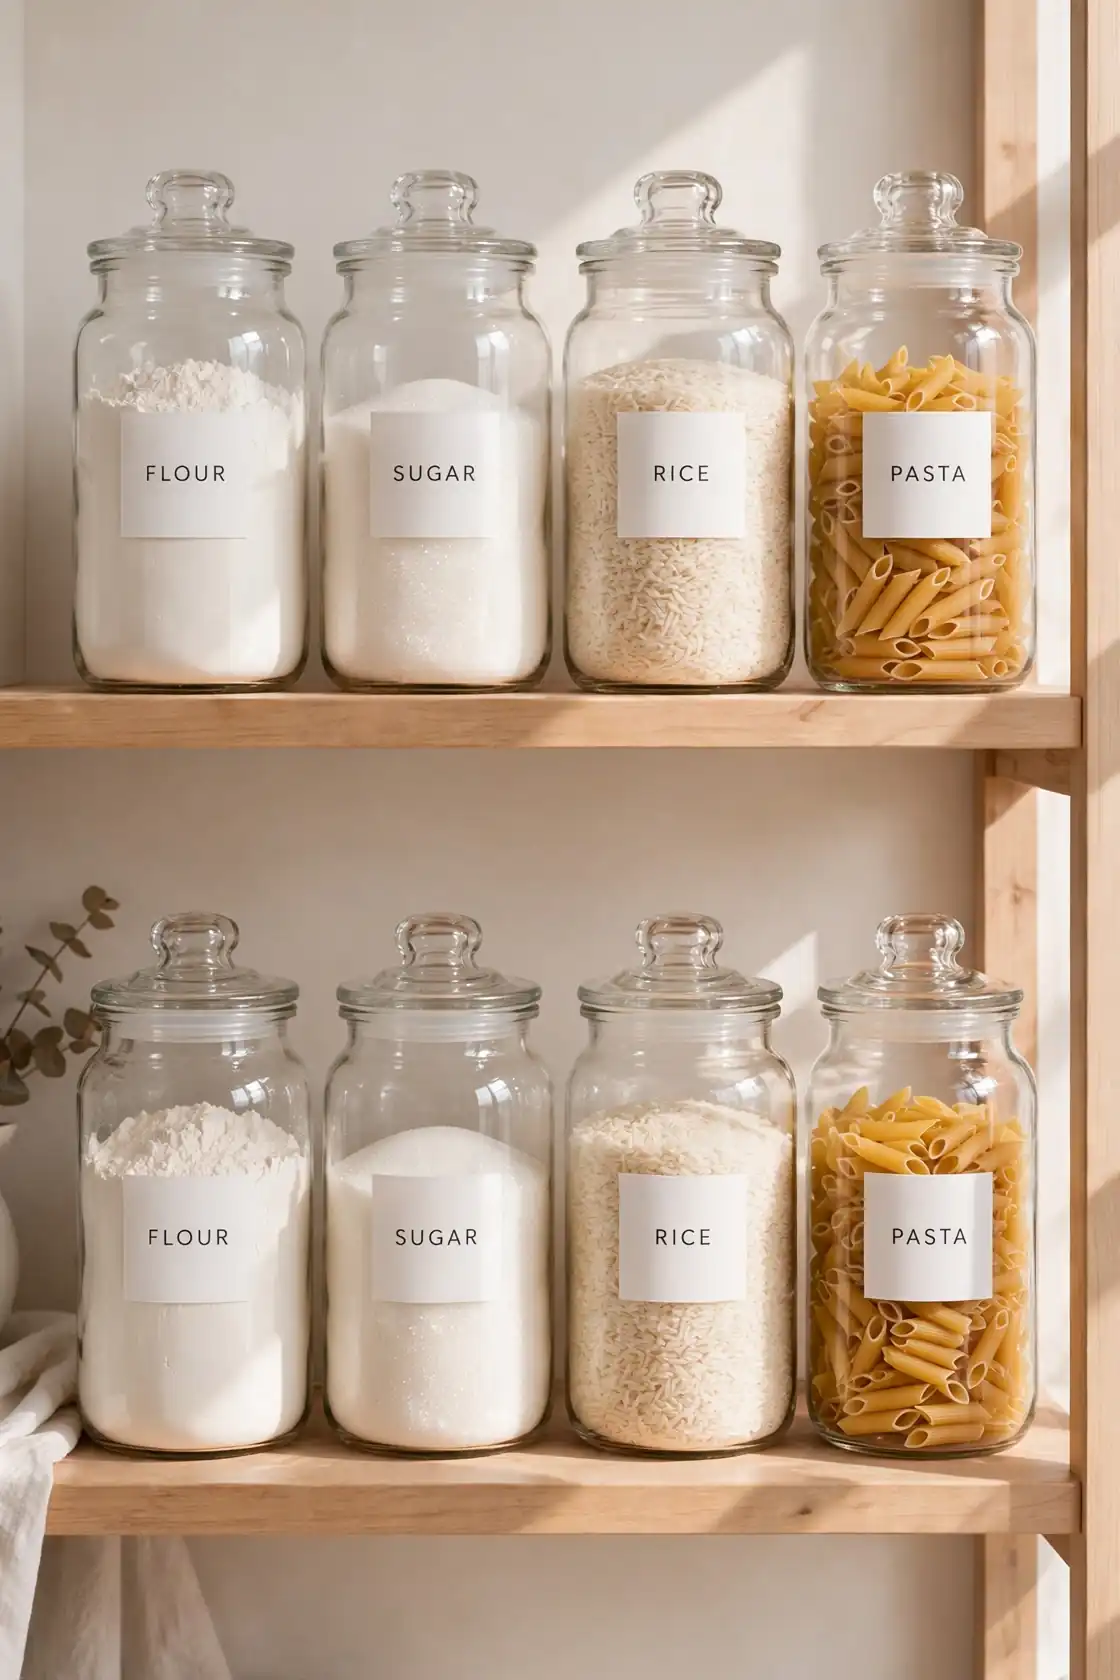
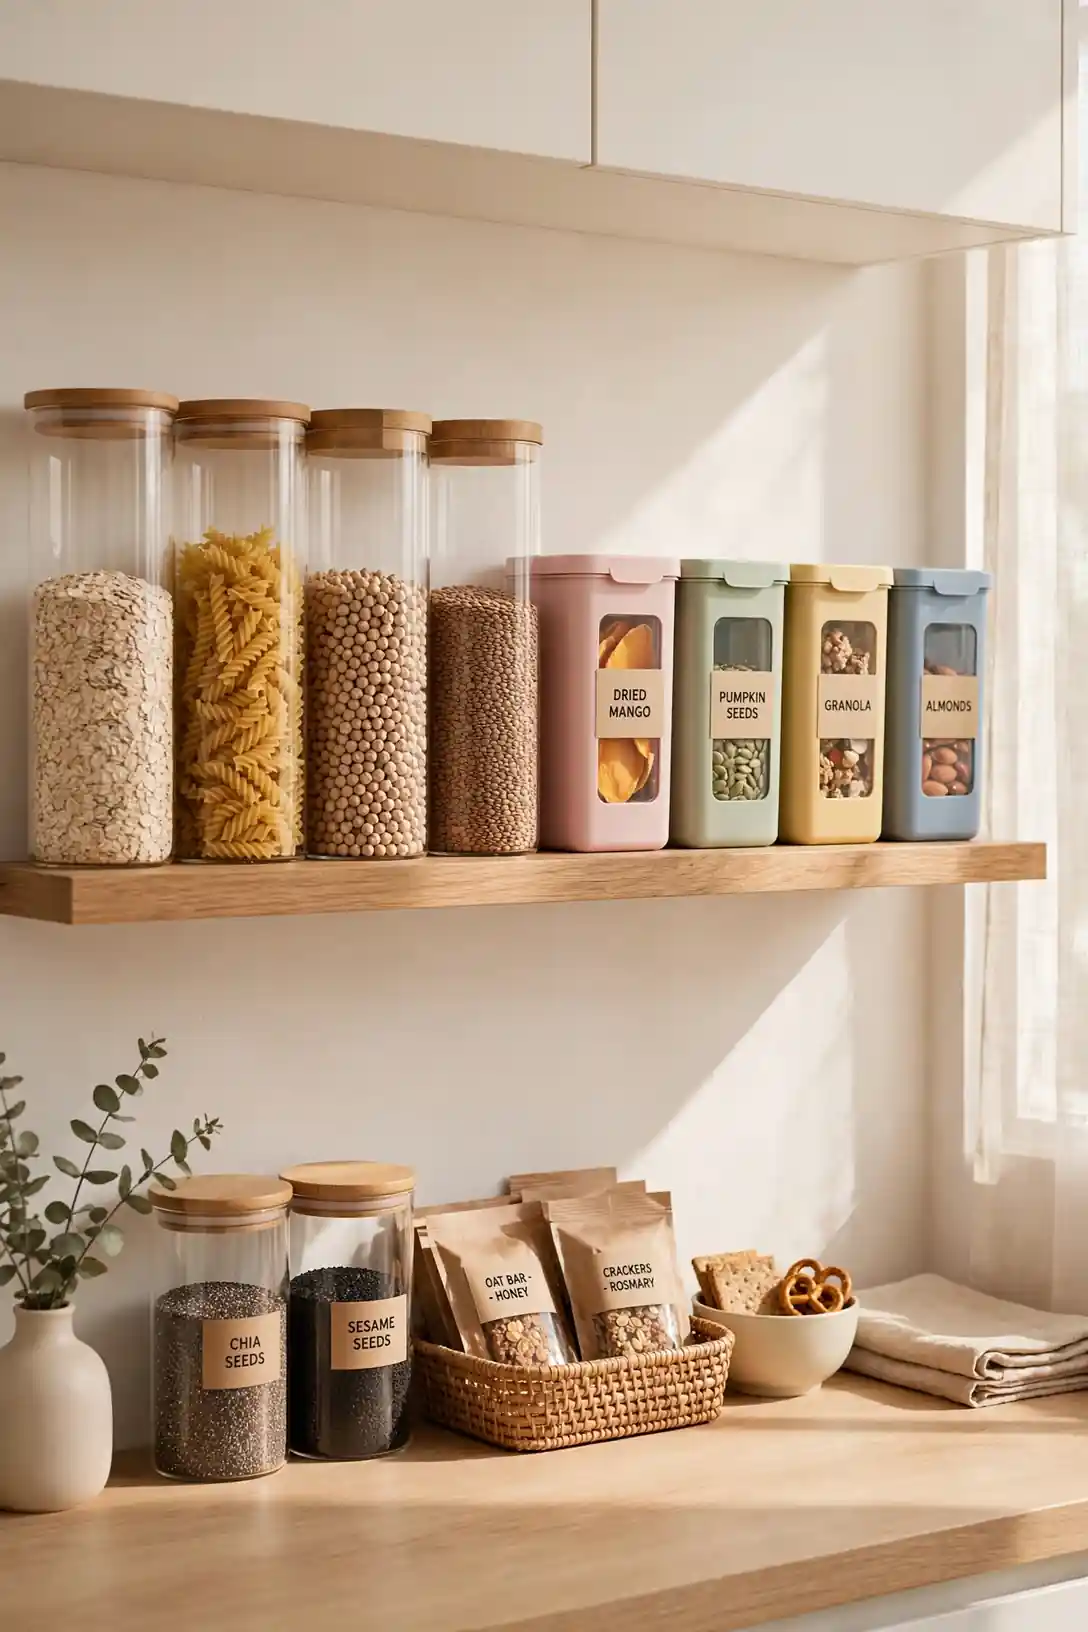
Transferring flour, sugar, rice, and pasta into matching clear containers is the fastest visual upgrade for a small pantry. Uniform jars stack neatly and show exactly how much remains, so you never run out mid recipe. Square containers waste less space than round ones on narrow shelves. Choose airtight lids to keep everything fresh twice as long.
Start with the five dry goods you use most and buy containers to fit them. Wash and dry each container fully before filling to prevent clumps. Pour from the bag slowly, then label the jar with the contents and date. I have tried this system myself, and my pantry finally looks like the organized photos I used to save.
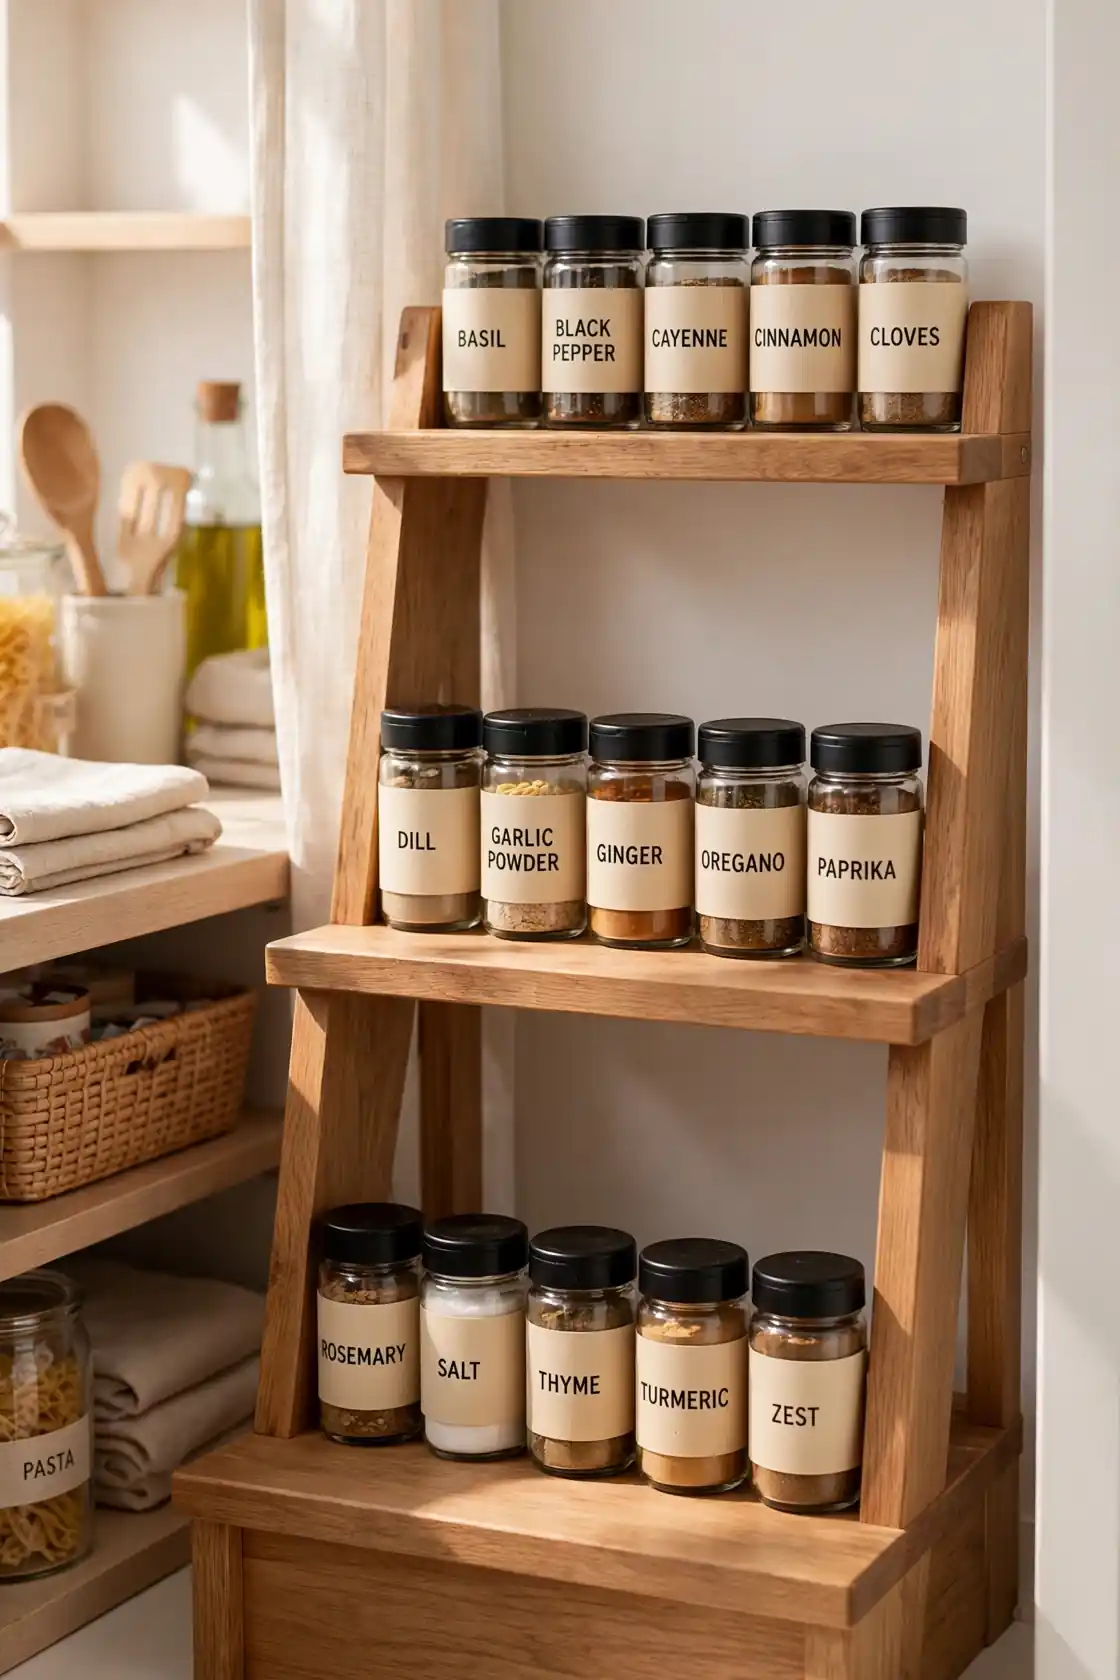
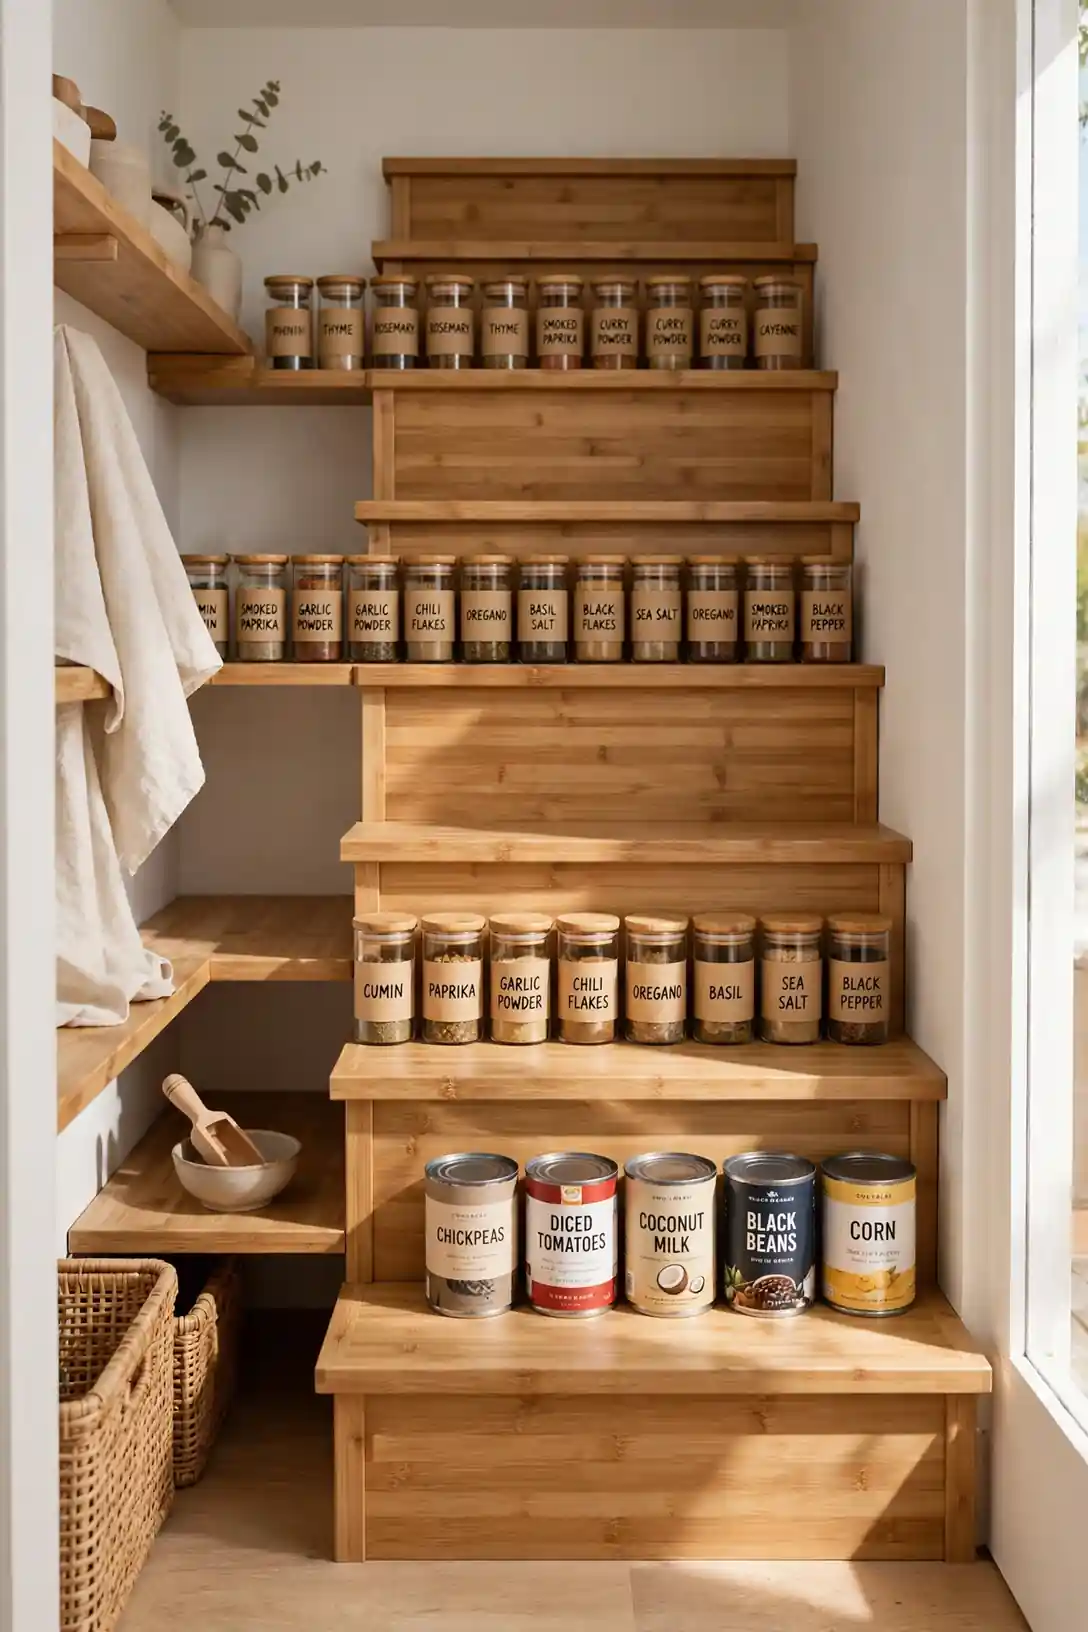
Spice Stair Shelves
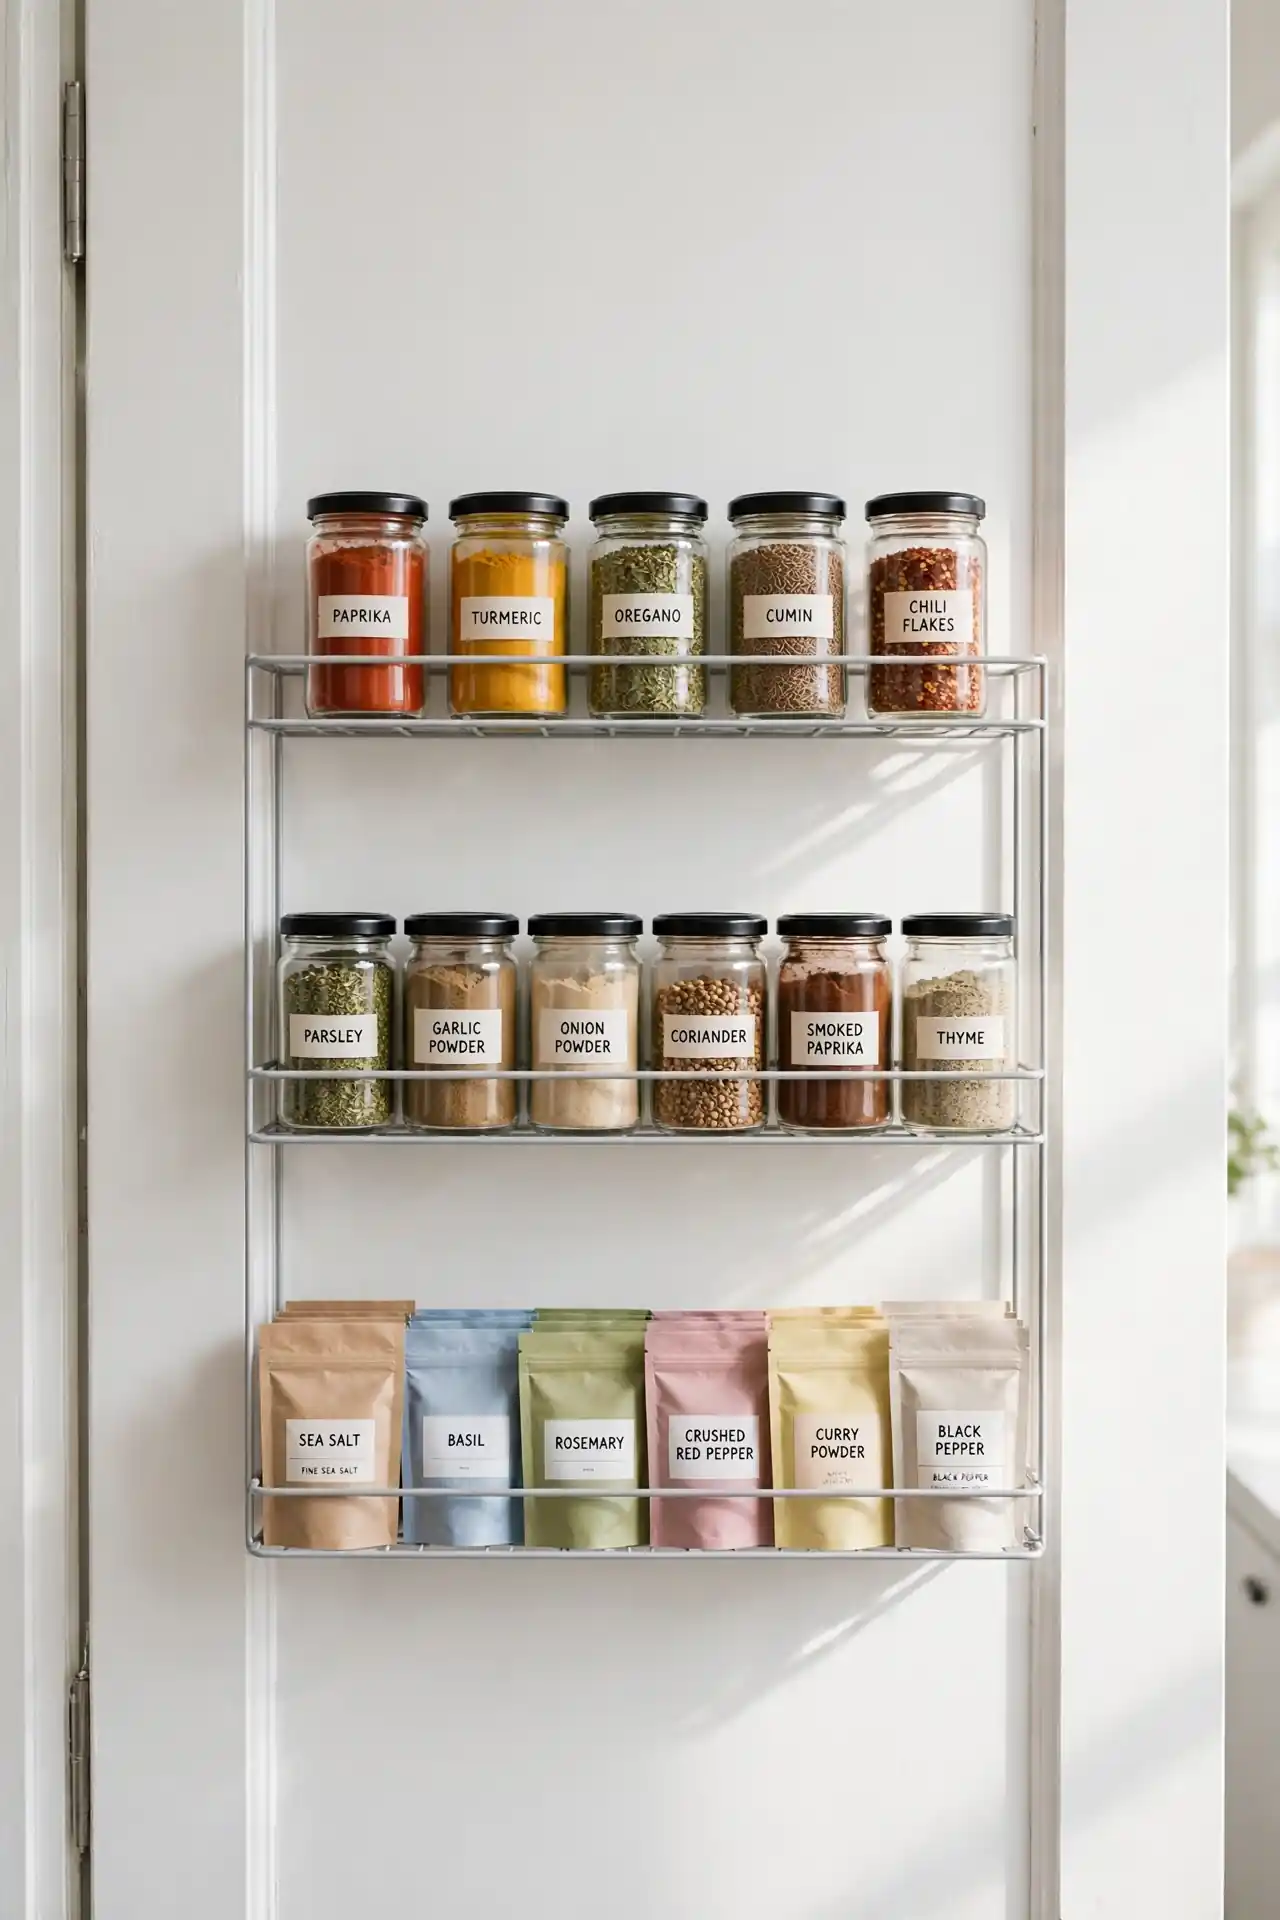
- Set a small three tier stair shelf inside the pantry for all your spice jars.
- Arrange spices alphabetically so you find paprika without scanning every label.
- Keep everyday spices on the top step and rare ones on the bottom.
- Choose a stair shelf that fits your shelf depth with room to spare.
- Decant bulk spices into small matching jars for a uniform look.
Spice jars are the worst offenders for pantry clutter because they are small and many. A stair shelf lifts each row into view so no jar hides behind another. I have seen this work well in many cases, especially for cooks with more than twenty spices. Alphabetical order makes cooking faster and grocery lists easier.
Hanging Basket Hooks
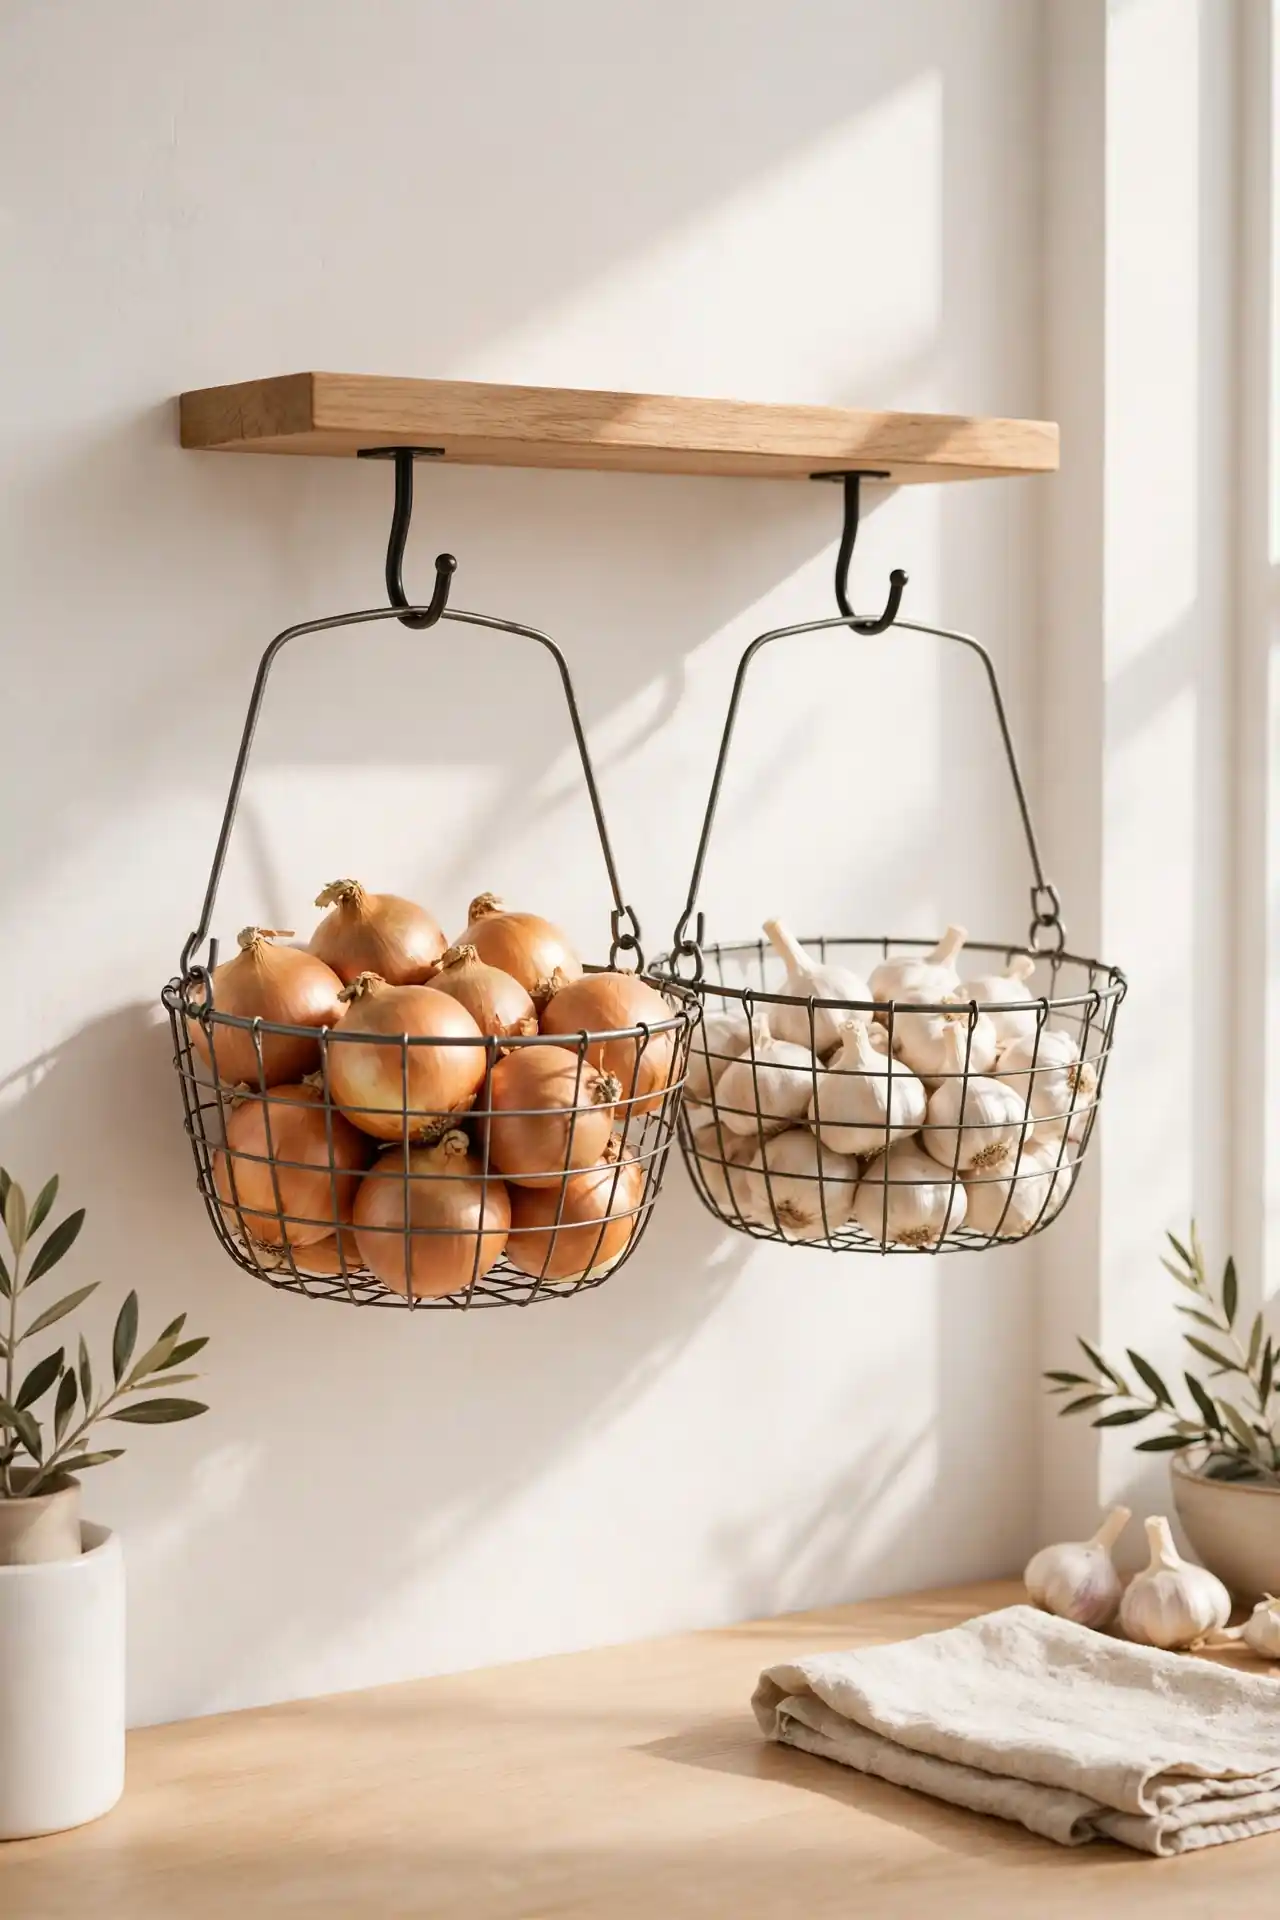
Quick Tip: Screw two small hooks under a sturdy pantry shelf and hang wire baskets from them. Fill the baskets with onions, garlic, or potatoes that need air flow. Keep the baskets shallow so they do not block the shelf below. This trick adds storage in the dead air between shelves.
The gap between shelves often goes to waste in a small pantry. Hanging baskets turn that empty air into prime storage for produce that should not sit in plastic. I have noticed that onions last weeks longer with proper air flow. Choose hooks rated for five pounds so they hold a full basket safely.
Overlooked Floor Space
BEFORE: The pantry floor collects random bags and items that fell off shelves. This dead zone becomes a jumble you avoid looking at. Every inch of floor space goes to waste while shelves overflow.
AFTER: A low rolling cart or a row of floor bins turns the base of your pantry into useful storage. Bulky items like paper towels and pet food slide in neatly. The floor stays clear, and everything has a designated spot.
Measure your floor area before buying any cart so it rolls freely. Choose bins with lids to keep dust off stored items. I have tried a slim rolling cart myself, and it holds an entire bulk shopping trip. Keep heavy items low so the cart stays stable.
Meal Plan Zone
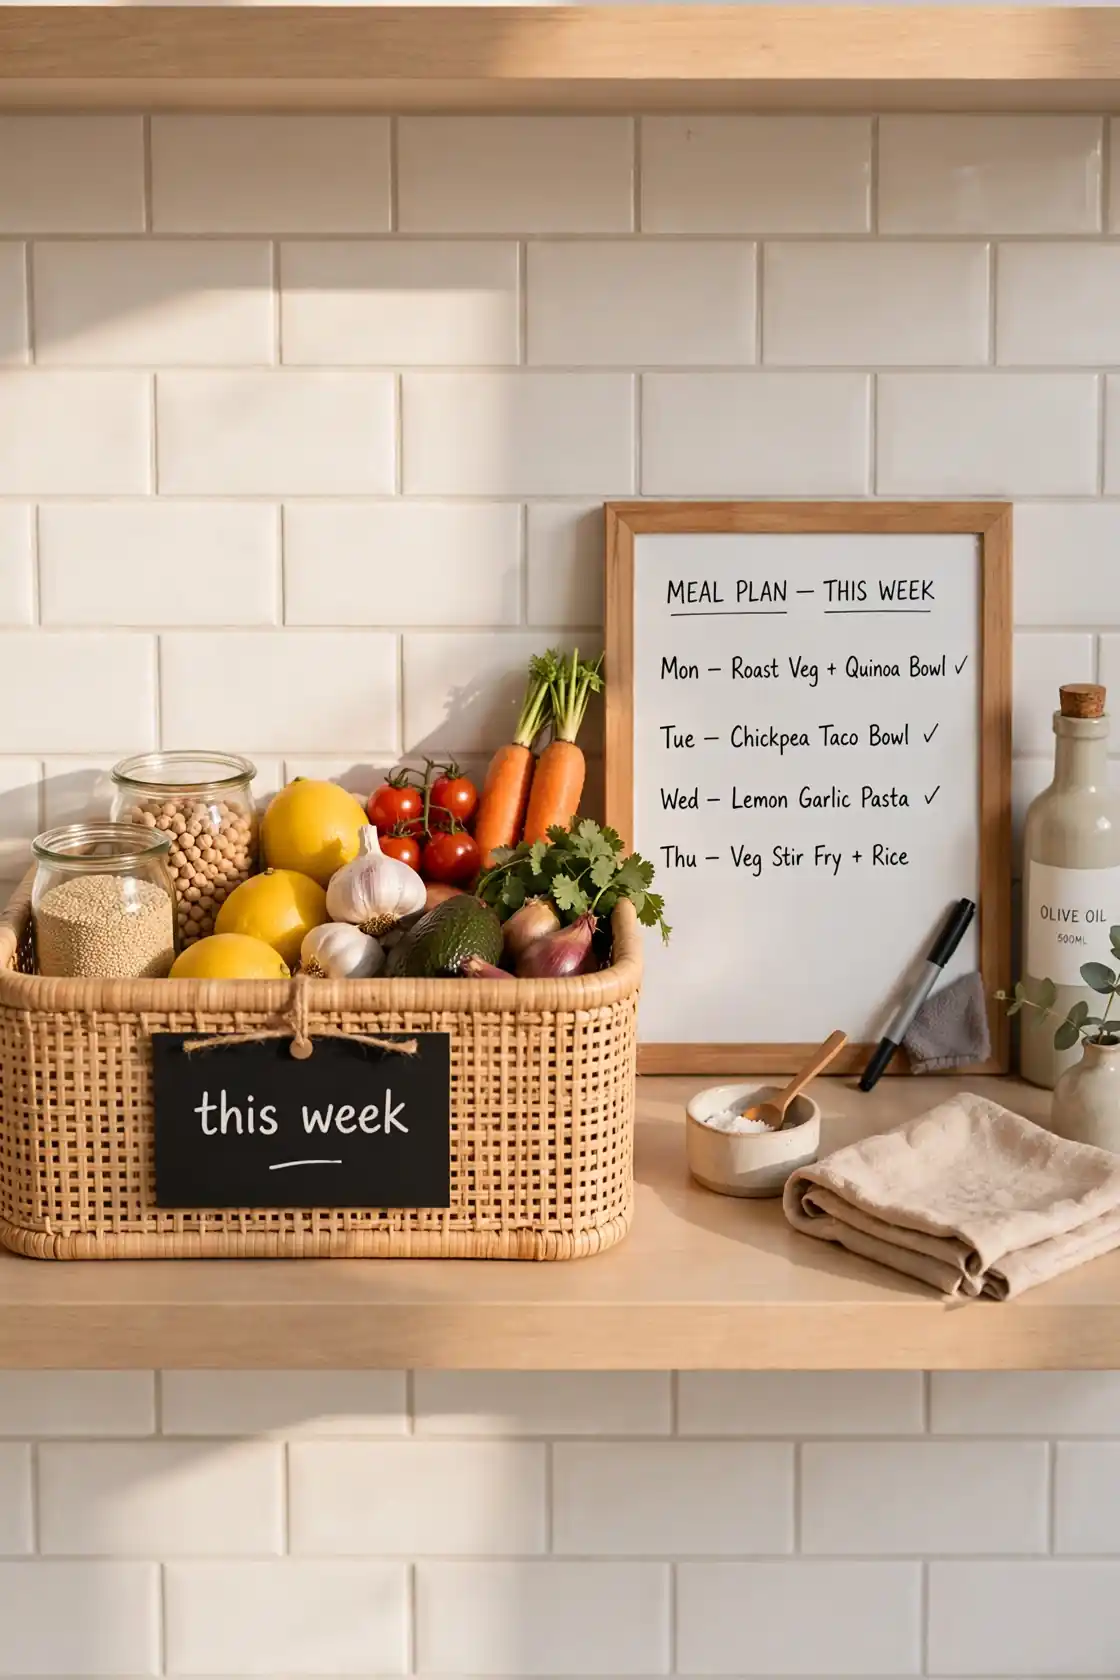
- Dedicate one shelf or bin to the ingredients for this week’s planned meals.
- Shop with a list, then group the week’s items together as you unpack.
- Place a small whiteboard nearby listing the five dinners for the week.
- Return leftovers to the same zone so nothing gets forgotten in the back.
A meal plan zone keeps your cooking calm and fast. When every ingredient for Tuesday dinner sits together, you stop hunting shelves at six in the evening. For more dinner prep inspiration, explore these weekly meal planning ideas that pair with an organized pantry. I have seen this work well in many cases for families.
Glass vs Plastic Jars
| Feature | Glass Jars | Plastic Containers |
|---|---|---|
| Durability | Lasts for years | Scratches over time |
| Visibility | Crystal clear view | Clouds with use |
| Best for | Flour and grains | Kids snacks |
| Cost | Higher upfront | Budget friendly |
Both glass and plastic containers organize a pantry well, so choose based on your needs. Glass keeps dry goods fresher longer and looks beautiful on open shelves. Plastic wins for kid zones where drops happen daily. I have noticed that most organized pantries use a mix of both without any guilt. Start with glass for staples you buy in bulk, then add plastic bins for lunchbox snacks. Replace cracked plastic right away so the system stays safe and clean.
Tiered Step Shelves
DO:
- Use tiered shelves for cans, jars, and daily spices.
- Place the tallest items on the back step and shortest in front.
- Anchor freestanding tiers against the wall so they never tip.
- Choose expandable tiers that fit your shelf width.
DON’T:
- Do not overload the top step with heavy glass jars.
- Do not use tiers on shelves too shallow to hold them.
- Do not skip measuring; a tier that sticks out blocks the door.
Tiered shelves work like stadium seating for your pantry goods. Every row stays visible, so you grab what you need without moving other items first. I have tried bamboo tiers myself, and they look warm while holding serious weight. Wipe them monthly since crumbs hide under the steps.
Backstock Rotation Bin
Cost: Low | Time: Thirty minutes | Skill Level: Beginner | Best For: Bulk shoppers
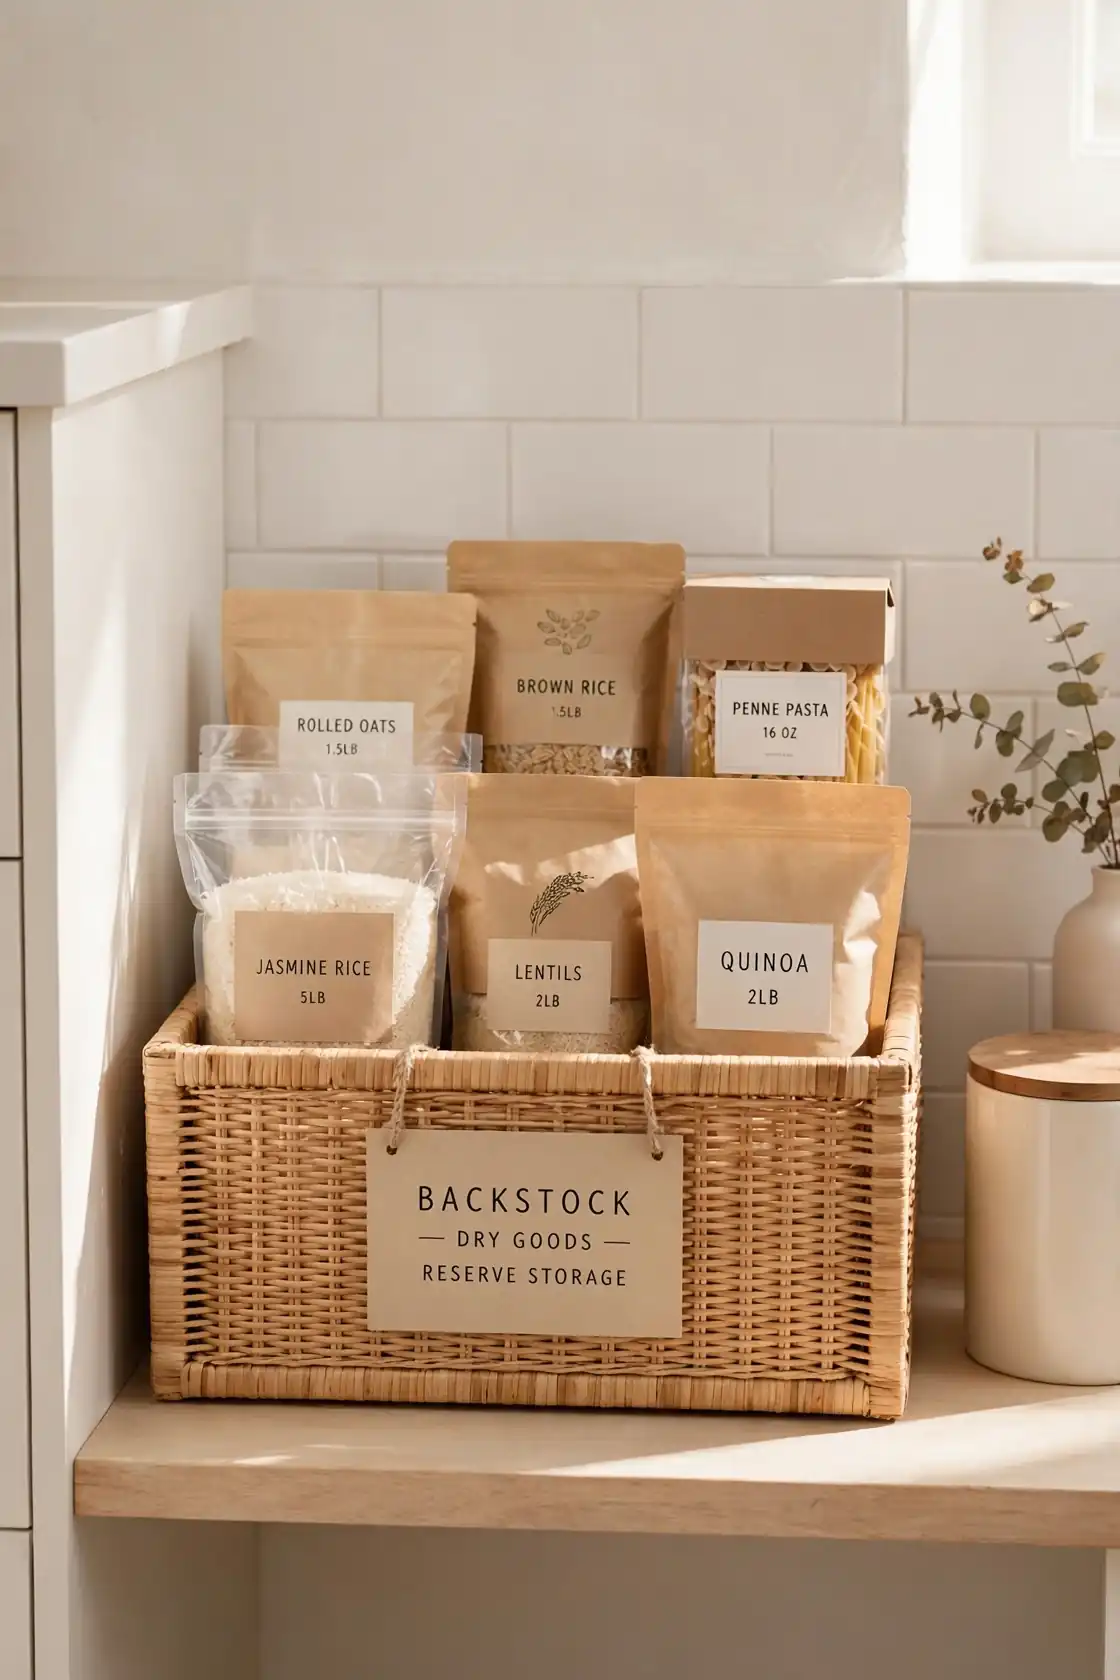
A backstock bin holds your extras so the main shelves never overflow. When you buy two bags of rice, one lives on the shelf and the backup waits in the bin below. Pull from the bin only when the shelf jar runs empty, then add the item to your grocery list. This rotation stops three open bags going stale at once. I have noticed bulk shoppers waste far less food this way. Label the bin backstock so everyone knows it holds the reserve. Check it monthly and use older items first.
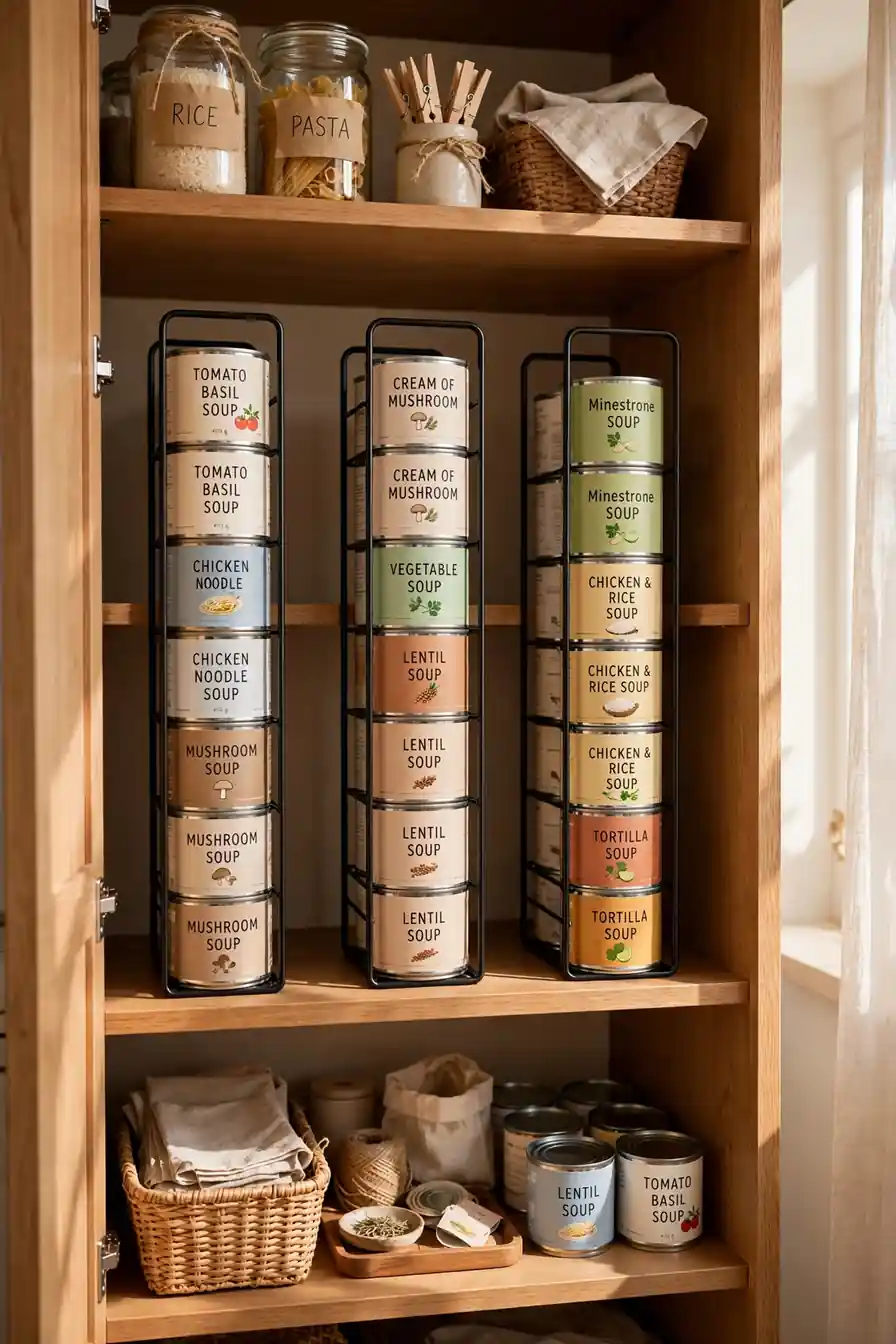
Vertical Can Stackers
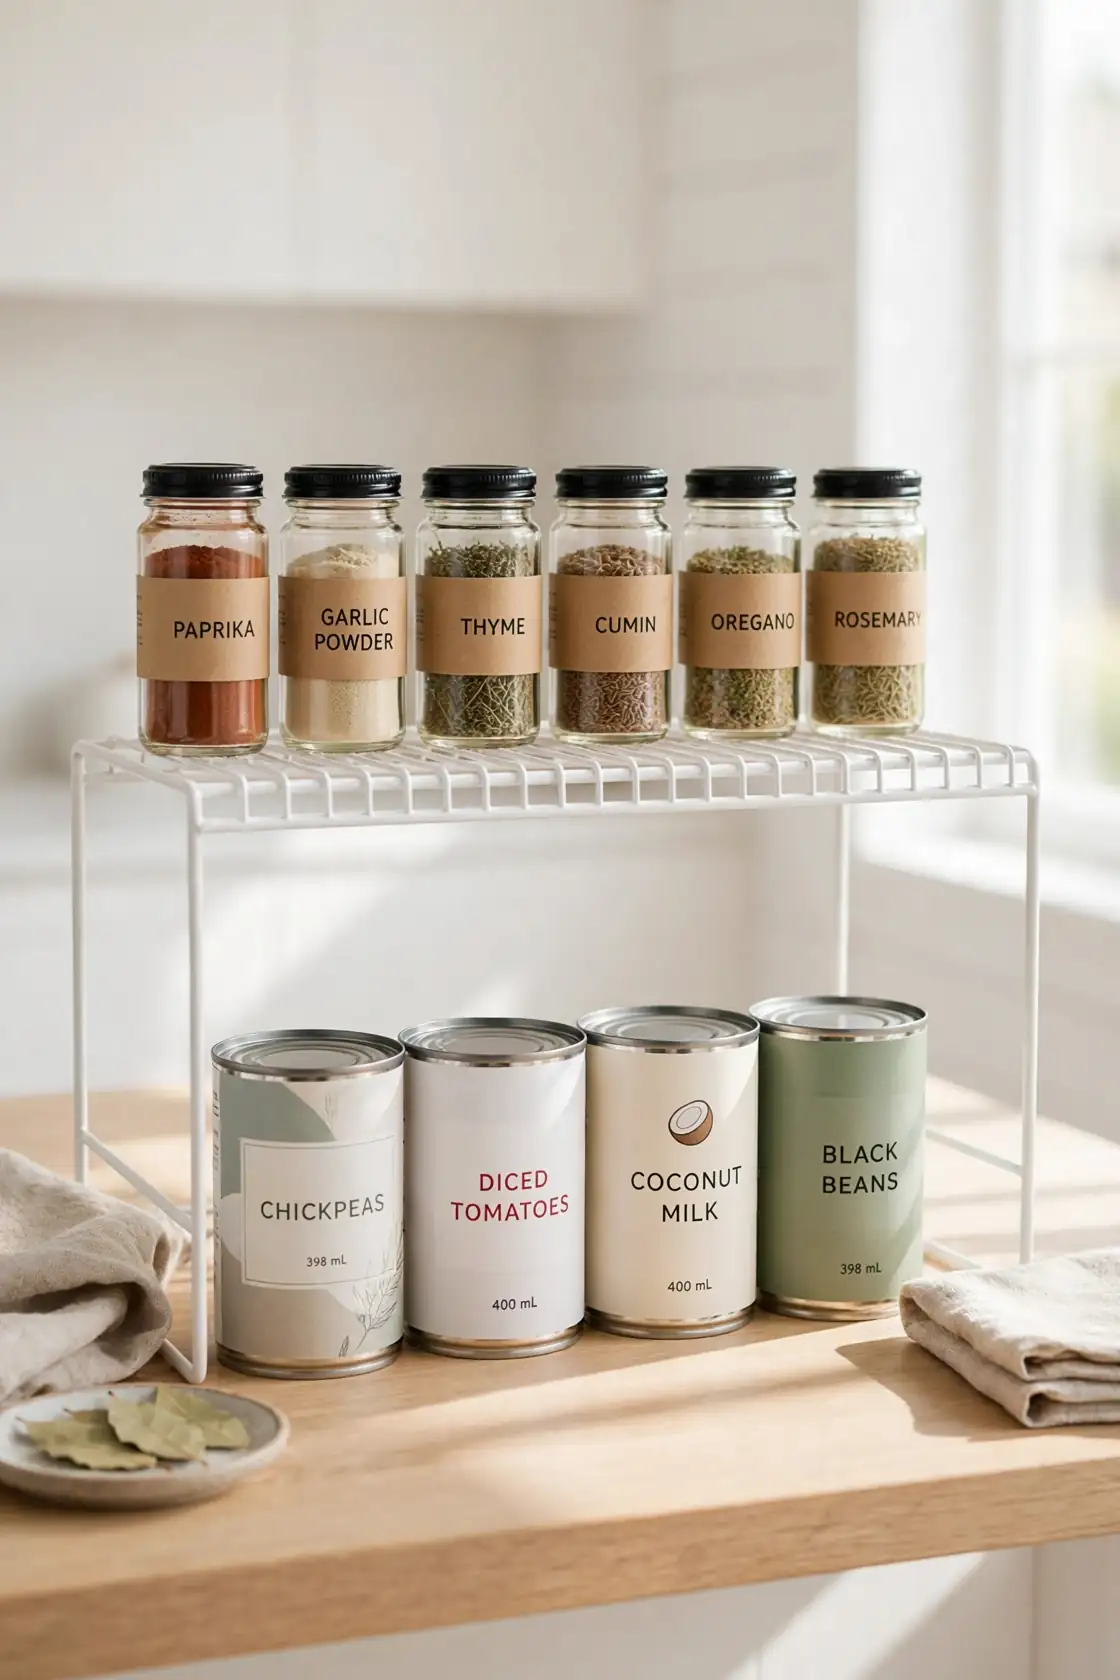
Stacking cans vertically in narrow dispensers saves shocking amounts of shelf space. These slim holders line cans in a single file, so ten cans fit where four used to sit. Look for stackers with a front opening that lets you pull the bottom can while the rest slide down. They work beautifully for soups, vegetables, and tuna.
Measure your shelf height before ordering since stackers come in tall and short sizes. Group one stacker per can type so labels stay easy to read. I have seen this work well in many cases, especially in pantries narrower than two feet deep. Refill from the top and always use the bottom can first.
Chip Clip Station
- Mount a small magnetic strip inside a cabinet door to hold chip clips.
- Clip every opened bag the moment you open it, not later.
- Keep bag clips in one visible spot so the whole family uses them.
- Choose colorful clips so they are easy to spot in a busy pantry.
- Toss stretched out clips yearly and replace them with fresh ones.
Stale chips are almost always a clip problem, not a pantry problem. When clips live in one obvious station, everyone seals bags without thinking. That is why many experts recommend keeping clips visible rather than buried in a drawer. I have noticed snack bags stay fresh twice as long with this tiny habit.
Magnetic Spice Wall
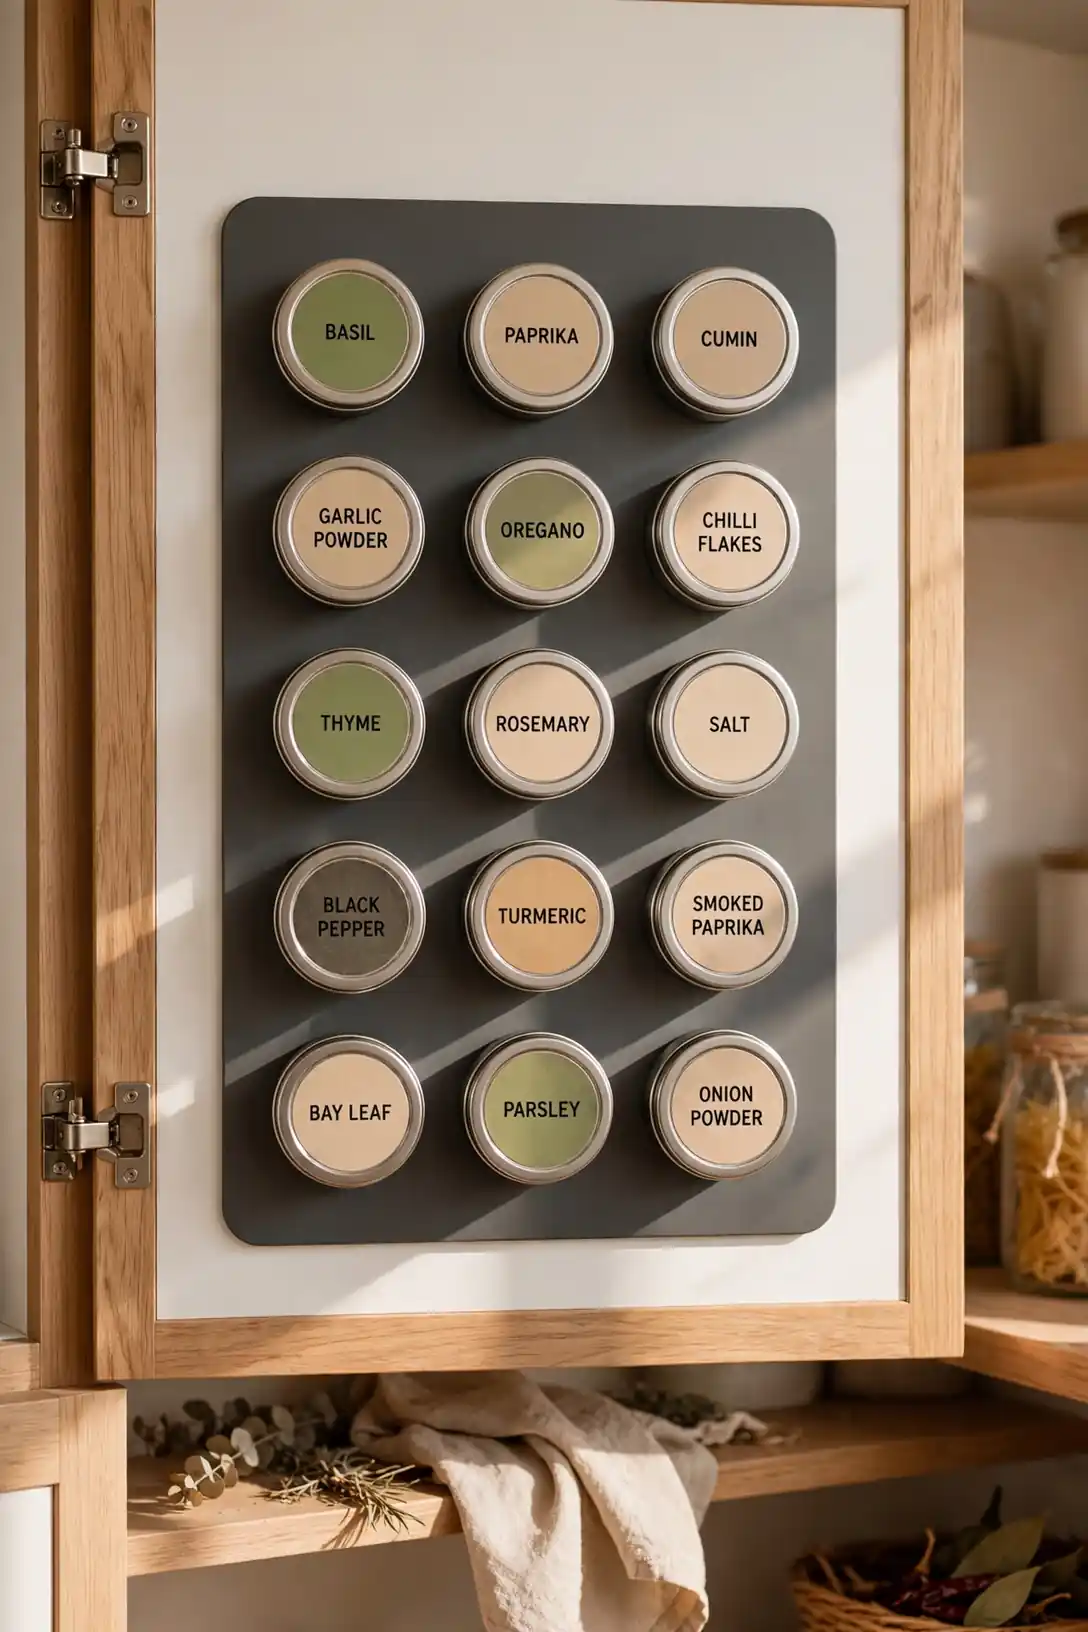
Quick Tip: Stick small magnetic tins to a metal board mounted inside your pantry door or on a side wall. Fill each tin with your most used spices and label the lids clearly. Keep the board at eye level so you read labels without bending. This frees an entire shelf for bigger items.
Wall space is free real estate in a small pantry. Magnetic tins turn a flat door into a spice display you can scan in seconds. I have tried this myself, and cooking feels faster when spices face you directly. Choose tins with clear lids so you see the contents instantly.
Deep Shelf Pullouts
BEFORE: Items pushed to the back of deep shelves vanish for months. You kneel and reach blindly, knocking over jars to find the peanut butter. Deep shelves become black holes where good food expires unseen.
AFTER: Sliding pullout drawers bring the entire shelf to you with one smooth pull. Every jar rides forward into the light, and nothing hides in the shadows. Restocking takes seconds because you see every gap clearly.
Measure your shelf opening carefully since pullouts need exact width to slide freely. Choose drawers with high sides so tall bottles do not tip during the pull. I have seen this work well in many cases, especially for lower shelves that hurt to reach. Install the heaviest items on the bottom pullout for stability.
Breakfast Basket Mornings
- Choose one basket large enough to hold a week of breakfast basics.
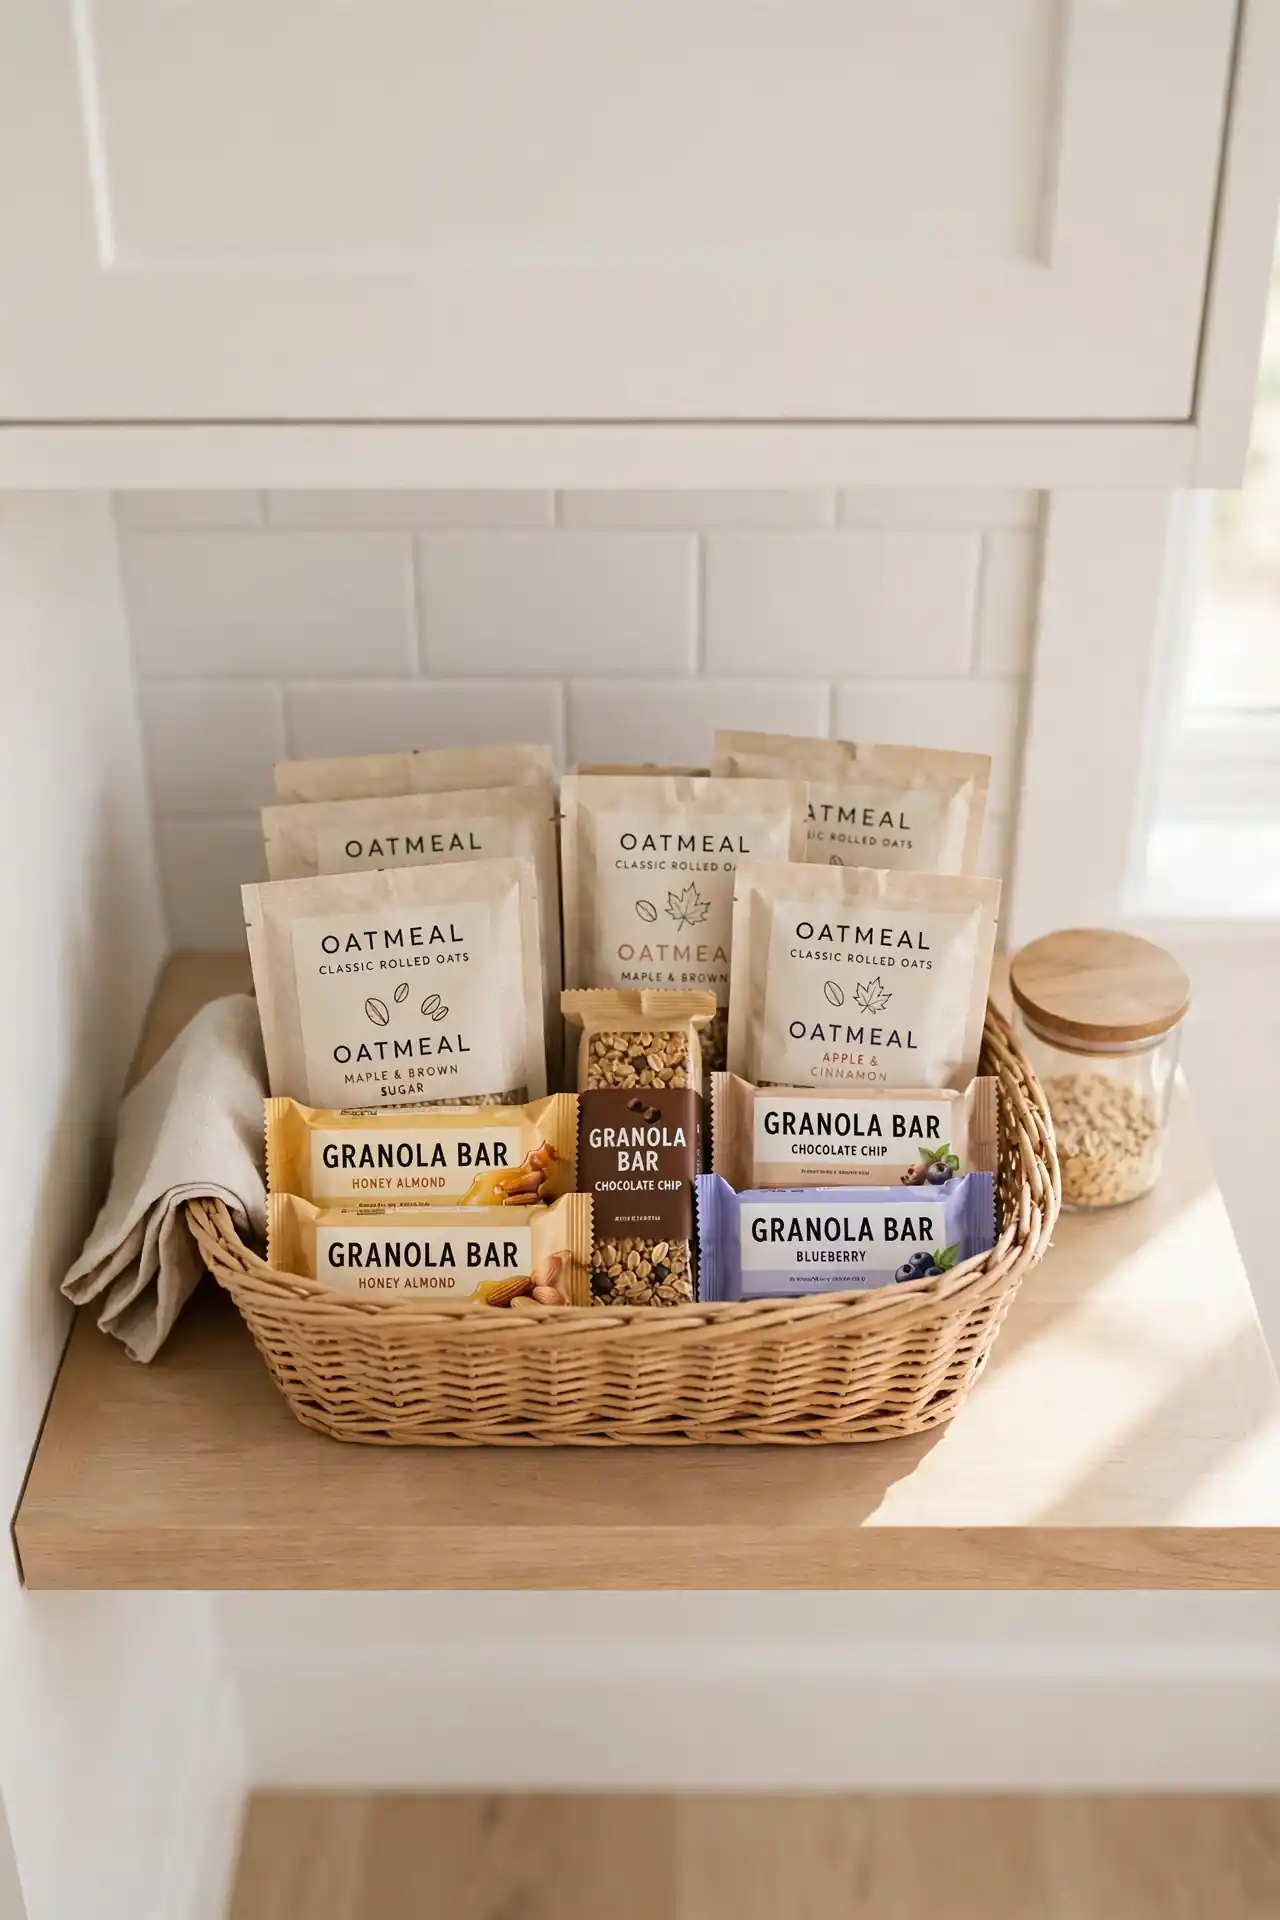
- Stock it with oatmeal packets, granola bars, and single serve cereal.
- Place the basket on the lowest shelf where kids can reach it alone.
- Refill every Sunday night so Monday starts without a scramble.
- Rotate the contents monthly so nobody gets bored with the same options.
Mornings run smoother when breakfast assembles itself. Kids grab their basket items without opening five different boxes, and parents skip the cereal negotiation entirely. I have noticed that families who prep this basket argue less before eight in the morning. Keep a small trash bin nearby for wrappers so the station stays tidy.
Bulk Bin vs Bag
| Feature | Bulk Bins | Original Bags |
|---|---|---|
| Freshness | Airtight seal locks in | Bags go stale fast |
| Space use | Stackable and uniform | Awkward and floppy |
| Visibility | See levels instantly | Cannot see inside |
| Best for | Rice, flour, grains | Short term snacks |
Bulk buys save money, but only if you store them right. Transferring large bags into sealed bins keeps everything fresh and stackable for months. Keep the original bag’s cooking instructions taped inside the bin lid for reference. I have tried this with warehouse sized rice bags, and the bins paid for themselves in saved waste. Buy one bin per staple and stack them by weight, heaviest on the bottom shelf.
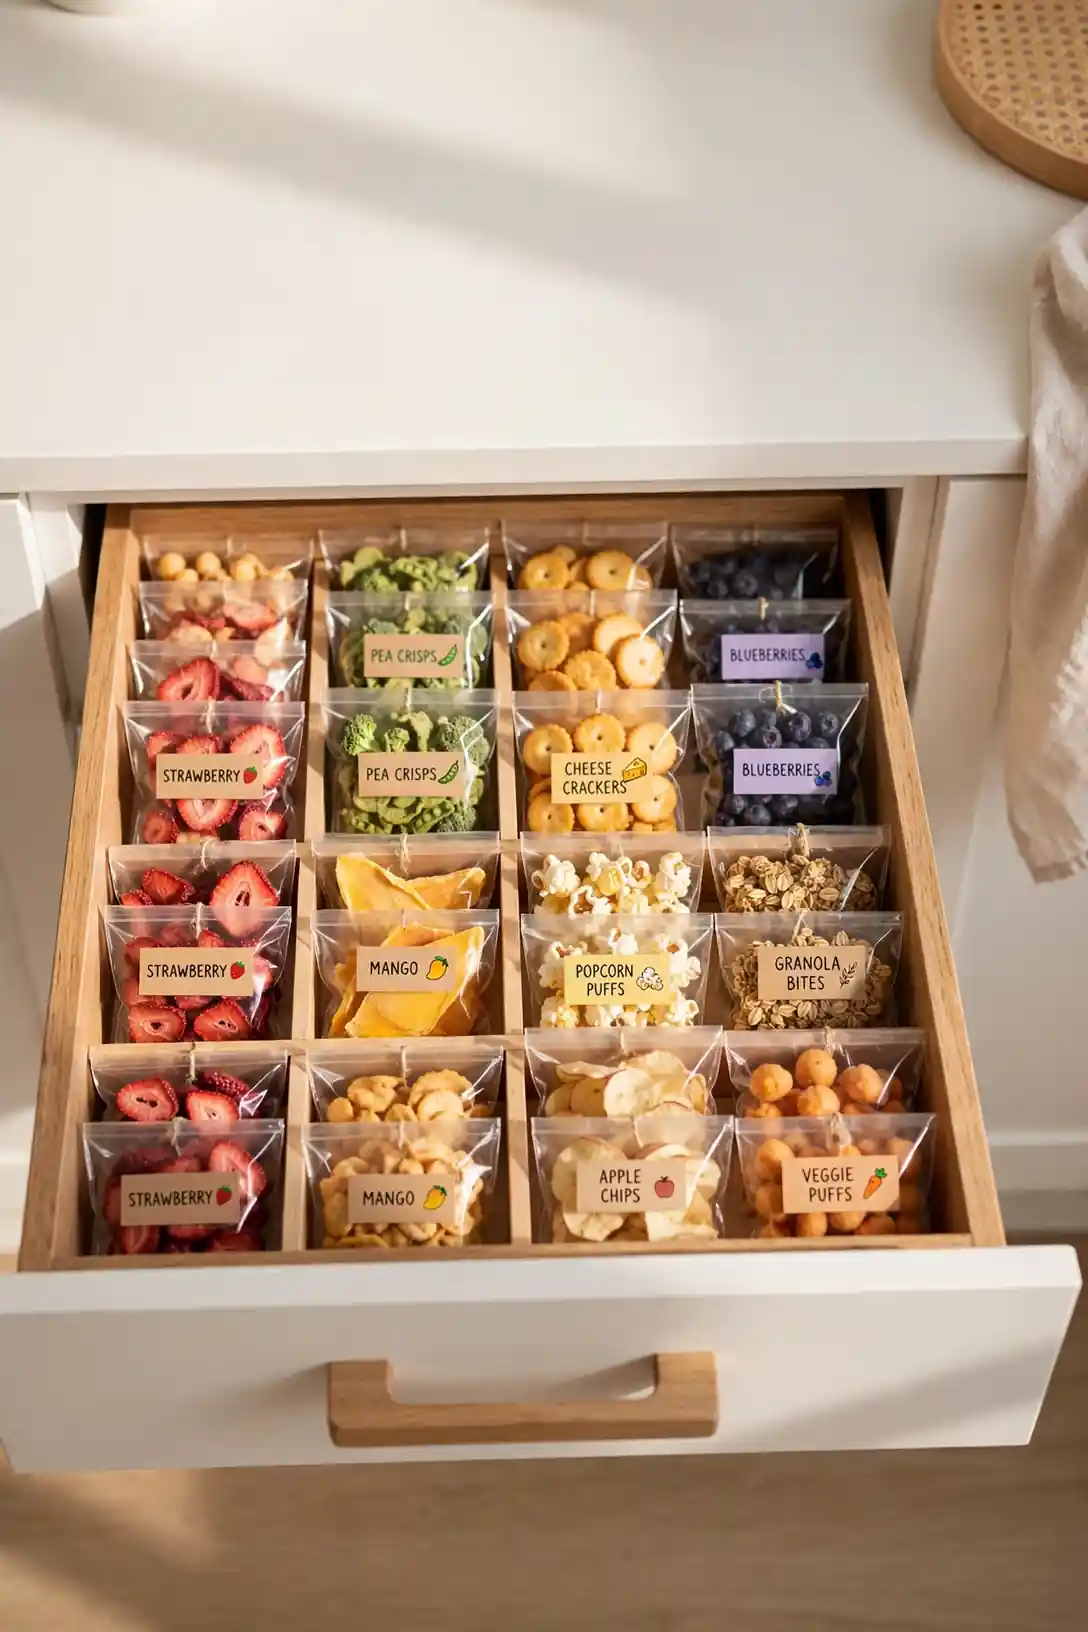
Kid Snack Drawer
DO:
- Dedicate the lowest drawer to approved kid snacks only.
- Portion snacks into small bags so kids grab one and go.
- Include a mix of crunchy, chewy, and fresh options each week.
- Let kids help stock the drawer so they feel ownership.
DON’T:
- Do not store adult snacks in the kid drawer.
- Do not place the drawer higher than kids can safely reach.
- Do not refill with only sweets; balance keeps energy steady.
A kid snack drawer builds independence while protecting the rest of your pantry. Children learn to serve themselves without climbing shelves or making messes. I have noticed that kids waste less food when portions are preset. Restock together on Sundays and let them pick one new snack to try each week.
Conclusion
Your pantry does not need to be bigger, it just needs to work smarter. These 23 ideas prove that small spaces can hold a surprising amount when every item has a clear home. I have seen how small changes like these can completely shift the way a space feels. Save your favorites on Pinterest, start with one shelf this weekend, and feel the difference by Monday. A tidy pantry makes cooking calmer and grocery day easier. The real power of small pantry organization ideas is the peace they bring to your busiest room.