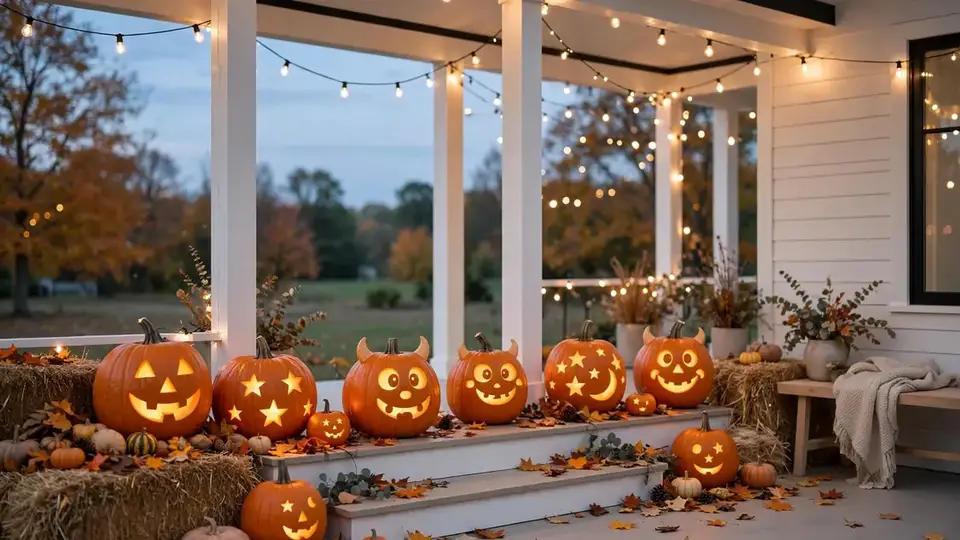
24 Kid Friendly Pumpkin Carving Ideas for Spooky Family Fun
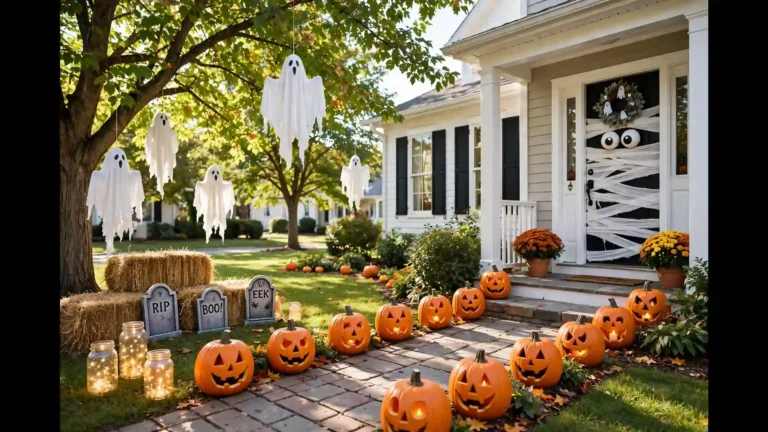
Carving pumpkins with little ones should feel like play, not pressure. These kid friendly pumpkin carving ideas keep every design simple, safe, and full of charm, so children of all ages can join the fun. From goofy grins to starry cutouts, each project below uses basic shapes and grown-up help with the sharp tools. If you love dressing your entry for the season, pair these pumpkins with our favorite halloween porch decor ideas for a complete look.
I have carved pumpkins with my own family for years, and the happiest results always come from the simplest plans. A short attention span is completely normal, so each idea here can be finished in under half an hour of hands-on time. Scooping, drawing, and poking holes are jobs kids genuinely enjoy, while adults take care of the actual cutting. Work on newspaper, keep wipes nearby, and let everyone sign their pumpkin with a paint pen. The porch glows, the kids beam, and the memories last far longer than October.
Simple Smiley Faces
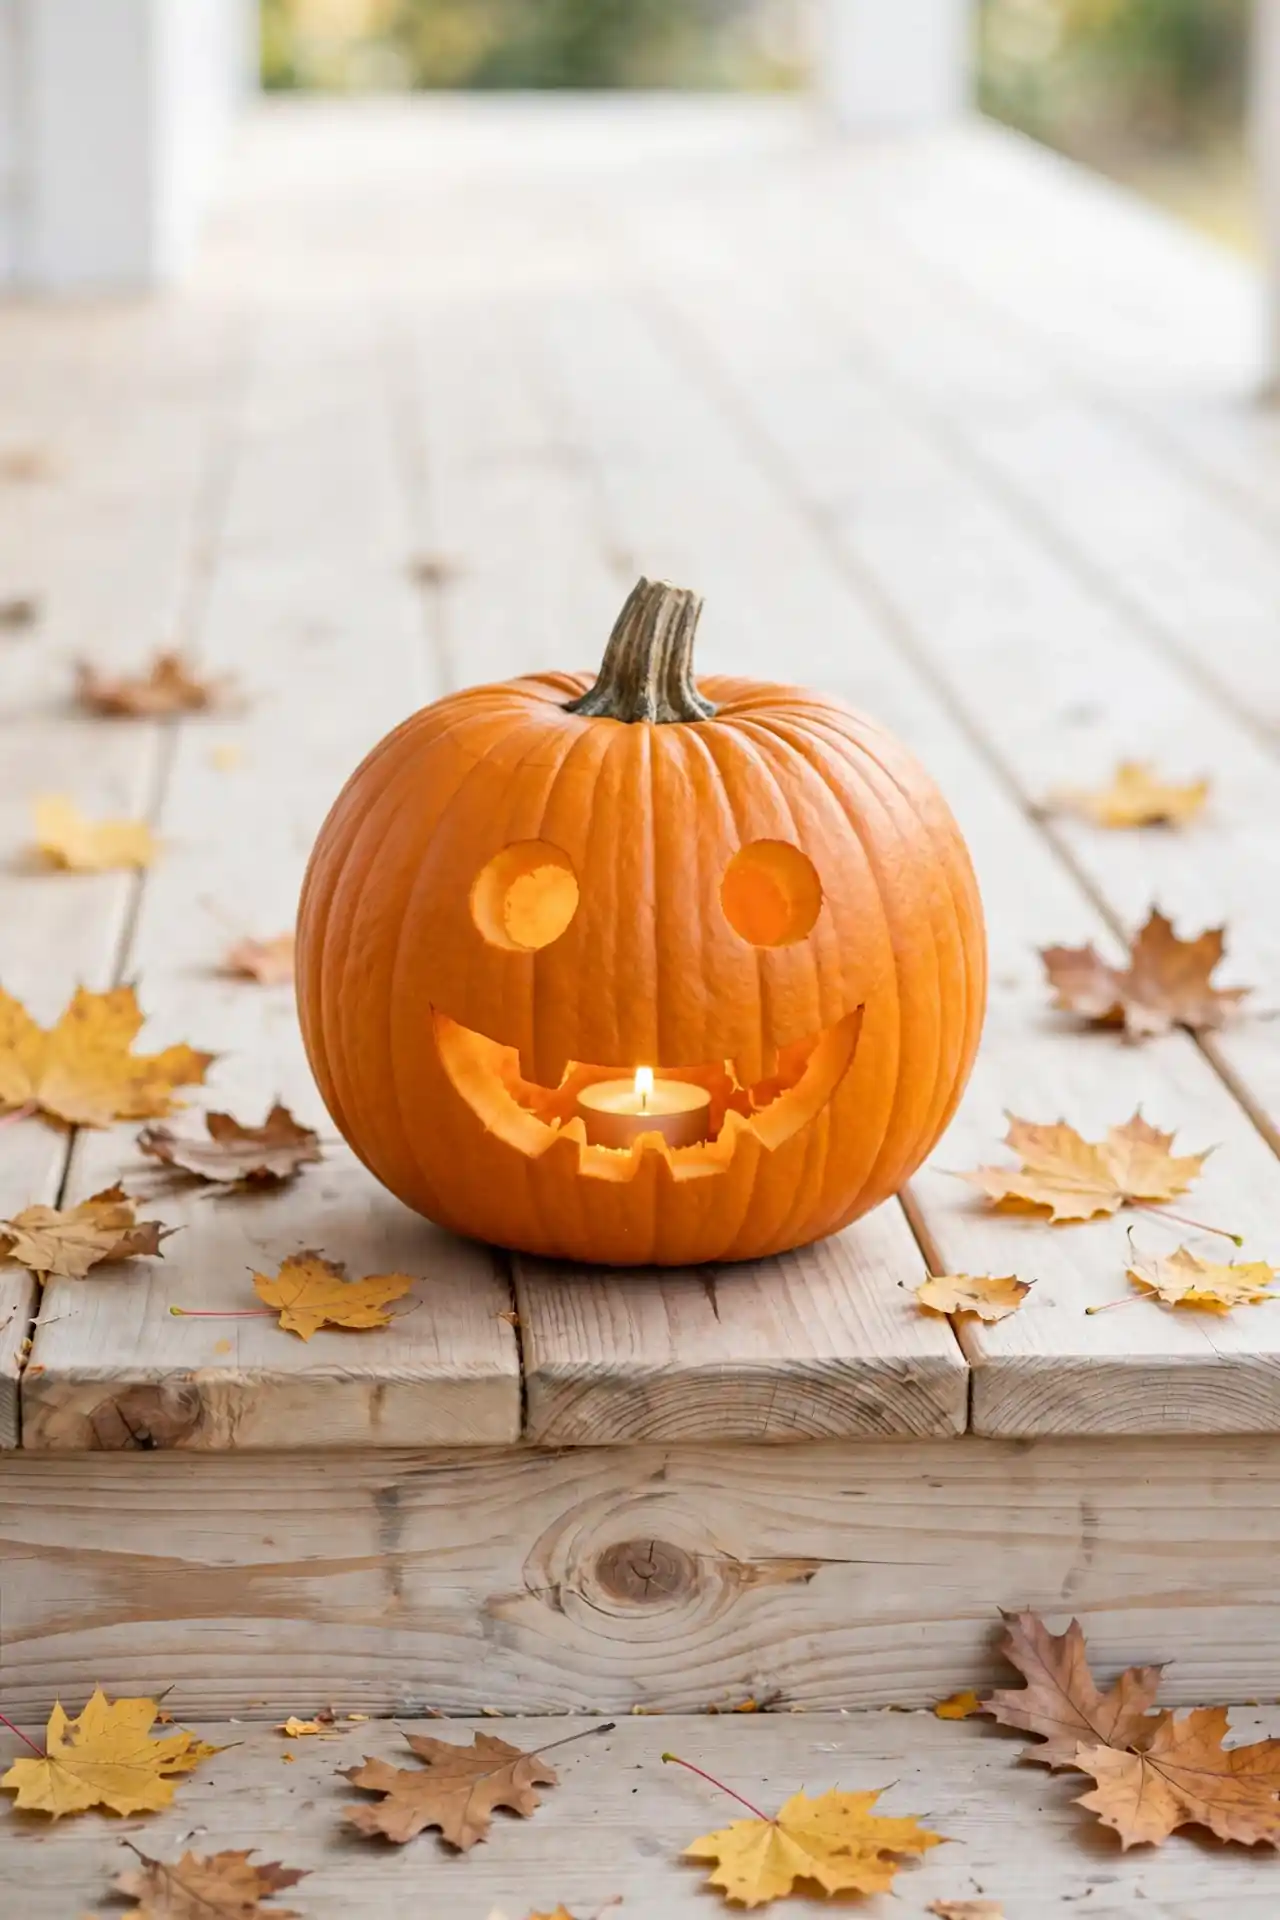
A classic smiley face never fails with young carvers. Kids draw the eyes and mouth with a washable marker while you handle every cut. Round cheeks and a wide grin keep the pumpkin friendly rather than frightening, which matters for toddlers and preschoolers. I’ve noticed even shy children light up when they get to design the face themselves.
Wipe the surface dry before drawing so the marker lines stay crisp. Carve along the lines slowly, then scoop any loose bits from inside. A battery tea light gives the smile a warm flicker without any flame risk. Set the finished pumpkin by the door and watch trick-or-treaters grin right back at it.
Star Shape Cuts
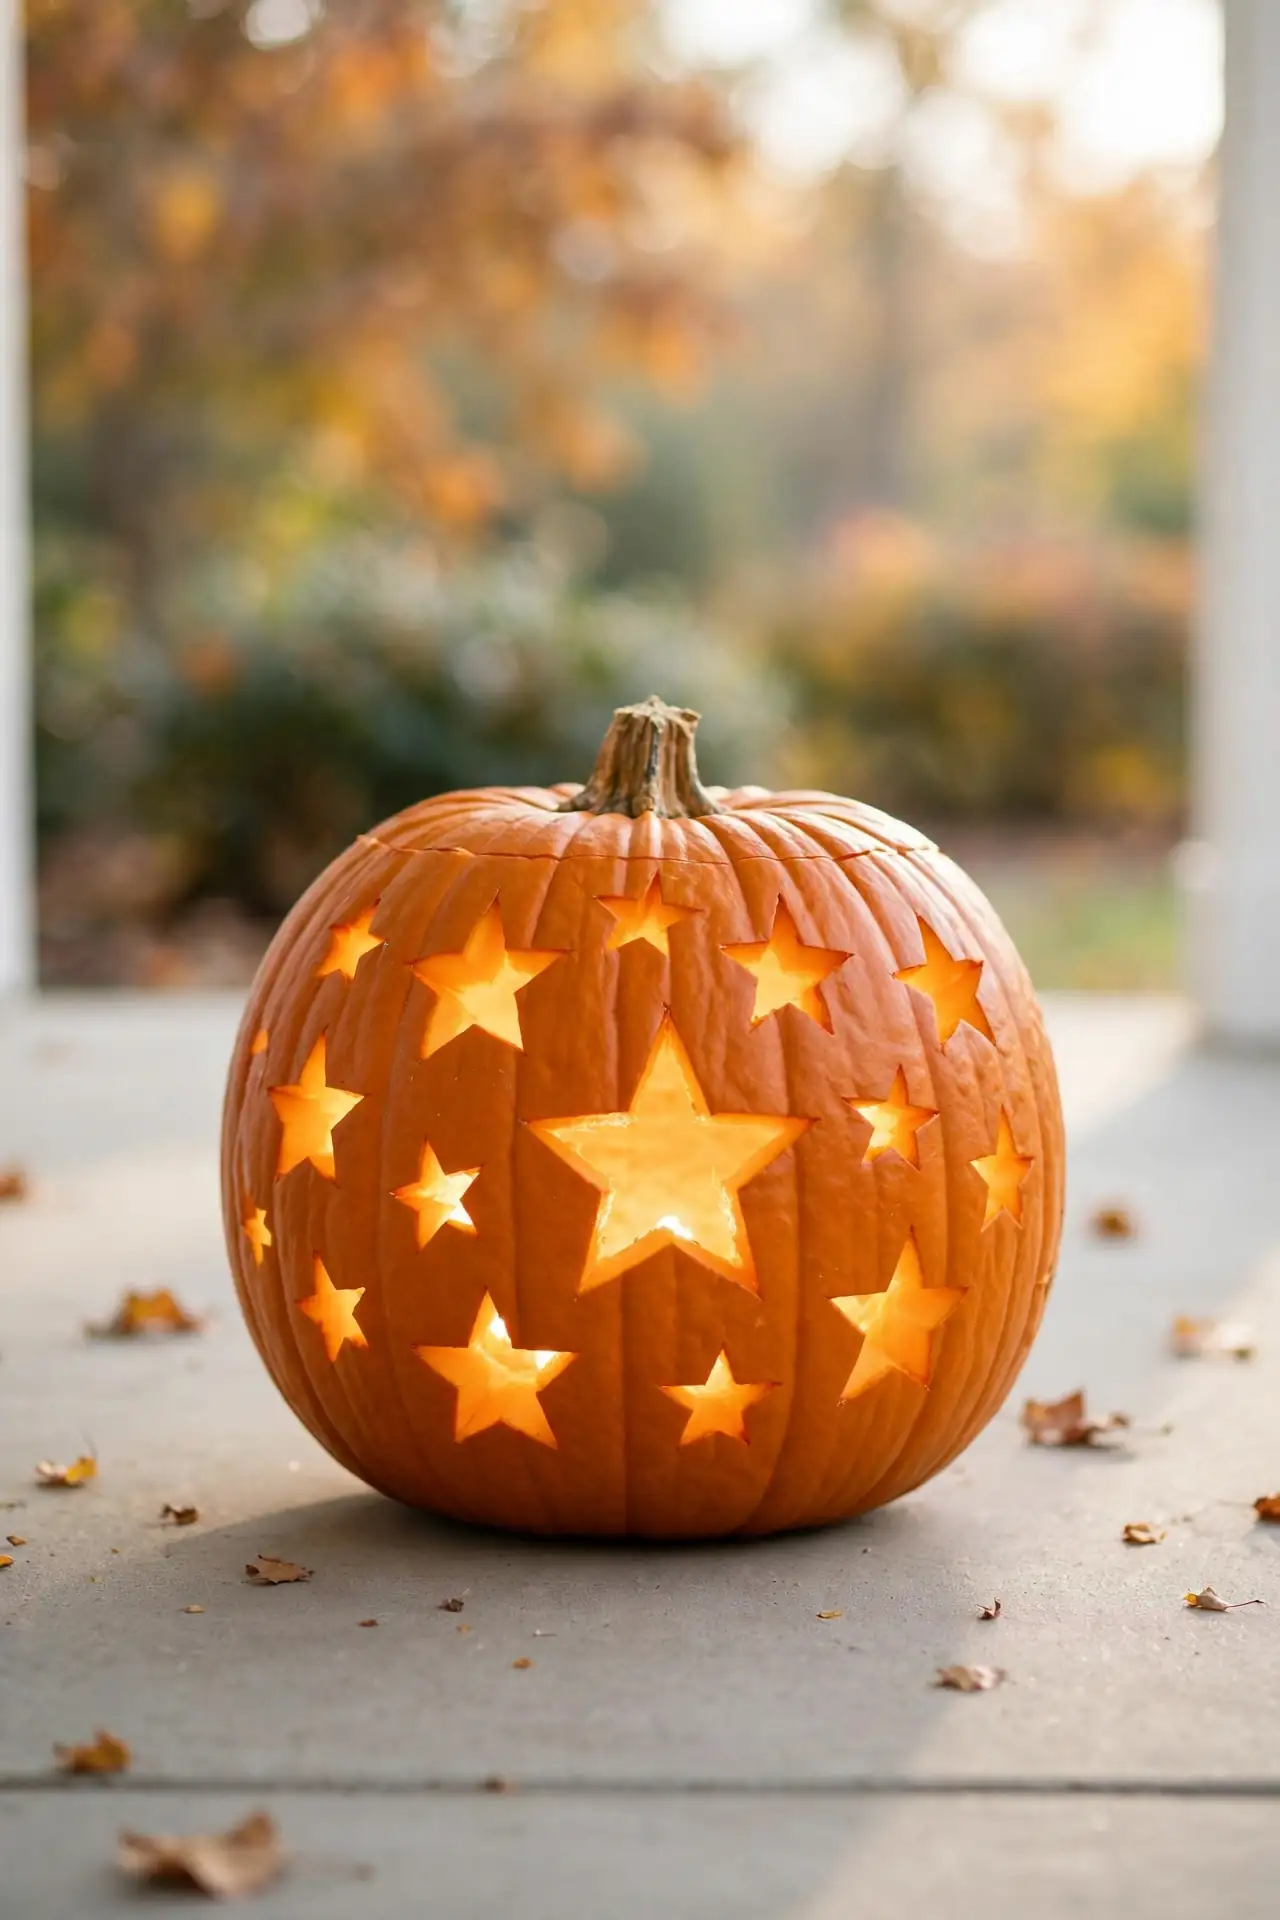
- Trace star cookie cutters in three sizes across the pumpkin for a night-sky effect.
- Tap the cutter gently with a rubber mallet instead of sawing, which keeps edges neat.
- Pop out the star plugs with a spoon handle and save them for table scatter.
- Mix big and tiny stars so the pattern feels balanced from every angle.
- Add a crescent moon cutout near the top for extra charm.
Little hands love hammering the cutters while a grown-up steadies the pumpkin. The stars glow like constellations when a light shines from inside. This design works beautifully on both orange and white pumpkins. Cluster several star pumpkins together and your porch turns into a galaxy.
Polka Dot Pumpkins
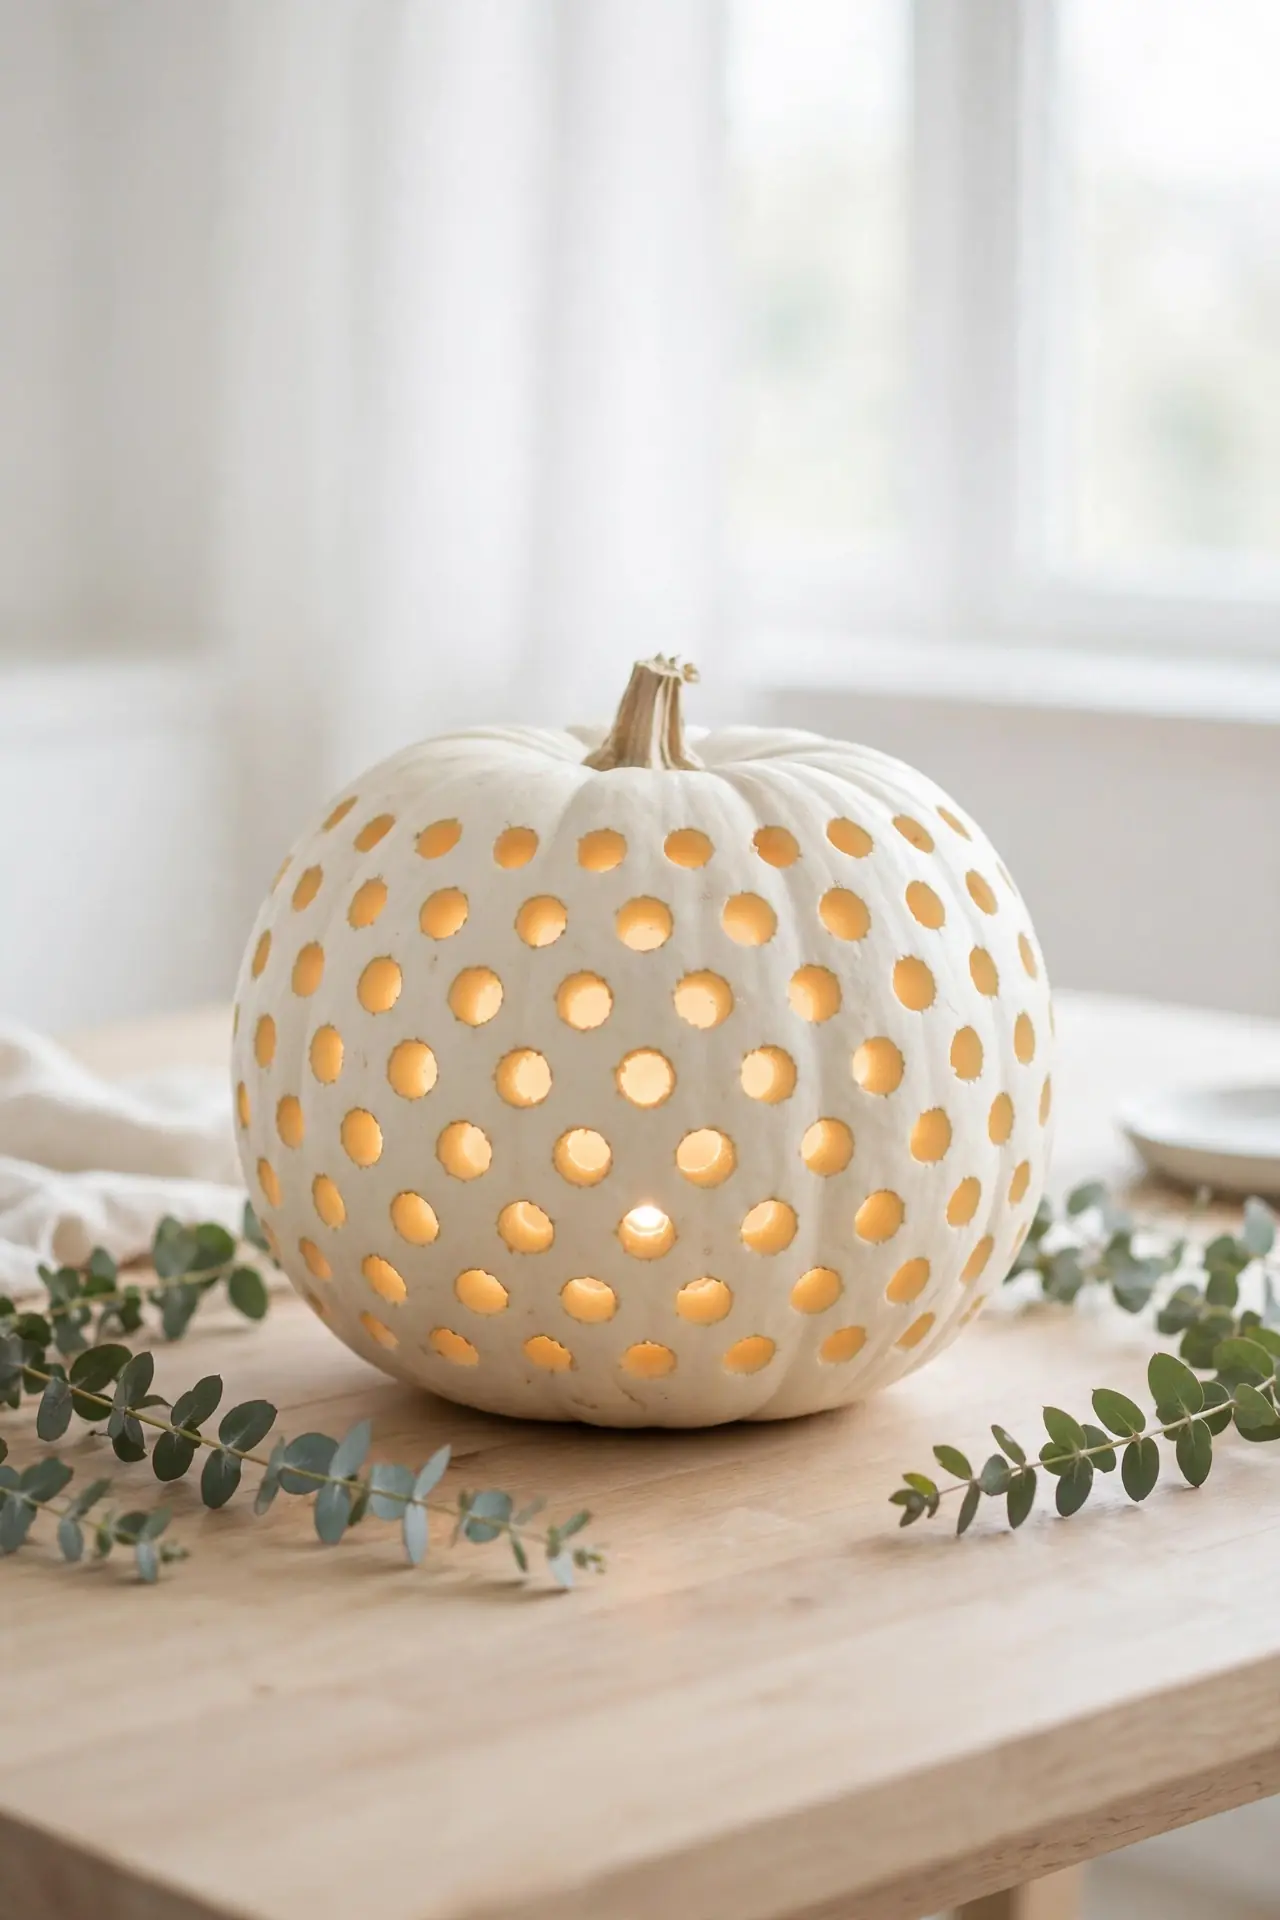
Quick Tip: Use a power drill with a large bit to punch perfect dots in seconds. An adult should handle the drill while kids mark each dot with round stickers first. Peel the stickers after drilling to reveal tidy circles.
Rainbow dots look playful and modern on the porch. Stick with one dot size for a tidy look, or mix sizes for confetti energy. These pumpkins photograph absolutely wonderfully in daylight even before they are lit. Line up several dotted pumpkins in a row for a cheerful, eye-catching display. Kids can help arrange the lineup by size, which keeps them involved after the drilling ends.
Cat Face Glow
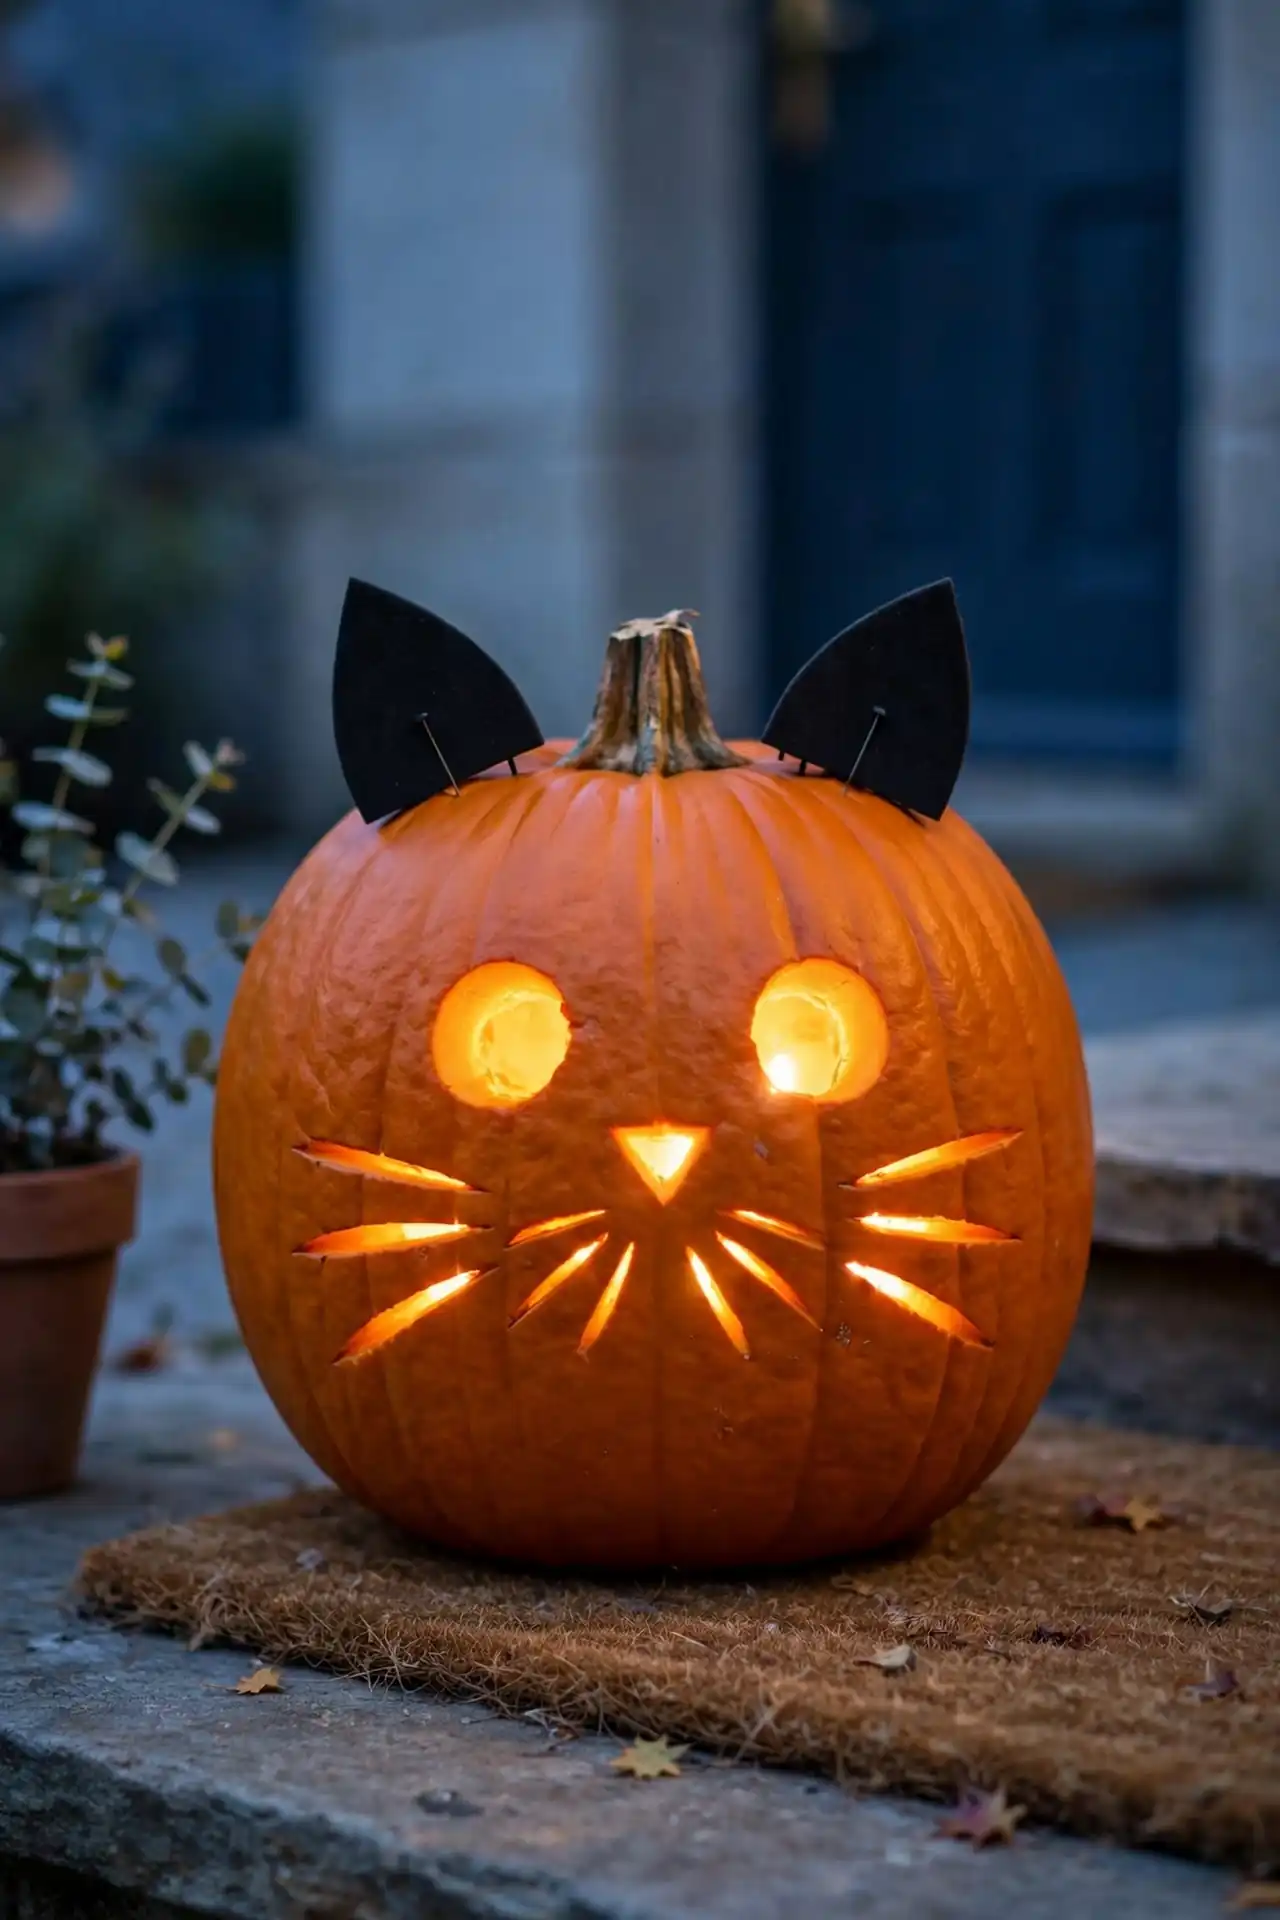
BEFORE: A plain pumpkin sits on the table looking a little boring. The kids stare at it, unsure where to begin, and excitement starts to fade.
AFTER: Triangle ears, whisker slits, and round eyes turn it into the cutest black cat on the block. Everyone wants a photo with it, and the kids beg to make another one.
Draw the cat face with chalk first so mistakes wipe away easily. Cut ears from black craft foam and pin them on top for dimension. A green glow stick inside gives the eyes an eerie shine. This friendly feline greets guests without a single scare.
Cookie Cutter Shapes
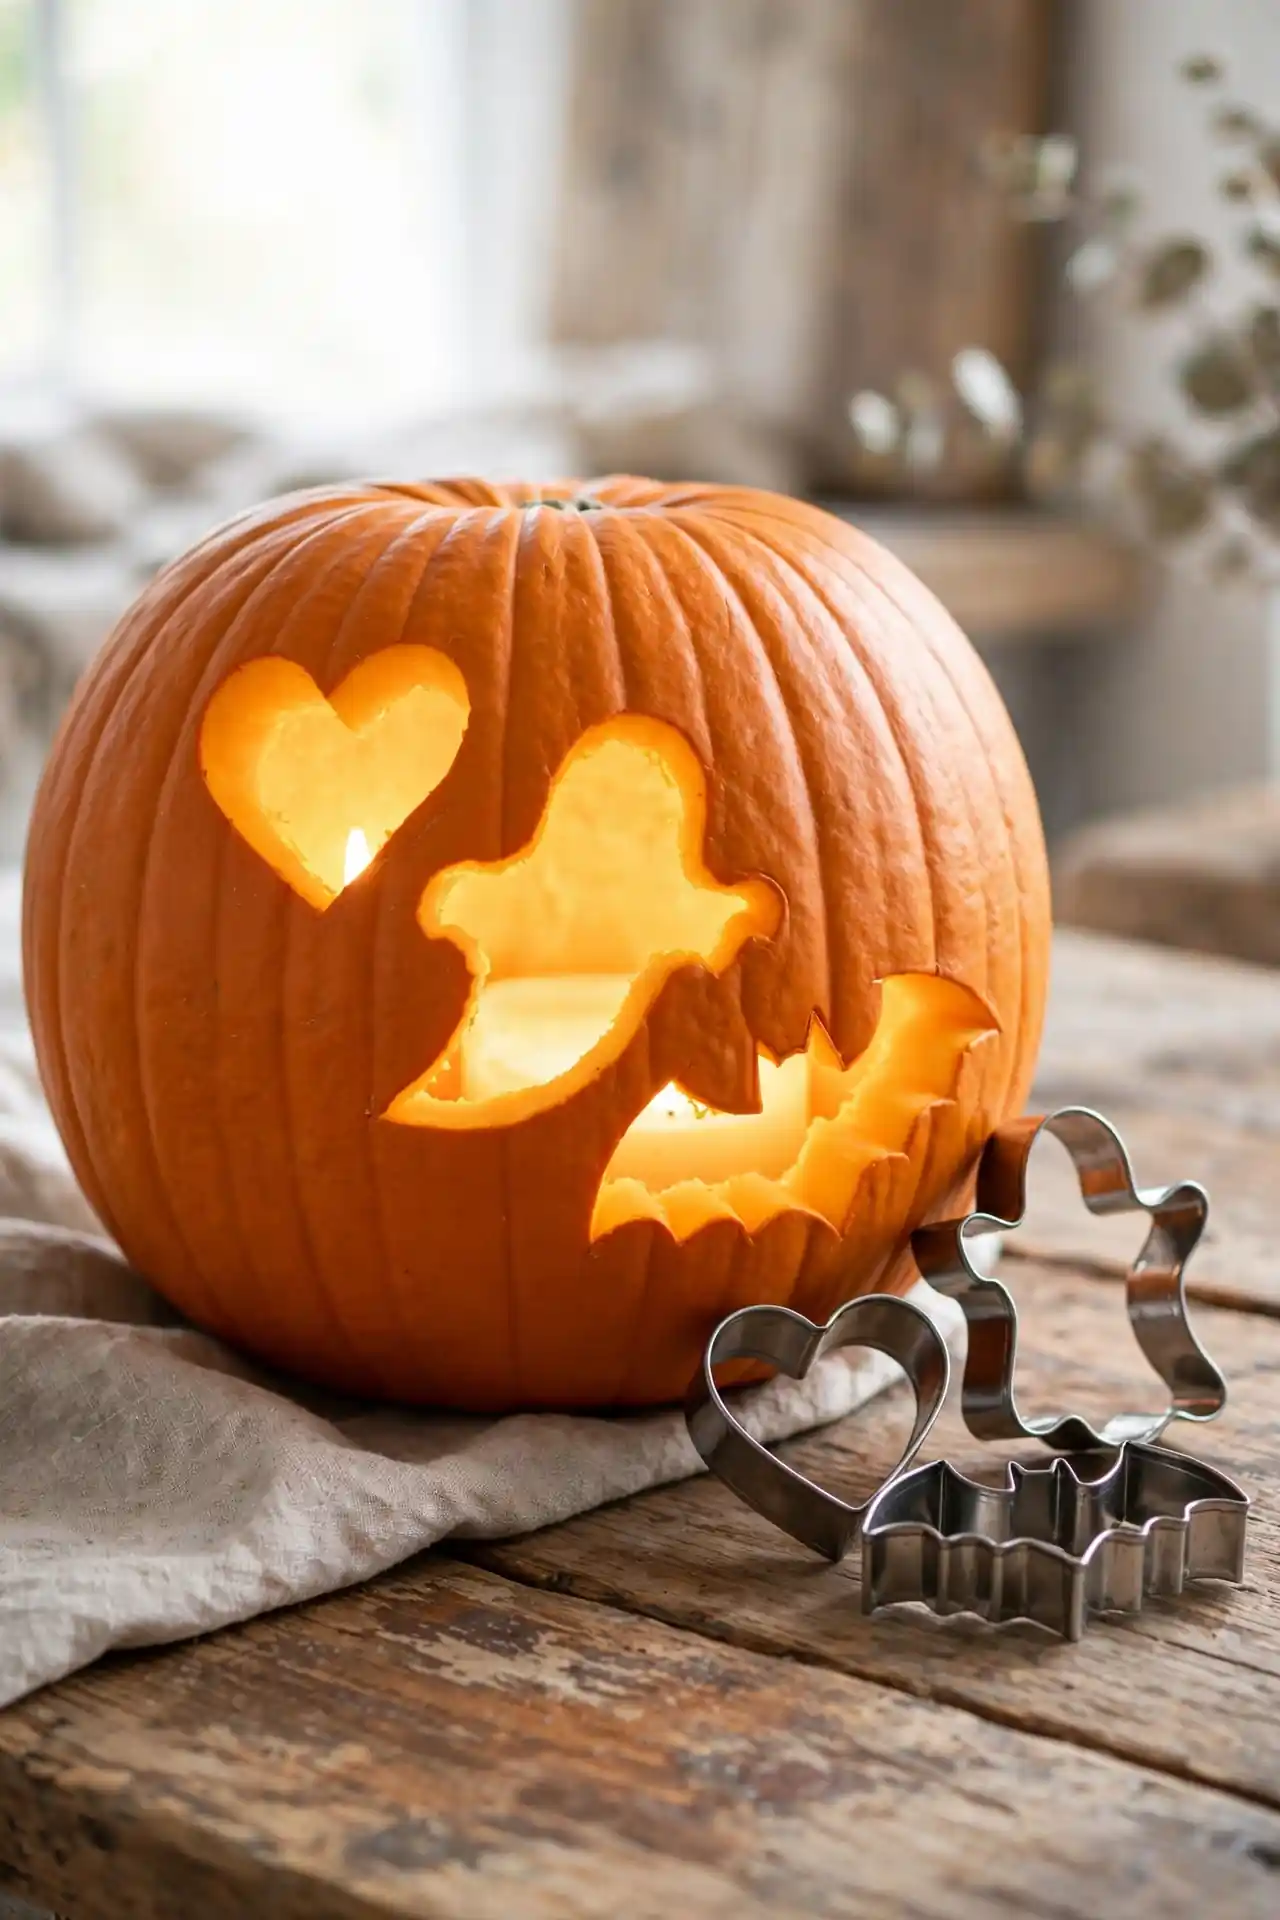
- Press metal cookie cutters firmly against the pumpkin skin to leave a clear outline.
- Trace each outline with a marker so the shapes stay visible while you work.
- Cut along the lines with a small serrated pumpkin saw, letting an adult guide every stroke.
- Push the shapes out gently and smooth rough edges with the back of a spoon.
Hearts, ghosts, and bats all work brilliantly with this method. Kids pick their favorite cutters from the kitchen drawer, which makes them feel in charge. The shapes pop with light behind them. Keep the cutout pieces to decorate the dessert table.
Stripes vs Dots
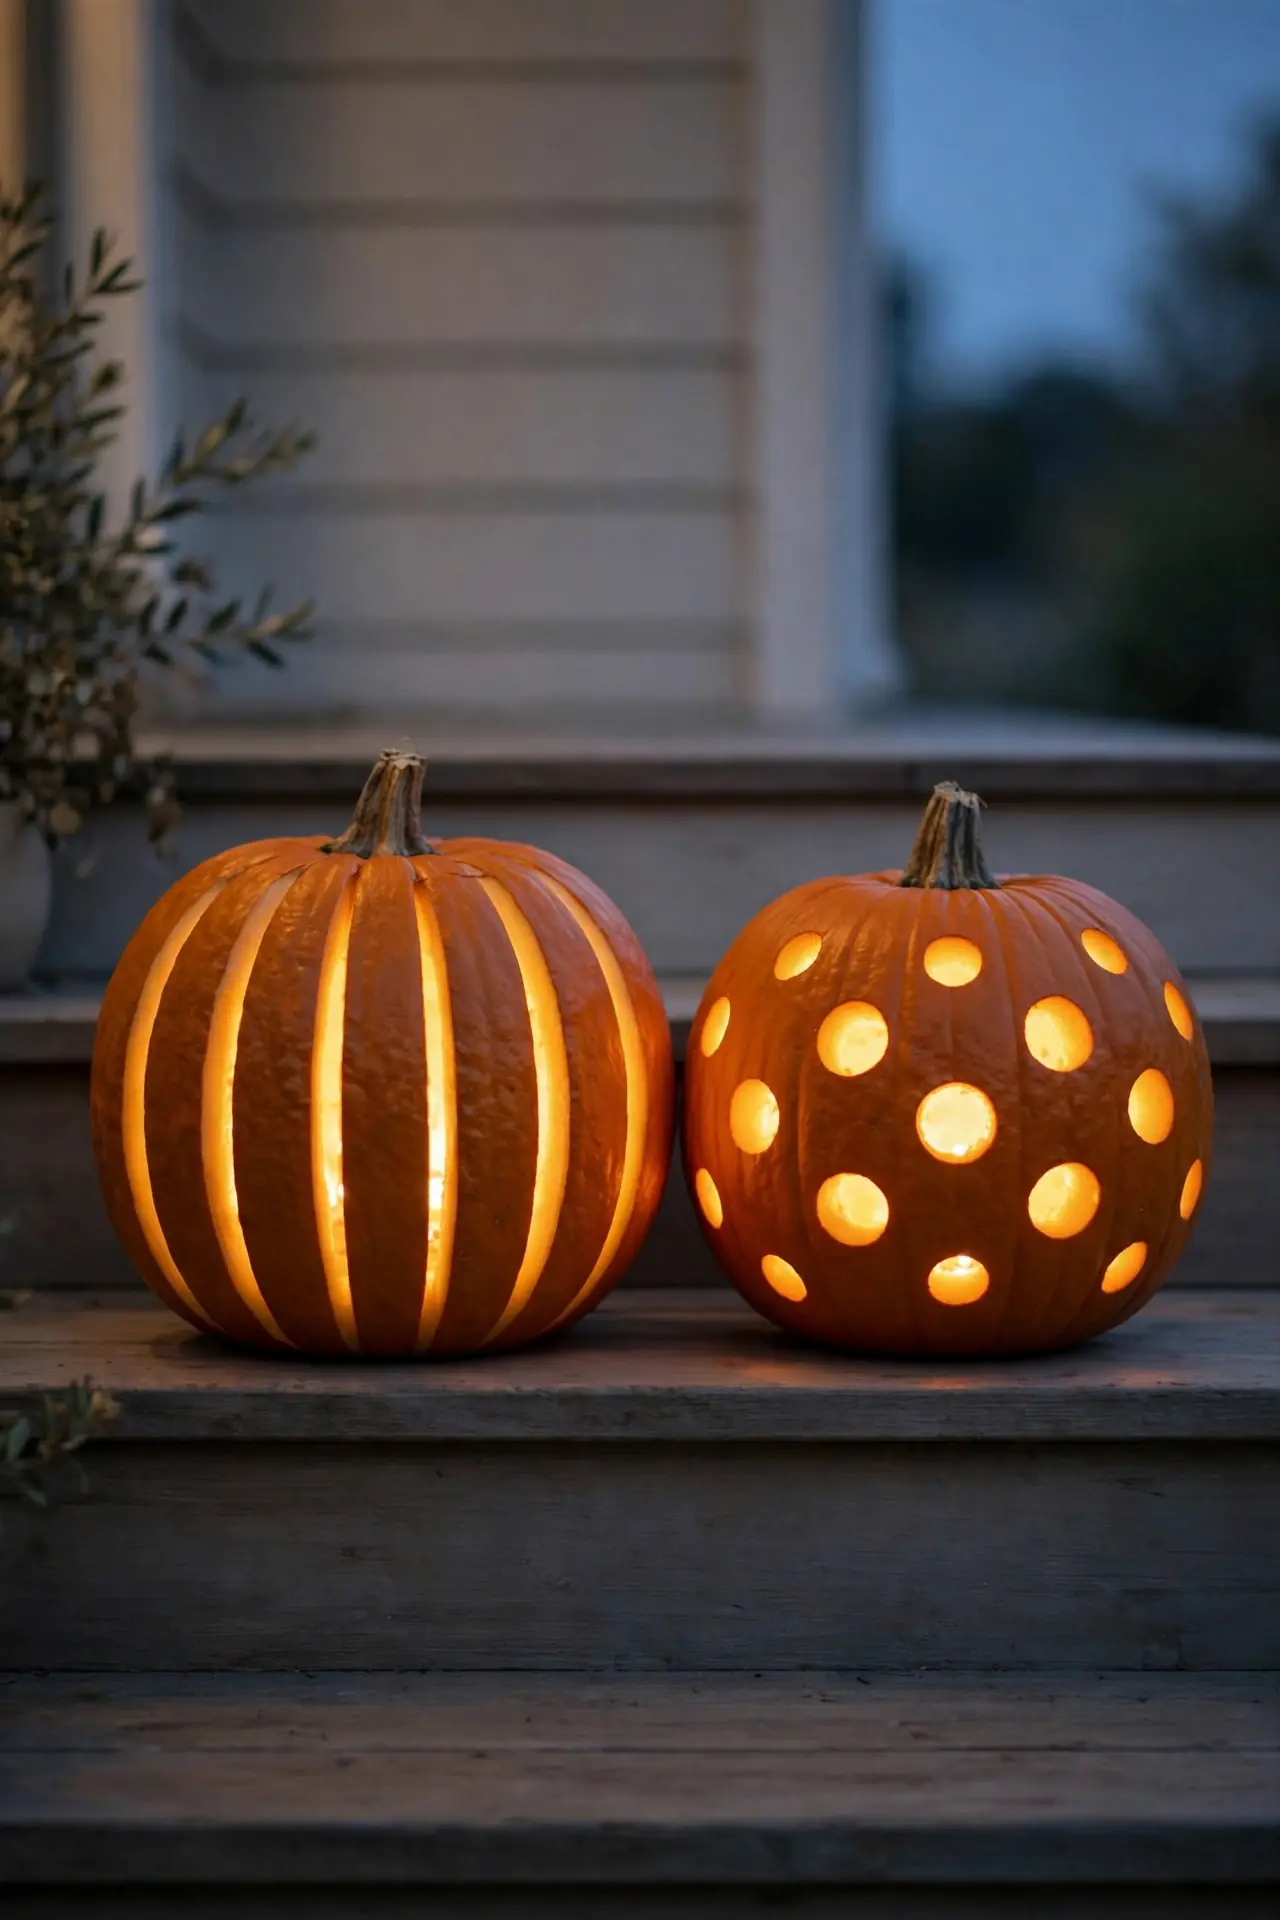
| Feature | Stripes | Dots |
| Tool needed | Pumpkin saw | Drill or apple corer |
| Kid involvement | Drawing straight lines | Placing round stickers |
| Glow effect | Bold bands of light | Twinkling dotted pattern |
| Difficulty | Medium | Easy |
Both patterns look striking, so let each child pick a favorite. Stripes suit older kids who can follow straight lines. Dots are perfect for little ones with short attention spans. Line up one of each on the steps and the contrast looks intentional and fun. Snap a side-by-side photo for your holiday album, since the pairing always earns compliments from neighbors walking by. Let the kids decide the order, tallest first or most colorful first.
Ghostly Faces
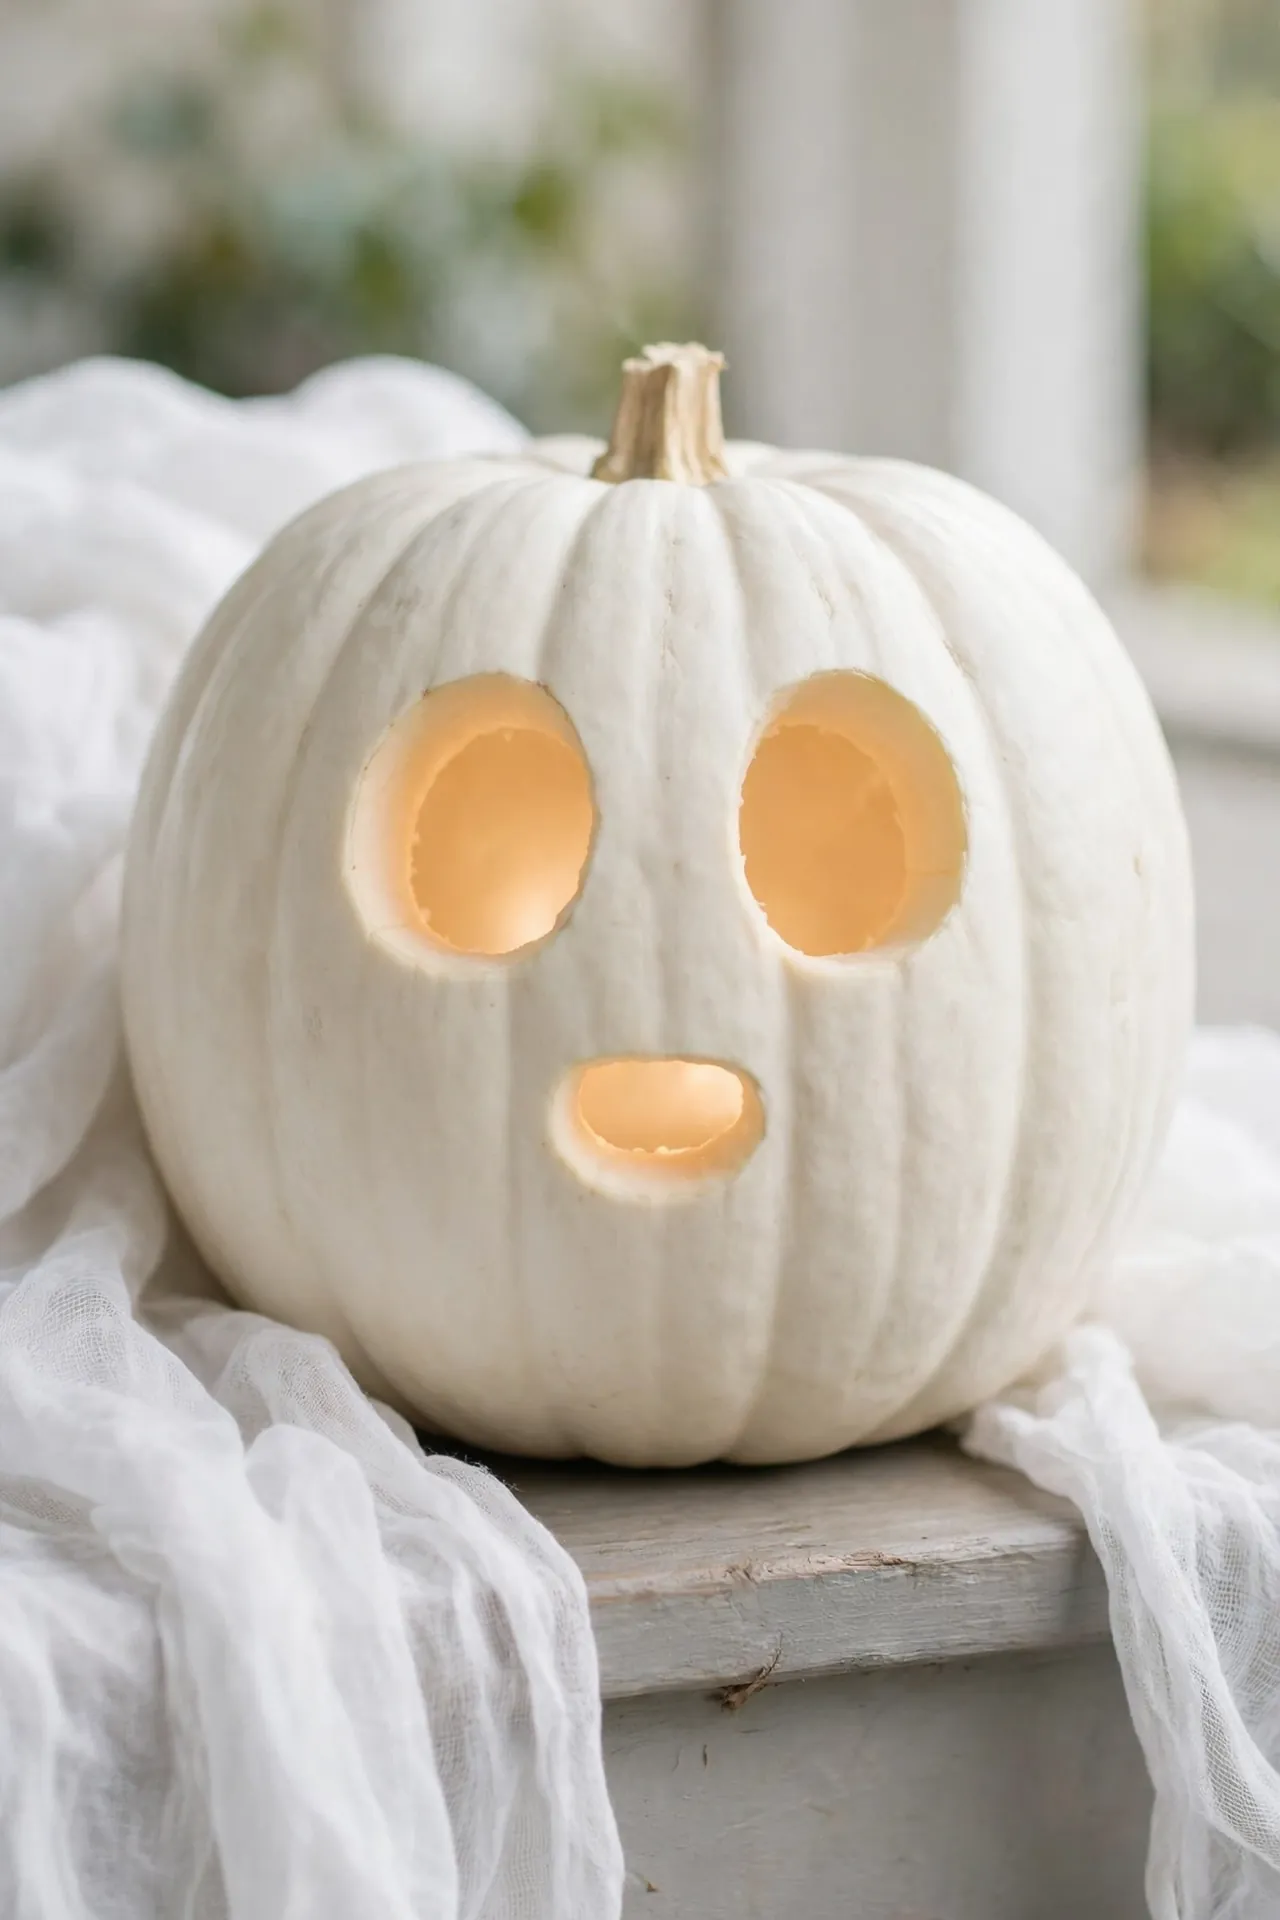
DO:
- Keep the eyes big and round for a friendly ghost.
- Use a dry-erase marker for easy redraws.
- Light with a cool white LED for a spooky glow.
- Let kids name their ghost for extra giggles.
DON’T:
- Don’t carve jagged teeth; they read as scary.
- Don’t rush the hollowing; leftover pulp blocks light.
- Don’t place real candles inside with small children around.
- Don’t toss the seeds; roast them for a snack.
Friendly ghosts charm every age group. The round shapes are forgiving, so wobbly lines still look cute. Drape white cheesecloth nearby for a floating effect. These little spirits earn smiles from even the most timid trick-or-treaters.
Owl Eyes Stare
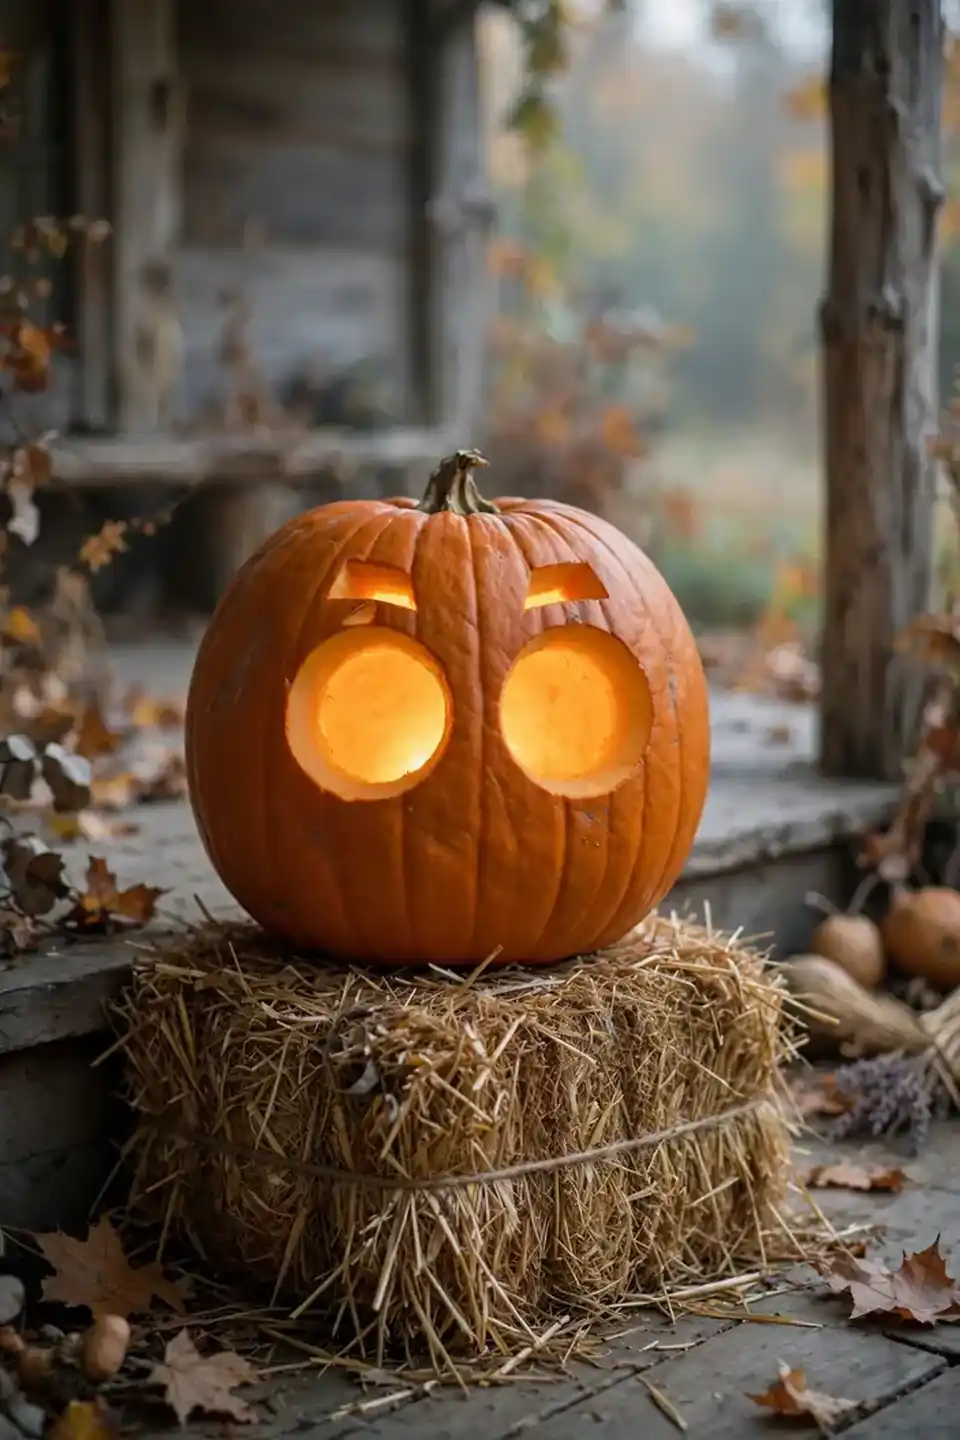
Cost: Low | Time: 25 minutes | Skill Level: Beginner | Best For: Ages 4 and up
Big round eyes make this owl impossible to resist. Cut two large circles close together and add triangle brows above them. A small beak below completes the face in minutes. I’ve seen this design become the favorite in every group of young carvers. Perch the owl on a hay bale for a storybook porch scene. Add feather texture with shallow scraped lines around the eyes for extra character. Children love naming their owl, and the name often sticks for years of Halloweens to come.
Pumpkin House Village
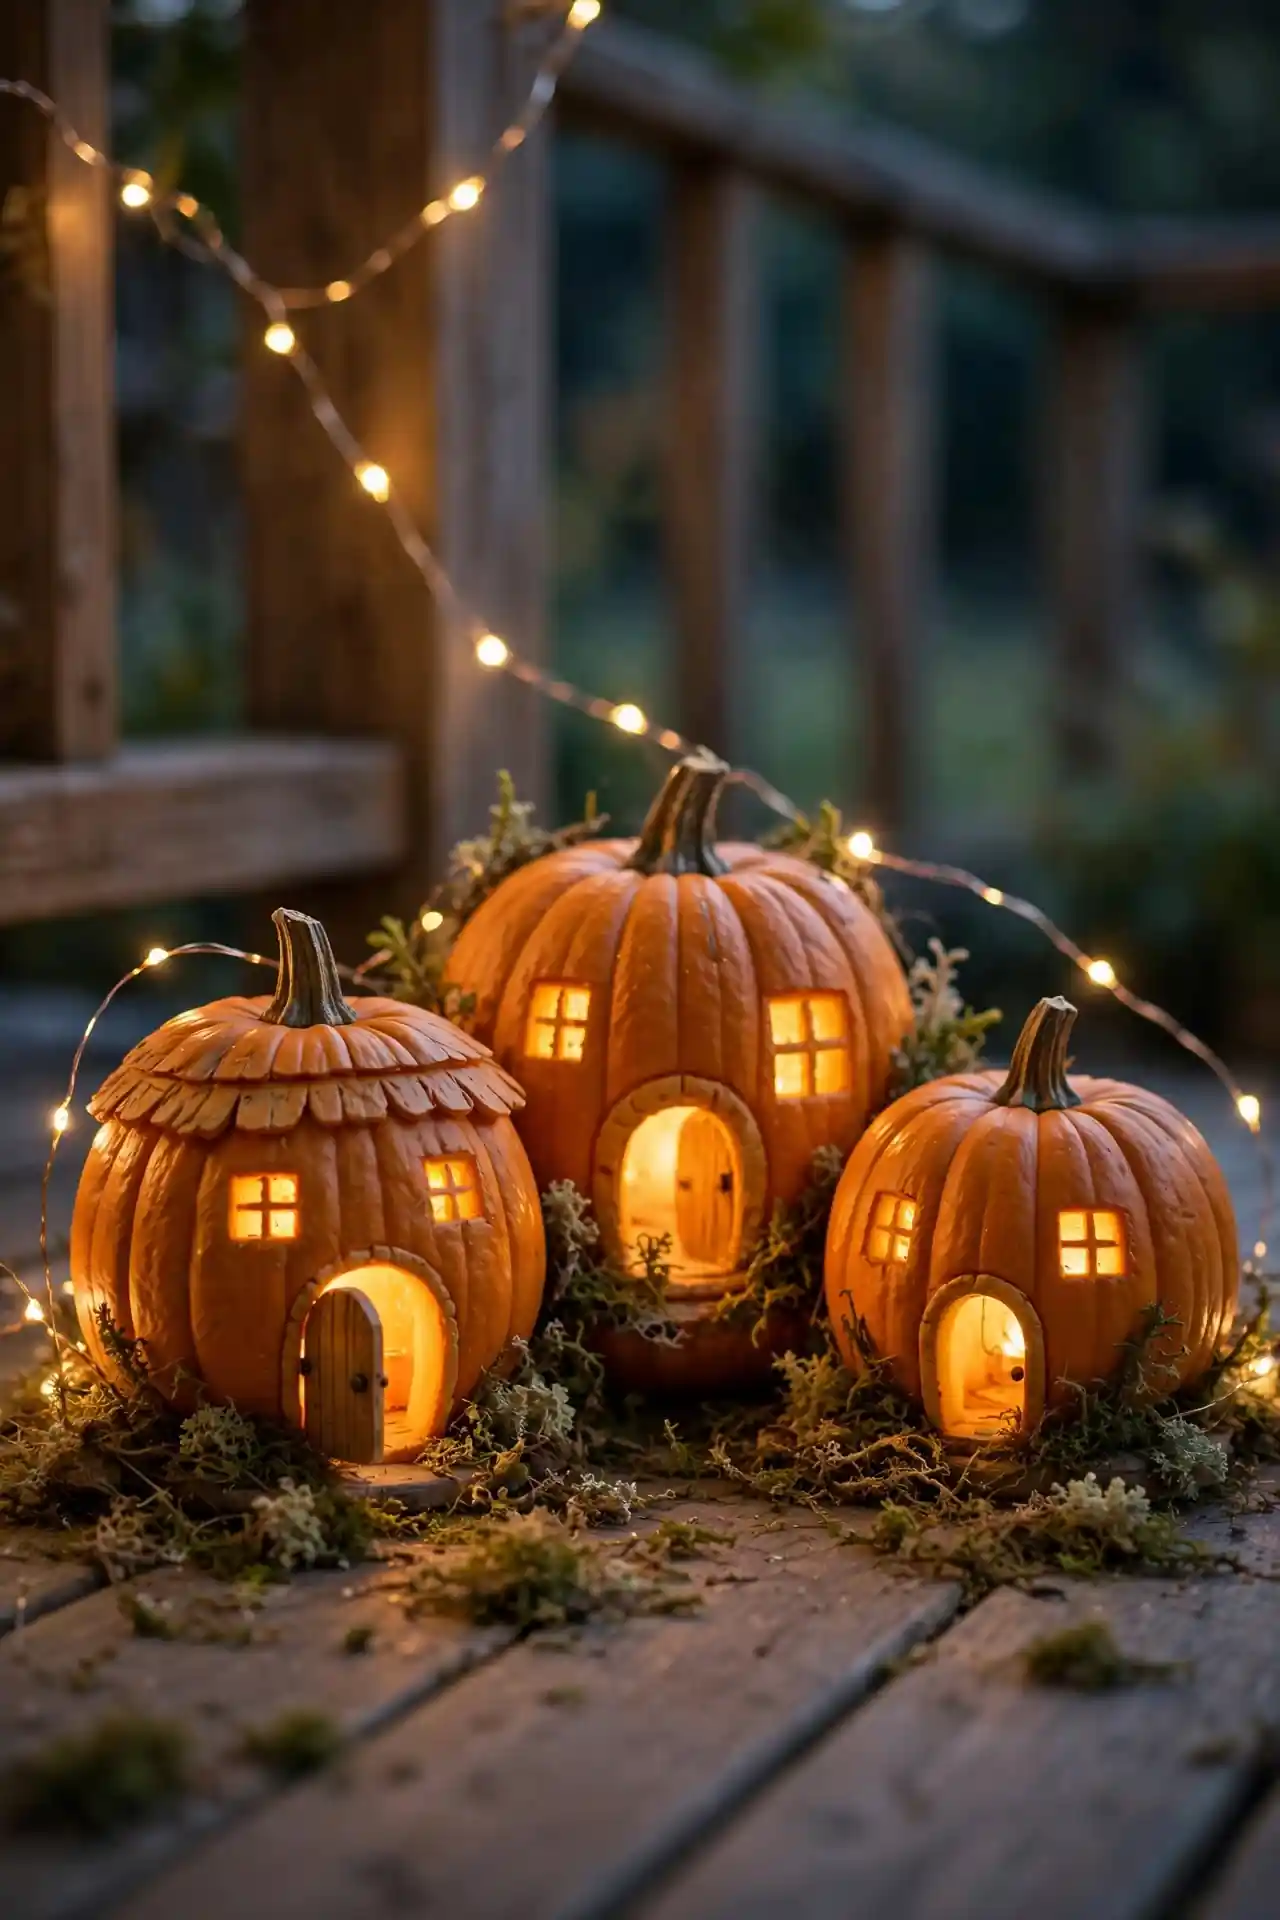
Turn three pumpkins of different sizes into a tiny glowing village. Cut a round door and two square windows in each one, then cluster them on the porch like cottages. Kids assign each house an owner, maybe a fairy, a mouse, or a friendly witch. The storytelling keeps them engaged long after the carving ends.
Vary the heights with upside-down pots as stands. Warm fairy lights inside each house make windows glow like lamplight. Sprinkle fake moss around the bases for a forest floor feel. This village becomes the centerpiece neighbors stop to admire. Kids will rearrange the tiny village daily.
Leaf Pattern Carves
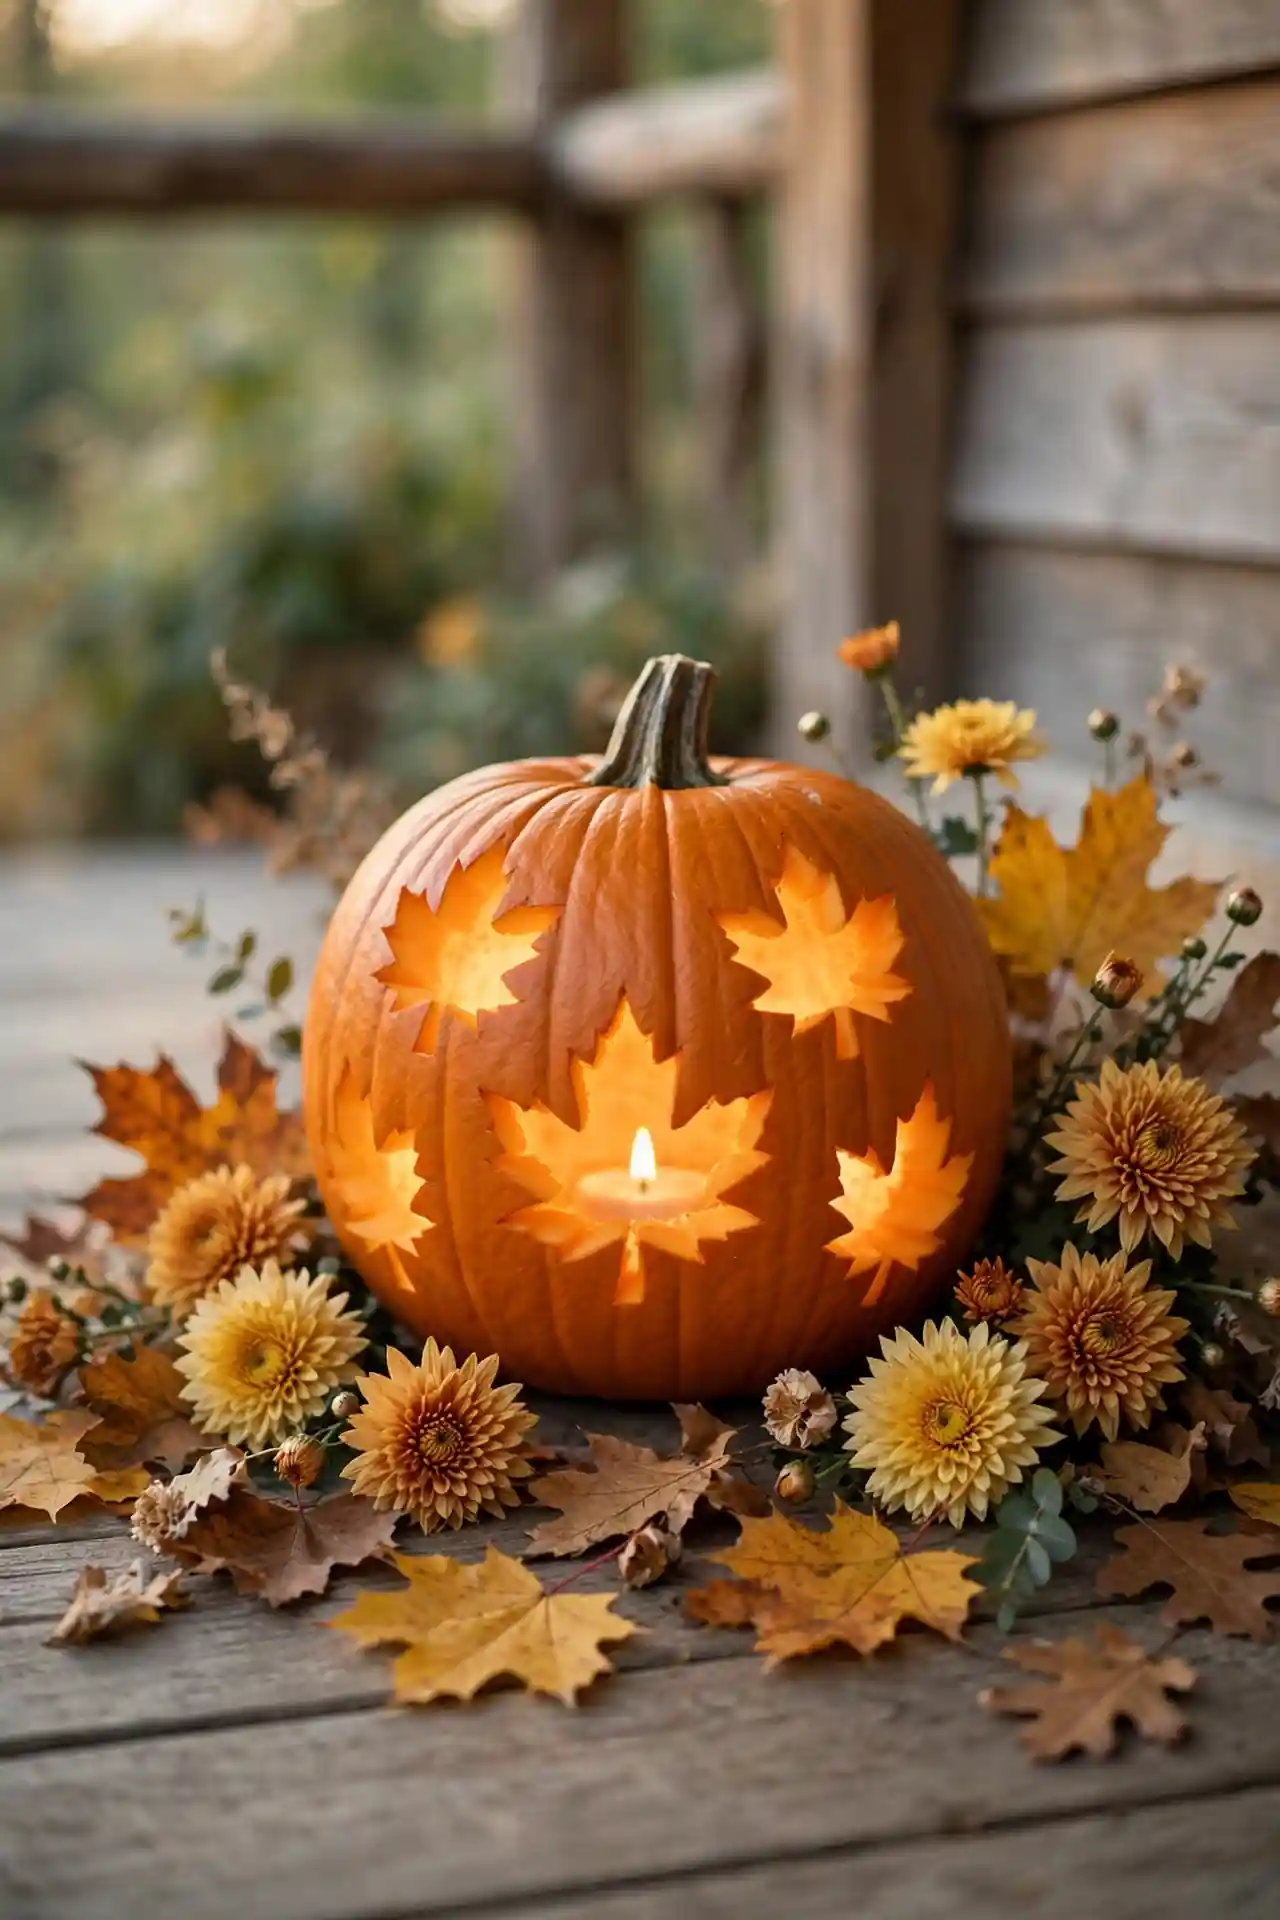
- Press real leaves against the pumpkin and trace around them with marker.
- Choose simple leaf shapes like oak or maple for clean results.
- Carve just inside the traced line for a crisp edge.
- Scatter carved leaves around uncarved pumpkins for a harvest display.
Autumn leaves bring natural beauty to the porch. Kids enjoy hunting for the perfect leaf in the yard first. The organic shapes hide small mistakes gracefully. Group several leaf pumpkins with mums and hay for a full fall scene. Press the chosen leaves in a book overnight so they lie flat for tracing. The results look professionally crafted.
Moonlight Scene
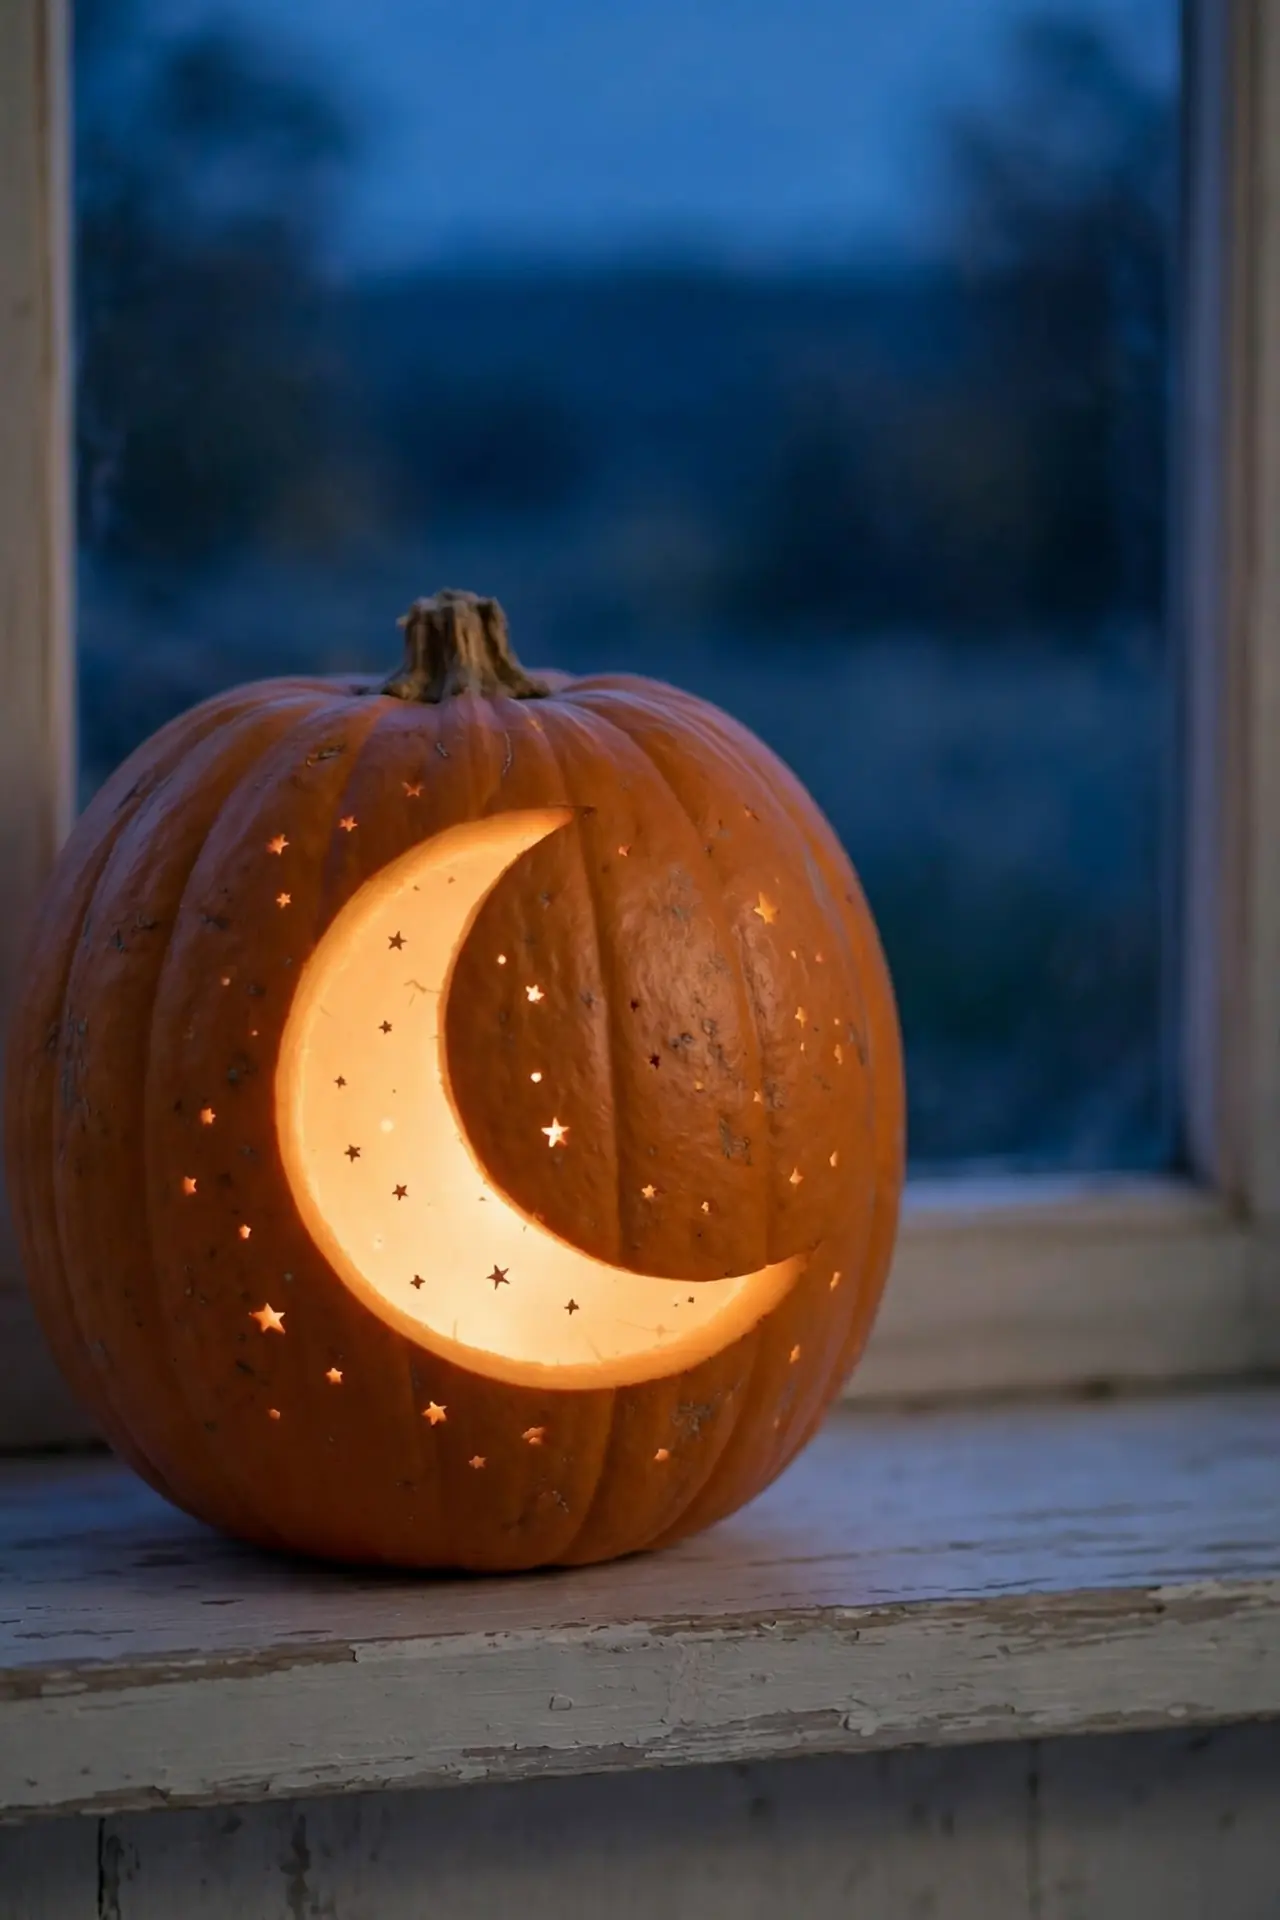
Quick Tip: Sketch the whole scene on paper first. Kids arrange the moon, stars, and hills on the page, then copy their drawing onto the pumpkin. This rehearsal builds confidence before any cutting starts.
A sleepy crescent moon over rolling hills feels magical. Carve the moon large and surround it with tiny star holes poked carefully with a wooden skewer. The scene tells a bedtime story in light. Place this pumpkin in a bedroom window for a nightlight effect. Children often request this calm design year after year once they see it glowing. It doubles as soothing decor well into November.
Spider Web Design
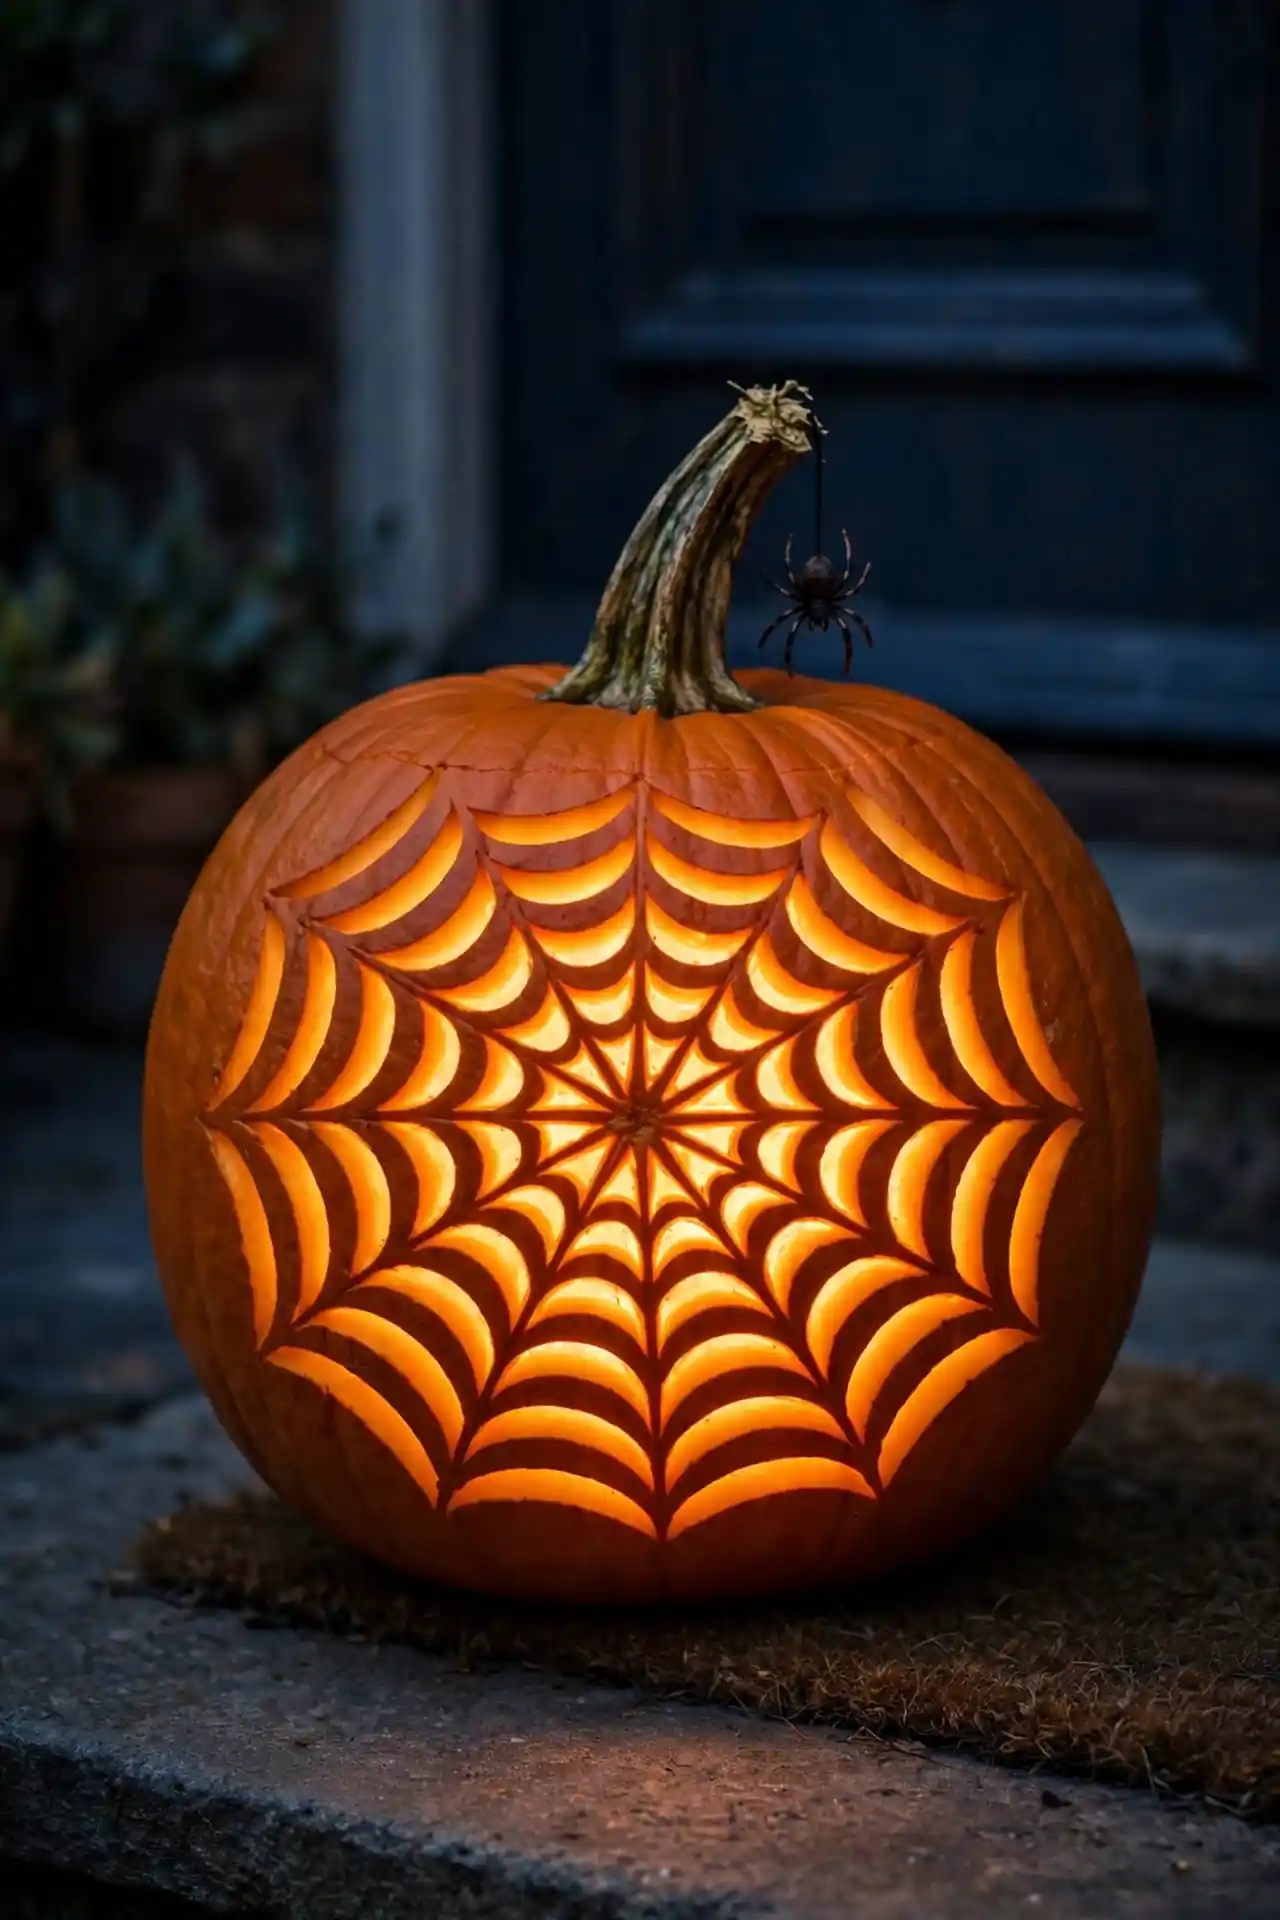
BEFORE: The pumpkin looks plain and the kids want something creepy but not too scary. A spider web sounds perfect yet tricky to draw freehand.
AFTER: Curved lines radiate from a center point, connected by arcs, and a plastic spider hangs from the stem. The web glows dramatically when lit from within.
Draw the web with a white paint pen before cutting a single line. Kids love placing the toy spider themselves. Keep the web lines thick so they survive carving. Hang the pumpkin near the door for maximum startle-free fun. The toy spider can be repositioned daily for fresh giggles.
Step by Step Stars
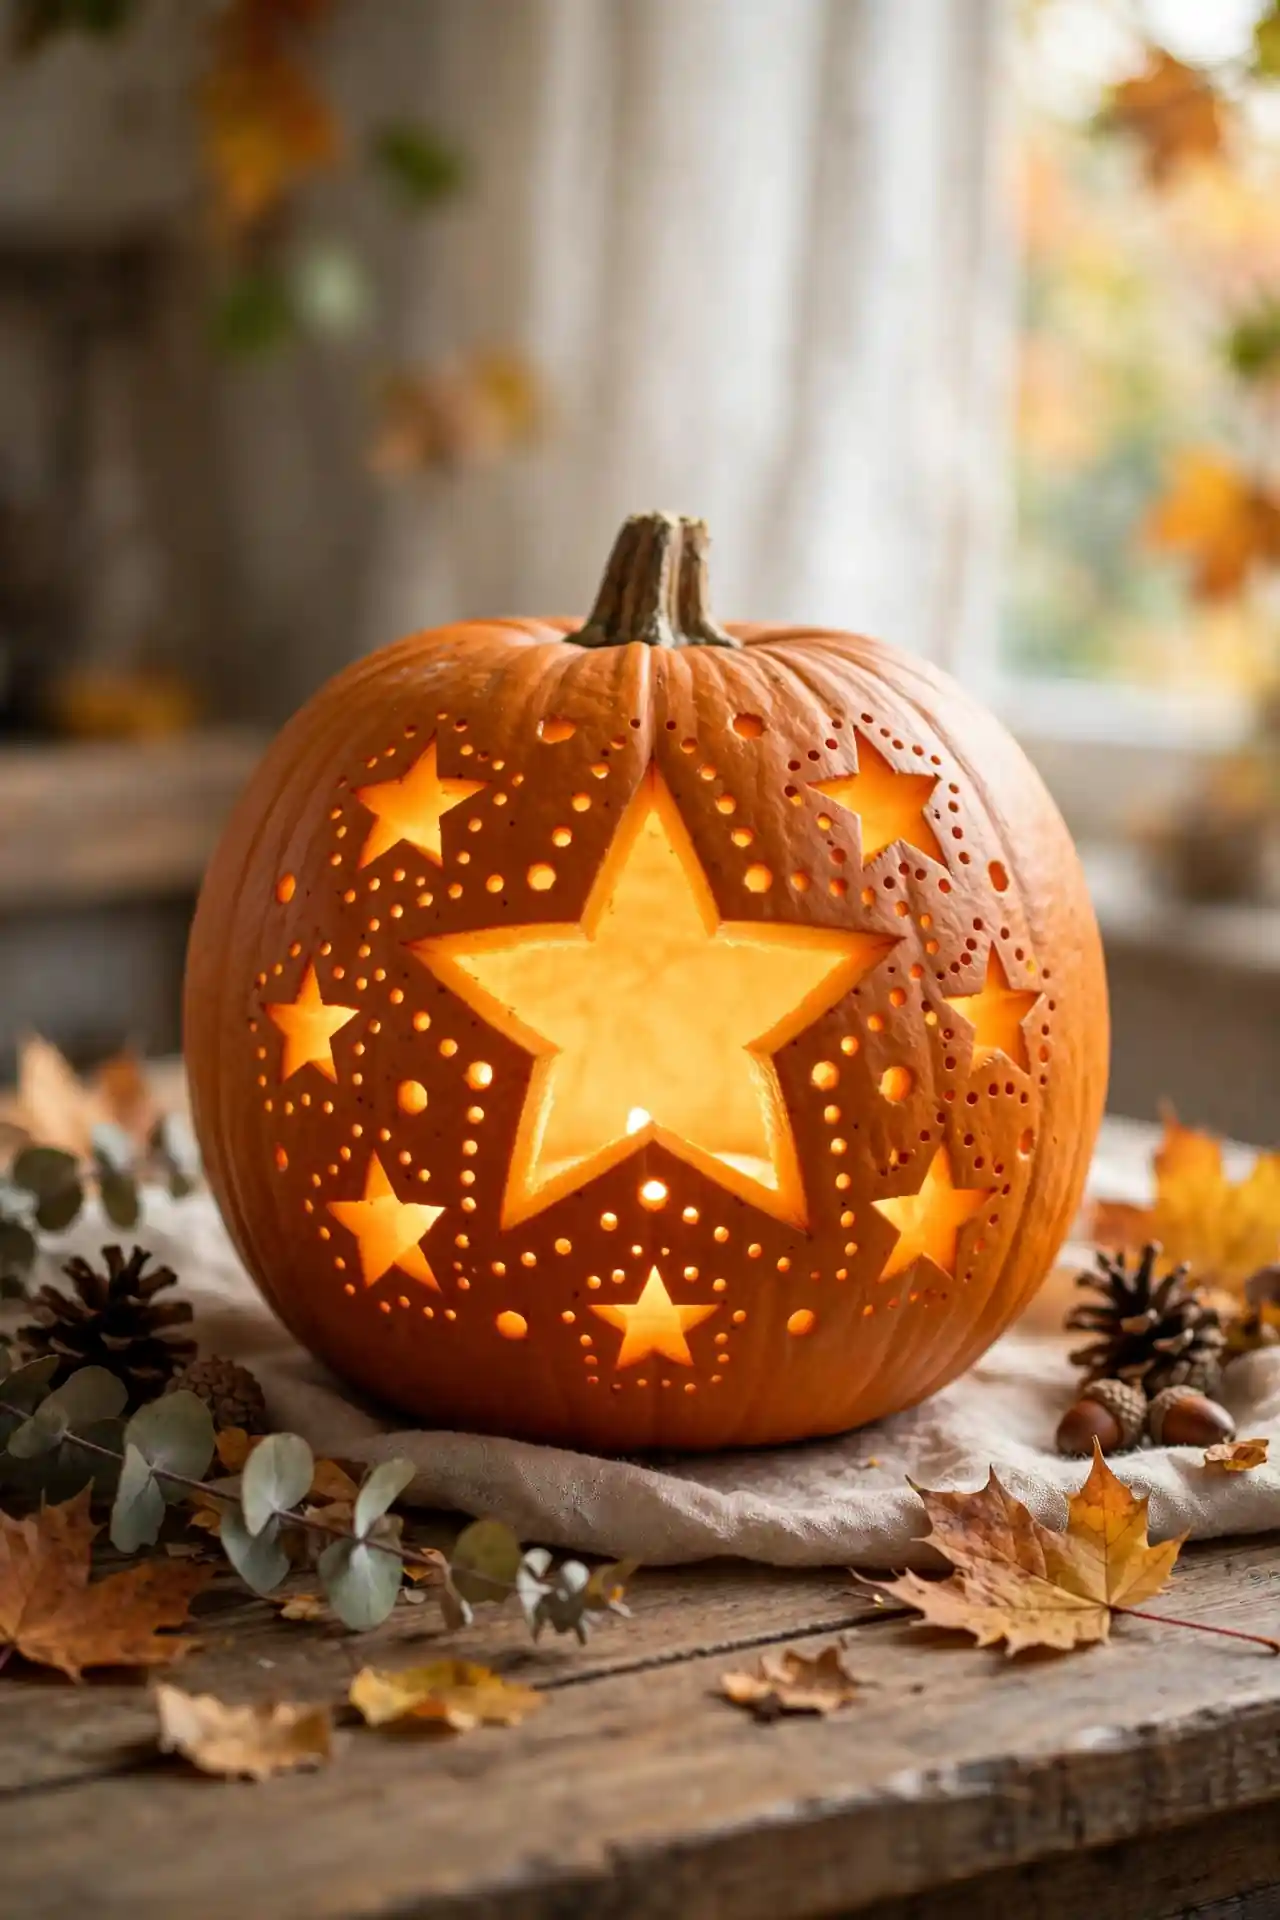
- Draw one big star in the center of the pumpkin.
- Surround it with five smaller stars in a ring.
- Poke tiny dot holes between stars with a corn holder pick.
- Carve the big star first, then the small ones.
- Wipe away marker lines with a damp cloth.
Working from big to small keeps the design balanced. Kids count the stars as they go, which sneaks in a little math practice. The dot holes twinkle like distant lights. This pattern suits pumpkins of every size and color. White pumpkins make the star pattern look especially elegant at night. Give it one try and it becomes a yearly tradition.
Triangle vs Circle Eyes
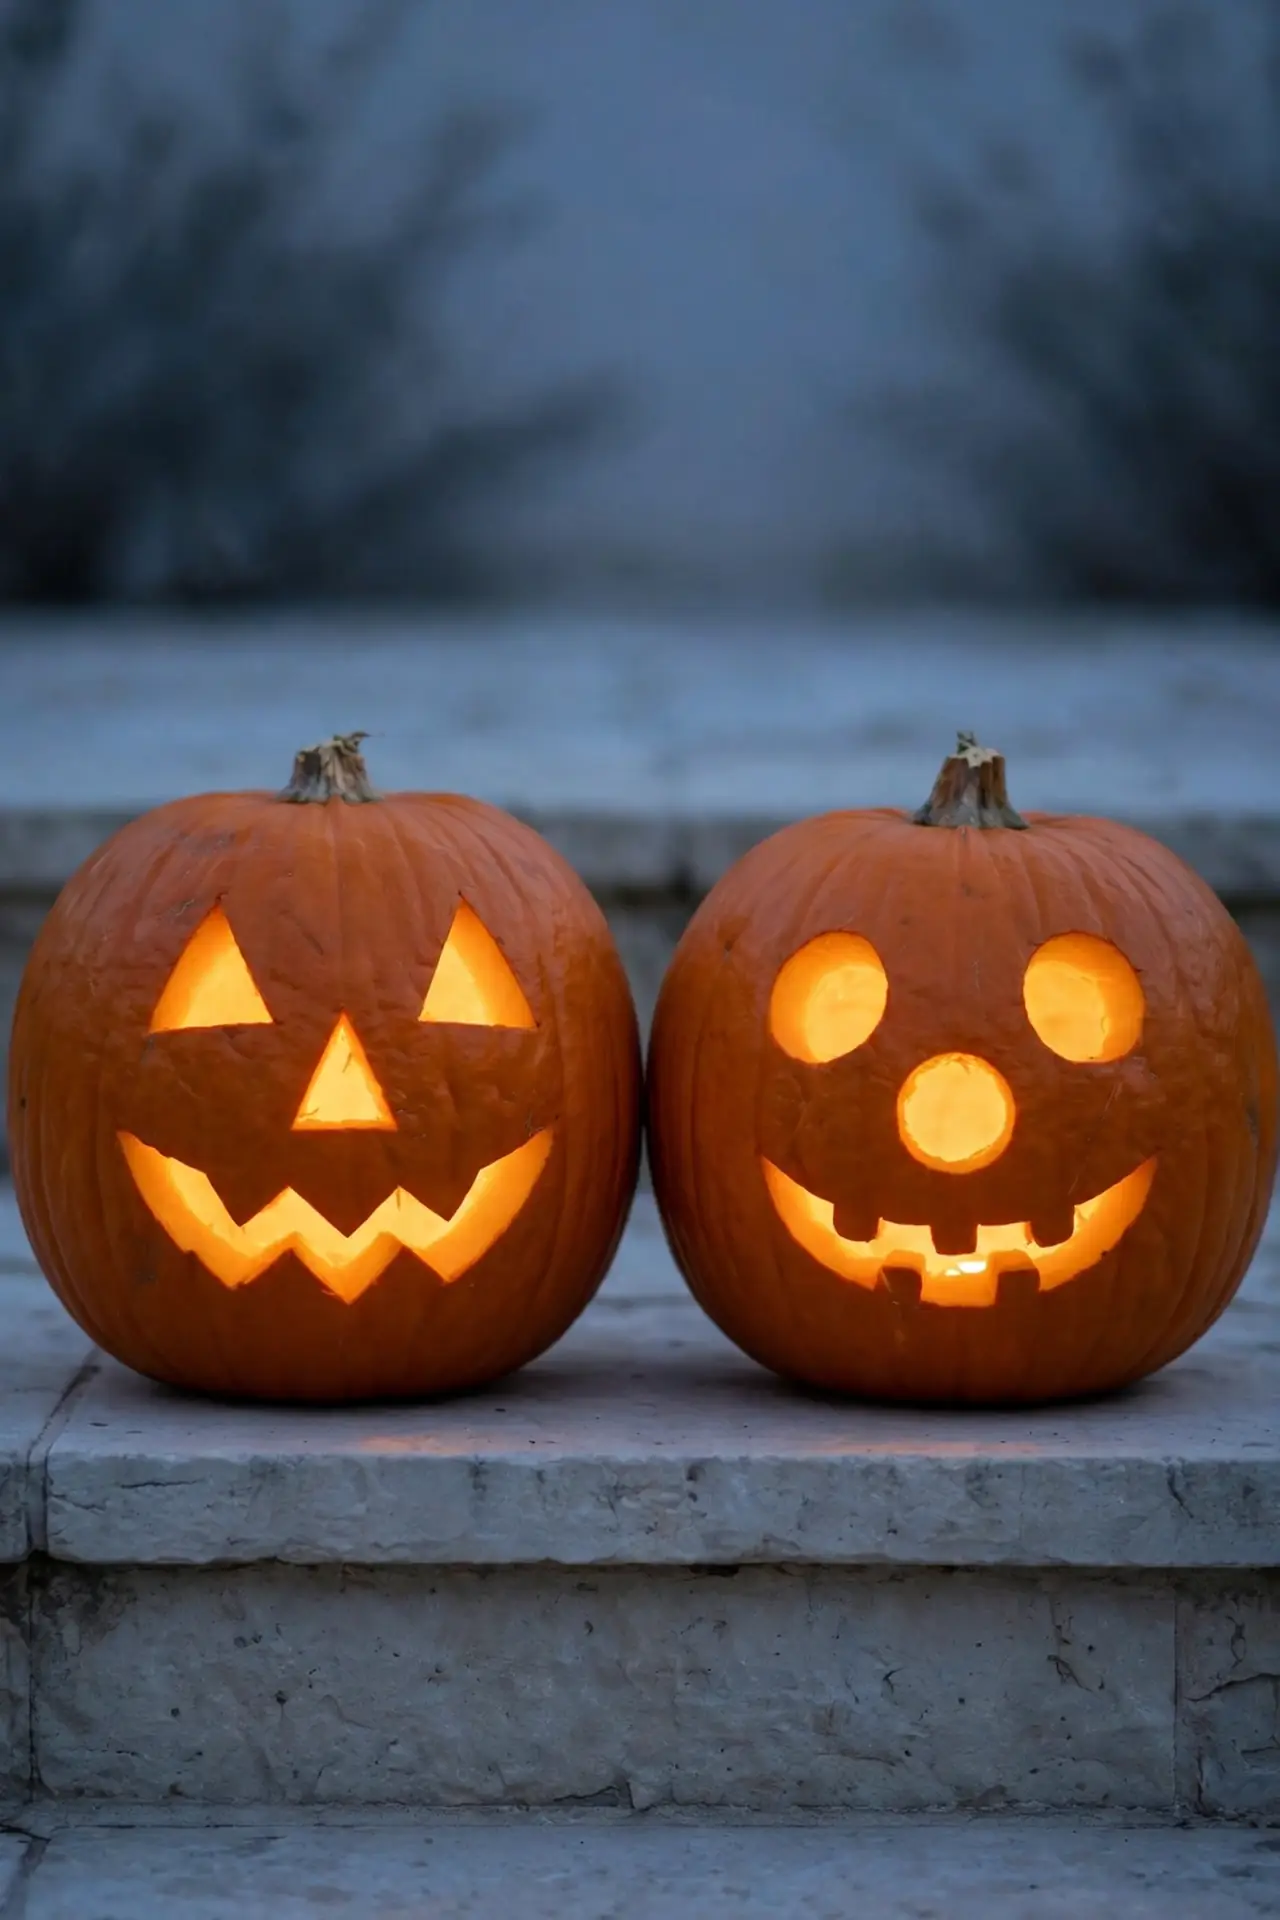
| Feature | Triangle Eyes | Circle Eyes |
| Mood | Mischievous | Sweet |
| Cutting ease | Simple straight cuts | Needs steady curves |
| Best age | 6 and up | 3 and up |
| Pairs with | Jagged mouth | Smile mouth |
Eye shape changes the whole personality of a jack-o-lantern. Let kids experiment on paper before committing to the pumpkin. Triangles lean spooky while circles stay adorable. Carve one of each and let the family vote for a favorite. The voting itself becomes a fun family ritual with surprisingly strong opinions. Keep both pumpkins flanking the doorway so visitors can cast their own votes all evening. Tally the results on Halloween night.
Bat Silhouette Night
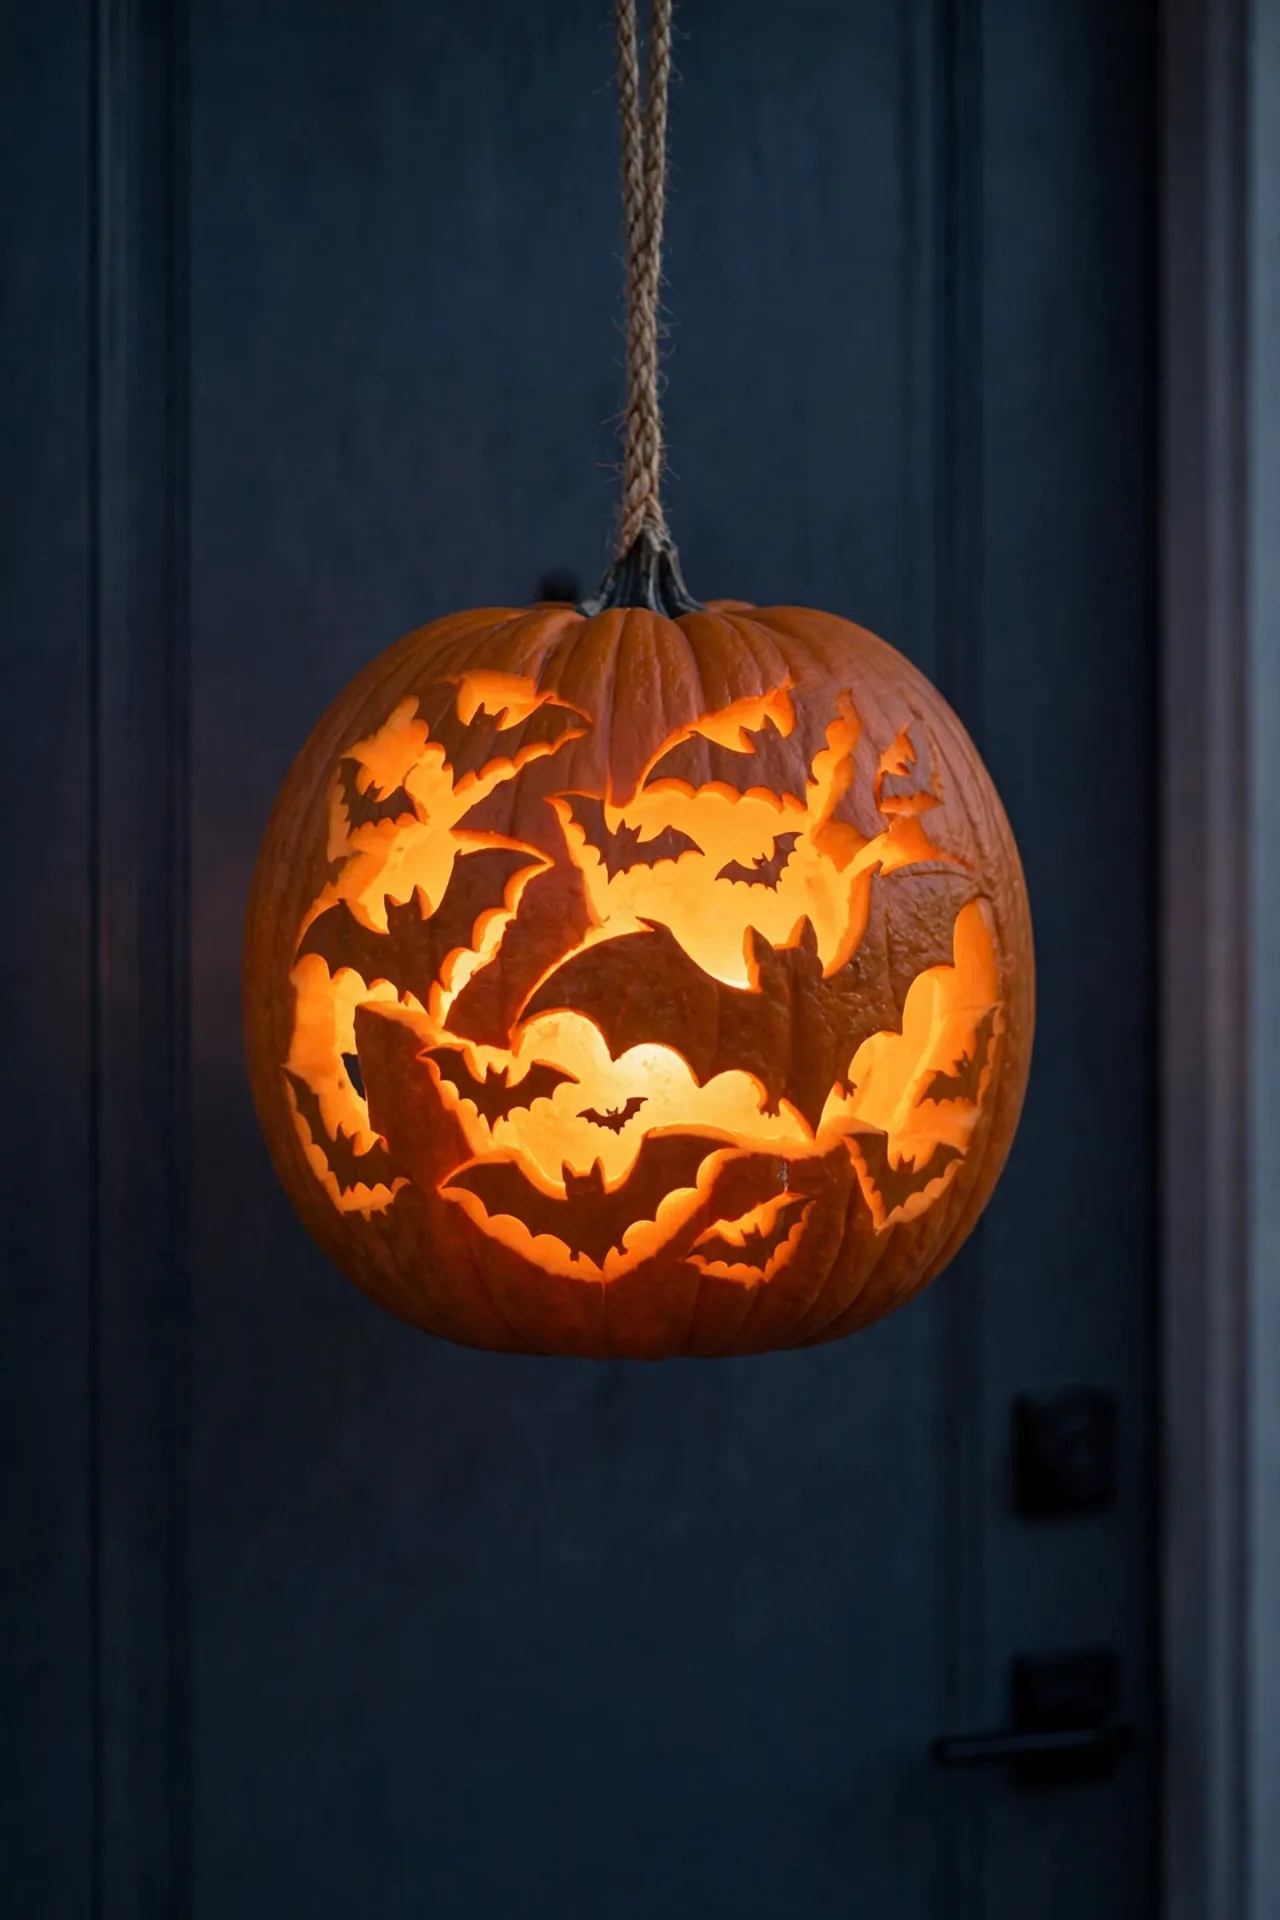
DO:
- Cut simple bat shapes with smooth wings.
- Scatter bats across the whole pumpkin surface.
- Use black paint to darken the skin around bats.
- Hang the pumpkin at eye level for drama.
DON’T:
- Don’t make wings too thin; they tear easily.
- Don’t overcrowd one side of the pumpkin.
- Don’t skip hollowing; thick walls dim the glow.
- Don’t use sharp tools without adult hands guiding.
Bats swooping across a glowing pumpkin spell instant Halloween. The silhouettes read clearly from the street. Kids delight in counting the bats they cut. Pair with bat cutouts taped to the front door, and see our halloween party table ideas for matching indoor decor.
Candle vs LED Glow
Cost: Low | Time: 10 minutes | Skill Level: Beginner | Best For: Safety-first families
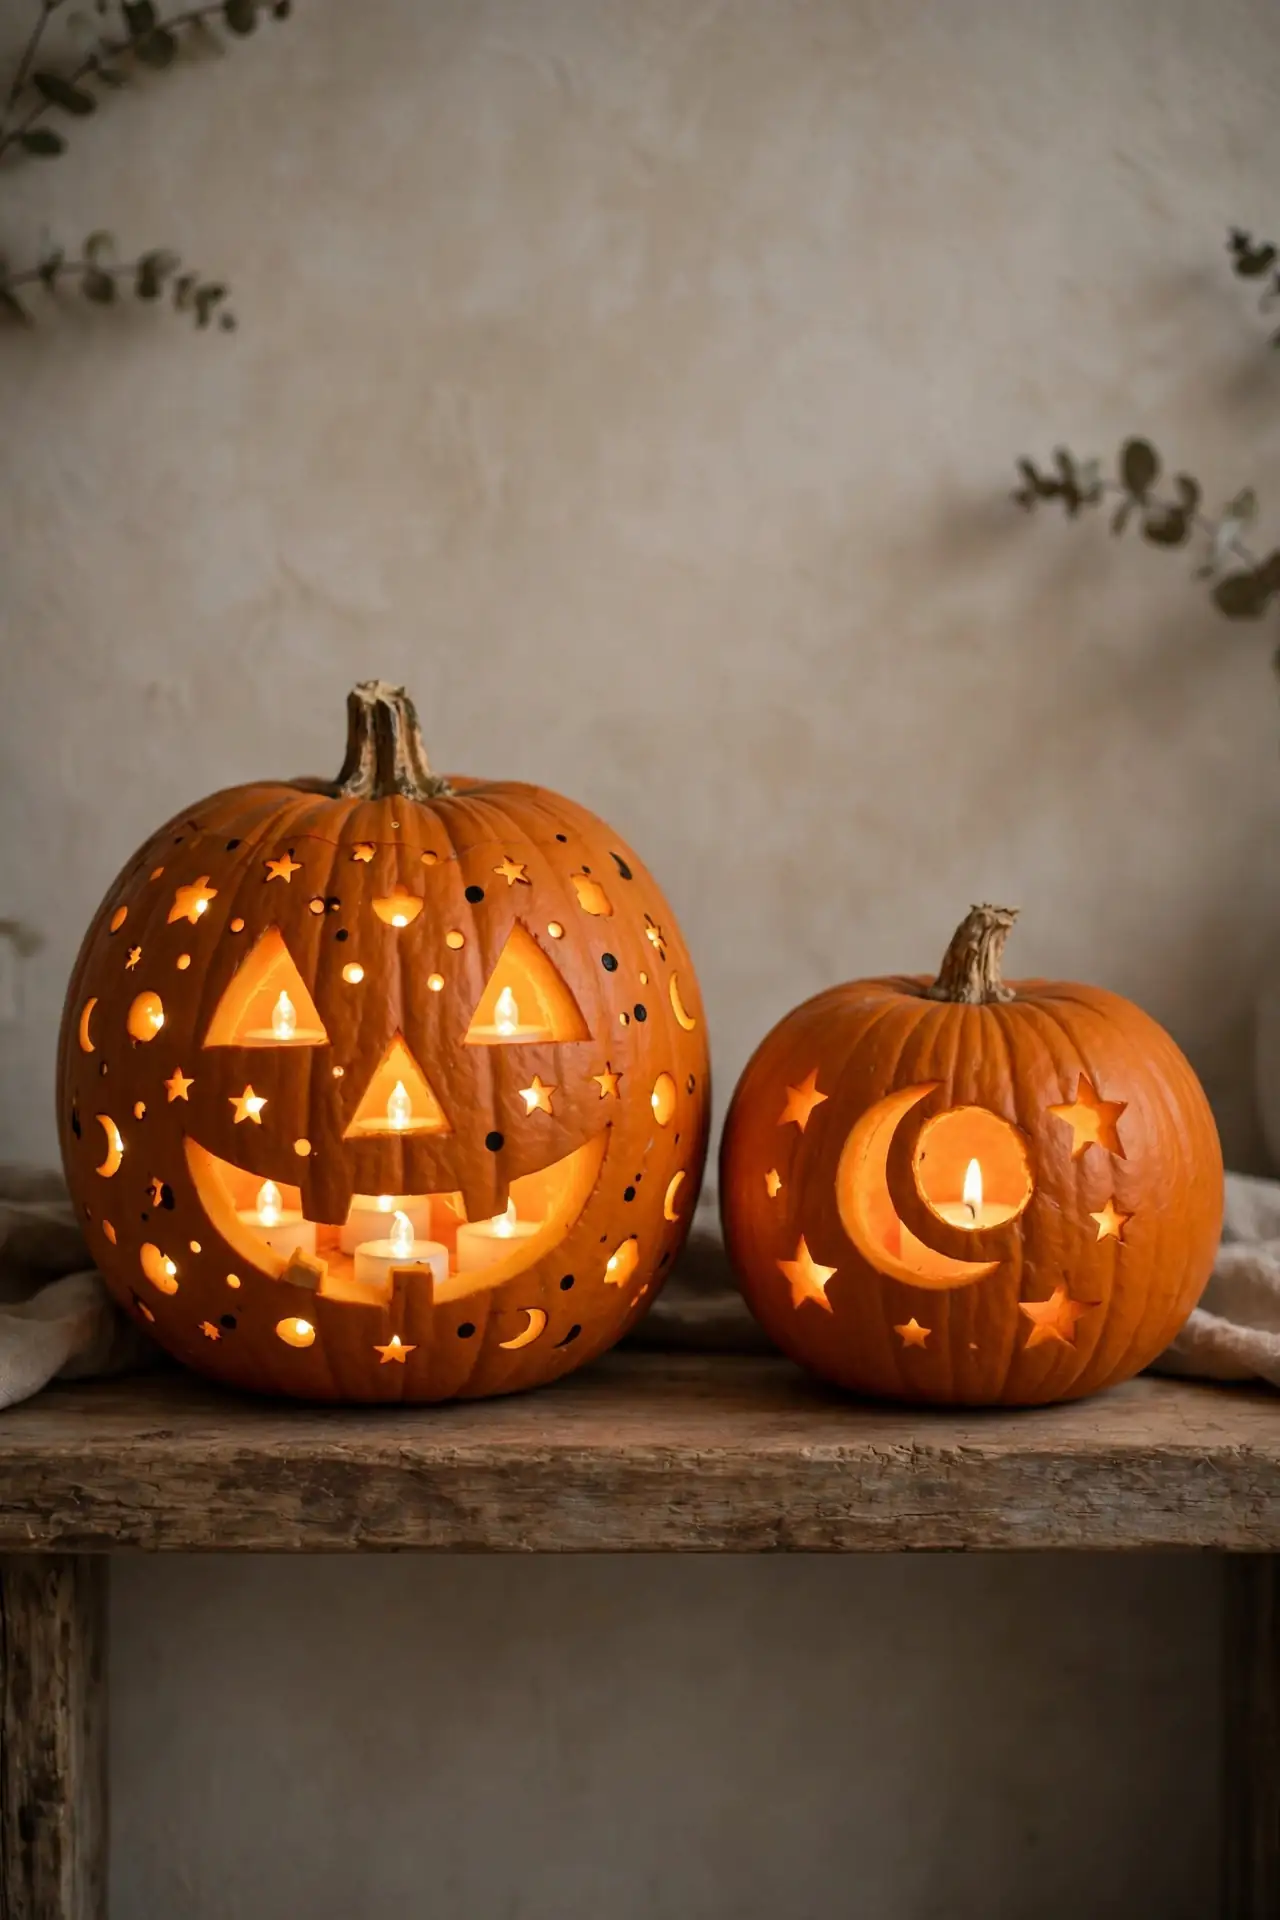
Choosing the right light matters more than most people think. Real candles flicker beautifully but demand constant supervision. LED tea lights glow steadily and stay cool to the touch. I’ve tried both over the years, and LEDs win for families with curious toddlers. Drop two inside for extra brightness. Timer LEDs switch themselves on at dusk, which means one less chore on busy school nights. Stock up during post-Halloween sales so next October starts with a full drawer of lights. Your future self will thank you.
Funny Tongue Faces
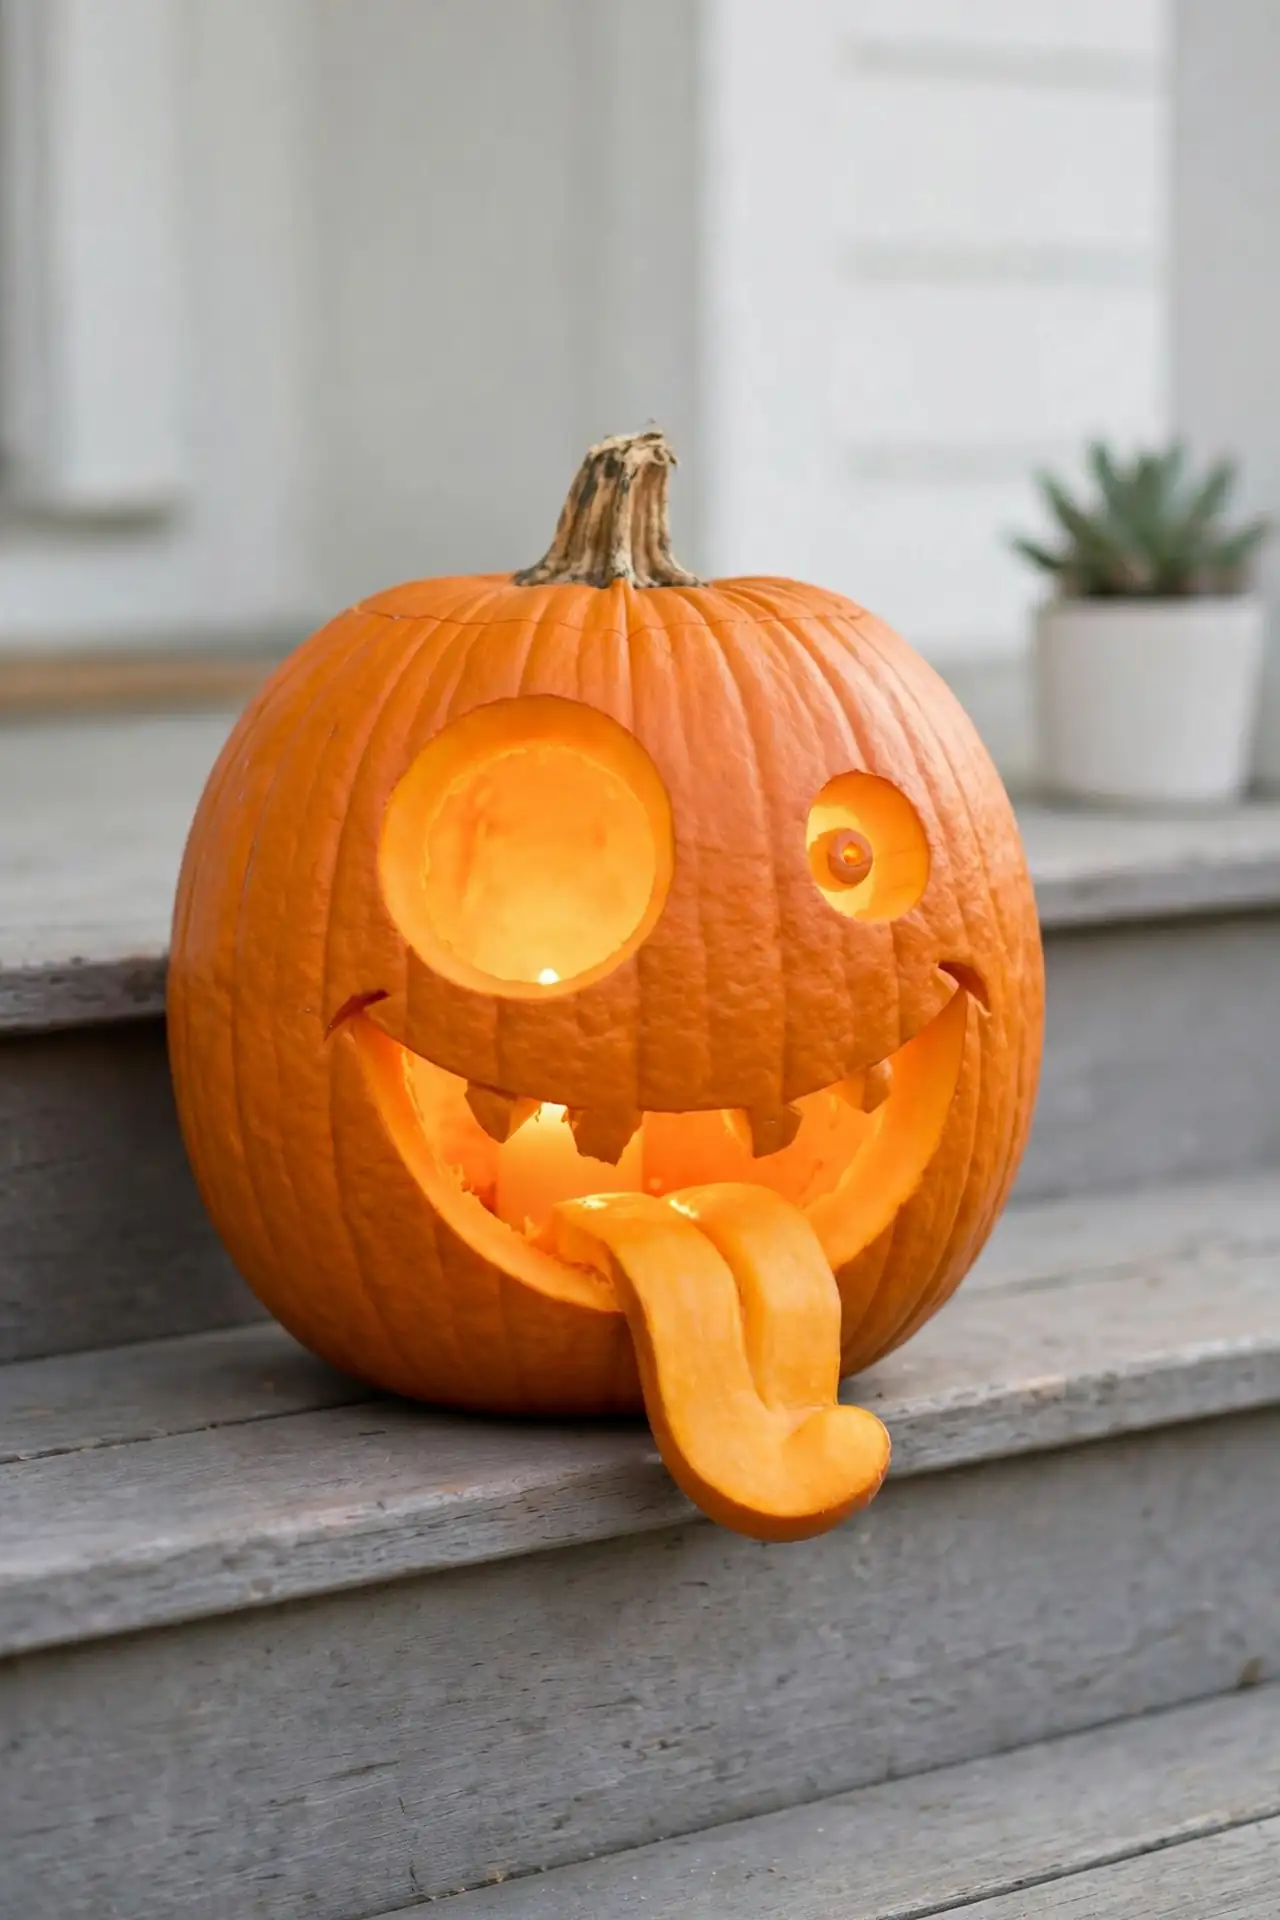
Silly faces get the biggest laughs from young carvers. Cut one eye bigger than the other and add a lolling tongue shape below the mouth. Kids crack up drawing the tongue with a red marker before you cut. The goofier the expression, the prouder they feel showing it off.
Cross the eyes for extra comedy. A missing tooth gap in the grin adds character. These pumpkins break the ice with shy visitors. Line up three silly faces and the porch feels like a comedy club. Award prizes for the silliest face to spark friendly competition. Laughter guarantees this design returns next year.
Heart Shape Cuts
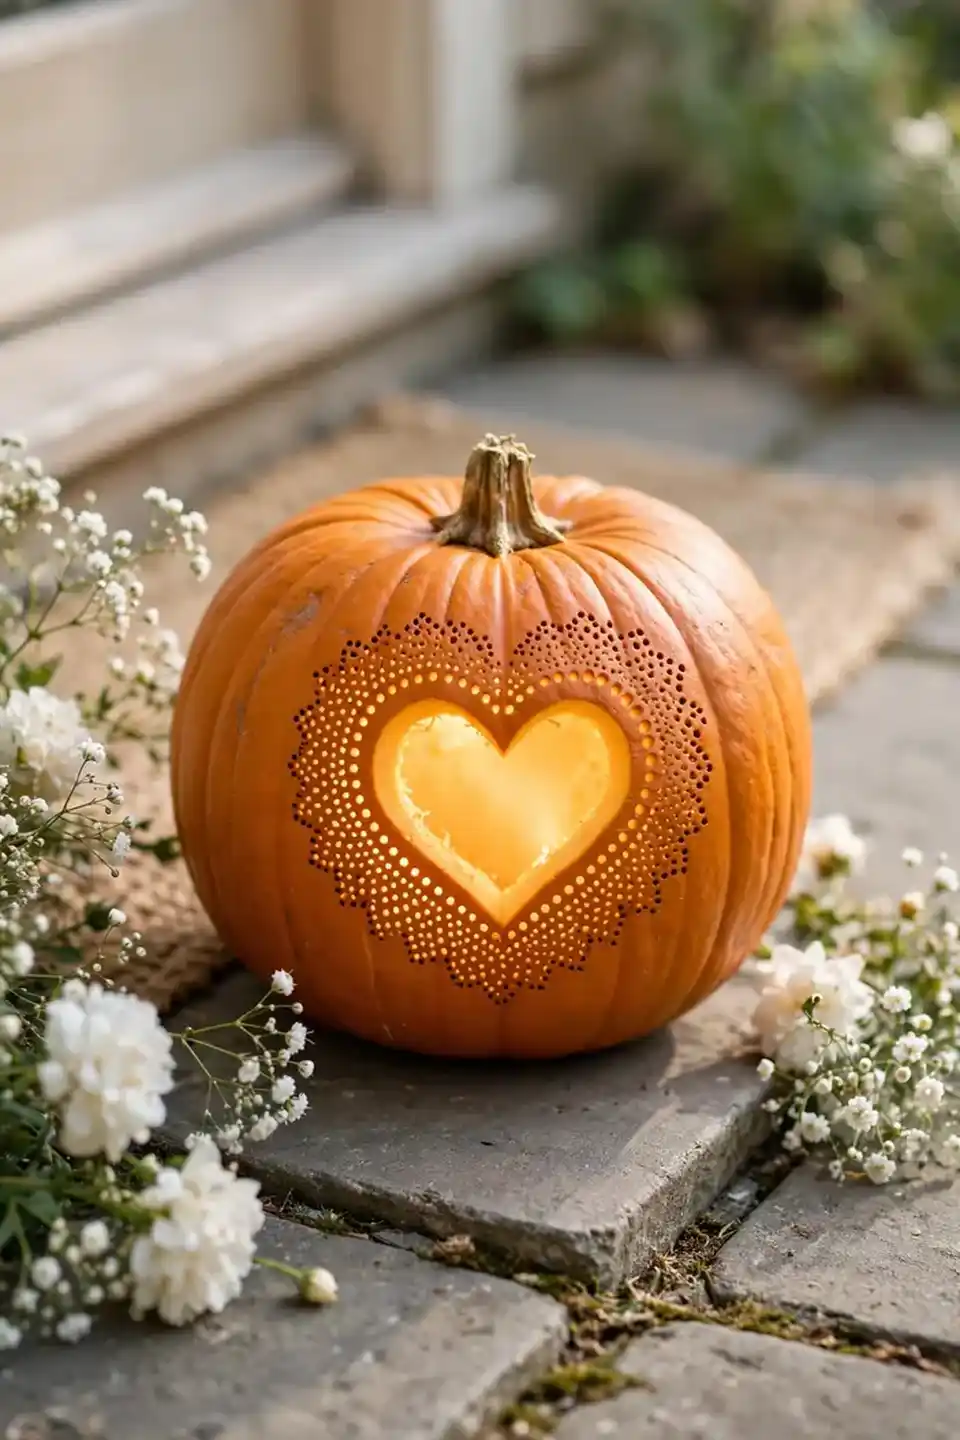
- Fold paper in half, cut a heart, and unfold for a perfect template.
- Tape the template to the pumpkin and trace firmly.
- Cut slowly around the curves with a detail saw.
- Outline the heart with small dot holes for a lacy edge.
Hearts bring sweetness to spooky season. This design suits kids who prefer cute over creepy. The glowing heart shines like a lantern of love. Gift one to a grandparent and watch their face light up too. Pink paint around the carved heart adds a rosy daytime look. The contrast between sweet shape and spooky season delights everyone who sees it.
Pumpkin Totem Stack
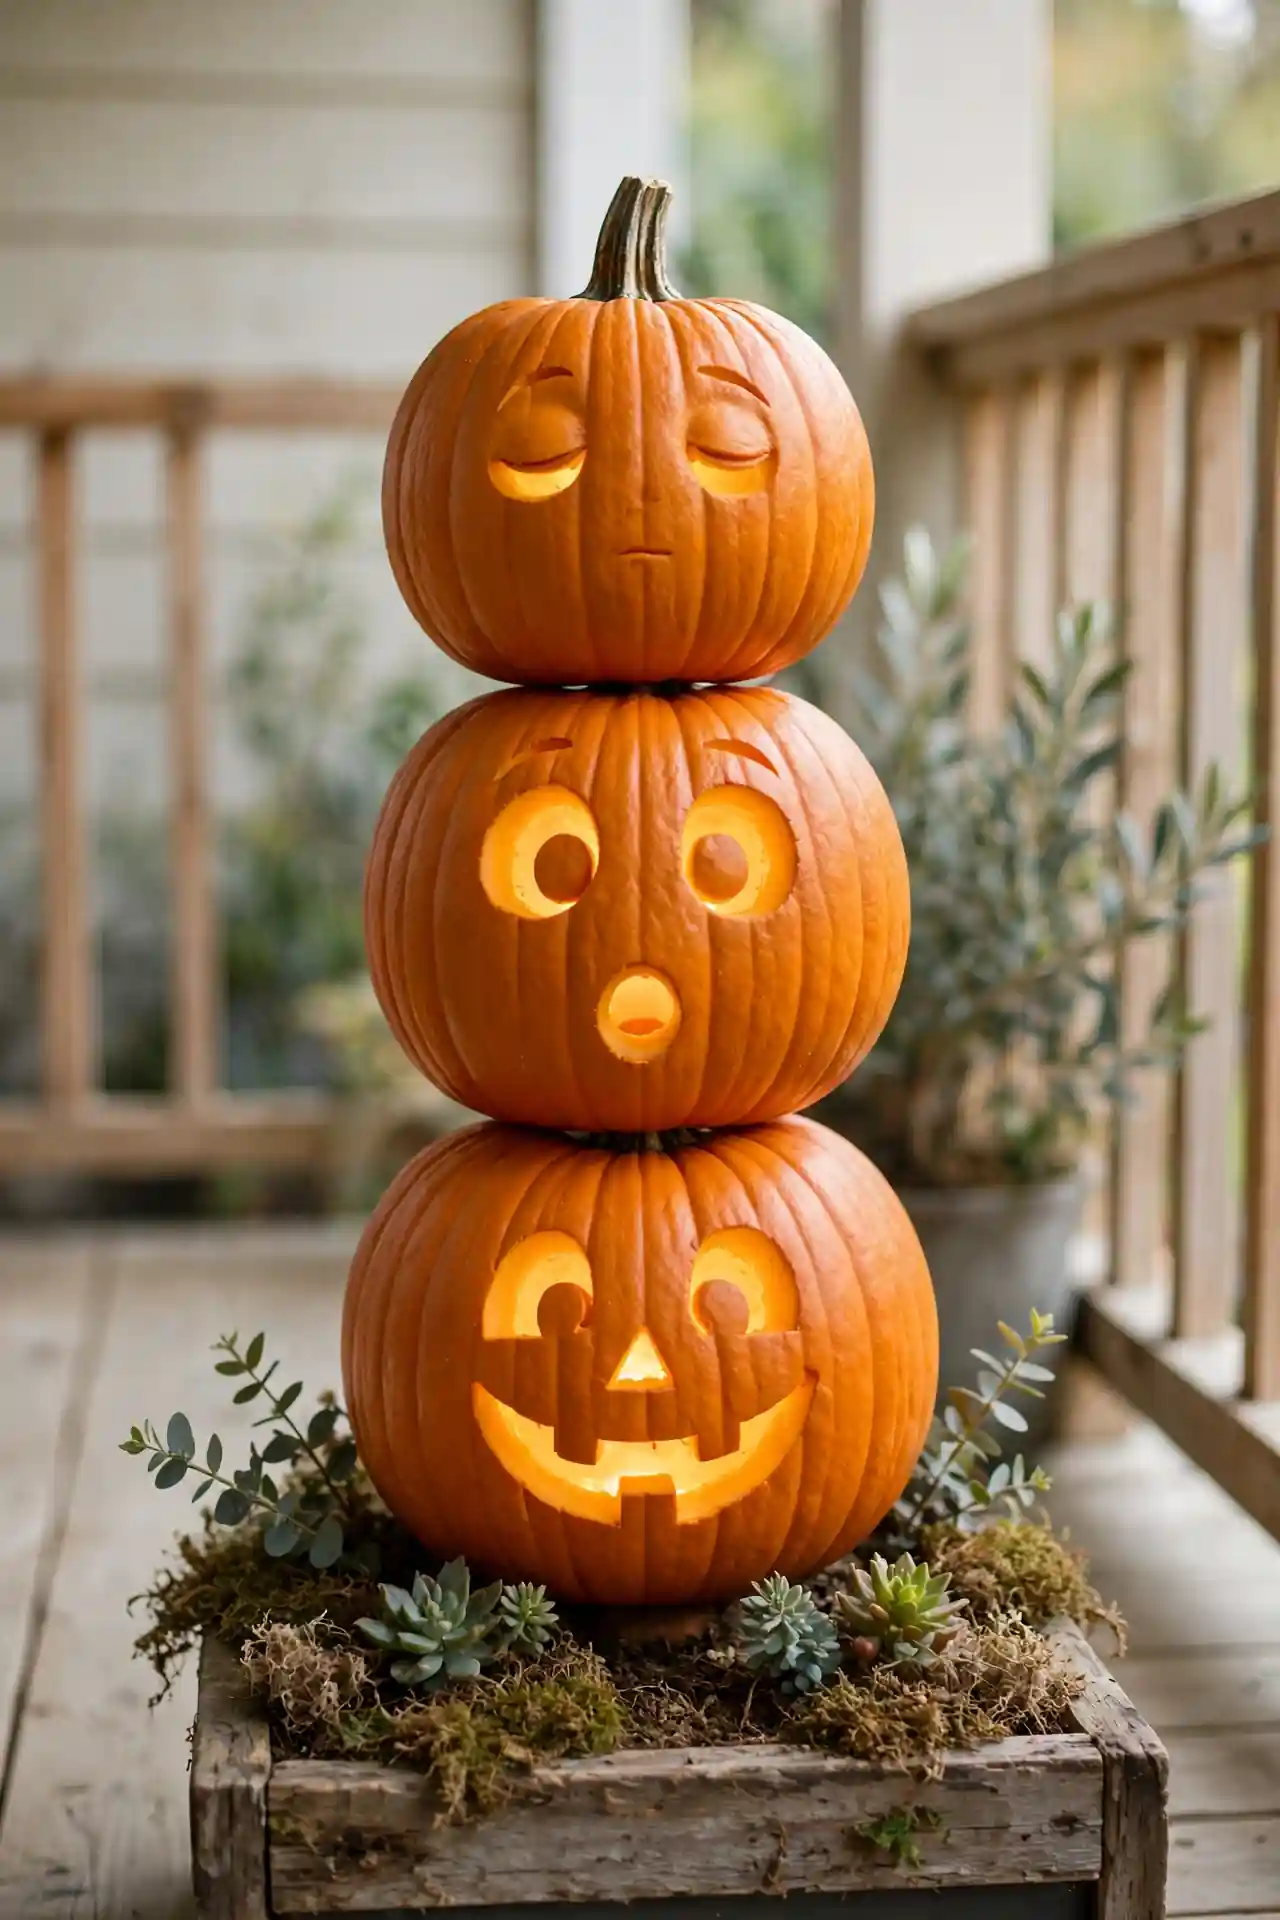
Quick Tip: Choose pumpkins with flat tops and bottoms so the stack stays steady. A wooden dowel through the centers adds hidden stability that kids never notice.
Stack two or three small pumpkins into a totem of faces. Give each level a different expression: happy, surprised, sleepy. Kids assign personalities and invent stories for each character. The tower draws eyes from down the street. Anchor the base in a planter so wind never topples it. Let each child design one level so everyone claims ownership of the tower. Photograph it at dusk when every face glows at once. Pure magic.
Zigzag Lightning Bolt
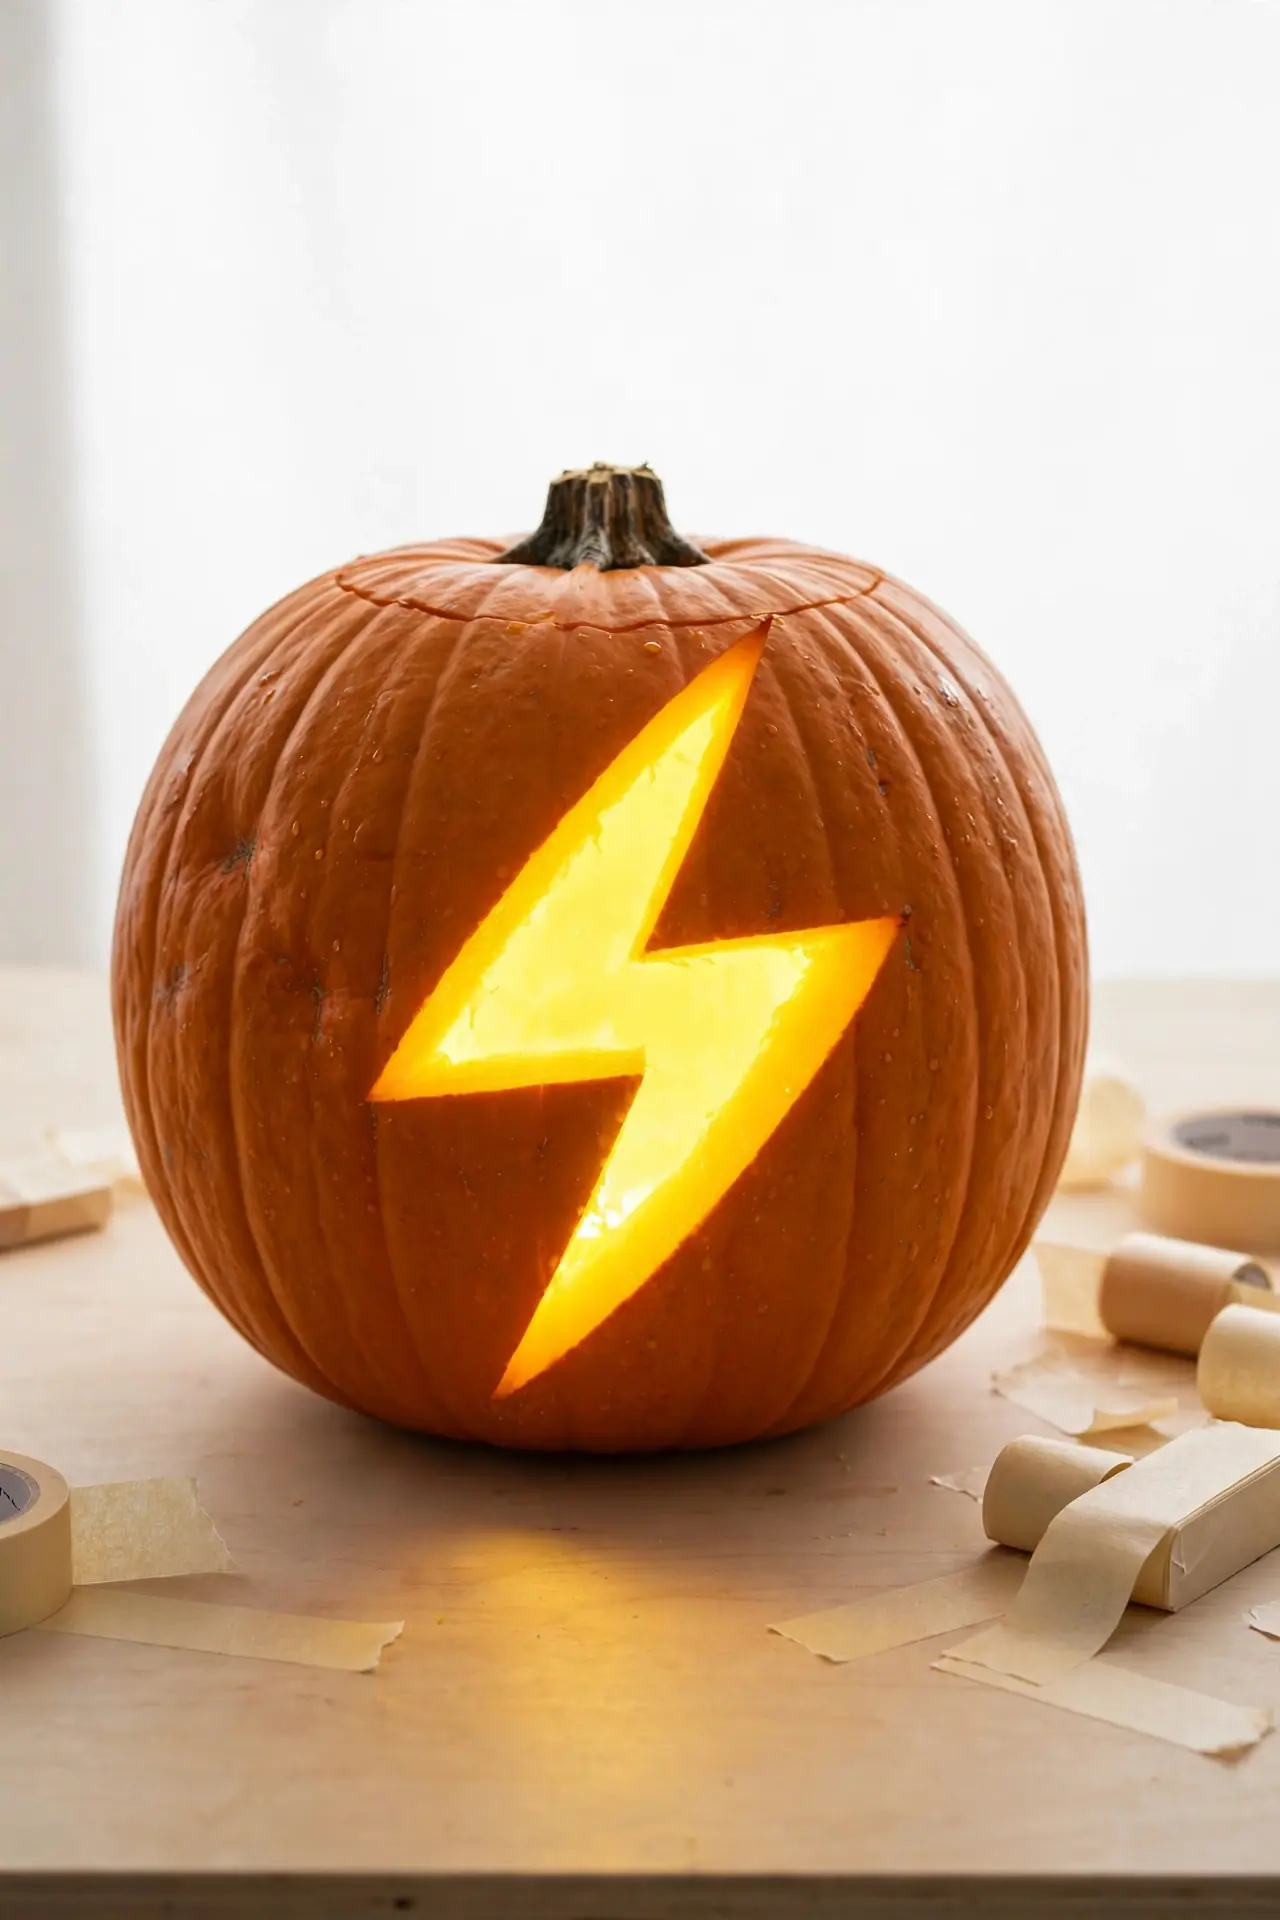
BEFORE: A stormy theme sounds exciting but drawing lightning freehand feels intimidating. The kids worry about messing up the lines.
AFTER: A bold zigzag bolt slashes across the pumpkin, glowing electric yellow from inside. It looks powerful and took only minutes to create.
Use painter’s tape to mark the zigzag before cutting. Kids press the tape strips down themselves. Peel the tape after carving for razor-sharp edges. This design thrills kids who love superheroes and storms. Yellow tissue paper behind the bolt makes the glow look electric. Pair it with a superhero cape on the pumpkin for a full character effect.
Numbered House Pumpkins
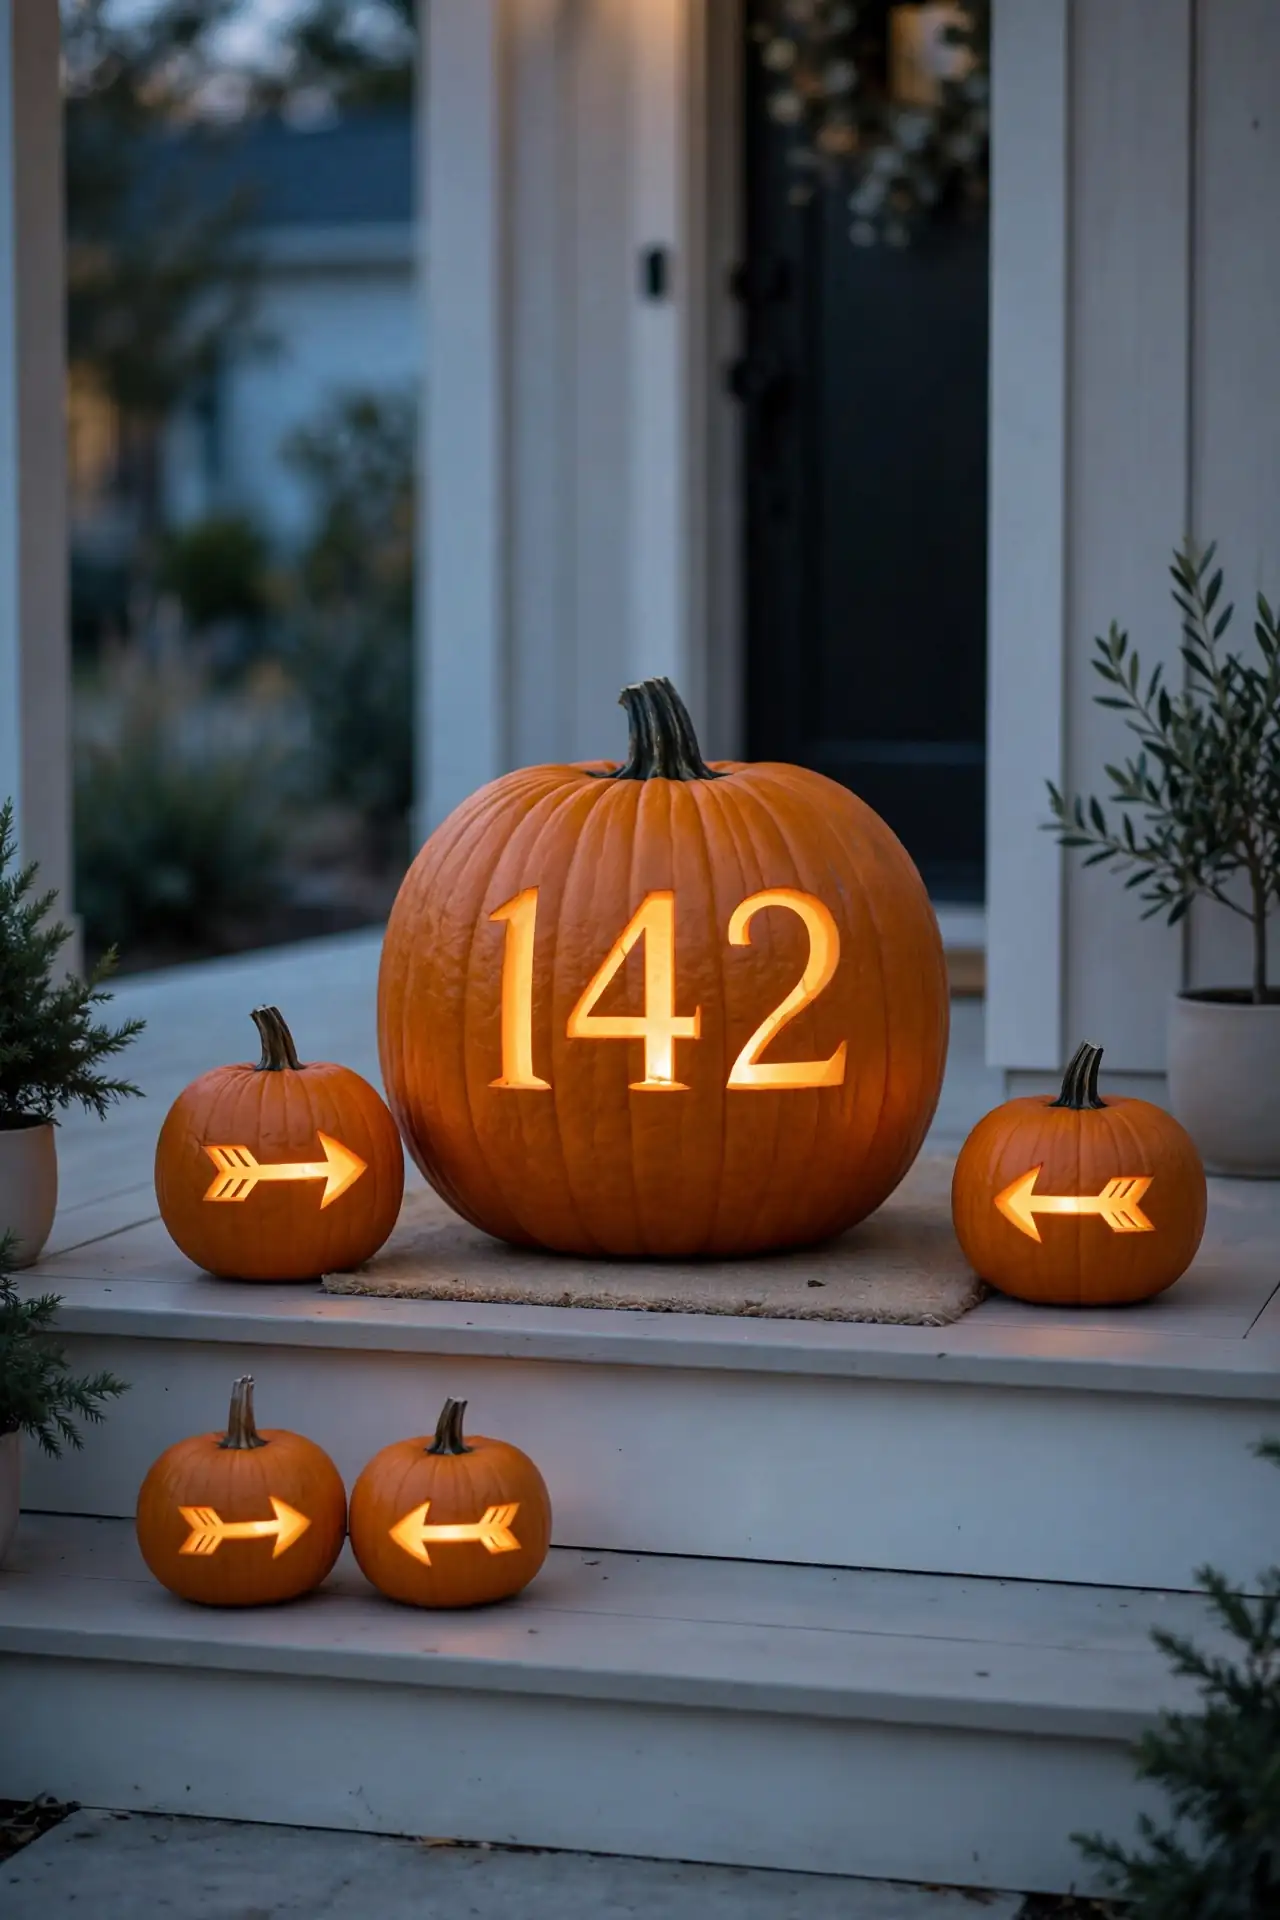
- Carve your house number big and bold on the largest pumpkin.
- Add smaller pumpkins with arrows pointing toward the door.
- Outline each number with dot holes for extra glow.
- Place the numbered pumpkin closest to the street.
Glowing house numbers help trick-or-treaters find your door. Kids feel proud seeing their address shine. The practical touch doubles as festive decor. Neighbors will ask how you thought of it. Use a stencil for crisp numerals that read clearly from the sidewalk. Add a carved arrow on a second pumpkin pointing toward the candy bowl by your door. No visitor ever gets lost this year.
Paint vs Carve Combo
| Feature | Painted Details | Carved Details |
| Mess level | Low | Medium |
| Kid safety | Very safe | Needs adult help |
| Glow factor | None | Bright |
| Best for | Toddlers | Ages 6 and up |
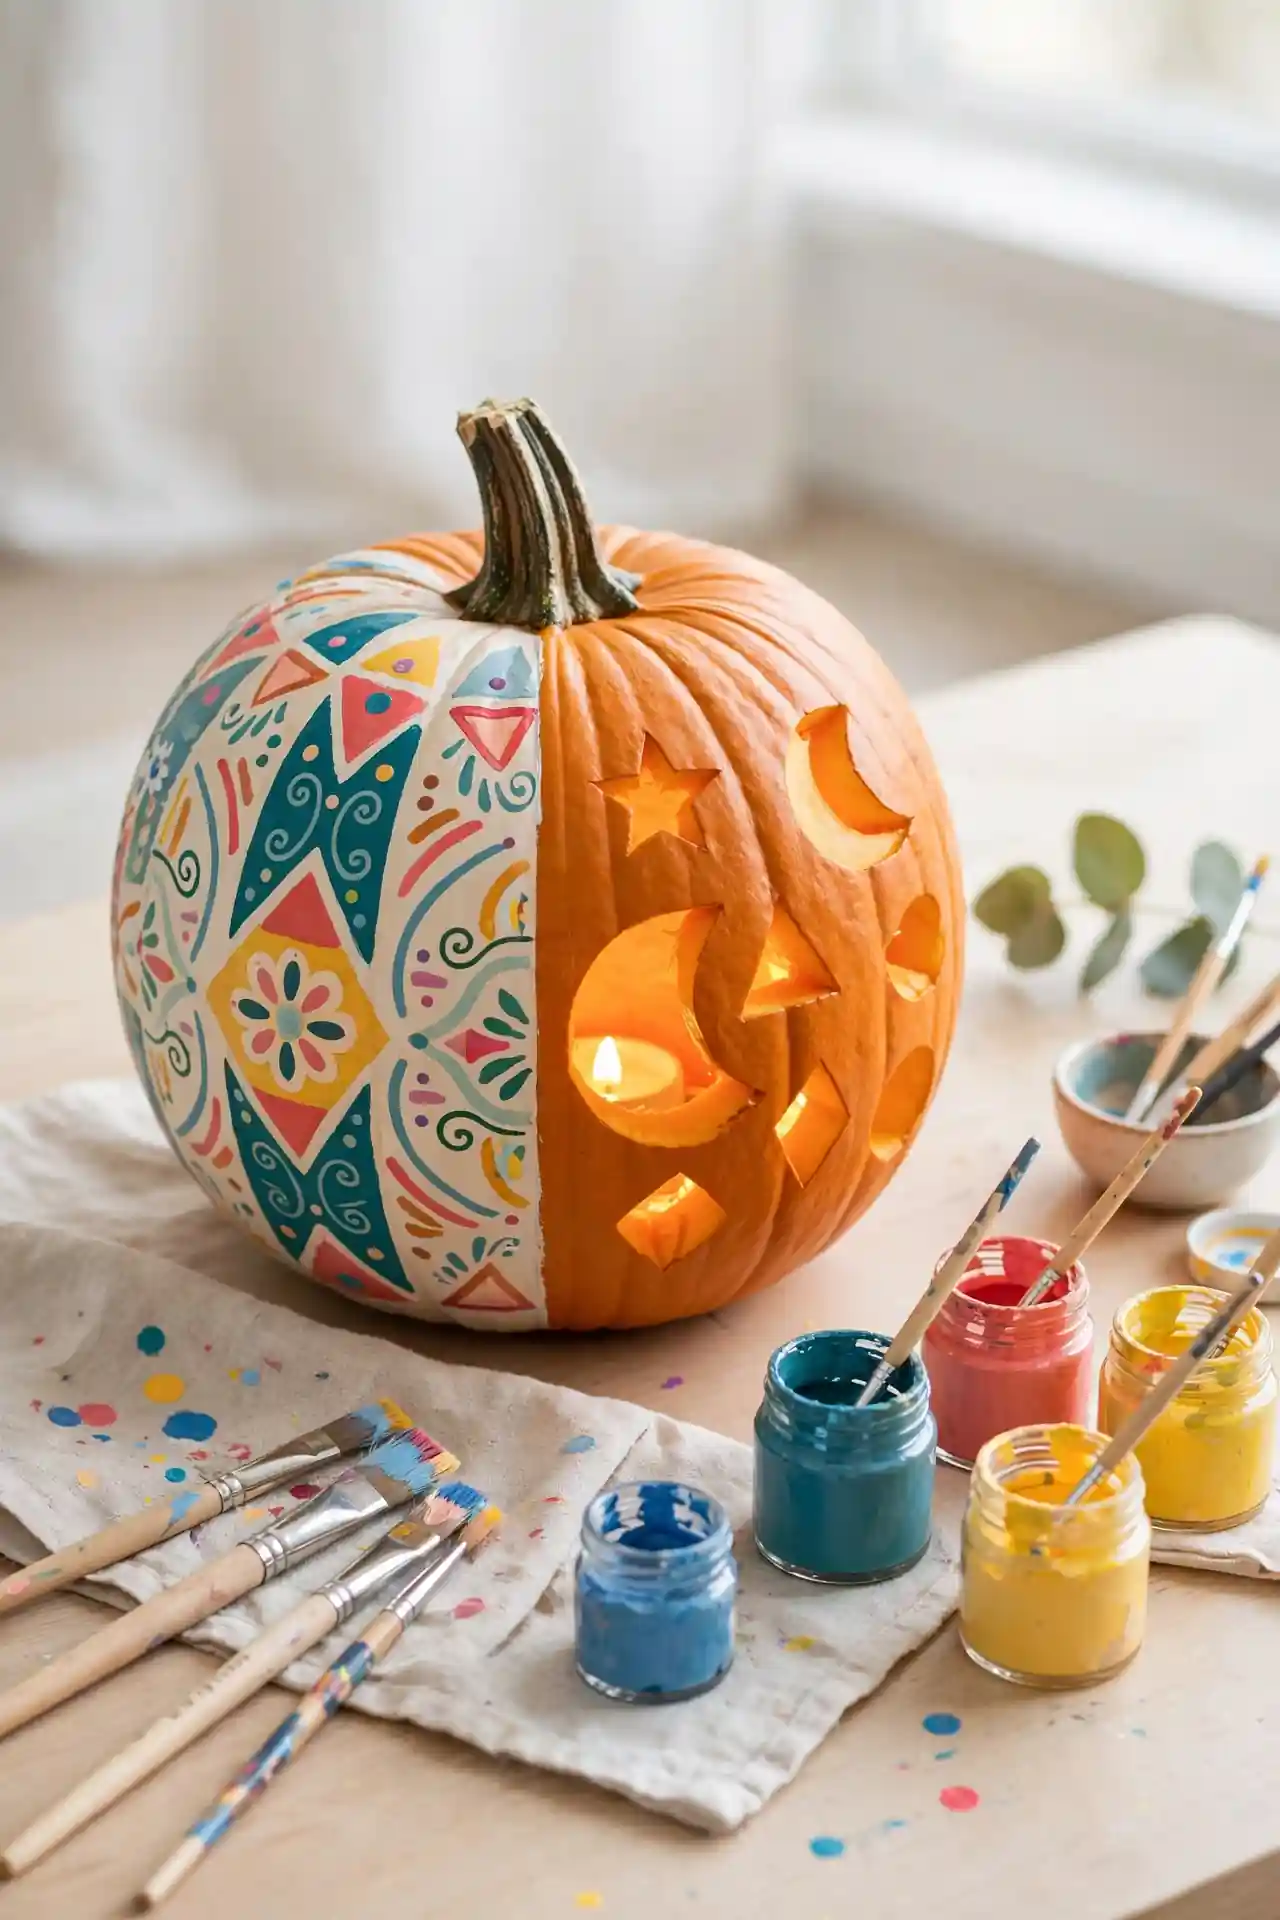
Combining paint and carving gives the best of both worlds. Little ones paint while older kids carve. The painted sections add color by day and the carved parts glow by night. This teamwork approach keeps every age happily busy. Set up a painting station with washable paints and smocks to contain the mess. While paint dries, older siblings can start carving their sections nearby. Everyone finishes around the same time, ready for a group photo.
Monster Mash Mouths
DO:
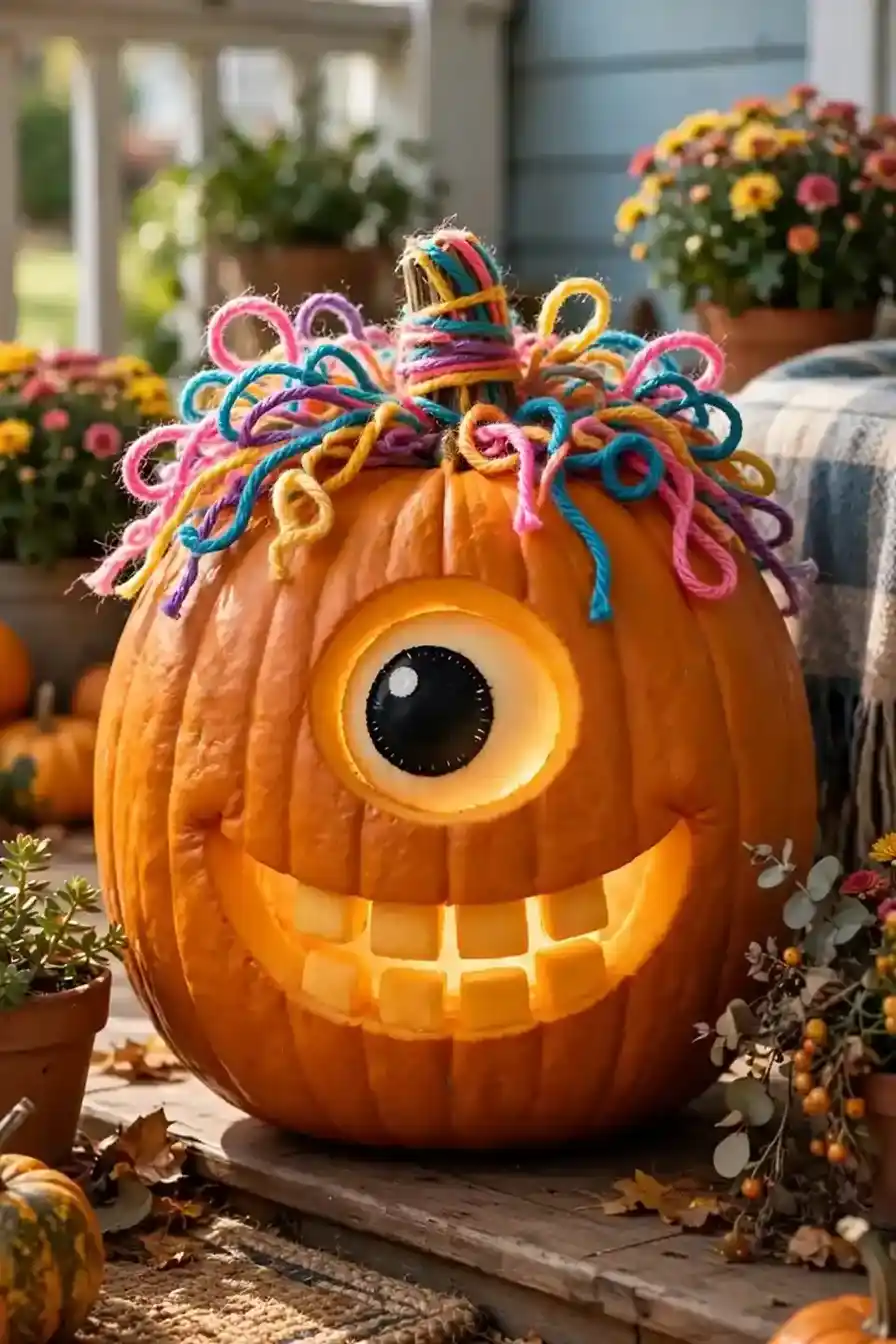
- Give monsters one big eye for comedy.
- Add yarn hair glued around the stem.
- Mix square teeth with round teeth.
- Let kids roar like their monster.
DON’T:
- Don’t carve mouths too wide; the pumpkin weakens.
- Don’t use tiny cutouts that tear.
- Don’t forget to have fun with it.
- Don’t leave carved pumpkins in direct sun.
Friendly monsters let imaginations run wild. Each monster ends up completely unique, which kids adore. The yarn hair adds hilarious texture. These creatures guard the candy bowl with pride. Googly eyes glued on top add an extra layer of silliness. No two monsters ever match.
Twinkle Light Fill
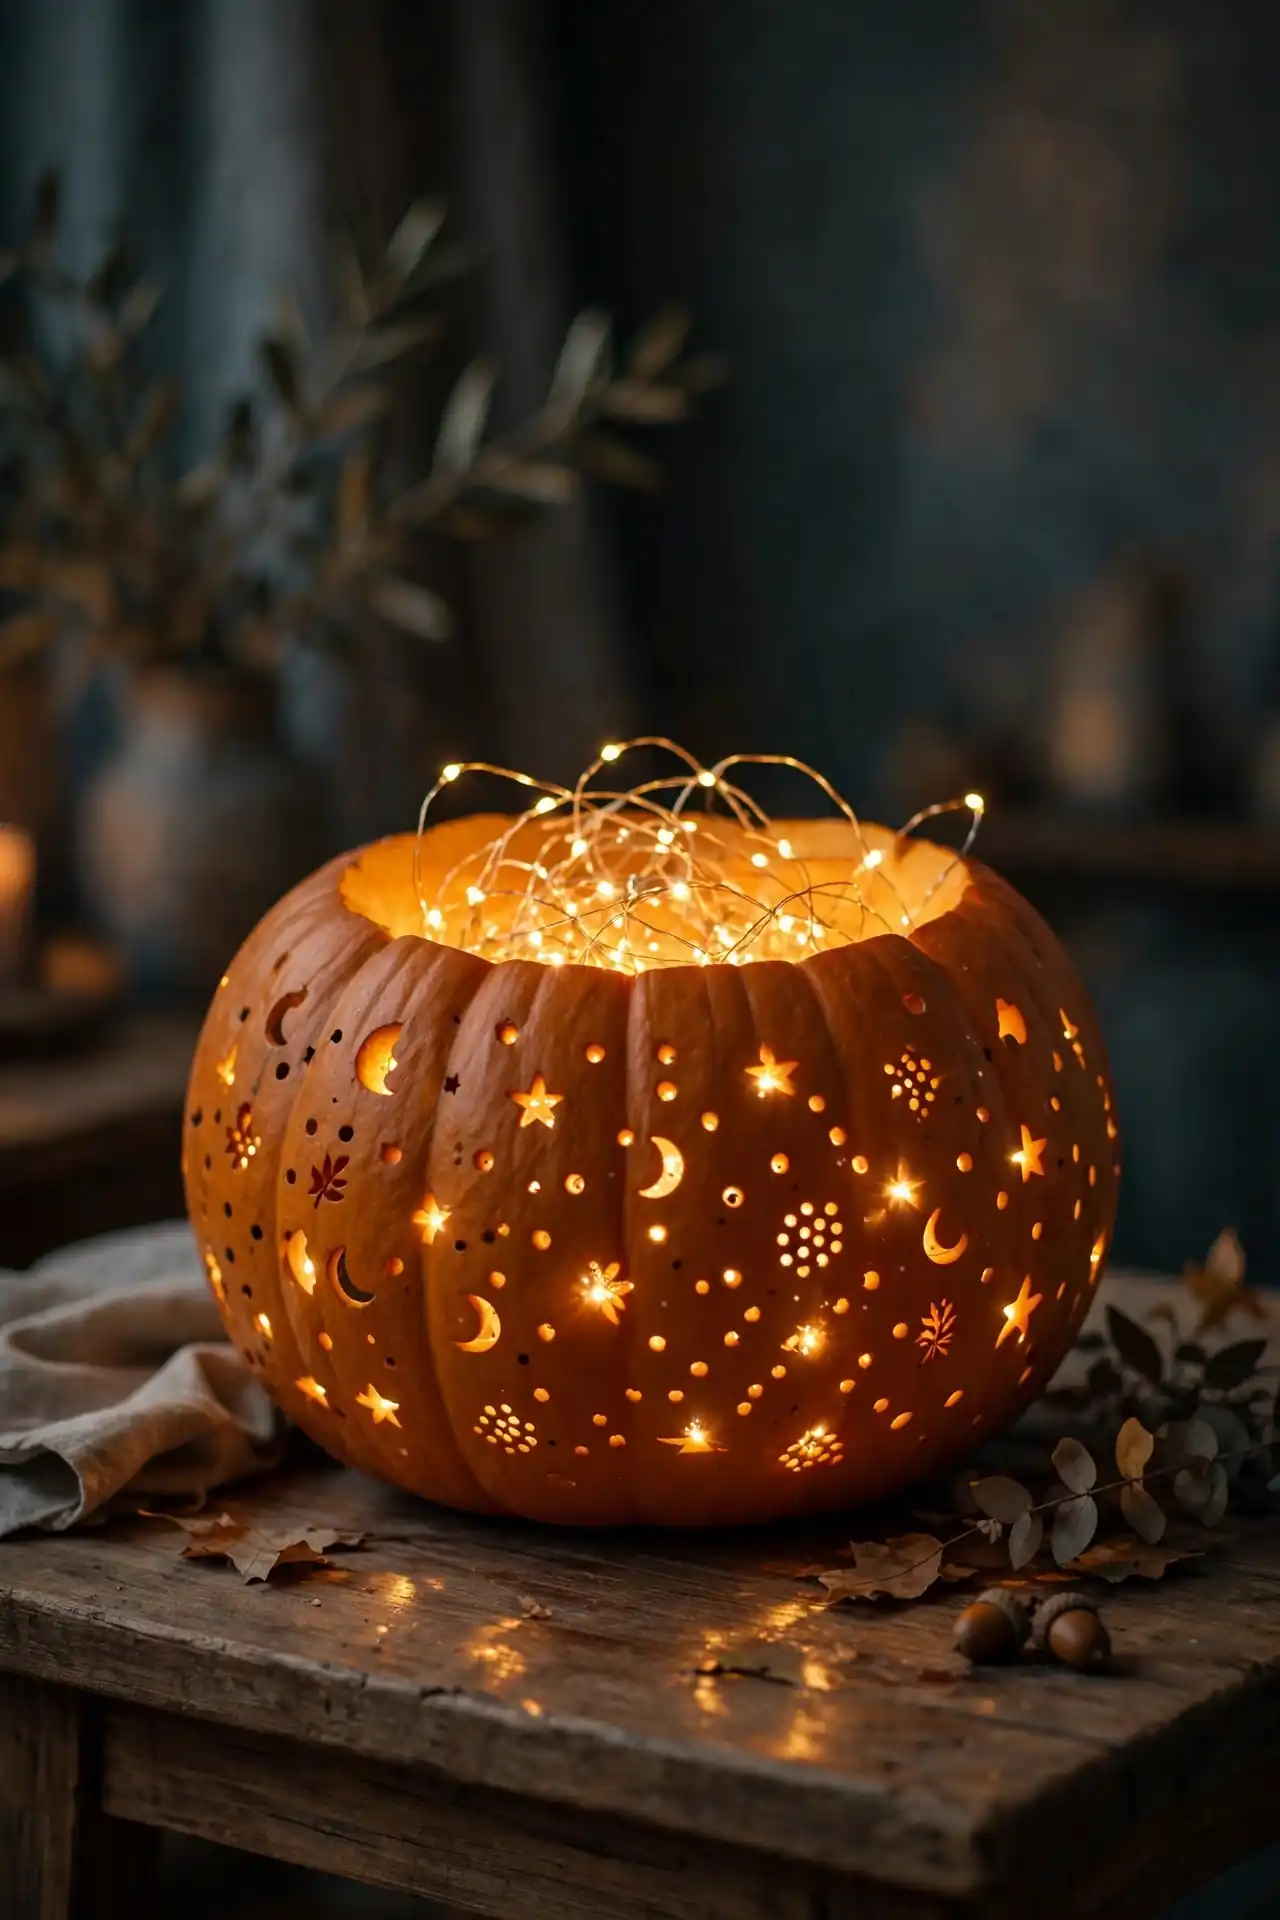
Cost: Low | Time: 15 minutes | Skill Level: Beginner | Best For: Dazzling displays
Fill a hollowed pumpkin with a string of fairy lights instead of a single bulb. The tiny bulbs sparkle through every cut and hole. Kids love stuffing the lights inside like treasure. I’ve seen this trick turn a simple design into the star of the street. Use warm white for a cozy glow. Battery packs tuck neatly inside the hollow base, hidden from view. Choose lights with a timer so the magic starts automatically each evening. Neighbors will stop to ask your secret. Smile and share the trick freely.
Conclusion
These kid friendly pumpkin carving ideas prove that the sweetest Halloween memories come from simple projects done together. Pick two or three favorites, gather your little helpers, and let the porch glow with pride. Snap a photo of each finished pumpkin and pin it to your Halloween board so you can recreate the winners next year. I’ve seen how small traditions like these turn an ordinary October evening into something the whole family looks forward to. Share your creations with friends, save this list for next fall, and enjoy every giggle along the way. May your pumpkins glow bright and your candy bowl stay full.

One Comment