25 Pumpkin Painting Ideas for a Creative Fall Display
A fresh coat of paint turns an ordinary pumpkin into a stunning fall accent, and pumpkin painting ideas open the door to endless creativity without carving a single seed. Whether you love soft neutrals, bold metallics, or playful patterns, painted pumpkins last longer than carved ones and look beautiful from porch to mantel. Kids and adults can both join in, since painting is safe, mess-friendly, and wonderfully forgiving for beginners.
Start with a clean pumpkin, a few quality brushes, and acrylic craft paint for the smoothest finish. Chalk paint works beautifully too, giving a soft matte look that photographs well. For more seasonal inspiration around your home, browse these bathroom christmas decor touches and carry the same styling ideas into every room. A little planning keeps your pumpkin display looking polished instead of cluttered.
White Pumpkin Minimalism

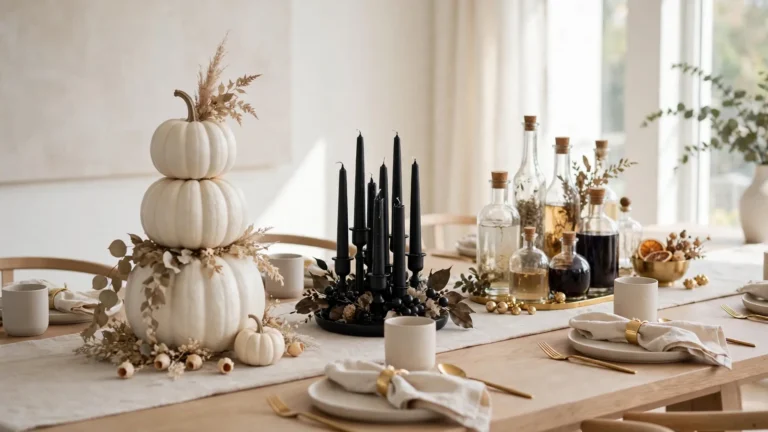
White pumpkins make the perfect blank canvas for a calm, modern fall look. A coat of matte white or soft cream paint evens out the skin and gives every later detail a clean base to sit on. Keep brush strokes light and even, then let each layer dry fully before adding the next. A foam roller works well on the broad curves between ribs.
Style them in odd-numbered clusters on a wooden tray with dried wheat and a linen runner underneath. The monochrome palette feels elegant on a mantel or entry table. In my experience, this simple approach photographs beautifully and pairs well with almost any existing decor throughout the season.
Gold Leaf Accents
- Brush a thin layer of craft adhesive where you want the metallic detail to appear.
- Press small sheets of gold leaf onto the tacky areas and smooth gently with a soft brush.
- Seal everything with a clear matte topcoat so the leaf stays put through the season.
- Pair gold-leaf pumpkins with cream candles and eucalyptus for a warm glow.
- Try the same technique on mini pumpkins for a matching table accent.
Gold leaf catches candlelight in the most beautiful way, making even a small pumpkin feel luxurious. The contrast between the warm metal and the pumpkin’s natural skin adds depth without extra color. I’ve seen this work well in many cases, especially on dining tables where guests notice the shimmer up close.
Pastel Pumpkin Parade
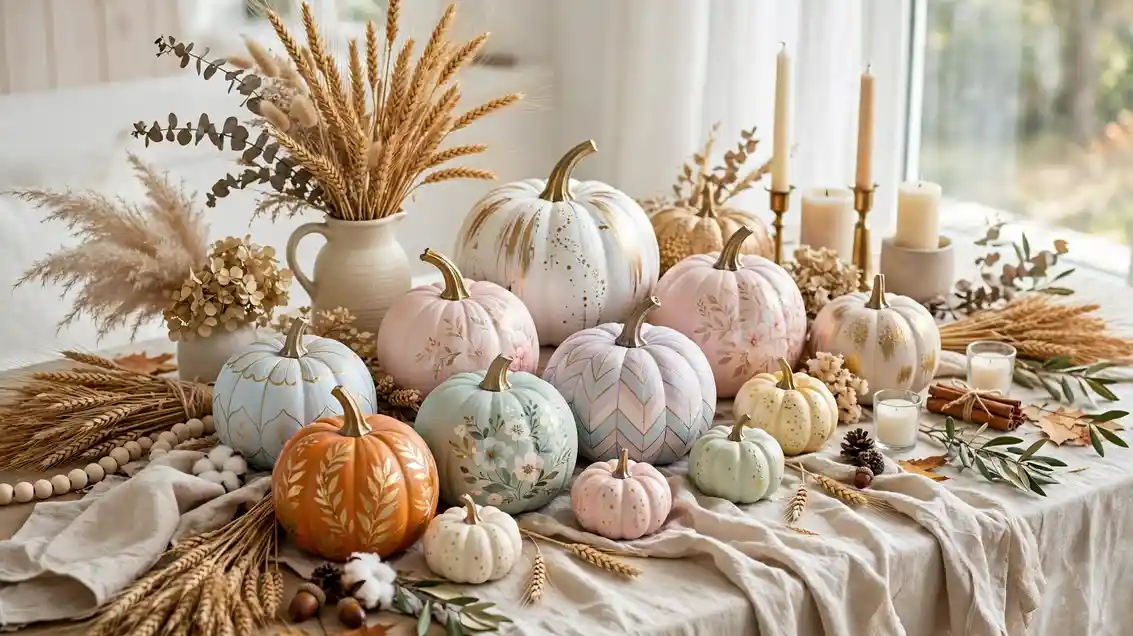
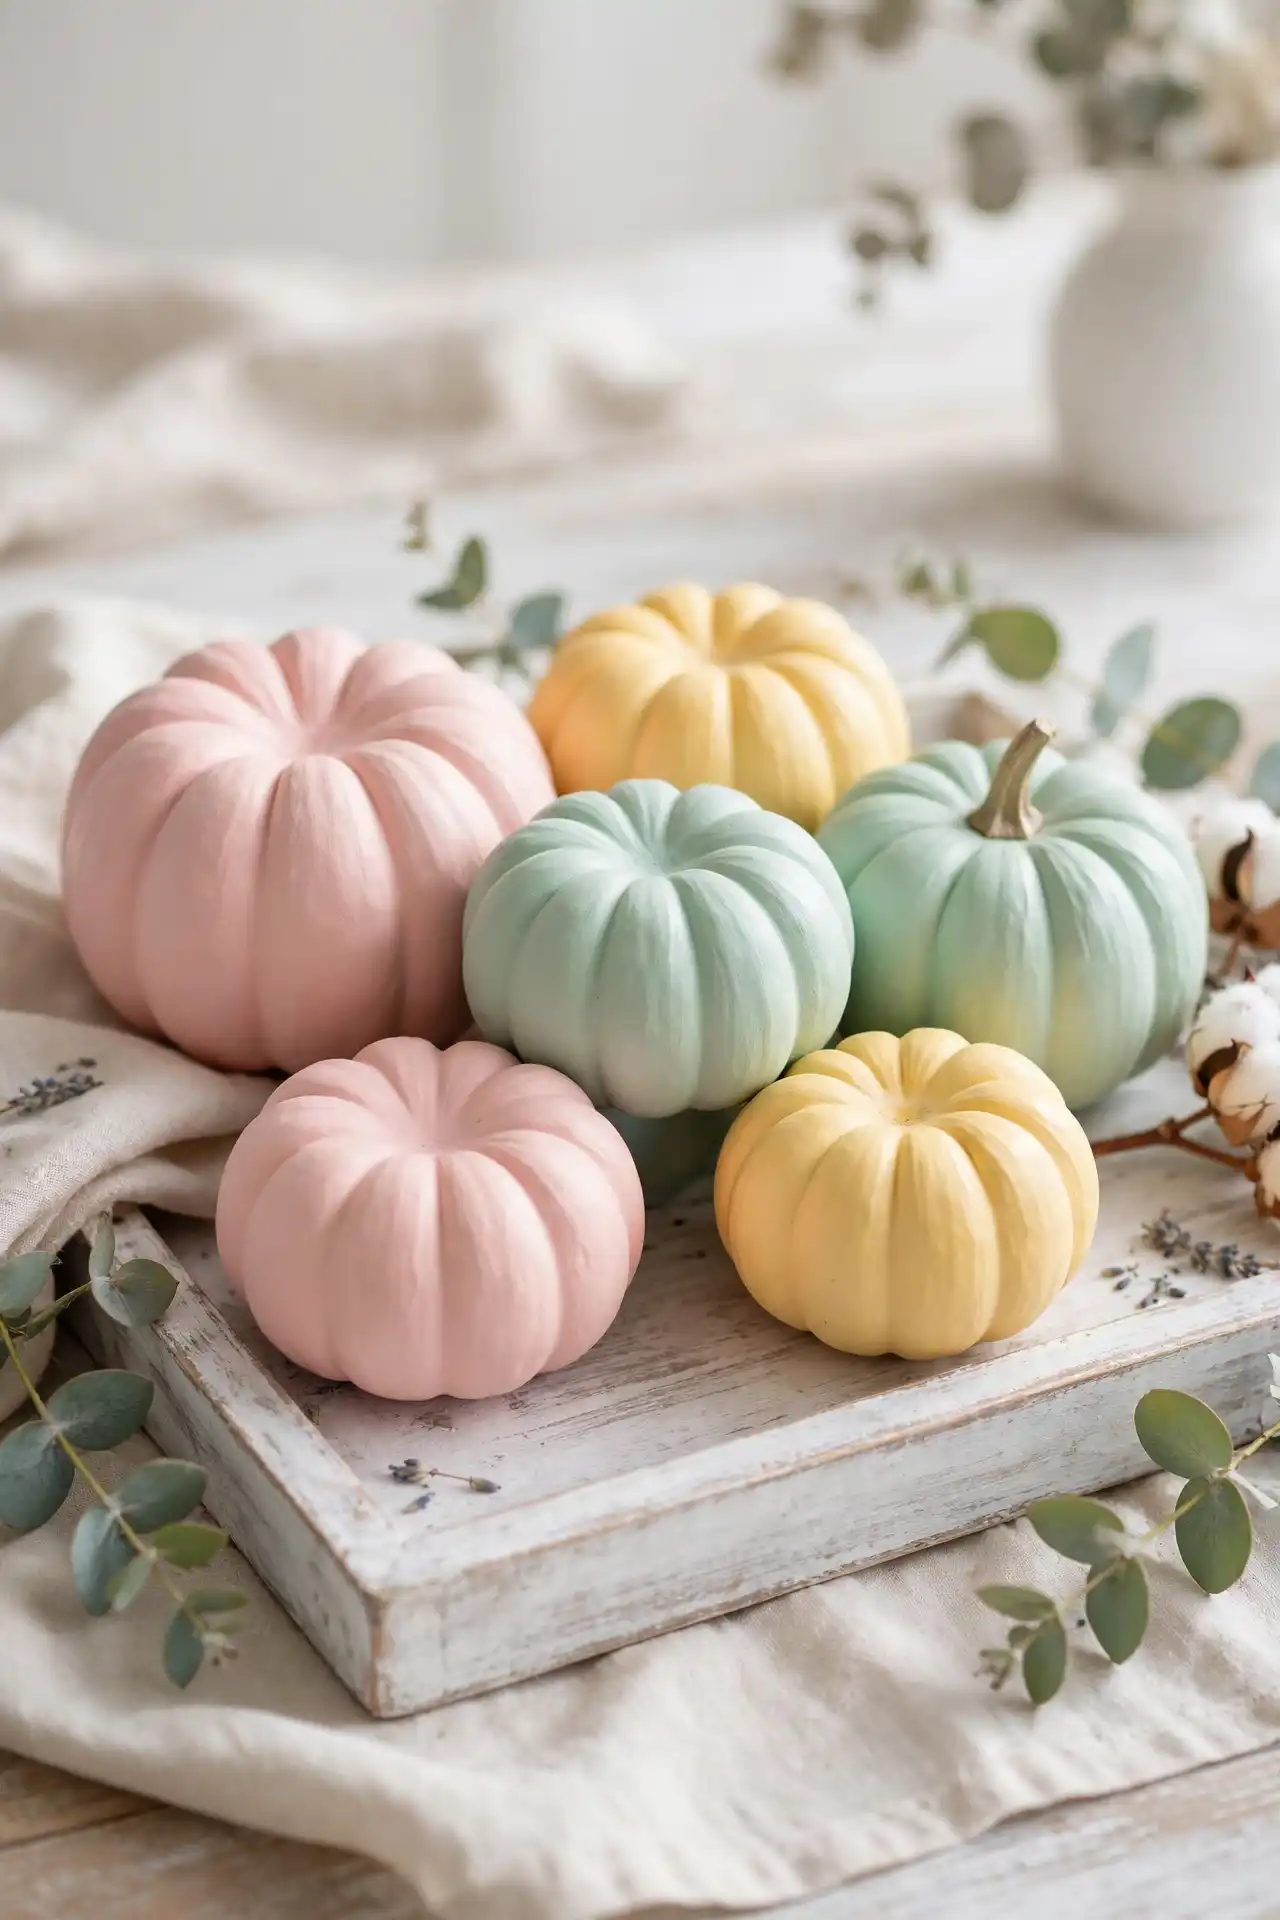
Pastel pumpkins bring a sweet, playful energy to fall displays and baby shower tables. Blush pink, mint, and butter yellow look stunning grouped together on a whitewashed tray. The soft colors glow in morning light, and a clear gloss topcoat keeps them looking fresh for weeks.
Black Chalkboard Pumpkins
Before: An ordinary orange pumpkin that clashes with a moody, modern Halloween palette and feels too bright for an elegant mantel.
After: A matte black pumpkin you can doodle on with white chalk, erase with a damp cloth, and redesign endlessly all season long.
Before: A pumpkin display that looks cute but never quite matches your sophisticated party theme.
After: A coordinated set of black and white pumpkins that anchor the whole table with drama.
Black chalkboard pumpkins look striking against white pumpkins and silver candle holders. Write spooky words, draw little ghosts, or let guests leave messages at a party. I’ve noticed chalk wipes off cleanly, so one pumpkin gives you endless designs through October. Pair them with flickering LED candles for a safe, moody glow.
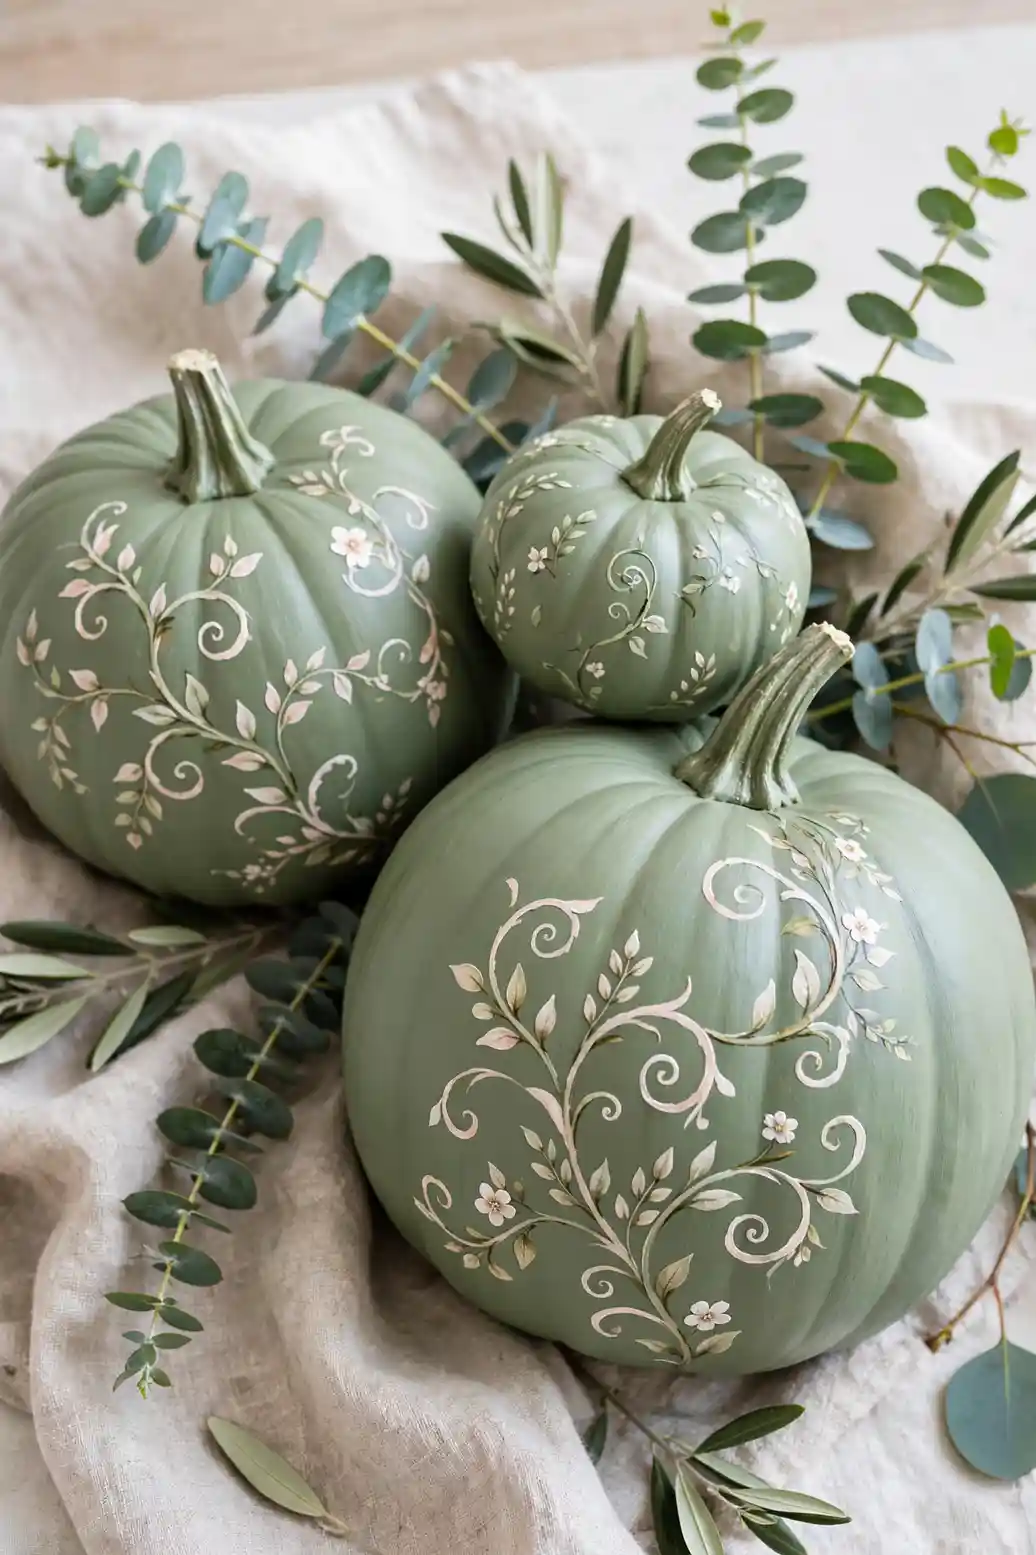
Floral Vine Wraps
- Paint the pumpkin a soft base color like sage green or warm ivory and let it dry completely.
- Use a thin liner brush to paint curling vines that wrap around the pumpkin’s ribs.
- Add small leaves and tiny blossoms along each vine with a round brush.
- Dot the centers of the blossoms with a contrasting shade for extra detail.
Floral vines give painted pumpkins a romantic, garden-inspired feel that works from September through Thanksgiving. Keep the brush loose and the lines flowing for a hand-painted look that feels artistic rather than perfect. A matte sealer protects the details without dulling the soft colors. Display them with fresh eucalyptus for a cohesive look.
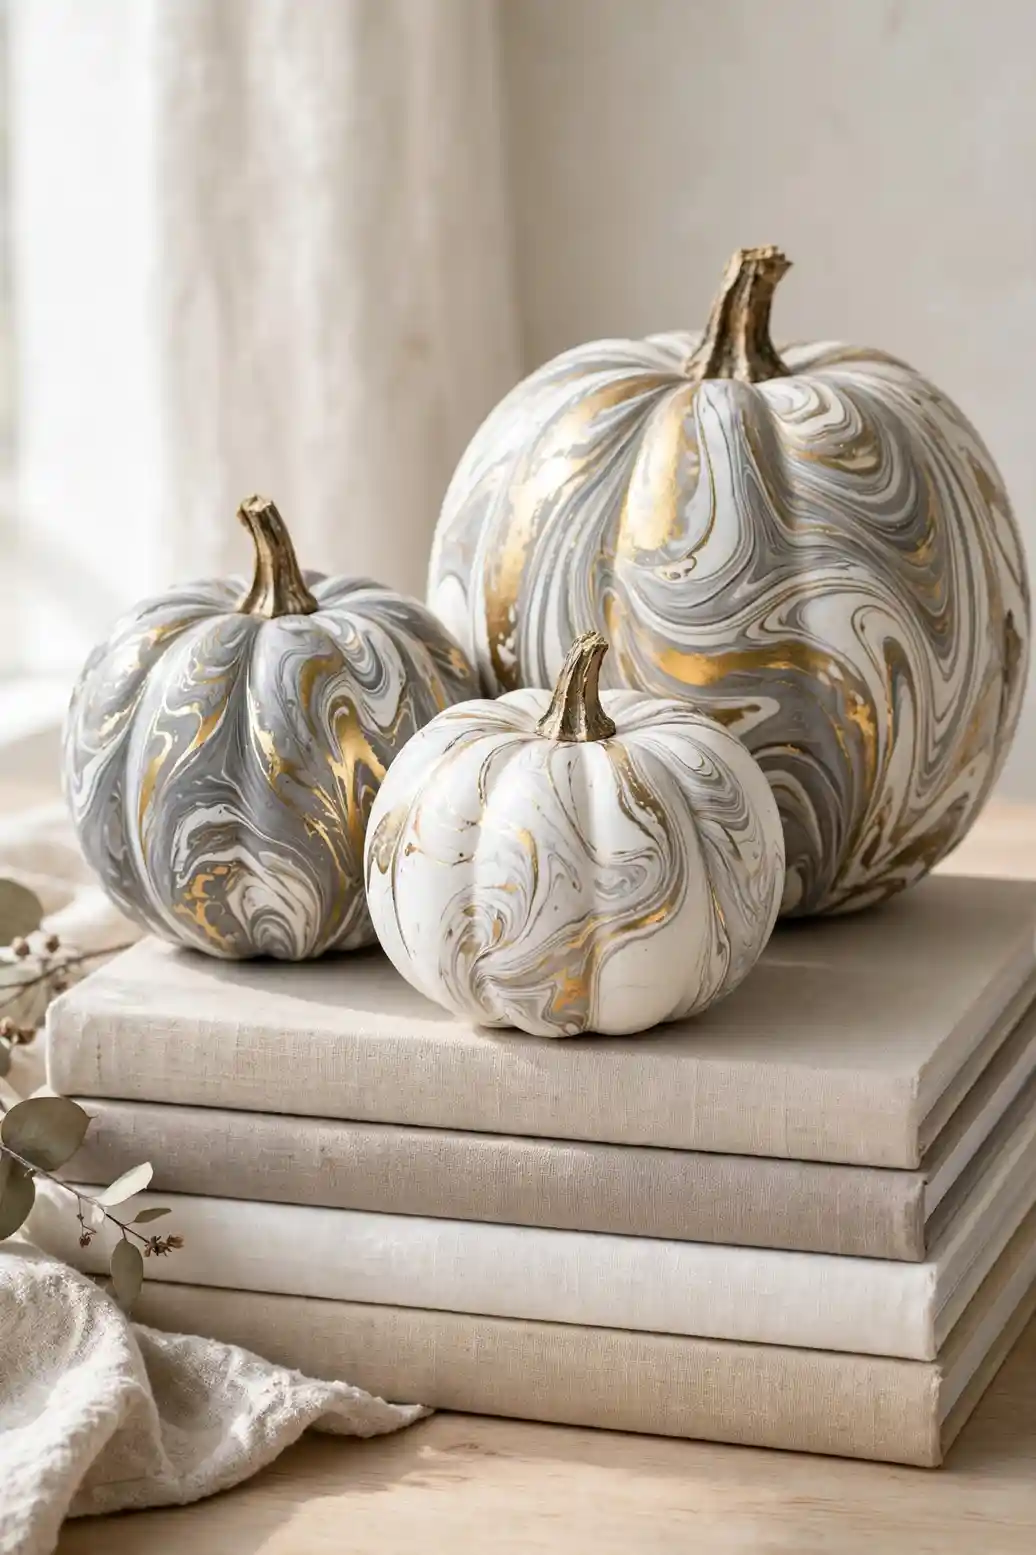
Marbled Paint Swirls
| Water Marble Dip | Dry Brush Swirl |
|---|---|
| Base: White acrylic base | Base: Cream chalk paint |
| Technique: Dip pumpkin in marbled water | Technique: Swirl two wet colors with a dry brush |
| Look: Glossy fluid veins | Look: Soft cloudy movement |
| Dry time: Overnight | Dry time: About two hours |
| Best for: Statement mantels | Best for: Rustic table settings |
| Cleanup: Protect surfaces well | Cleanup: Easy soap and water |
| Pairs with: Brass candlesticks | Pairs with: Linen runners |
Marbled pumpkins look like tiny works of art and always spark conversation. The water-dip method gives dramatic veins, while dry-brushing feels more forgiving for beginners. That’s why many experts recommend practicing on a mini pumpkin first. Seal with gloss to make the colors pop. Either style looks stunning on a bookshelf.
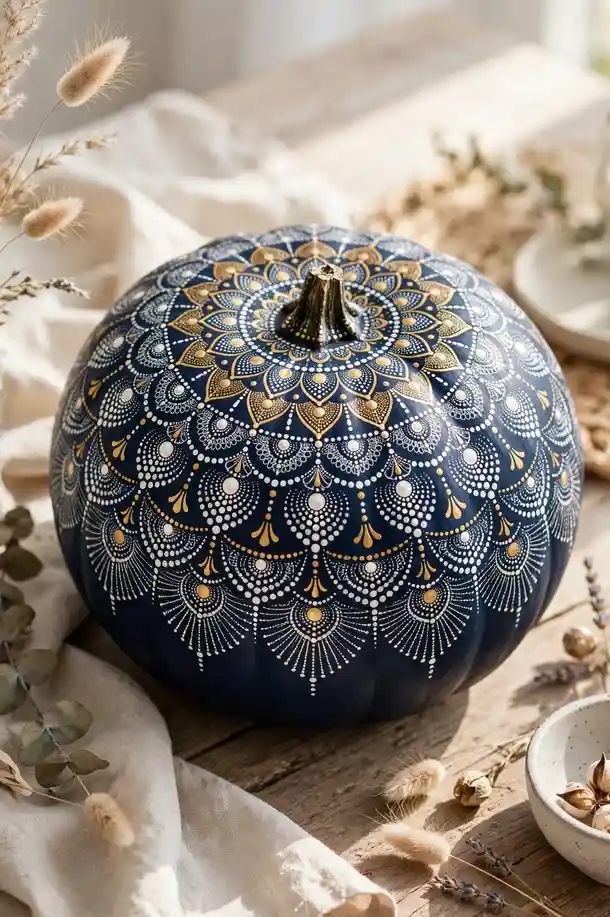
Dotted Mandala Art
Do:
- Do start from the center top and work outward in rings.
- Do use the rounded end of a paintbrush for perfectly round dots.
- Do let each color dry before adding the next layer.
- Do practice your pattern on paper first.
Don’t:
- Don’t press too hard or the dots will smear.
- Don’t rush the drying time between colors.
- Don’t use watery paint that drips down the curves.
Mandala dots look intricate but need only patience and a steady hand. The repeating pattern feels meditative to paint, and the finished pumpkin glows under soft lamplight. Stick to two or three colors for the most elegant result. Metallic gold dots on deep navy look especially stunning.
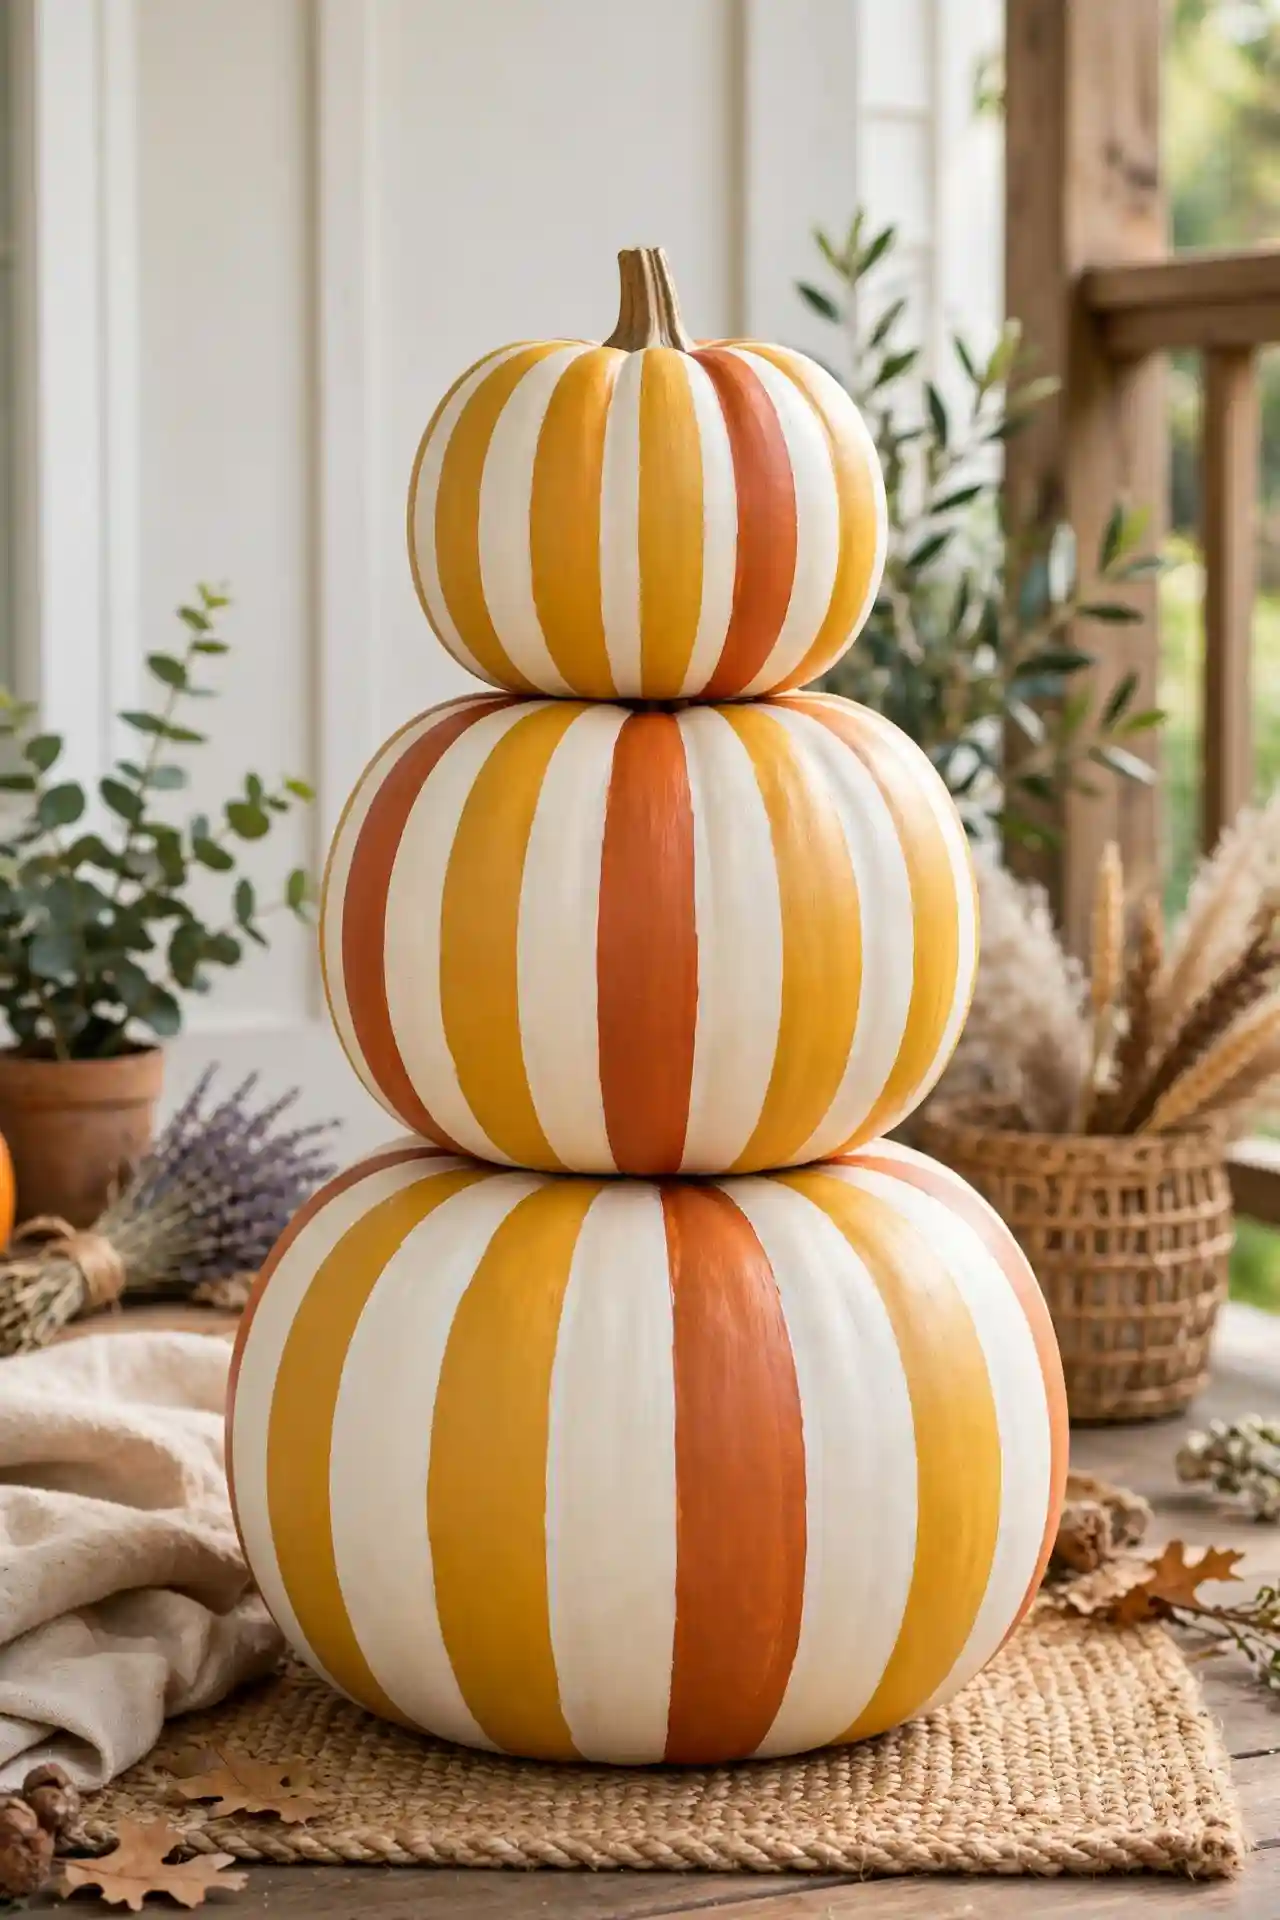
Harvest Stripe Stacks
Best pumpkin: Squat, wide varieties with smooth skin.
Paint: Acrylic craft paint in harvest tones.
Tape: Delicate-surface painter’s tape for crisp lines.
Time: About one hour plus drying.
Sealer: Clear matte topcoat.
Dry time: Two hours between coats.
Stripes instantly make a pumpkin look tailored and intentional, like a little piece of preppy fall decor. Stack three striped pumpkins in graduating sizes for a topiary effect on the porch or flanking the front door. Alternate mustard, rust, and cream for a classic harvest palette that never feels dated. Remove the tape while the paint is slightly tacky for the cleanest edges, and seal with a clear topcoat.
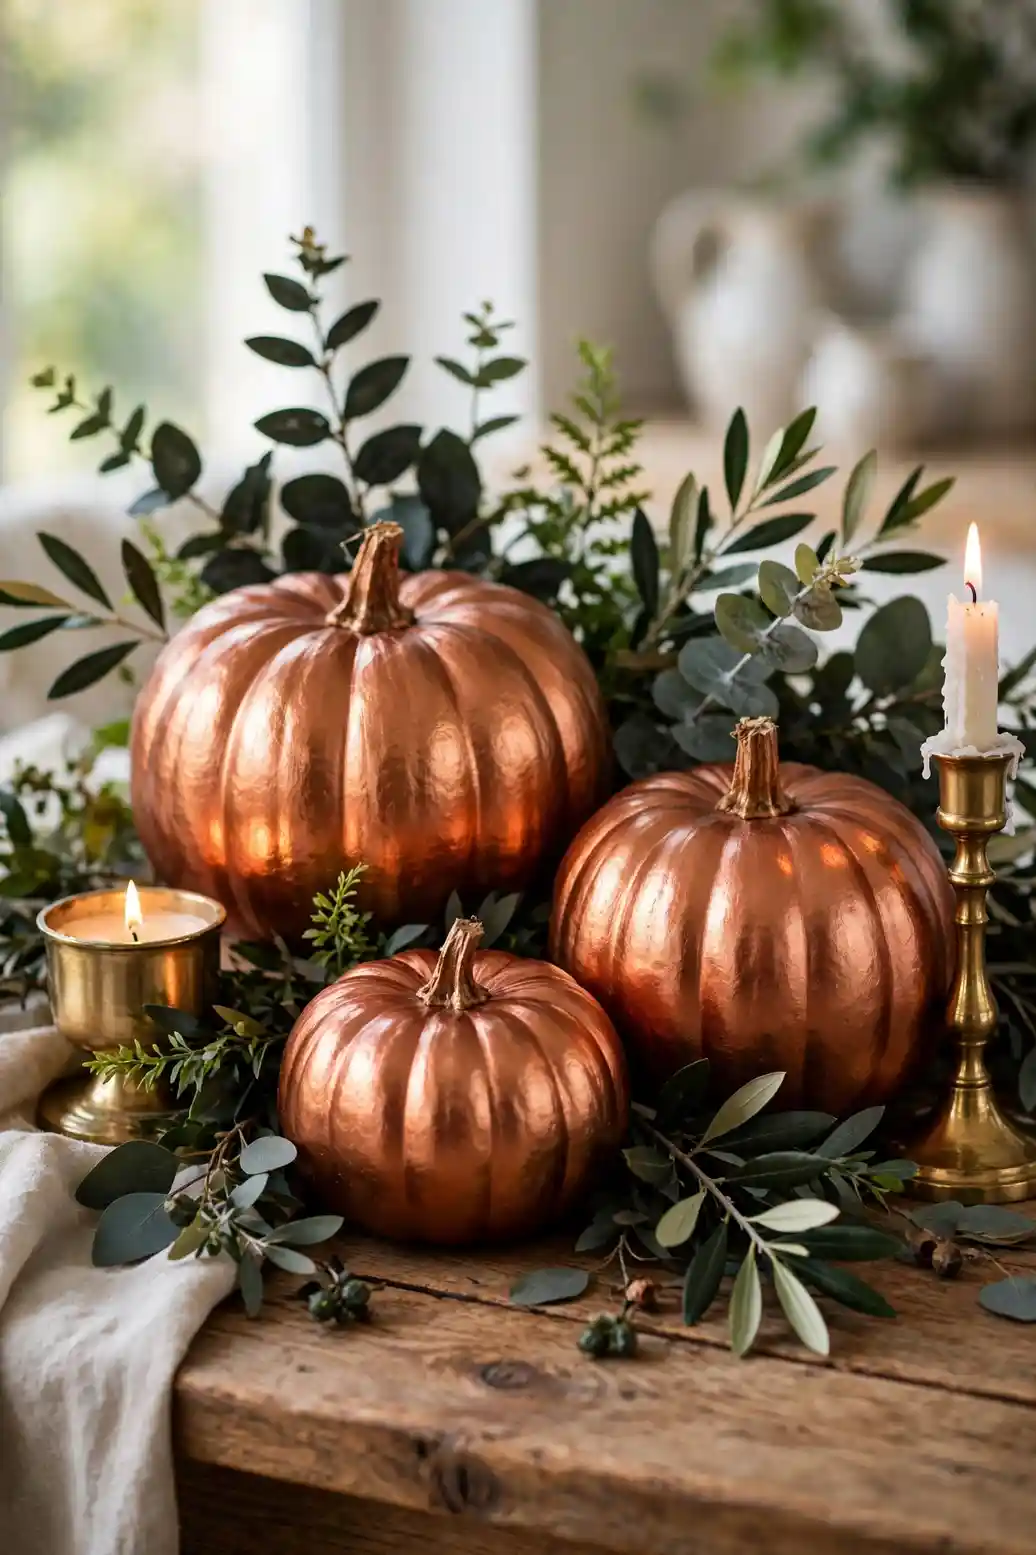
Metallic Copper Glow
Copper paint gives pumpkins a warm, burnished glow that feels both modern and cozy. Start with a base of metallic copper acrylic, brushing with the ribs so the shimmer catches the light evenly. Two thin coats create the richest finish without hiding the pumpkin’s natural shape. Work quickly while the paint stays wet for the smoothest blend.
Group copper pumpkins with dark green foliage and brass candle holders for a rich autumn vignette. The metallic finish reflects flickering candlelight beautifully at night. This look suits both rustic farmhouse tables and sleek modern mantels. I’ve seen this work well in many cases, from Halloween parties to Thanksgiving dinners.
Plaid Pattern Pumpkins

- Paint the whole pumpkin a light base color and let it dry fully.
- Use thin washi tape to mark vertical stripes, then paint them a deeper shade.
- Add horizontal stripes in a third color to build the classic plaid grid.
- Peel the tape carefully and touch up any edges with a small brush.
- Seal with matte topcoat so the pattern stays crisp all season.
Plaid pumpkins bring cozy flannel-shirt energy to your fall decor. The crisscross pattern looks charming on the porch steps or tucked into a wreath display. Choose colors that echo your throw blankets for a pulled-together feel that guests will notice. Navy and cream plaid looks especially sharp.
Terracotta Boho Chic
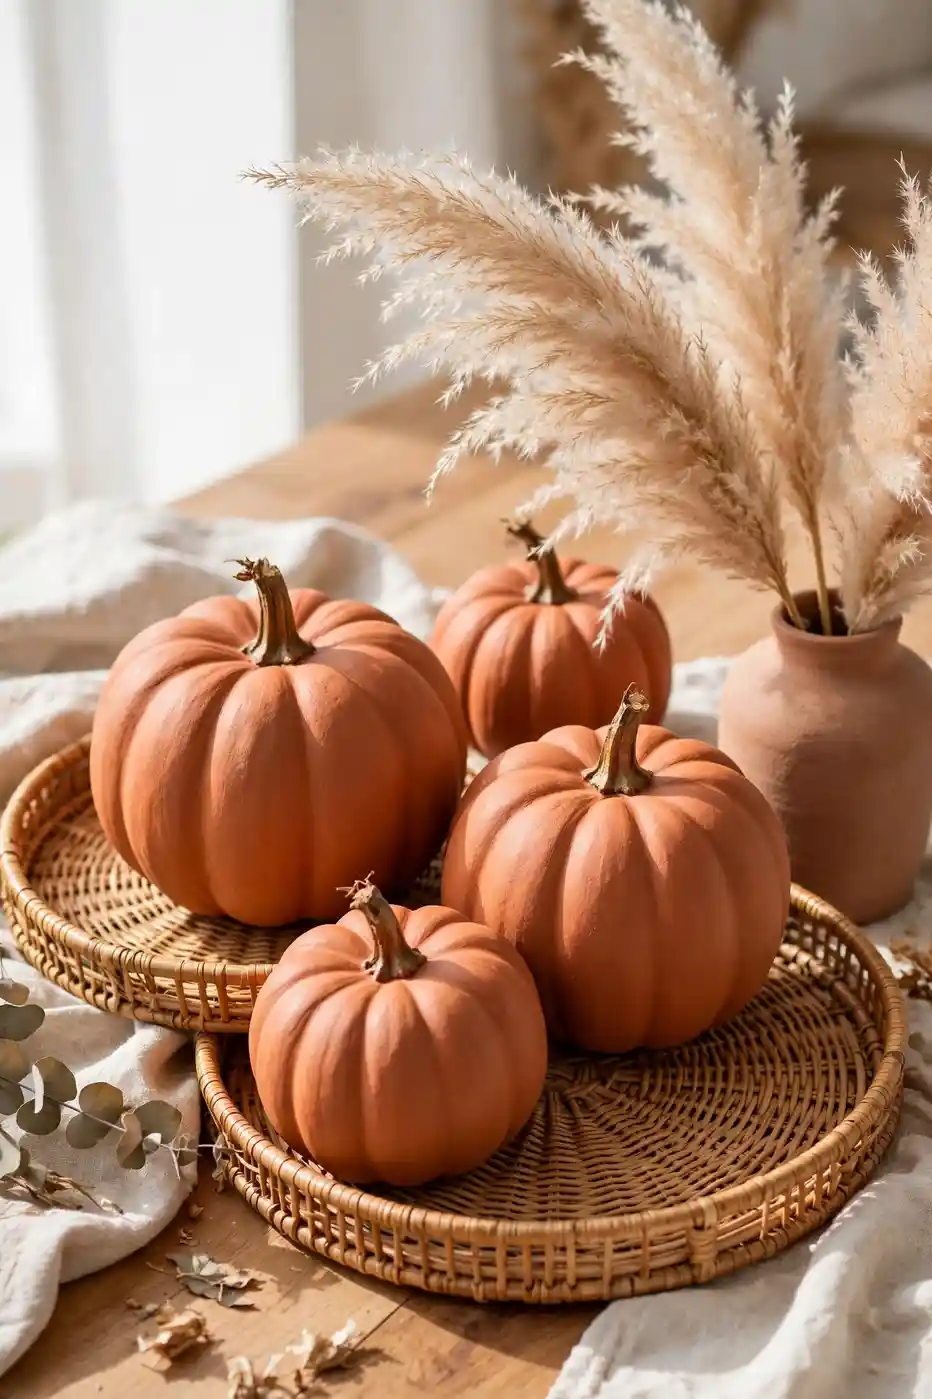
Boho style loves natural textures, and terracotta pumpkins fit right in. Pair them with pampas grass, rattan trays, and warm wood tones for a relaxed harvest look. The muted color keeps the display calm and grounded, even with several pumpkins grouped together. Add a few dried palm leaves for height.
Glitter Ombre Fade
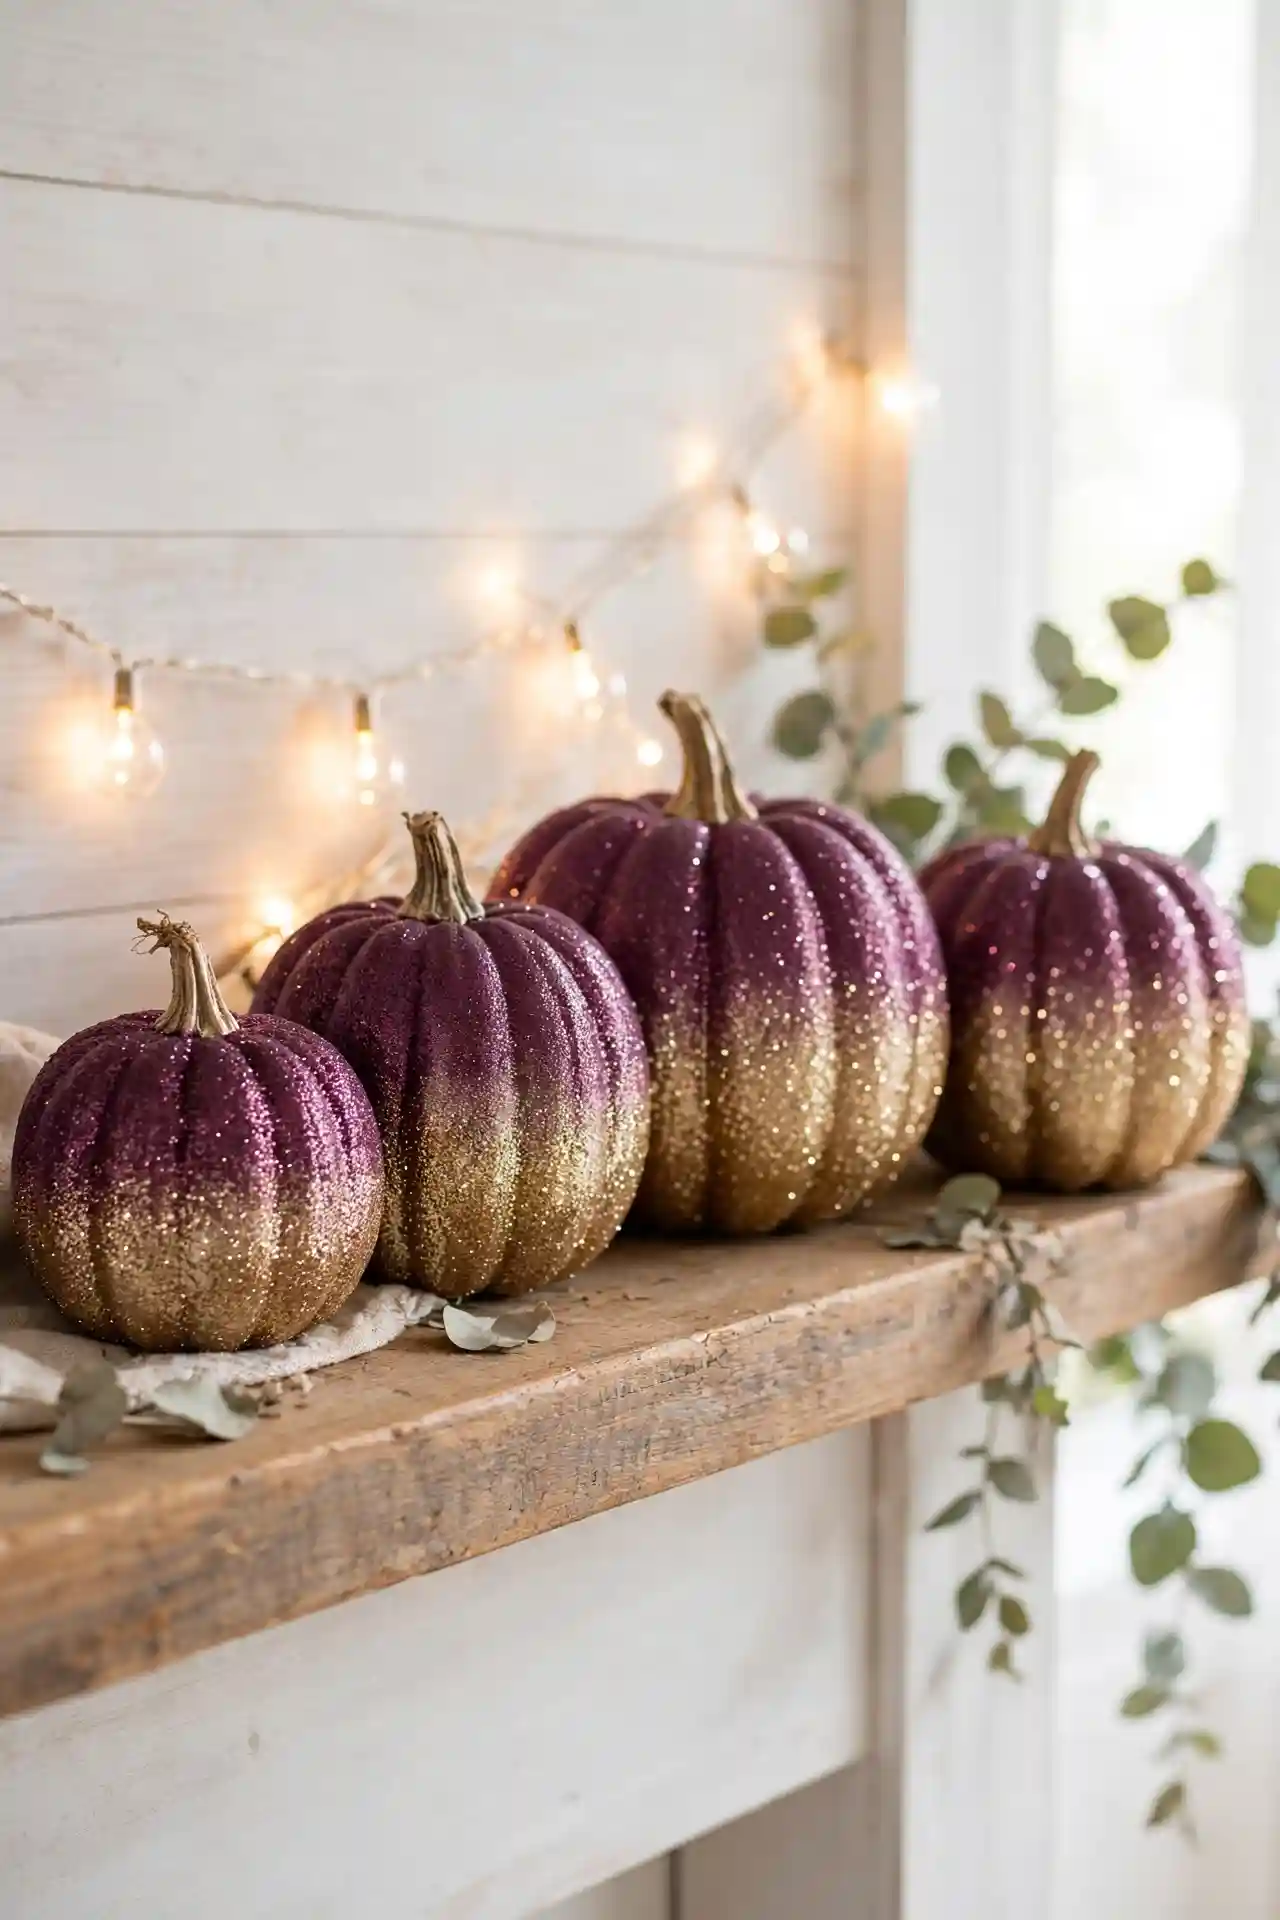
Before: A plain pumpkin that disappears into the background of your fall display.
After: A sparkling ombre pumpkin that fades from deep plum to shimmering gold.
Before: Craft glitter scattered everywhere, sticking to hands, floors, and tabletops.
After: A sealed, mess-free pumpkin with glitter locked under a clear glossy topcoat.
Glitter ombre looks magical on the mantel, especially under warm string lights. Blend the colors with a dry sponge while the paint is still tacky for the smoothest transition. A light mist of spray adhesive before sprinkling glitter keeps every speck in place. Less glitter reads more elegant than more.
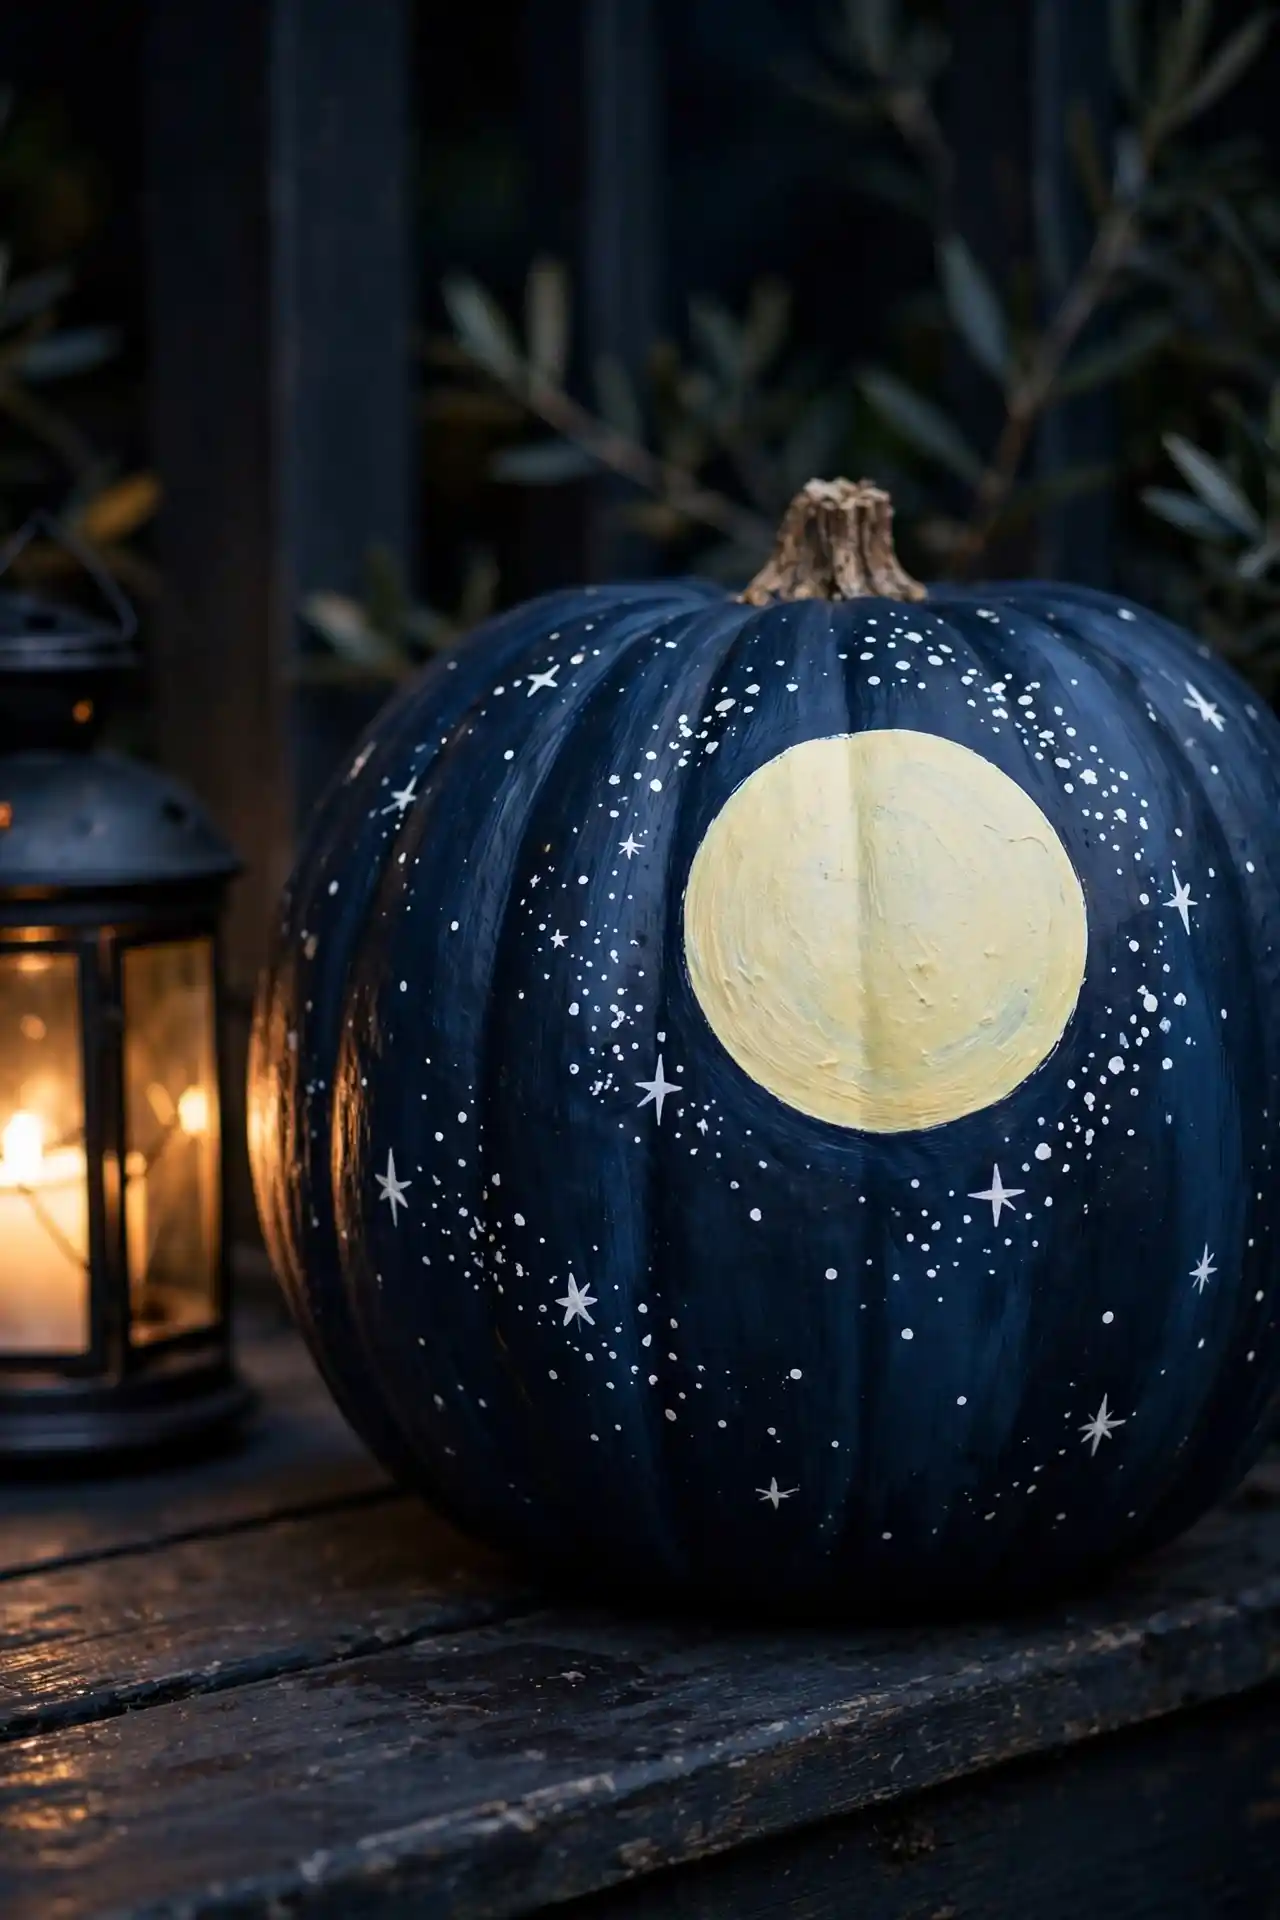
Harvest Moon Faces
- Paint the pumpkin deep midnight blue and let the base dry completely.
- Sponge a large pale yellow circle for the moon, slightly off center.
- Add tiny white dots for stars and a few wispy clouds with a dry brush.
- Outline the moon with a thin gold line for a glowing effect.
Moonlit pumpkins feel dreamy and a little magical on a dark porch. The deep blue background makes the glowing moon pop, especially beside flickering lanterns. Kids love helping dot the stars, and no two moons ever look alike. This design skips scary faces, so it suits families with small children.
Lace Stencil Elegance
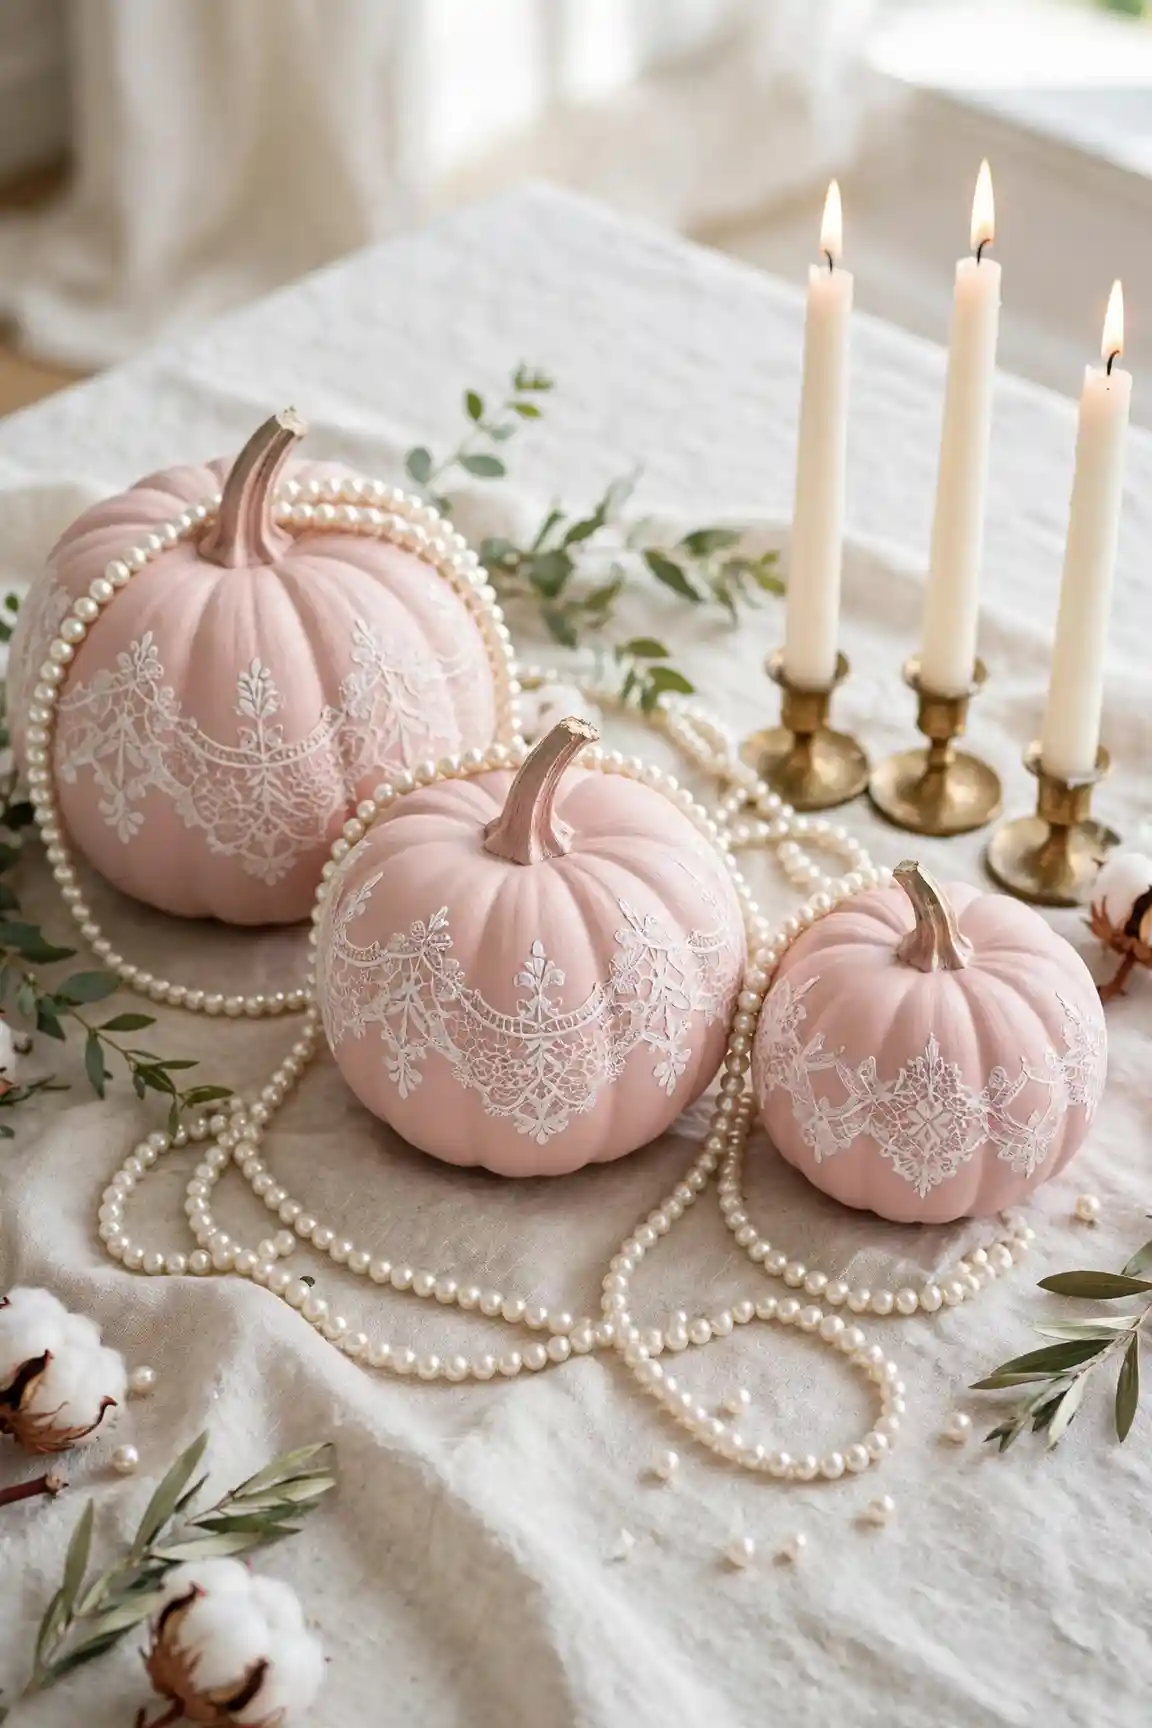
| Lace Stencil | Freehand Lace |
|---|---|
| Tools: Adhesive lace stencil | Tools: Fine liner brush |
| Skill level: Beginner friendly | Skill level: Needs steady hand |
| Look: Crisp repeating pattern | Look: Organic hand-drawn feel |
| Time: Under an hour | Time: One to two hours |
| Best base: Soft blush pink | Best base: Warm ivory cream |
| Cleanup: Rinse stencil promptly | Cleanup: Wipe brush often |
| Pairs with: Pearls and candles | Pairs with: Dried roses |
| Sealer: Matte spray | Sealer: Matte spray |
Lace patterns add vintage romance to painted pumpkins, perfect for an elegant fall tablescape. If little ones want to join the fun, these kid friendly pumpkin carving ideas keep everyone busy safely. The delicate white lace against a blush base looks especially pretty in daylight.
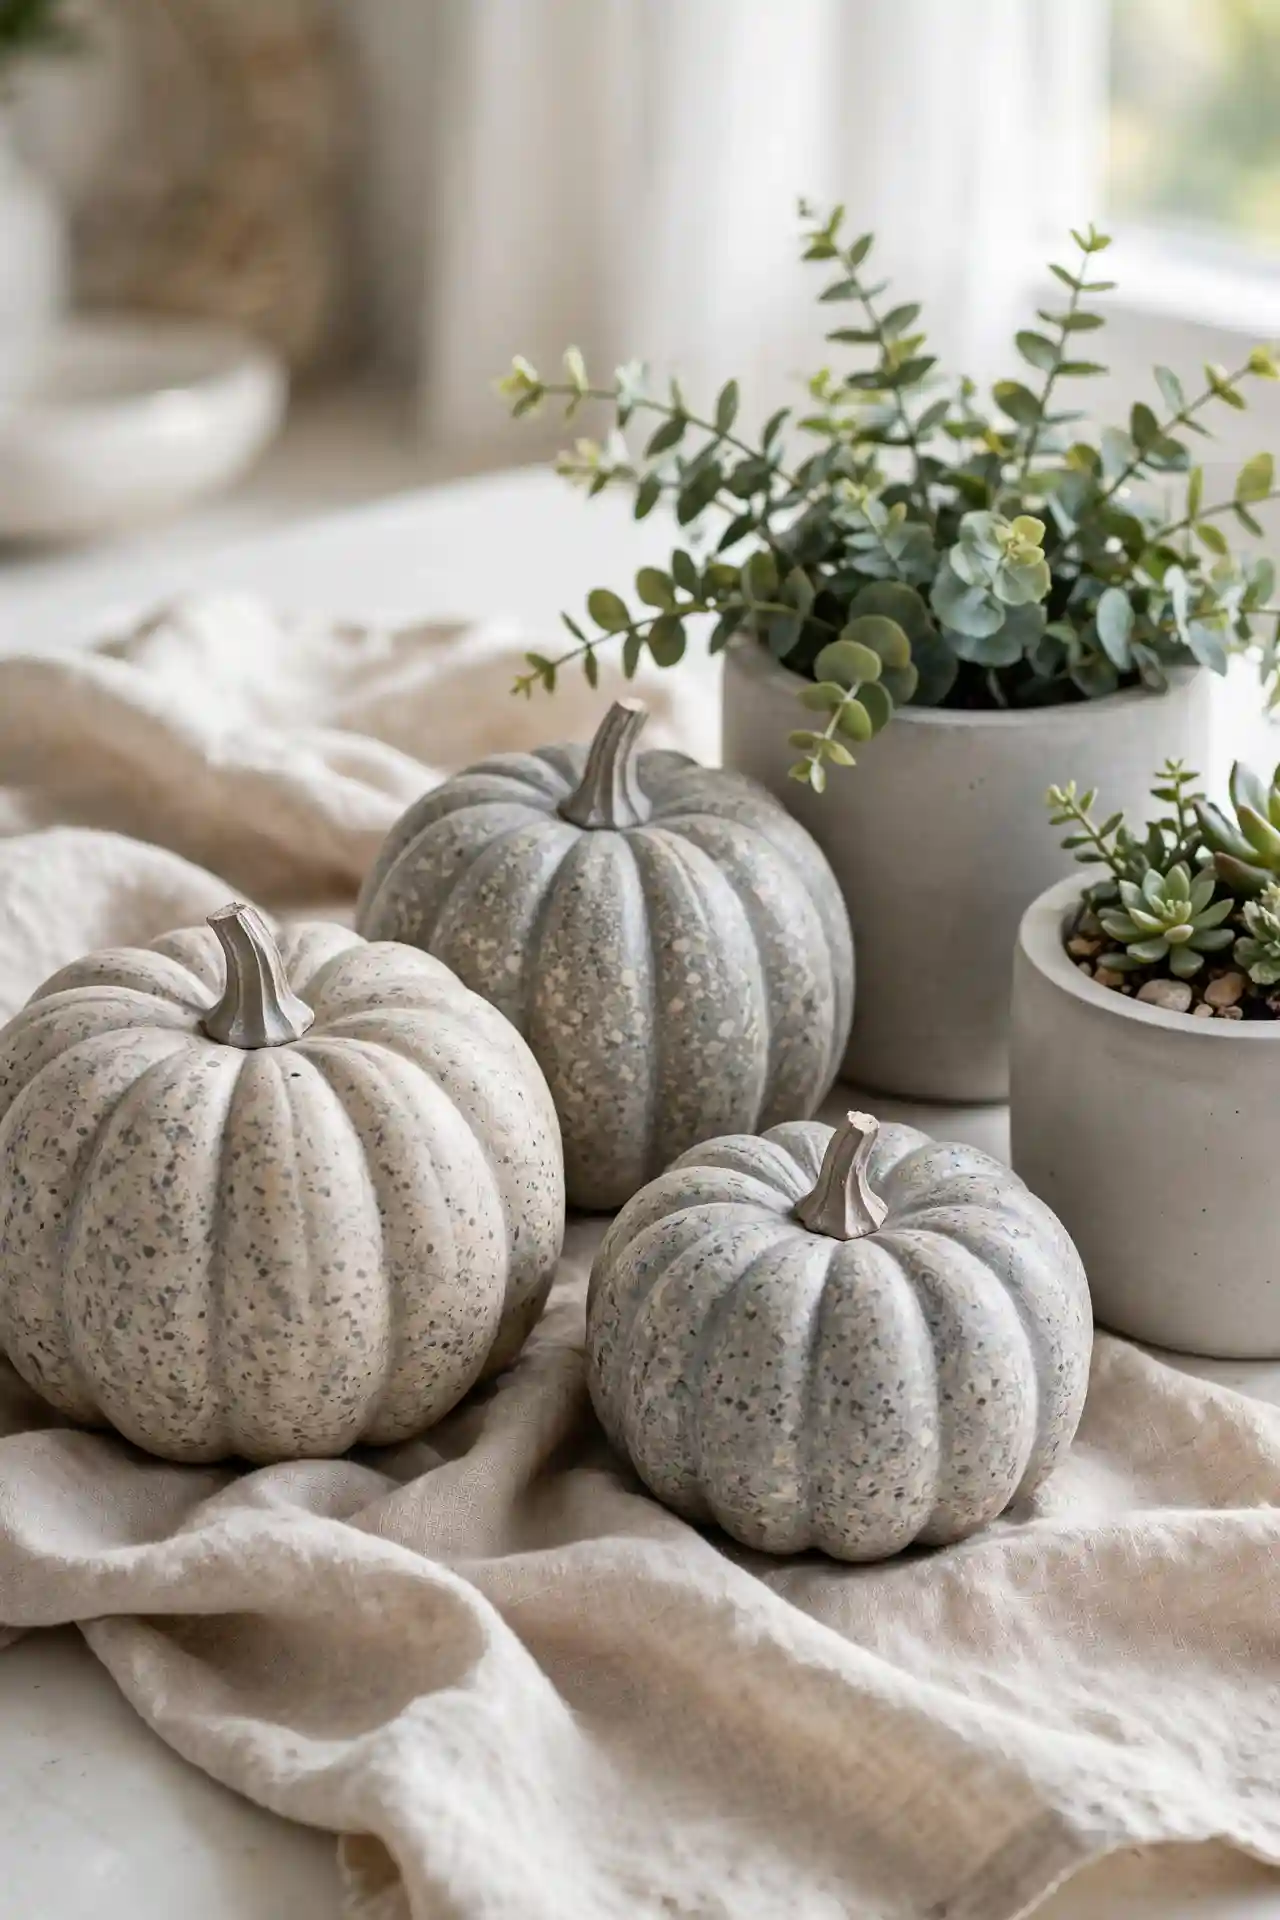
Speckled Stone Finish
Do:
- Do use a toothbrush to flick speckles for a natural stone effect.
- Do layer two speckle colors, dark over light, for depth.
- Do seal with matte topcoat to keep the stone look.
- Do test your flicking technique on newspaper first.
Don’t:
- Don’t overload the brush or the speckles turn into blobs.
- Don’t skip the base coat; the stone effect needs it.
- Don’t use glossy sealer if you want a real stone look.
Speckled pumpkins look like carved stone and add an earthy, modern touch to fall displays. The texture catches light in interesting ways, especially next to smooth ceramic vases. In my experience, gray and beige speckles suit minimalist homes best. They blend beautifully with concrete planters and linen. A lovely neutral anchor.
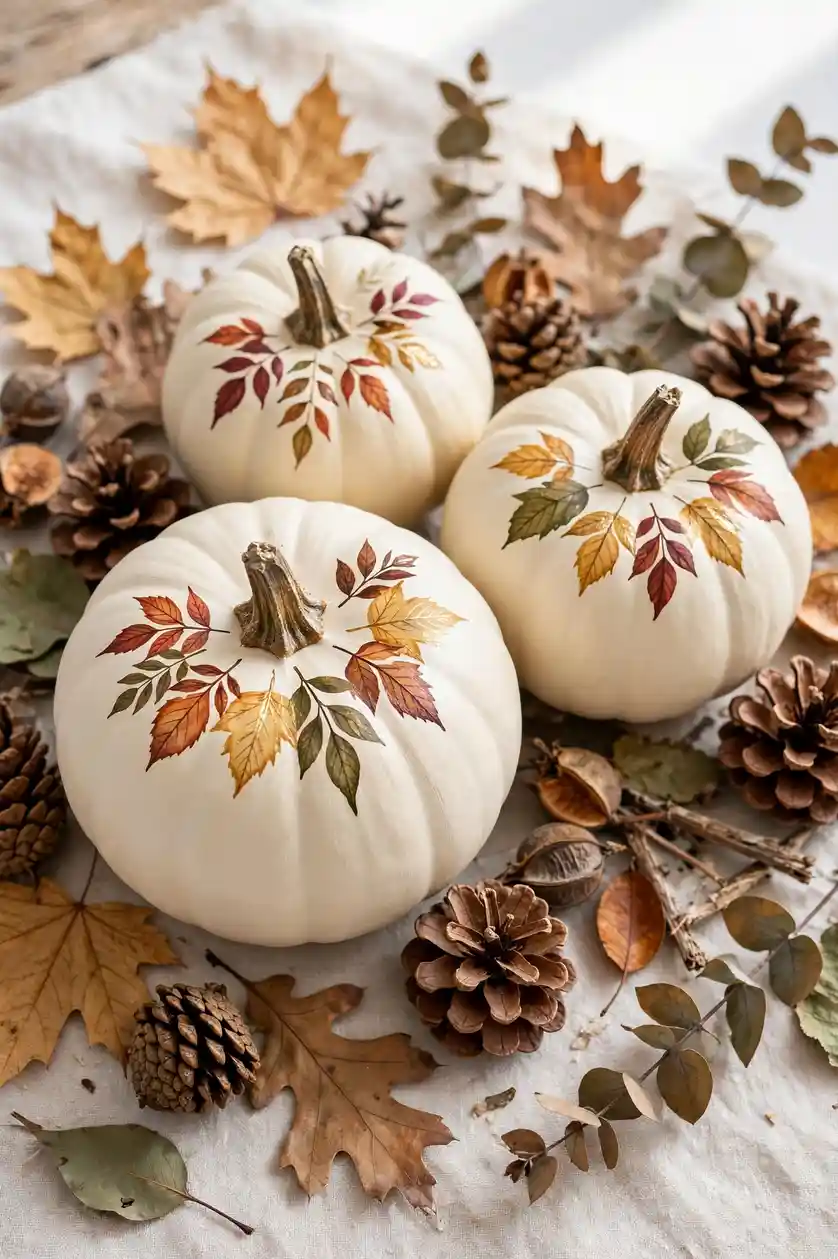
Fall Leaf Clusters
Best brush: Small round brush for leaf shapes.
Colors: Rust, gold, olive, and deep burgundy.
Base: Warm cream or soft sage.
Finish: Satin sealer for a soft glow.
Dry time: Two hours between coats.
Painted leaves scattered across a pumpkin feel like autumn itself settled on your porch. Cluster them near the stem and let a few trail down the sides for movement. Vary the leaf sizes and overlap them slightly for a natural, layered look. This design hides imperfect brushwork well, which makes it wonderfully forgiving for beginners trying their first painted pumpkin. Pair leaf pumpkins with real dried leaves and pinecones for a cohesive display. Beautiful from porch to Thanksgiving table all season long.
Neutral Ombre Wash
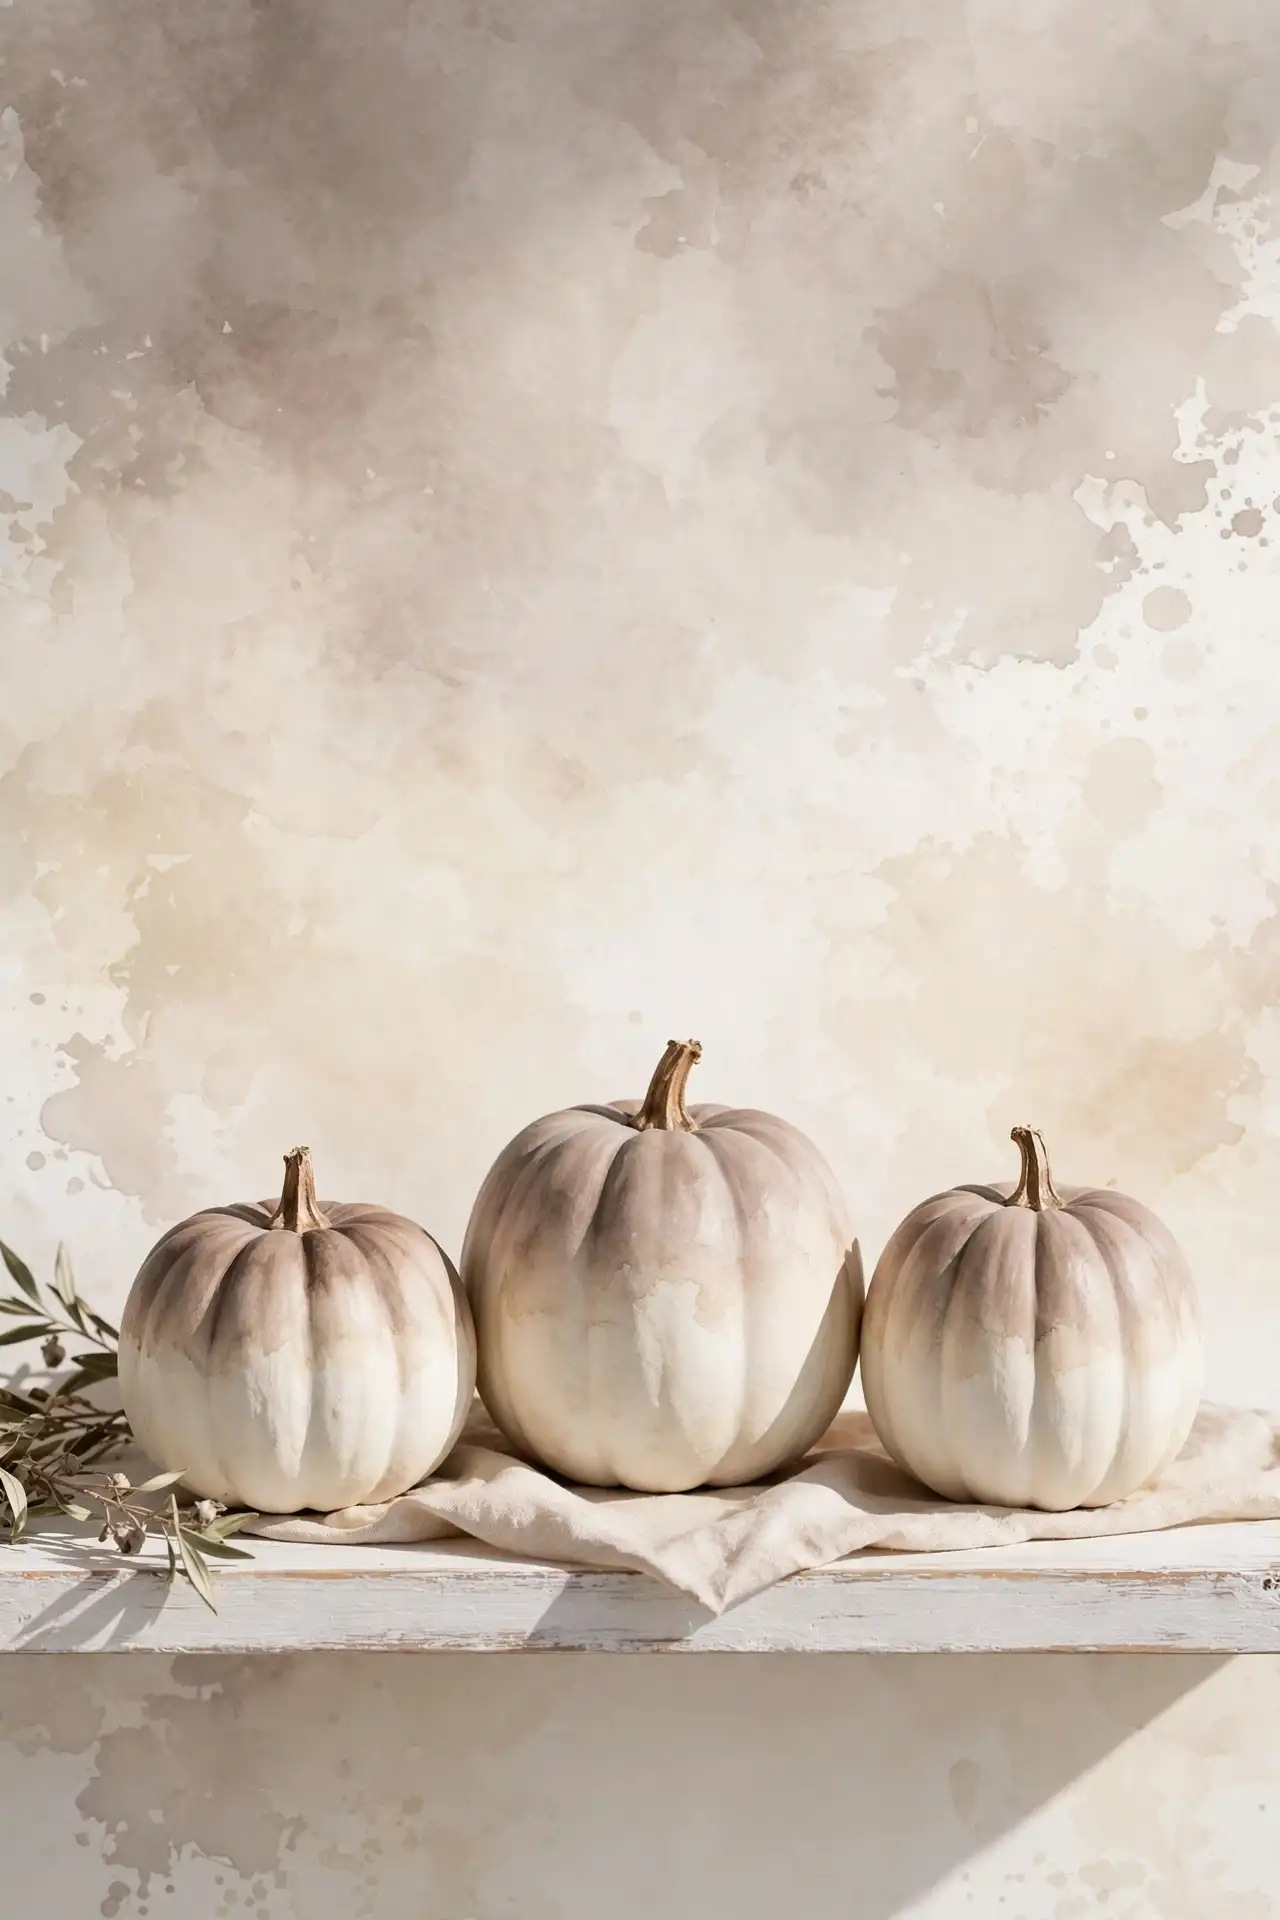
An ombre wash blends one neutral tone into another for a soft, watercolor effect. Start with the darkest shade at the bottom and feather upward with a damp sponge. The gradient should look smooth and dreamy, like fog rolling over the pumpkin’s curves. Work quickly while the paint stays wet for the smoothest blend.
Choose tones from the same family, like taupe melting into cream or gray fading to white. This gentle look suits Scandinavian-inspired fall decor beautifully. Display a trio of ombre pumpkins in different neutral gradients for a calm, collected vignette. I’ve noticed this style photographs especially well in soft morning light.
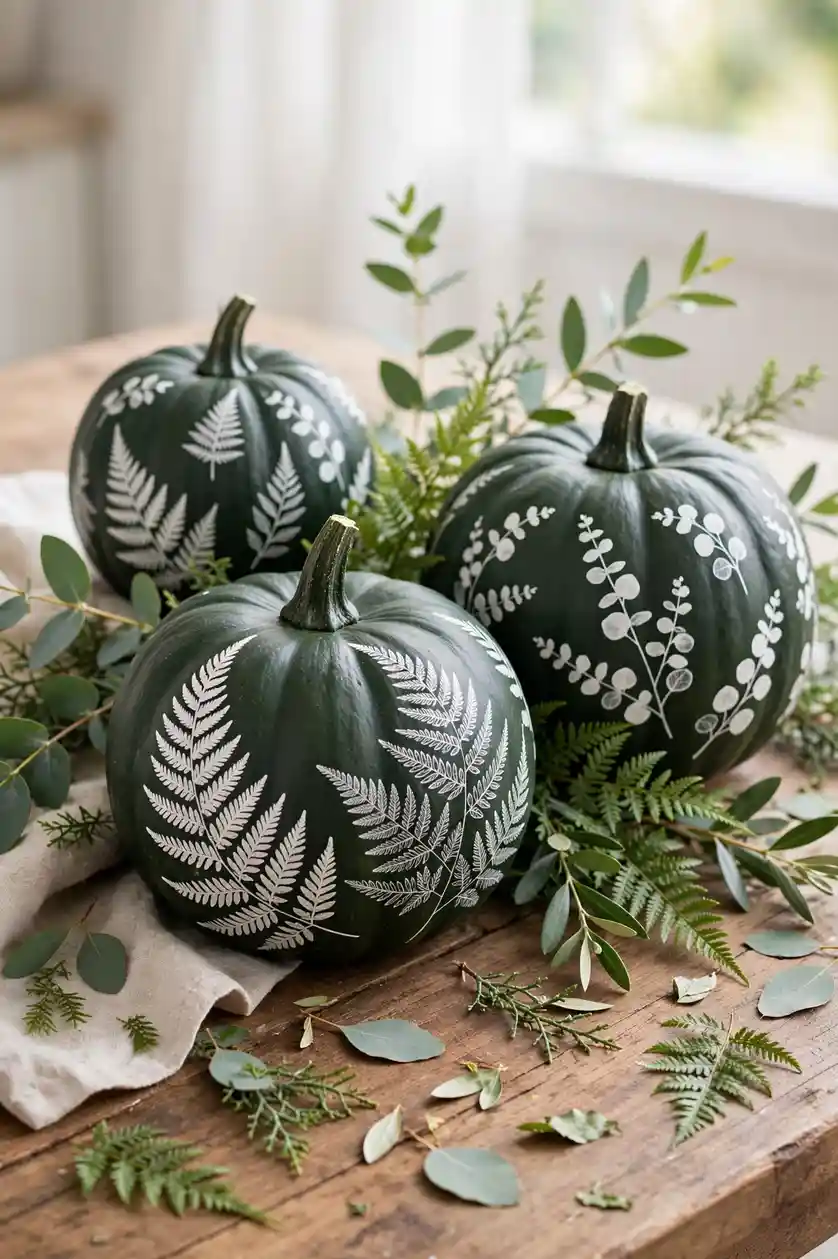
Botanical Leaf Prints
- Press real leaves into slightly tacky paint, then lift them to reveal the print.
- Use ferns and eucalyptus sprigs for the most delicate silhouettes.
- Try white paint on a dark green pumpkin for dramatic contrast.
- Overlapping prints in different directions adds depth and movement.
- Seal gently with spray sealer so the prints stay sharp.
Botanical prints turn pumpkins into little pieces of nature art. The real-leaf silhouettes feel fresh and organic, perfect for garden-inspired fall displays. No drawing skill needed, since nature does the design work for you. Gather leaves of different sizes before you start painting. A truly simple showstopper.
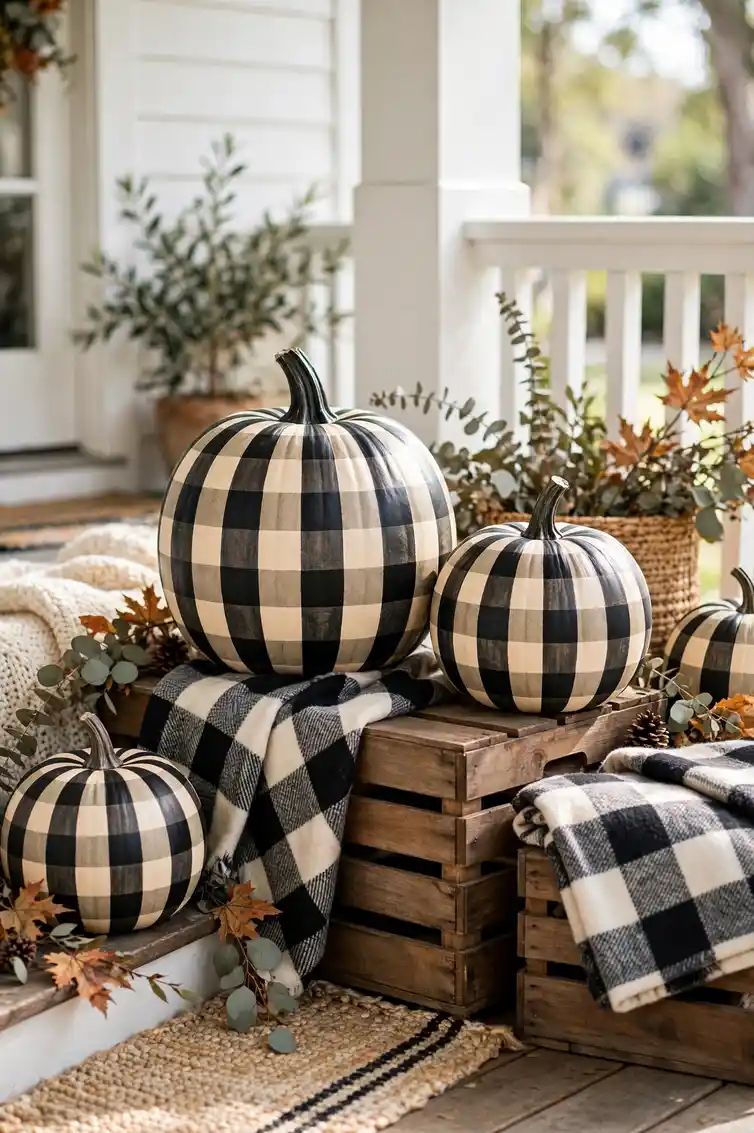
Buffalo Check Plaid
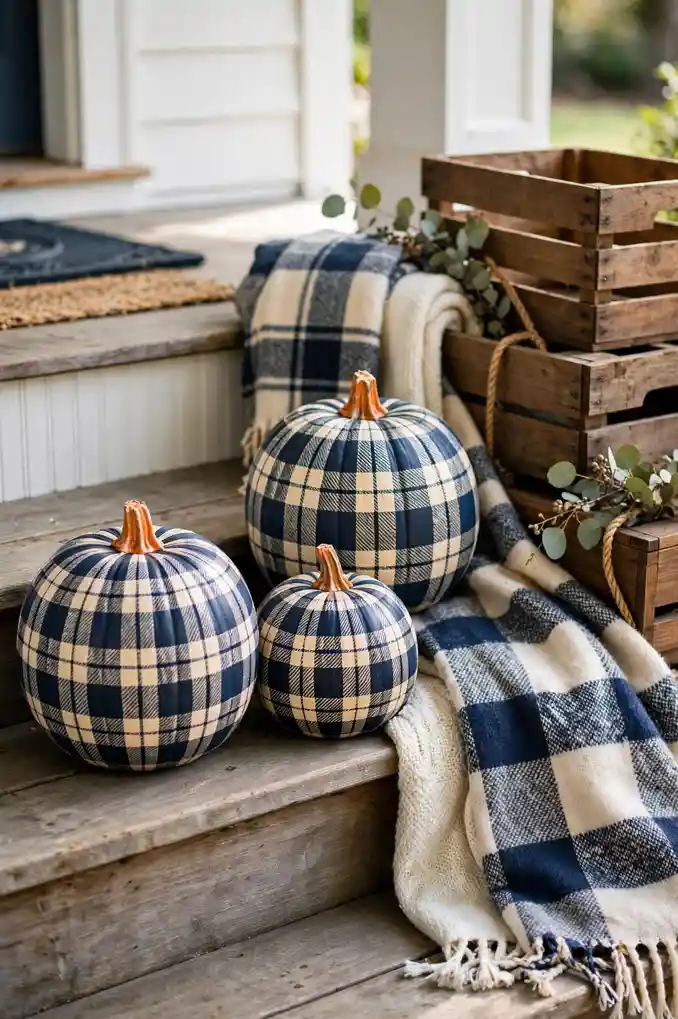
Buffalo check screams cozy cabin fall, like a favorite flannel shirt in pumpkin form. It pairs perfectly with plaid throw blankets and wooden crates on the porch. The bold pattern reads well from the street, making it great for curb appeal. Red and black is classic, but try navy and cream too.
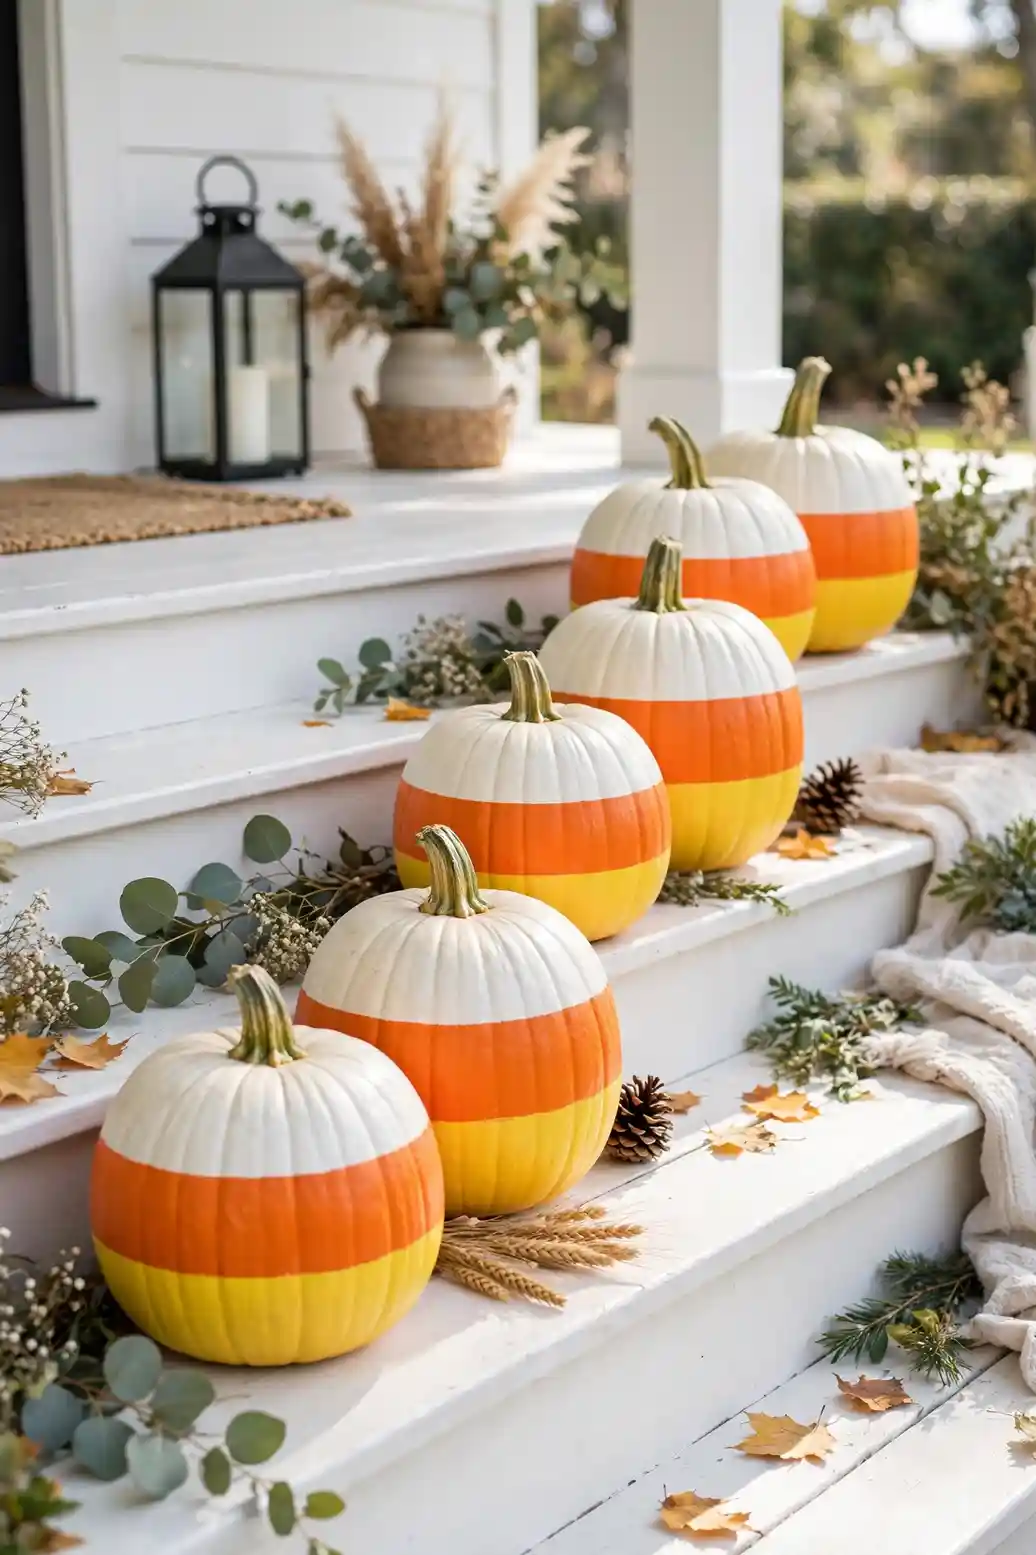
Candy Corn Stripes
Before: A plain white pumpkin with no personality and no place in your Halloween display.
After: A candy corn striped pumpkin with cheerful bands of white, orange, and yellow.
Before: Store-bought Halloween decor that looks the same as every neighbor’s house.
After: A hand-painted candy corn pumpkin that makes guests smile at the door.
Candy corn stripes are pure nostalgia, instantly recognizable and impossible not to love. Use painter’s tape for crisp bands and keep the yellow tip at the top like the real candy. These look adorable lined up along porch steps or the mantel. Kids adore this design and can help tape the stripes.
Starry Night Sky
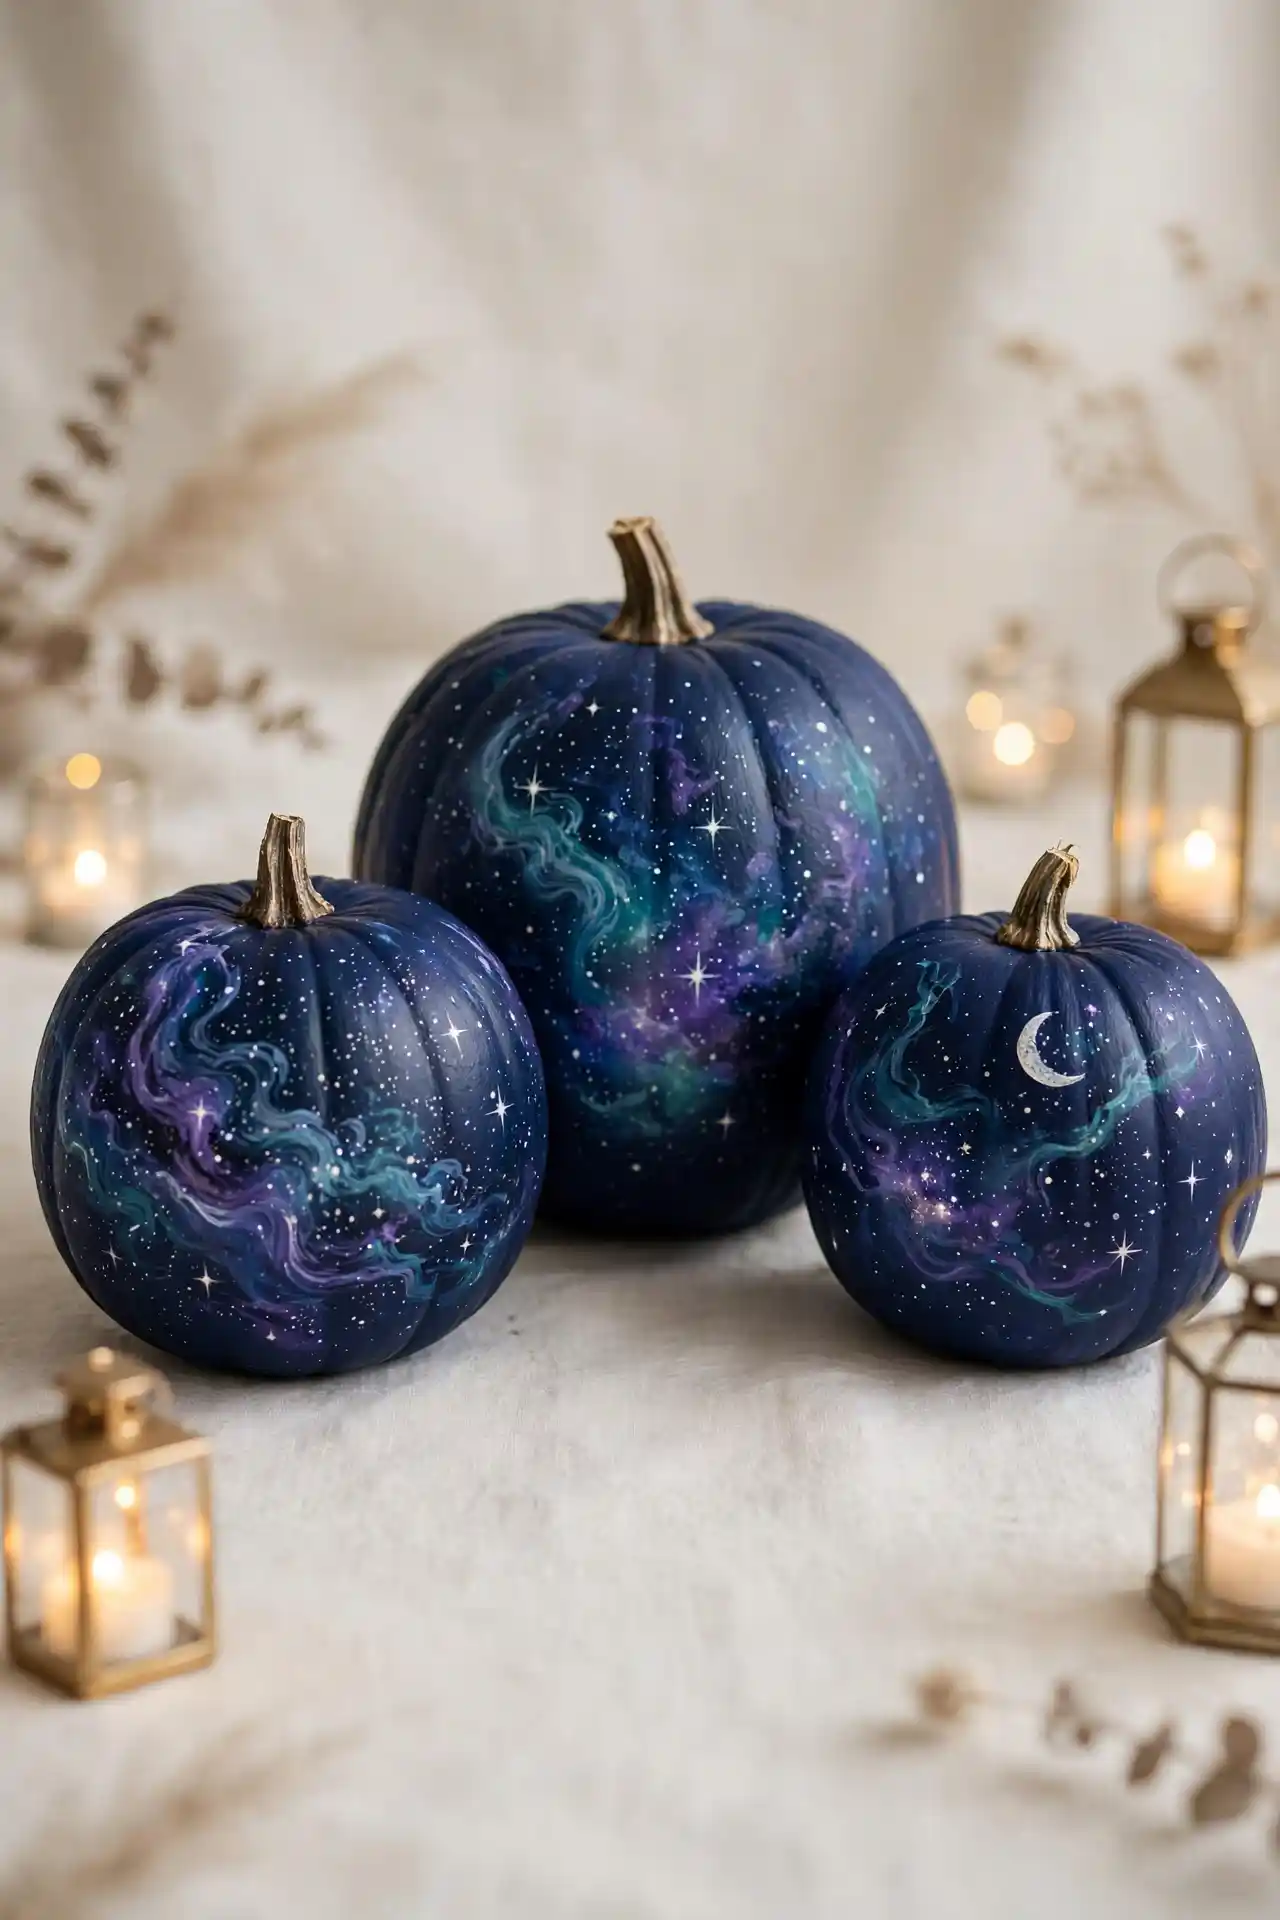
- Paint the pumpkin deep navy or black as your night sky base.
- Sponge on purple and teal nebula clouds with a nearly dry sponge.
- Flick white paint from a toothbrush to scatter tiny stars.
- Add a crescent moon with pale yellow paint near the top.
- Dot a few larger stars with metallic silver for sparkle.
A galaxy pumpkin looks out of this world on a dark porch beside glowing lanterns. The deep colors feel dramatic yet dreamy, and every swirl of the sponge makes it one of a kind. Seal with gloss for a cosmic shine. This design wows at evening parties under string lights.
Watercolor Blush Blend
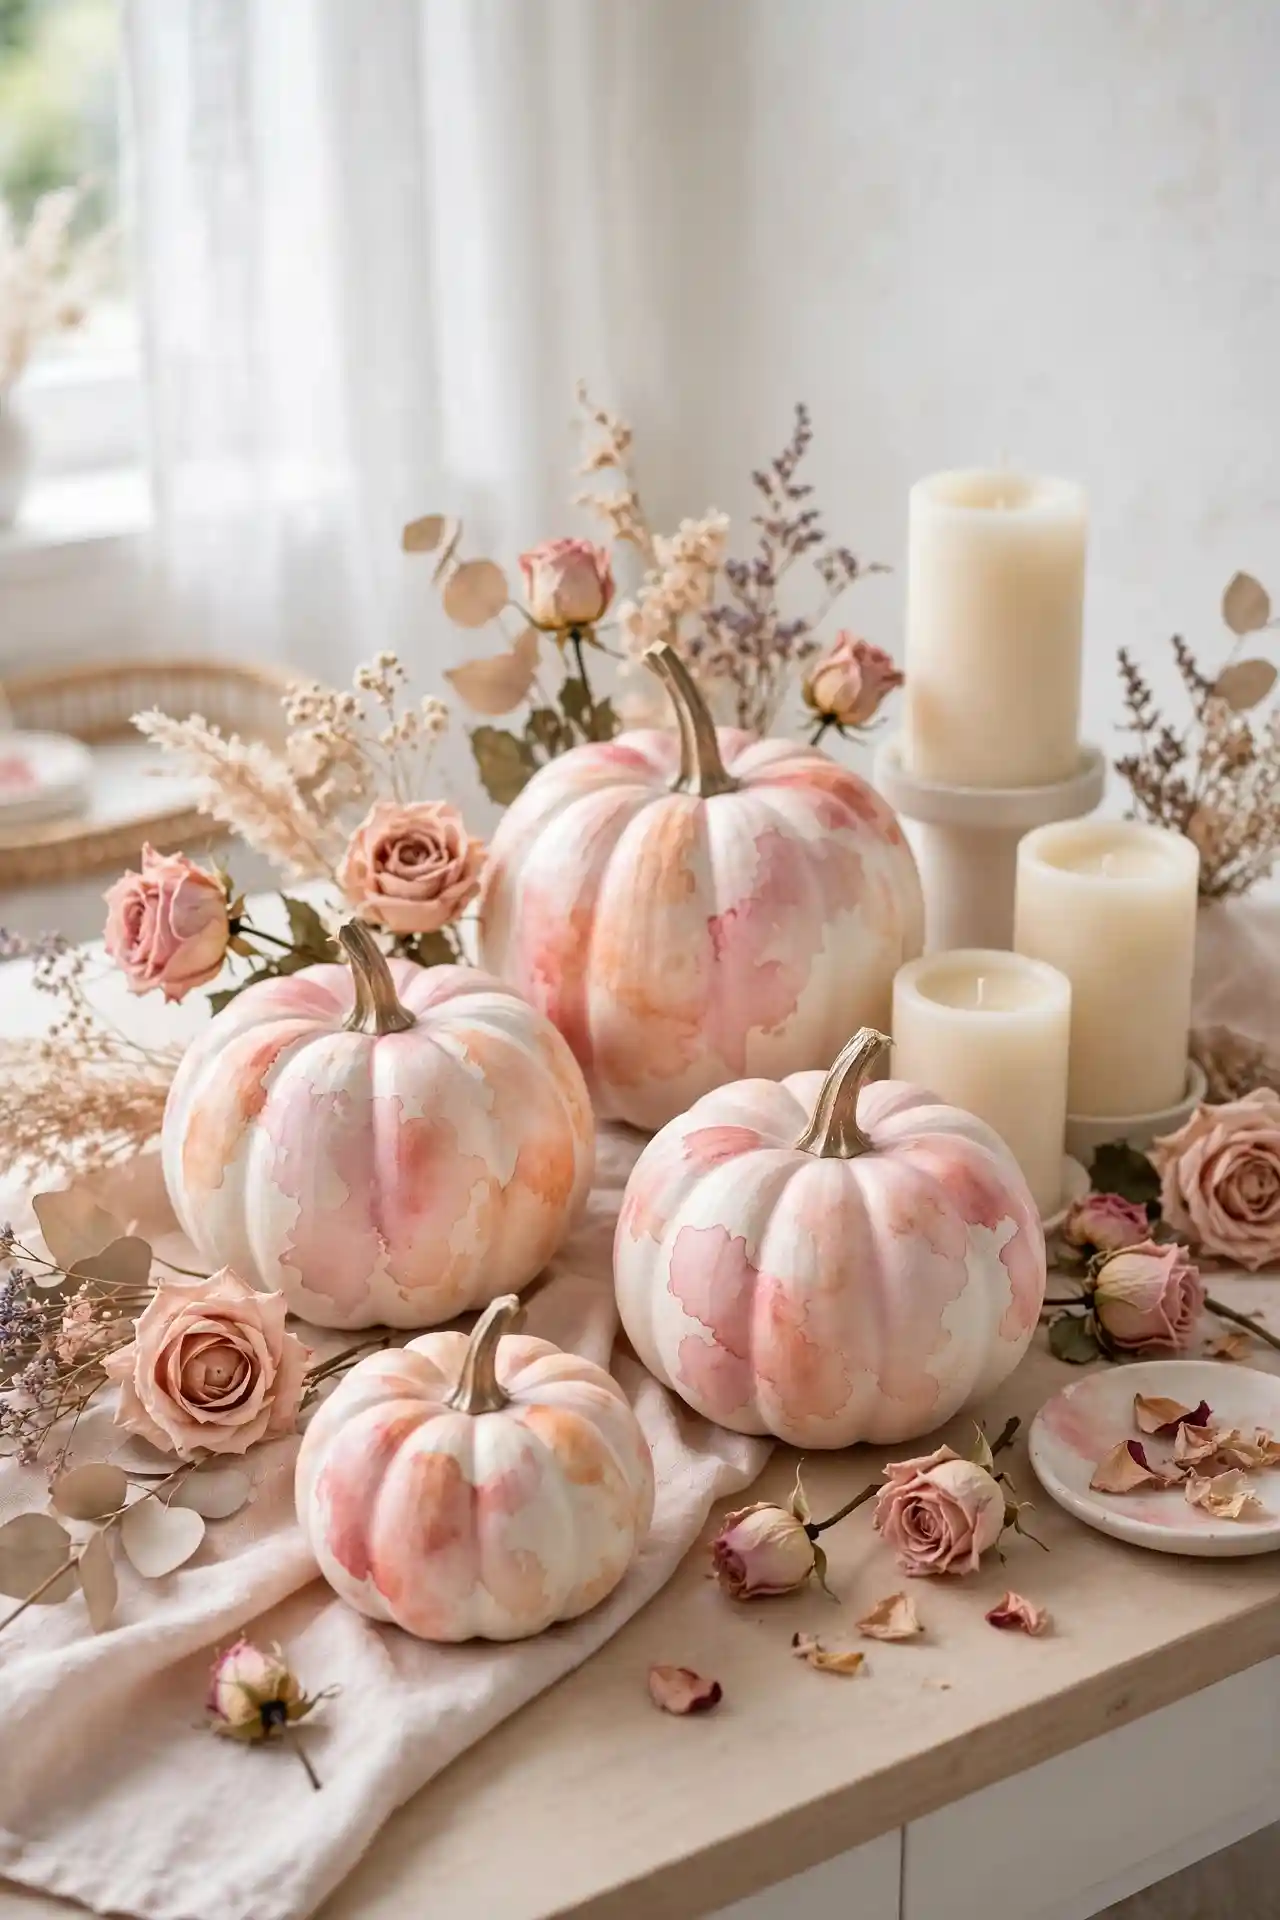
| Wet-on-Wet | Layered Wash |
|---|---|
| Method: Paint on damp base | Method: Build thin dry layers |
| Look: Soft dreamy blooms | Look: Controlled gentle gradients |
| Difficulty: Tricky for beginners | Difficulty: Very forgiving |
| Dry time: Longer, colors keep moving | Dry time: Faster between coats |
| Best brush: Wide soft mop | Best brush: Medium round |
| Sealer: Light matte mist | Sealer: Light matte mist |
| Pairs with: Cream candles | Pairs with: Blush linens |
Watercolor effects give pumpkins a soft, romantic blush that suits feminine fall decor. The pink and peach tones glow in daylight and pair beautifully with dried roses. Keep a damp brush handy to soften any harsh edges as you work. Blot mistakes quickly with a clean damp cloth.
Polka Dot Playfulness
Do:
- Do vary dot sizes for a playful, confetti-like effect.
- Do use a pencil eraser as a stamp for perfect circles.
- Do stick to two or three colors for a clean look.
- Do space dots evenly by working in a grid pattern.
Don’t:
- Don’t mix too many colors or the design feels chaotic.
- Don’t forget to seal, since dots can chip.
- Don’t place dots too close to the stem.
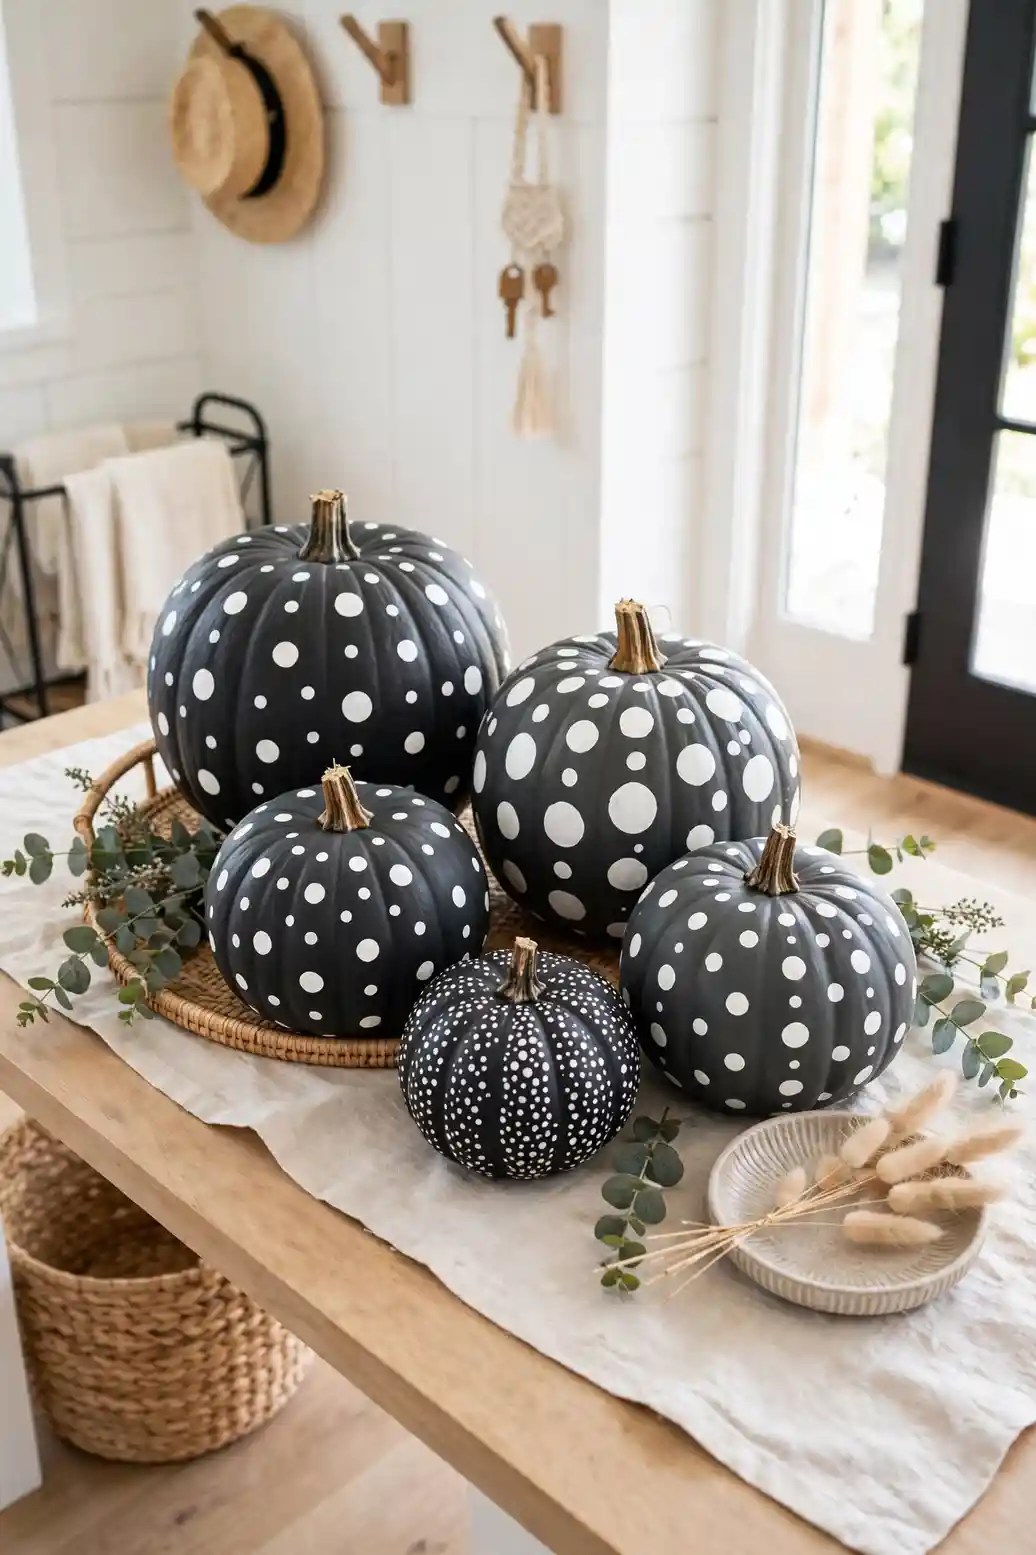
Polka dots are cheerful and impossible to mess up, making them perfect for little painters. The simple pattern pops against any base color, from crisp white to moody charcoal. Metallic dots on matte bases look especially festive. Try tone-on-tone dots for a subtle, sophisticated twist.
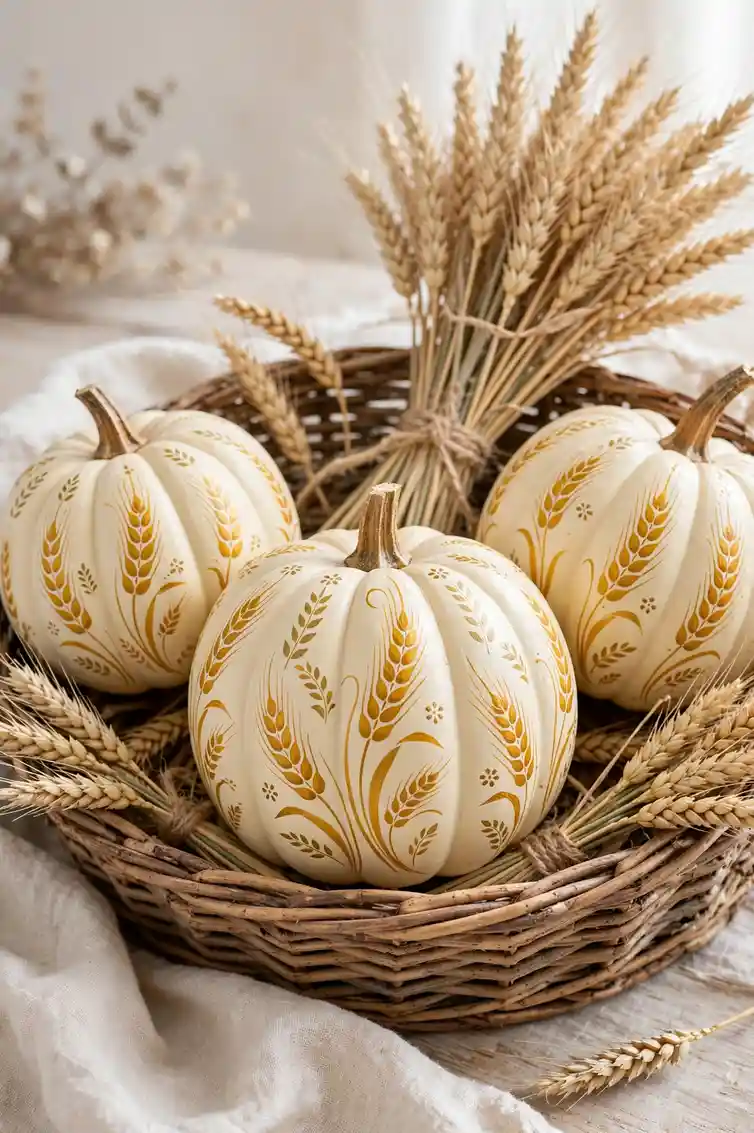
Harvest Wheat Motifs
Brush: Fine liner for stalks, small flat for grain heads.
Palette: Golden wheat, warm brown, soft sage.
Base: Cream, terracotta, or dusty blue.
Style: Folk-art inspired, slightly imperfect.
Dry time: One hour between layers.
Wheat motifs celebrate the harvest in the sweetest way, with golden stalks curving up the pumpkin’s ribs. The folk-art style feels warm and nostalgic, like something from a country kitchen. Slight wobbles in the lines only add charm, so paint with confidence and enjoy the process. Cluster three wheat pumpkins with dried wheat bundles for a full harvest moment. Beautiful from porch to Thanksgiving table all season long.
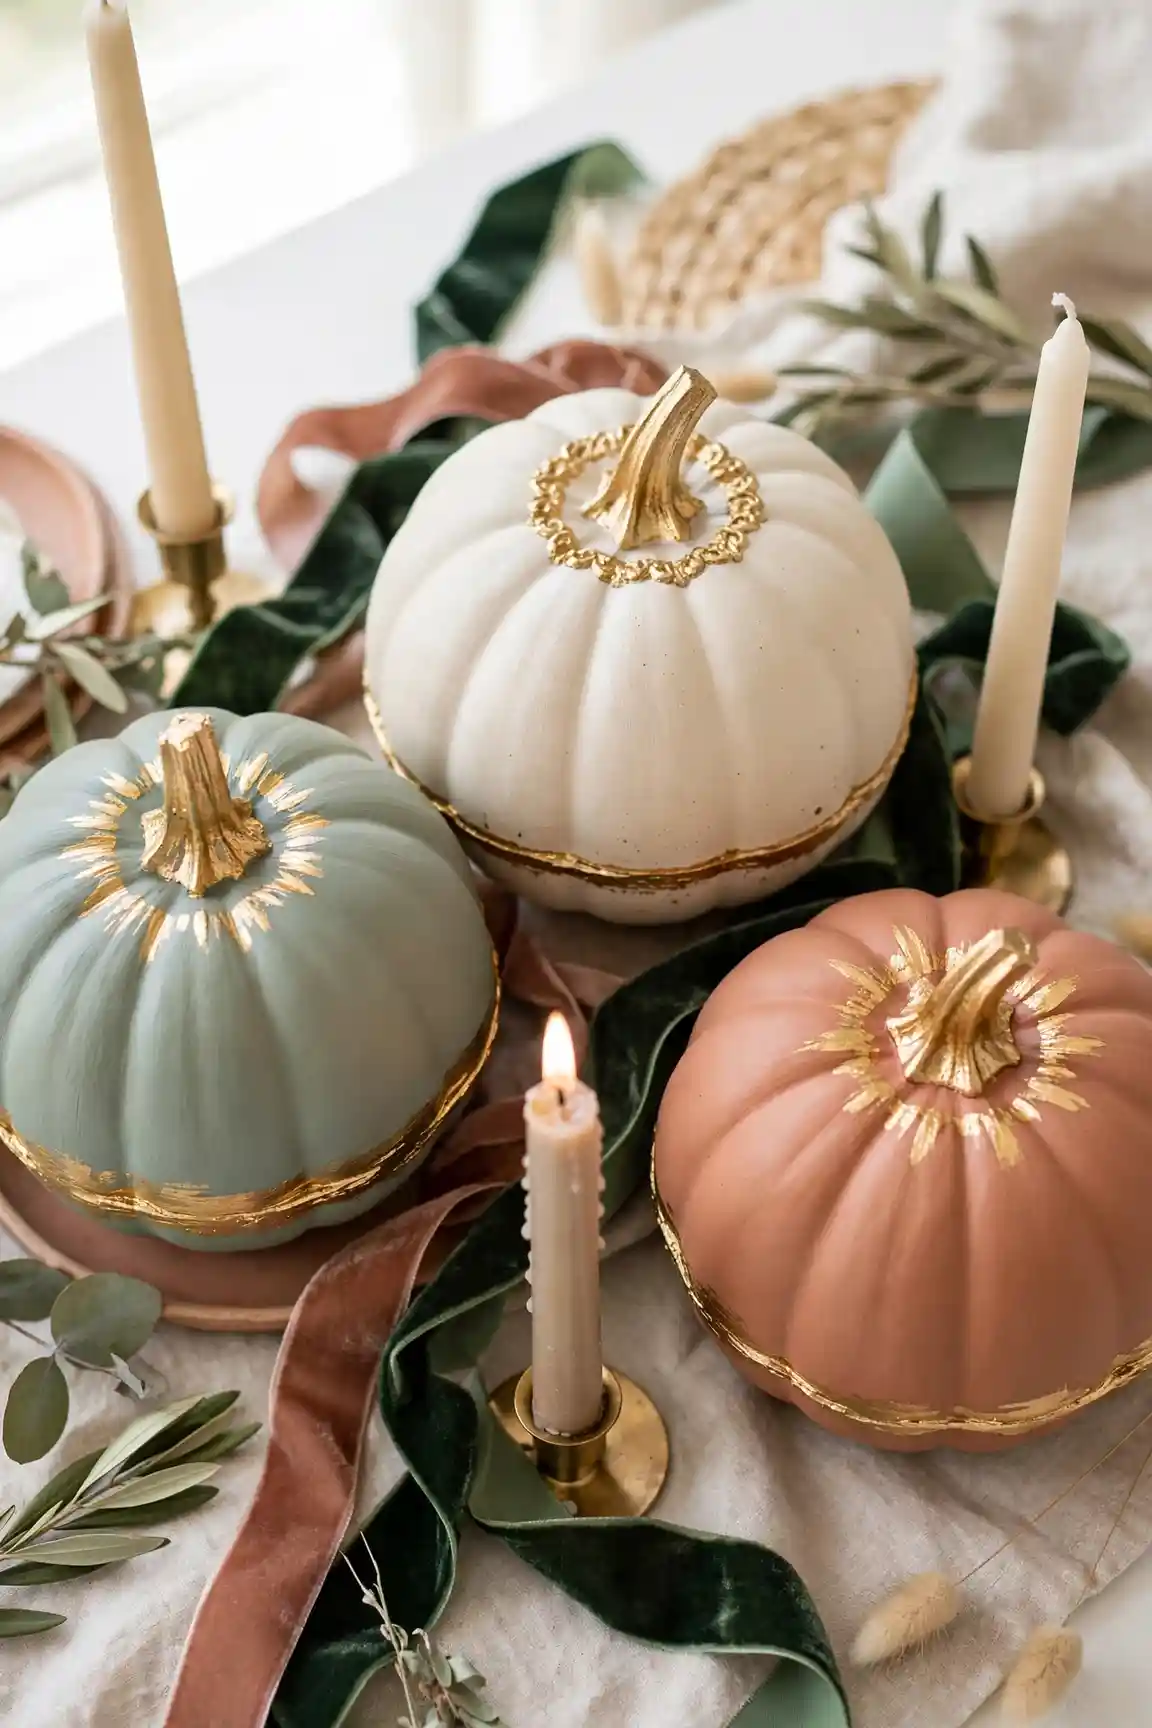
Gilded Edge Details
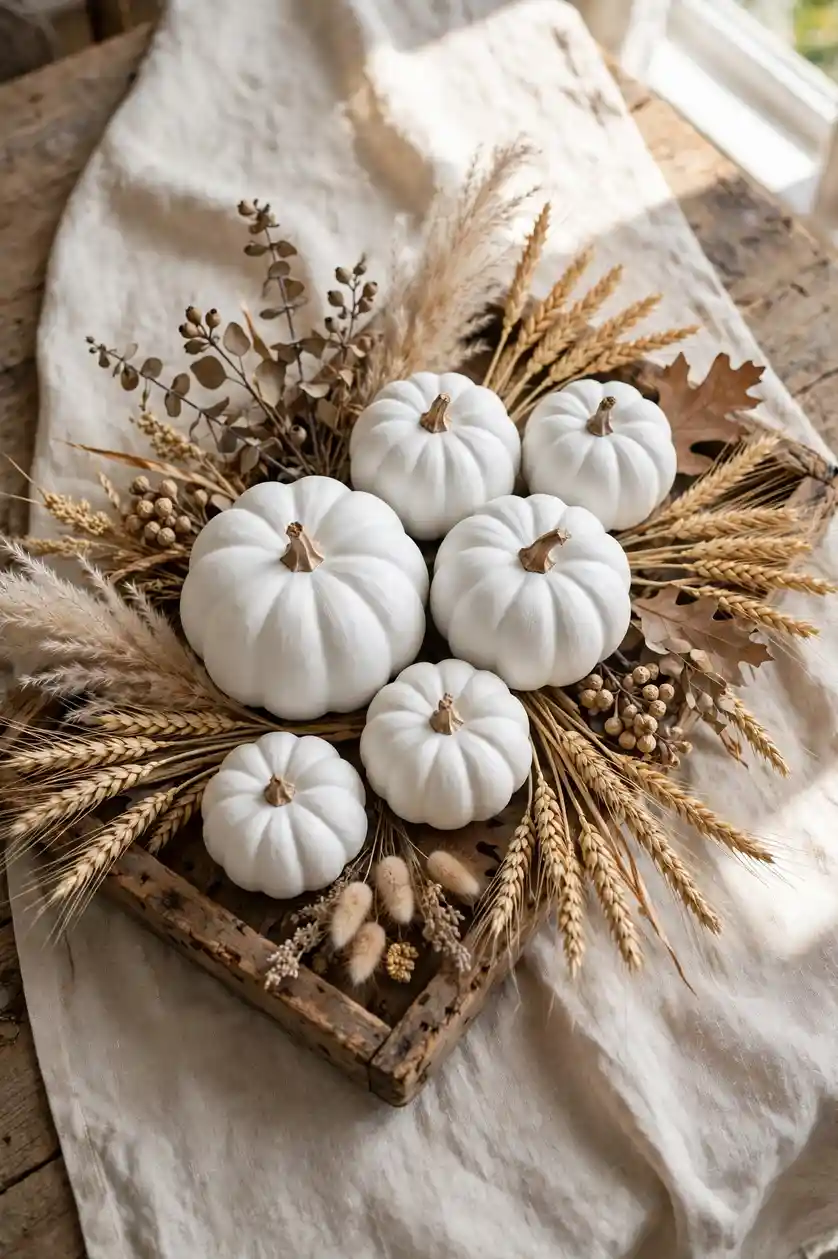
Gilded edges frame a painted pumpkin like a precious object. Use a small angled brush to paint a thin metallic band around the stem and along the bottom edge. Gold, copper, or champagne tones all work beautifully against matte base colors. Steady your hand against the table for the cleanest lines.
This finishing touch turns even the simplest painted pumpkin into something gift-worthy. Pair gilded pumpkins with velvet ribbon and taper candles for an elegant display. The metallic trim catches light from every angle, adding quiet luxury to your fall styling. That’s why many experts recommend metallic trim as the easiest upgrade in pumpkin decorating.
Conclusion
These 25 painted pumpkin designs prove that a little paint goes a long way this fall. From simple dots to dreamy galaxies, there is a style here for every skill level and every home. Trying these pumpkin painting ideas is the perfect weekend project, so grab your brushes and save your favorites to Pinterest for later. Which design will you try first? Pin this post to your fall decor board so you never lose track of the inspiration. Your porch is about to become the prettiest on the block. Happy painting, and enjoy every single cozy moment of the season.