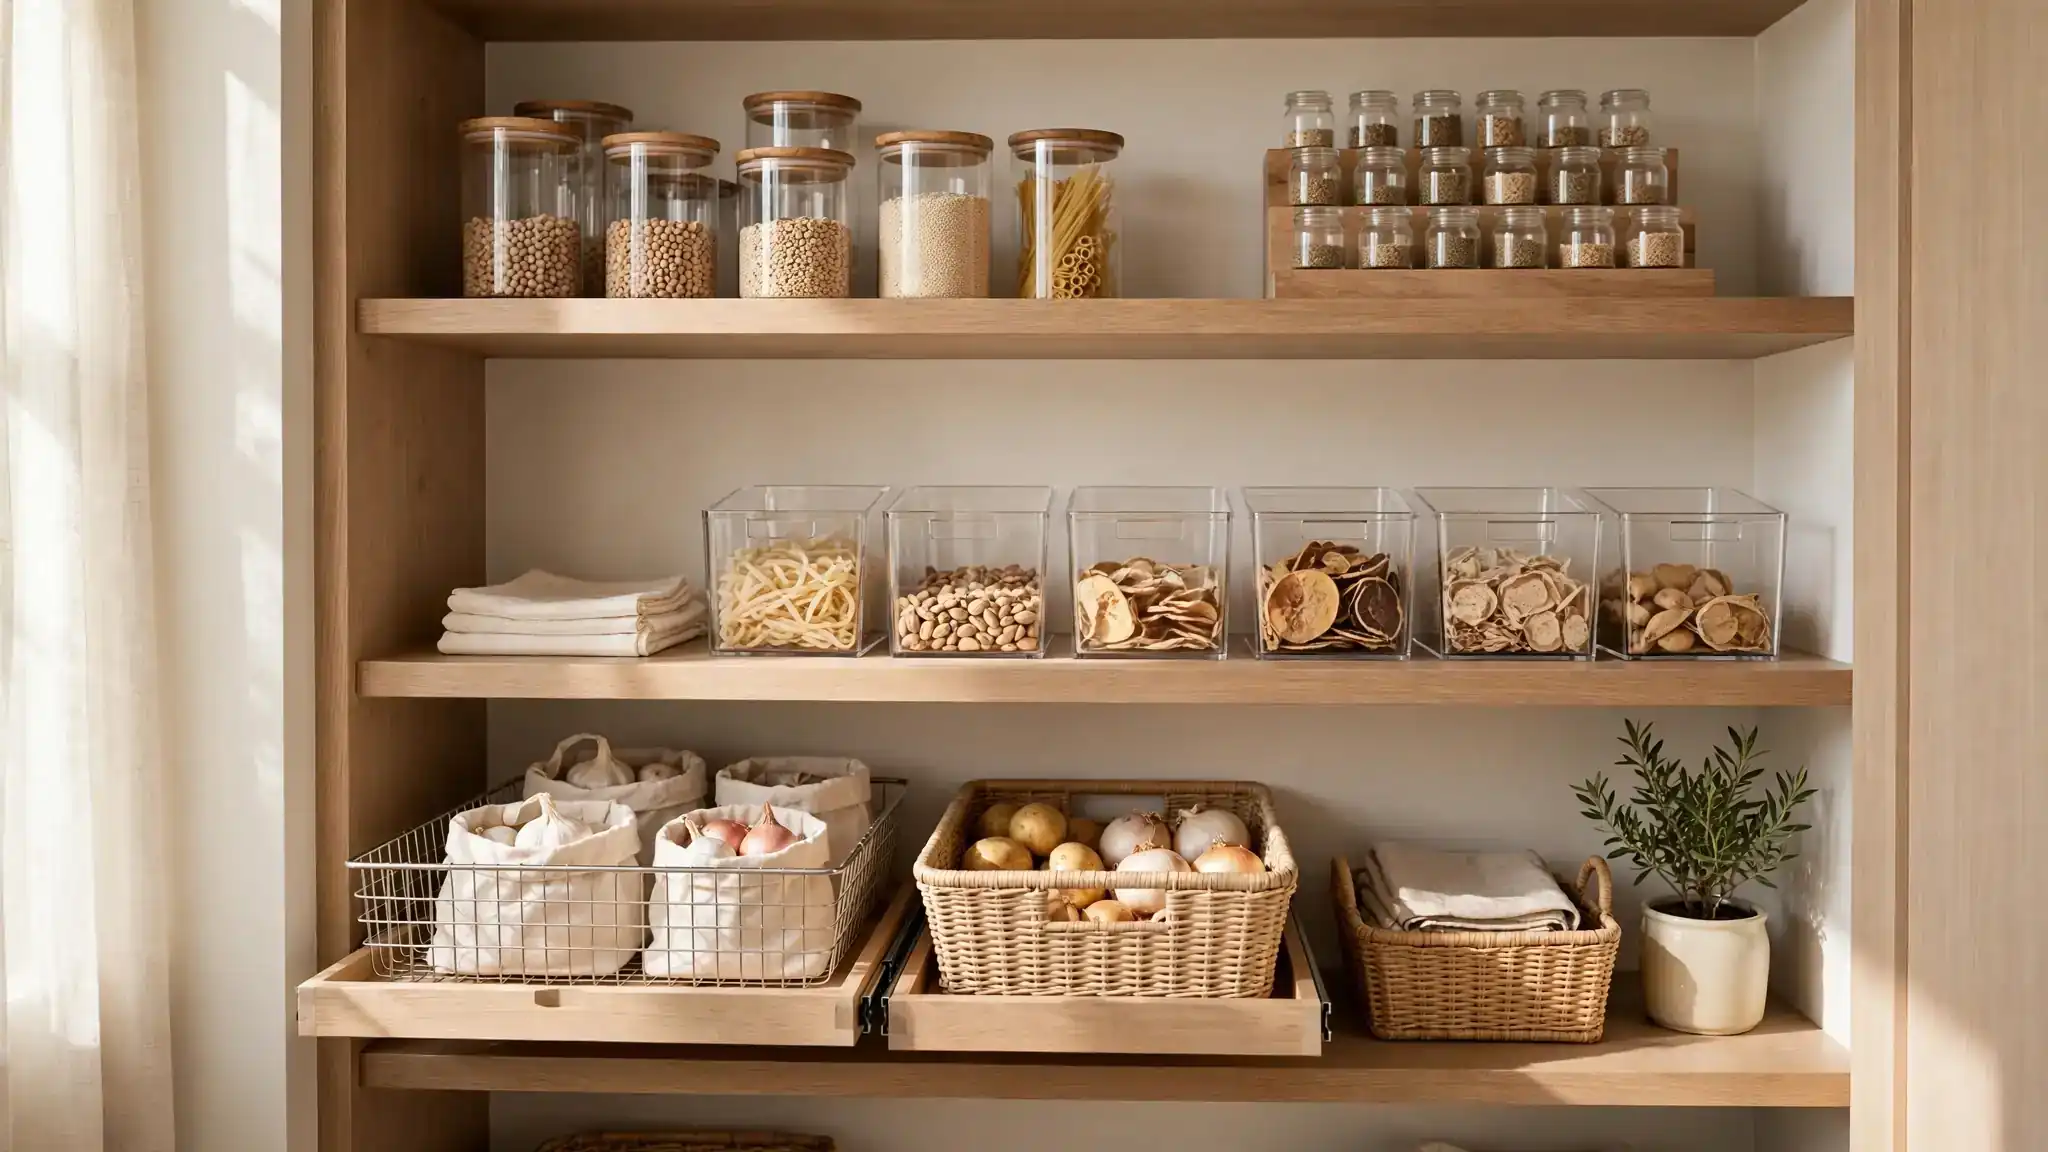
How to Organize Small Pantry Deep Shelves With Ease
Deep pantry shelves promise extra storage but often swallow snacks, cans, and spice jars whole. Learning how to organize small pantry deep shelves changes that story completely. Instead of losing items in the back, you build simple systems that pull everything forward. These ideas use bins, risers, and smart zones to make every inch count.
Most pantry chaos comes from treating a deep shelf like a shallow one. Stack items in zones, give every category a home, and use tools that slide or spin. Your morning routine gets faster, grocery shopping gets smarter, and food waste drops. Pair this flow with the rhythm of good drop zone ideas near your kitchen entry, and your whole storage system starts working as one team.
Pull-Out Basket Layers
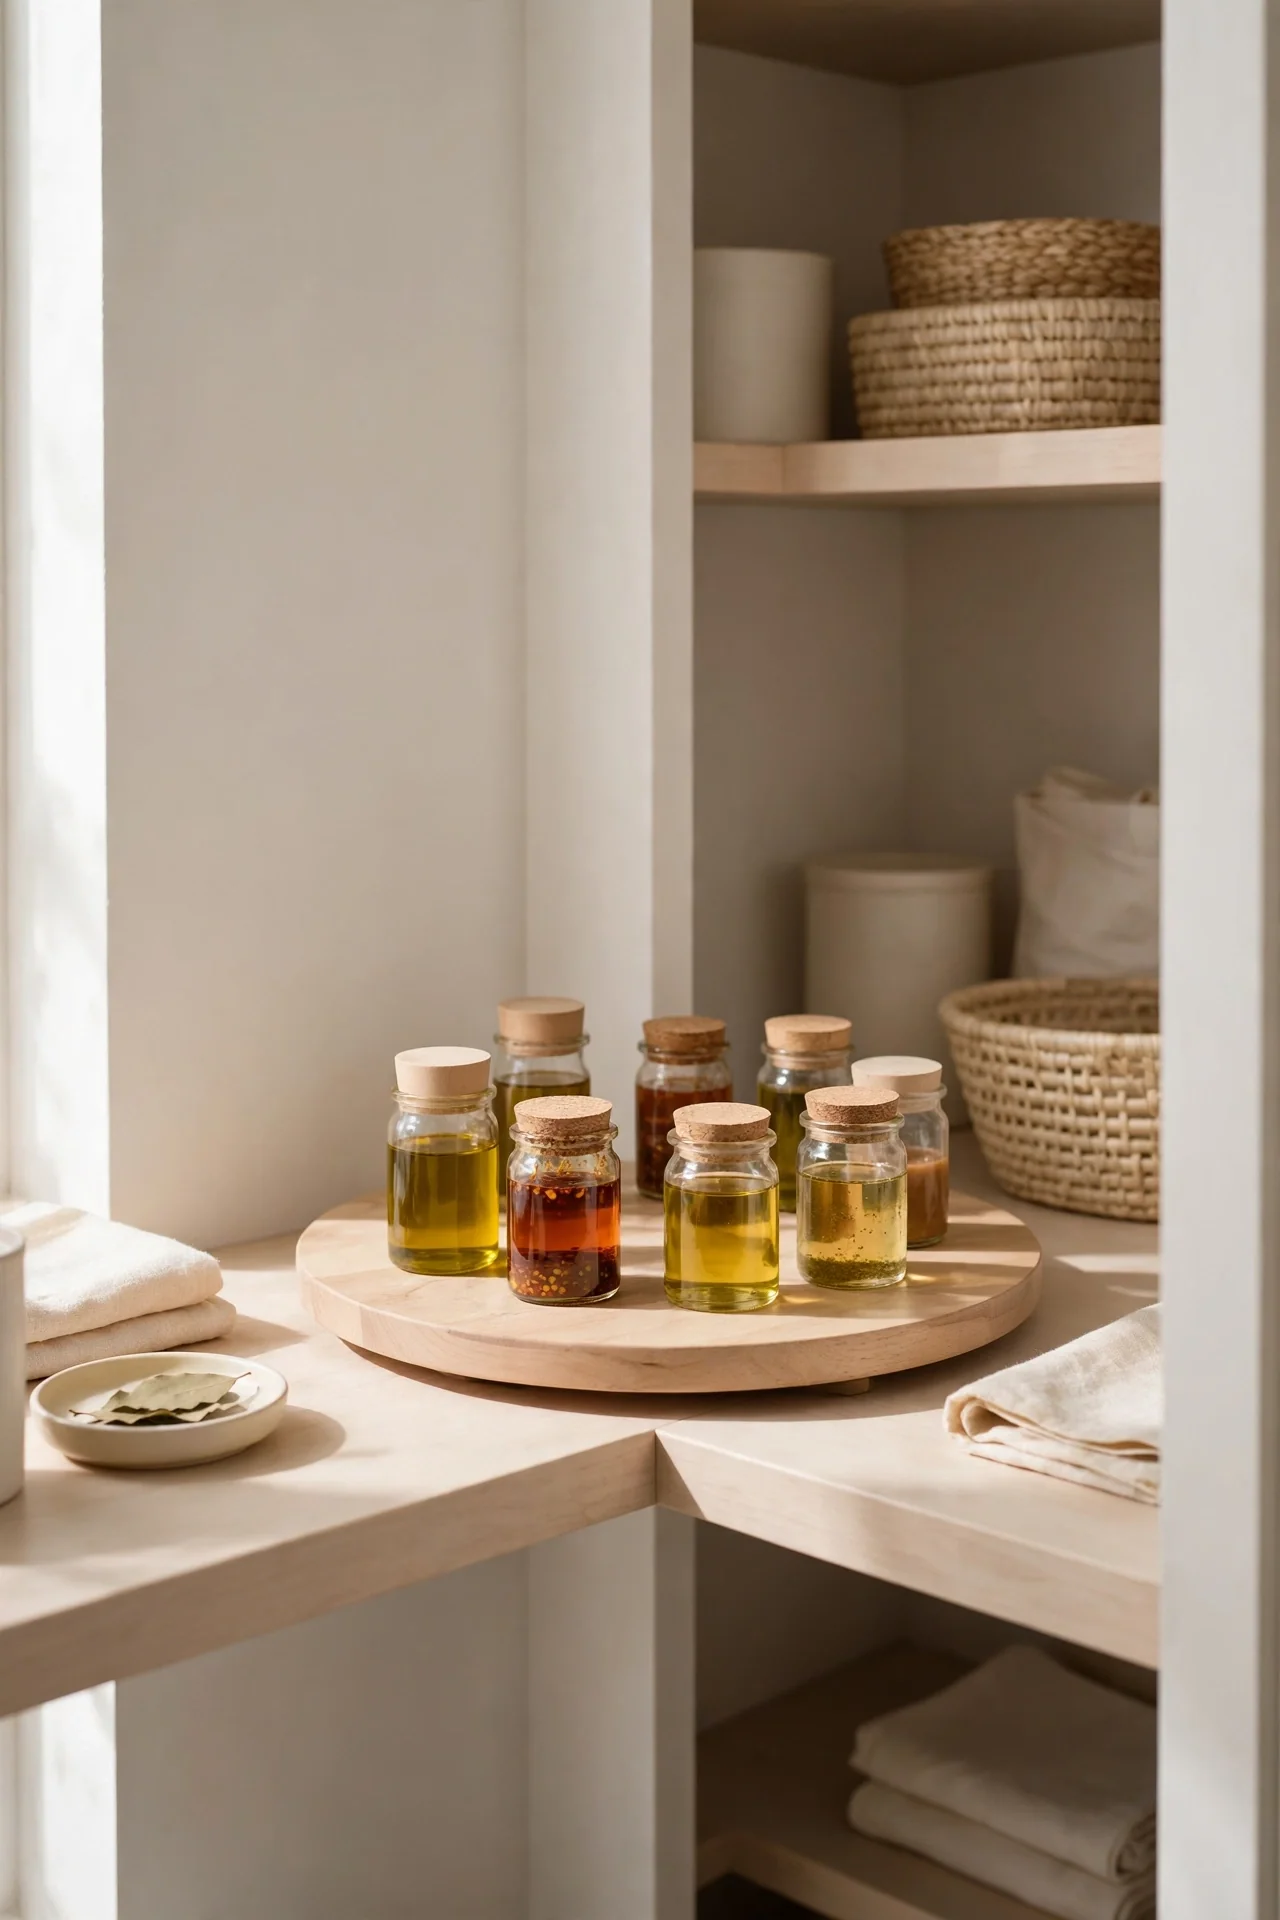
Baskets that glide toward you end the reach-and-guess game forever. Line each deep shelf with two or three open-top baskets sized to the shelf depth, leaving a finger of space on each side. Stock the front baskets with daily items and push rarely used goods to the back rows. In my experience, families stop digging and start finding once everything rolls forward on command.
Choose wire or woven baskets so you can see contents at a glance. Add a simple label to each basket front, and teach everyone the return rule: items go back in their basket, not beside it. This single habit keeps your pantry tidy between deeper resets.
Tiered Can Risers
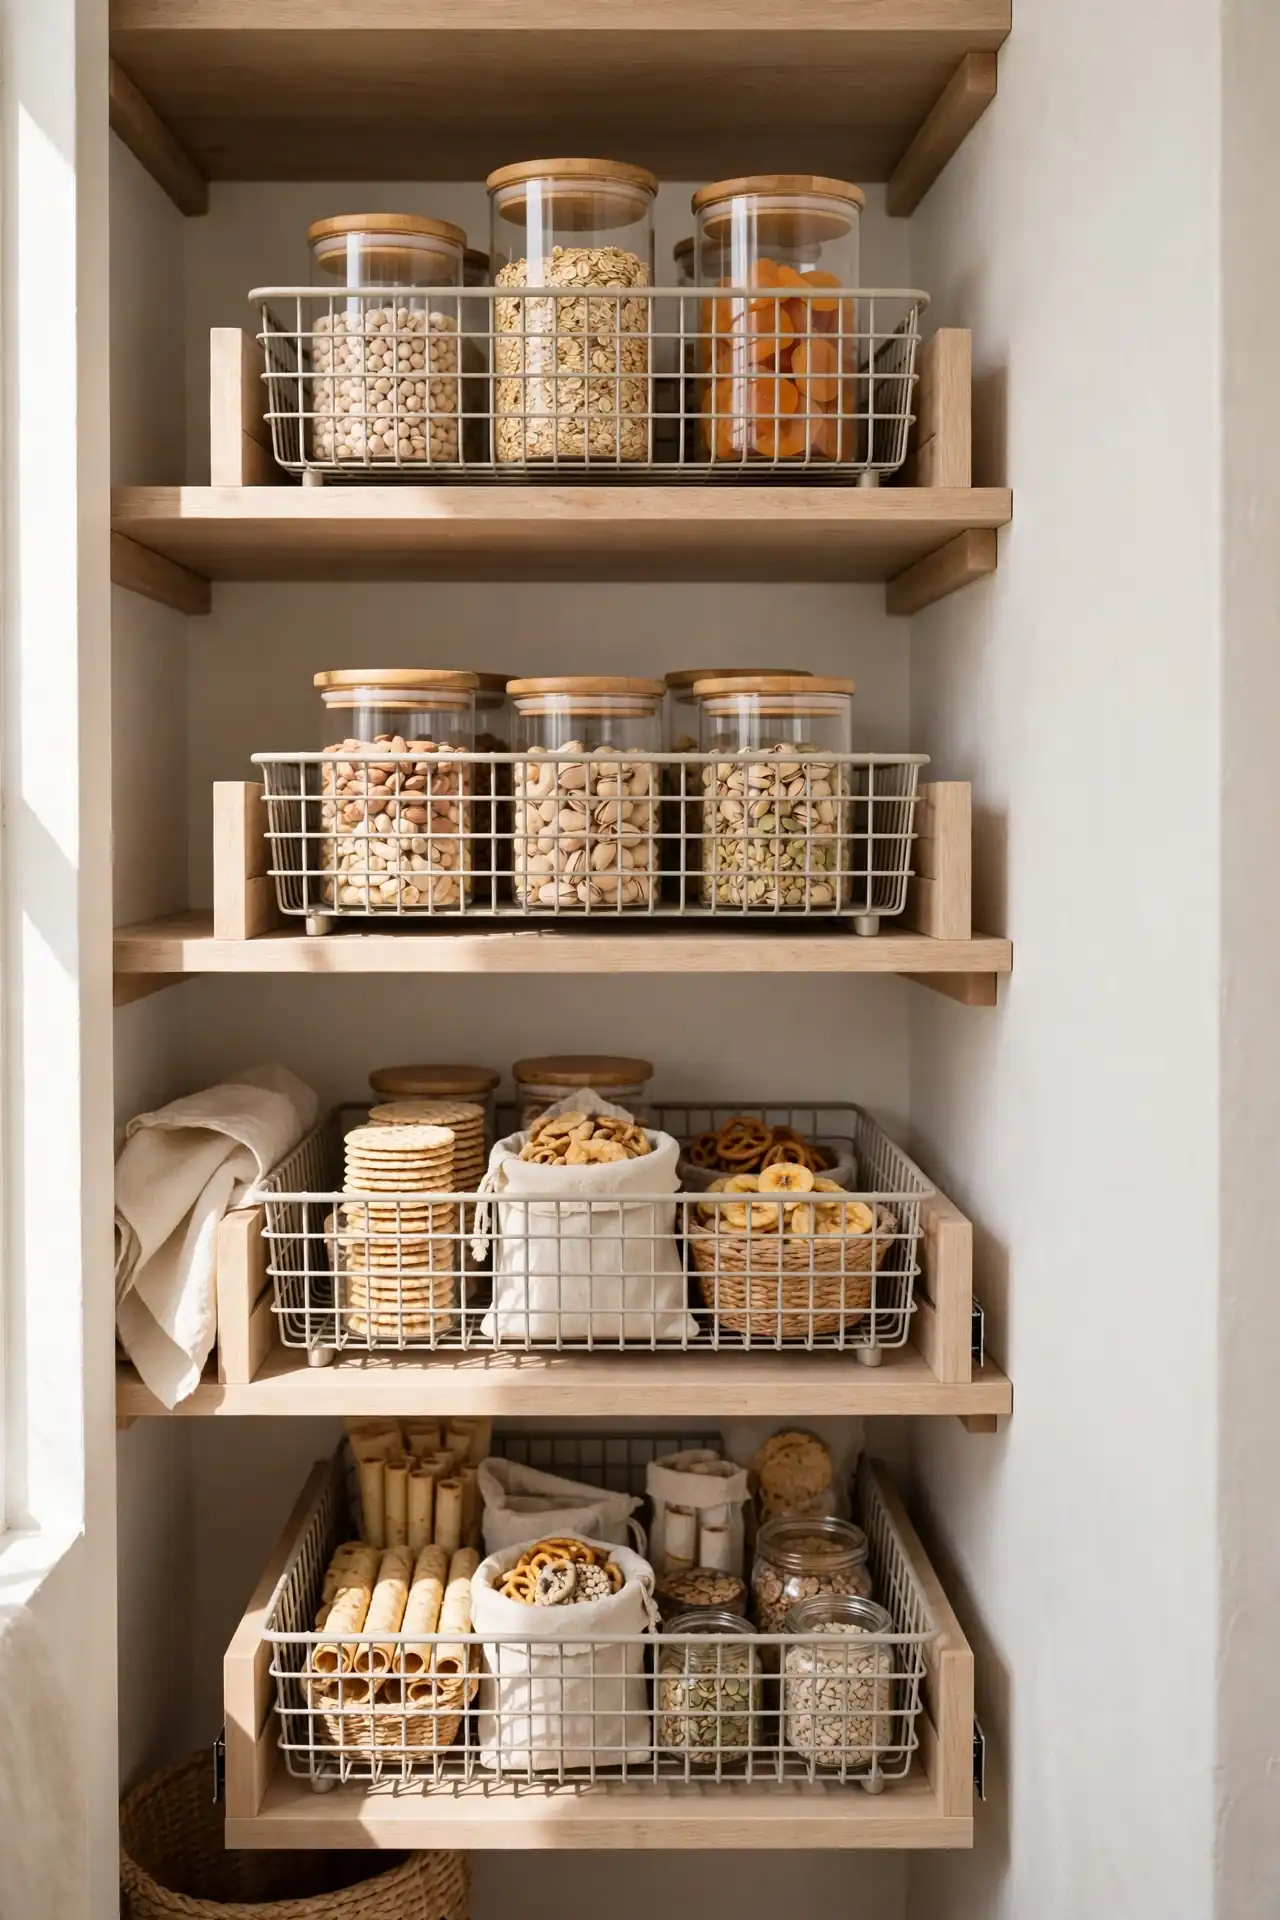
- Set a three-tier riser at the back of each shelf so every can level stays visible.
- Sort cans by meal type, so soups, beans, and tomatoes each get their own step.
- Face all labels forward; it speeds up cooking and shopping list checks.
- Refill from the back when groceries arrive to keep older cans in front.
Risers turn a dark back row into a stadium view of your stock. Measure shelf height before buying so the top tier clears the shelf above. This tiny change ends the mystery-can problem and makes inventory checks take seconds. You will never buy a duplicate can of chickpeas again.
Lazy Susan Corners
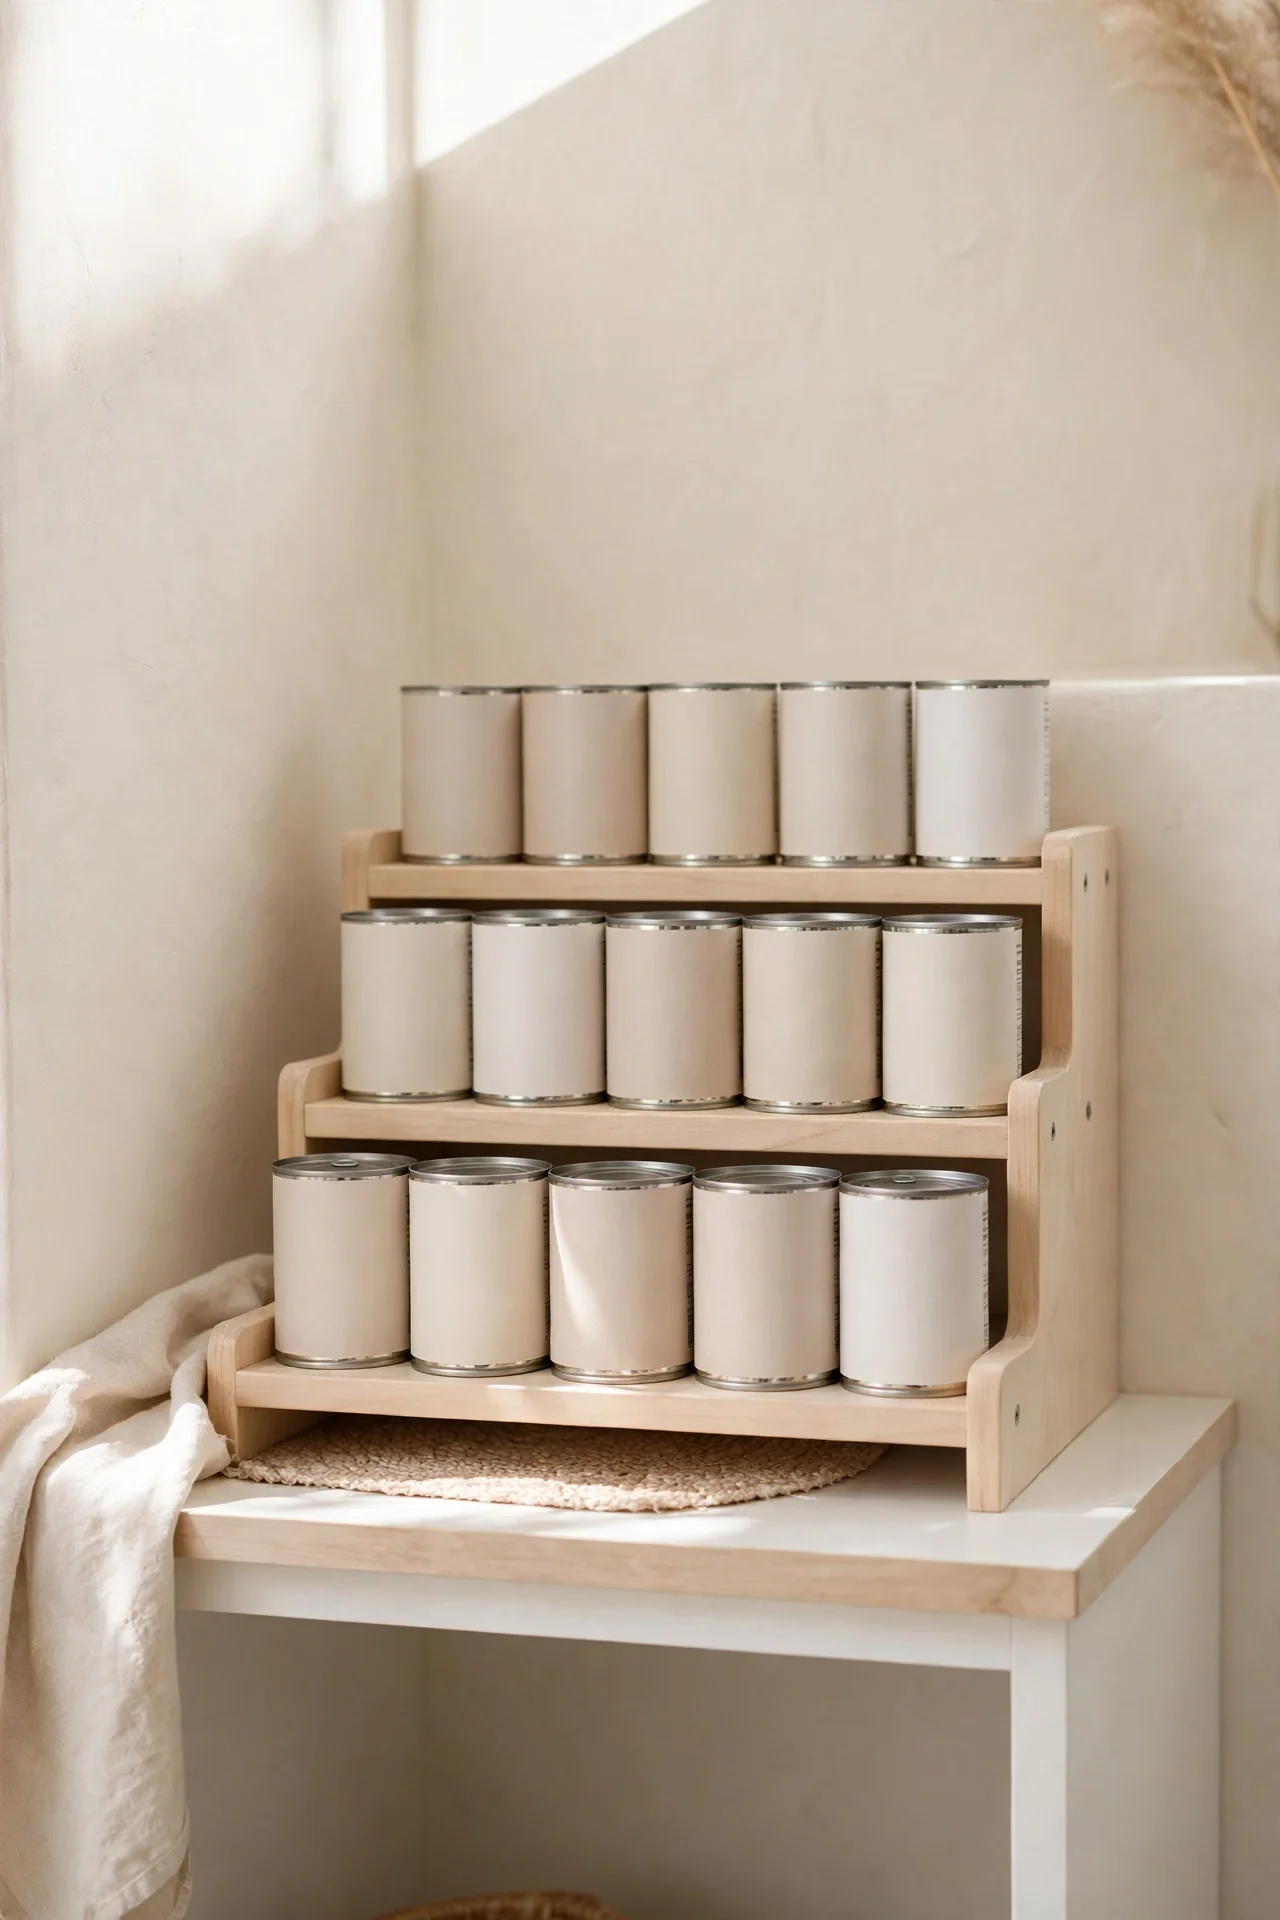
Quick Tip: Place one sturdy 12-inch turntable in each deep pantry corner where items disappear fastest. Spin it weekly during grocery unpacking to check dates and wipe crumbs. Group oils and vinegars on one, sauces and condiments on another. A nonslip liner underneath keeps the turntable steady when shelves are fully loaded.
Lazy Susans rescue the awkward corners that baskets cannot reach. They work best for round bottles and small jars that topple in rows. Wipe the turntable monthly so sticky rings never glue jars in place. Once you spin instead of dig, those corners become prime storage real estate.
Clear Bin Zoning
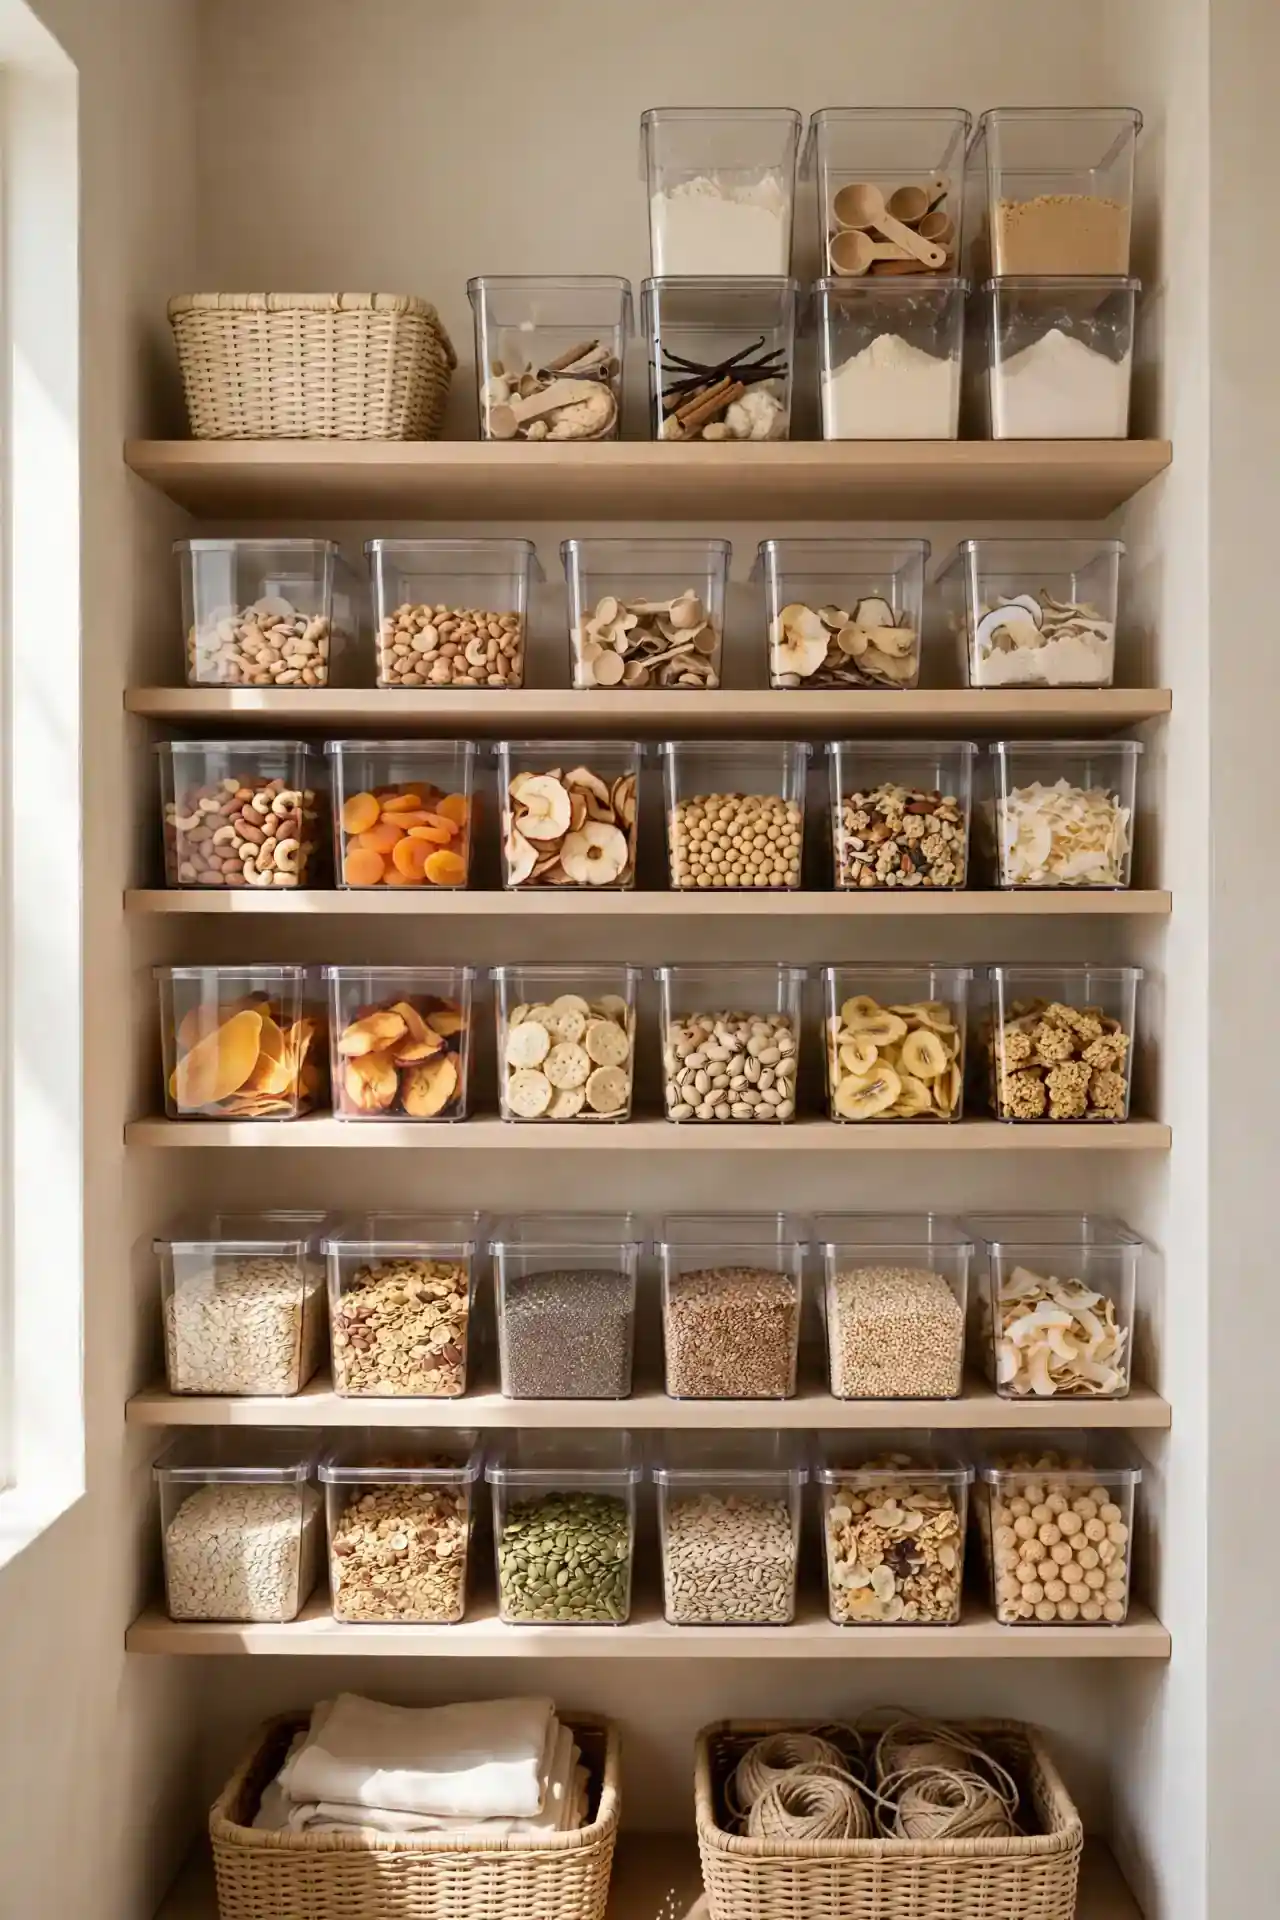
BEFORE: Every shelf held a random mix of boxes, bags, and half-used jars. Finding baking powder meant moving six things, and expired snacks hid behind cereal boxes for months. The back half of each shelf was basically a forgotten cave.
AFTER: Each zone owns a clear bin: baking, snacks, breakfast, and back stock. You can see every item without moving a thing, and restocking takes seconds because each bin slides out like a drawer. Nothing hides anymore.
Pick bins that match your shelf depth so no space goes wasted behind them. Clear sides matter more than pretty colors since visibility is the whole point. I’ve noticed zoned pantries stay tidy longer because every item has an obvious home to return to.
Front-Row Snacks
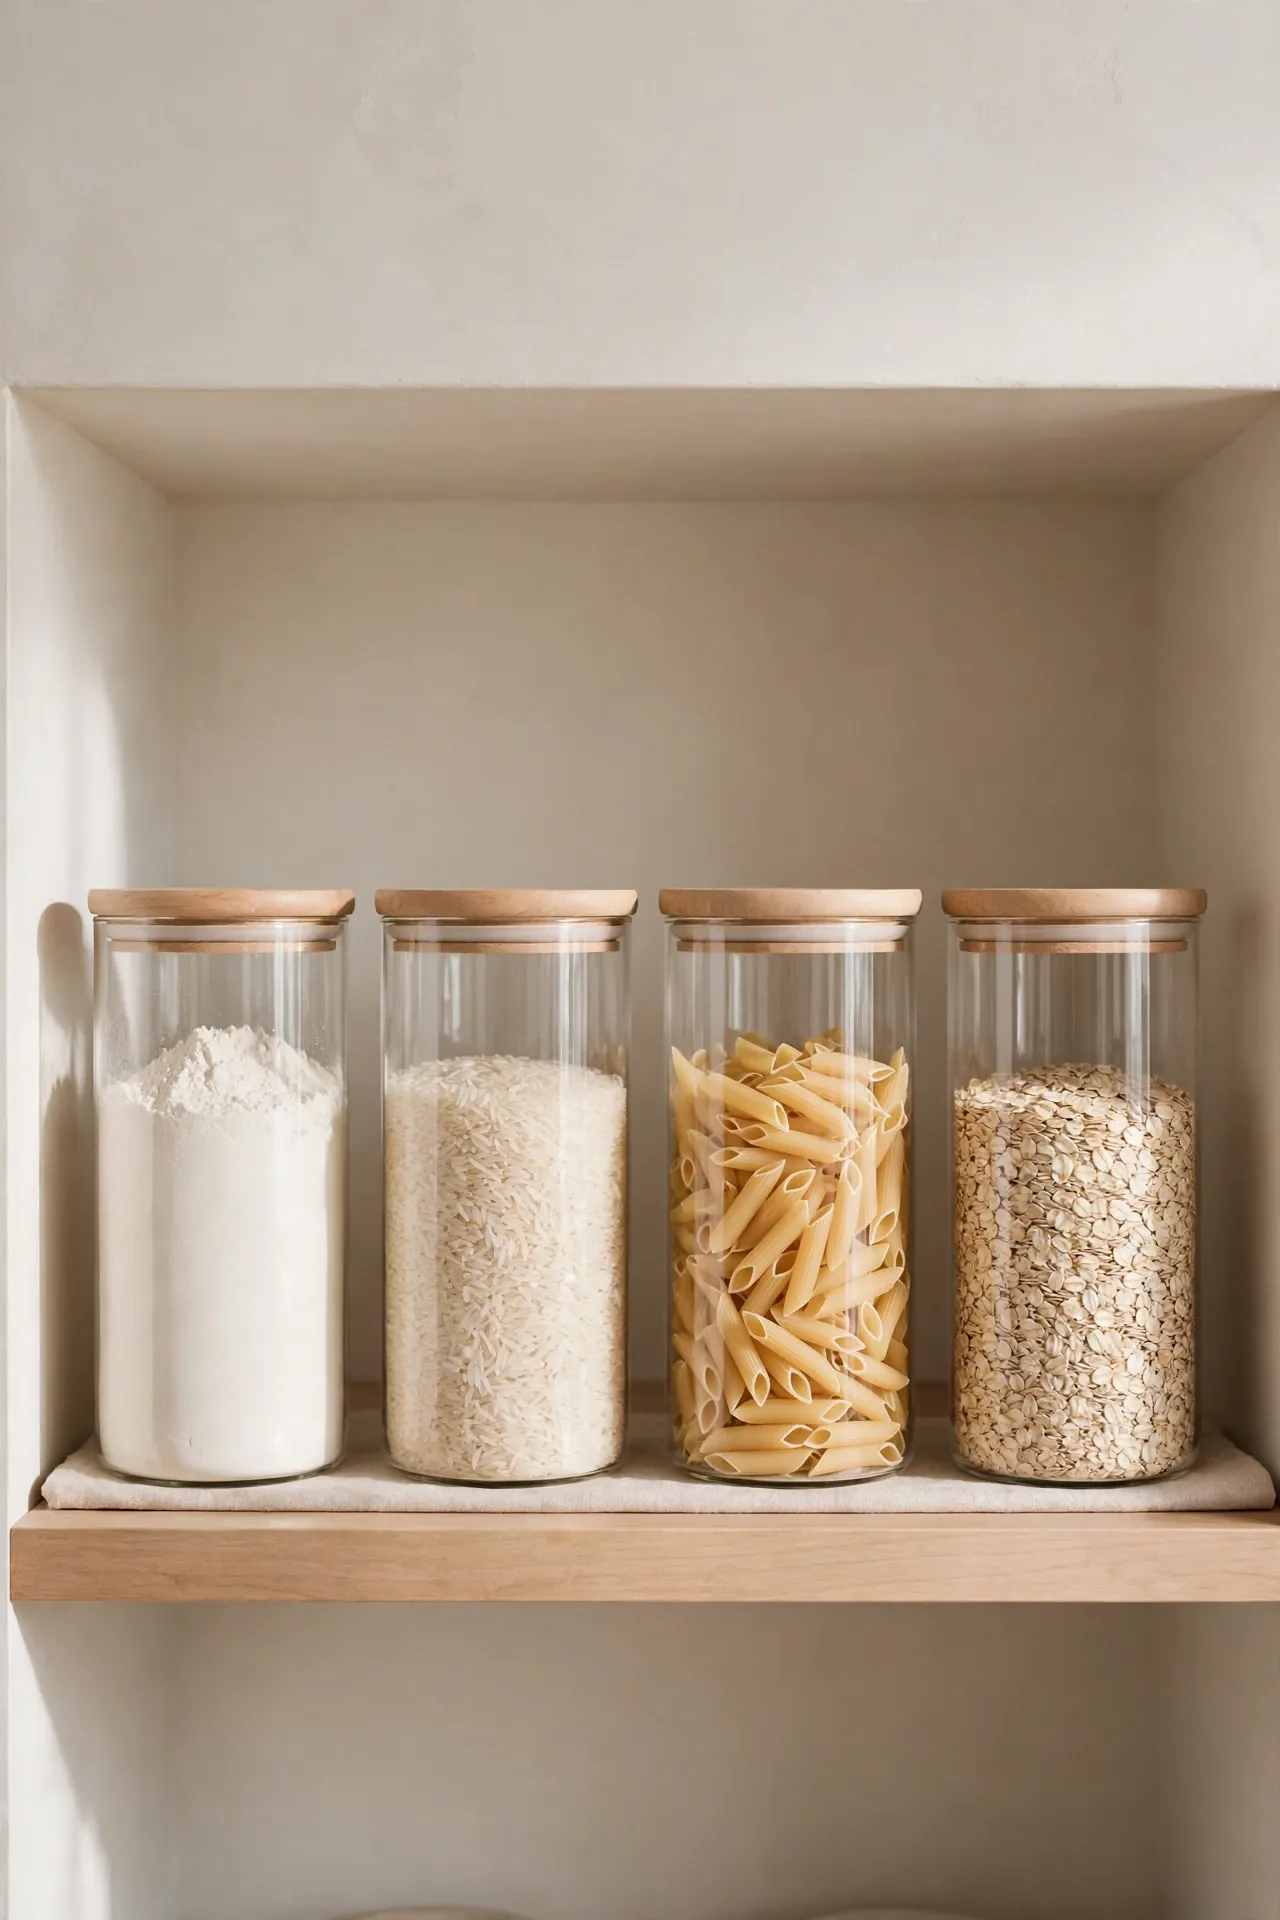
- Claim the front twelve inches of one shelf as the official snack station.
- Add a low, open bin so kids and adults can grab without knocking things over.
- Refill it weekly with a set number of snacks to control portions and clutter.
- Keep bulk snack boxes in back stock, moving a few forward at a time.
This front-row system stops the daily ransacking that ruins every pantry. Hungry hands reach into one predictable spot instead of tearing through every shelf. Parents love the portion control, and kids love the independence of grabbing their own snack without asking. Keep the bin at eye level for the smallest snacker so nobody climbs.
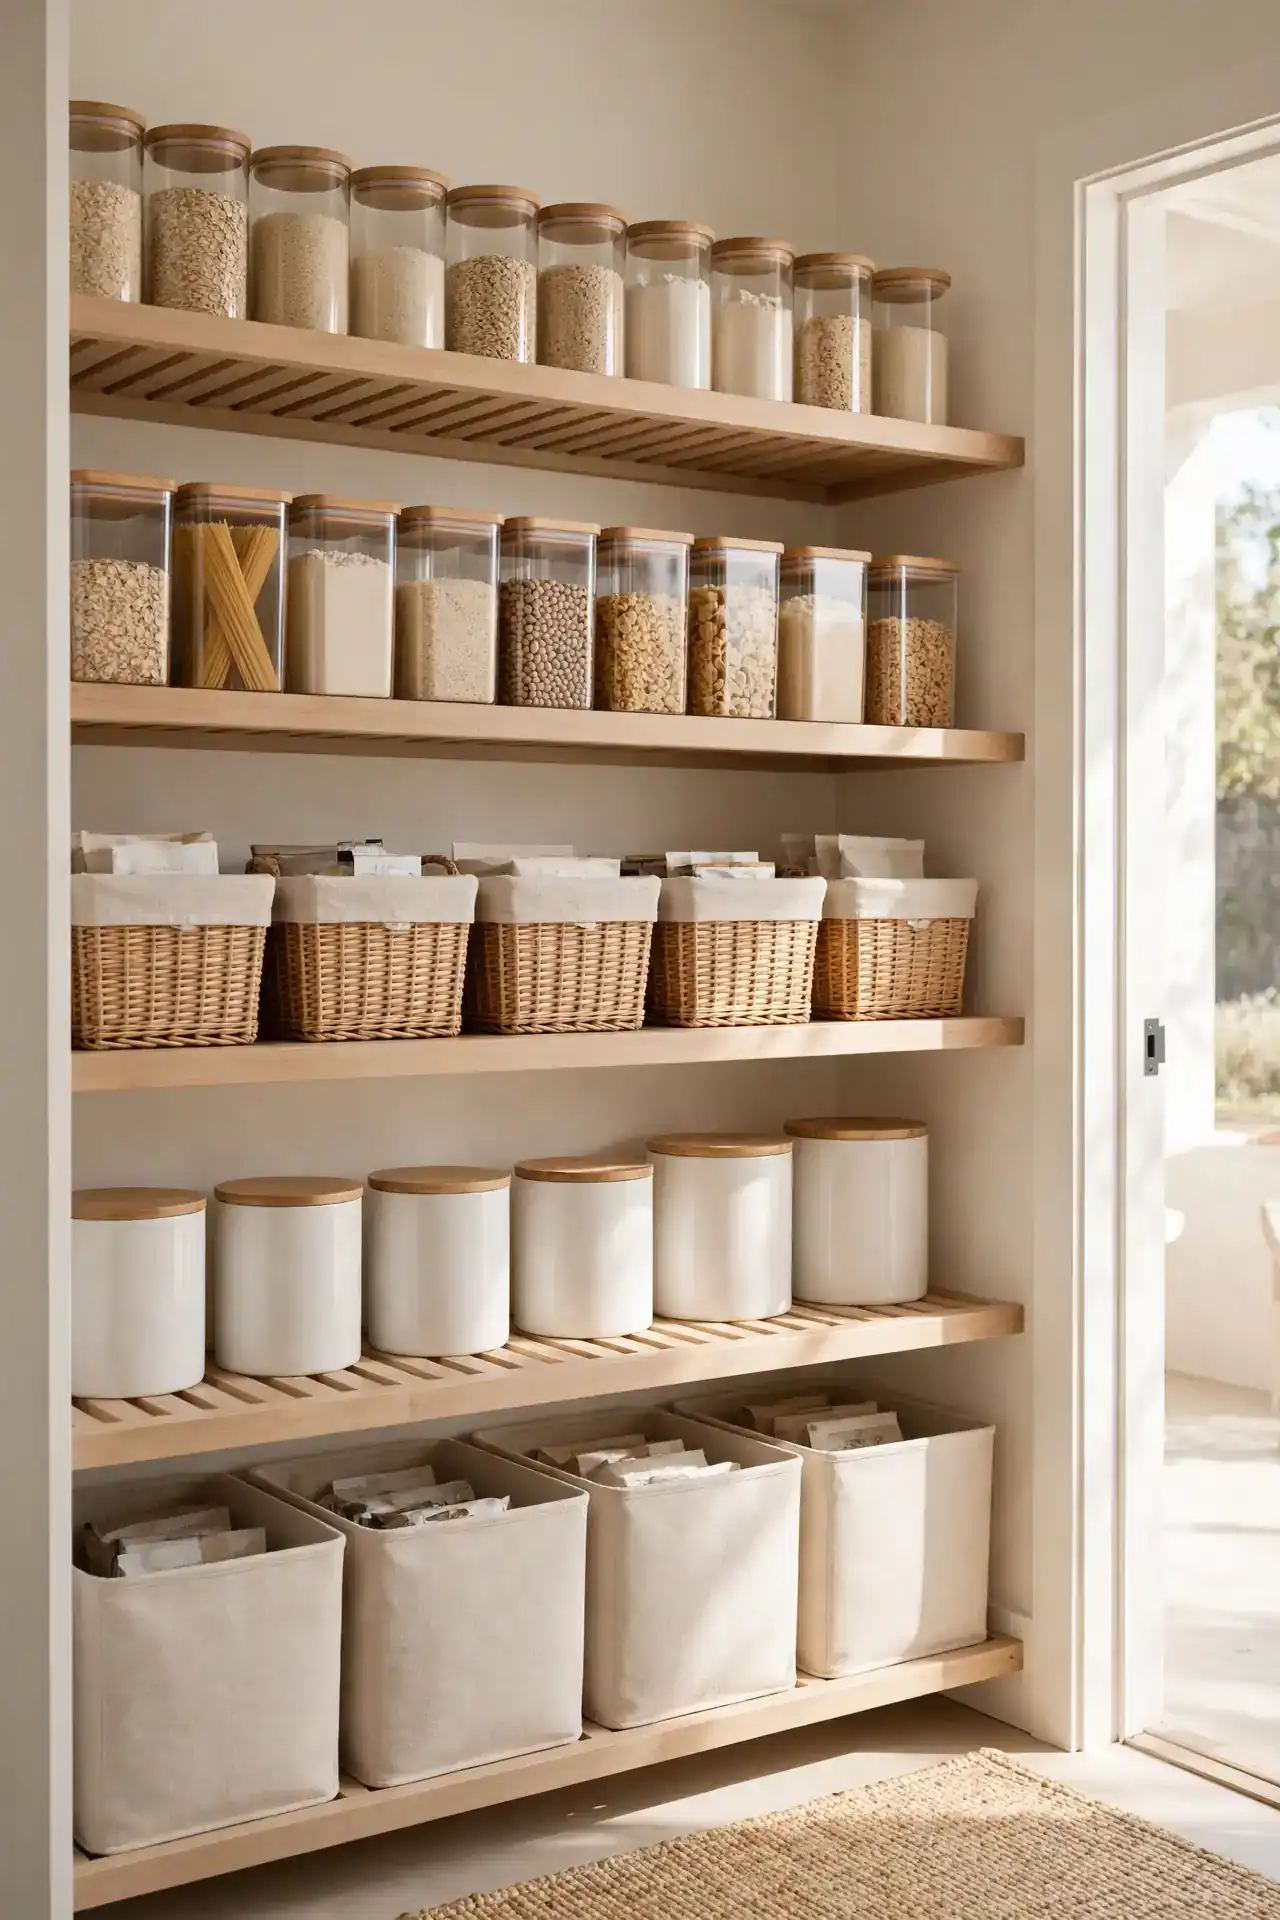
Decanted Staple Jars
| Feature | Original Packaging | Decanted Jars |
|---|---|---|
| Visibility | Boxes hide low stock | Glass shows levels instantly |
| Freshness | Bags go stale fast | Airtight lids lock in flavor |
| Stacking | Odd shapes waste space | Square jars line up neatly |
| Pouring | Spills and torn bags | Wide mouths pour cleanly |
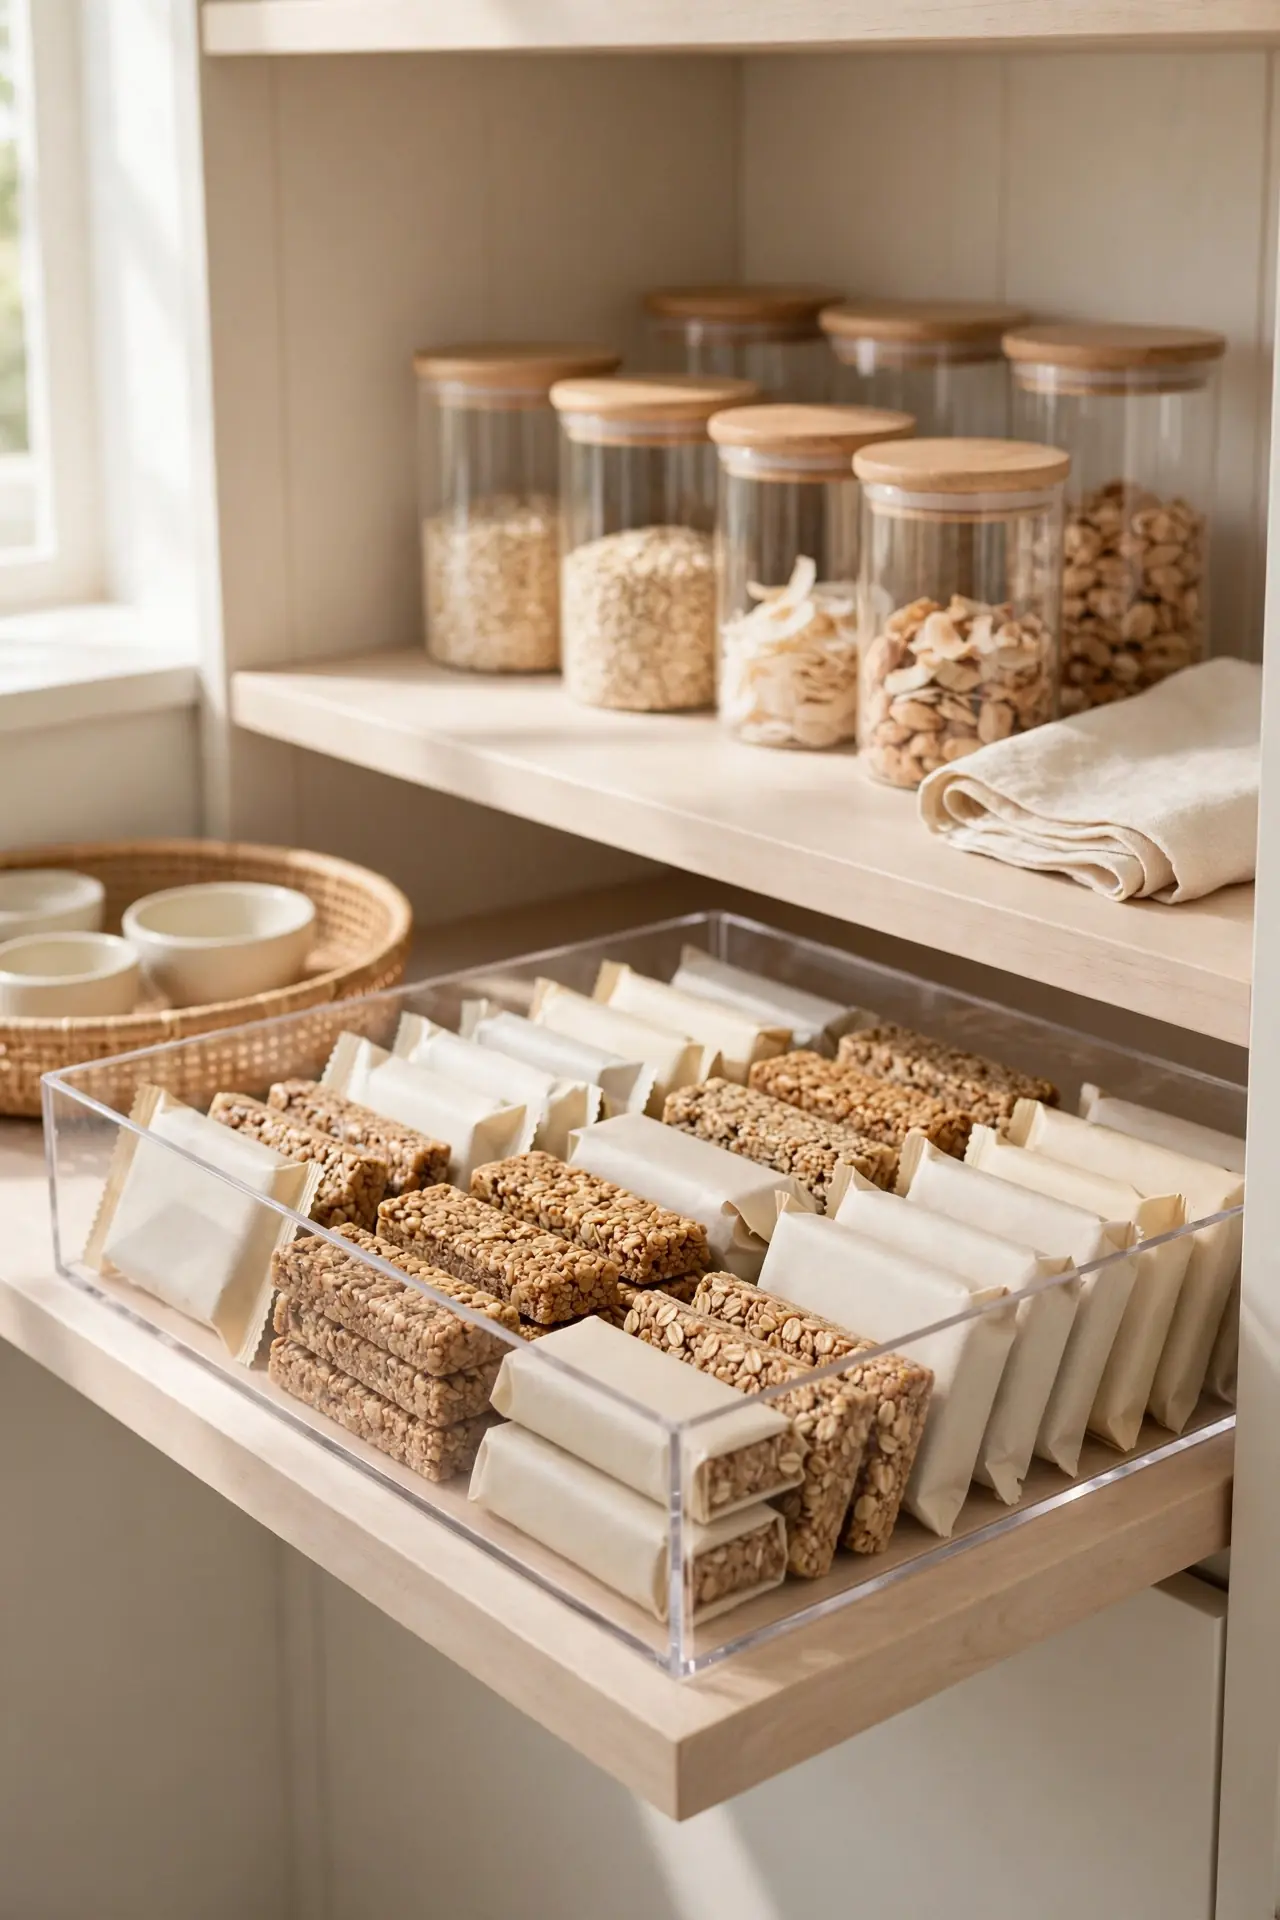
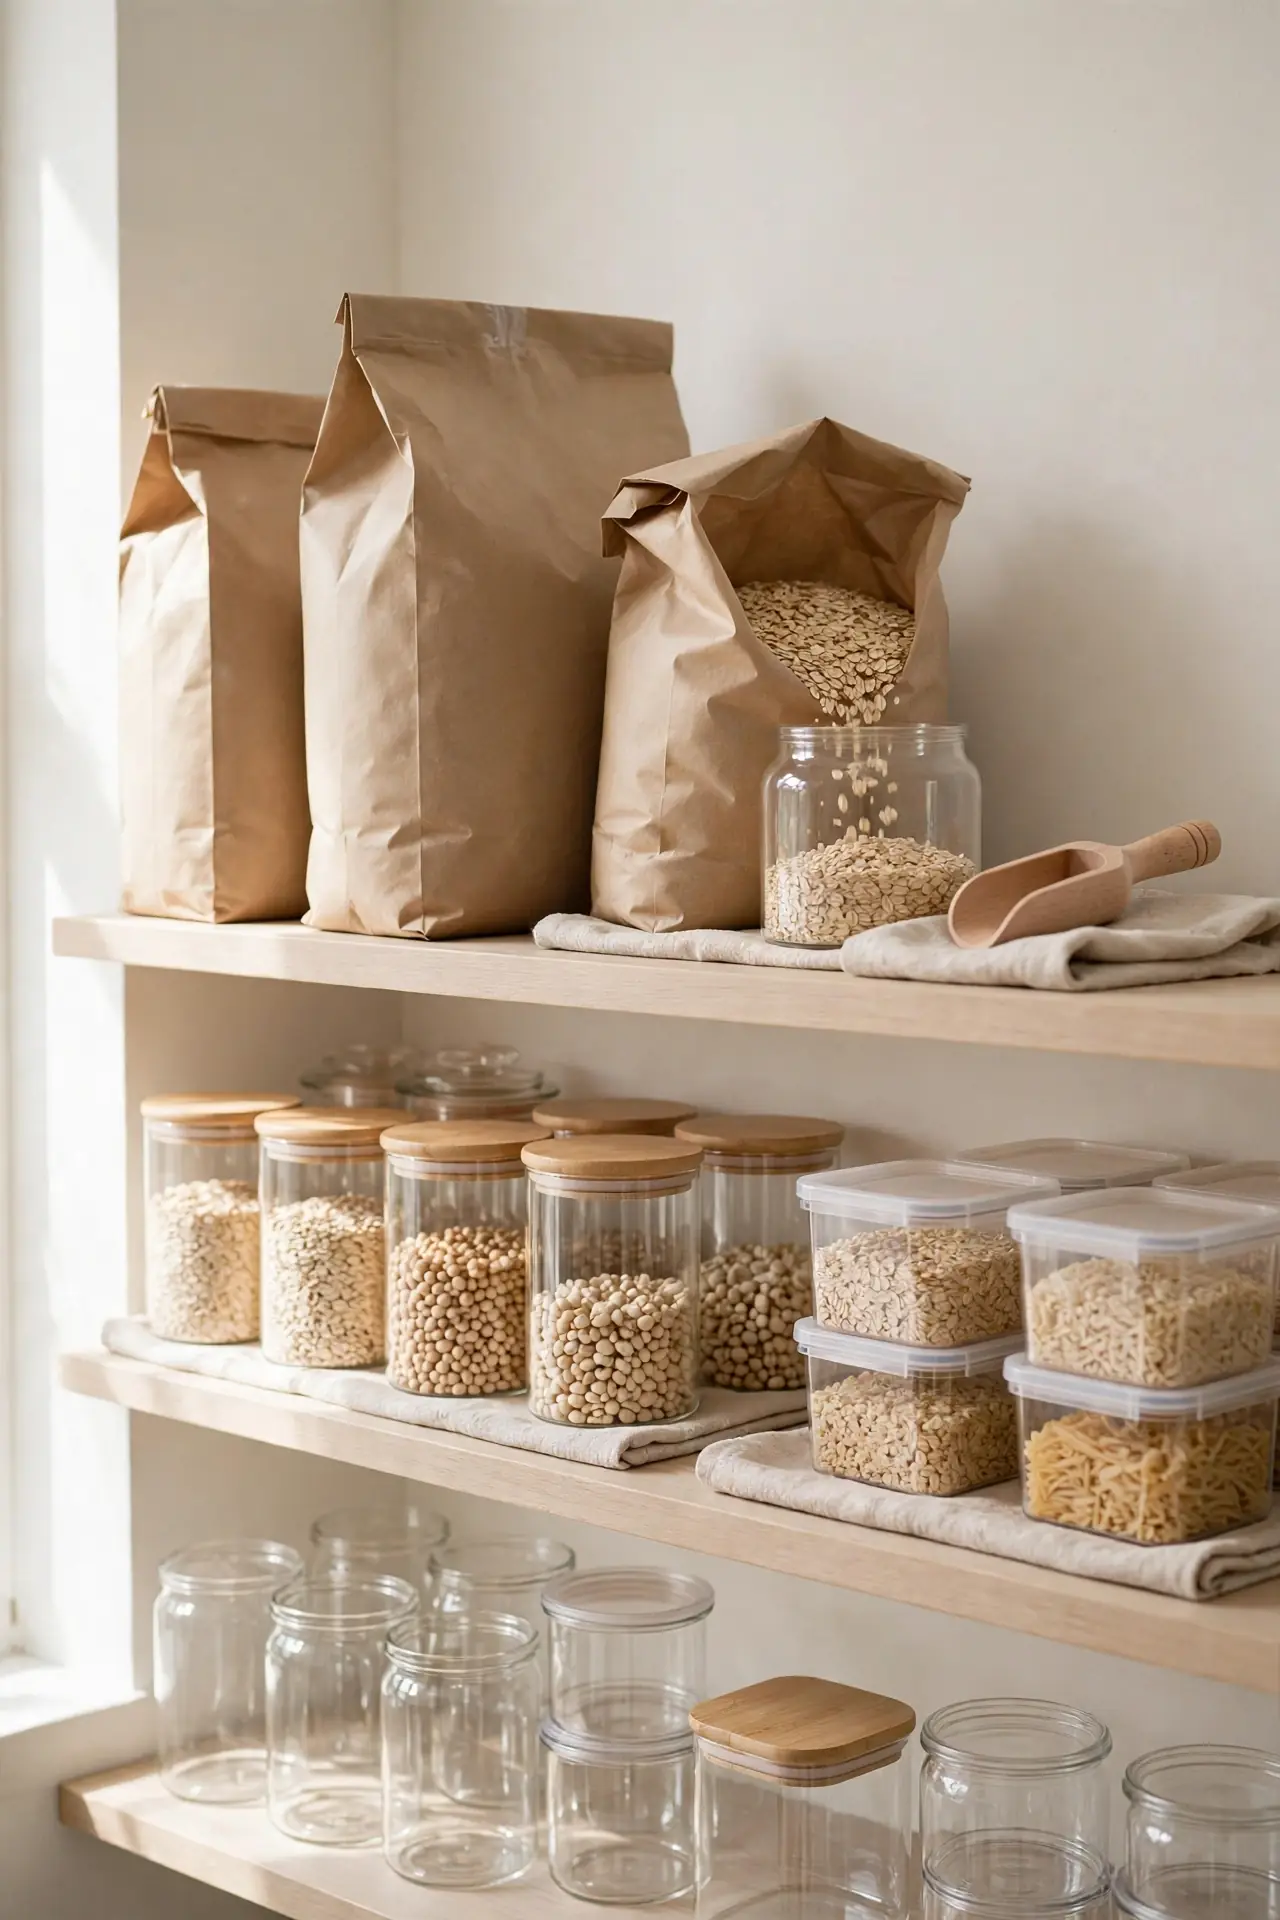
Decanting works best for staples you buy often: flour, sugar, rice, pasta, and oats. Choose square jars that use deep shelf space without gaps, and pick sizes that hold one full store bag to avoid awkward leftovers. Label each jar with the item name and keep a small scoop inside for fast measuring. Your shelf starts looking like a tidy little shop.
Back-Stock Baskets
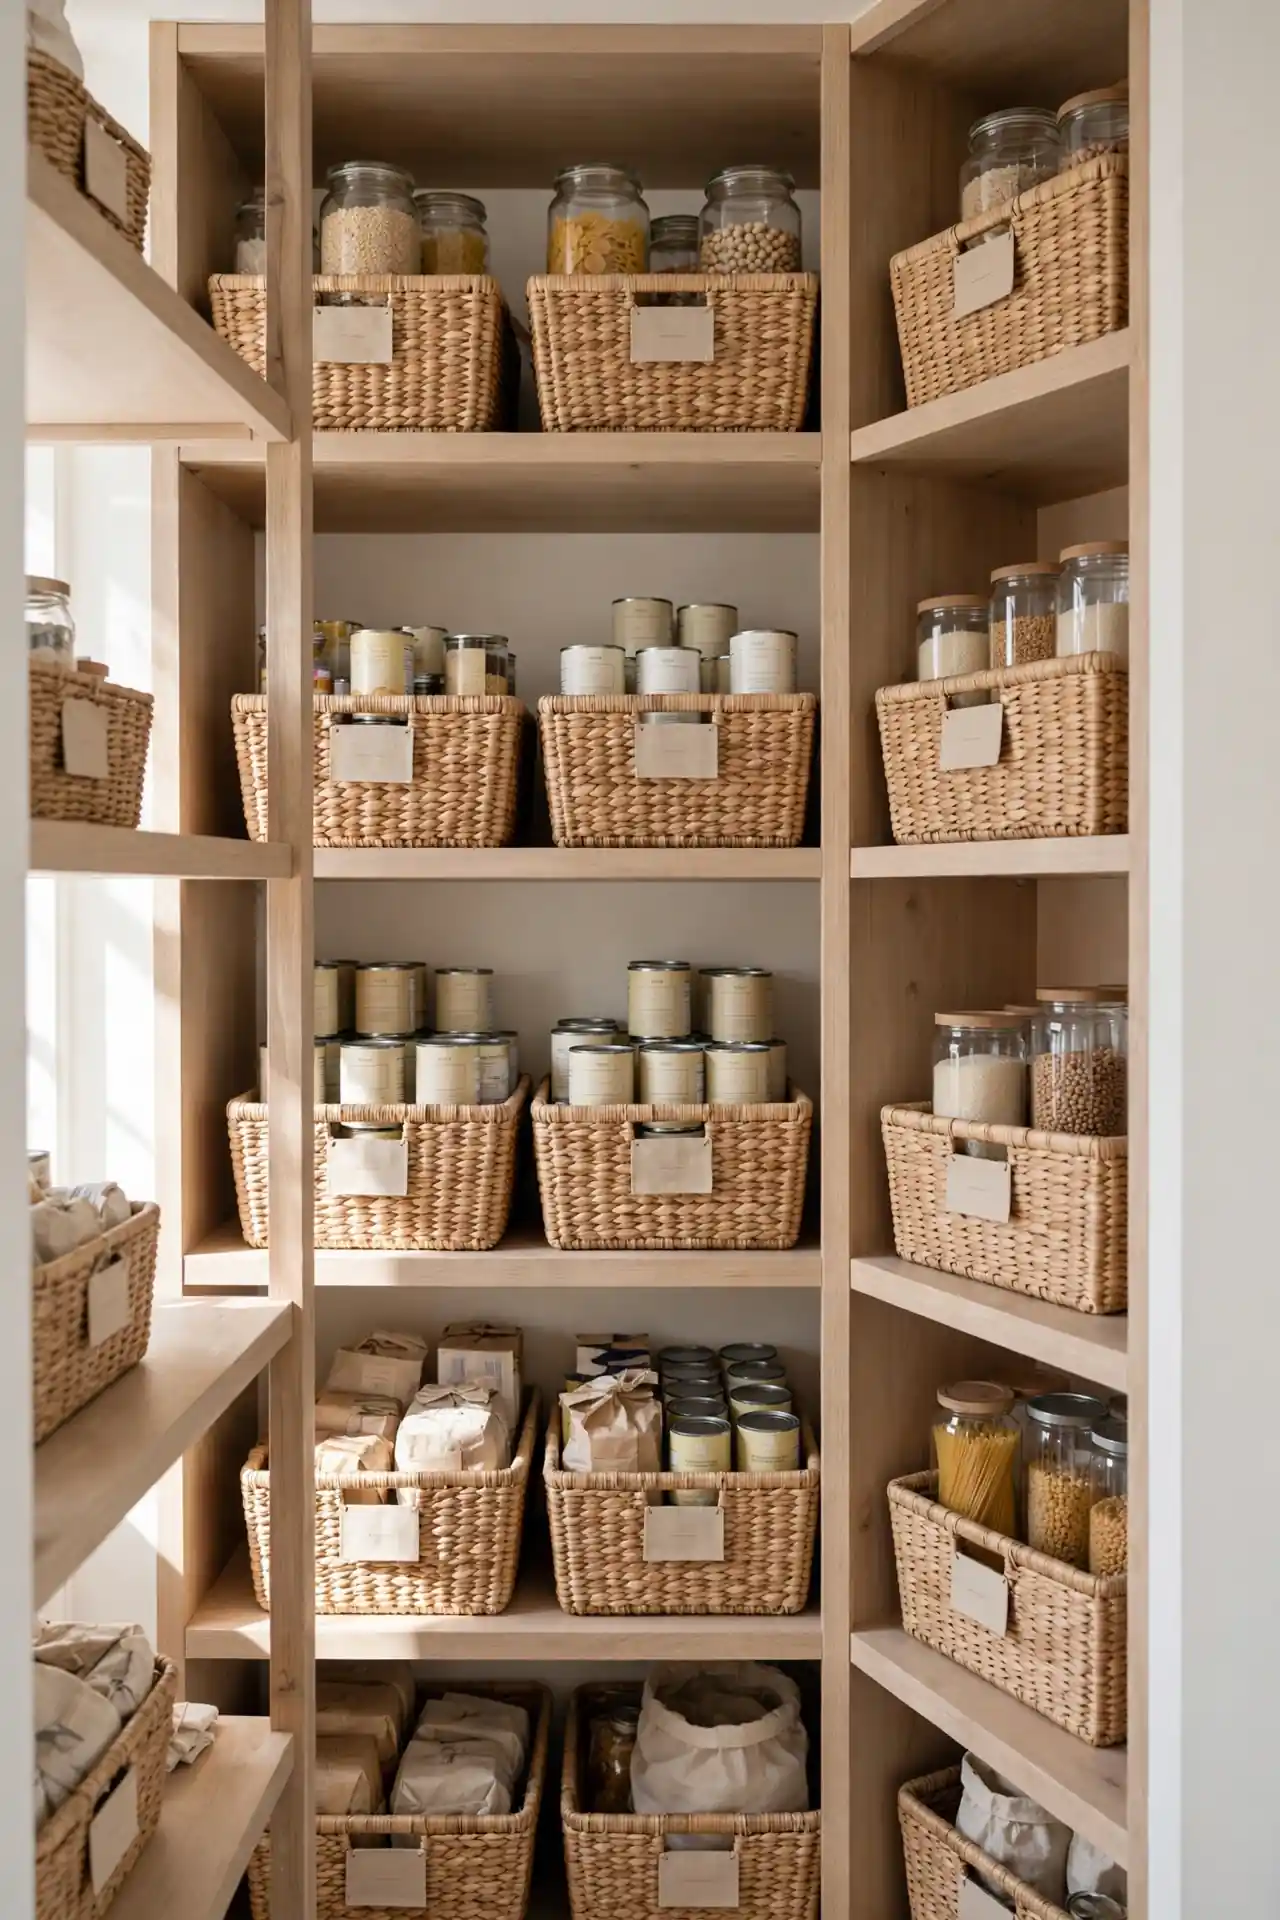
DO: Dedicate the deepest back row to one labeled back-stock basket per category.
DO: Shop from your front stock first and refill from the basket behind.
DO: Keep a running list on the basket so you know what is stored.
DON’T: Mix back stock into front bins where it blocks daily items.
DON’T: Buy duplicates before checking the back-stock basket.
DON’T: Let back stock expire; rotate it into the kitchen monthly.
This simple two-layer system is how small pantries handle big grocery hauls. The front stays lean and shoppable while the back holds the overflow neatly. You stop overbuying because your backup supply is always visible and counted.
Slide-In Caddies
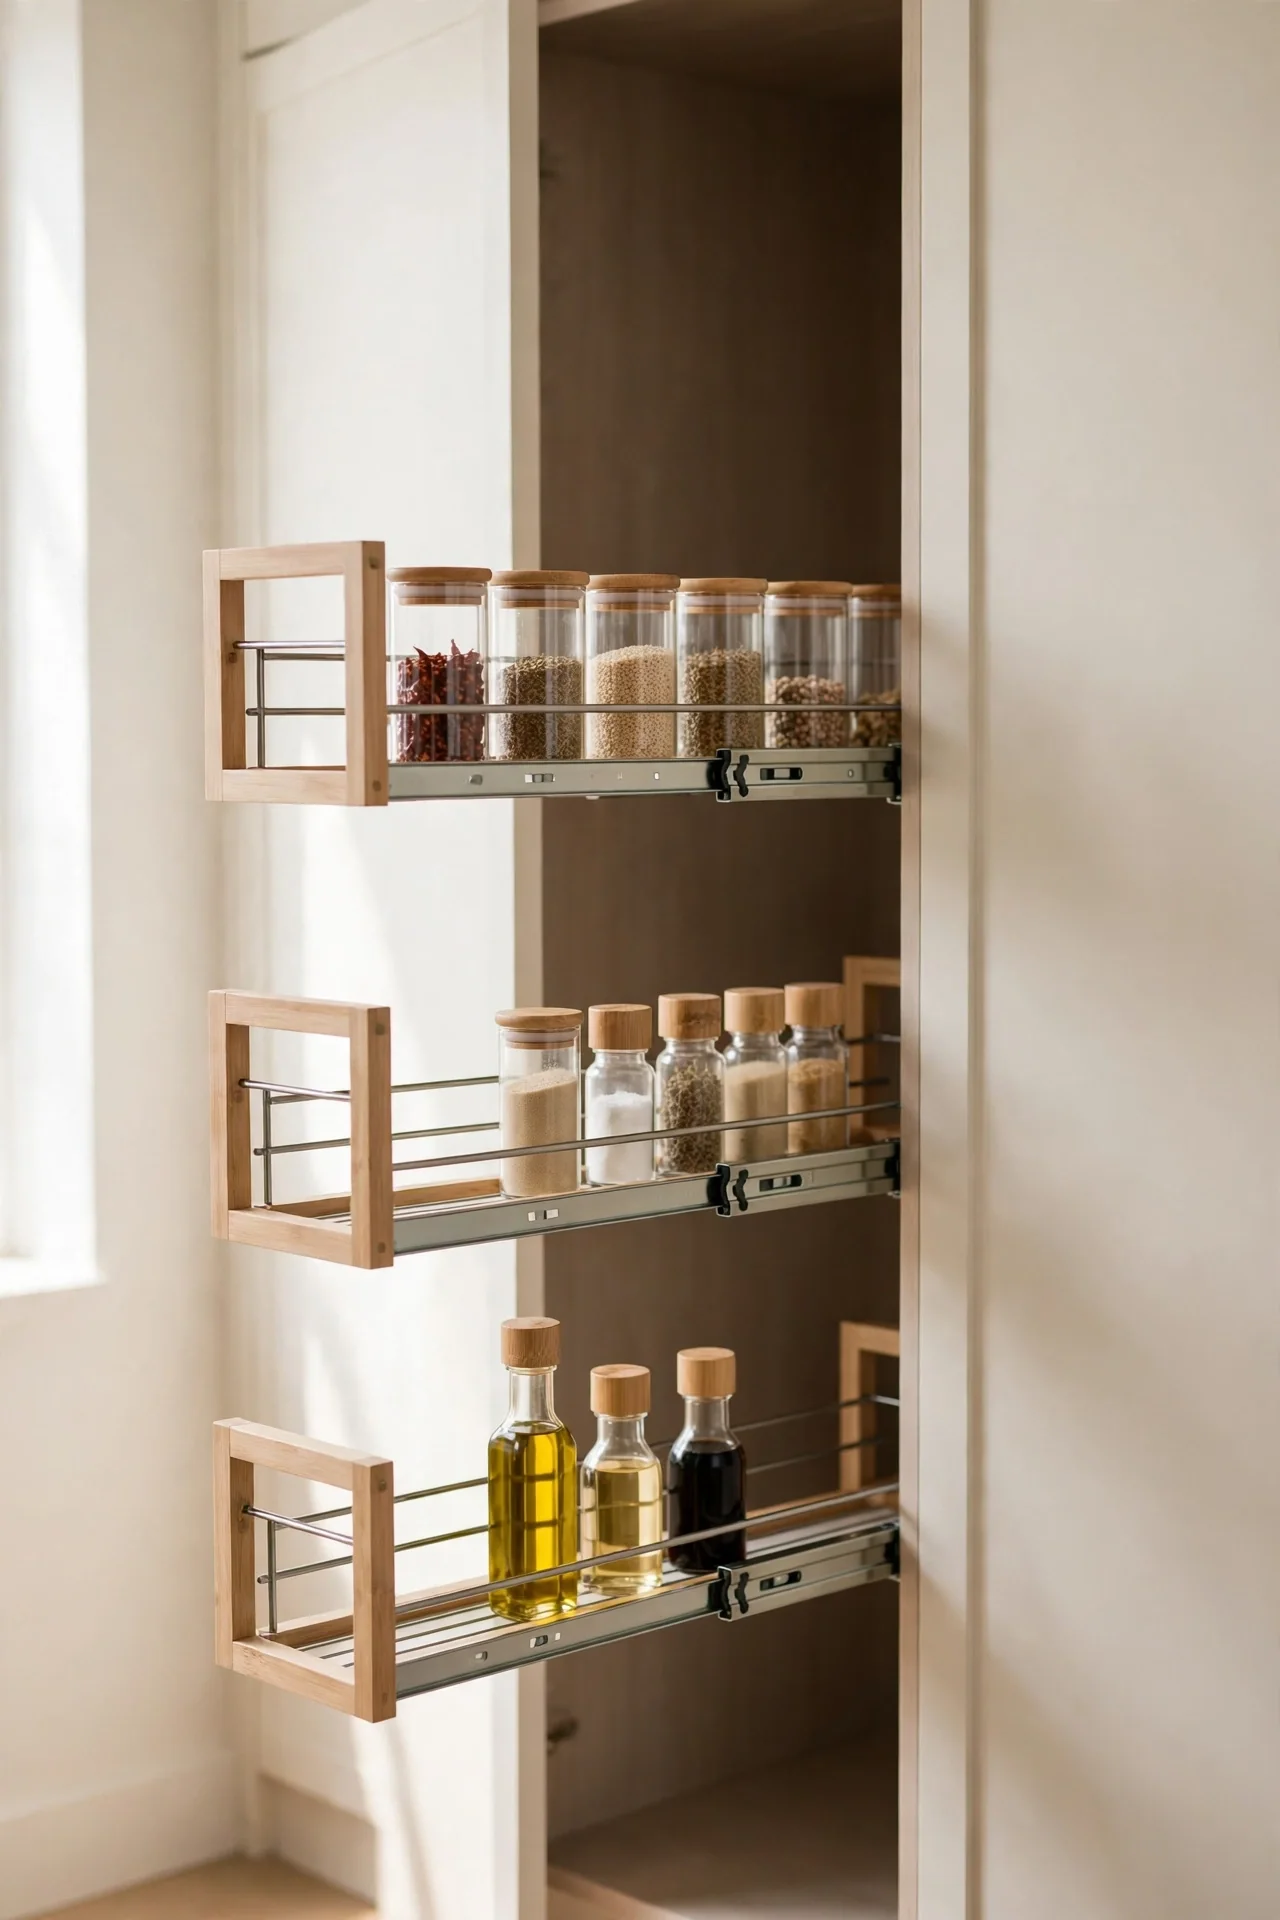
Cost: Around $15 for a set of two slim caddies.
Time: Twenty minutes to measure, fill, and arrange them.
Skill Level: Beginner, no tools required at all.
Best For: Narrow gaps between bins and awkward shelf edges.
Slide-in caddies with handles turn wasted slivers of shelf space into usable storage. They are perfect for spice packets, sauce bottles, and small jars that vanish in big bins. Pull one out like a drawer, grab what you need, and slide it back in a second. I’ve seen this work well in narrow rental pantries where every inch matters. Once you start pulling instead of reaching, those forgotten gaps become some of the most useful spots on the shelf.
Stackable Shelf Inserts
Half the height above your cans is probably empty air, and that is pure wasted storage. A stackable shelf insert splits one tall shelf into two usable levels in seconds. Place shorter items like tuna cans and spice jars underneath, and set taller boxes on the insert above. You gain a full extra row of storage for the price of a single insert.
Measure your shelf clearance before buying so the insert fits without pinching fingers. Wire inserts keep things light and visible, while solid ones hide clutter better. This trick alone can double your usable shelf space without adding a single new shelf.
Under-Shelf Hooks
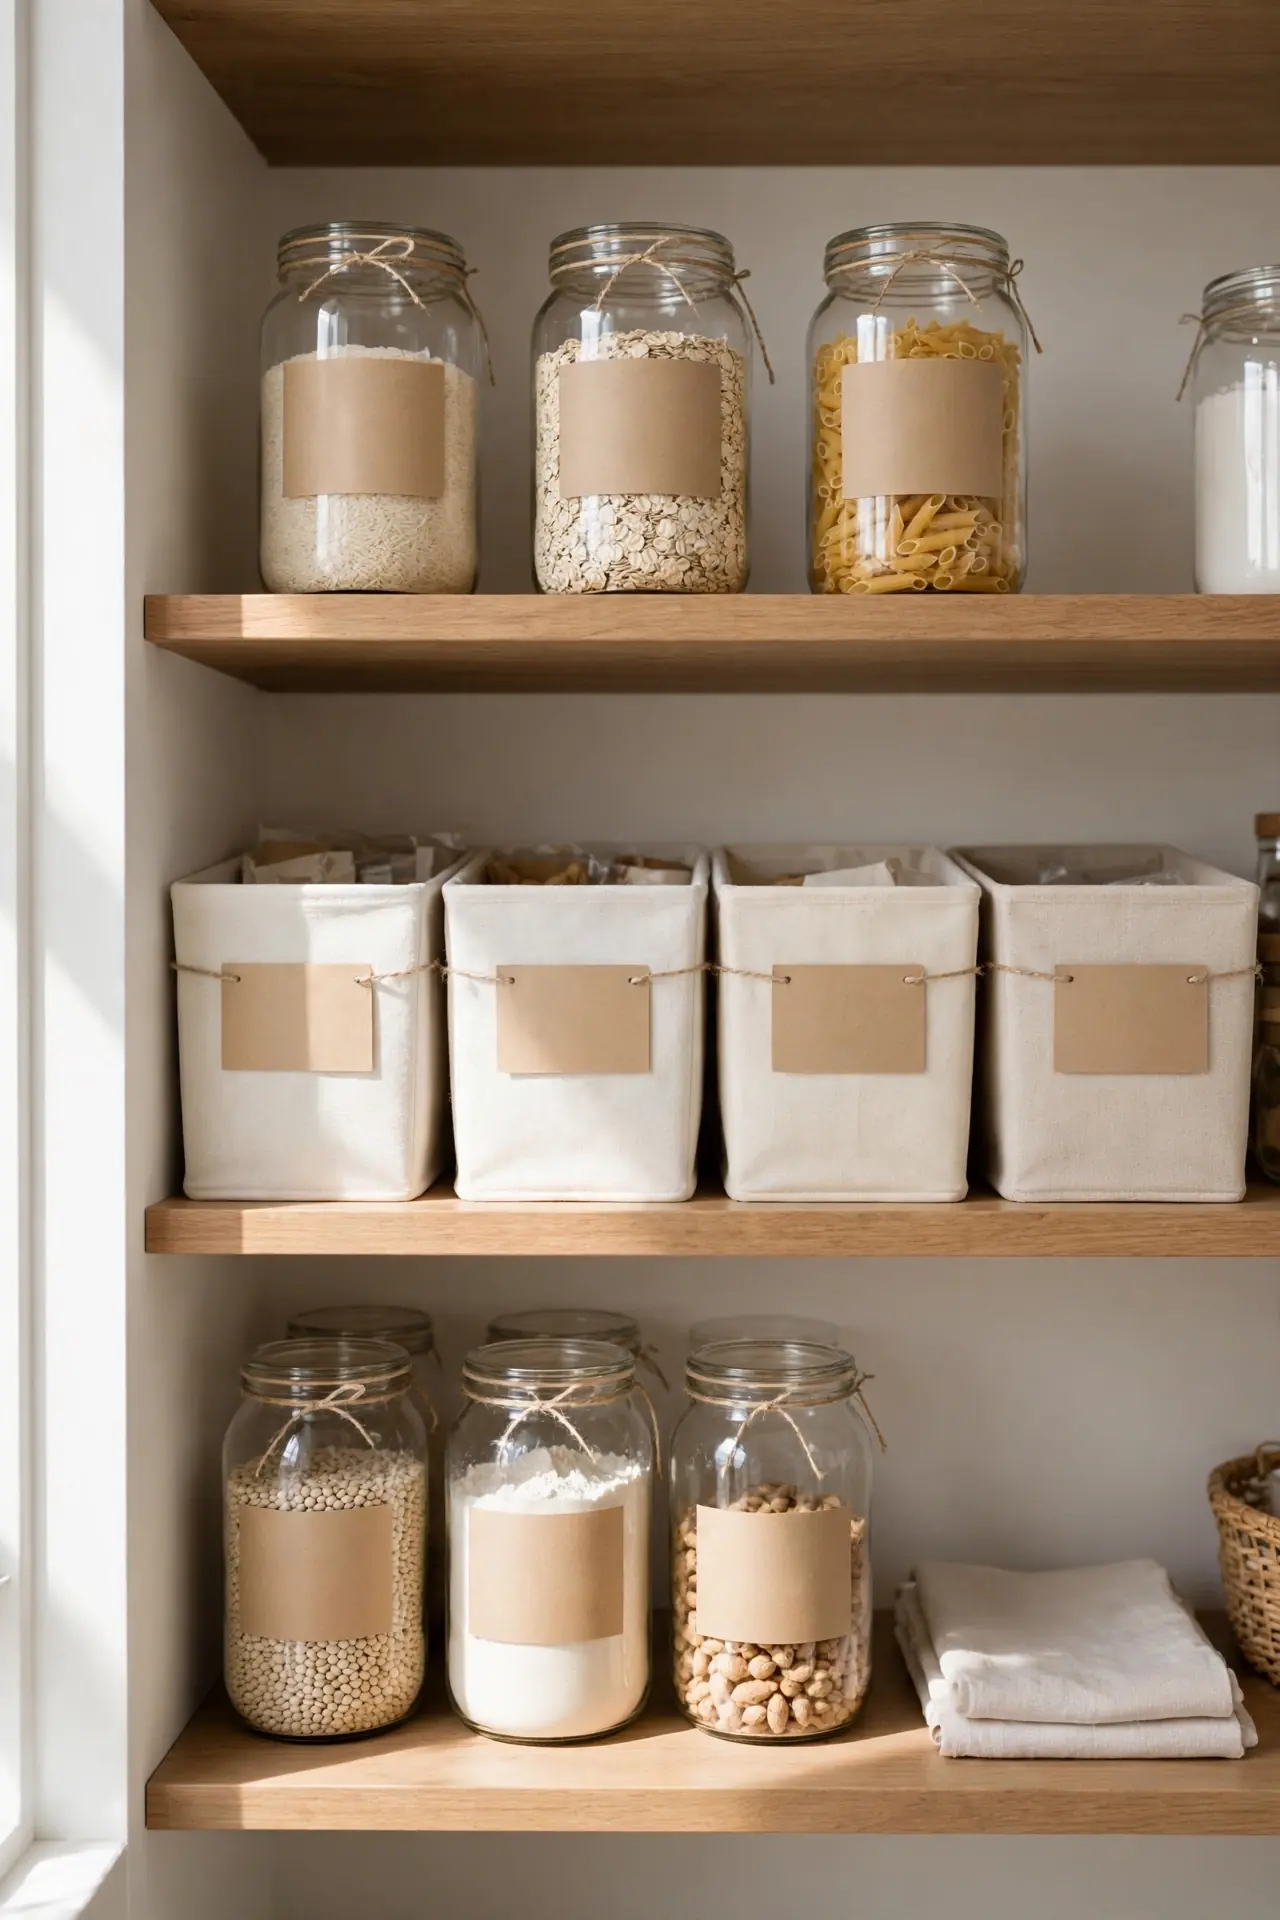
- Clip adhesive hooks under a shelf to hang measuring cups and small tools.
- Use them for lightweight mesh bags of garlic, onions, or lemons.
- Hang a small basket for packets and seasoning mixes that clog drawers.
- Keep hooks near the front so hanging items stay easy to reach.
- Stick a small magnetic hook on the side wall for a shopping list pad.
The underside of every shelf is free real estate most people ignore. Hooks add storage without taking a single inch of shelf surface. They also keep small, fiddly items from getting crushed under heavier jars and boxes above them. Small items stay visible instead of vanishing behind tall jars.
Label Everything Clearly
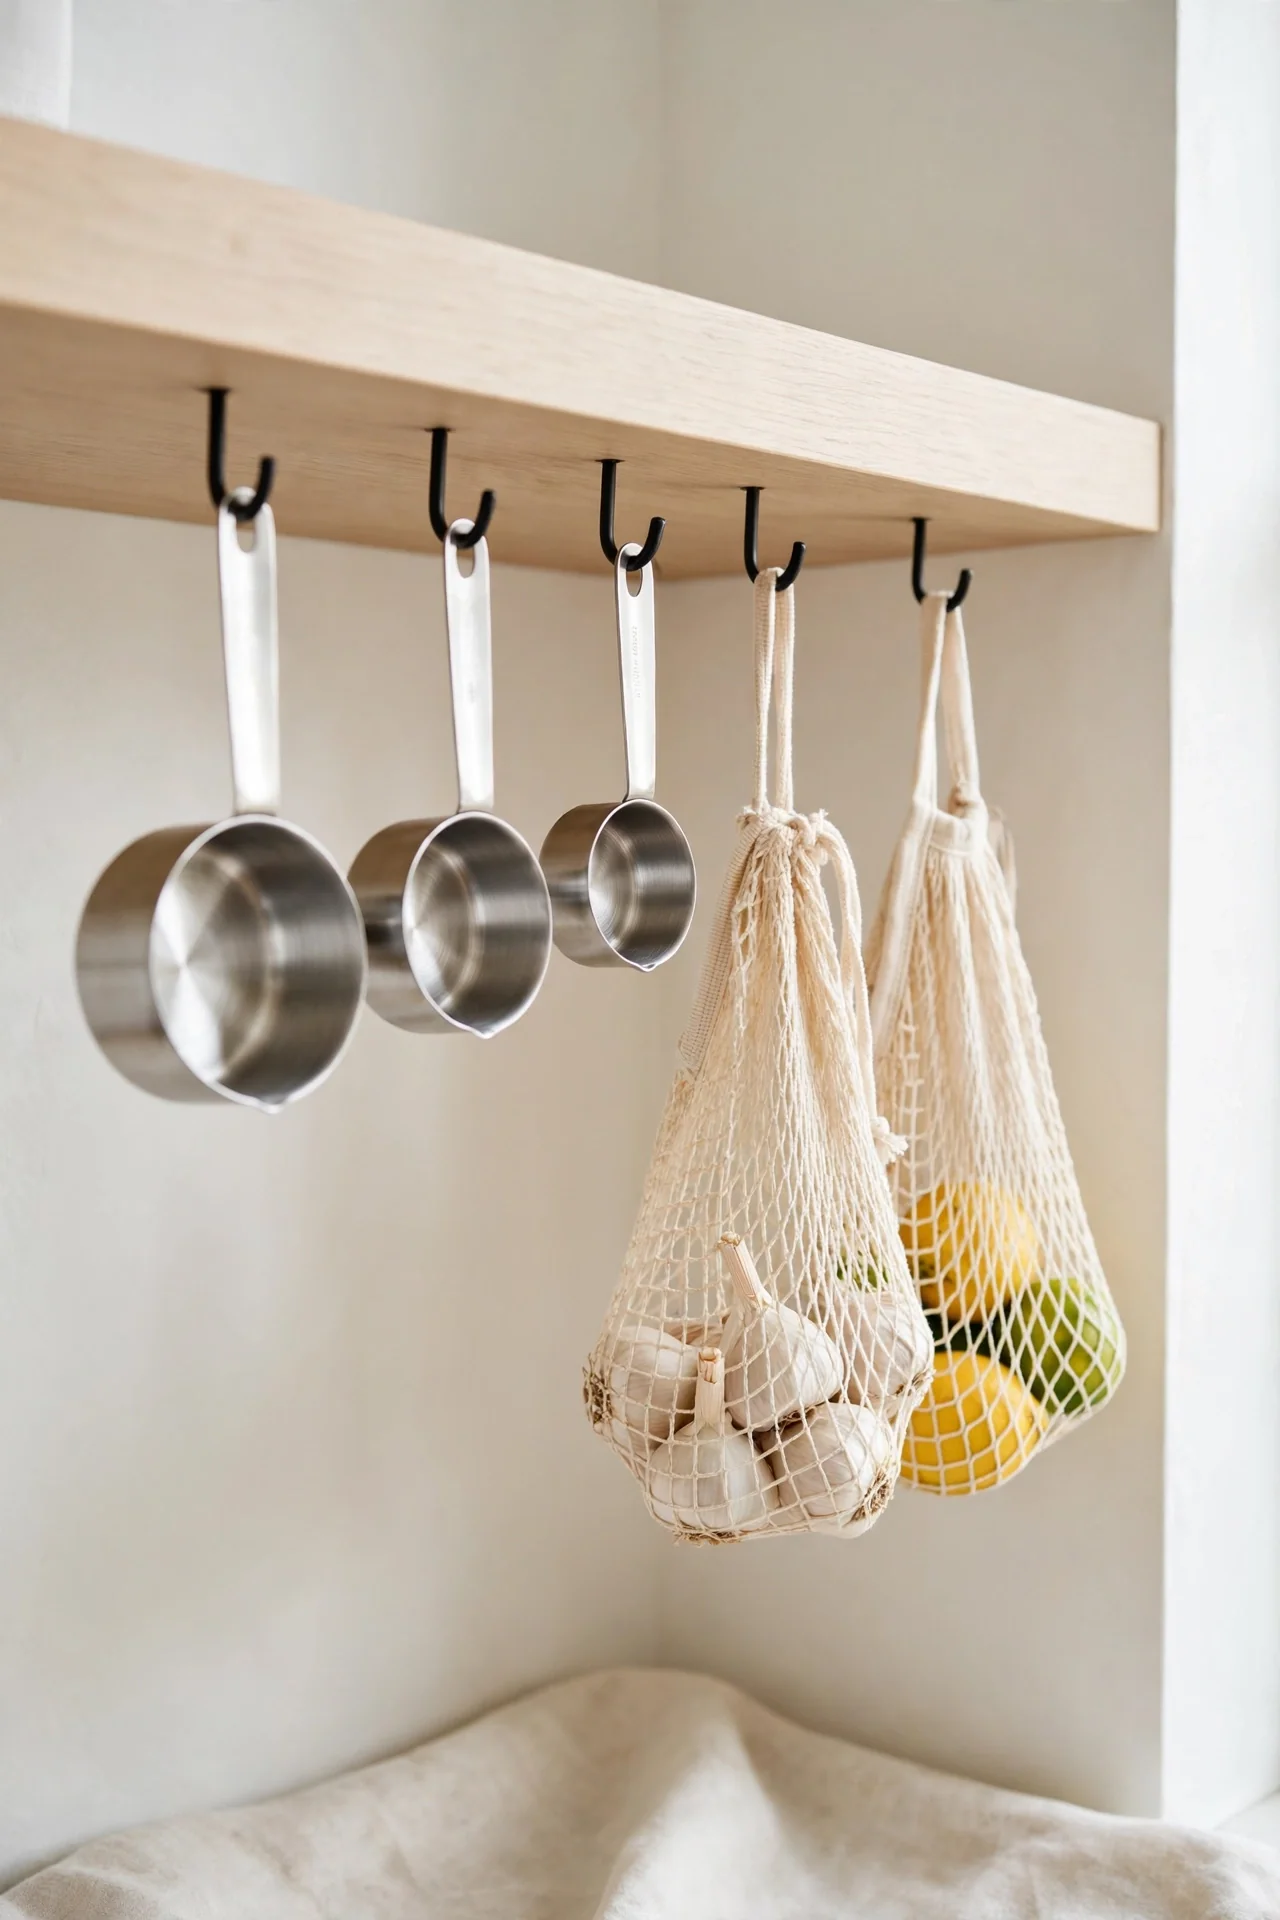
Quick Tip: Label the front of every bin and jar with short, clear names anyone can understand. Use a label maker or simple chalk tags so labels look tidy and stay readable. Put the label at eye level on the front face, not the lid, since lids get swapped and stacked out of sight.
Labels do the quiet work of keeping your system alive. Guests, kids, and partners can put things back in the right spot without asking. When every container announces its contents, the pantry practically organizes itself after each grocery run. Refresh faded labels twice a year so the system never slips back into mystery-container chaos.
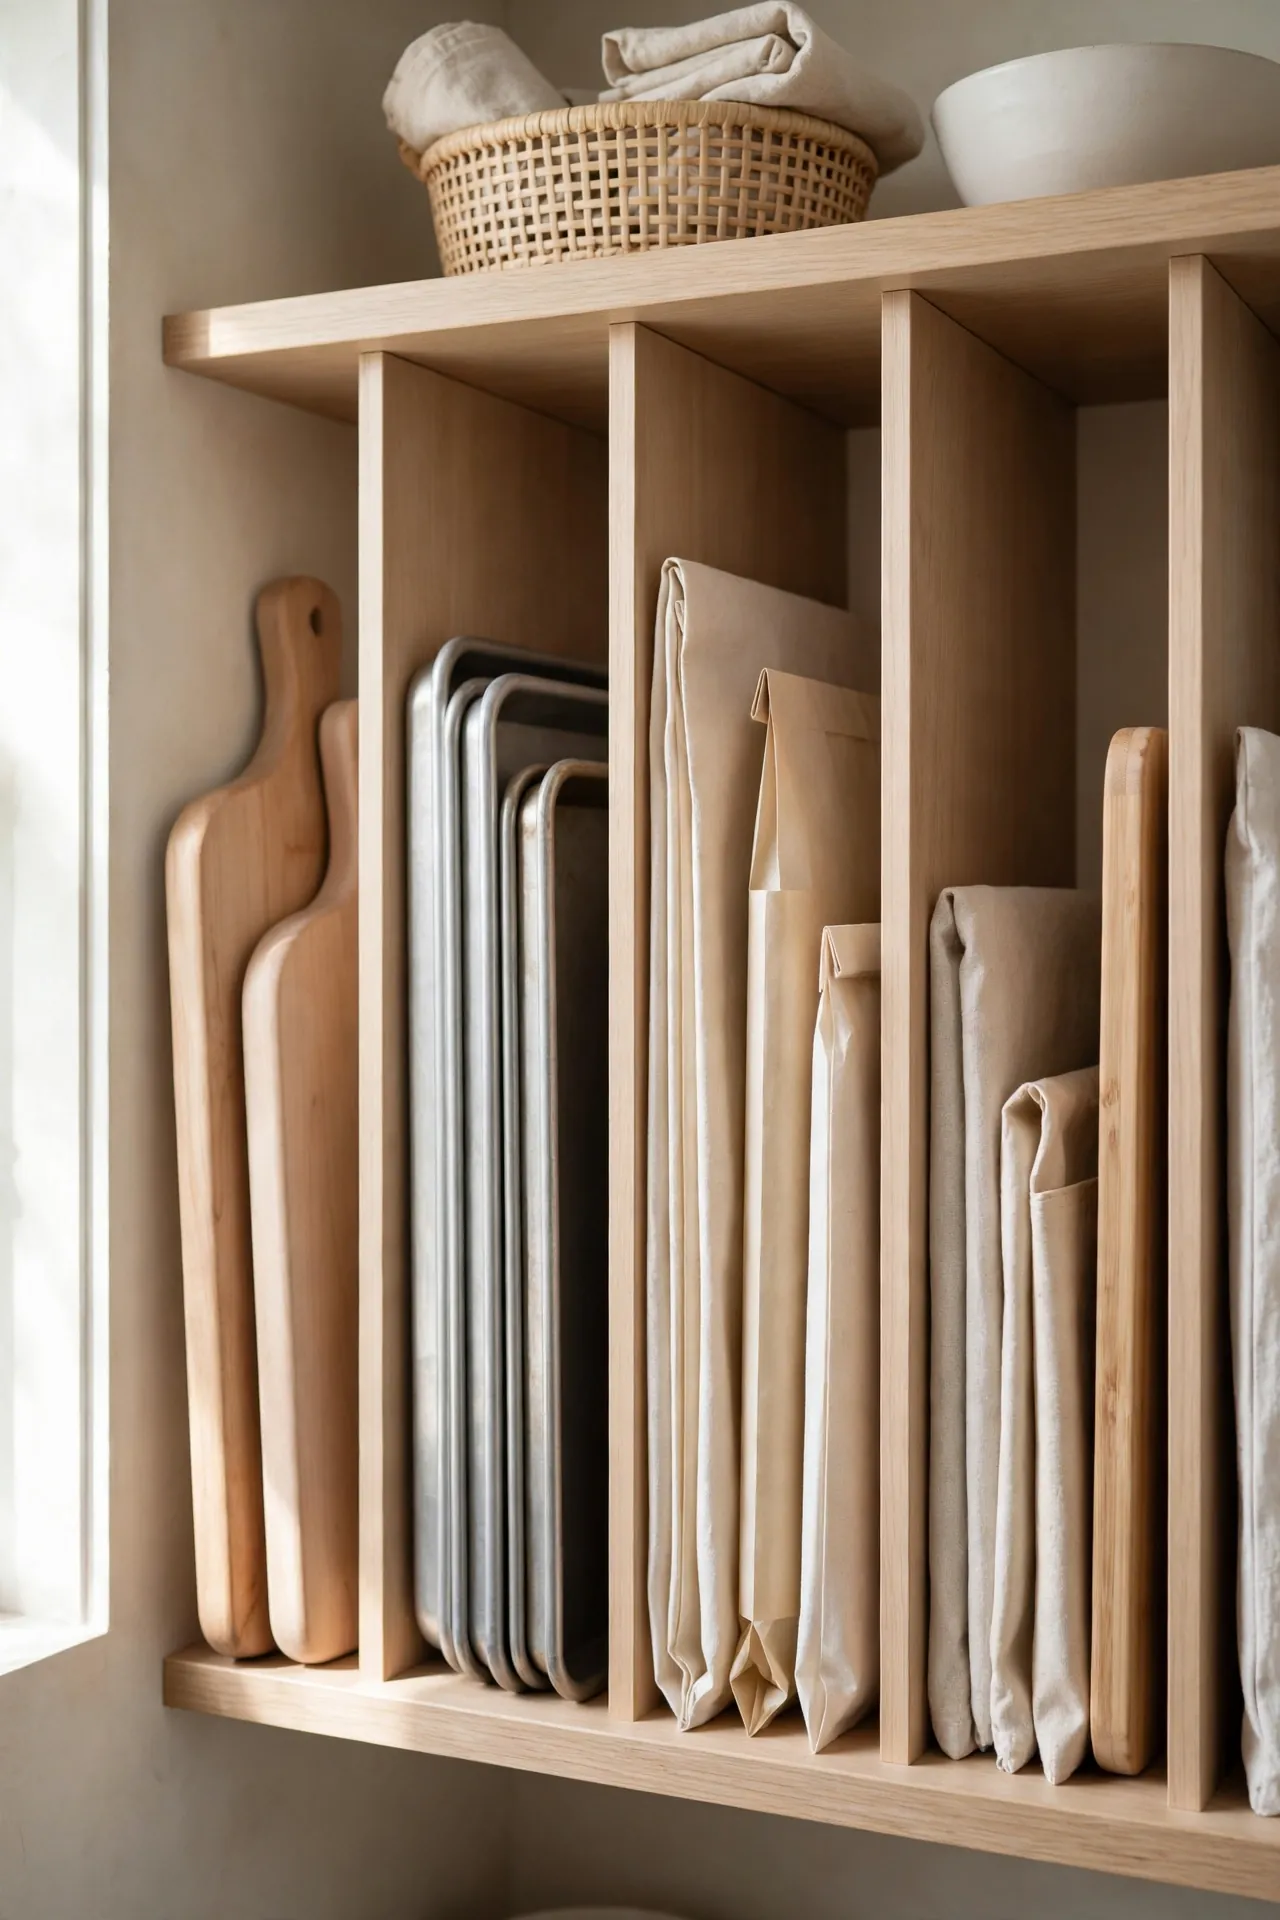
Vertical Divider Files
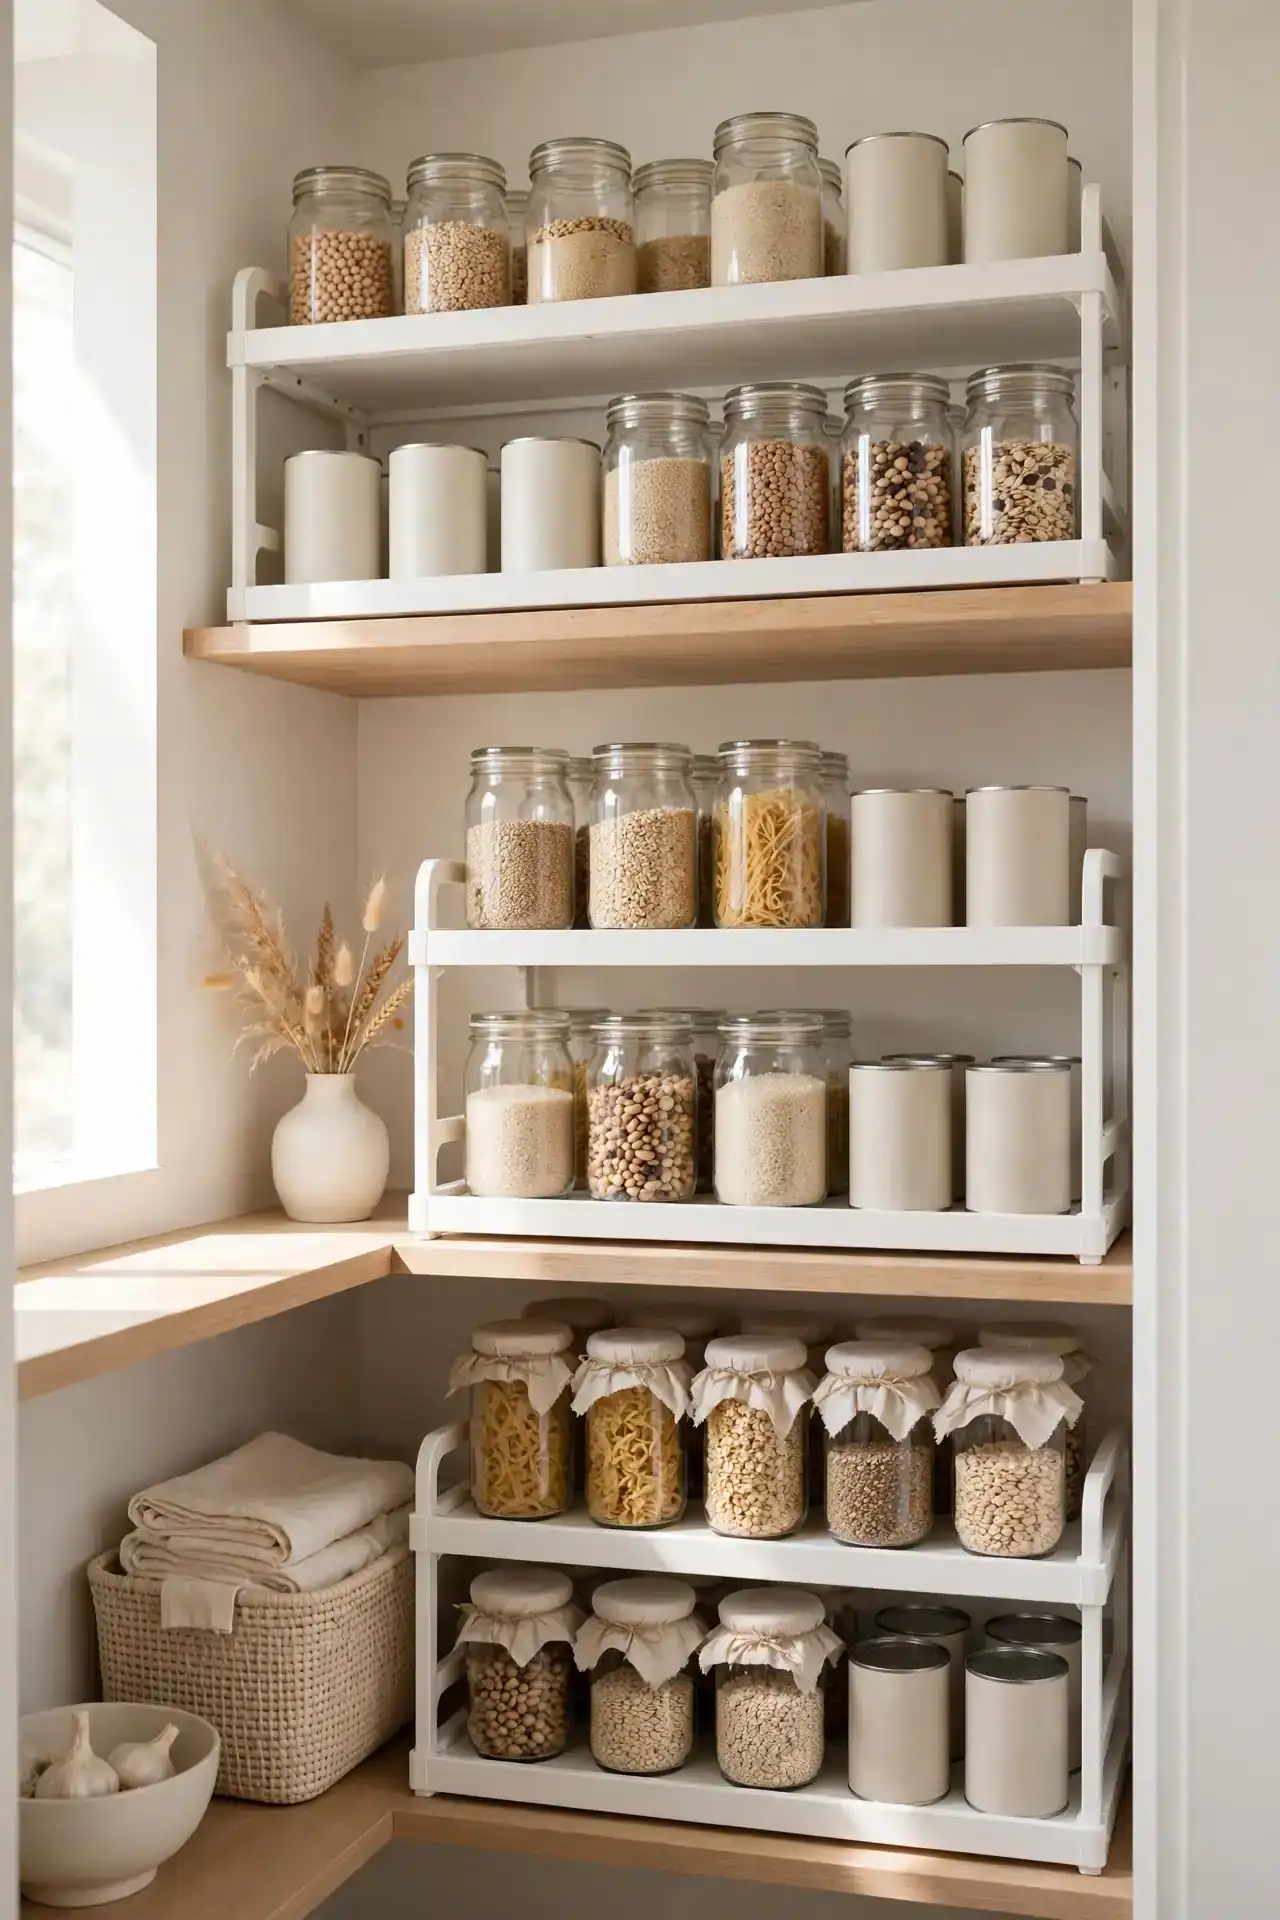
BEFORE: Baking sheets, cutting boards, and flat packages leaned in a messy pile. Pulling one out sent the whole stack sliding, and the pile crept deeper until the back was unreachable. Flat items were the first thing to get lost.
AFTER: Upright dividers file every flat item like books on a shelf. You can see each board and tray at a glance and slide one out without disturbing the rest. Even the deepest shelf feels shallow when everything stands in a row.
Use tension dividers or a simple plate rack to create the slots. This trick also works for wraps, foil boxes, and flat snack packs. Vertical storage is the fastest way to tame items that refuse to stack neatly.
FIFO Rotation System
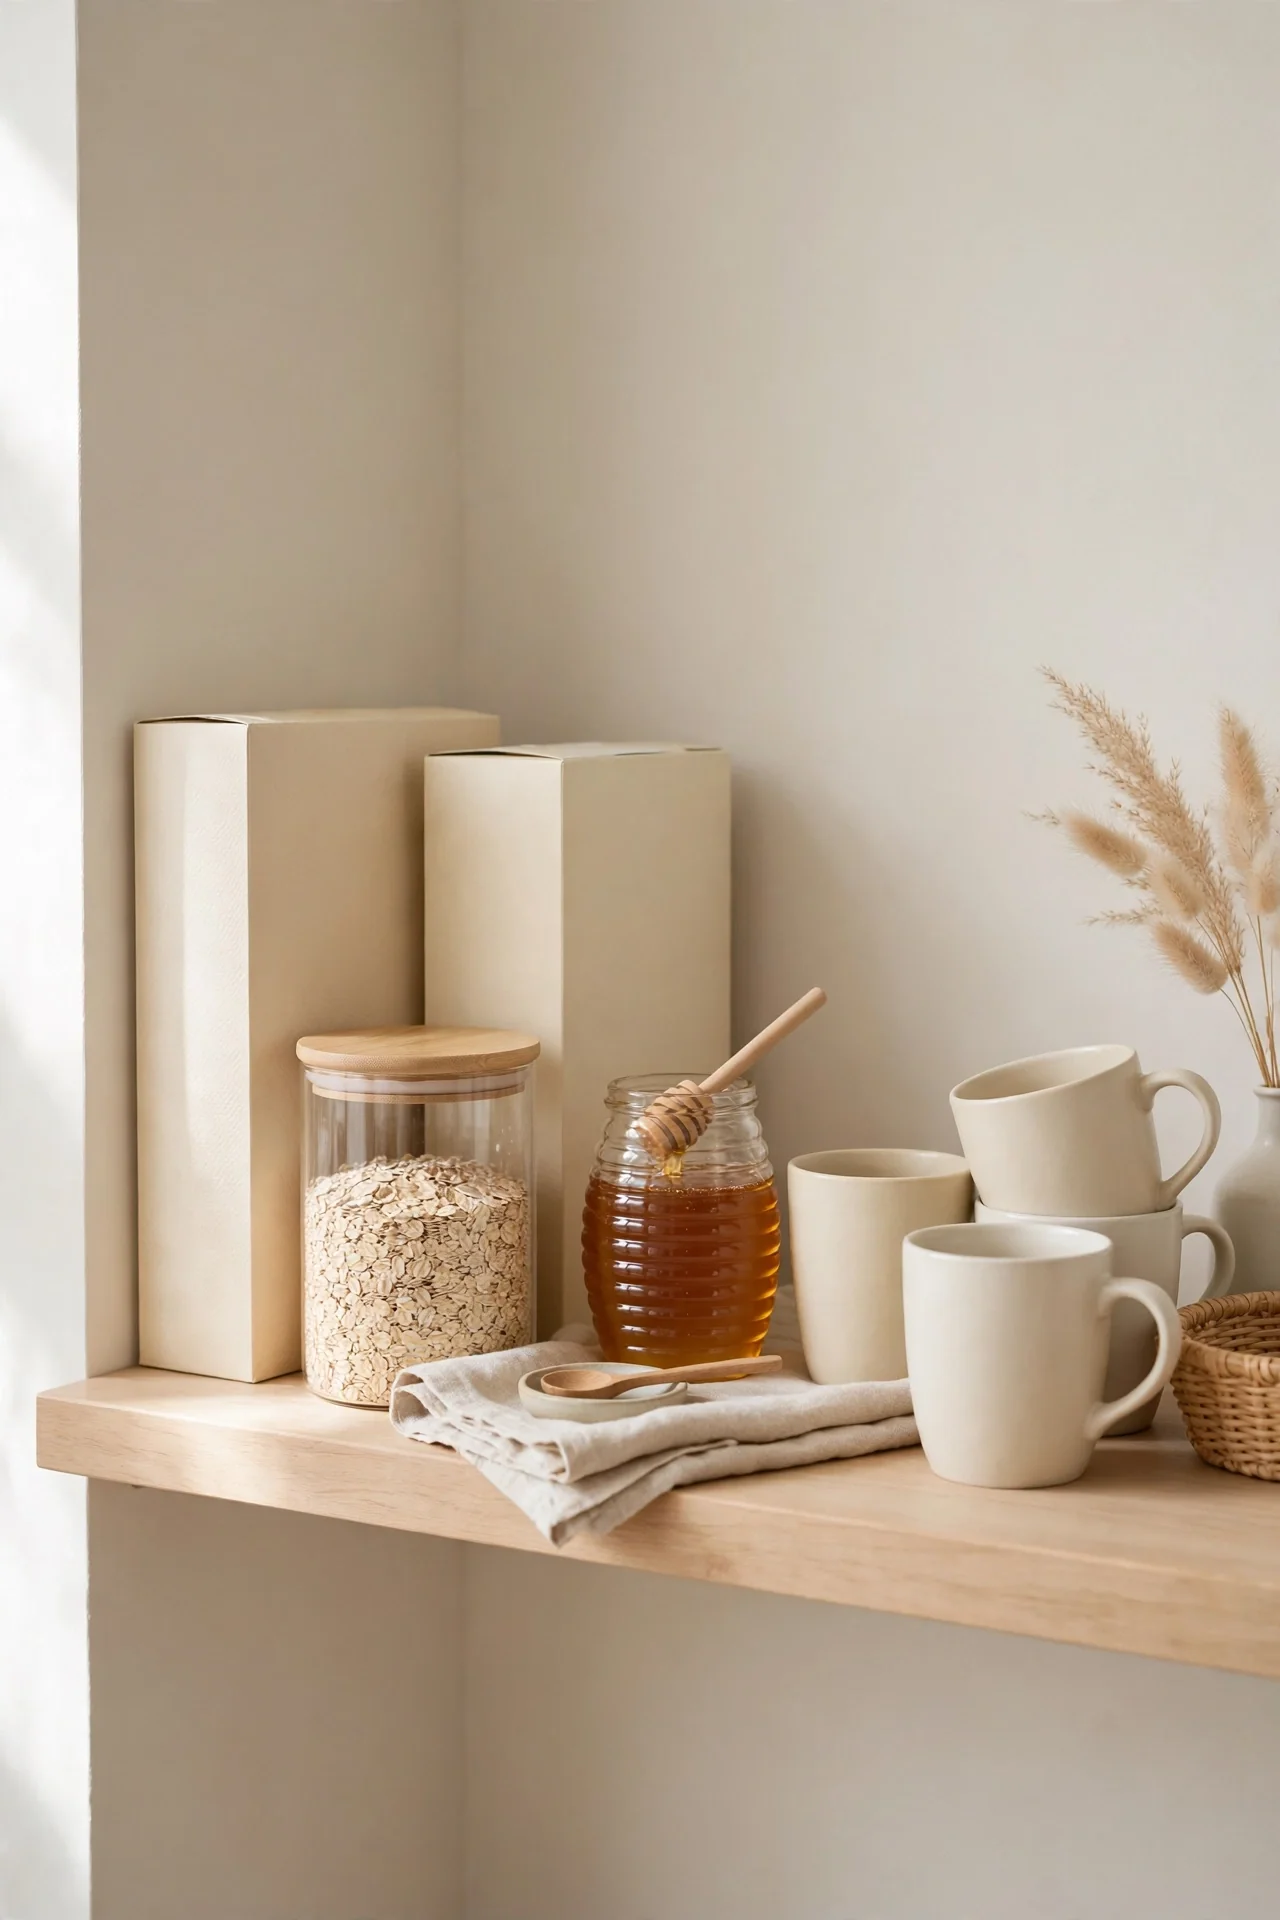
- When groceries arrive, move existing items to the front of each bin.
- Place new purchases behind the older ones so they get used first.
- Check expiration dates once a month and pull anything close to the front.
- Donate duplicates you will not finish before they expire.
First in, first out is the grocery store secret that ends food waste at home. Deep shelves make it easy to forget old items in the back, but this rotation habit fixes that. It pairs beautifully with a morning setup like these coffee station ideas, since fresh supplies are always within reach when you need them.
Door-Mounted Racks
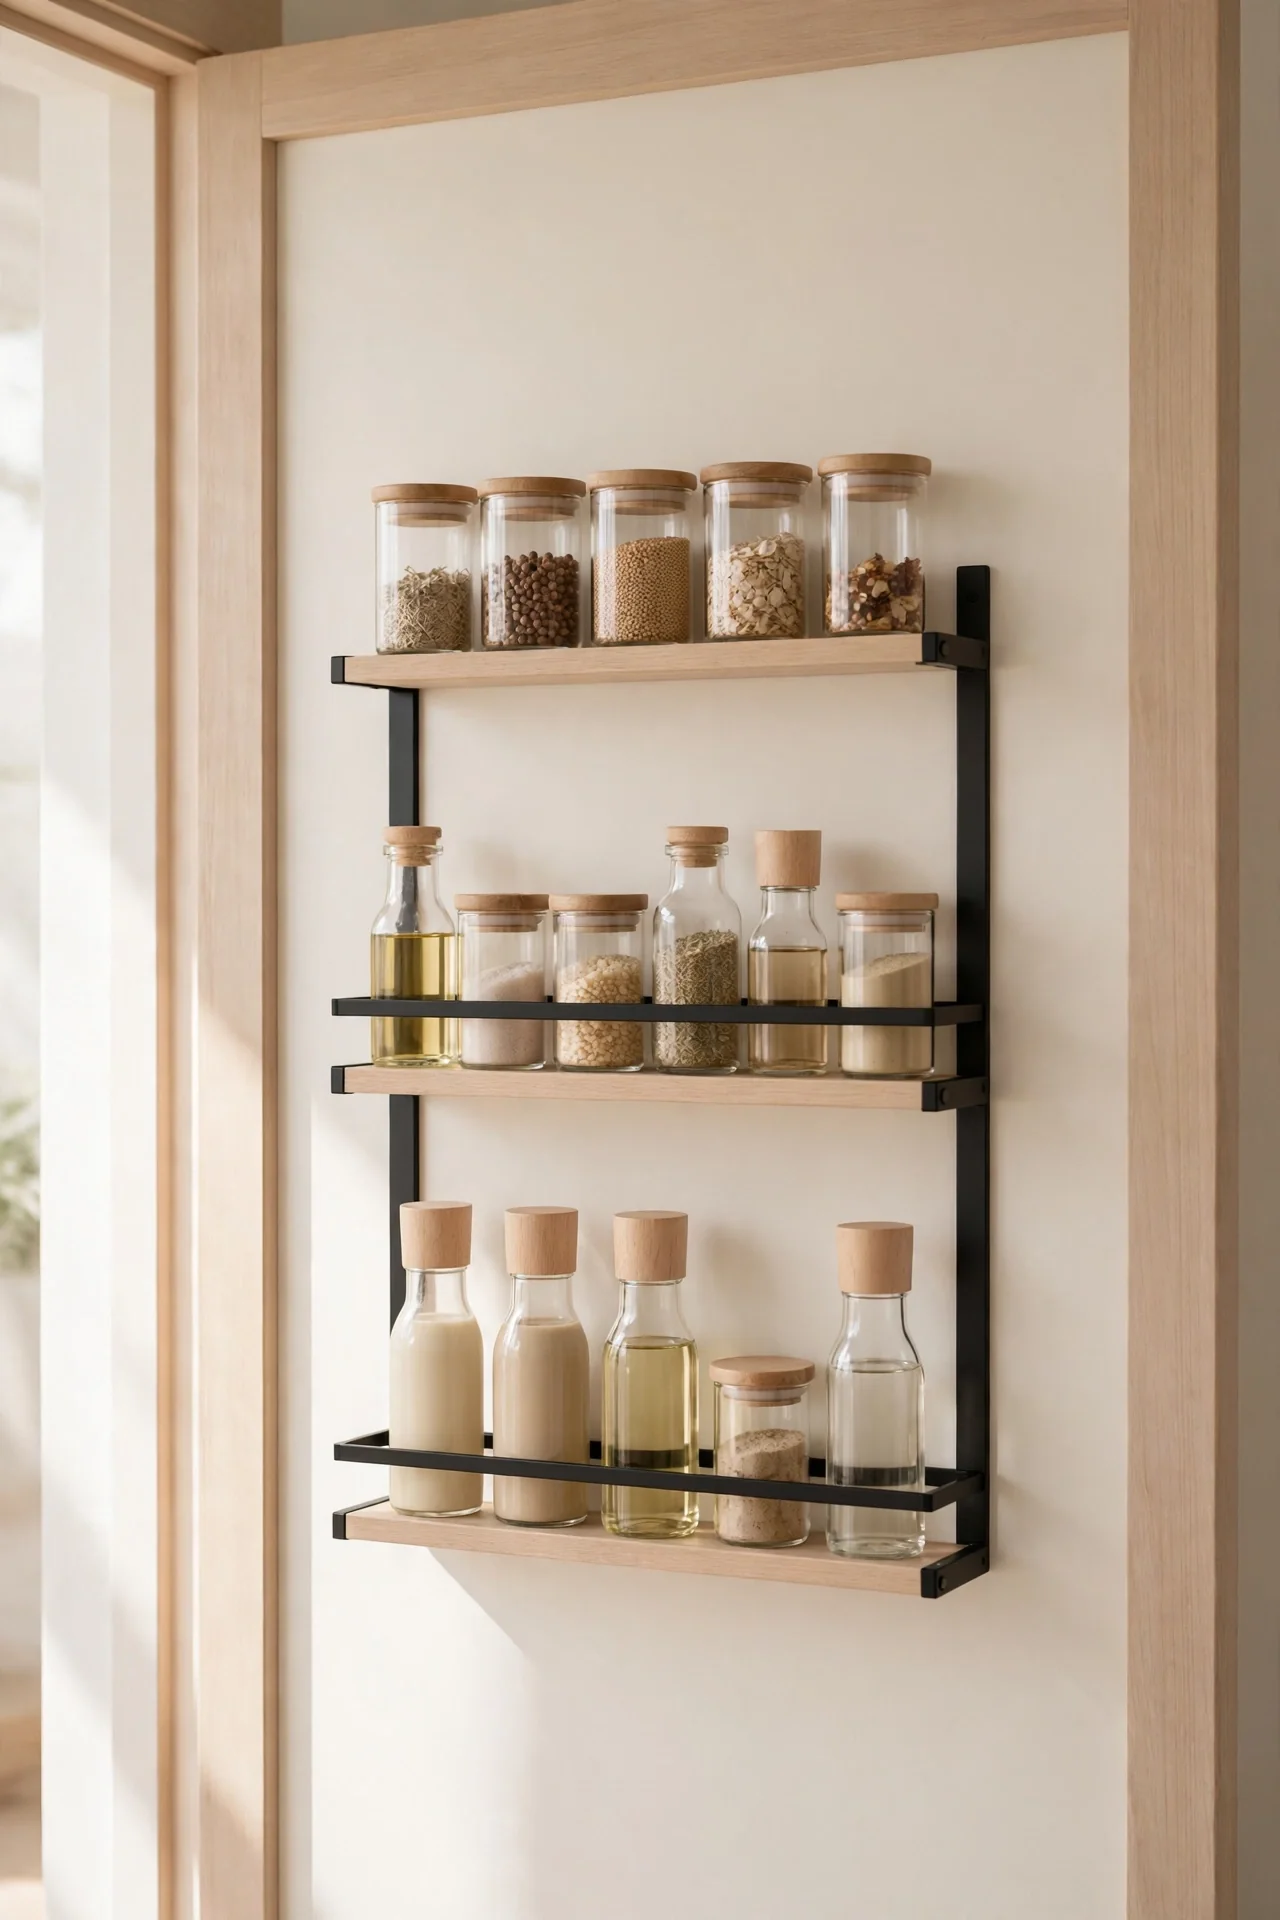
| Feature | Over-Door Rack | Mounted Rack |
|---|---|---|
| Install | Hangs in seconds | Needs screws |
| Stability | Can wobble | Rock solid |
| Capacity | Light items only | Holds heavy jars |
| Best For | Renters | Long-term homes |
The inside of your pantry door is a hidden shelf waiting to happen. Racks here hold spices, packets, and small bottles that clog deep shelves. Measure door clearance first so the rack does not block the door from closing fully. Renters can use over-door hooks that lift off without a trace, while homeowners get a sturdier result with two small screws. Either way, you gain a full extra shelf of storage that costs almost nothing.
Deep-Shelf Trays
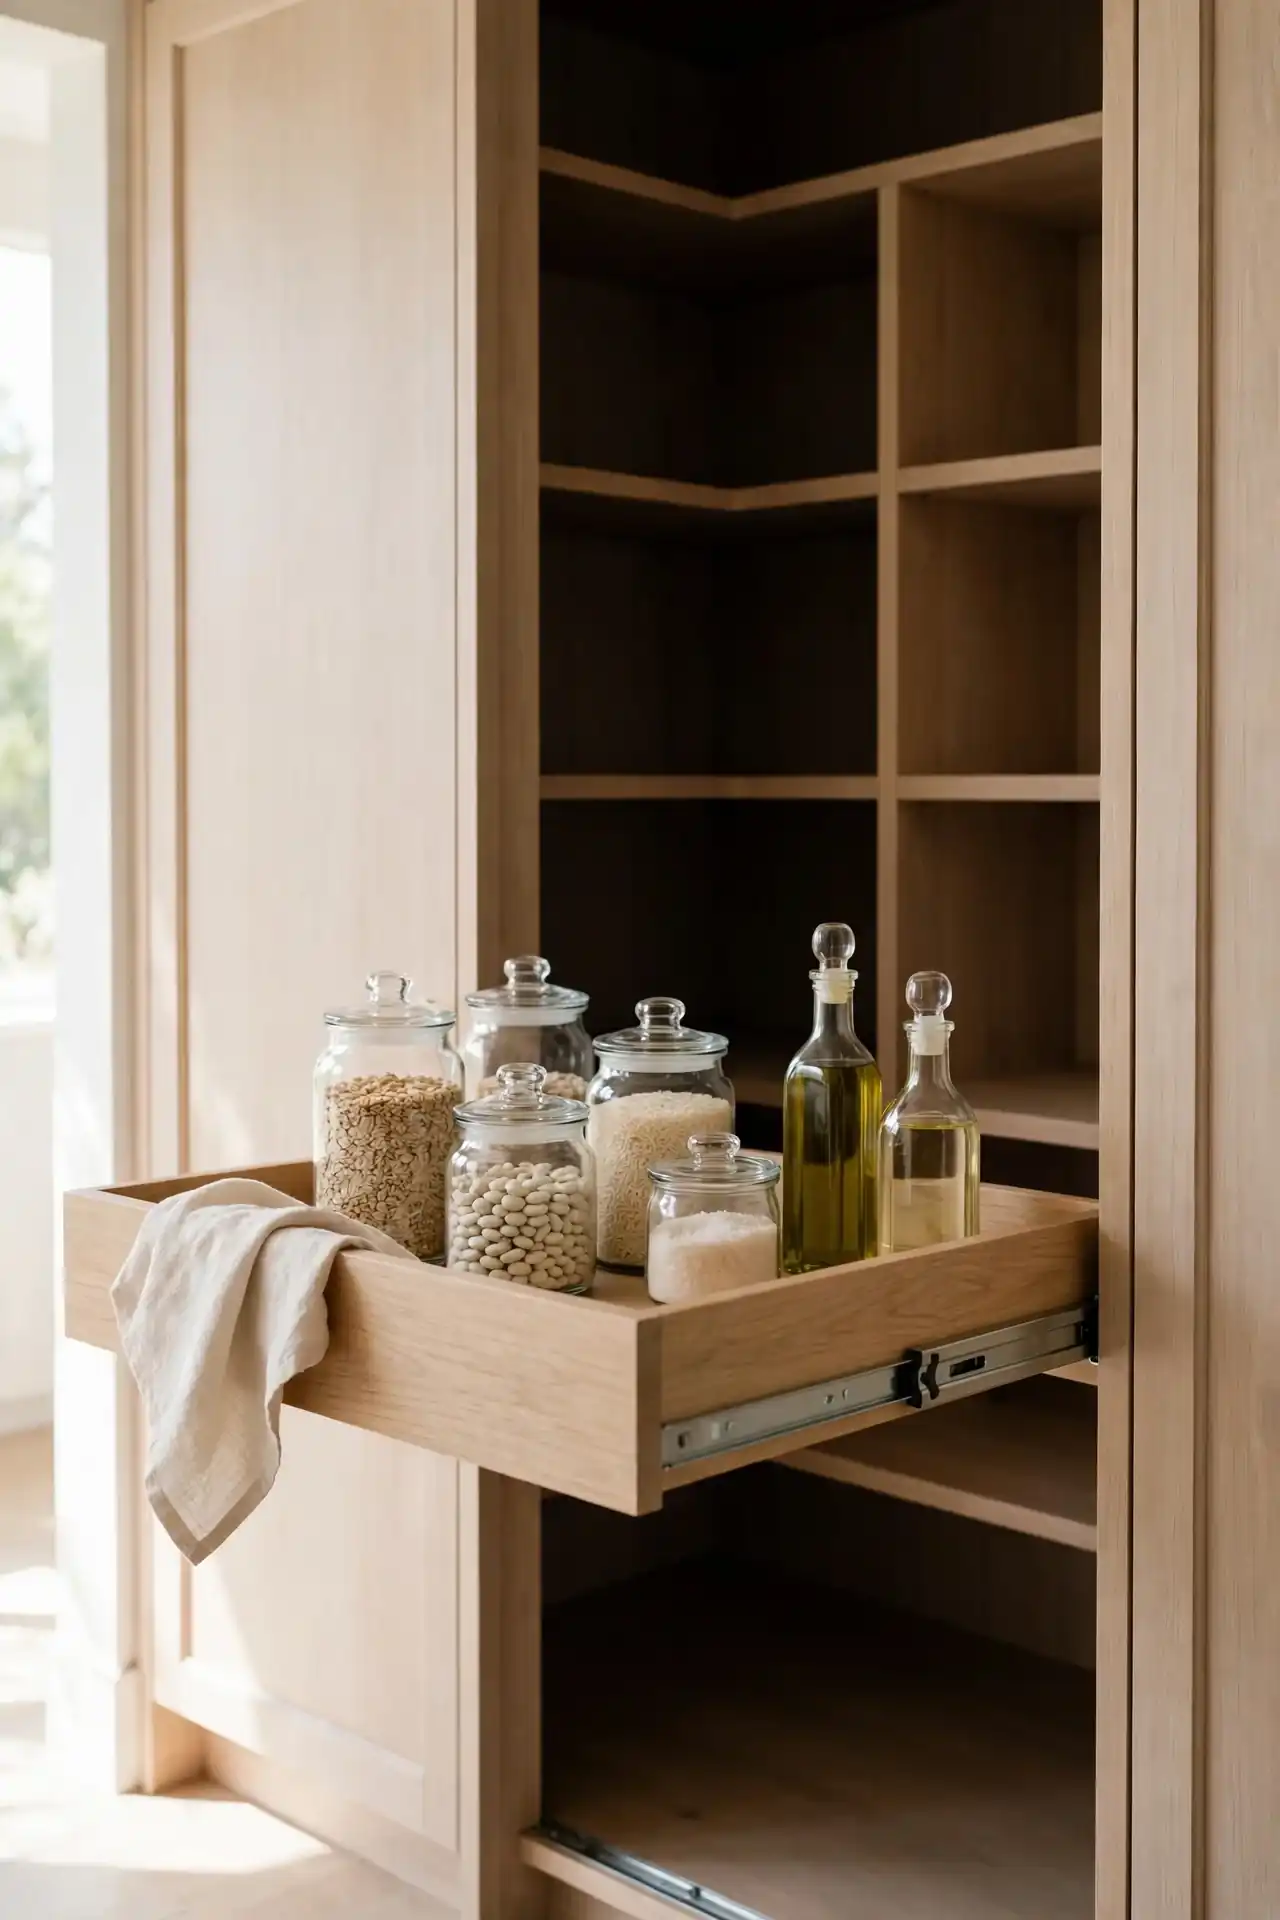
DO: Use low-sided trays that slide out like drawers on deep shelves.
DO: Group one meal category per tray, such as pasta night supplies.
DO: Choose trays with handles for easy pulling from the back.
DON’T: Overload trays until they are too heavy to slide.
DON’T: Use high-sided trays that block your view of contents.
DON’T: Skip the tray liners; spills happen and liners save cleanup.
Trays turn a deep shelf into a set of shallow drawers without any tools. Pull the whole tray out, take what you need, and push it back. Meal-themed trays are a bonus because dinner prep becomes a one-pull job instead of a shelf-wide search.
Grouped Breakfast Station
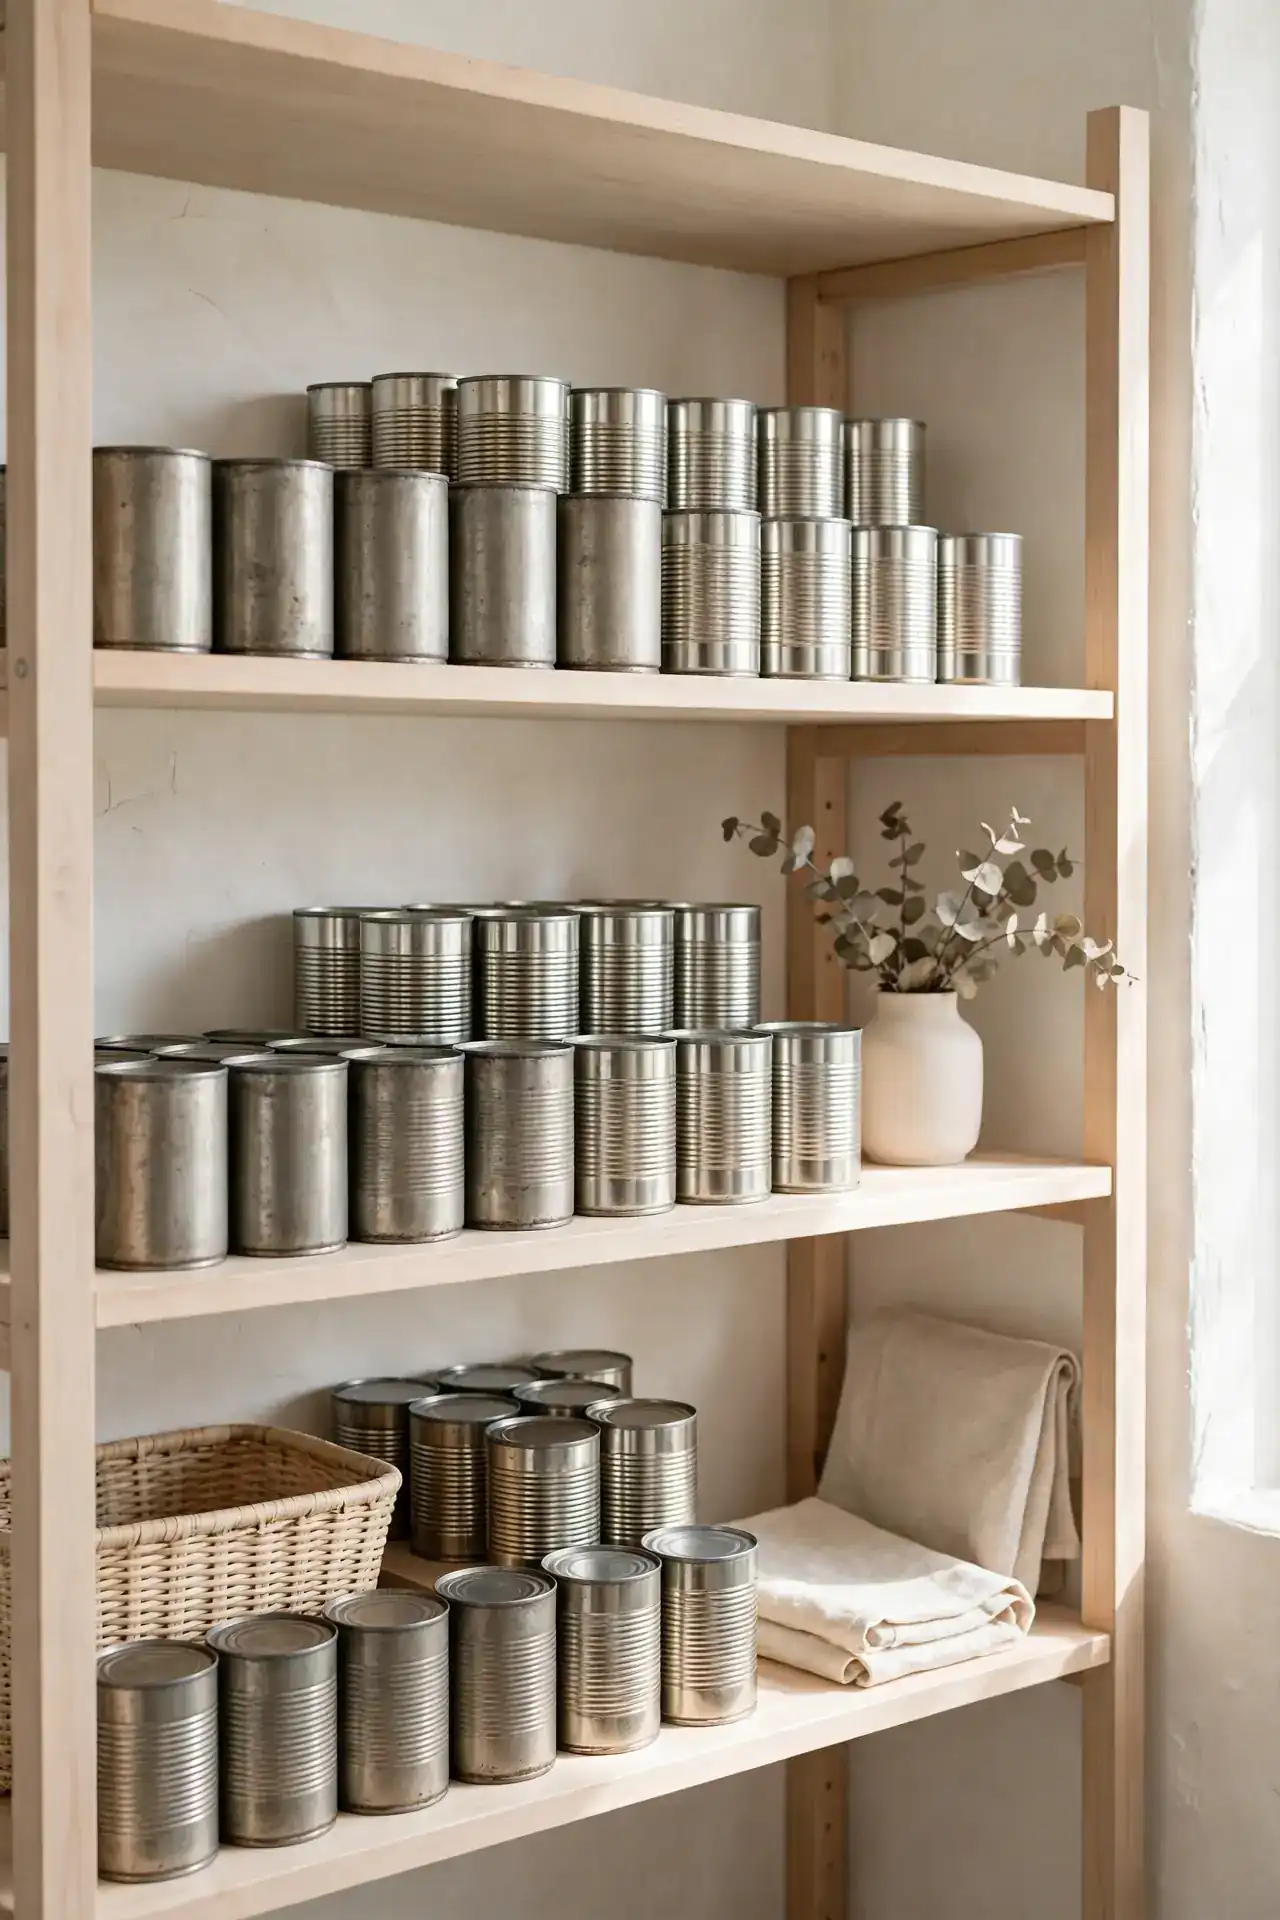
Cost: Free if you regroup items you already own.
Time: Fifteen minutes to gather and arrange the station.
Skill Level: Beginner, just thoughtful grouping and a free shelf corner.
Best For: Busy mornings and households with kids.
Gather every breakfast item into one shelf zone: cereal, oats, honey, nut butter, and mugs. Mornings become grab-and-go instead of a pantry-wide scavenger hunt. When everything for one meal lives together, even sleepy teenagers can find their breakfast without help. Keep the coffee and tea beside it so the whole morning routine happens in one reach. This one zone can shave ten chaotic minutes off every weekday morning.
Pantry Depth Map
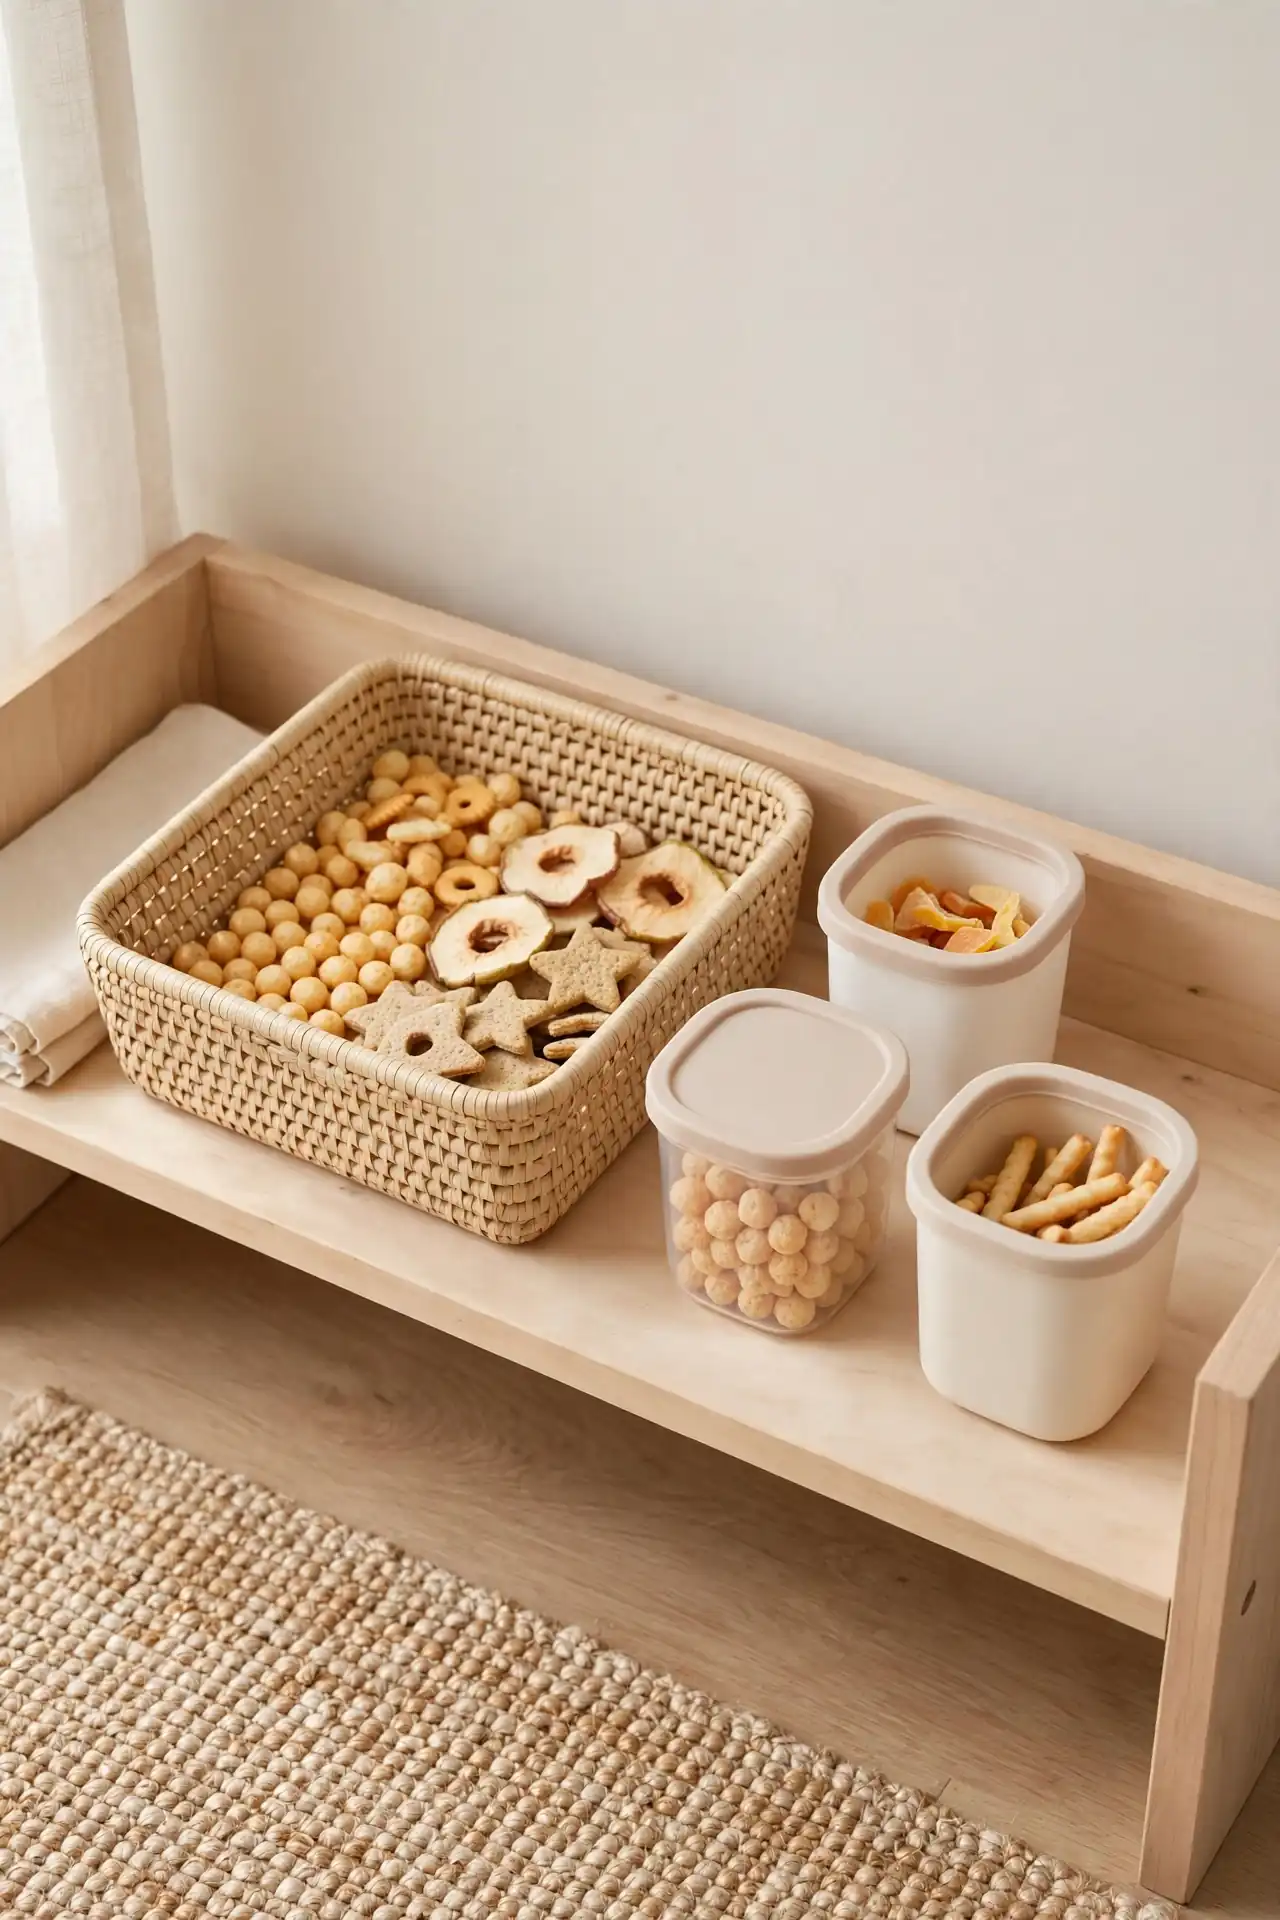
Deep shelves hide things so well that a simple map saves real time. Tape a small list inside the pantry door showing what lives on each shelf and in which bin. Update it when you reorganize, and everyone in the house can find items without asking. A quick sketch on an index card works; it does not need to be pretty.
This sounds old-fashioned until you try it. I’ve seen this work well in many cases where family members kept moving things around. The map becomes the shared agreement, and grocery shopping gets easier because you can check stock without opening every bin. Pin the map where everyone sees it, and the whole house stays on the same page.
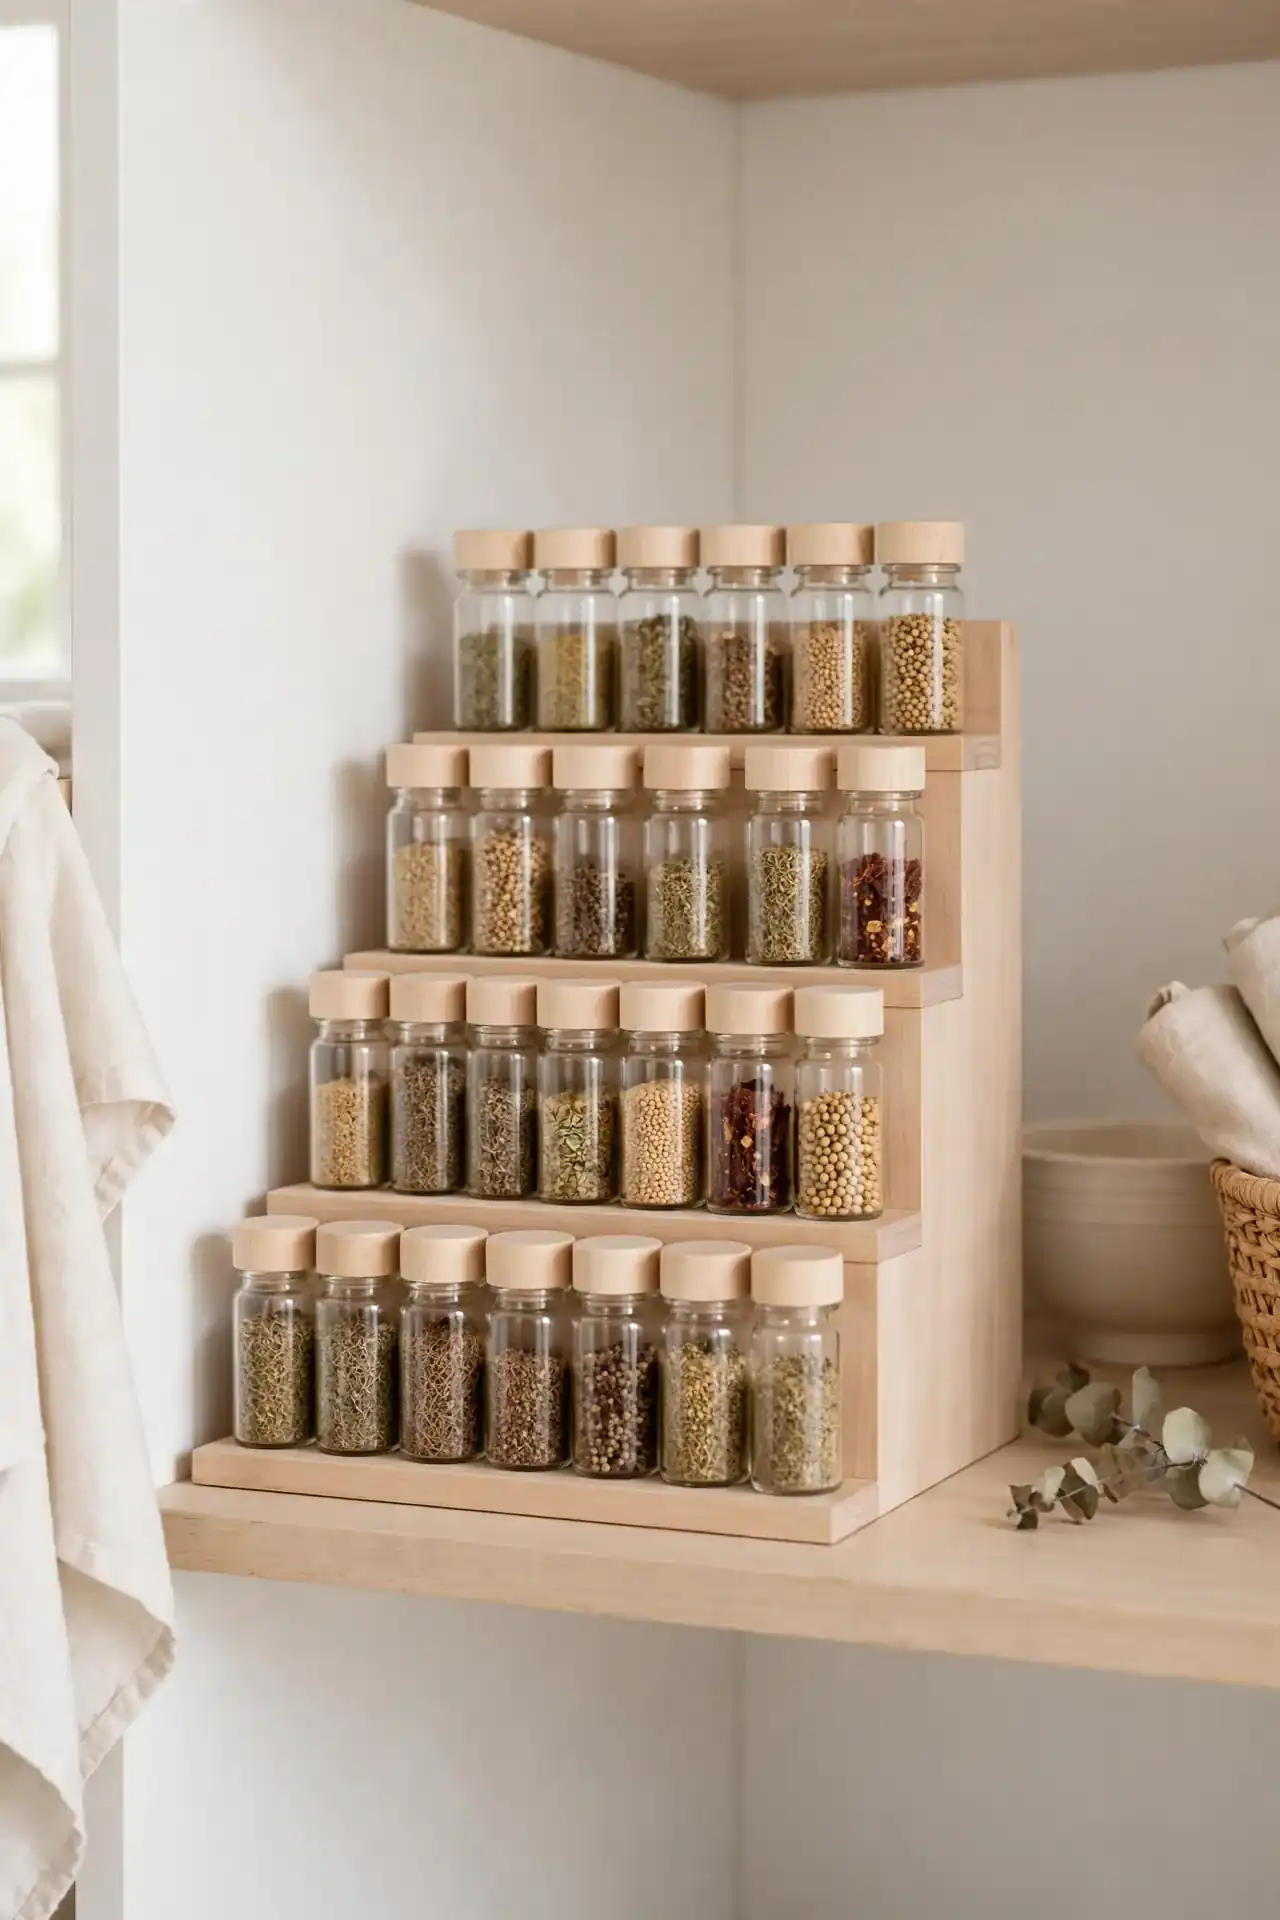
Tiered Spice Steps
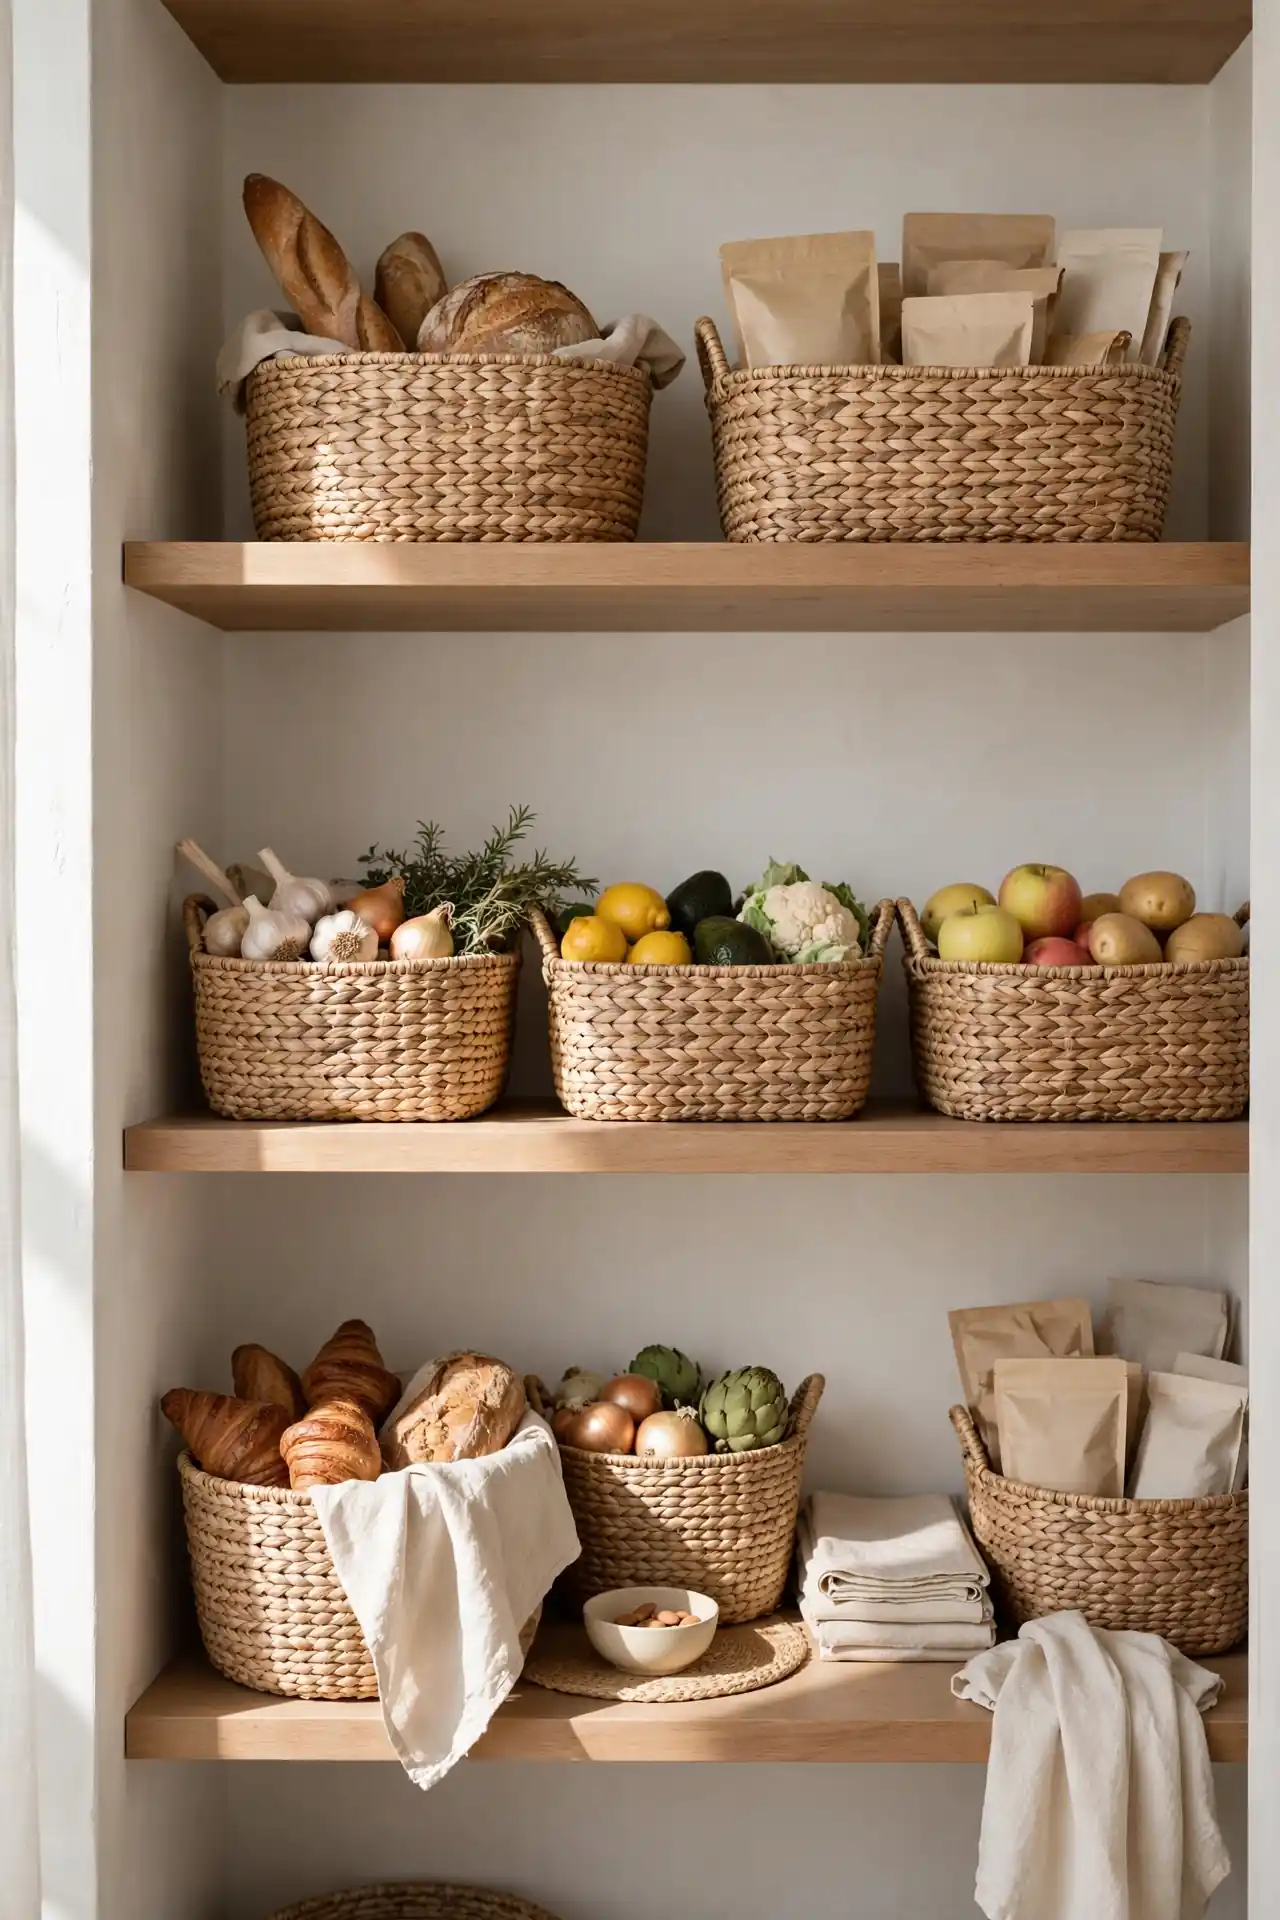
- Place a graduated spice step on one shelf so every jar is visible.
- Alphabetize spices to find them in seconds while cooking.
- Decant into matching small jars for a tidy, uniform look.
- Keep everyday spices on the front step and rare ones at the back.
- Wipe the steps monthly so spice dust never builds up.
Spices are the worst victims of deep shelves because the jars are tiny and the rows are long. A tiered step lifts every jar into view like theater seating. Cooking gets faster when you can spot the paprika without moving ten jars first. Small steps, big daily payoff.
Woven Basket Warmth
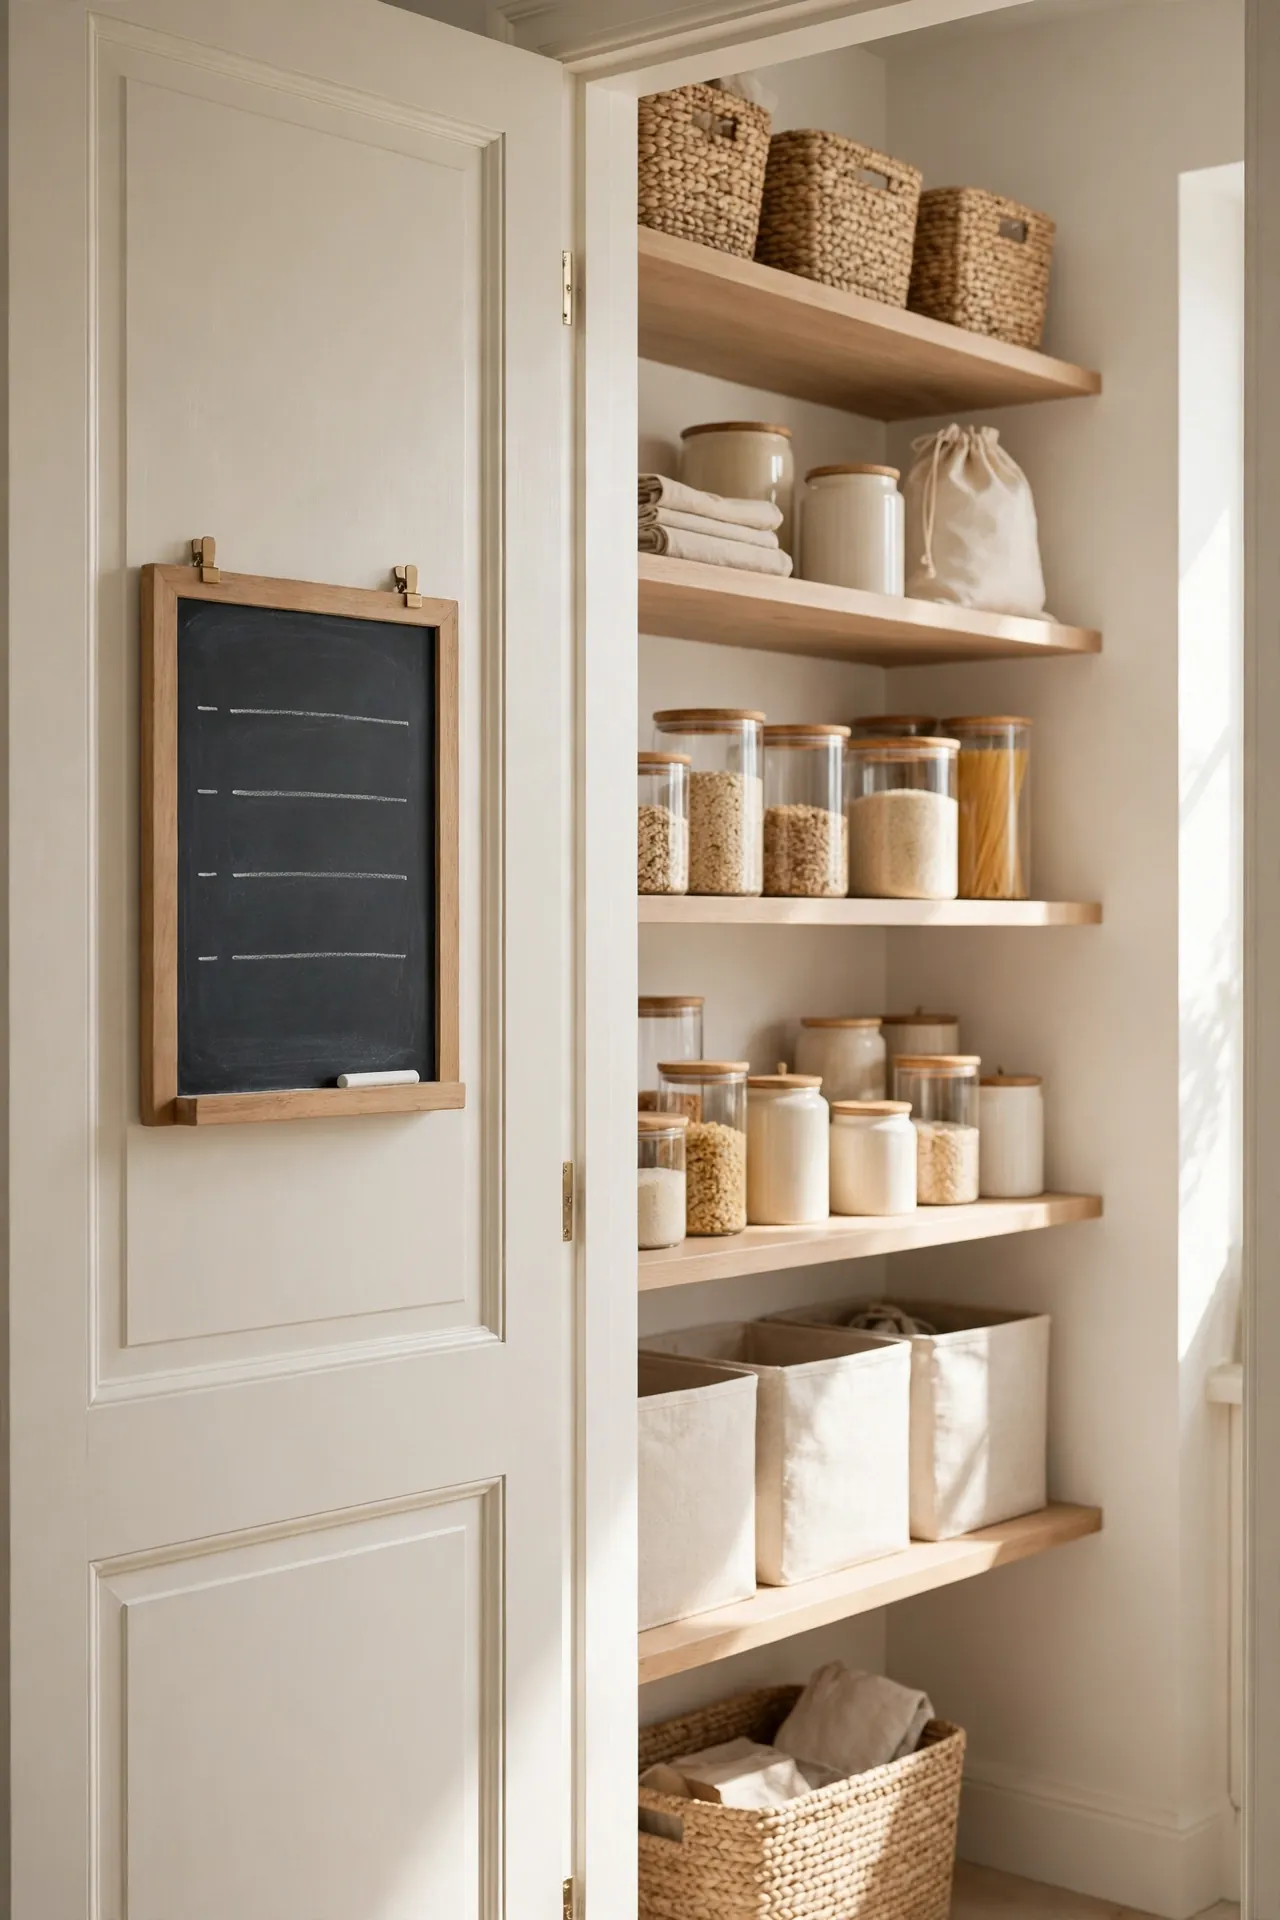
Quick Tip: Swap a few plastic bins for natural woven baskets to add warmth without losing function. Choose baskets with low sides so you can still see inside, and line them with a washable cloth for easy cleaning. Reserve woven baskets for sturdy items like bread, onions, and packaged goods that will not snag the weave.
Function matters most, but a pantry you love looking at stays organized longer. Woven textures soften the look of deep shelves and pair beautifully with light wood. The trick is balancing beauty with visibility so style never hides your stock. Choose baskets that match, and the whole shelf suddenly looks designed.
Child-Safe Reach Zone
BEFORE: Kids climbed shelves and pulled random items to reach their snacks. Heavy jars wobbled, boxes toppled, and every afternoon ended with a cleanup. The whole pantry felt unsafe and chaotic for small hands.
AFTER: The lowest shelf now holds a dedicated kid zone with safe snacks and spill-proof containers. Children grab their own food without climbing, and heavy or glass items live up high. Independence replaces chaos in one afternoon.
Keep this zone stocked with parent-approved choices so kids never need to explore higher shelves. A low bin with a lid contains the mess and teaches tidy habits early. Everyone in the house wins when little hands have their own safe space.
Bulk Buy Breakdown
- Unpack warehouse-size packages the day you bring them home.
- Divide contents into two or three smaller airtight containers.
- Keep one container up front and store the rest in back stock.
- Label each container with the date so you use the oldest first.
- Recycle or collapse the bulky outer packaging right away.
Bulk buys save money but their giant packages devour deep shelves. Breaking them into smaller containers makes every shelf easier to navigate and keeps food fresher longer. You get the savings of bulk shopping with the tidiness of a well-planned pantry, and restocking becomes a simple swap instead of a wrestling match.
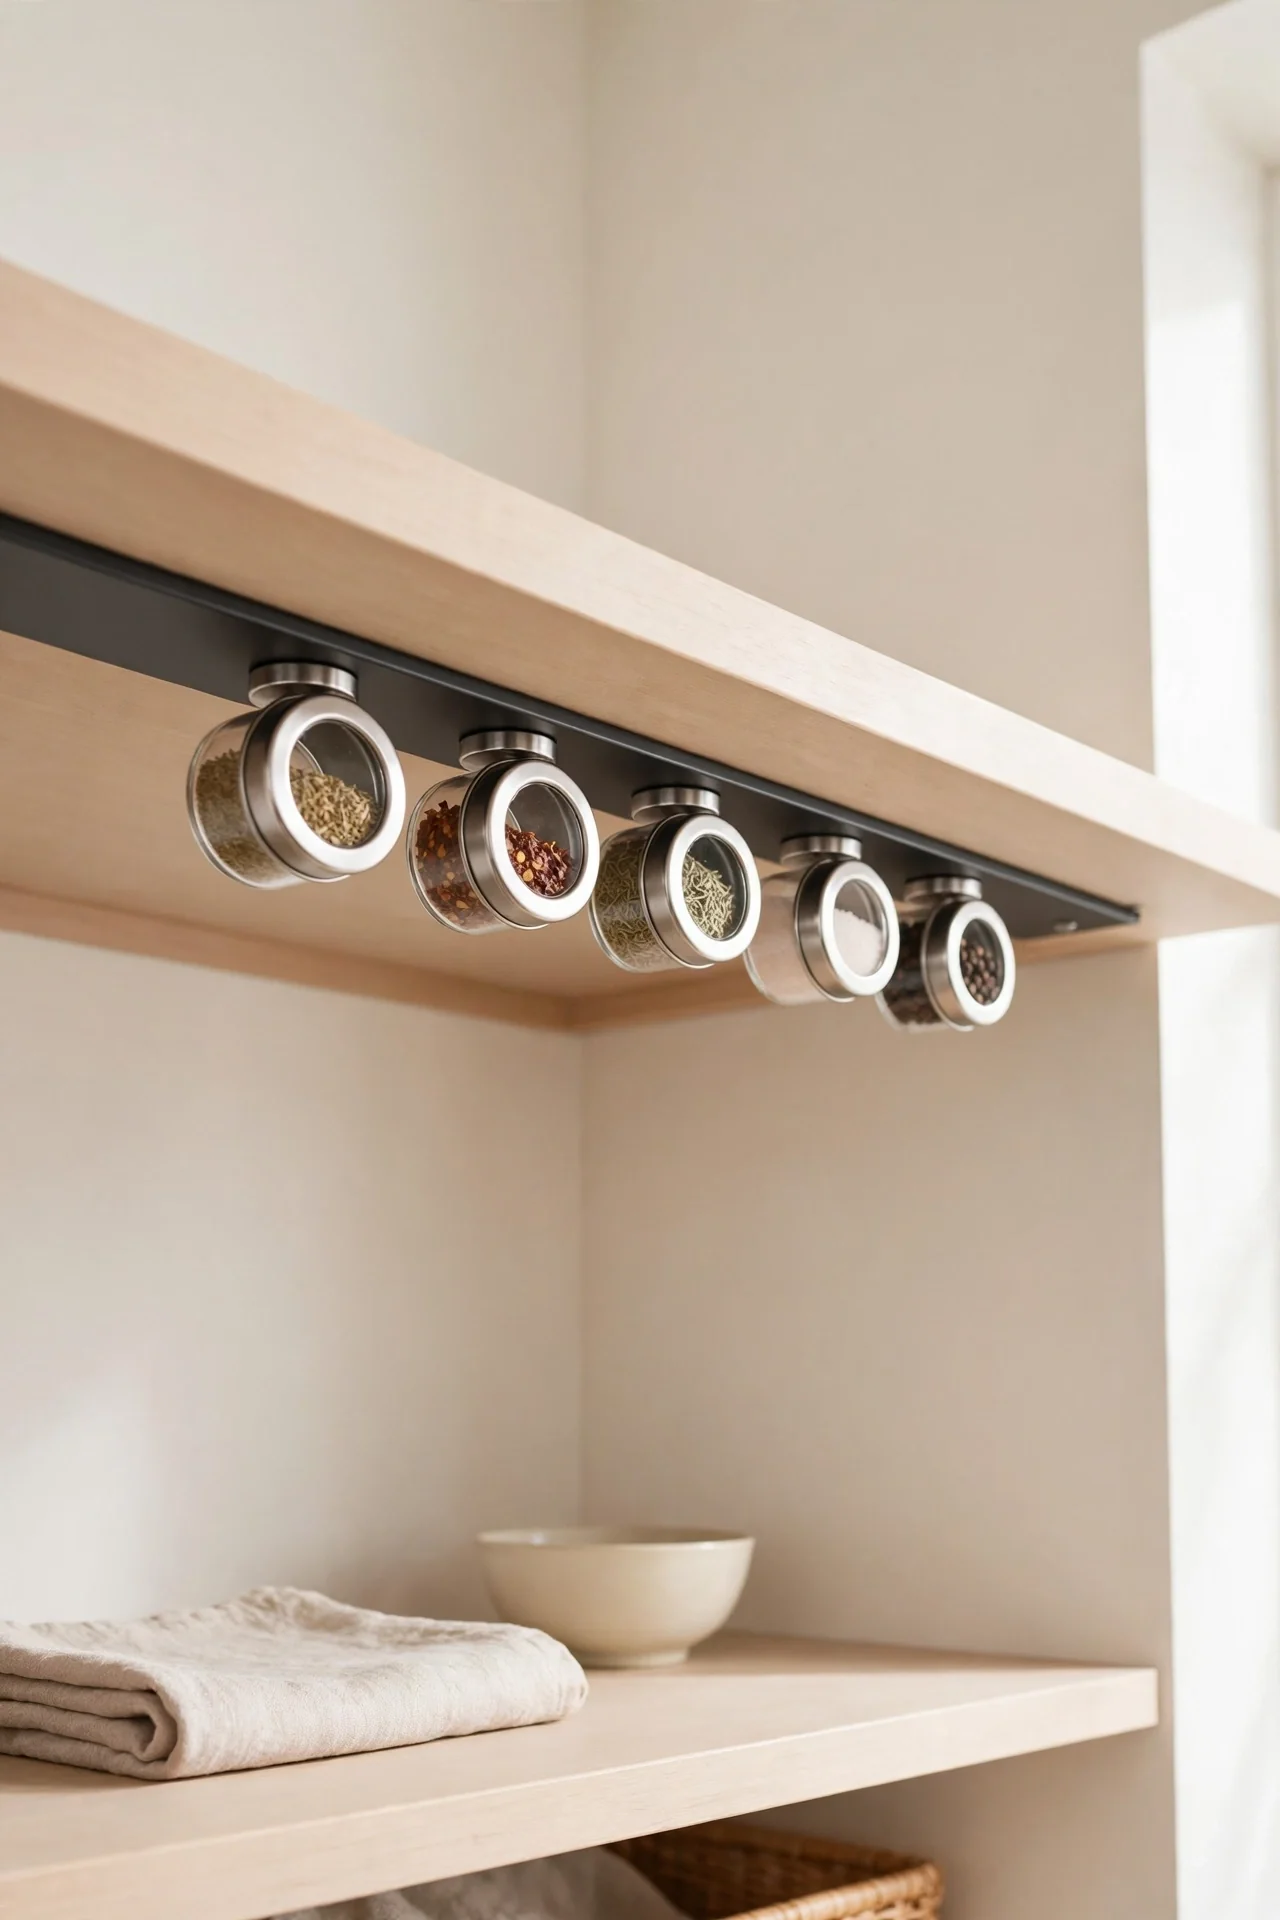
Magnetic Lid Holders
| Feature | Magnetic Strip | Magnetic Board |
|---|---|---|
| Space Saved | One shelf edge | Whole door panel |
| Capacity | Ten small tins | Twenty plus tins |
| Install | Adhesive mount | Screws needed |
| Best For | Spice lovers | Big collections |
Magnetic tins lift small items off the shelf entirely, freeing room for bigger goods. Mount a metal strip under a shelf or on the door and snap spice tins into place. They stay visible, reachable, and completely out of the way. This is ideal for renters since adhesive strips remove cleanly. Fill each tin with a single spice and label the lid so cooking stays fast. Tiny tins, zero shelf space used.
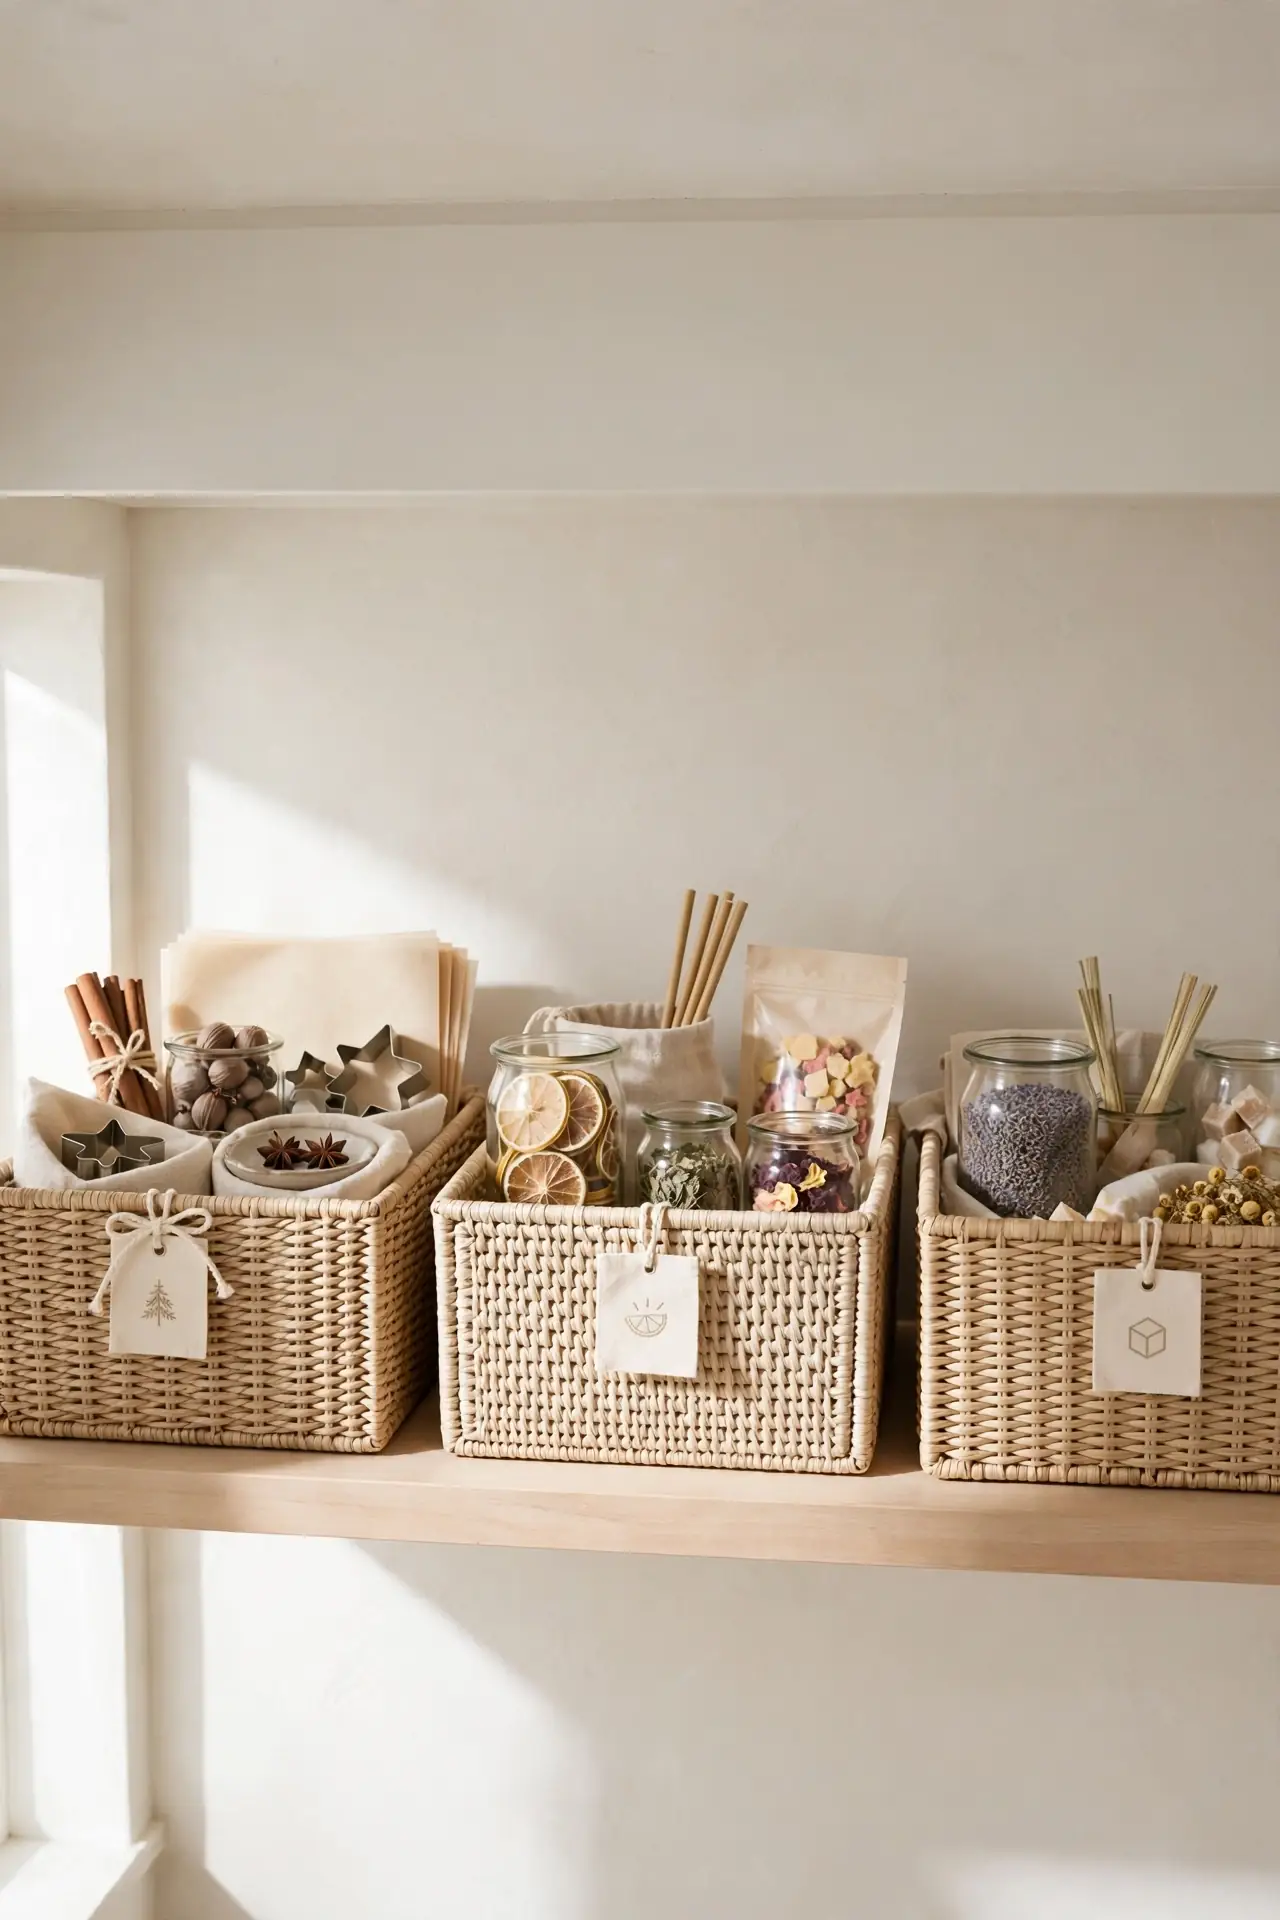
Seasonal Swap Bins
DO: Pack holiday baking and seasonal mixes into one labeled bin.
DO: Store the bin on the highest shelf until its season arrives.
DO: Swap it down front when the season starts each year.
DON’T: Let seasonal items take prime shelf space all year.
DON’T: Mix seasonal goods into daily bins where they get buried.
DON’T: Forget to check dates when the season rolls around again.
Seasonal items are shelf hogs for eleven months of the year. One dedicated swap bin keeps them together and out of your daily workflow. When the season arrives, the swap feels like unwrapping a gift instead of digging through clutter.
Weekly Pantry Reset
Cost: Free, just ten focused minutes of your time.
Time: Ten minutes once a week, ideally before grocery shopping.
Skill Level: Beginner, no supplies or tools needed.
Best For: Keeping every system above working long term.
Even the best system drifts without a quick weekly check. Pull each bin forward, toss expired items, wipe crumbs, and push everything back into place. Ten minutes a week keeps your pantry photo-ready and saves you from a dreaded full-day overhaul later. Set a phone reminder for the same day each week so it becomes automatic. Small weekly effort beats a miserable yearly purge every single time.
Conclusion
Deep shelves stop being a problem the moment you treat them like shallow drawers that pull, spin, and slide. With bins, risers, and simple zones in place, learning how to organize small pantry deep shelves pays off every single day in faster mornings and less waste. I’ve seen how small changes like these can completely shift the way a space feels. Pick two or three ideas that fit your kitchen and start this weekend. Save this guide on Pinterest so you can find it during your next pantry refresh, and enjoy a pantry that finally works as hard as you do.
One Comment