25 DIY Christmas Ornaments for a Handmade Holiday Glow
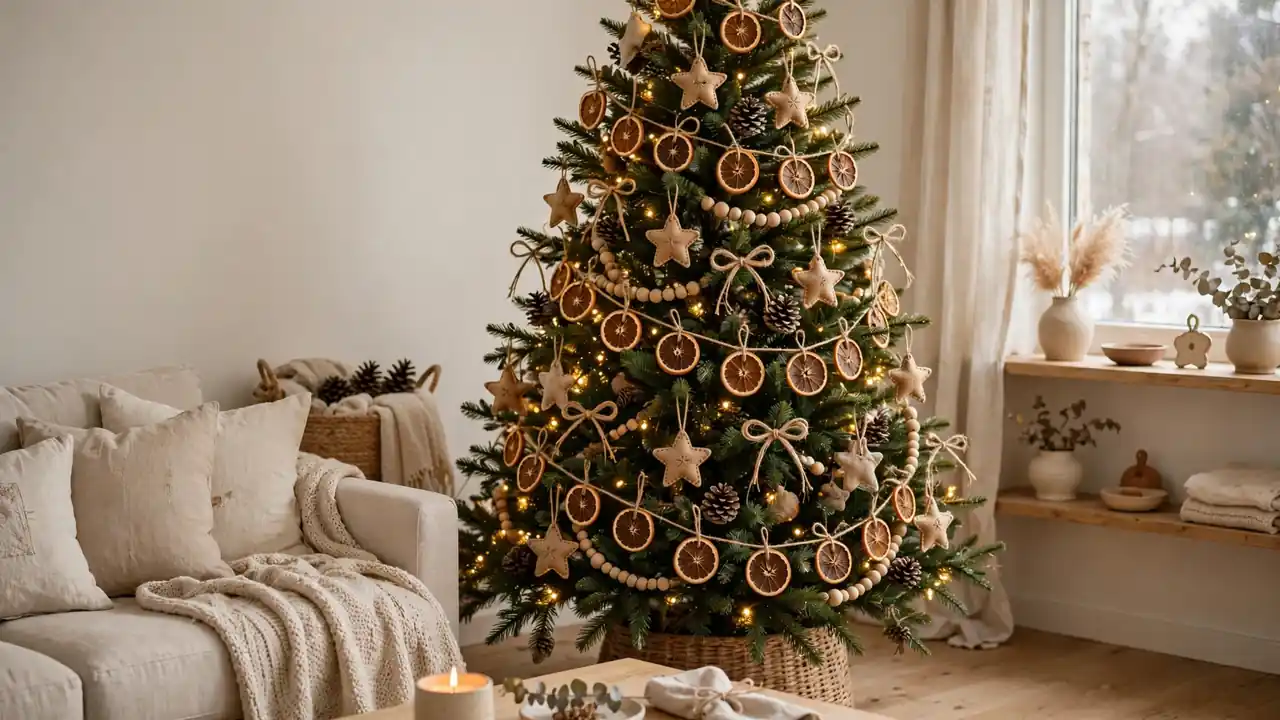
There is something magical about a tree decorated with ornaments you made yourself, and diy christmas ornaments bring that warmth to every branch. Each handmade piece carries a story, a memory, or a quiet afternoon spent crafting at the kitchen table. Store-bought decorations can look polished, but nothing beats the charm of a pinecone you painted or a salt dough star your child shaped. In my experience, handmade ornaments become the most treasured part of holiday decorating, the ones guests always ask about. If you want a tree that feels personal and full of heart this year, start here.
These 25 ideas use simple supplies like twine, paper, and natural finds from your own yard. Most take under an hour and cost almost nothing to make. You will also find plenty of inspiration for matching your creations with your tree style, like pairing rustic ornaments with classic christmas tree decorating ideas. Grab a hot drink, clear a table, and let us make this the year your tree glows with handmade love.
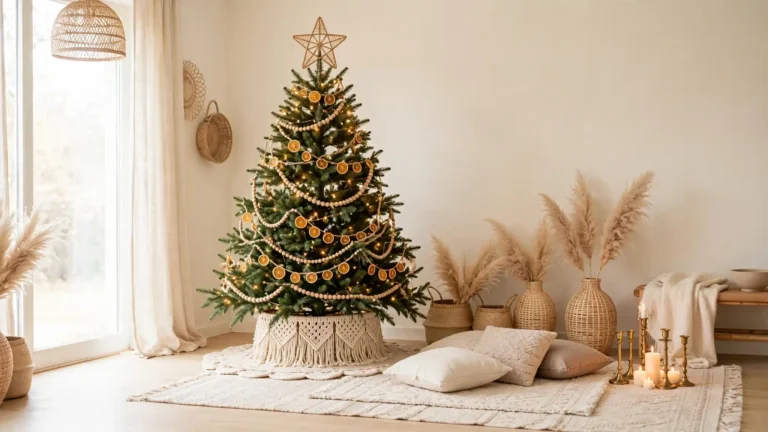
Dried Orange Slices
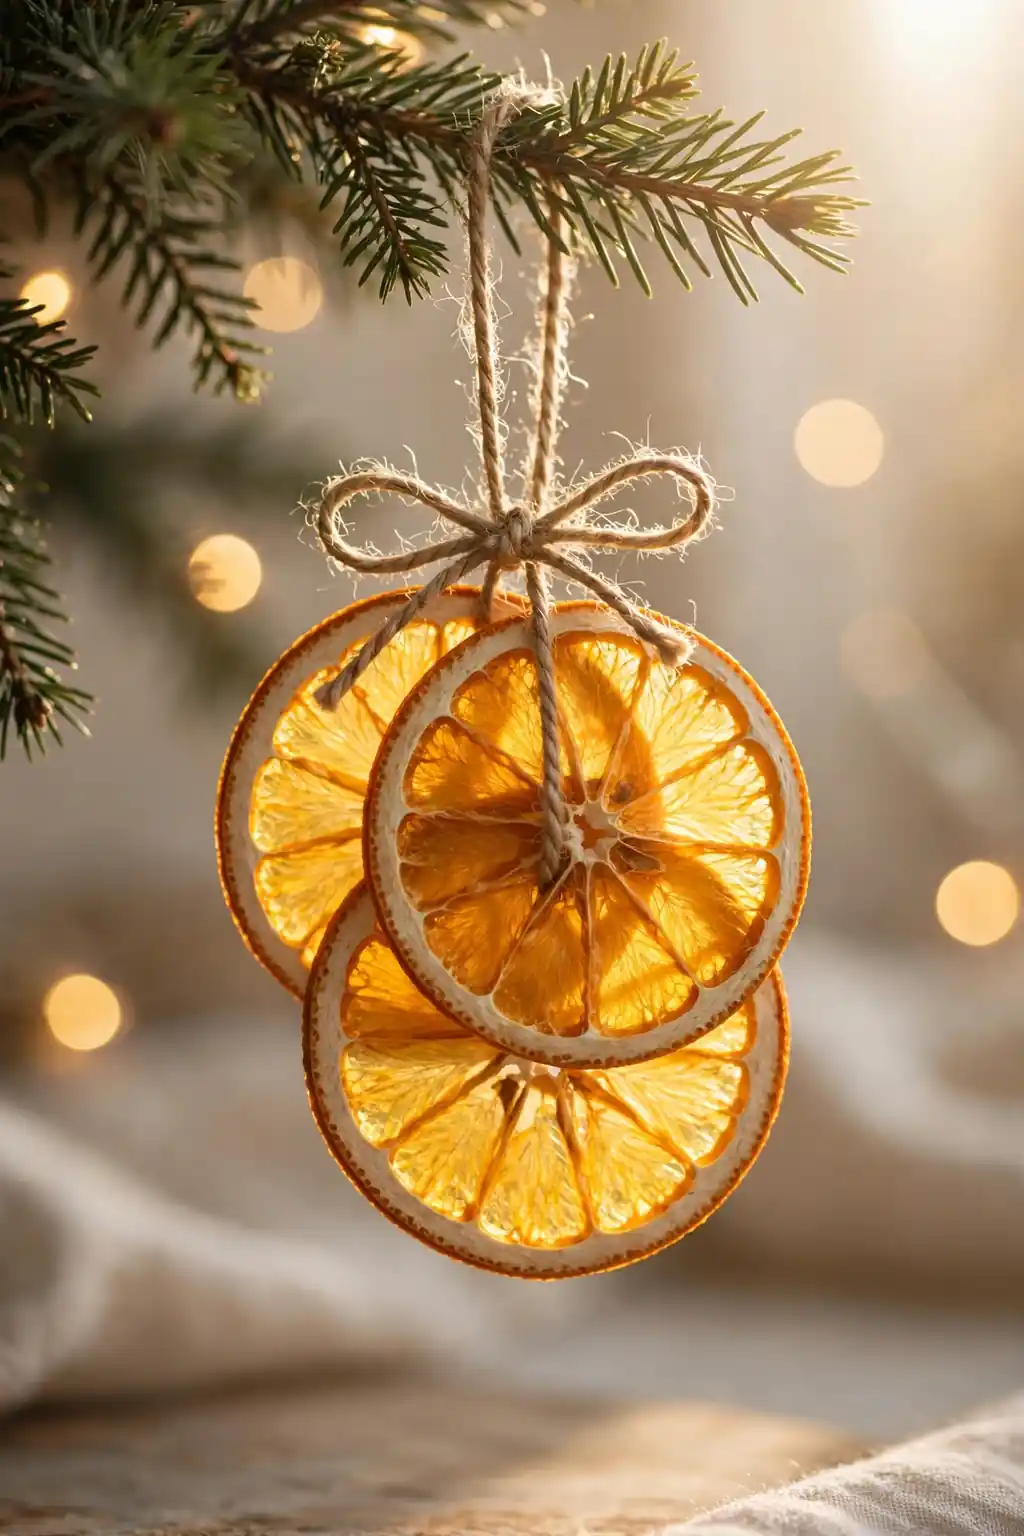
Sunlight through a dried orange slice looks like stained glass, and these ornaments bring that glow to your tree. Slice oranges about a quarter inch thick, pat them dry, and bake at the lowest oven setting for three hours, flipping halfway. Thread twine through a small hole and hang them among your branches. The citrus scent lingers gently for weeks.
Pair them with cinnamon sticks and pinecones for a natural look, or let them shine solo on a slim tree. I have noticed they look especially pretty near windows where daylight catches the translucent flesh. Store them in a paper bag between seasons so they stay crisp and bright for next year.
Cinnamon Stick Bundles
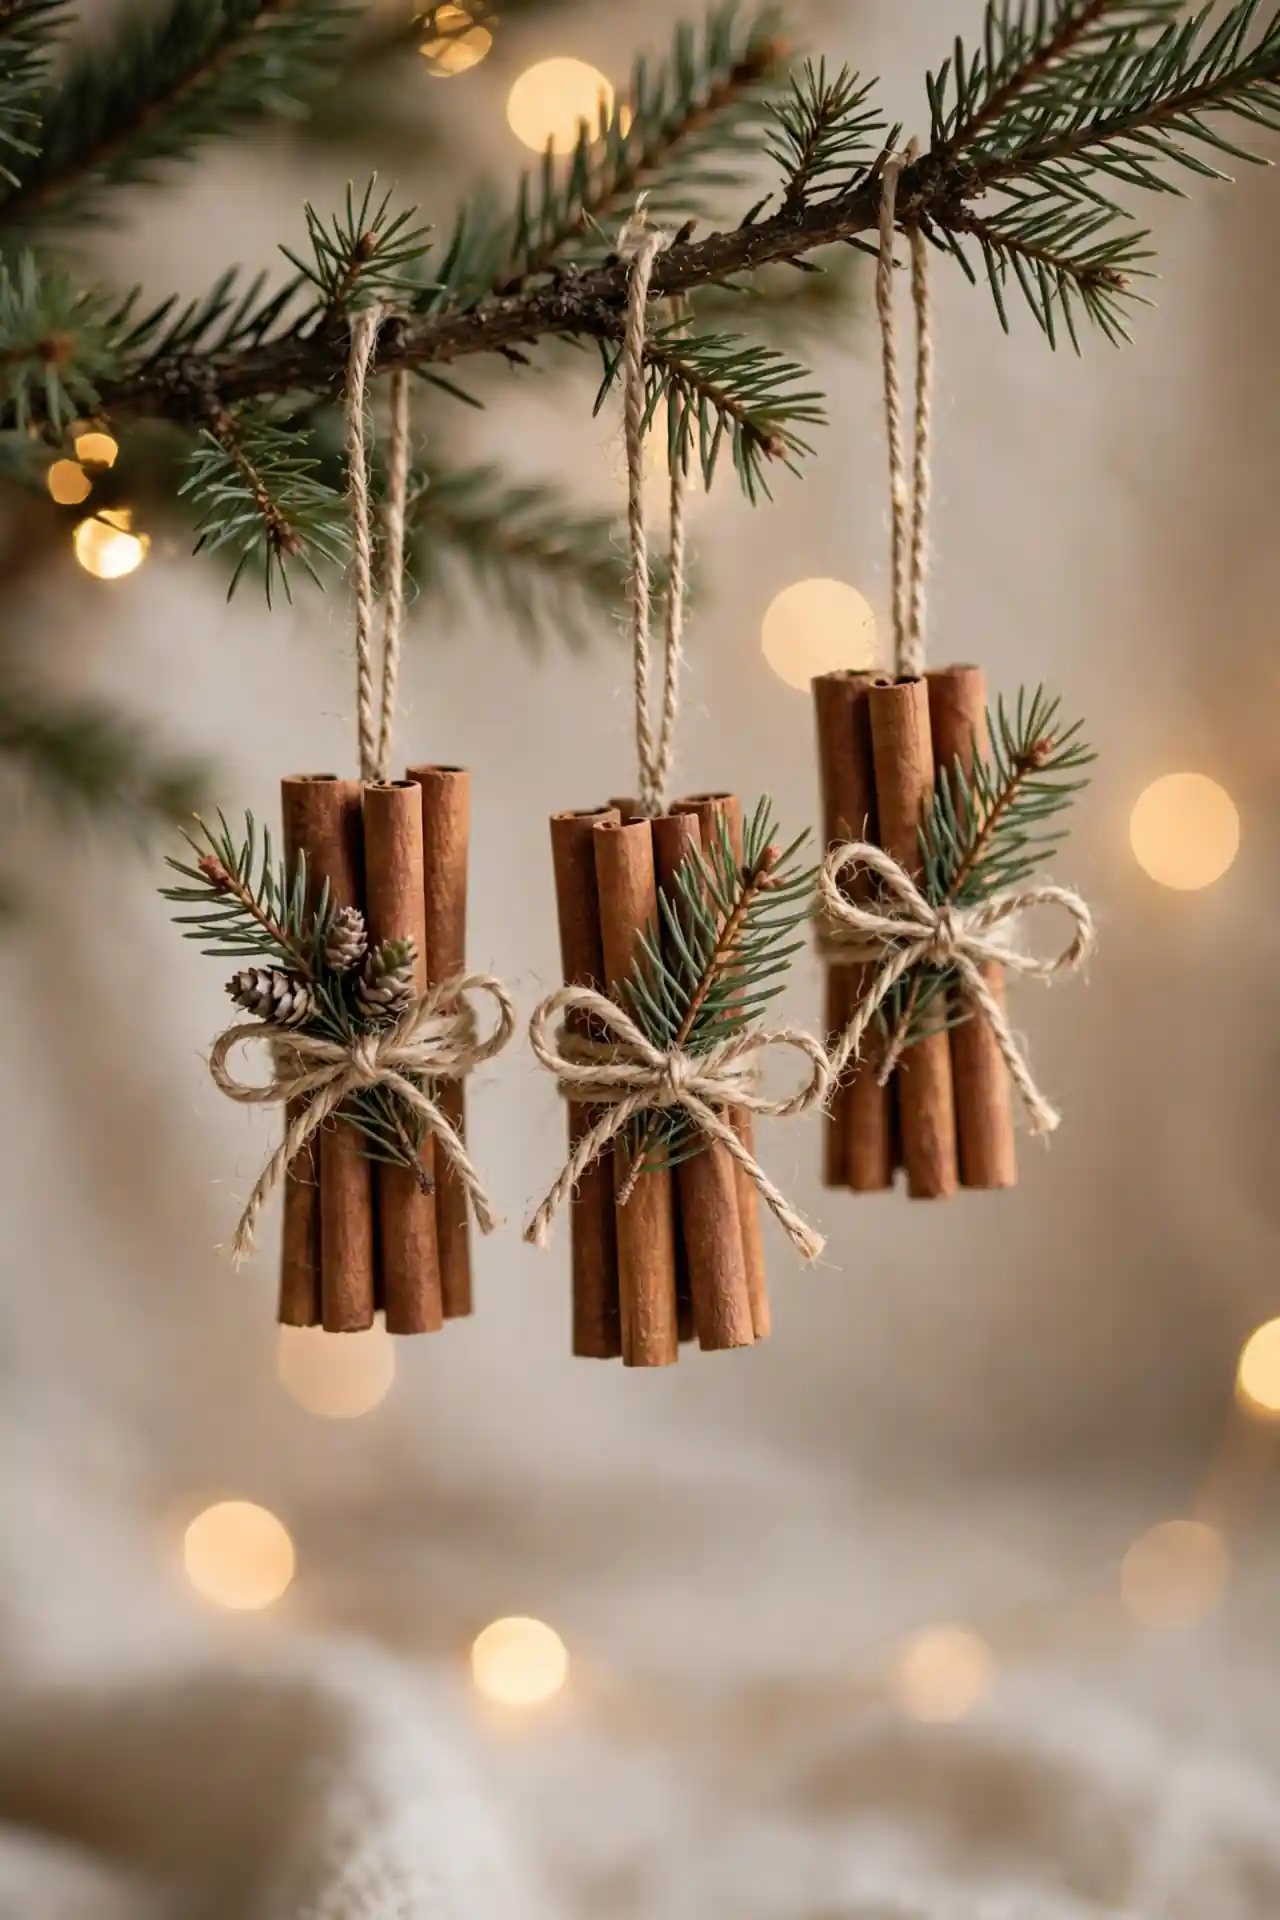
- Bundle three or four cinnamon sticks together with natural twine.
- Add a tiny pine sprig or dried berry stem for color.
- Tie a loop of twine at the top for hanging.
- Dab a drop of clove oil on the sticks for extra scent.
These little bundles smell like the holidays walked into your living room. They take about ten minutes to assemble and cost pennies per ornament. Hang them on lower branches where guests can catch the fragrance, or tuck them into a garland along the mantel. In my experience, they stay fragrant for the whole season with one refresh of oil midway through December.
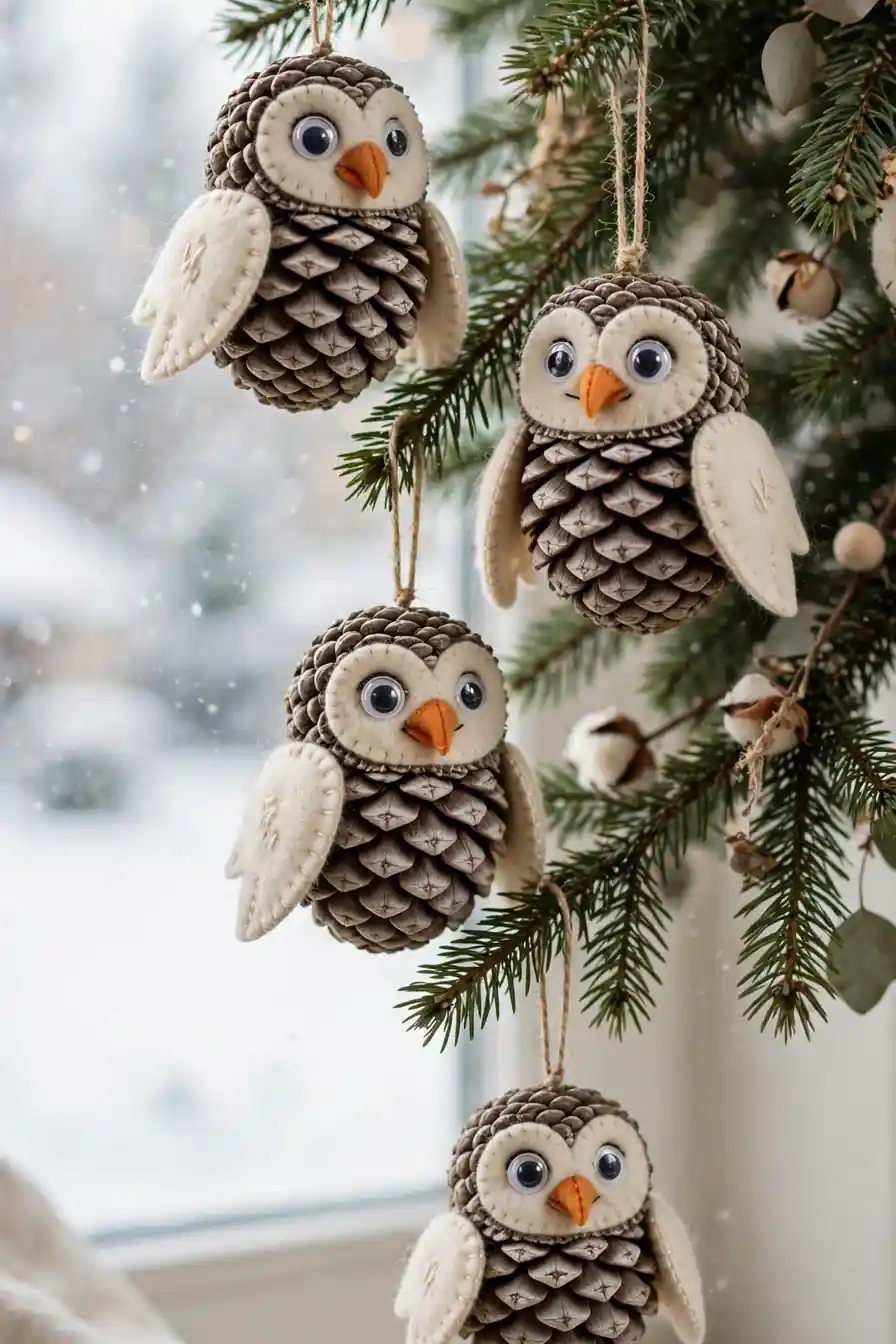
Pinecone Snow Owls
Quick Tip: Pick pinecones that are fully open and dry. Soak them in warm water with a splash of vinegar for twenty minutes, then bake at low heat for an hour to kill any bugs before crafting.
Turn ordinary pinecones into wide-eyed owls with felt wings, googly eyes, and a tiny felt beak. Kids adore this project because each owl ends up with its own goofy personality. Brush the cone tips with white paint for a snowy look before adding the face. Hang them with a short piece of twine glued between the top scales. They work beautifully on a woodland themed tree.
Felt Star Garland

BEFORE: Bare felt sheets sit in your craft drawer all year, flat and forgotten. Your tree has empty gaps between the big ornaments where light passes straight through.
AFTER: Strands of soft felt stars drape across the branches, filling every gap with texture and warmth. The garland catches the tree lights and glows from within.
Cut stars from stiff felt in cream, gold, and sage, then stitch or glue them along a length of twine. Drape the strand loosely so it dips between branches like real garland. I have seen this work well in many cases where a tree looks sparse. One long strand transforms a thin tree into a full one.
Salt Dough Shapes
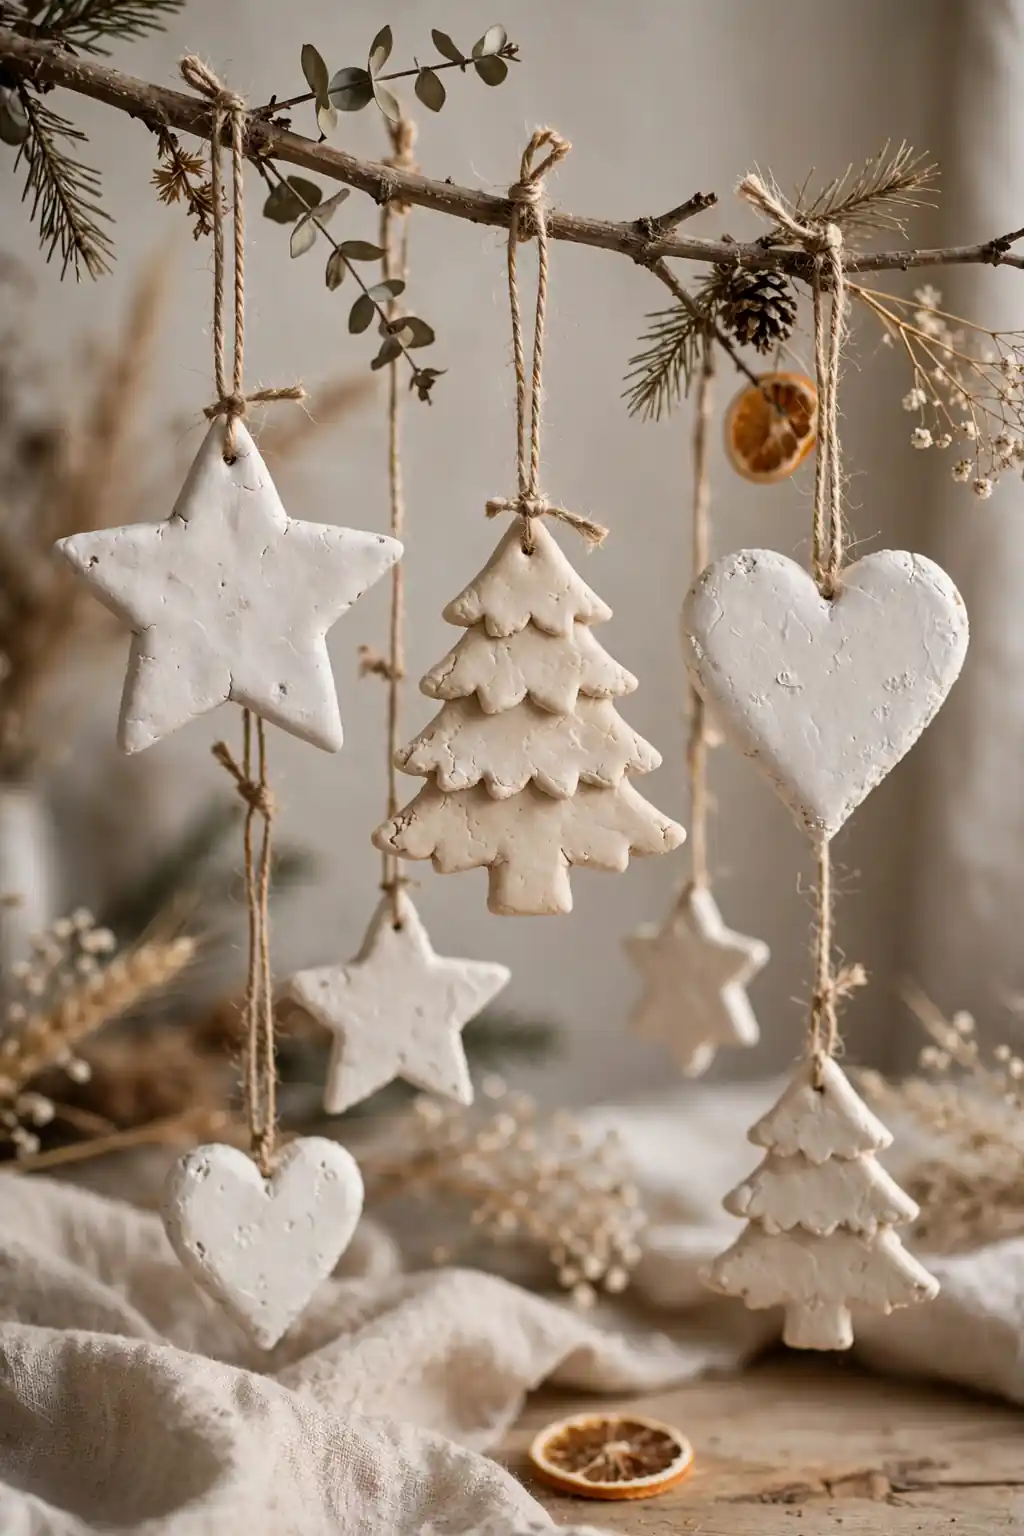
- Mix one cup flour, half cup salt, and half cup water into a firm dough.
- Roll to a quarter inch thick and cut shapes with cookie cutters.
- Poke a hole at the top of each shape with a straw.
- Bake at 200 degrees for two hours until hard and dry.
- Paint with acrylics and seal with clear varnish.
Salt dough ornaments are the classic family craft for good reason. They cost almost nothing, little hands can help with every step, and the finished pieces last for years. Paint them in a single color for a modern look, or let kids go wild with glitter. That is why many experts recommend sealing them well so humidity never softens the dough.
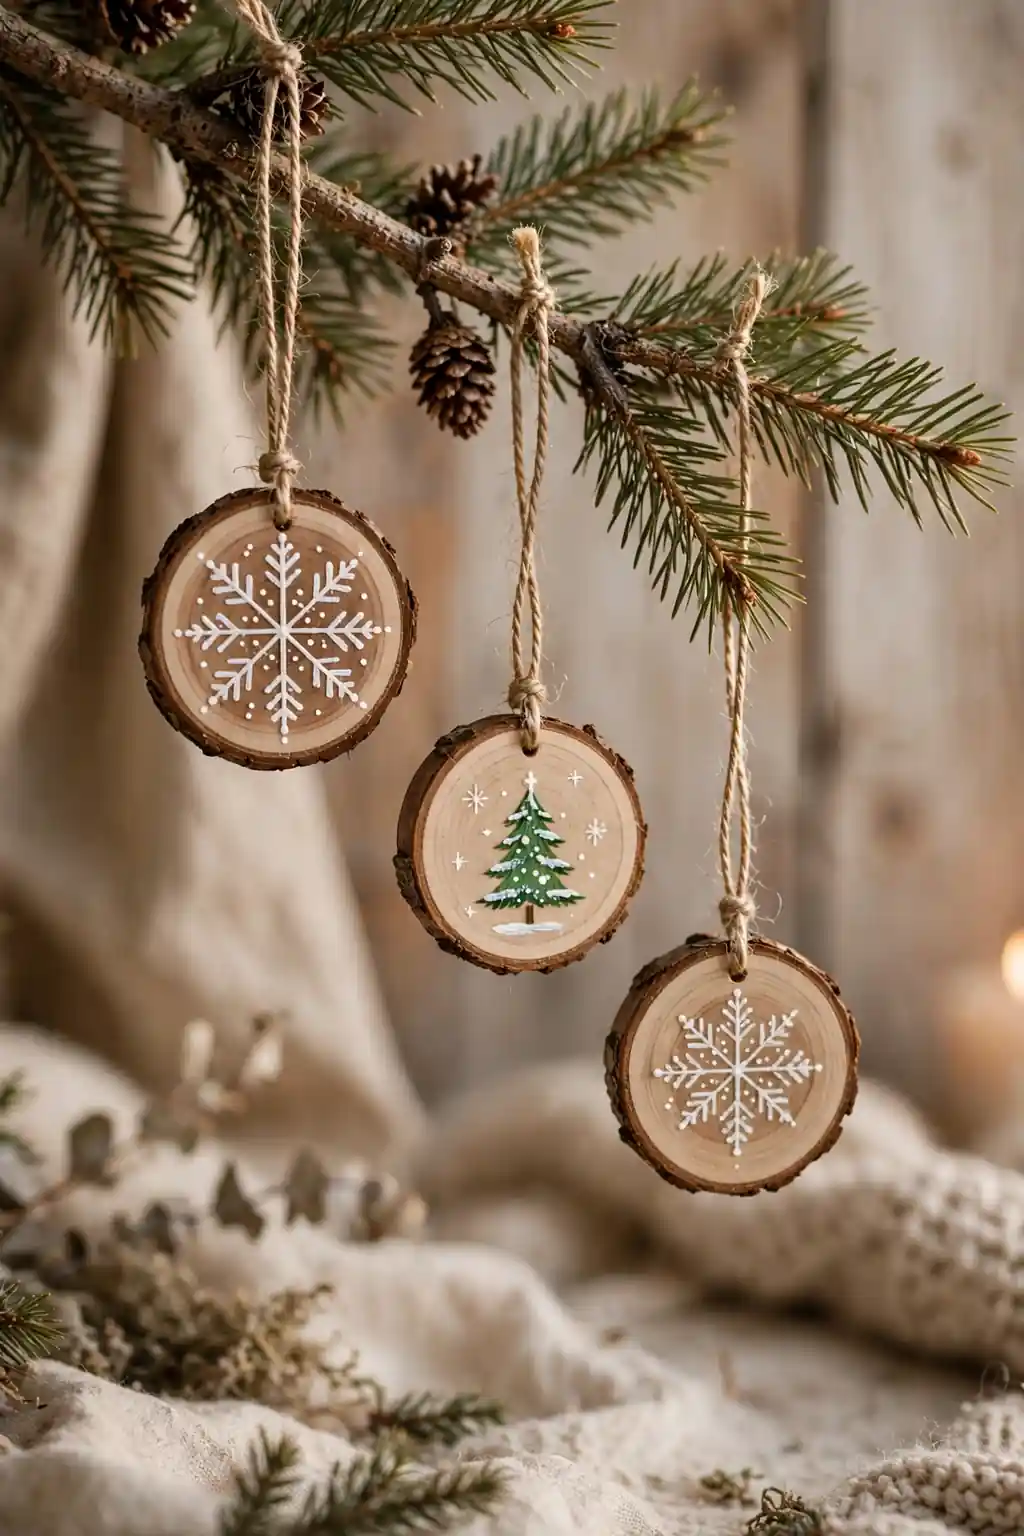
Wood Slice Art
| Material | Finish |
| Birch slices | Smooth pale surface, easy to paint |
| Pine slices | Rustic grain, great for burning designs |
| Driftwood discs | Weathered look, coastal tree charm |
Paint tiny winter scenes, initials, or simple snowflakes on thin wood slices. The natural bark edge frames your artwork like a tiny picture. Drill a small hole near the top for twine, or glue a loop to the back. These make wonderful gifts too. I have tried gifting a set of four with the family name painted on, and they were received with real tears. Sand the surface lightly first so paint grips well and your designs stay crisp for years.
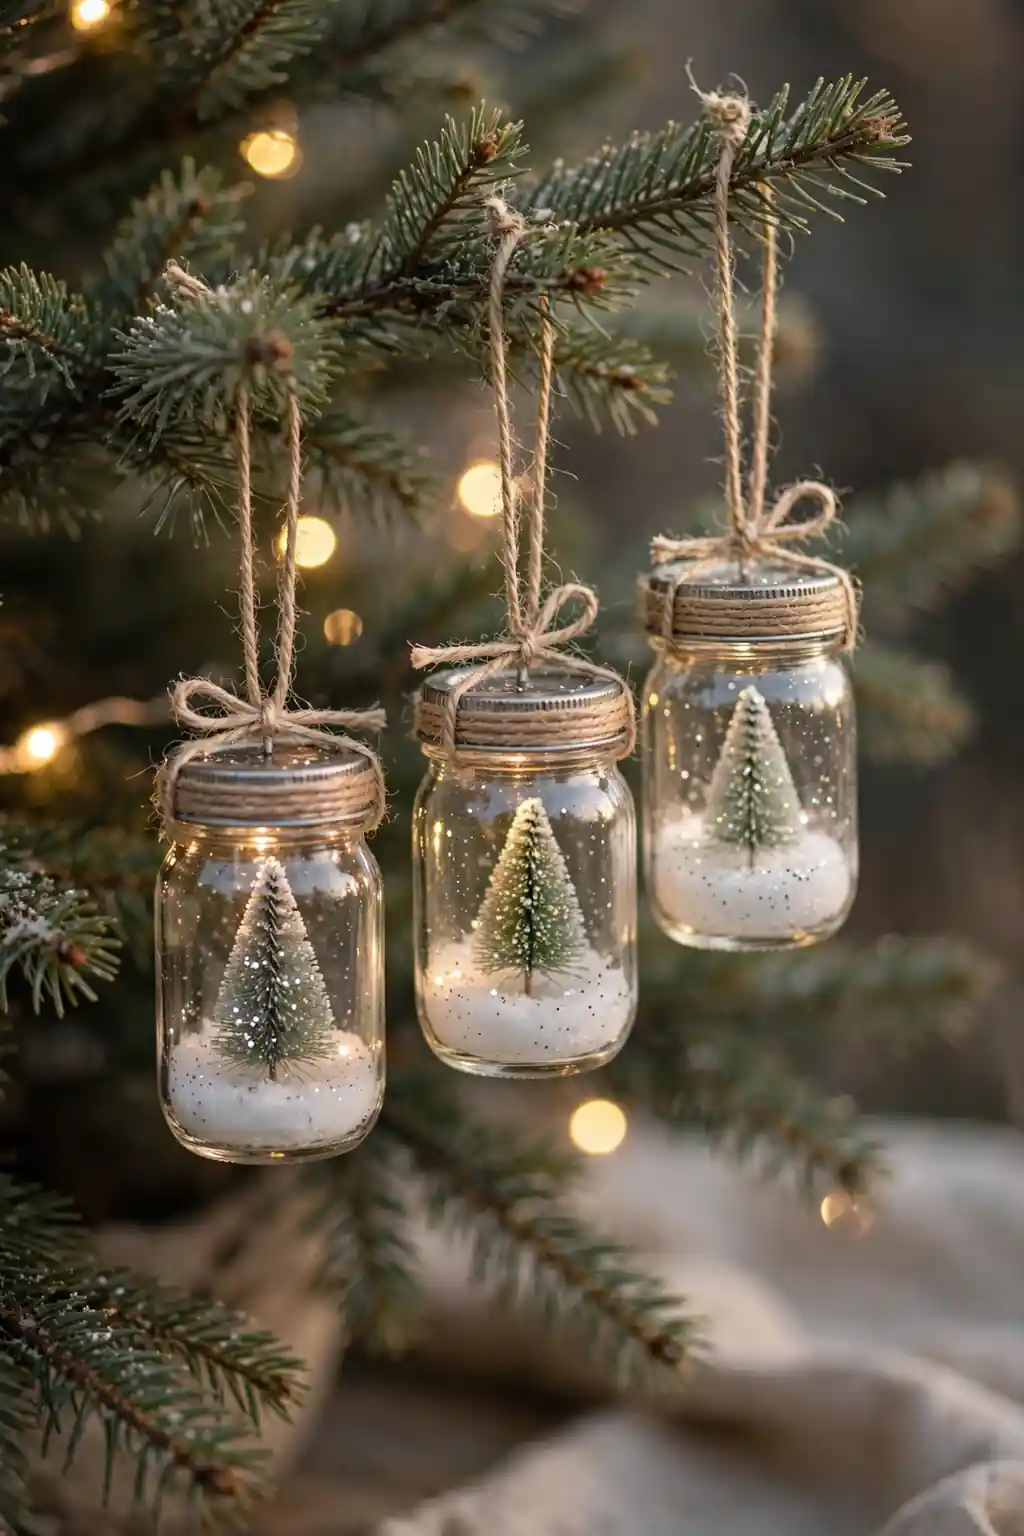
Mason Jar Baubles
DO:
- Use the smallest jars you can find for proper ornament scale.
- Fill with faux snow, tiny bottle brush trees, or dried flowers.
- Wrap the lid with ribbon or twine to hide the metal.
DON’T:
- Use heavy fillers that strain the branch.
- Glue the lid shut before you are happy with the scene.
- Hang them where pets or toddlers can bat them down.
Mini mason jars become tiny snow globes without the water. Layer fake snow, a pinch of glitter, and a miniature tree inside, then screw the lid on and add a twine hanger. They catch the tree lights beautifully. For more jar inspiration, see these christmas mason jar ideas that pair perfectly with this project.
Paper Snowflakes
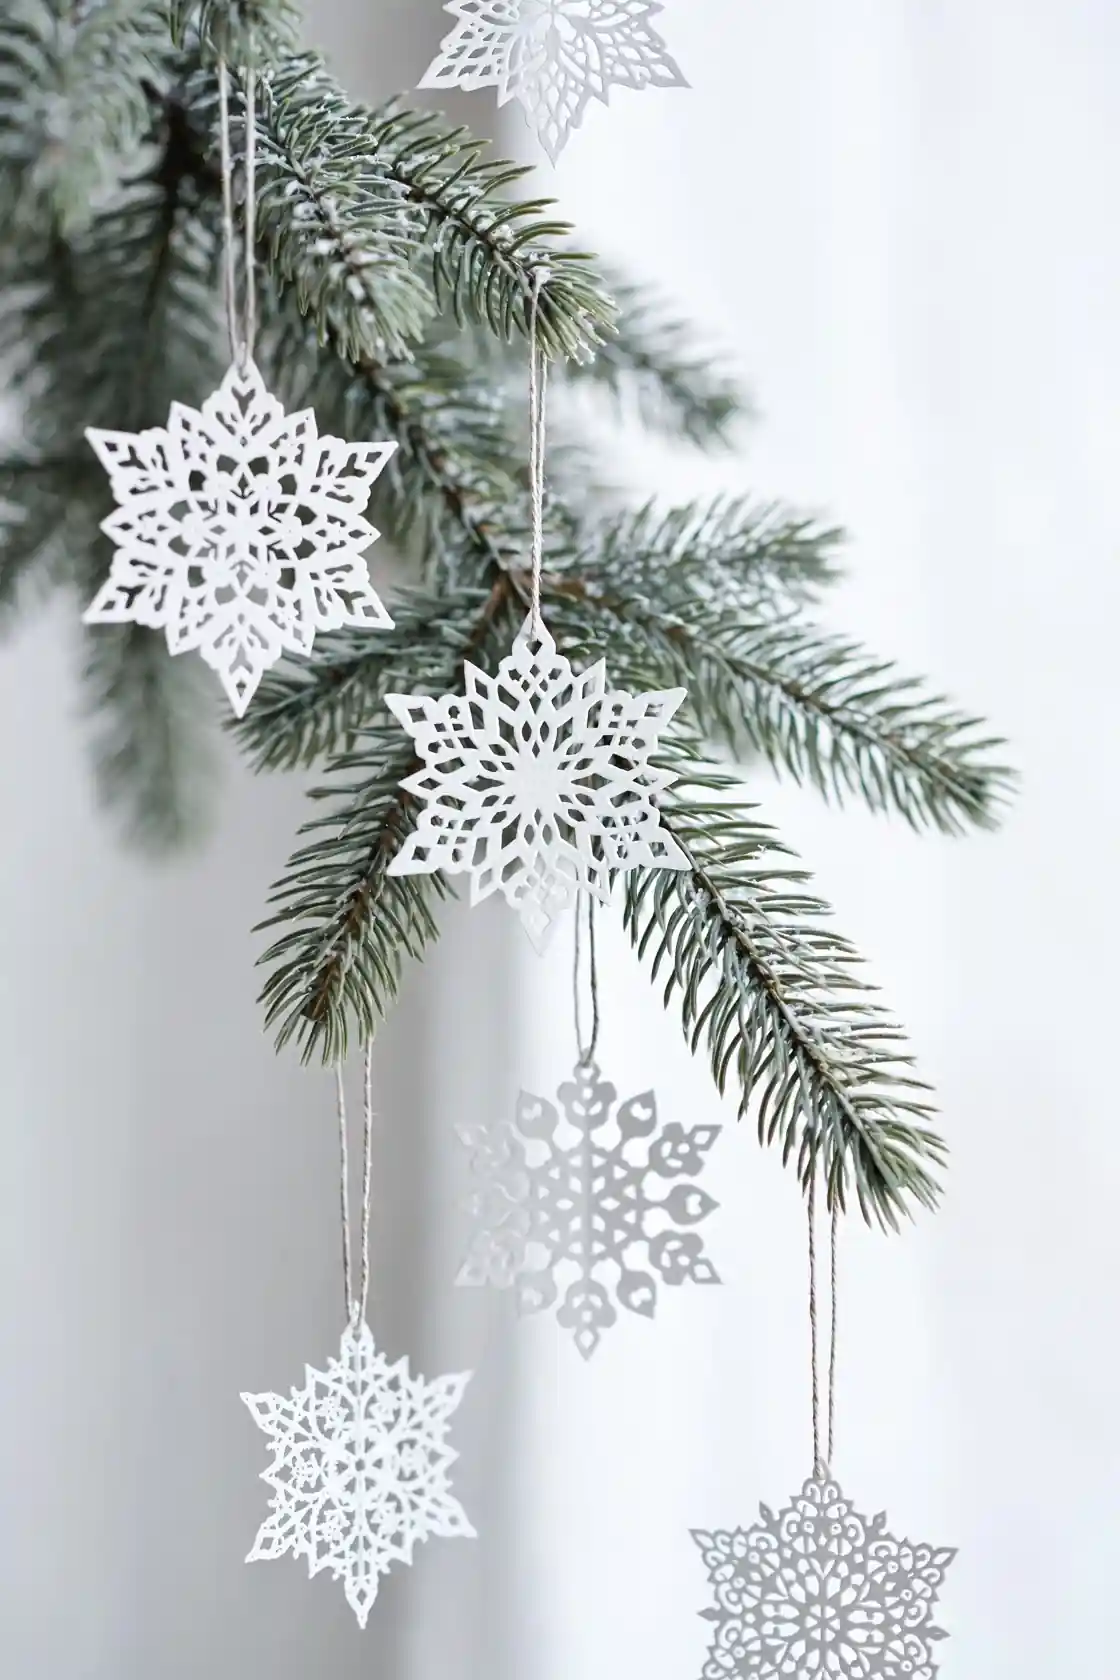
Cost: Almost free | Time: 15 minutes each | Skill Level: Beginner | Best For: Kids and last minute decorating
Folded paper snowflakes are the simplest ornament of all, yet they look stunning in clusters. Use white coffee filters for soft texture or shimmery craft paper for sparkle. No two ever come out alike, which is exactly the point. Hang five or six at different heights on one branch for a snowfall effect. In my experience, guests always assume they took hours. Try folding each filter into eighths before cutting for the most delicate, lacy patterns imaginable, and unfold slowly to avoid tears.
Twig Reindeer Faces
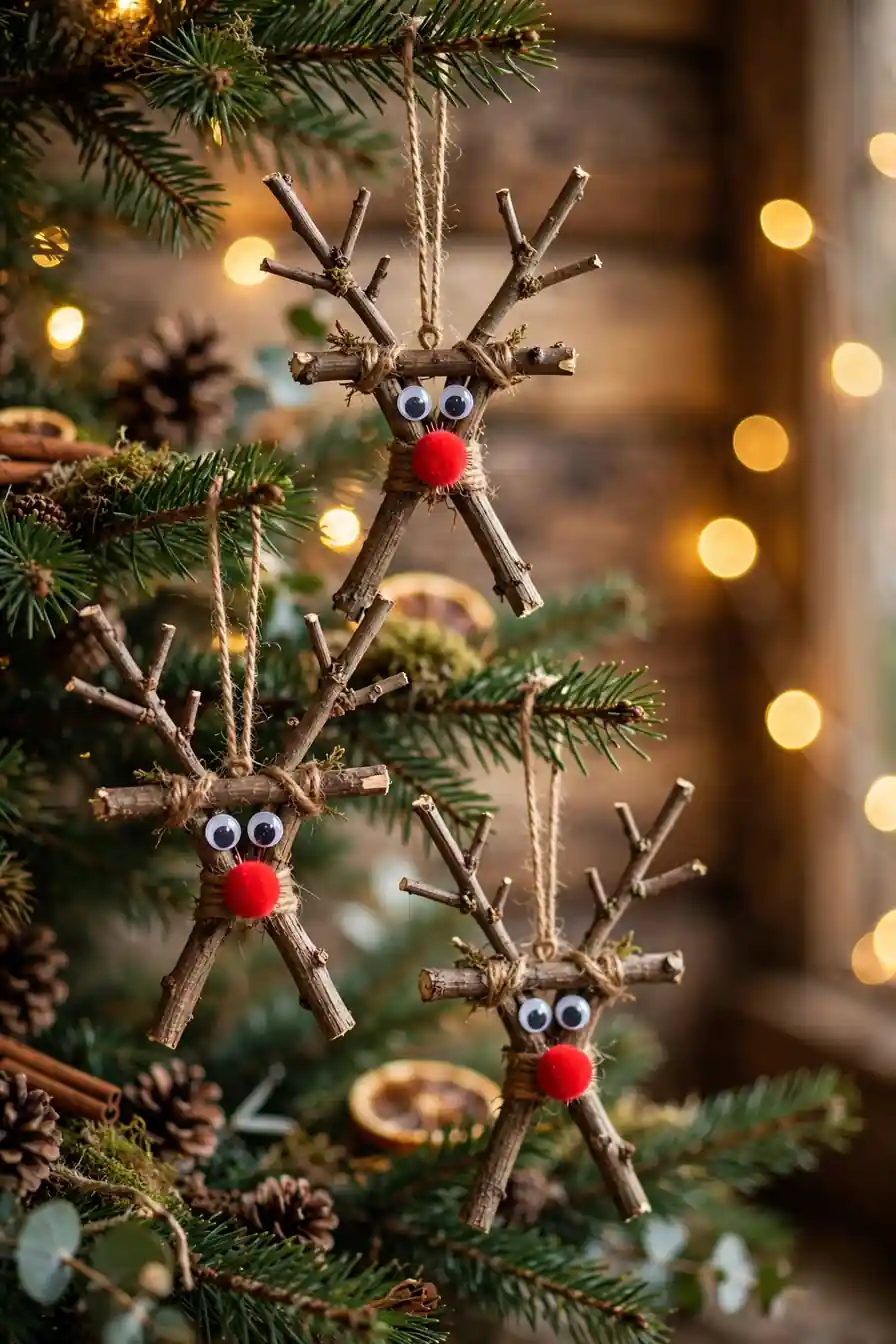
Gather straight twigs from the yard and cross two short pieces into a V for antlers, with one longer twig as the face. Glue on googly eyes and a red pom pom nose. These rustic reindeer take minutes and charm everyone who spots them. The twigs keep their bark texture, which adds wonderful natural detail against the green branches.
Make a whole herd in different sizes for a playful woodland corner of the tree. I have noticed kids love giving each reindeer a name. A dab of hot glue holds everything firmly, and a twine loop around the antlers makes hanging easy and secure.
Button Christmas Trees
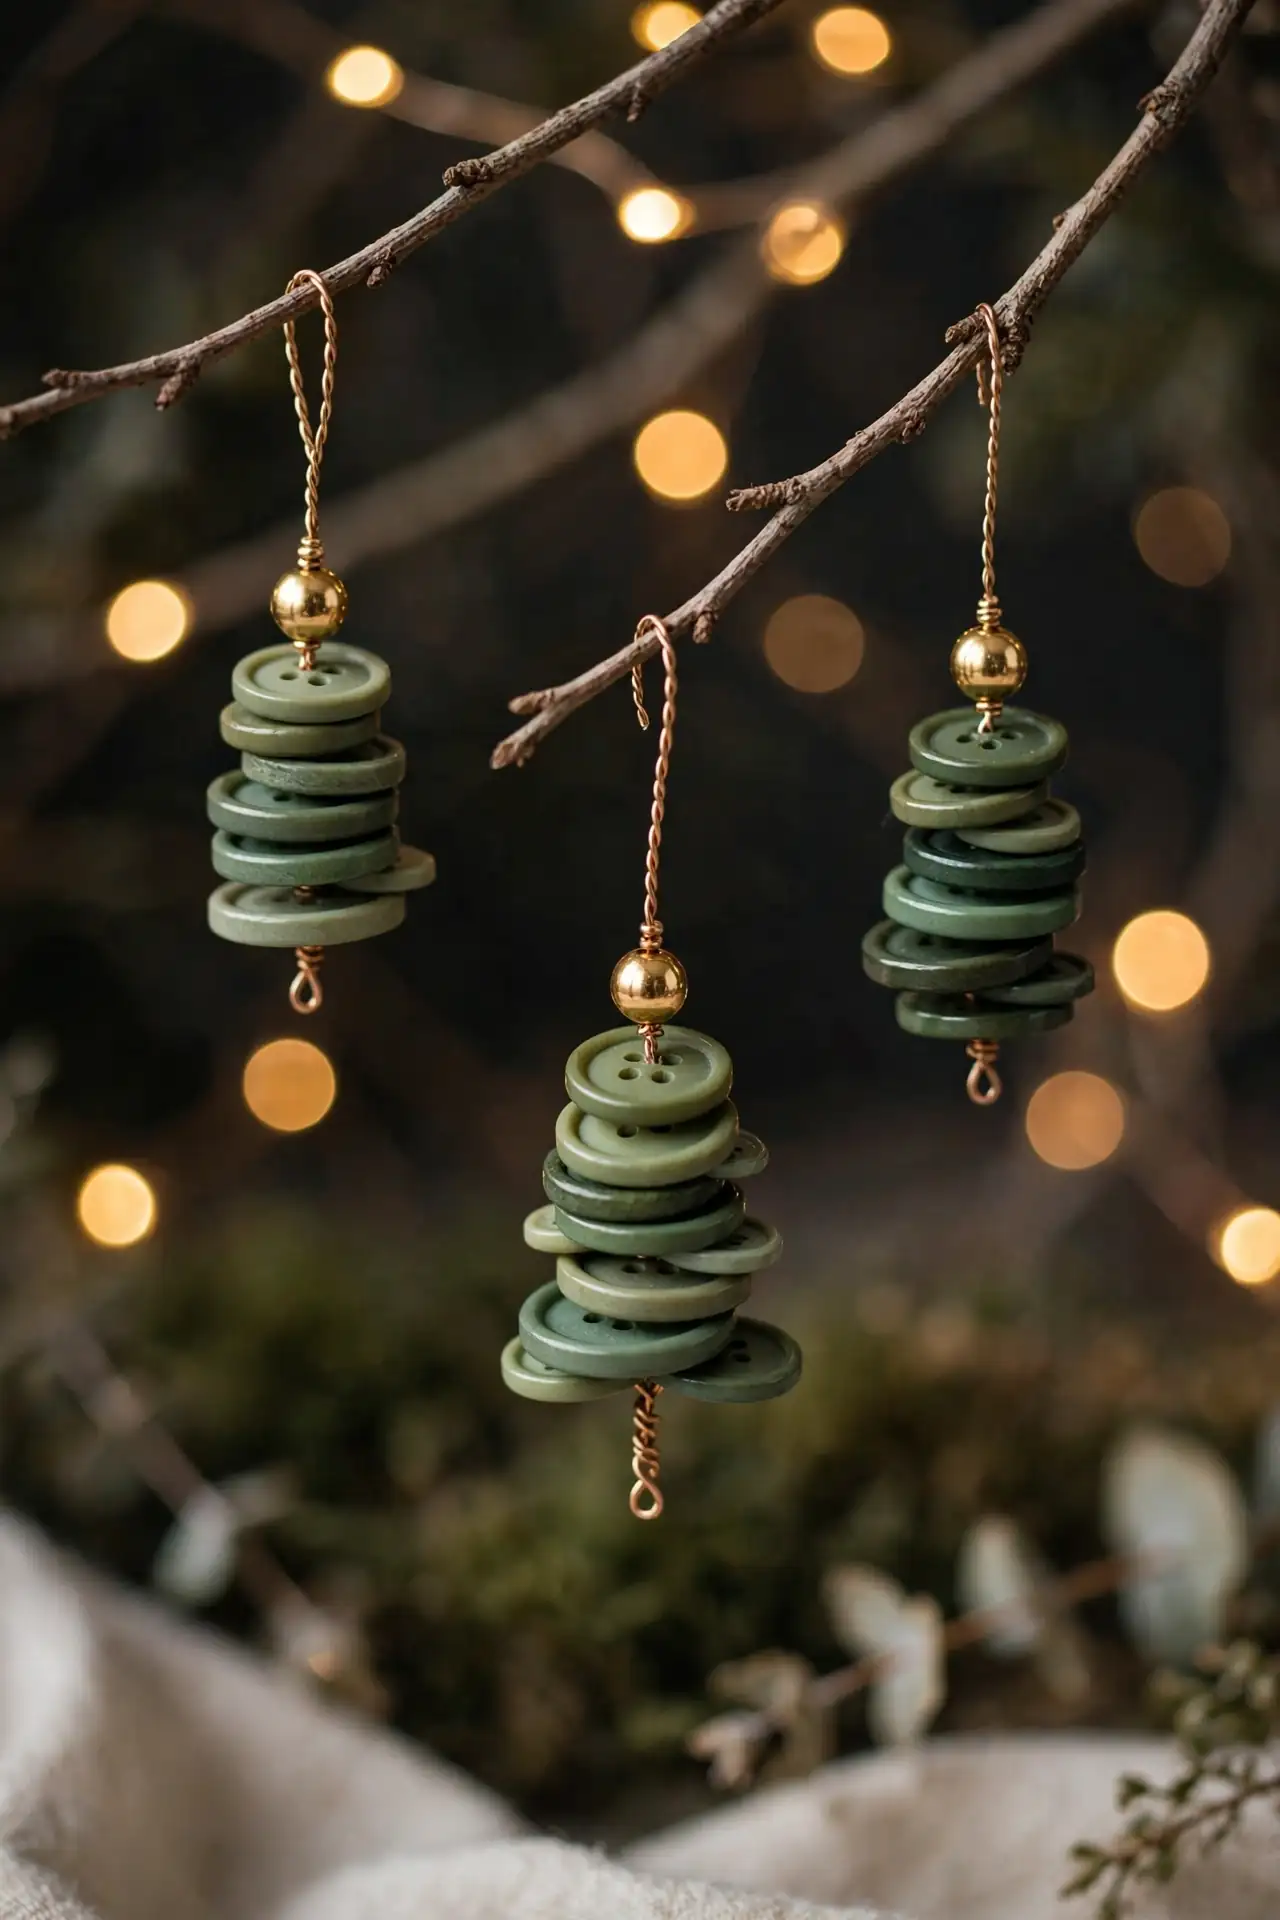
- Thread green buttons from largest to smallest onto craft wire.
- Top with a tiny star button or gold bead.
- Twist the wire into a loop for hanging.
- Mix shades of green for a fuller look.
- Add a small bow at the base for extra charm.
Raid the button jar for this sweet project. Stacking buttons into tiny tree shapes feels like a treasure hunt, and no two trees match. They weigh almost nothing, so they perch happily on delicate branch tips. That is why many experts recommend using a thimble when pushing wire through stiff buttons to save your fingertips.
Burlap Ribbon Bows

Quick Tip: Cut burlap ribbon with pinking shears to stop fraying. A tiny dot of hot glue behind the knot keeps the bow shape crisp all season, and wiring the center lets you fluff the loops perfectly.
Burlap bows bring instant farmhouse warmth to any tree. Tie simple two-loop bows and wire them directly onto branch tips so they sit like little nests. The rough texture contrasts beautifully with shiny baubles and smooth glass. I have seen this work well in many cases where a tree needs grounding between fancier ornaments. Ten bows spread evenly can tie a whole tree together.
Painted Pinecones
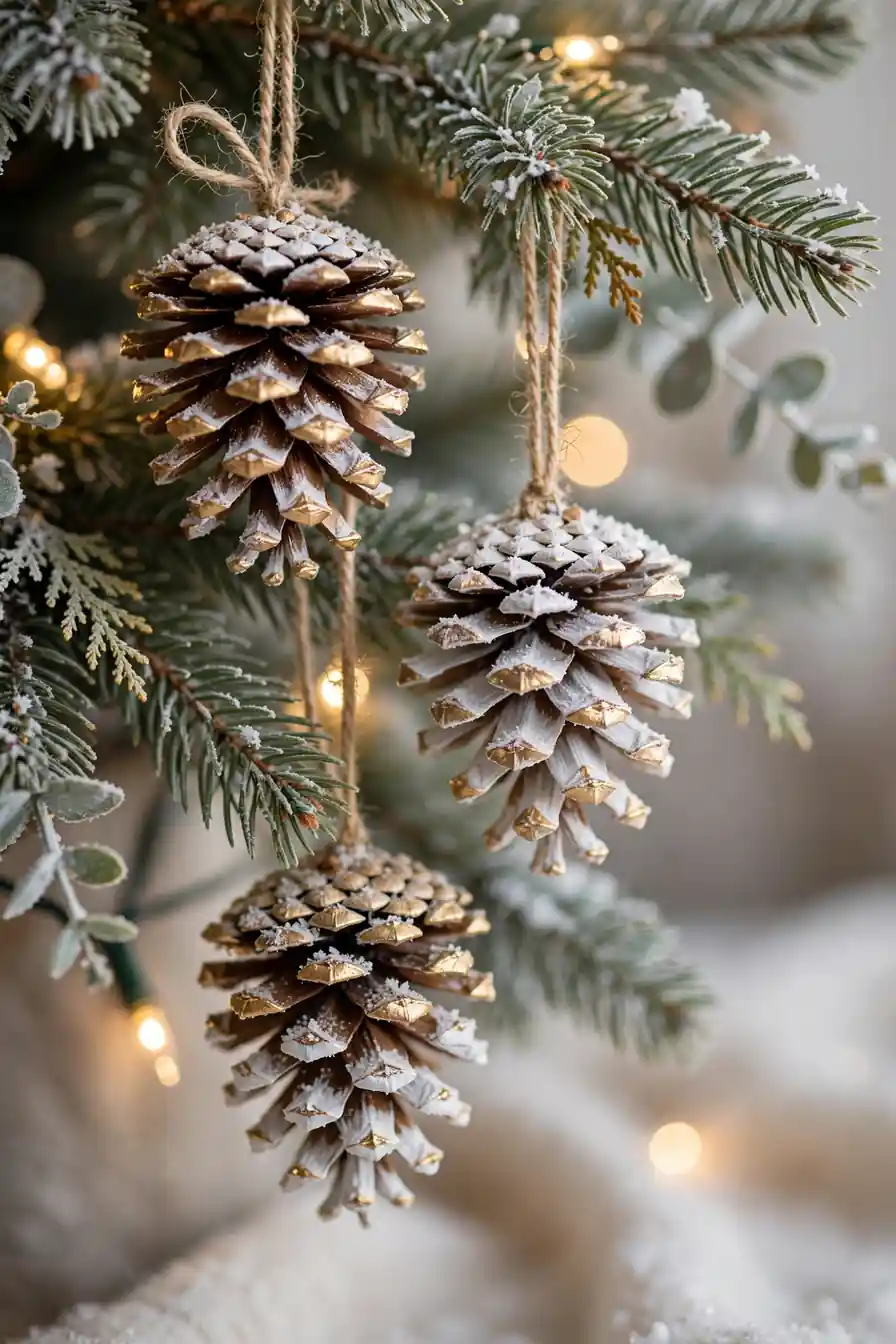
BEFORE: Plain brown pinecones look dull against a lit tree, disappearing into the shadows between branches instead of standing out.
AFTER: Tips dipped in white and gold paint catch every light, turning humble pinecones into frosted jewels scattered through the greenery.
Dip just the tips of each scale in paint, or dry brush the whole cone for a snowy wash. Metallic gold over brown reads elegant, while white over everything reads wintry. Hang with twine or nestle them deep in the branches. In my experience, a dozen painted cones give more impact than a whole box of store baubles. Let each coat dry fully before adding the next for the cleanest finish.
Fabric Scrap Balls
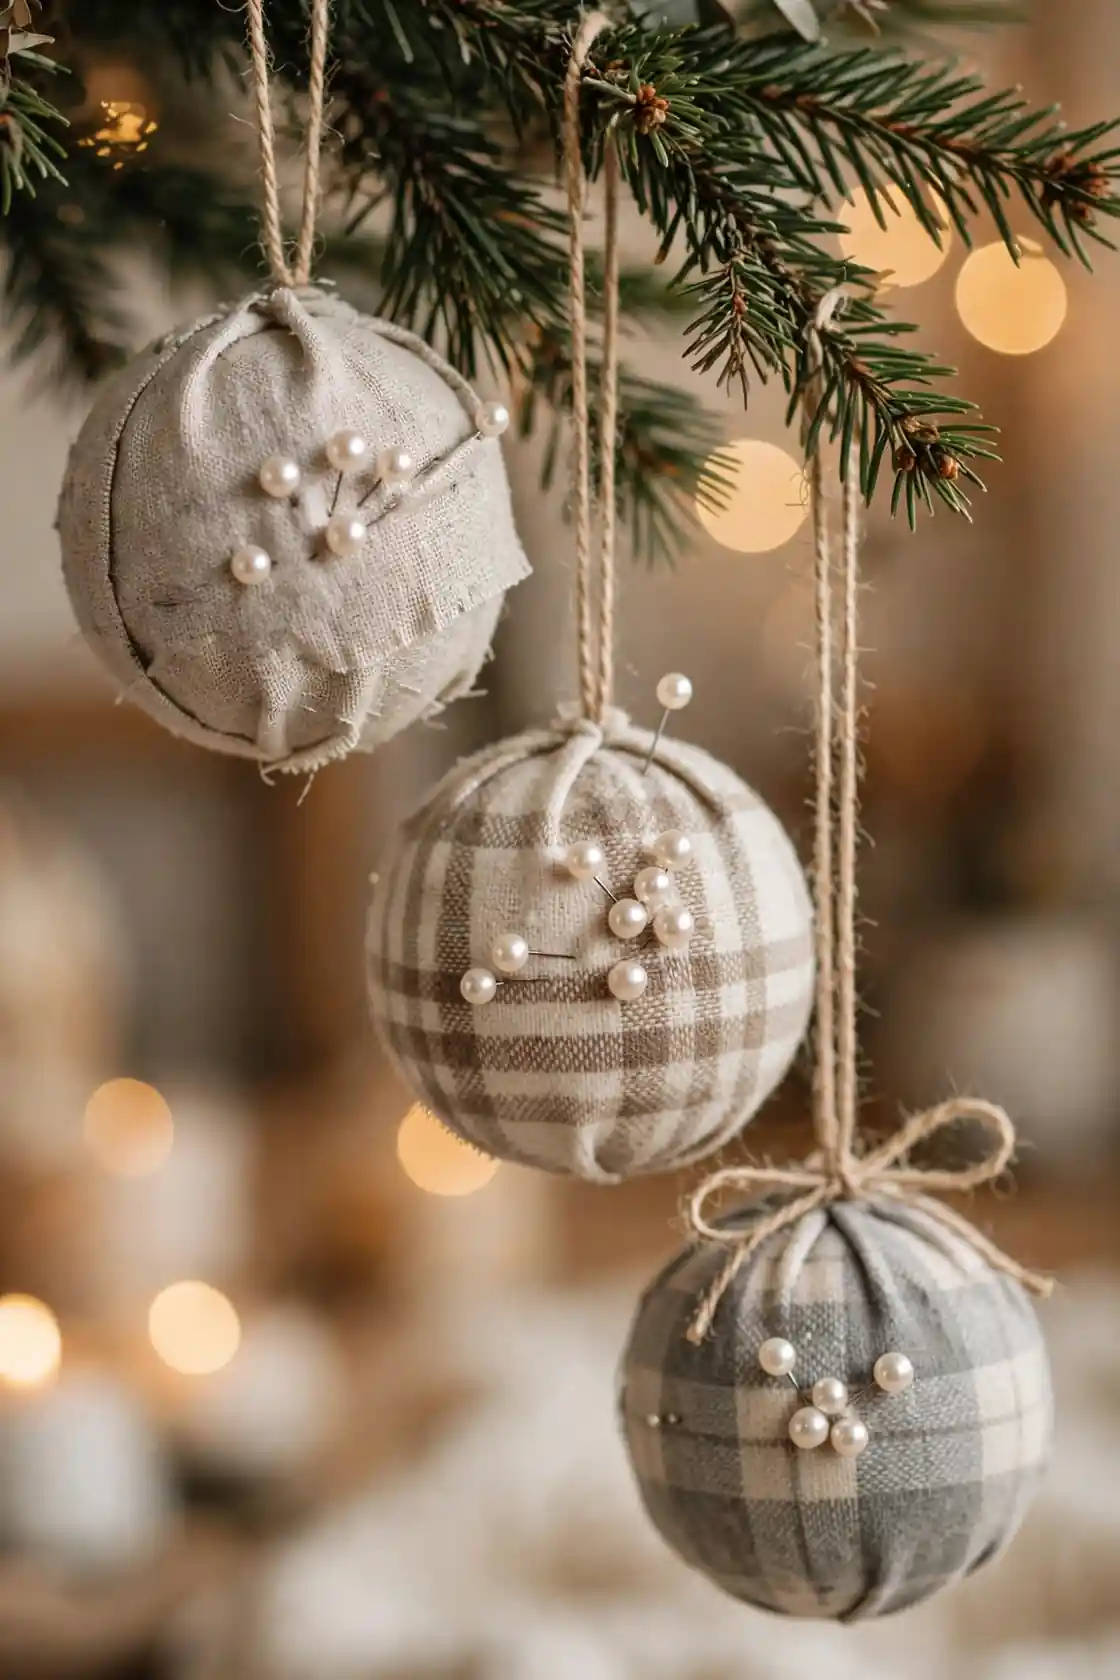
- Cut fabric into strips about one inch wide.
- Pin one end to a foam ball and wrap tightly.
- Overlap strips until no foam shows through.
- Secure the end with a pearl headed pin.
- Push a ribbon loop into the top for hanging.
Fabric scrap balls use up leftover quilting cotton or old shirts beautifully. Choose a tight color palette like cream, sage, and soft plaid for a coordinated look. The texture reads cozy and handmade from across the room. I have tried making them while watching holiday movies, and the rhythm of wrapping is wonderfully relaxing. Keep a small dish of pins nearby so you never lose your place mid wrap.
Jingle Bell Wreaths
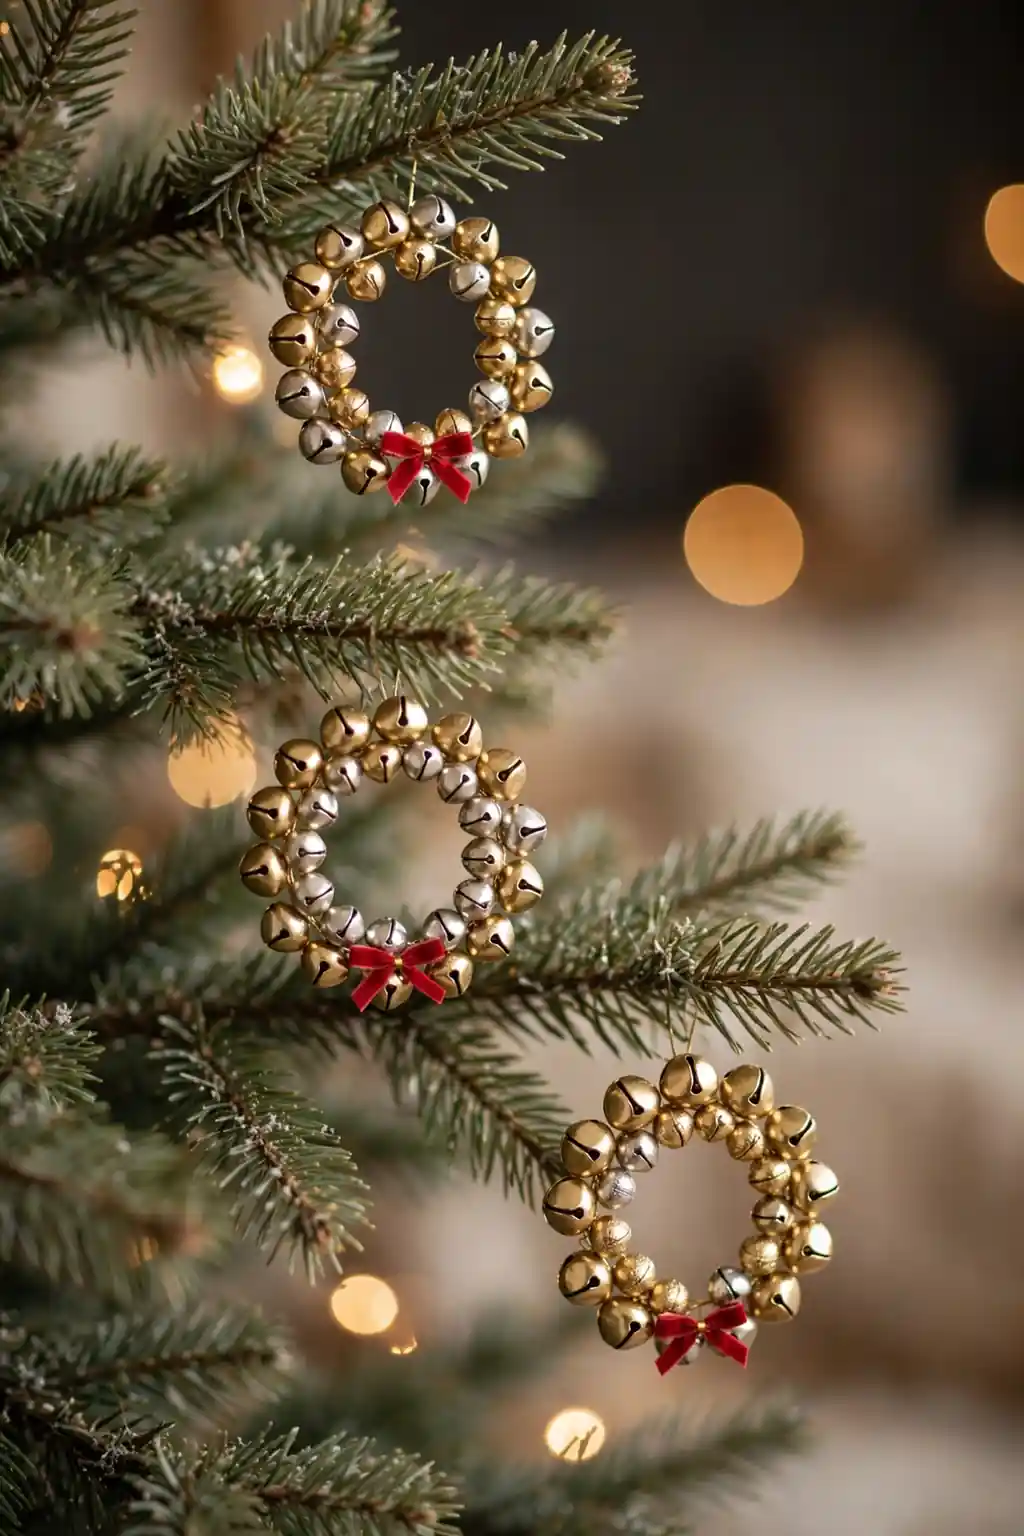
| Bell Size | Best Use |
| Small (half inch) | Delicate wreaths for thin branches |
| Medium (one inch) | Classic wreaths with full sound |
| Mixed sizes | Textured wreaths with visual rhythm |
Thread jingle bells onto craft wire, shape into a circle, and twist the ends together. Add a tiny bow where the ends meet. These mini wreaths chime softly when the tree gets bumped, which delights kids endlessly. Hang them at different depths so the sound surprises people as they walk past. For the fullest look, pack the bells tightly with no wire showing between them. A dab of glue on the twist keeps the circle from springing open.
Acorn Cap Trinkets
DO:
- Collect caps that are intact with no cracks.
- Paint insides gold for a glowing effect.
- Use clear fishing line so they seem to float.
DON’T:
- Skip cleaning them, since dirt shows under paint.
- Use heavy glitter that flakes onto gifts below.
- Hang them where they will be crushed by bigger ornaments.
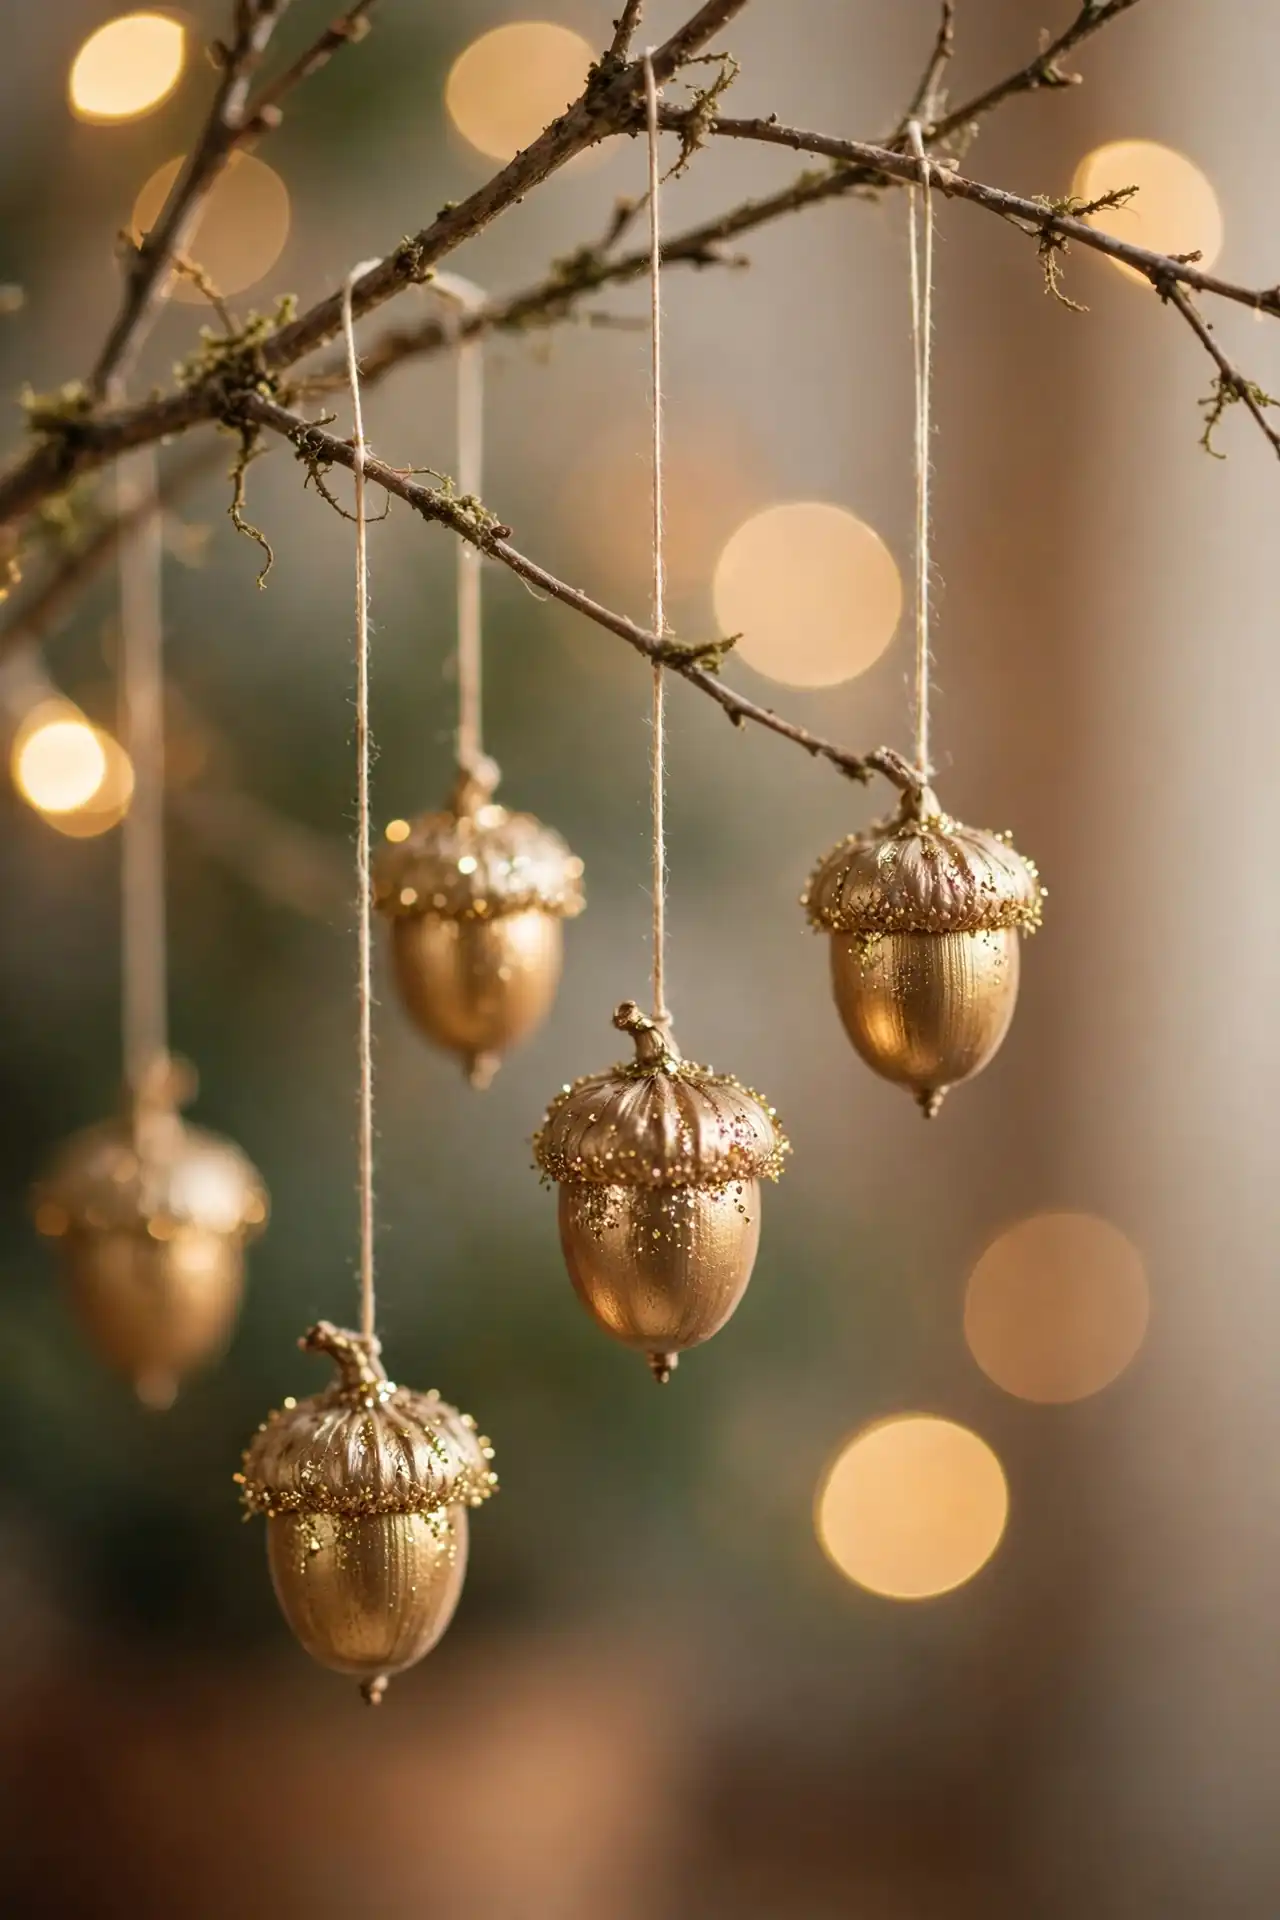
Acorn caps are nature’s tiniest bowls, and they make the daintiest ornaments. Paint them gold or silver, add a micro bead inside, and hang with invisible thread. They suit slim pencil trees perfectly. In my experience, these are the ornaments guests lean in close to admire. Collect extras in autumn so you have plenty to experiment with each holiday season.
Bead Icicle Drops
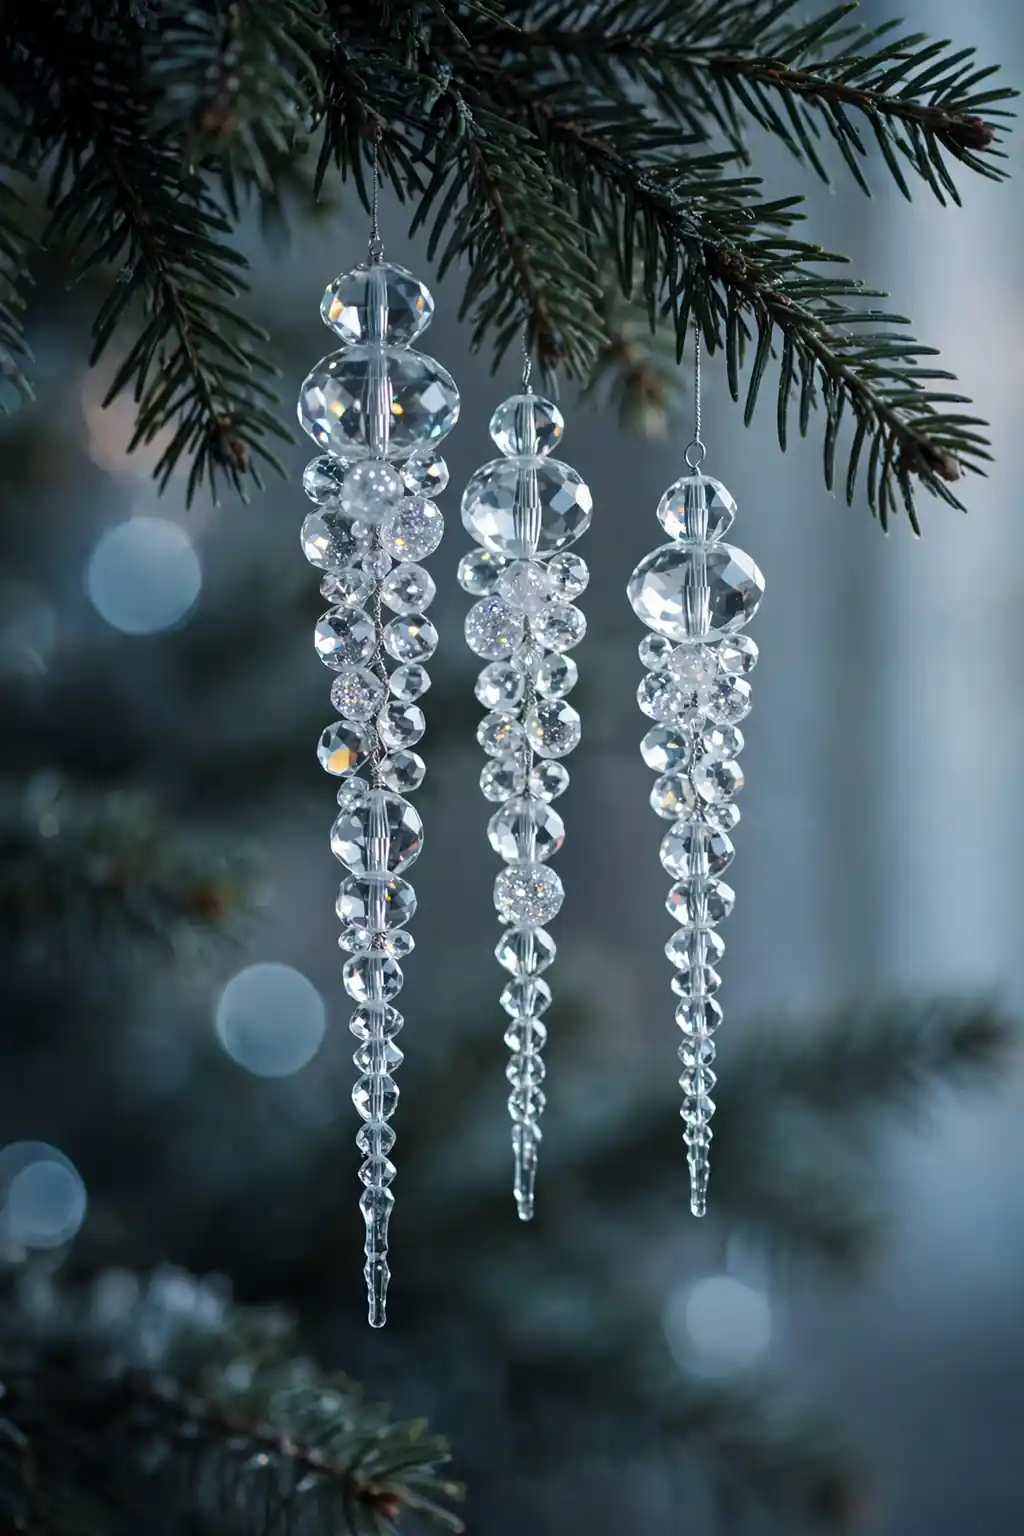
Cost: Low | Time: 20 minutes each | Skill Level: Beginner | Best For: Elegant and icy tree themes
String faceted beads onto wire in a tapering pattern, wide at top and narrow at the tip, to mimic real icicles. Silver and clear beads catch the light like frozen rain. They look incredible against dark green branches. I have noticed a cluster of five hanging at slightly different lengths creates the most realistic effect. Crimp the bottom bead firmly so the whole strand never slides apart, and vary your bead sizes for a natural, organic look that catches every light.
Cardboard Gift Boxes

Fold tiny boxes from cardstock, wrap them in kraft paper, and tie with twine bows. These miniature presents add a playful layer to the tree, like gifts that never need unwrapping. Vary the sizes for a natural look. Kids love spotting them and guessing what might be inside.
Tuck a few deep inside the tree so they peek out between branches. I have seen this work well in many cases where flat ornaments dominate and the tree needs dimension. A light box weighs nothing, so even the wispiest branch tips can hold one. Score the fold lines with a bone folder first for crisp, professional looking edges every time.
Yarn Wrapped Balls
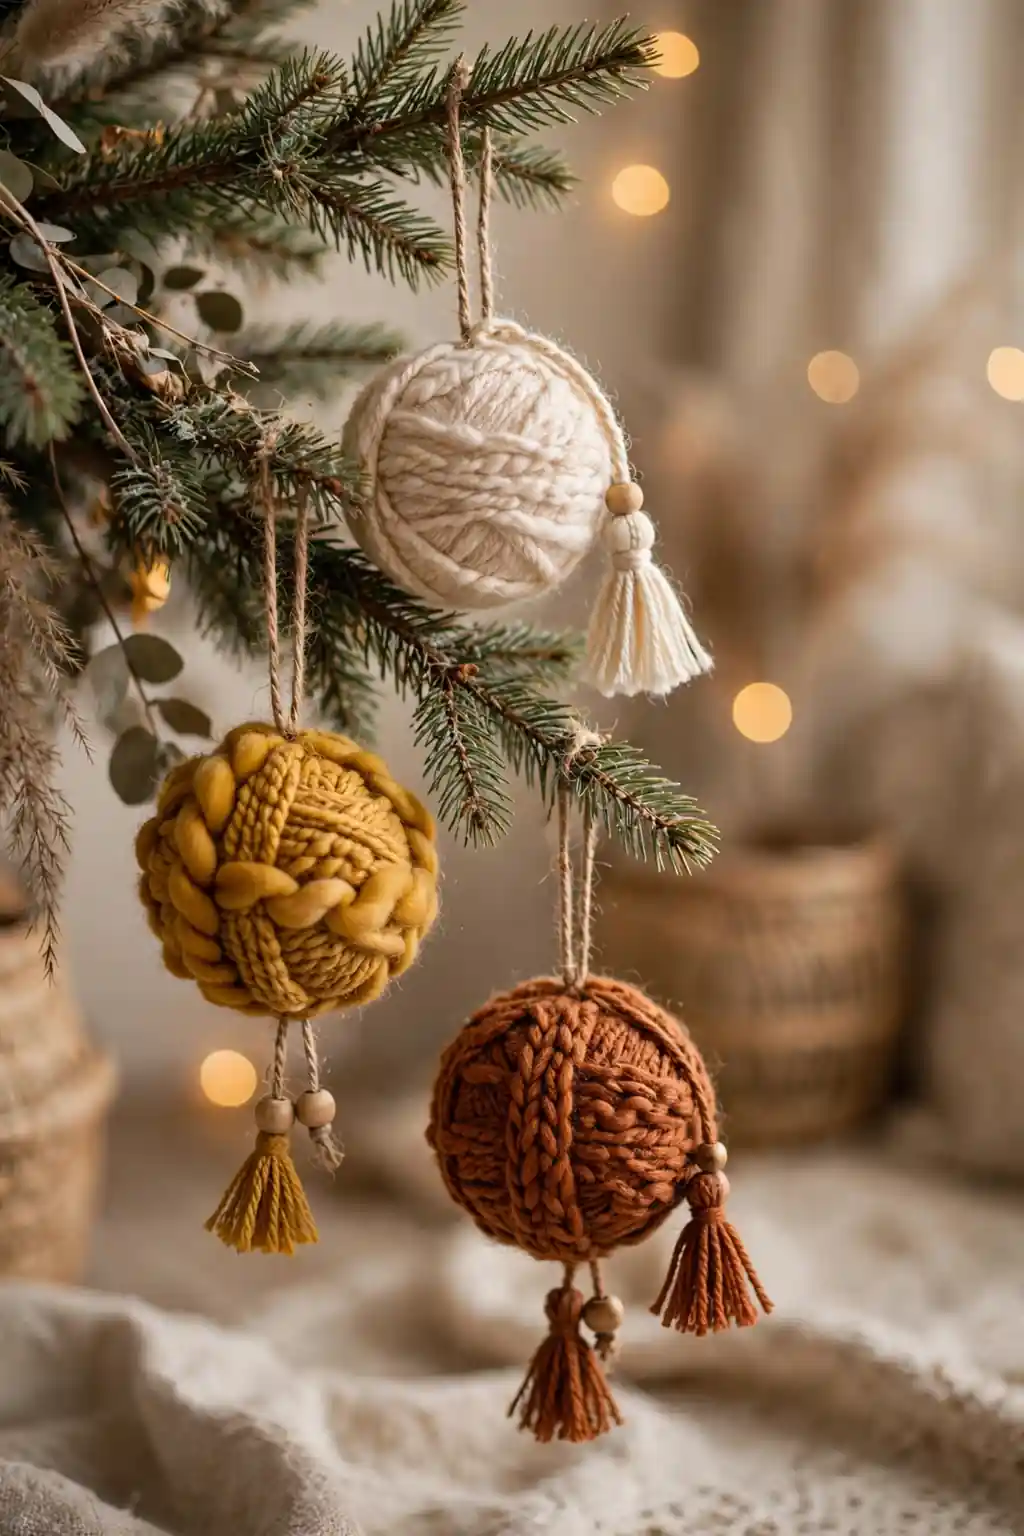
- Glue the yarn end to a foam ball to start.
- Wrap in all directions until fully covered.
- Change colors for stripes or ombre effects.
- Tuck the final end under with a dab of glue.
- Add a crocheted or braided hanger loop.
Yarn balls bring sweater weather texture to the tree. Chunky cream yarn reads Scandinavian, while mustard and rust feel bohemian. They are wonderfully forgiving to make, since uneven wrapping just adds character. That is why many experts recommend them as a first craft for nervous beginners. Try wrapping two tones together for a marled effect that looks far more complex than it is.
Clay Leaf Charms
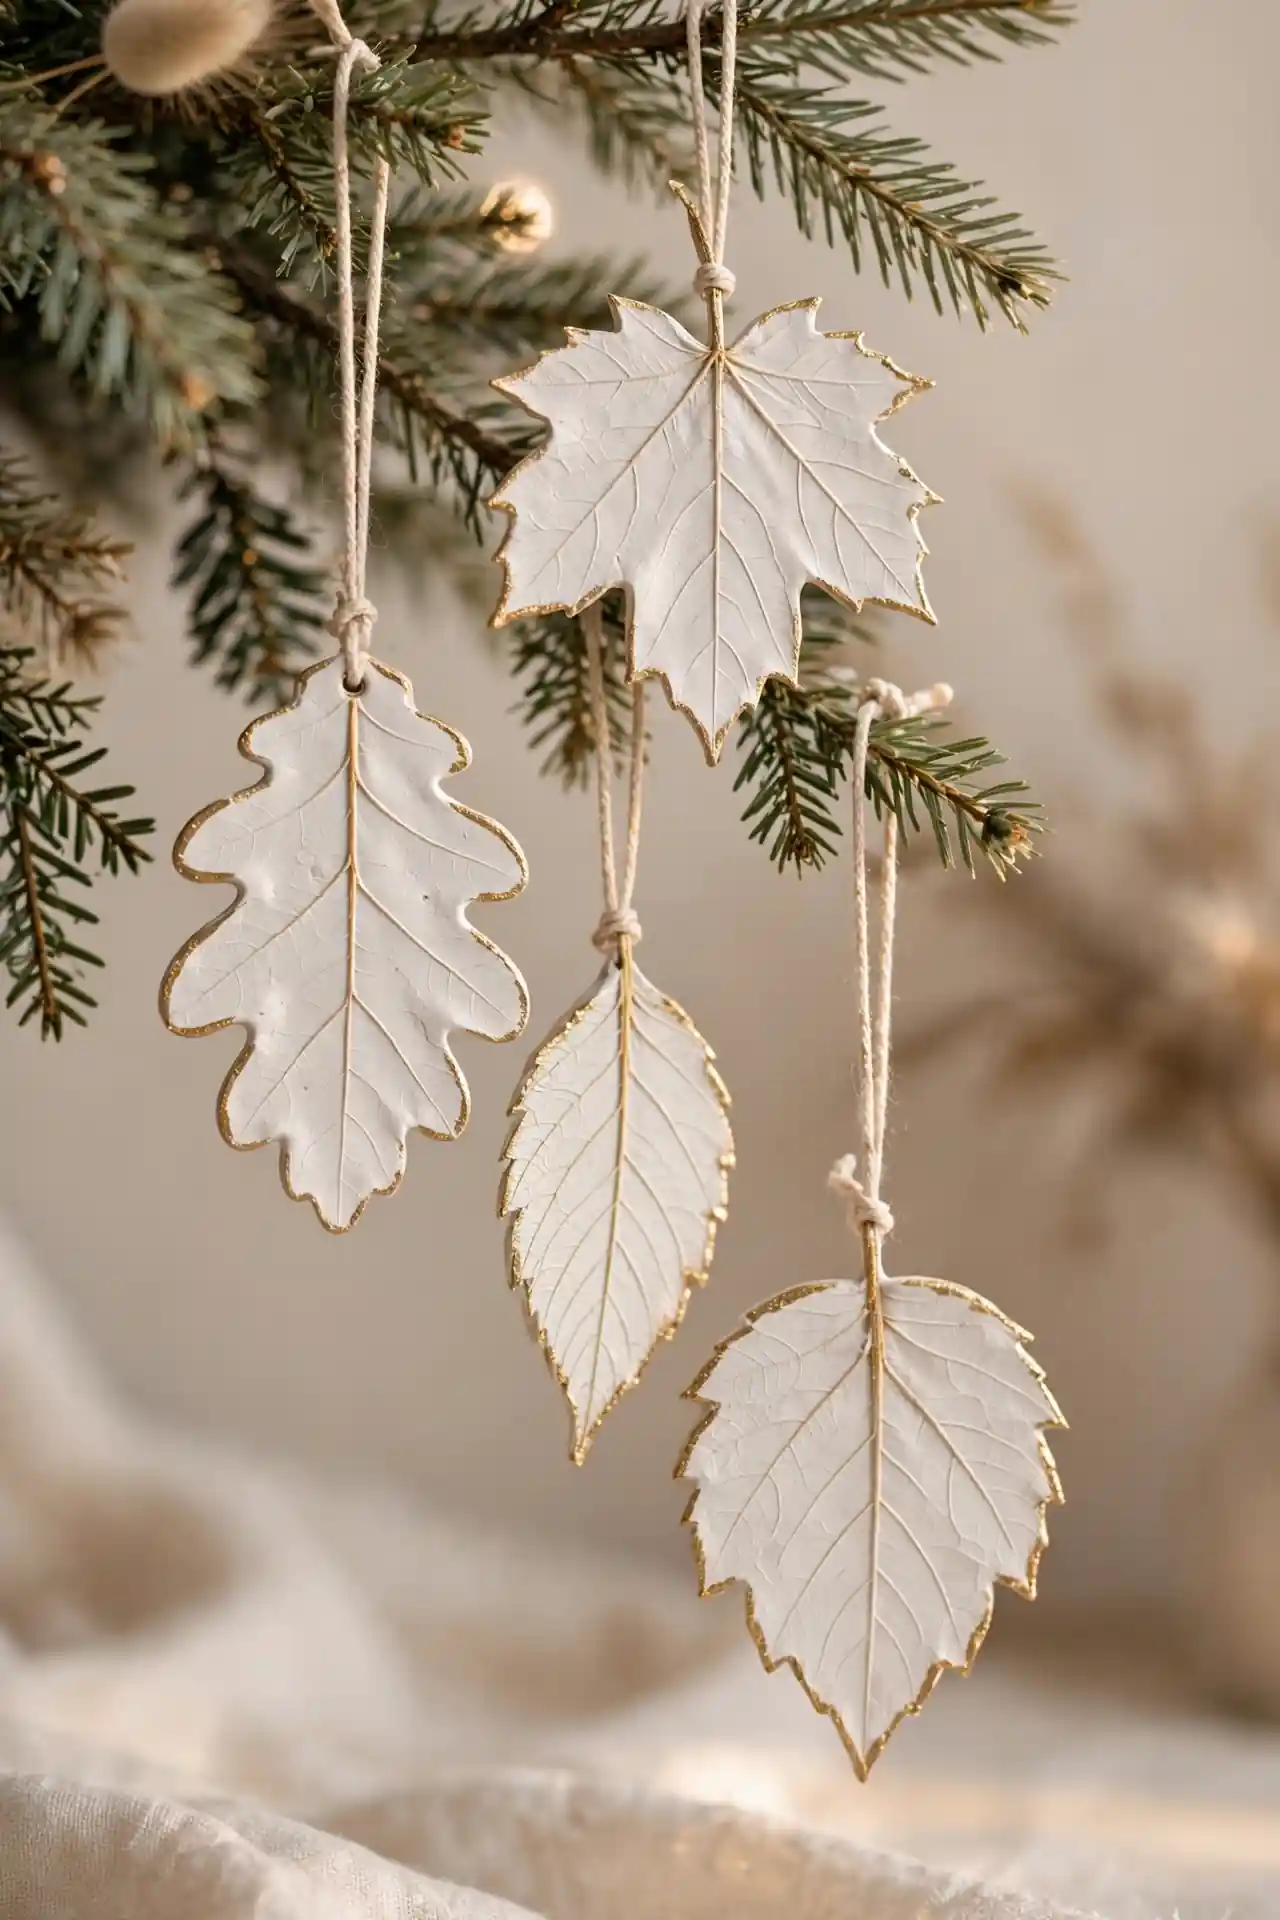
Quick Tip: Roll air dry clay between two sheets of parchment for an even thickness. Press real leaves into the surface for perfect vein detail, then lift them away before the clay sets.
Air dry clay leaves look like porcelain once painted white and sealed. Cut leaf shapes with a knife or cookie cutter, stamp the veins, and poke a hanging hole before drying. They bring an organic, botanical feel to holiday decorating. I have tried gilding the edges with gold paint, and the result looks straight from a boutique. Let them cure a full day before painting for the smoothest finish.
Walnut Shell Boats
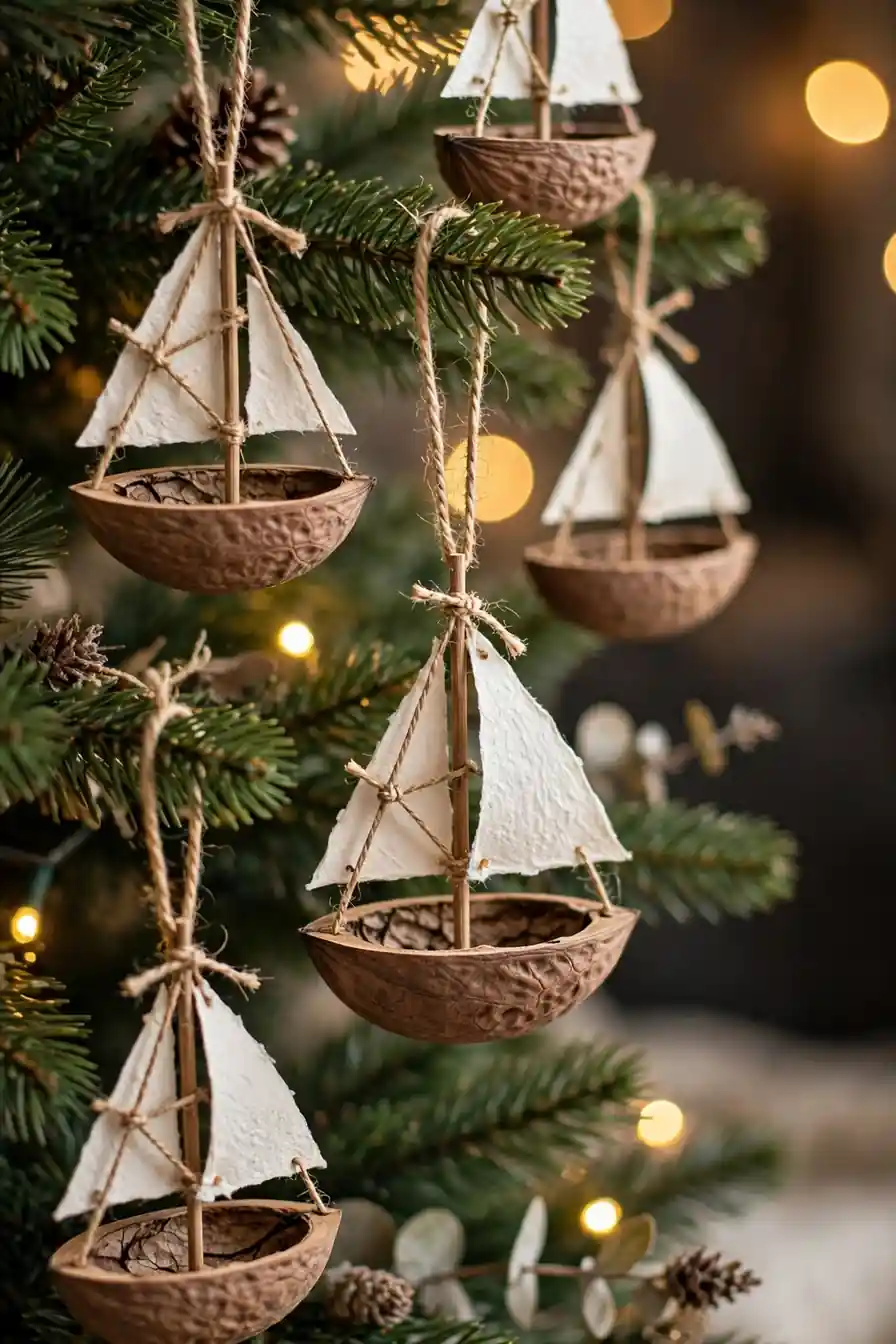
BEFORE: Cracked walnut shells go straight into the compost, their beautiful wood grain completely wasted after holiday baking.
AFTER: Each shell half becomes a tiny sailboat with a paper sail and twine rigging, bobbing among the branches like a miniature regatta.
Glue a toothpick mast into the shell, add a triangle paper sail, and hang with thread. Paint the hulls red and green for festive color. These whimsical boats charm everyone. In my experience, they become instant conversation starters at every holiday gathering. A tiny flag on the mast top adds the perfect finishing touch to each little vessel, ready to sail the branches.
Pom Pom Garlands

- Wrap yarn around a fork about forty times.
- Tie the middle tightly with a separate piece.
- Slide off the fork and cut the loops.
- Fluff into a round pom pom and trim evenly.
- String pom poms along twine with a needle.
Pom pom garlands add joyful color without any weight. Choose a palette that matches your tree, or go rainbow for a playful kids tree. The soft texture balances shiny ornaments beautifully. I have noticed they photograph wonderfully, which makes them a smart pick if your tree stars in holiday cards. Space them unevenly along the twine for a relaxed, organic drape.
Tin Can Lanterns
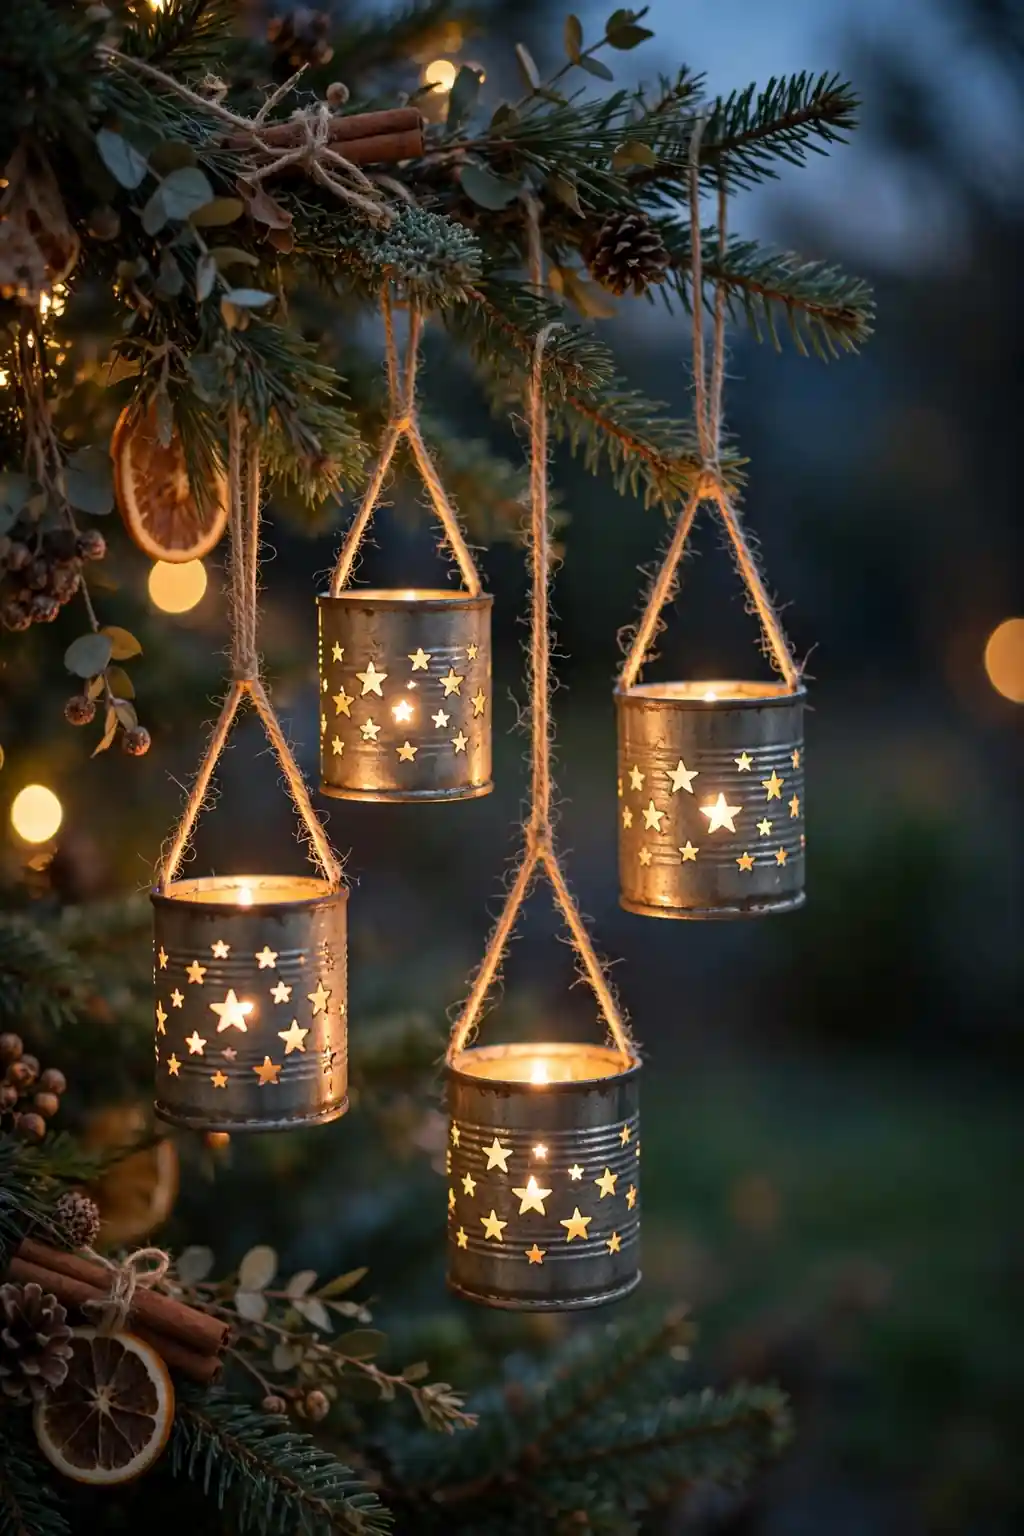
| Can Size | Ornament Style |
| Tuna cans | Mini lanterns for branch tips |
| Tomato cans | Statement lanterns for sturdy branches |
| Small food tins | Medium lanterns with detailed patterns |
Punch star and dot patterns into small tins with a nail, then add a battery tea light inside. These glowing lanterns turn your tree into a constellation. The punched holes throw the prettiest shadows on nearby walls. That is why many experts recommend using LED lights only, since real flames and dry trees never mix. Freeze the cans with water first so the metal punches cleanly without denting the sides or warping the shape.
Ribbon Candy Swirls
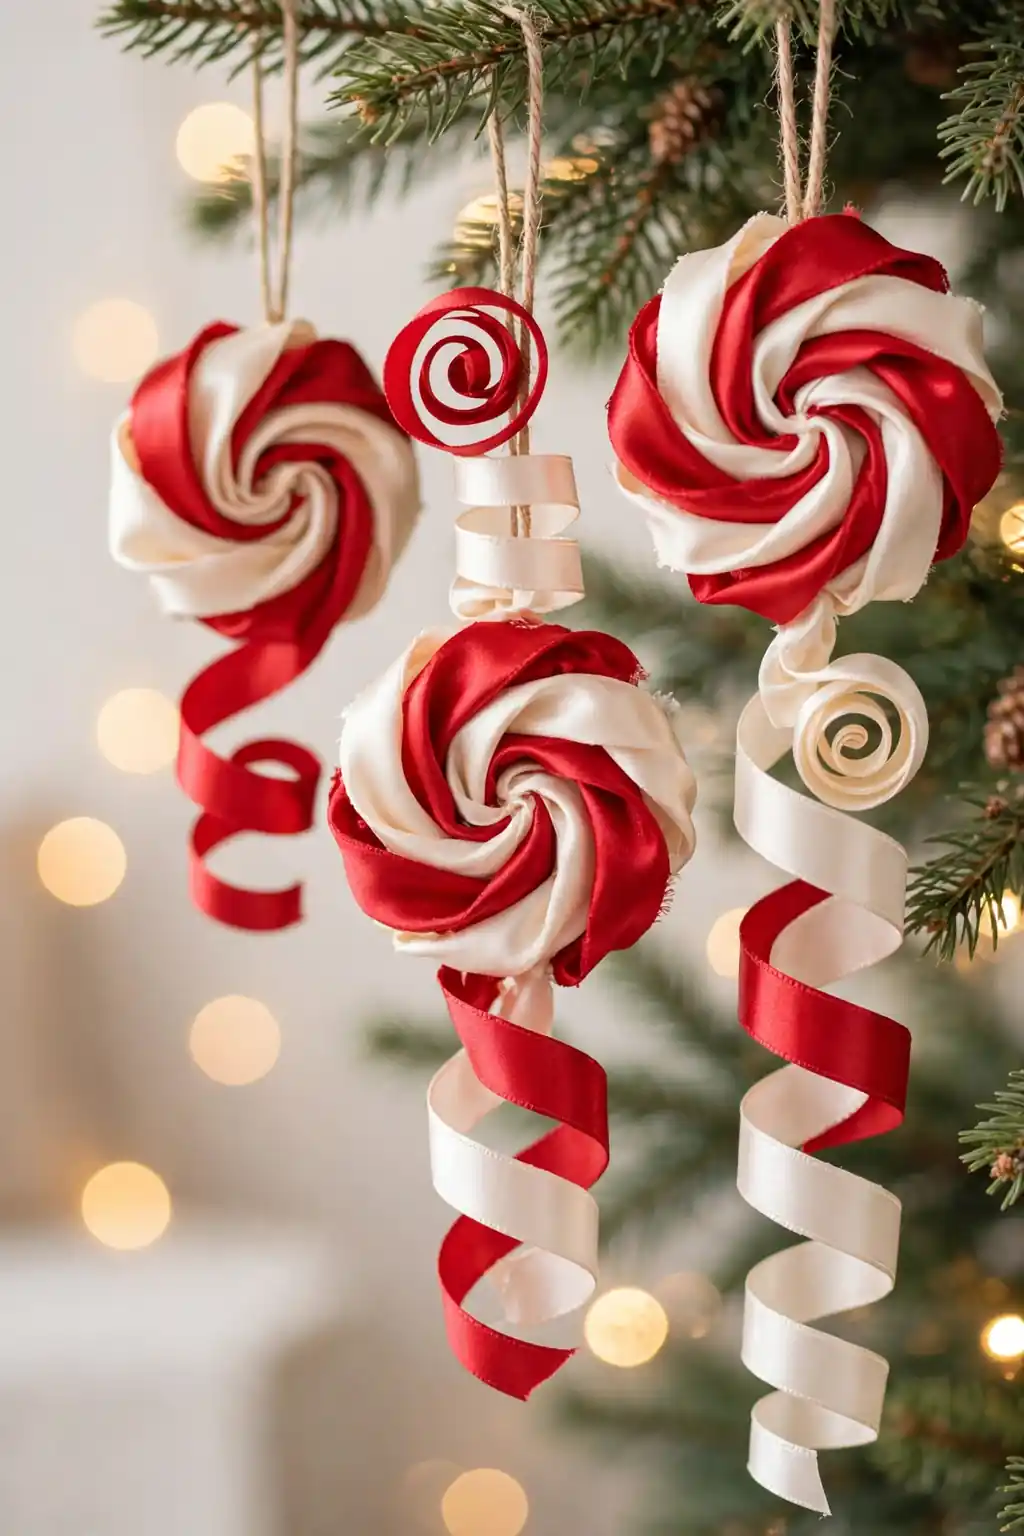
DO:
- Use wired ribbon so the curls hold their shape.
- Curl around a pencil for tight, even spirals.
- Mix two colors for a classic candy look.
DON’T:
- Use plain ribbon that goes limp in humidity.
- Make them too large for delicate branches.
- Forget to seal the cut ends against fraying.
Curled ribbon swirls mimic old fashioned ribbon candy without any calories. They add swirls of color that break up round ornament shapes. In my experience, red and cream swirls look timeless, while blush and gold feel fresh and modern. Anchor each swirl with a pearl pin so it keeps its springy shape all season long.
Cork Reindeer Charms
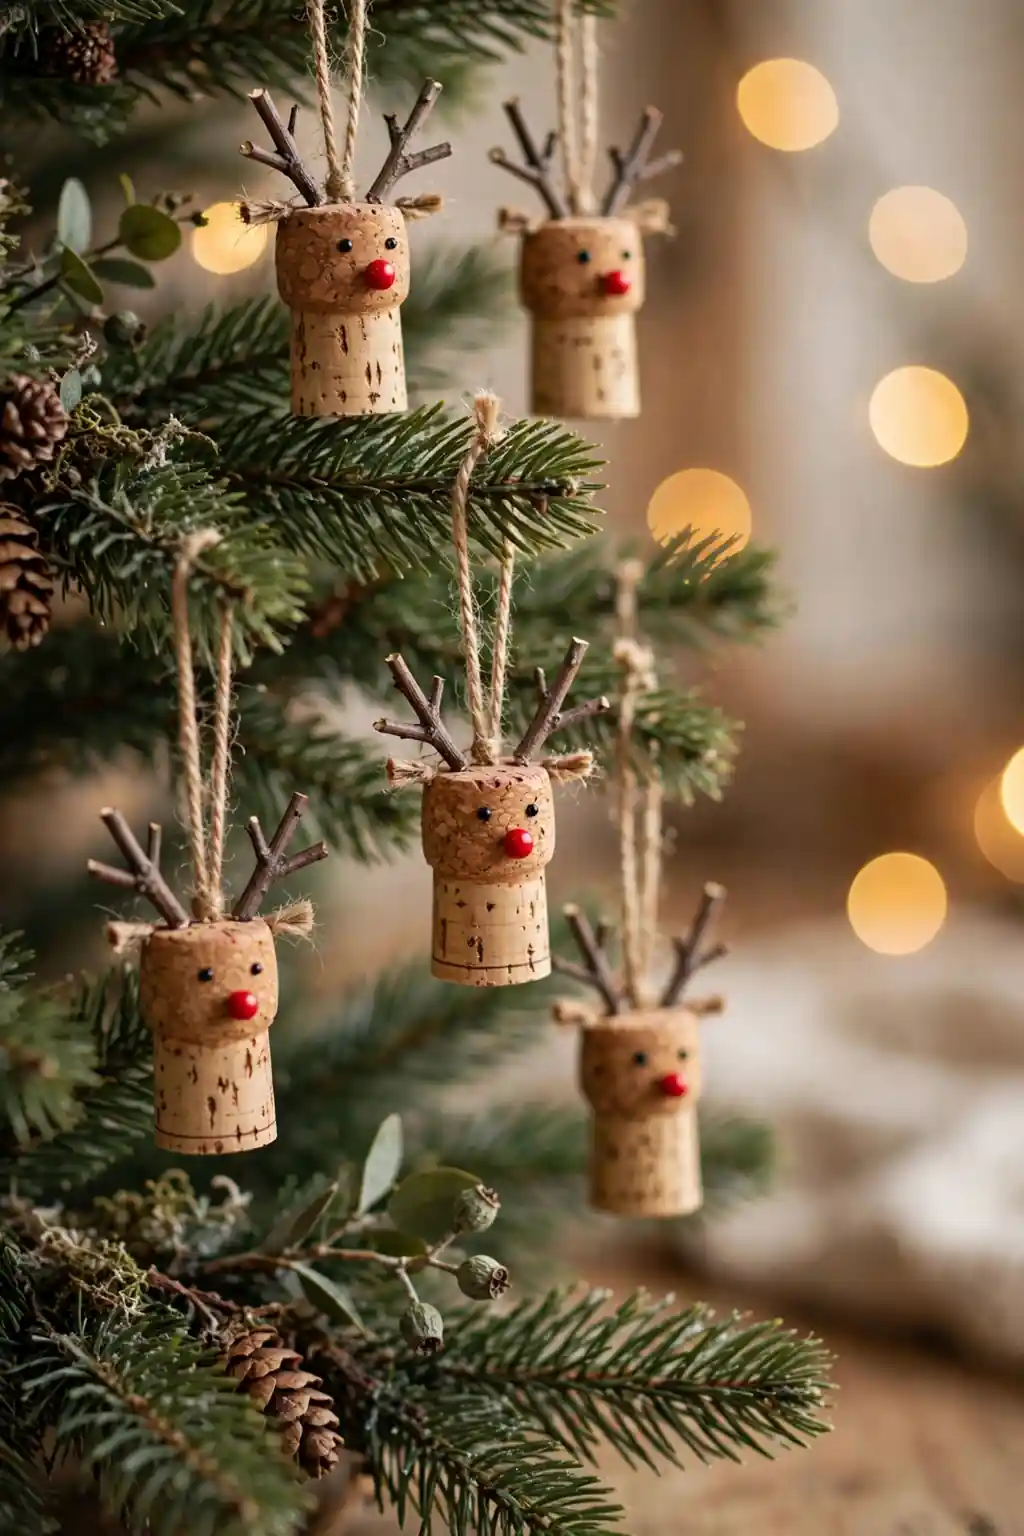
Cost: Free if you save corks | Time: 10 minutes each | Skill Level: Beginner | Best For: Rustic trees and wine lovers
Wine corks become tiny reindeer with twig antlers, painted eyes, and a red bead nose. They are the perfect use for a saved cork collection. Each one takes minutes and brings a smile. I have seen this work well in many cases as a party craft, since guests can make their own while chatting. Set out a tray of supplies and let everyone create their own little herd to take home as a sweet, memorable party favor.
Embroidery Hoop Scenes
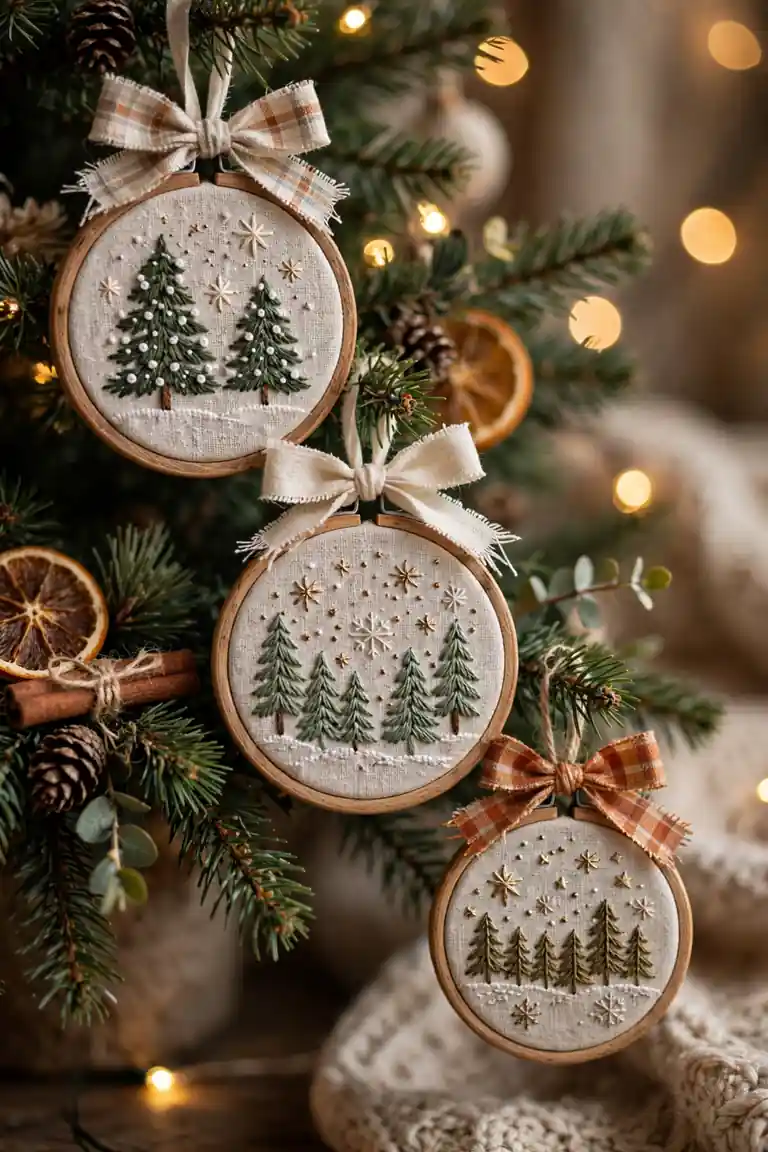
Stretch fabric in tiny embroidery hoops and stitch simple winter scenes: a tree, a star, a snowman. The wooden hoop frames your stitching like art. Even basic running stitches look charming at this scale. Hang several together for a gallery effect on one side of the tree.
Beginners can start with felt shapes glued on instead of stitching. I have tried both approaches, and glued versions look just as sweet from a few feet away. Add a ribbon bow at the top of the hoop to finish the look. Tighten the hoop screw firmly so the fabric stays taut and smooth through the whole season.
Conclusion
Handmade ornaments turn a pretty tree into a personal one, and I hope these 25 ideas sparked your crafting spirit. The best part of diy christmas ornaments is that every piece holds a memory long after the season ends. Start with one or two simple projects, then let the collection grow year after year. Pin your favorites to Pinterest so you can find them when the craft table calls. I have seen how small changes like these can completely shift the way a space feels. Now grab your supplies and make this holiday glow with your own handmade magic.