21 Over the Refrigerator Storage Ideas to Maximize Space
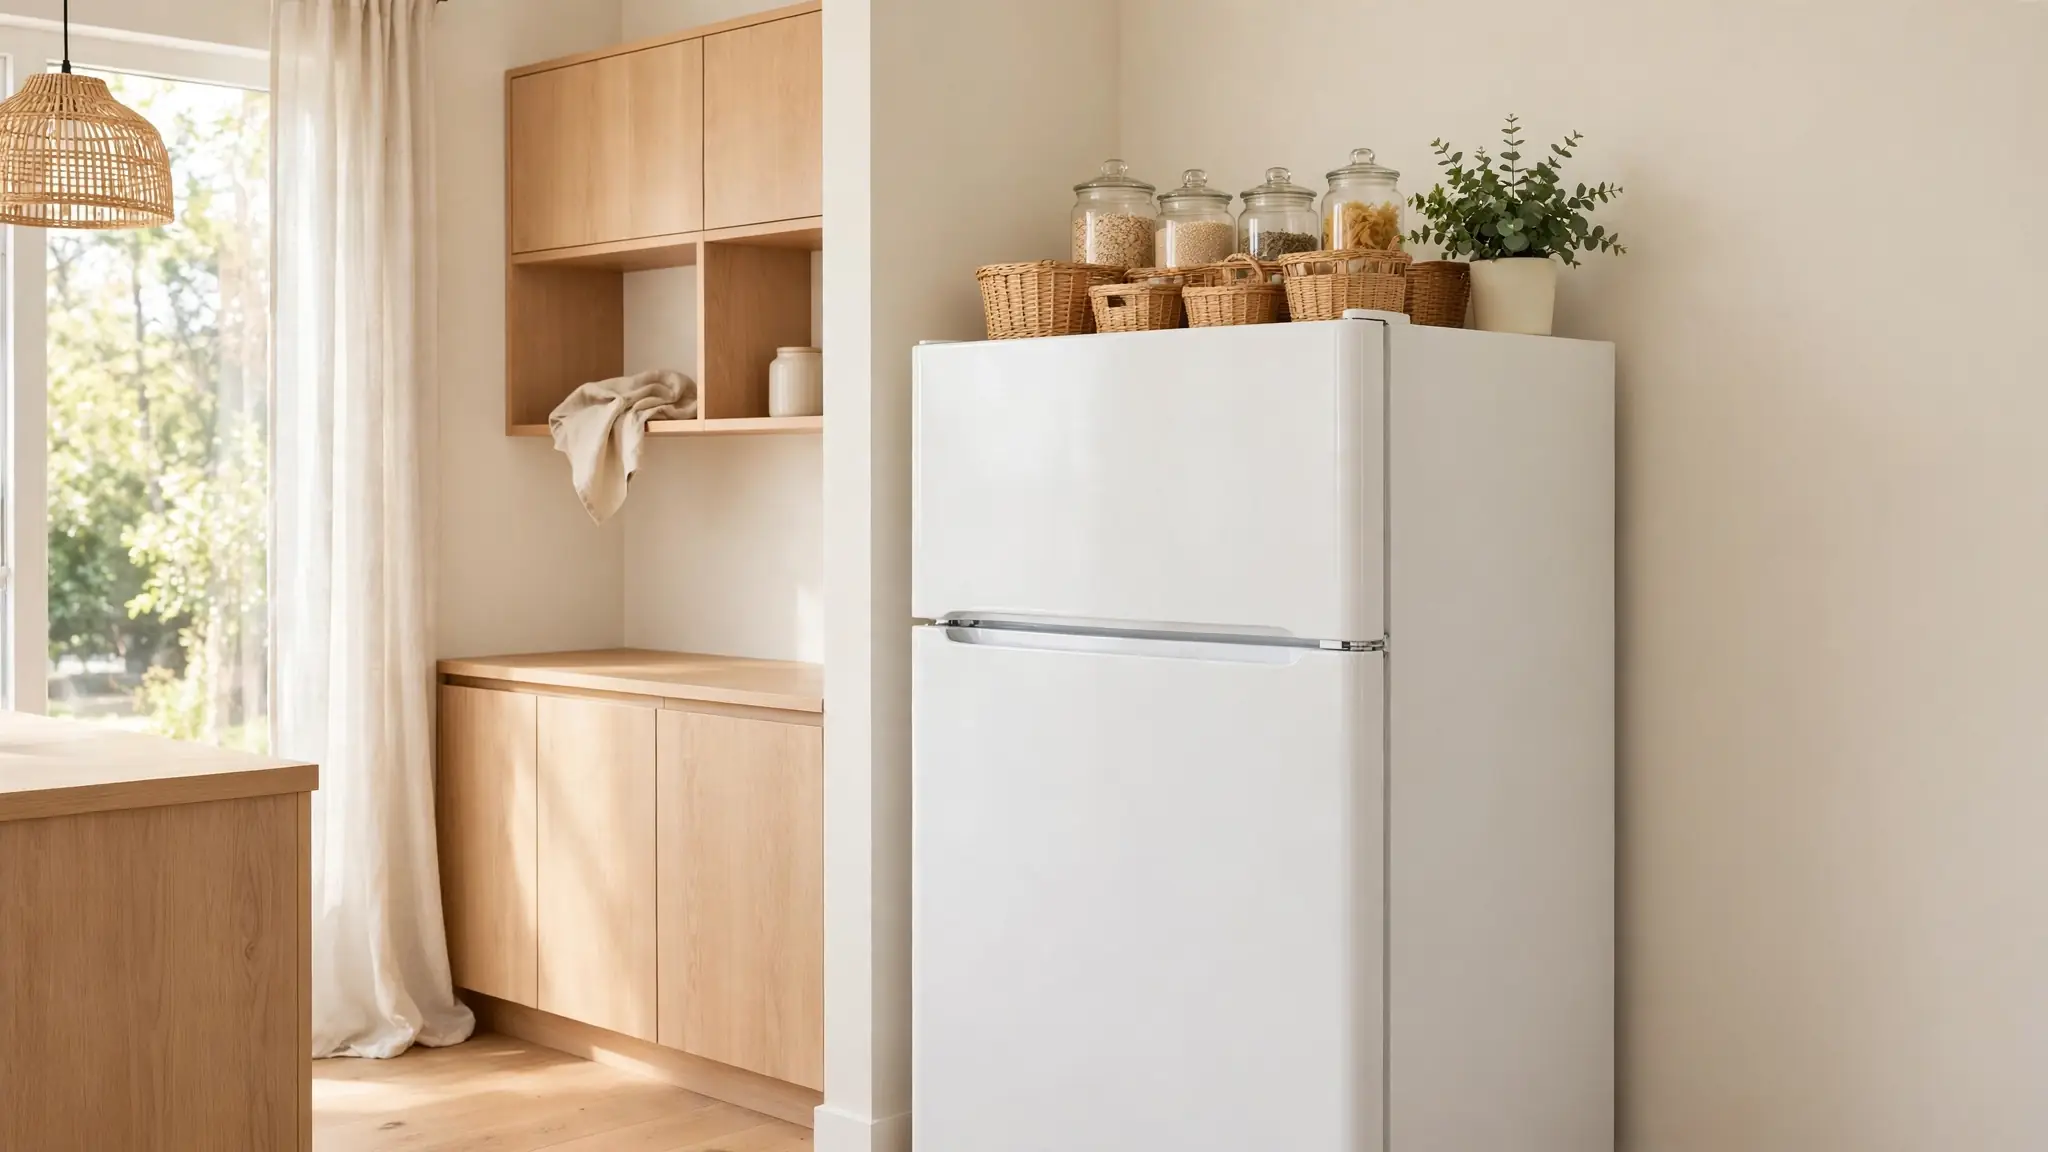
The space above your fridge sits empty in most kitchens, but over the refrigerator storage ideas can turn that dusty gap into one of the hardest working spots in the room. I started noticing this wasted zone when my own cabinets overflowed and counters stayed cluttered. With a few baskets, bins, and smart risers, that forgotten ledge becomes prime real estate for things you need but rarely grab.
Before we dig in, one quick note: the same thinking works everywhere at home. I recently reorganized my outdoor setup with these patio decorating ideas, and borrowing that zones mindset indoors made this project much easier. Grab a step stool, clear the fridge top, and let us walk through 21 smart ways to make every inch above your refrigerator earn its keep.
Woven Basket Tops
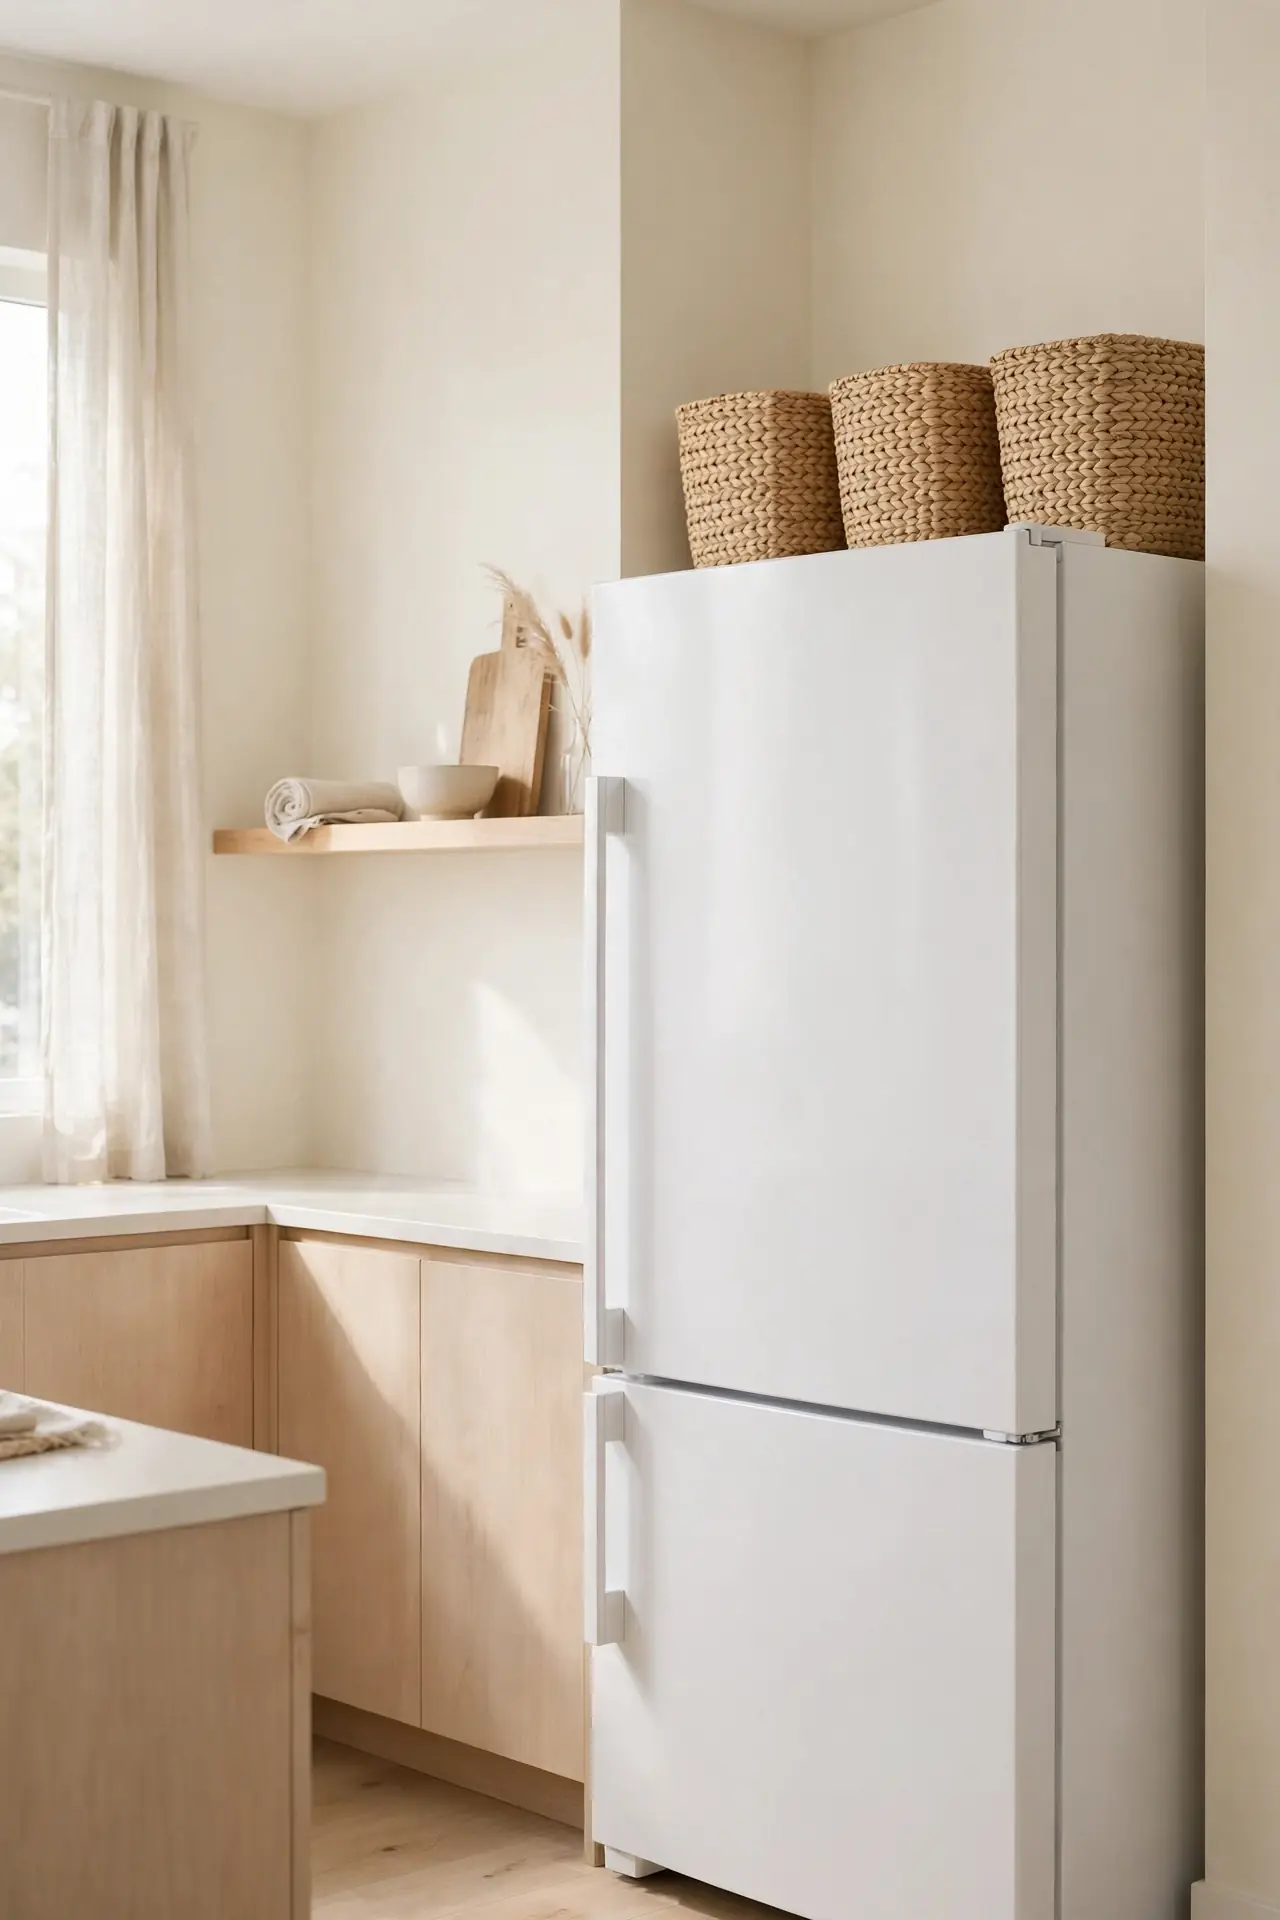
Nothing tames fridge top chaos faster than a row of matching woven baskets. I lined up three identical seagrass bins on mine, and the whole kitchen instantly looked calmer even though nothing inside had changed. Baskets hide the visual noise of spare bulbs, batteries, and takeout menus while letting air flow around whatever you stash.
Choose sizes that leave a finger of space on each side so you can slide them forward easily. Label the fronts with small chalk tags if you share the kitchen, and keep a sturdy step stool nearby. In my experience, the matching set matters more than the material: uniformity is what makes this stretch read as intentional storage instead of clutter.
Glass Canister Row
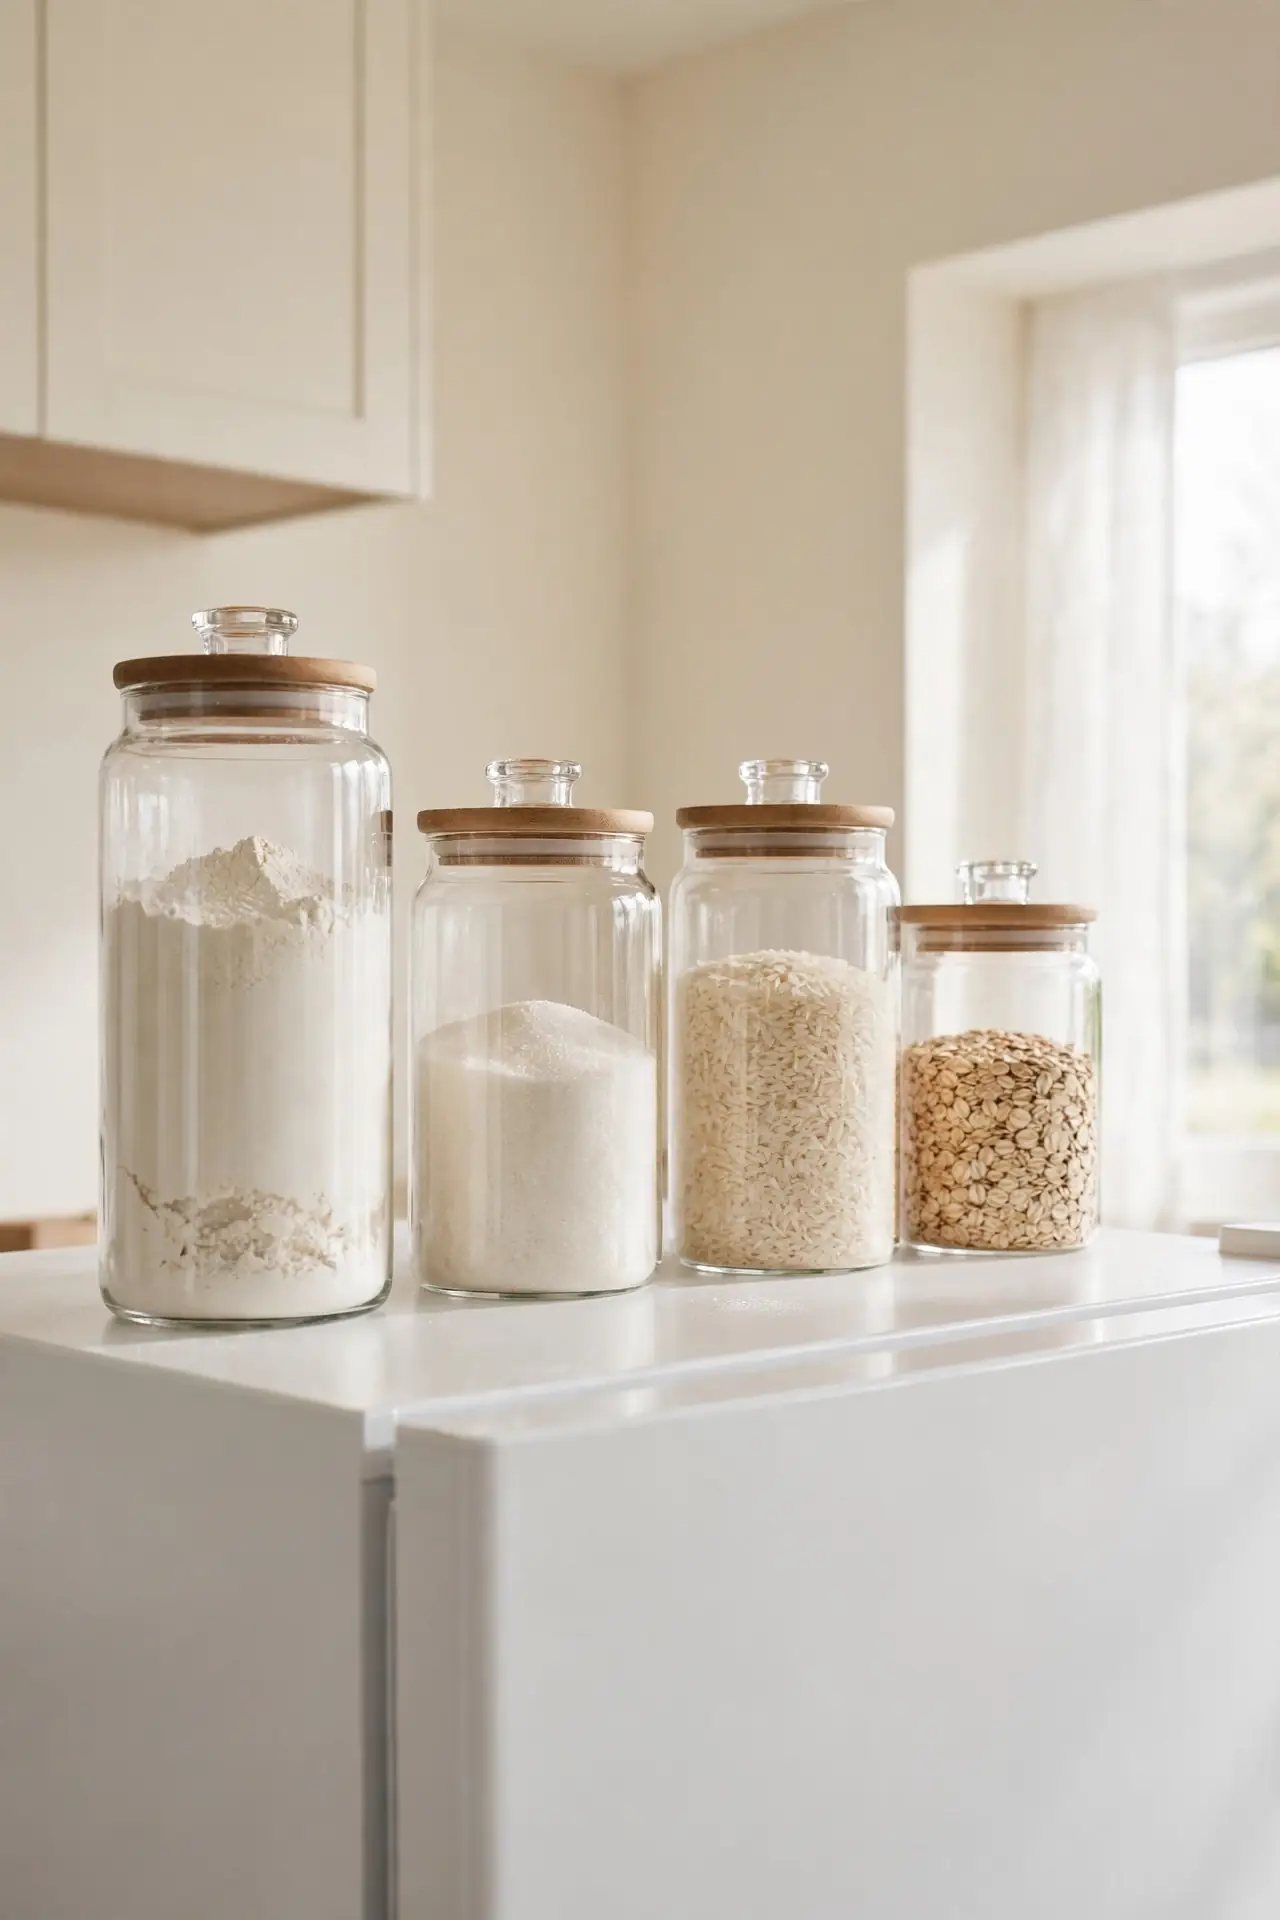
- Line clear glass canisters of descending heights along the back edge so taller items never hide shorter ones.
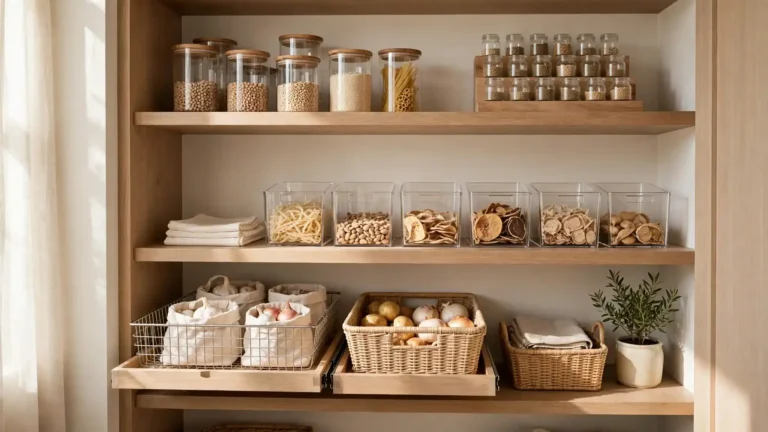
- Store overflow staples like flour, sugar, rice, and oats that do not fit in your main pantry.
- Pick canisters with airtight lids; the fridge motor gives off gentle warmth that dry goods tolerate poorly otherwise.
- Slip a small silica packet into each one if your kitchen runs humid in summer.
Glass keeps everything visible, which means you actually rotate the stock instead of forgetting it. I refill mine straight from bulk bags on grocery day. The uniform jars catch the light beautifully and turn a boring fridge top into a display that looks styled on purpose.
Cookbook Shelf Ledge
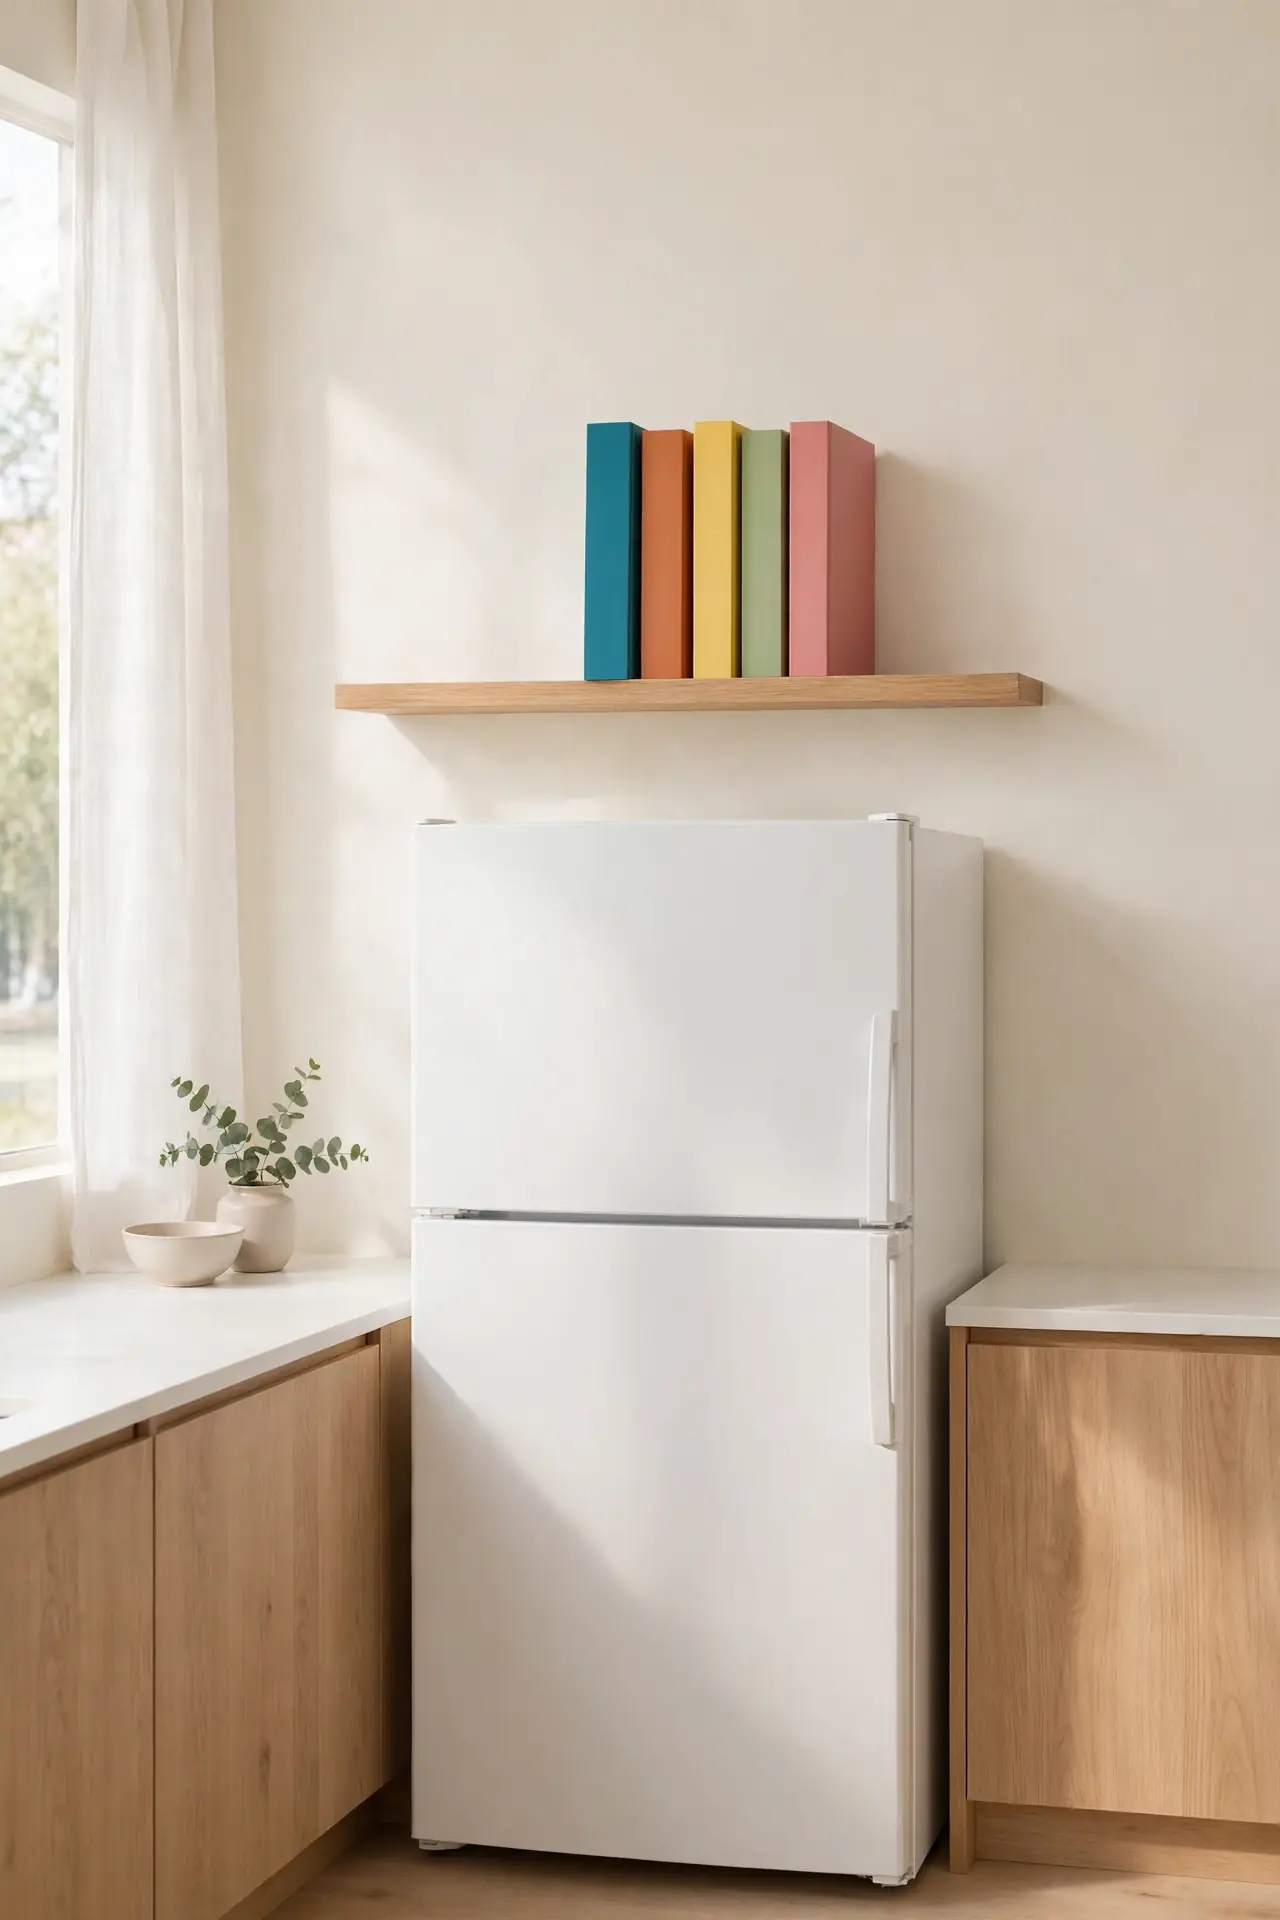
Quick Tip: Mount a shallow picture ledge or slim rail along the wall just above the fridge and line your tallest cookbooks there. The rail lip keeps them from sliding, and the books stay far from the stove splatter zone while remaining easy to grab when you cook.
My cookbooks lived in a cabinet for years and I never opened them. Now the five I actually use stand above the fridge like a little library, and I flip through them weekly. Keep the row to books you love looking at, since this spot is visible from most of the kitchen.
Rolling Storage Caddy
BEFORE: My fridge top held a sliding mess of spare napkins, straws, and appliance manuals that crashed down every time I opened the freezer door. Reaching anything meant climbing up and knocking three other things over.
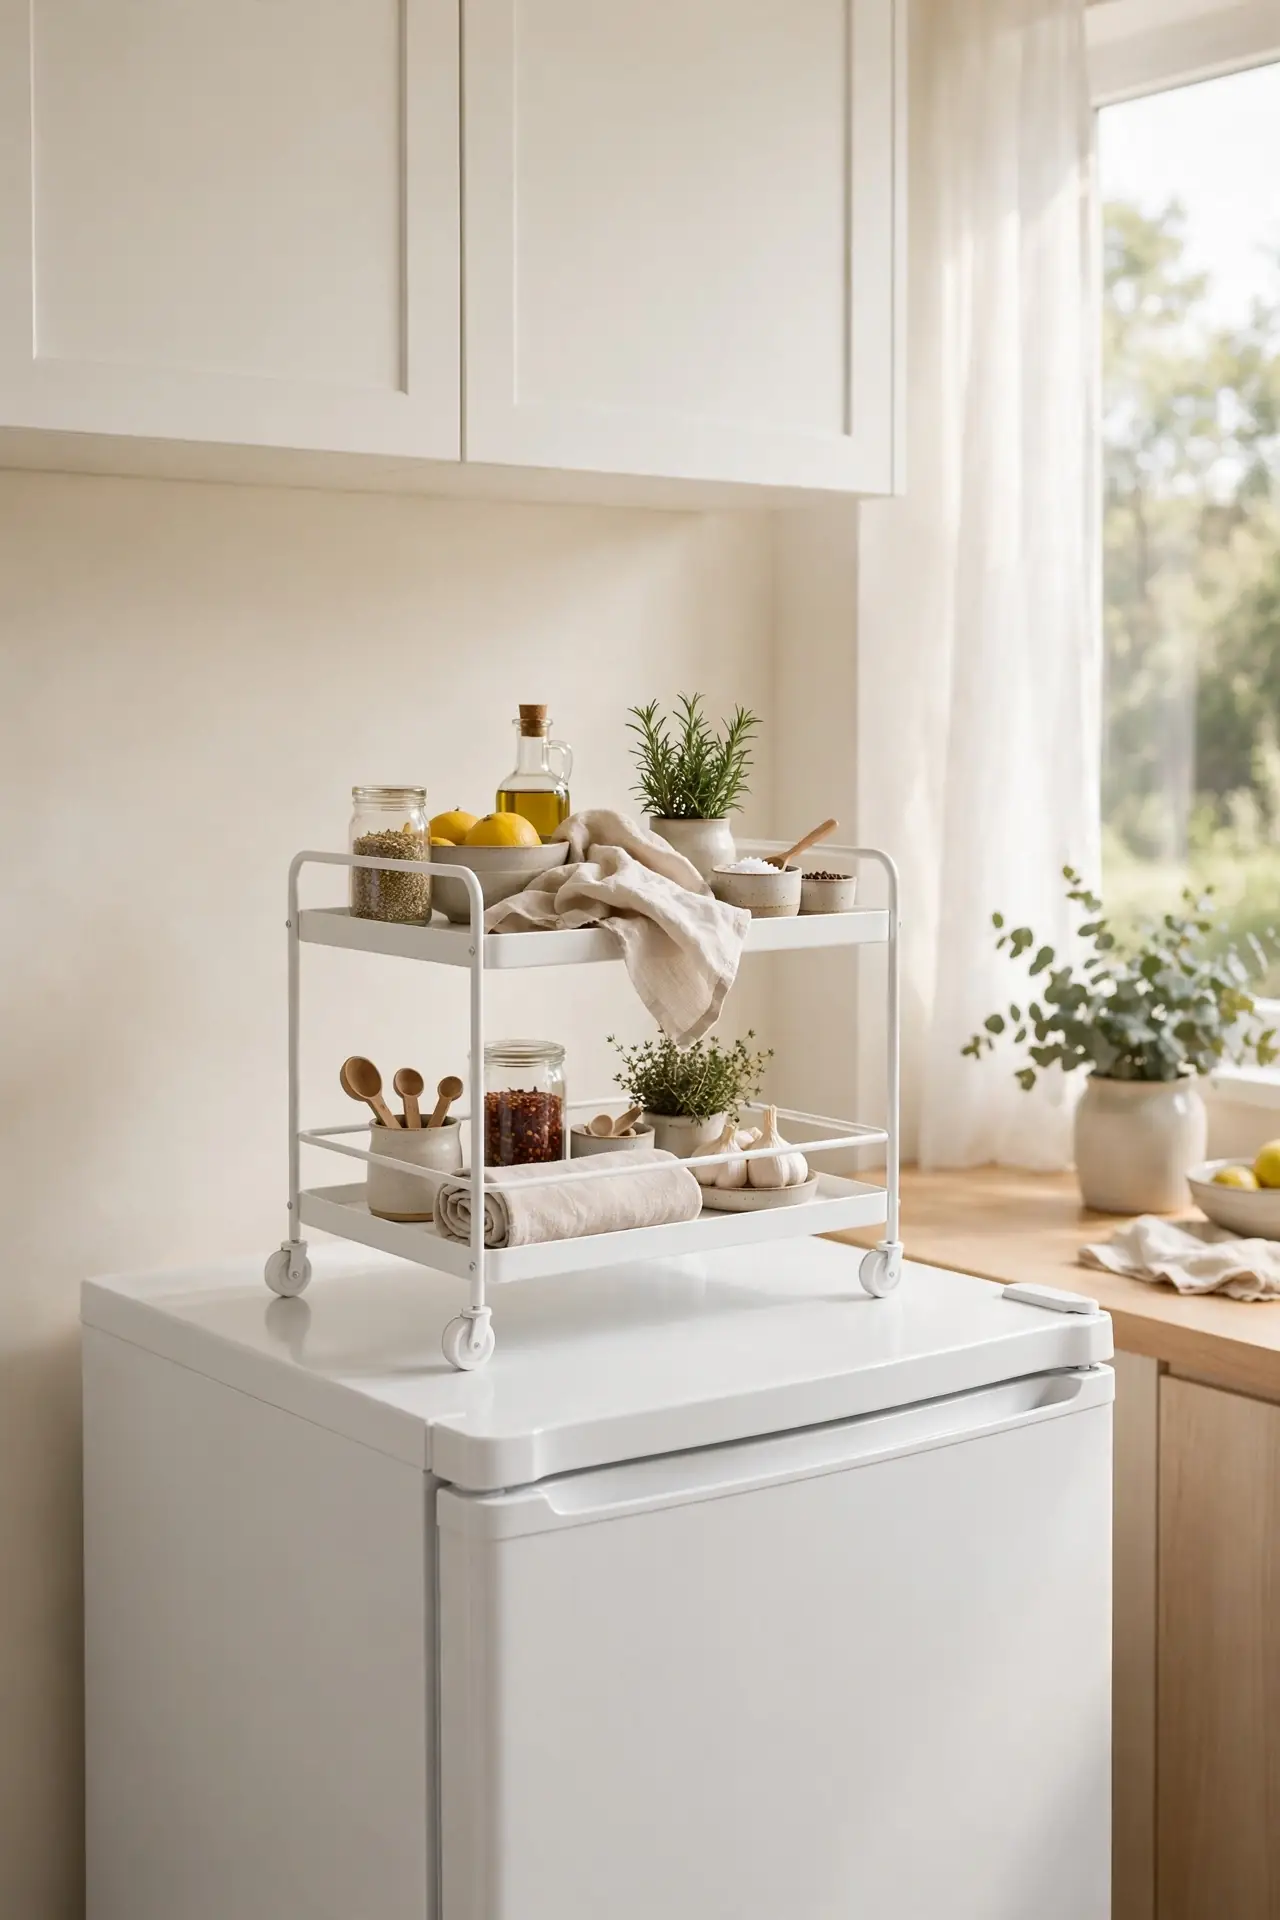
AFTER: A slim rolling caddy with two tiers now parks neatly on the fridge top. I wheel it forward to grab what I need, then slide it back against the wall. Everything has a slot, nothing migrates, and the whole setup looks deliberate.
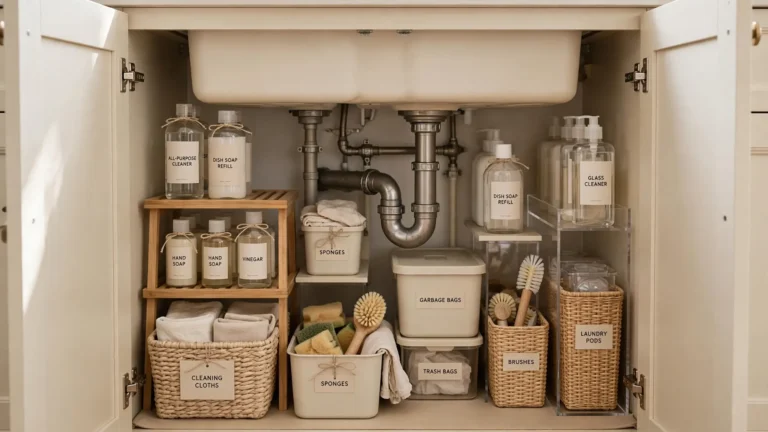
Measure your fridge depth before buying so the caddy does not overhang the front edge. I keep lightweight items up top and anything heavier on the lower tier for balance. If your fridge top is narrow, look for a caddy made for under sink cabinets; the slim profile fits perfectly.
Labeled Pantry Bins
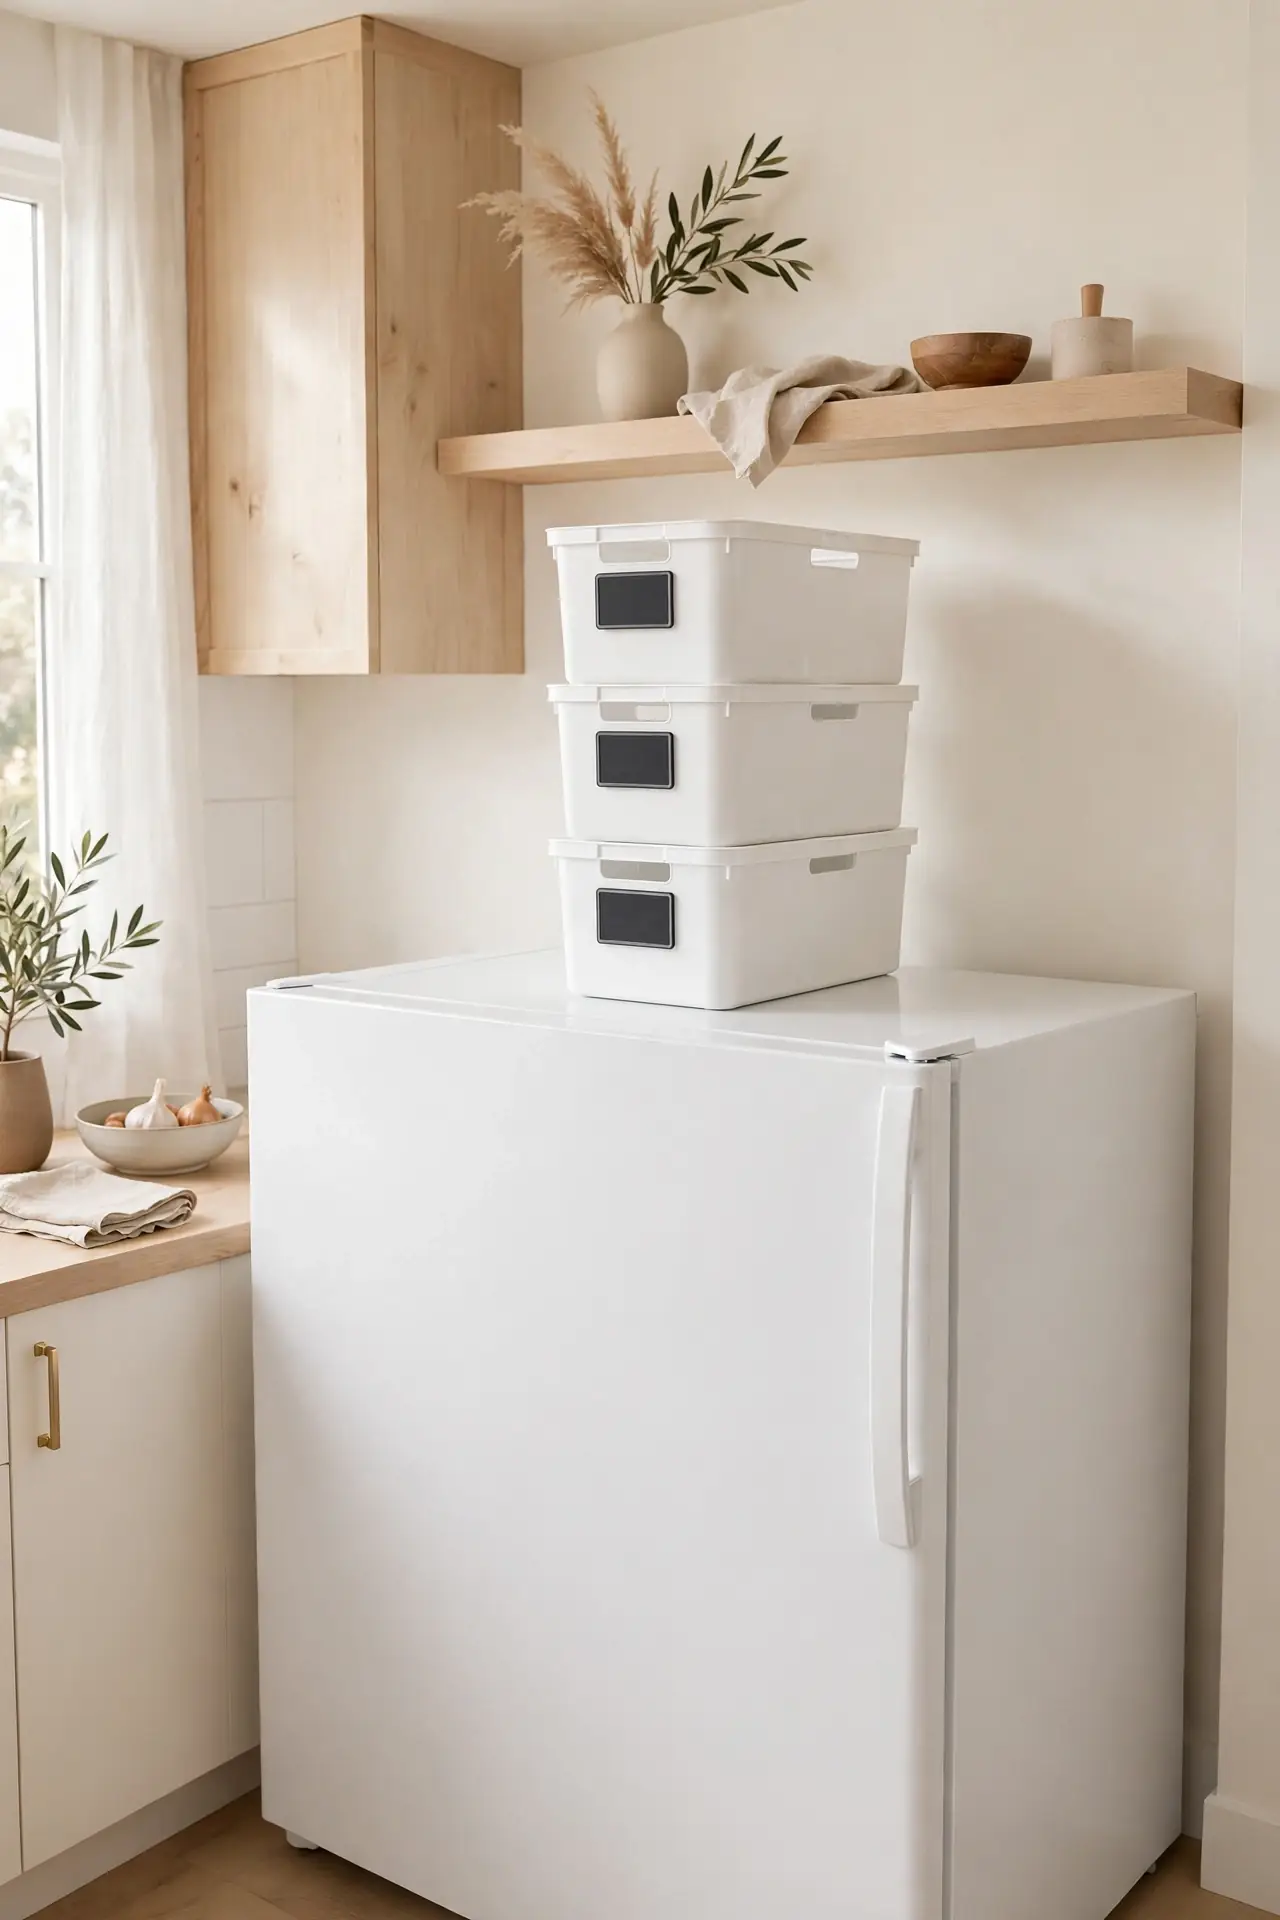
- Clear the entire fridge top and wipe it down so bins sit flat.
- Choose stackable bins with handles, one per category like snacks, baking, or backstock.
- Label each bin on the front with a chalk marker or adhesive tag.
- Load heaviest items at the back and lightest at the front for safe reaching.
Labels are the whole trick here. Without them, bins become mystery boxes that nobody opens. I relabel mine whenever the category changes, which takes about two minutes. Stick to four or five bins max; more than that and the fridge top starts looking like a warehouse shelf again.
Tray Divider Holder
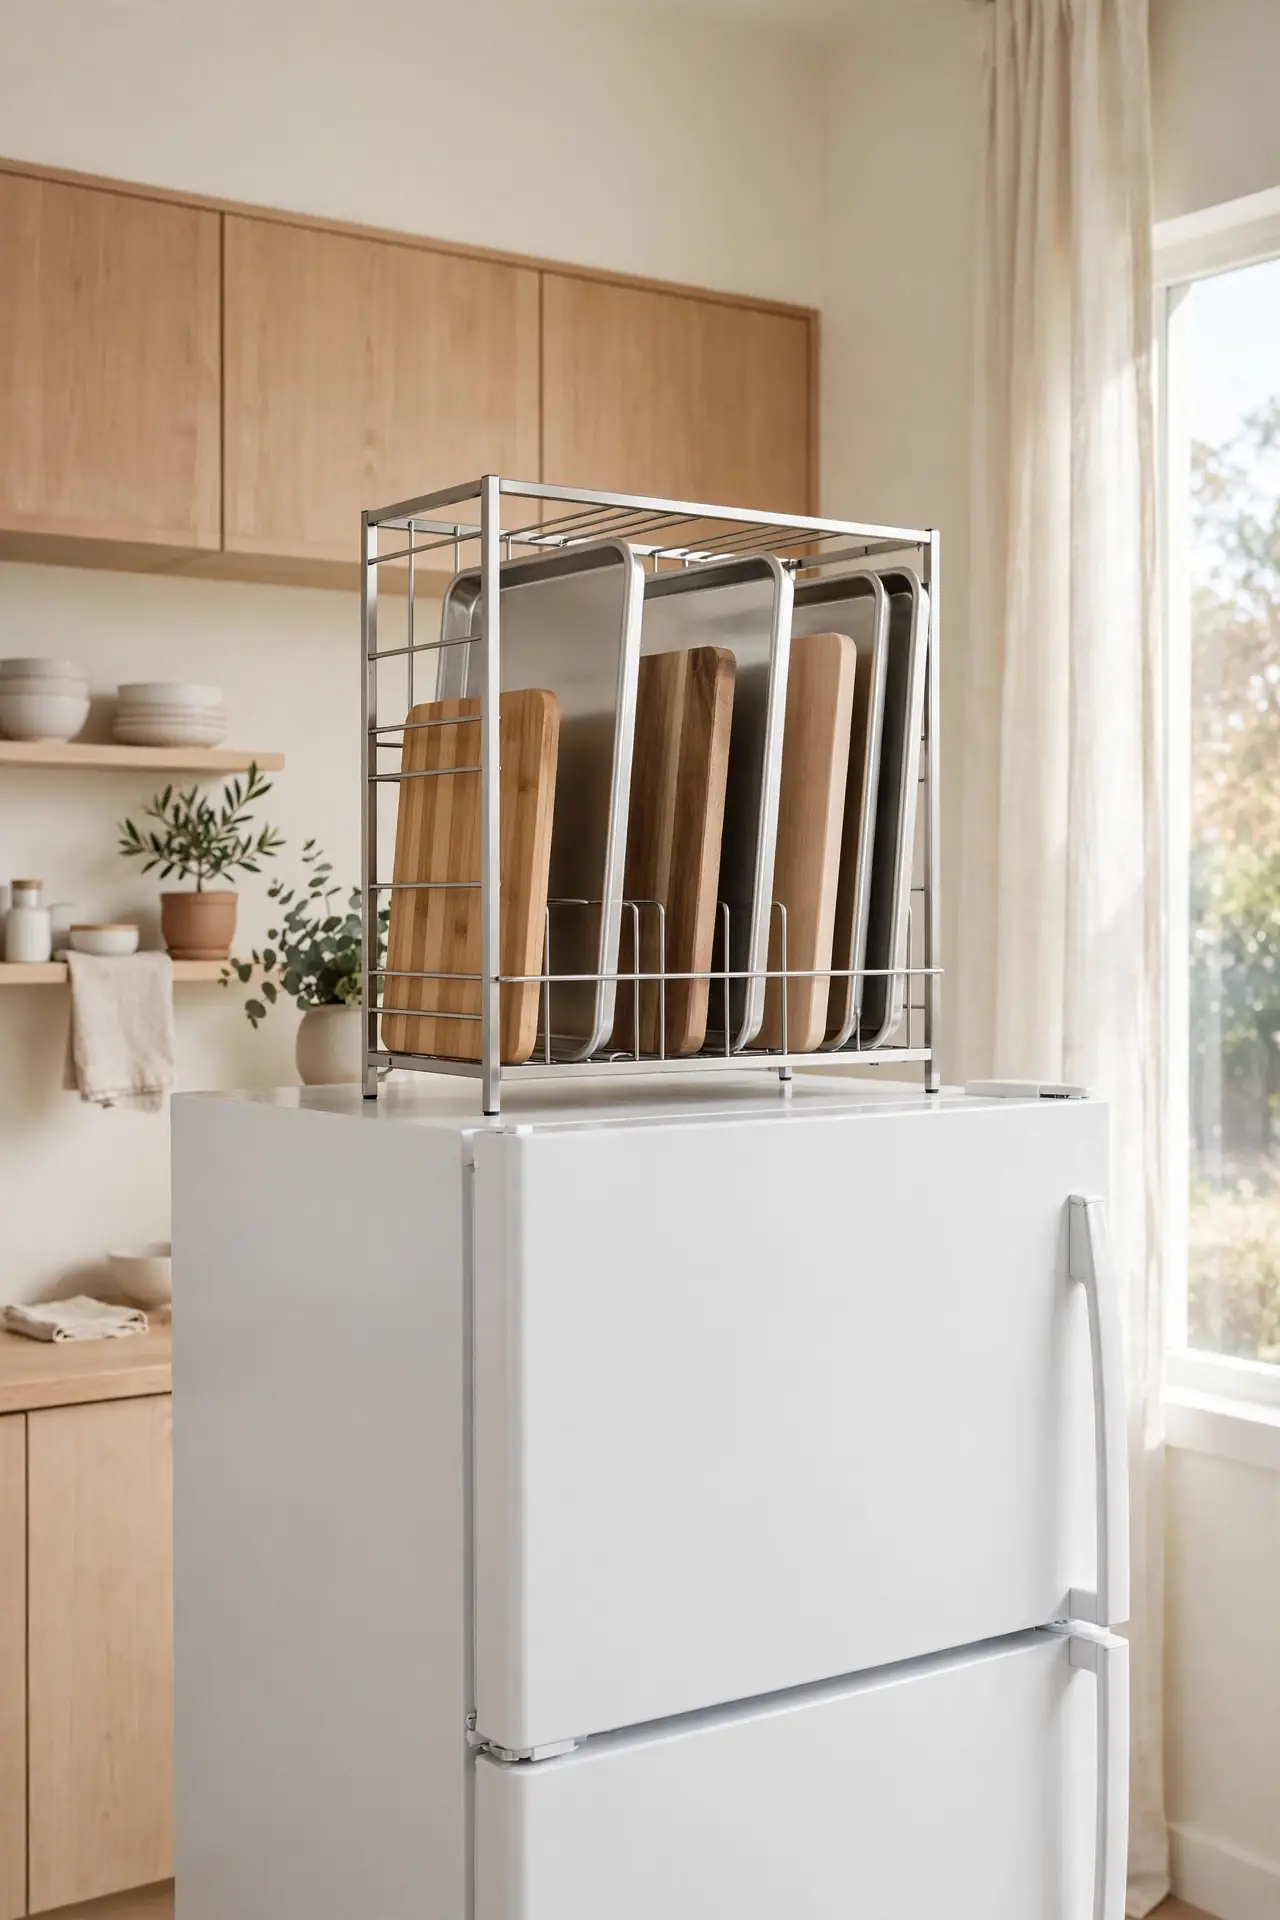
| Vertical Tray Rack | Stacked Tray Pile | |
|---|---|---|
| Stability | Racks keep trays upright and easy to pull | Piles slide and topple when you grab one |
| Space Use | Uses height, fits more in less width | Spreads wide, wastes the back half |
| Visibility | Every tray visible at a glance | Bottom trays disappear from memory |
Cookie sheets and cutting boards are awkward everywhere, but a vertical rack above the fridge turns them into a non issue. I slide mine in from the side so nothing has to lift over the fridge doors. I have even used the same vertical trick when decorating above kitchen cabinets, where tall narrow racks hold trays and platters in dead wall space.
Seasonal Decor Display
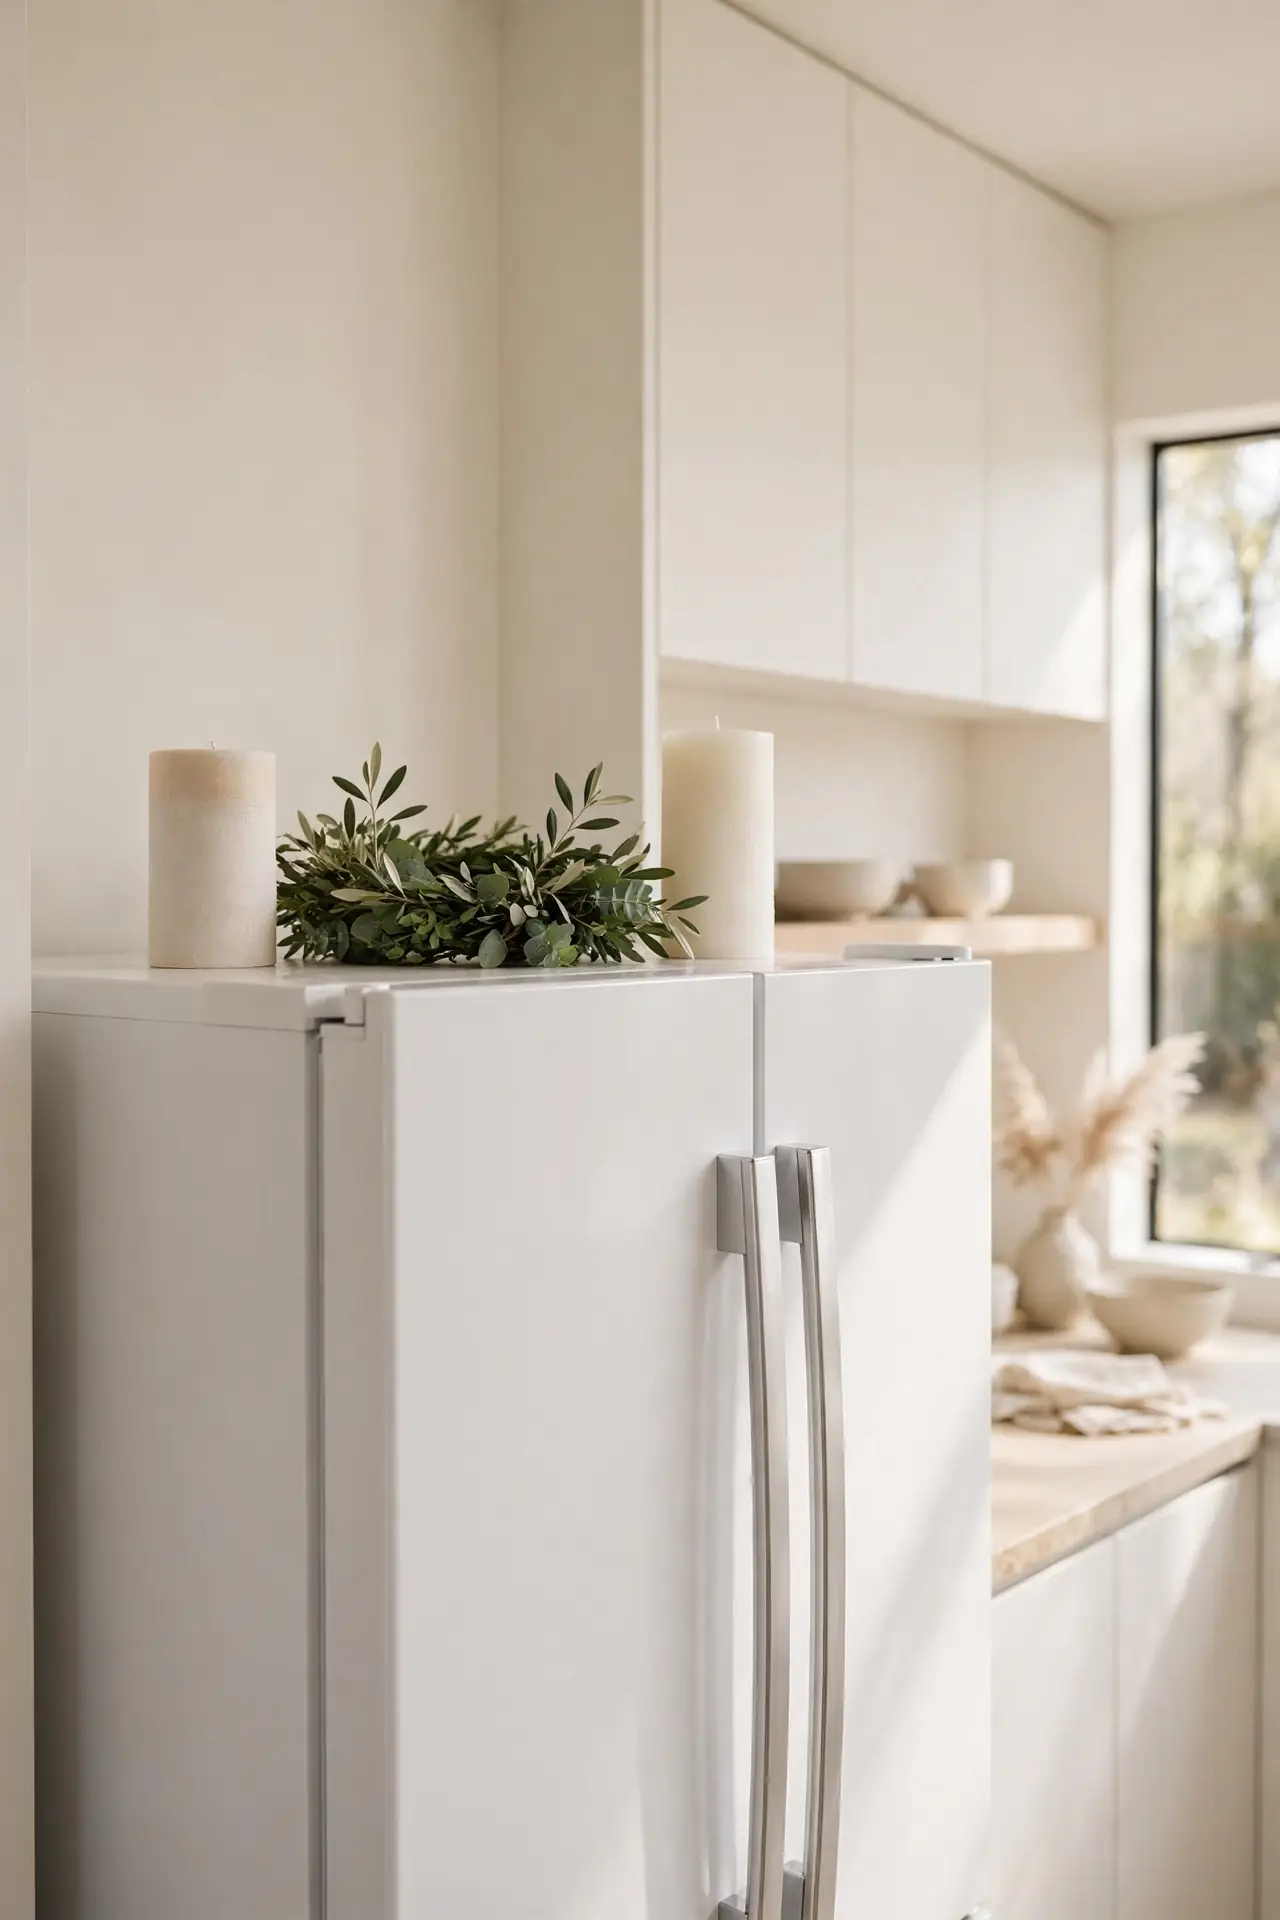
DO:
- Rotate a small wreath or garland with each season for a fresh look.
- Use battery candles or flameless lights for safe glow up high.
- Anchor everything with museum putty so nothing slides when doors slam.
DON’T:
- Don’t stack heavy ceramics where they could fall on someone.
- Don’t block the fridge vents or the light above the stove.
- Don’t leave the same decor up all year; dust settles fast up there.
The fridge top is prime seasonal real estate because everyone sees it but nobody touches it. I keep one small bin of holiday pieces in the laundry room and swap them in five minutes. Just remember the golden rule: decor up high should be light, secure, and easy to dust around.
Fabric Storage Boxes
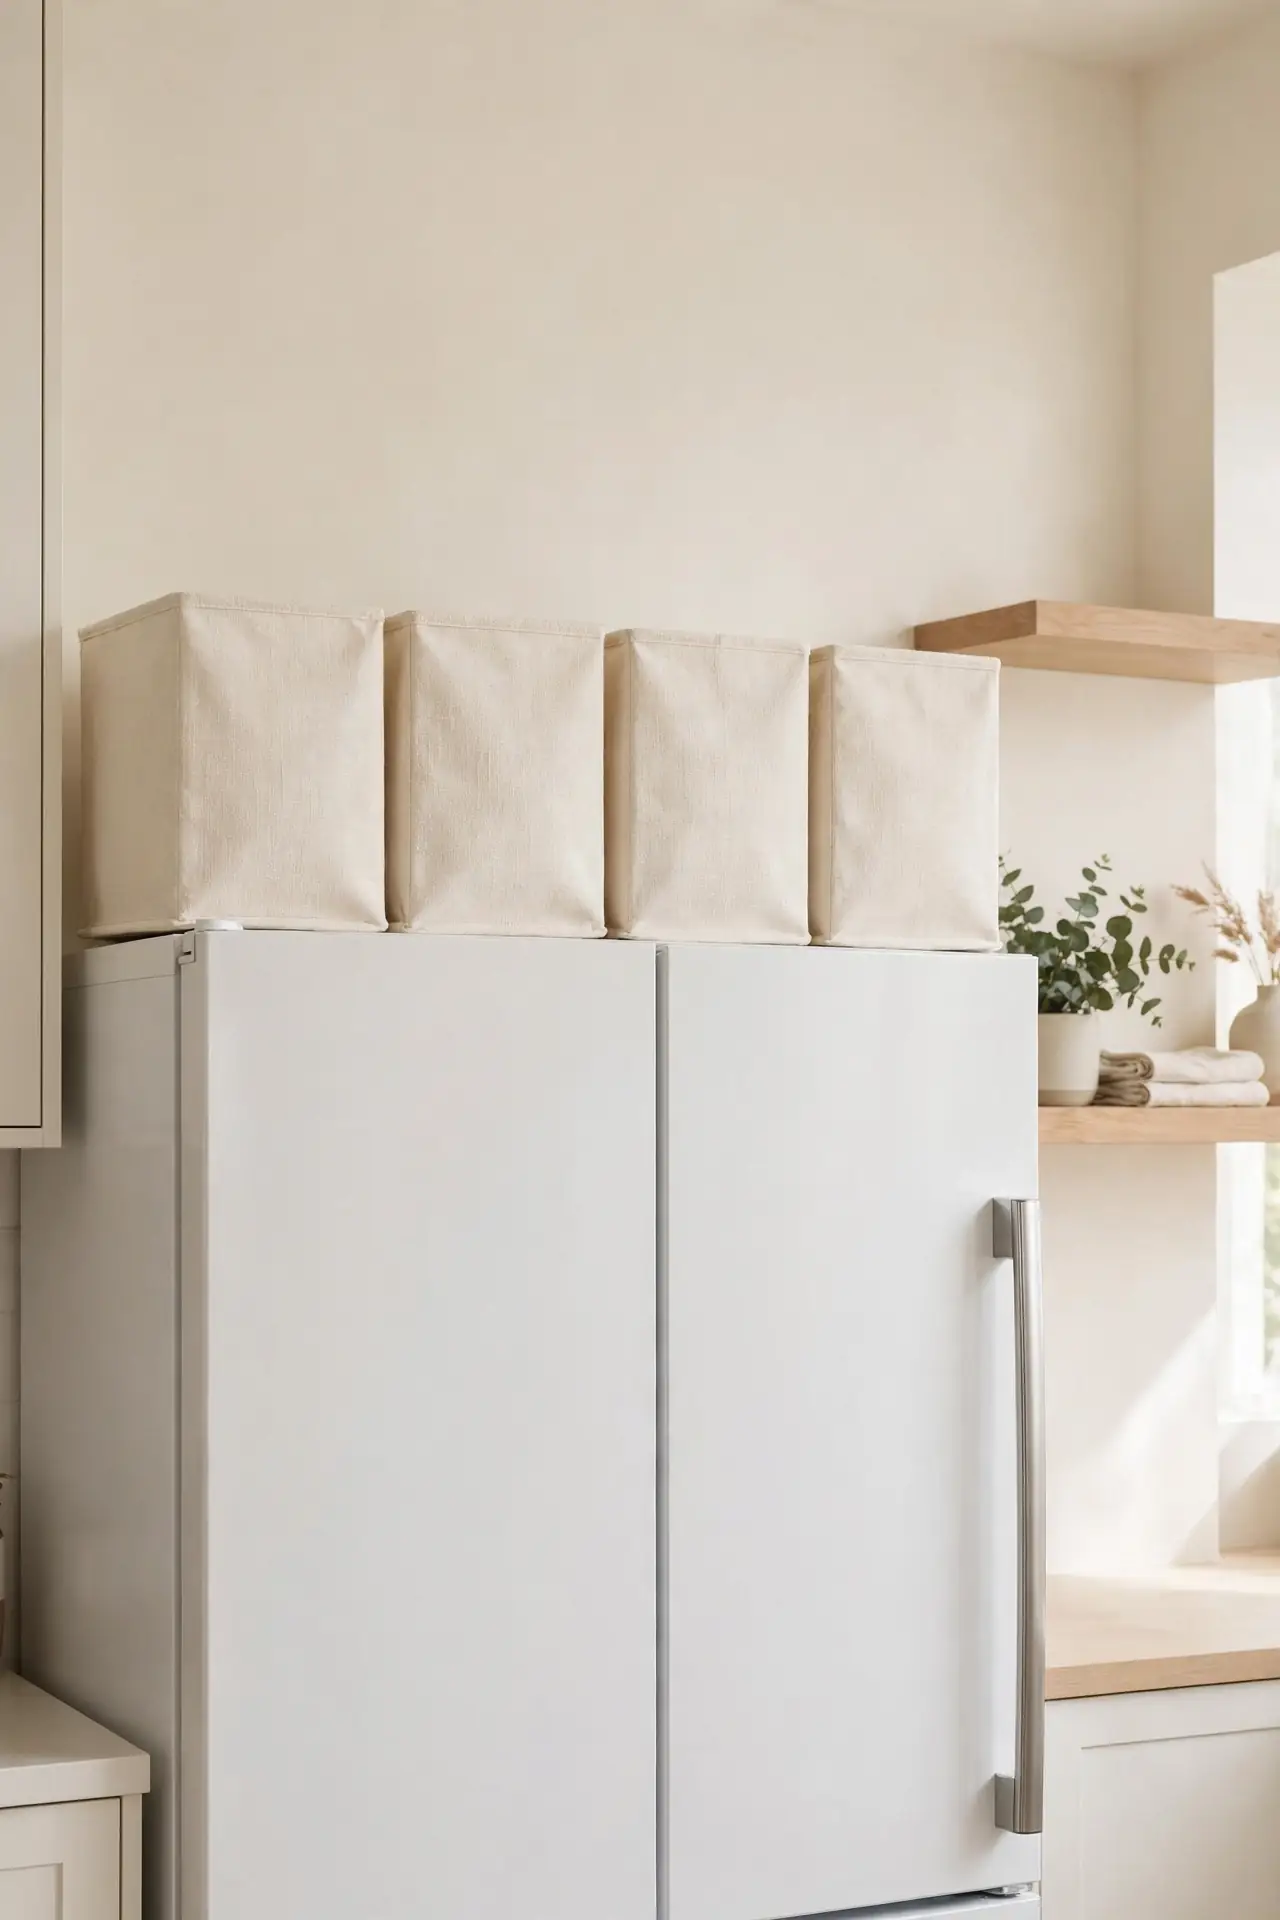
Cost: Low, about the price of two takeout dinners | Time: One afternoon to sort and set up | Skill Level: Beginner, no tools needed | Best For: Renters and anyone avoiding hardware | Works In: Any kitchen with a standard fridge
Fabric boxes are the renter friendly answer to fridge top storage because they weigh almost nothing and fold flat when you move. I use linen look cubes in cream, and they disappear against my white walls while swallowing light bulbs, extension cords, and the odd stack of placemats. The soft sides will not scratch the fridge finish, which matters if you rent. One honest warning: keep them away from the stove side, since fabric picks up cooking grease faster than hard bins do.
Decorative Plant Cluster
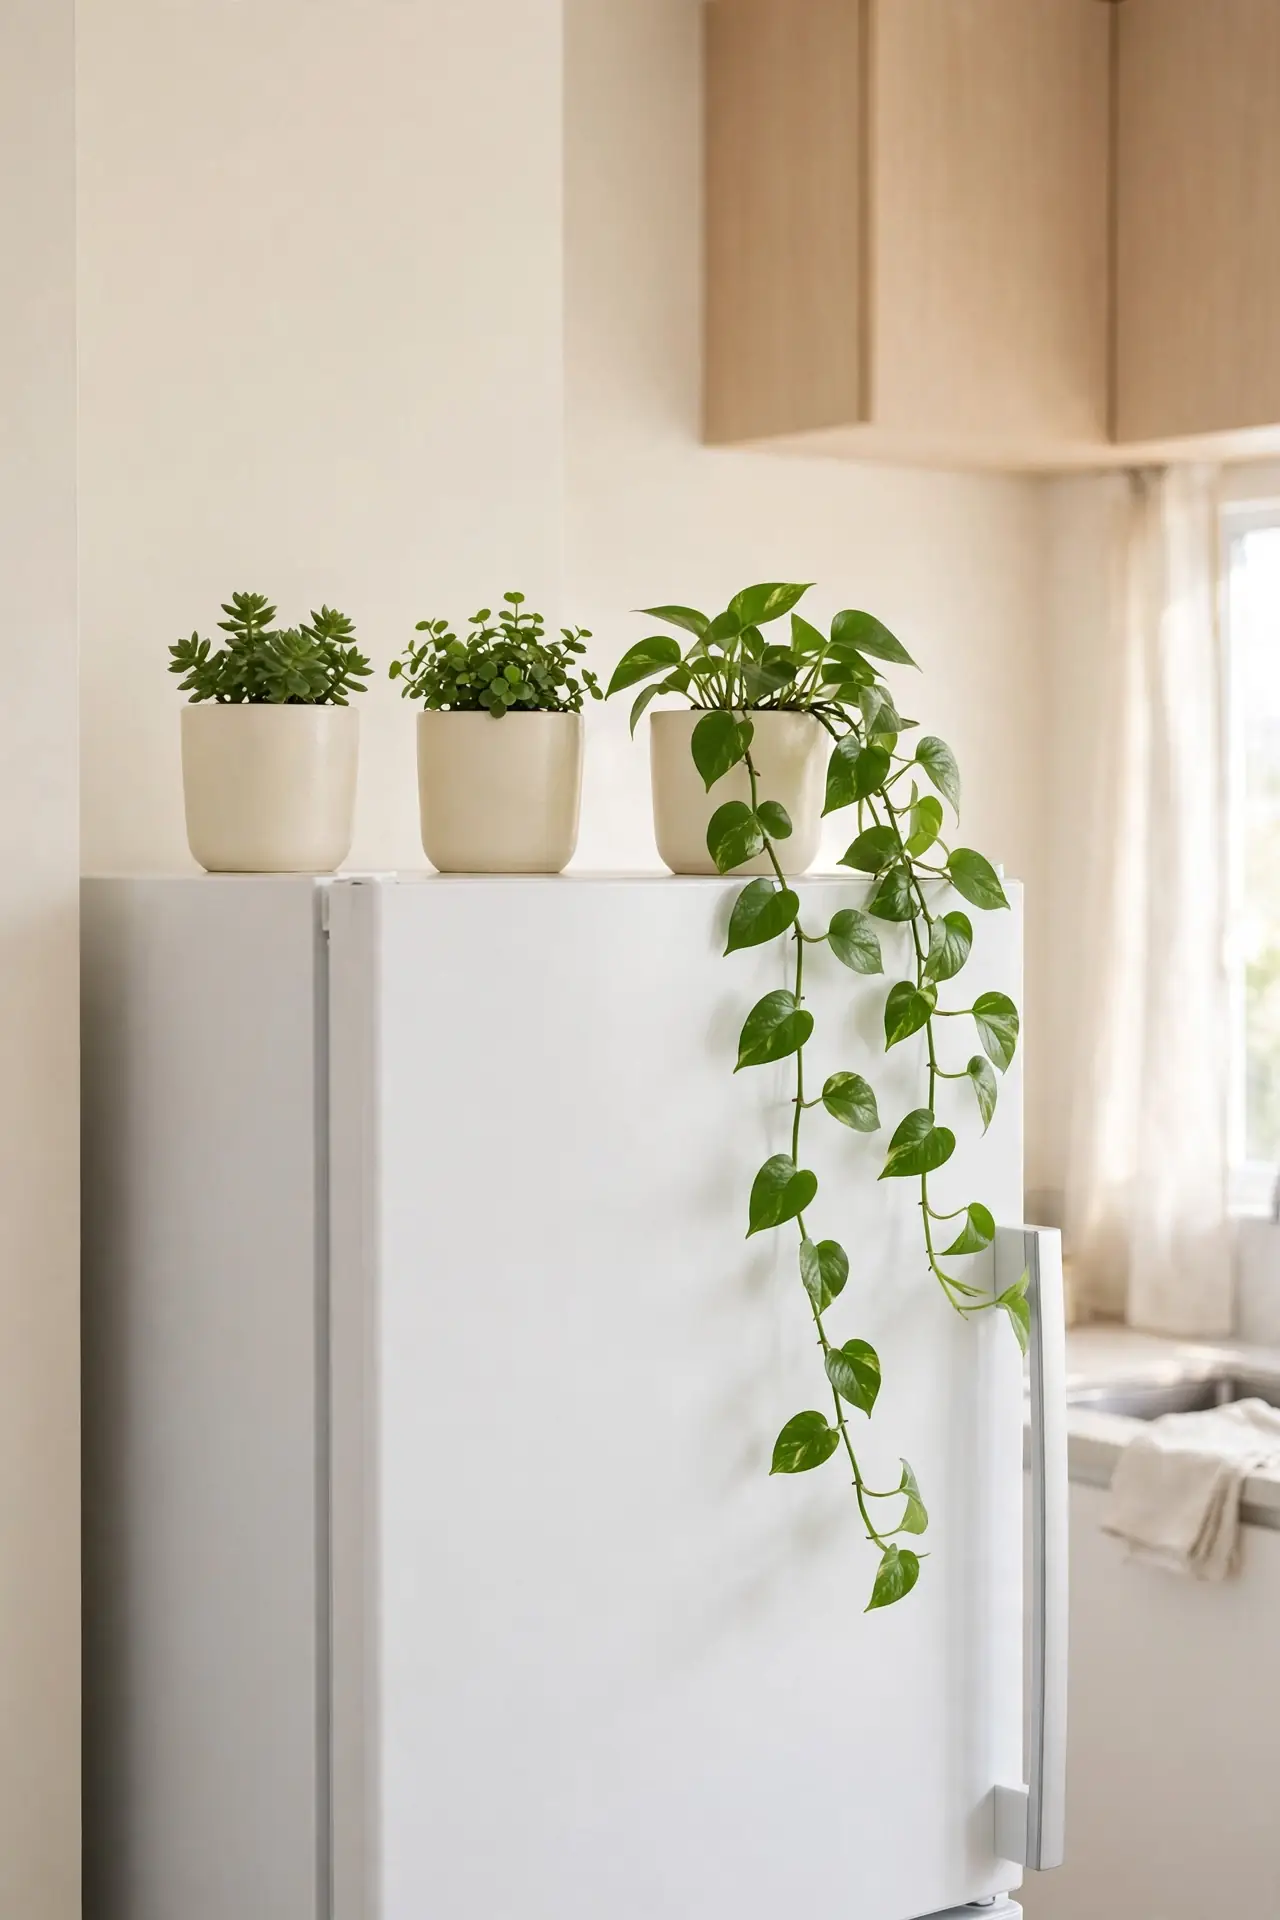
A little greenery softens the hard metal box your fridge becomes in the room. I keep three small plants in matching cream pots on the left side, where the morning light hits them gently. Trailing pothos works best because it spills over the edge instead of growing tall and wobbly.
Water with a squeeze bottle so you never drip down the fridge sides. I switched to faux plants after one too many forgotten waterings, and honestly nobody can tell from the floor. Dust the leaves monthly with a damp cloth; grease from cooking floats up there and dulls real and fake leaves alike.
Magnetic Spice Wall
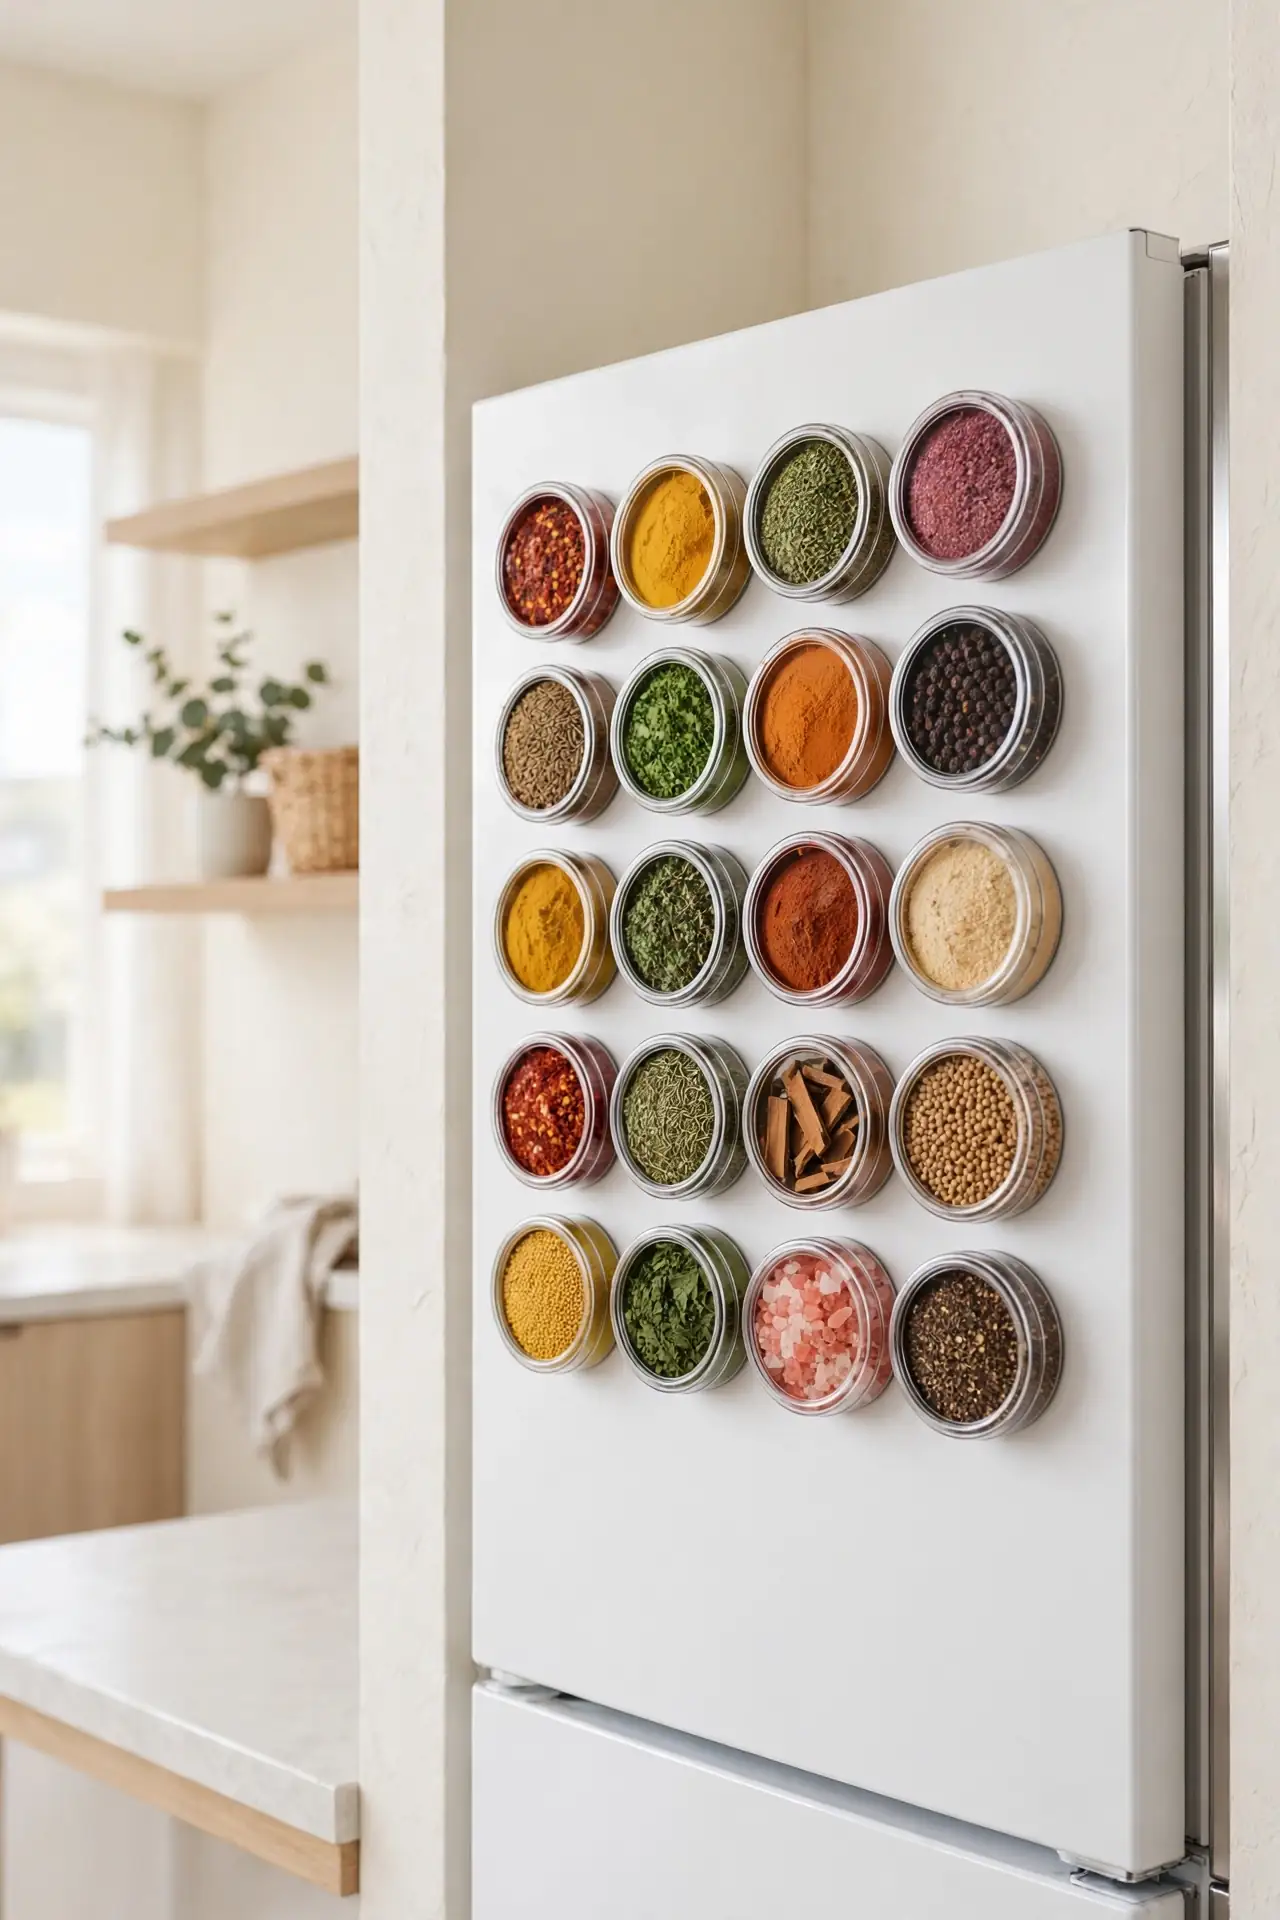
- Stick round magnetic tins to the upper side panel of the fridge where they stay visible.
- Fill each tin with one spice and label the clear lid so you can see colors.
- Keep everyday spices here and the full backup jars in a drawer below.
- Wipe the tins with a dry cloth monthly; fridge side panels collect kitchen dust.
This trick borrows dead vertical space most people never notice. I reach for paprika and cumin constantly, so having them at eye level above the counter changed how I cook. The tins look like little art pieces when the light hits them, and guests always ask about them first.
Tiered Riser Shelf
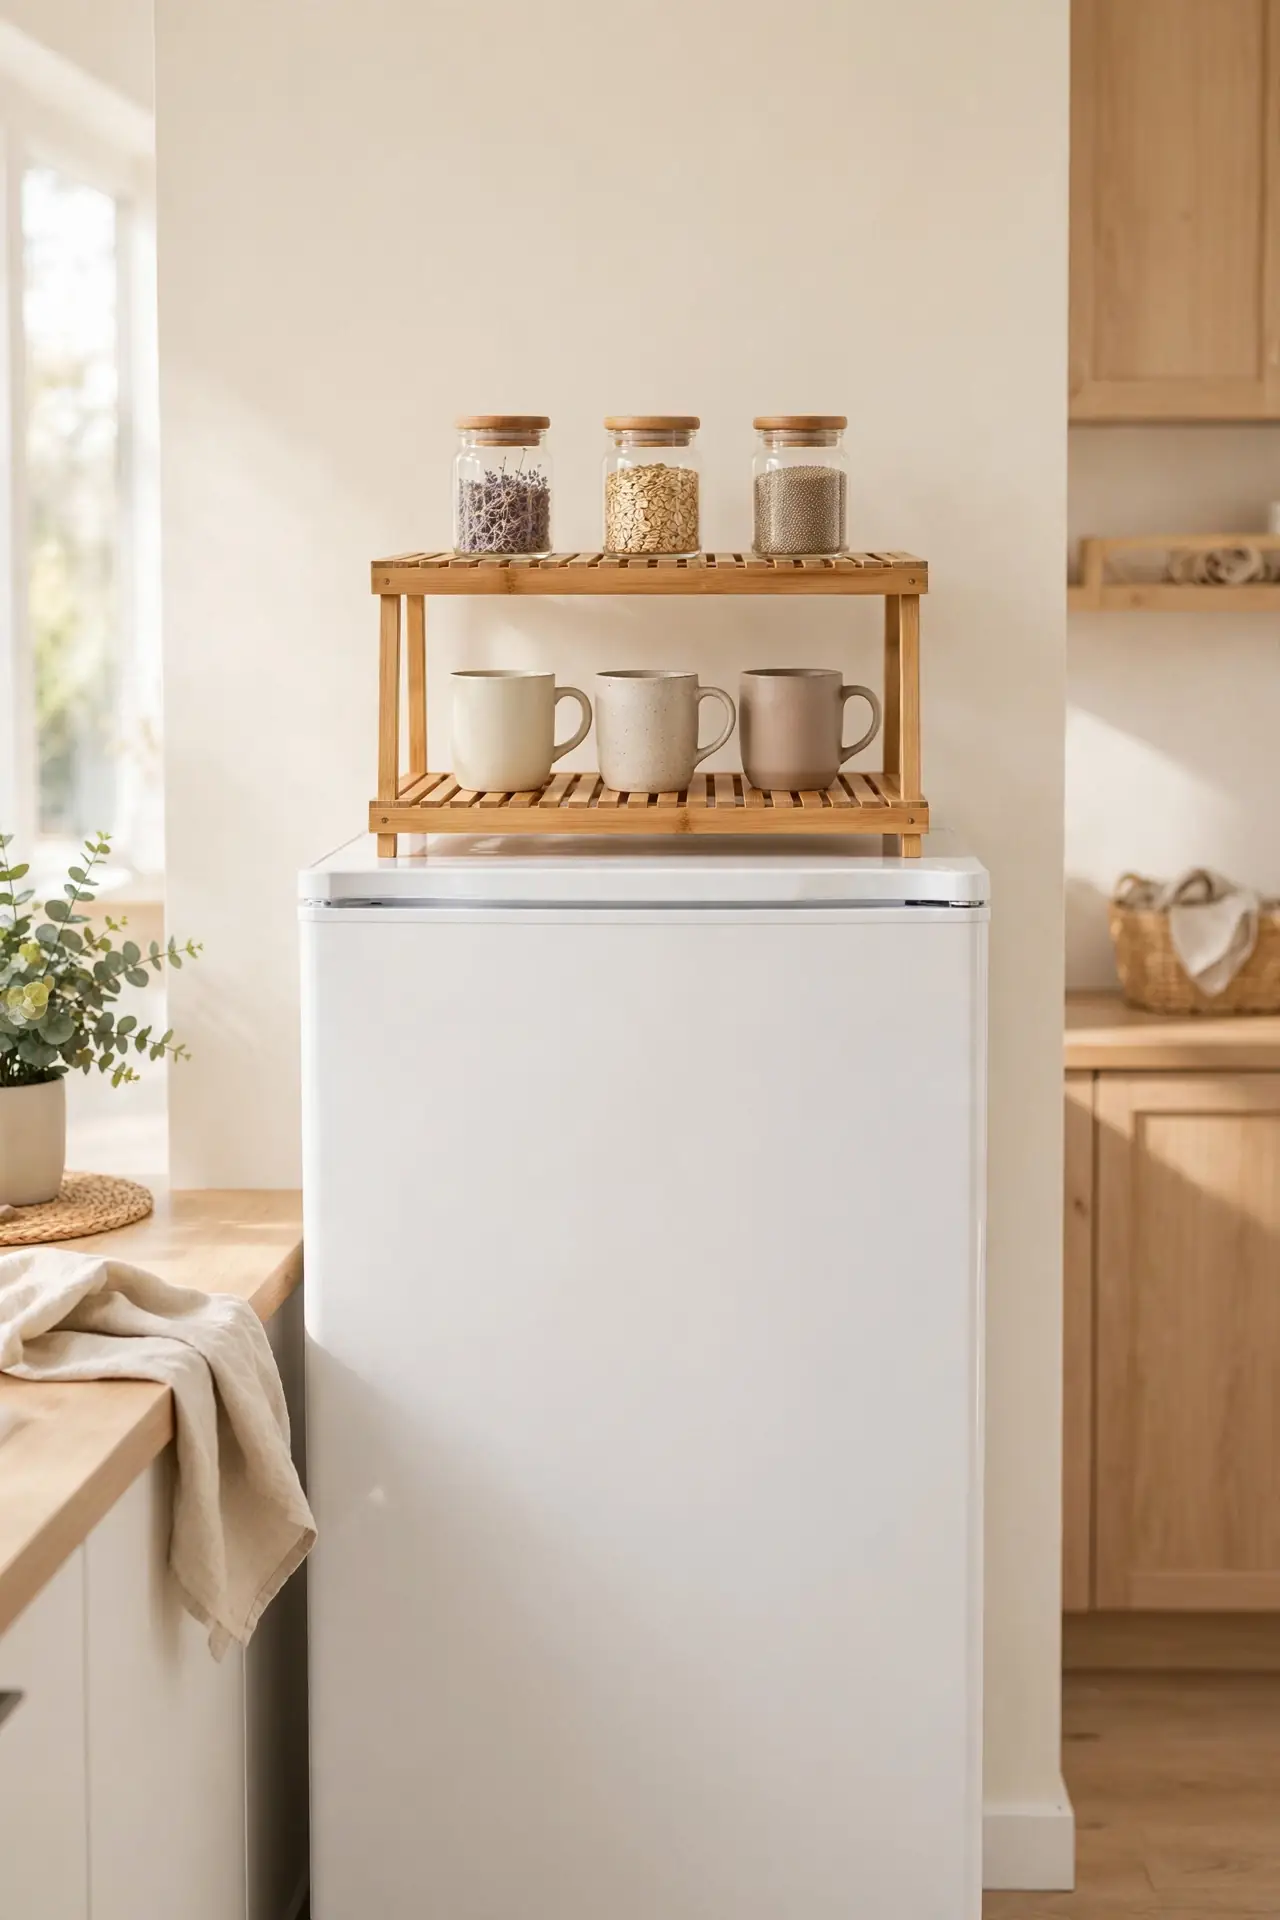
Quick Tip: A bamboo tiered riser turns one flat fridge top into two or three usable levels. Place taller jars on the back step and shorter items in front, so nothing hides behind anything else. The open slats also keep air moving around stored goods, which keeps everything fresher longer.
Risers were designed for cabinets, but the fridge top might be their best home. I bought one meant for plates and suddenly my small appliances had real zones. Measure your fridge width first before you order; many risers come in fixed sizes and you want about an inch of clearance on each side.
Chalkboard Message Board
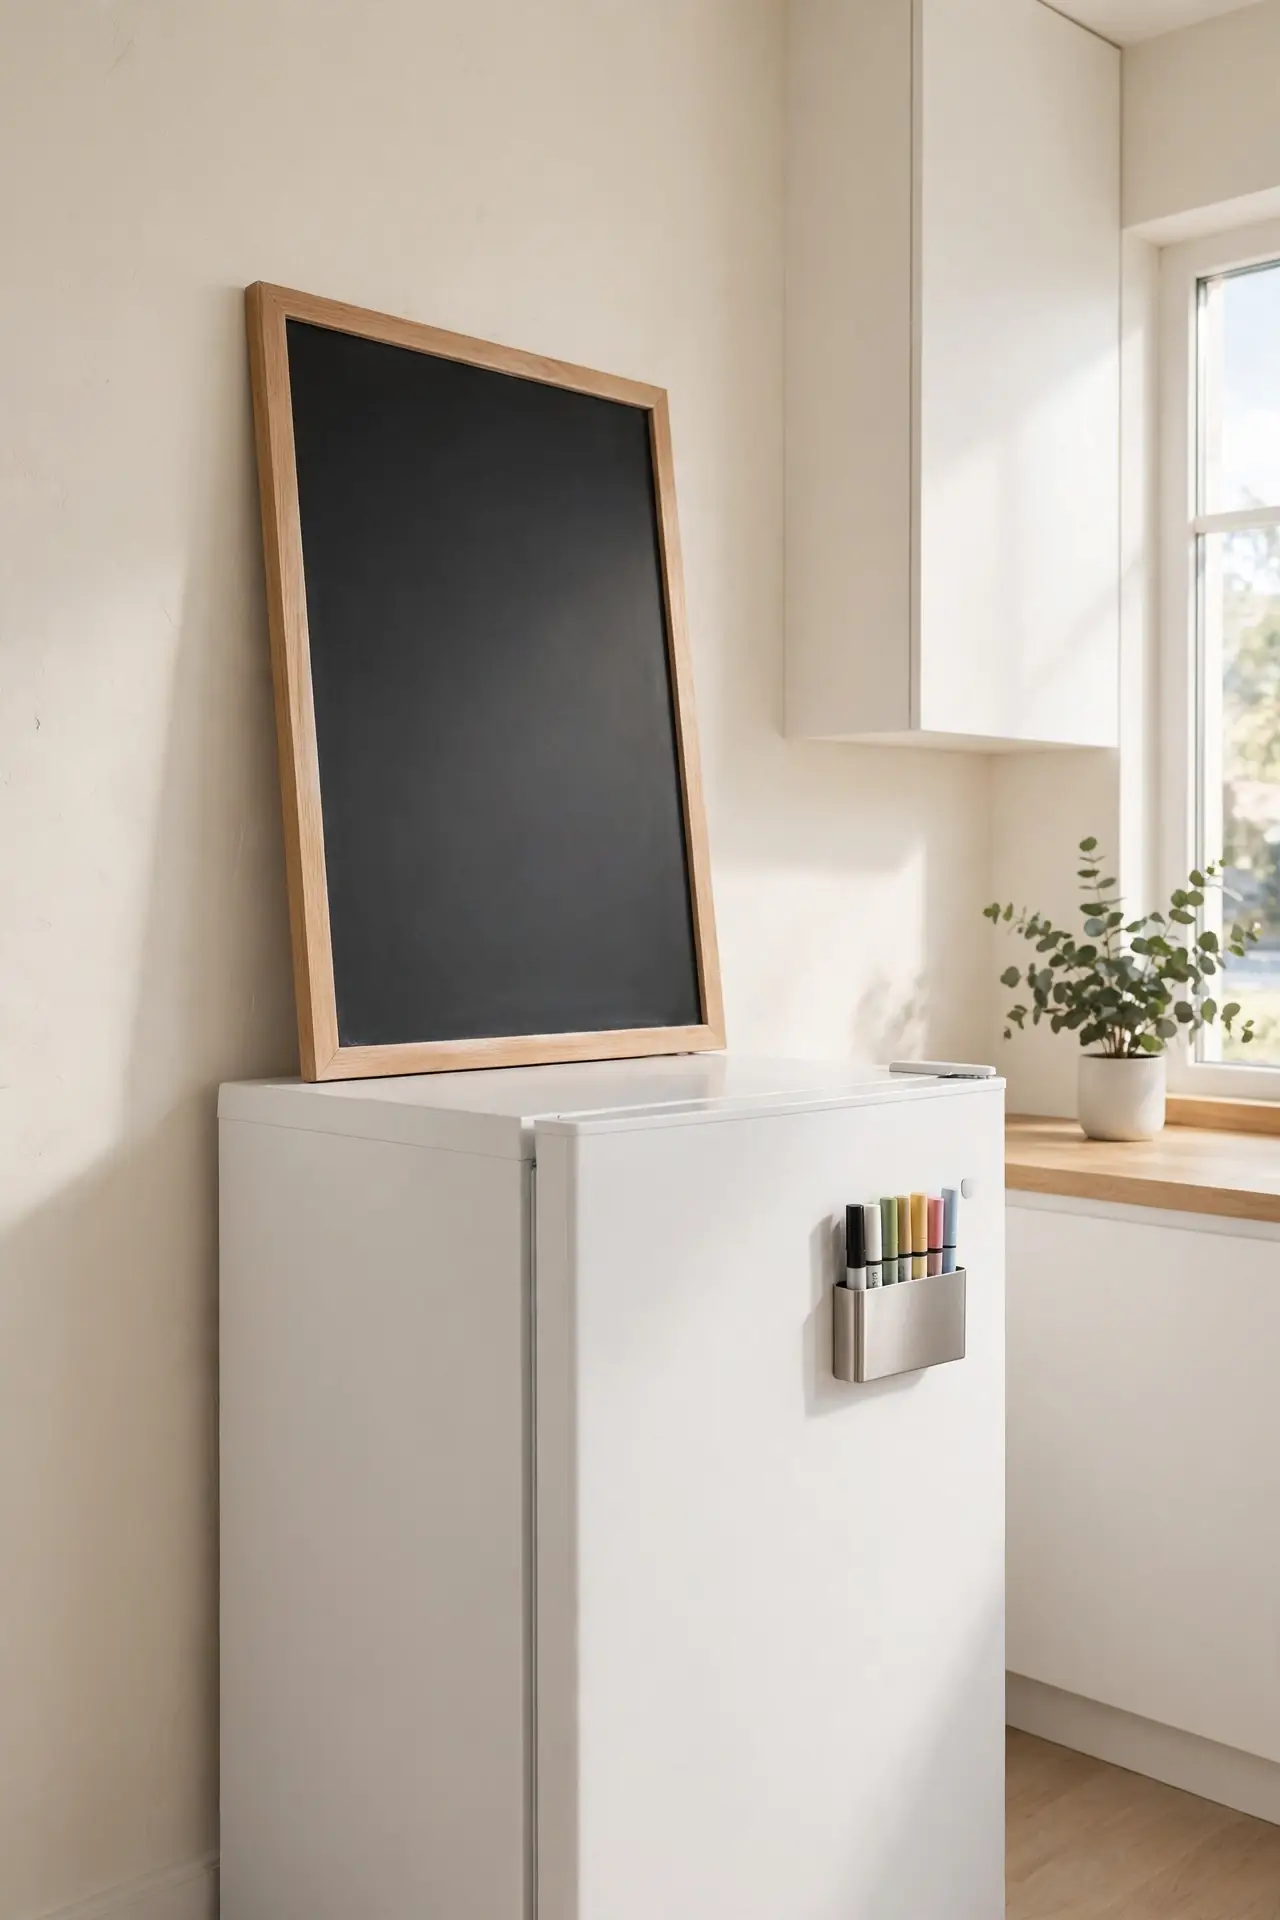
BEFORE: Our fridge top collected a drifting pile of permission slips, coupons, and reminder notes that lived nowhere in particular. Important papers vanished under newer ones, and the whole surface looked like a paper storm.
AFTER: A framed chalkboard now leans against the wall above the fridge, and every note lands in one magnetic tray beside it. The family calendar, grocery list, and weekly menu all live in one glanceable spot.
Lean the board instead of hanging it if you rent; a small easel back keeps it stable. I rewrite the menu every Sunday and the kids actually check it. Keep chalk markers in the tray so the system survives longer than a week.
Pull-Out Storage Drawer
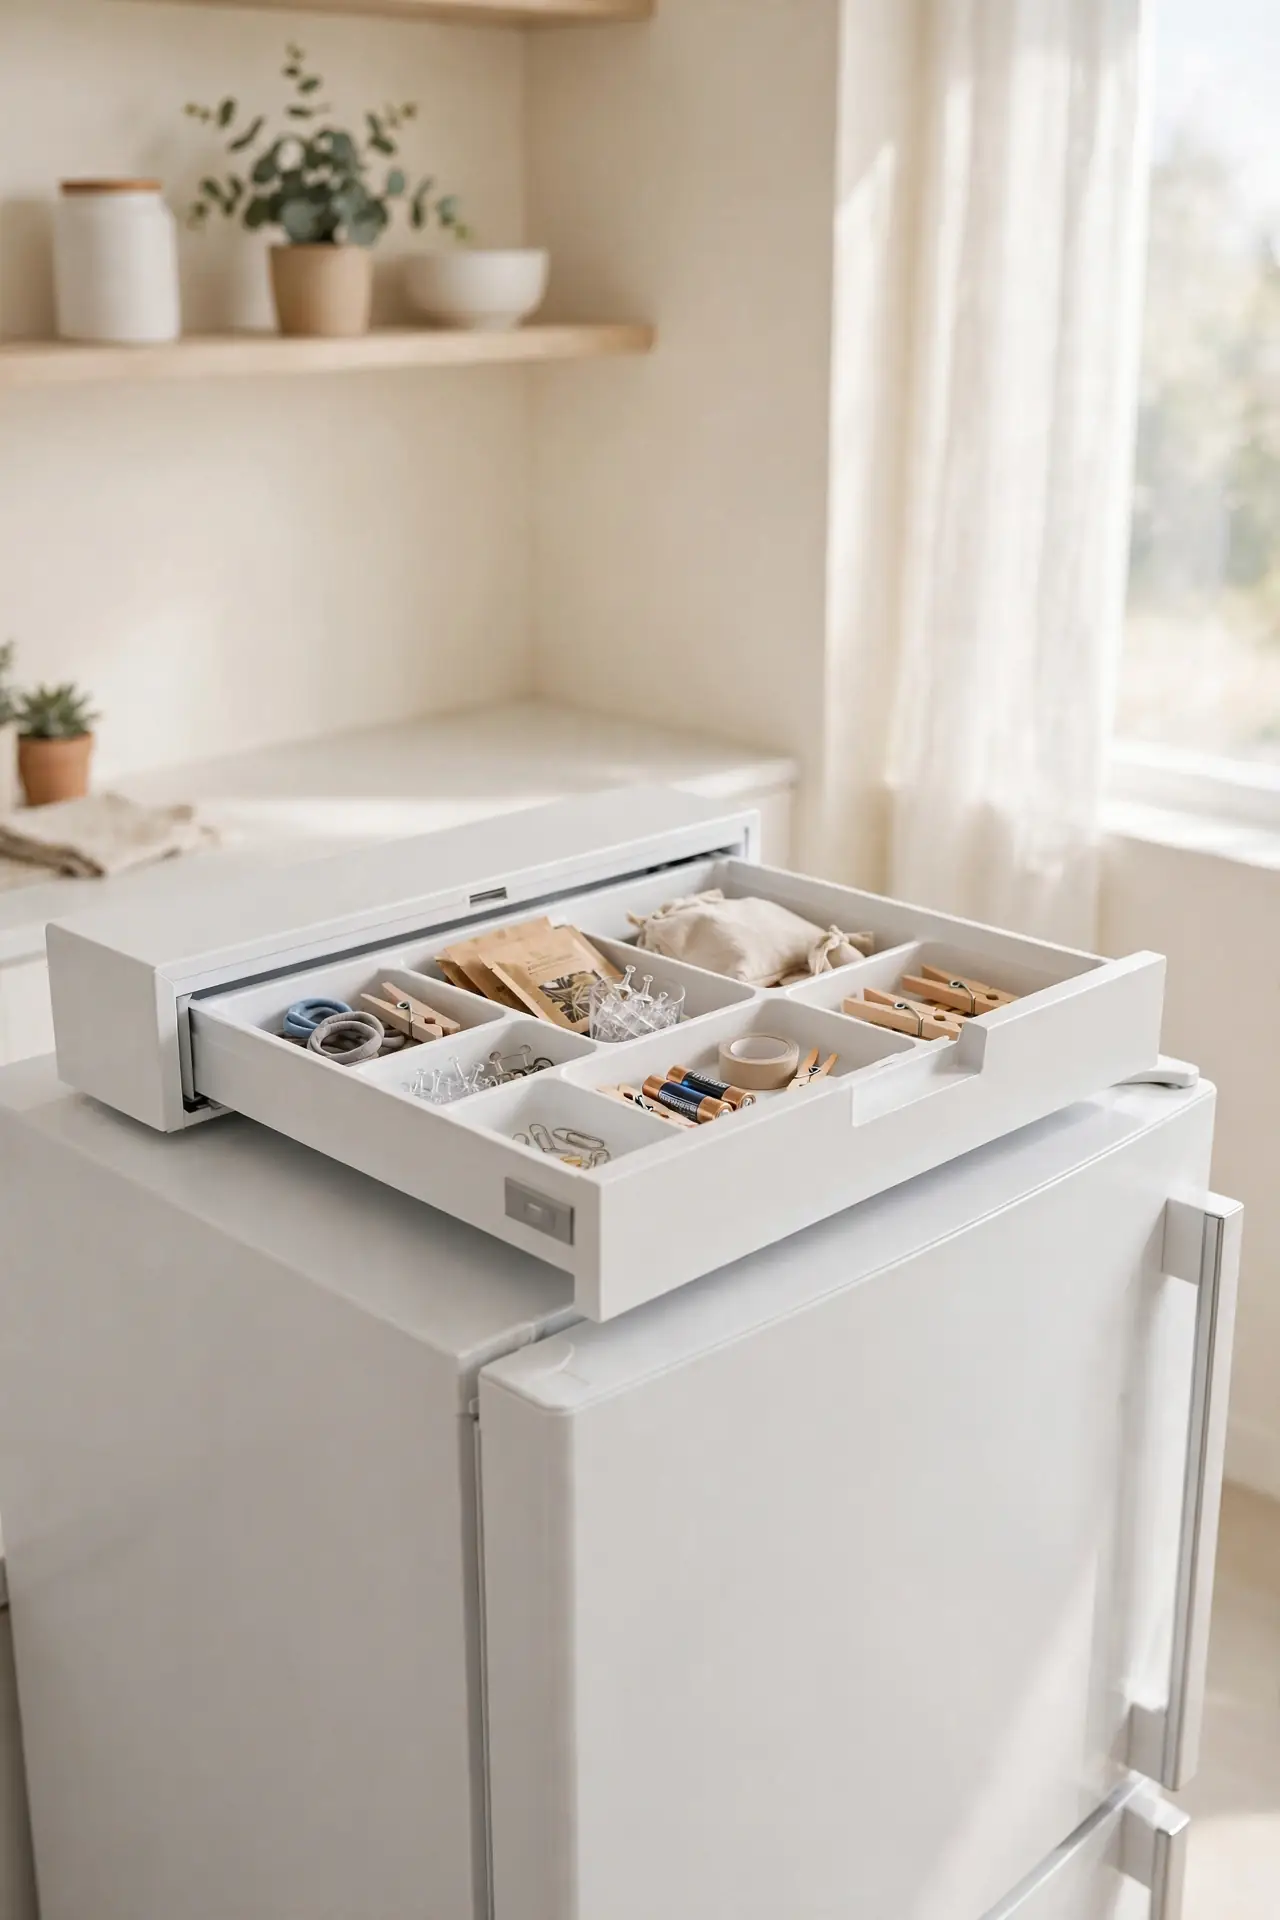
- Buy a shallow pull out organizer sized to your fridge top depth.
- Set it toward the back so the front edge stays clear for tall items.
- Fill the drawer with small loose items like batteries, clips, and chargers.
- Pull it forward whenever you need something instead of climbing up.
The magic here is access. Deep fridge tops swallow small items whole, but a drawer brings everything to you. I labeled the drawer front so guests stop asking where things are. Skip this if your fridge top is narrower than twelve inches; the drawer needs room to glide, and the mechanism stays smooth.
Hanging Rail Hooks
| Wall Mounted Rail | Adhesive Hooks | |
|---|---|---|
| Strength | Holds heavier items like aprons and pans | Best for light items under two pounds |
| Install | Needs two screws into a wall stud | Peel and stick, no tools required |
| Flexibility | Hooks slide and rearrange freely | Fixed spots, harder to reposition |
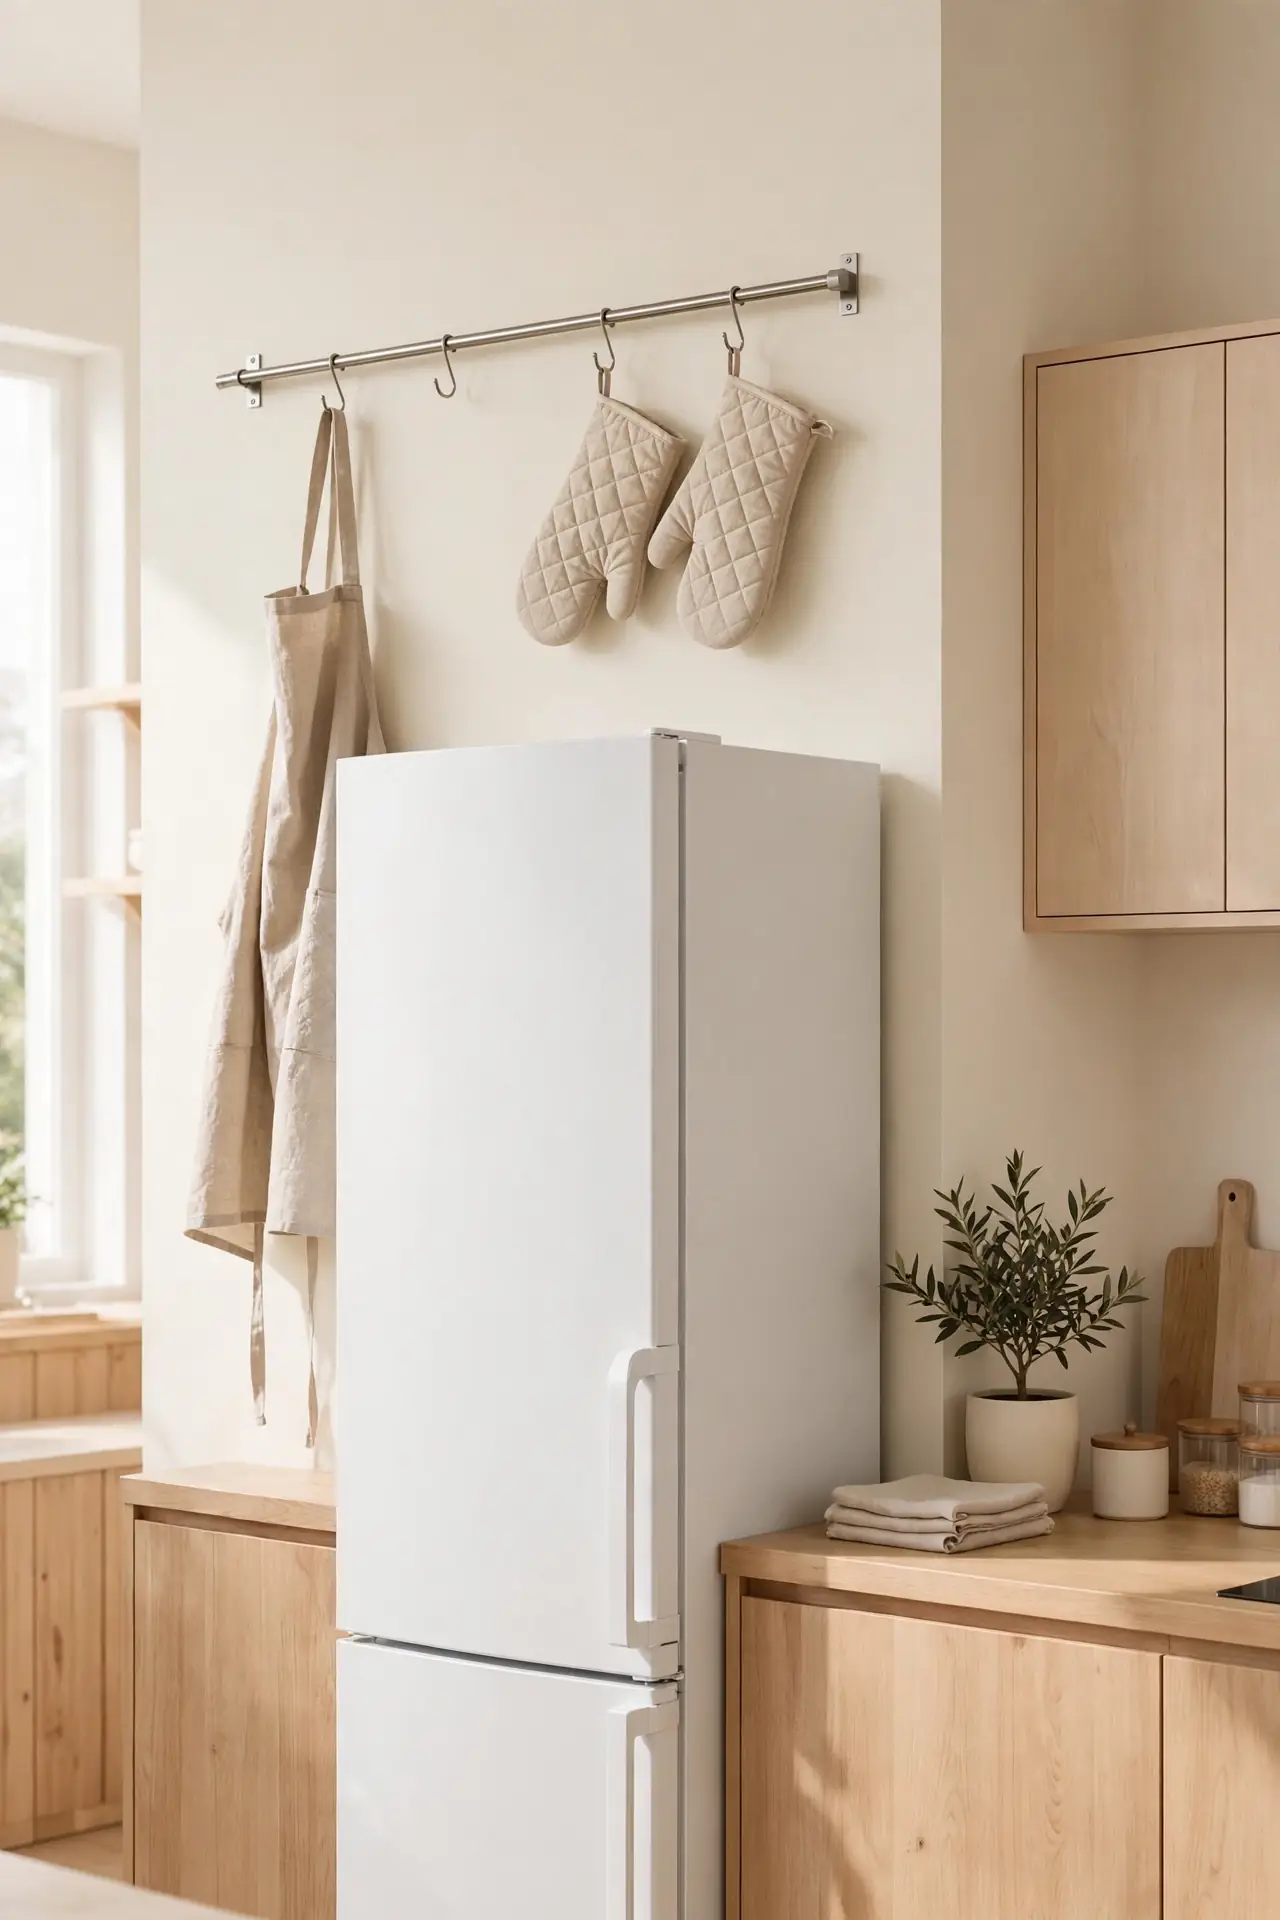
A rail mounted on the wall above the fridge turns empty air into hanging storage for aprons, oven mitts, and lightweight pans. I hung mine at arm’s reach above the fridge top so nothing dangles into the cooking zone. Renters should choose the adhesive route; just clean the surface with alcohol first and let the strips cure for a full day.
Coffee Station Shelf
DO:
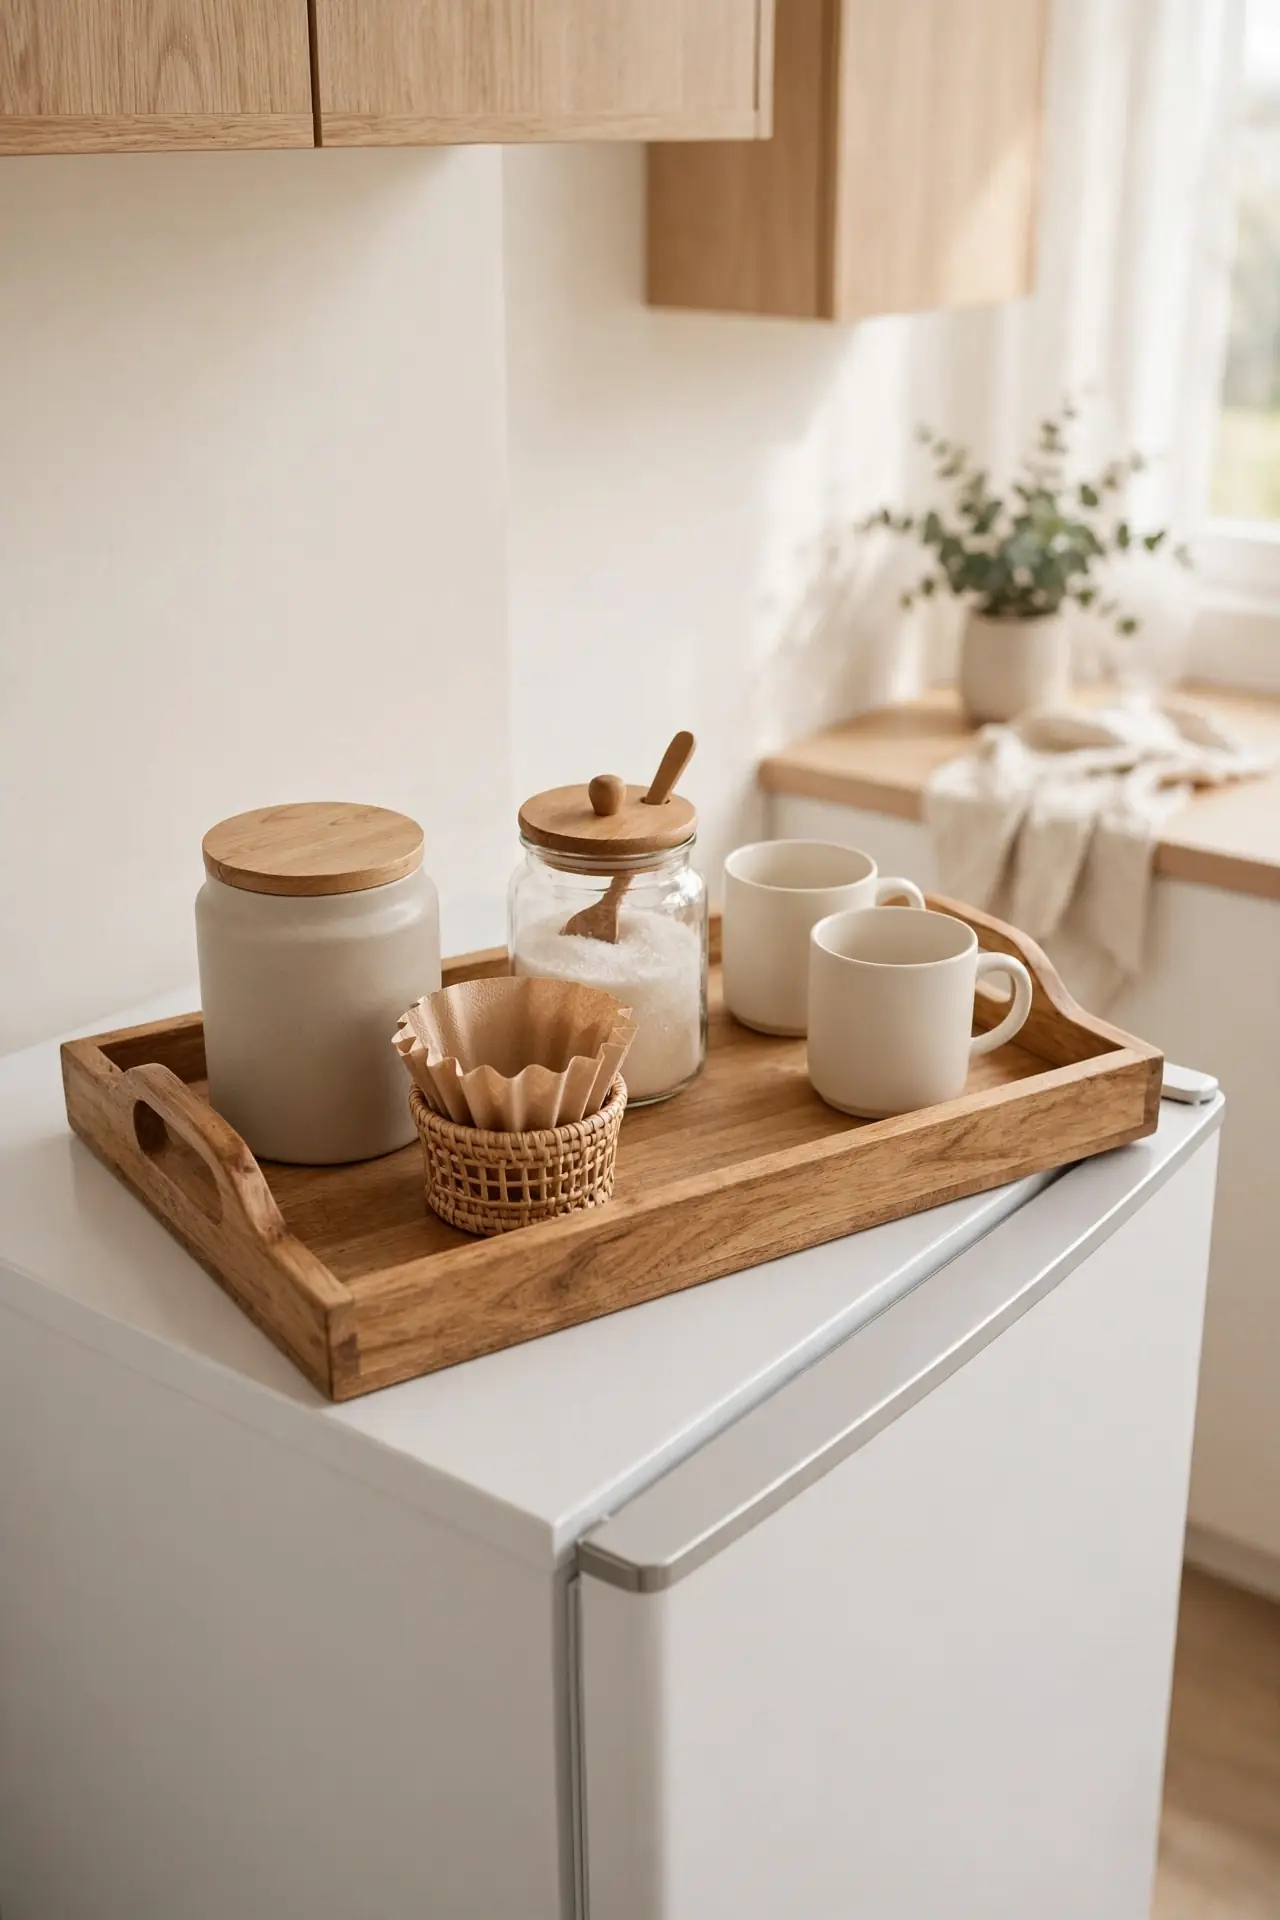
- Keep daily coffee, filters, and sugar in one shallow tray.
- Use a small riser so mugs sit above the supplies.
- Choose a tray with handles for easy lifting at refill time.
DON’T:
- Don’t store the coffee maker itself up here; too heavy and awkward.
- Don’t keep milk or creamers at room temperature up high.
- Don’t let the station spread beyond one tray’s footprint.
A dedicated coffee tray above the fridge keeps the counter clear for actual cooking. I restock mine every Sunday and it takes three minutes. The visual boundary of the tray matters most: without edges, coffee supplies slowly colonize the whole fridge top.
Paper Towel Station
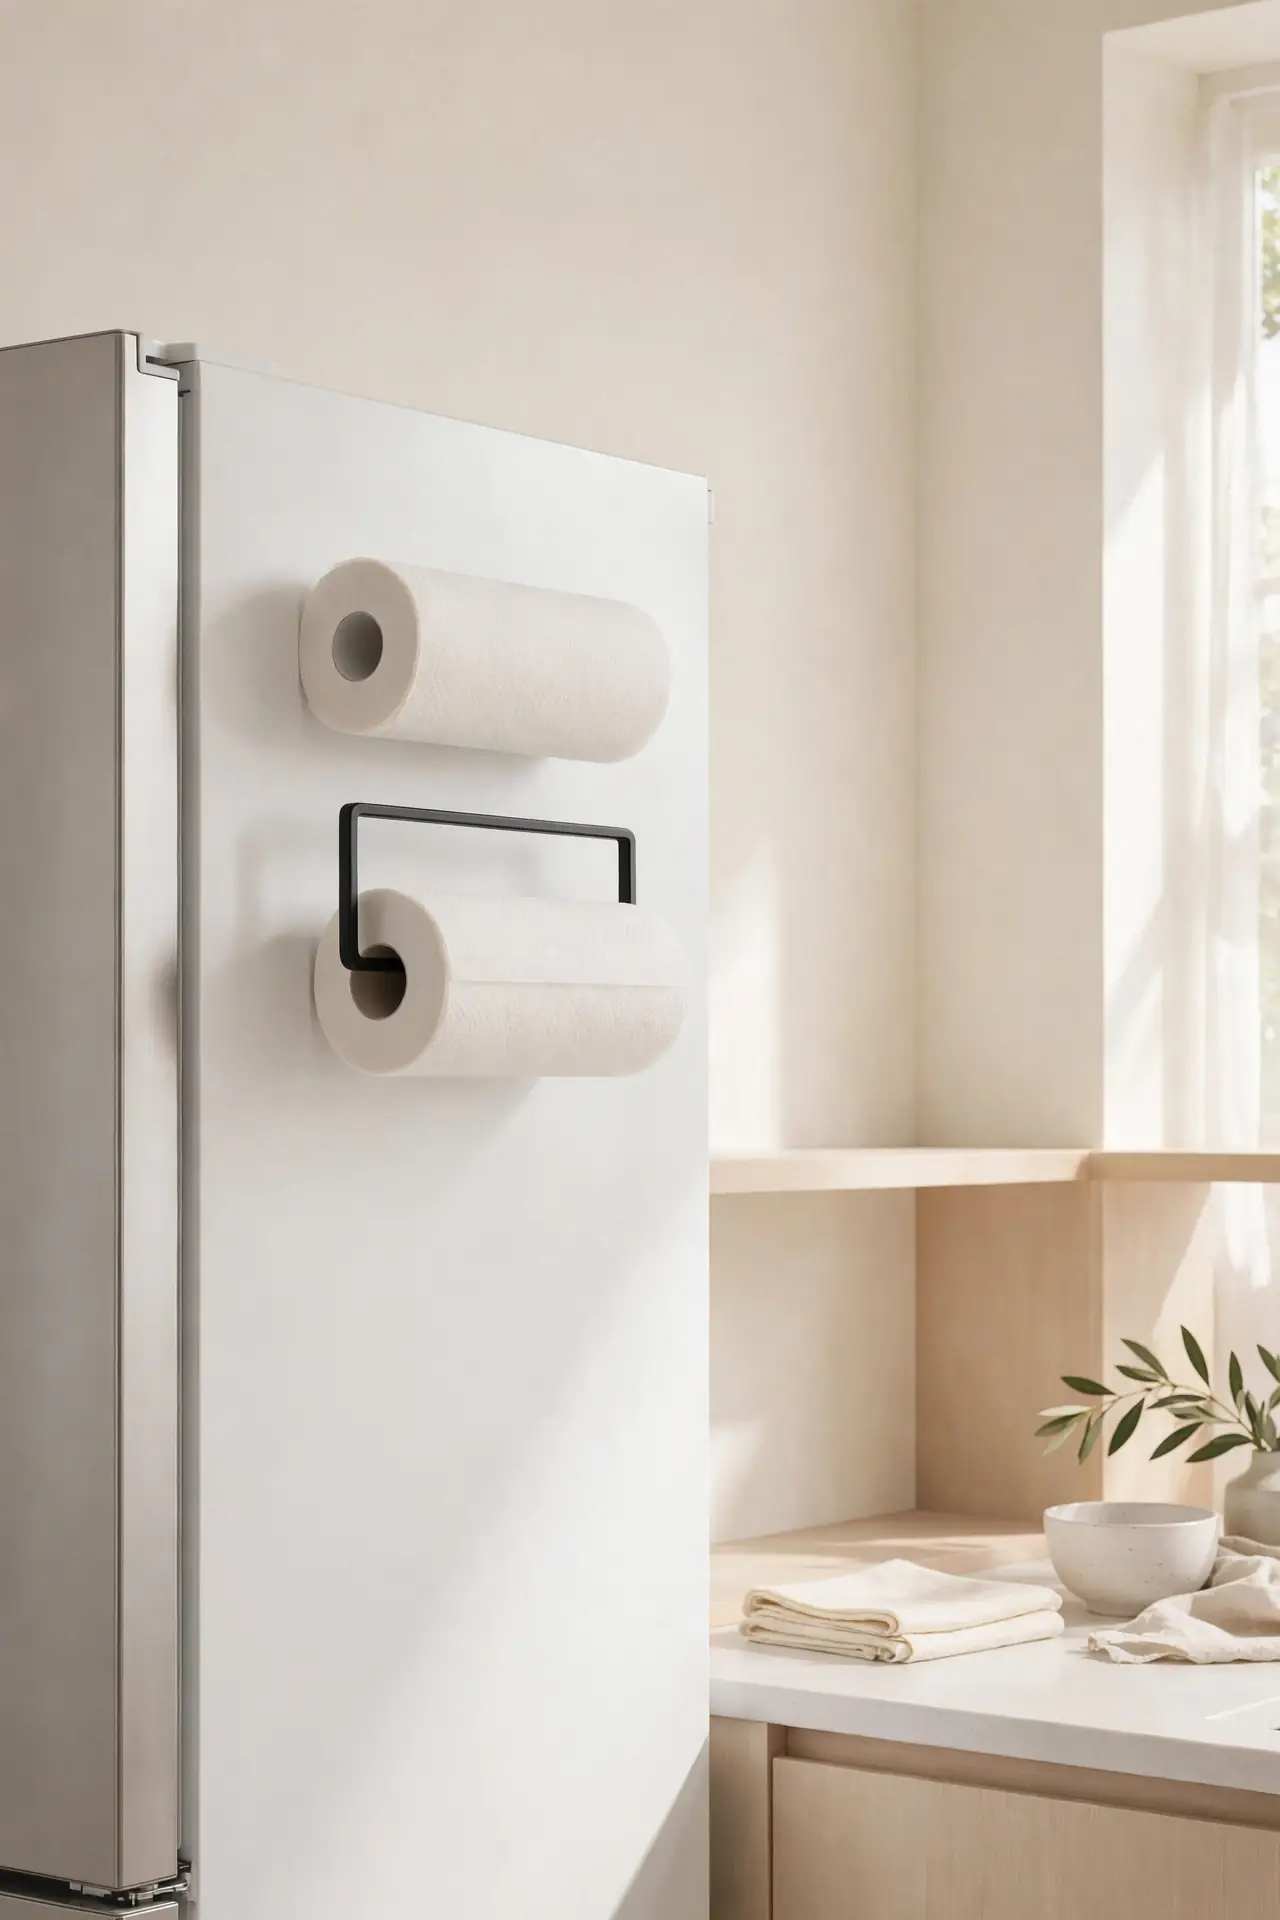
Cost: Very low, one holder and a bulk pack | Time: Ten minutes to set up | Skill Level: Beginner | Best For: Busy family kitchens | Works In: Any kitchen with a standard fridge
Paper towels belong within arm’s reach, and the fridge top is closer to most messes than the pantry. I mounted a simple holder on the fridge side near the top, with the bulk pack stored flat above. The key is keeping just one spare roll up there; a whole case looks cluttered and tempts everyone to grab a fresh roll early. This small system cut my mid cooking dashes across the kitchen in half.
Wine Glass Rack
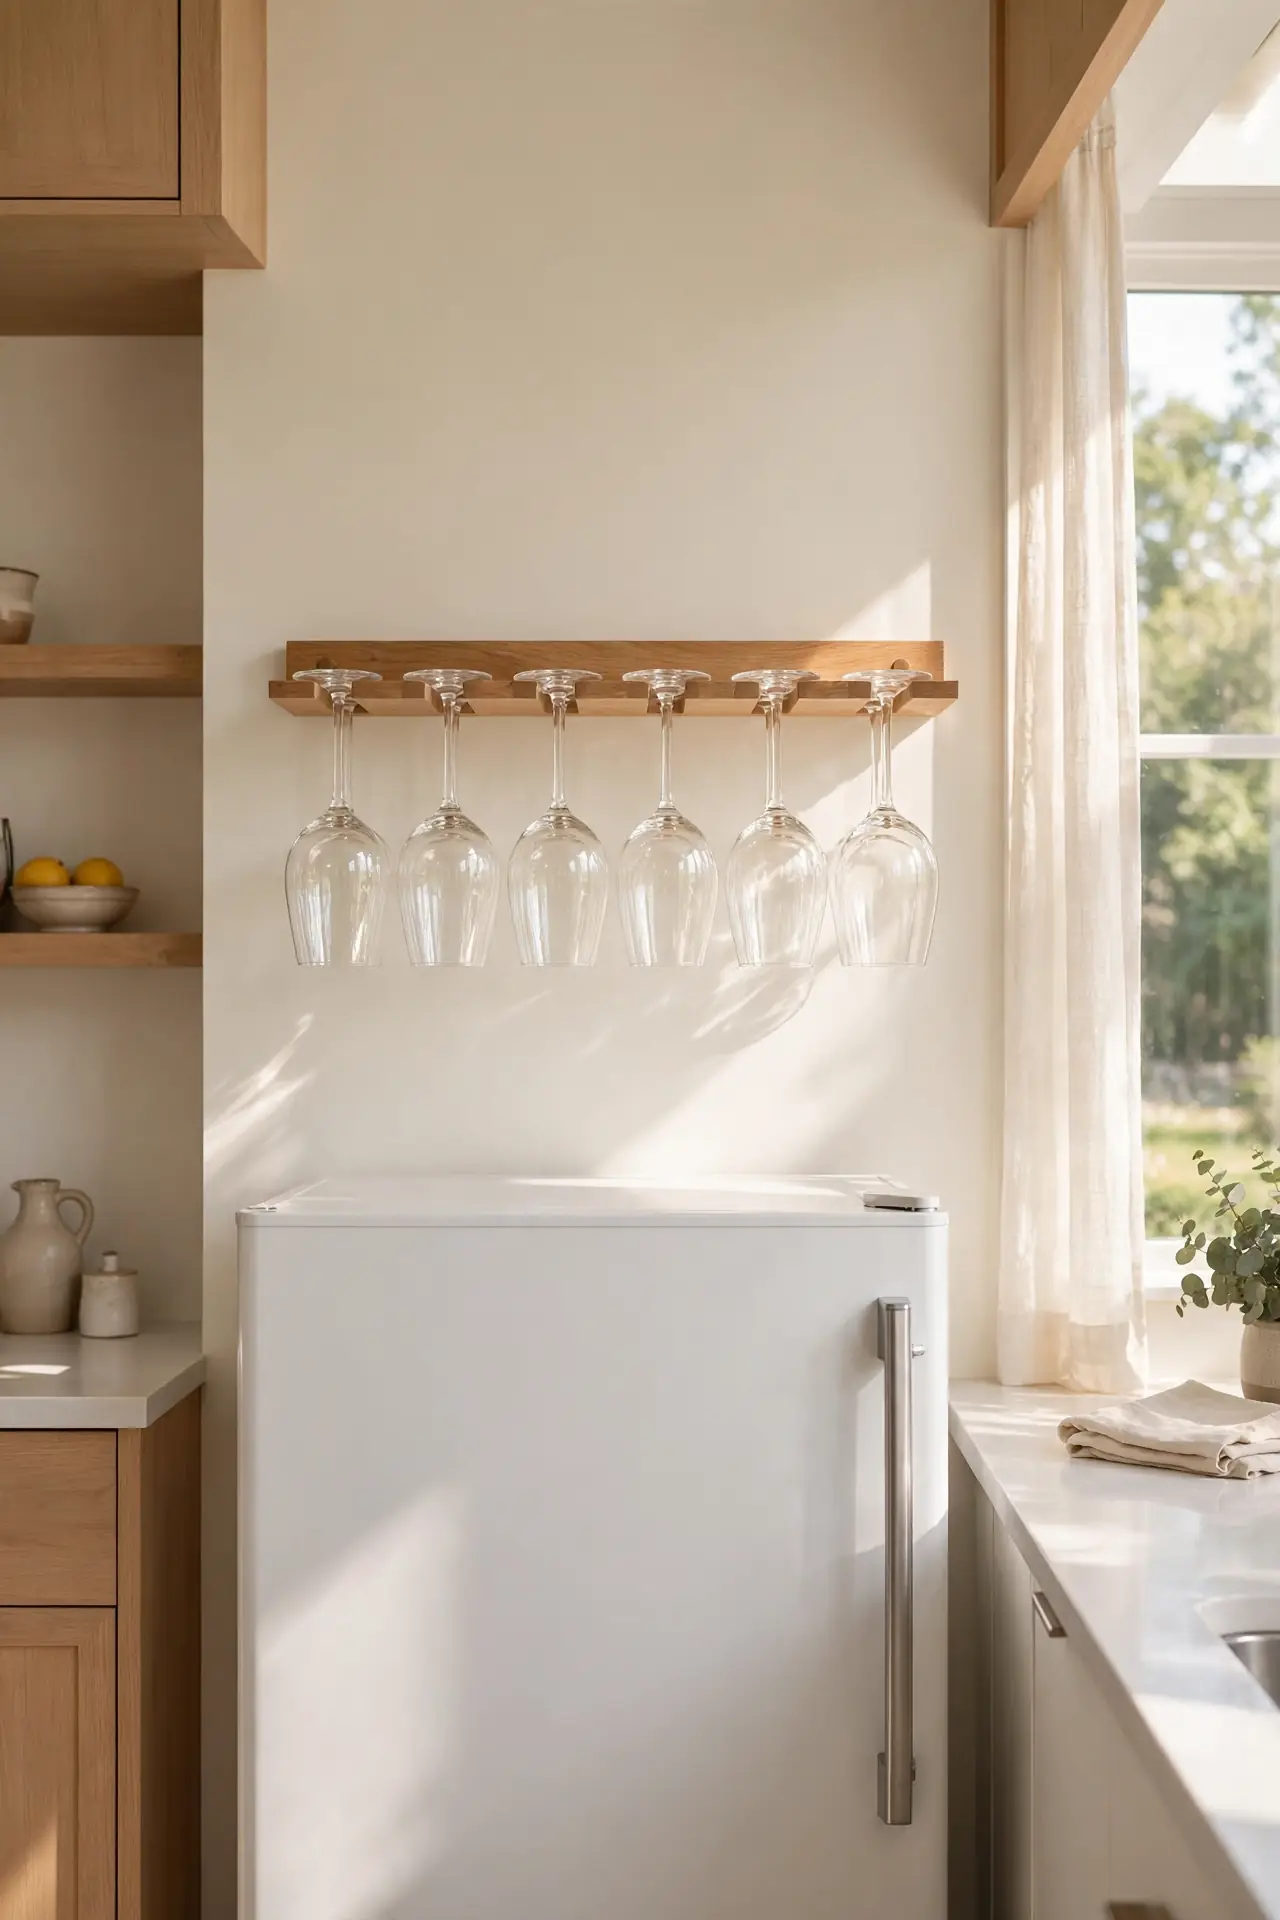
Stemware stored above the fridge stays dust free and out of the daily traffic zone. I hung a simple under shelf rack from a board laid across the fridge top, and six glasses now float safely above the chaos. The glasses catch the kitchen light and look like a little chandelier from across the room.
Only hang glasses you use monthly; precious crystal belongs in a closed cabinet. I learned to measure the glass height plus the rack depth before buying, since tall flutes need real clearance. Give each glass its own slot and never double stack, because chips happen in the dark up there.
Table Linen Stack
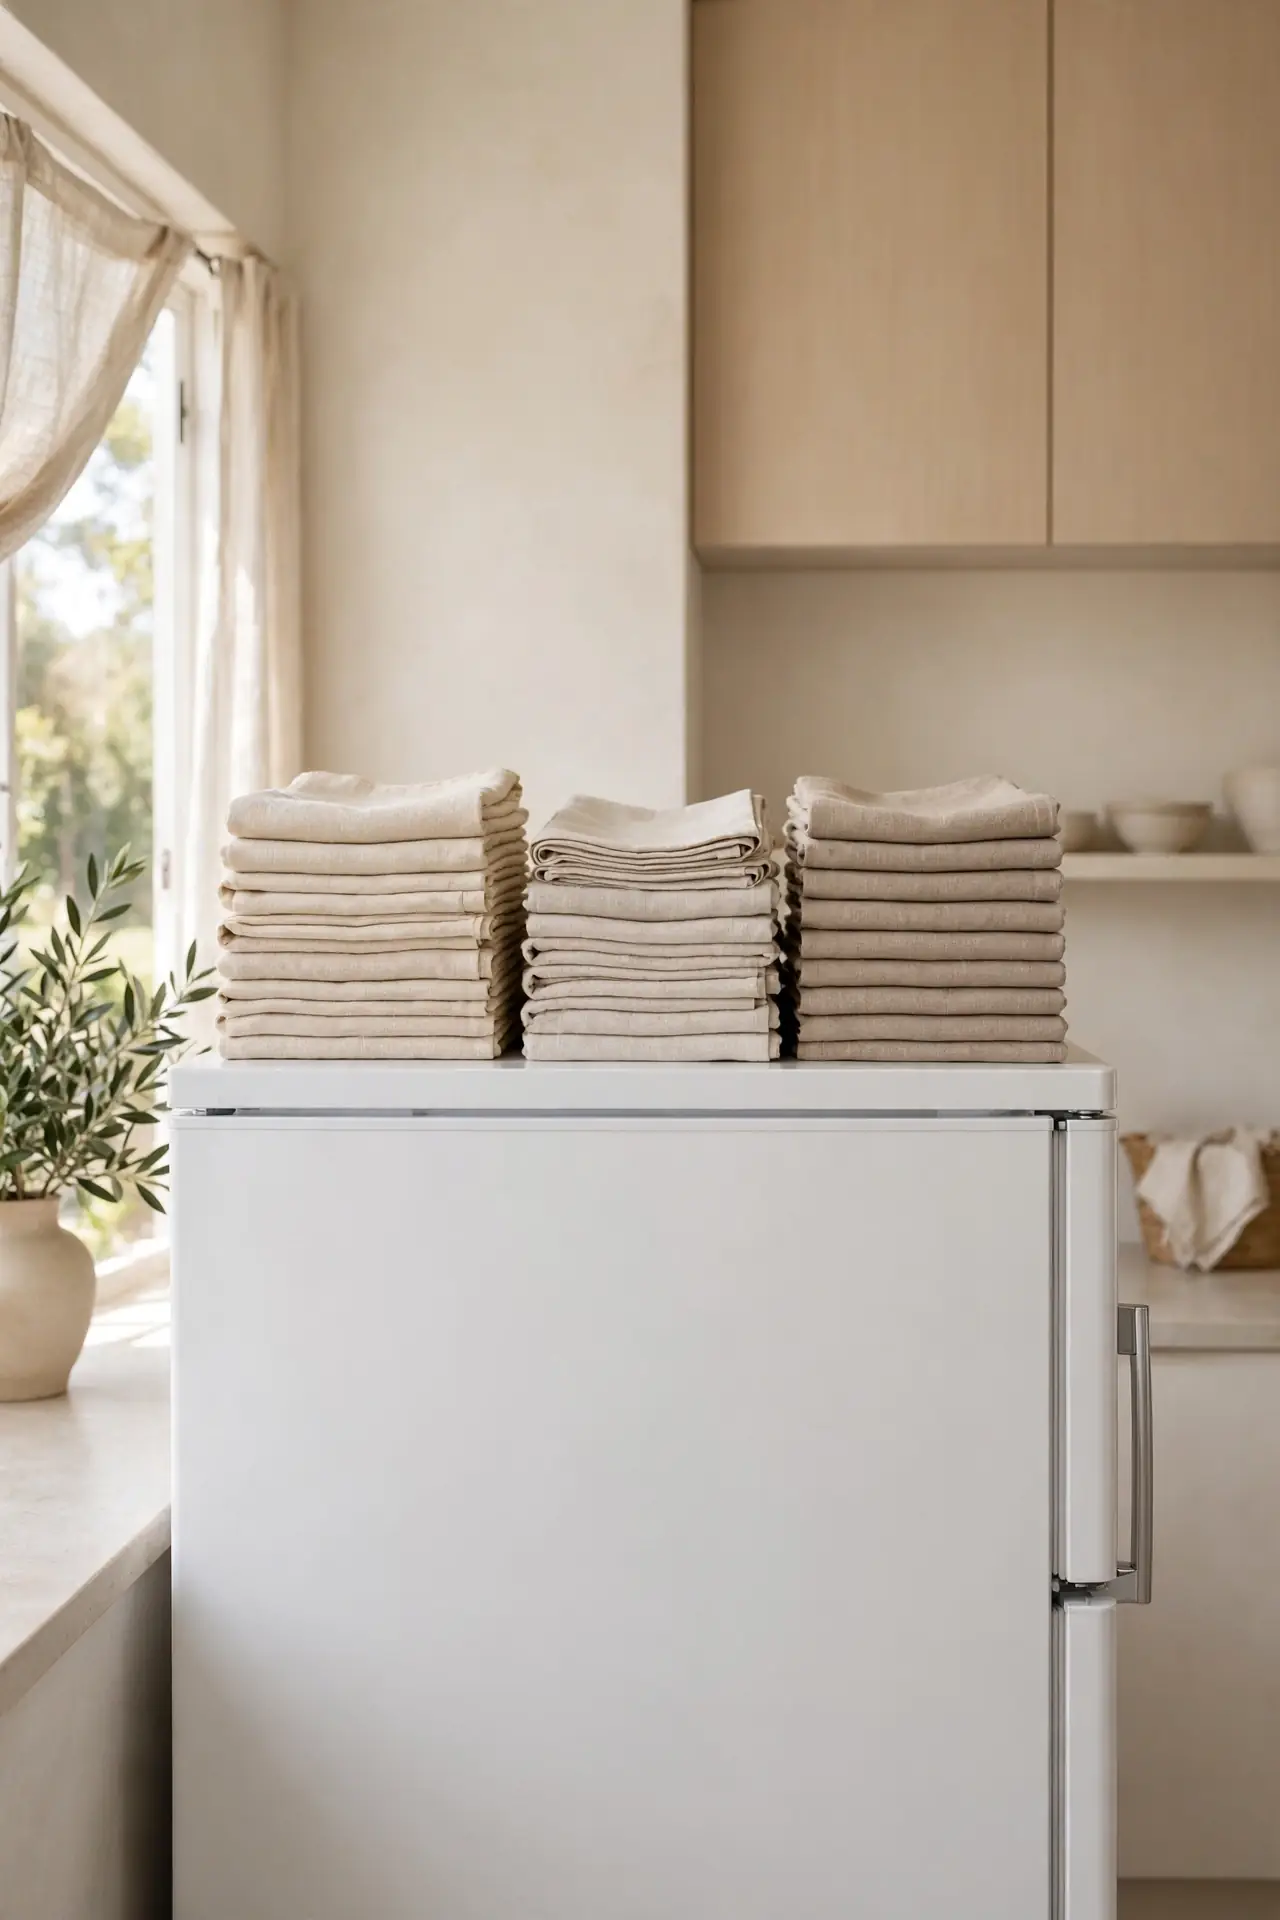
- Fold tablecloths, runners, and cloth napkins into matching rectangles.
- Stack by season or occasion so holiday linens sit together.
- Place a lavender sachet between layers to keep everything smelling fresh.
- Keep everyday placemats lower in the kitchen; only occasion linens earn the fridge top.
Linens are light, flat, and rarely needed, which makes them ideal residents for high storage. I iron mine once, fold them around cardboard for crisp edges, and they stay perfect for months. The matching stack looks intentional, like a little textile shop display above the fridge. Guests always comment on it, and setup took one afternoon with a steamer and a folding board.
Recipe Box Nook
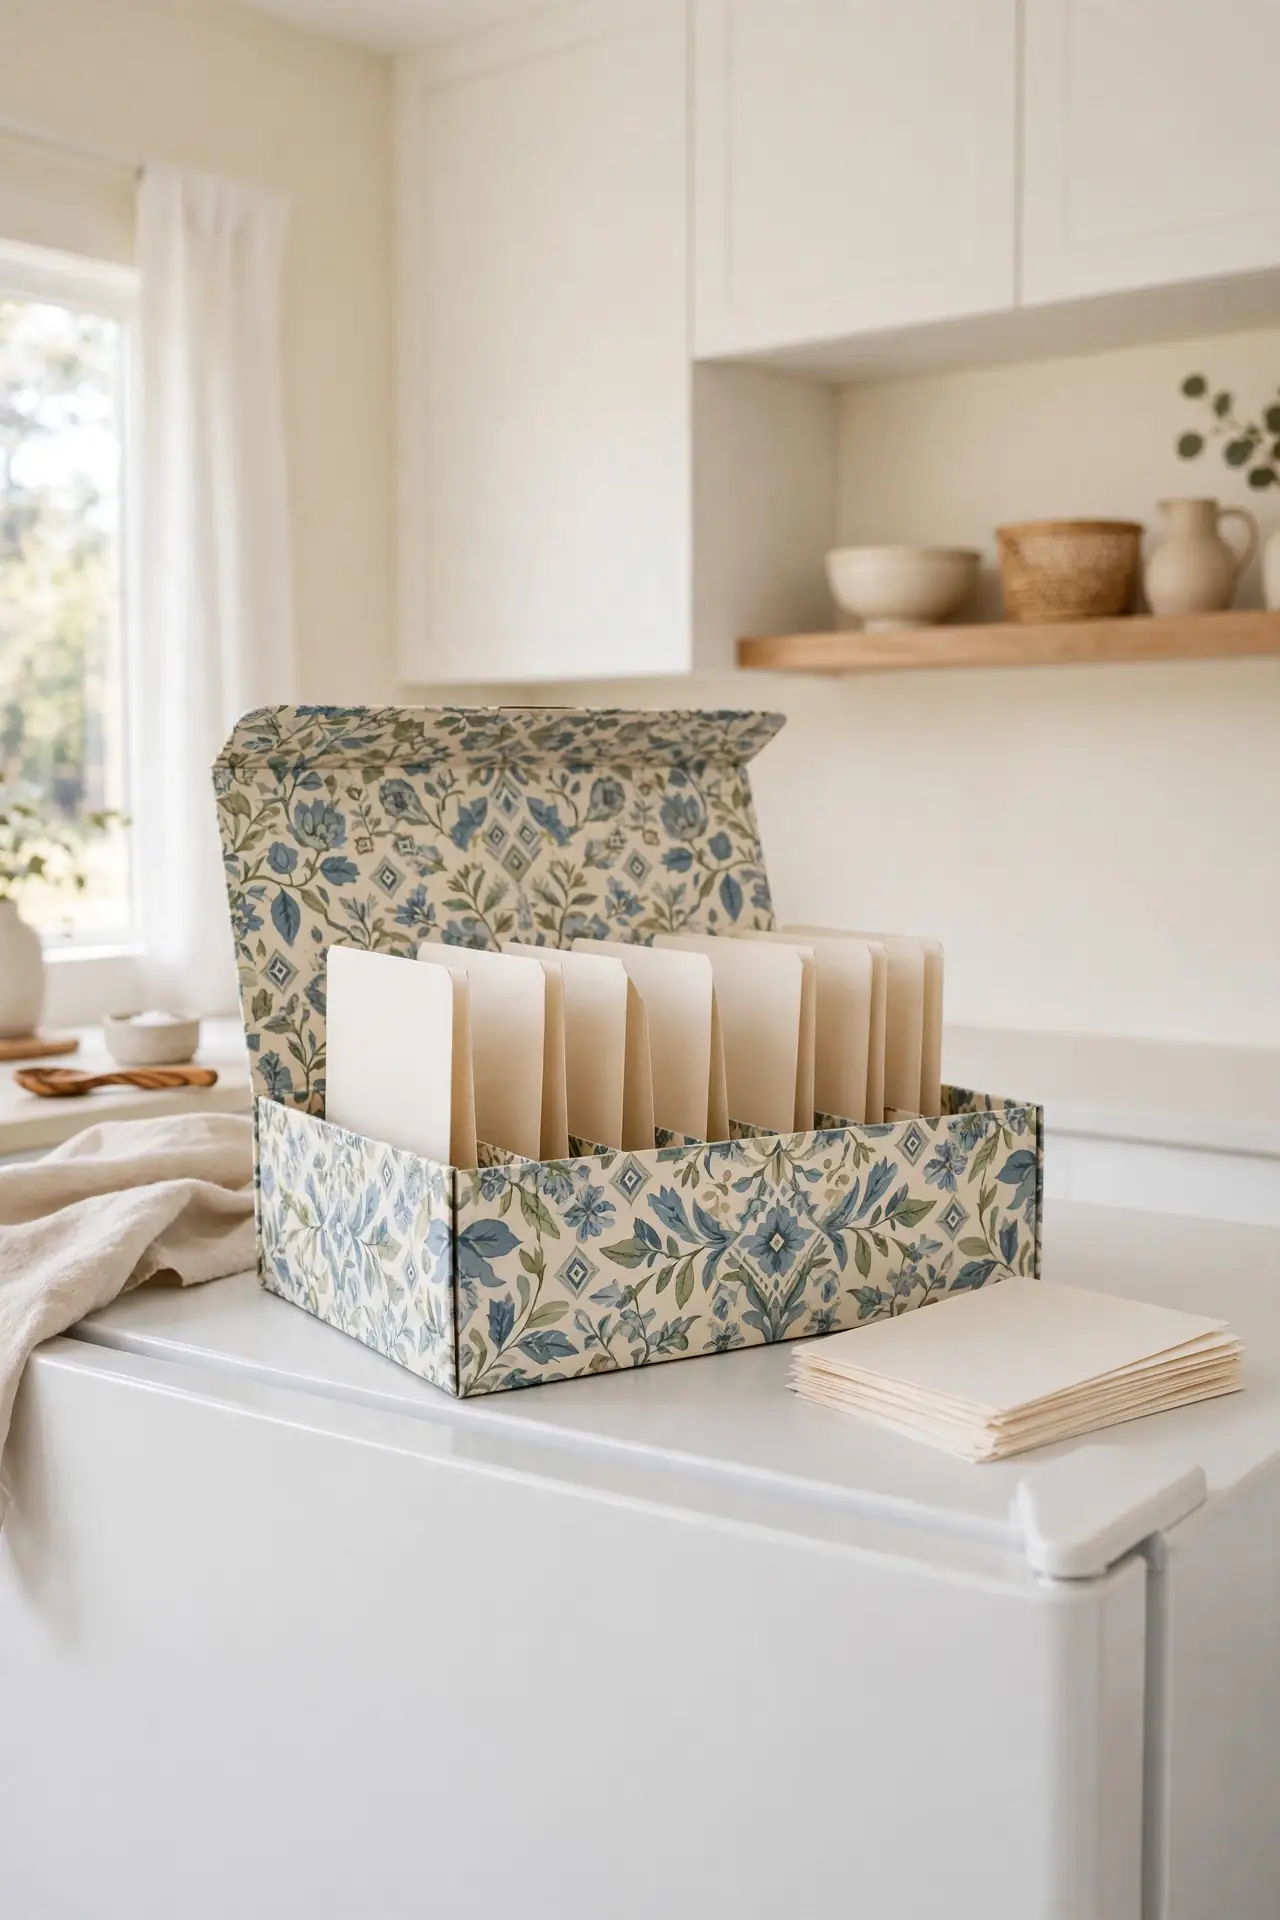
Quick Tip: Dedicate one pretty box on the fridge top to printed recipes, takeout menus, and appliance manuals. Sort with labeled dividers by category, and toss anything you have not touched in a year. The box keeps paper flat and out of the grease zone.
Paper multiplies in kitchens, and the fridge top is where it goes to die. My recipe box ended that cycle because everything paper now has exactly one home. I keep a small recycling bin nearby too, so junk mail never even makes it into the box. The dividers took ten minutes to label and the whole system still runs itself months later.
Cutting Board Gallery
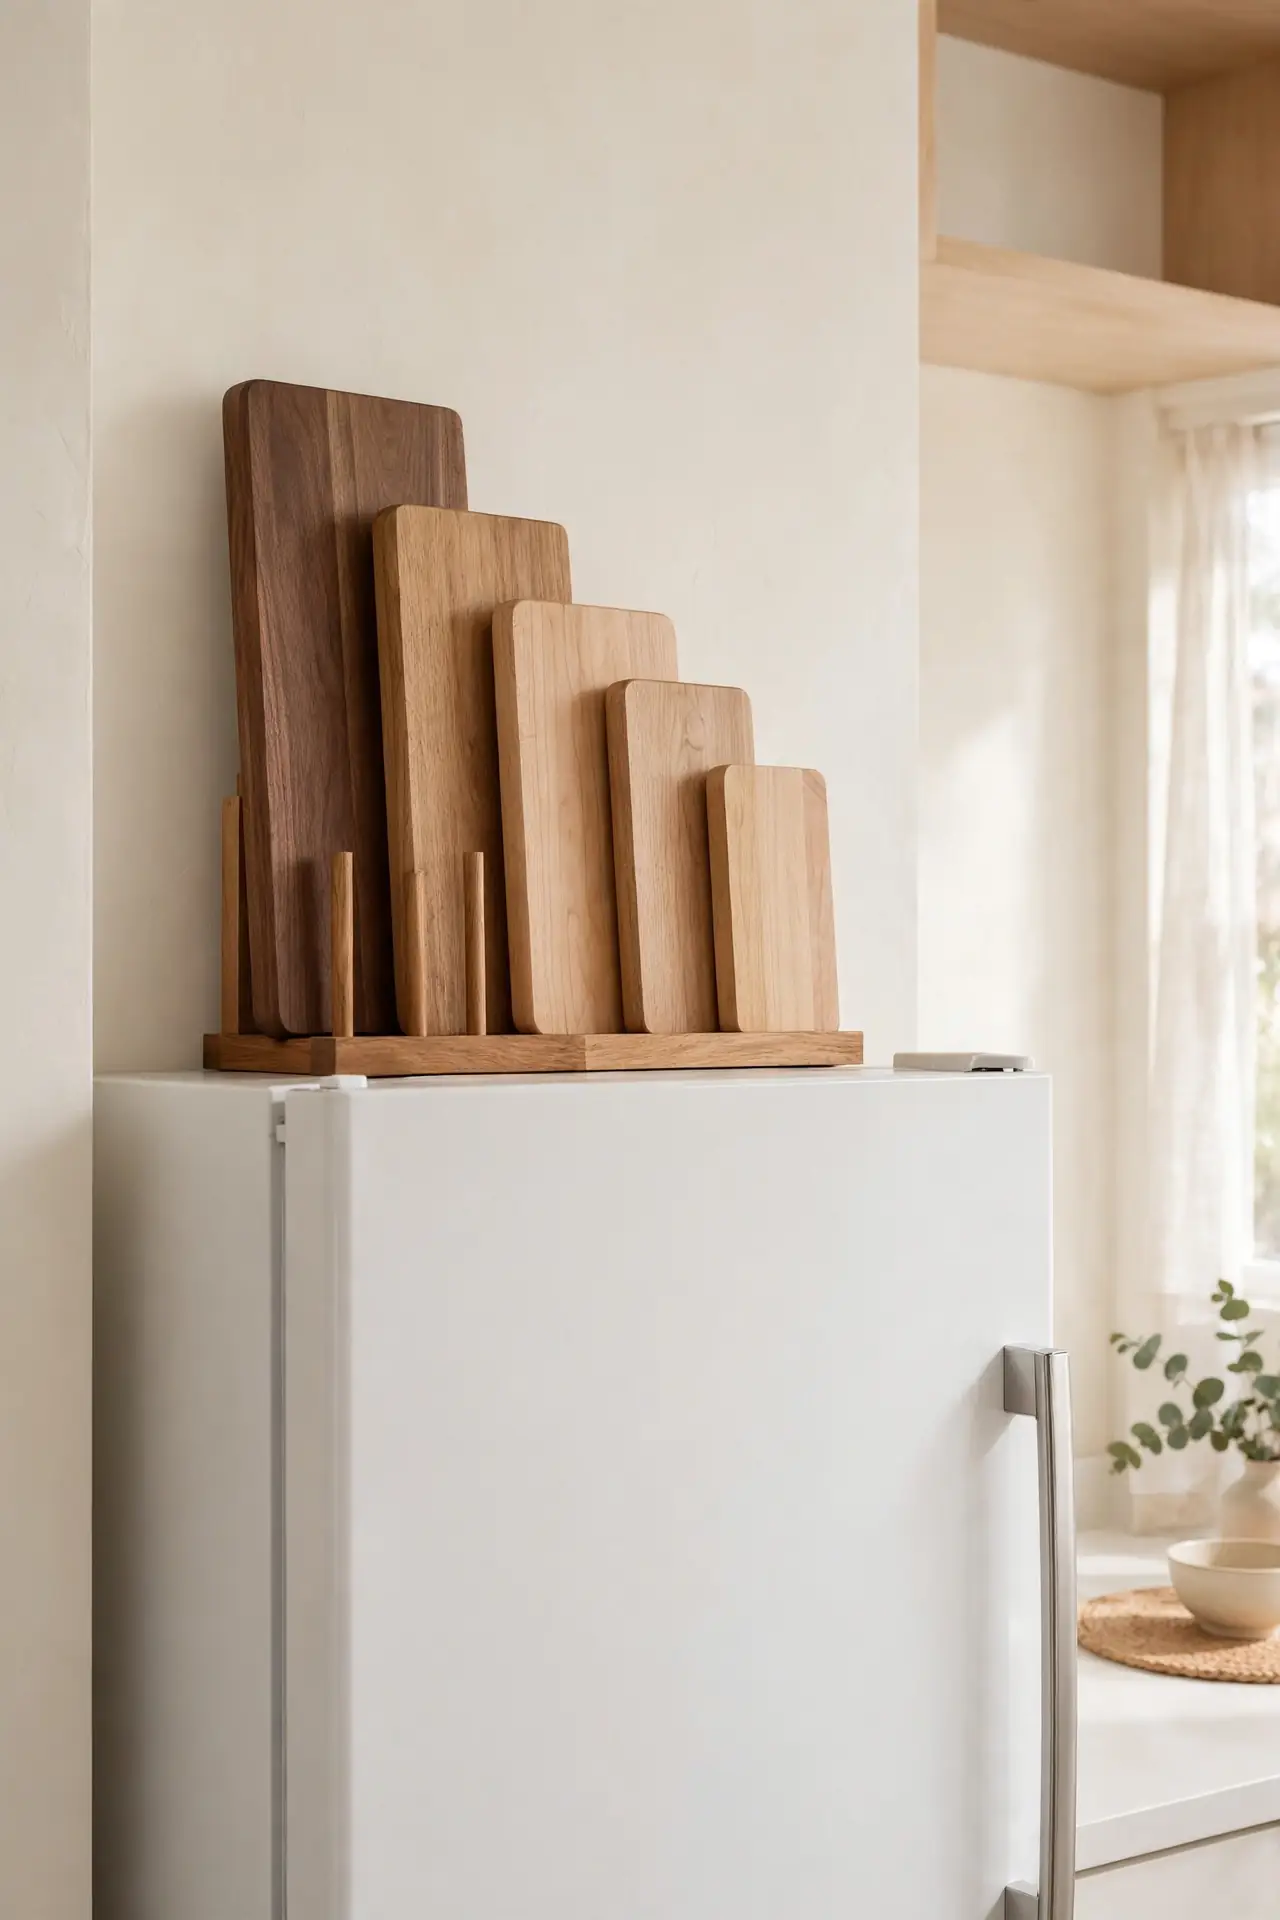
BEFORE: My cutting boards leaned in a jumbled stack behind the toaster, warping from the heat and impossible to reach. The pretty wooden ones stayed hidden, which felt like a waste of good craftsmanship.
AFTER: The boards now stand upright in a rack above the fridge, arranged from tallest to shortest like a little gallery. I grab the right one without moving anything, and the wood tones warm up the whole corner of the kitchen.
Stand boards on their edges with the handles up for the cleanest look. I wipe mine with mineral oil twice a year since the warm air above the fridge dries wood faster. Skip the heaviest butcher blocks here; keep those in a low cabinet where dropping them cannot hurt anyone.
Hidden Charging Station
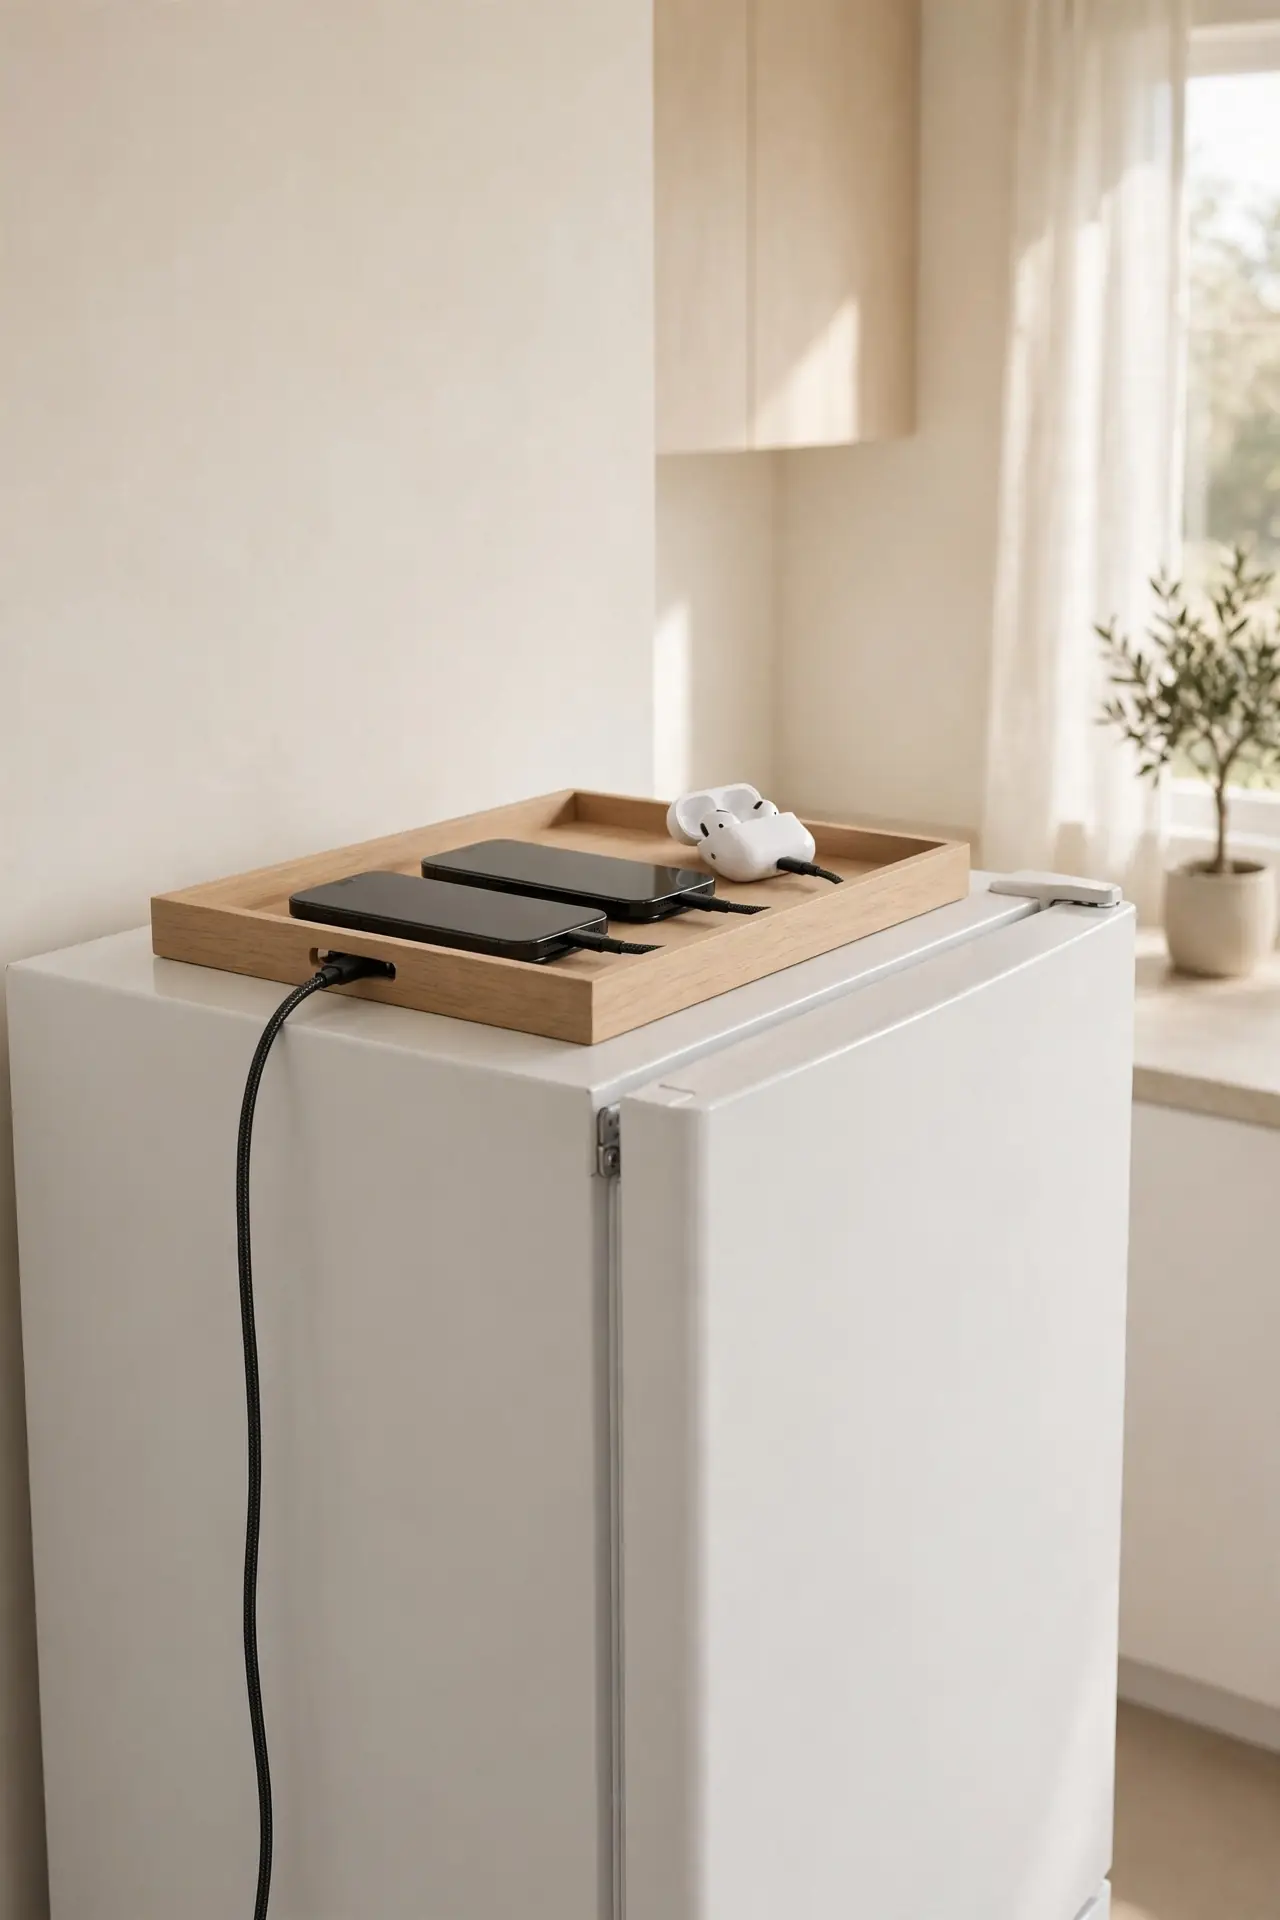
- Place a small power strip with a long cord on the fridge top near an outlet.
- Run the cord neatly down the fridge side with adhesive cable clips.
- Park phones, tablets, and earbuds in a shallow tray on top.
- Set a household rule today: devices charge here, not scattered on counters.
Counters stay clear when charging has a dedicated home out of sight. I added a tiny label that says charging station so the kids remember the rule. Keep the strip away from the stove side and never overload it; small electronics only, no space heaters or kettles up here either.
Conclusion
That empty stretch above your fridge has been waiting for a job, and now it has twenty one. Pick the two or three over the refrigerator storage ideas that fit your kitchen best and start there; small wins build momentum fast. I’ve seen how small changes like these can completely shift the way a space feels. Save this post to your kitchen organization board on Pinterest so you can find it when you are ready, then try one idea this weekend and share how it turned out. Your future self will thank you every time you grab exactly what you need without the clutter.