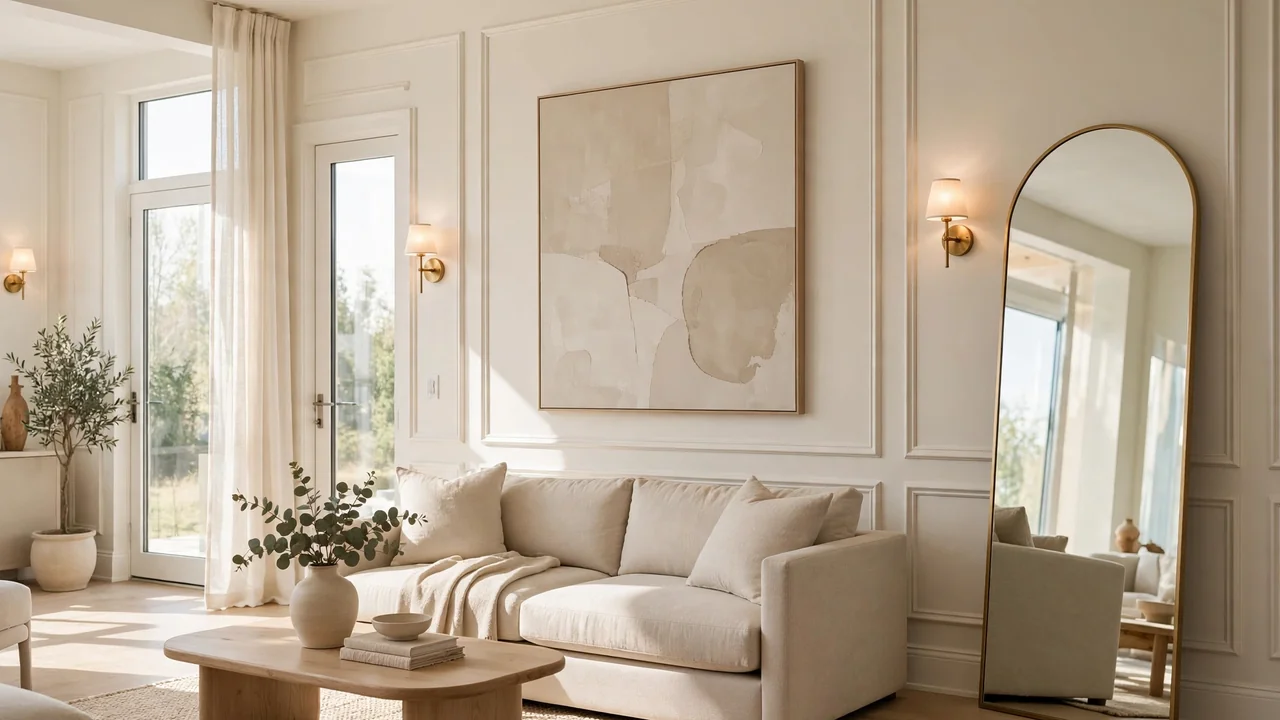
How to Make Rental Walls Look Expensive
Flat white rental walls can make even a lovely apartment feel unfinished and bland. The good news is that learning how to make rental walls look expensive needs no paint, no power tools, and no risk to your deposit.
In my experience, treating walls like a design project instead of a problem makes the biggest change. Simple swaps such as removable wallpaper, oversized art, and mirrors can shift a room from basic to beautiful in a weekend. If your entry feels as tired, read our guide on how to organize cluttered entryways for a fresh start.
This guide walks you through ten renter-friendly wall upgrades that look high-end but cost little. Every idea is fully reversible, so you can enjoy the look now and hand back the keys without worry.
Why Rental Walls Look Cheap
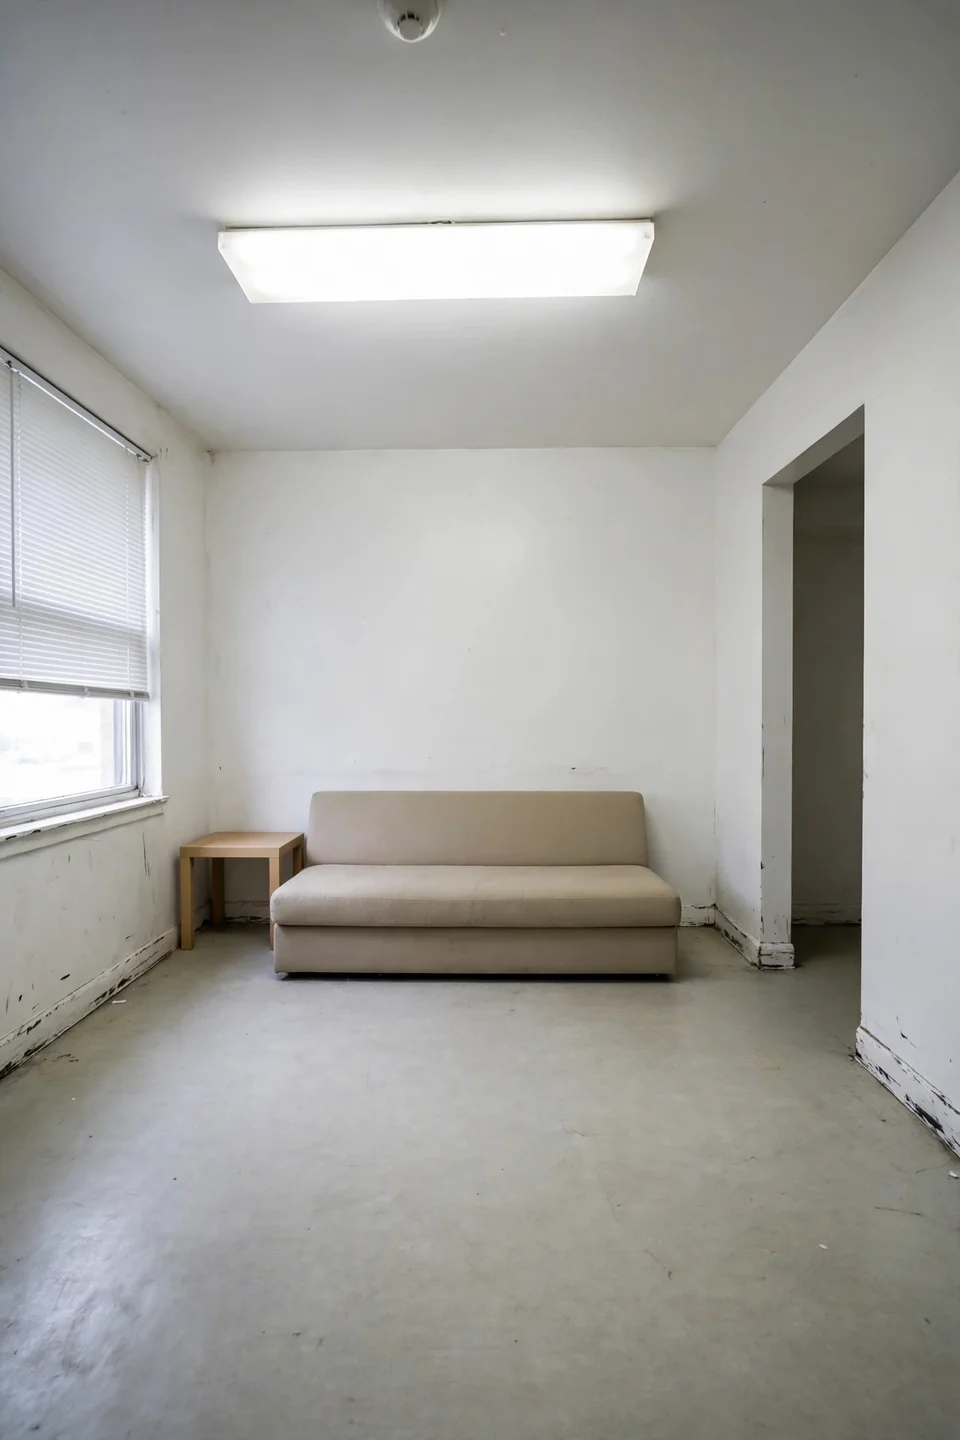
Most rental walls look cheap for the same few reasons, and none of them are your fault. Builders paint every unit the same flat white because it is fast and cheap, not because it looks good. That flat finish shows every scuff and shadow, and bare walls make furniture look smaller and rooms feel unfinished.
The fix is not painting but adding visual weight. Texture, scale, and layering trick the eye into reading a wall as designed rather than default. Once you understand what makes a wall feel expensive, you can rebuild that feeling with removable pieces.
Know Your Lease Limits First
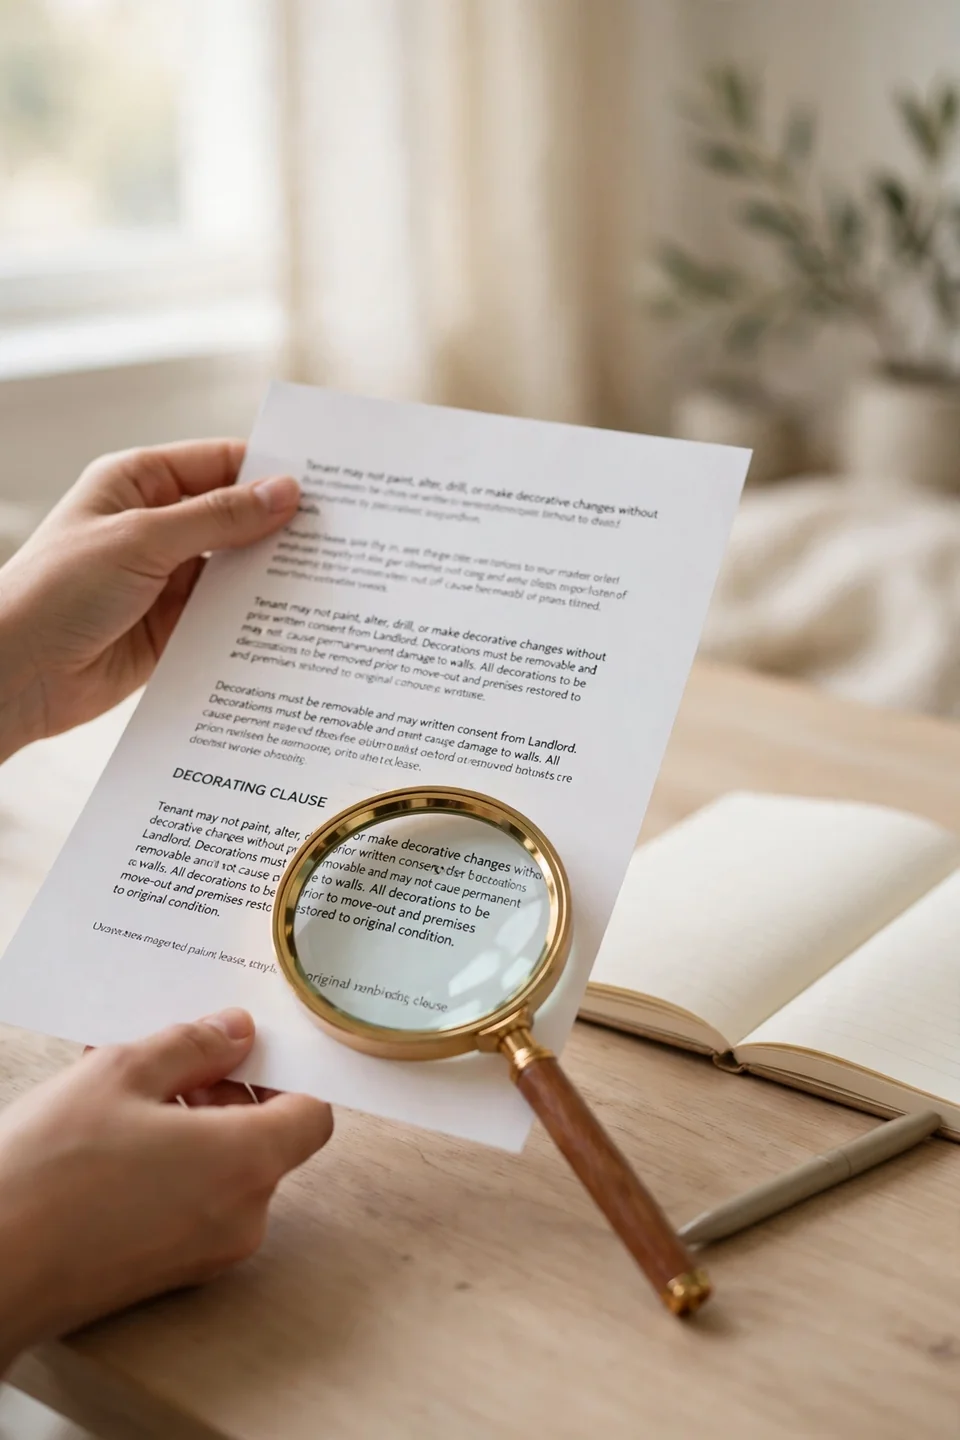
Before buying a single roll of wallpaper, check what your lease actually allows. Many landlords are fine with removable products but strict about nails and paint. Knowing the rules protects your deposit and shapes your whole plan from the start.
- Read the decorating clause in your lease and note every banned item.
- Ask your landlord in writing about peel-and-stick products, and save the reply.
- Photograph every wall before you change anything, so you have proof of the original state.
- Set a move-out budget for repairs, even small ones, so nothing surprises you later.
Peel-and-Stick Wallpaper Magic
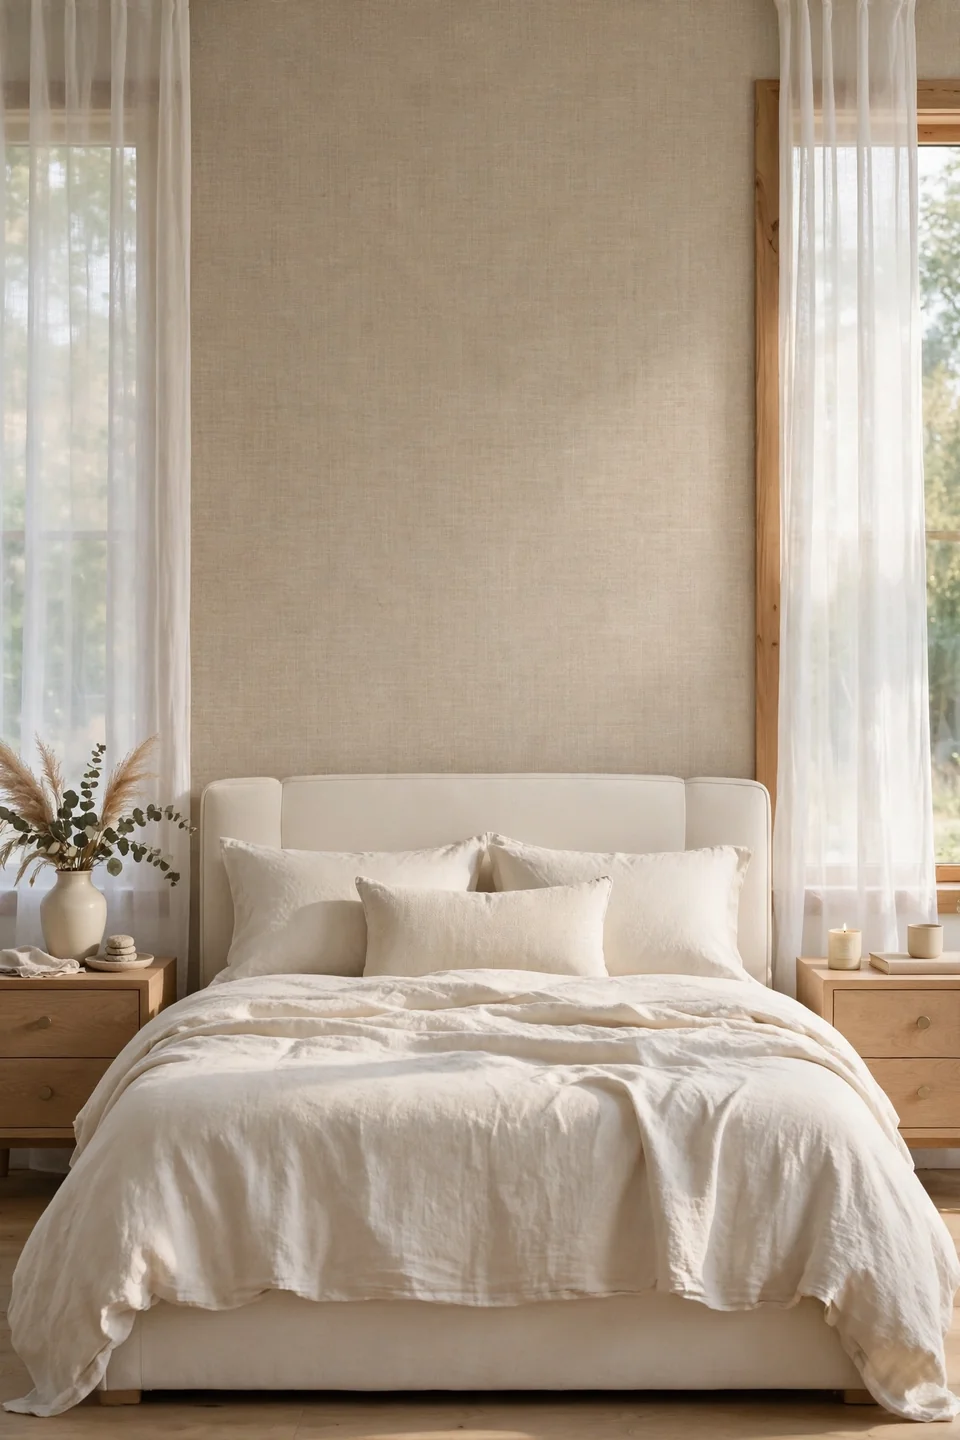
Quick Tip: Order samples first and live with them for a week. Lighting changes how a pattern reads, and a print you love at noon can feel loud at night. Samples cost almost nothing and prevent an expensive mistake.
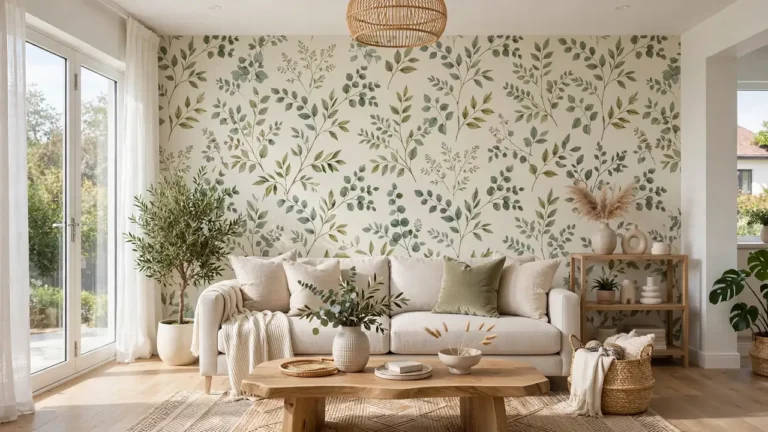
Peel-and-stick wallpaper is the single fastest way to add richness to a rental wall. Choose one accent wall, usually the one behind your bed or sofa, and keep the rest simple. Grasscloth, linen, and subtle geometric prints read as expensive without shouting for attention at all.
Oversized Art on a Budget
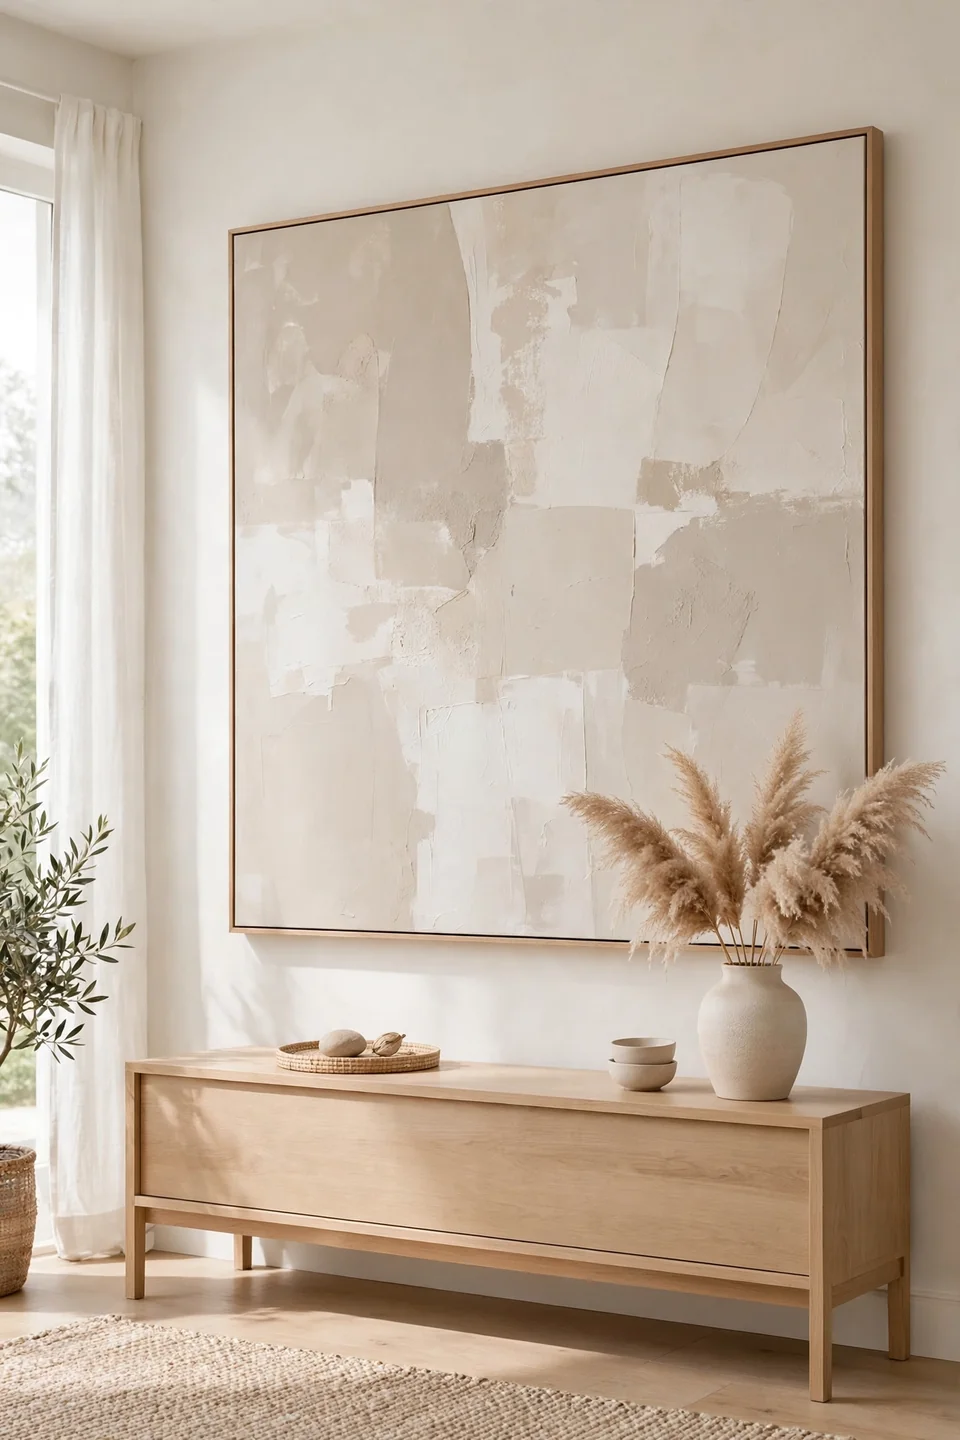
Common Mistake: Most renters hang small art in the middle of a big wall, which only highlights how empty the wall is. A tiny frame floating alone looks lost and makes the room feel cheaper, not more styled.
The Fix: Go bigger than you think. One oversized canvas or a large framed print fills the wall the way a rug fills a floor. Thrift stores, student art sales, and printable downloads keep the cost low while the scale does the luxury work.
Lean large pieces on a console or mantel if your lease bans hanging hardware. The casual lean looks intentional and costs you zero holes. Swap the art seasonally to keep the room feeling fresh without spending again. A single bold piece beats five small ones every time.
Use Mirrors Like a Designer
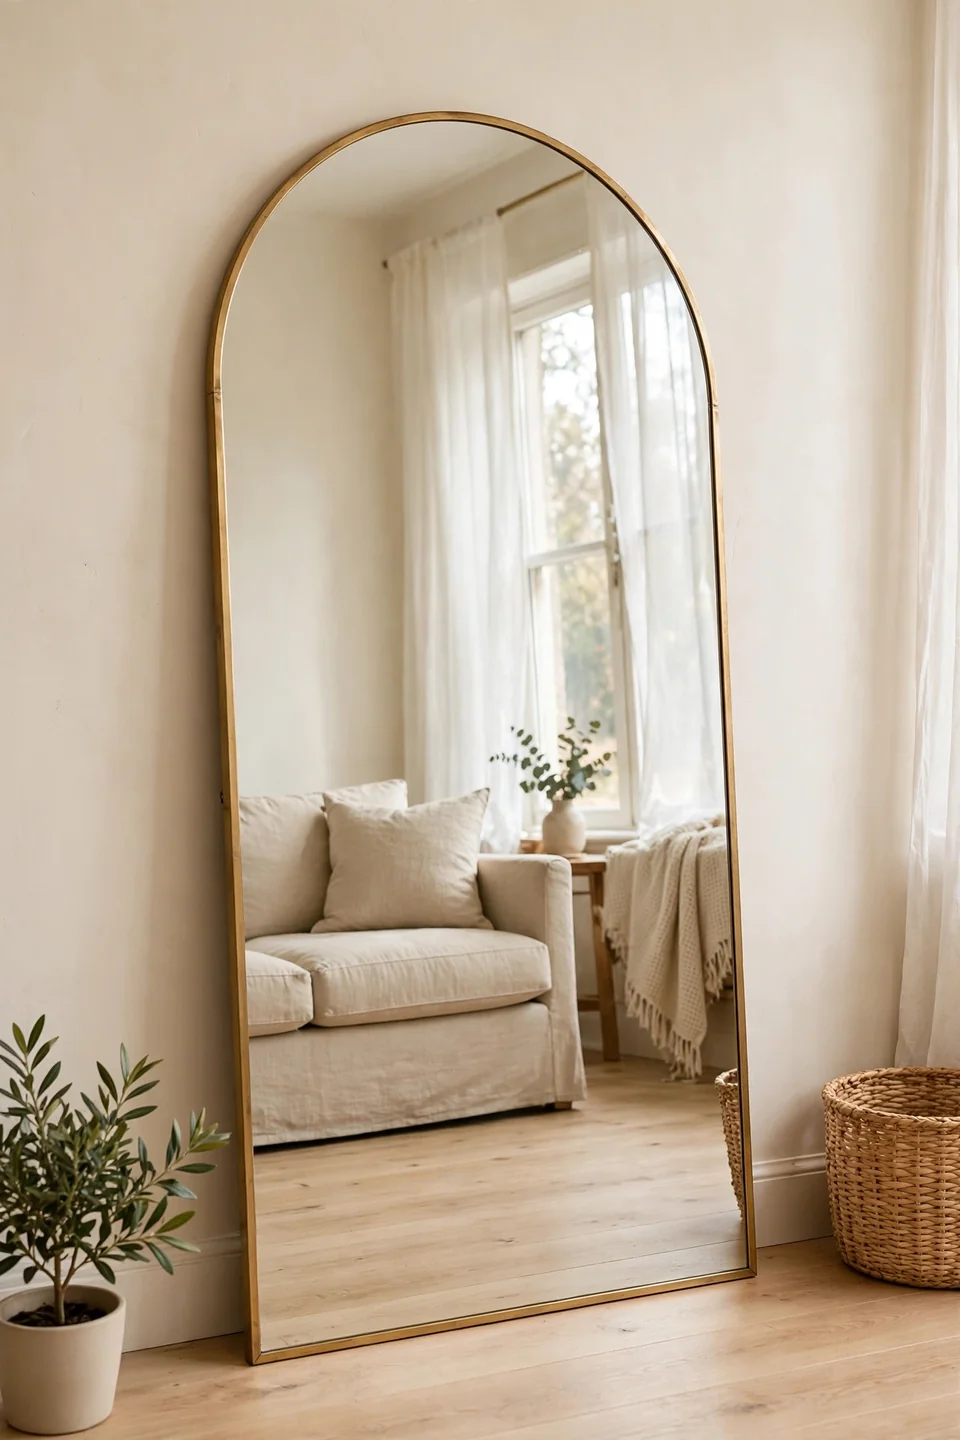
What You Need:
- One large floor mirror (at least 4 feet tall) to double light and stretch the room.
- Adhesive picture-hanging strips rated for the mirror’s weight, so no drilling is needed.
- A leaning spot opposite a window, where the mirror catches and bounces daylight.
- A simple frame in brass, black, or wood to match your decor style.
- Microfiber cloth, because a dusty mirror ruins the whole effect.
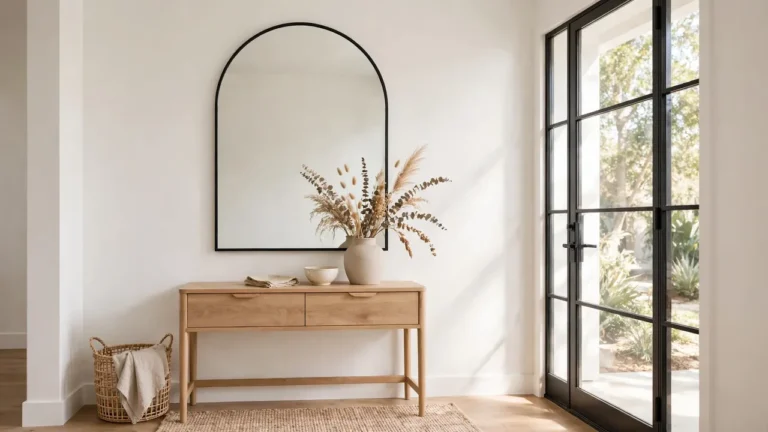
Mirrors are a designer’s oldest trick for making walls feel expensive, and they work especially well in rentals. A tall mirror leaning against the wall reads as intentional decor, bounces light deep into the room, and costs far less than art. Place it where it reflects something pretty, never a blank wall.
Try Removable Moldings
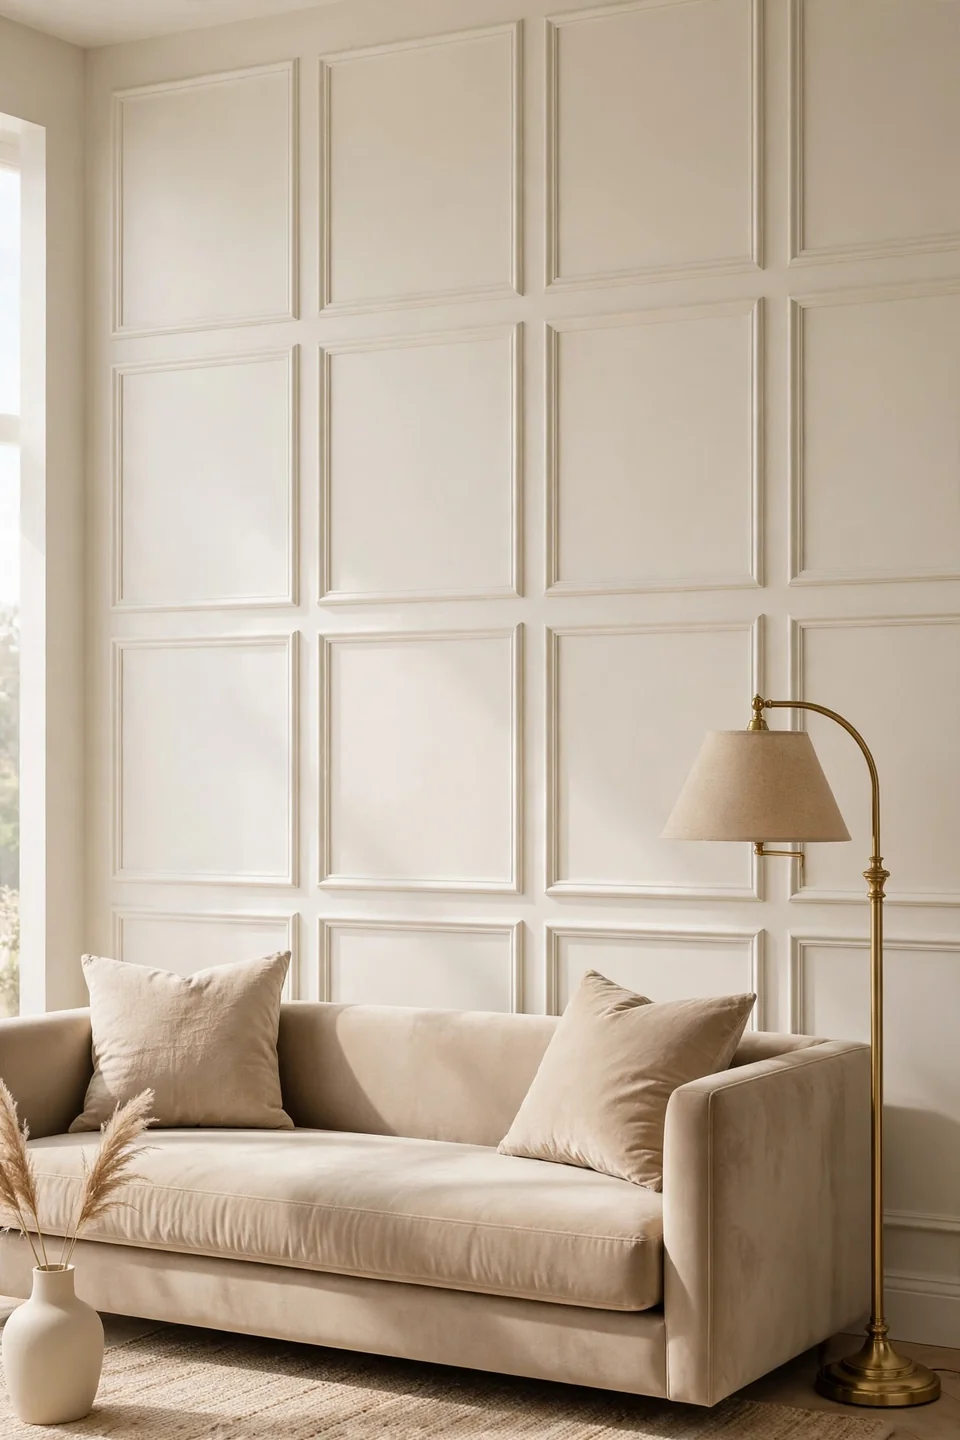
Before: Plain rental walls sit flat and lifeless, with nothing for the eye to follow. The room reads as a box, and even nice furniture cannot fully fix that empty feeling. You end up staring at blank paint instead of enjoying the space.
After: Lightweight molding strips with removable adhesive add instant architecture to the same wall. Paint them the same color as the wall for a subtle panel effect, or contrast them for drama. The wall suddenly has depth, rhythm, and a custom-built feel.
This is where knowing how to make rental walls look expensive pays off most visibly. A ten-dollar box of molding strips can mimic the millwork of a much pricier home. Take your time aligning the strips, since crooked lines undo the effect fast. Measure twice, stick once, and step back often to check.
For more ways to divide a rental without construction, see our guide on how to create privacy in small apartments.
Create a Gallery That Pops
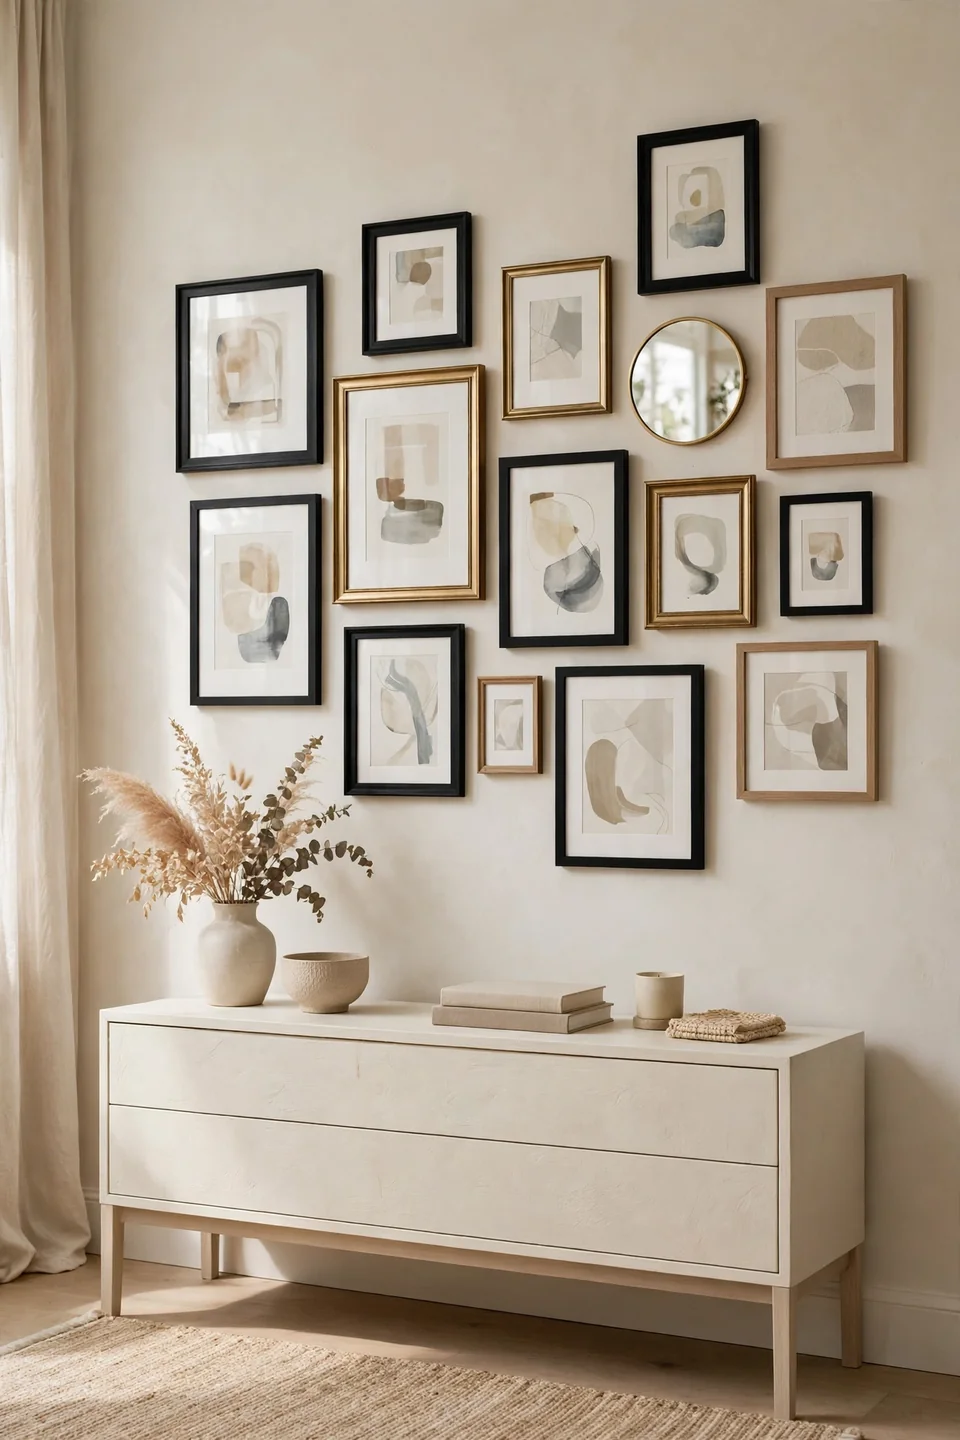
Do This:
- Mix frame sizes for a collected, designer feel.
- Keep 2-3 inches between frames for a tidy grid or salon hang.
- Include one unexpected piece, like a textile or small mirror, for texture.
- Lay the arrangement on the floor first to perfect the layout.
Avoid This:
- Do not hang everything at different heights with no plan.
- Do not use only tiny frames on a large wall.
- Do not skip the level; crooked galleries look messy, not artsy.
- Do not forget adhesive strips, since nails cost you at move-out.
A well-planned gallery wall is one of the cheapest ways to make a big blank wall feel designed and costly. The secret is planning the layout before anything touches the wall. When every frame relates to its neighbors, the whole wall reads as one intentional piece.
Light Your Walls Right
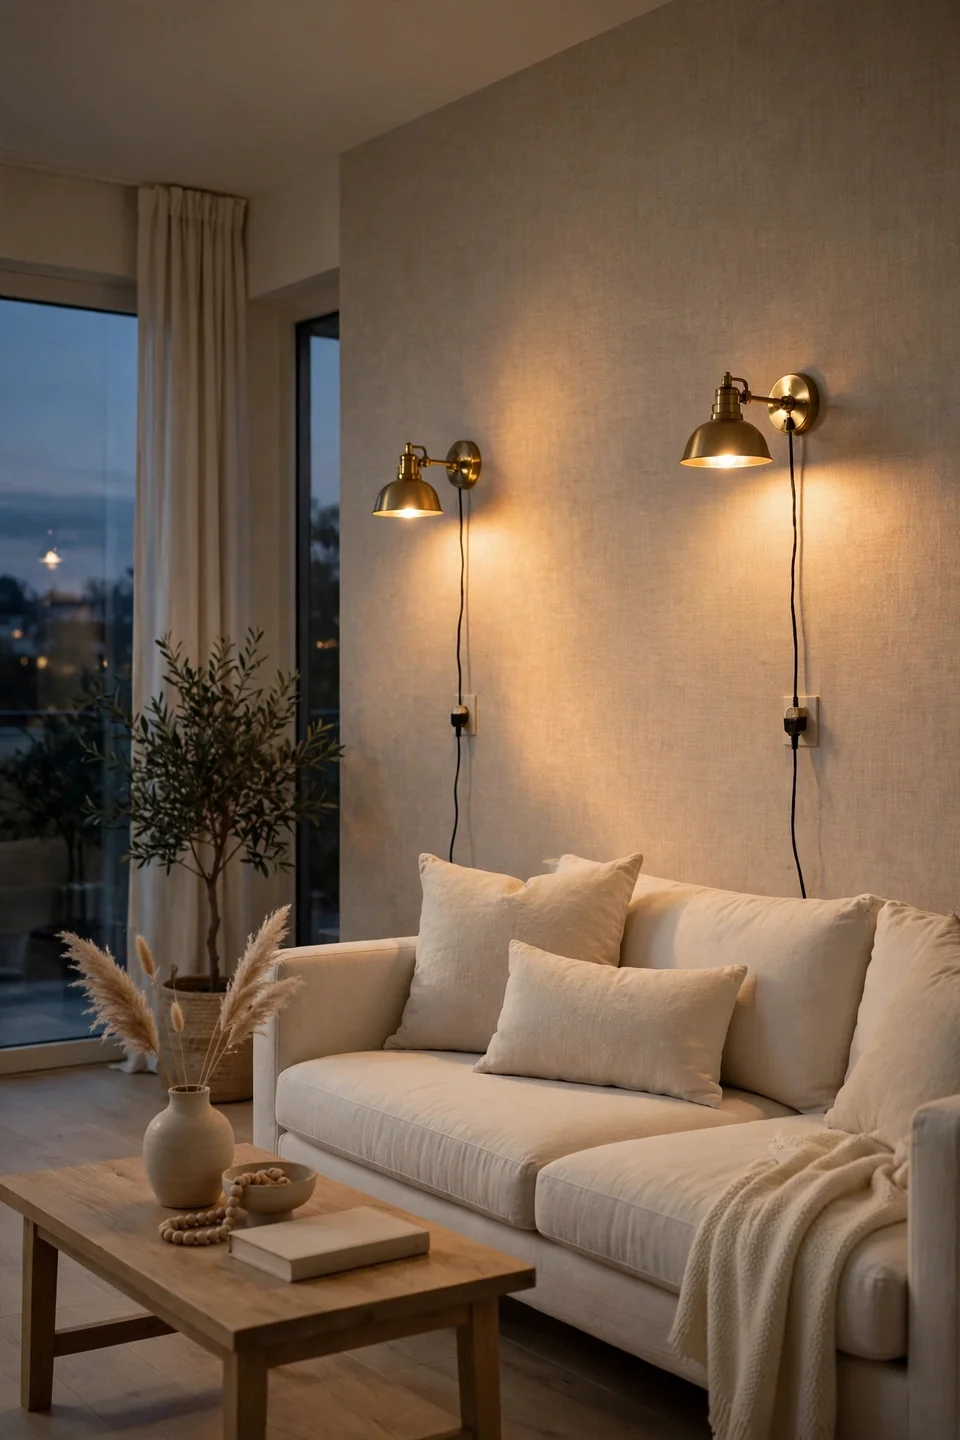
Quick Facts:
- Best Bulbs: warm white 2700K for a cozy, expensive glow
- Key Fixture: picture lights or plug-in sconces, no wiring needed
- Placement: wash light across textured walls to highlight depth
- Budget: under $40 per fixture with battery or plug-in options
Lighting changes how every wall treatment reads after dark. Warm light flatters wallpaper texture, makes art colors richer, and softens the flat rental paint you could not change. Aim light at the wall, not the ceiling, and the whole room feels layered and intentional at night.
Common Renter Wall Mistakes
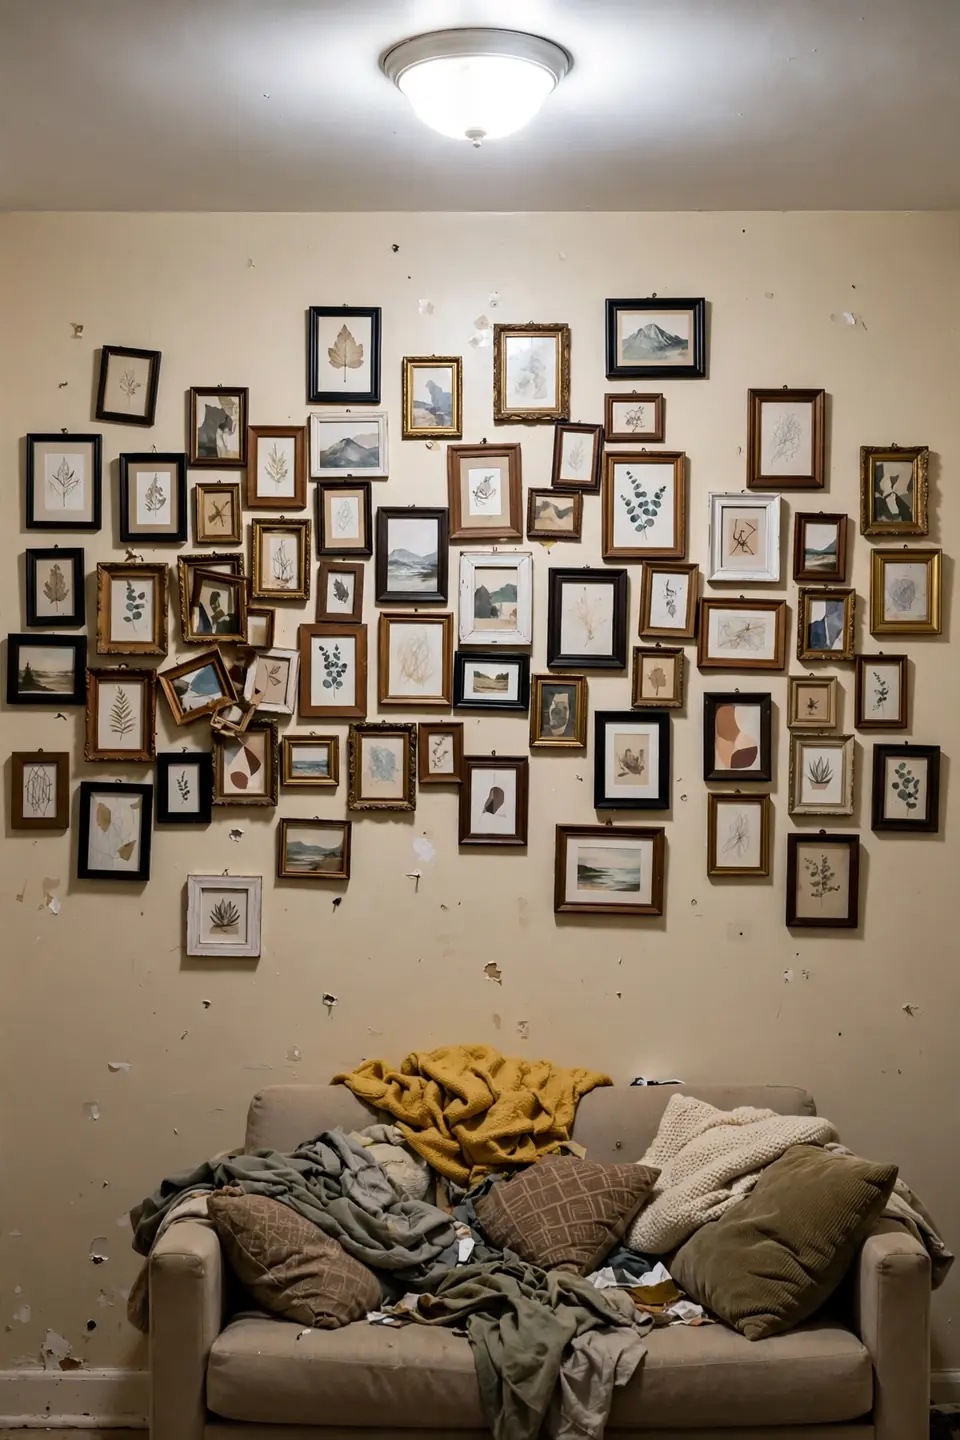
The most common mistake is doing nothing at all because the walls feel temporary. Renters tell themselves they will decorate when they own, then spend years staring at blank paint. Temporary does not have to mean boring, and removable products exist precisely for this situation.
Another error is mixing too many small ideas at once. One accent wall plus a gallery plus mirrors plus molding on the same wall reads as clutter, not luxury. Pick one hero treatment per wall and let it breathe. Restraint is what separates expensive-looking walls from busy ones.
Pro Tips for Luxe Walls
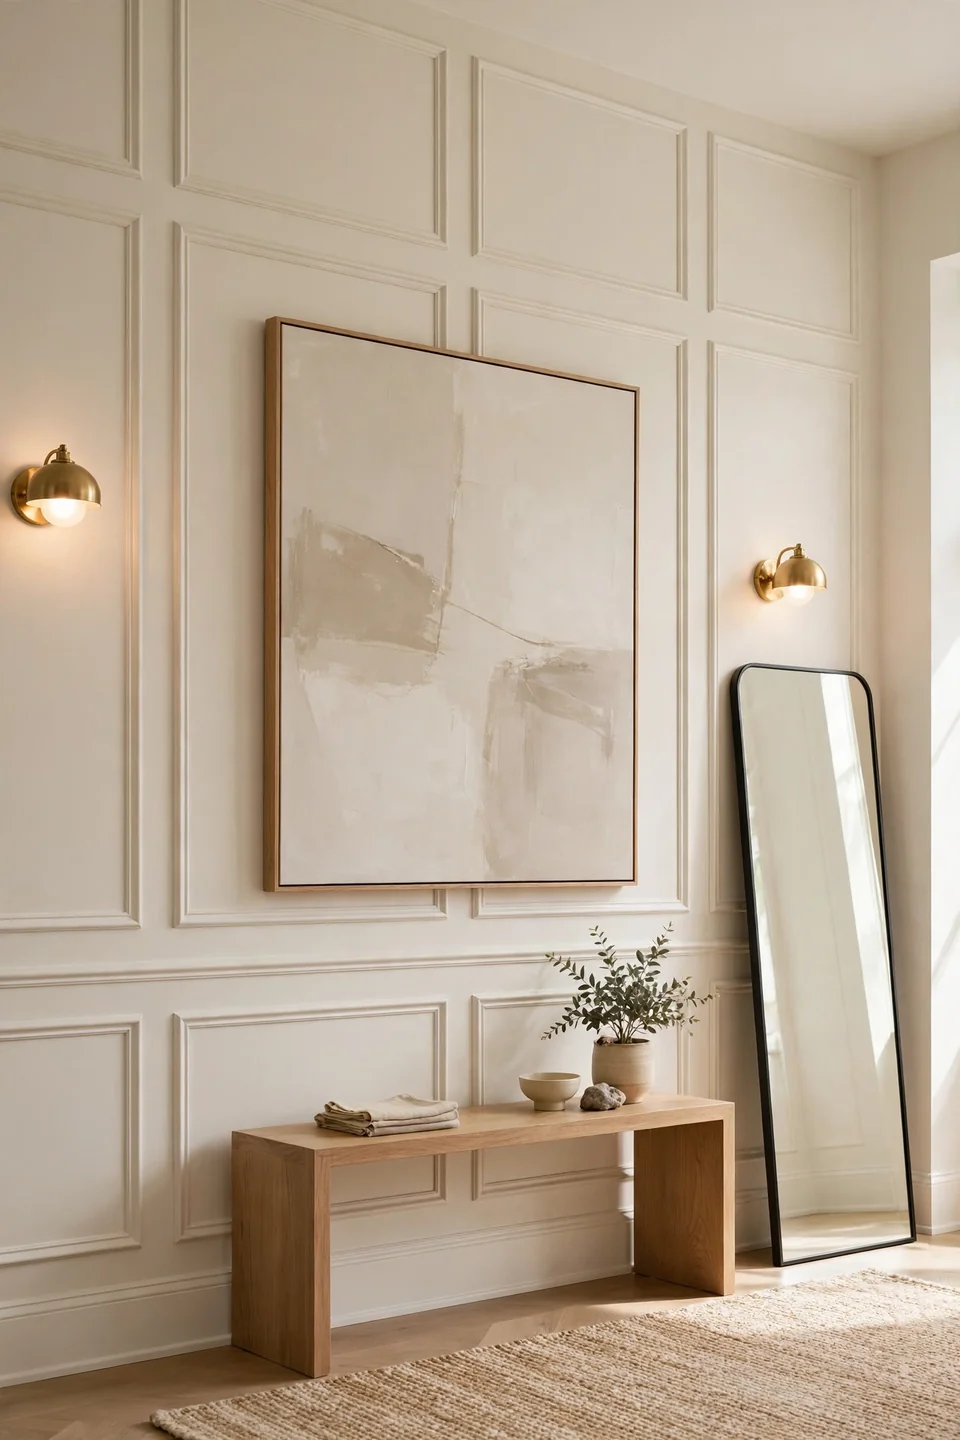
These final touches take your walls from nice to genuinely luxurious. None of them require permission, tools, or a big budget. They are the small details designers use to finish a room, and most renters skip them entirely. Steal them all.
- Paint the insides of open shelves or the wall behind them with removable peel-and-stick panels for depth.
- Add crown-style trim strips where wall meets ceiling to fake architectural detail.
- Hang curtains wider than the window so walls look grander and windows feel larger.
- Finish with one scented candle or small plant beneath your art to style the whole vignette.
Conclusion
Your rental walls do not have to look like a waiting room anymore. With removable wallpaper, bold art, mirrors, and a little molding, you now know how to make rental walls look expensive without touching a paint can. Pick one idea from this guide and start this weekend. Save this article to Pinterest so you can find it when you are ready, and share it with a renter friend who needs the upgrade. I’ve seen how making this one change can completely shift how a whole home feels. The best part is that every change here comes down cleanly on moving day.
2 Comments