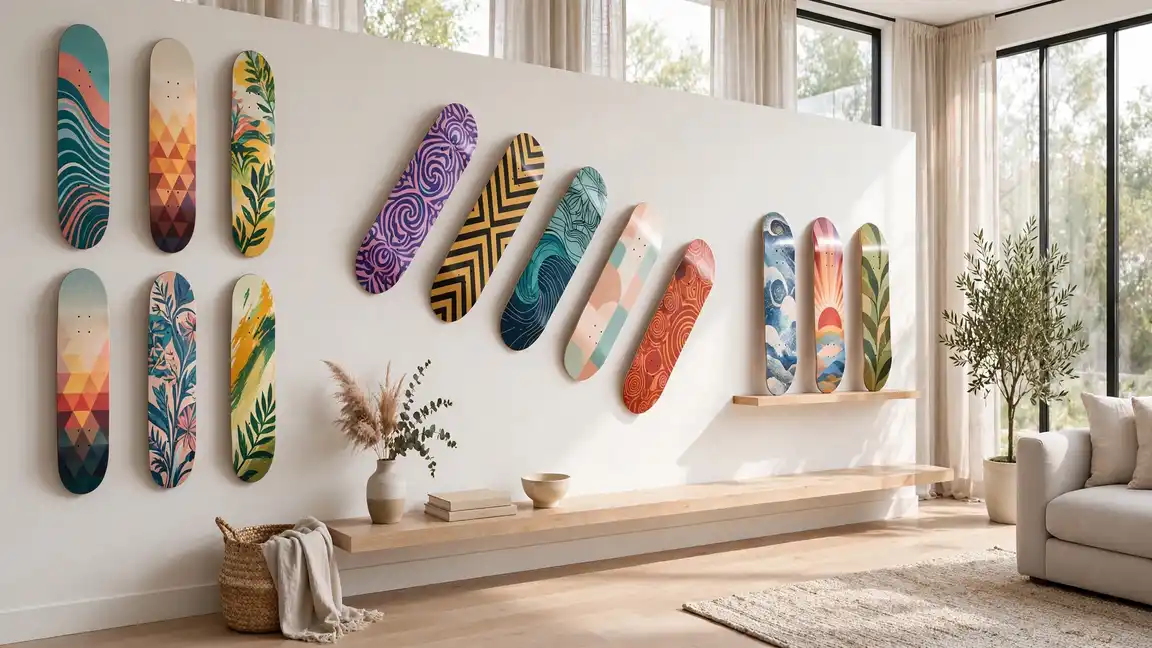
22 Skateboard Wall Decor Ideas for a Bold, Creative Display
Blank walls are begging for personality, and skateboard wall decor delivers it with serious style. Old decks carry bold graphics, bright colors, and stories from every ride. Hanging them turns forgotten boards into eye catching art that sparks conversation. In my experience, guests always ask about the stories behind each deck. This approach works in bedrooms, living rooms, offices, and even entryways.
The best part is how flexible this trend can be for any space or budget. You can mount a single statement deck or build a full gallery wall of twenty boards. For more creative wall styling inspiration, browse these modern gallery wall ideas to pair with your deck display. Mix vintage finds with new graphics for a look that feels collected over time. Every idea below includes simple mounting tips you can finish in a weekend.
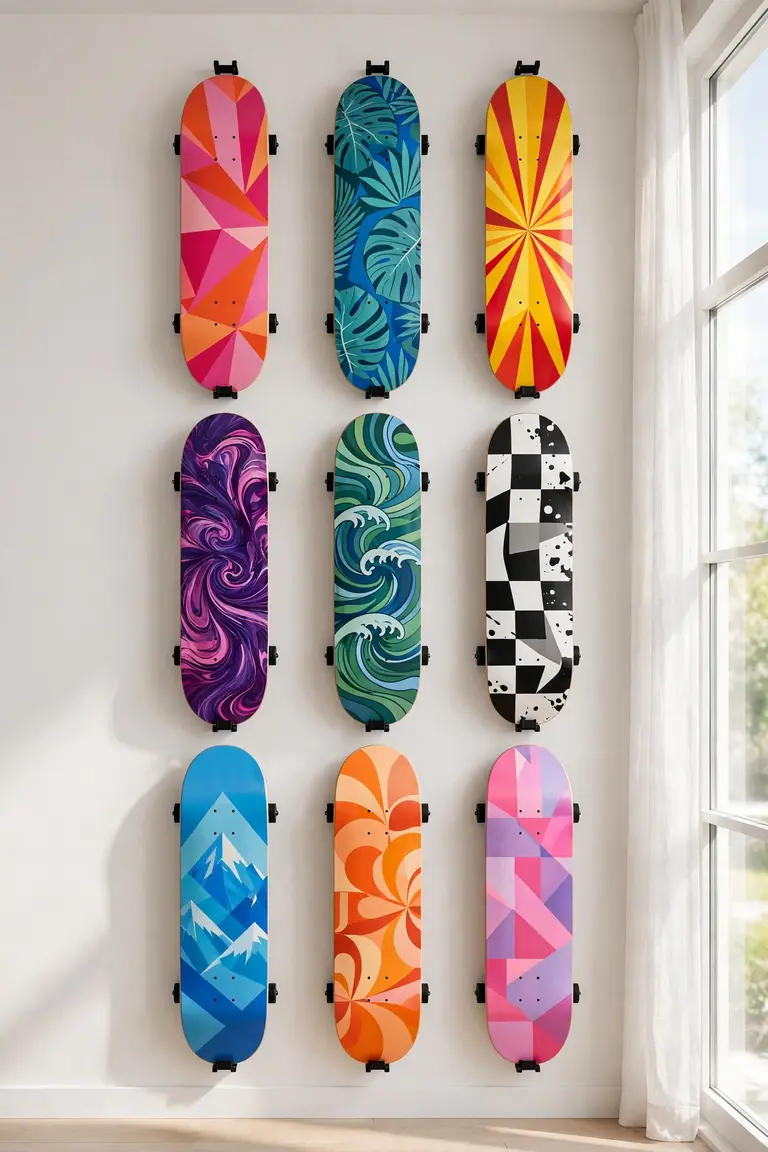
Deck Grid Display
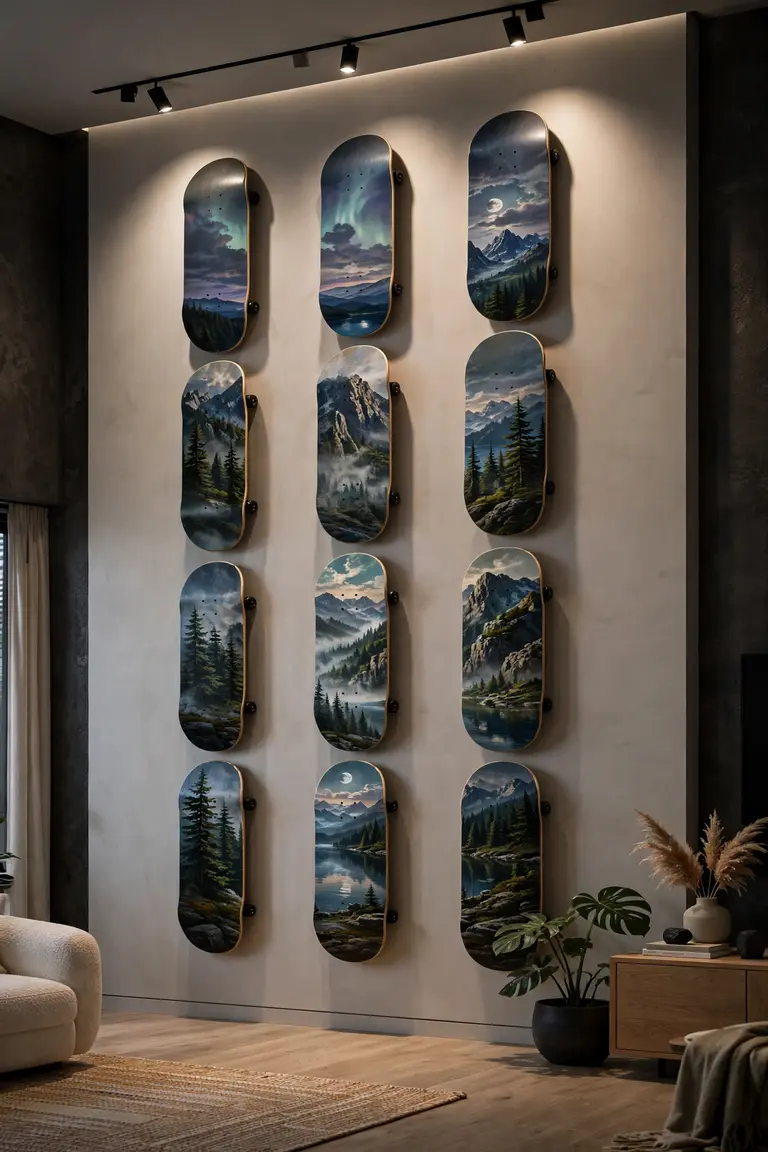
A clean grid turns a pile of old decks into intentional wall art. Measure your wall and mark even spacing with painter’s tape before drilling a single hole. Mount each deck on identical hidden brackets so the focus stays on the graphics. Keep gaps between boards tight, around two inches, for a gallery feel that looks planned rather than random.
In my experience, symmetrical grids work best above a sofa or desk where the eye expects order. Mix deck sizes only if you balance the visual weight on both sides. Leave the wheels on for texture or remove them for a flatter, cleaner profile. Step back often while hanging to catch crooked lines early.
Floating Deck Shelves
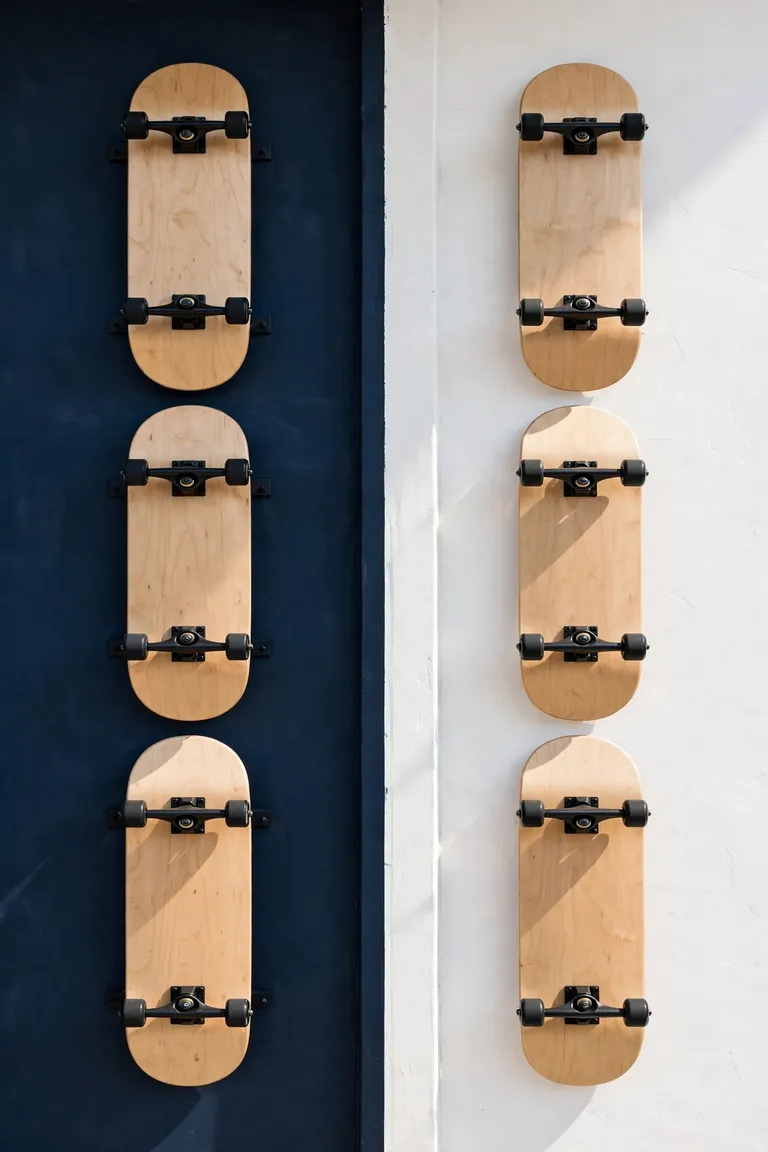
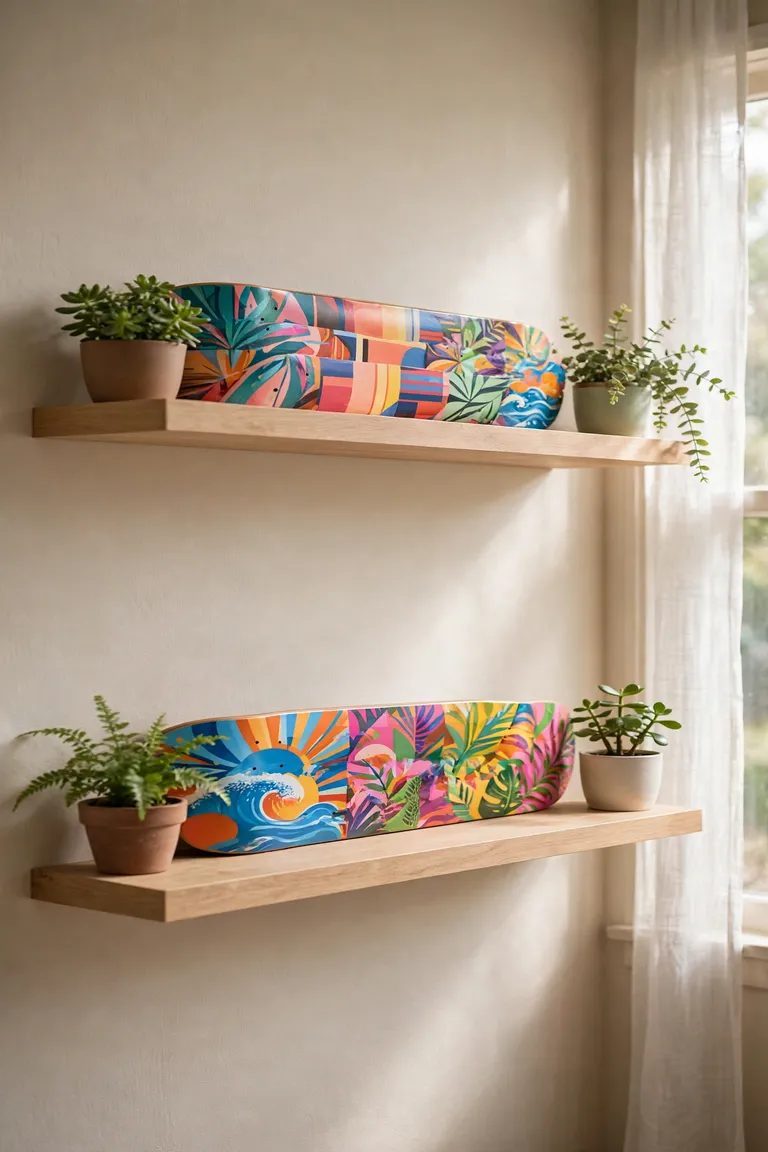
Floating shelves let you display decks without drilling into every single board.
- Mount two slim floating shelves and rest decks horizontally across them like books on a shelf.
- Choose shelves in natural wood to warm up bright deck graphics beautifully.
- Leave six inches between shelves so taller deck shapes fit comfortably.
- Anchor shelves into wall studs because a full deck weighs more than expected.
- Style the shelf ends with small plants or framed photos for balance.
I’ve noticed that floating shelves make it easy to swap decks when your collection grows. Rotate seasonal graphics or new purchases without drilling fresh holes. Keep heavier decks on the lower shelf for safety. This setup works beautifully in a home office or teen bedroom.
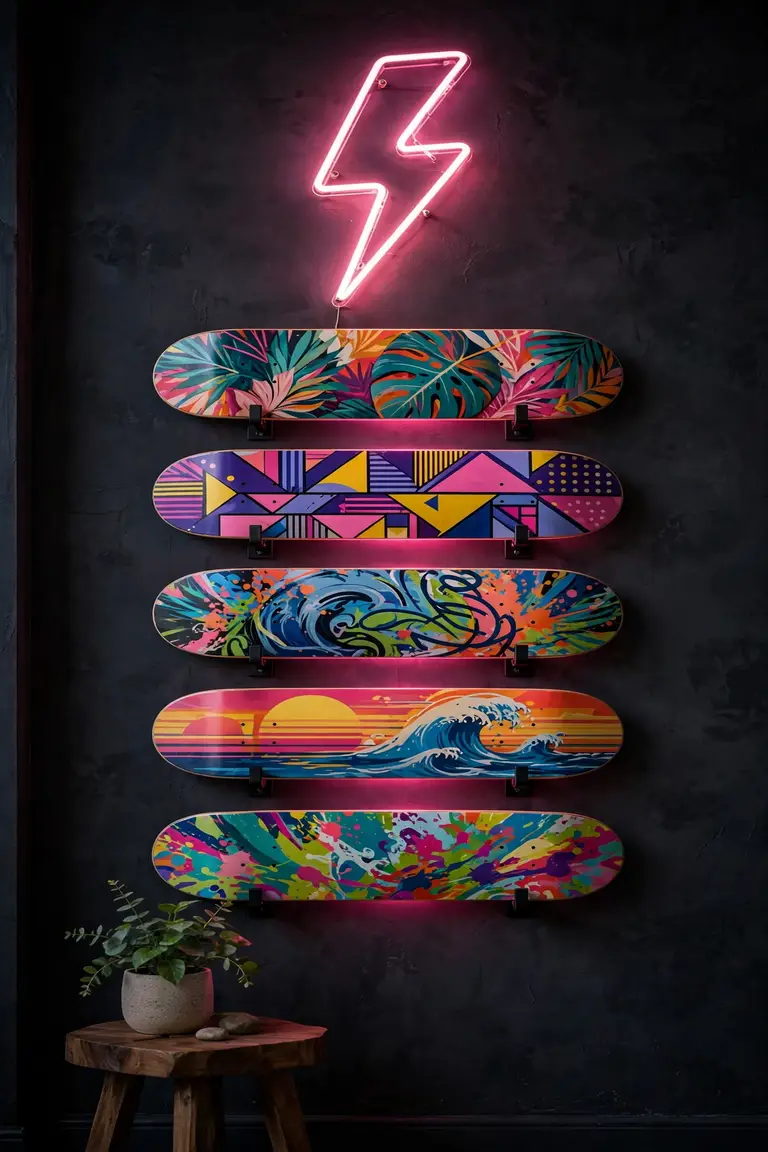
Neon Deck Glow
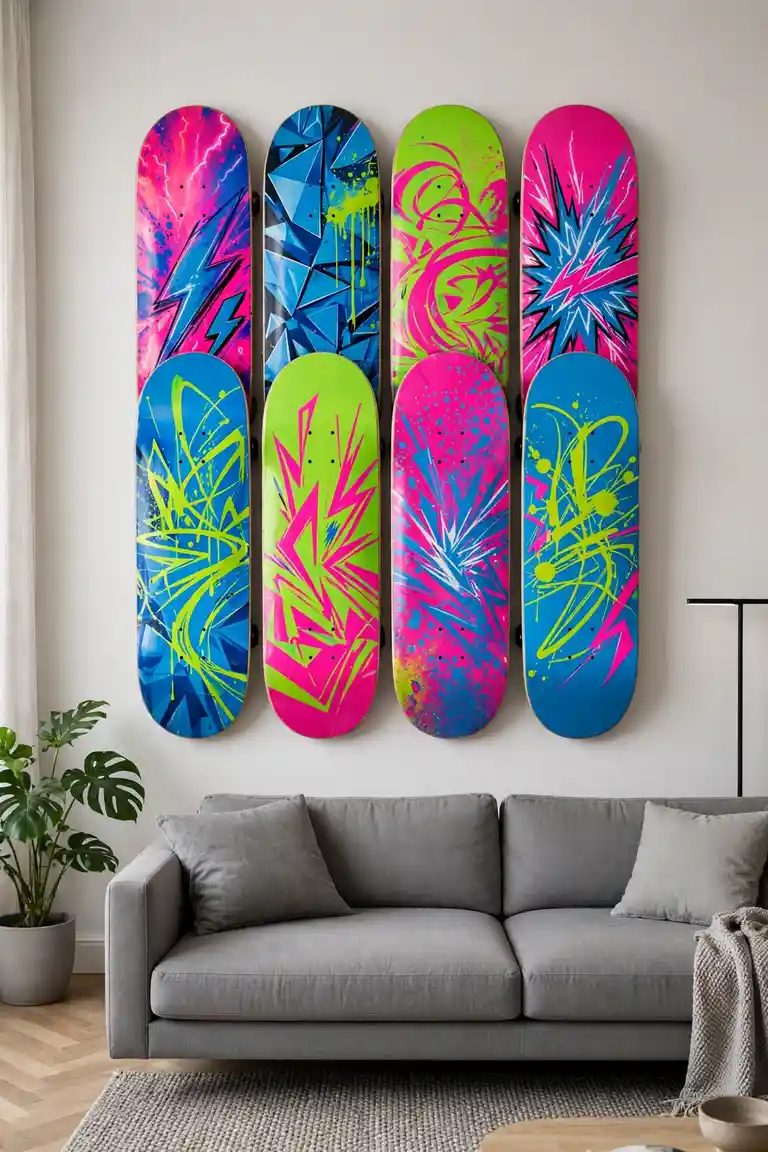
Neon signs and bright decks were made for each other in a modern room.
Quick Tip: Mount a small neon word sign or lightning bolt above your deck display for instant glow. Keep the neon color tied to one shade already in your deck graphics. Plug it into a smart outlet so the glow turns on automatically at dusk. Avoid overpowering the decks with too much brightness.
The soft neon light makes deck colors pop after dark in the best way. I’ve seen this work well in many cases for game rooms and creative studios. Choose warm white or soft pink for a cozy feel. Your wall becomes the favorite backdrop for every photo.
Vintage Board Lineup
Old school decks deserve a display that honors their history and style.
BEFORE: Vintage decks sit forgotten in a garage corner gathering dust and fading in the sun. Their classic graphics go unseen and the wood slowly warps from heat and moisture damage.
AFTER: The same boards hang in a clean horizontal row on the living room wall. Each classic graphic gets proper lighting and the collection finally earns the attention it deserves.
Hunt thrift stores and flea markets for decks with retro brand logos. That’s why many experts recommend checking the wood for cracks before you buy vintage. Clean graphics gently with a damp cloth and avoid harsh chemicals. A vintage lineup tells a story no new board can match.
Vertical Deck Stack
Tight on wall space but rich in decks? Go vertical instead.
- Measure your tallest deck and mark a straight vertical line on the wall with a level.
- Install one mounting bracket per deck, spacing them twelve inches apart center to center.
- Hang decks from top to bottom, alternating graphic directions for visual rhythm.
- Step back and adjust any board that tilts before tightening all brackets fully.
Vertical stacks fit perfectly in narrow hallways and beside door frames. In my experience, odd numbers of decks look more natural than even counts. Try three or five for the best balance. This layout draws the eye upward and makes ceilings feel taller.
Painted Versus Plain
Should you paint your decks or let the original graphics shine?
| Choice | Painted Decks | Original Graphics |
|---|---|---|
| Cost | Low, just paint | Free, already done |
| Look | Custom and artsy | Authentic and bold |
| Effort | Weekend project | Hang and enjoy |
| Durability | Sealed paint lasts | Factory finish tough |
| Best for | DIY lovers | Collectors |
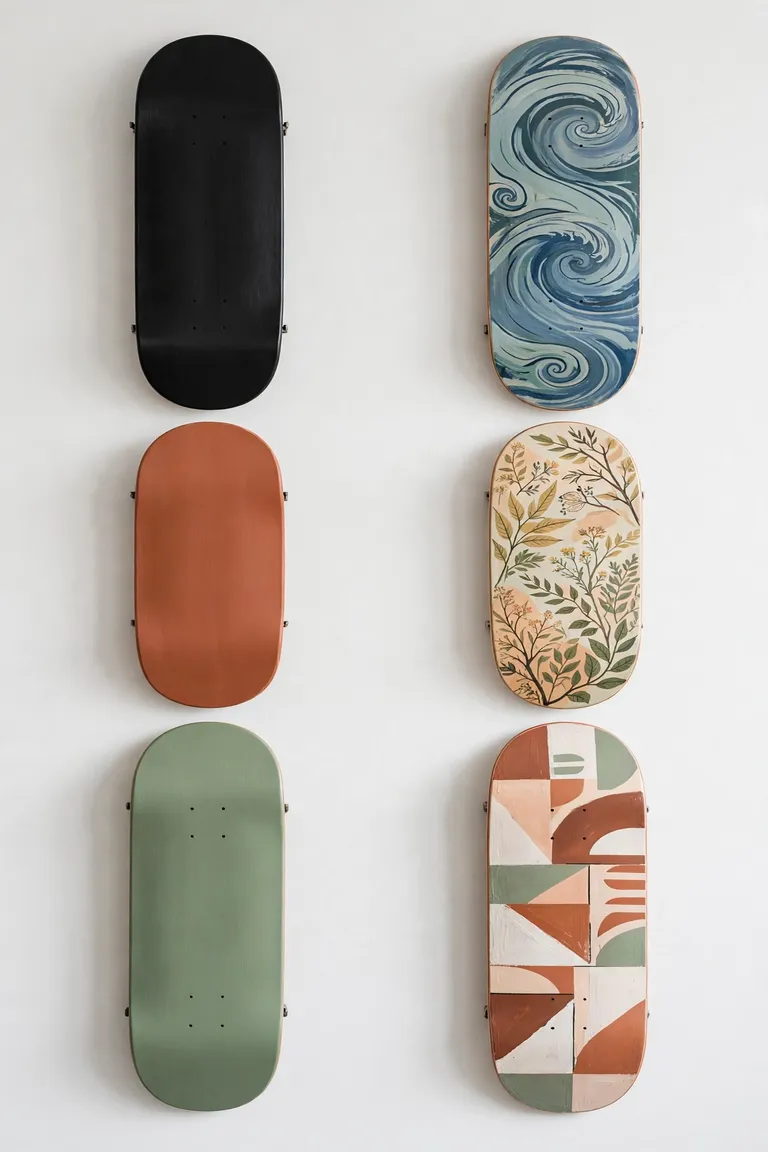
Painting lets you match decks to your room colors perfectly for a truly cohesive look. I’ve noticed that solid painted decks work well in minimalist spaces where busy graphics feel overwhelming and out of place. Keep original graphics when the artwork is rare, vintage, or personally meaningful to you. Either choice looks intentional when the mounting stays clean and evenly spaced. Mix one painted deck among graphic ones for a custom accent that ties everything together beautifully.
Mixed Media Boards
Decks play well with other art forms on a creative wall.
DO:
- DO pair decks with framed concert posters for a music lover’s wall.
- DO add small floating shelves for plants between the boards.
- DO mix in one large canvas print to anchor the whole arrangement.
DON’T:
- DON’T crowd every inch because breathing room keeps it gallery like.
- DON’T mix more than three frame colors in one display.
- DON’T hang heavy items above decks without proper wall anchors.
The mix of textures keeps the eye moving across the whole wall. That’s why many experts recommend starting with the decks and building outward. Step back every few pieces to check the overall balance. Your wall should feel collected, not cluttered, when you finish.
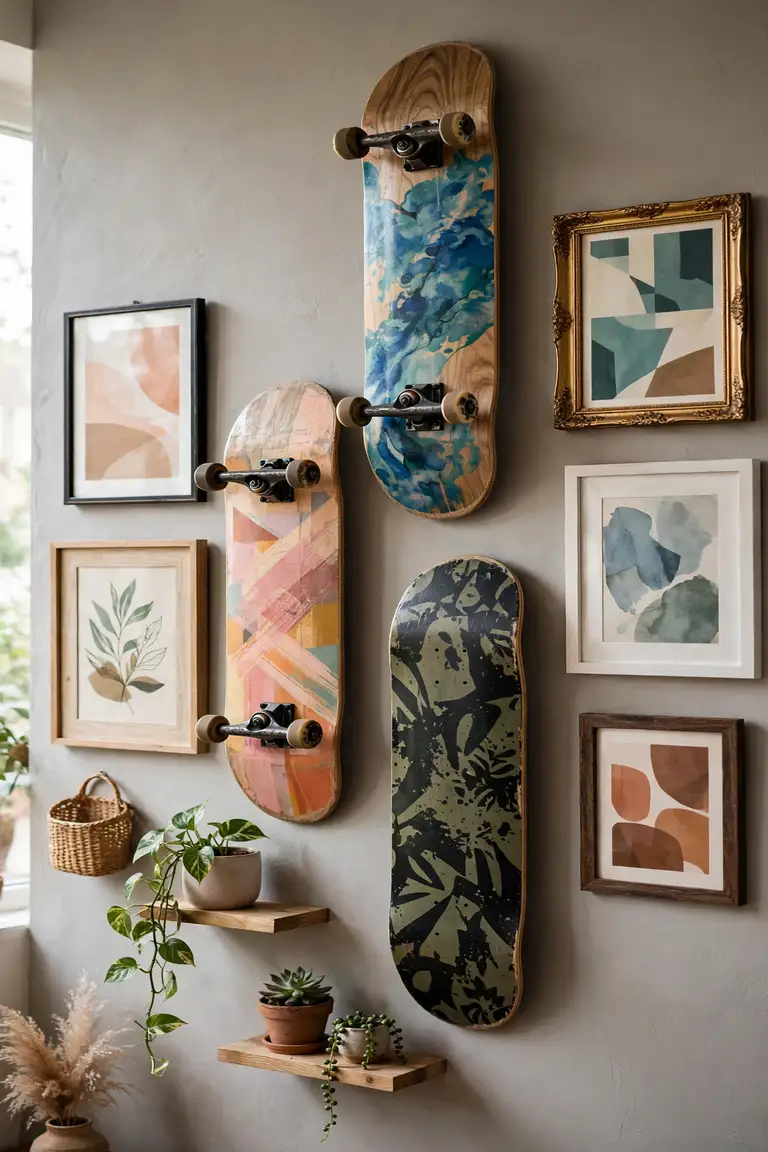
Gallery Wall Mix
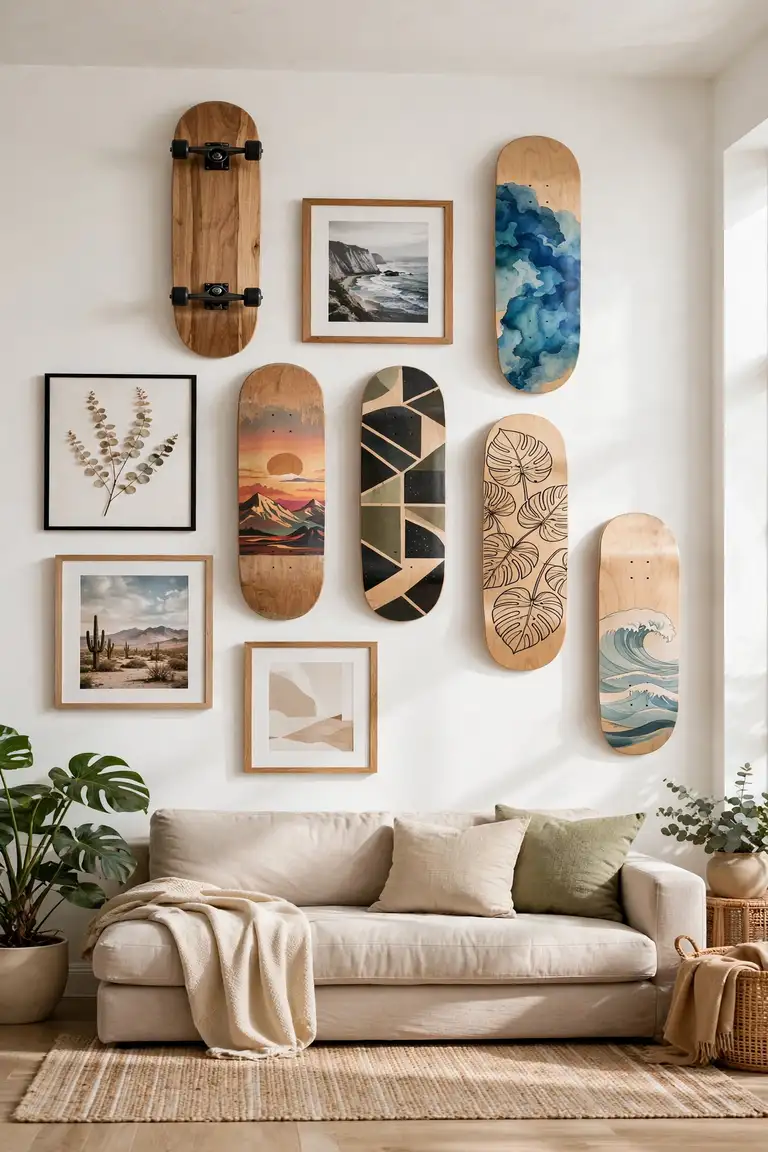
Decks belong in a proper gallery wall right alongside framed art.
Cost: Low, mostly mounting hardware
Time: One weekend afternoon
Skill Level: Beginner with a drill
Best For: Living rooms and creative offices
Start by laying the full arrangement on the floor before touching the wall with any tools. I’ve seen this work well in many cases because careful floor planning prevents unnecessary holes. Mix deck sizes with framed prints in a loose grid that feels organic and fun. Keep two inches between pieces for a clean visual rhythm. Photograph the floor layout so you can recreate it exactly on the wall without second guessing.
Corner Deck Mount
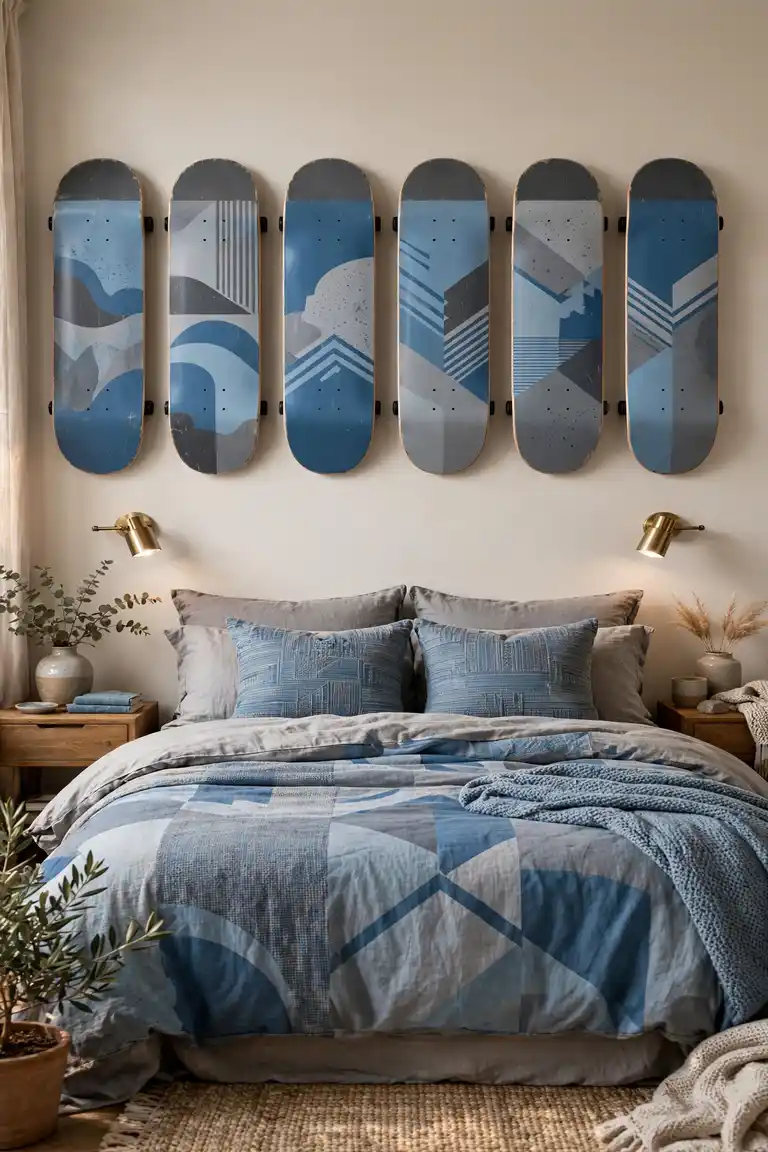
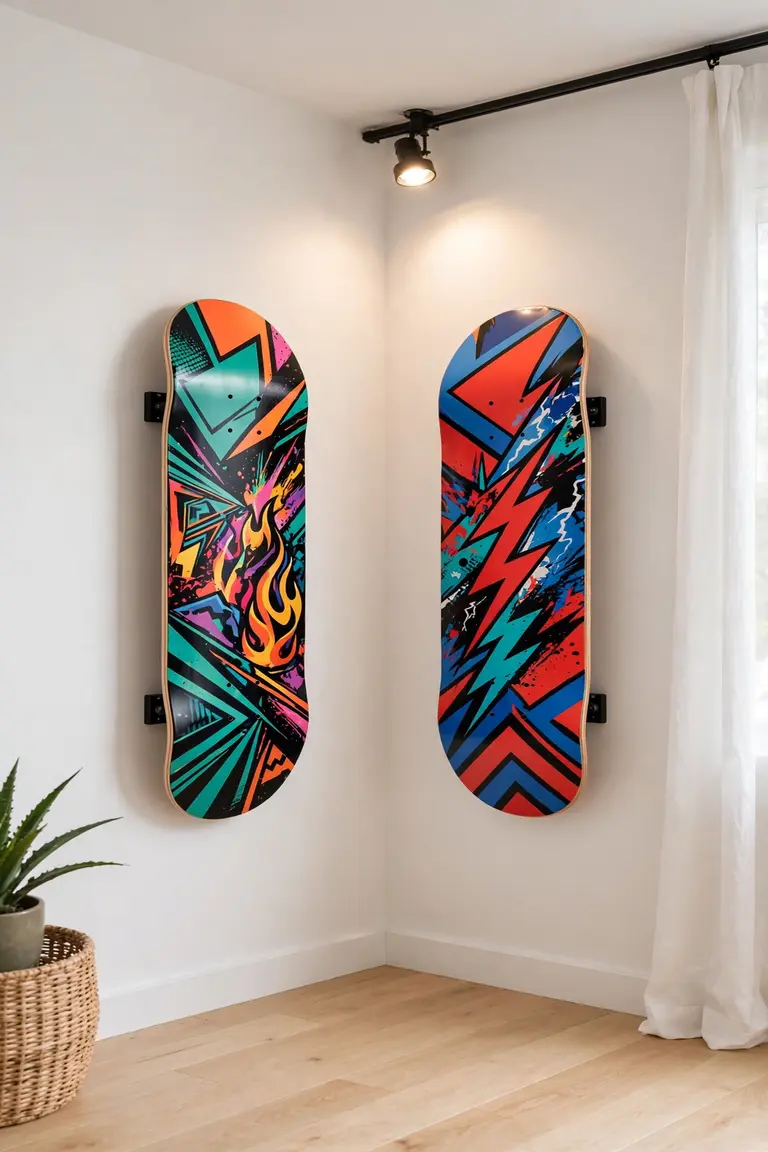
Corners are wasted space in most rooms, but decks can fix that fast. Mount two decks on adjoining walls to create a wraparound display that catches the eye from every angle. Use slim corner brackets that disappear behind the boards. Keep the graphics facing outward so both sides of the corner get equal attention and color.
In my experience, corners near windows work best because natural light hits both walls. Avoid placing decks where doors swing open and might clip them. Add a small spotlight above the corner for evening drama. This trick turns an awkward dead zone into the coolest spot in the room.
Staggered Board Rows

Perfect symmetry is not the only way to hang a stunning display.
- Hang decks in two offset rows so the pattern feels relaxed and modern.
- Shift each board six inches left or right from the one above it.
- Mix deck lengths for an organic rhythm that still feels intentional.
- Use a laser level to keep the stagger consistent across the whole wall.
- Leave the bottom row higher if you have curious toddlers or pets.
Staggered rows suit casual spaces like bedrooms and rec rooms perfectly. I’ve noticed that this layout forgives small measuring mistakes better than strict grids. Start from the center and work outward for the easiest balance. Your wall will look relaxed and cool without trying too hard.
LED Strip Backlight
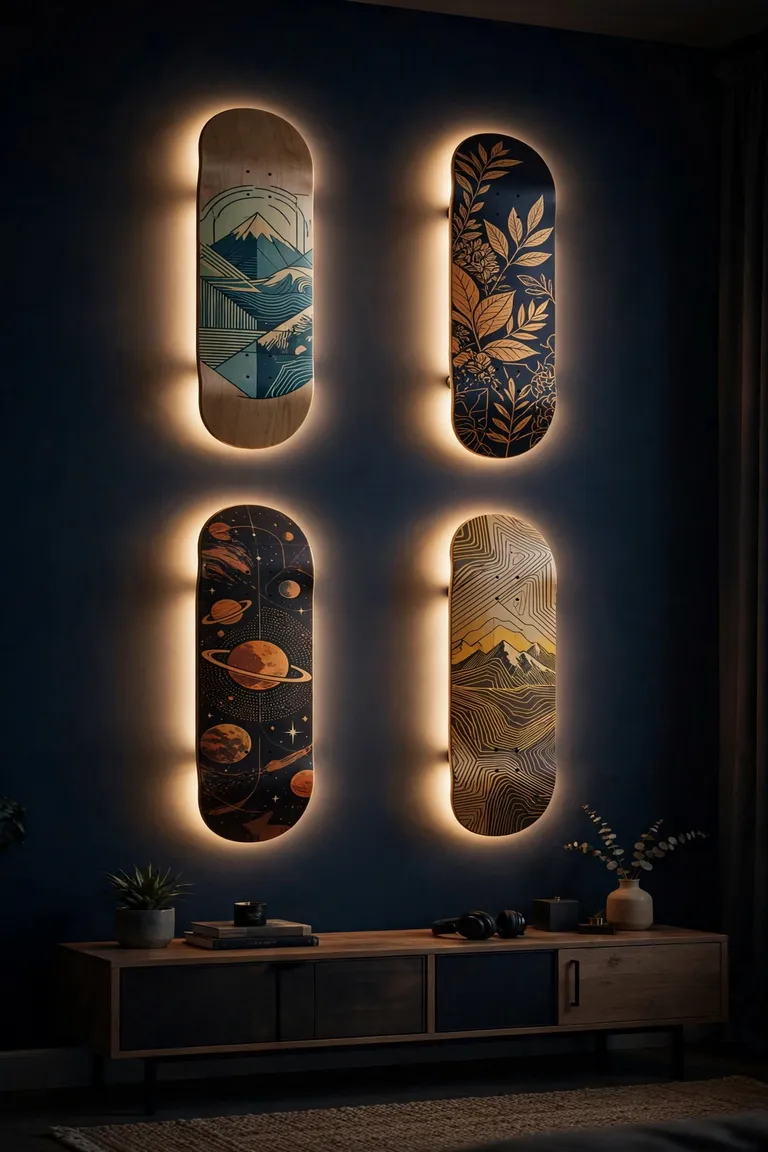
Backlighting turns your deck wall into a glowing focal point at night.
Quick Tip: Stick adhesive LED strips behind each deck mount for a floating halo effect. Choose warm white for cozy vibes or RGB strips for color changing fun. Hide the power cord with a slim cable channel painted to match your wall. Set a timer so the glow fades on automatically every evening.
The halo effect makes decks look like they float off the wall. In my experience, backlighting works best on darker walls where the glow really stands out. Keep brightness at medium so the graphics stay visible. This upgrade costs little but delivers serious wow factor after sunset.
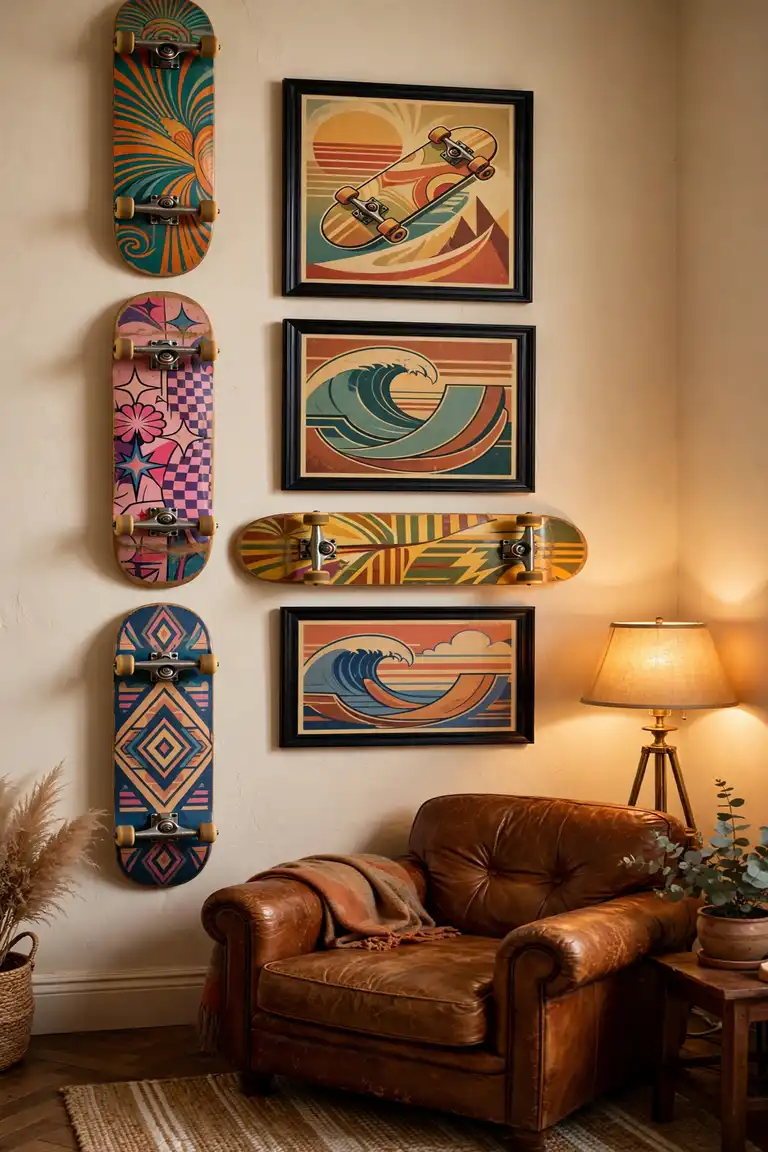
Retro Poster Pairing
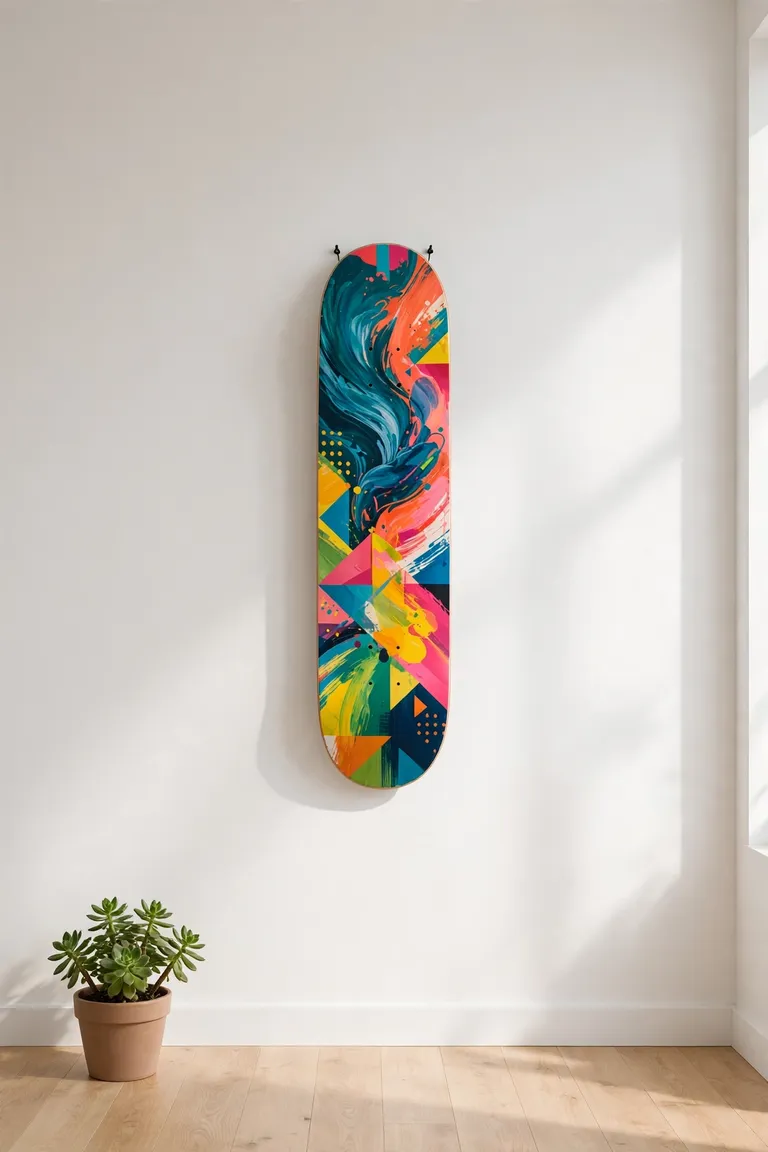
Skate culture and vintage posters share the same rebellious spirit.
BEFORE: Posters hang alone on a plain wall looking flat and a little lonely. The room feels like a dorm rather than a designed space with real personality.
AFTER: Decks frame the posters on both sides, adding depth and dimension. The whole wall now reads as a thoughtful tribute to skate culture and street art.
Match poster colors to one shade in your deck graphics for cohesion. That’s why many experts recommend limiting the palette to three main colors. Use matching frames for all posters to keep things tidy. The decks add the third dimension that flat posters simply cannot deliver alone.
Minimalist Single Deck
One perfect deck can say more than a wall full of boards.
- Choose your most graphic deck, the one with colors that stop people mid scroll.
- Center it on the wall at eye level, about 57 inches from floor to deck middle.
- Mount it on a single hidden bracket so it appears to float with ease.
- Clear the surrounding wall completely and let the deck own the space.
Negative space is the secret weapon of minimalist design. In my experience, a single deck makes a stronger statement in small rooms than a crowded wall. Pair it with one small plant or nothing at all. Less truly becomes more when the piece is this bold.
Bold Versus Neutral
Your wall color changes how deck graphics read in the room.
| Wall Choice | Bold Walls | Neutral Walls |
|---|---|---|
| Impact | Dramatic backdrop | Decks steal focus |
| Best shades | Navy, forest, black | White, beige, gray |
| Mood | Edgy and moody | Clean and airy |
| Works with | Bright graphics | Any deck style |
Bold walls make neon and bright graphics vibrate with energy. I’ve noticed that neutral walls suit collectors who want every deck graphic to shine individually. Test paint swatches beside your brightest deck before committing to a full wall. You can also paint just one accent wall and keep the rest neutral. The right backdrop turns good decks into great art that anchors the entire room beautifully.
Staircase Deck Trail
Staircase walls are perfect for a climbing deck installation.
DO:
- DO follow the stair angle so decks rise naturally with the steps.
- DO keep each deck centered above a stair tread for rhythm.
- DO use the same bracket style for a unified professional look.
DON’T:
- DON’T hang decks where hands grip the railing and might knock them.
- DON’T skip the level because angled walls reveal every crooked mount.
- DON’T use heavy decks on drywall without finding the studs first.
The upward trail draws eyes along the staircase naturally. That’s why many experts recommend odd numbers for the most pleasing flow. Start with three decks and add more over time. Your staircase becomes a gallery that guests admire on every trip up and down.
Industrial Pipe Mounts
Exposed pipe brackets give decks a raw urban edge.
Cost: Medium, pipe fittings add up
Time: Half a day with planning
Skill Level: Intermediate DIY skills
Best For: Lofts and industrial bedrooms
Black iron pipes contrast beautifully with colorful deck graphics. I’ve seen this work well in many cases for loft apartments with exposed brick walls. Buy pre threaded pipe sections to skip complicated cutting work. Mount a horizontal pipe and hang decks from it with simple hooks. The industrial hardware becomes part of the art itself, adding grit that plain brackets cannot match. For more edgy wall treatments, these industrial bedroom ideas pair perfectly with the pipe mount look.
Color Pop Cluster
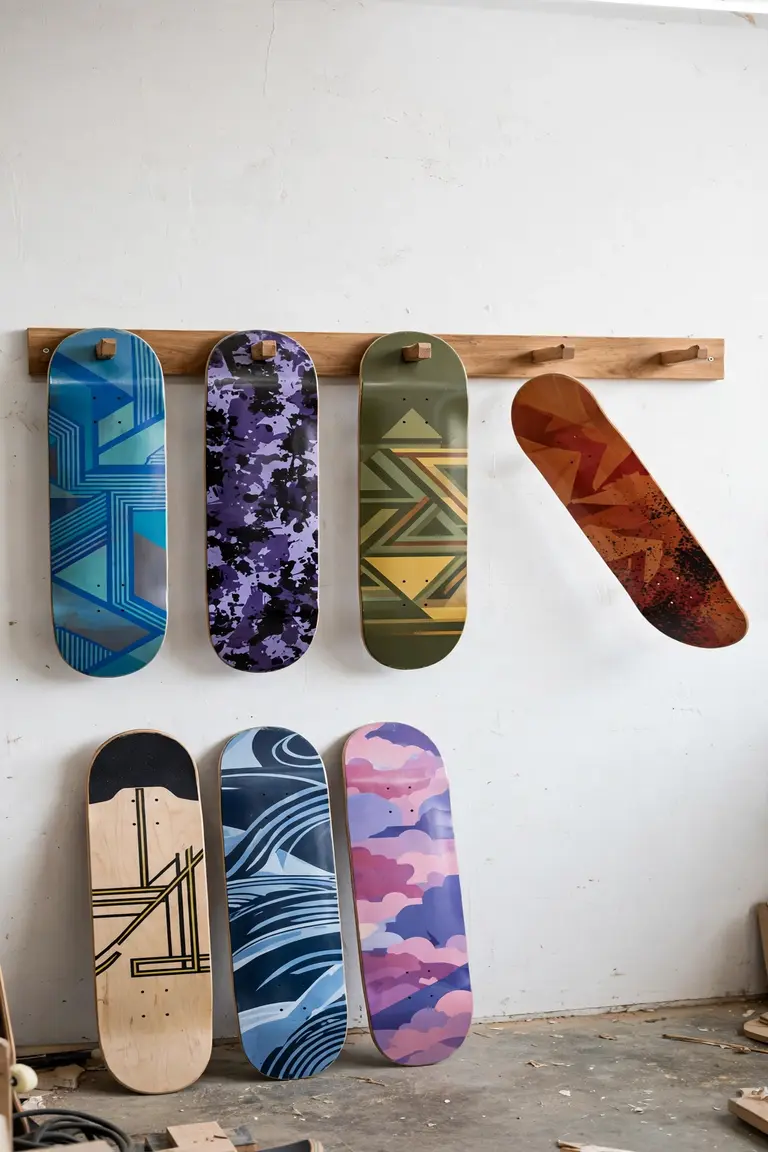
Group your brightest decks together for maximum visual punch. A tight cluster of neon and primary colors creates an energy that spreads across the whole room. Hang them within a defined square or rectangle area to keep the chaos contained. The concentrated color becomes a focal point that anchors your furniture arrangement.
In my experience, color clusters work best on white walls where nothing competes. Pull one accent color from the decks for throw pillows or a rug. Keep surrounding decor simple so the cluster stays the star. This bold move suits creative people who love their space loud and proud.
Shadow Box Frames
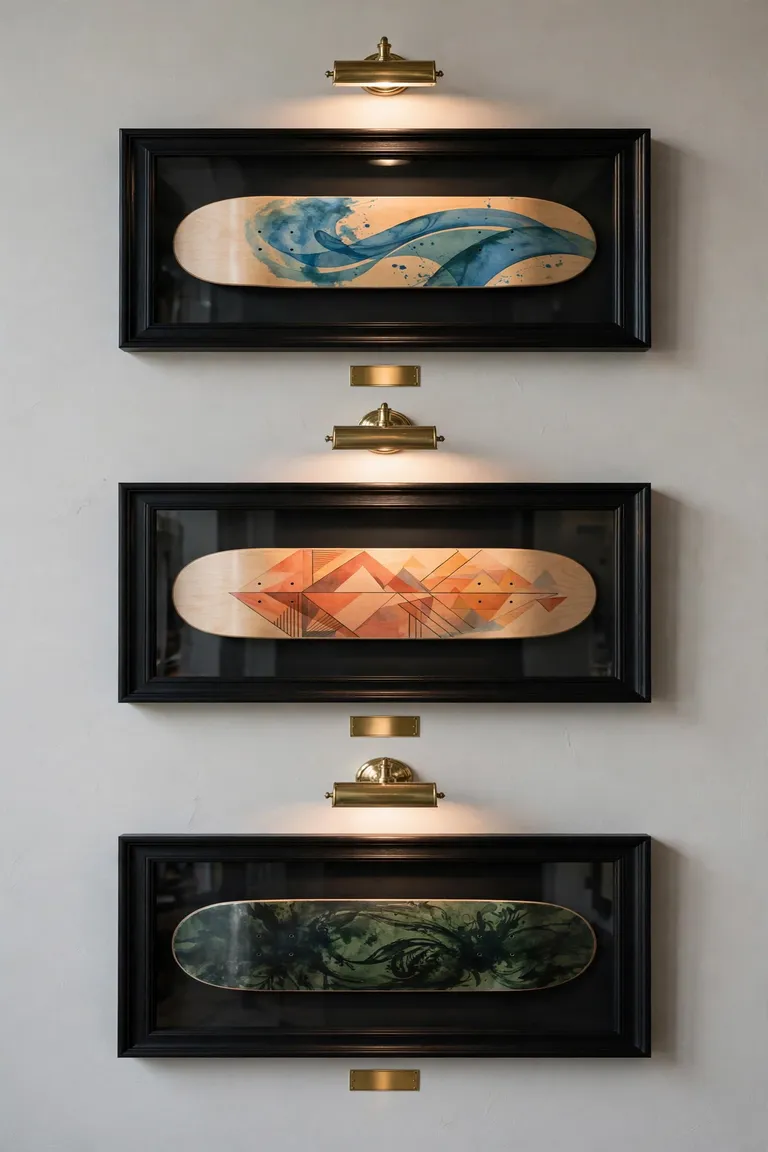
Deep frames protect special decks while looking museum worthy.
- Choose shadow boxes at least three inches deep to fit deck and wheels.
- Remove the trucks if the deck still will not fit inside the frame.
- Add a neutral mat background so the graphic pops forward visually.
- Hang boxes with French cleats for a secure and level mount.
- Label the back with the deck’s story for future reference.
Shadow boxes turn rare decks into true collectibles worth protecting. I’ve noticed that framed decks appreciate in perceived value instantly. Use UV protective glass if sunlight hits the wall directly. Your most precious boards deserve this gallery treatment.
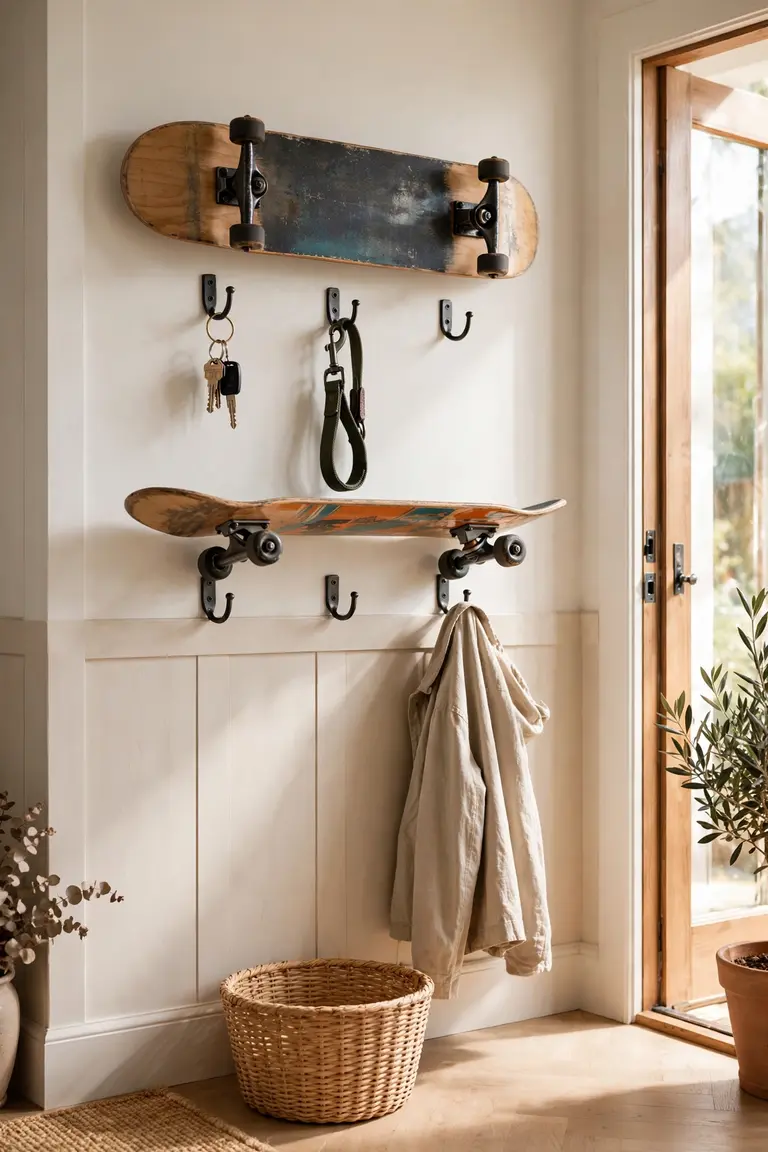
Entryway Board Hooks
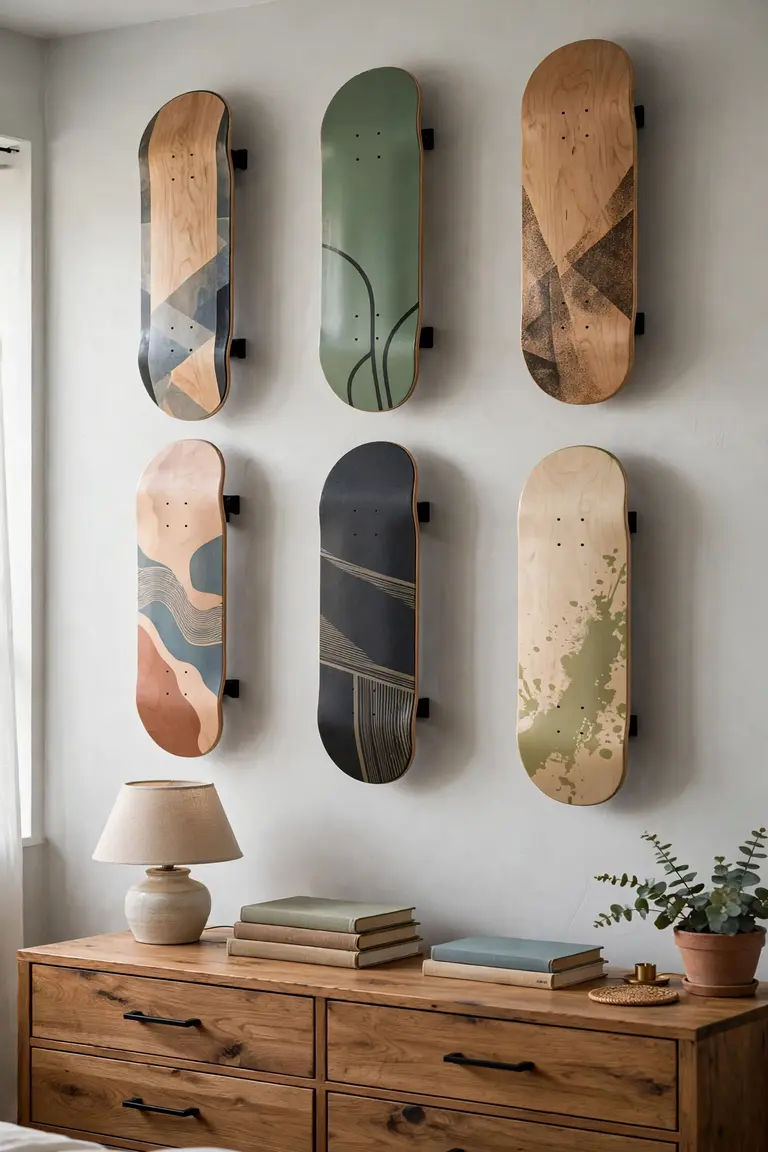
Decks can welcome guests while holding your everyday essentials.
Quick Tip: Mount two decks horizontally and add sturdy hooks beneath each one. Hang keys, leashes, and light jackets from the hooks daily. Choose decks with durable graphics since this spot gets heavy use. Keep the hooks rated for at least ten pounds each for safety.
Your entryway sets the tone for the whole home the moment someone walks in. In my experience, functional deck hooks spark more compliments than pure decoration. Guests remember creative storage solutions long after they leave. This idea proves that skate style and practicality can share the same wall beautifully.
Rotating Deck Display
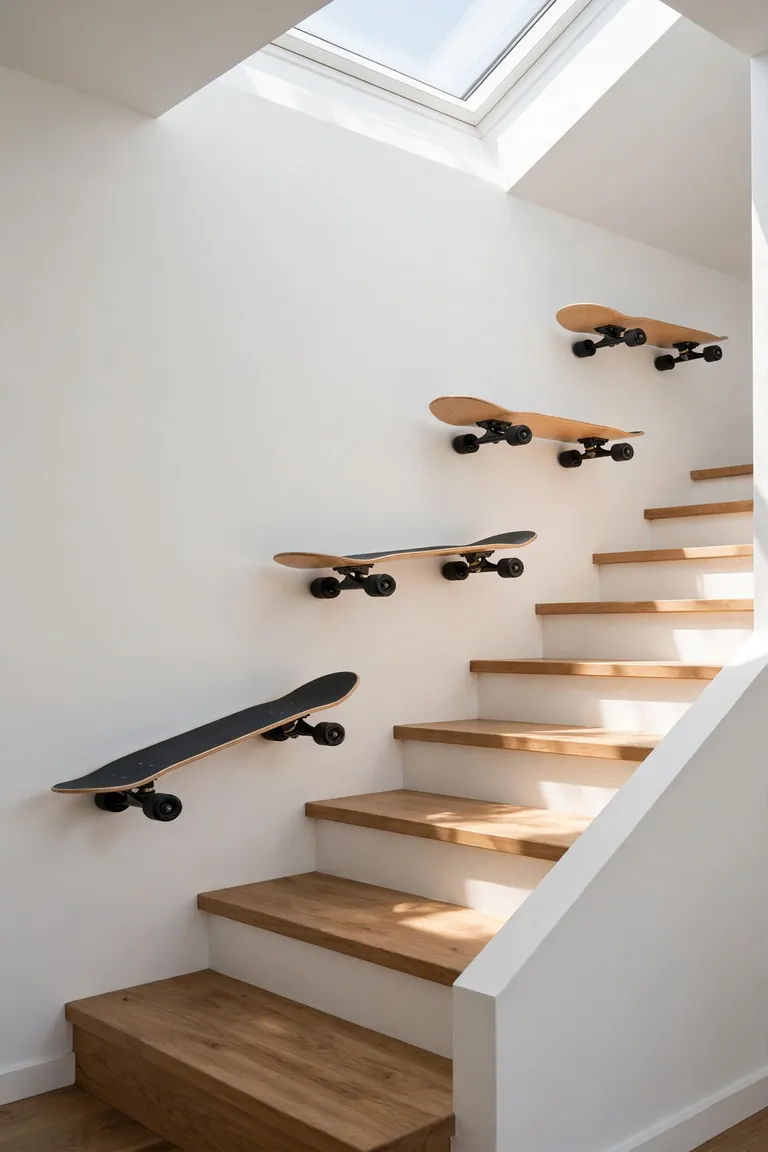
A rotating mount keeps your display fresh without new holes.
BEFORE: The same decks hang for years until you stop noticing them entirely. The wall becomes background noise instead of a feature you actually enjoy seeing daily.
AFTER: A simple peg system lets you swap decks in seconds whenever the mood strikes. Seasonal graphics, new purchases, and old favorites rotate through regularly.
Install a horizontal peg rail and hang decks from removable hooks. That’s why many experts recommend this system for serious collectors with growing stashes. Rotate for holidays, seasons, or just because you feel like it. Your wall stays exciting year after year with zero extra drilling.
Headboard Deck Wall
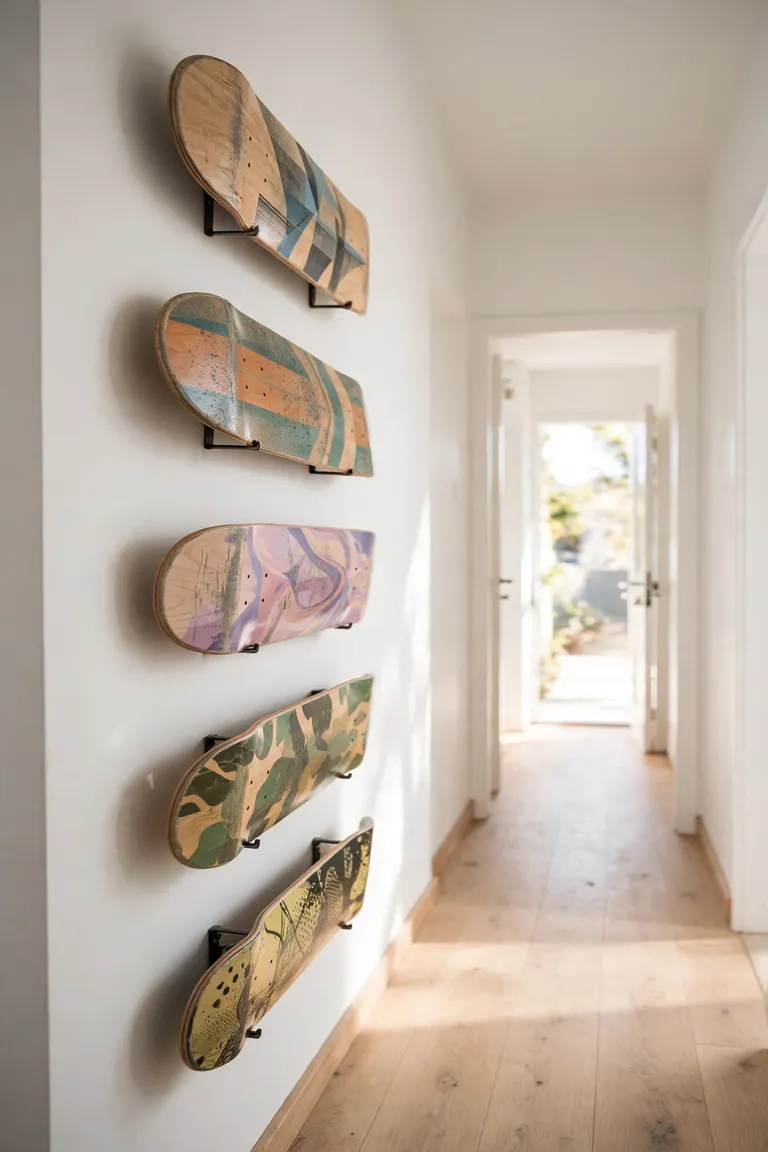
Replace a traditional headboard with a row of mounted decks.
- Measure your bed width and choose enough decks to span it with small gaps.
- Mark a horizontal line at pillow height, roughly 48 inches from the floor.
- Mount each deck on sturdy brackets rated for bedroom wall types.
- Center the arrangement over the bed and check symmetry from the doorway.
A deck headboard brings instant personality to a plain bedroom. In my experience, this works best with decks in coordinating colors rather than clashing brights. Add wall mounted reading lights above for a finished look. You will never see another bedroom quite like yours.
Artistic Deck Mural
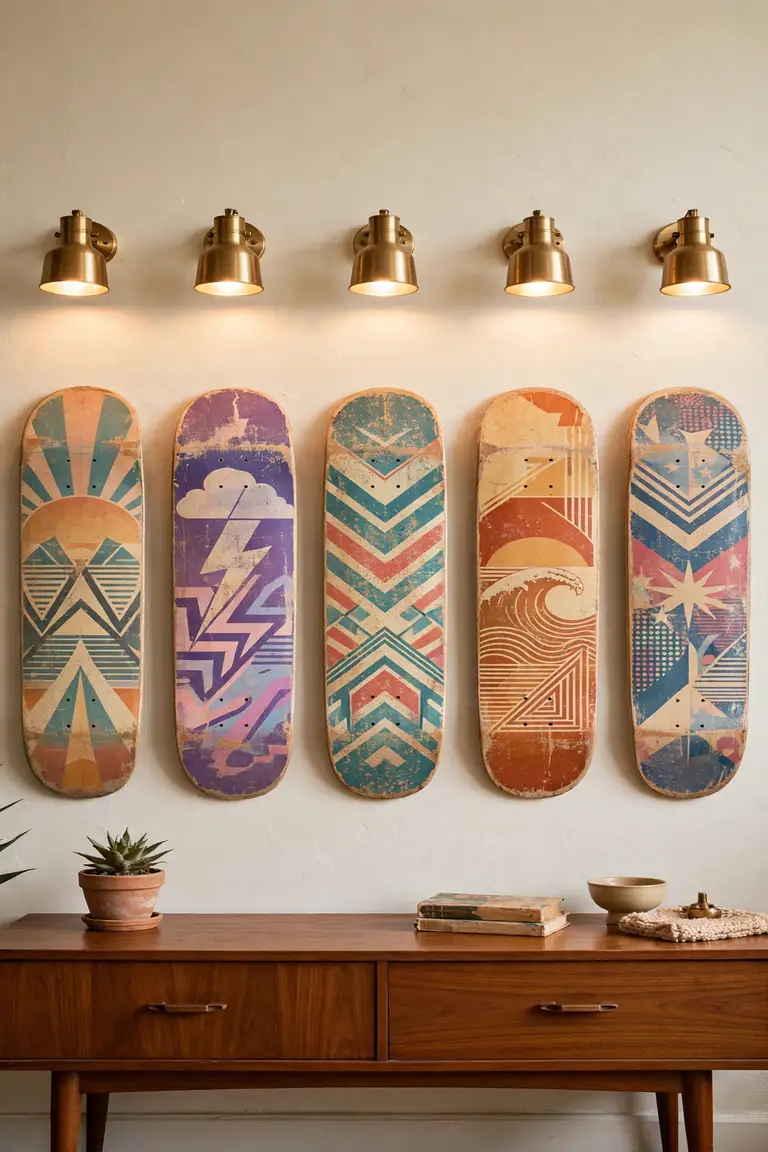
Turn multiple decks into one giant piece of wall art.
| Approach | Painted Mural | Graphic Collage |
|---|---|---|
| Method | Paint across decks | Arrange printed decks |
| Skill | Artistic ability | Layout planning |
| Time | Full weekend | One afternoon |
| Result | One of a kind | Bold and graphic |
A mural made of decks becomes the undeniable centerpiece of any room. I’ve noticed that painted murals suit artistic homeowners who want something truly unique. Plan the full design on paper before touching a single deck. Number the backs so reassembly stays simple after painting. Whether painted or collaged, this statement wall will dominate your space in the best possible way.
Conclusion
These skateboard wall decor ideas prove that old decks deserve a second life as bold wall art. Pick the display style that matches your space, gather your favorite boards, and start mounting this weekend. I’ve seen how small changes like these can completely shift the way a space feels. Mix and match ideas from different sections to create something truly yours. Save your favorites to Pinterest for easy reference later. Try one display today and share a photo of your finished wall with friends. Your blank walls are waiting for their creative upgrade.