How to Make a Long Wall Look Balanced With Furniture
A long, bare wall can make a pretty room feel unfinished, and learning how to make a long wall look balanced with furniture is the fastest way to fix it. Most people scatter small pieces along the length and wonder why the wall looks empty. The secret is treating the wall as one connected scene instead of several separate spots.
In my experience, the rooms that feel most put together are the ones where every piece has a clear job along the wall. These ideas turn a long stretch into a balanced, intentional feature, starting with a tape measure and a little patience. If you enjoyed our tips for how to decorate a living room with a half wall, these tricks will feel like a natural next step.
Start by Measuring the Wall and Marking Its Center
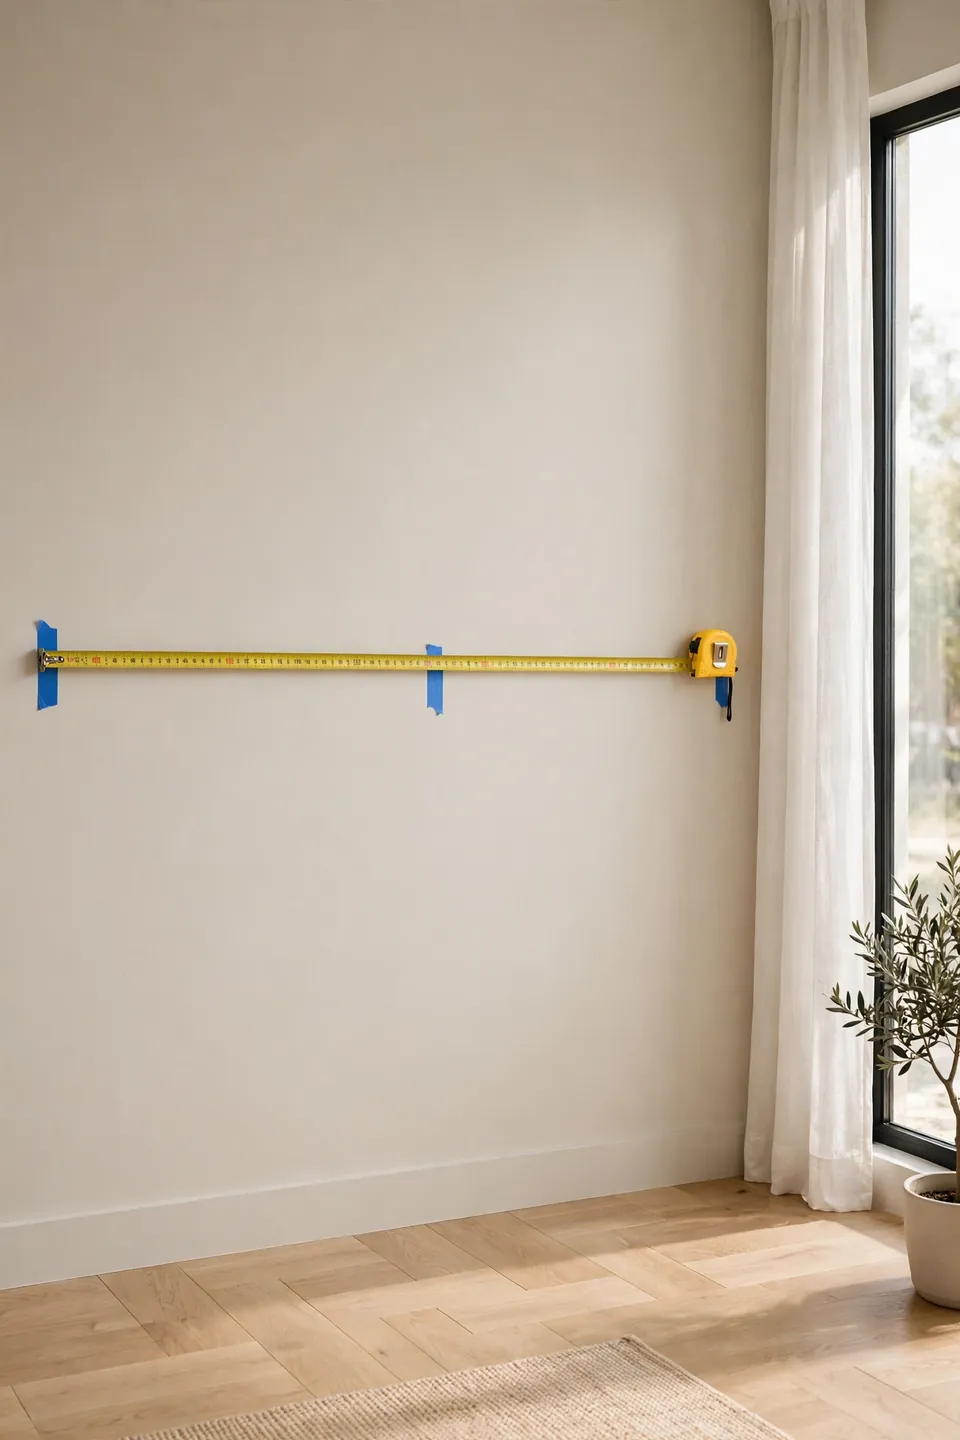
Grab a tape measure before you move a single chair. Long walls play tricks on your eyes, and what looks centered is often inches off. Measure the full width, press painter’s tape at the exact middle, and mark where doors, windows, and outlets break the run.
These fixed points matter more than you think. A covered outlet or crowded doorway will bother you daily, while a well-placed console that respects those boundaries feels effortless. Write the measurements down and keep them handy as you test layouts, because planning on paper saves your back and your patience.
Choose One Hero Piece to Anchor the Wall
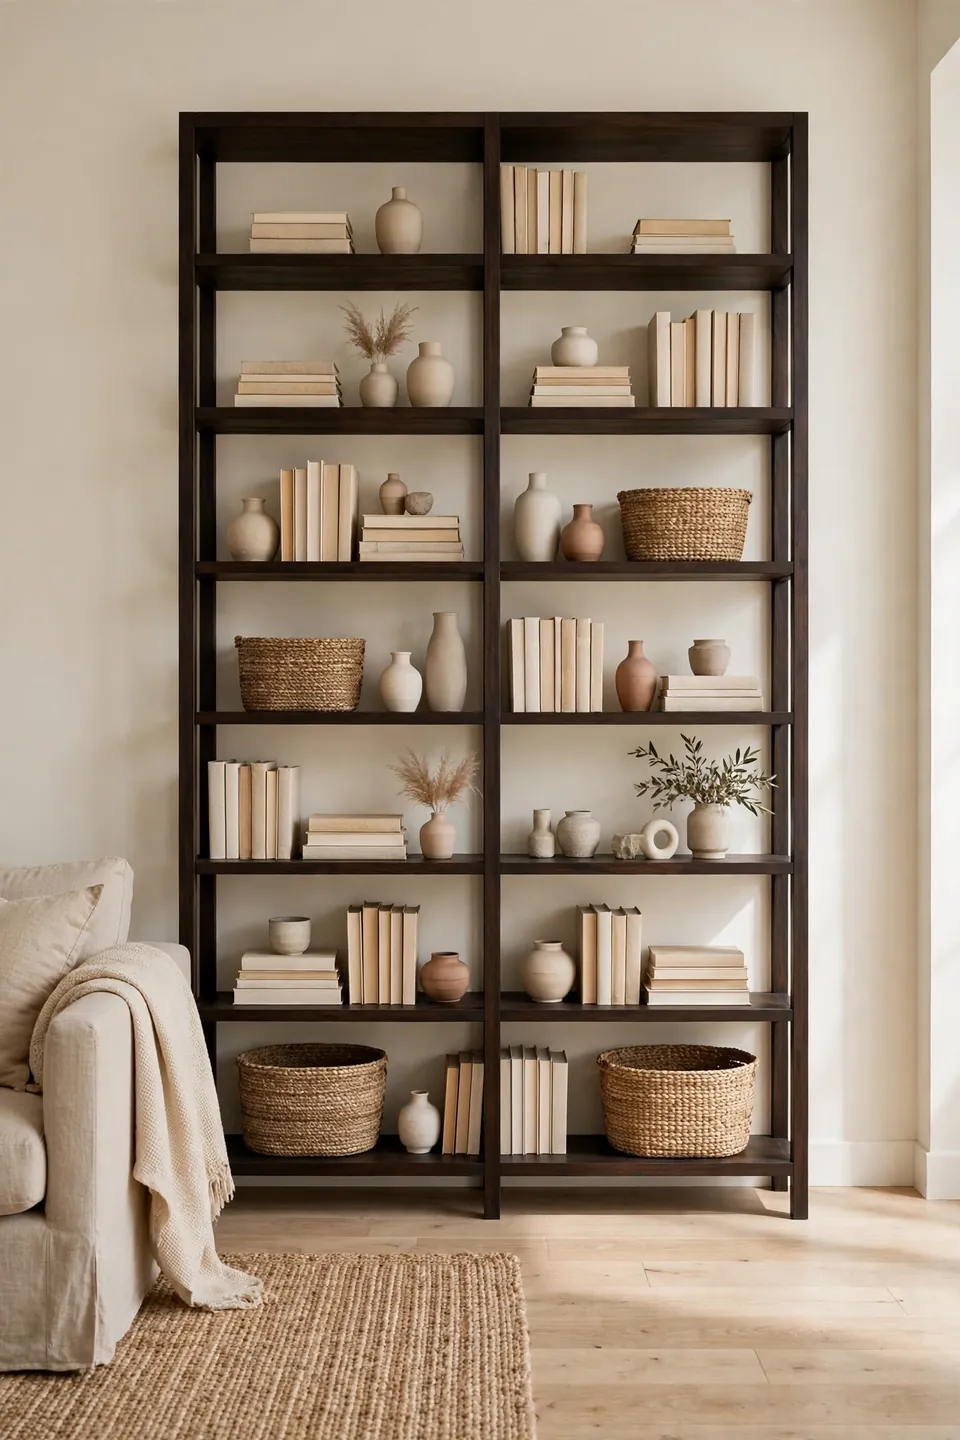
A single hero piece gives the eye a place to land, which is exactly what a long wall lacks. One confident anchor beats a row of timid small items because it creates a clear focal point the rest of the arrangement can support.
- Pick one substantial item, like a tall bookcase, a wide console, or a large piece of art.
- Set it at or near the center mark you taped on the wall.
- Let smaller items play supporting roles on either side of it.
- Keep the hero piece the tallest or widest object in the whole arrangement.
Use the Rule of Thirds for Natural Spacing
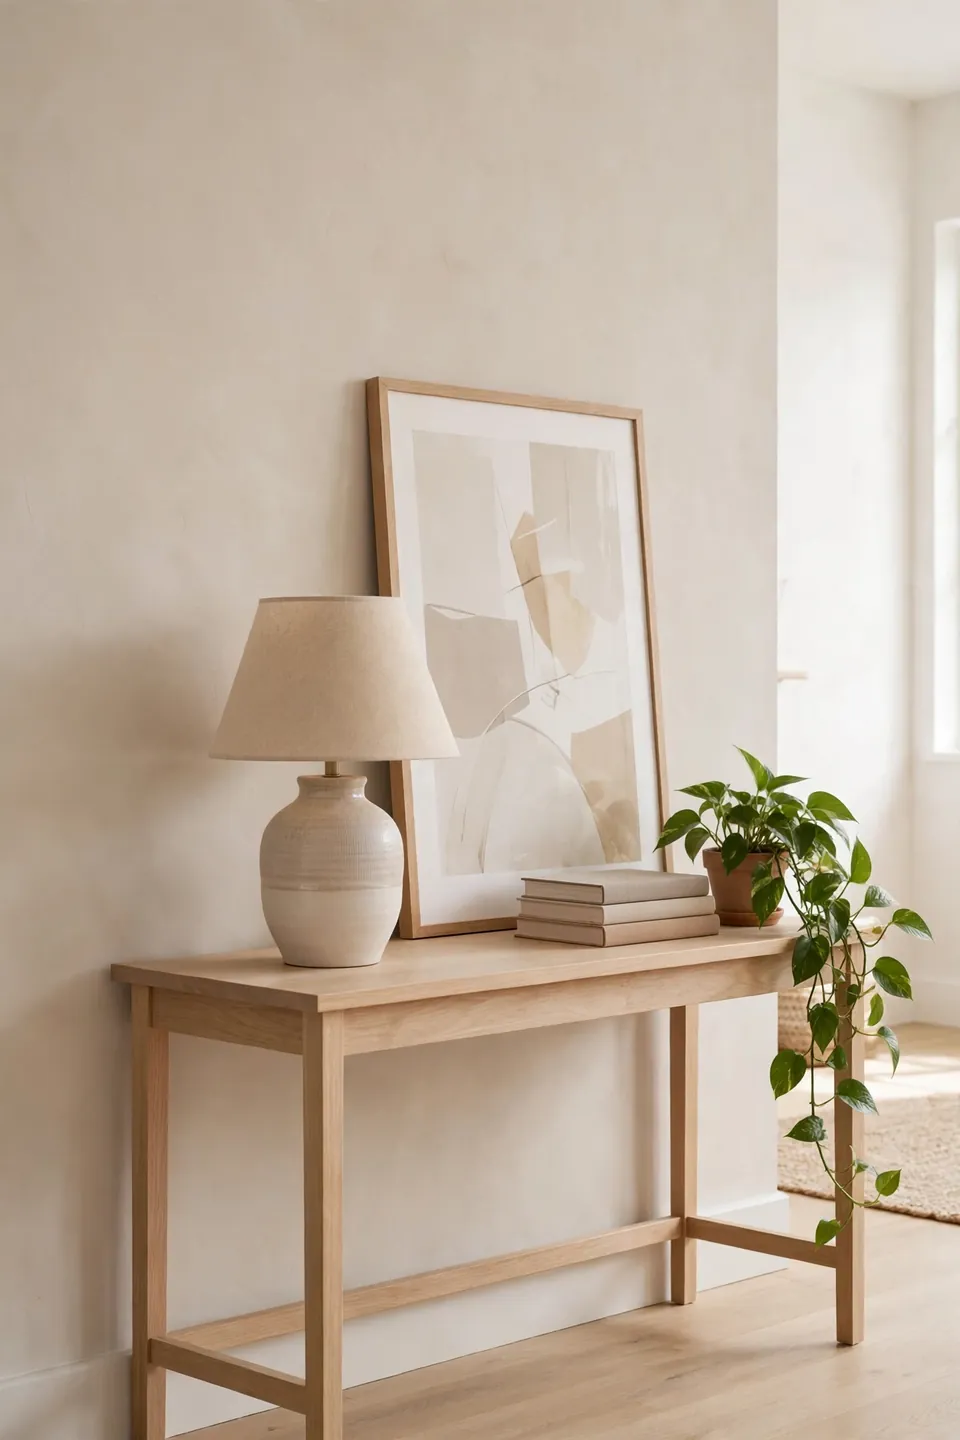
Quick Tip: Mentally divide the wall into thirds and let your hero piece sit near one of the two inner division lines instead of dead center. Slightly off-center placement feels relaxed and designer-made, while perfect symmetry can read stiff on a very long wall.
Once the hero piece is roughly in place, step back across the room and look with fresh eyes. Shift it a few inches left or right until the wall feels calm instead of chopped in half. This tiny adjustment takes thirty seconds and often makes the biggest difference in the whole arrangement.
Stop Spreading Small Pieces Across the Whole Wall
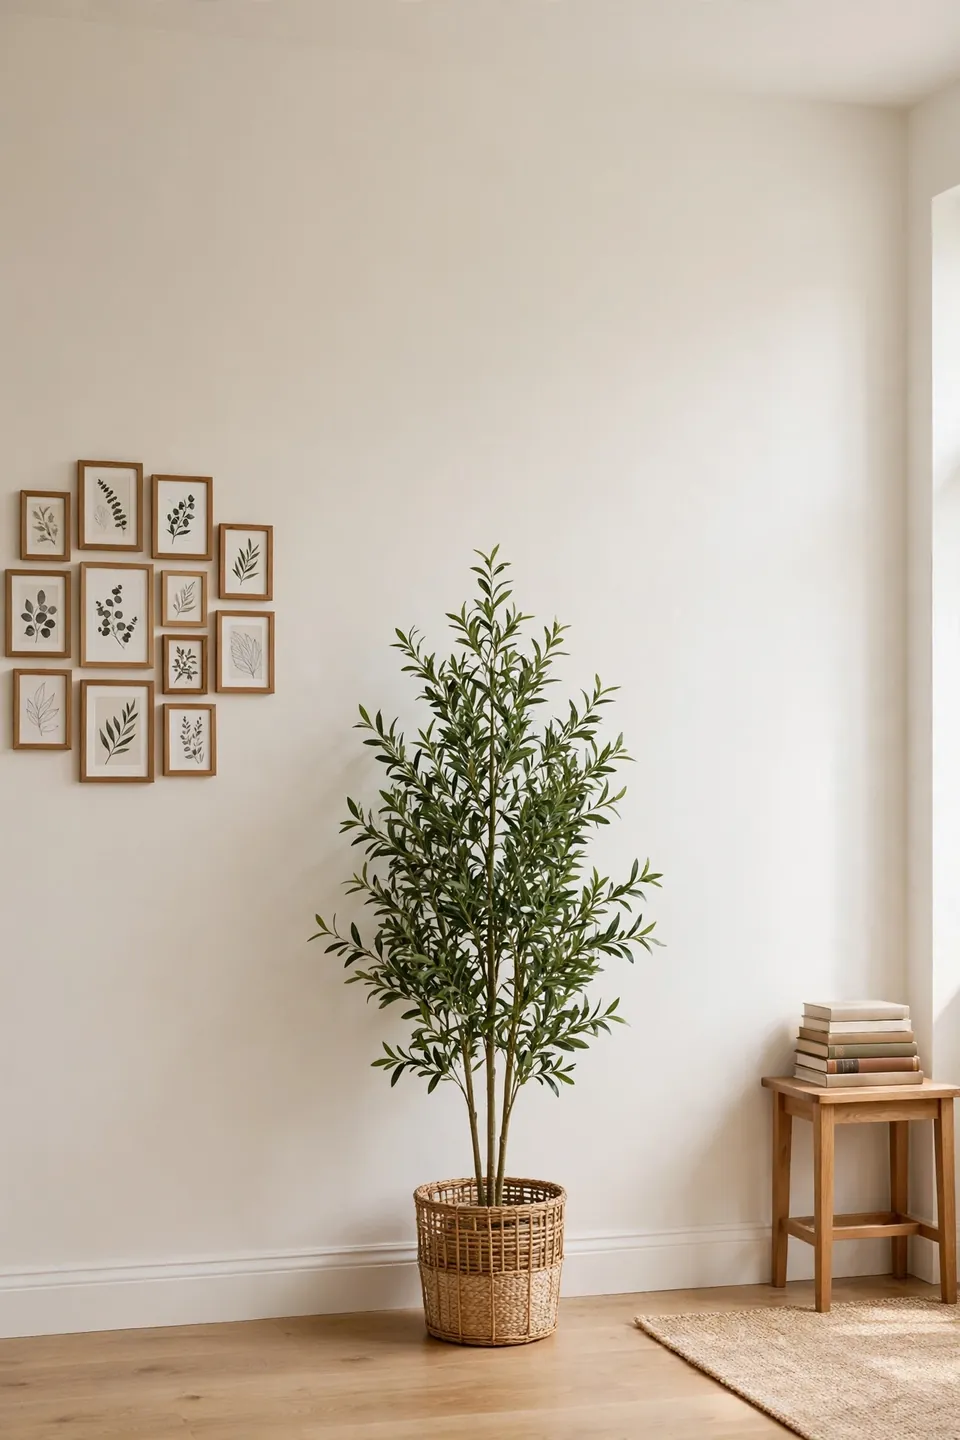
Common Mistake: Lining up lots of small frames, plants, and side tables across the full length of the wall creates a scattered flea-market feeling. Each item fights for attention, and the wall ends up looking busier but still unfinished.
The Fix: Group small items into two or three tight clusters with real breathing room between them. A cluster reads as one intentional moment, while five lonely objects read as clutter. Leave at least two feet of open space between groupings.
I have noticed this is the mistake almost everyone makes first, myself included. The fix feels wrong because you are removing things, but the wall instantly looks calmer and more expensive. Clusters give your eye places to rest, which is the entire point of balance.
Gather the Pieces You Already Own
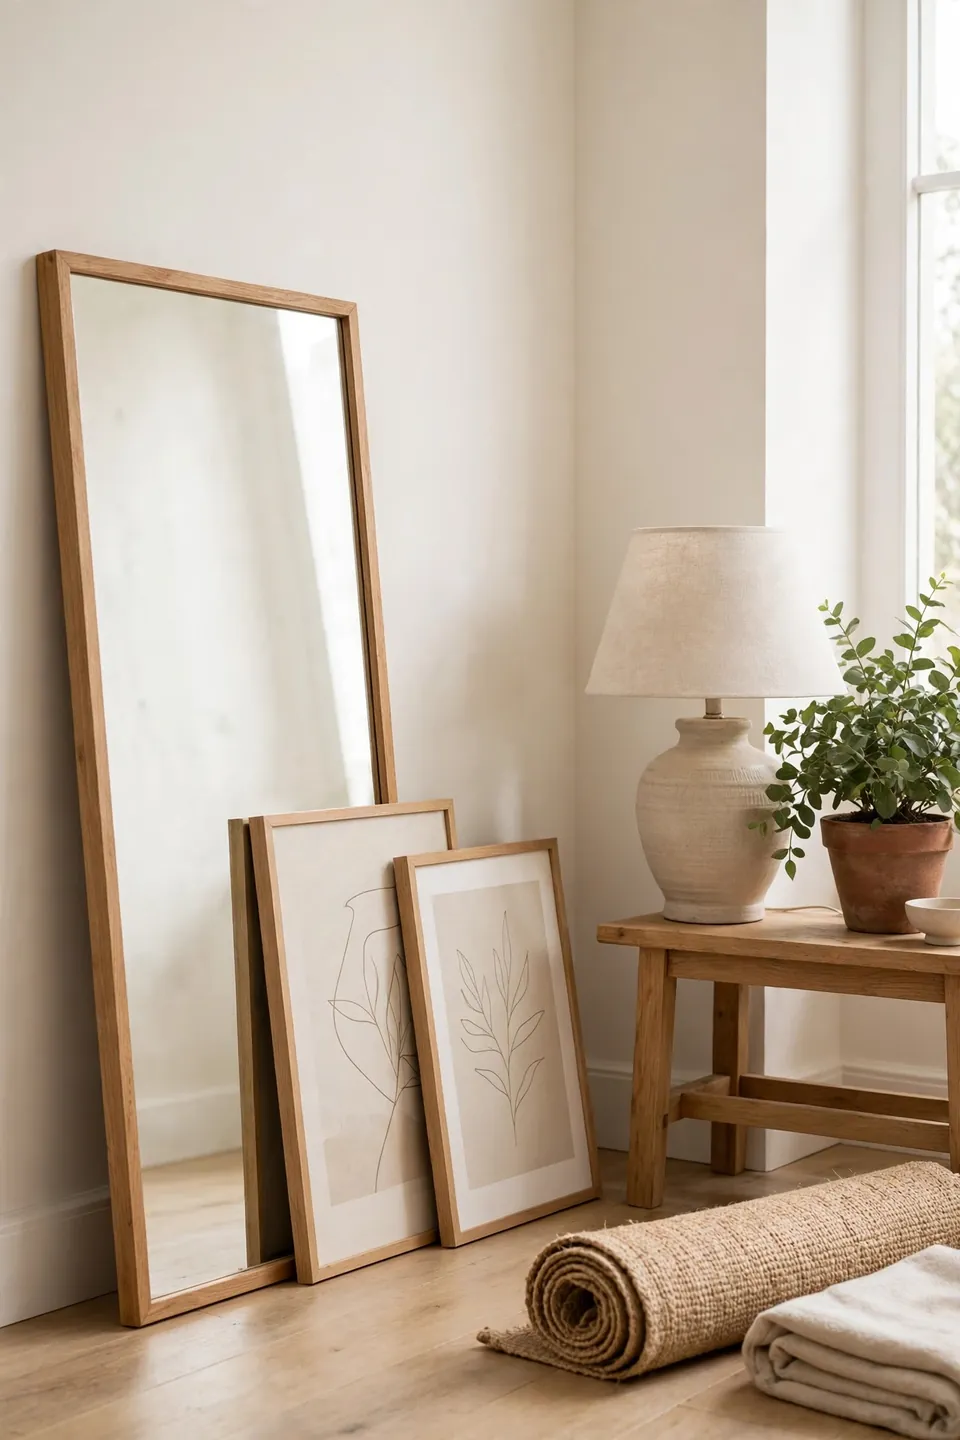
What You Need:
- A tape measure and painter’s tape for marking positions on the wall
- One tall or wide hero piece, like a bookcase or console table
- Two or three medium items, such as table lamps, plants, or baskets
- A few small accessories, like framed prints or stacked books
- A rug or runner to anchor the floor beneath the wall
Shop your own home before you buy anything new. Borrow a lamp from the bedroom, a plant from the kitchen, and art from the hallway, then test them along the wall. Most long walls balance beautifully with pieces you already own once they get a clear arrangement and breathing room.
See What Balance Looks Like in Practice
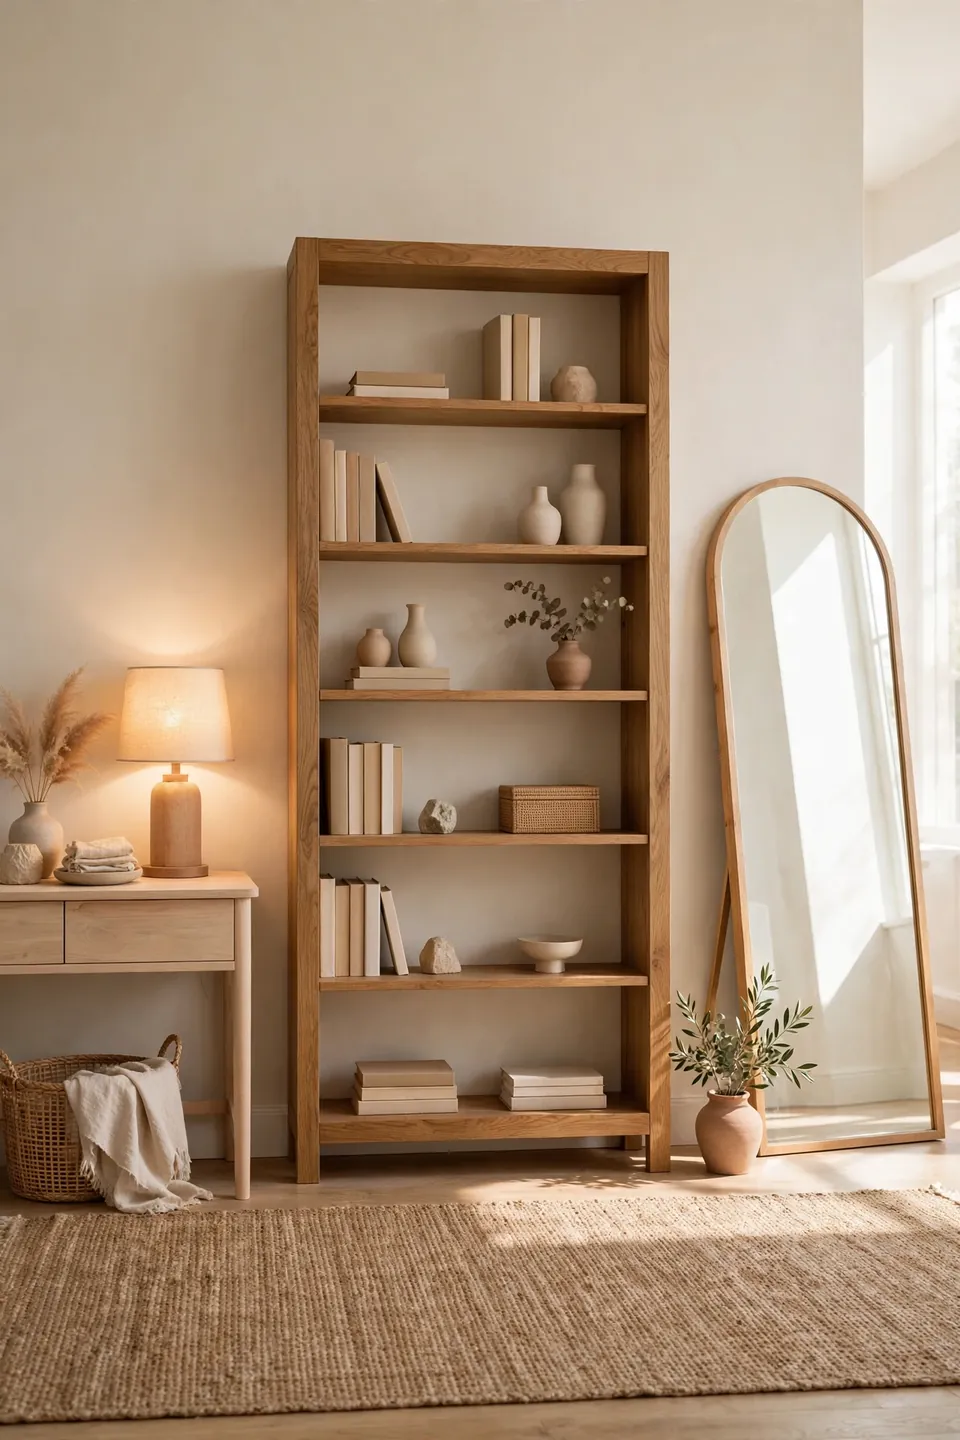
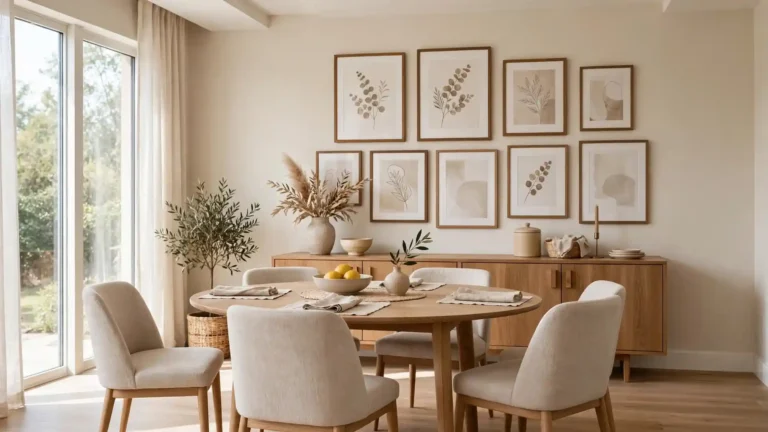
BEFORE: A twelve-foot wall holds one small bench in the middle, two tiny frames floating far apart, and a plant pushed into the corner. The middle feels empty, the edges feel crowded, and the whole room looks unfinished even though the furniture itself is nice.
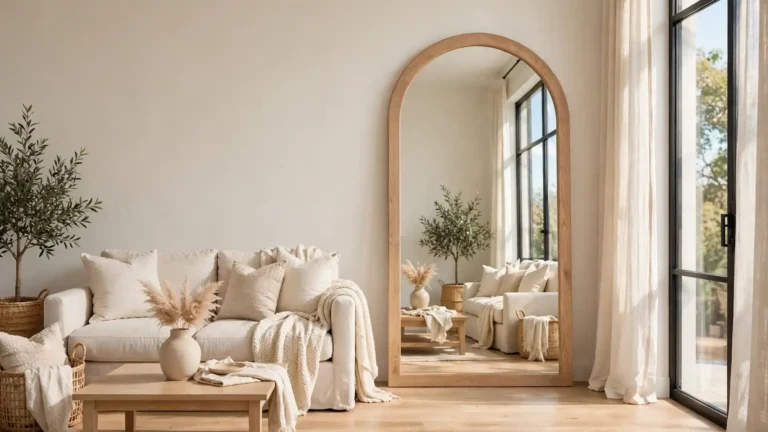
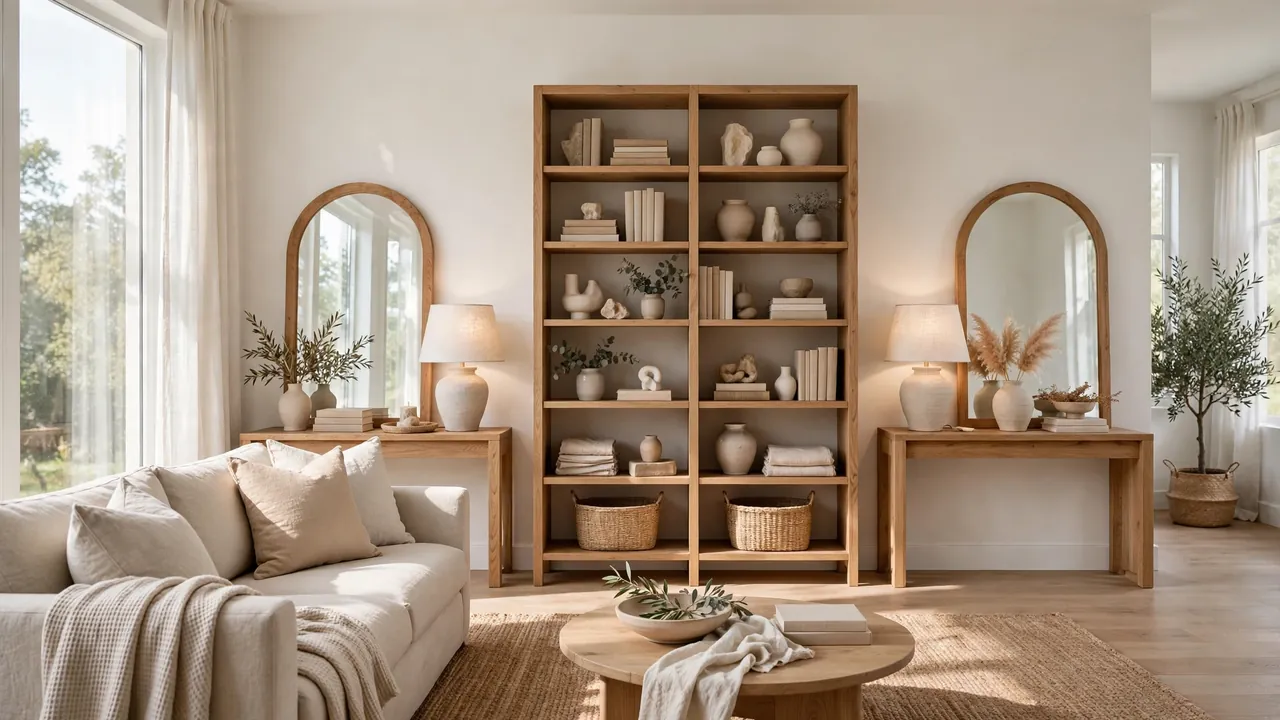
AFTER: A tall bookcase anchors the center, flanked by a console with a lamp on one side and a leaning floor mirror on the other. The wall now reads as one connected scene with clear rhythm, and the room feels finished and intentional. For more small-space ideas, see our guide on how to make a small bedroom work without a dresser.
Notice that nothing in the after version is fancy or expensive. The only real change is grouping and proportion: one hero piece, supporting clusters, and breathing room. Your wall can get the same transformation in a single afternoon with furniture you already have. No shopping trip required.
Place Furniture Along Long Walls the Right Way
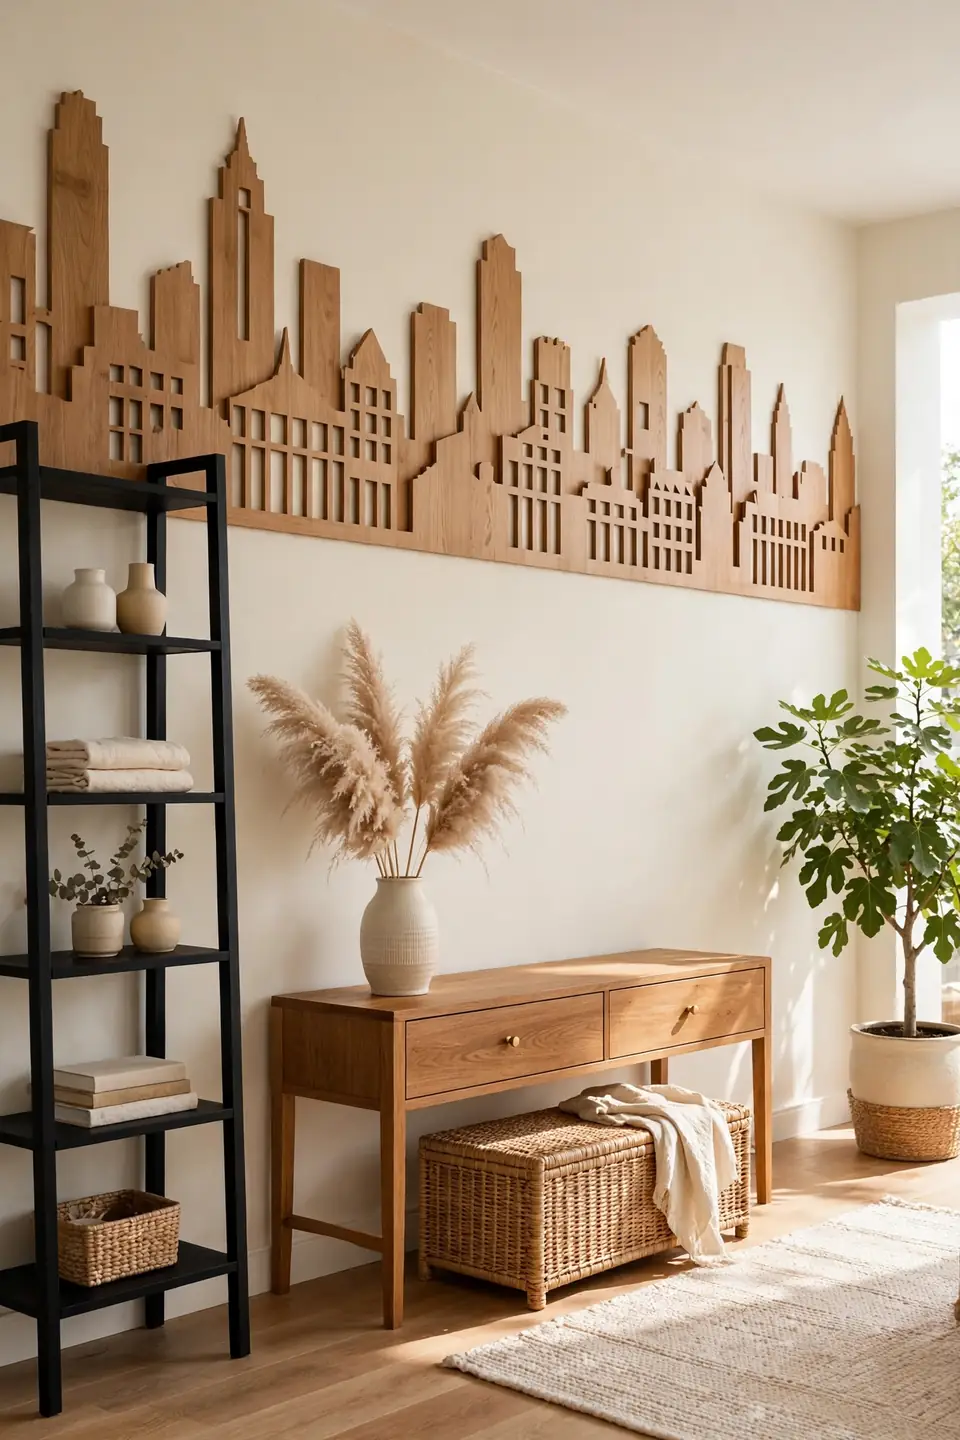
Do This:
- Vary heights so the silhouette rises and falls naturally.
- Repeat one material or color at least twice for cohesion.
- Leave real gaps between groupings so each one can breathe.
Avoid This:
- Pushing every piece flat against the wall in a straight line.
- Matching everything in identical pairs, which reads stiff.
- Hanging art too high above the furniture it belongs with.
Think of the wall as a skyline rather than a shelf. Peaks and valleys in height keep the eye moving comfortably from one end to the other. When heights vary but colors repeat, the wall feels both lively and pulled together. That combination is what balance looks like in real rooms.
Quick Facts for Styling Long Walls
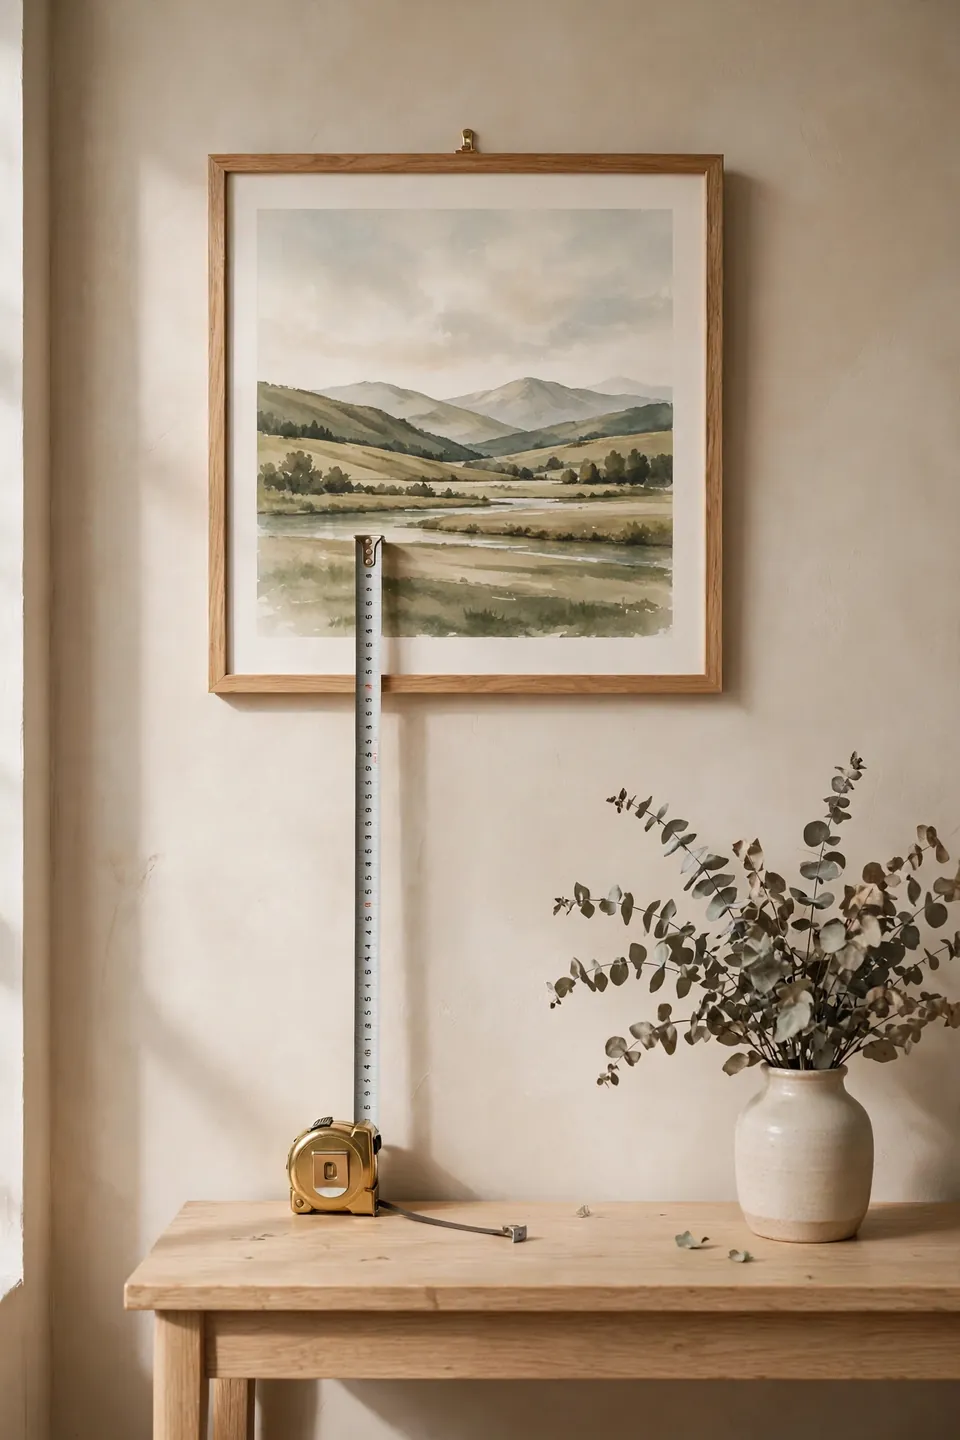
Ideal gap between clusters: 18 to 24 inches
Art hanging height: center at 57 inches from the floor
Hero piece share: cover about one third of the wall width
Budget: often zero, using pieces you already own
These numbers are starting points, not laws. Every wall is different, so treat the measurements as a friendly guide and trust your eyes for the final call. If the wall looks balanced from the doorway and from the sofa, it is balanced. Your eyes are the final judge here.
Tie the Wall Together With Rugs and Lighting
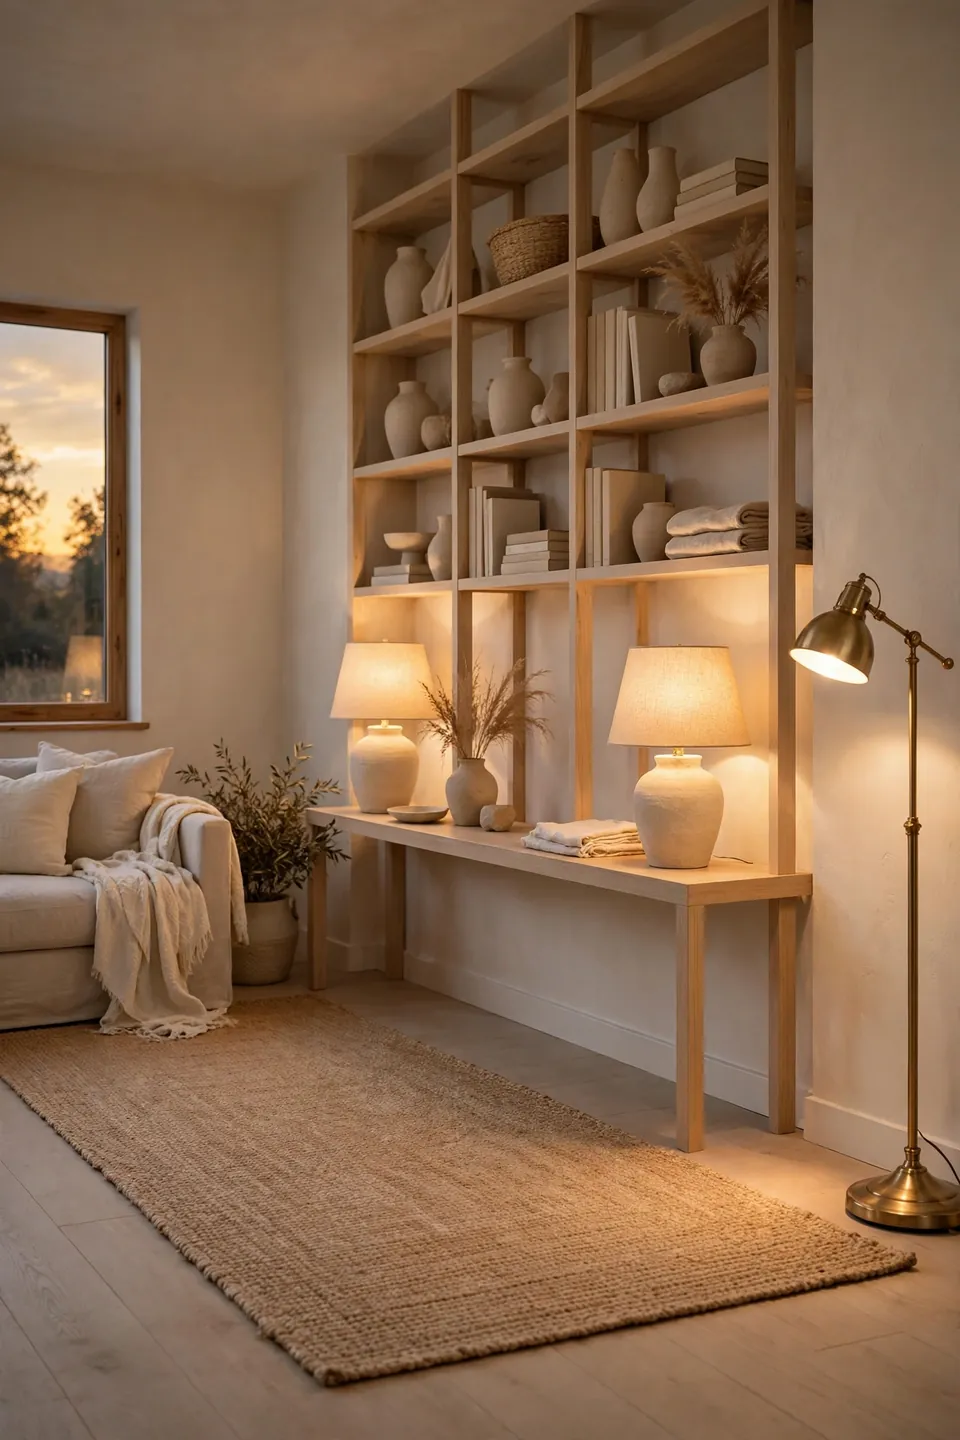
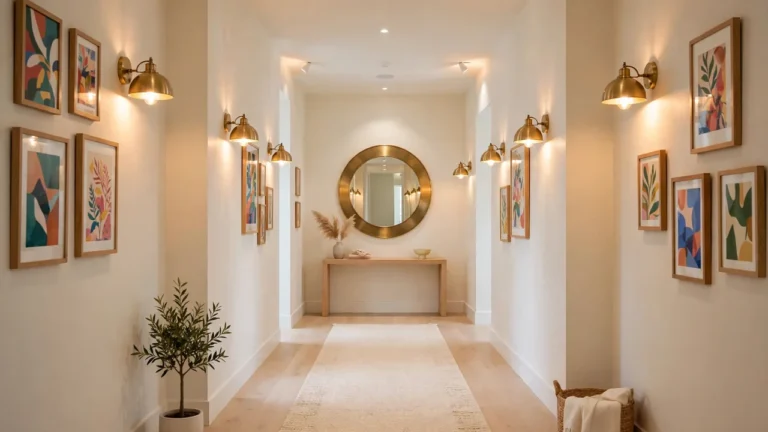
A rug that runs along the wall quietly connects separate furniture groupings into one zone. Choose a runner or a long rug that reaches under the front legs of your largest pieces. Suddenly the bookcase, console, and bench are not three islands but one welcoming arrangement.
Lighting does the same work vertically. A pair of table lamps, a floor lamp at one end, or picture lights over art draw the eye across the full length. Warm light in the evening makes the whole composition glow, which is when a balanced wall looks its absolute best.
Step Back and Check Your Work From Every Angle
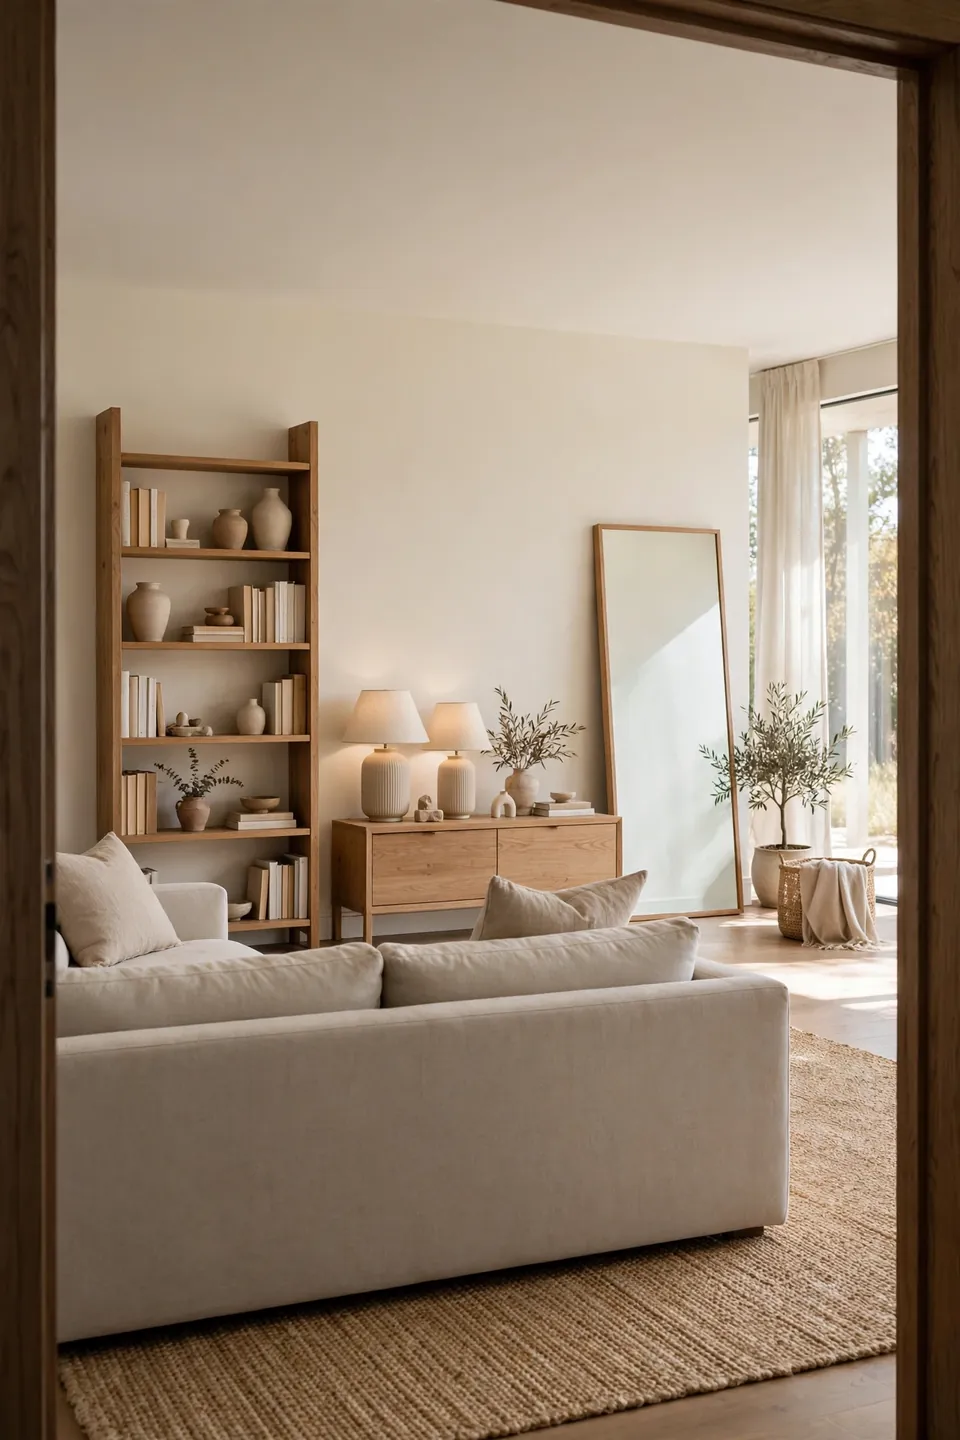
Your arrangement is nearly done, and this final check is what separates good from great. Walk the room the way a guest would and look at the wall from the doorway, the sofa, and the far corner. Each viewpoint reveals something new.
- Stand in the doorway and check that no cluster looks crowded or lonely.
- Sit on the sofa and confirm the art hangs at a comfortable viewing height.
- Walk the full length and make sure the heights rise and fall naturally.
- Snap a phone photo, which reveals imbalance your eyes have started to ignore.
- Adjust one thing at a time, then look again before touching anything else.
Conclusion
A long wall stops feeling like a problem the moment you give it rhythm, one hero piece, and room to breathe. Learning how to make a long wall look balanced with furniture is really about trusting simple proportions and grouping what you already own. I have seen how making this one change can completely shift how a whole room feels. Save this guide on Pinterest so you can reference the spacing tips while you arrange, then try it this weekend and enjoy a wall that finally feels finished. Your future self will thank you every time you walk into the room.