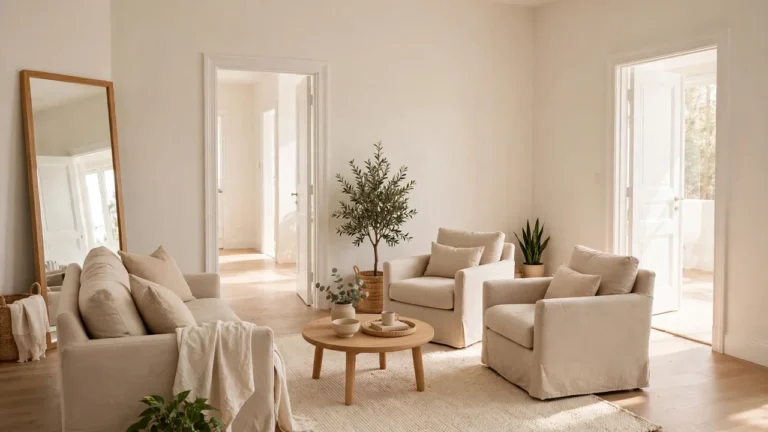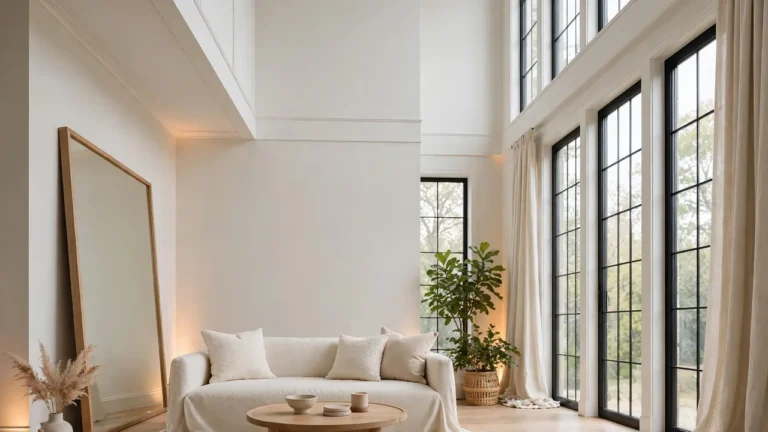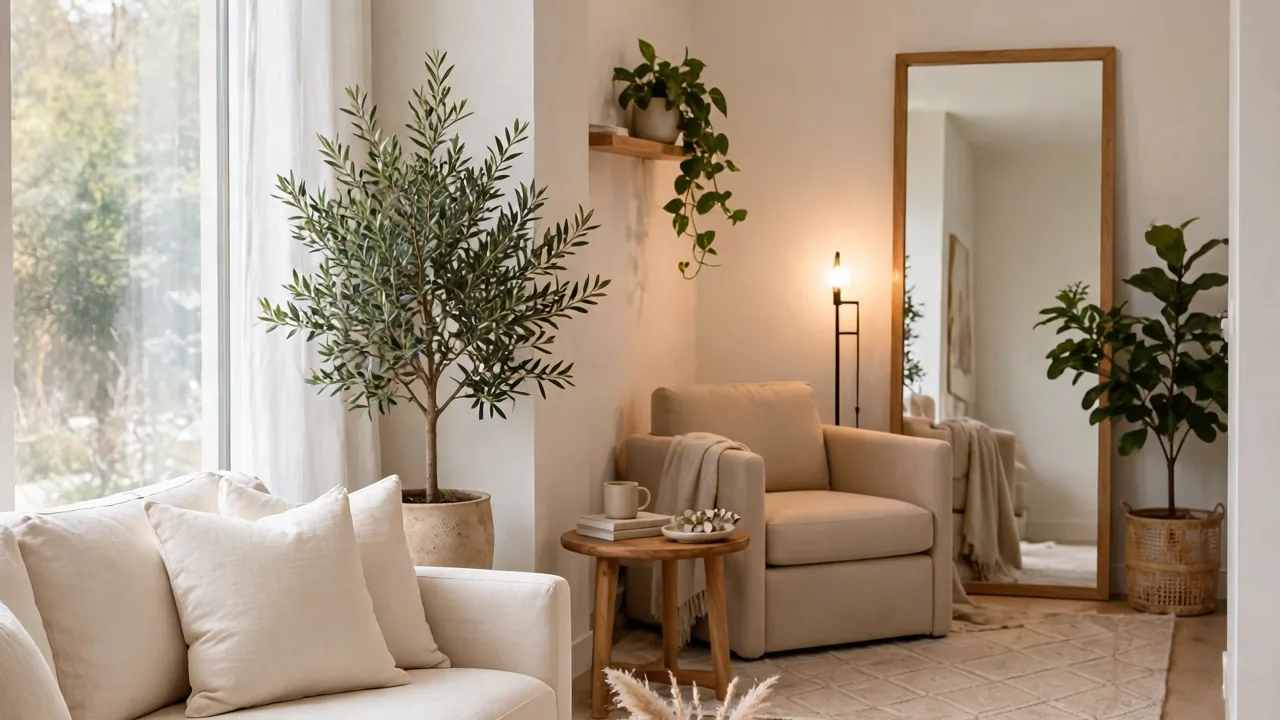
How to Decorate a Long Living Room
A long living room can feel more like a hallway than a place to relax, but learning how to decorate a long living room changes everything. In my experience, these tunnel-shaped spaces frustrate owners because one layout never seems to fit. The good news is that a few smart zoning tricks can make the whole room feel balanced and welcoming.
If your dining space feels just as tricky, this guide on how to make a small dining room look bigger pairs well with these ideas. Below, I walk you through dividing the room into zones, anchoring each one, and lighting it all so the space finally feels like home.
Why Long Rooms Feel Awkward
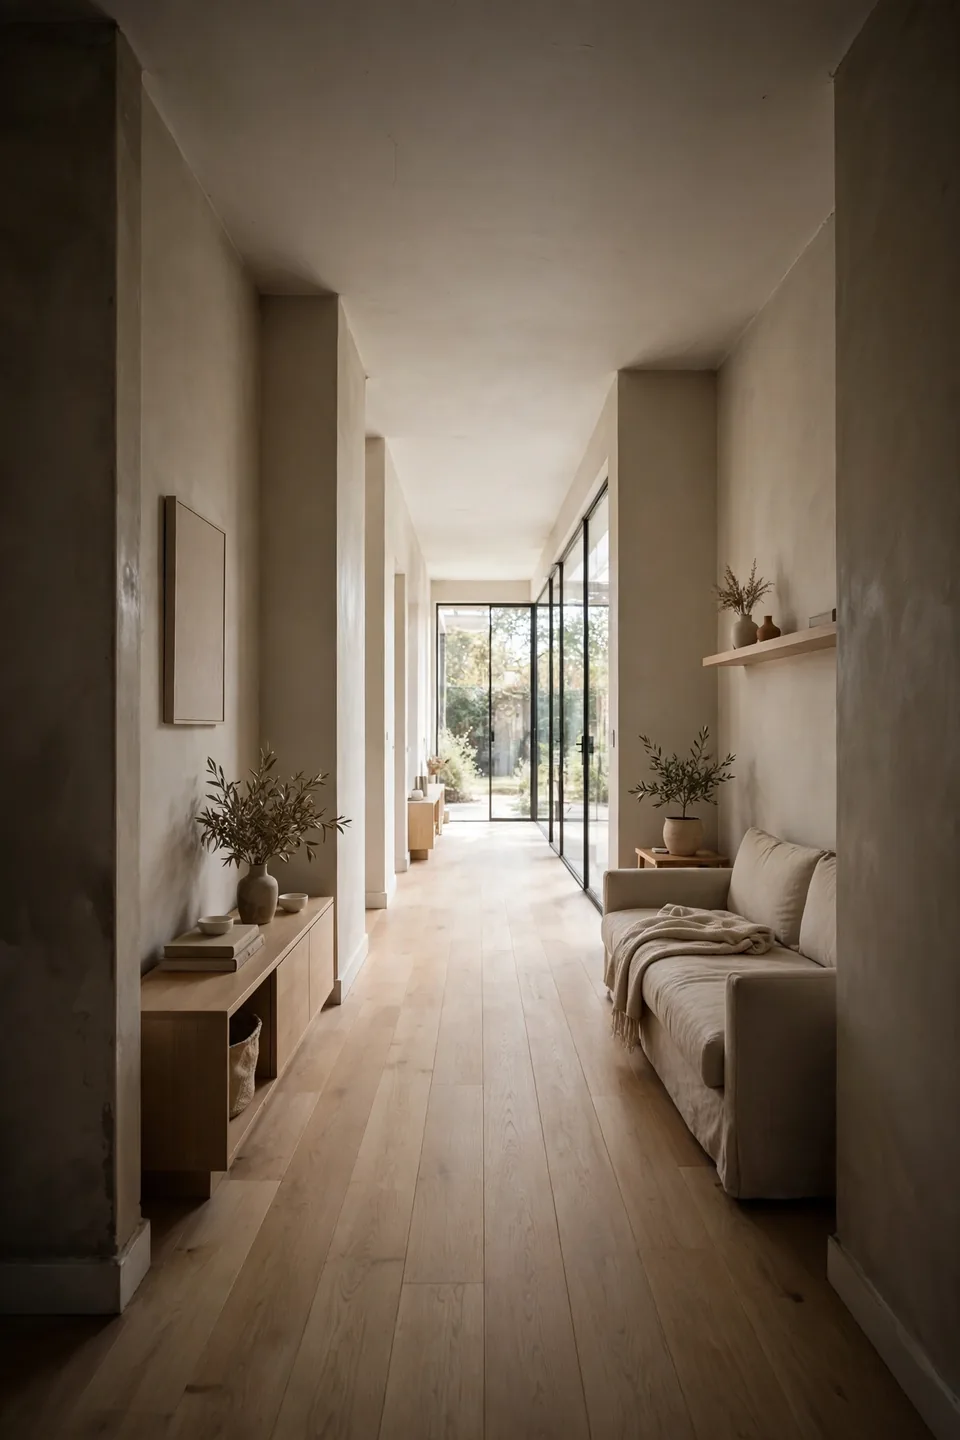
Long living rooms often end up with all the furniture pushed flat against the walls, leaving a big empty lane down the middle. That bowling-alley effect makes the space feel cold and disconnected, no matter how nice each individual piece looks on its own.
The real problem is proportion, not square footage. When one dimension stretches far beyond the other, the eye races from end to end instead of settling comfortably. Once you start seeing the room as several smaller spaces joined together, decorating it becomes much easier. That shift in thinking is the whole secret.
Divide Into Zones
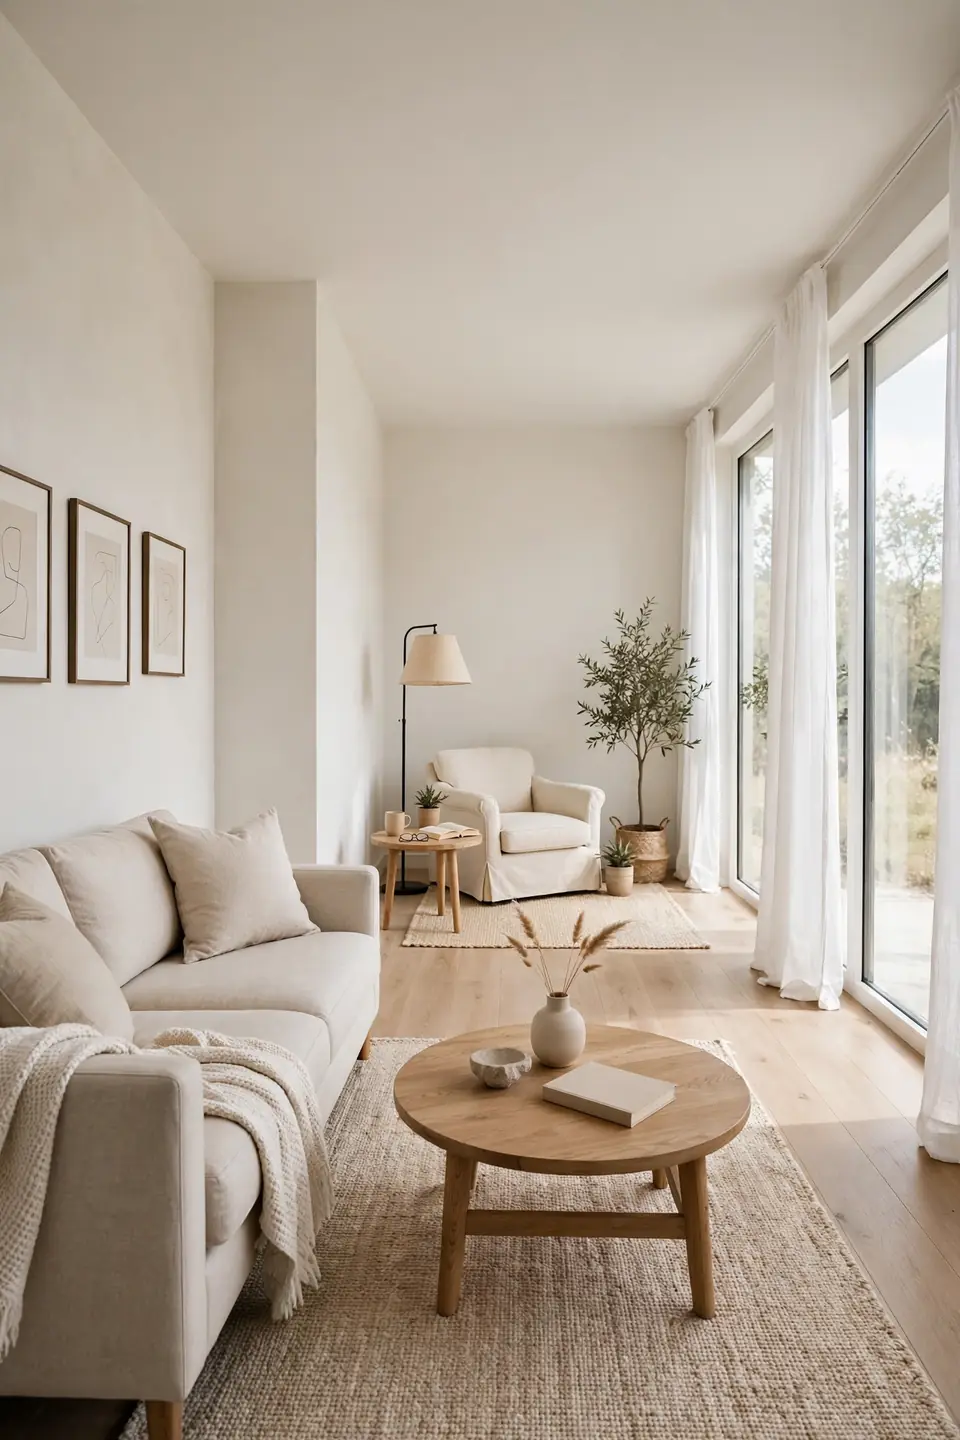
Zoning is the single most powerful trick for a stretched-out room. Instead of one long space, you create two or three smaller areas, each with its own job. Grab a tape measure and a rough sketch before you move a single chair, then follow these steps.
- Measure the room’s length and width, then mark where natural breaks fall, like a doorway or a window wall.
- Assign each zone a purpose: lounging at one end, reading or play at the other, and maybe a small desk nook in between.
- Leave at least 30 inches for the main walkway so traffic flows without squeezing past furniture.
- Test the zones with painter’s tape on the floor before committing to heavy lifting.
Anchor Each Zone
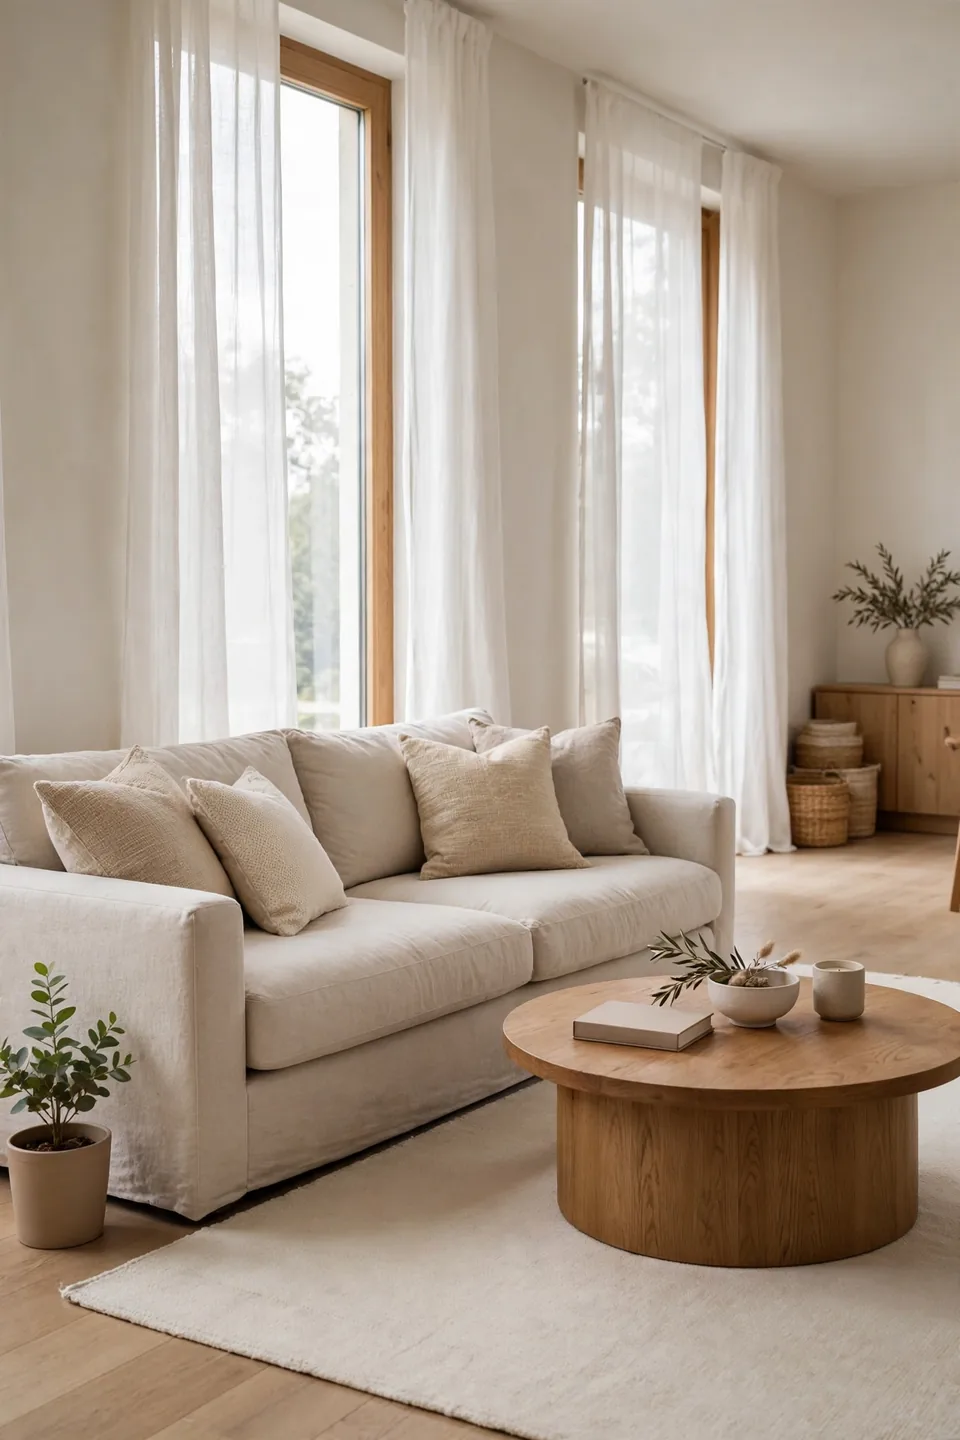
Quick Tip: Every zone needs one anchor piece that visually holds it together, usually the largest item like a sofa or a bookshelf. Without an anchor, furniture floats and the zone dissolves back into the tunnel. Pick the anchor first, then build around it.
A rug under the anchor piece locks the zone in place even more firmly. In my experience, a rug that is big enough for the front legs of every seat makes the grouping feel intentional. Repeat this anchoring trick in each zone and the long room starts reading as a series of cozy rooms.
Use Rugs to Define
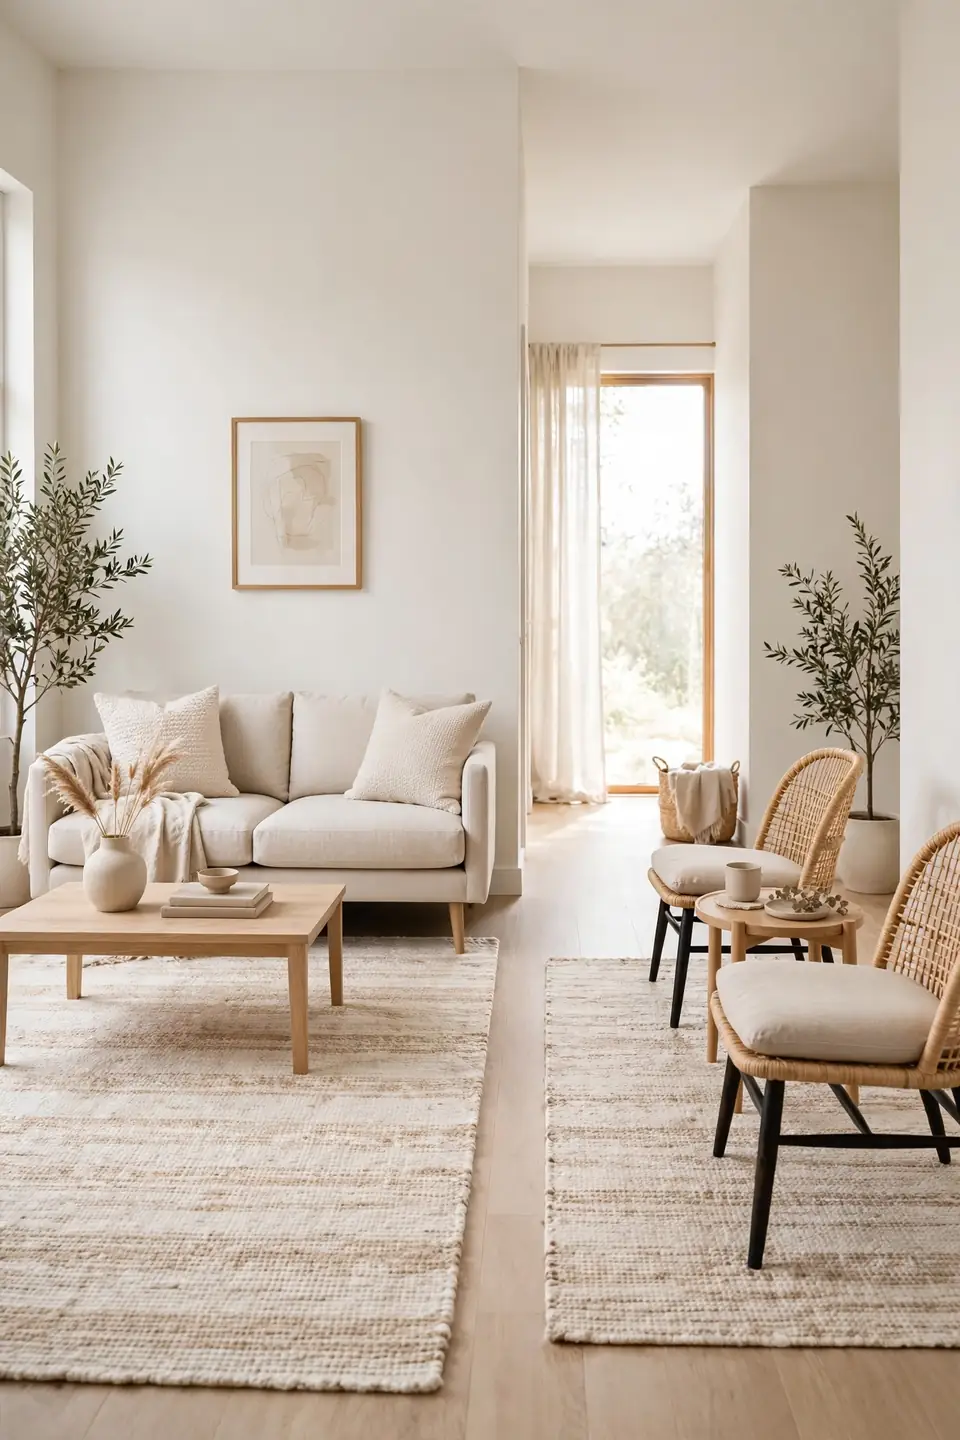
Common Mistake: Most people buy one small rug and float it in the middle of a long room, where it looks lost and does nothing. Or they skip rugs entirely because the room feels too big to cover. Both choices leave the zones undefined and the tunnel feeling intact.
The Fix: Use one rug per zone, each sized to fit under the front legs of that zone’s furniture. Let a strip of bare floor show between rugs so each area reads as its own room. Two or three medium rugs almost always beat one giant one.
Rug color matters too. Stick to a shared palette across all the rugs so the zones feel related instead of random. I’ve noticed that repeating one accent color in each rug ties the whole long room together beautifully, and a low pile keeps the walkway smooth underfoot.
Arrange for Flow
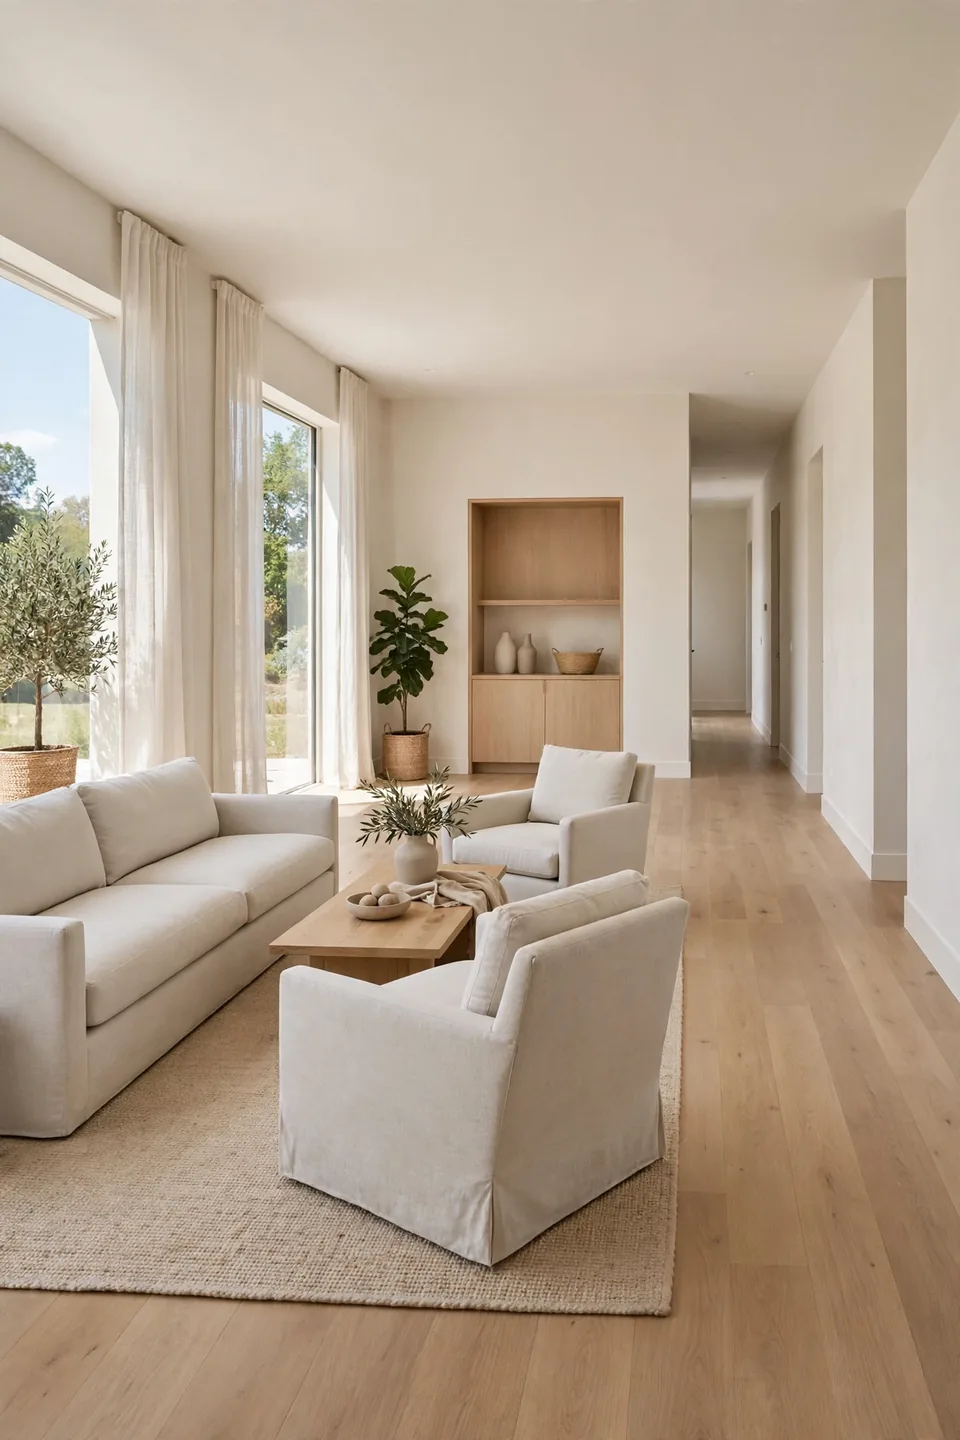
What You Need:
- A clear traffic lane: plan one straight or gently curved path from door to door that nothing blocks.
- Painter’s tape: mark the walkway on the floor so you can see it before moving furniture.
- Slim-profile pieces: choose a narrow console or bench that guides movement without eating width.
- A measuring tape: confirm at least 30 inches of clearance at every pinch point.
- Patience: live with the tape lines for a day before you commit to the final layout.
Good flow makes a long room feel shorter because you stop noticing its length. When people can glide from one end to the other without dodging chairs, the whole space relaxes. Walk the path yourself a few times and adjust anything that catches your hip or shoulder.
Balance the Walls
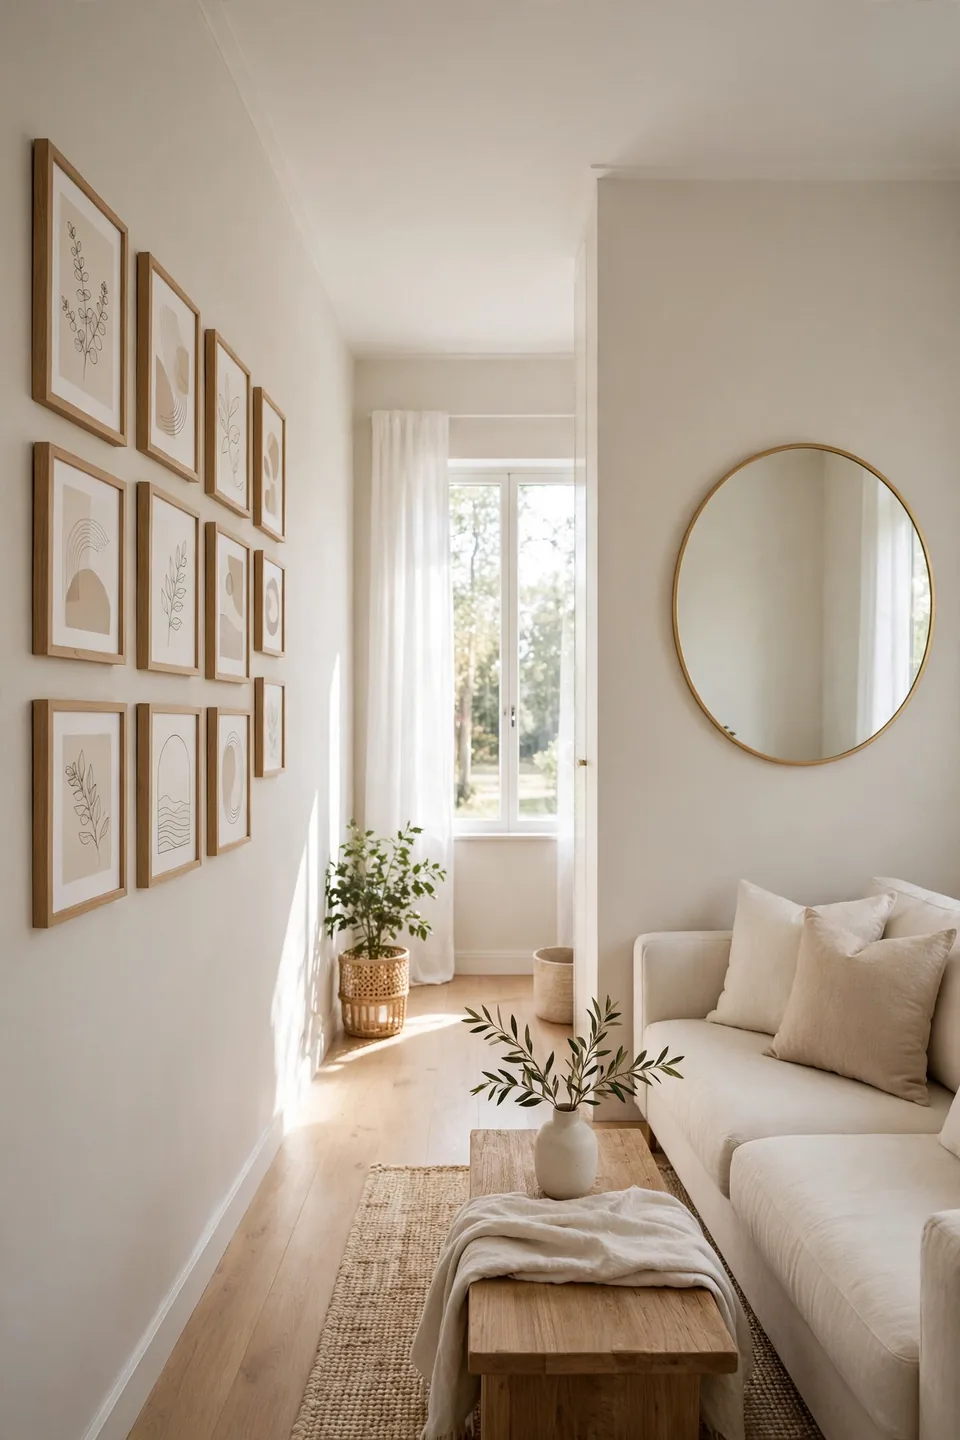
Before: One long blank wall stretches the full length of the room while the opposite wall holds a single tiny frame. The imbalance pulls every eye toward the empty stretch and makes the room feel even longer and more lopsided than it is.
After: Both long walls carry balanced decor, a gallery cluster on one side and a large mirror with sconces on the other. The visual weight evens out, the walls feel closer together, and the room suddenly reads as wide and welcoming instead of narrow.
Aim for visual weight, not matching pairs. A cluster of small frames can balance one large piece if the overall mass feels equal. Step back to the far end of the room often, since that view reveals imbalance faster than standing close. Your eyes will tell you when both sides finally feel settled.
Light Each Zone
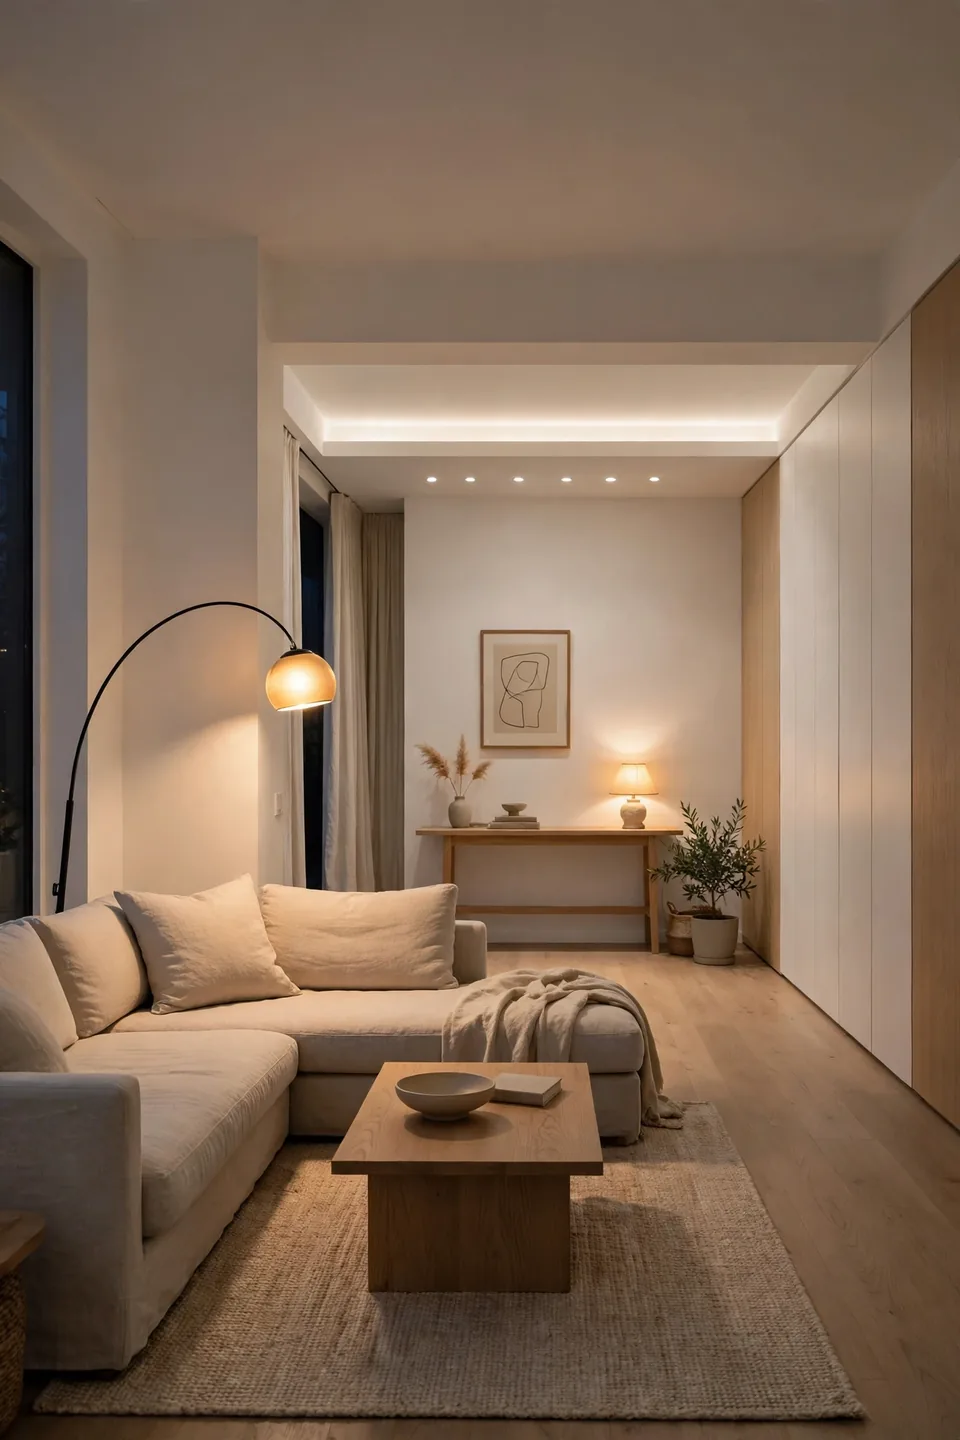
Do This:
- Give every zone its own light source, like a floor lamp by the reading chair and a table lamp on the console.
- Use warm white bulbs around 2700K so all the zones glow with the same cozy tone.
- Add a dimmer where you can, since adjustable light lets one room serve many moods.
- Layer overhead, task, and accent light instead of relying on a single ceiling fixture.
Avoid This:
- Do not light only the middle of the room and leave both ends in shadow.
- Avoid cool harsh bulbs that make a long space feel like an office corridor.
- Do not block windows with tall furniture, since daylight is the best zone light you own.
- Skip a single bright overhead that flattens everything and kills the cozy zones.
When each zone glows at its own level, the room feels like a string of inviting spaces rather than one long hall. That layered approach is the heart of how to decorate a long living room well. Walk the room at night and add light wherever your eye finds a dark pocket.
Small baths need the same zoning mindset, so this guide on how to organize a bathroom with no cabinets is worth a look.
Add Focal Points
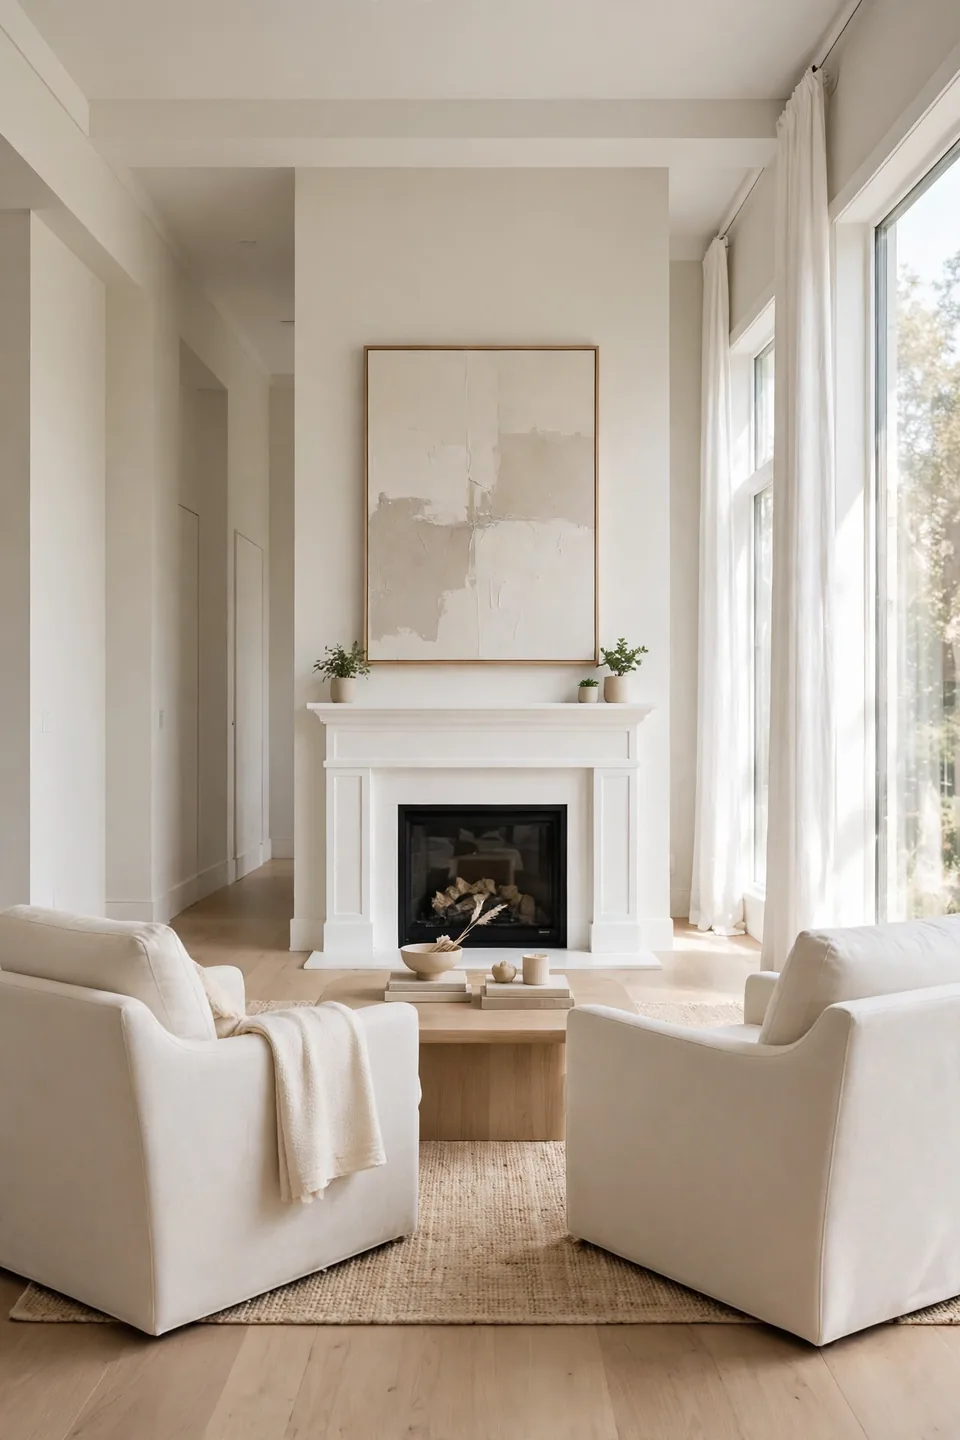
Best Count: two to three, one per zone | Ideal Placement: far end wall and one long wall | Budget: low, art and mirrors do the heavy lifting | Biggest Win: the eye stops traveling and starts resting
A focal point gives each zone a reason to exist. Without one, furniture groupings feel random and the eye keeps sliding down the room. Give the far end the strongest moment, since that is where every glance naturally lands, then add a smaller moment to each remaining zone.
Common Long Room Mistakes
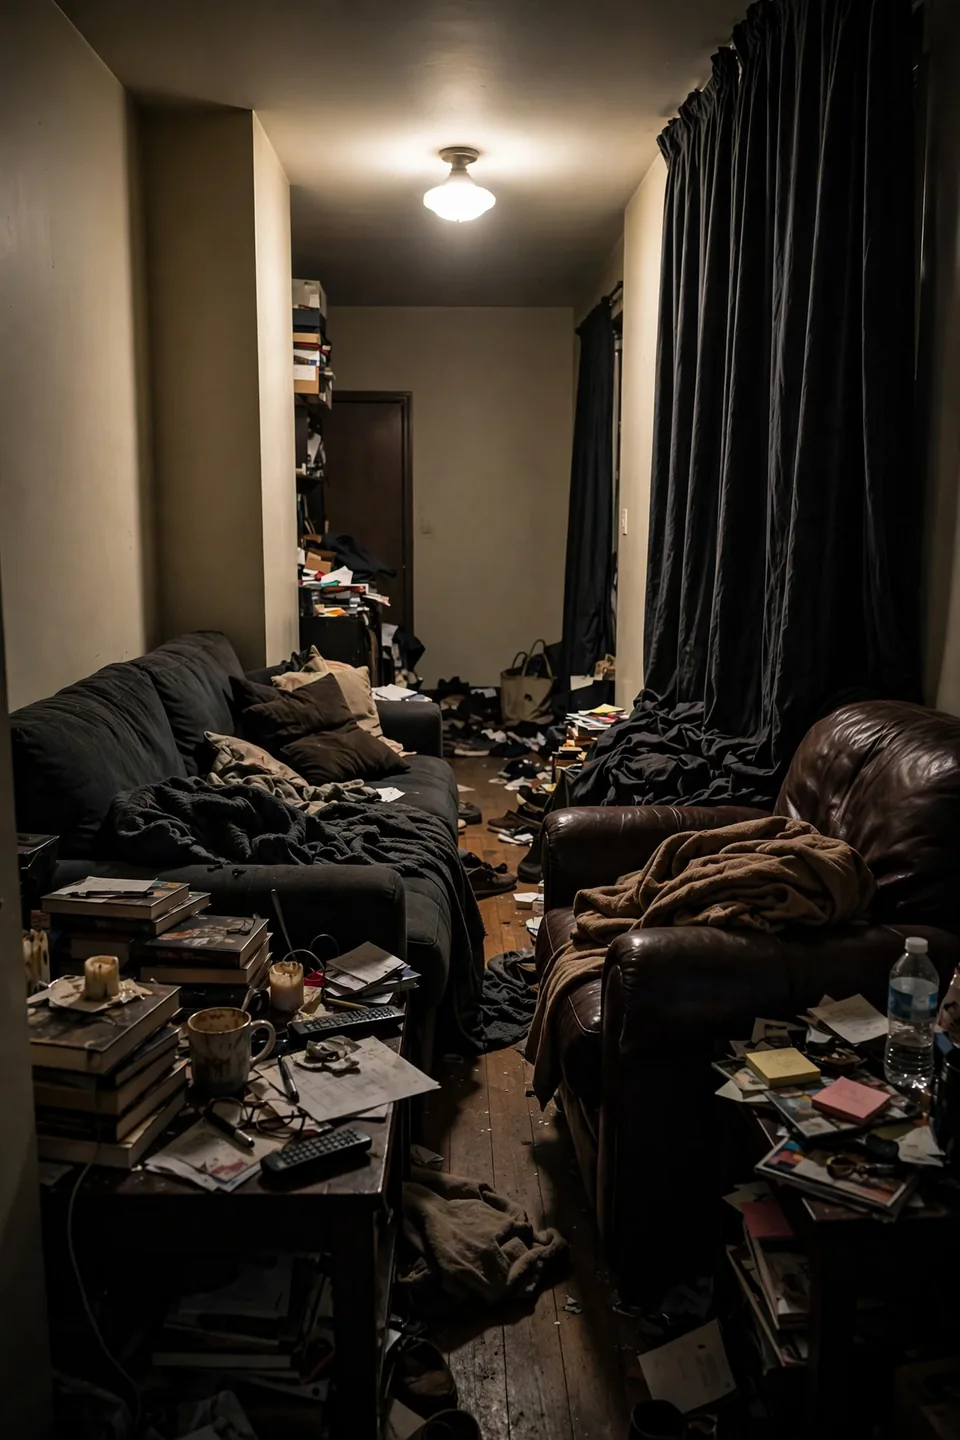
The biggest mistake is lining every piece of furniture against the walls like a waiting room. That leaves the dreaded empty runway down the center and makes the tunnel effect worse, not better. Another common slip is using furniture that is too small, which gets swallowed by the length.
People also forget the far end entirely, letting it go dark and dead while all the life clusters near the door. Finally, one rug trying to span the whole room always looks strained. Zones, anchors, and right-sized pieces fix every one of these mistakes fast.
Pro Tips for Balanced Rooms
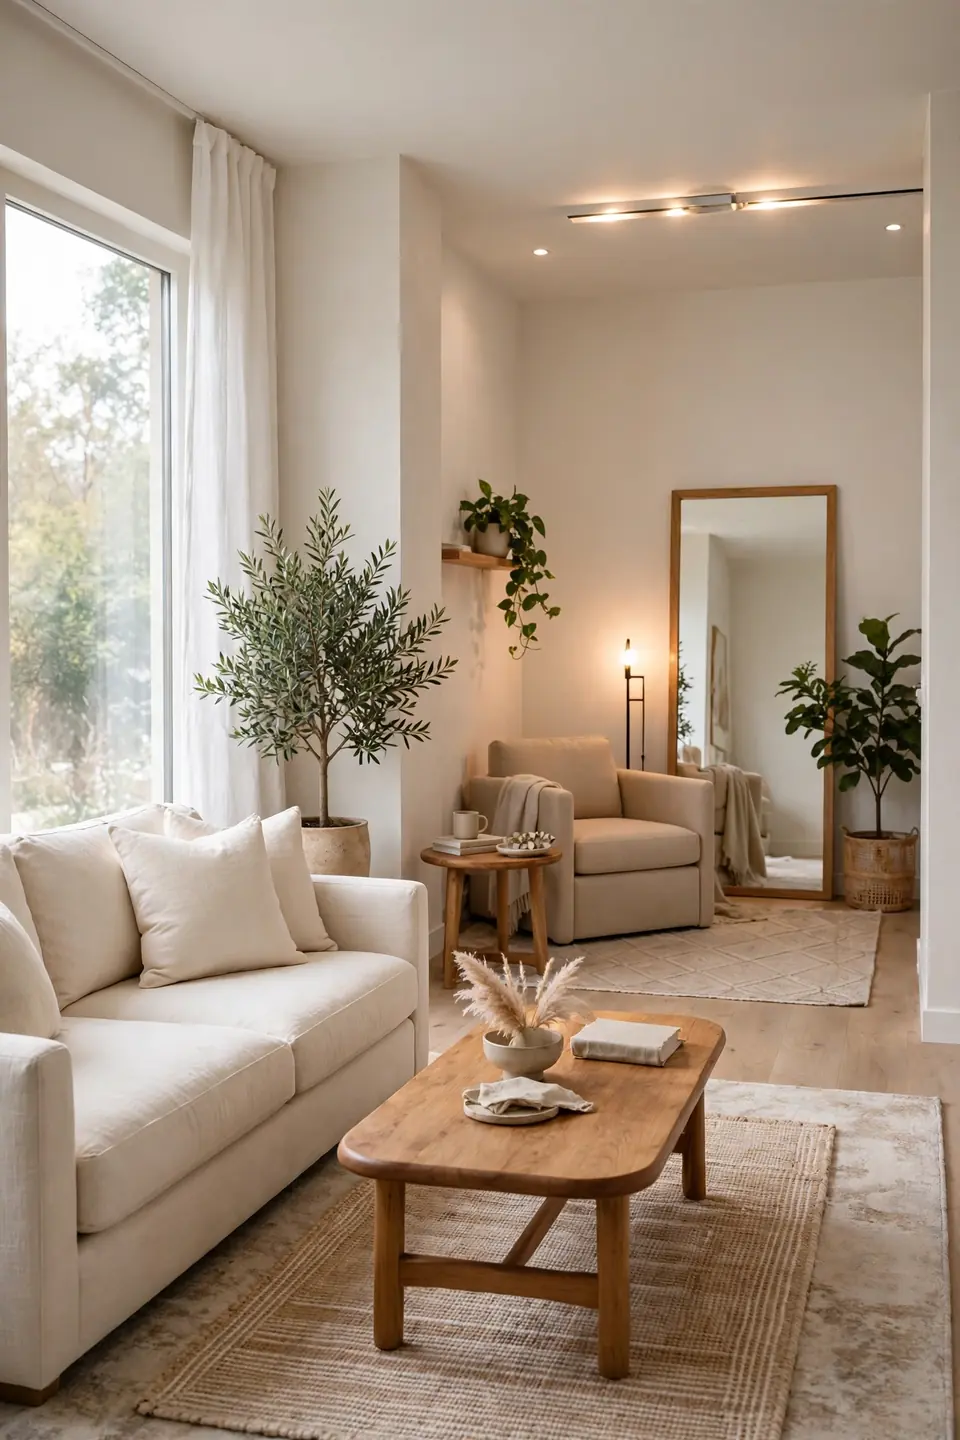
These finishing touches take a zoned room from good to great. None of them cost much, and each one tricks the eye into feeling width instead of length. Run through them once your zones are set and the basics feel solid.
- Hang curtains wider than the windows to make each wall feel broader.
- Repeat one wood tone or metal finish in every zone for quiet cohesion.
- Place the tallest plant or shelf at the far end to give the eye a happy landing spot.
- Edit ruthlessly; a long room shows clutter faster than any other shape.
Conclusion
Your long living room does not have to feel like a hallway anymore. Once you know how to decorate a long living room with zones, anchors, and layered light, the whole space starts working for you instead of against you. Start with the zoning step this weekend and add the rest one zone at a time. Save this guide on Pinterest so you can revisit each step as you rearrange. I’ve seen how making this one change can completely shift the result, and your room is about to feel brand new.