How to Organize a Bathroom With No Cabinets
A bathroom with no cabinets can feel impossible to keep tidy, but learning how to organize a bathroom with no cabinets changes everything. In my experience, the secret is not more space but smarter placement. Every item needs a home, even when storage does not exist.
The good news is that renters and homeowners face this same challenge, and plenty of affordable fixes exist. If you love storage, you will also enjoy reading how to create storage under stairs for more ideas. Wall space, door backs, and slim carts can replace a cabinet without any drilling drama.
Start with what you use every day, then build simple systems around those essentials. A calm, organized bathroom is closer than you think, and you do not need a renovation to get there.
Why Cabinet-Free Bathrooms Feel Chaotic
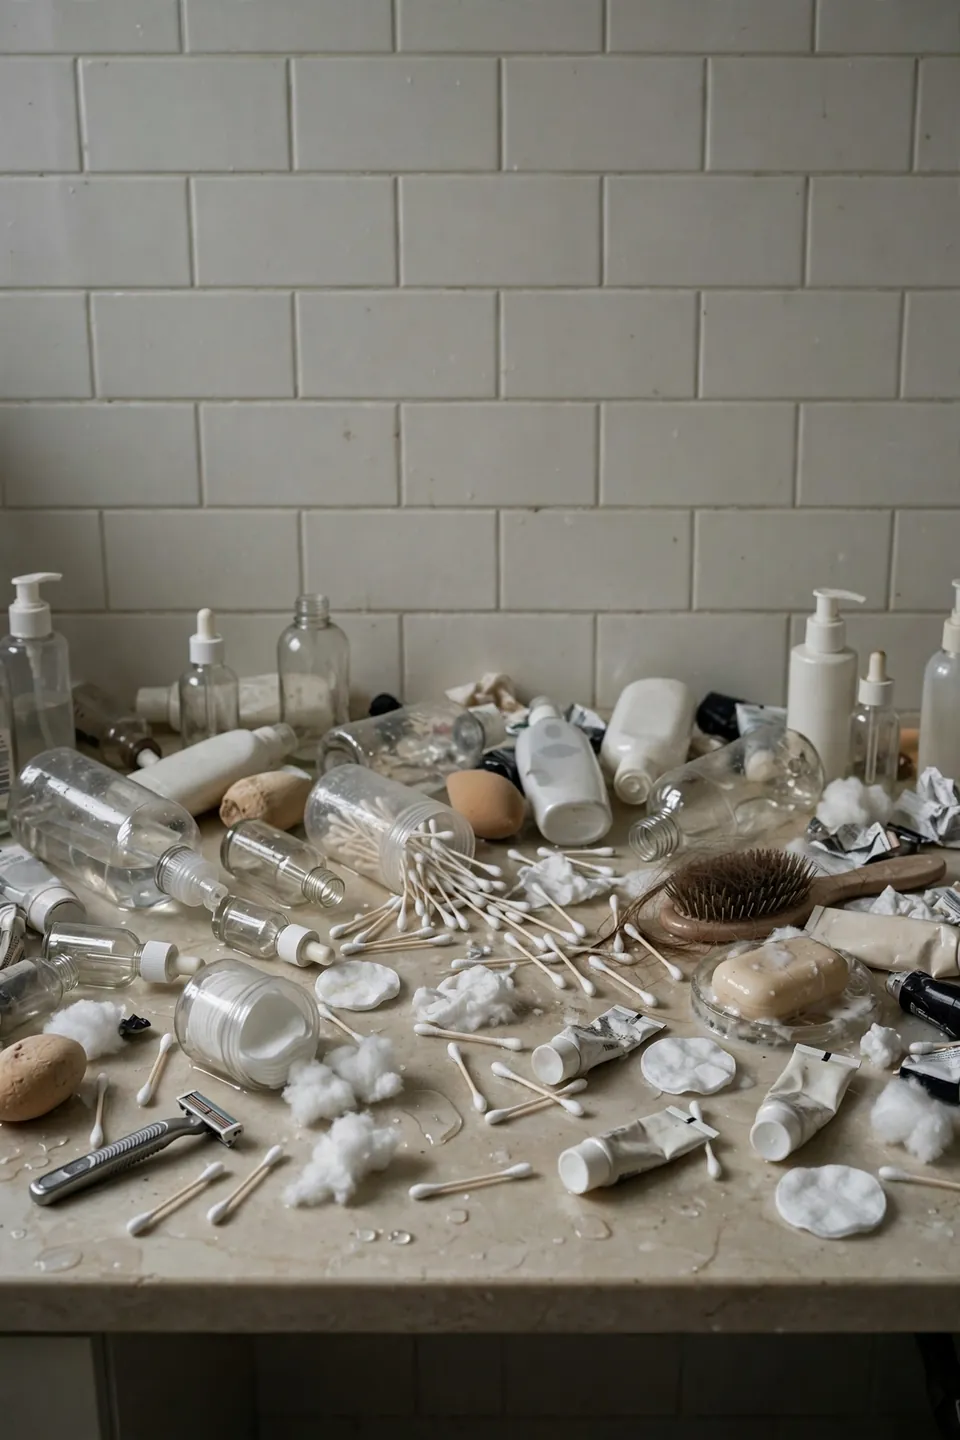
Without cabinets, every bottle, tube, and towel has nowhere to hide. Counters fill up fast, and the whole room starts to feel messy even when it is technically clean. Guests notice the clutter before they notice your style. That visual noise makes mornings stressful and the space feel smaller than it is.
The real problem is not the lack of cabinets but the lack of a plan. Random piles grow because nothing has an assigned spot. Once you give every item a place, the chaos fades quickly. A few smart zones can do the work of a full vanity.
Audit Your Bathroom Essentials
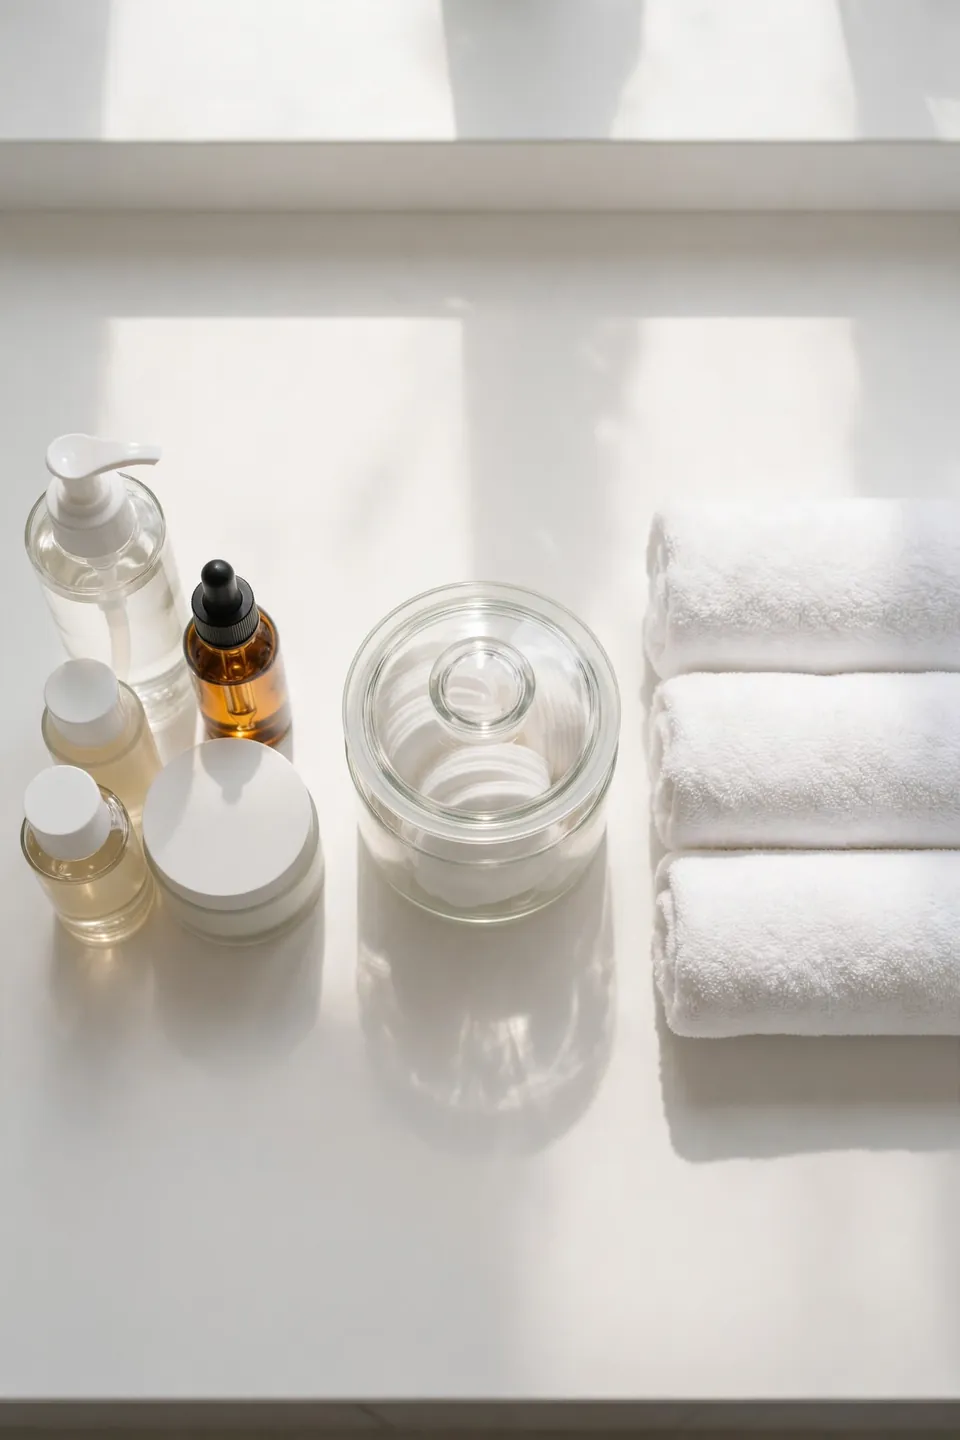
Before buying a single organizer, know exactly what you own. Most bathrooms hold twice what anyone truly uses. A quick audit shows you what deserves space and what should go. This honest look at your stuff makes every later step easier and cheaper.
- Pull everything out of drawers, bags, and corners onto the counter. Seeing it all at once reveals duplicates you forgot you owned.
- Sort items into three piles: daily use, weekly use, and rarely touched. Be honest about what you truly reach for each morning.
- Toss expired products, dried-up mascara, and almost-empty bottles. They steal space without giving anything back.
- Count what remains and note the categories. This number tells you exactly how much storage you need to create.
Use Wall-Mounted Shelves
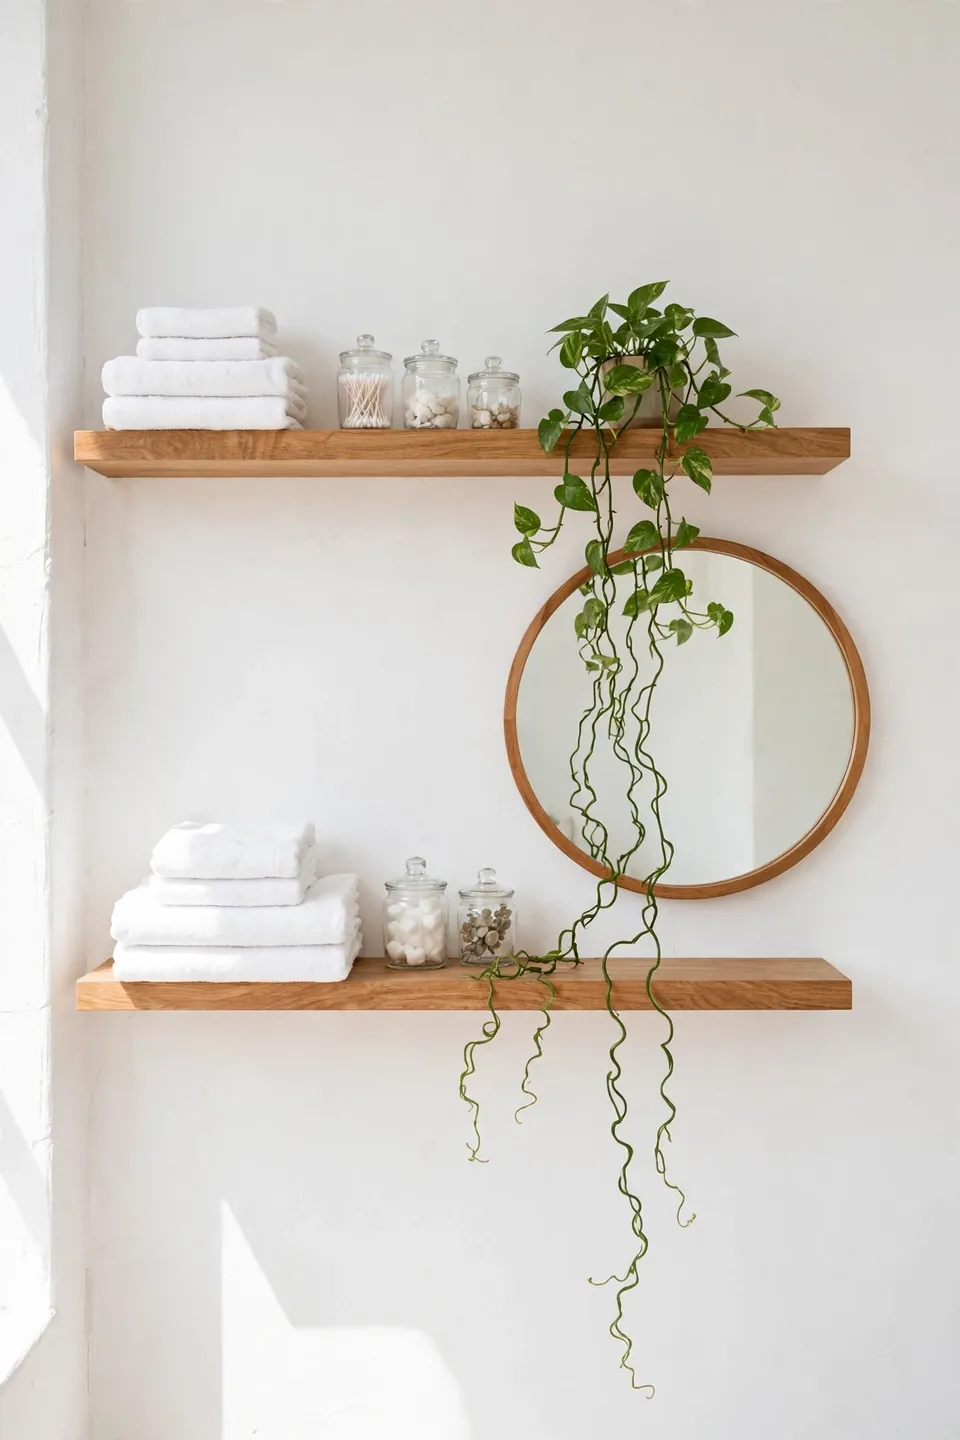
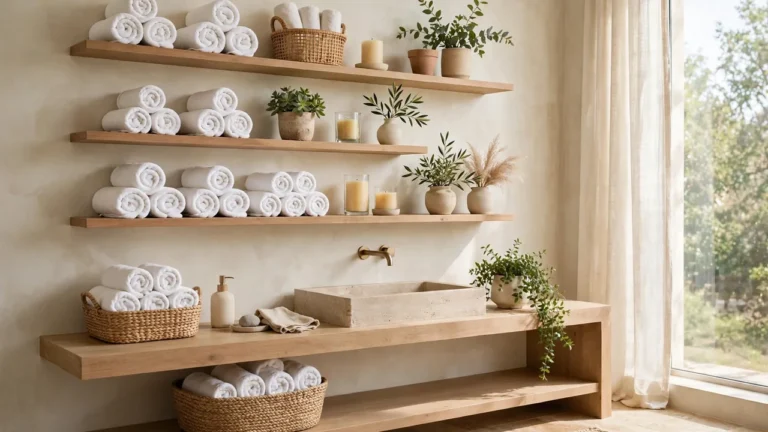
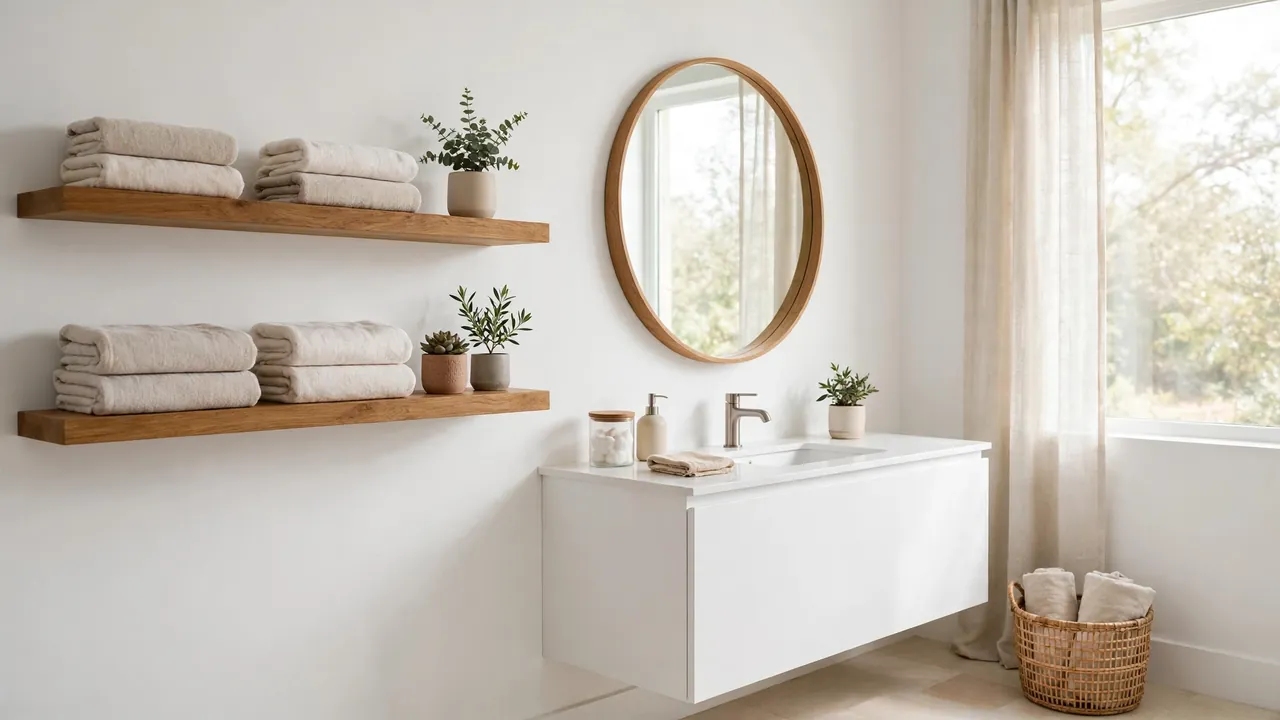
Quick Tip: Mount shelves at eye level near the mirror for the items you grab daily. Keep a second lower shelf for backups and extras. Two slim shelves can hold more than a bulky cabinet ever did.
Floating shelves turn dead wall space into prime storage without eating floor space. Choose shelves with a small lip so bottles do not slide off. In a rental, strong adhesive ledges work just as well as drilled ones. Style them with matching containers so open storage looks intentional, not messy.
Add Over-Toilet Storage
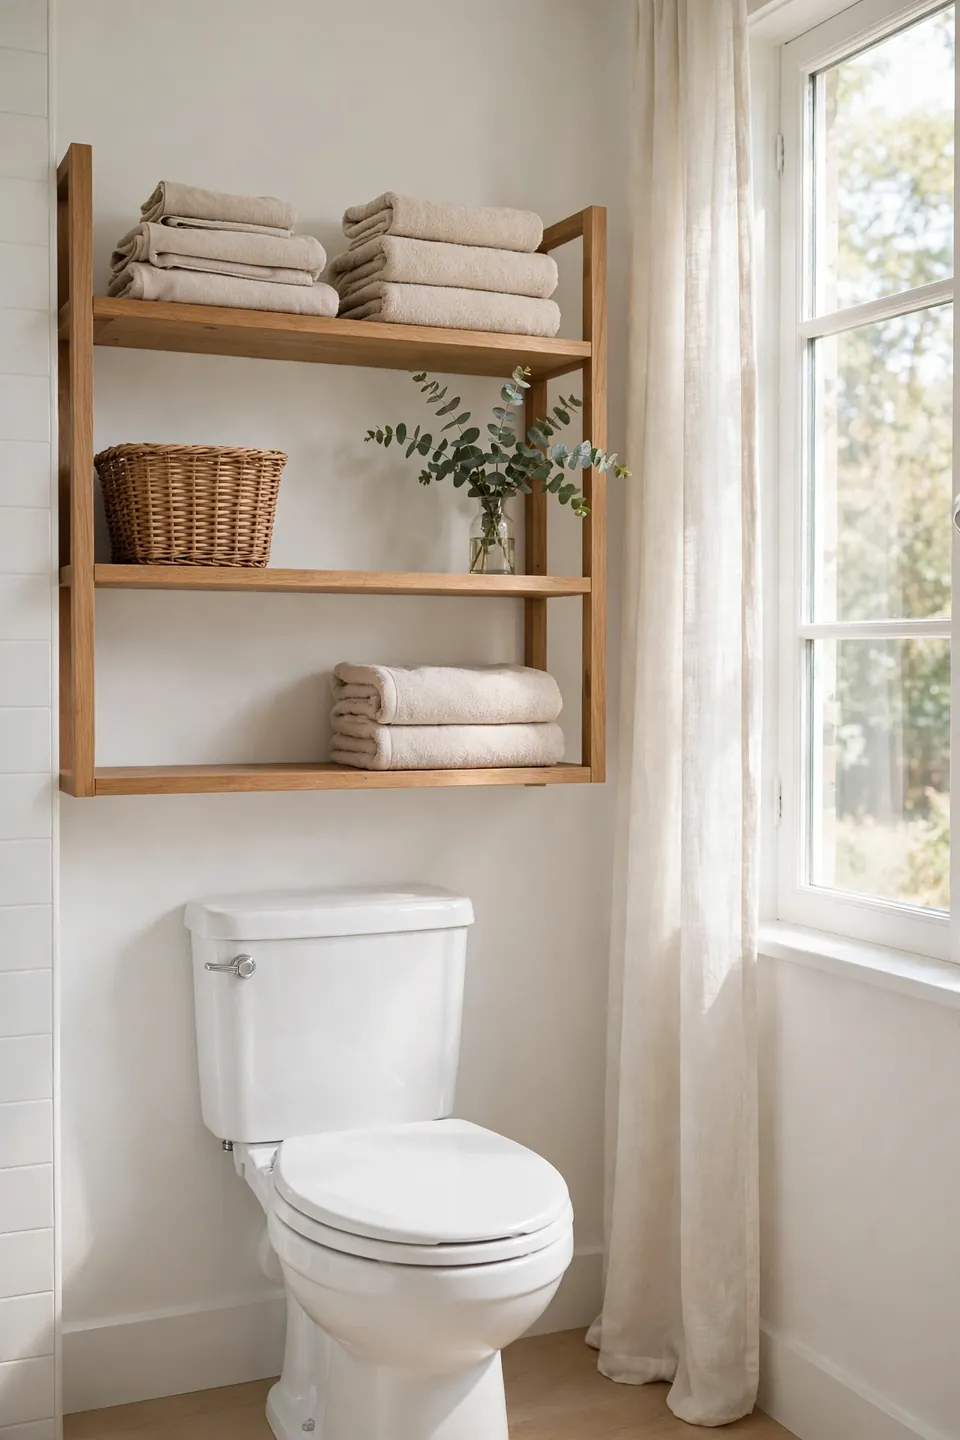
Common Mistake: Many people ignore the wall above the toilet completely. That wide empty space just collects dust while the counter stays crowded. It feels awkward to use, so it goes to waste.
The Fix: Treat that wall like free real estate. A slim over-toilet shelf unit or two floating shelves fit neatly without blocking anything. Keep everyday items at arm’s reach and pretty extras up top.
Over-toilet storage works because it uses vertical space you already own. Measure first so the unit clears the tank lid comfortably. Style it with folded towels and a small plant to keep it looking intentional. This one change can free up half your counter in a single afternoon.
Try Rolling Carts
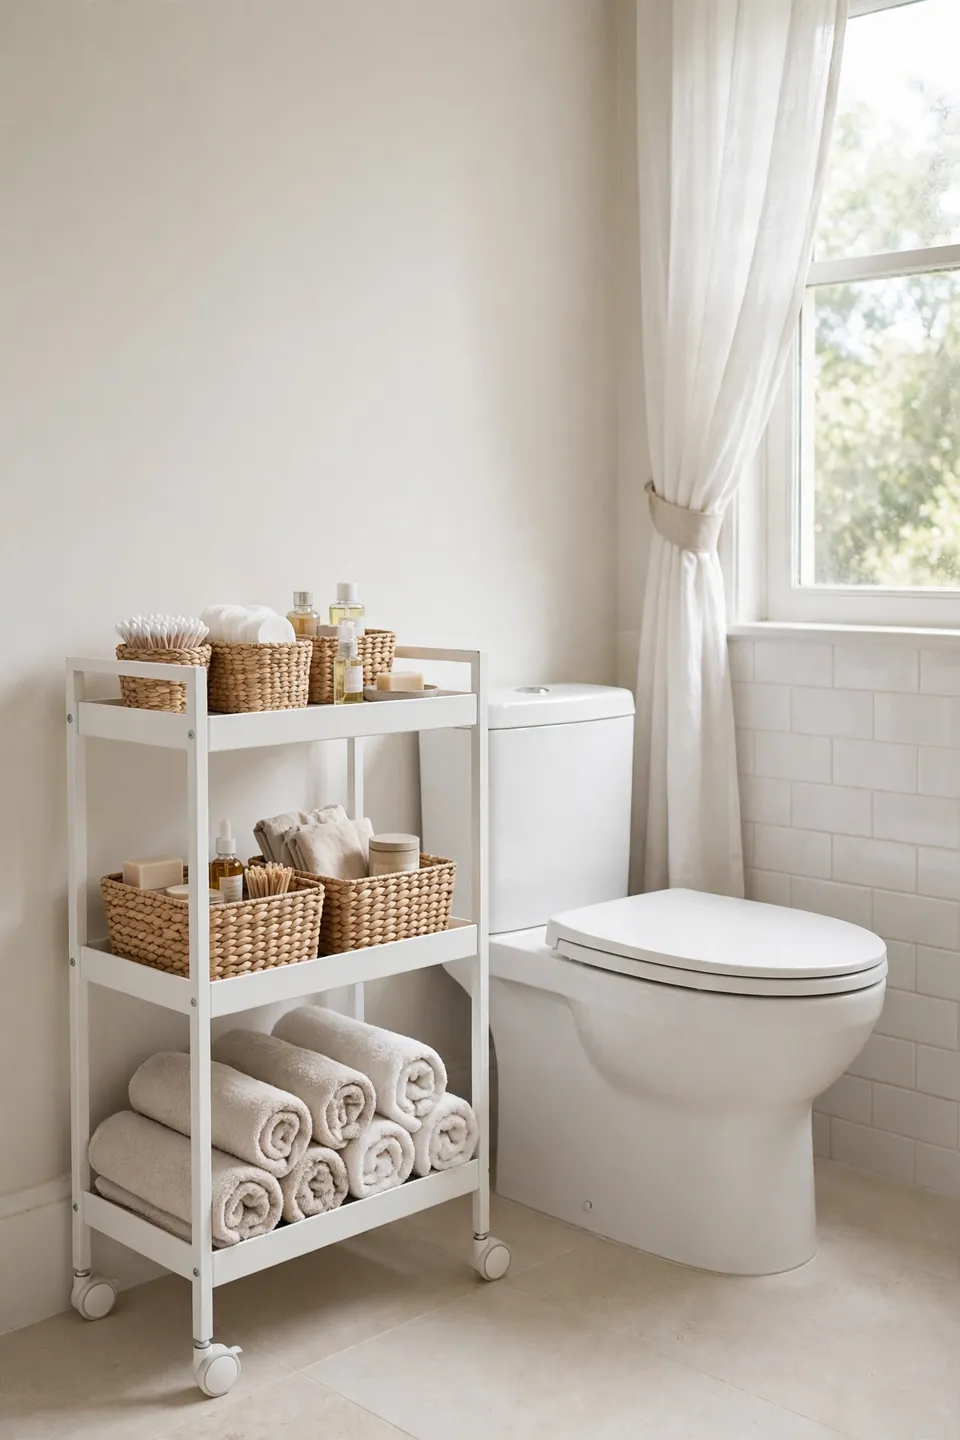
What You Need:
- Slim rolling cart: fits gaps as narrow as 20cm between fixtures.
- Small bins or cups: keep tiny items from rolling around.
- Labels or washi tape: mark each tier so everyone knows where things live.
- Non-slip liner: stops bottles sliding when you roll the cart.
- A clear top tray: corrals daily items in one grab-and-go spot.
Anyone learning how to organize a bathroom with no cabinets should start with a rolling cart. It is the cheapest and most flexible storage you can buy. Park it beside the toilet or between the vanity and wall, then wheel it out for full access.
Use Baskets and Trays
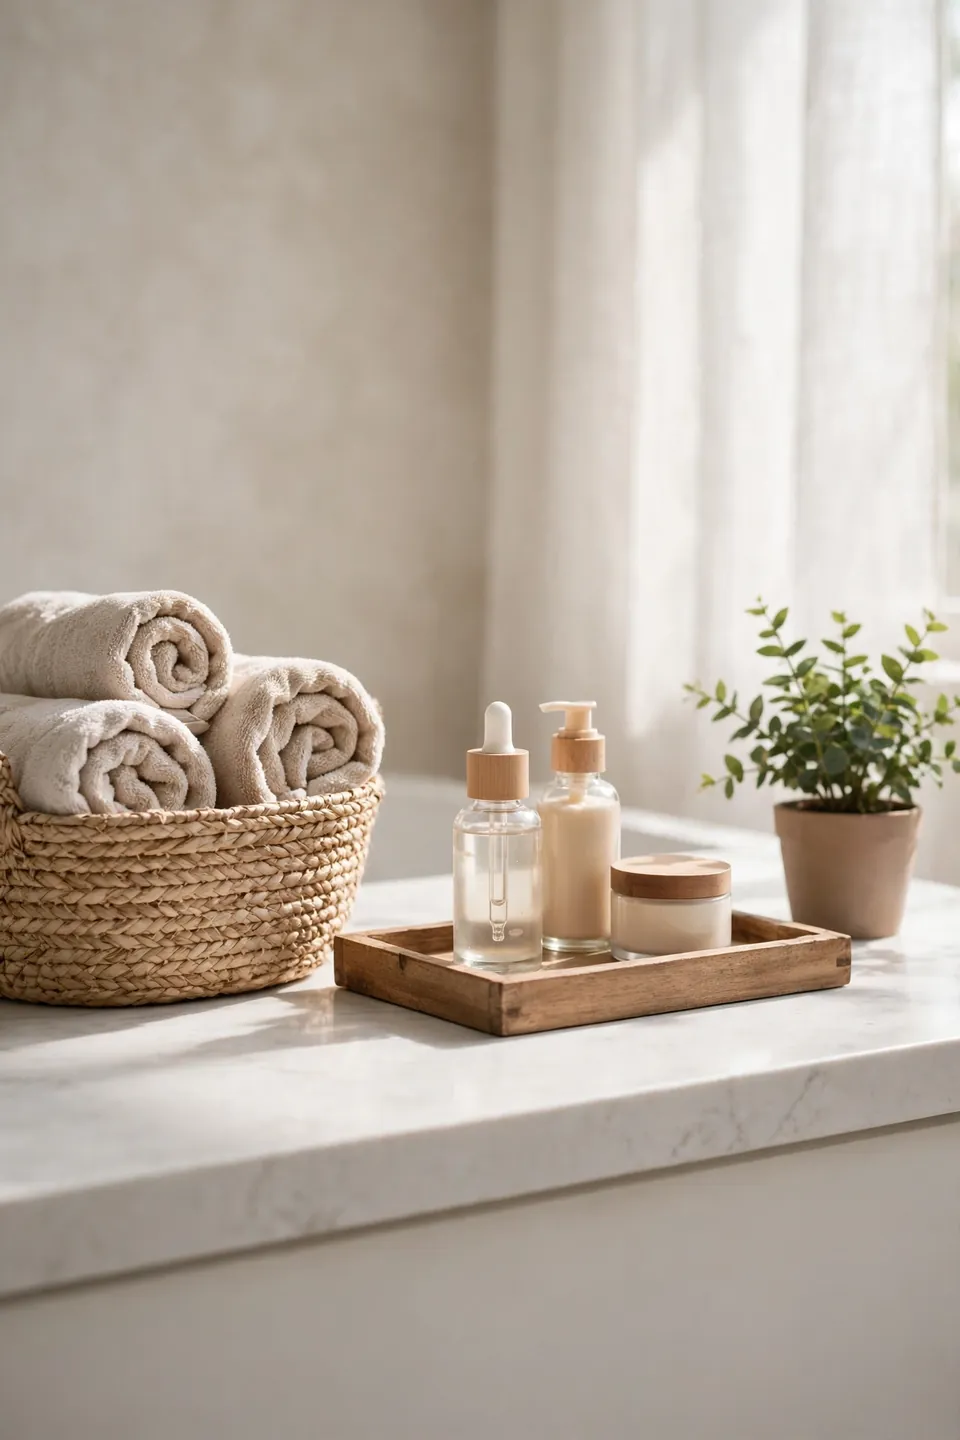
Before: Loose bottles scattered across the counter look messy no matter how clean the bathroom is. Small items tip over and roll behind the faucet. Finding anything takes longer than it should.
After: Grouped in a woven basket or on a tidy tray, the same items look calm and intentional. Everything stays upright and easy to grab. The counter suddenly feels twice as big.
Baskets and trays create instant zones without any installation. Use one tray for daily skincare and a basket under the sink for extras. Matching sets make even budget storage look pulled together. I’ve noticed that corralling small items this way cuts morning search time to almost nothing.
Maximize Door Space
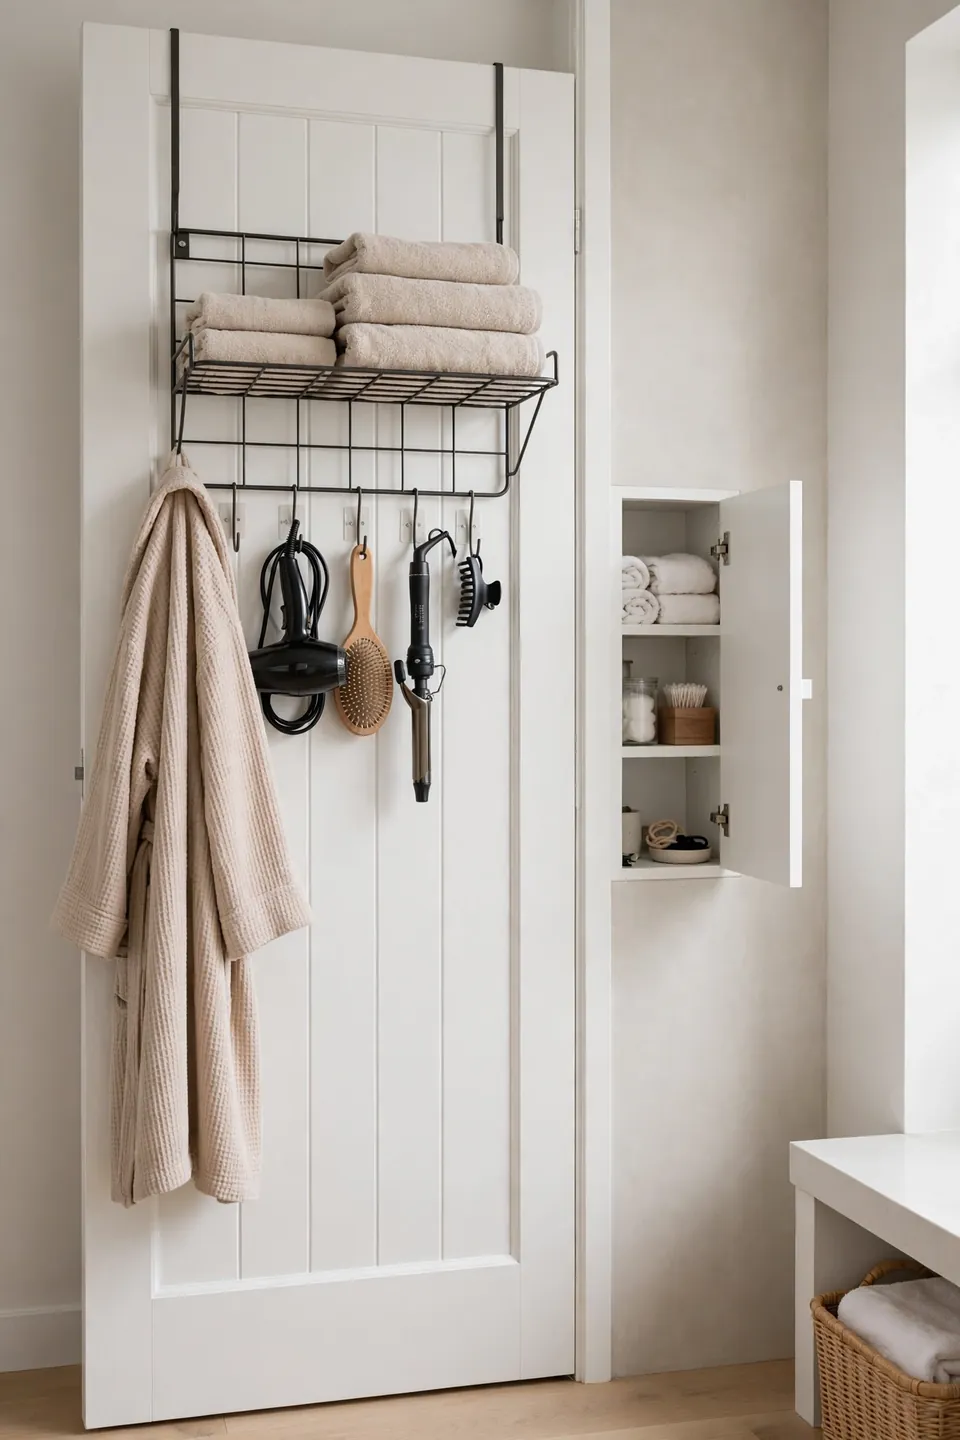
Do This:
- Hang an over-door rack with hooks for towels and robes.
- Stick adhesive hooks inside the door for hair tools.
- Use a slim over-door basket for cleaning supplies.
- Keep the door able to open fully without hitting anything.
Avoid This:
- Do not hang heavy items that strain the hinges.
- Do not block the lock or handle with bulky organizers.
- Do not use suction hooks on textured doors, as they fall.
- Do not forget to check clearance before buying a rack.
The back of the door is storage most people forget completely. It holds towels, tools, and supplies without touching a single wall. Just keep the weight light so the door still swings freely. A quick test swing after installing saves you from annoying bumps later.
For more small-space storage ideas, see how to decorate a bedroom with sloped ceilings, which uses the same vertical thinking.
Keep Counters Clear
Time Needed: 10 minutes daily
Difficulty: Easy
Cost: Free
Best For: Small bathrooms with zero cabinet storage
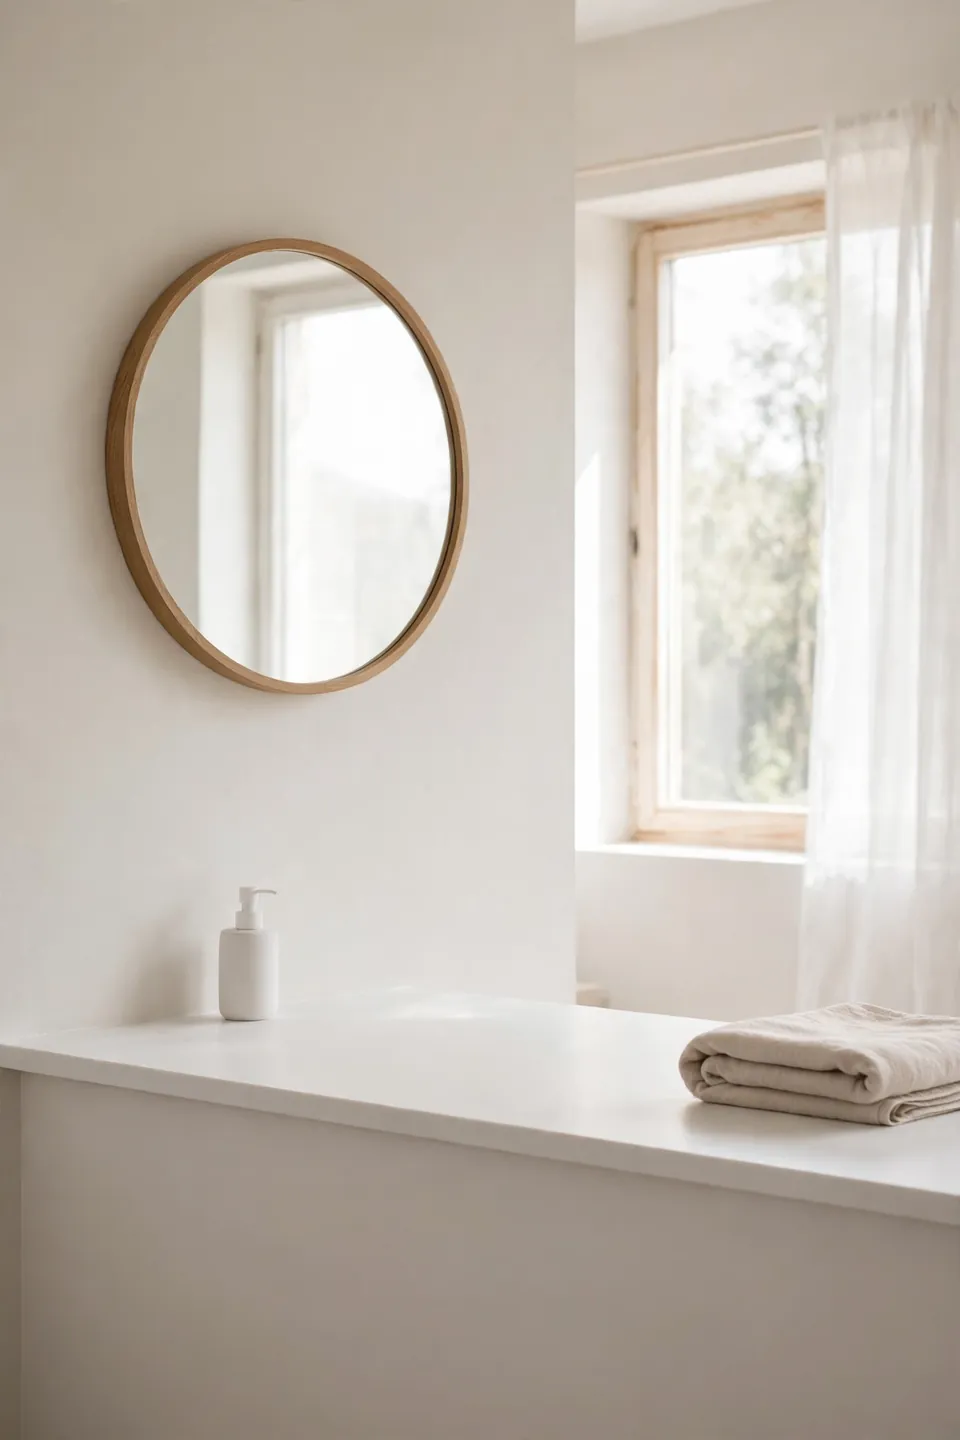
A clear counter makes the whole bathroom feel bigger instantly. Return each item to its zone after use instead of letting piles form. This tiny habit matters more than any organizer you buy. Start tonight and you will notice the difference by morning. It is the simplest win in this entire guide.
Common No-Cabinet Mistakes
The biggest mistake is buying organizers before knowing what you own. Pretty baskets filled with expired products still look like clutter. Another common error is using every wall, which makes the room feel cramped instead of calm. Start with the audit, then shop with a list.
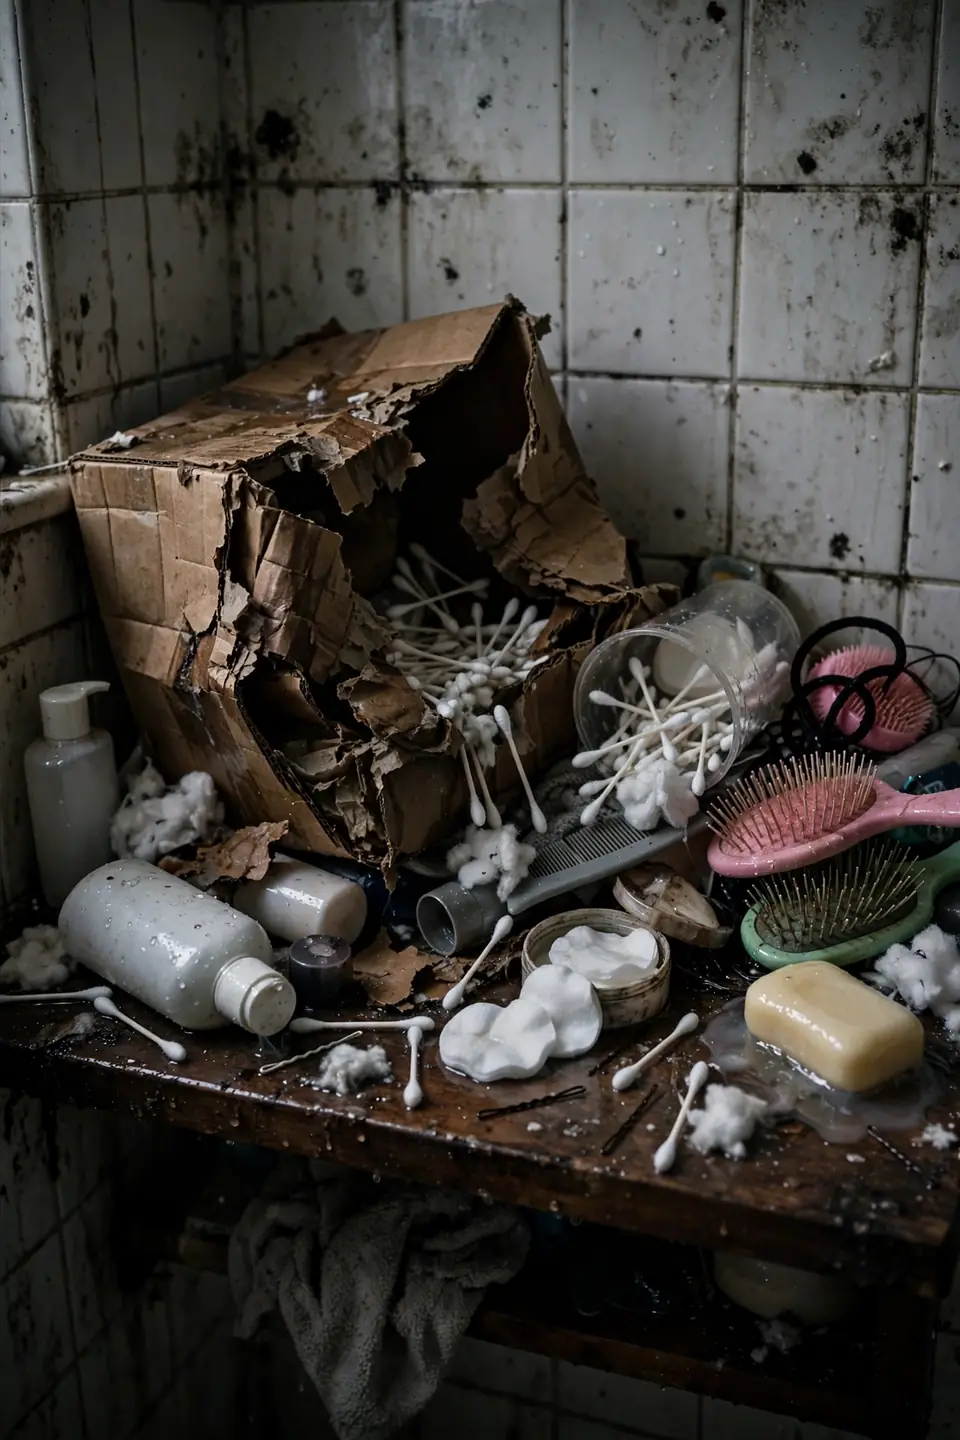
People also forget about moisture, and cardboard boxes turn soggy within weeks. Choose materials that handle steam, like plastic, metal, or sealed wood. A little planning now saves you from rebuying everything later. I’ve noticed that steam-proof choices last years while cheap ones fail fast.
Pro Tips for Tidy Bathrooms
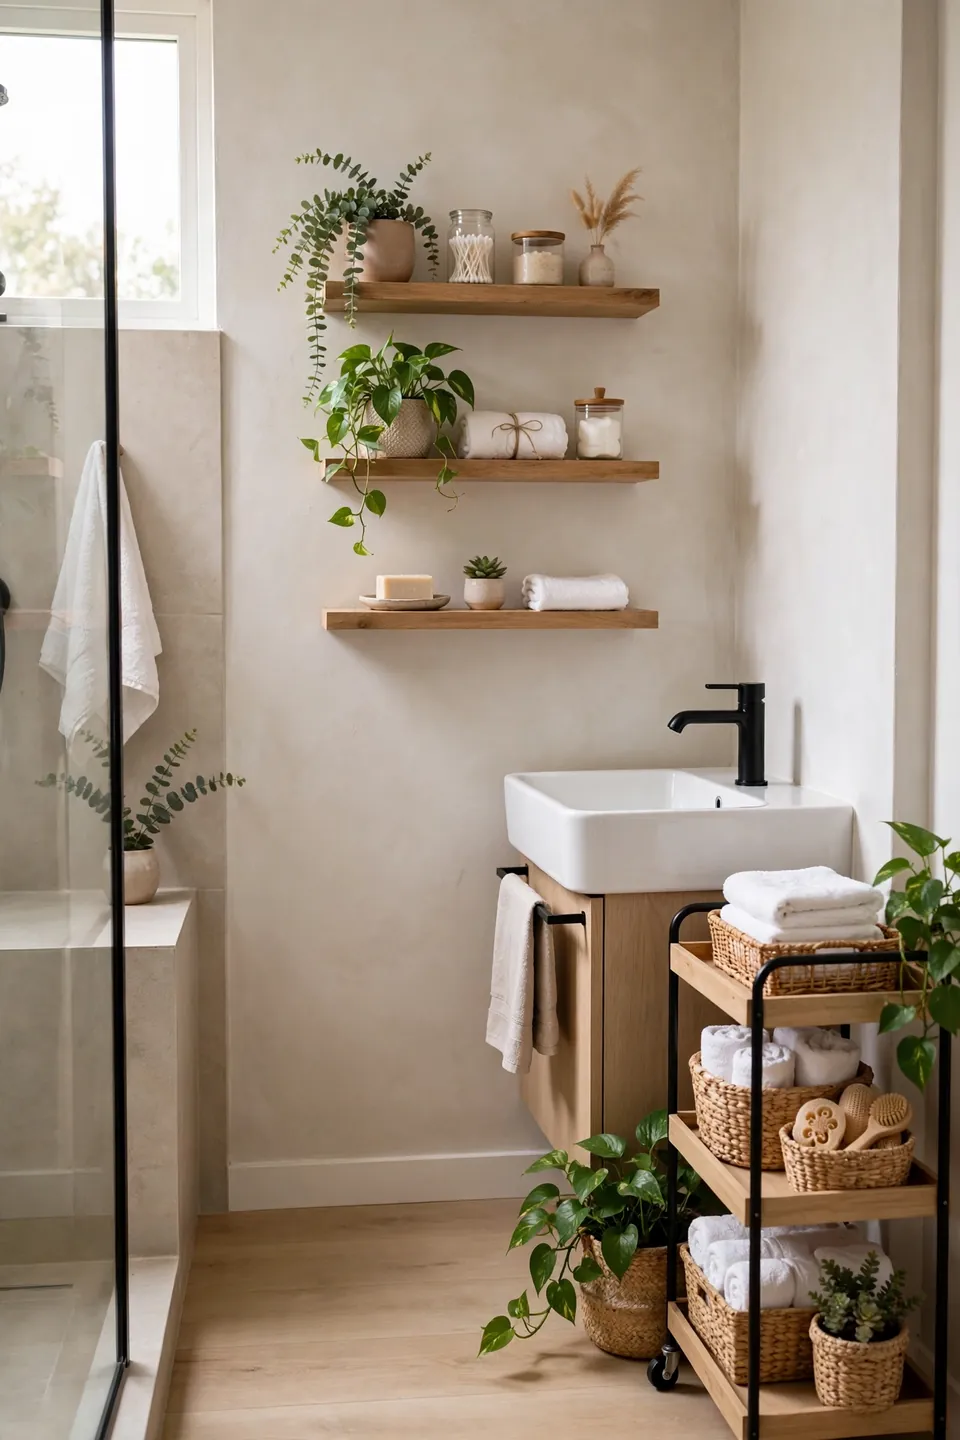
These small habits keep a cabinet-free bathroom tidy for the long run. None of them take more than a few minutes. Together they protect all the work you just did. Pick two to start, then add the rest once they feel automatic.
- Do a two-minute reset each night, returning items to their zones before bed.
- Wipe shelves weekly so dust never builds up on open storage.
- Re-audit your products every season and toss what expired.
- Keep one empty basket for items that lose their home, then sort it monthly.
Conclusion
Living without bathroom cabinets gets easier once you know how to organize a bathroom with no cabinets using walls, doors, and smart little carts. The room feels calmer, mornings run smoother, and everything finally has a place. I’ve seen how making this one change can completely shift the result from chaos to calm. Save this guide on Pinterest so you can revisit the ideas anytime, then pick one tip and try it today. Share it with a friend who rents, because this advice works just as well in a tiny rental as in an owned home. Your tidy bathroom is waiting.