How to Create Storage Under Stairs
That dusty triangle beneath your staircase is probably the most wasted square footage in your house. Learning how to create storage under stairs turns that forgotten corner into one of the hardest working spots at home. In my experience, most people walk past this space daily without realizing what it could hold.
Whether you need room for shoes, cleaning supplies, books, or holiday decorations, the area under your stairs can handle it all. If tricky angles have stumped you in other rooms too, my guide on how to decorate a bedroom with sloped ceilings shares smart tricks for awkward spaces.
This guide covers every option, from simple baskets to custom pull-out drawers. Pick what fits your space, skills, and budget, then enjoy the extra room.
Why Under-Stair Space Goes to Waste
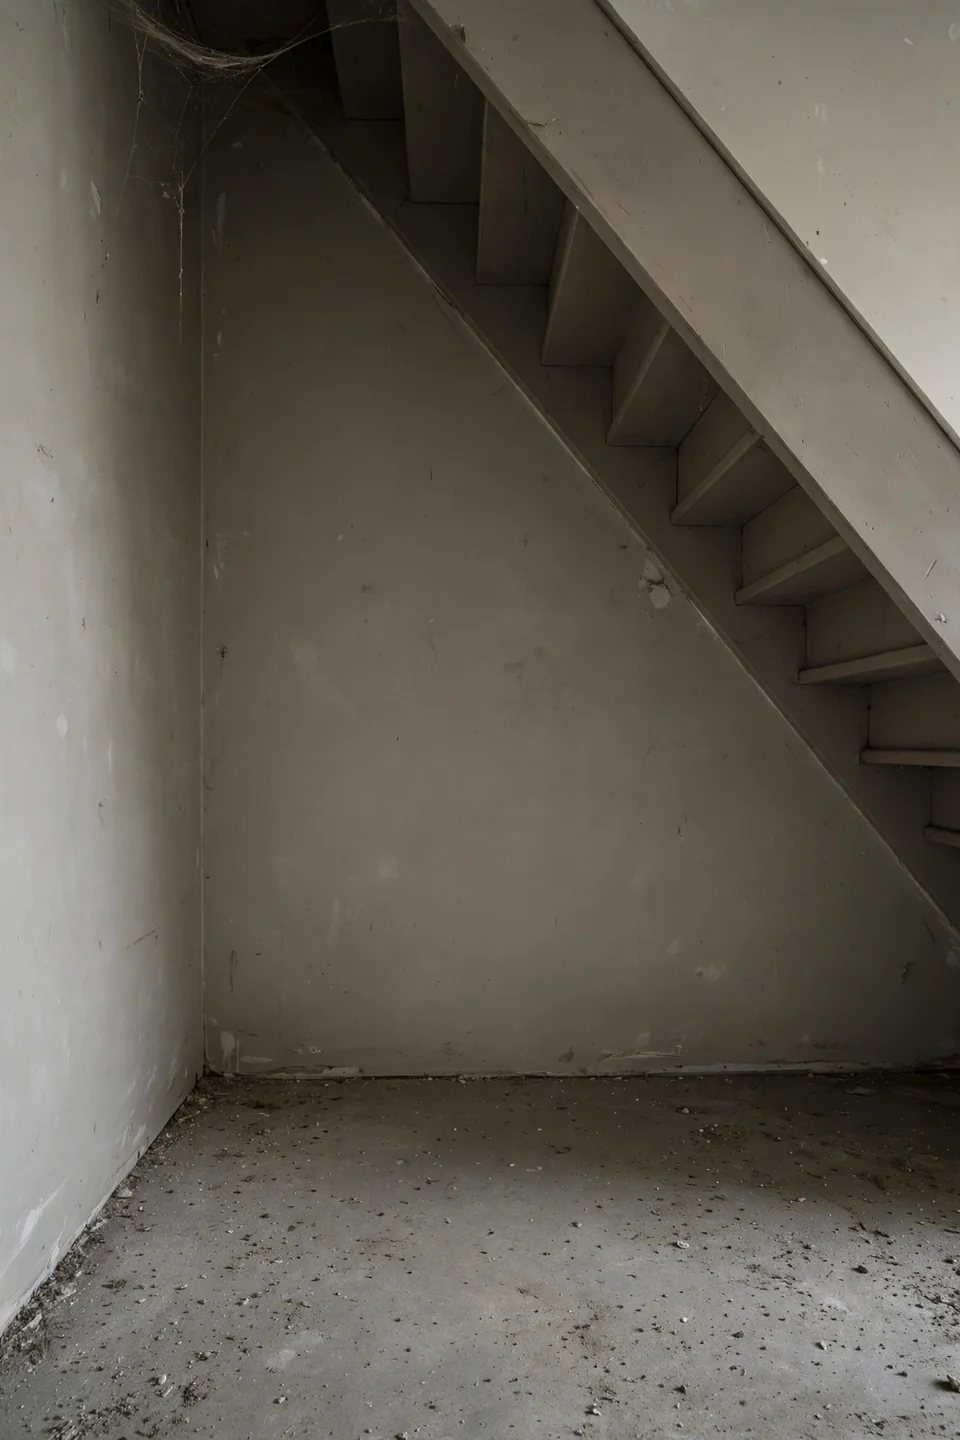
Most staircases hide a surprising amount of empty volume behind a plain wall or a flimsy door. Builders often seal it off because finishing that odd triangular shape takes extra work, and buyers rarely ask about it during a walkthrough. The result is dead space that collects dust while the rest of your home feels cramped.
Odd angles scare people off too. It is hard to picture standard shelves fitting under a slope, so homeowners assume nothing will work and stop thinking about it. Once you see how others have used the space, the possibilities open right up.
Assess Your Stair Space
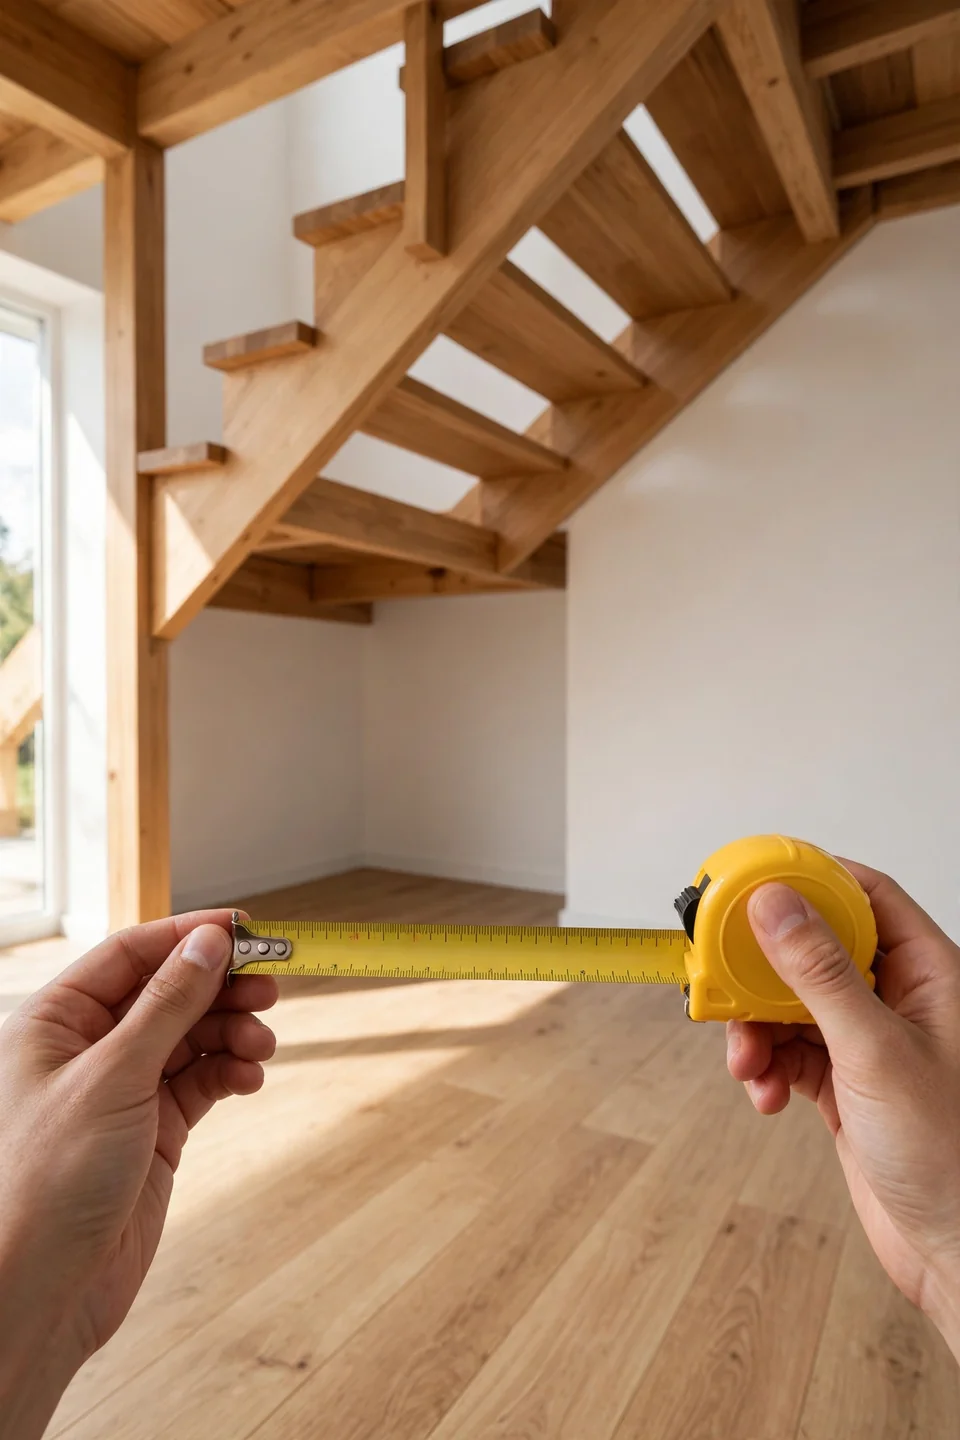
Before buying a single bin, take twenty minutes to study your under-stair area. Good measurements and a clear picture of what you want to store will save you from buying solutions that do not fit. Rushing this step leads to wasted money and frustration.
- Open the space fully and measure the height at the tallest point, the depth from front to back, and the width along the stairs. Write every number down.
- Check for pipes, electrical panels, or vents hidden inside before you plan any built-ins. Moving those later gets expensive fast.
- List what you actually want to store there, then group items by how often you reach for them. Daily items belong near the front.
- Snap photos from a few angles so you can plan while shopping or show a carpenter exactly what you are working with.
Add Pull-Out Drawers
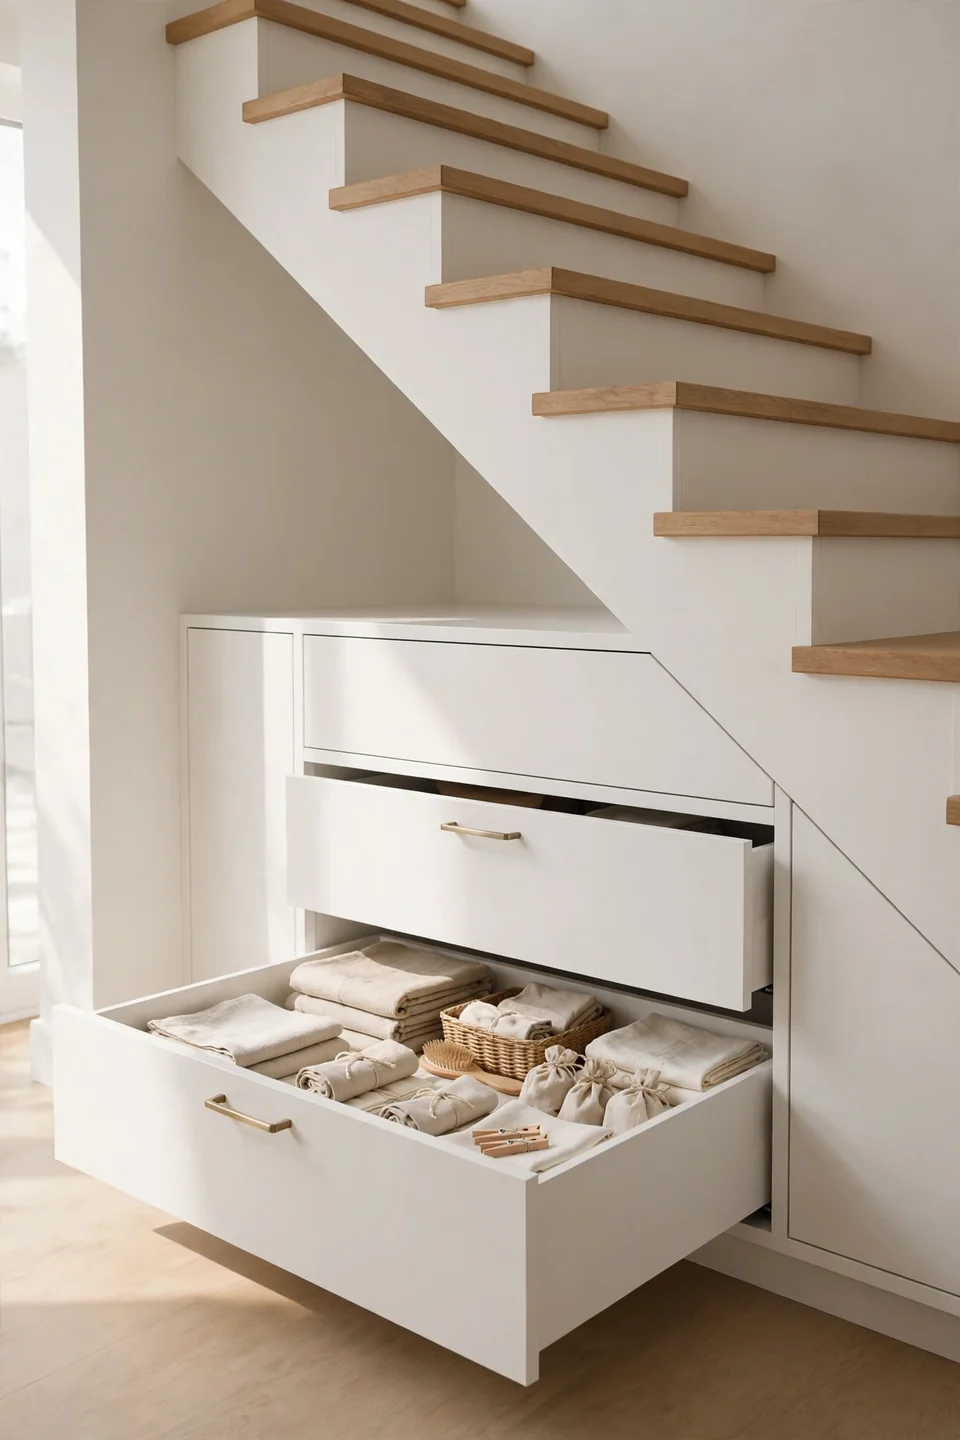
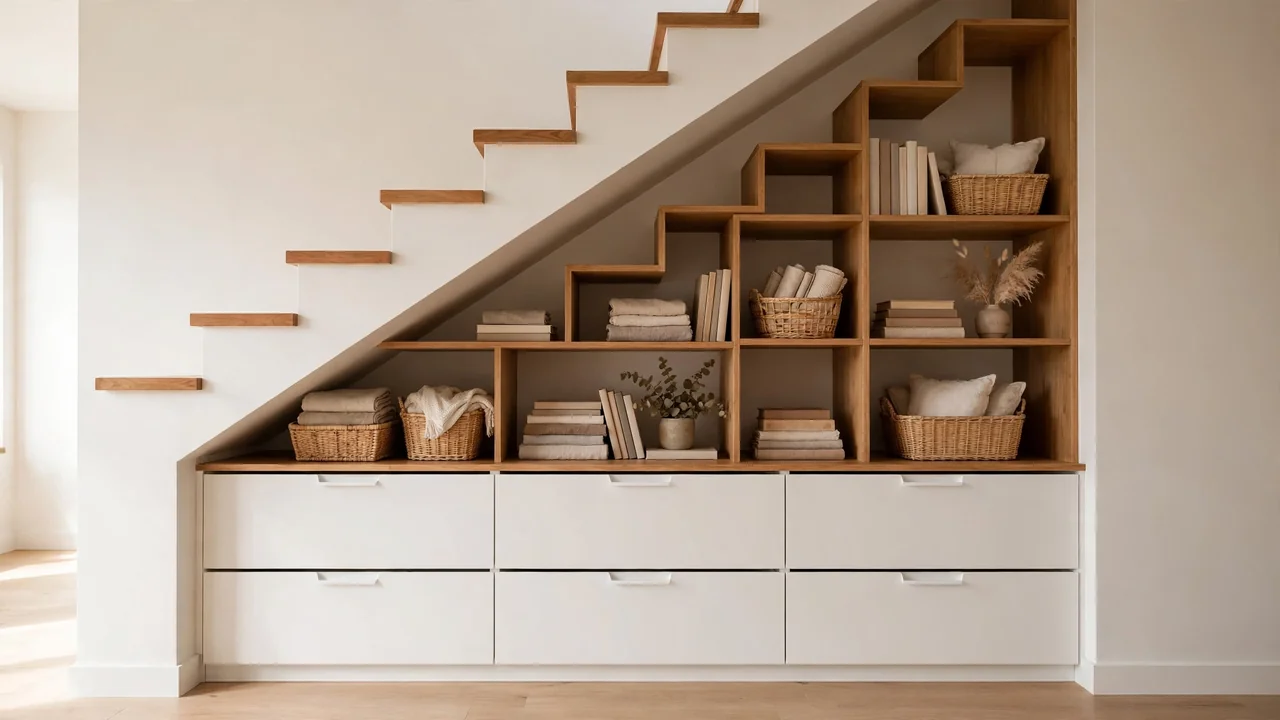
Quick Tip: Pull-out drawers are the gold standard for under-stair storage because they bring deep items right to you. Have them built to follow the stair slope so no space goes unused. Soft-close hardware keeps them quiet and safe for little fingers.
Custom drawers cost more than freestanding options, but they use every inch of that awkward triangle. A good carpenter can build a bank of drawers that looks like a seamless wall when closed. If a full custom job is out of reach, look for modular drawer units you can stack and trim to fit.
Create Open Shelving
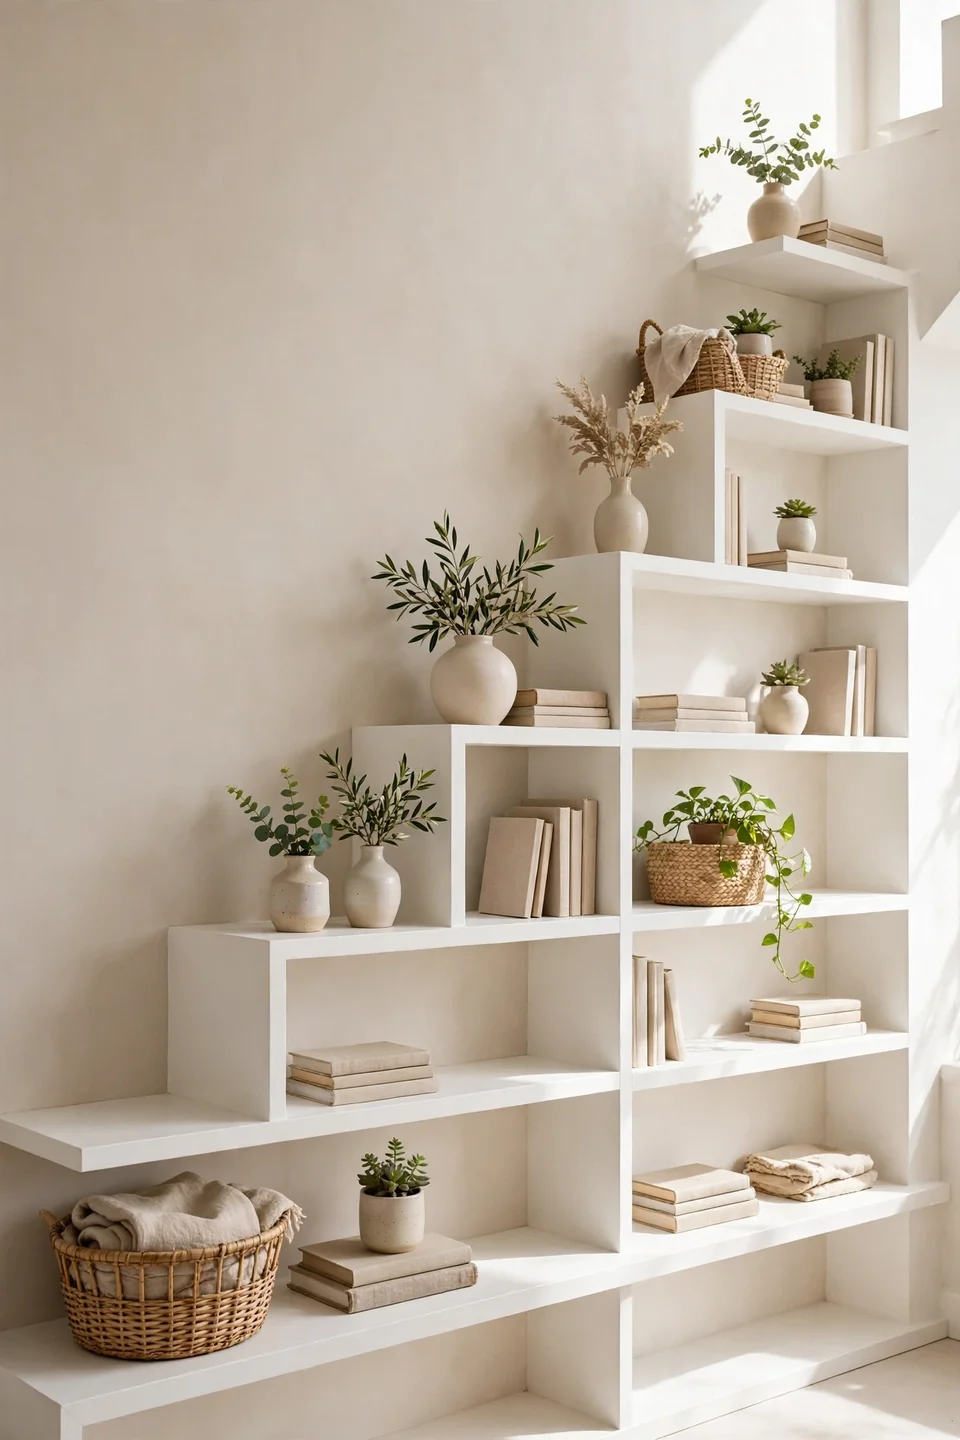
Common Mistake: Many people install one long shelf straight across and call it done. The tall end wastes vertical space while the short end barely holds anything, and everything looks messy within weeks.
The Fix: Cut shelves to follow the stair slope, making each one shorter than the last. This stepped look uses the full height at every point and turns the shelves into a design feature instead of an afterthought.
Paint the shelves the same color as your walls so they blend in and feel built-in. Style the higher shelves with books and decor, and keep everyday items on the lower ones you can reach easily. A quick monthly tidy keeps open shelves looking sharp.
Build a Hidden Closet
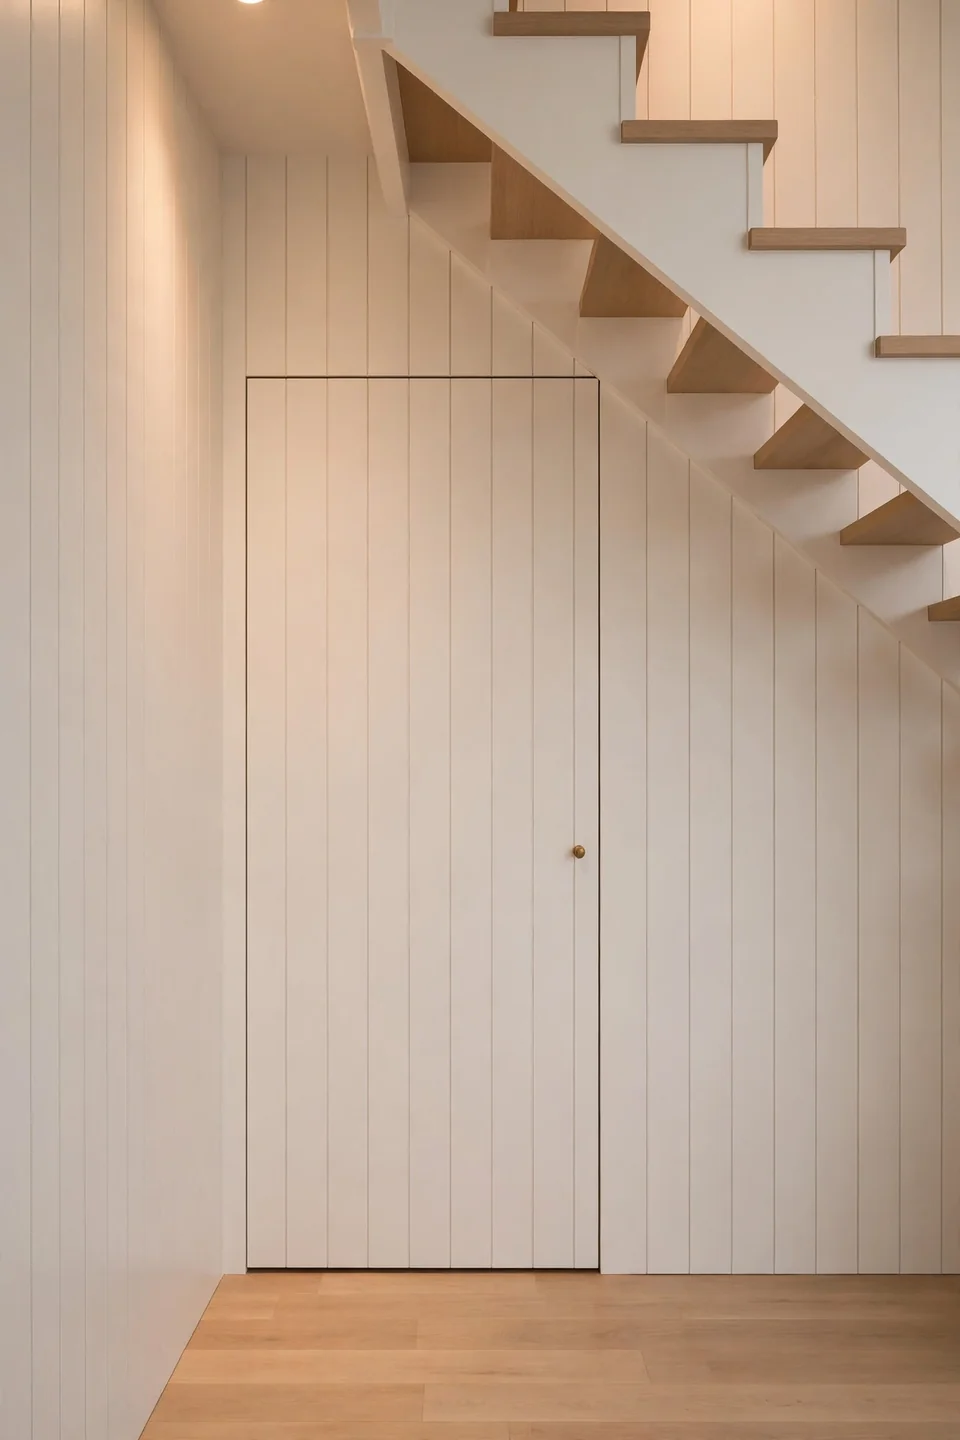
What You Need:
- A solid door or panel: covers the opening and keeps dust out while matching your trim.
- Basic framing lumber: creates a clean rectangular opening if the space is currently unfinished.
- Interior lighting: a battery puck light or wired fixture so you can actually see inside.
- Ventilation gap: a small vent or louvered door prevents musty smells in a sealed closet.
- Sturdy shelving or a hanging rod: gives the closet a real purpose once the door closes.
A hidden closet works best when the under-stair area is tall enough to stand in, at least near the high end. Use it for coats, cleaning gear, or anything you want out of sight but close at hand. Add a lock if you store anything valuable or hazardous.
Use Baskets and Bins
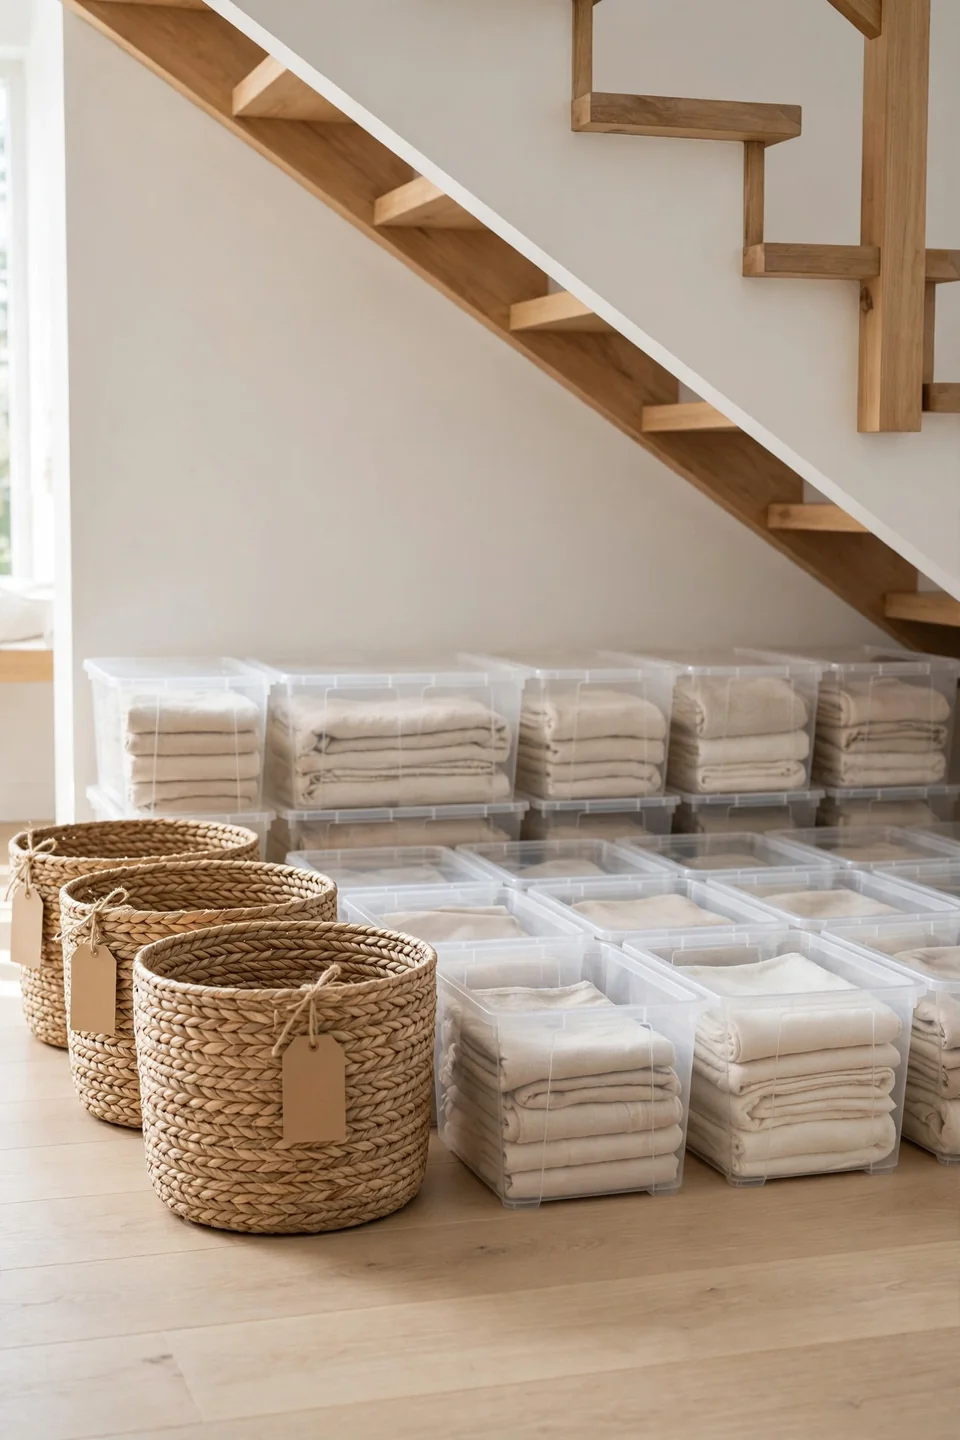
Before: Right now your under-stair space might hold a jumble of bags, old paint cans, and things you forgot you owned. Digging through the pile is annoying, and you probably buy duplicates because you cannot find what you need.
After: With labeled baskets and clear bins, everything has a home and you can see it at a glance. Grabbing holiday lights or the vacuum attachments takes seconds instead of a full excavation.
Once you see how to create storage under stairs with simple baskets, bigger upgrades start to feel worth it. Start with containers you already own, then buy matching sets once you know which sizes you reach for most. Label everything so the whole household puts things back correctly.
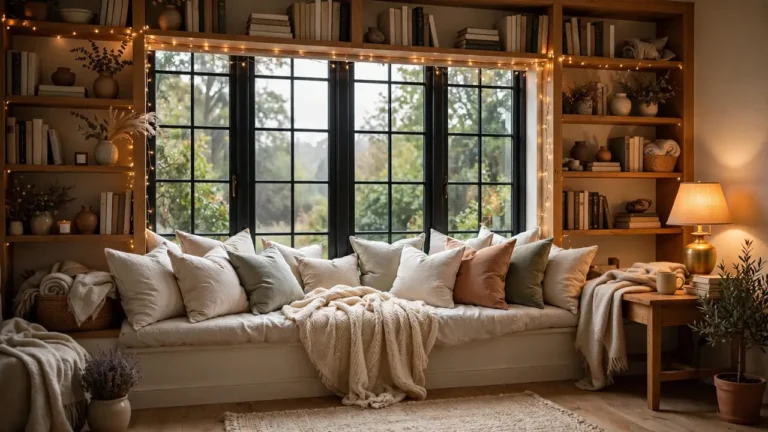
Add a Reading Nook
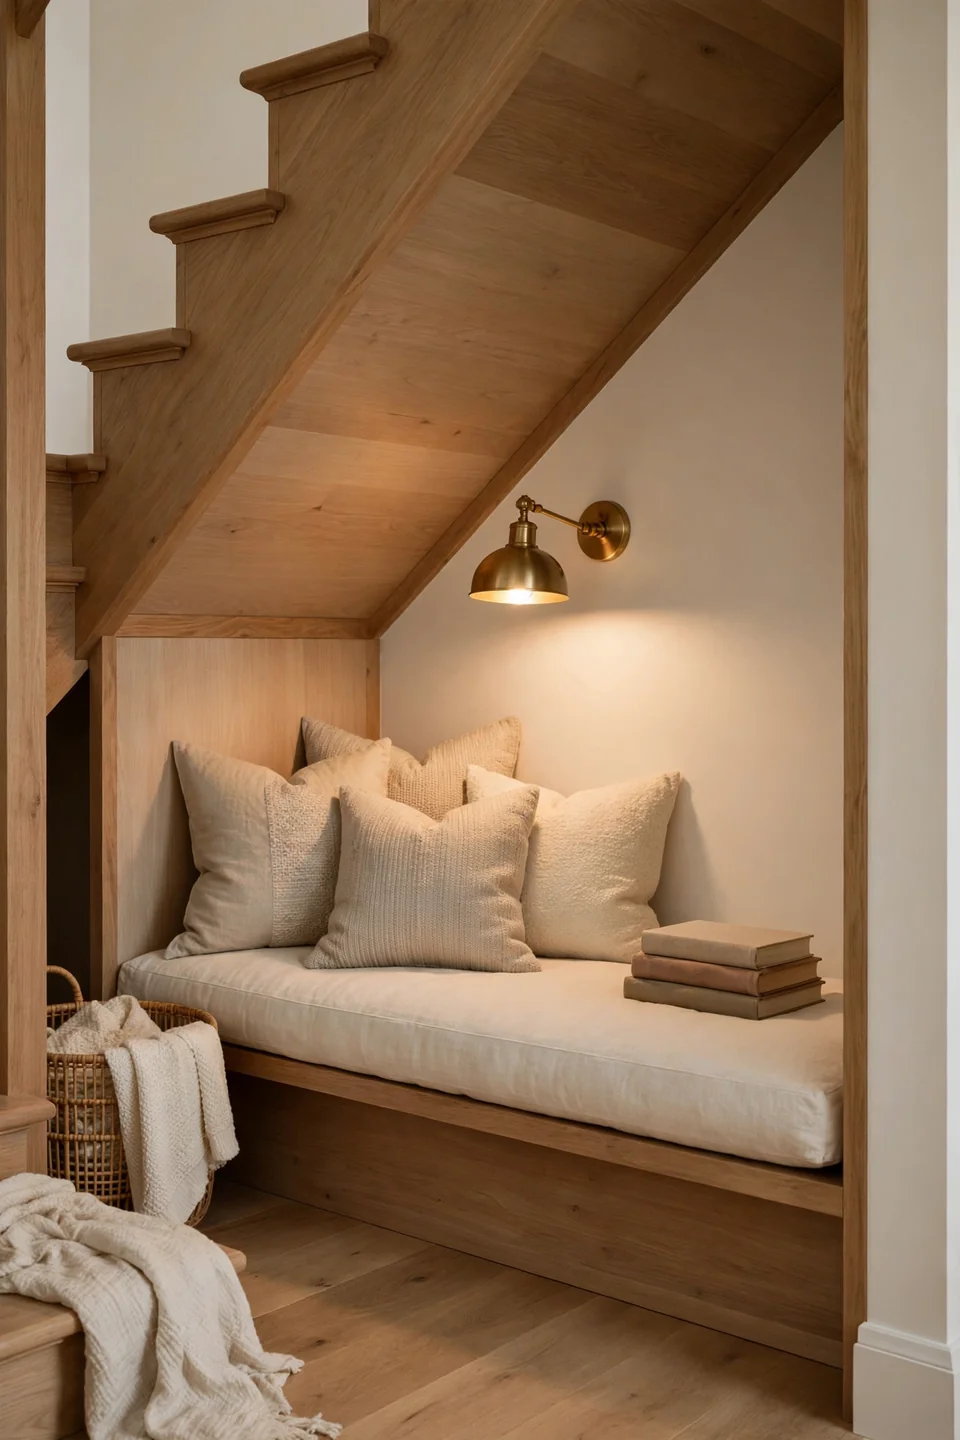
Do This:
- Add a comfortable cushion or small bench that fits the lowest part of the slope.
- Install a wall-mounted reading light so you do not lose floor space to a lamp.
- Include a small shelf or basket for books within arm’s reach.
- Use soft textiles to make the tight space feel cozy, not cramped.
Avoid This:
- Do not block the walkway with furniture that sticks out past the stair line.
- Do not skip ventilation, or the nook will feel stuffy within minutes.
- Do not use dark colors that make the small space feel even smaller.
- Do not forget a power outlet nearby for charging devices.
A reading nook turns wasted space into the most loved spot in the house, especially for kids. Keep the design simple so it feels like a retreat, not a storage overflow. If you need more ideas for using two-door layouts nearby, see my guide on how to arrange a living room with two doors.
Light It Up
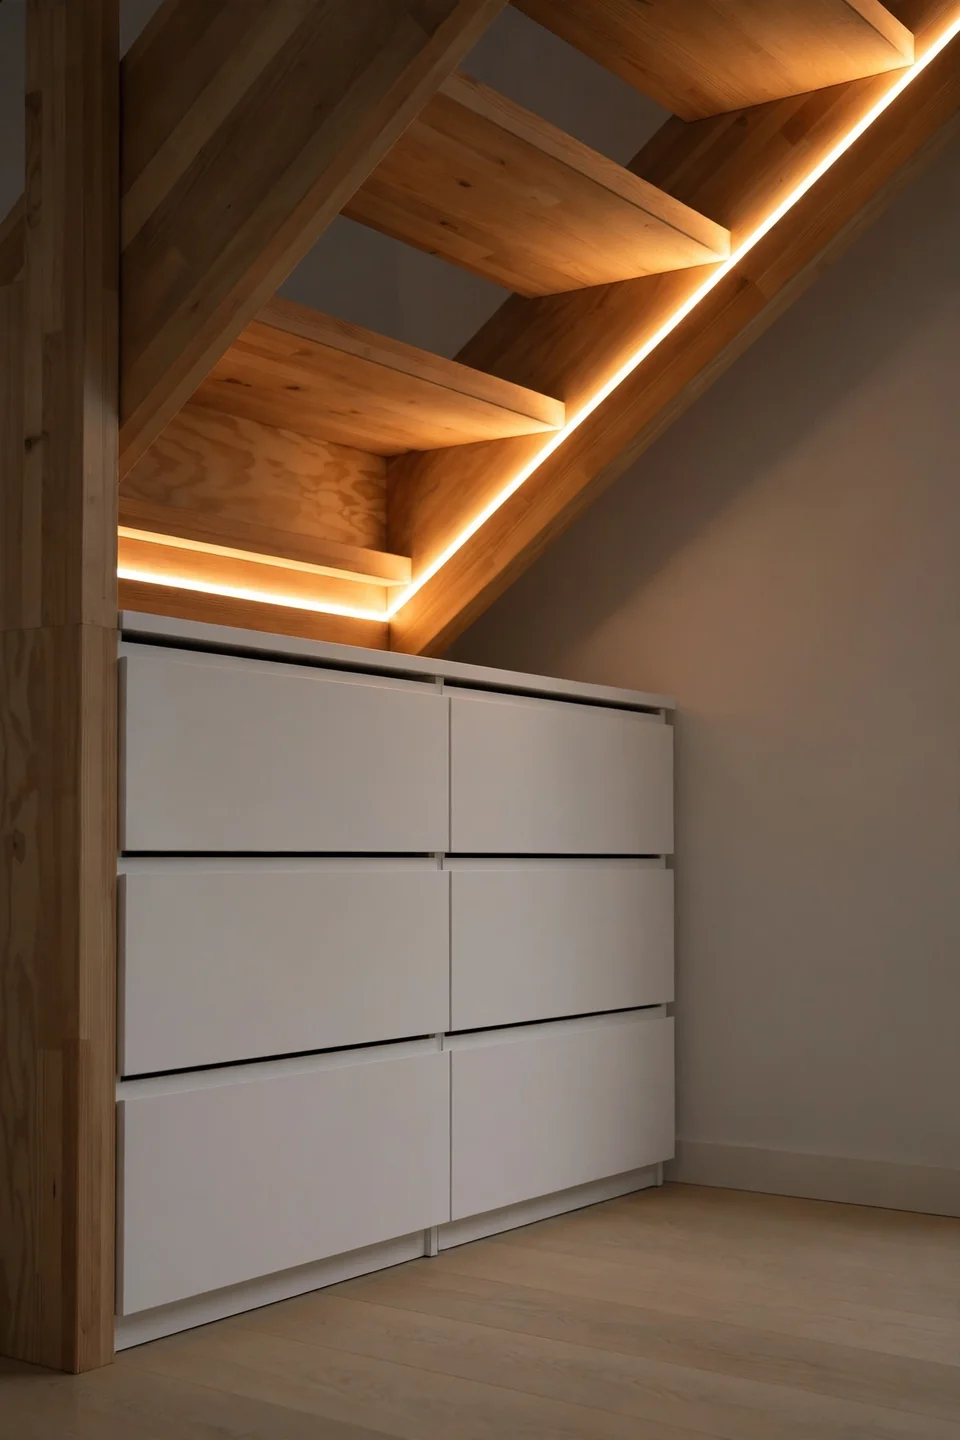
Time Needed: 1 hour | Difficulty: Easy | Cost: Low
Best For: dark under-stair corners that feel like caves
Pro Tip: use warm white bulbs (2700K) for a cozy glow
Result: a space you actually want to open and use
Under-stair areas get zero natural light, so good lighting changes everything. Stick-on LED strips along the slope work beautifully and need no wiring. A motion sensor means the light turns on the moment you open the door, which feels like a small luxury. Replace batteries once a year to keep it reliable.
Common Under-Stair Mistakes
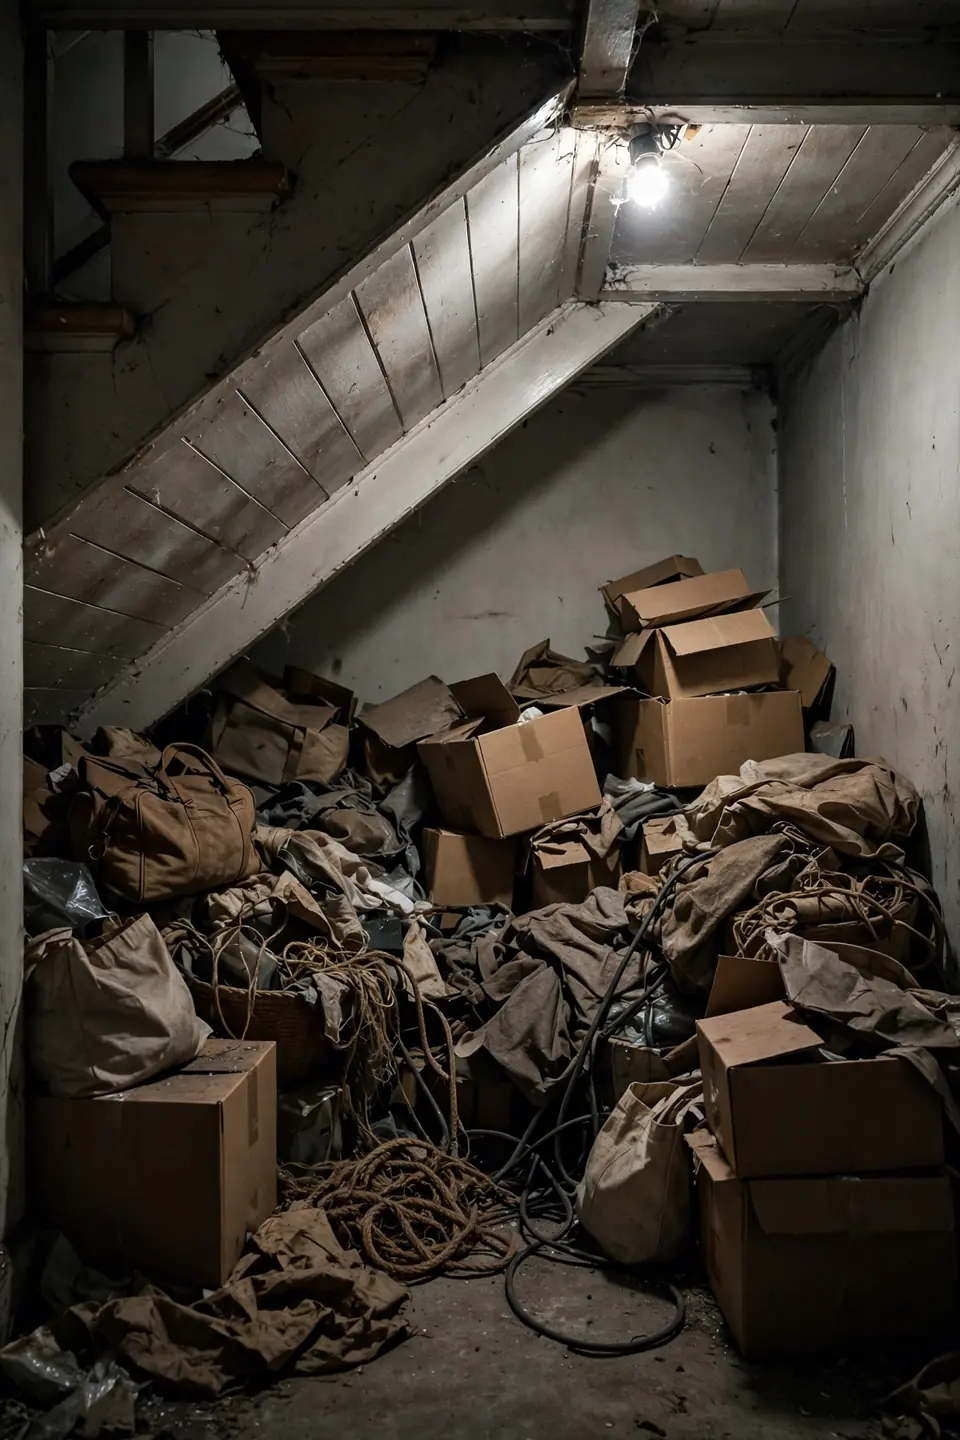
The biggest mistake is treating the space as a junk dump instead of planning it with purpose. Random boxes get shoved in, the door barely closes, and within months you cannot find anything. A little planning at the start prevents years of frustration and wasted space.
Another common error is ignoring moisture and airflow in such an enclosed spot. Under-stair areas can trap humidity, which ruins cardboard boxes and creates musty smells fast. Leave a small ventilation gap, avoid storing anything valuable directly on concrete floors, and check the space twice a year.
Pro Tips for Hidden Storage
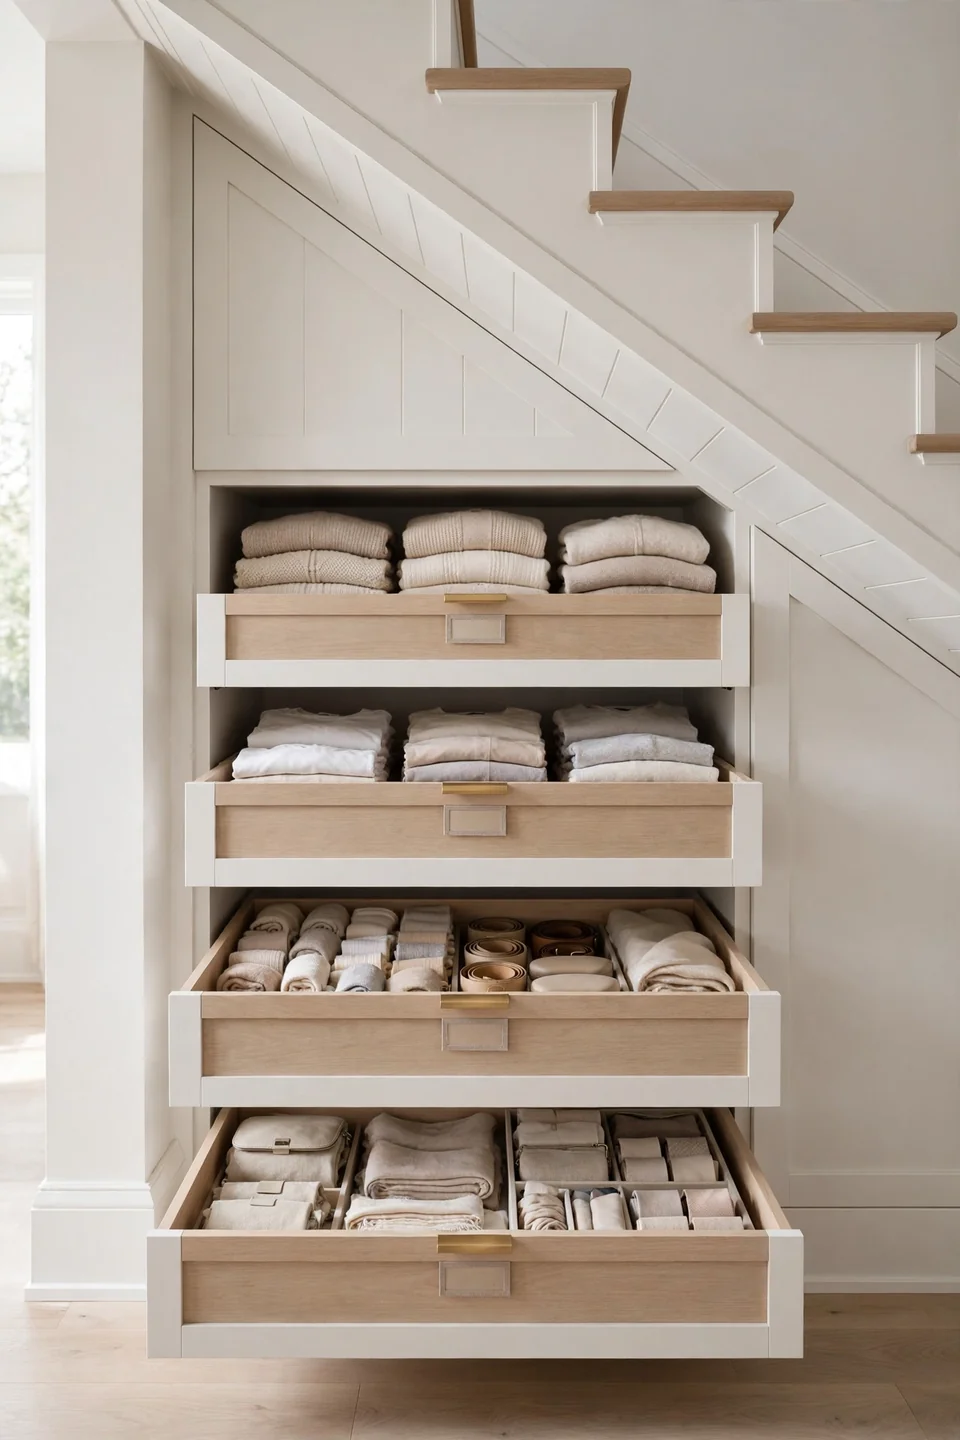
These finishing touches separate a decent under-stair setup from one that feels truly custom and intentional. Small details make the space easier to use and much nicer to look at every single day. Do not skip them just because the area hides behind a door.
- Label every bin and drawer front so anyone in the house can find things and put them back.
- Add felt pads under baskets to protect floors and make sliding them in and out silent.
- Take a photo of the organized space and tape it inside the door as a reset guide.
- Review the contents once a season and donate anything you have not touched in a year.
Conclusion
That forgotten triangle under your stairs is ready to earn its keep. Once you learn how to create storage under stairs, you will wonder why you waited so long to use it. Start with the simplest option that fits your space, then upgrade over time as your needs change. I have seen how turning one wasted corner into useful storage can shift how a whole home feels. Save this guide on Pinterest so you have it handy when you are ready to start, and share it with a friend whose stairs are hiding potential too.