24 Black Walnut Kitchen Interior Ideas for Rich, Modern Style
Dark wood kitchens are having a quiet moment, and walnut leads the trend. The richest black walnut kitchen interior inspiration pairs deep, chocolate grain with creamy walls and bright stone, so the room feels warm rather than heavy. I’ve noticed readers save these kitchens more than any white kitchen lately, mostly because walnut hides everyday wear while looking custom built and calm.
That same love of honest wood shows up in Scandinavian farmhouse bedroom decor, where pale oak keeps things light. Here the mood is deeper and richer, built for cooks who spend real hours in the kitchen. The twenty four ideas ahead cover cabinets, islands, lighting, storage, and small upgrades, each one practical enough for a real home and a real budget.
Walnut Cabinet Warmth

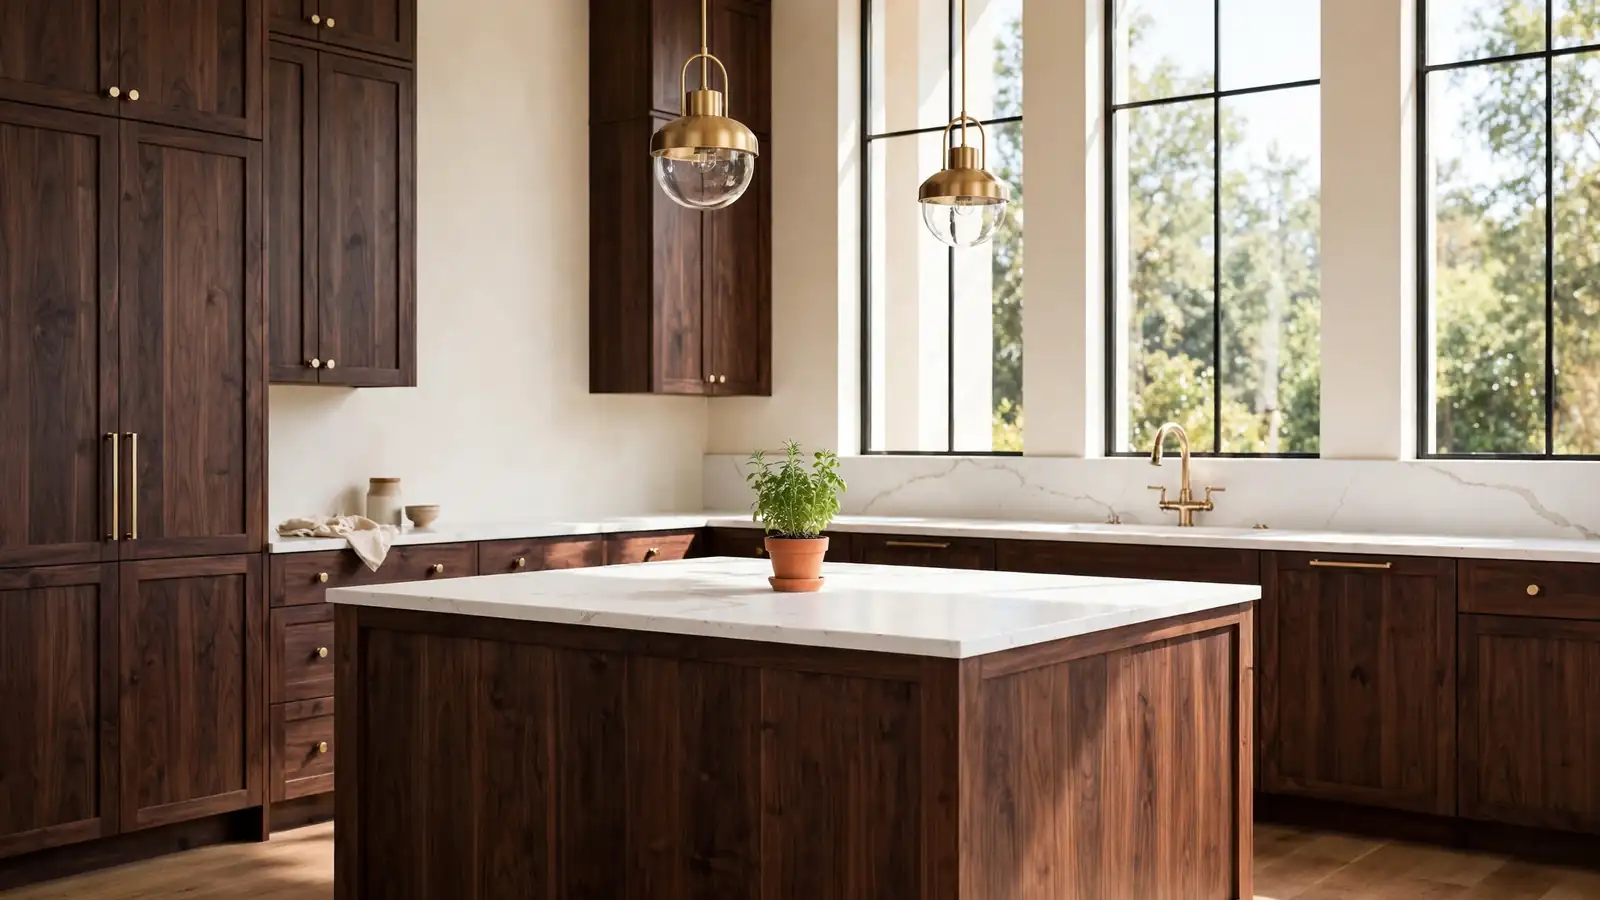
Walnut earns its place the moment sunlight hits the grain. Deep brown tones shift from espresso to warm amber across the day, so a full wall of cabinets never reads flat or dull. Pair flat front doors with simple slab drawers and the wood itself becomes the decoration.
Keep the finish matte and the hardware quiet, then let one bright surface, a white counter or pale backsplash, set off the richness. In my experience, kitchens that commit to one wood and repeat it on the island feel custom, while mixed stains fight each other. Start with cabinets, live with them a season, and add matching accents slowly over time.
Two Tone Cabinet Pairing
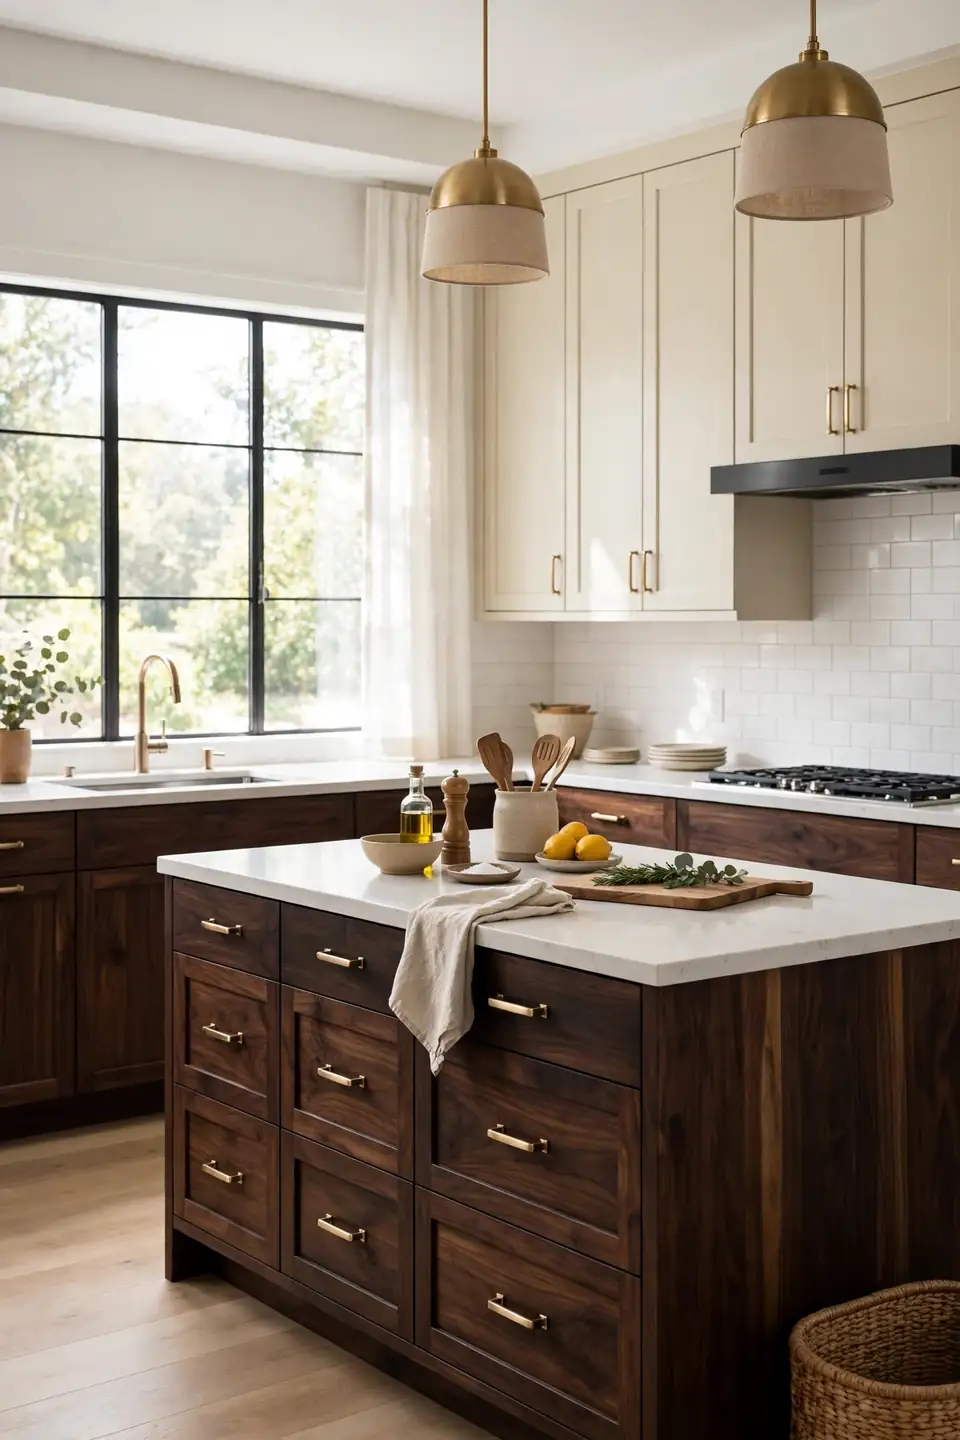
- Paint upper cabinets a warm cream to lift the ceiling line visually.
- Keep lowers in walnut so scuffs and spills hide in the darker grain.
- Repeat the walnut tone on the island for a grounded center.
- Choose one metal finish, brushed brass or matte black, across every handle.
- Carry the cream onto open shelves so the two tones meet softly.
Two tone layouts solve the biggest walnut worry, which is a room that feels too dark by evening. Cream above eye level keeps the space bright where faces gather, while walnut below does the heavy visual work. I’ve seen this work well in many cases, especially in north facing kitchens that need warmth without losing precious light.
Glass Front Uppers
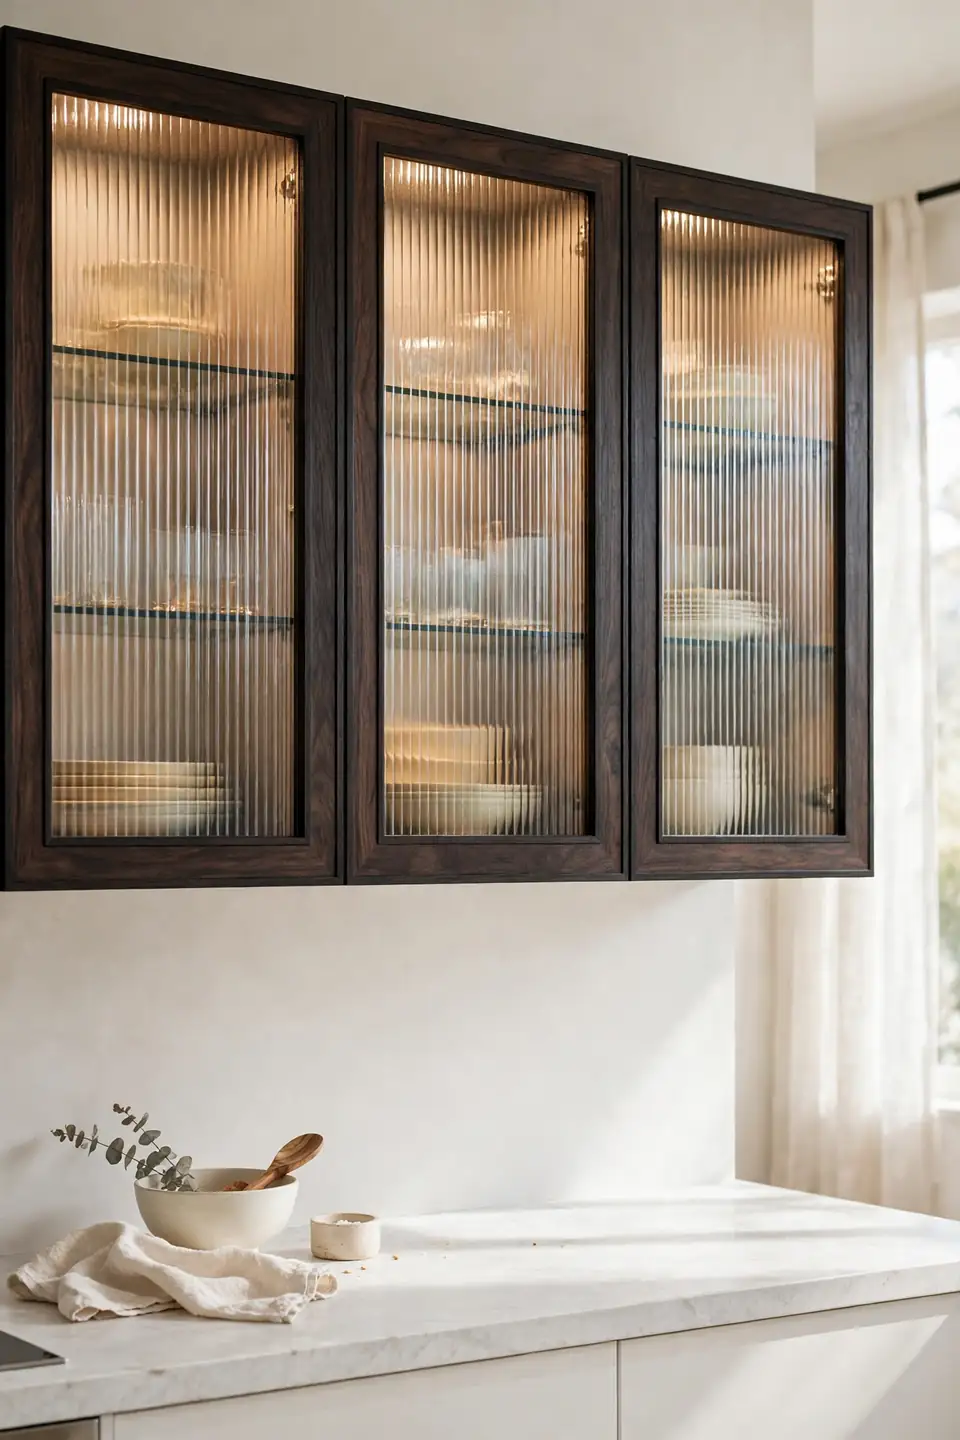
Quick Tip: Choose seeded or fluted glass instead of clear panes. The texture hides the everyday jumble of mugs and bowls while still showing soft shapes and colors, so uppers feel light without demanding perfect styling inside every single cabinet.
Glass fronts break up a long run of dark doors and give the eye a place to rest. Keep the frames walnut so the wall still reads as one crafted piece, and light the interiors with a warm strip that glows through the textured panes at night. Plates in cream and clear glassware keep the view calm from across the room.
Island Glow-Up Story
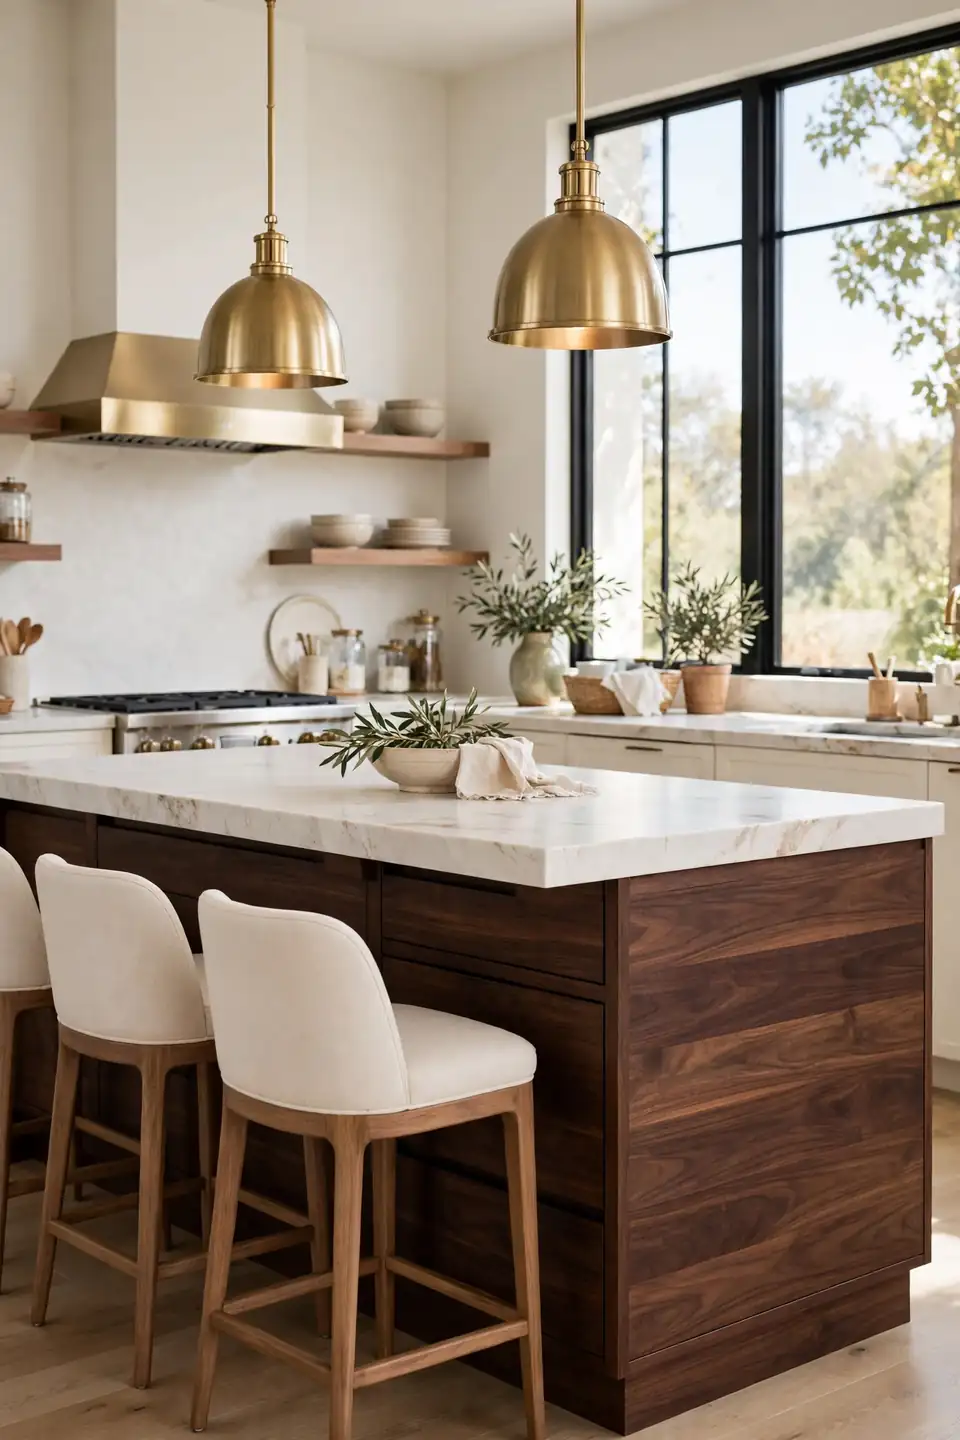
BEFORE: The old island was painted builder beige, with a laminate top peeling near the sink. It had no storage on the seating side, so stools crowded the walkway and clutter always landed on the counters instead.
AFTER: Walnut panels now wrap all four sides, and a thick white stone top overhangs twelve inches for comfortable seating. Deep drawers face the stools, and two brass pendants anchor the island as the room’s clear center.
An island upgrade changes how the whole kitchen flows, not just how it looks. Keep at least forty two inches of walkway on the cooking side, and let seating borrow space from the dining zone so nothing feels squeezed.
Styled Open Shelves
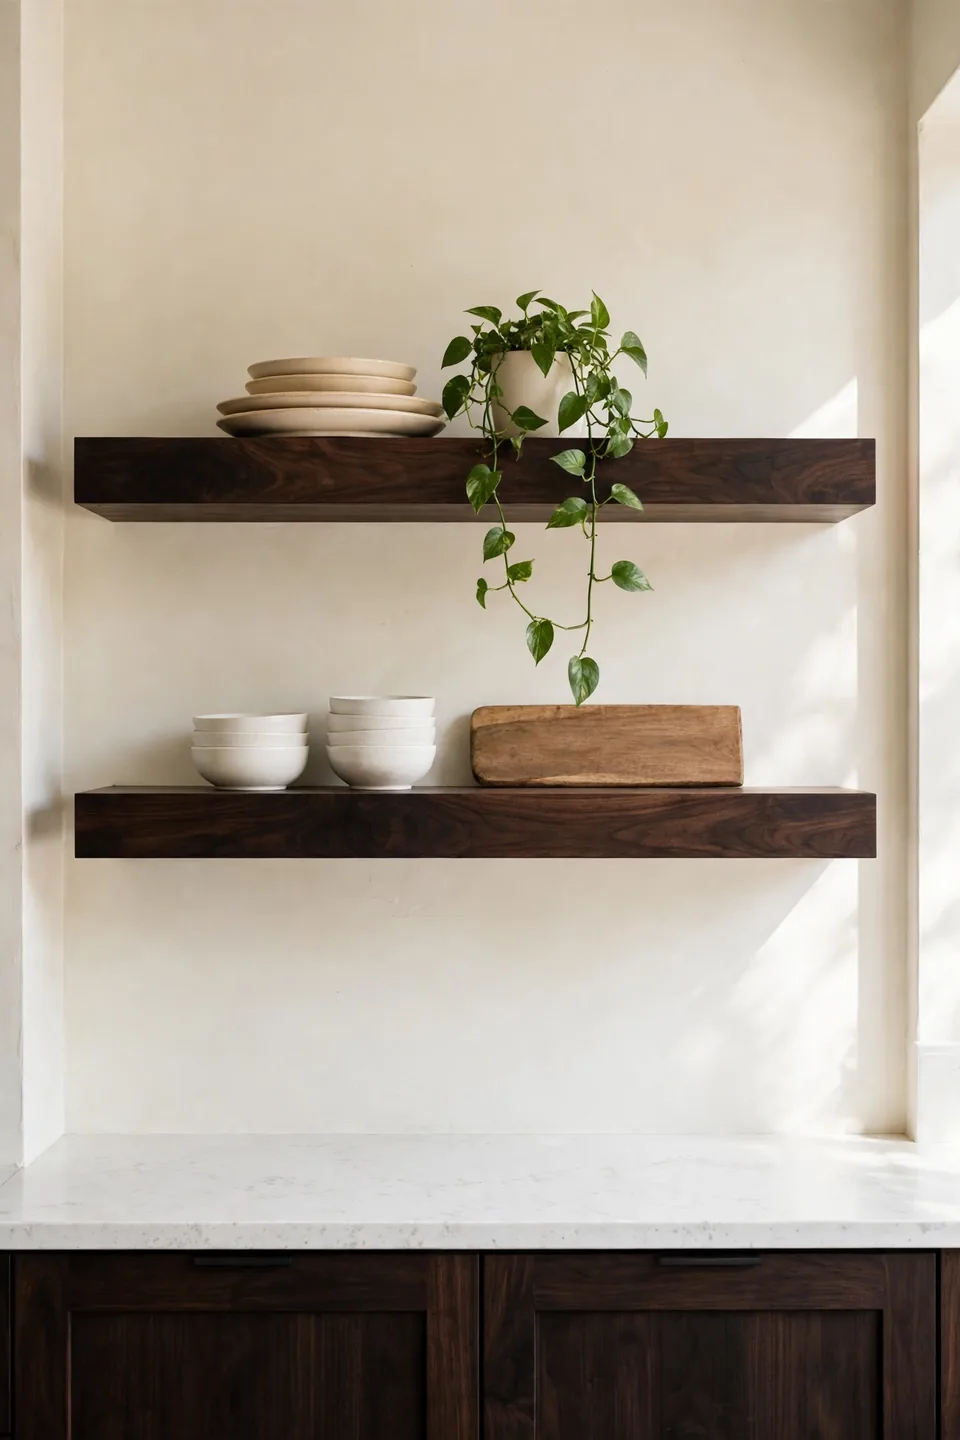
- Mount two thick walnut shelves at eye level, spaced sixteen inches apart.
- Start with everyday dishes in cream and white, stacked in short, tidy piles.
- Add one wood board and one plant for warmth and a living edge.
- Group items in threes so the eye reads calm clusters, not clutter.
- Leave a third of each shelf empty so the arrangement can breathe.
Open shelves suit walnut kitchens because the shelf itself matches the cabinetry, so the wall feels built in rather than added later. Keep daily items low and pretty pieces high, and dust weekly with a quick swipe while coffee brews. Guests always comment on shelves that look used, not staged for a photograph.
Walnut Versus Painted Cabinets
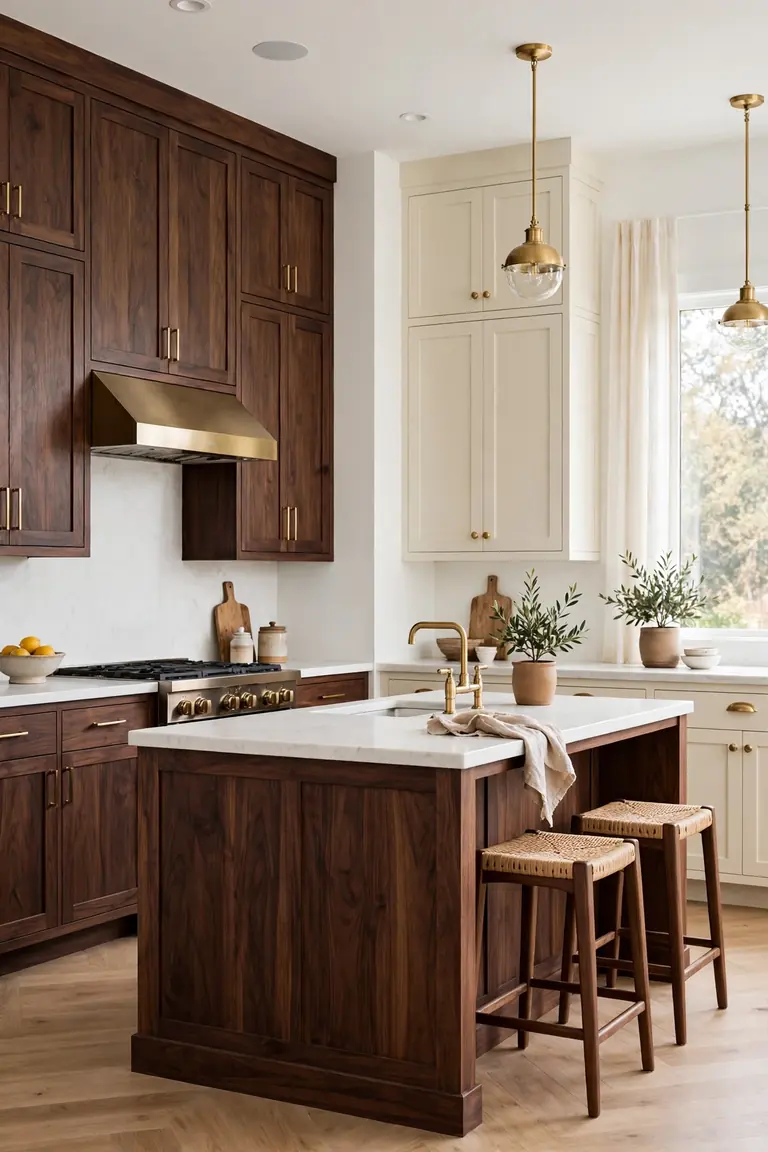
| Choice | Look | Upkeep |
|---|---|---|
| Full Walnut | Rich, grain forward | Wipe damp, oil yearly |
| Cream Paint | Bright, classic | Touch up chips each spring |
| Two Tone Mix | Balanced, custom | Care for each finish |
| Glass Front | Airy, display ready | Polish glass monthly |
Neither finish wins on its own; the room decides. Walnut suits kitchens with strong daylight and simple counters, while paint helps smaller rooms feel wider. Many readers land on the mix, walnut below and cream above, because it delivers warmth and brightness in one plan. Tape samples to the wall and live with them for a week before you commit to either.
Hardware Rules That Work
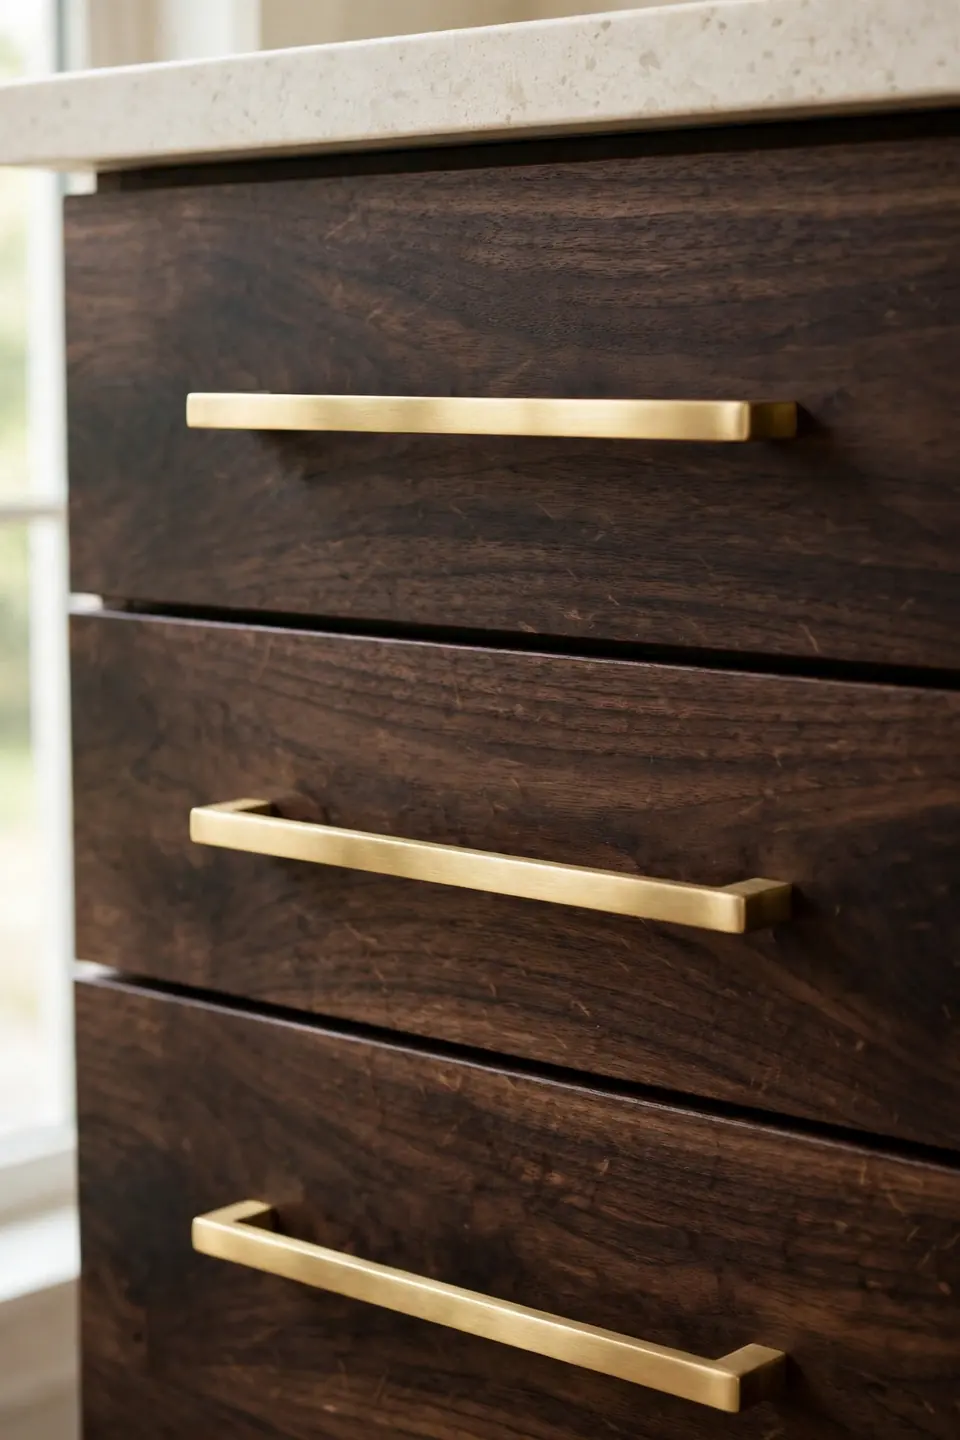
Do:
- Match handle length to drawer width, roughly one third of the front.
- Repeat one finish, brushed brass or matte black, on every pull and knob.
- Mount pulls where hands naturally land, not where the template says.
- Mix knobs on doors with long pulls on wide drawers.
Don’t:
- Combine shiny chrome with warm walnut grain.
- Use tiny knobs on heavy appliance panels.
- Center a single pull on an extra wide drawer.
- Skip backplates on soft wood that dents easily.
Hardware is the jewelry of a walnut kitchen, and small choices change the whole mood. Brass warms the grain and feels traditional, while matte black reads modern and crisp. Buy one of each finish first, tape them on, and live with both for a week before ordering the full set.
Compact Kitchen Quick Facts
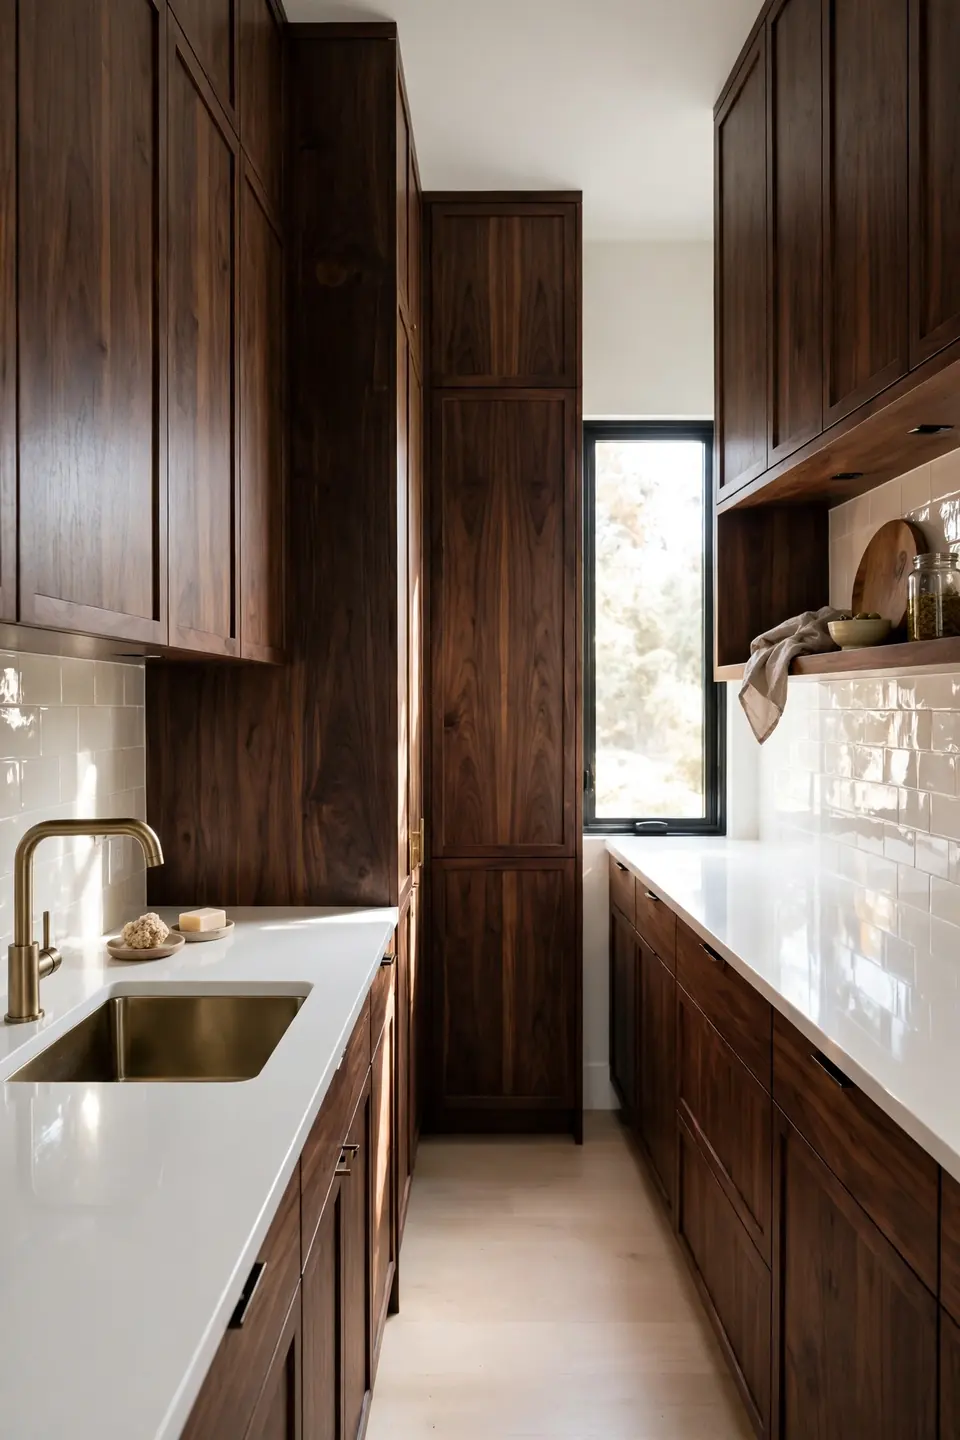
Cost: Moderate, since stock walnut fronts cost less than custom builds
Time: Two weekends for fronts, hardware, and fresh wall paint
Skill Level: Confident beginner with a drill, level, and patience
Best For: Galley and L-shaped kitchens under 120 square feet
Small kitchens gain the most from walnut because the eye reads one rich surface instead of many small boxes. Run the cabinets to the ceiling, keep counters nearly clear, and choose a pale floor so the dark base feels grounded rather than heavy. Under cabinet lights matter more here than anywhere, since dark fronts absorb light, and a slim rail for utensils frees the few drawers you have. A glossy backsplash bounces daylight back into the corners.
White Quartz Counter Balance
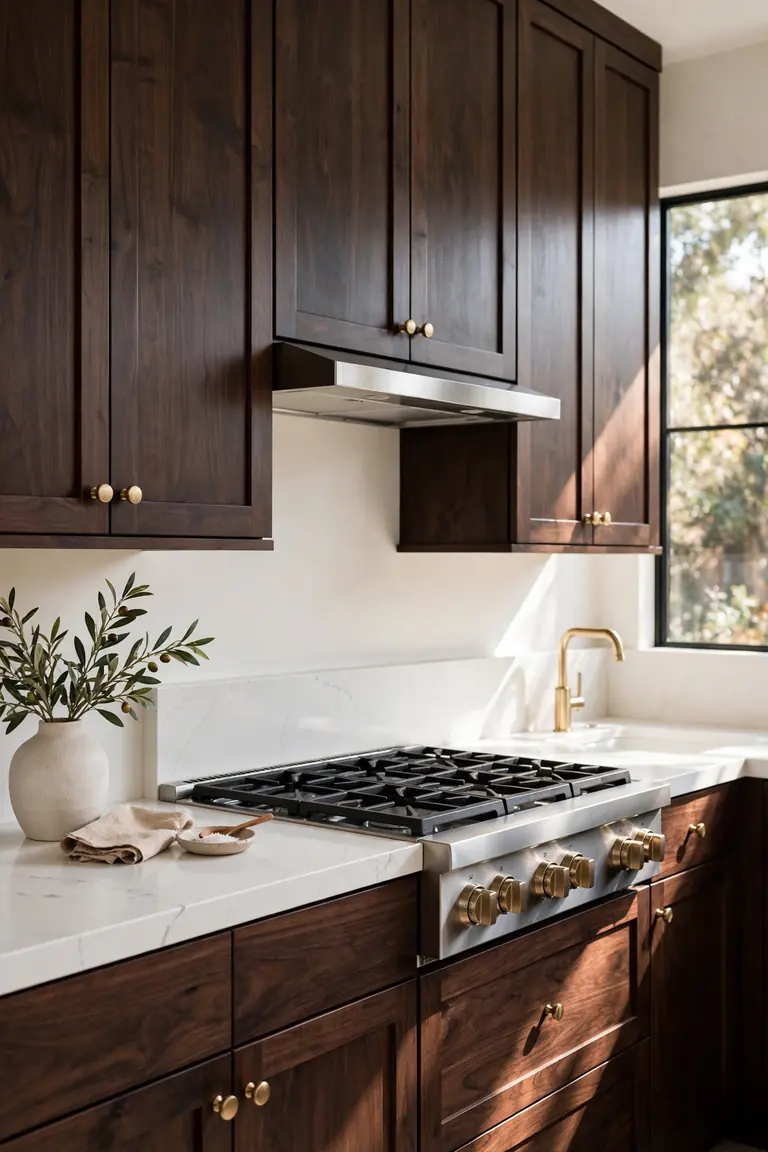
White quartz is walnut’s best partner because it gives the eye a bright plane to rest on. The contrast makes dark cabinets look intentional and rich, the way a white shirt sharpens a dark suit. Choose a soft white with faint gray veining rather than a stark, blue white slab.
Run the same stone up as a short backsplash ledge for a clean, grout free line behind the range. Quartz shrugs off coffee, oil, and tomato stains that would mark marble, which suits real family cooking. Finish the edge simple and square so the wood grain stays the star of the room. Dining rooms dressed in burgundy floral wallpaper dining room ideas lean on the same warm palette, trading wood grain for pattern.
Brass Fixture Glow
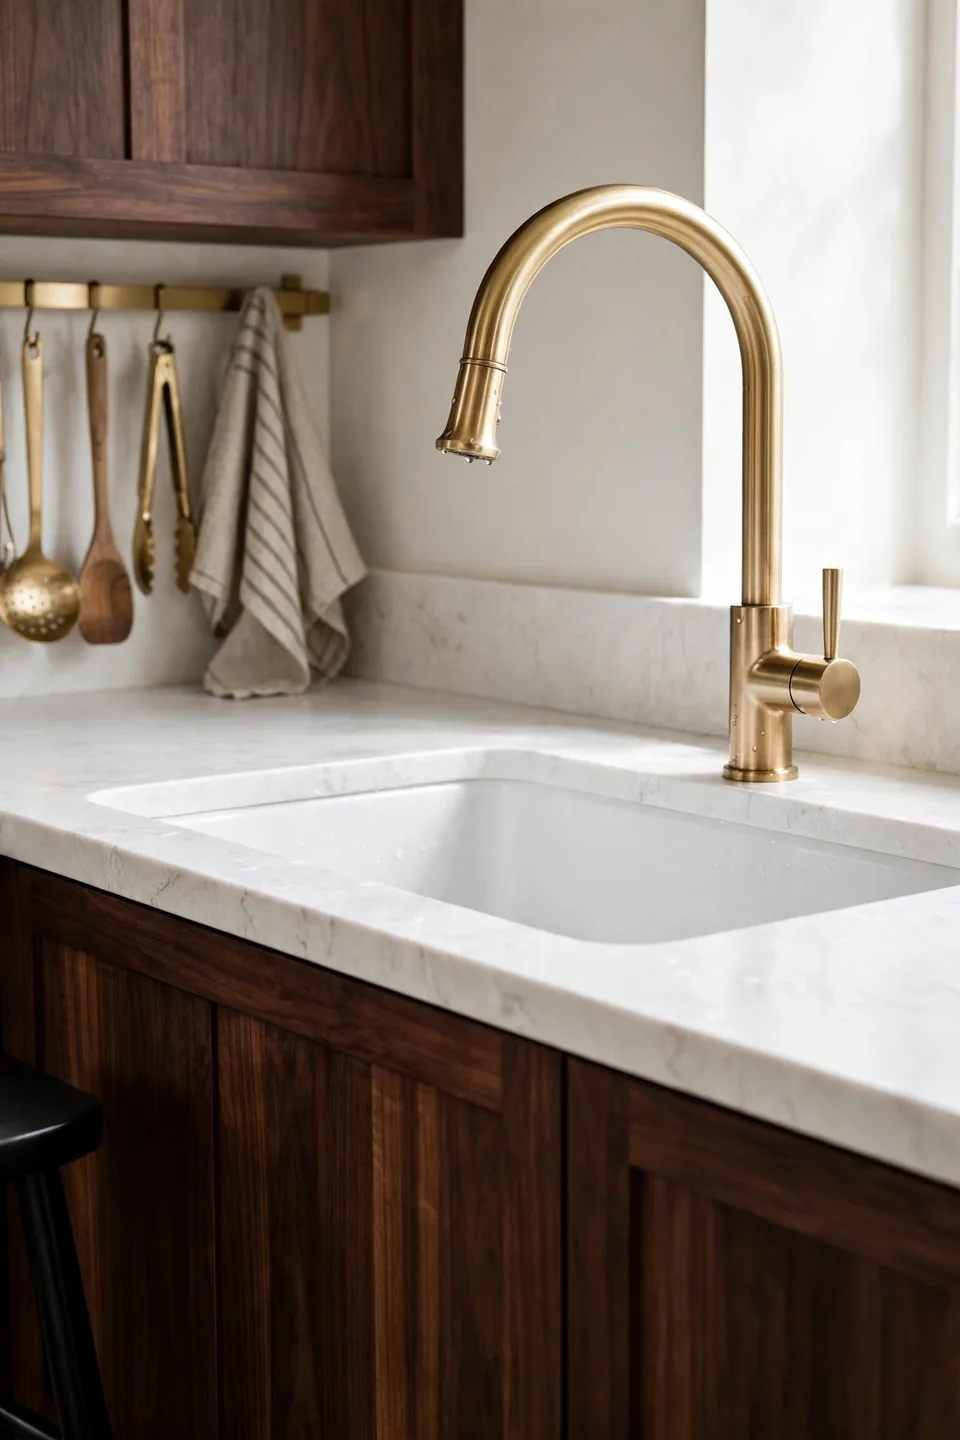
- Pick brushed or satin brass so fingerprints stay invisible.
- Repeat the finish on faucet, pulls, and pendant stems.
- Choose a tall gooseneck faucet to clear deep stockpots.
- Add brass rails under shelves for hanging utensils and herbs.
- Keep one black accent, like stool legs, for contrast.
Brass and walnut share the same warm undertone, which is why the pairing looks expensive even on a modest budget. The metal catches evening light and glows against the dark grain, especially around the sink where hands and eyes gather most. Polish rarely; a soft cloth keeps the satin finish even, and swap one fixture at a time if the budget needs pacing.
Under Cabinet Light Trick
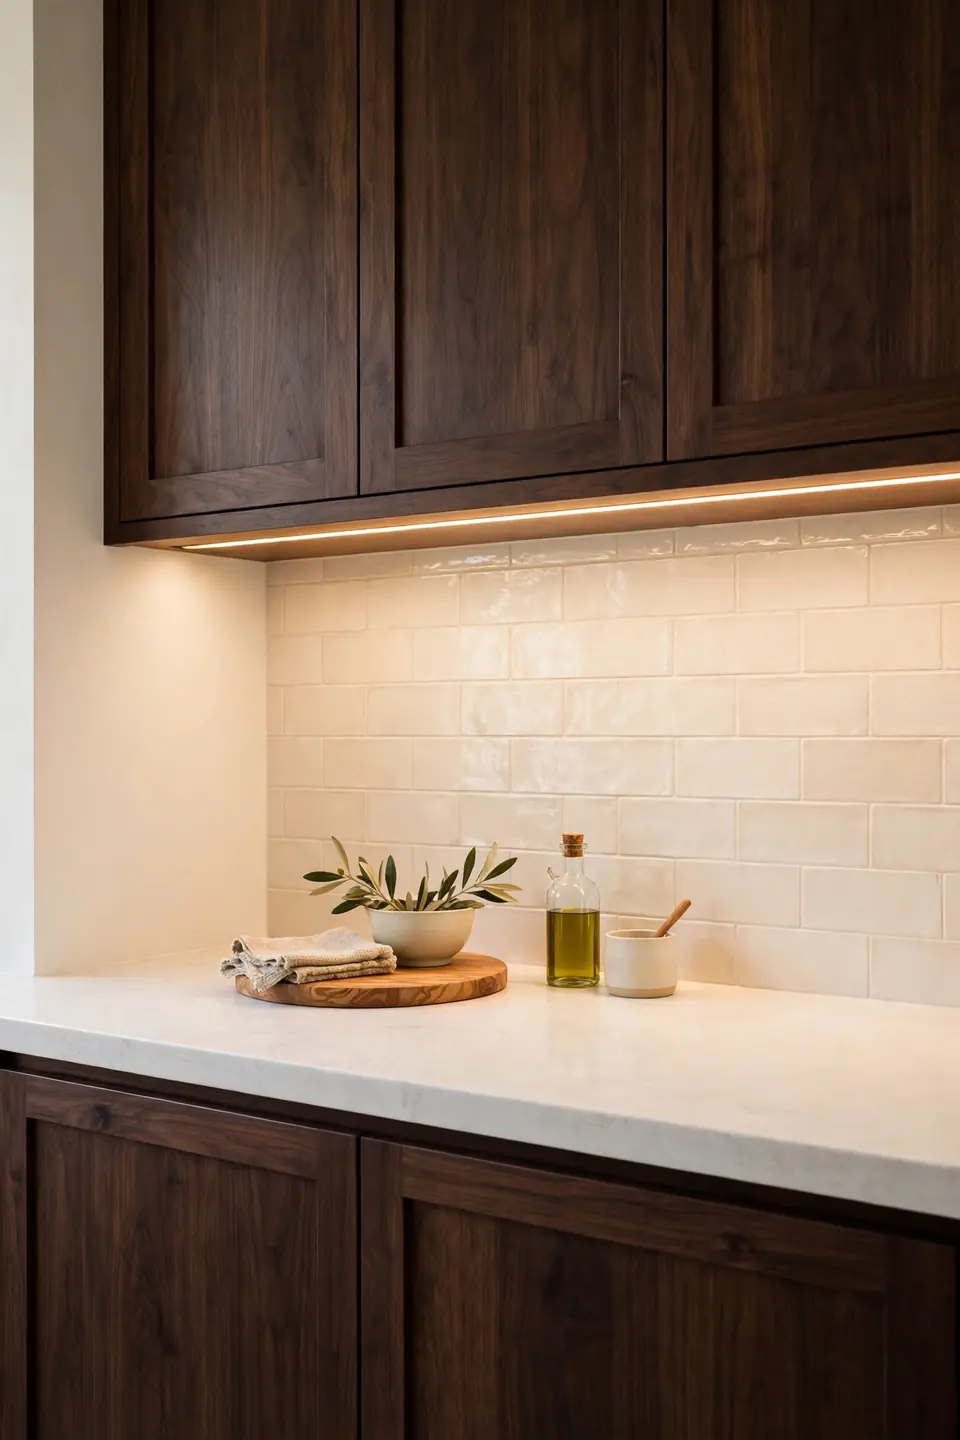
Quick Tip: Choose warm white strips around 2700K and mount them at the front edge of the cabinet, not the back. Front mounting throws light across the whole counter instead of pooling it against the backsplash where nobody works.
Dark cabinets drink up light, so the counter below them can feel shadowy even in a bright room. A continuous strip with a diffuser cover gives an even wash with no dotted reflections on the stone. Put the lights on a dimmer, full brightness for chopping, low glow for evening. In my experience, this single upgrade changes how a walnut kitchen feels more than any decor swap.
Dark to Bright Makeover

BEFORE: The original kitchen mixed orange oak cabinets, a dark granite counter, and one small window. By mid afternoon the room felt like a cave, and the cooktop corner stayed shadowy even with the ceiling light blazing.
AFTER: Walnut cabinets replaced the oak, white stone brightened every surface, and cream paint lifted the walls. The same window now lights the room well past lunch, helped by glossy tile that bounces daylight deep into the corners.
Nothing moved, no walls came down, yet the room cooks and gathers completely differently now. That is the heart of black walnut kitchen interior inspiration: keep the depth, then layer the light back in surface by surface until the balance feels easy.
Drawer Organization System
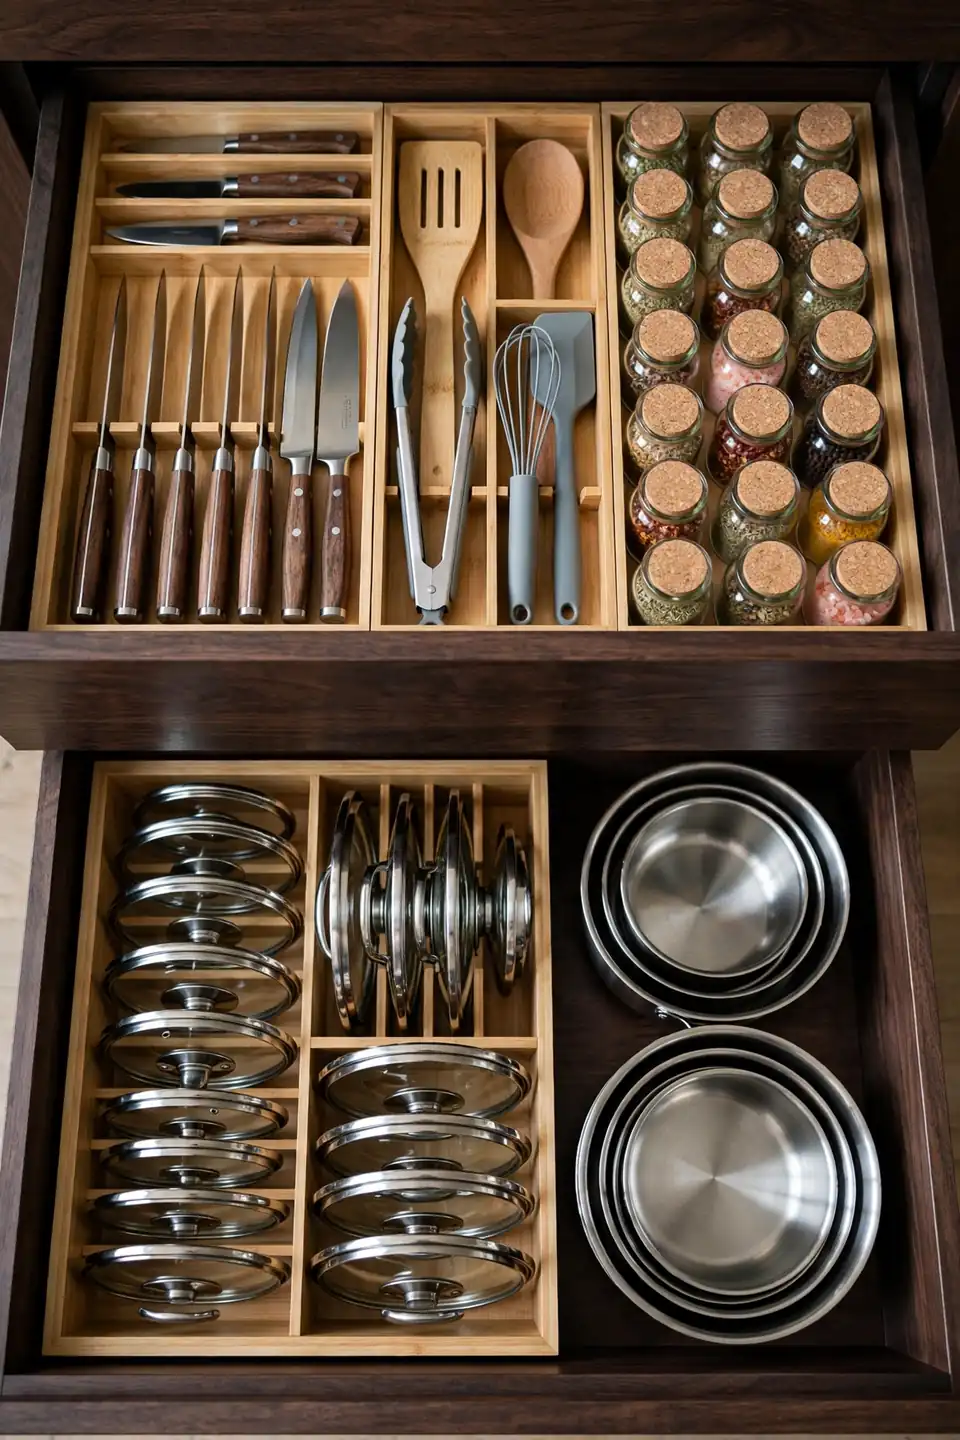
- Measure every drawer, then order walnut or bamboo inserts to match.
- Give knives, tools, and spices each one shallow drawer near the range.
- Store pots in deep drawers with lids filed vertically beside them.
- Line drawers with cork or felt so contents stay silent and still.
- Review drawers each season and move rarely used tools up high.
Drawers beat doors in a walnut kitchen because the fronts stay flat and calm while the hard work hides inside. Full extension slides matter more than fancy inserts, so spend there first. A drawer that opens fully and glides quietly makes daily cooking feel smoother than any decorative upgrade on the wall.
Island Size Showdown

| Option | Seats | Storage | Best For |
|---|---|---|---|
| Compact Island | Two stools | Four deep drawers | Kitchens under 150 sq ft |
| Generous Island | Four to five stools | Drawers plus appliance garage | Open plan rooms |
| Prep Zone | One main work side | Two work sides | Serious home cooks |
Measure the room before falling for a giant island photograph. Walkways need thirty six to forty eight inches on every side, and a too large island makes a big kitchen feel cramped. Tape the outline on the floor with painter’s tape and live with it for three days, cooking real meals inside the lines, before you order anything.
Backsplash Choices That Last

Do:
- Choose a light tile or stone to lift the dark cabinet run.
- Carry the counter material up for a seamless, grout free wall.
- Test grout colors on a sample board before committing.
- Seal natural stone yearly so cooking oils cannot stain.
Don’t:
- Pick a busy pattern that fights the walnut grain.
- Use bright white grout that shows every splash.
- End tile mid wall without a finished edge piece.
- Choose a matte dark tile that swallows the light.
The backsplash is where walnut kitchens win or lose their brightness. A pale, slightly glossy surface bounces window light back onto the counters, while matte dark tile swallows it. Keep the pattern quieter than the grain, and the whole wall reads calm from the doorway.
Coffee Corner Quick Facts
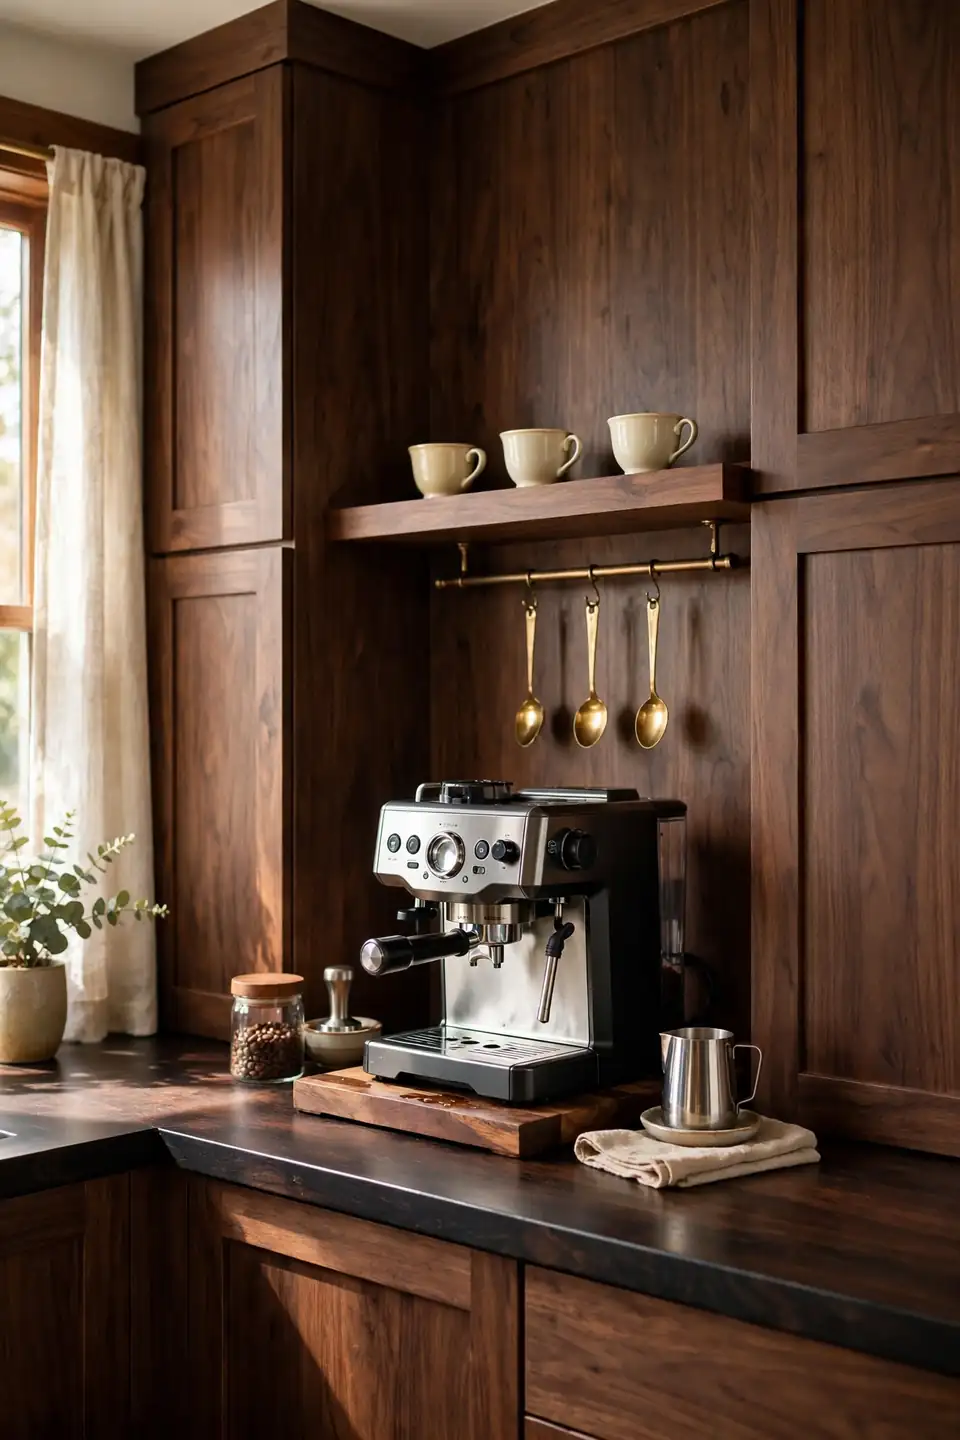
Cost: Low, since one shelf, a rail, and your current machine cover it
Time: One hour, including styling the tray and hanging cups
Skill Level: Beginner, with a drill and a stud finder
Best For: The quiet counter stretch beside the fridge
Result: A cafe ritual that keeps main counters free for cooking
A dedicated coffee corner keeps mornings calm and counters clear everywhere else. Mount one walnut shelf for cups, hang a brass rail for spoons and filters, and park the machine on a tray that catches drips. The matching wood ties the corner into the cabinetry, so it looks built in rather than parked. Guests find everything without asking, which makes slow weekend mornings feel easy.
Cream Wall Contrast
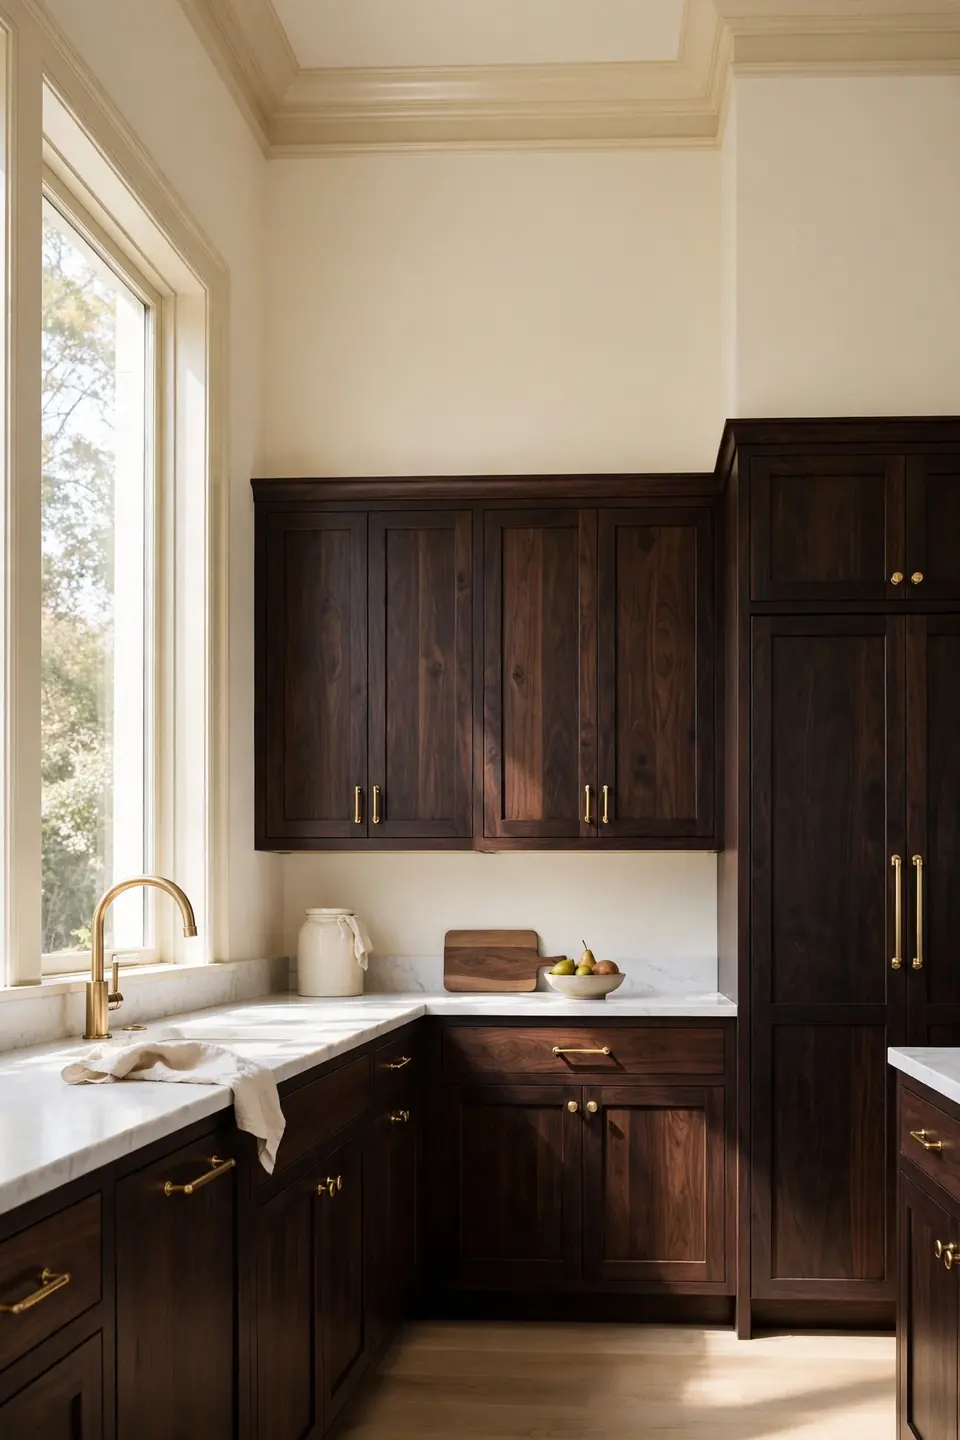
Cream walls are the quiet trick behind every bright walnut kitchen photograph. Pure white can glare against dark wood and read cold, while a warm cream softens the contrast and flatters the grain at every hour. Test two creams on the wall and watch them at breakfast and dusk before choosing.
Carry the same cream onto the ceiling so the room feels taller and the cabinets stop at a soft line instead of a hard one. Trim in a slightly glossier version of the same color adds polish without new contrast. The palette stays simple: walnut, cream, stone, and one warm metal.
Bar Stool Pairings
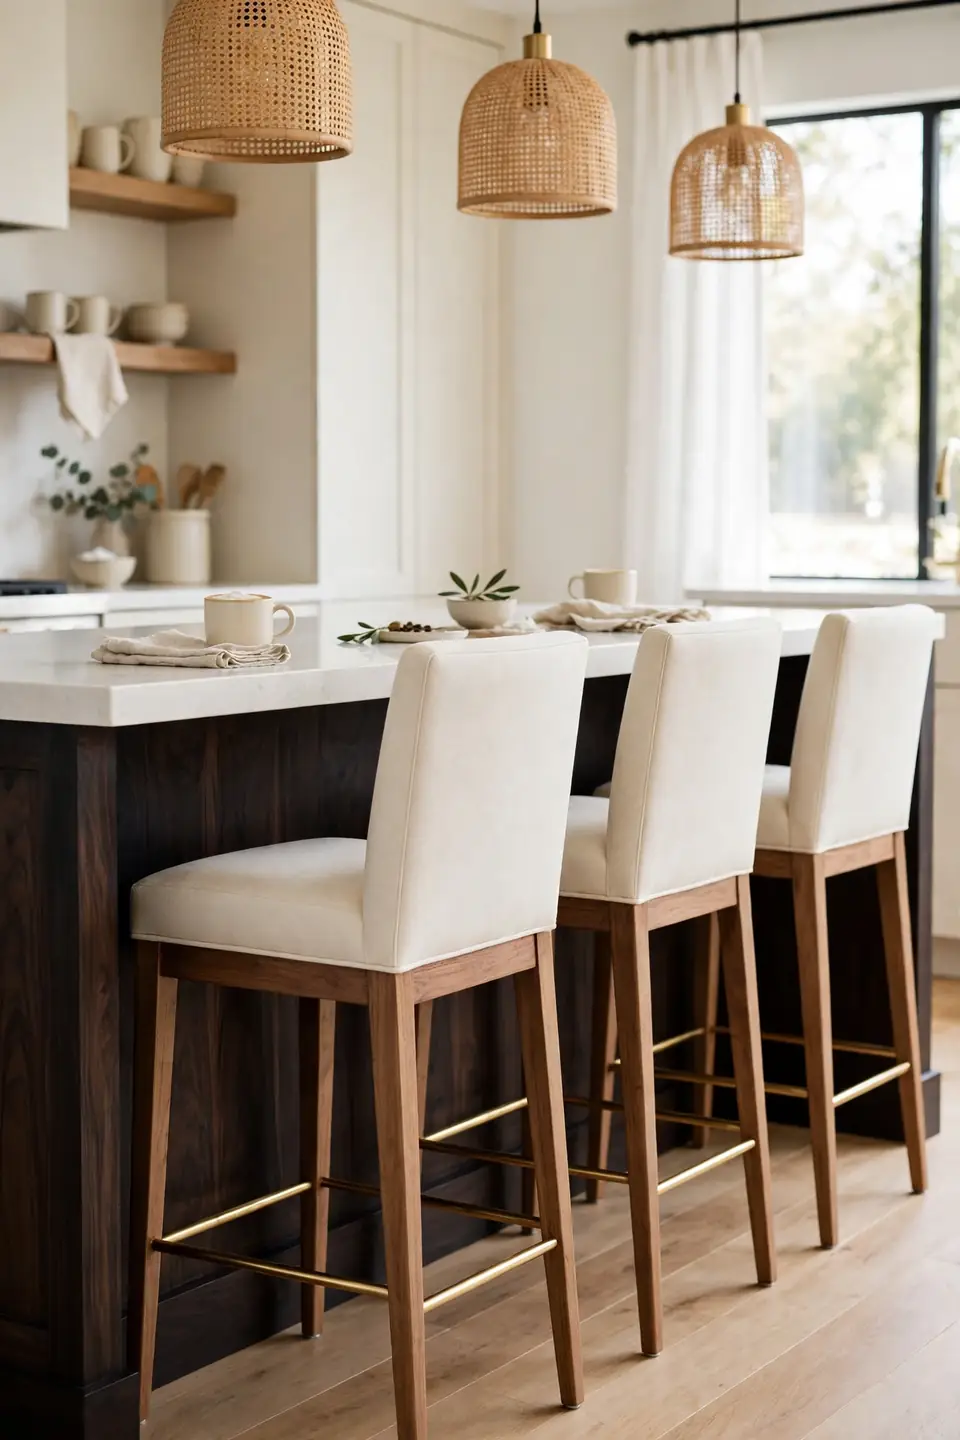
- Choose backless stools when the island faces a view or walkway.
- Pick low backs for long sitting and homework sessions.
- Repeat the walnut tone or go bold with black leather seats.
- Keep twelve inches of knee space under the counter overhang.
- Set twenty four inches of width per stool for elbows.
Stools decide whether an island becomes the favorite seat in the house or a perch nobody chooses. Sit in a stool for ten minutes at the store before buying four, and check that feet rest flat on a rung. Swivel seats suit talkative cooks; fixed legs feel calmer in tight rooms.
Statement Range Hood
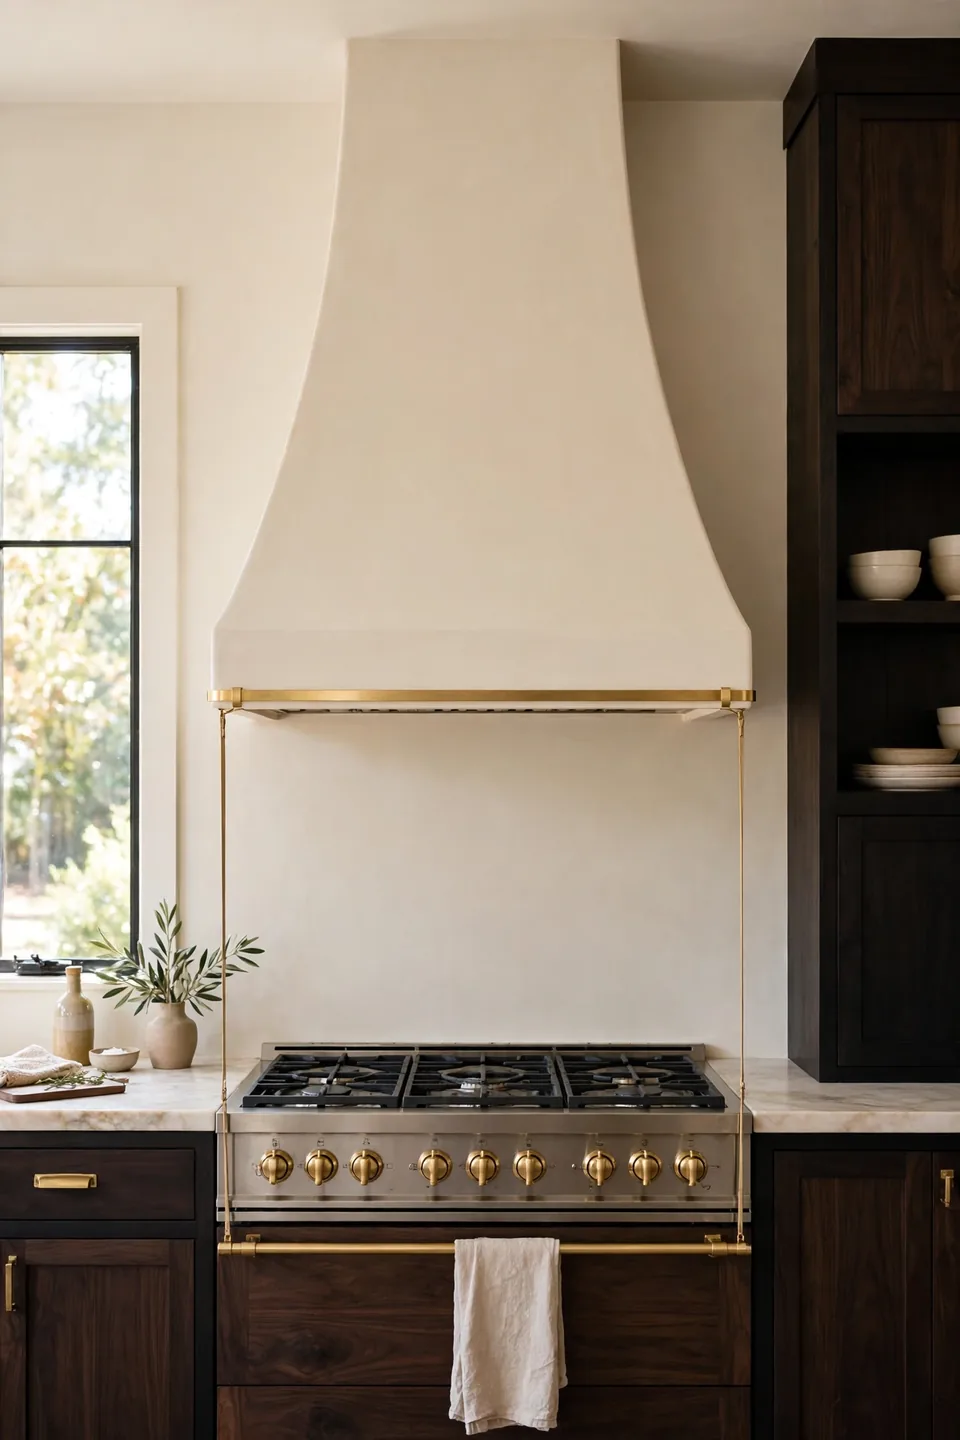
Quick Tip: Size the hood at least as wide as the range, and wider if you cook with big pans often. A hood that matches the cooking surface captures steam before it can grease the walnut doors above and beside the stove.
A plaster or wood clad hood gives a walnut kitchen its focal point. Match the hood to the wall color for a soft, built in look, or wrap it in walnut panels to stack the richness in one strong column. Keep the shape simple, a gentle slope or clean box, so the grain and the silhouette do the talking. Brass strapping along the bottom edge ties the hood to the fixtures below it.
Pantry Door Makeover
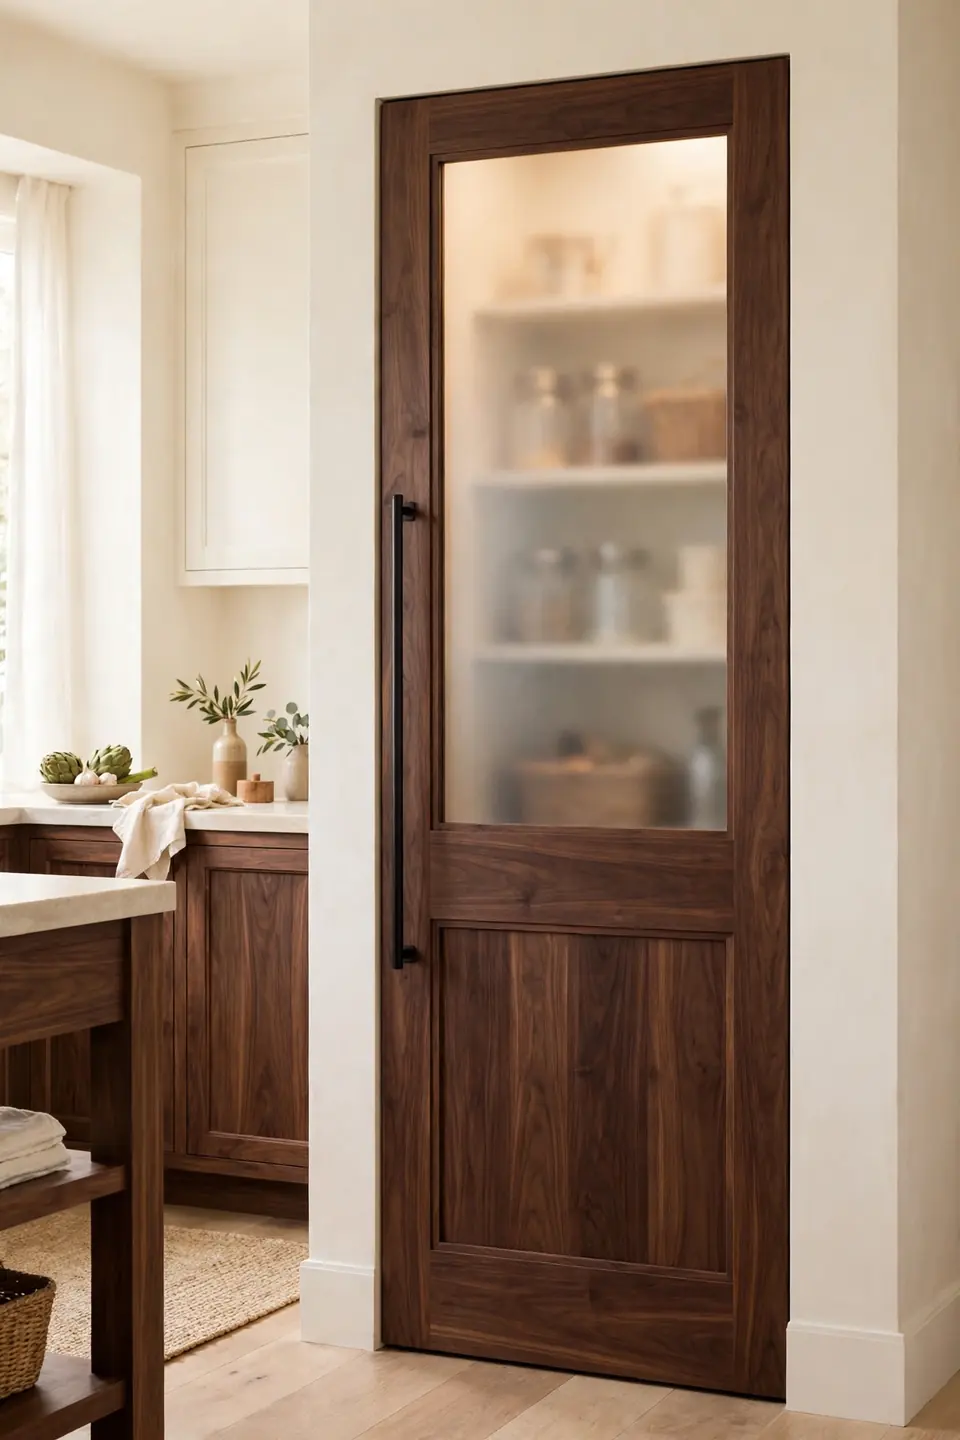
BEFORE: The pantry hid behind a plain hollow door painted the same flat white as the trim. It disappeared into the wall, and the hardest working storage in the kitchen had no presence at all.
AFTER: A walnut door with a long black pull now marks the pantry like furniture. Frosted glass at the top lets light through while hiding the shelves, and the dark wood repeats the island tone across the room.
One door can carry a whole design idea from one end of the kitchen to the other. If a full walnut door stretches the budget, a walnut stain on a solid pine door gets close for far less. Finish with a soft close hinge so the pantry shuts with a quiet, quality sound.
Sink Zone Setup

- Center the sink under the window for light and a view.
- Choose one deep single bowl so sheet pans lie flat.
- Mount the faucet behind the sink with clearance for tall pots.
- Add a walnut rail or ledge for soap, brush, and a small plant.
- Keep a fitted rack inside the bowl for rinsing and drying.
The sink zone works hardest in any kitchen, so it deserves the same care as the island. A deep bowl in white fireclay brightens the walnut run and hides dishes between loads. Roll up sleeves, keep towels on a brass bar nearby, and the daily wash up feels less like a chore.
Flooring Match Guide
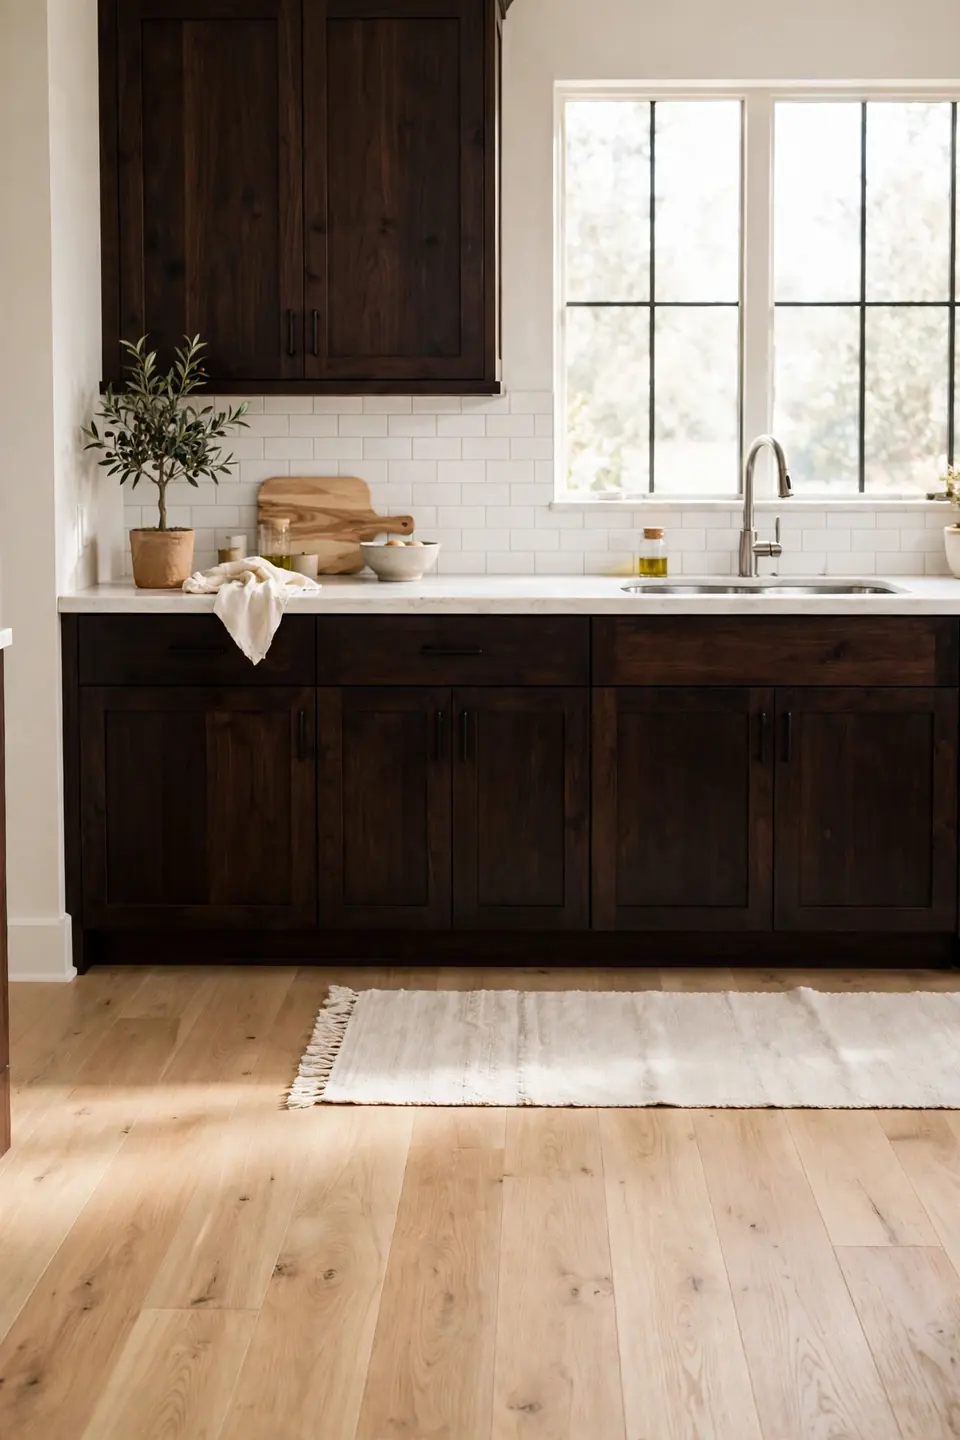
| Option | Feel | Upkeep | Best For |
|---|---|---|---|
| Light Oak | Warm, continuous | Sweep daily, refinish in years | Dark cabinet runs |
| Warm Stone Tile | Cool, grounded | Mop weekly, reseal grout yearly | Busy family kitchens |
| Dark Walnut Floor | Moody, dramatic | Shows dust, frequent sweeping | Large bright rooms |
Floors set the temperature of the whole room. Cabinets and floors in the same dark tone can feel heavy, so most walnut kitchens look best on a floor two shades lighter than the cabinets. Order large samples and lay them beside the cabinet wood at different hours before deciding. A washable cotton rug near the sink adds softness and protects the finish where water lands.
Window Dressing Rules
Do:
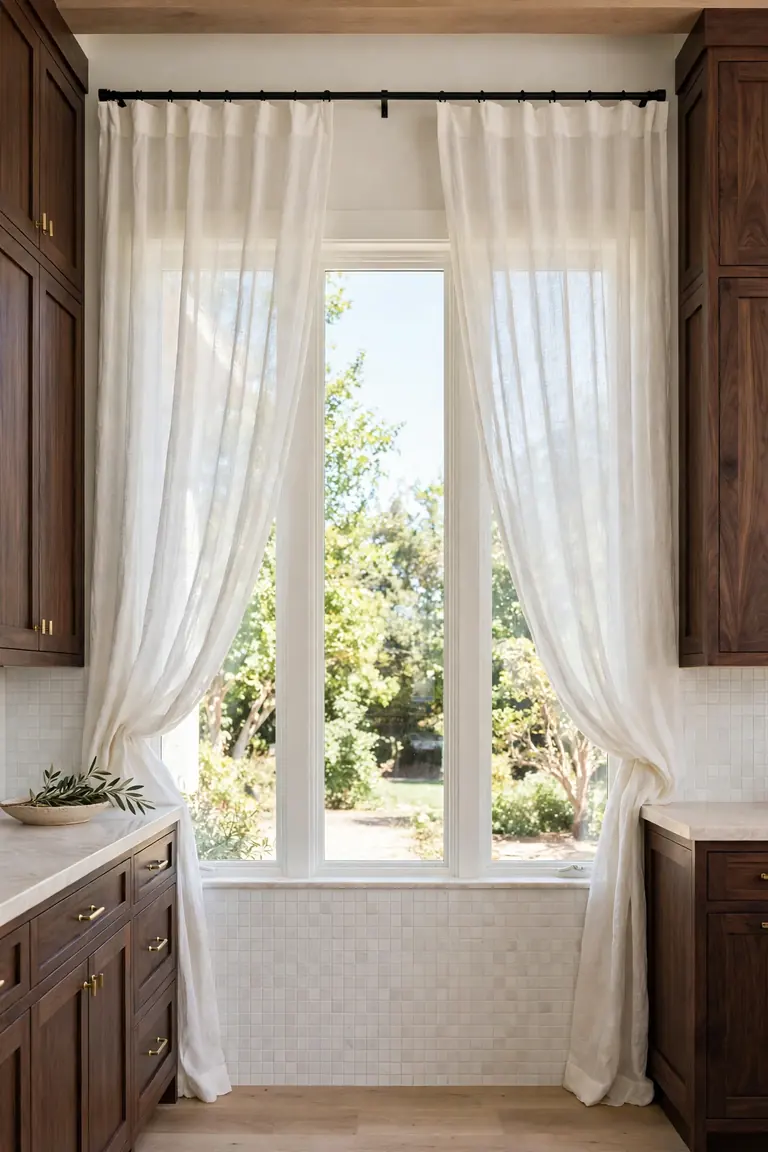
- Hang linen panels high and wide so glass stays fully clear.
- Choose warm white or flax tones that echo the cream walls.
- Use black or brass rods to repeat the hardware story.
- Let hems just kiss the sill for a tailored finish.
Don’t:
- Cover bright windows with heavy drapes that steal light.
- Pick cool gray fabric that clashes with warm wood.
- Mount rods at the frame line and shrink the window.
- Choose stiff synthetics that hang in shiny folds.
Windows are a walnut kitchen’s light source, so dress them to protect the glow, not block it. Sheer linen softens glare on the grain while keeping the view, and full length panels make modest windows feel grand. Keep one fabric through the whole room for calm.
Budget Walnut Quick Facts

Cost: Phased, with cabinets first, then counters, then fixtures
Time: One season of weekends for a full kitchen refresh
Skill Level: Mixed, DIY paint and hardware, pros for stone work
Best For: Solid but dated kitchens with good layouts
A walnut look does not demand a full gut renovation. Walnut veneer fronts on sound cabinet boxes, a bright stone look counter, and warm brass hardware deliver most of the effect for a fraction of custom work. That’s why many experts recommend phasing the spend: wood first, light surfaces second, details last. Save the photographs you love, start with the cabinets, and let each finished stage guide the next purchase with confidence.
Conclusion
Walnut rewards patience and simple choices. Start with the cabinets, add bright counters and cream walls, then repeat one warm metal until the room feels settled. Save your favorite ideas from this list to a Pinterest board, pick the three that fit your kitchen today, and begin with the change you will see every morning. I’ve seen how small, steady upgrades shift a kitchen from dated to deeply personal. The best black walnut kitchen interior inspiration is the room that ends up looking like you, only warmer, calmer, and easier to cook in every single day.