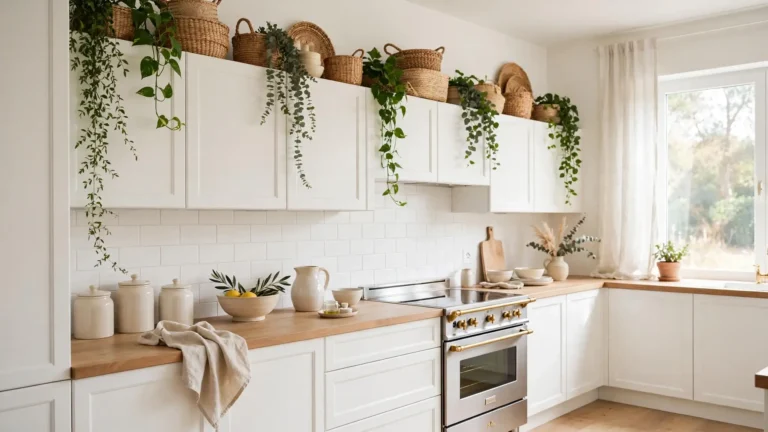
24 Kitchen Counter Organization Ideas to Clear the Clutter
Cluttered counters make even a pretty kitchen feel stressful. These kitchen counter organization ideas cleared my own counters in one weekend. I used to lose my favorite spatula under piles of mail and random gadgets. Now every item has a zone, and cooking feels calm again. In my experience, the counter is the first surface that shows chaos, and the easiest one to fix.
The trick is treating your counter like prime real estate, not a storage unit. Every square inch should earn its place. Below you will find 24 practical ways to corral appliances, hide cords, and group daily items into neat zones. For more small space help, see our small kitchen storage ideas. Let us start clearing.
Tiered Tray Zones

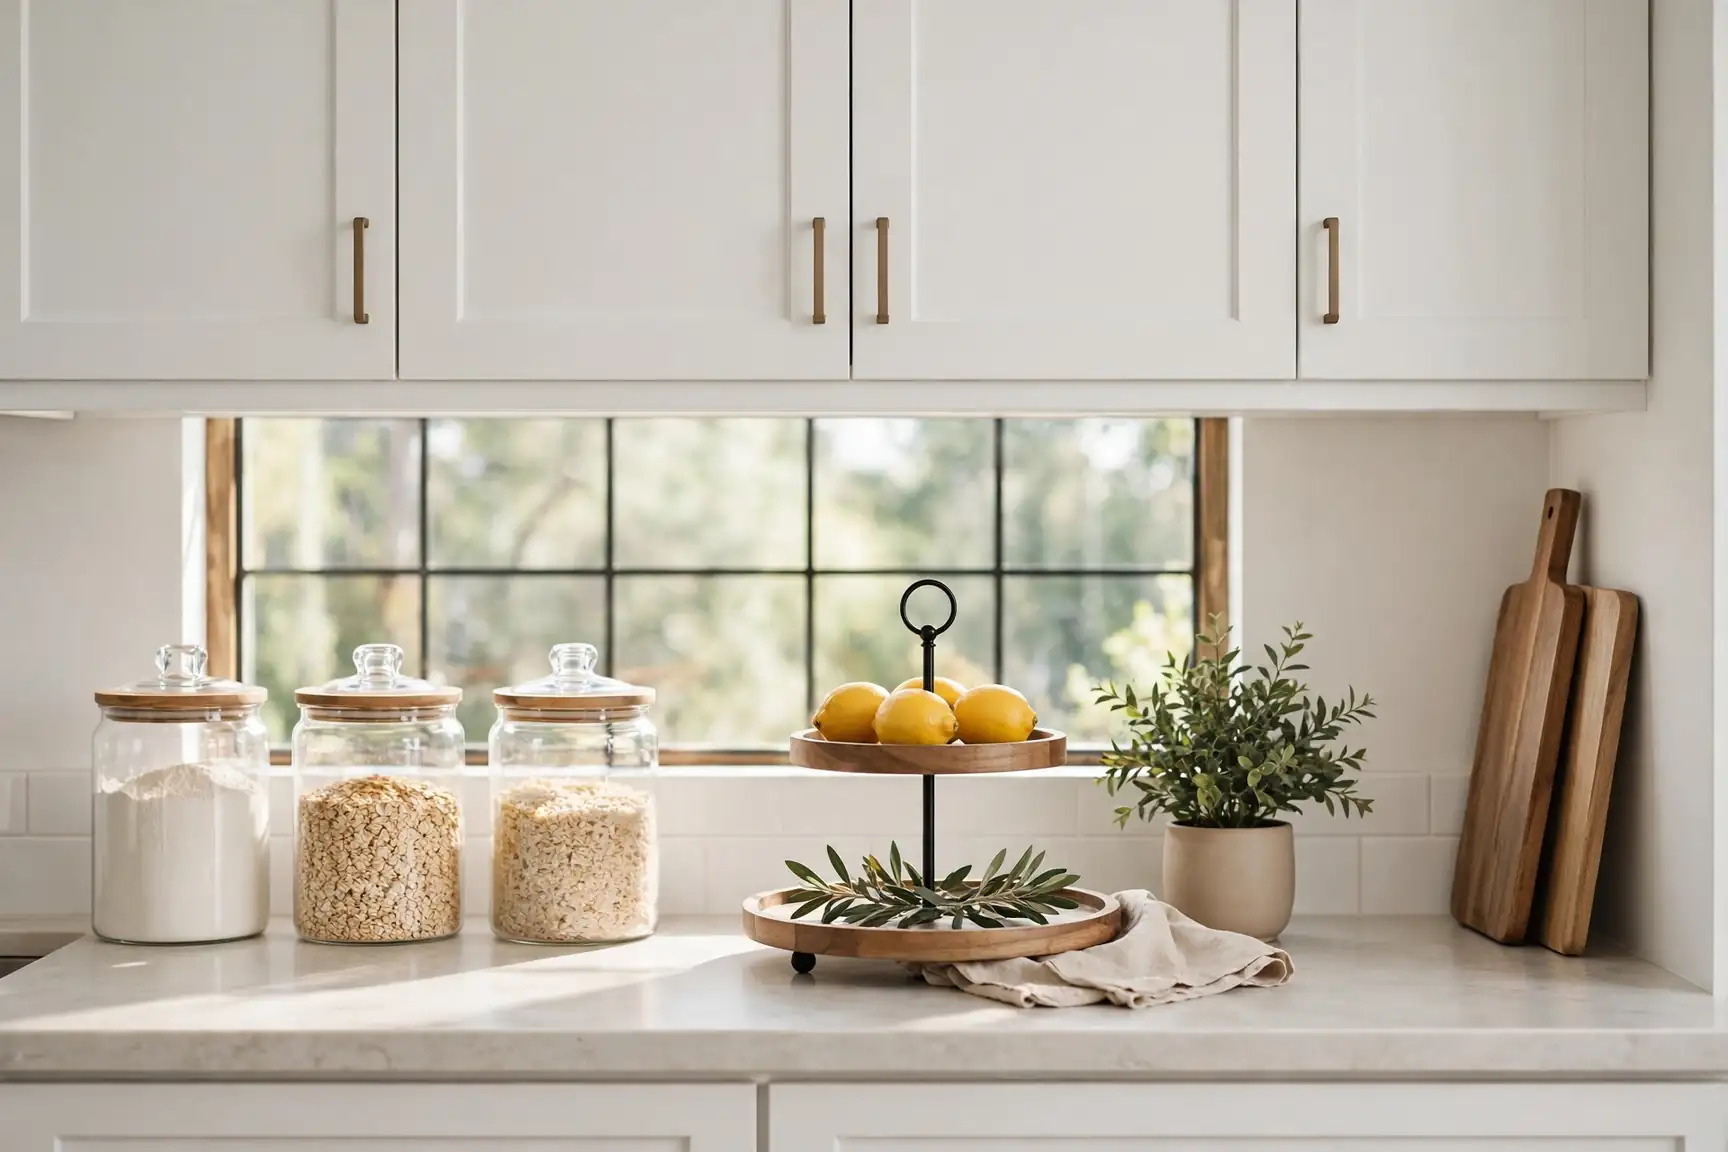
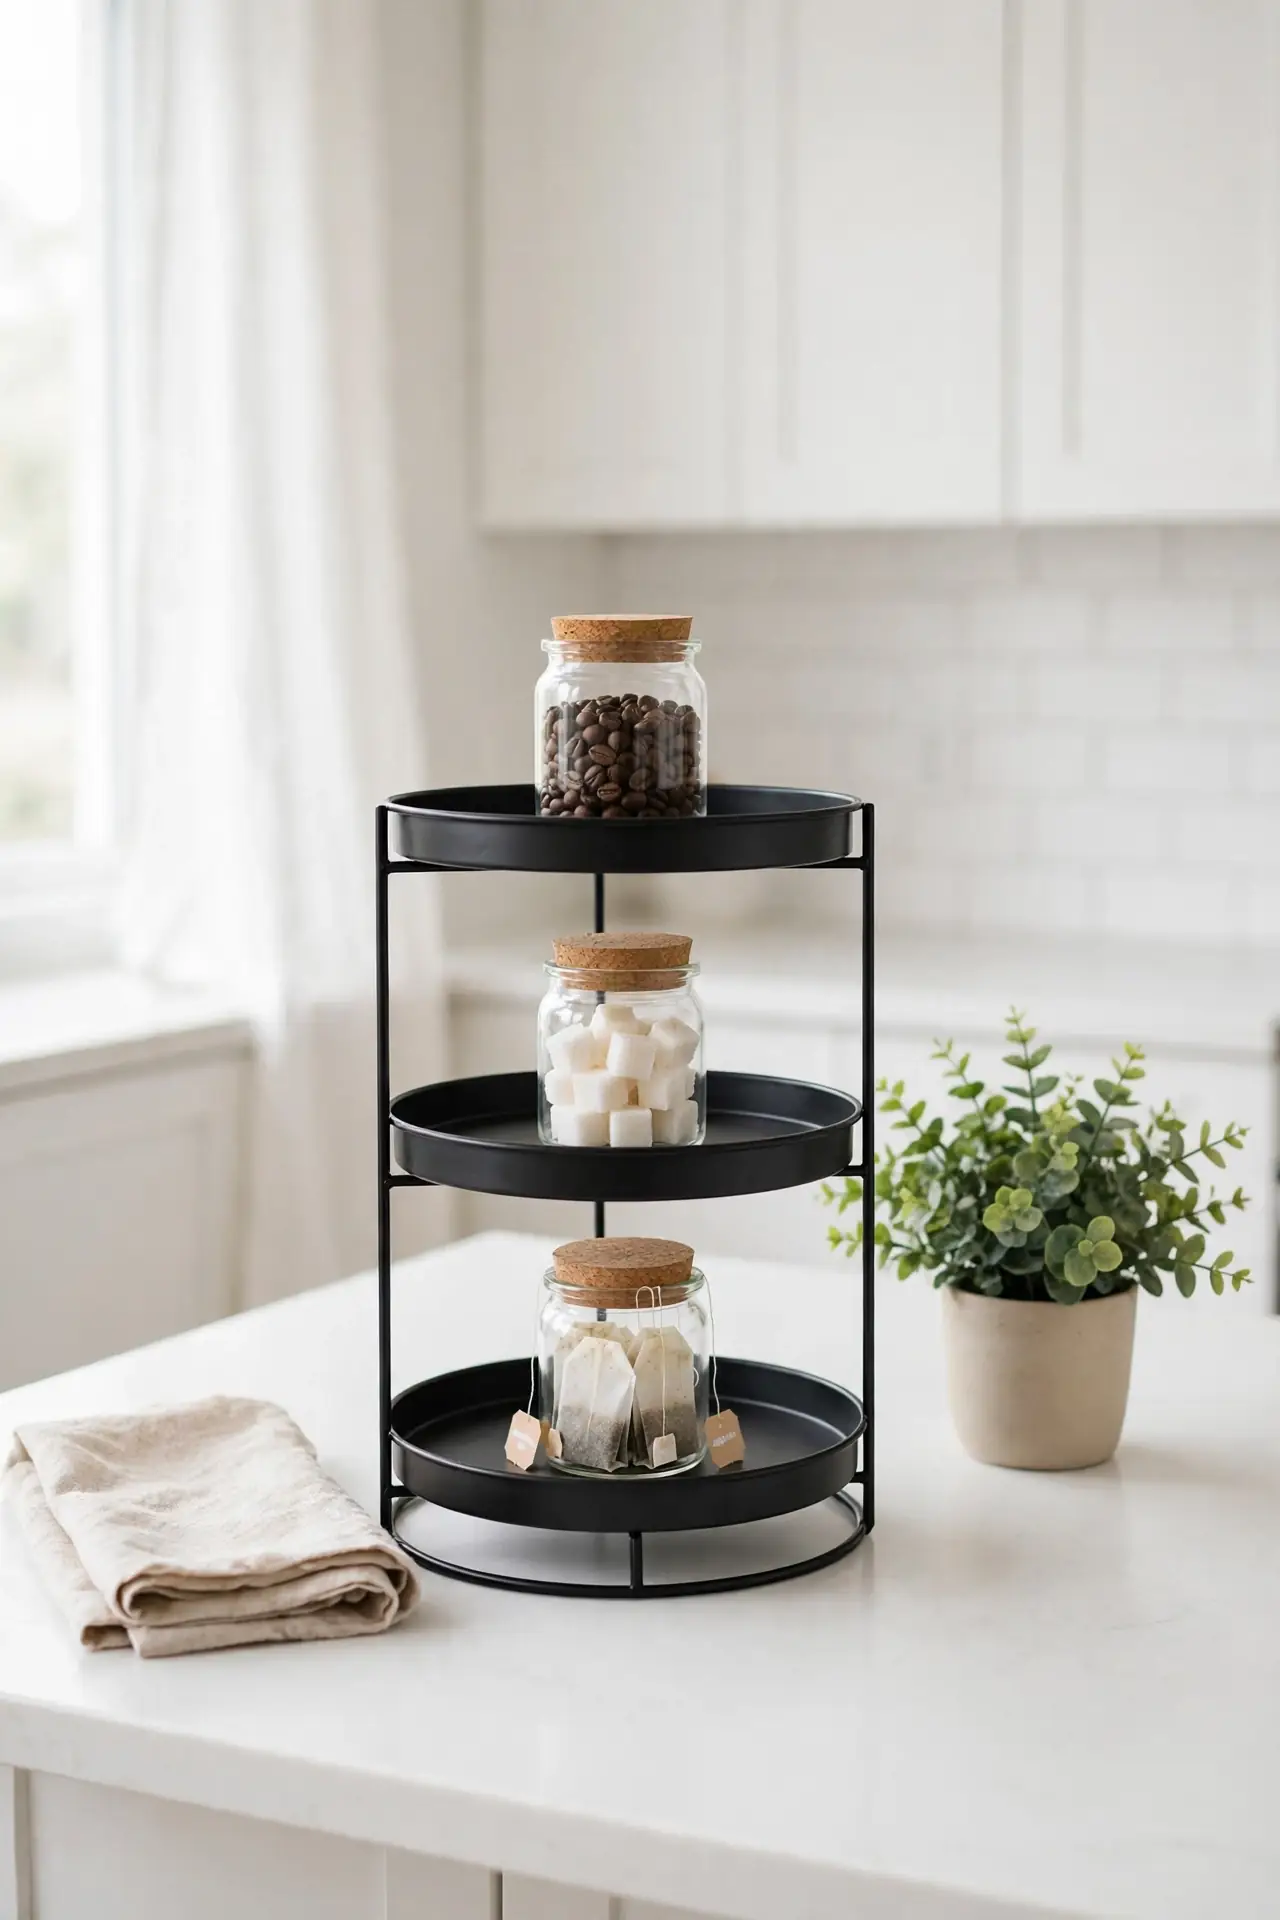
A tiered tray turns one square foot of counter into three levels of storage. Place your daily coffee supplies on the bottom tier, cooking oils in the middle, and small decor on top. I grouped my salt, pepper, and olive oil on one tray near the stove, and meal prep got noticeably faster. The vertical design keeps everything visible without spreading across the counter.
Choose a tray with a handle so you can lift the whole station when you need full counter space. Wood or metal trays wipe clean in seconds. That is why many experts recommend corralling items instead of scattering them. One tray, one zone, zero clutter.
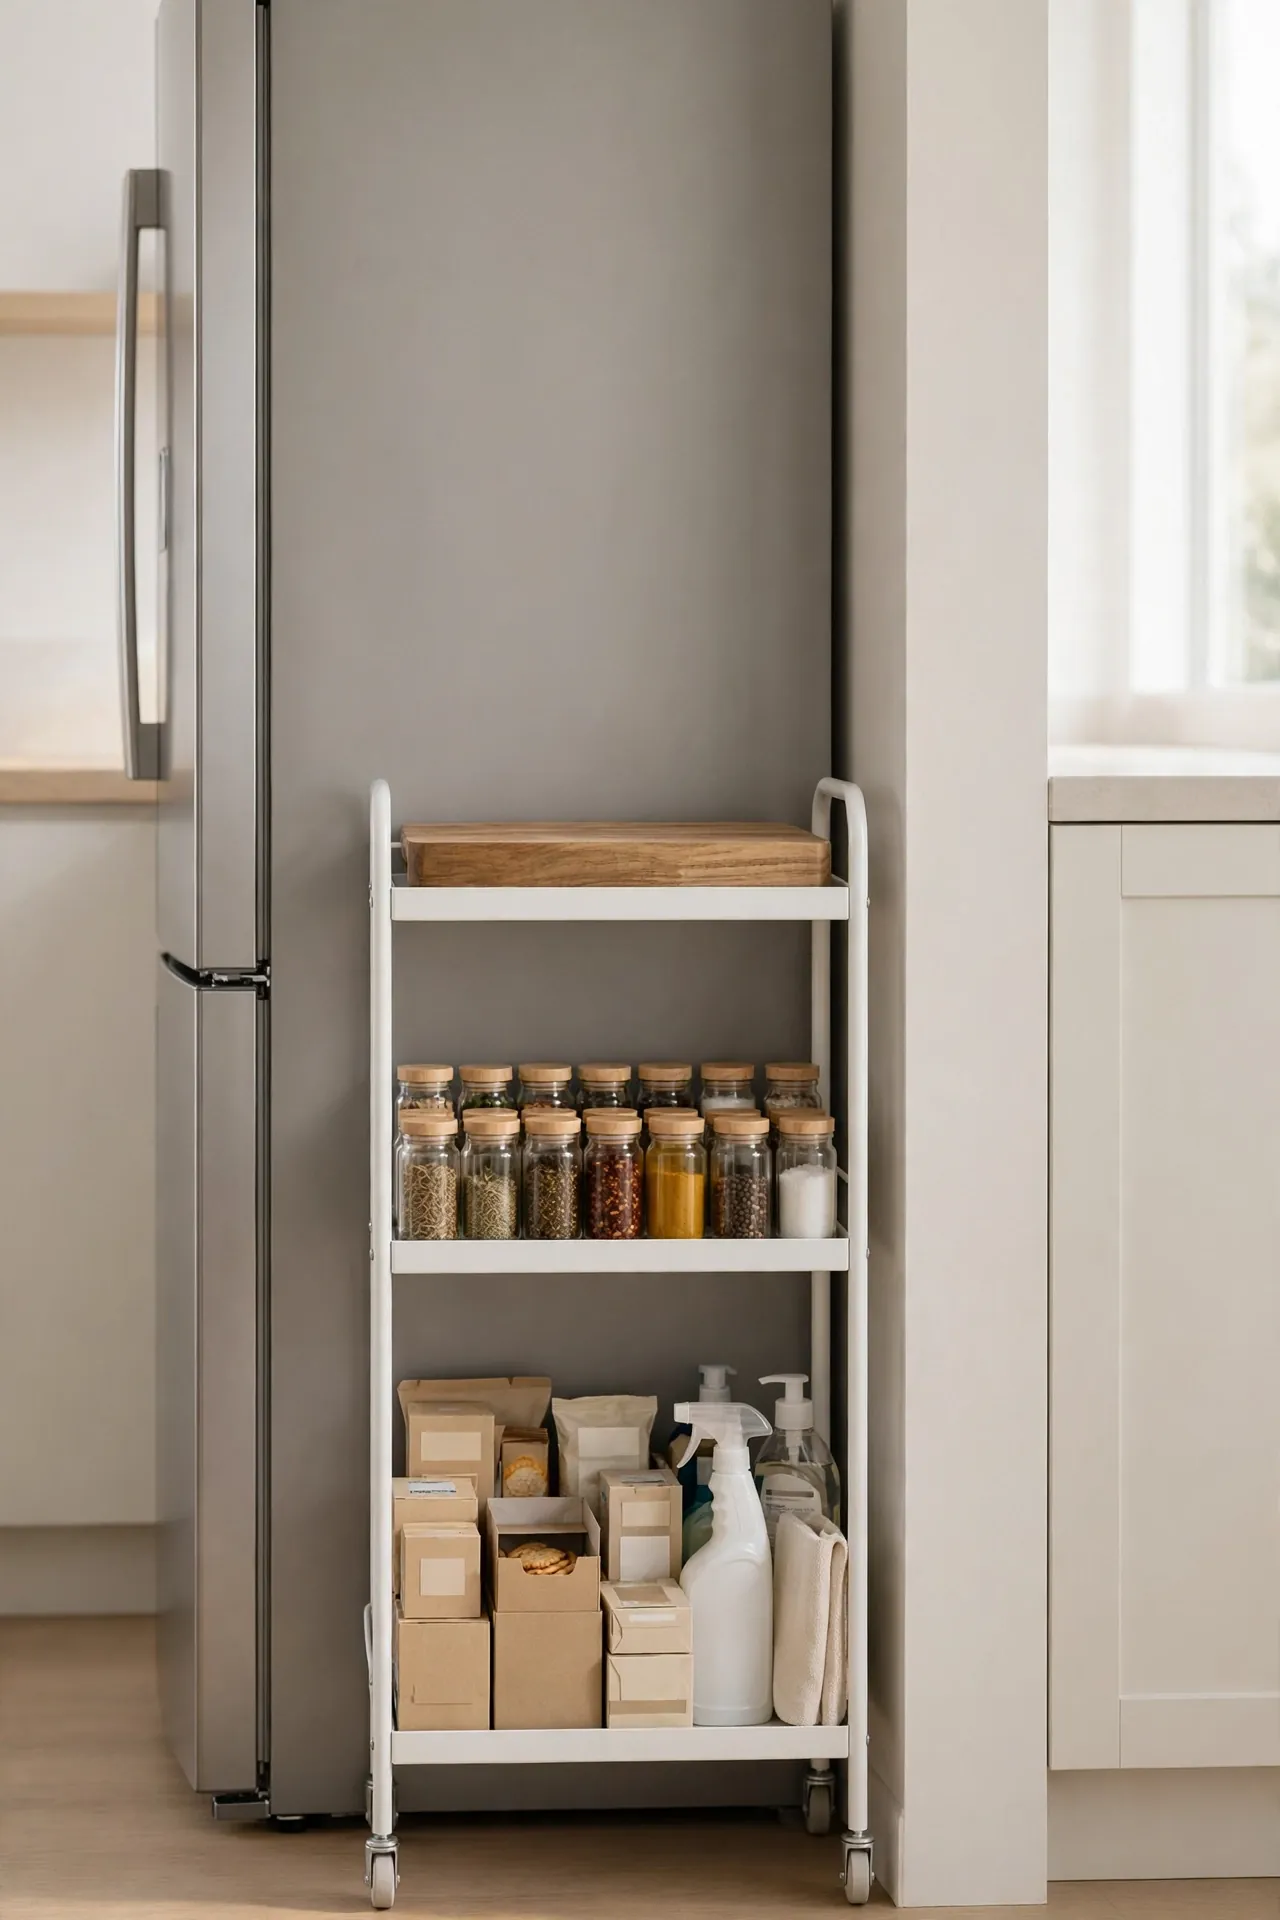
Rolling Cart Storage
- A slim cart slides into the gap between fridge and wall, holding spices, snacks, or cleaning supplies.
- Lock the wheels once it is in place, then release them when you need to clean behind it.
- Pick a cart with three tiers and label each shelf so everyone puts items back.
- Top it with a cutting board for bonus prep space that doubles as a serving station.
- Metal carts wipe clean and resist kitchen moisture better than wood ones.
I have seen this work well in many cases where counters overflow but cabinets stay full. The cart acts like a bonus cabinet on wheels. Measure your gap before buying so it fits on the first try without returns. Keep heavy items low so it rolls smoothly and never tips.
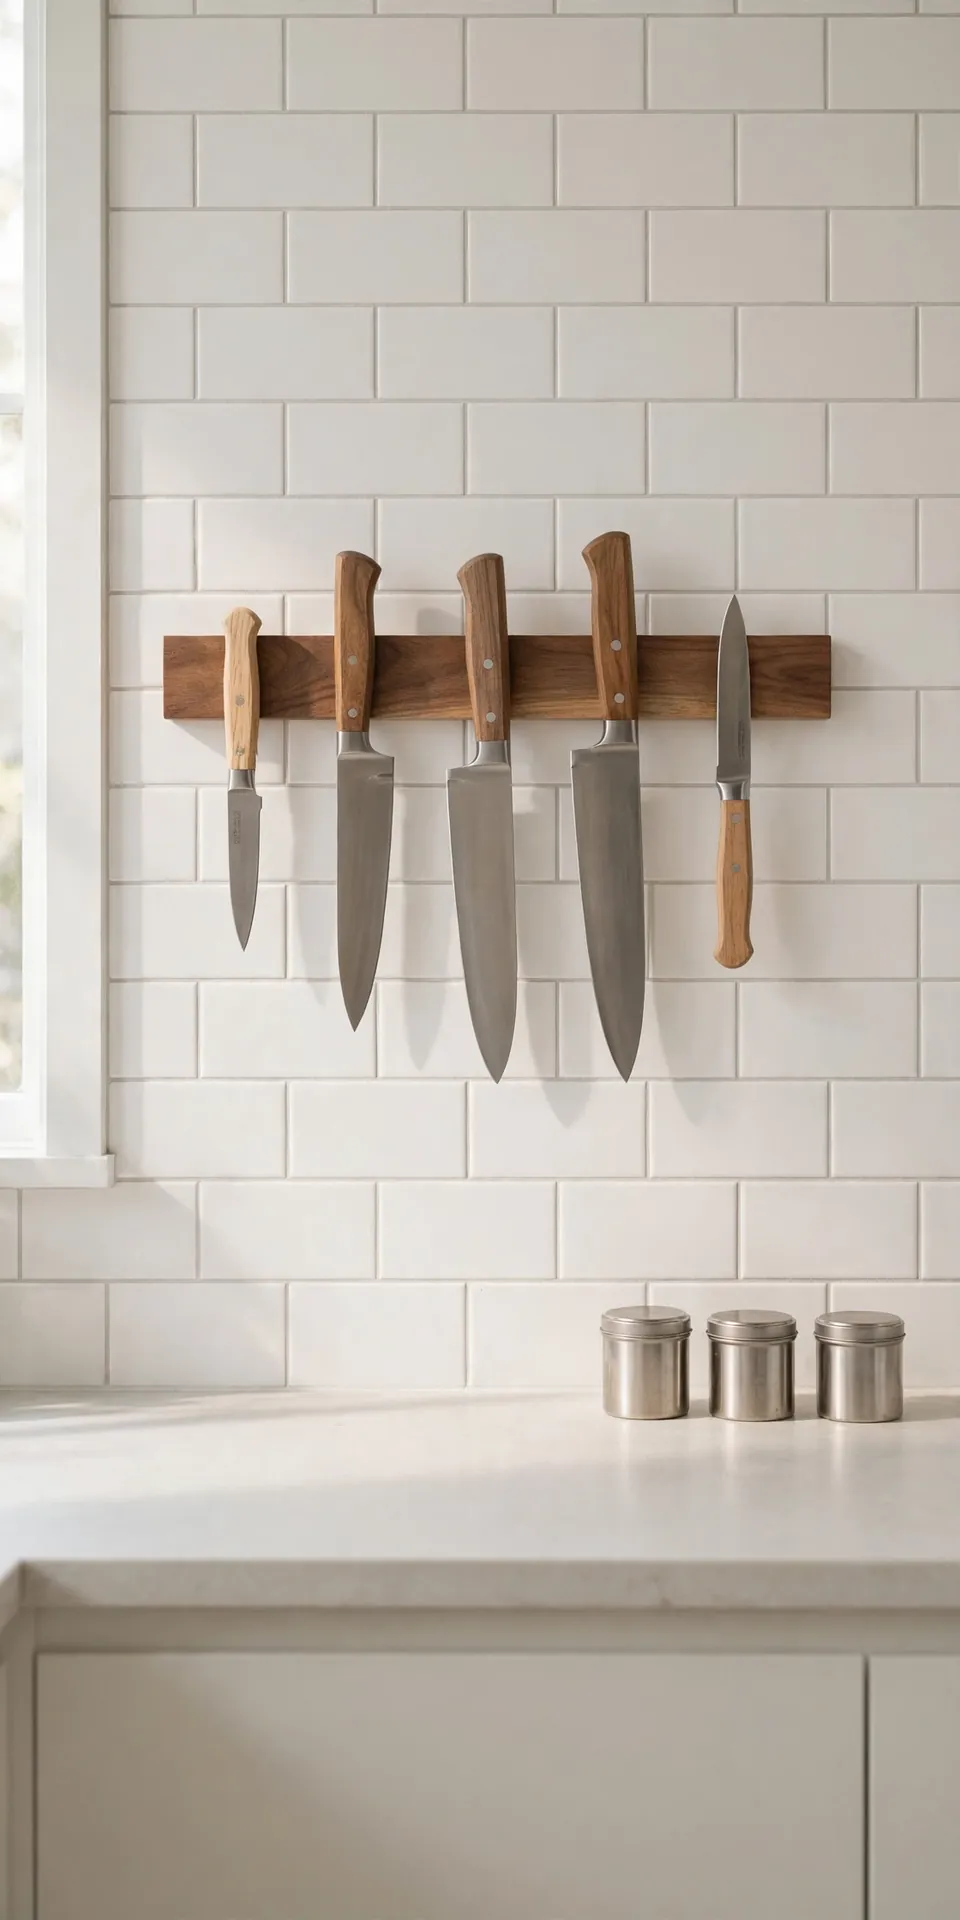
Magnetic Knife Strip
Quick Tip: Mount the strip on the backsplash or the side of a cabinet at eye level. Keep the blade side facing up when placing knives so the edge never drags across the magnet. Choose a strip at least 16 inches long so your full knife set fits. Look for a hardwood strip that matches your kitchen tones.
Freeing your knife block opens real counter space. A magnetic strip holds knives, scissors, and small metal spice tins. I mounted mine inside a cabinet door to keep blades away from little hands. The strip keeps edges sharper since blades never bang around in a drawer. This small change makes the whole counter feel calmer.
Corner Shelf Stacks
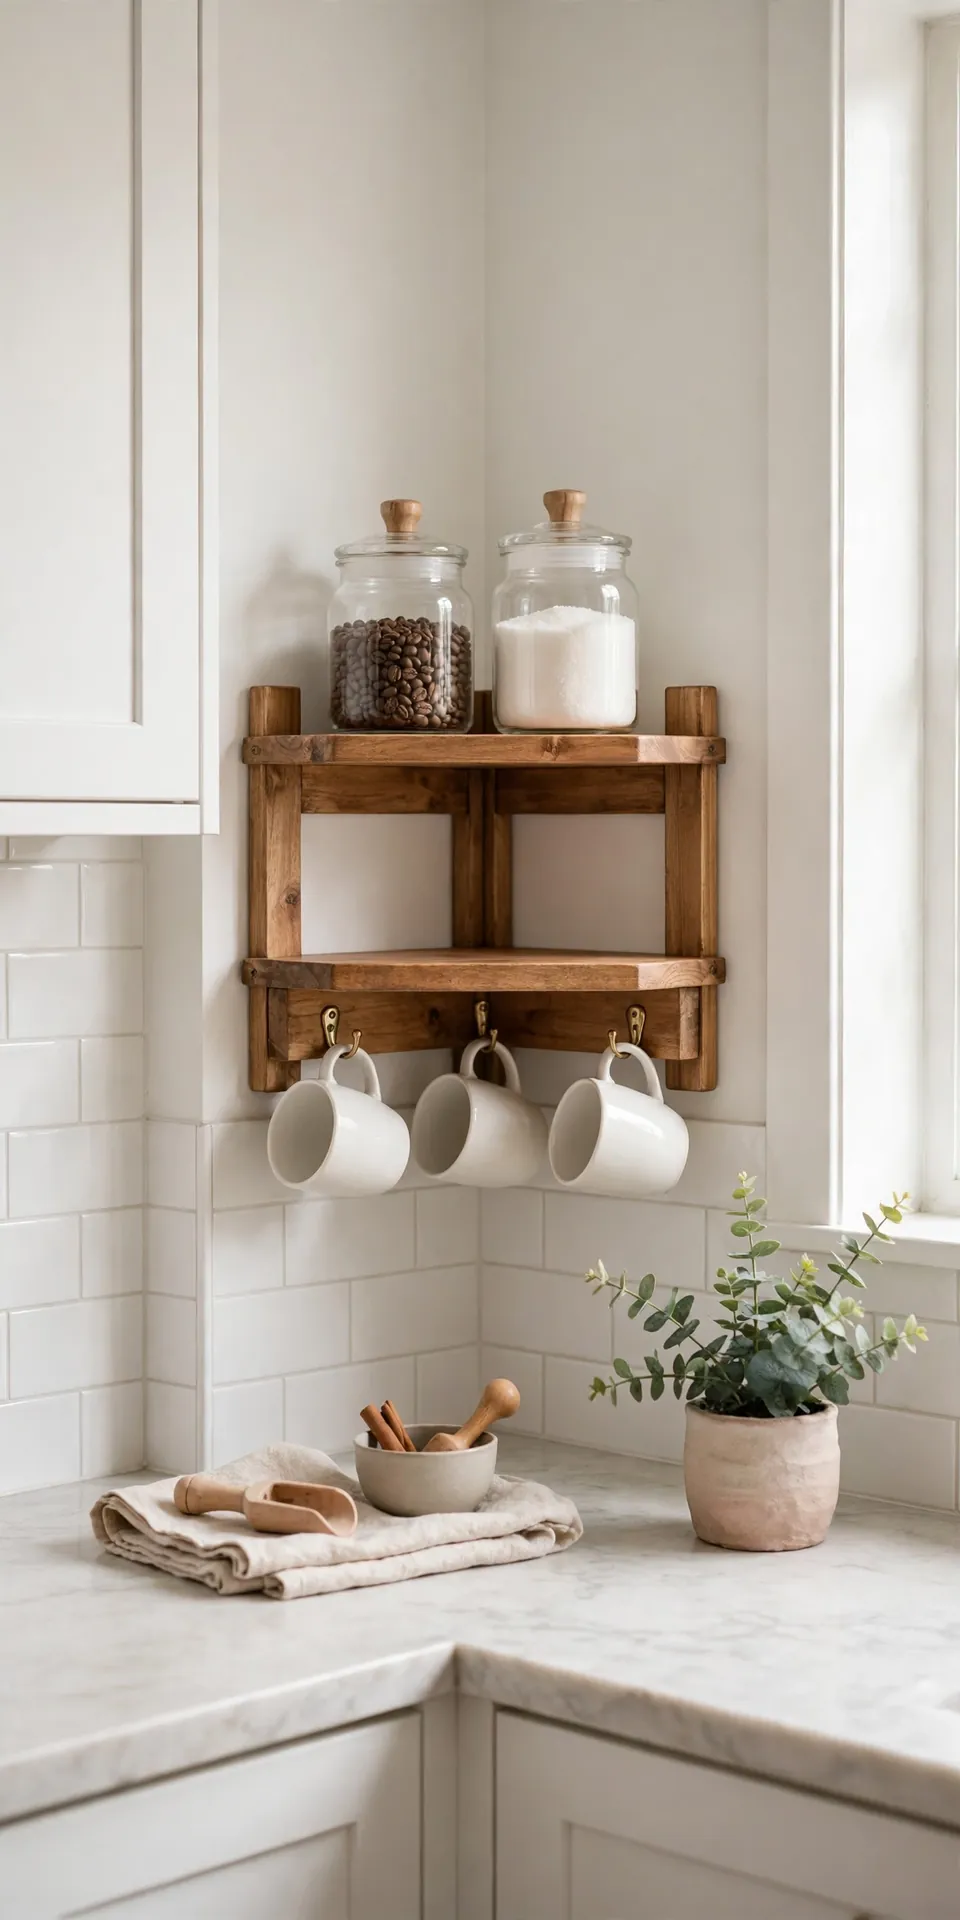
BEFORE: My corner counter used to collect random jars, dead batteries, and mail. Every item landed there because no other spot claimed it. The corner became a black hole where things disappeared.
AFTER: Now a small two tier corner shelf holds my coffee station neatly. Mugs hang from hooks underneath while sugar and filters sit on top. The corner finally works for the kitchen instead of against it.
Corners waste the most counter space in almost every kitchen. A triangular or L shaped shelf turns dead space into prime storage. Measure your corner before buying so the shelf sits flush. This single addition freed nearly two feet of my counter. Start with the corner and watch the rest of the counter follow.
Under-Cabinet Hooks
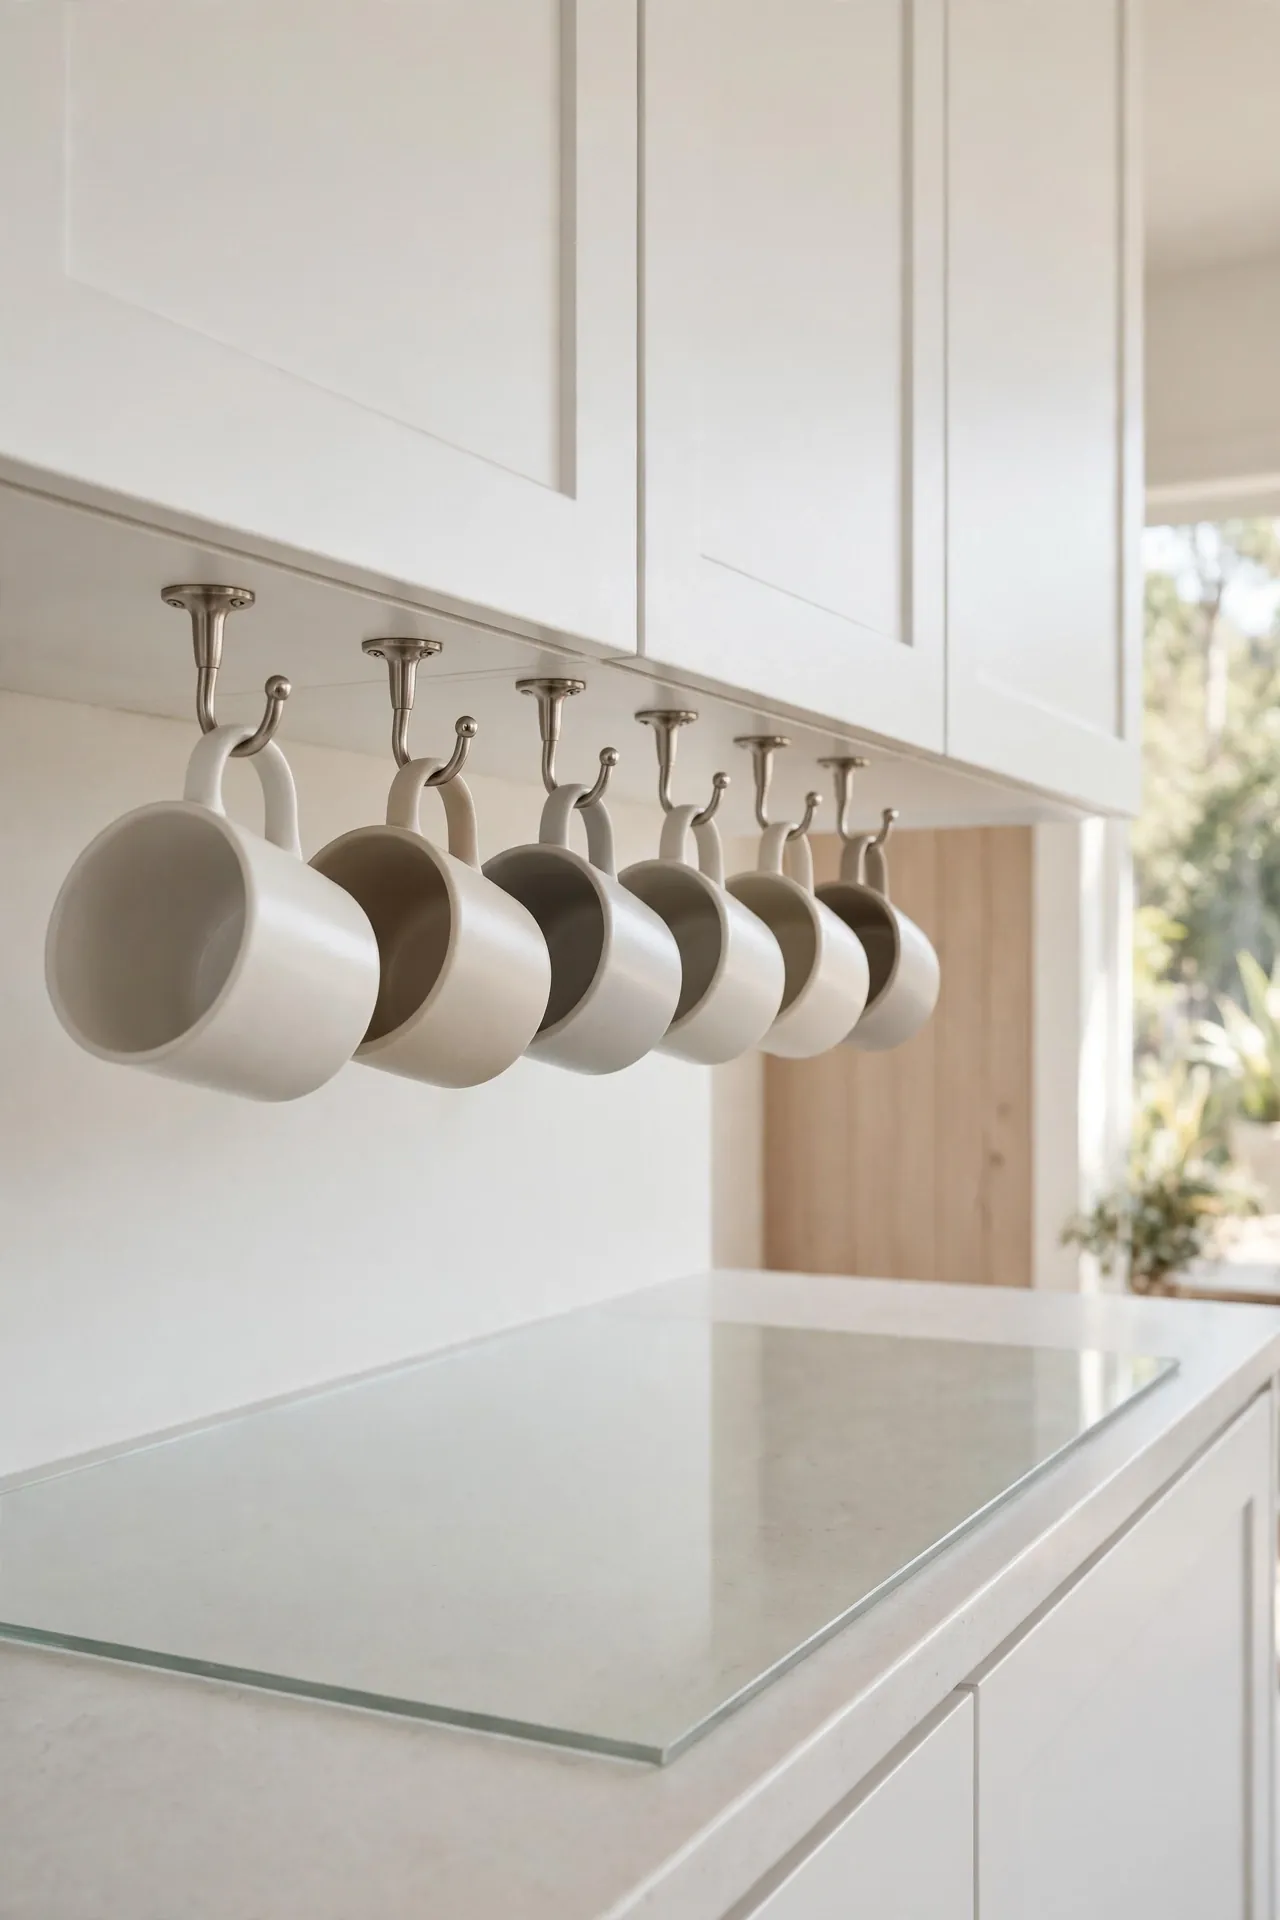
- Screw small cup hooks into the underside of your upper cabinets, spacing them six inches apart.
- Hang mugs, measuring cups, or small utensils from each hook for instant vertical storage.
- Keep heavier items near the cabinet edge where the wood is strongest.
- Add a strip of felt under the hooks if your mugs clink too loudly.
This trick costs under ten dollars and takes twenty minutes. The space under cabinets usually sits empty and wasted. I hung six mugs there and freed a whole shelf in my cabinet. Guests always ask about this clever little upgrade. It works in rentals too since the holes hide completely when you move.
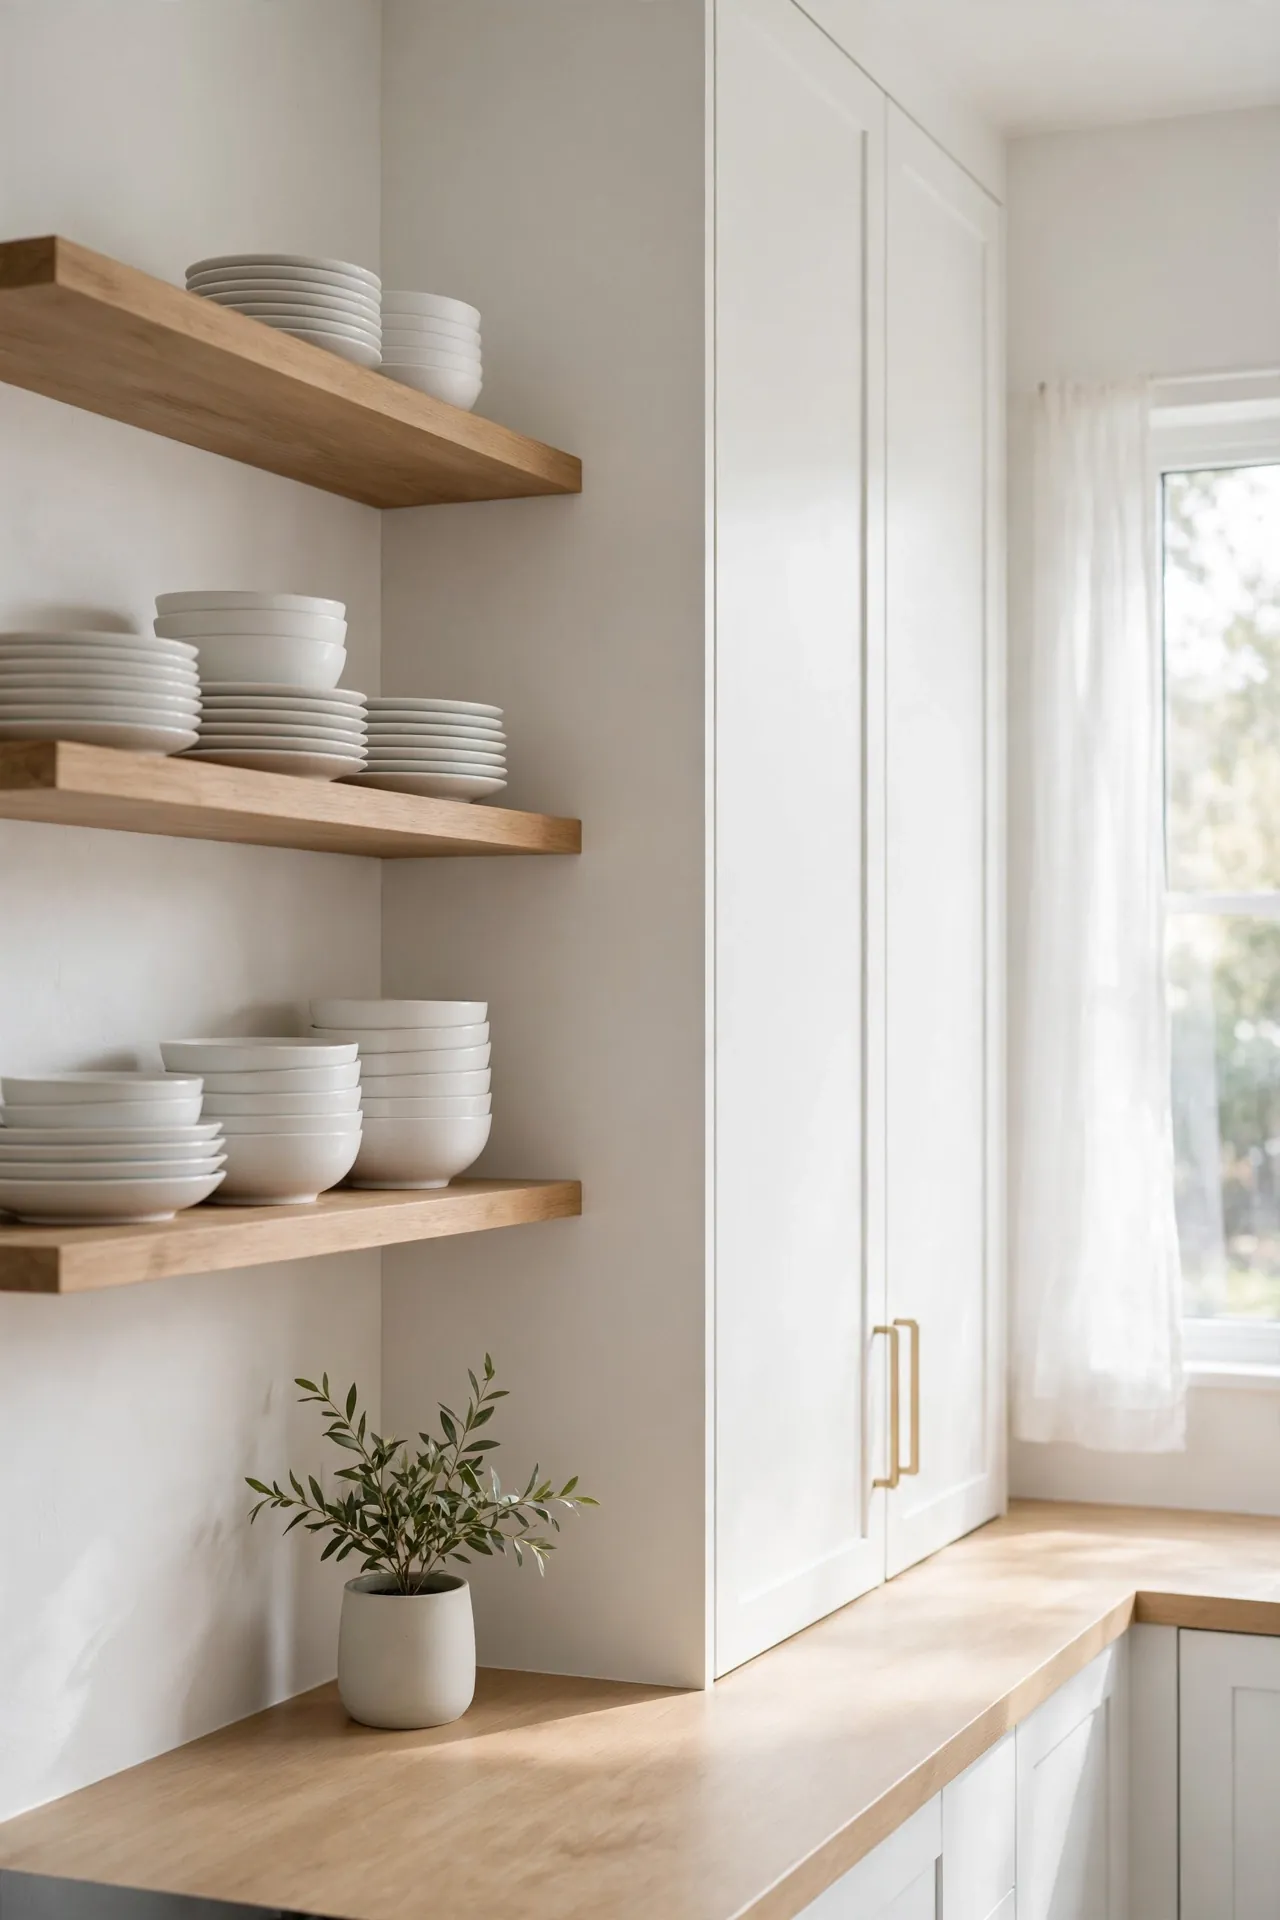
Open vs Closed Storage
| Option | Best For | Watch Out |
| Open shelving | Daily dishes and pretty items | Dust builds up fast |
| Closed cabinets | Hiding clutter and bulk items | Things get forgotten inside |
| Glass front doors | Showing off while staying clean | Needs regular wiping |
| Floating shelves | Spices and small plants | Limited weight capacity |
| Appliance garage | Hiding toasters and mixers | Takes up cabinet space |
The right mix depends on your habits and your dust tolerance. I keep daily dishes open and hide the random gadgets behind doors. Open storage forces you to stay tidy, which keeps counters clear. Pick what matches how you live. Your counters will thank you every single morning.
Appliance Garage Doors
DO:
- Measure your tallest appliance before buying or building the garage.
- Add an outlet inside so appliances stay plugged in and ready.
- Choose a roll up door if you lack space for a swinging one.
DON’T:
- Do not trap heat inside; leave a small vent gap at the back.
- Do not store the coffee maker where steam hits wood directly.
- Do not forget to wipe crumbs from the tracks monthly.
An appliance garage hides the toaster, blender, and mixer behind one neat door. Your counter instantly looks twice as big. I built mine from a single cabinet box in one afternoon. The doors close and the visual noise disappears completely. It is the fastest way to fake a minimalist kitchen.
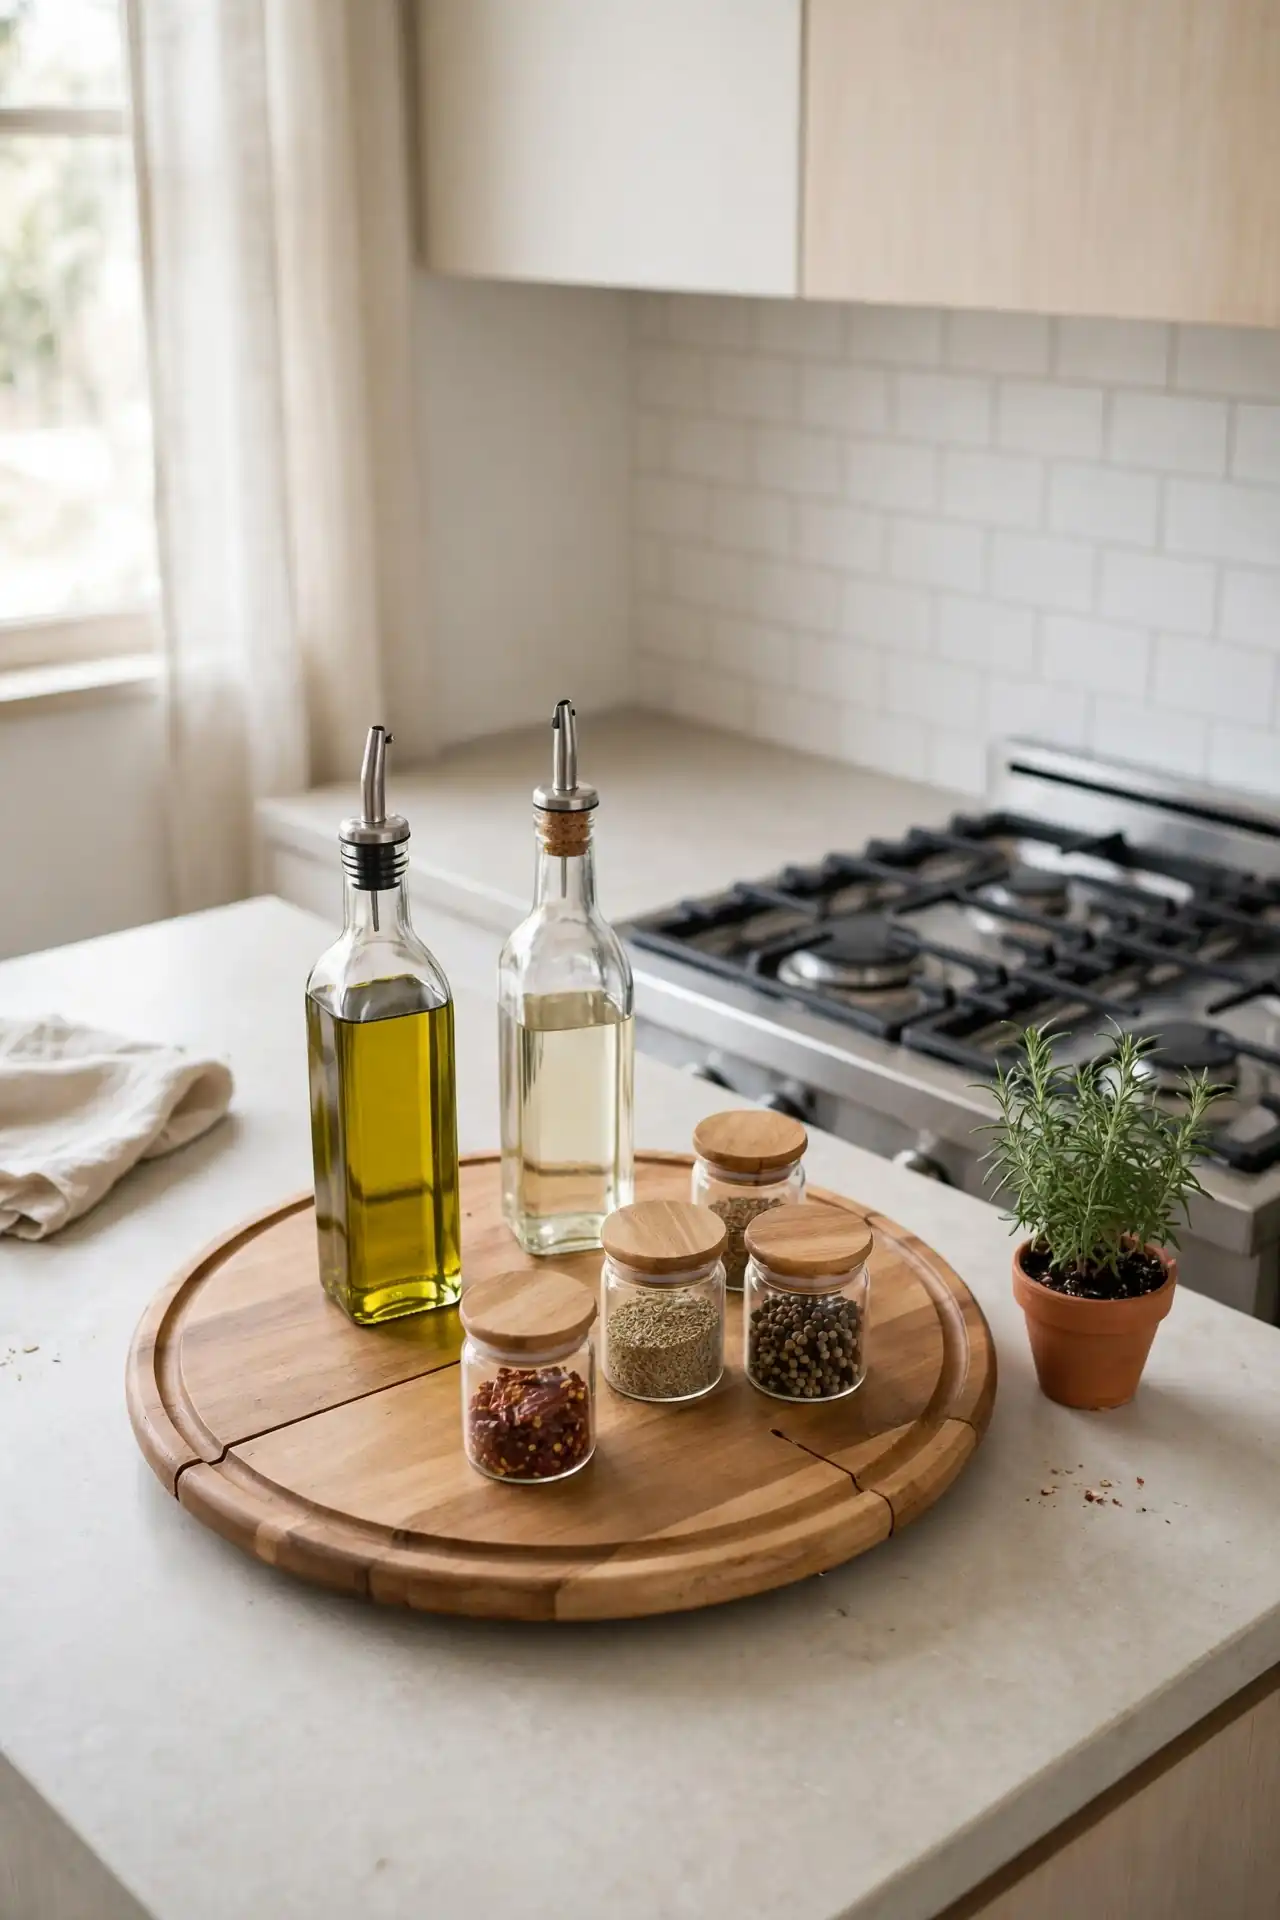
Lazy Susan Turntable
Cost: Under $20 | Time: Ten minutes | Skill Level: Beginner | Best For: Corner counters
A turntable ends the era of lost spices in deep corners. Spin it and every bottle comes to you. I keep oils, vinegars, and soy sauce on mine right by the stove. No more knocking over jars to reach the back row. This ten dollar fix saves daily frustration.
Choose a turntable with a raised edge so bottles never slide off during a fast spin. Non slip bases grip the counter without any tools. I have noticed that kitchens with turntables stay tidier because putting things back takes one second.
Wall-Mounted Rails
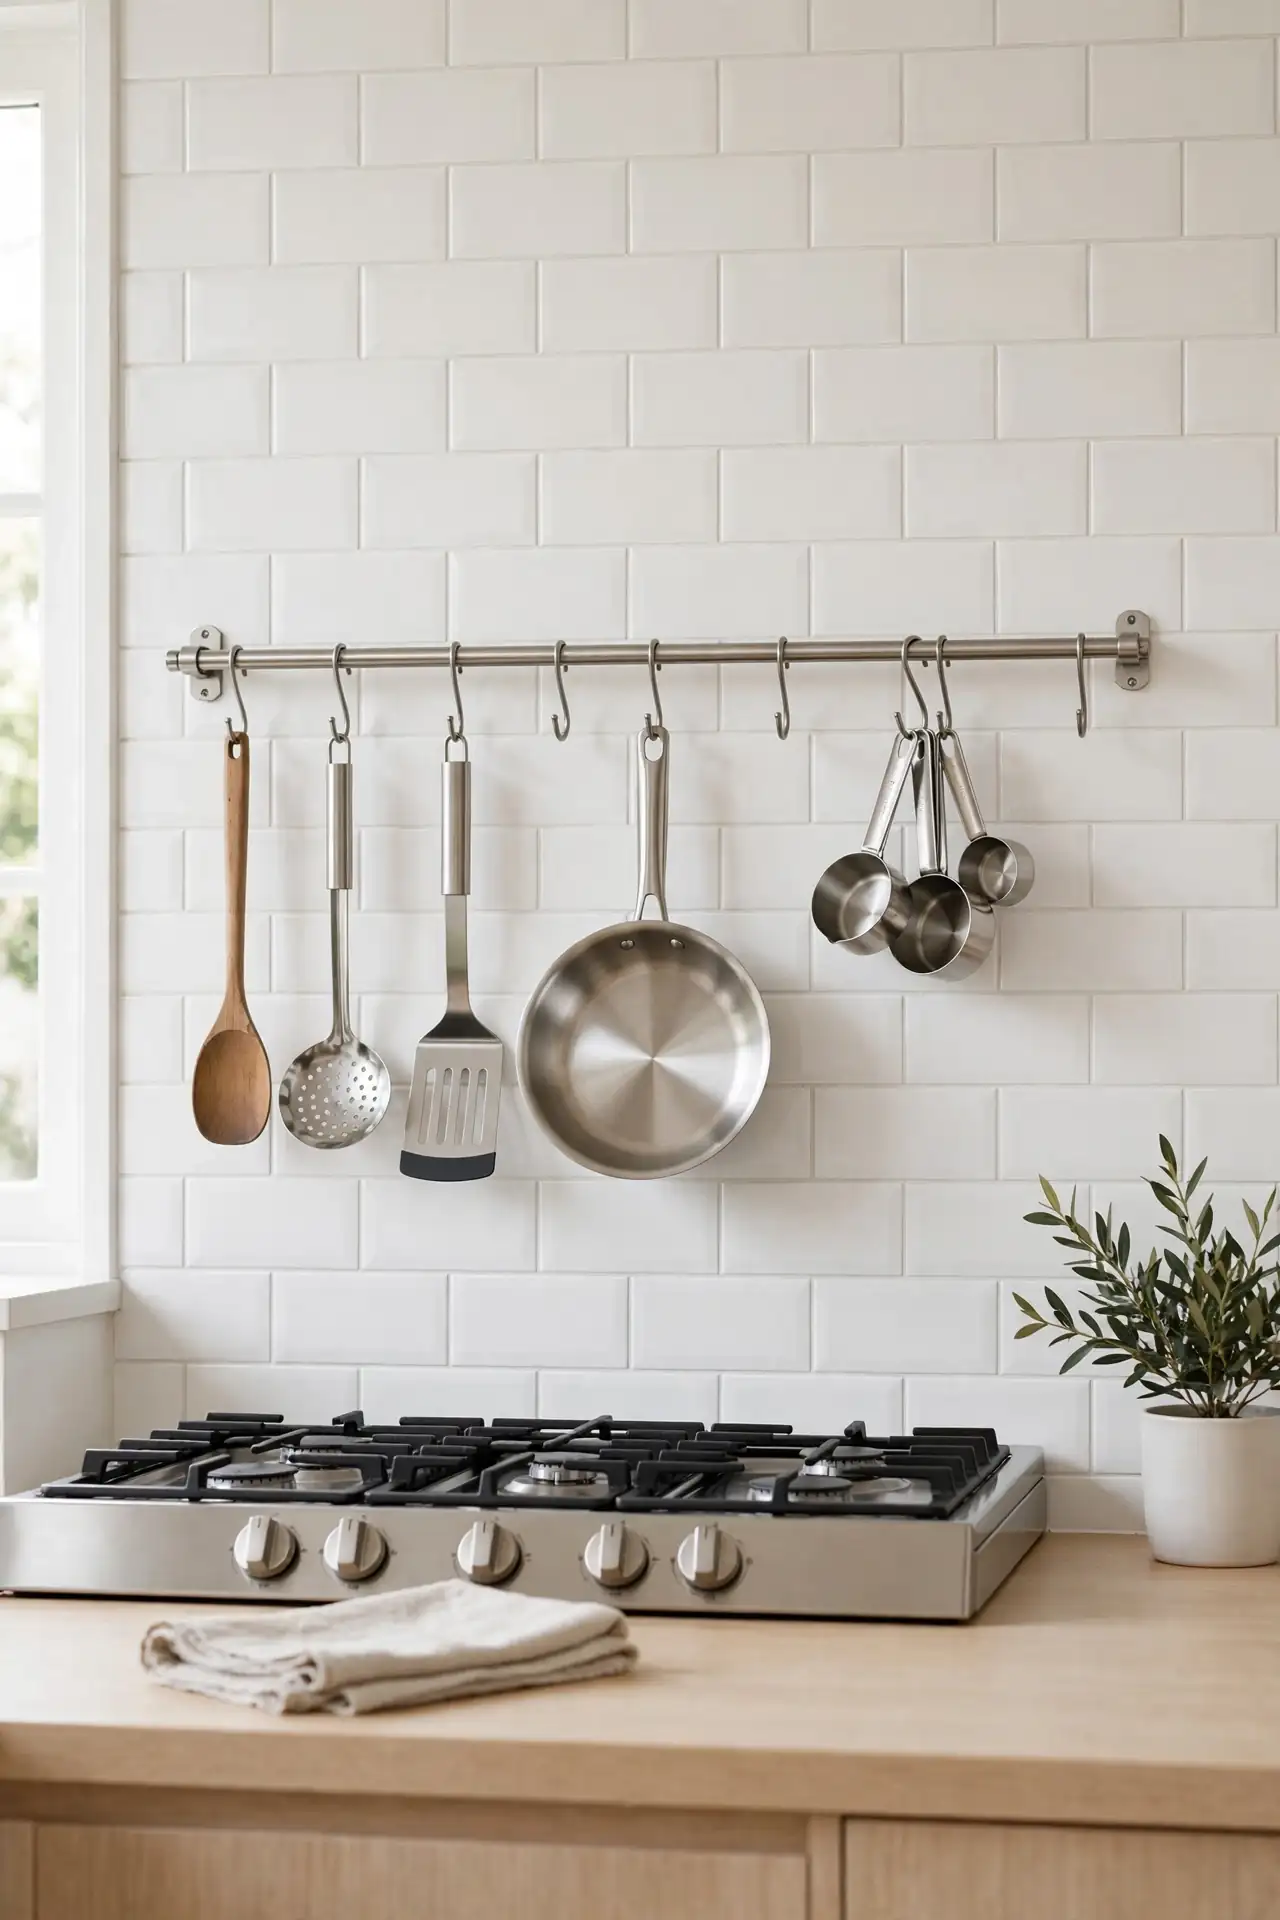
A stainless rail on the backsplash holds hooks for utensils, pans, and mugs. Everything hangs within arm’s reach of the stove. I freed two drawers the day I installed mine. The rail also adds a professional kitchen look that guests always compliment. Choose a rail that matches your faucet finish for a pulled together feel.
Install the rail into wall studs or use strong toggle bolts for heavy pans. Space hooks two inches apart so items never tangle. Wipe the rail weekly since cooking grease settles on everything. This is one of the simplest upgrades with the biggest visual payoff. Hang only daily tools so the rail never looks crowded.
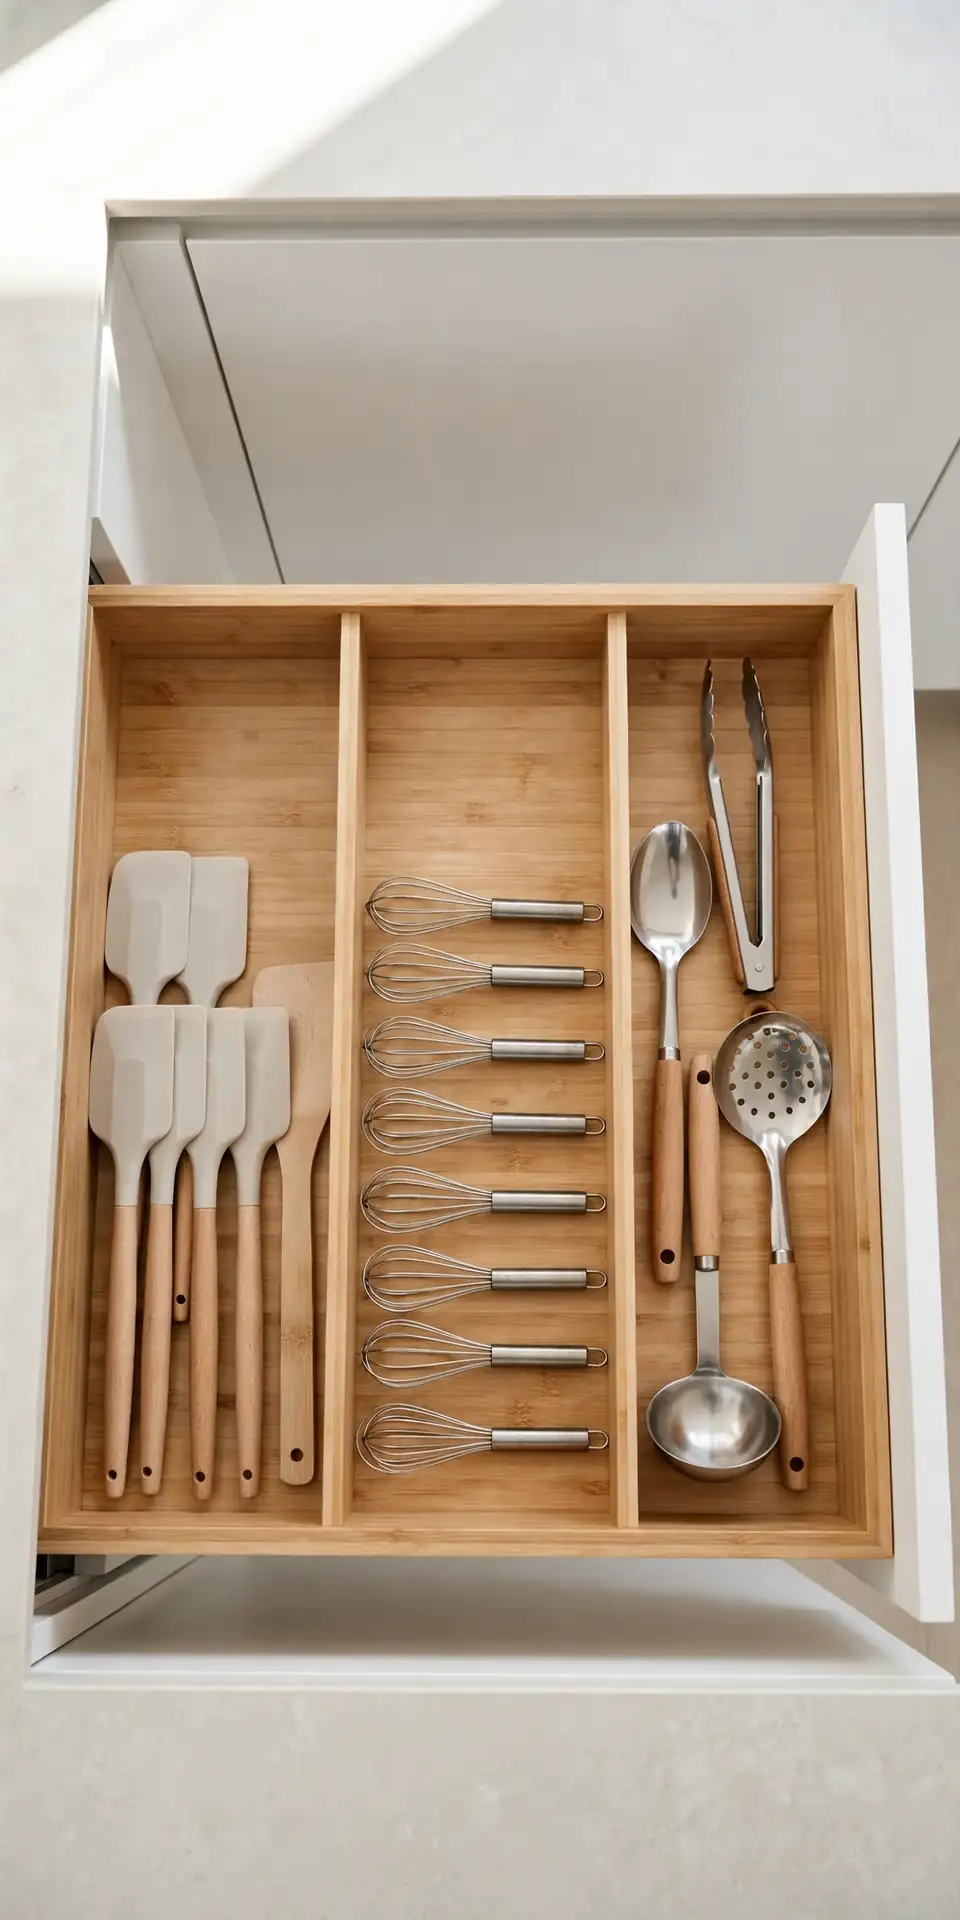
Slim Drawer Dividers
- Adjustable dividers turn one messy drawer into neat rows for utensils and tools.
- Bamboo dividers look warm and wipe clean with a damp cloth.
- Measure your drawer first, then buy dividers that expand to fit.
- Group similar items together so you always know where things live.
- Deep drawers need taller dividers so items never topple over the edges.
Drawers swallow small tools the moment you stop organizing them. Dividers create a home for every spatula and peeler. I labeled each section in my main drawer and cooking got faster overnight. Take ten minutes to set them up and enjoy the calm for years.
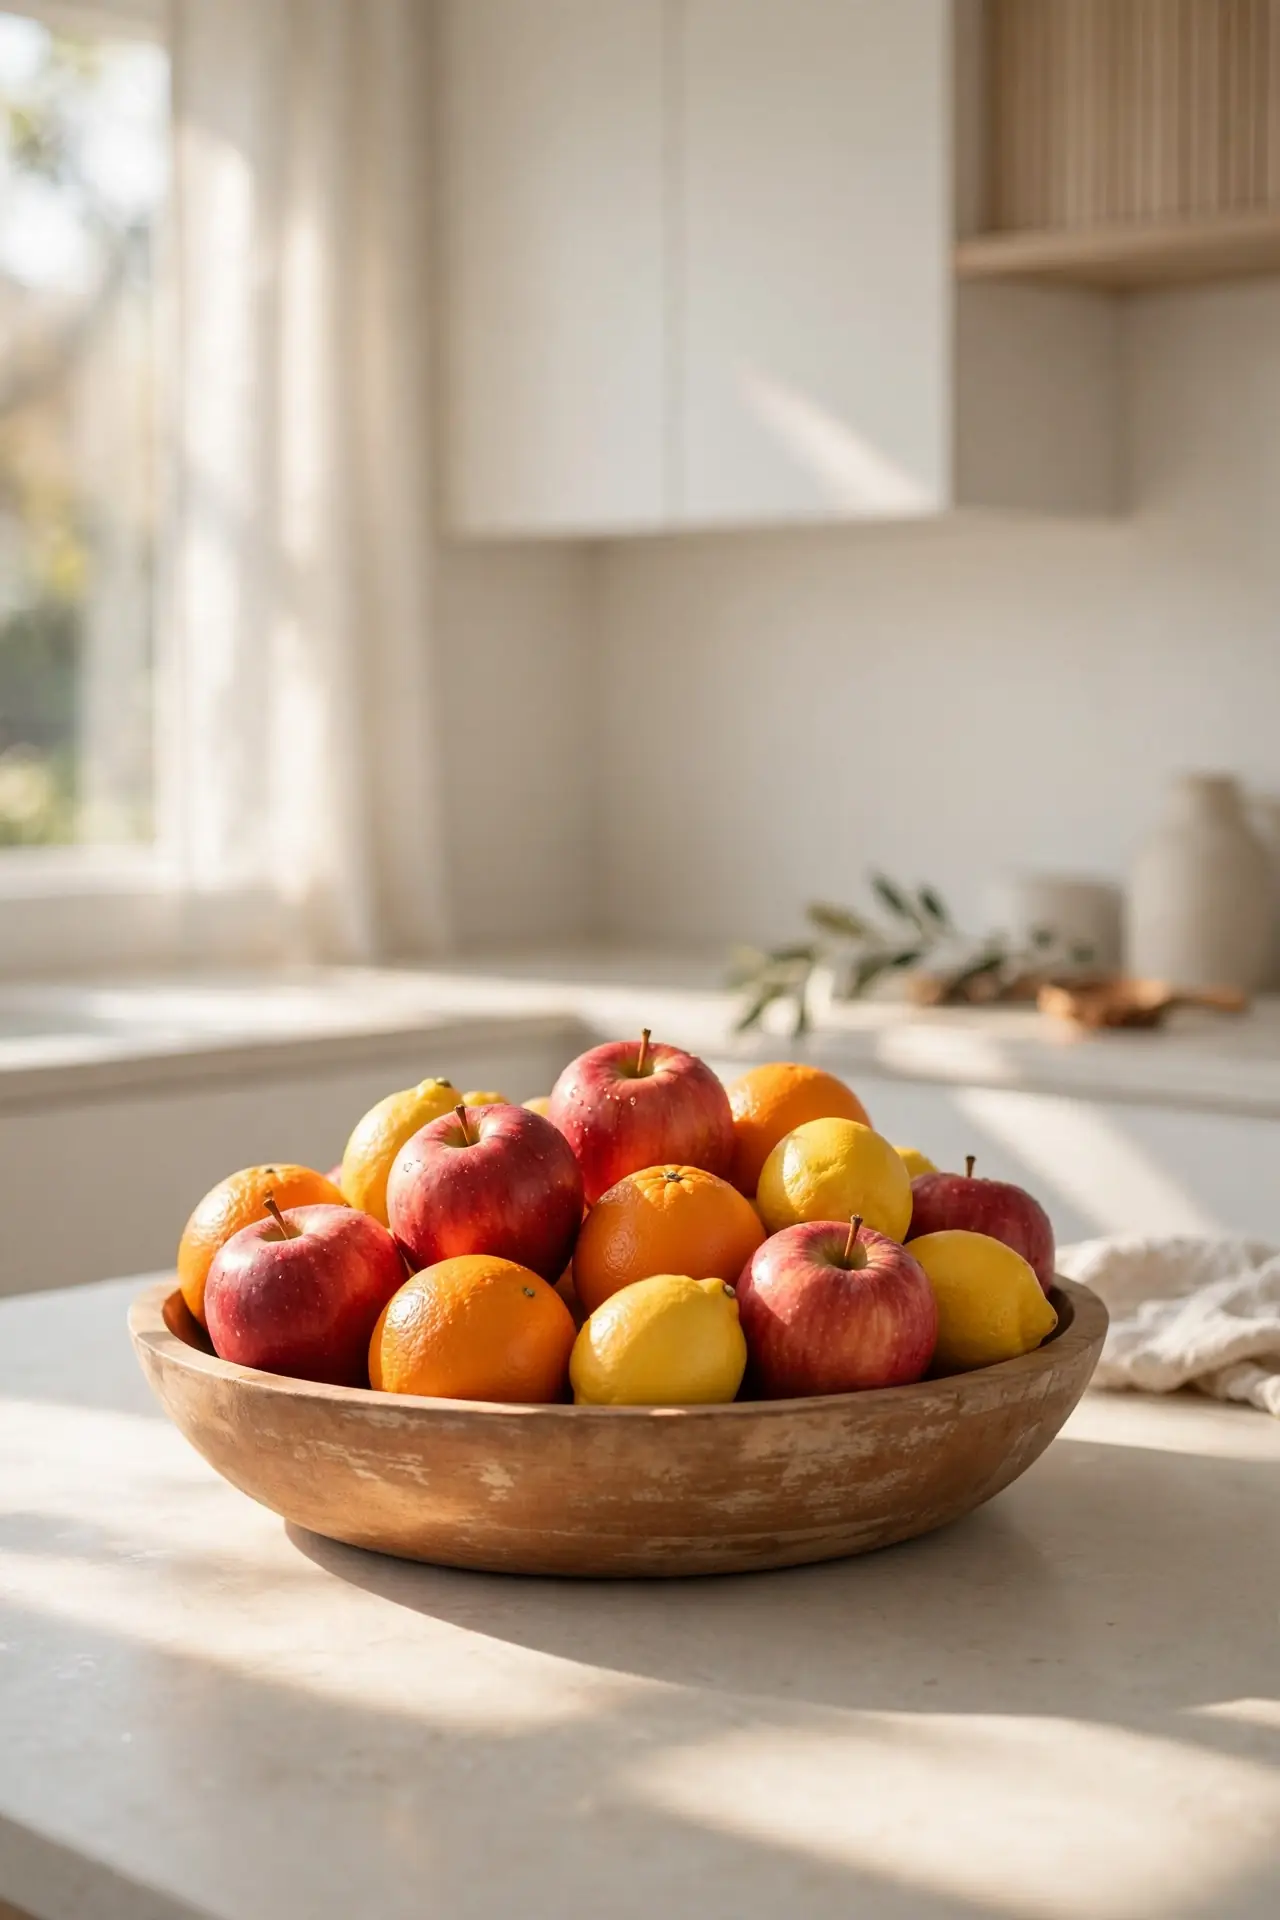
Fruit Bowl Centerpiece
Quick Tip: Pick a wide, shallow bowl so fruit stays visible and easy to grab. Keep only what your family eats in three days to avoid waste. A two tier stand saves space while holding twice the produce. Line the bowl with a clean cloth to protect delicate fruit from bruising.
A beautiful fruit bowl turns healthy snacks into counter decor. Place it where everyone walks by, not hidden in a corner. I switched to a wooden bowl and my kids started grabbing apples instead of chips. Wash fruit at home so it is ready to eat. This habit keeps the bowl empty and pretty.
Utensil Crock Display
BEFORE: My utensils lived in a cramped drawer where spatulas jammed every time I opened it. Finding the whisk meant digging through a tangled pile. Cooking felt chaotic before it even started.
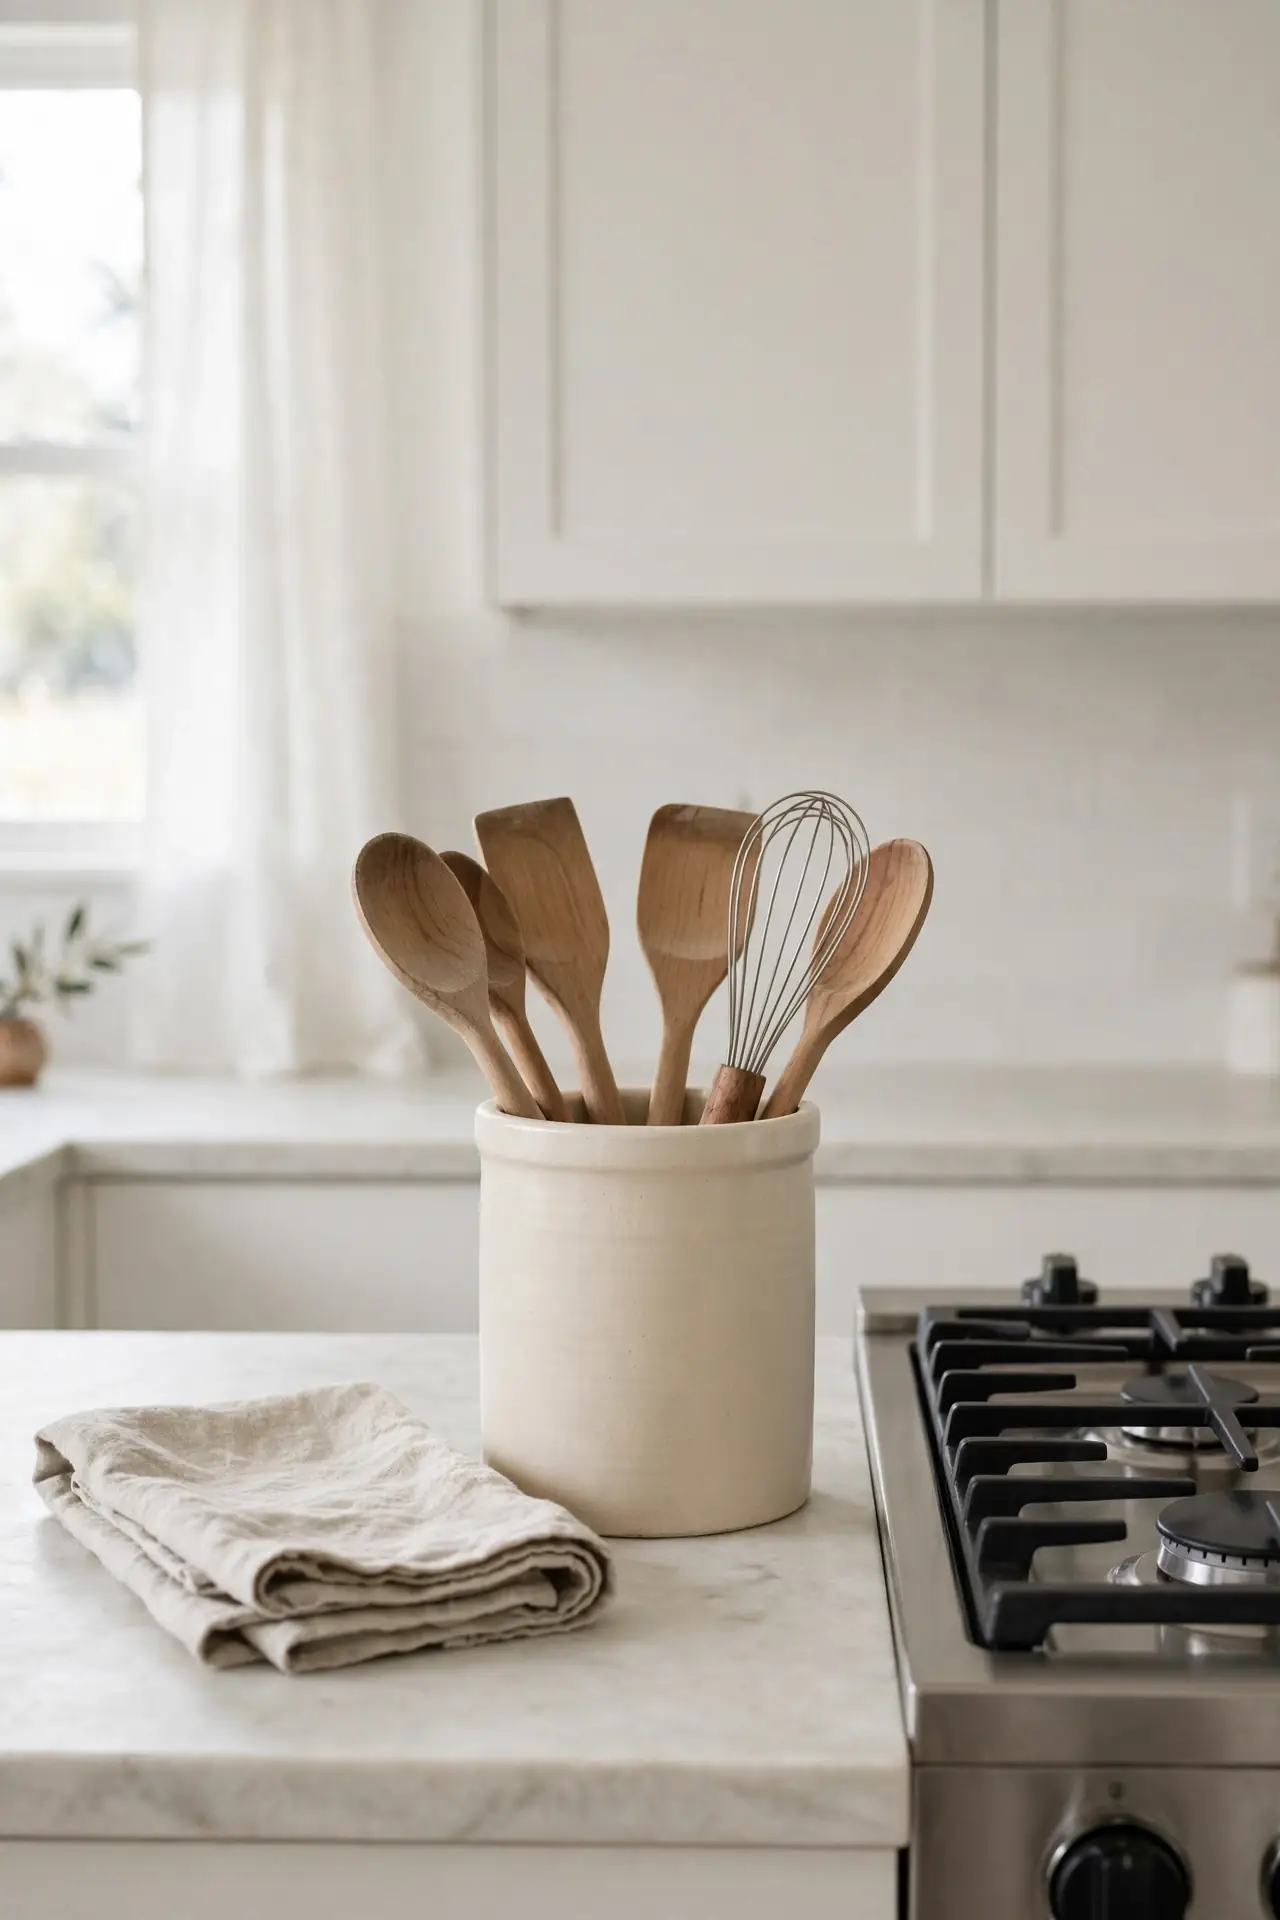
AFTER: Now a ceramic crock by the stove holds only my twelve most used tools. Everything stands upright and visible at a glance. I grab what I need without thinking, and the drawer holds linens instead.
A crock works when you limit it to true daily tools. Too many utensils and it becomes clutter again. Pick a heavy crock that never tips when you pull a tool. I have noticed that a tidy crock makes the whole stove area look styled.
Fold-Down Shelf Extension
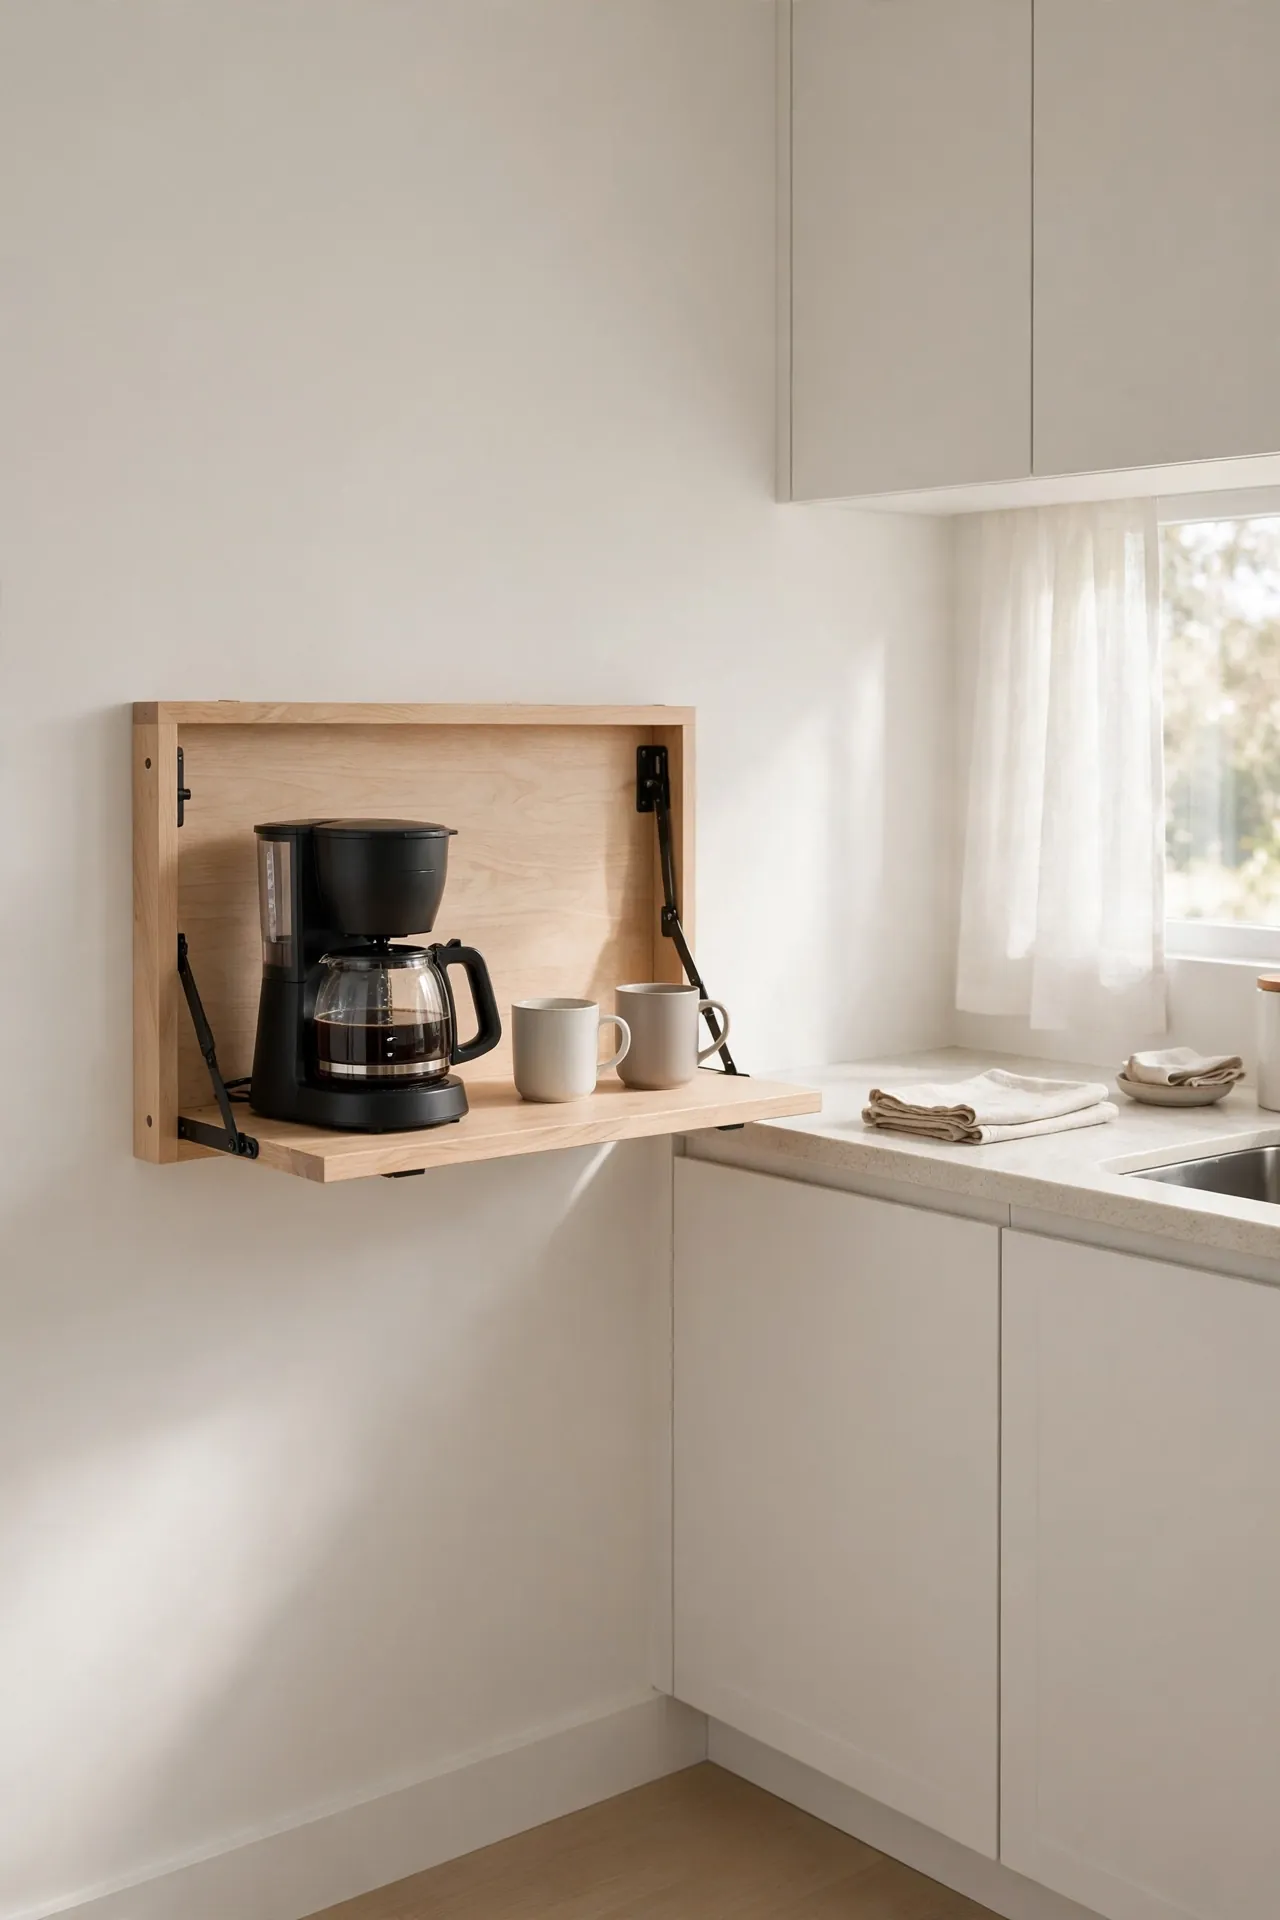
- Mount a fold down bracket on the wall beside your counter at counter height.
- Attach a sturdy wood board to the bracket, sized to your available wall space.
- Fold it up for extra prep space, then fold it flat when dinner is done.
- Add a small lip on the edge so items never slide off.
This trick adds two square feet of counter in tiny kitchens. I use mine as a coffee bar in the morning and fold it away by noon. The brackets hold up to fifty pounds when installed into studs. Renters can use a freestanding version that needs no screws.
Spices vs Oils Zones
| Zone | What Goes Here | Container |
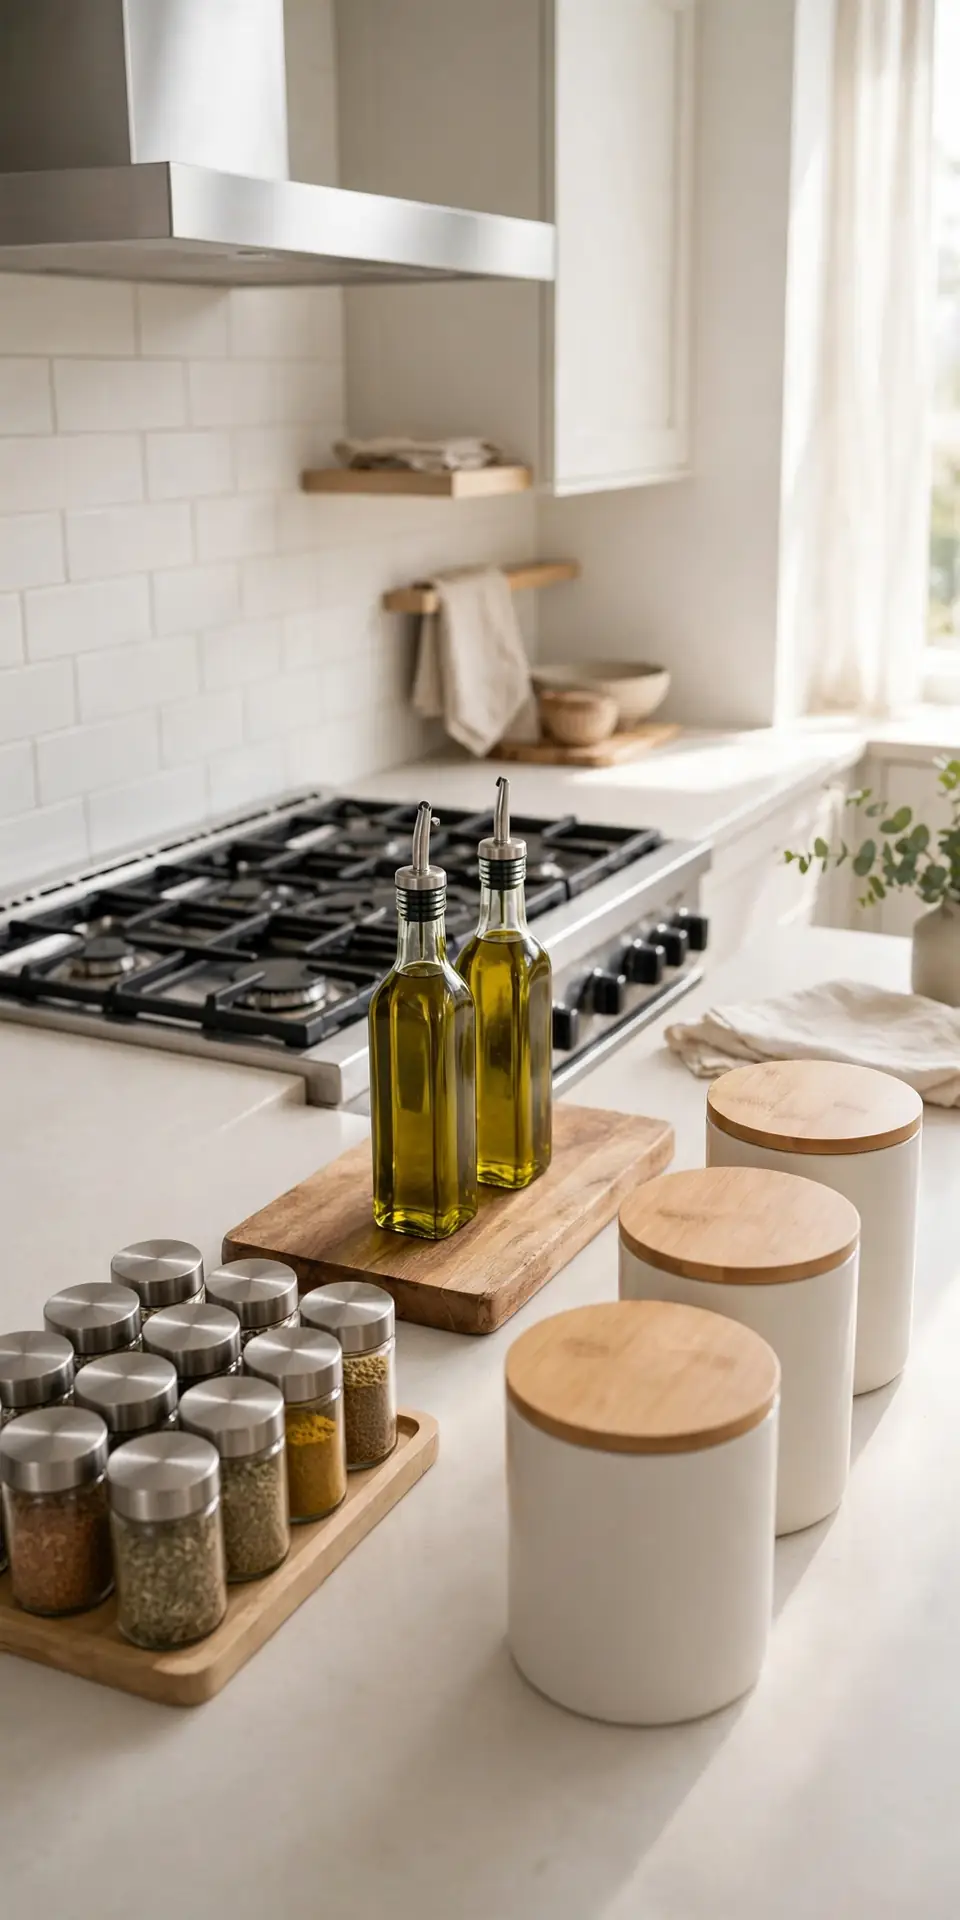
| Spice zone | Everyday spices and seasonings | Small matching jars |
| Oil zone | Cooking oils and vinegars | Tray with raised edge |
| Baking zone | Flour, sugar, and vanilla | Clear canisters |
| Tea zone | Teas and honey | Small basket |
| Snack zone | Nuts and dried fruit | Open bowls |
| Coffee zone | Beans and filters | Airtight canister |
Grouping by task beats alphabetical order every time. I keep spices near the stove and baking supplies near the mixer. When everything for one job lives together, you stop hunting cabinets. For pantry overflow, see our small pantry organization ideas. Start with two zones and add more as the system clicks.
Charging Station Drawer
DO:
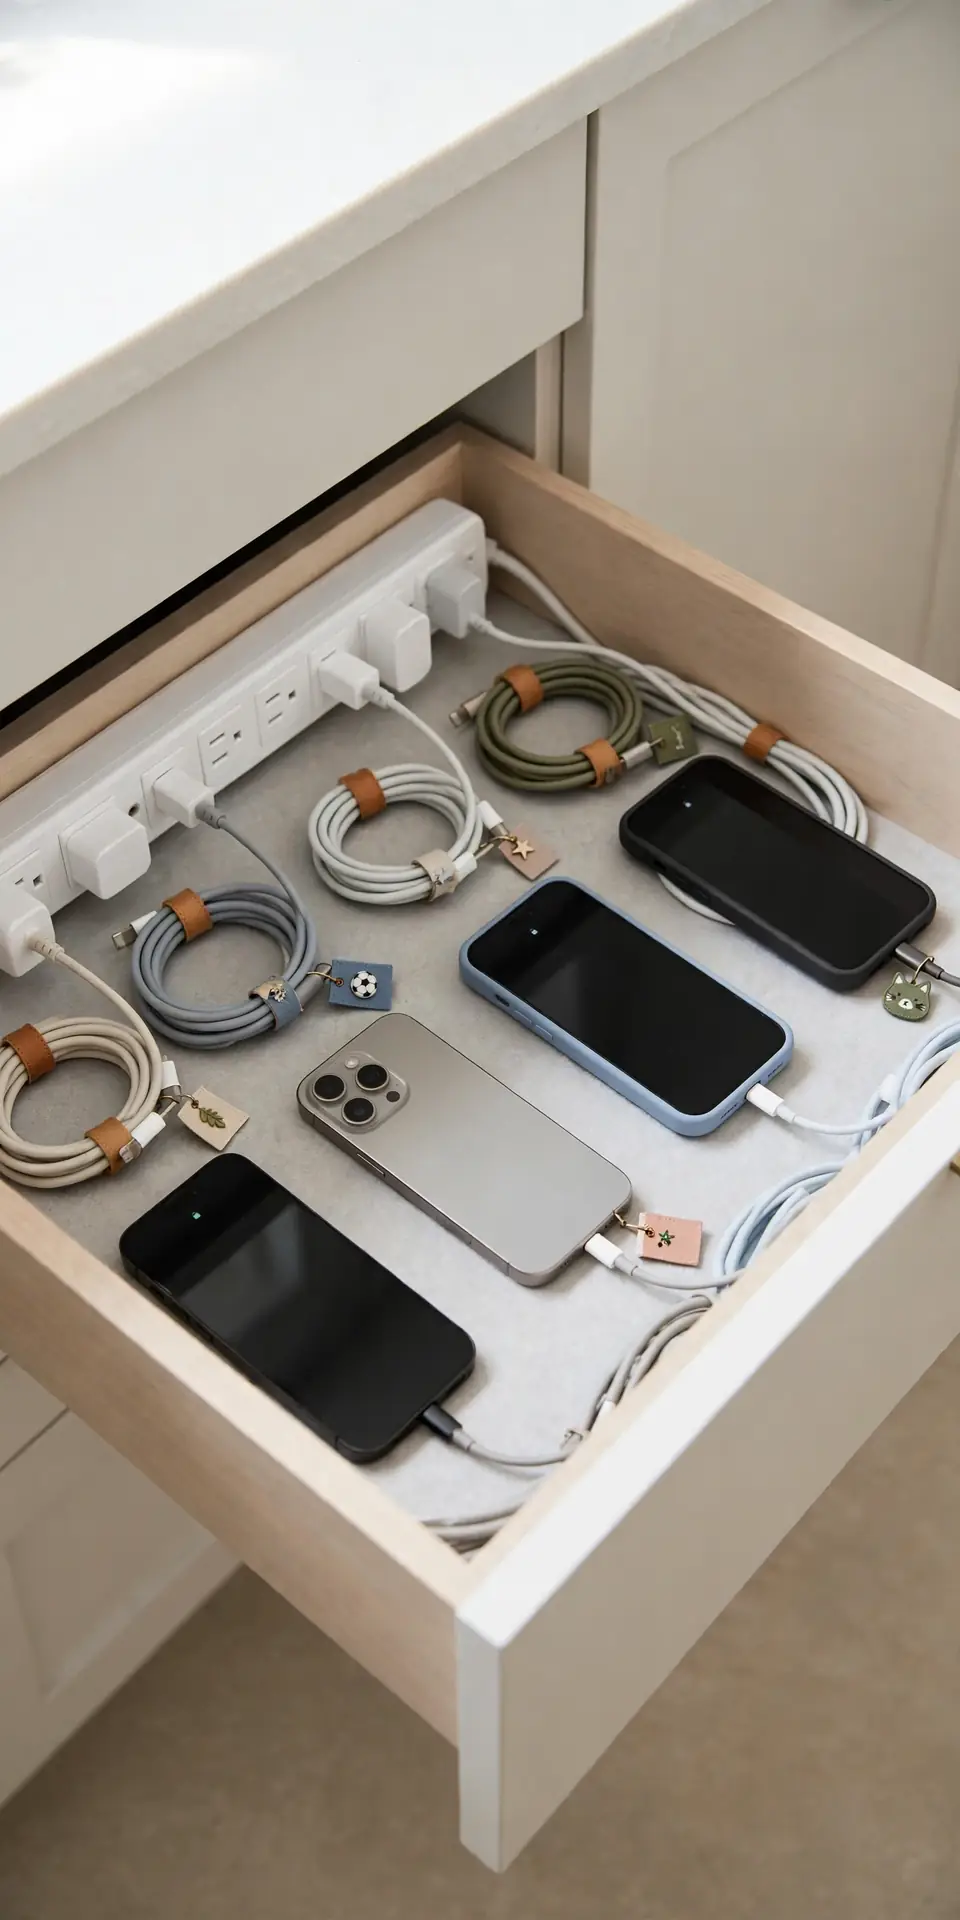
- Install a power strip with surge protection inside the drawer.
- Drill a small hole in the back for the main power cord.
- Label each charger so family members return them.
DON’T:
- Do not overload one strip with too many high wattage devices.
- Do not charge damaged cables; replace frayed cords right away.
- Do not block the drawer from closing fully.
Phones and tablets eat counter space in every modern kitchen. A charging drawer hides the cord spaghetti completely. I converted my junk drawer and the counter instantly looked cleaner. Drill carefully and keep the strip away from any water source. This one project removes the biggest source of counter clutter.
Cutting Board Display
Cost: Under $30 | Time: Five minutes | Skill Level: Beginner | Best For: Beautiful boards
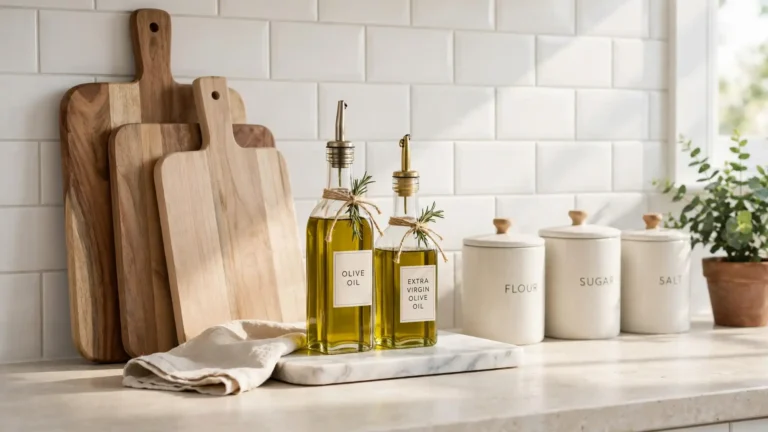
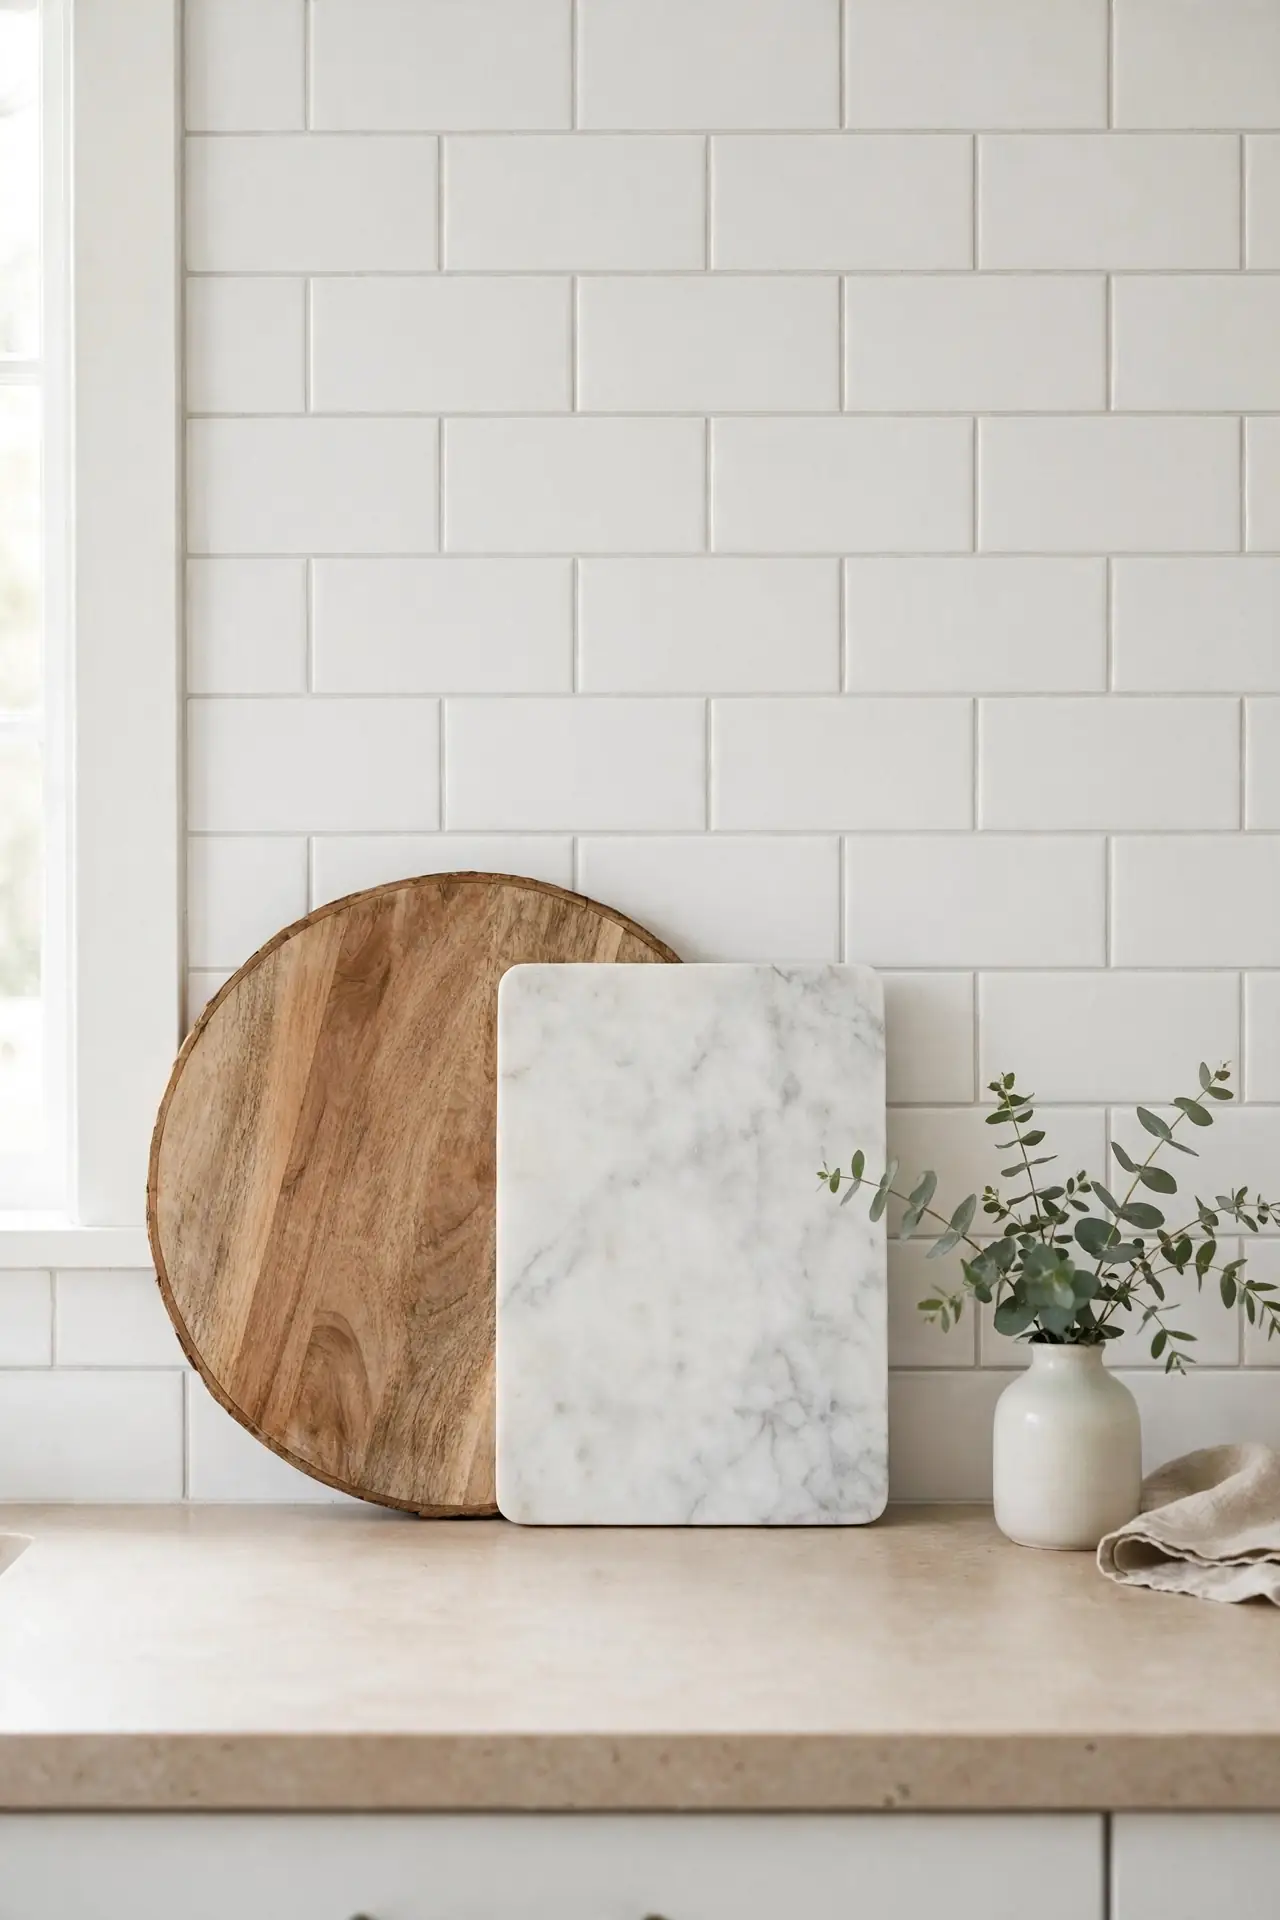
Pretty cutting boards deserve to be seen, not buried in a cabinet. Lean two or three against the backsplash near the stove. I display a round wood board and a marble slab that double as serving pieces. They add warmth and texture to the whole counter.
Choose boards in different shapes for visual interest. Wipe them down after display so they stay food safe. I have seen this work well in many cases where counters felt cold and bare. Rotate the boards seasonally to keep the look fresh.
Clear Canister Rows
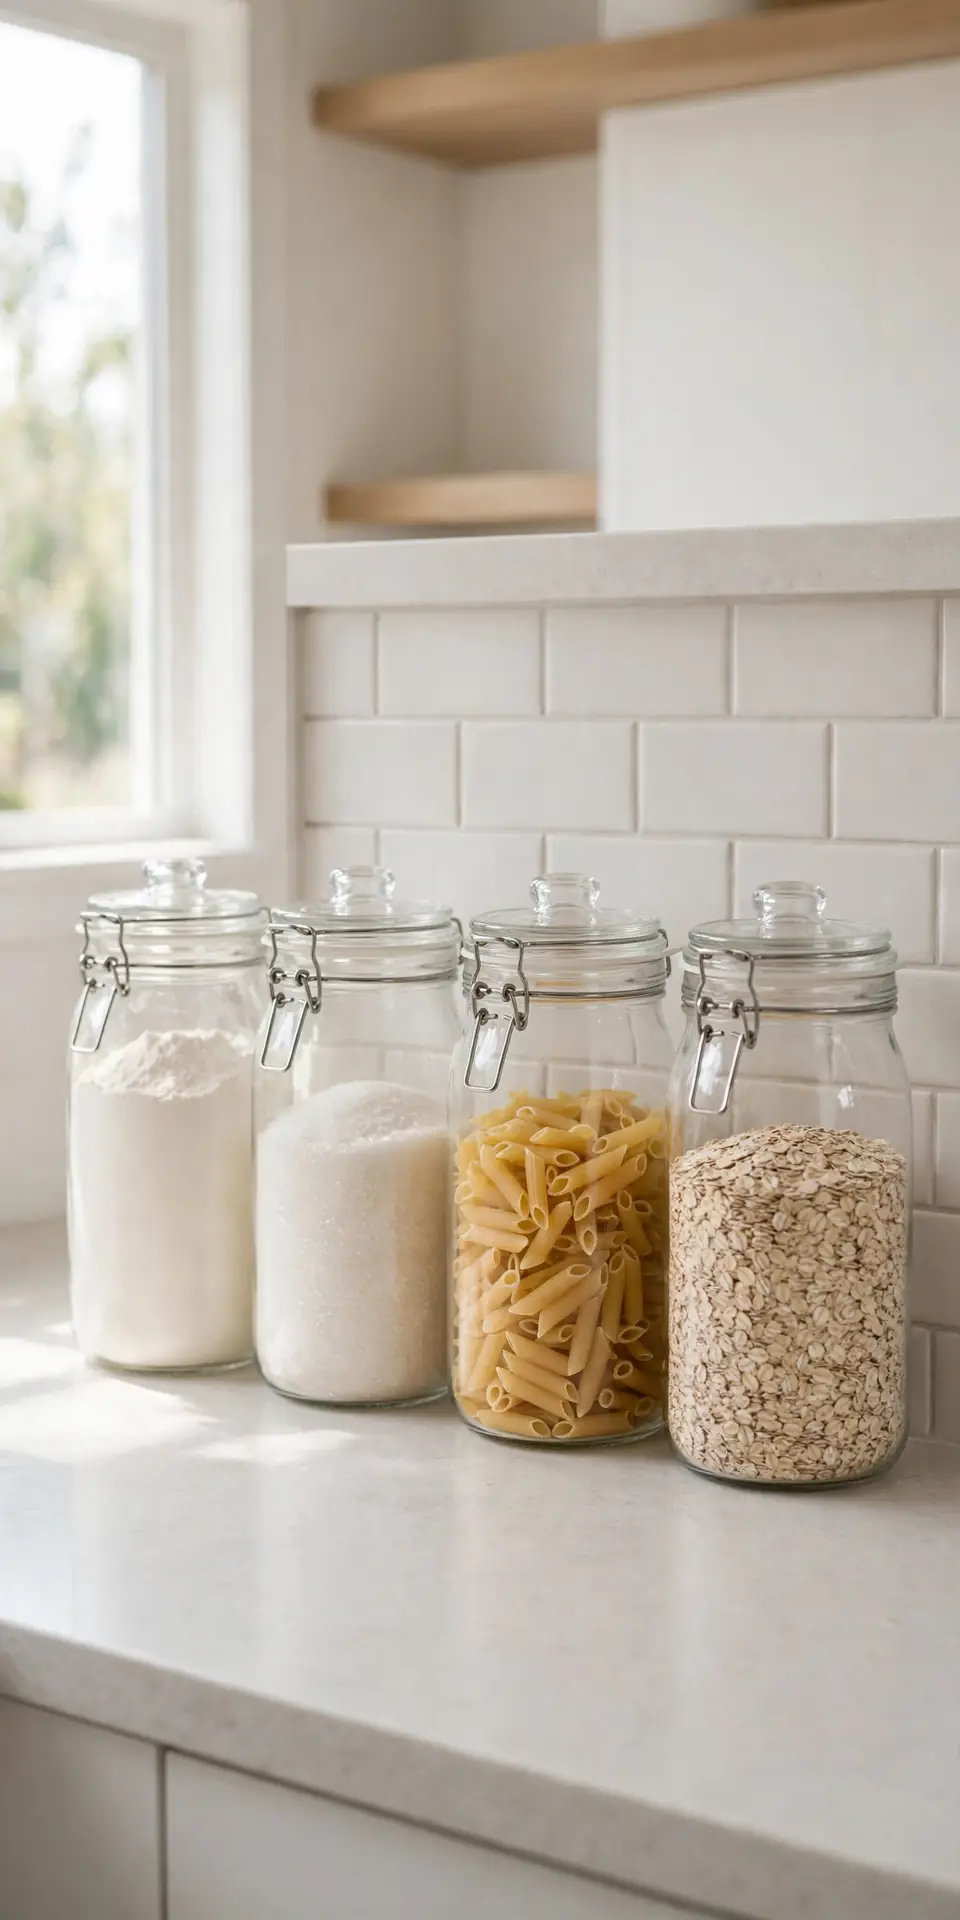
Matching clear canisters turn flour, sugar, and pasta into counter decor. You see exactly what you have, so you never double buy. I lined mine along the backsplash and grocery shopping got easier. Choose airtight lids to keep everything fresh for months. Start with three canisters and expand the set over time.
Label each canister with simple tags or a chalk marker. Square canisters waste less space than round ones. That is why many experts recommend decanting dry goods right after shopping. Your counter looks like a styled pantry shelf. Keep the tallest canisters at the back for a tidy stepped look.
Coffee Station Corner
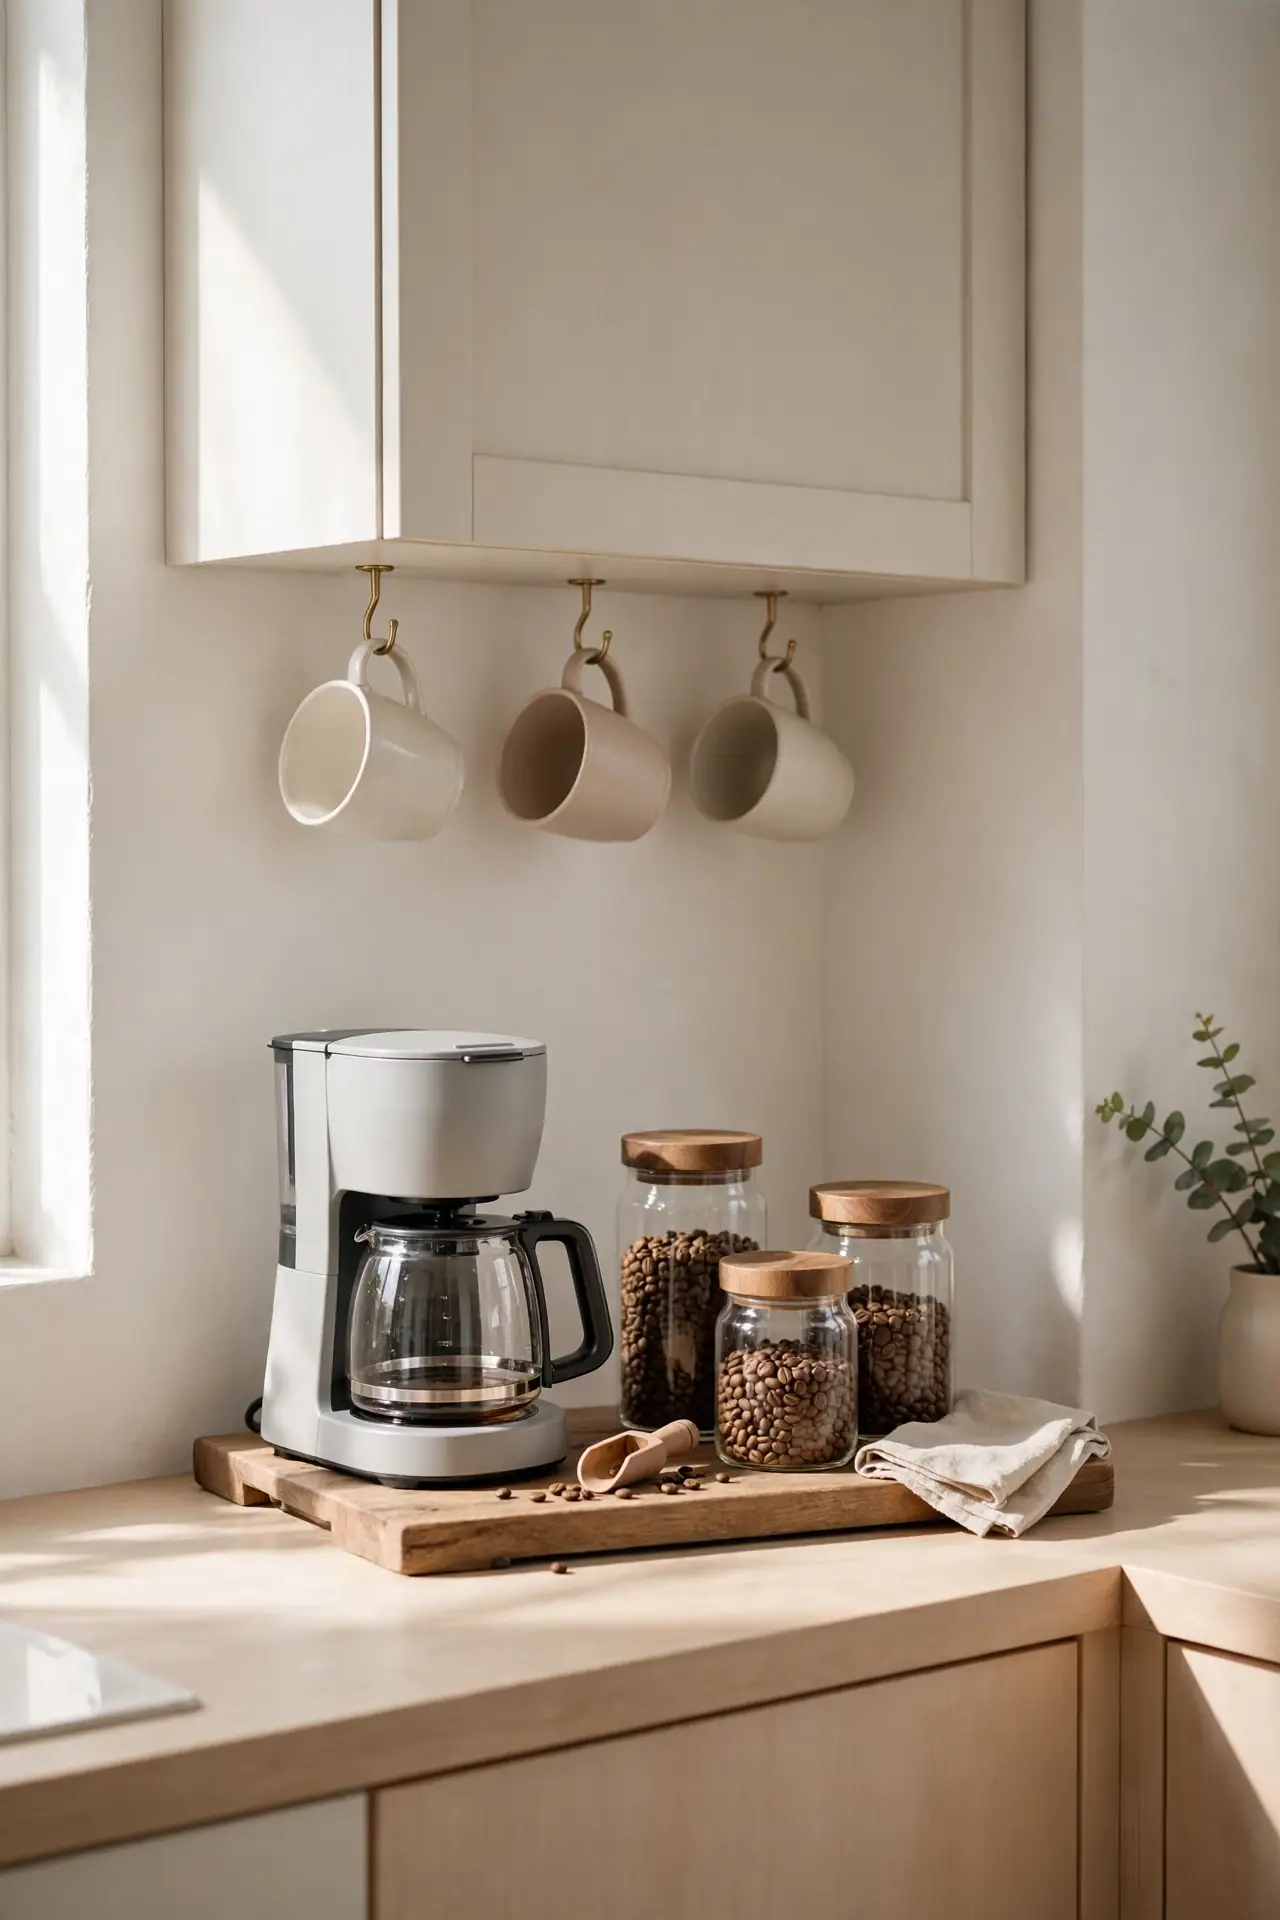
- Dedicate one corner to the coffee maker, mugs, and beans.
- Use a small tray to corral sugar, spoons, and filters.
- Hang mugs on hooks under the cabinet to save surface space.
- Keep a tiny trash bin nearby for pods and filters.
- Store extra beans in an airtight canister to keep them fresh for weeks.
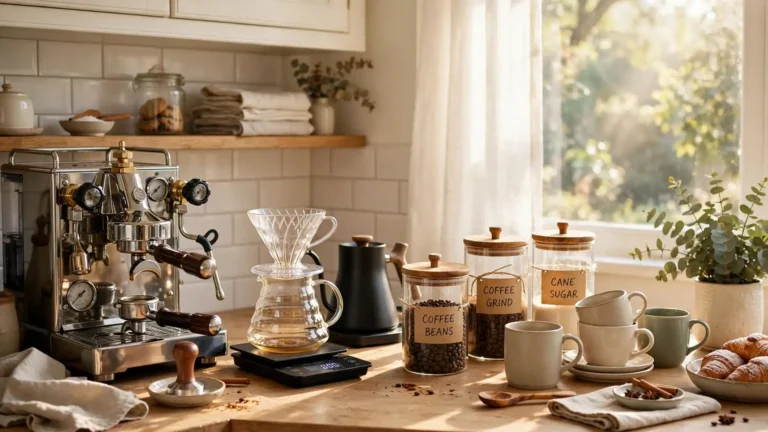
A defined coffee zone stops supplies from spreading across the counter. Everything you need lives in one square foot. I set mine up next to the sink for easy water refills. Mornings feel smoother when the station is ready to go. This corner earns its space every single day.
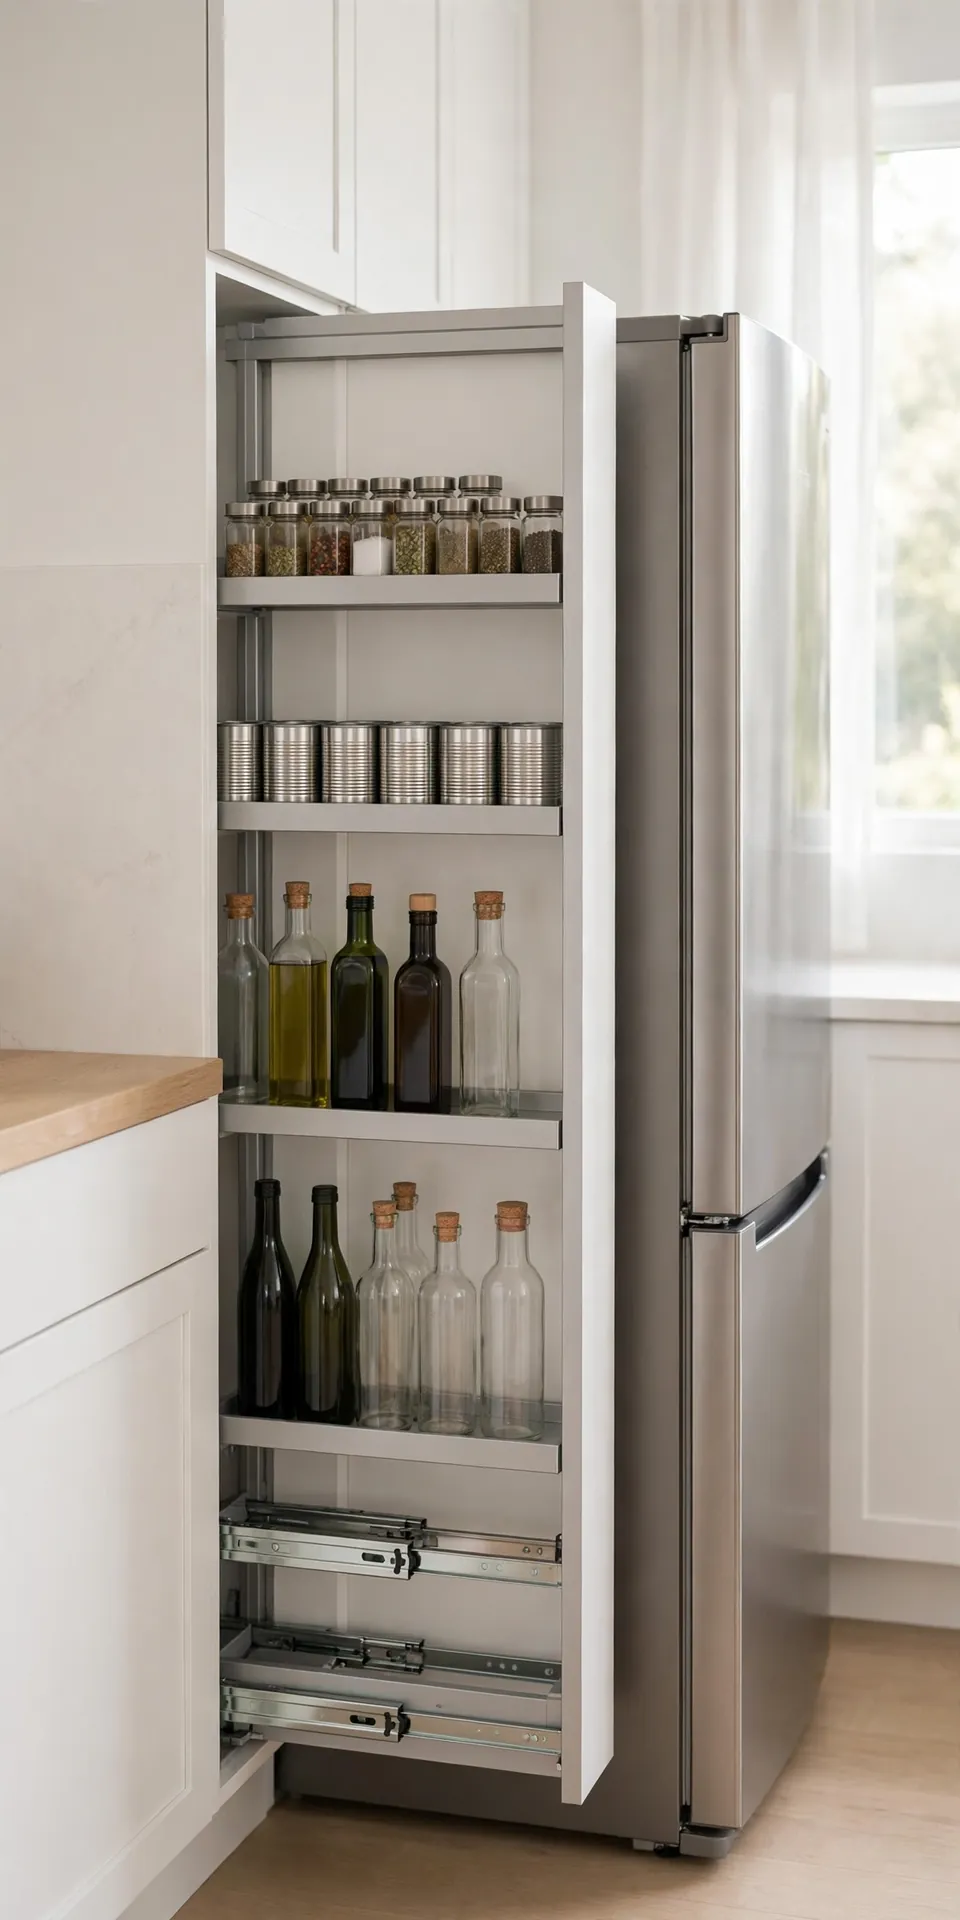
Pull-Out Pantry Rack
Quick Tip: Measure the gap beside your fridge or oven before ordering. Most pull out racks come in 6 or 8 inch widths. Anchor the rack to the wall so it never tips when fully loaded. Adjustable shelves fit tall bottles and short cans alike. Look for soft close glides so the rack never slams shut.
A pull out rack turns wasted inches into serious storage. Cans, spices, and bottles line up in neat rows. I installed one beside my stove and freed two whole shelves. The smooth glide makes every item easy to reach. This upgrade pays for itself in saved frustration.
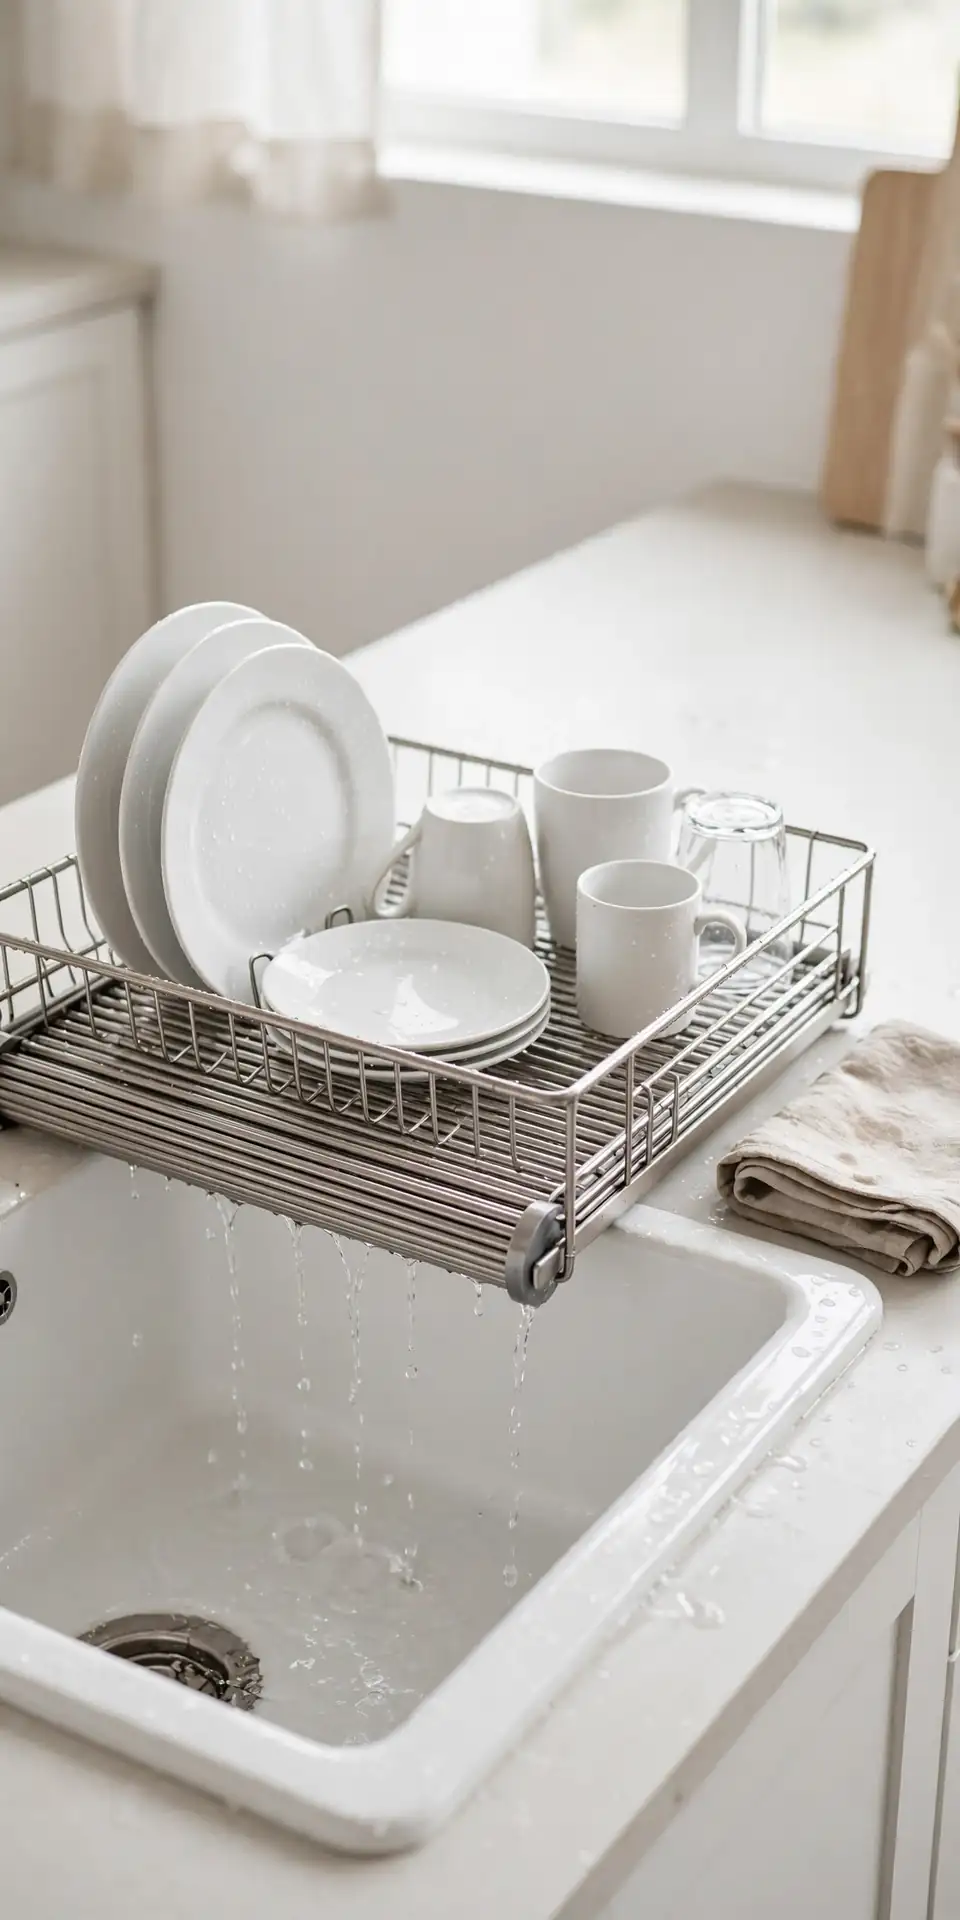
Over-Sink Dish Rack
BEFORE: My dish rack hogged a third of my counter next to the sink. Clean dishes piled up and water pooled underneath. The whole sink area looked messy even when the dishes were clean.
AFTER: Now a roll up rack sits over the sink itself. Dishes dry above the basin and water drips straight down. I roll it up and store it when guests come. The counter beside the sink stays completely clear.
Over sink racks work best in kitchens with a single large basin. Measure your sink before buying so the rack spans it fully. I have noticed that drying dishes over the sink cuts cleanup time in half. This simple swap reclaims prime counter real estate.
Cabinet vs Countertop
- List every item currently sitting on your counter.
- Mark each one as daily, weekly, or rarely used.
- Move weekly and rarely used items into cabinets or drawers.
- Keep only true daily items on the counter in neat zones, grouped by task.
- Revisit the list monthly and adjust as habits change.
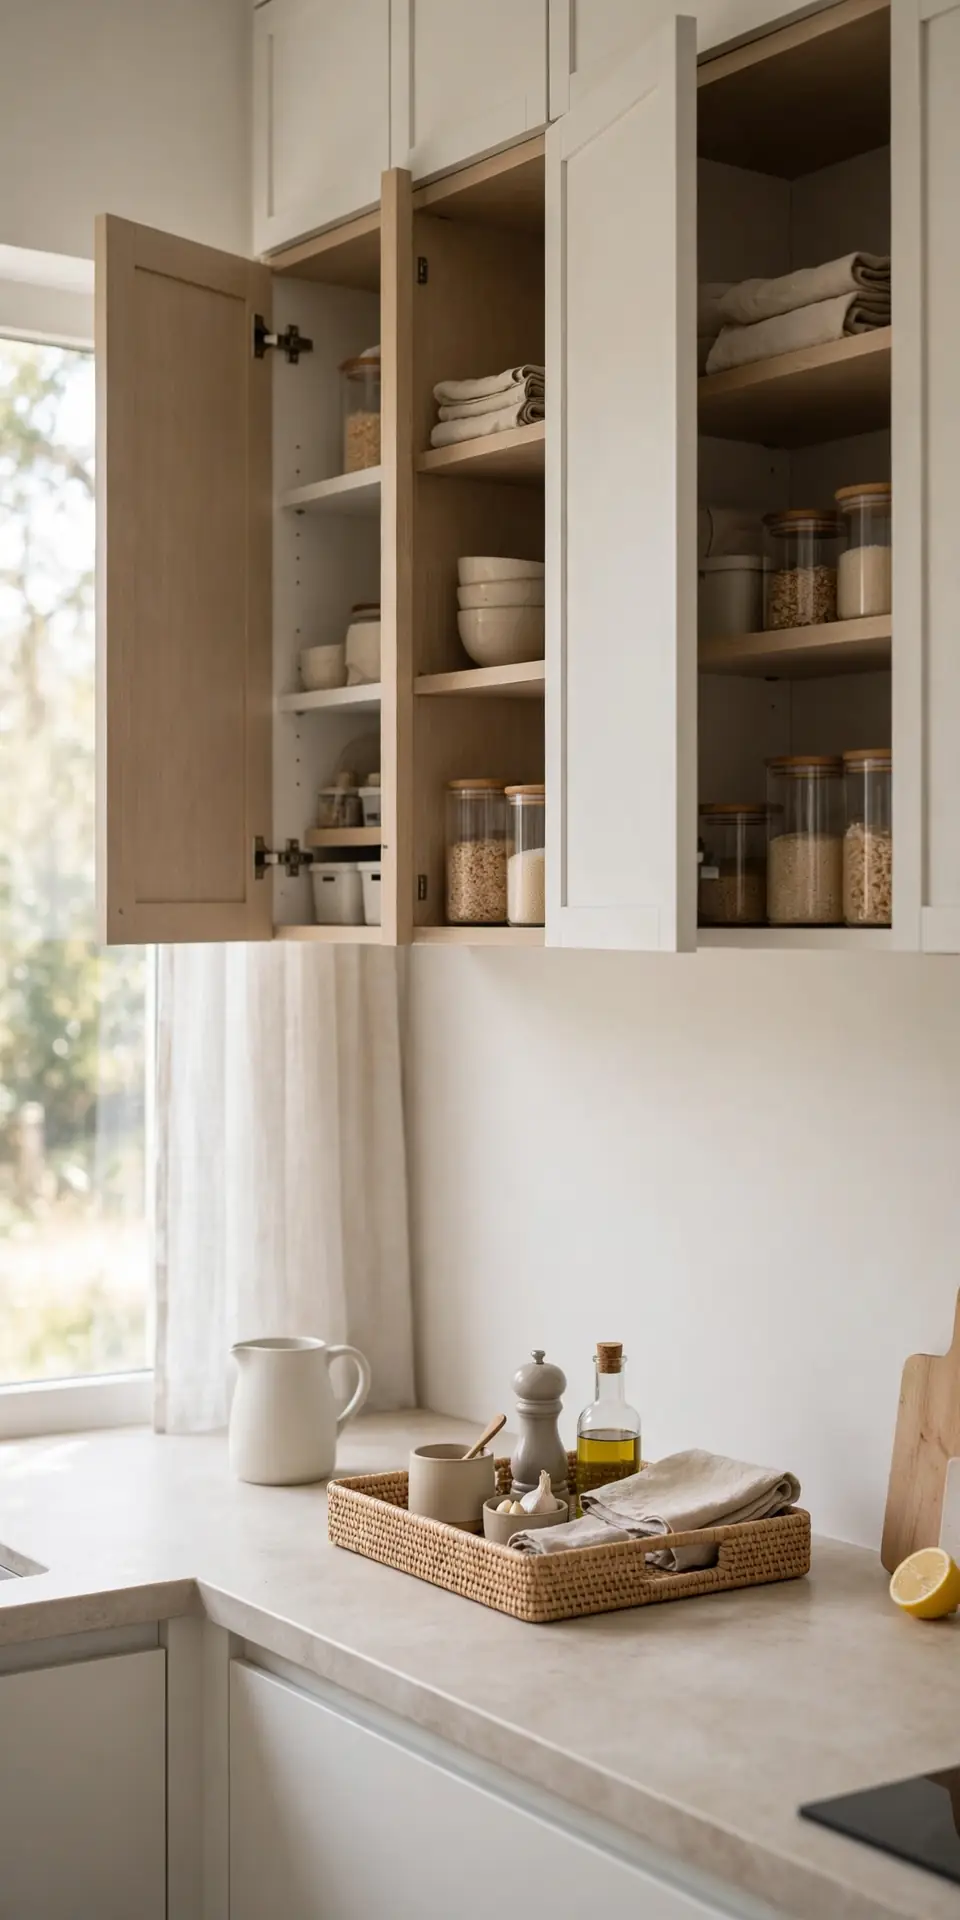
This audit takes fifteen minutes and changes everything. Most counters hold items we barely touch. I moved my blender into a cabinet and only miss it twice a month. Daily items earn counter space; everything else lives behind doors. Be honest about what daily really means for your cooking. Start tonight.
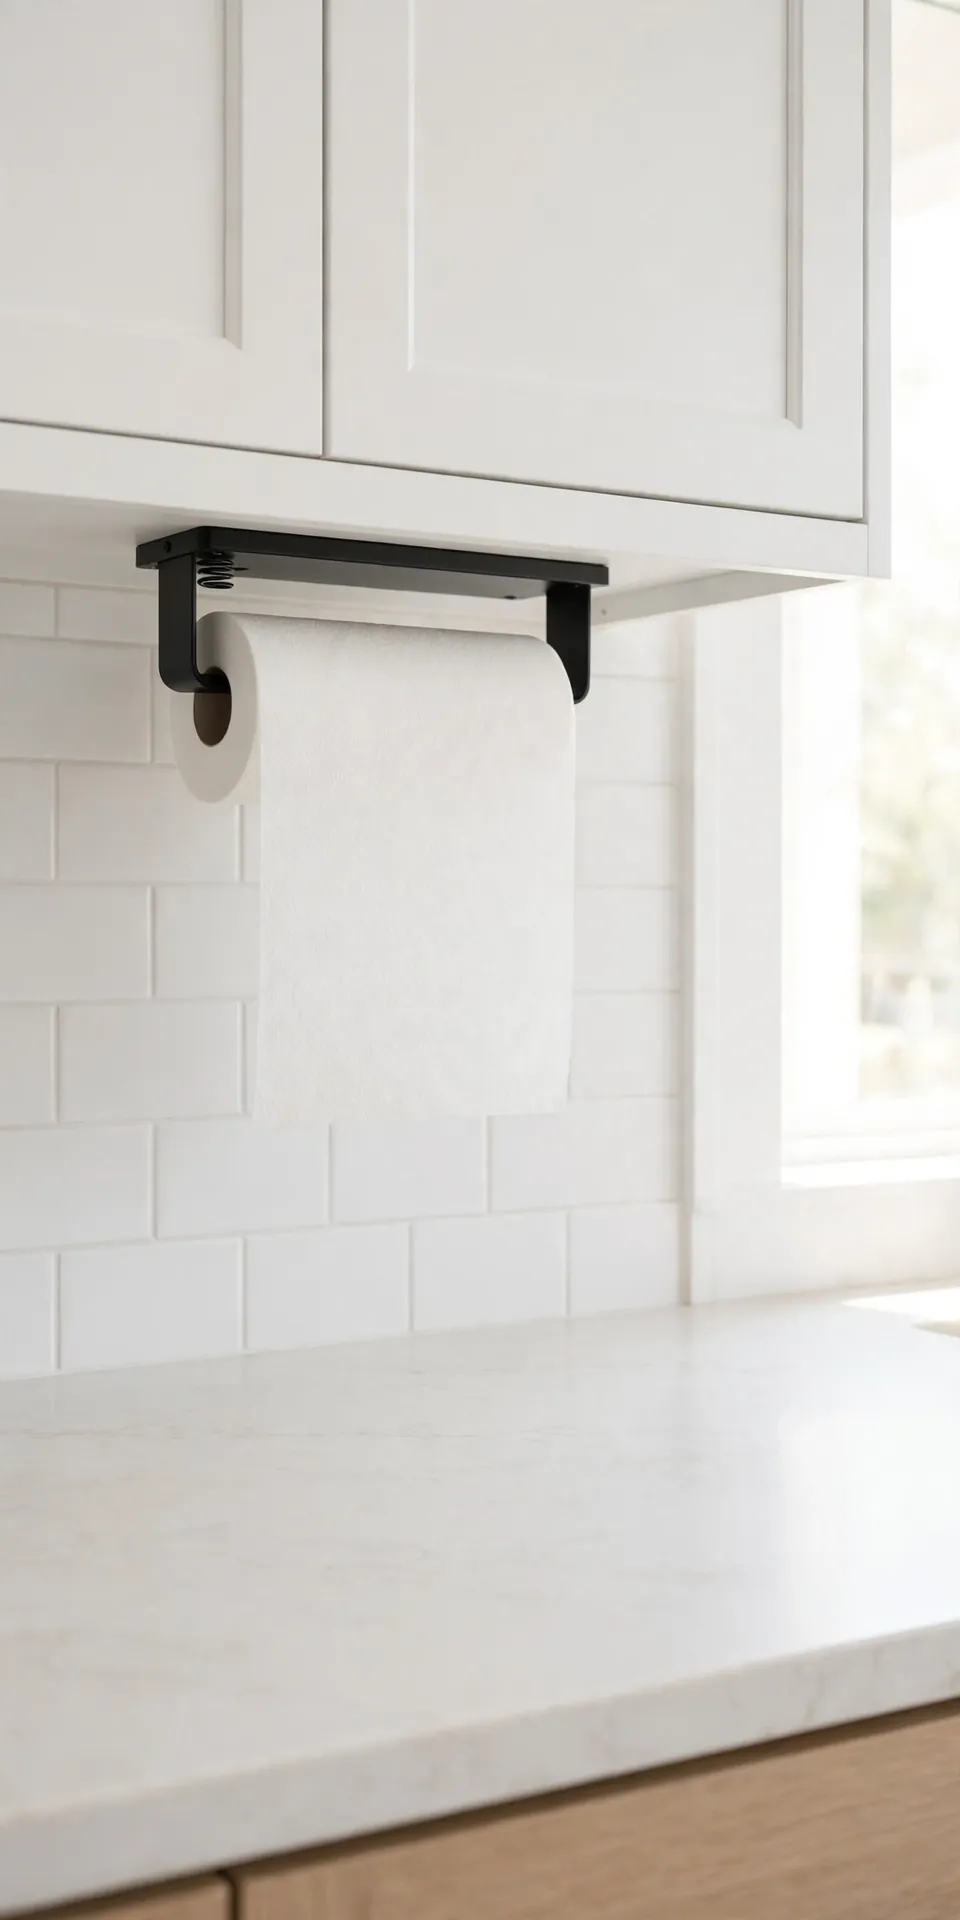
Paper Towel Holder
| Holder Type | Pros | Cons |
| Standing holder | Moves anywhere easily | Takes counter space |
| Under cabinet mount | Frees the counter fully | Needs screws |
| Wall mounted | Sturdy and reachable | Fixed in one spot |
| Over door hook | No tools needed | Can swing while pulling |
| Magnetic holder | Sticks to fridge side | Only works on metal |
The right holder depends on your counter space and your DIY comfort. I switched to an under cabinet mount and gained a full square foot. Tearing towels with one hand takes practice with any wall mount. Pick the style you will actually use every day. Small upgrades like this add up fast.
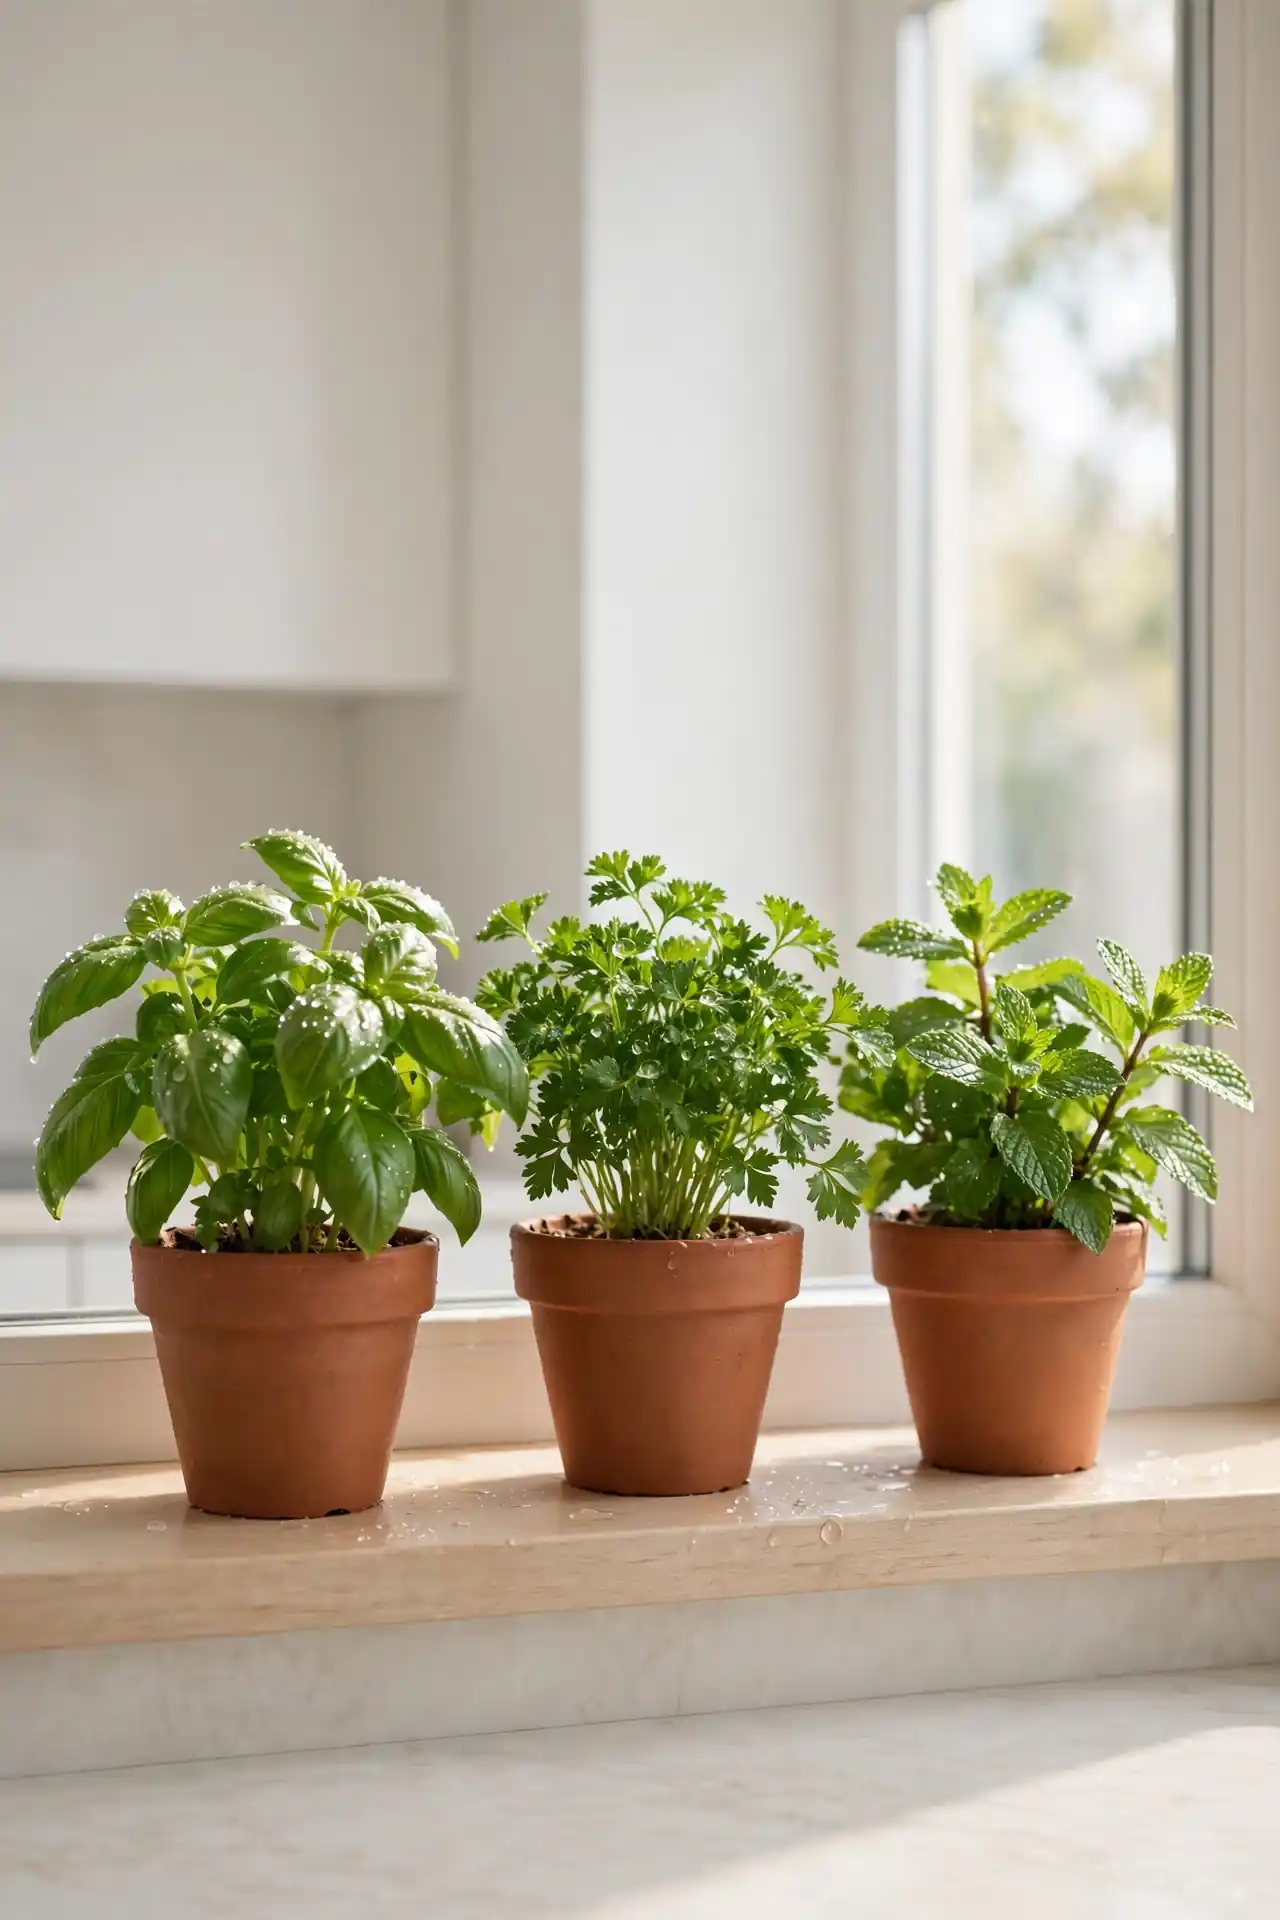
Herb Garden Window
DO:
- Pick herbs you cook with often, like basil, parsley, and mint.
- Use small pots with drainage holes and matching saucers.
- Rotate pots weekly so every plant gets even sunlight.
DON’T:
- Do not overwater; most herbs prefer soil that dries between waterings.
- Do not crowd pots so tightly that air cannot circulate.
- Do not place herbs where cooking steam hits them constantly.
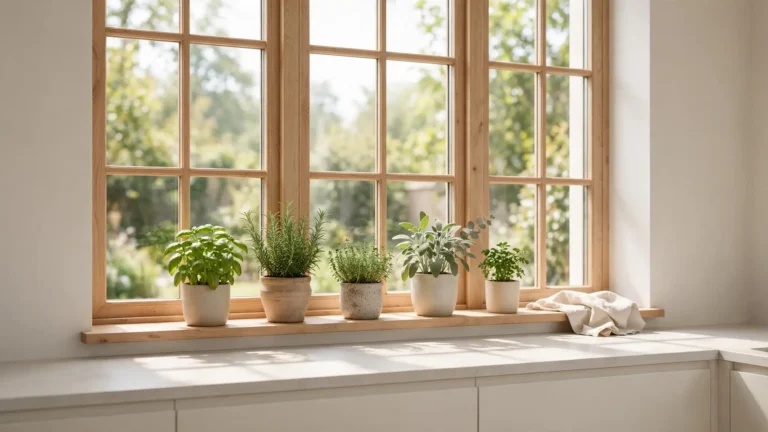
A windowsill herb garden adds life and flavor to your counter. Snip fresh basil straight into dinner without a store trip. I keep three pots on my sill and they thrive with little care. Start with mint since it forgives almost every beginner mistake. Your cooking will taste brighter within weeks.
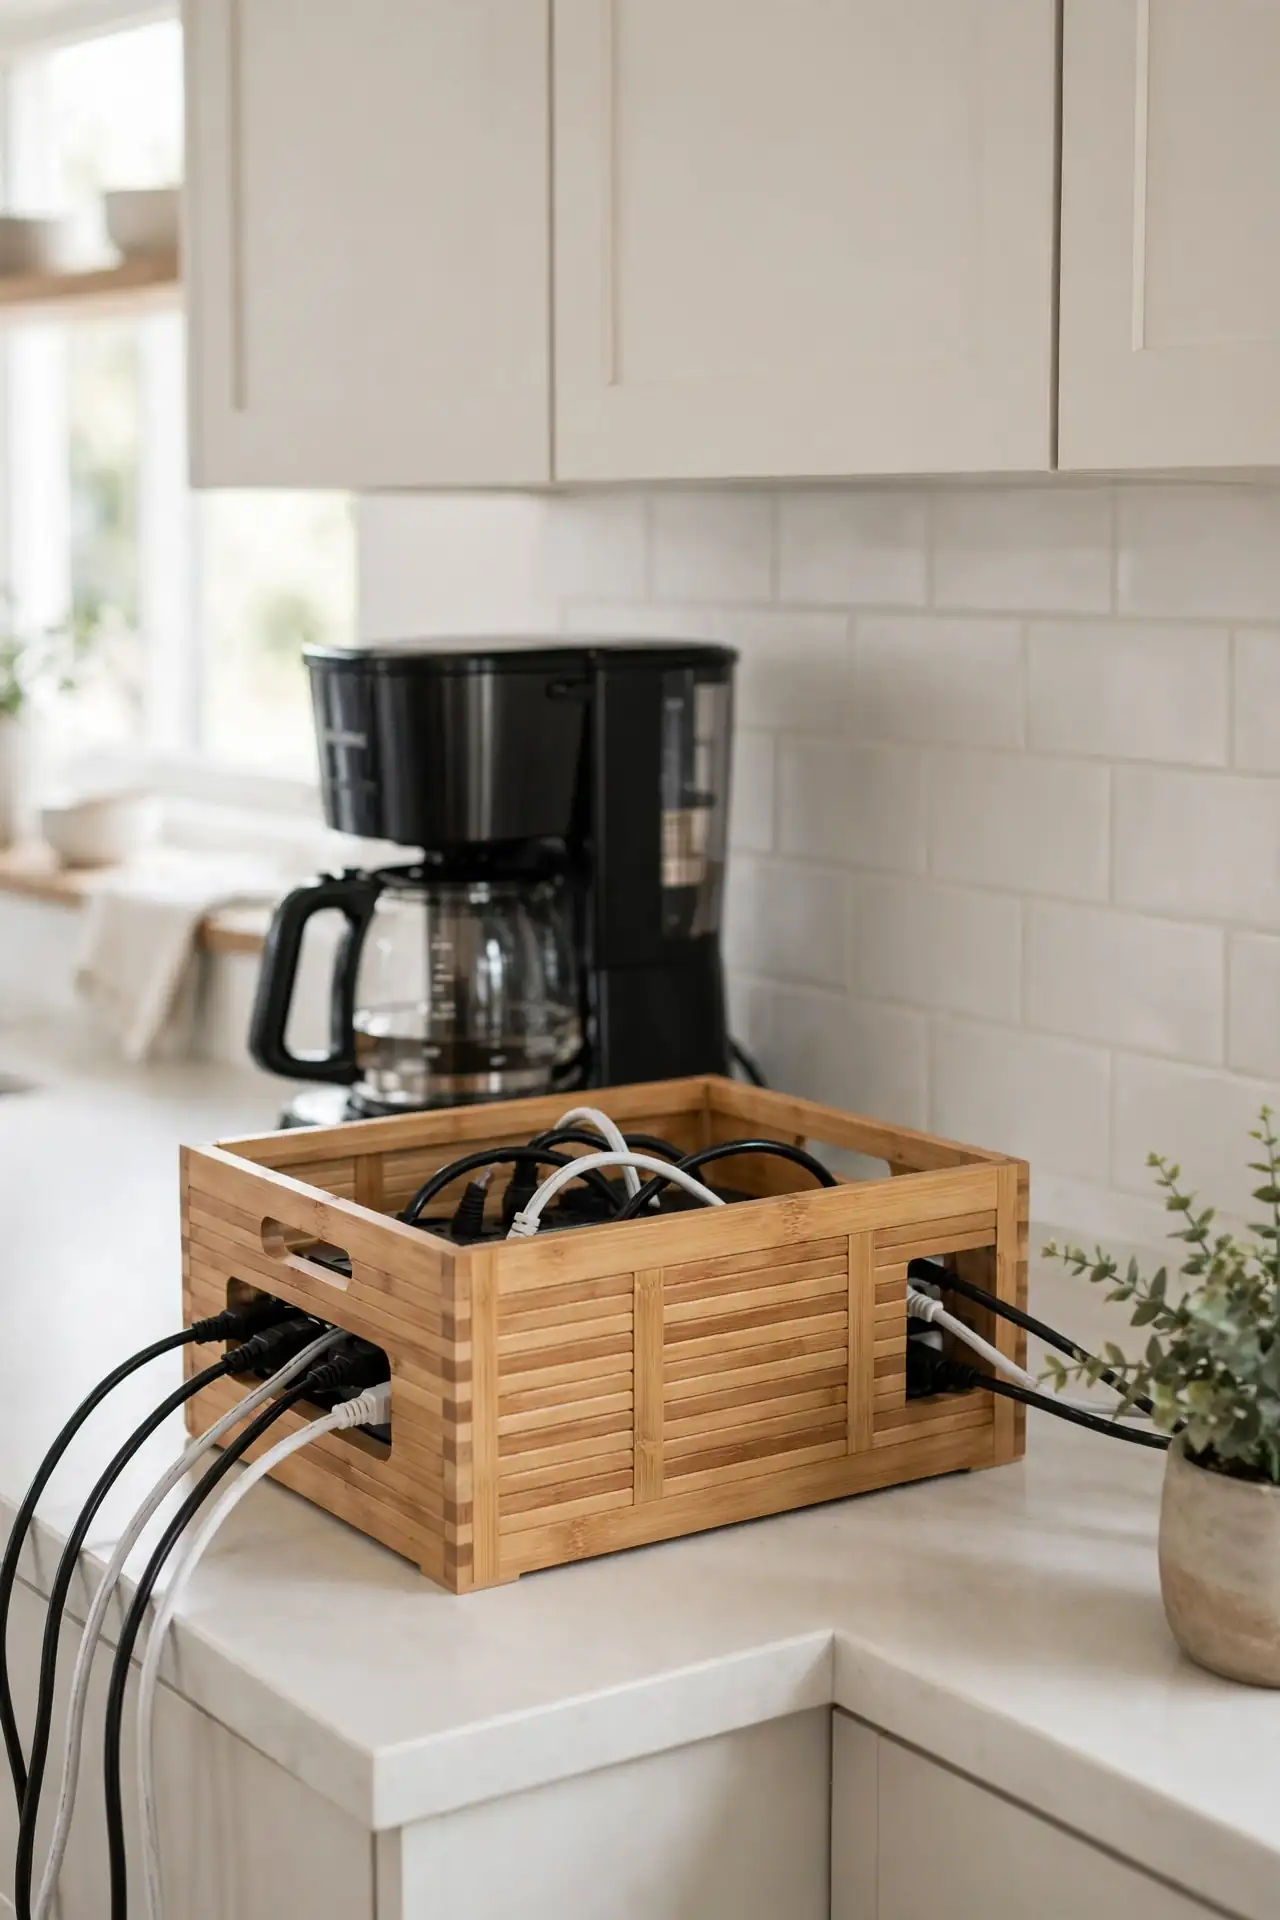
Hidden Cord Box
Cost: Under $25 | Time: Five minutes | Skill Level: Beginner | Best For: Appliance corners
Cord clutter makes counters look messy even when everything else is tidy. A simple cord box hides the power strip and tangled chargers. I placed one behind my coffee maker and the difference shocked me. Feed cords through the side slots for a clean look. This five minute fix works in any kitchen.
Choose a box with ventilation holes so chargers never overheat. Bamboo boxes blend with most kitchen styles. That is why many experts recommend hiding cords instead of fighting them daily. Label the cords inside so you unplug the right one.
Conclusion
These kitchen counter organization ideas prove that small changes create big calm. Start with one zone this weekend and feel the difference by Monday. I have seen how small changes like these can completely shift the way a space feels. Save this post to Pinterest so you can revisit each idea when you are ready. Try the cord box or the tiered tray first since both take minutes. Share your before and after photos to inspire other readers. Your counters work hard for your family; give them the order they deserve. Clear counters, clear mind, better cooking. You have got this.