23 Limewash Paint Bedroom Ideas for a Soft, Serene Retreat
Flat paint can make a beautiful bedroom feel strangely unfinished, like a sentence that stops mid thought. limewash paint bedroom inspiration starts from a softer place: crushed limestone, water, and pigment brushed on in cloudy layers that settle into the wall itself. The finish moves when the light moves, so the room feels calm at noon and warm by lamplight.
This guide gathers twenty three ways to bring that mineral softness into a sleep space, from cloud white washes and warm greige to blush tints, sage washes, and one moody taupe accent wall. Honest costs, brush steps, and sealing advice appear along the way. The same love of natural texture shapes Venetian plaster wall finish ideas, a close cousin of limewash with a polished glow. In my experience, one limewashed wall behind the bed changes how the whole room breathes at night.
Soft Cloud White Walls
Credit : Andrea Davis
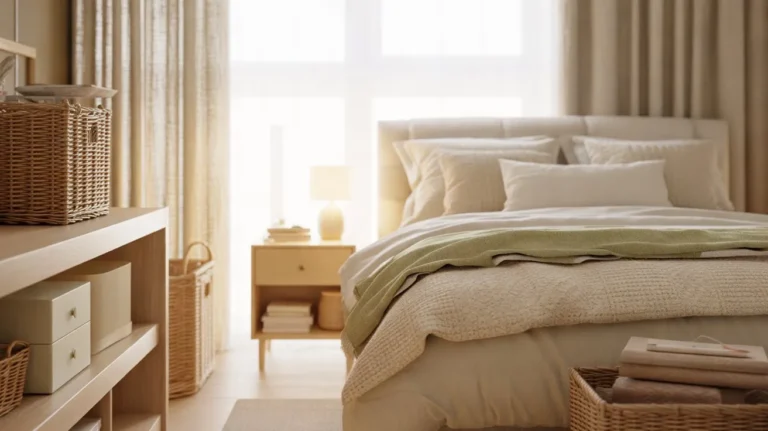
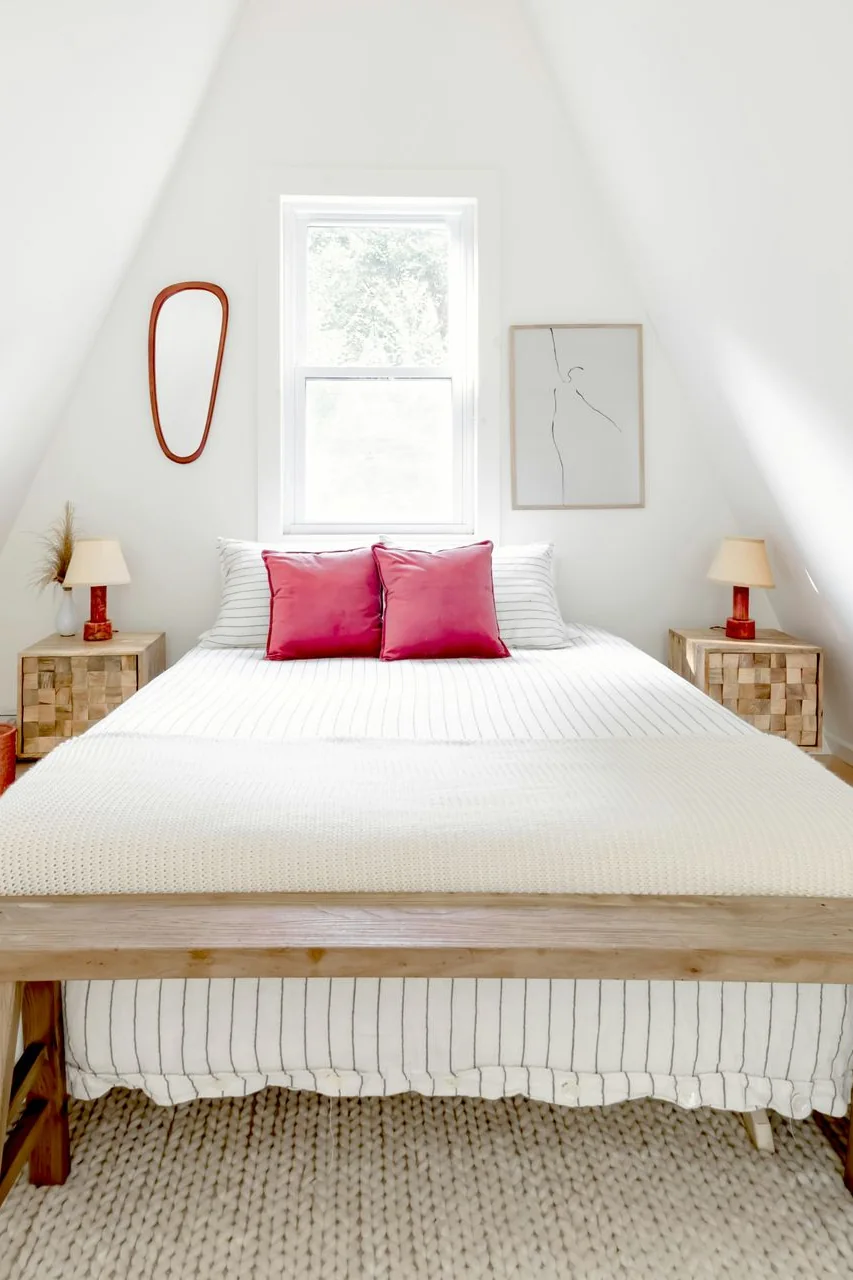
White paint can feel flat and cold, but a white limewash reads like morning fog held against the wall. The cloudy movement keeps a pale room from turning sterile, because every brush lap leaves a faint shadow the eye can rest on.
Keep the bedding in the same pale family and let texture do the decorating: washed linen, a woven rug, one piece of pale wood. I’ve noticed white limewash hides minor wall flaws better than flat white paint, since the mottling distracts from dents and old patch lines. Sleep comes easier in a room with no visual noise, no glare, and nothing shiny competing for the last of your attention before the lights go out.
Warm Greige Behind Bed
Credit : Max Vakhtbovych
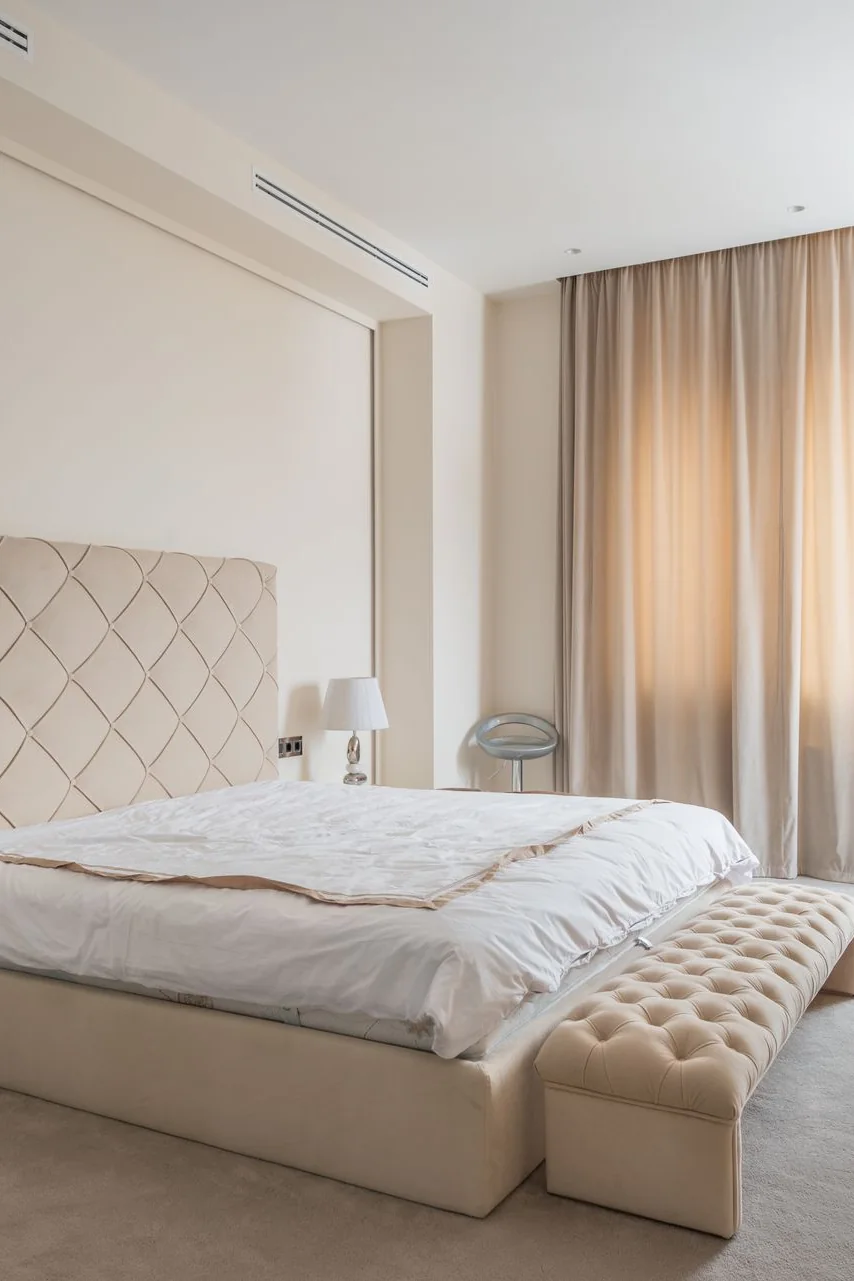
- A warm greige wash behind the headboard anchors the bed without any dark drama
- Cream and camel bedding layers echo the wall tone for a wrapped, cocoon feeling
- Brushed brass lamps pick up the warm undertone hiding inside the grey beige mix
- A tufted bench at the foot of the bed softens the straight lines of the frame
- Heavy curtains in a matching taupe keep the palette hushed from wall to window
Greige is the peacemaker of bedroom colors, warm enough for north light and calm enough for bright rooms. Test your mix at two strengths, because limewash dries lighter than it looks in the bucket, and the paler coat often wins once the bedding goes on.
Blush Tint Morning Light
Credit : Max Vakhtbovych
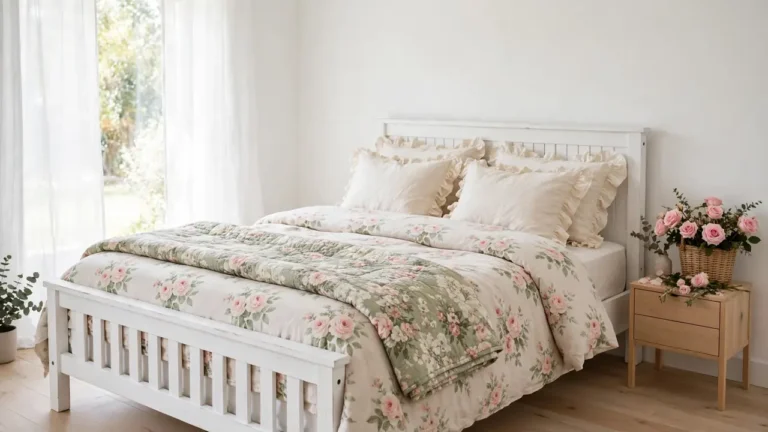
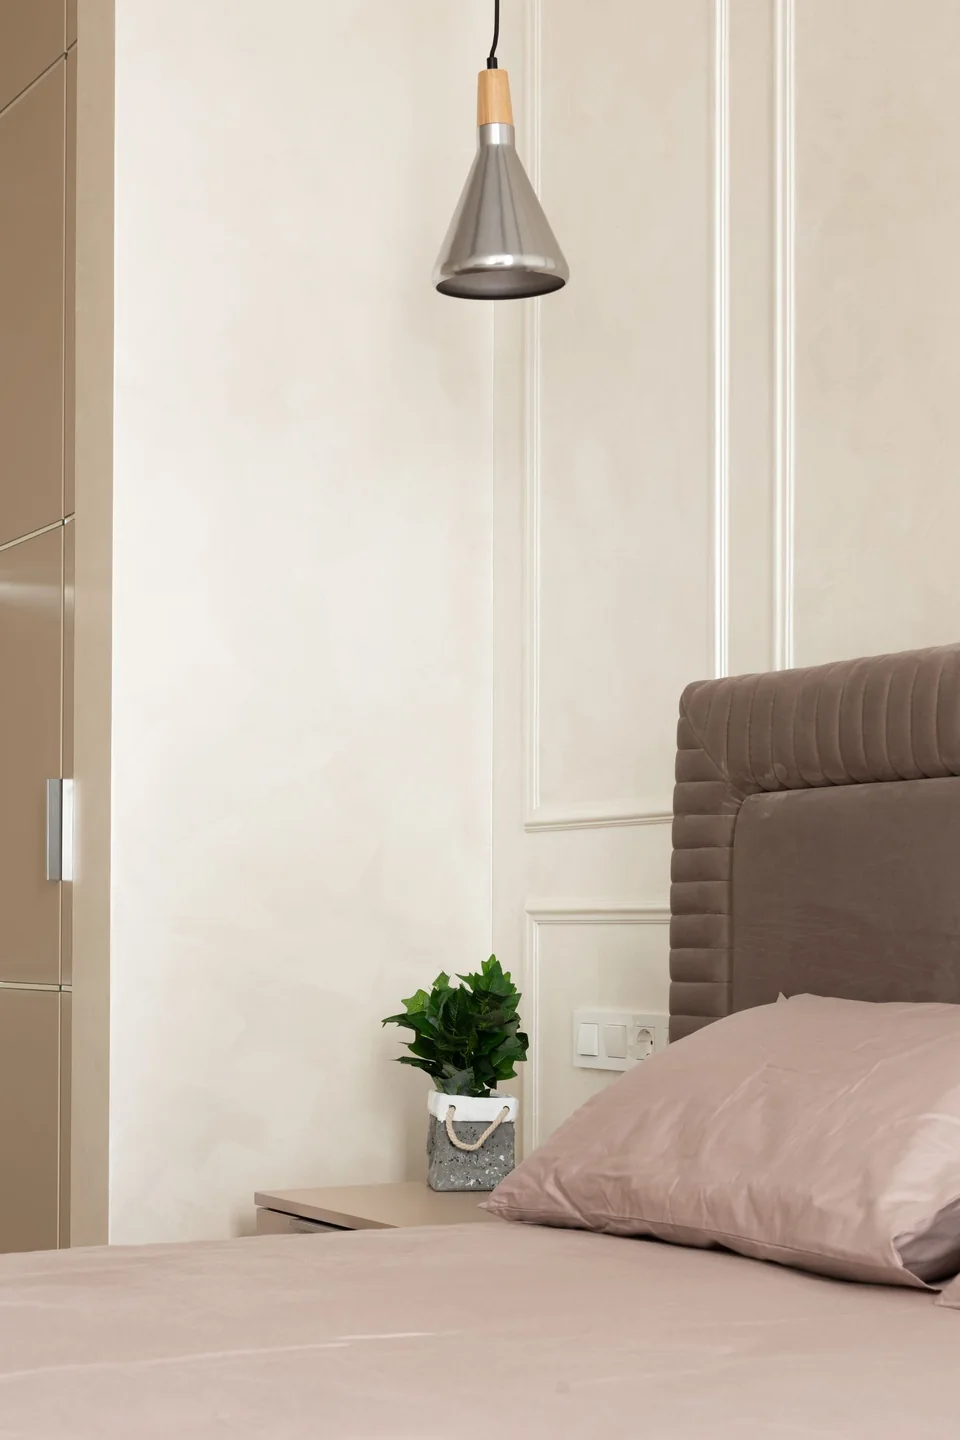
Quick Tip: Tint limewash with a spoonful of red oxide or a squirt of universal colorant, then paint a full sample board before touching the wall. Blush deepens as it dries on the first day and settles softer by the third, so patience protects you from a pink that shouts.
Morning light is where blush earns its keep, turning plain walls the color of the inside of a shell. Pair it with warm white bedding and one deeper accent, a clay pot or walnut frame, so the sweetness stays grown up, calm, and quietly romantic rather than sugary or young. A single stem in a clay vase on the nightstand is honestly all the decoration this color ever asks for.
Stark White To Soft

Credit : Max Vakhtbovych
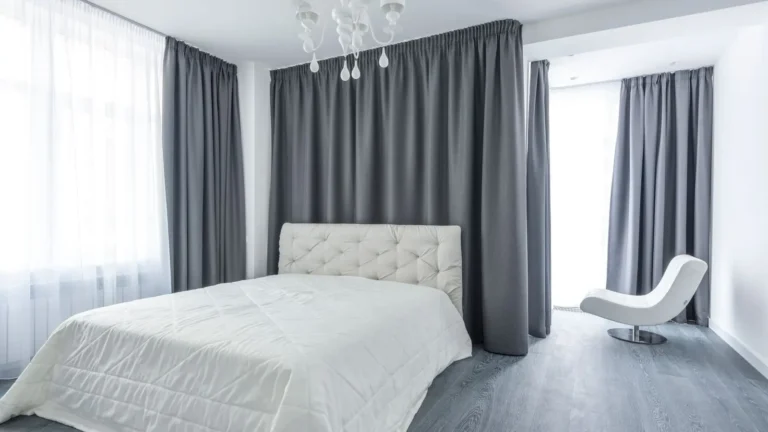
BEFORE: The room started as a white box, bright at noon and faintly blue after dark. Every sound seemed louder against the hard flat walls, and the bed floated in the glare like furniture in a showroom rather than a place to rest.
AFTER: Two cloudy coats of warm white limewash later, the same room holds light instead of bouncing it. Shadows gather softly in the corners, the grey bedding reads richer, and the chandelier glow lands like candlelight on the mineral surface each evening.
Warm white suits anyone who loves a pale room but hates the chill. The change costs one weekend and no new furniture, which makes it the friendliest first limewash project on this list.
Crisscross Brush Stroke Steps

Credit : Lisett Kruusimäe
What You Need: A block brush, limewash paint, a spray bottle of water, painter’s tape, and a drop cloth.
- Mist the wall lightly so the first coat grips instead of flashing dry
- Load the block brush and paint loose X strokes, working in patches about a meter wide
- Keep a wet edge, overlapping each patch while the last one still glistens
- Let the first coat dry overnight, then repeat the crisscross pattern at a new angle
- Step back every few minutes and soften any hard lines with a nearly dry brush
Random strokes are the whole point, so resist straightening them into rows. I’ve seen beginners panic at the patchy first hour, then grin when the second coat settles into clouds.
Limewash Versus Regular Paint
Credit : Max Vakhtbovych
| Feature | Limewash | Regular Paint |
|---|---|---|
| Texture | Cloudy, mineral, full of movement | Flat and uniform |
| Light | Absorbs light, glows softly | Reflects light evenly |
| Application | Block brush, crisscross strokes | Roller, smooth coats |
| Touch Ups | Blends invisibly into the mottling | Can flash or show patches |
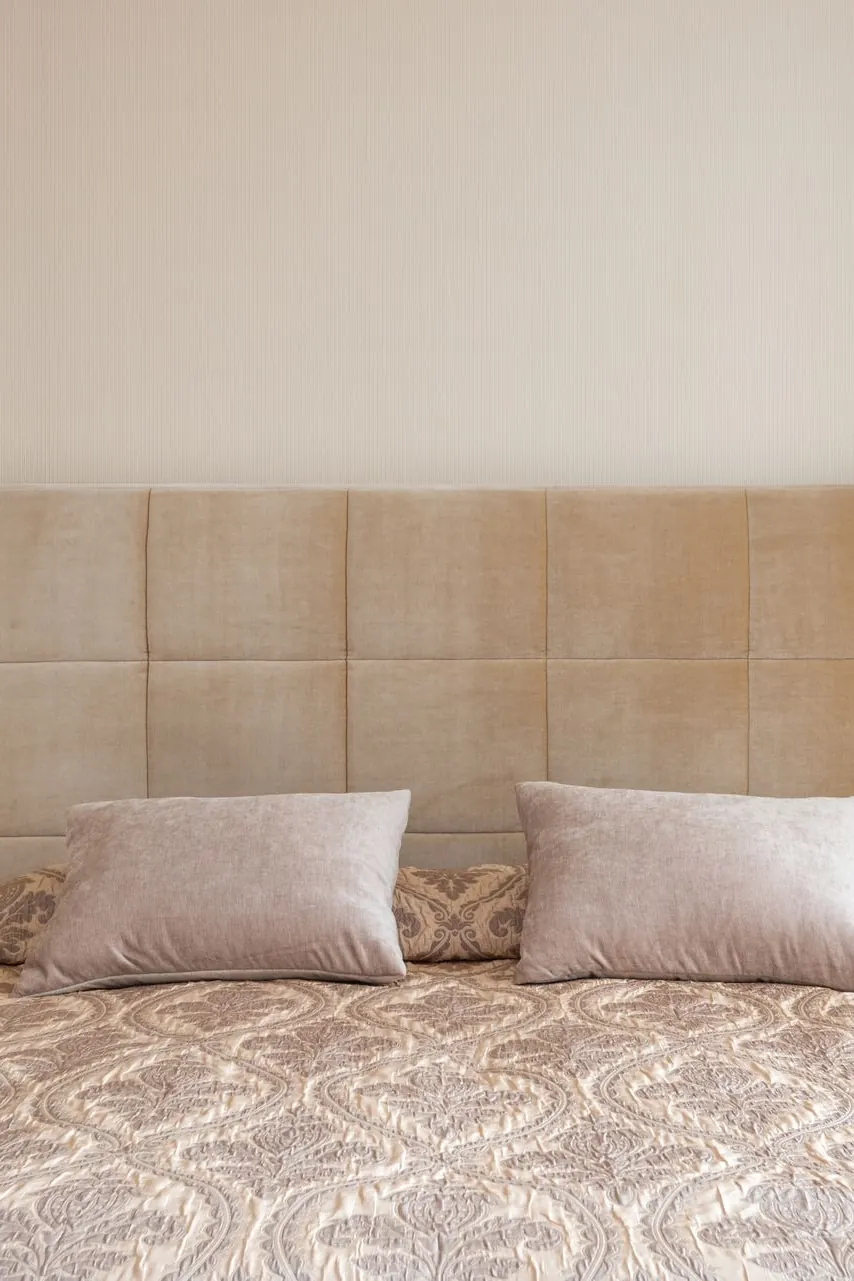
Choose limewash where the wall itself should carry the mood, and regular paint where you need a hard wearing, wipeable surface. Many bedrooms mix both, limewash behind the bed and durable paint on the remaining walls, doors, and trim. The two finishes share a palette happily, so pick the limewash first and match the standard paint to its dried sample rather than the wet color in the tin.
Two Tone Wall Rules

Credit : Max Vakhtbovych
Do:
- Split the wall at headboard height so the darker tone grounds the bed
- Keep both tones inside one warm family, like blush over taupe
- Carry the lower color onto the skirting board for a finished line
- Repeat the deeper tone in one textile so the split feels planned
Don’t:
- Cut the wall at a random height that fights the furniture
- Mix a cool grey with a warm cream and expect them to agree
- Tape a razor sharp line; a soft hand cut edge suits limewash better
- Stop the band mid wall without wrapping a corner
Two tone limewash gives a plain room the architecture it never had. Paint the darker band first, since drips forgive downward, and let the lighter wash feather softly over the join.
Limewash Cost Quick Facts
Credit : Max Vakhtbovych
Cost: Low to mid, roughly one to three dollars per square foot in materials.
Time: One weekend for an accent wall, two for a full room.
Skill Level: Beginner friendly, since the strokes are meant to look loose.
Best For: Renters and first timers who want texture without renovation.
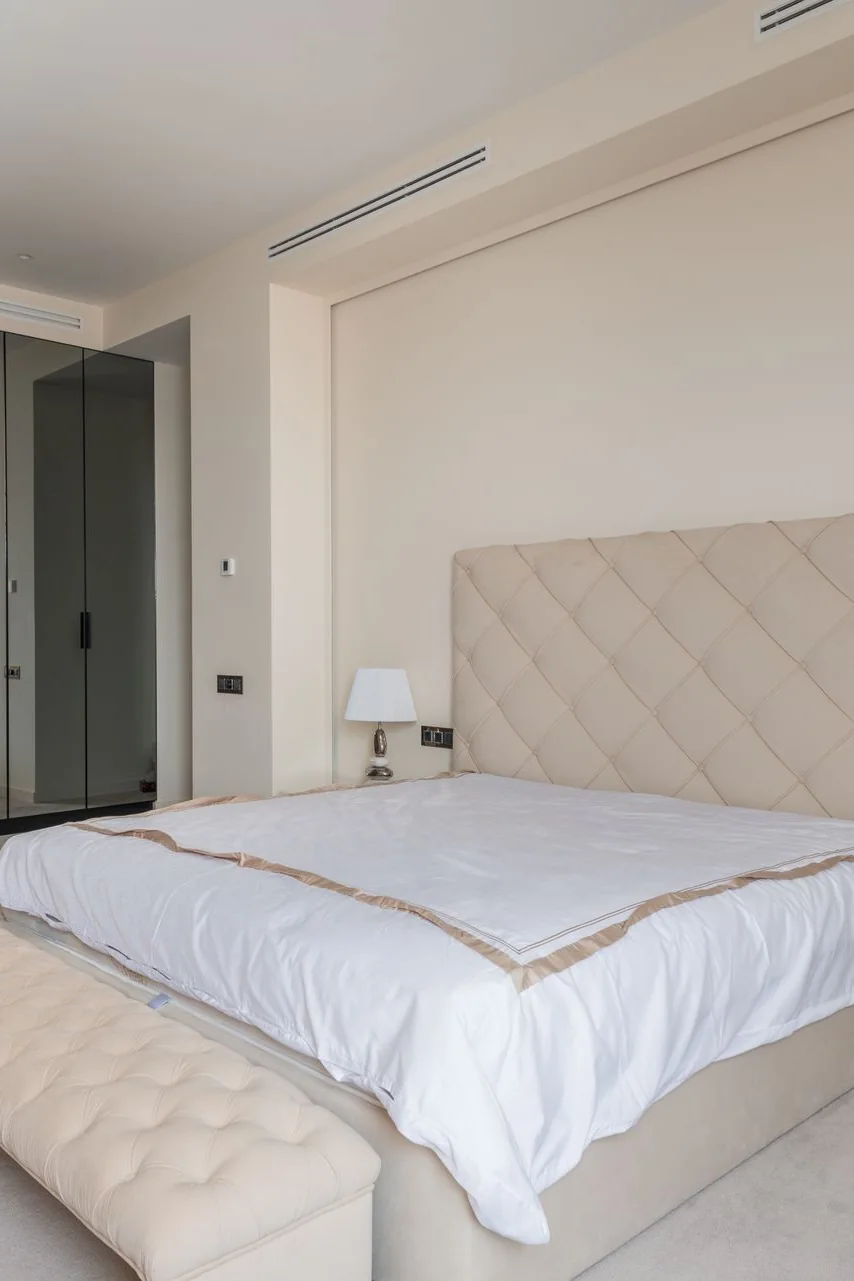
The paint itself costs more per tin than standard emulsion, but coverage goes far and no primer is needed on raw plaster or brick. Budget for a proper block brush, because a cheap brush sheds bristles into the finish and steals the savings back in frustration. One more saving hides in coverage: a single tin often stretches across two coats on an average accent wall.
Stone Beige Reading Corner

Credit : Natalia Walusiak
A reading corner lives or dies by its light, and stone beige limewash treats lamplight kindly. The mineral surface swallows harsh shadows, so the pages stay clear while the wall behind the pillows glows the color of warm sand at dusk.
Build the corner from one deep cushion, a swing arm lamp, and a small table that holds a book and nothing else. In my experience, the corner only works when the phone charger lives somewhere else. Keep a folded throw within reach, a small stack of paperbacks below the table, and the corner becomes the room’s favorite seat by winter, claimed nightly before anyone else sits down.
Layered Linen Bedding Look
Credit : Ushindi Namegabe
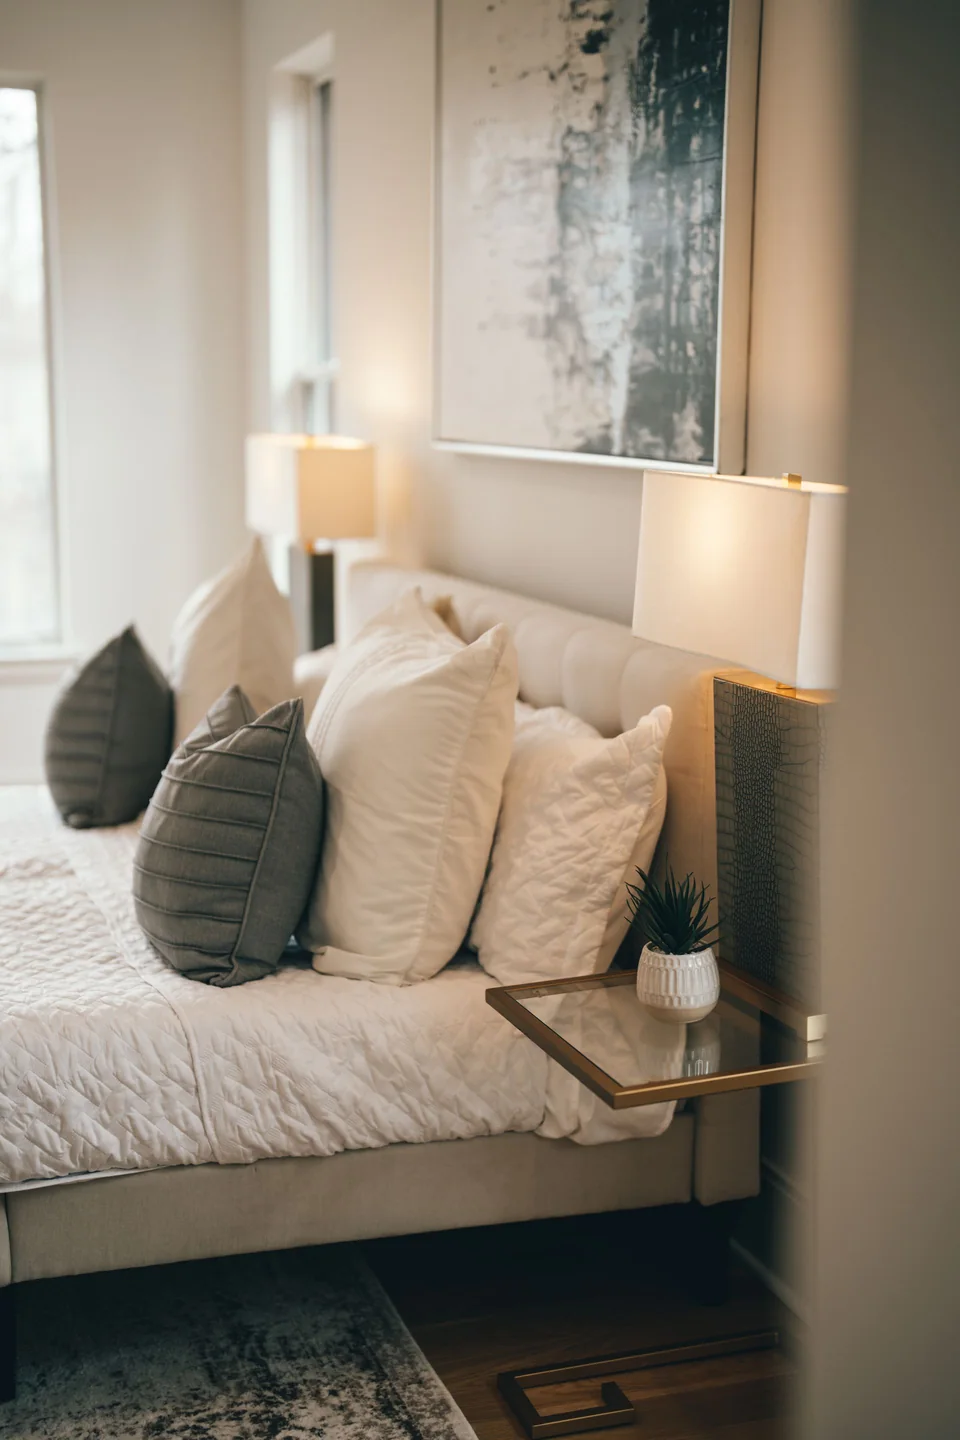
- Start with a washed linen duvet in the same tone as the limewash wall
- Fold a lighter throw across the foot of the bed for a tonal step
- Stack sleeping pillows upright, then lean two soft cushions in front
- Mix one woven or waffle texture so the layers read by touch as well
- Leave the bedding slightly rumpled; pressed perfection fights the limewash mood
Tone on tone layering is the oldest trick in the calm bedroom playbook, and limewash walls reward it because the cloudy finish counts as one of the layers. Woven natural fibers, like the ones celebrated in seagrass wallpaper interior design, keep the palette honest and grounded.
Sage Green Soft Wash
Credit : Max Vakhtbovych
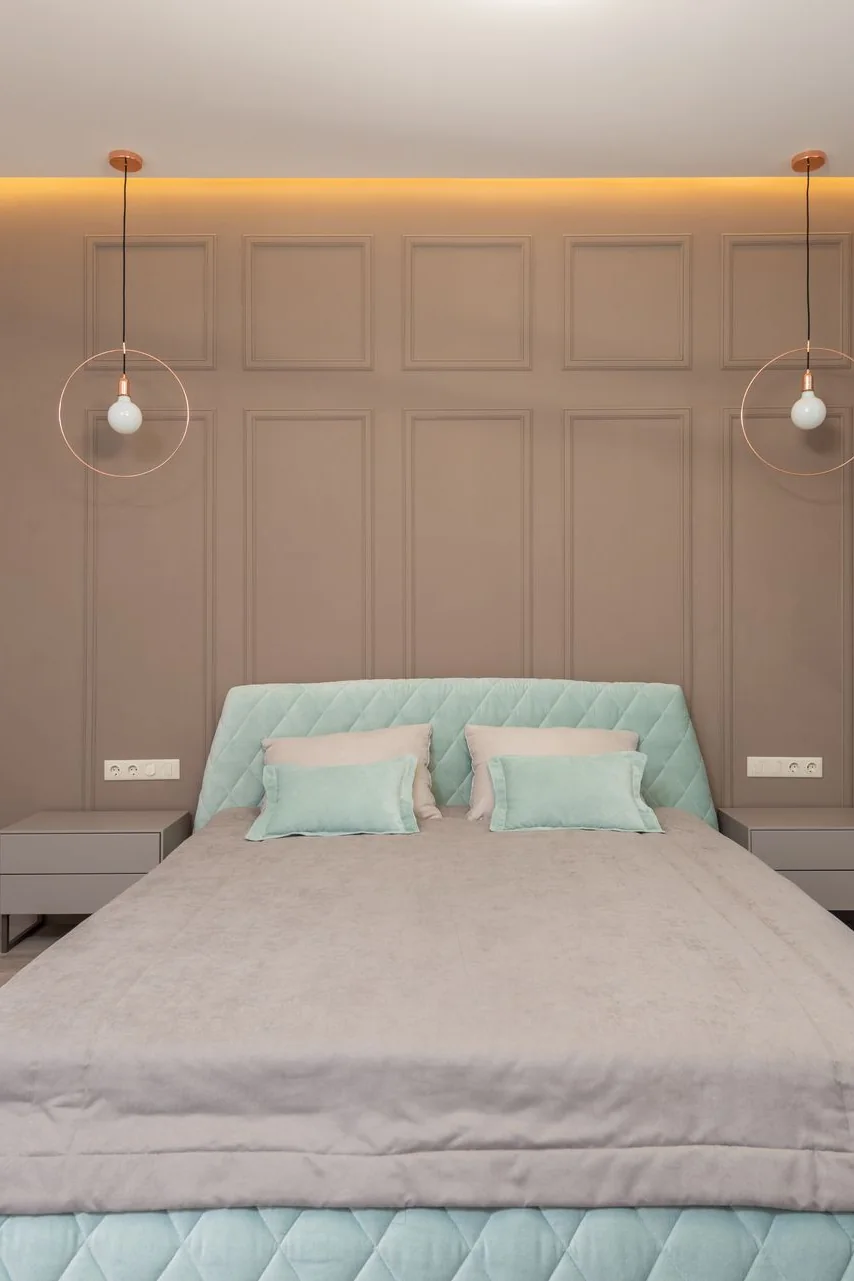
Quick Tip: Sage limewash shifts with the light more than any other tint, reading green at noon and grey by evening. Paint the sample board large, at least a meter square, and check it at breakfast and after dinner before committing the whole wall to the mix.
Sage brings the garden indoors without a single leaf print or floral pattern. It flatters pale oak, white linen, and brushed nickel, and it cools a south facing bedroom that overheats in summer light. Keep artwork simple and botanical free; the color is the nature reference, and it does the job quietly, the way real garden shade settles over a room in the late afternoon.
Gloomy Room To Airy

Credit : Max Vakhtbovych
BEFORE: A north facing bedroom with grey flat paint felt damp and dim at every hour. The corners disappeared into shadow, the white furniture looked grubby against the murk, and nobody lingered there once the bed was made in the morning.
AFTER: Pale stone limewash changed the physics of the room, since the mineral pigments scatter daylight instead of swallowing it. The same furniture now reads crisp, the corners glow faintly, and the space holds the soft brightness usually found in limewash paint bedroom inspiration photos.
Light starved rooms need the palest wash you can mix and one coat more than seems necessary. The extra coat deepens the cloud pattern, which tricks the eye into reading texture as brightness.
Sealing The Finish Steps
Credit : Lisett Kruusimäe
What You Need: Matte limewash sealer, a wide soft brush, a lint free cloth, and painter’s tape.
- Wait at least a week after the final coat so the lime can cure fully
- Dust the wall gently with a dry cloth to lift any loose mineral powder
- Brush the sealer on in the same loose crisscross pattern as the paint
- Wipe drips immediately, since sealer dries clearer and glossier than limewash
- Let the wall rest a full day before pushing furniture back against it
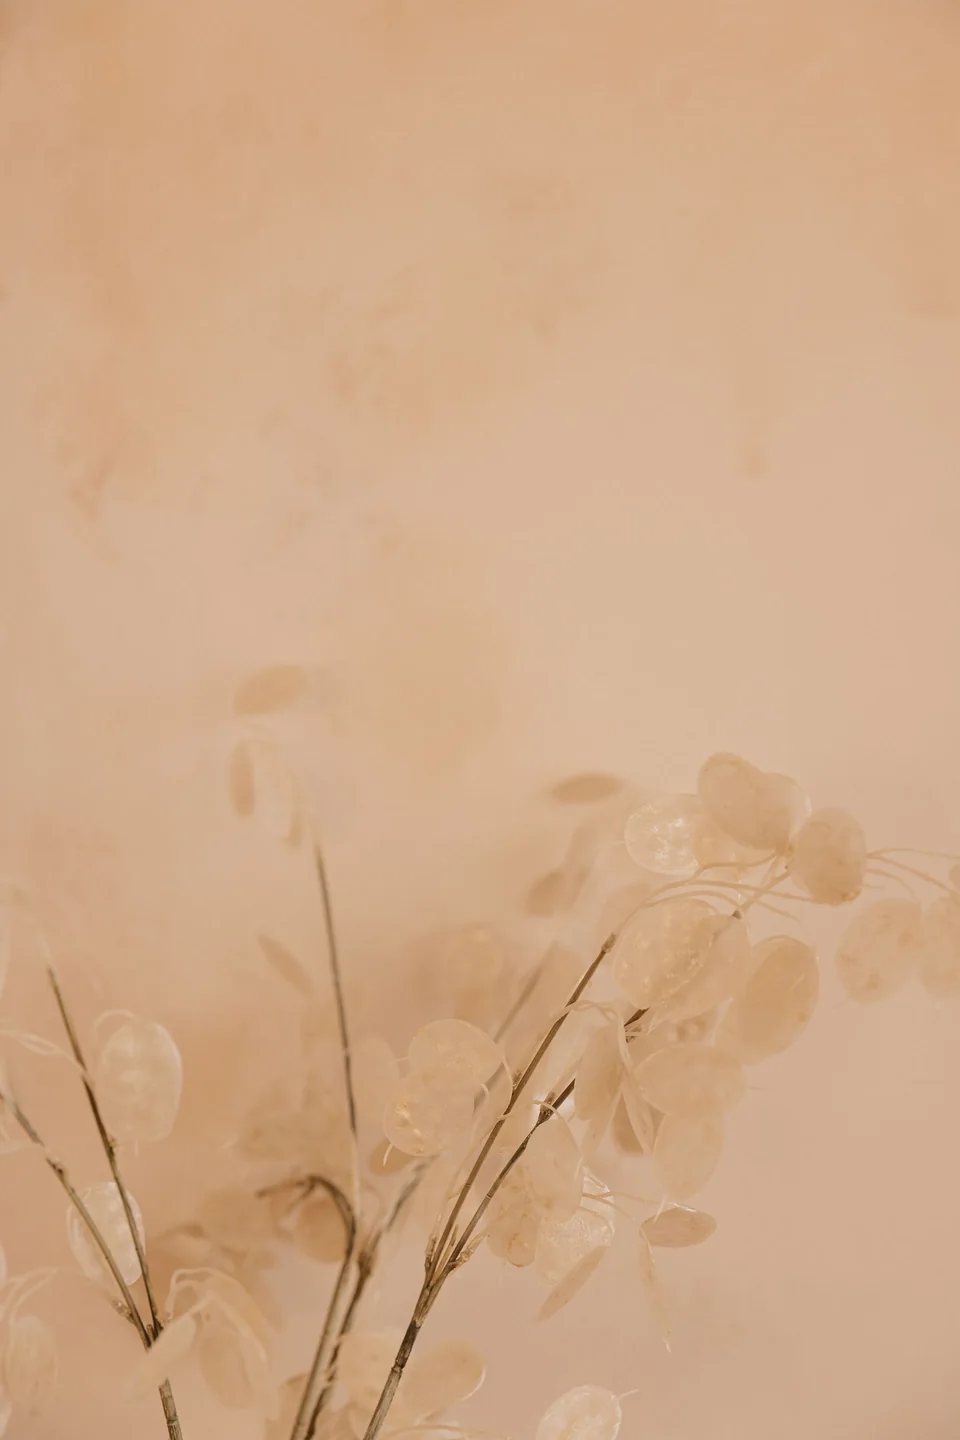
Sealing matters most behind the headboard, where pillows and hair oils meet the wall nightly. A matte sealer keeps the chalky look intact while stopping the slow powdery rub off that surprises new limewash owners.
Brushed Texture Versus Smooth
Credit : Max Vakhtbovych
| Feature | Brushed Limewash | Smooth Coat |
|---|---|---|
| Surface | Visible strokes and cloudy laps | Even, quiet, almost flat |
| Mood | Handmade, rustic, relaxed | Tailored, calm, modern |
| Forgiveness | Hides flaws and patchy walls | Shows every bump beneath |
| Best Walls | Old plaster, brick, rentals | New, smooth drywall |
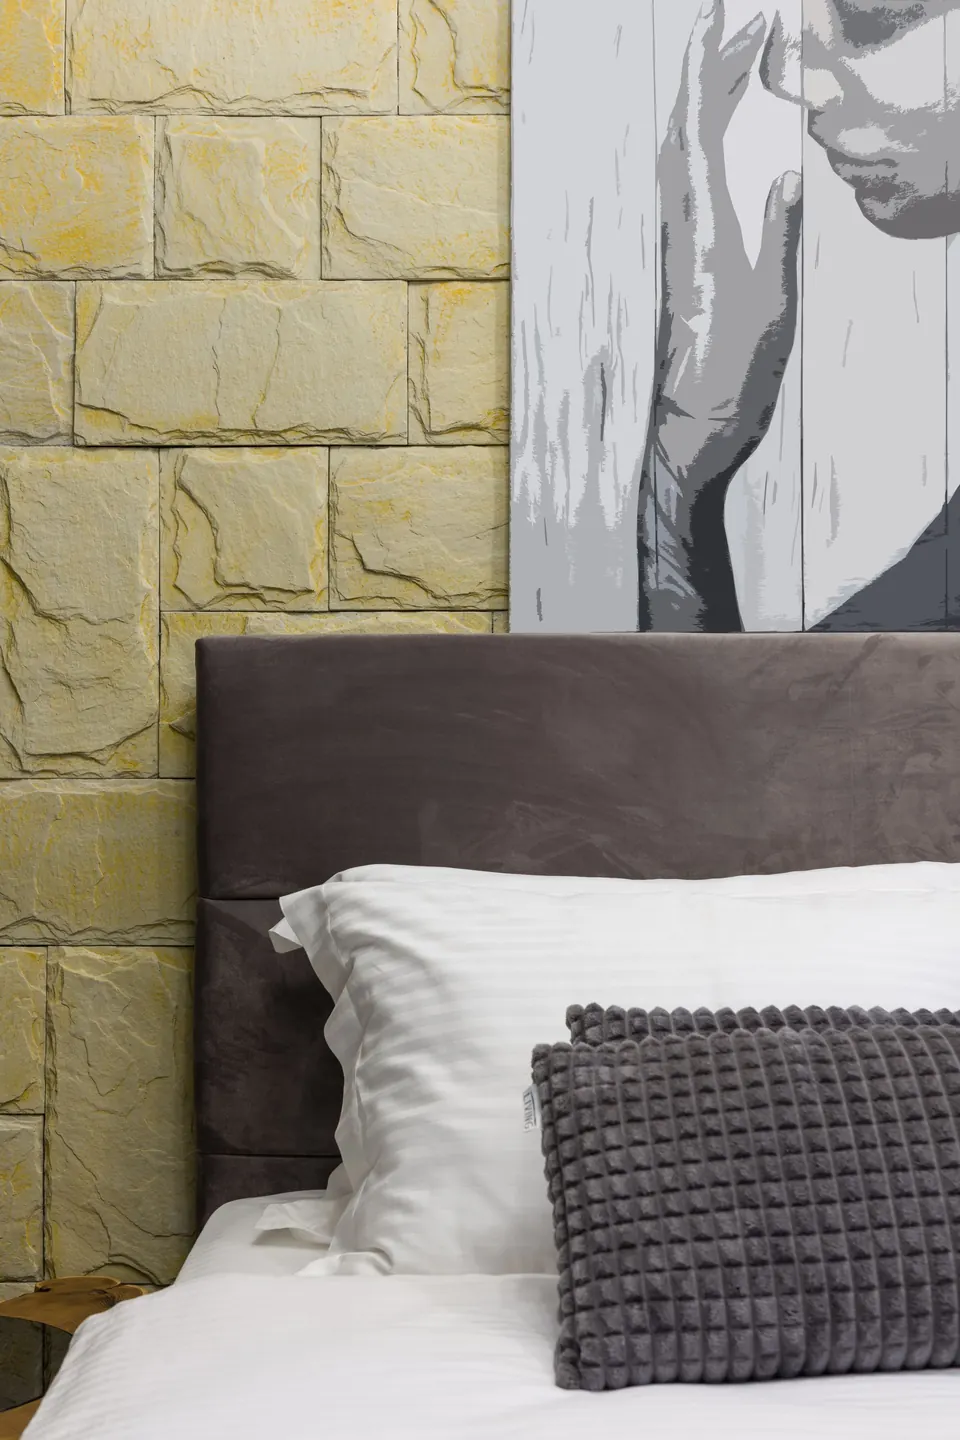
Most bedrooms land in the middle, brushed on but softened with a dry brush pass while the coat is still wet. That hybrid keeps the handmade soul and loses the busy streaks that can fight with patterned bedding or busy curtains at the window. Order both finishes as samples, brush them side by side on one board, and live with the pair for a weekend before the full wall makes the decision final.
Wood And Limewash Rules

Credit : Wellington Silva
Do:
- Pair pale limewash with mid tone oak for gentle, honest contrast
- Repeat one wood tone at least twice so the pairing feels deliberate
- Let raw, unvarnished finishes sit closest to the limewash texture
- Wax wooden headboards so pillow friction does not polish shiny spots
Don’t:
- Mix orange pine with cool grey wash and expect a calm result
- Push glossy varnished furniture against a matte mineral wall
- Match the wood exactly to the wall tone and lose both in beige
- Hang heavy dark frames that drag the soft palette downward
Lime and timber grew up together in old farmhouses, so the pairing rarely fails when both stay matte. I’ve seen this work well in many cases where a room felt cold with paint alone.
Small Bedroom Limewash Facts
Credit : PNW Production
Cost: Low, since one tin often covers a small room twice over.
Time: A single day for two coats in a compact space.
Skill Level: Beginner, with less wall to manage per coat.
Best For: Box rooms, guest corners, and attic bedrooms.
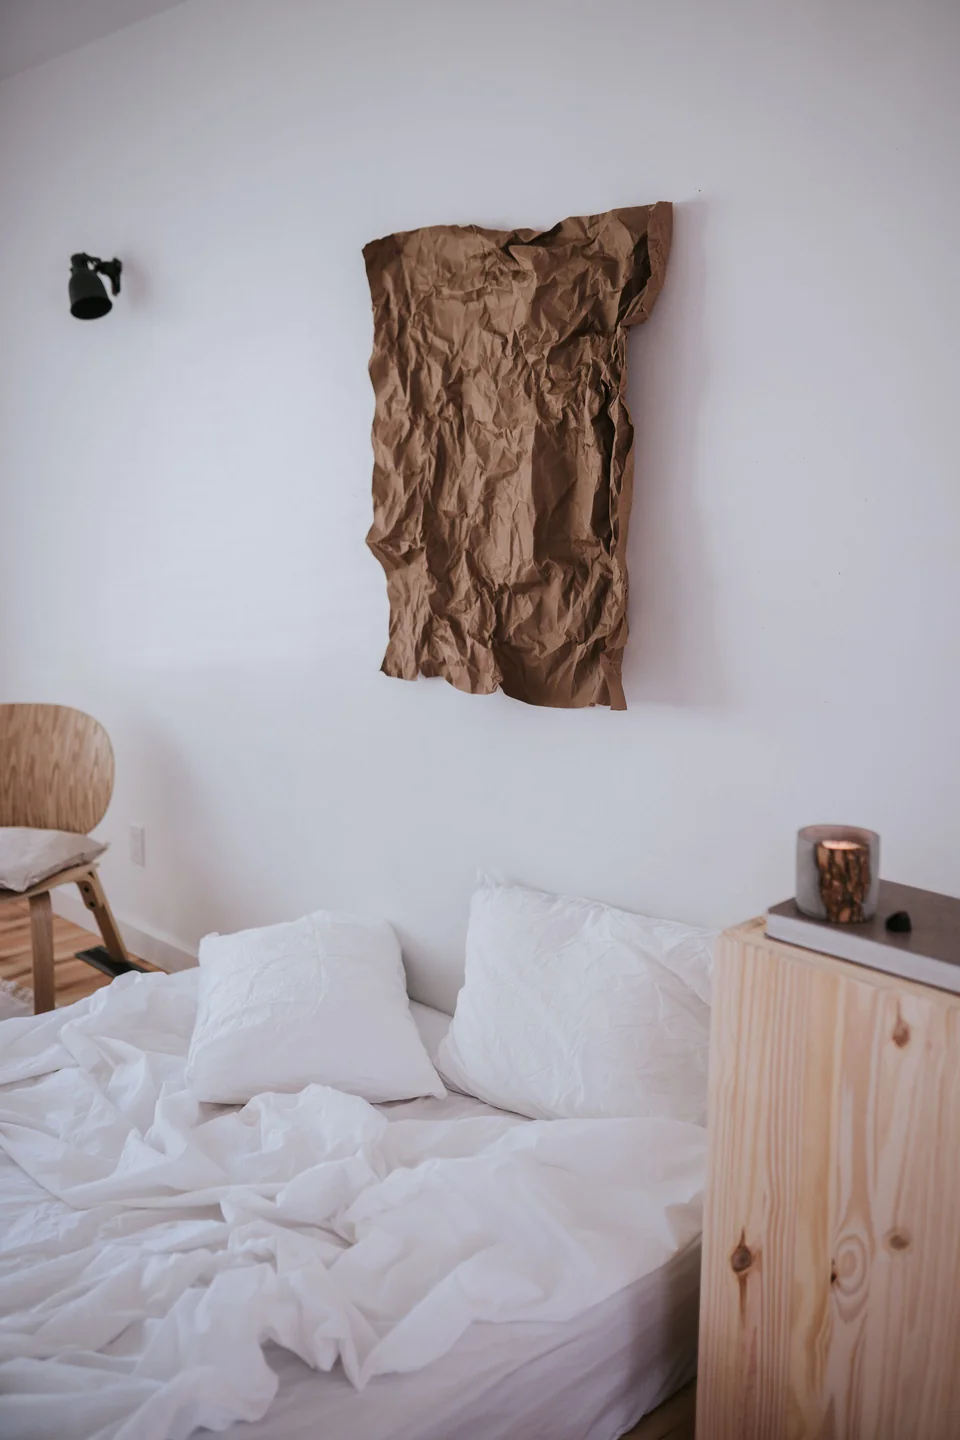
Small rooms gain the most from limewash because the cloudy finish blurs the corners where walls meet, softening the box feeling. Keep the wash pale, run it over the ceiling line if the room feels squat, and let one large bed fill the space proudly instead of apologizing for it. Pale washes also forgive the extra furniture small rooms collect, since the cloudy walls keep a dresser, a desk chair, and a laundry basket from shouting over one another.
Moody Taupe Depth Walls
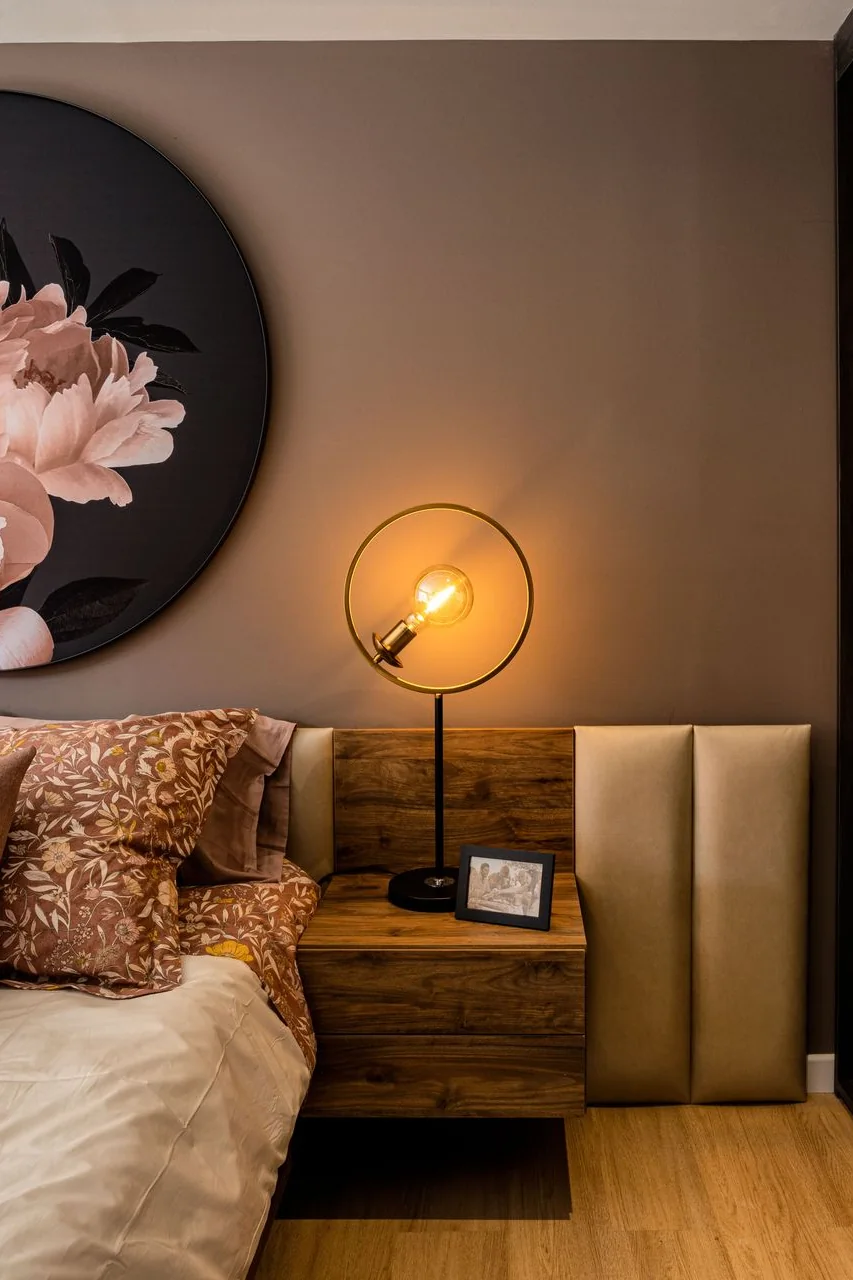
Credit : Gustavo Galeano Maz
Every calm bedroom collection needs one room that leans into dusk. Deep taupe limewash wraps the walls like a held breath, and the cloudy pigment keeps the darkness soft rather than flat, so the room feels cocooned instead of cave like at night.
Balance the depth with warm metals, amber lamplight, and bedding in cream or faded rust. A dark wash shows dust more honestly than pale colors, so choose it for the wall behind the bed and keep the remaining walls mid tone. The result is a room that seems to lower your heart rate within minutes of lying down, the way a dim chapel or a library reading room settles the shoulders.
Terracotta Clay Warmth
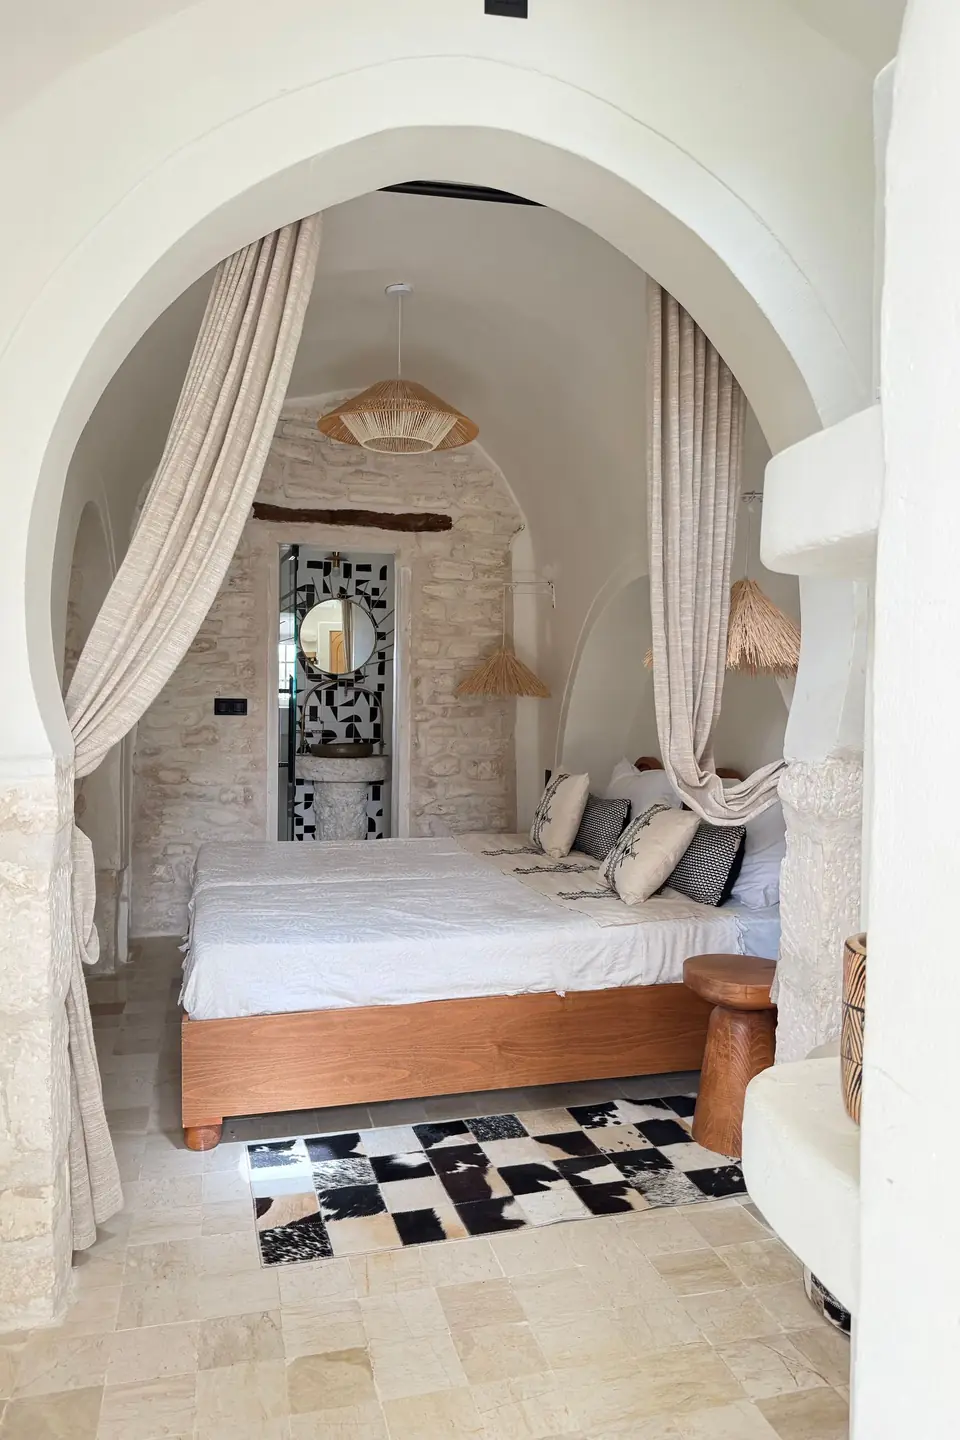
Credit : wael belkahla
- A diluted terracotta wash warms white bedding without painting the room orange
- Stone and plaster textures keep the clay color grounded and old world
- Black accents, used in tiny doses, sharpen the earthy softness nicely
- Natural linen and jute stop the warmth from sliding into theme decor
- Warm white bulbs matter here; cool light turns clay tones muddy fast
Terracotta limewash suits bedrooms that face north or sit in shadow, since the pigment carries its own sunlight. Dilute it more than instinct suggests, because clay tones deepen as they cure, and a second pale coat can always add glow later.
Ceiling Drench Color Trick
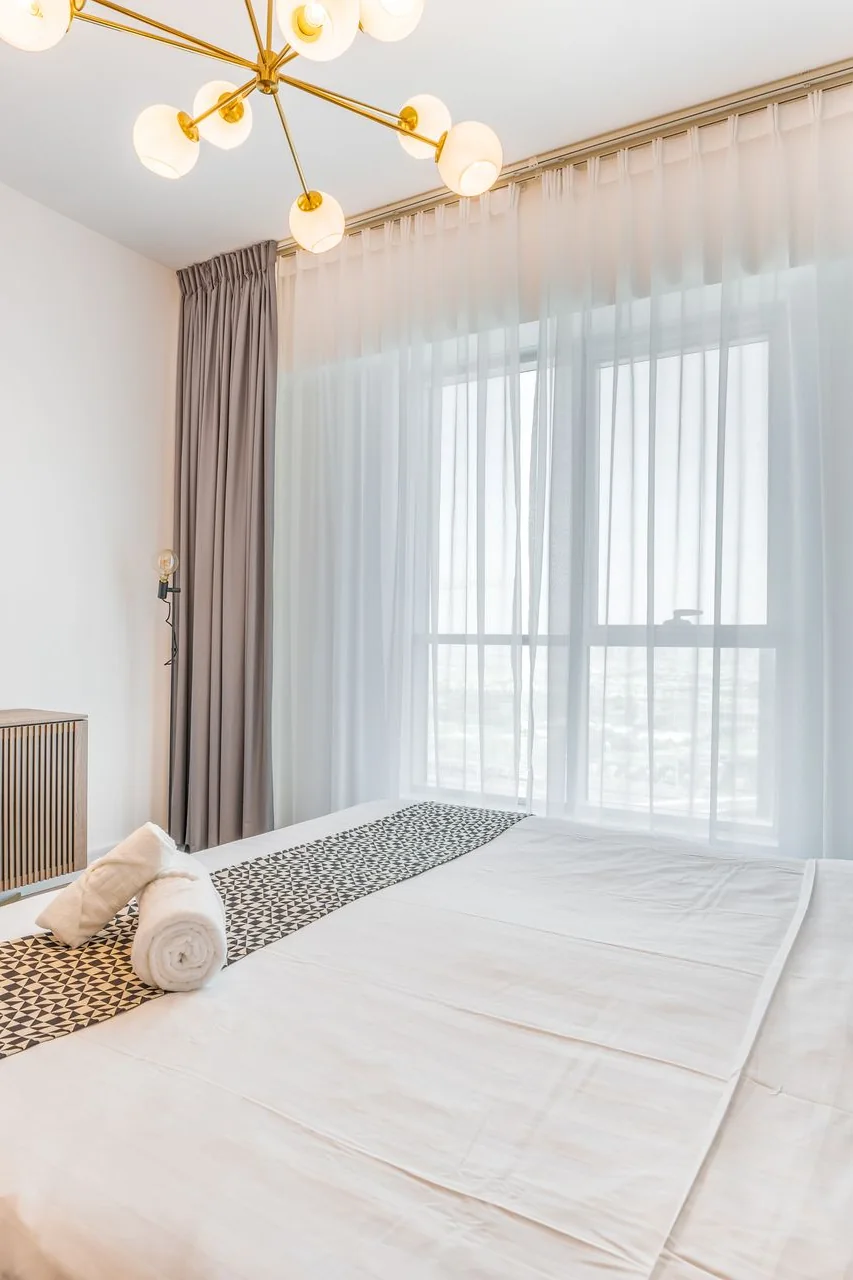
Credit : Alan Antony
Quick Tip: Carry the limewash over the ceiling in the same batch and brush batch you used on the walls. A drenched ceiling removes the hard white line where wall meets ceiling, and the whole room settles into one soft mineral envelope by evening.
Color drenching works best in rooms with low or awkward ceilings, since the eye stops hunting for the edge. Keep the bedding pale and the floor mid tone so the envelope feels like a cocoon, not a cave, and test the mix under your warmest lamp first. The ceiling drinks more light than any wall, so the drenched tone reads a shade deeper overhead, which most people end up loving.
Dated Cream To Calm
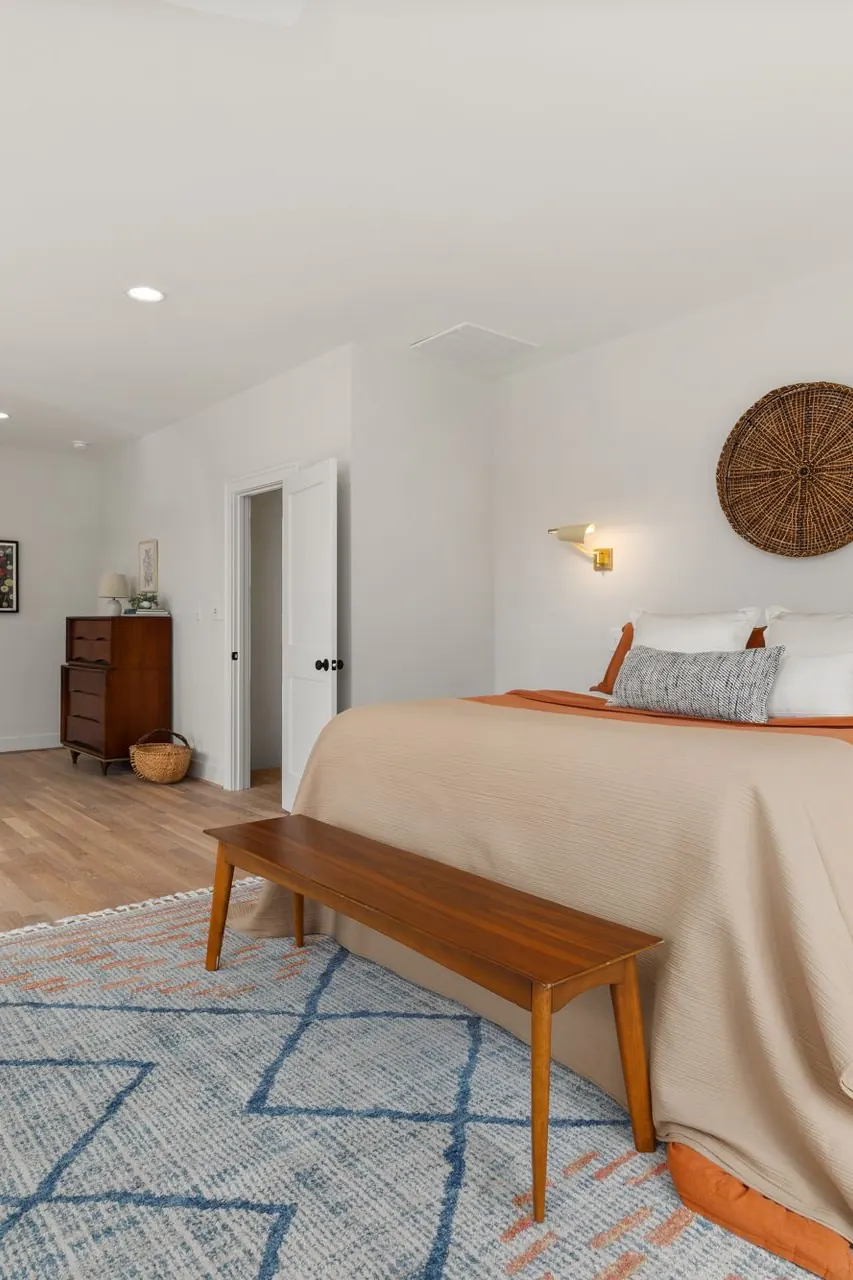
Credit : Curtis Adams
BEFORE: The walls wore a yellowed cream paint from a decade ago, glossy in patches and tired everywhere. It fought the white bedding, clashed with the oak floor, and made the whole room feel like a photograph left too long in the sun.
AFTER: A stone white limewash cooled the yellow cast without turning the room cold. The mineral mottling hides the old patchiness, the wood tones look intentional now, and morning light arrives soft instead of brassy across the bed each day.
Yellowed paint is the most common reason readers try limewash, and the cure rarely needs more than two coats. Sample on the worst wall first; if the cast disappears there, it will behave everywhere else.
Sample Board Testing Steps
Credit : Aukid phumsirichat
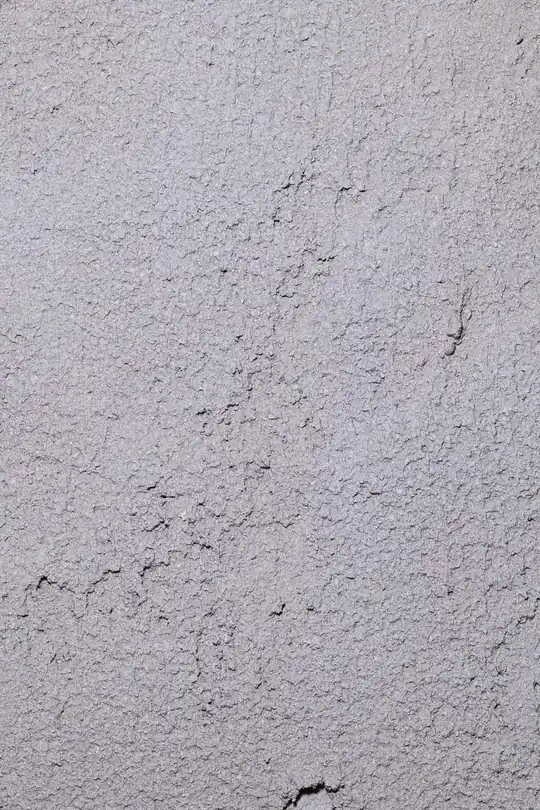
What You Need: Two offcut boards, your chosen limewash, a block brush, a pencil, and masking tape.
- Prime the boards the same way you plan to prime the bedroom wall
- Paint one board at full strength and one diluted with extra water
- Label each board on the back with the mix ratio and the date
- Prop both boards behind the bed and live with them for three days
- Check them at dawn, noon, and under lamplight before choosing the mix
Boards beat paint chips because limewash changes as it cures and chips never show the brush movement. In my experience, the mix that looks slightly too pale on day one is usually perfect by day three.
Guest Room Limewash Facts
Credit : Charlotte May
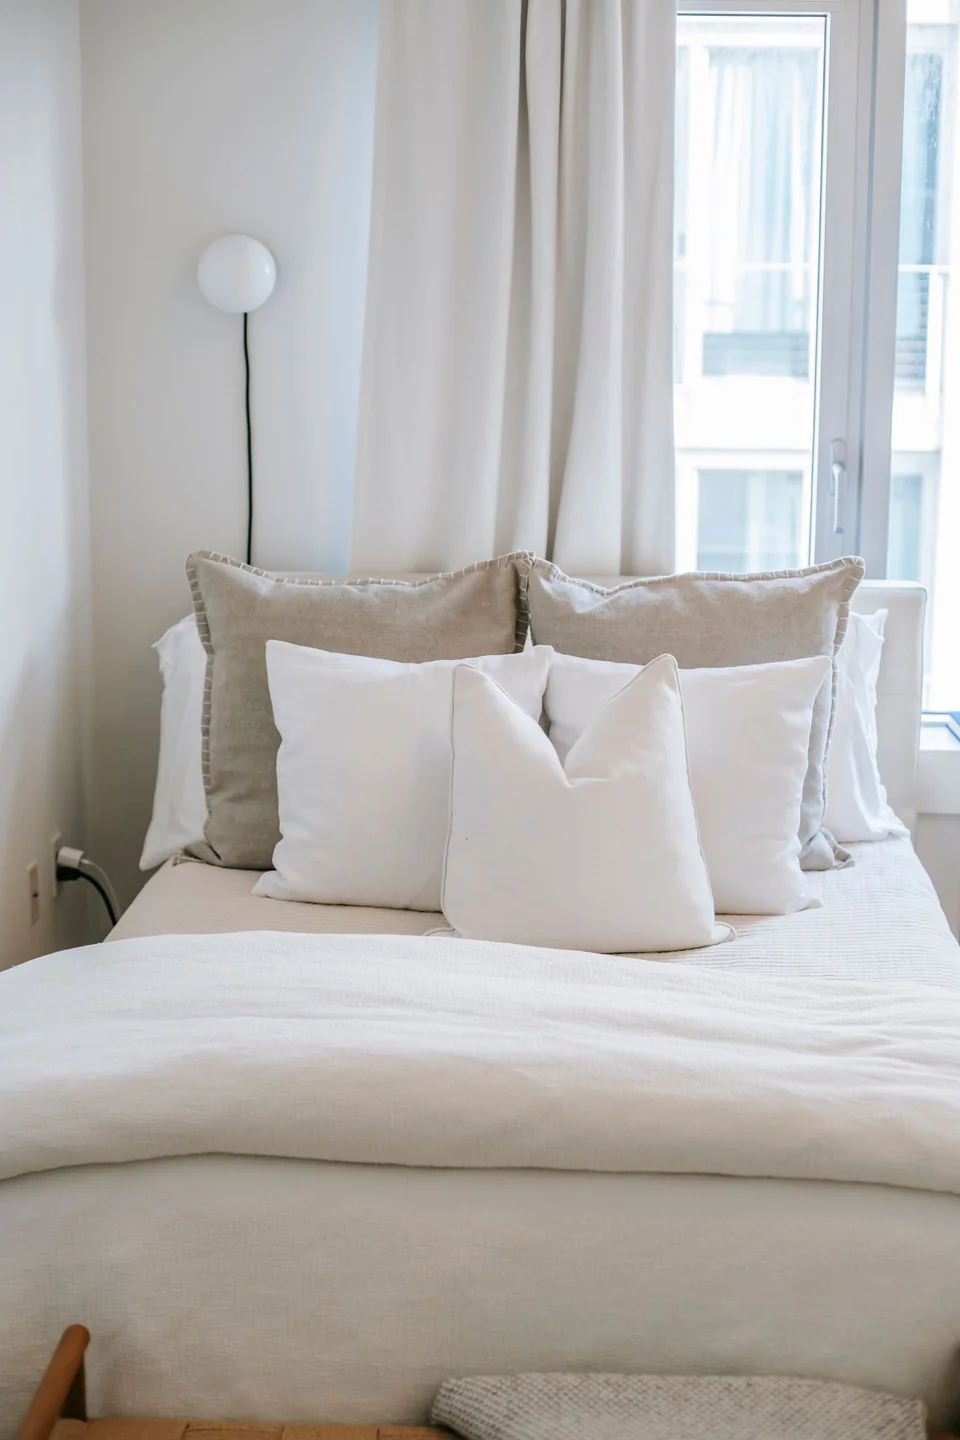
Cost: Low, since guest rooms forgive a single accent wall.
Time: One day of painting, one day of curing before guests arrive.
Skill Level: Beginner, with low pressure to be perfect.
Best For: Spare rooms that double as offices or storage.
Guests read a limewash wall as care, the signal that the room was prepared rather than leftover. Keep the wash neutral, add one good lamp and a carafe of water, and the smallest spare room starts behaving like a boutique hotel for the people you love most. Add a folded spare blanket at the foot of the bed and a small dish for rings and watches, and guests stop asking where things belong.
Whole Room Soft Drench
Credit : Elias Storm
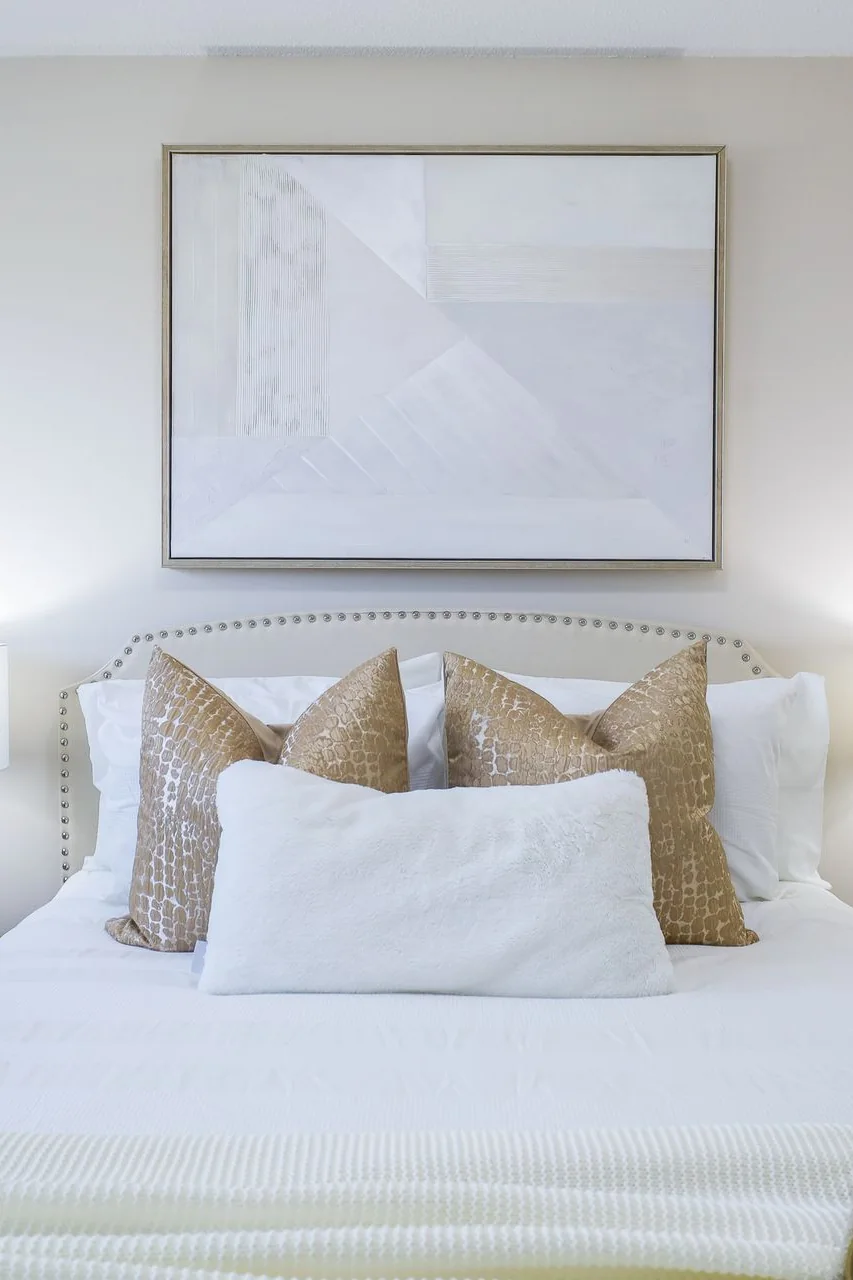
Drenching every wall in one soft wash is the boldest move in this collection, and the most restful. With no contrast line anywhere, the room becomes a single held note: walls, bedding, and curtains all breathing inside the same pale mineral family from morning to midnight.
Texture becomes the only decoration a drenched room needs, so spend the budget on linen, wool, and one carved or woven piece. That’s why many experts recommend drenching for overstimulating sleepers; the eye finds nothing to chase. Start with the palest mix you dare, since four walls of color always read deeper than one.
Conclusion
A bedroom wrapped in mineral color asks for very little and gives back calm every single night. Start with one wall, live with your sample boards, and judge the finish in soft light before ruling on it. These limewash paint bedroom inspiration notes come down to one habit: thin coats, honest texture, and patience between layers. Save your favorite looks to Pinterest, mix a small test pot this weekend, and share the before and after with someone planning a retreat of their own. I’ve seen this finish turn plain walls into rooms people describe as a deep breath.