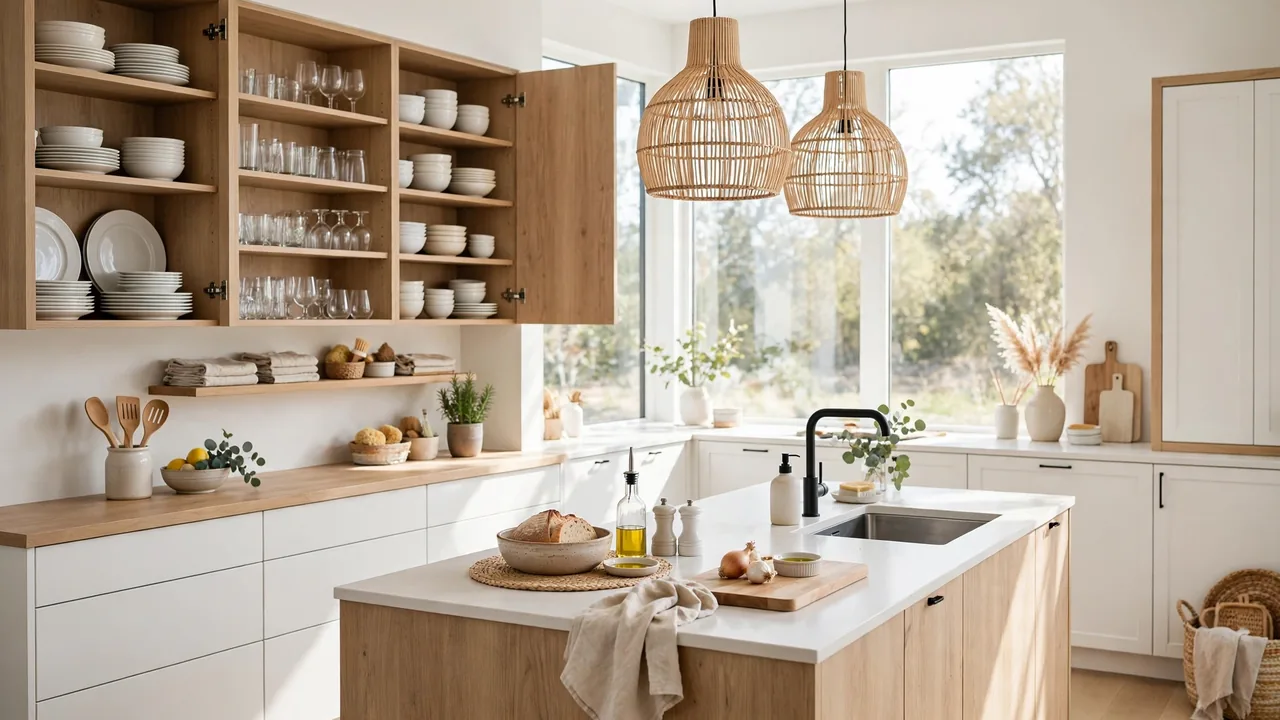
How to Organize Kitchen Cabinets Efficiently
Opening a cabinet should not feel like a gamble. If every door swing risks an avalanche of lids, cans, and mystery containers, learning how to organize kitchen cabinets efficiently will change your daily routine for the better. A tidy cabinet saves minutes every single day.
The good news is that you do not need a remodel or pricey systems. Most cabinet chaos comes from a few fixable habits, and this guide walks you through each one. For more small-space ideas, see how to add storage to small bathrooms.
In my experience, tidy kitchens are not the biggest ones. They belong to people who gave every item a home. By the end of this guide, your cabinets will work with you.
Why Kitchen Cabinets Get Messy
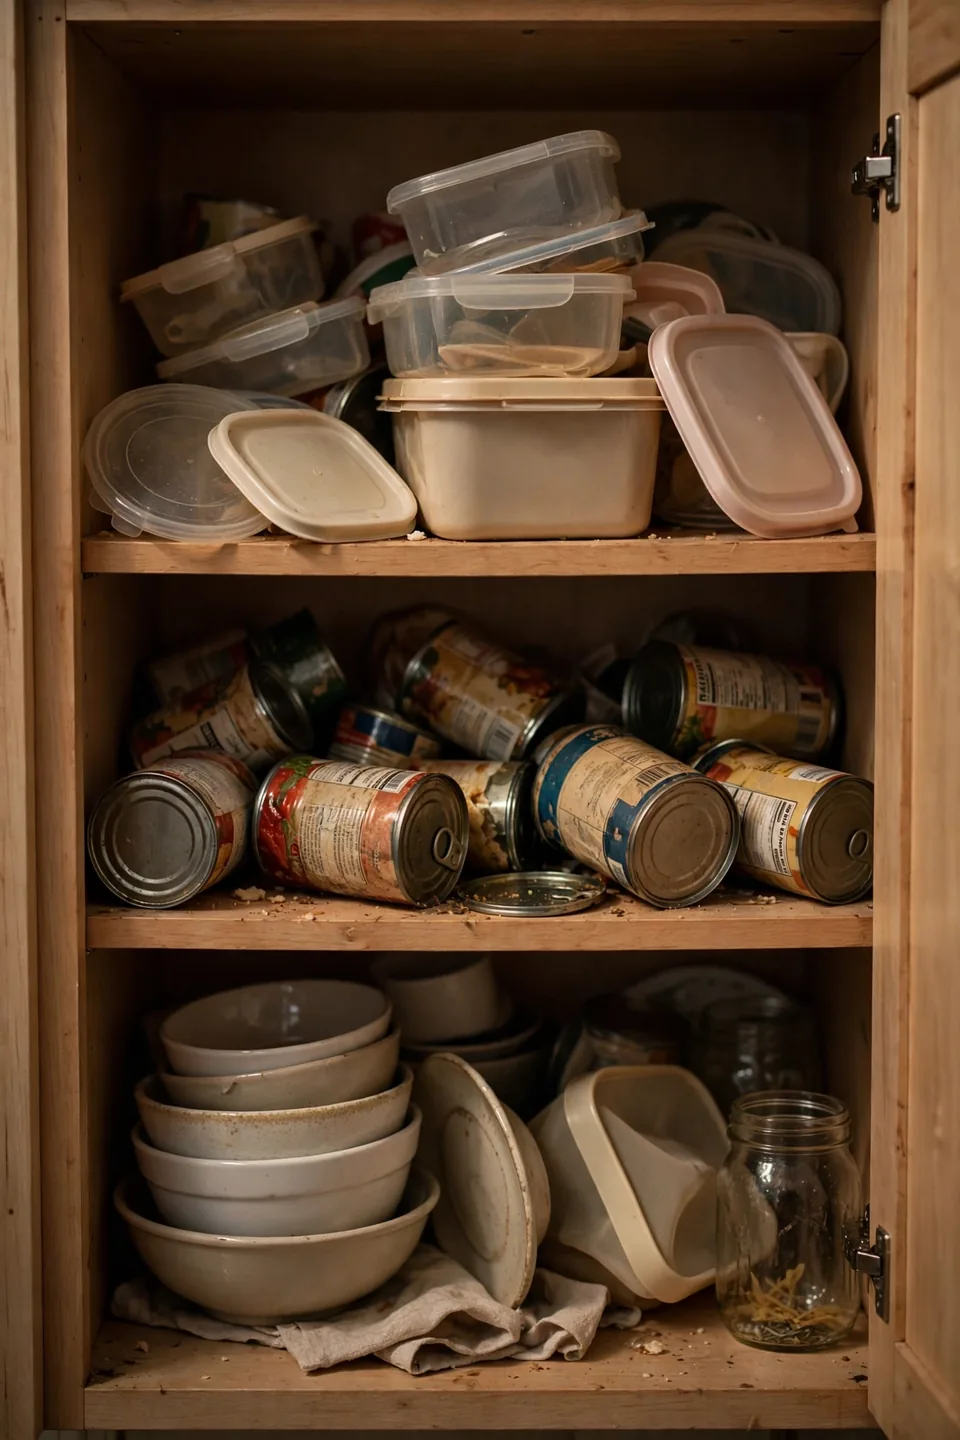
Cabinets rarely start out messy. The trouble begins the day you unload groceries in a hurry and shove cans wherever they fit. Over weeks, those quick decisions stack up. Lids migrate away from their containers, gadgets you use twice a year claim front-row space, and duplicates pile up because you forgot what you already owned.
The fix starts with understanding the pattern, not buying new bins. Once you see why things drift out of place, every later step in this guide clicks into place. Awareness comes first, and containers come later.
Empty and Sort Everything First
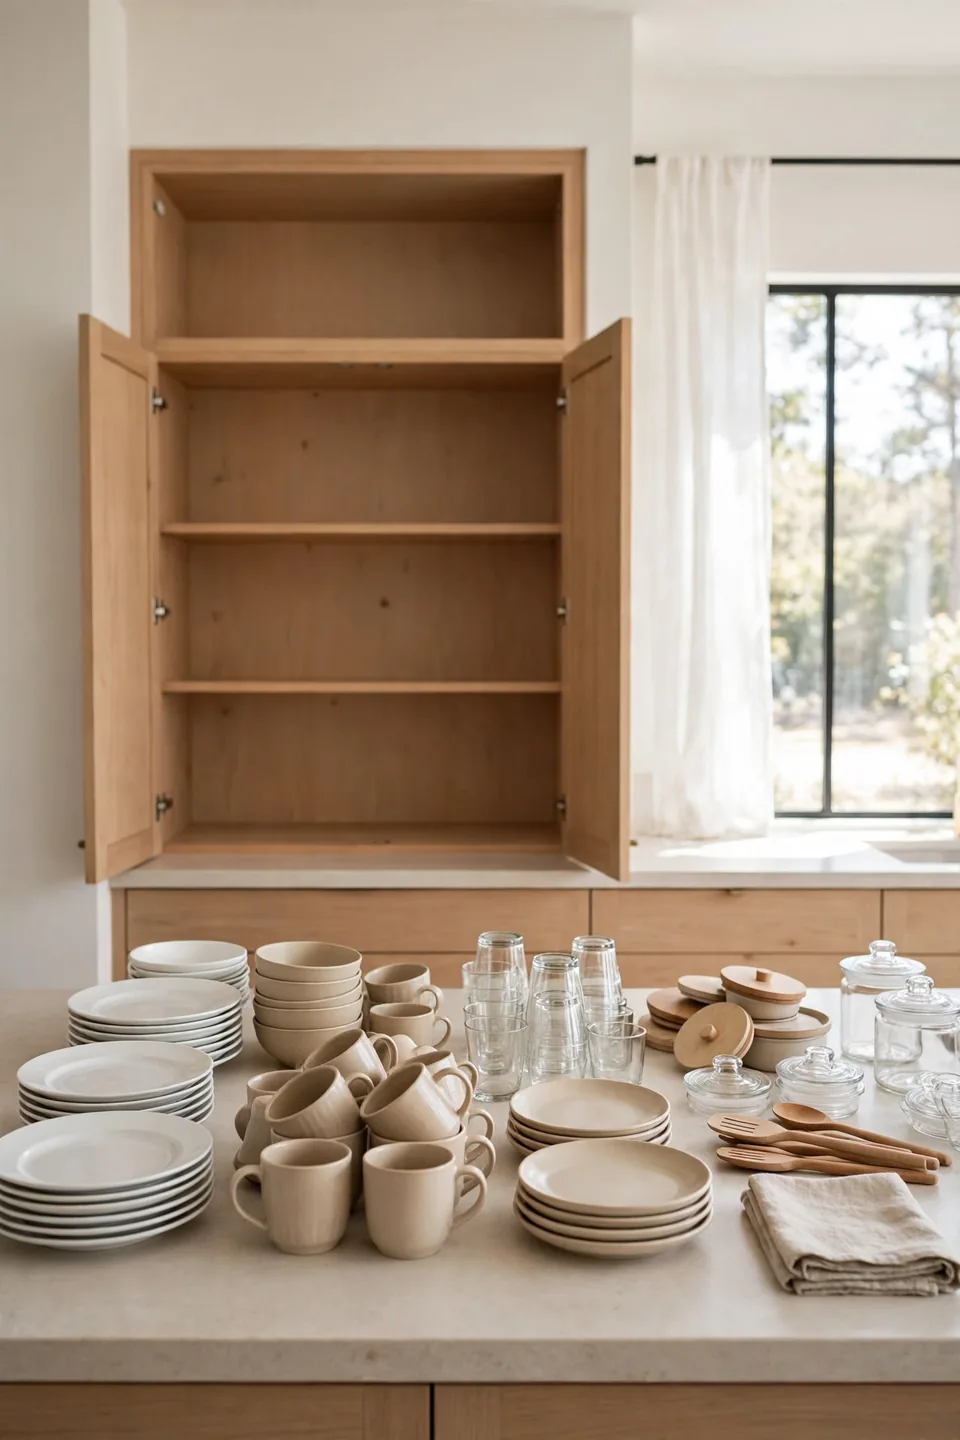
This step feels dramatic, but it is the fastest way to see what you actually own. Pulling everything out of one cabinet at a time keeps the job manageable. Work shelf by shelf and you will finish faster than you expect.
- Take everything out of one cabinet and wipe the shelf clean before anything goes back.
- Sort items into four piles: keep daily, keep occasional, donate, and toss.
- Check every lid and match it to a container; recycle the orphans without a partner.
- Group the keep piles by category so similar items return to the shelf together.
Zone Your Cabinets by Task
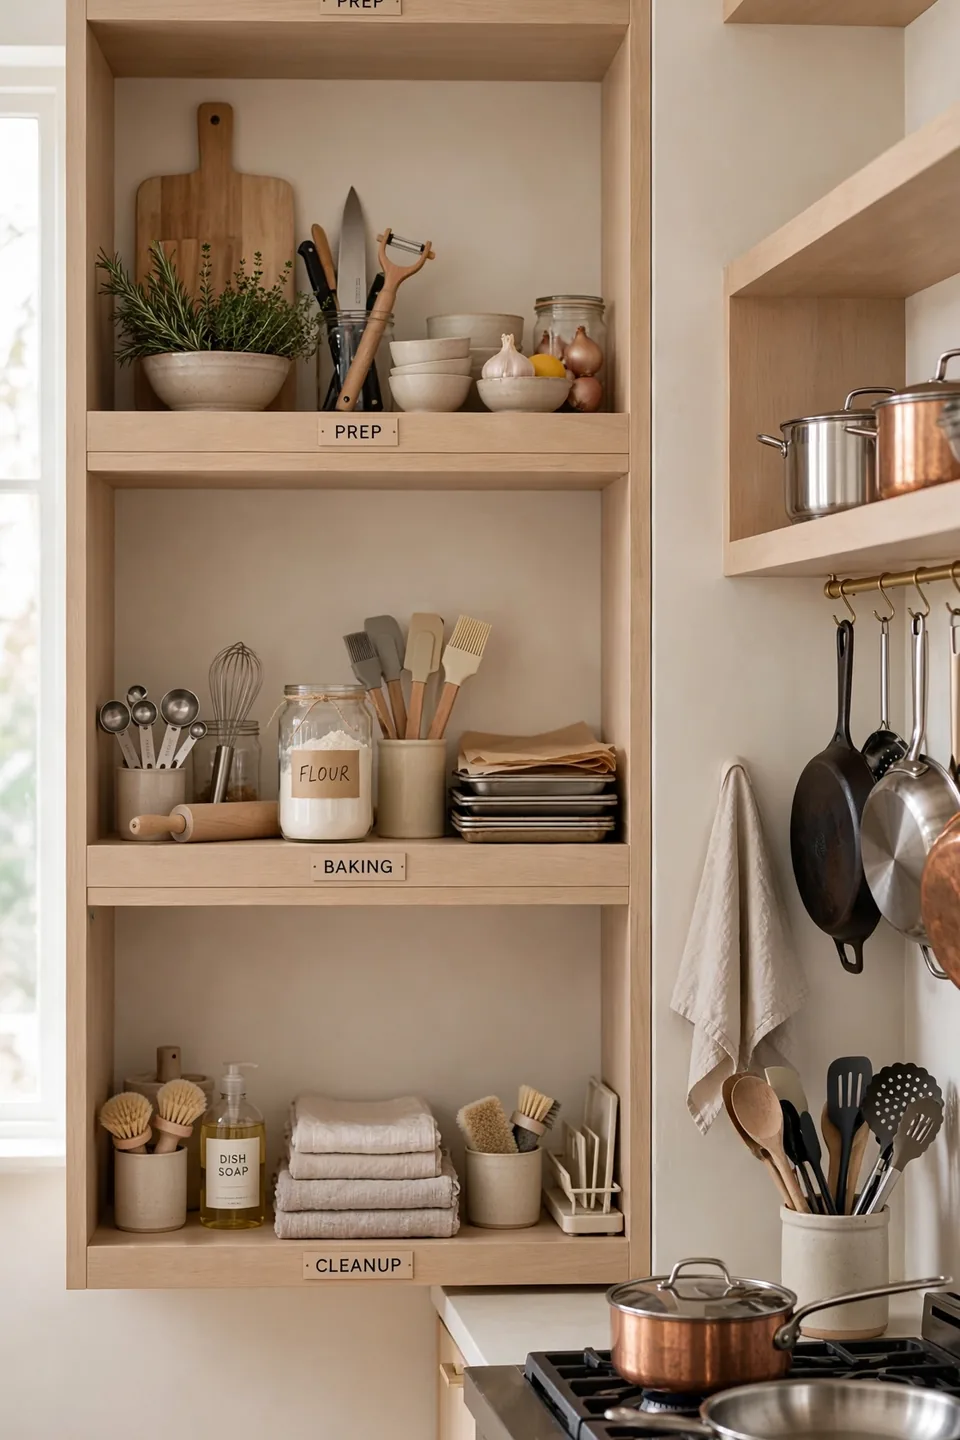
Quick Tip: Store items where you use them, not where they fit. Coffee mugs belong above the coffee maker, and mixing bowls belong near the prep counter. This one rule cuts daily steps in half.
Think of your kitchen in work zones: cooking, prep, baking, and cleanup. Assign each cabinet to the nearest zone and stock it with that job’s tools. Pots live by the stove and cutting boards by the counter. When every zone is stocked, cooking flows without the constant cabinet hunt.
Use Shelf Risers and Stackers
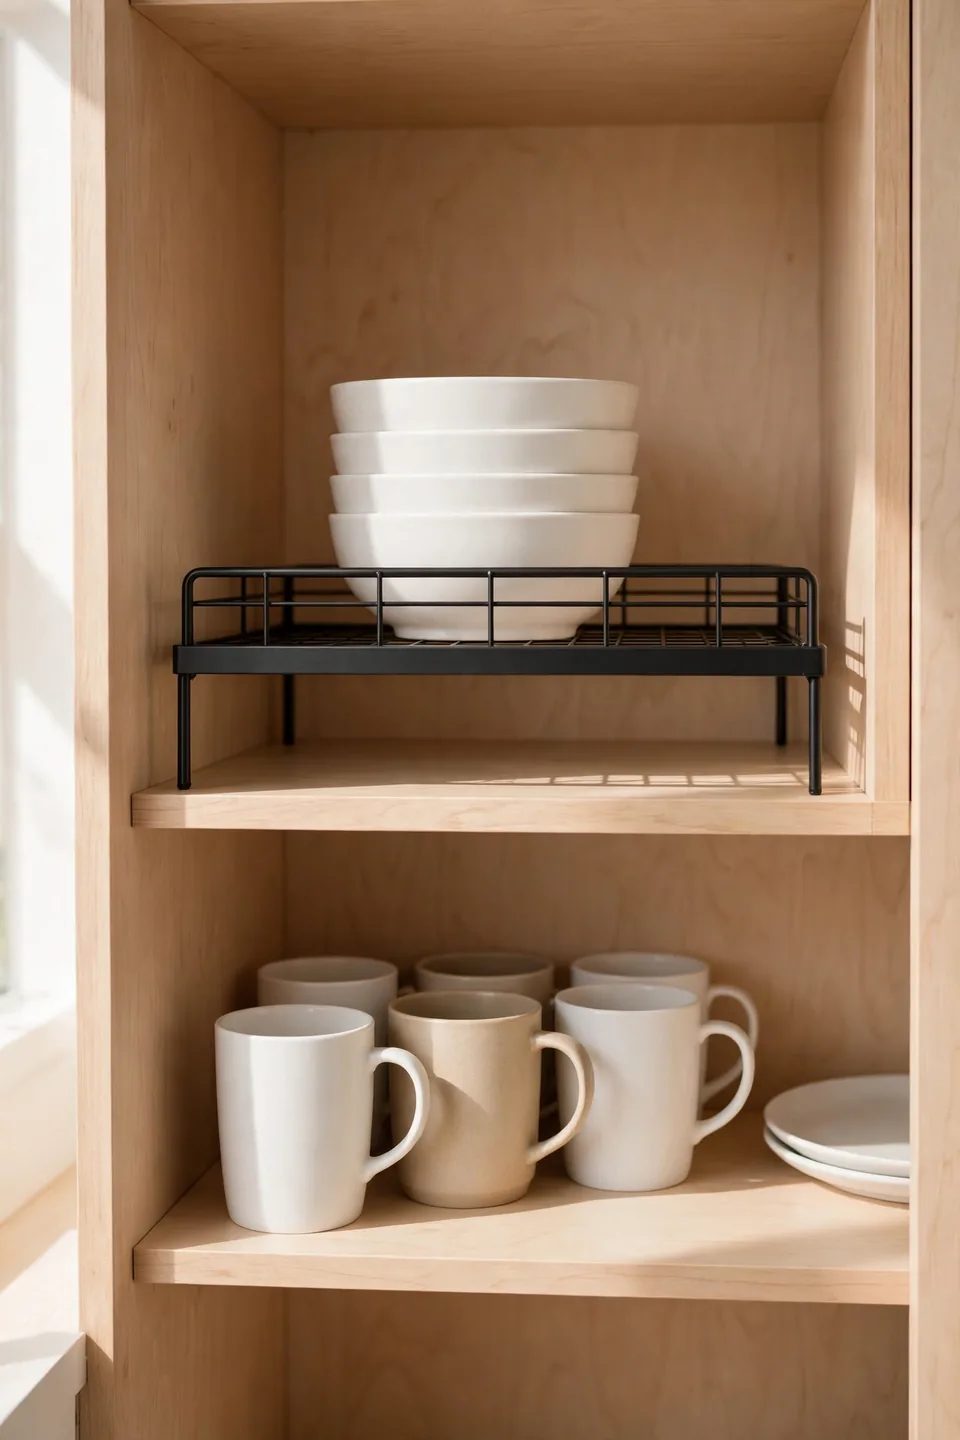
Common Mistake: Most people stack bowls and mugs directly on top of each other, which means the item at the bottom is always a chore to reach. Heavy stacks also chip dishes over time. The result is a cabinet nobody wants to open.
The Fix: Slip a shelf riser into each deep cabinet to create a second tier. Now short items sit on the riser while tall items use the full height. Everything stays visible and reachable.
Measure your shelf height before you buy so the riser leaves room for the tallest item. Wire and bamboo risers both work well and wipe clean in seconds. I’ve noticed that one riser per crowded shelf is usually enough to end the stacking habit for good.
Add Door-Mounted Organizers
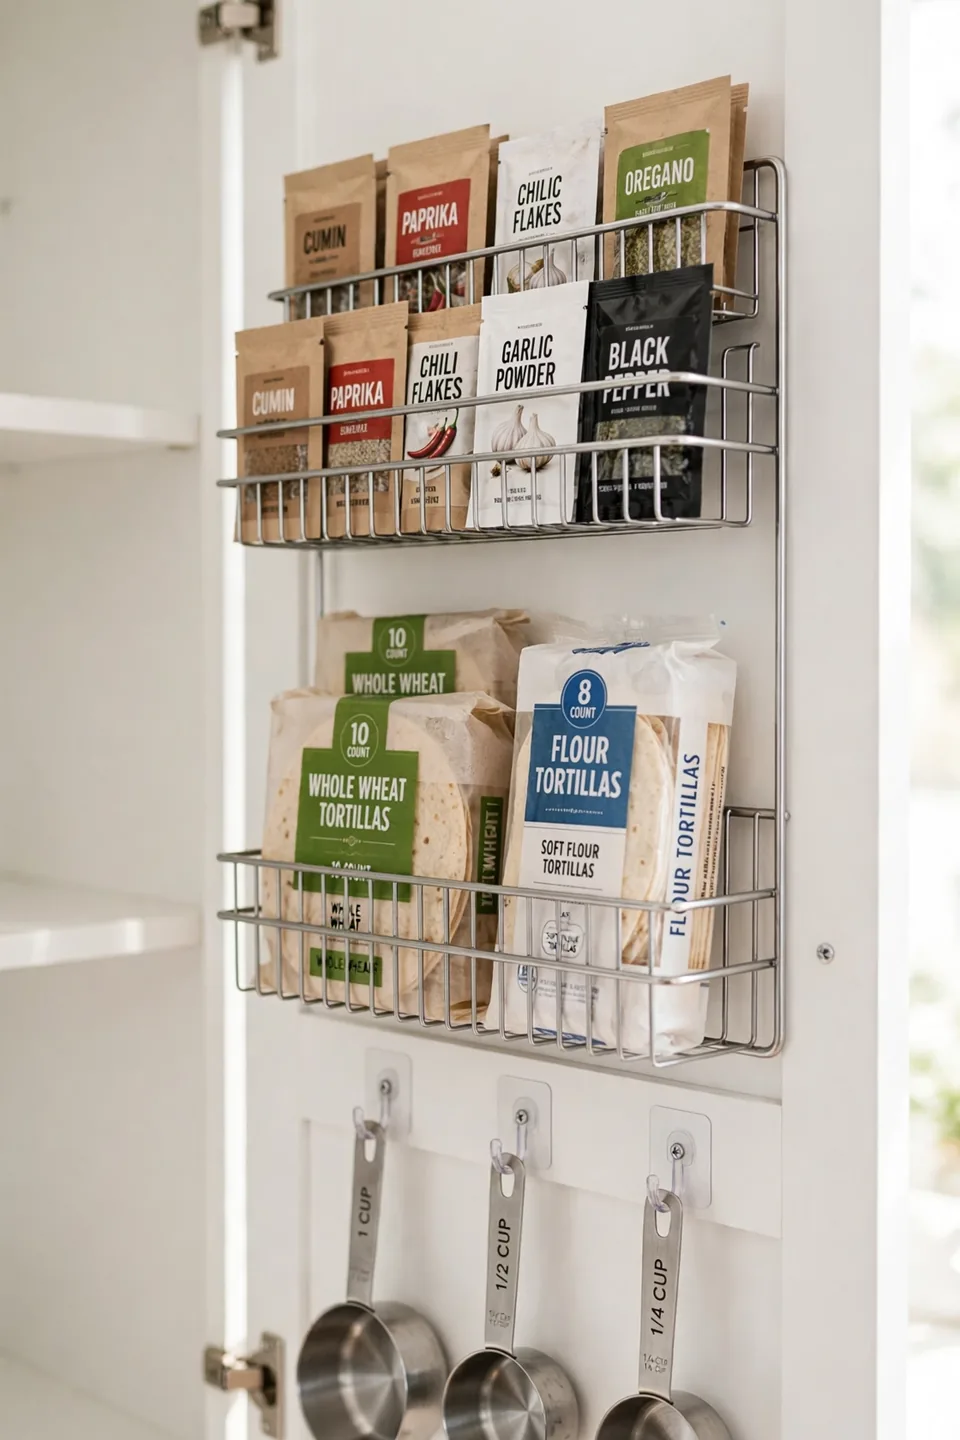
What You Need:
- Over-door wire rack: hooks over the cabinet door to hold wraps, lids, or spice packets.
- Adhesive hooks: stick inside doors for measuring cups and lightweight tools.
- Slim basket: screws or sticks to the door to corral packets and small boxes.
- Tension rod: mounts inside the cabinet to divide cutting boards upright.
- Magnetic strip: holds knives or metal spice tins on the inside of a door.
Cabinet doors are wasted space in most kitchens, yet they hold a surprising amount. Part of learning how to organize kitchen cabinets efficiently is treating the inside of every door as bonus storage. Start with one door and add more once you see the difference.
Contain Small Items in Bins
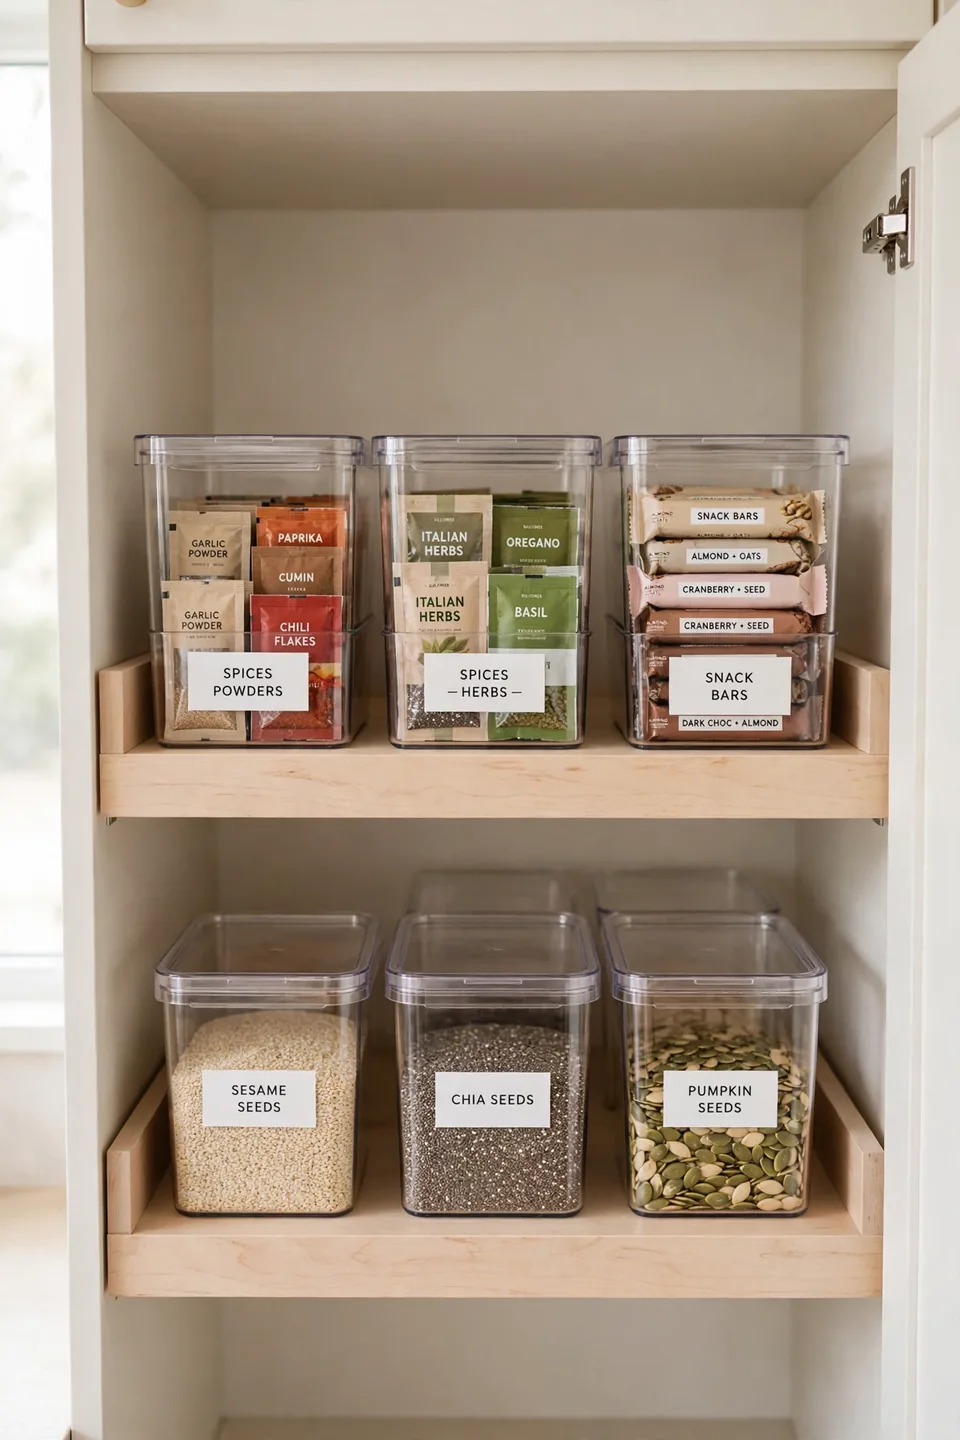
Before: Spice packets, sauce mixes, and snack bars slide to the back of deep cabinets and vanish. You buy duplicates because you cannot see what is there. Small items turn every shelf into a junk drawer.
After: Each category sits in its own labeled bin, pulled forward like a drawer. You see everything at a glance and nothing hides. Restocking takes seconds because the system is obvious.
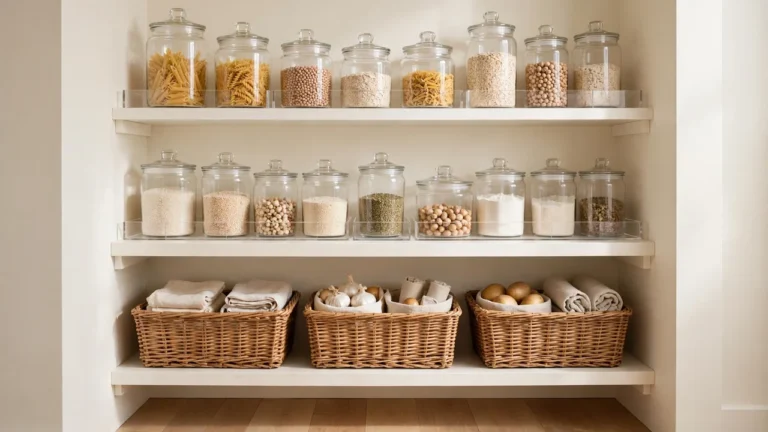
Choose clear or open-front bins so contents stay visible without lifting lids. Keep bins shallow enough to slide out with one hand. Group by how you cook: baking in one bin, weeknight dinners in another, and snacks in a third. Label each bin so the whole household keeps the system alive.
Label for the Whole Household
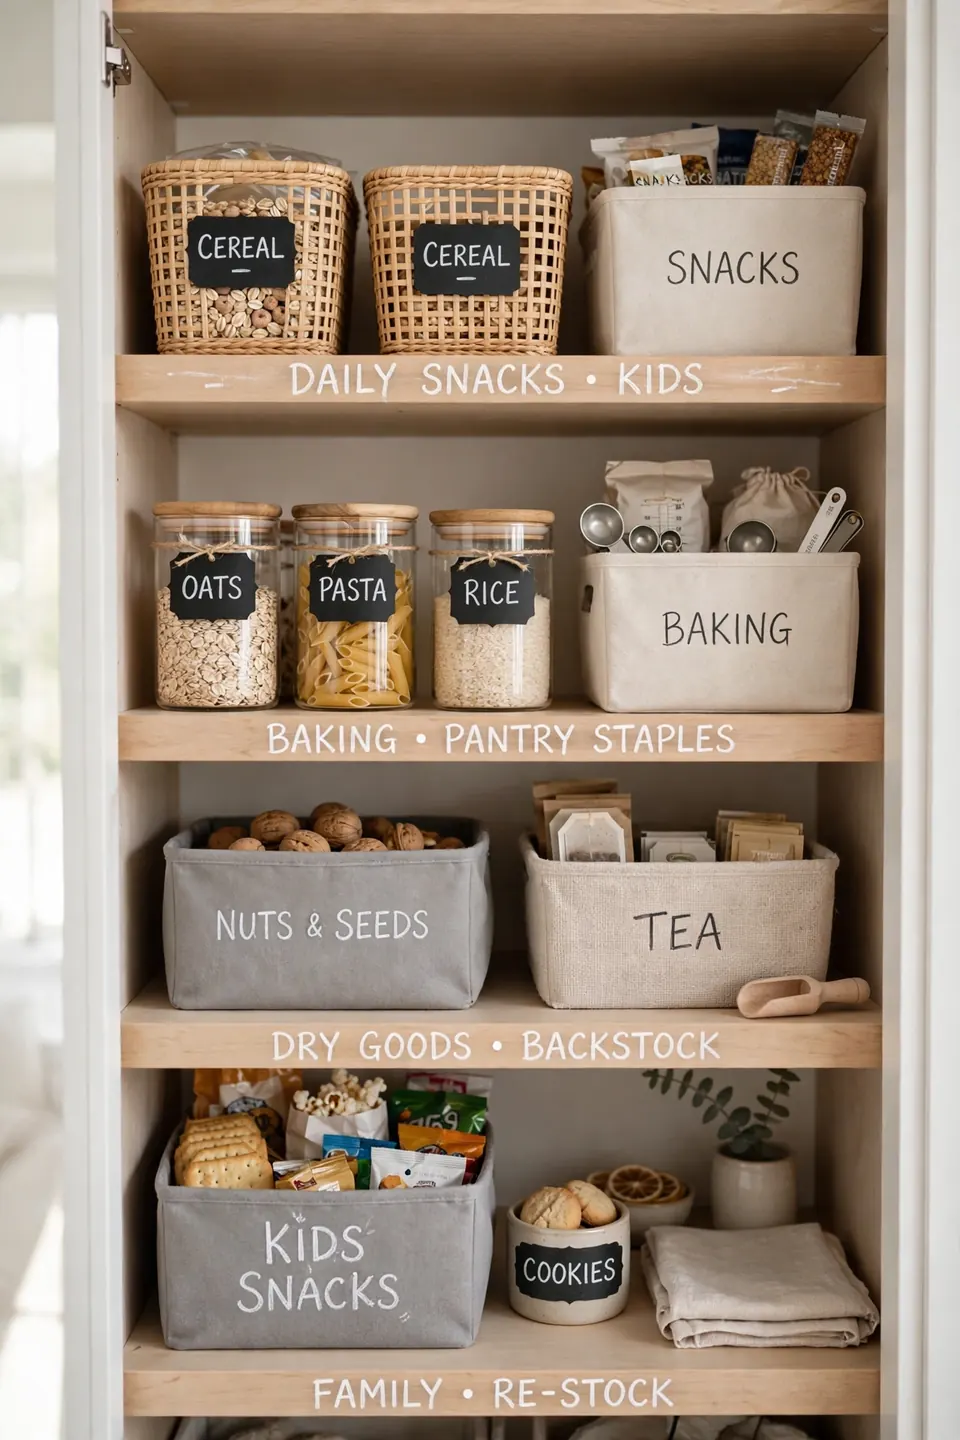
Do This:
- Label each bin and shelf edge with the category it holds.
- Use a label maker or chalk labels so text stays readable.
- Put labels where eyes land first, at the front edge.
- Update labels whenever a category moves or changes.
Avoid This:
- Avoid tiny handwriting that nobody can read from a step back.
- Avoid labeling every single item instead of the group.
- Avoid sticky labels that leave residue on wood shelves.
Labels turn your system into a household habit instead of a personal secret. When everyone can see where the baking supplies live, items return to the right spot on their own. That shared clarity is what keeps cabinets tidy long after the first organizing day ends.
Maintain With a Weekly Reset
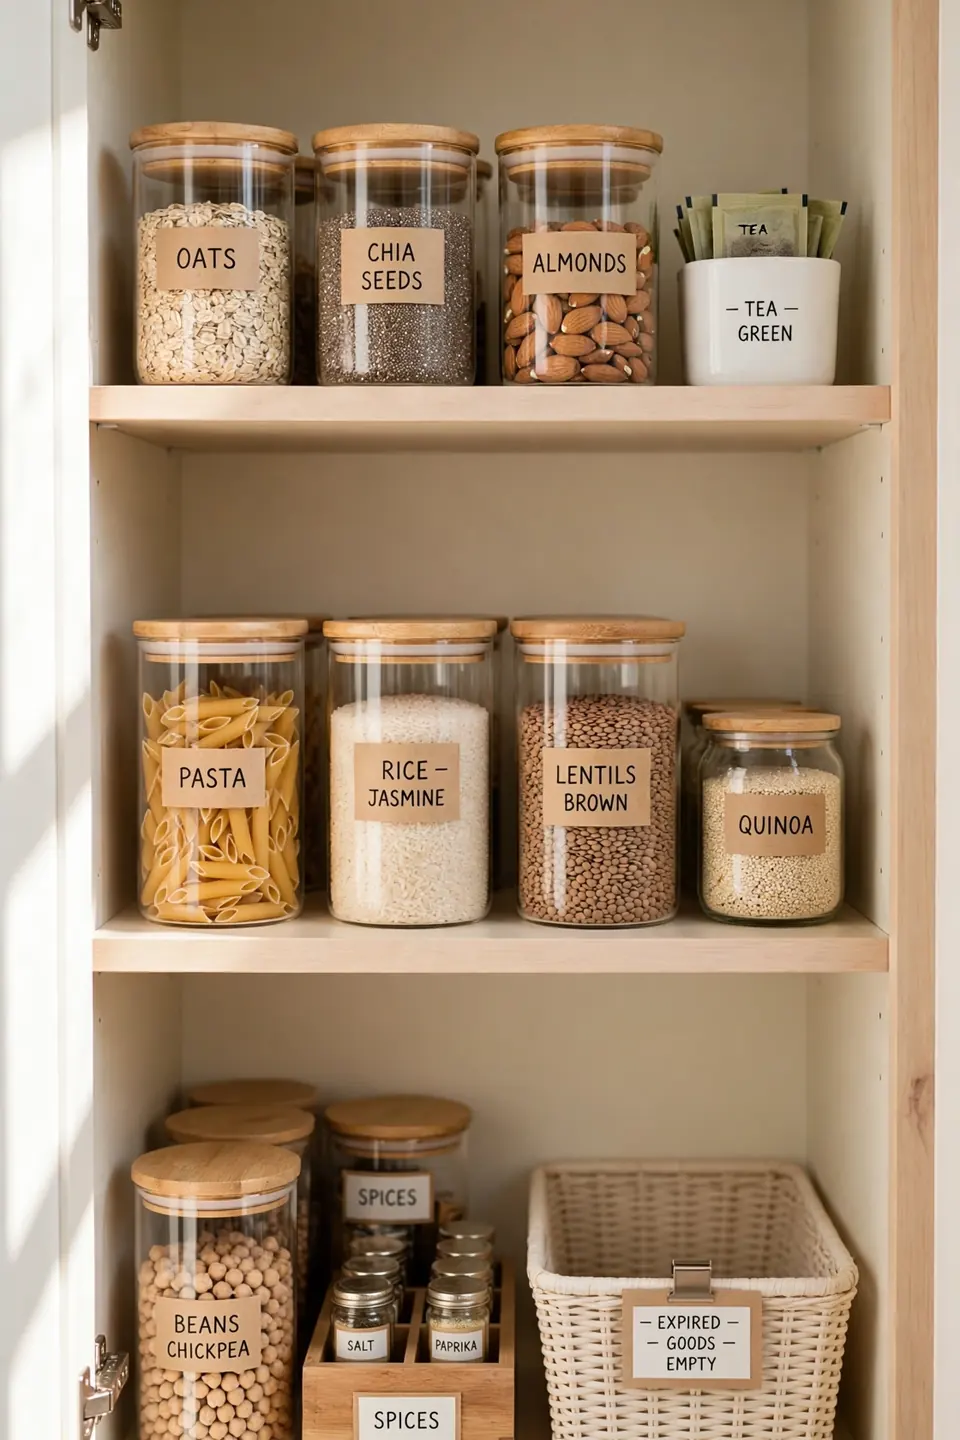
Time Needed: 10 minutes per week | Difficulty: Easy | Cost: Free | Pro Tip: pair the reset with trash day so it becomes routine
Set a timer and return strays to their labeled homes, toss expired items, and wipe one shelf. Ten focused minutes prevent the slow slide back into chaos. I’ve seen this make a real difference in kitchens that used to need a full reorganization every few months.
Common Organizing Mistakes
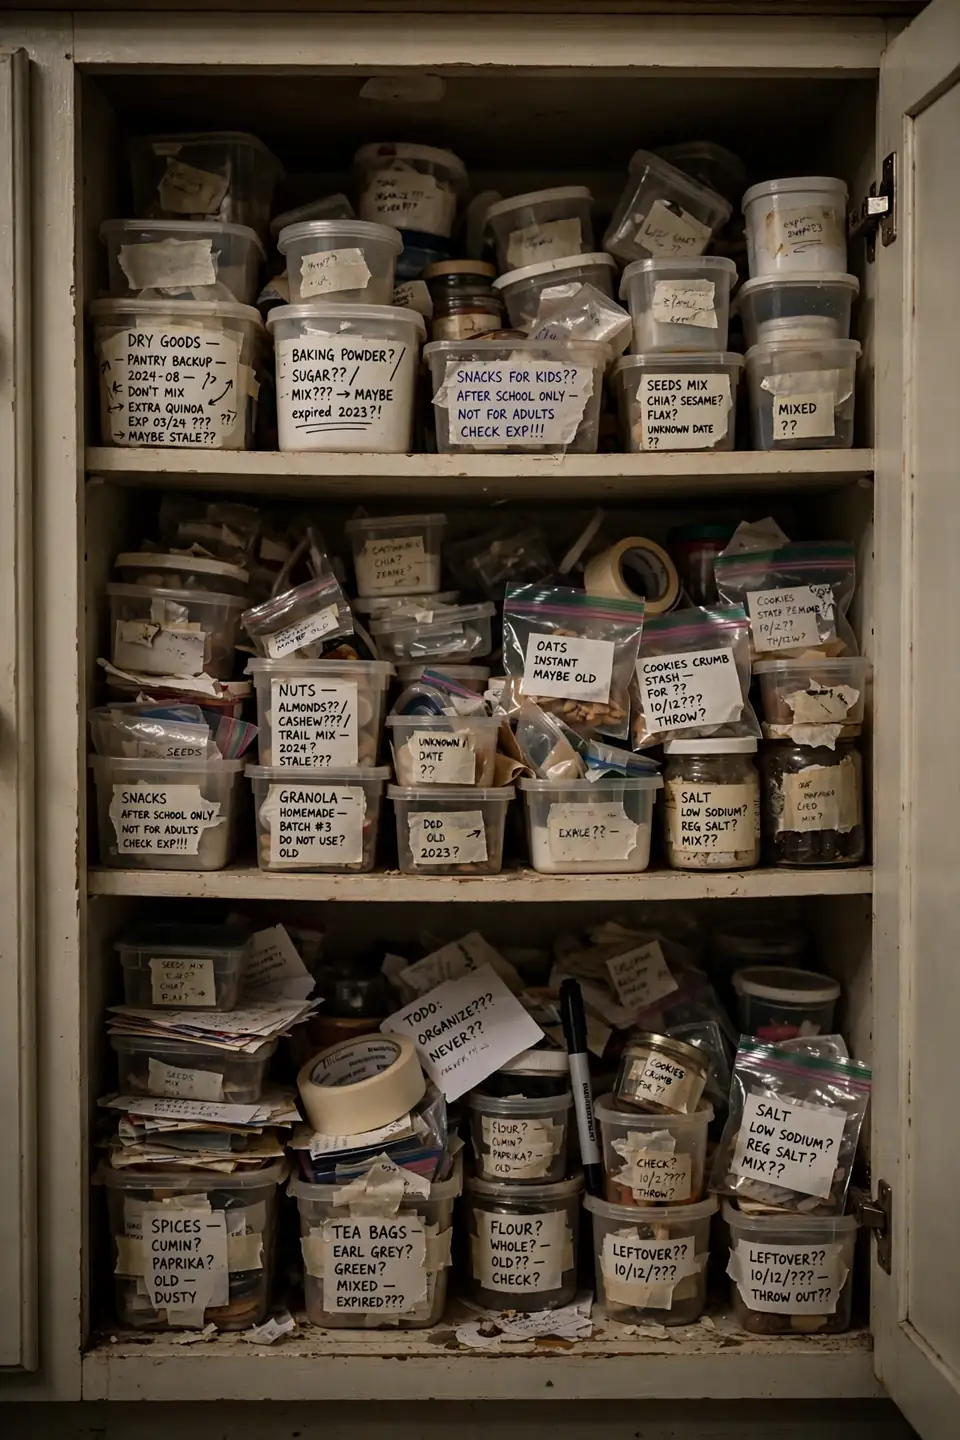
The biggest mistake is buying containers before sorting. Pretty bins cannot fix a cabinet stuffed with duplicates and expired food, so the clutter just looks neater for a week. Another trap is creating a system so detailed that nobody else in the house can follow it. Start with sorting, then shop for containers that fit what you kept.
Keep categories broad and bins few. One bin for baking beats five tiny ones nobody maintains. Simple systems survive real life, and that is the whole point of organizing in the first place. When in doubt, choose the simpler option.
Pro Tips for Lasting Order
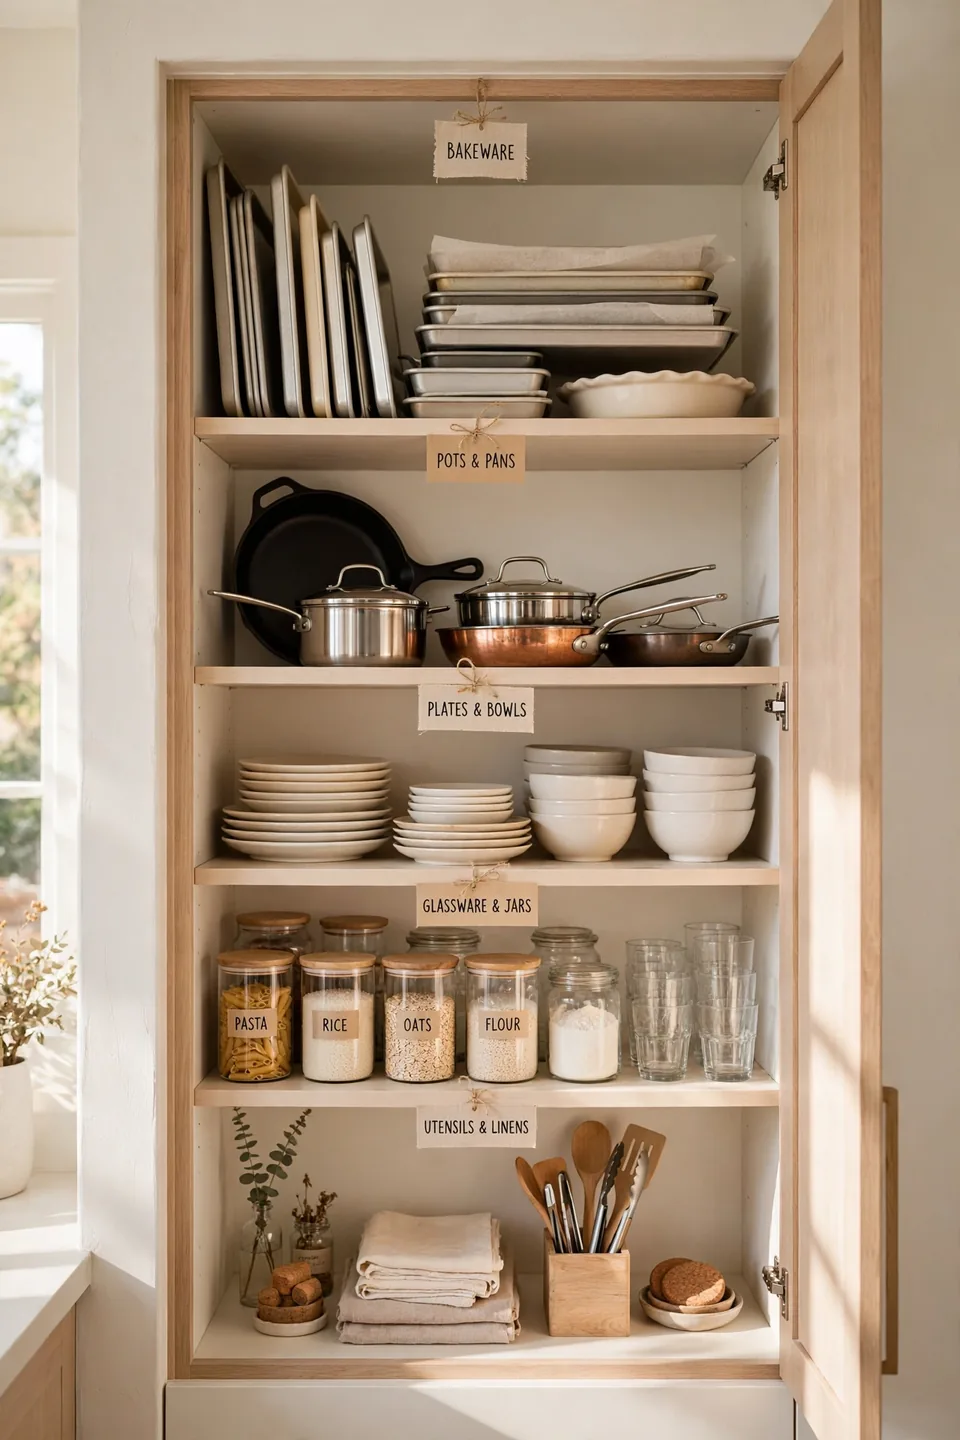
These final habits separate cabinets that stay tidy from ones that slide back within a month. None of them take more than a minute, but together they protect all the organizing work you just finished. Pick the two that fit your routine and start there.
- Put items back the moment you finish using them, not at the end of the day.
- Do a two-minute shelf scan each evening while dinner heats up.
- Keep a small donate box nearby so extras leave the kitchen quickly.
- Revisit your zones every season and adjust for how you actually cook.
Closet-free bedrooms need the same zone thinking as kitchens, so these ideas pair well with how to organize a bedroom without a closet.
Conclusion
Your cabinets are now set up to stay organized, not just look organized for a day. Every item has a home, every zone has a purpose, and the weekly reset keeps it all humming. That is the real payoff of learning how to organize kitchen cabinets efficiently: less searching, less stress, and a kitchen that welcomes you. I’ve seen how making this one change can completely shift the result for busy families. Save this guide on Pinterest so it is there the next time a cabinet starts drifting, try the steps this weekend, and share it with someone whose kitchen needs the same rescue. Your future self will thank you.
One Comment