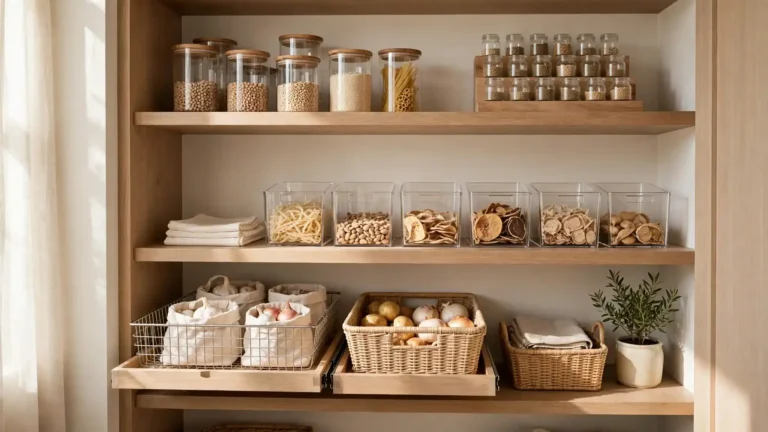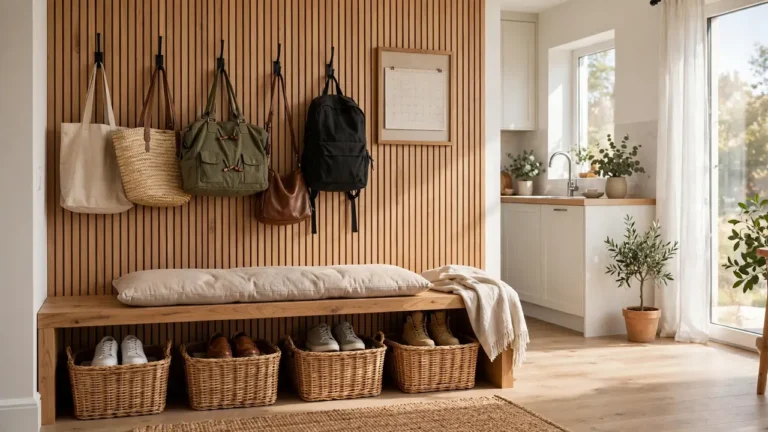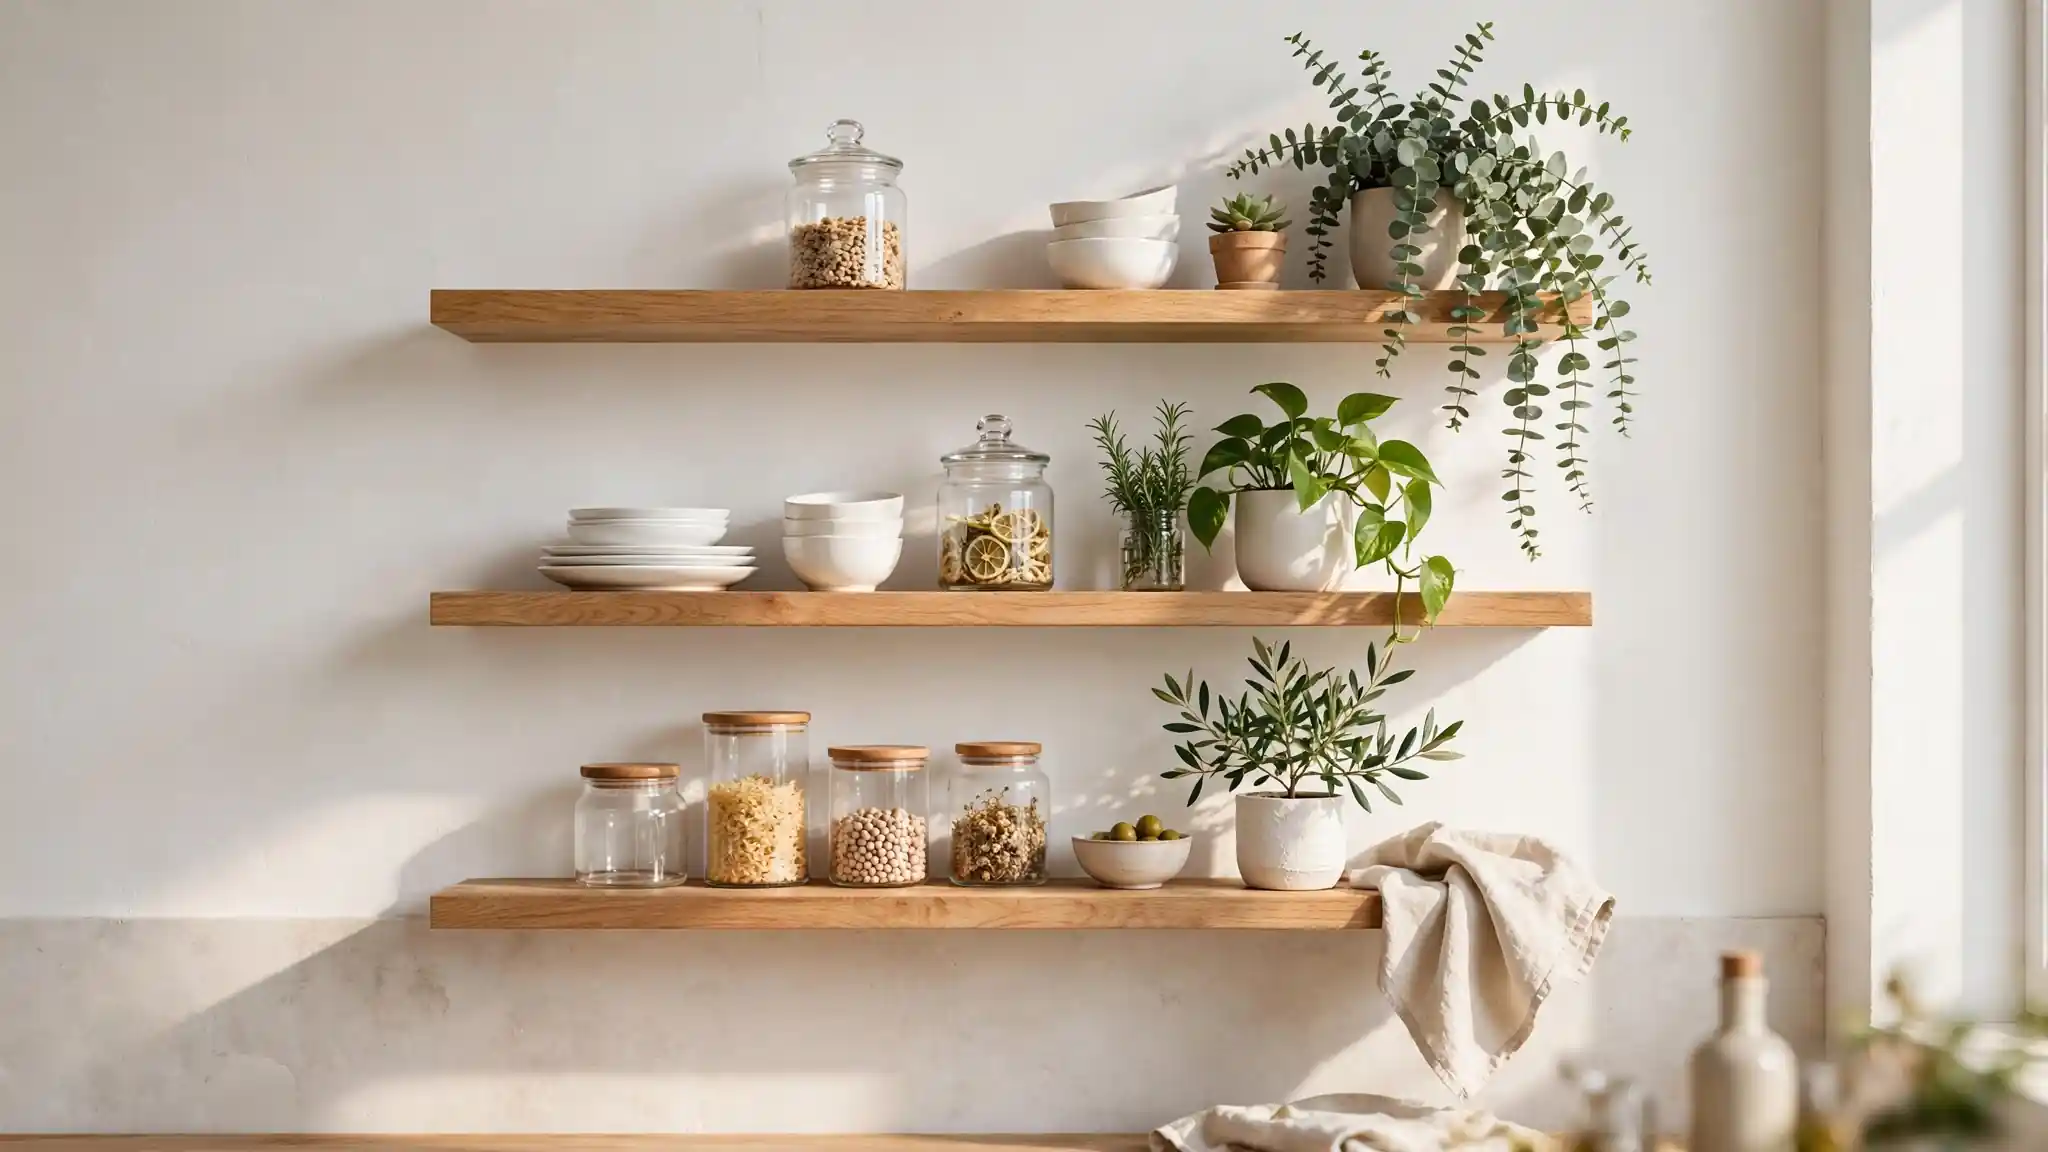
20 Floating Shelves for Kitchen Ideas to Maximize Storage
Small kitchens never seem to have enough storage, and bulky cabinets only make them feel tighter. I started swapping upper cabinets for open shelves in my own kitchen a few years ago, and floating shelves for kitchen walls instantly doubled my usable space while keeping everything within reach. This guide rounds up 20 beautiful ways to style them, from rustic oak ledges to sleek pantry walls, so your kitchen stays open, airy, and organized. Most ideas install in one afternoon with basic tools.
Before you pick a spot, pair your shelves with warm task lighting so every jar and plate stays visible after dark. A soft glow under each shelf makes evening cooking feel calm and inviting. If you need help choosing fixtures, these lighting for kitchen ideas break down the best options, then you can focus on styling each shelf with pieces you actually use daily.
Rustic Oak Ledges
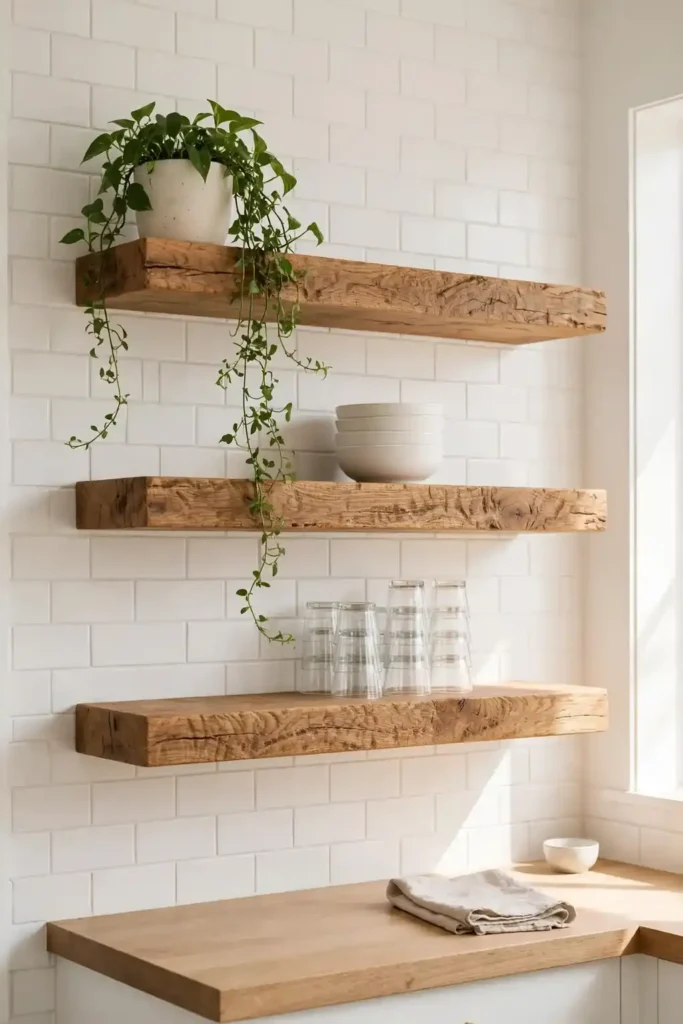
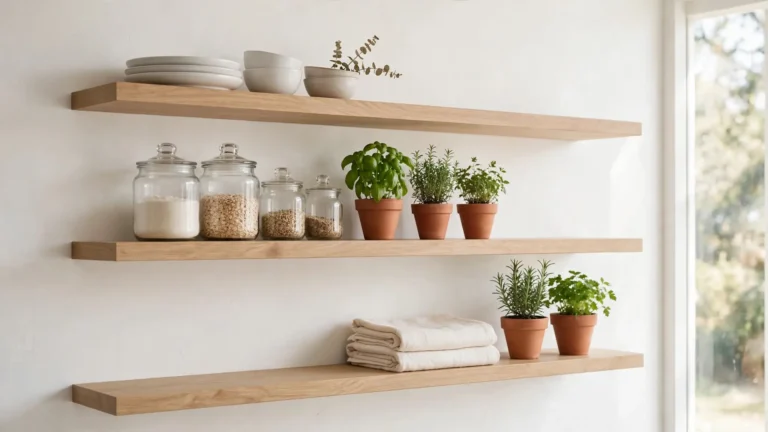
Choppy cabinet doors used to swallow my prettiest dishes whole, so I tore out two uppers and bolted in thick oak ledges instead. Raw timber brings instant warmth to white tile, and the open run makes morning coffee feel like a ritual. I sanded mine smooth and sealed them with food-safe oil, which took one lazy Saturday. Guests always ask where I bought them.
Style them in threes: stacks of white bowls, a row of glasses, and one green plant trailing over the edge. Leave breathing room between groups so the shelf reads calm instead of crowded. In my experience, fewer pieces photograph better and dust faster, which keeps the whole kitchen looking effortless week after week.
White Minimal Boards
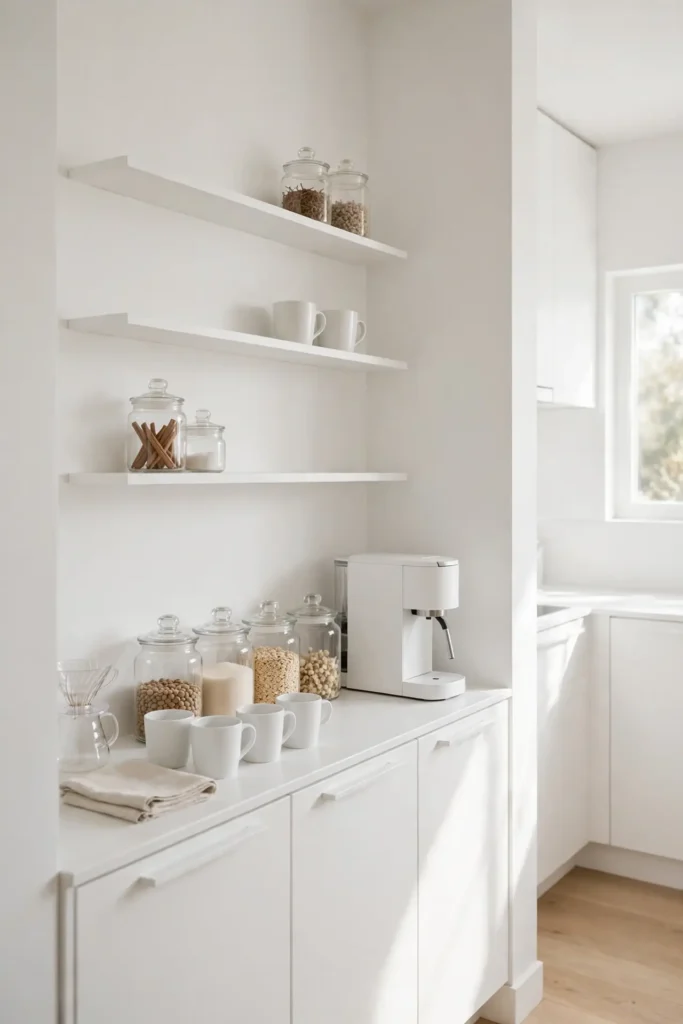
- Match the board paint to your wall color so the shelf nearly disappears and your dishes become the art.
- Use slim 8 inch boards for spices and mugs, and deeper 10 to 12 inch boards for plates and bowls.
- Space boards 12 to 15 inches apart vertically so tall pitchers slide in without a fight.
- Hit every stud you can find, then add heavy-duty toggle bolts between them for peace of mind.
White boards erase visual clutter, which is why I reach for them in galley kitchens. Last spring I built a floating shelves for kitchen run above the coffee corner, and even mismatched mugs suddenly looked intentional. Keep one shelf purely practical and one purely pretty, and the whole wall stays both useful and calm.
Hidden Bracket Magic
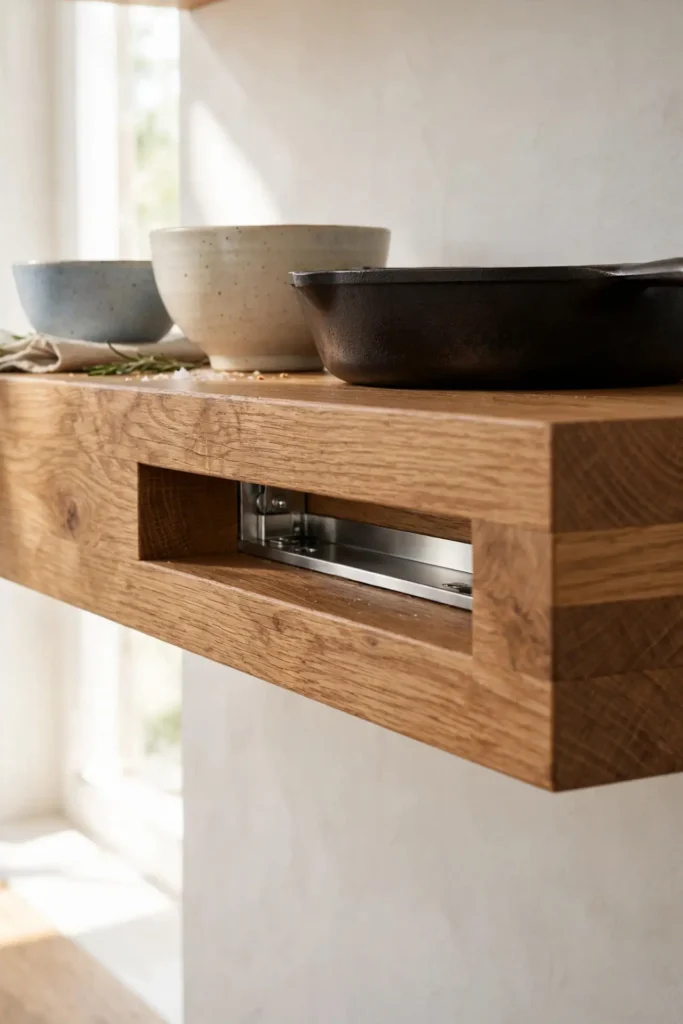
Quick Tip: Drill your bracket holes slightly upward, about two degrees, so loaded shelves settle perfectly level. Always test-fit the shelf on the rods before you mark the wall, and number each rod so left and right never get swapped.
The secret to the floating look is steel rods hidden inside the timber. My first attempt sagged because I used skinny dowels, but switching to half inch steel fixed it forever. Loaded with cast iron, the shelf has not moved in three years, which still makes me grin every time I grab a pan. Add small rubber pads under heavy pieces to protect the finish.
Corner Wrap Shelves
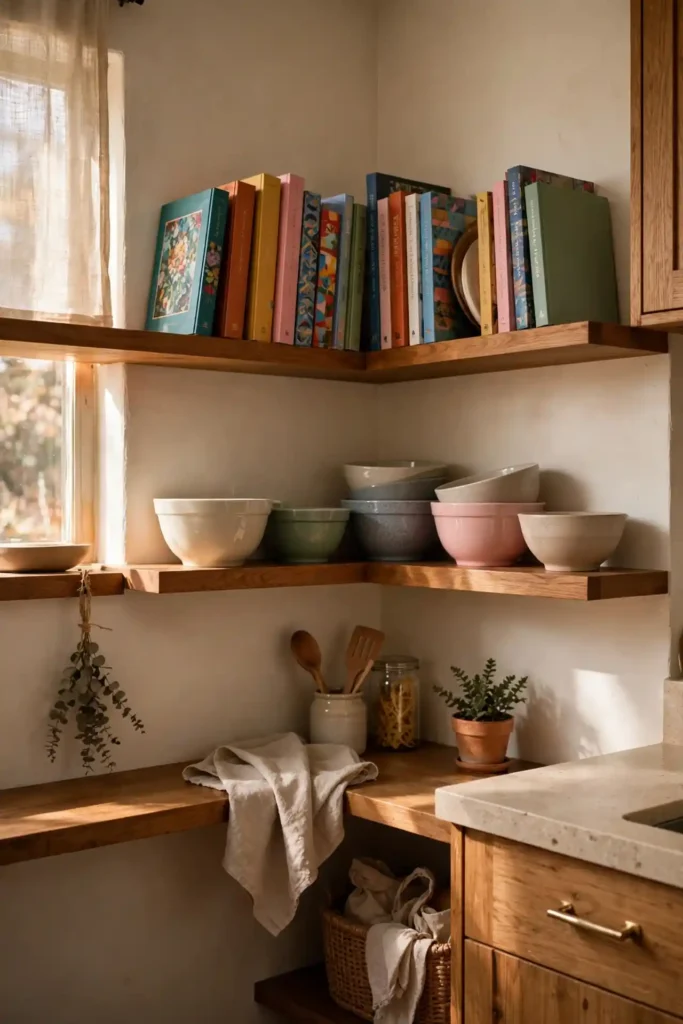
BEFORE: My dead corner collected dusty small appliances and a tangle of cords nobody touched. The cabinets on each side stopped short, leaving an awkward gap that trapped crumbs and felt impossible to clean.
AFTER: I wrapped two short shelves around the corner at the same height, and the dead zone became prime storage. Mixing bowls live on the lower run, cookbooks on the upper, and the corner finally earns its square footage.
Corner wraps need careful measuring, so cut a paper template before you commit to brackets. I learned that lesson after one shelf missed the stud by an inch. Now the corner holds my heaviest bowls, and the seamless wrap makes the whole kitchen feel custom-built.
Charming floating shelves for kitchen
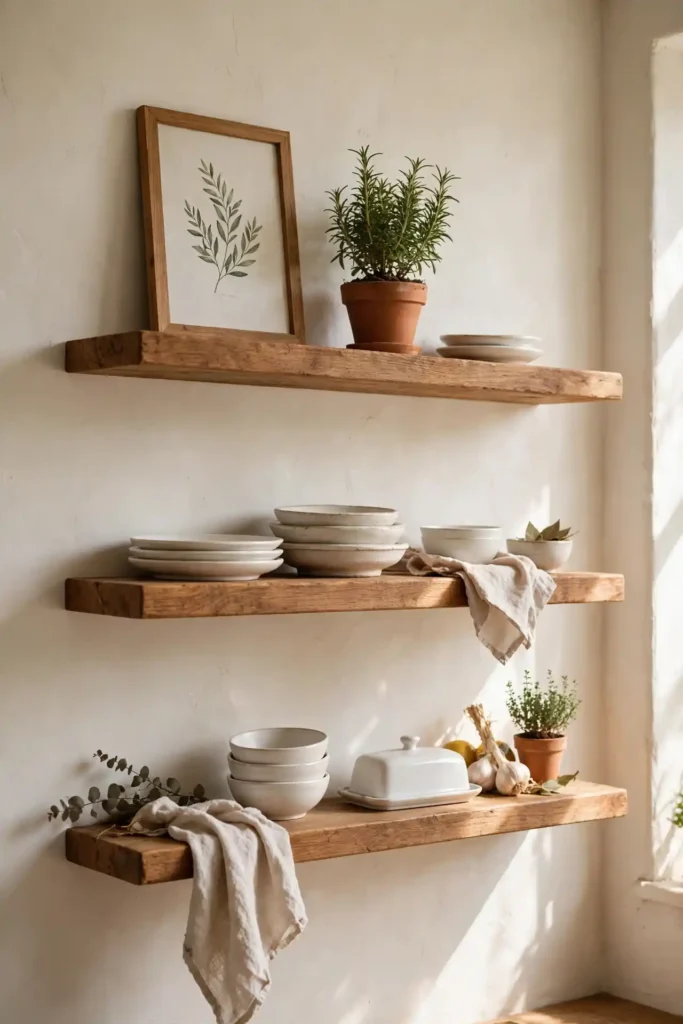
- Clear one full wall section and mark your shelf heights with painter’s tape so you can live with the layout overnight.
- Mount solid wood planks on hidden steel brackets, hitting studs wherever possible for maximum load.
- Style in uneven groups of three, mixing daily dishes with one plant or framed print per shelf.
- Step back, snap a photo, and edit out anything that crowds the calm you want to keep.
The charm comes from restraint, not abundance. I keep asking myself whether each piece earns its spot, and the shelf always looks better after the edit. Start with this one wall, live with it for a week, and you will know exactly where the next run belongs.
Glass Display Rows
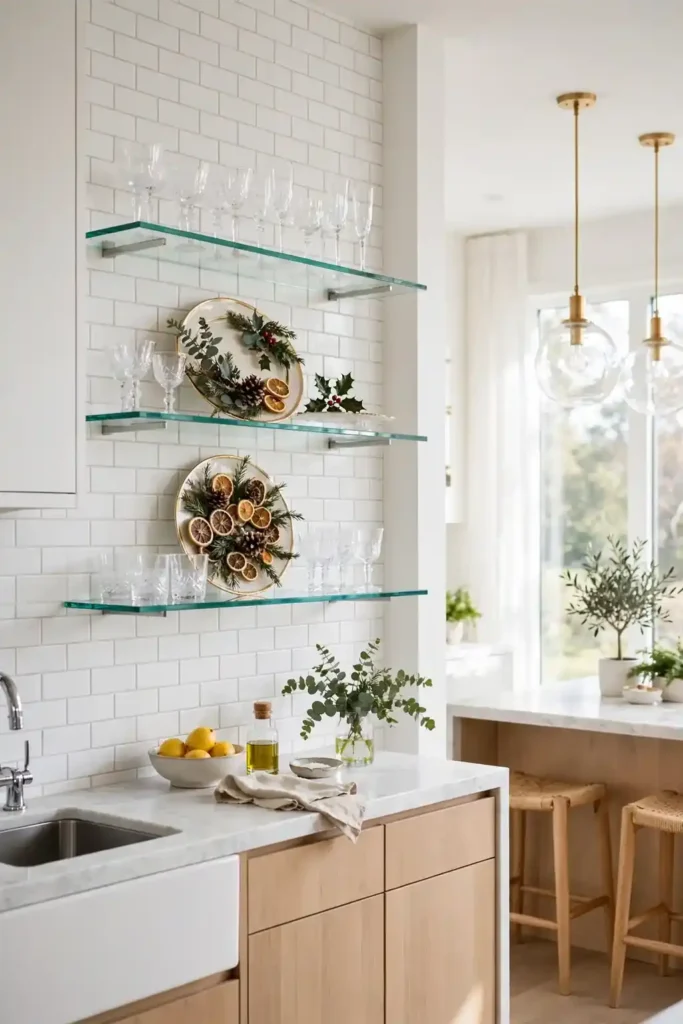
| Feature | Glass Shelves | Wood Shelves |
|---|---|---|
| Look | Airy and modern | Warm and rustic |
| Dust | Shows quickly | Hides better |
| Weight Limit | Light dishes only | Handles cast iron |
| Best For | Small bright kitchens | Busy family kitchens |
Glass nearly vanishes on the wall, which makes tight kitchens feel twice as wide. I reserve glass for pretty pieces I use rarely, like holiday platters and crystal. Keep a microfiber cloth nearby, since fingerprints show fast, and the sparkle stays worth the extra wipe. In my experience, glass shelves suit renters best since they leave small bracket holes that patch invisibly. Pair them with LED puck lights for a jewelry-case glow at night.
Pantry Wall Towers
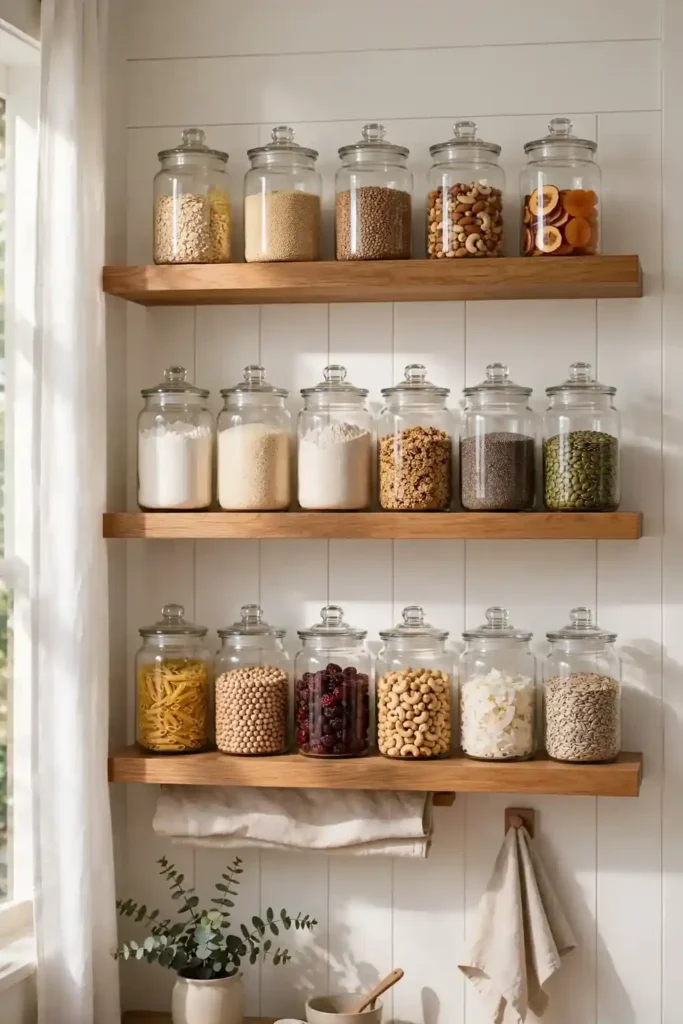
DO:
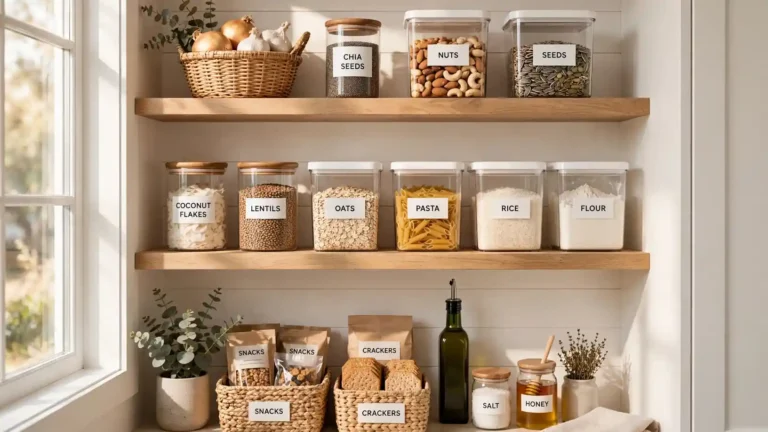
- Do group dry goods by category so each staple has its own shelf zone.
- Do decant staples into matching glass jars for a tidy, fresher look.
- Do label every jar clearly, since guests and kids grab faster when they can read at a glance.
DON’T:
- Don’t stack jars more than two deep or the back row will expire untouched.
- Don’t place oils near the stove side of the shelf where heat turns them rancid.
- Don’t buy containers before measuring shelf depth and height.
Turning one wall into a pantry freed two whole cabinets in my kitchen. I reach for grains and snacks without opening a single door now. The open layout also exposes what is running low, so my grocery lists practically write themselves each week.
Under-Cabinet Rails
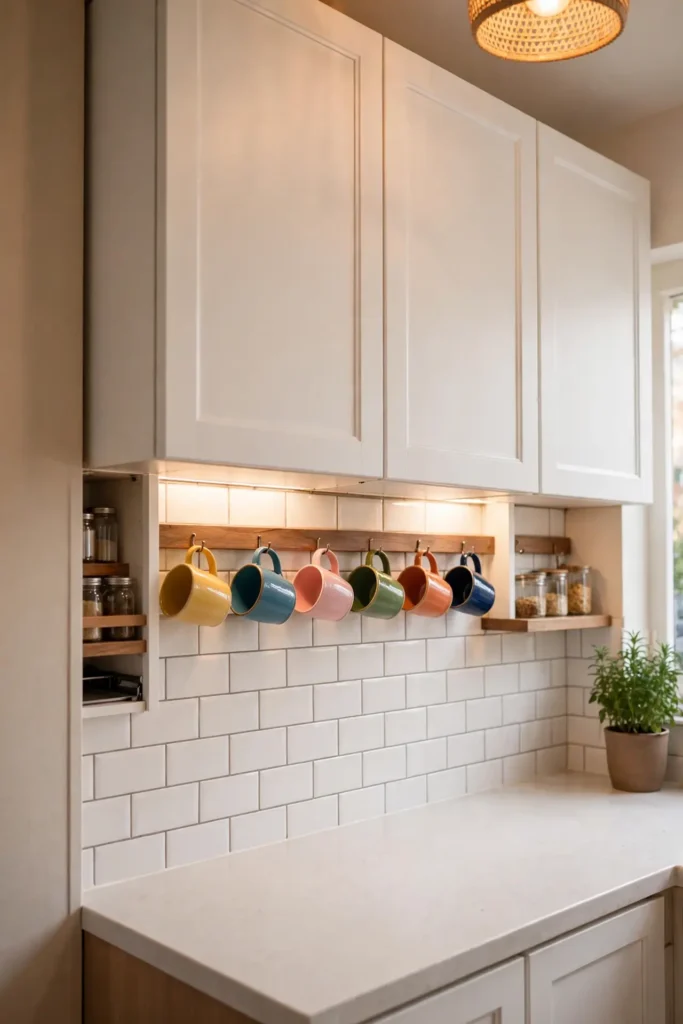
Cost: Under $30 for a basic rail
Time: About one hour to install
Skill Level: Beginner friendly, renters welcome
Best For: Small kitchens needing mug and utensil storage
The strip under your upper cabinets is wasted space until you add a slim rail. I mounted a narrow shelf there for mugs, and mornings got noticeably faster. Everything hangs or sits at eye level, so the counter below stays clear for actual cooking instead of storage duty. I chose a warm oak rail to match my shelves, and the cohesive look makes the whole wall feel designed. Hang S-hooks for utensils too, and keep the rail clear of the stove’s heat zone so handles stay cool.
Butcher Block Planks
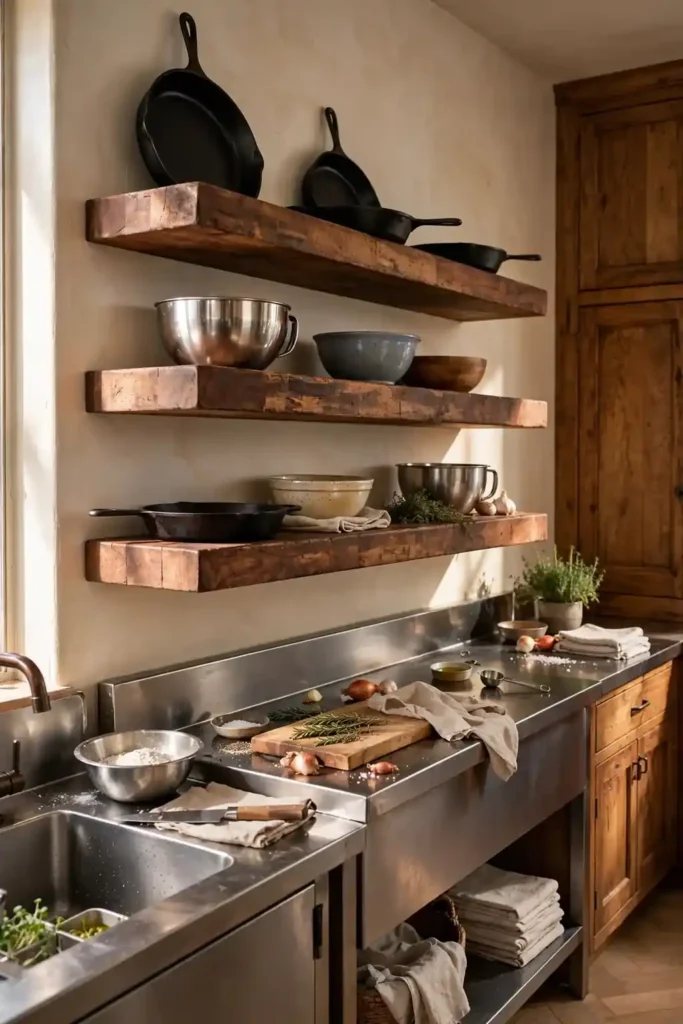
Heavy butcher block planks laugh at cast iron, which is exactly why I chose them over flimsy boards. Thick end grain brings a professional prep-station feel home. A floating shelves for kitchen run in butcher block doubles as bonus chopping space when counters overflow during holiday cooking. Guests always ask where I bought them.
I finished mine with mineral oil, and two years of daily abuse have only deepened the patina. Re-oil every few months to keep the wood from drying out. Choose planks at least 10 inches deep so mixing bowls sit safely, and sand any rough spots smooth before the first coat of oil.
Slim Spice Ledges
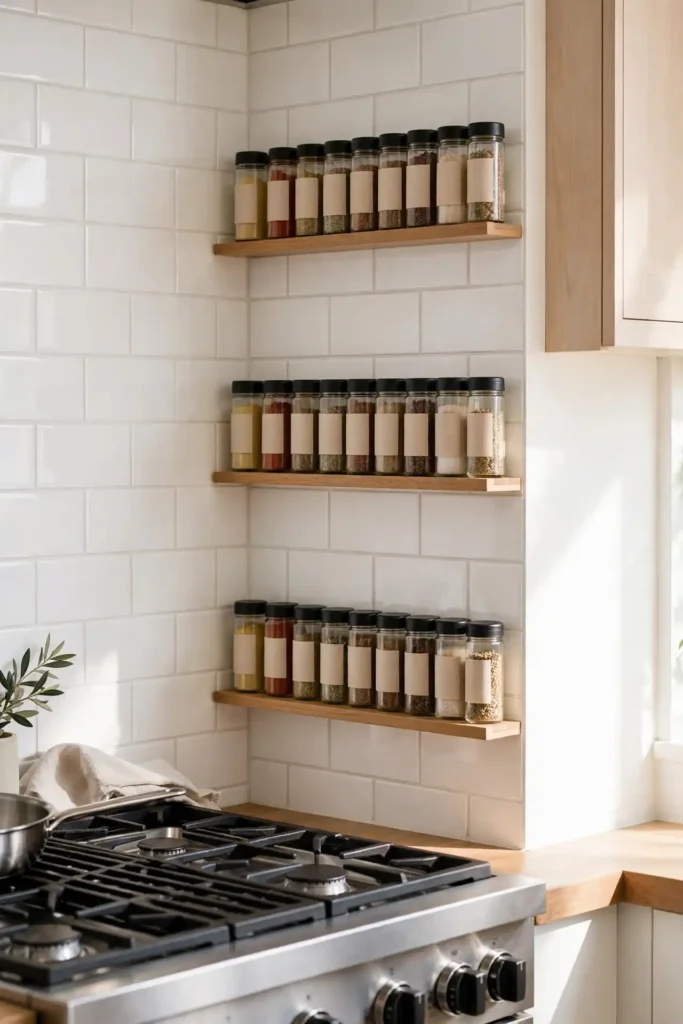
- Mount a 4 inch deep ledge inside a cabinet door or on a narrow wall strip for jars you reach daily.
- Alphabetize or group by cuisine so cumin never hides behind the cinnamon again.
- Use uniform small jars with the label facing out, which makes the whole row look like a shop display.
- Keep the ledge within arm’s reach of the stove so seasoning happens mid-stir, not after.
Tiny ledges solve the eternal spice avalanche problem. I used to lose jars in a deep cabinet every single week. Now everything sits visible in one glance, and cooking feels calmer because nothing hides. Refill jars from bulk bags to save money and cut packaging waste.
Open Cookbook Library
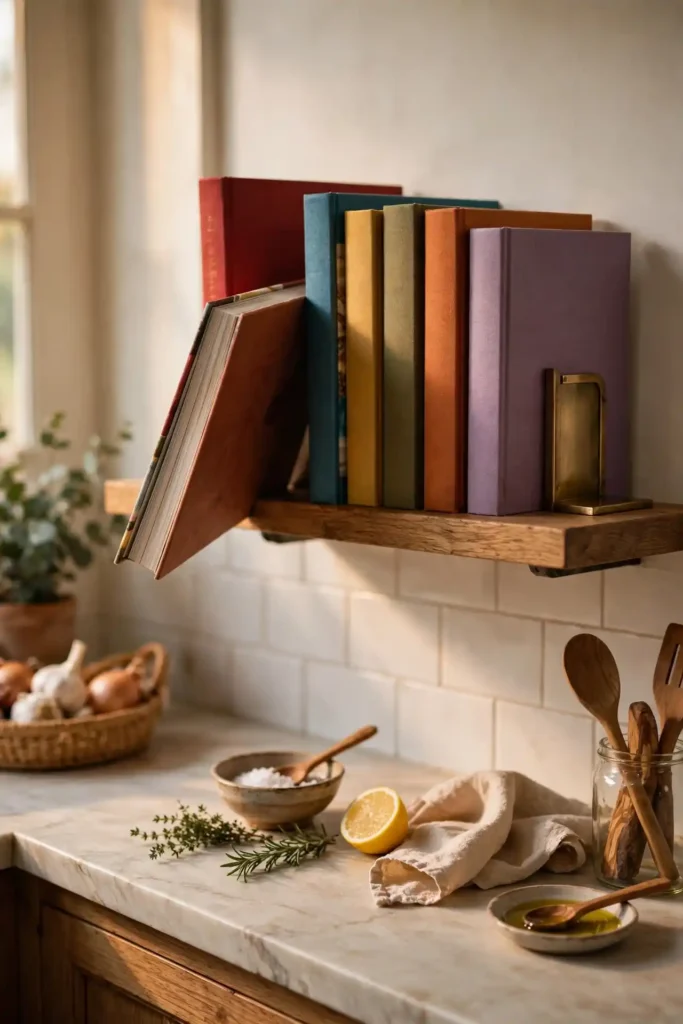
Quick Tip: Shelve cookbooks spine-out like a library, tallest on the left, and pull one forward at a slight angle as a featured pick. Slip a small bookend shaped like a fruit or animal at each end to keep the row standing straight.
Cookbooks deserve display instead of drawer exile. I gave mine their own shelf near the prep counter, and weeknight dinners got more adventurous. Flip through one while the pasta water boils. Dog-ear favorites with washi tape so the best recipes stay one grab away. Guests love browsing them too. Kids reach for the picture-heavy ones first.
Double Duty Hooks
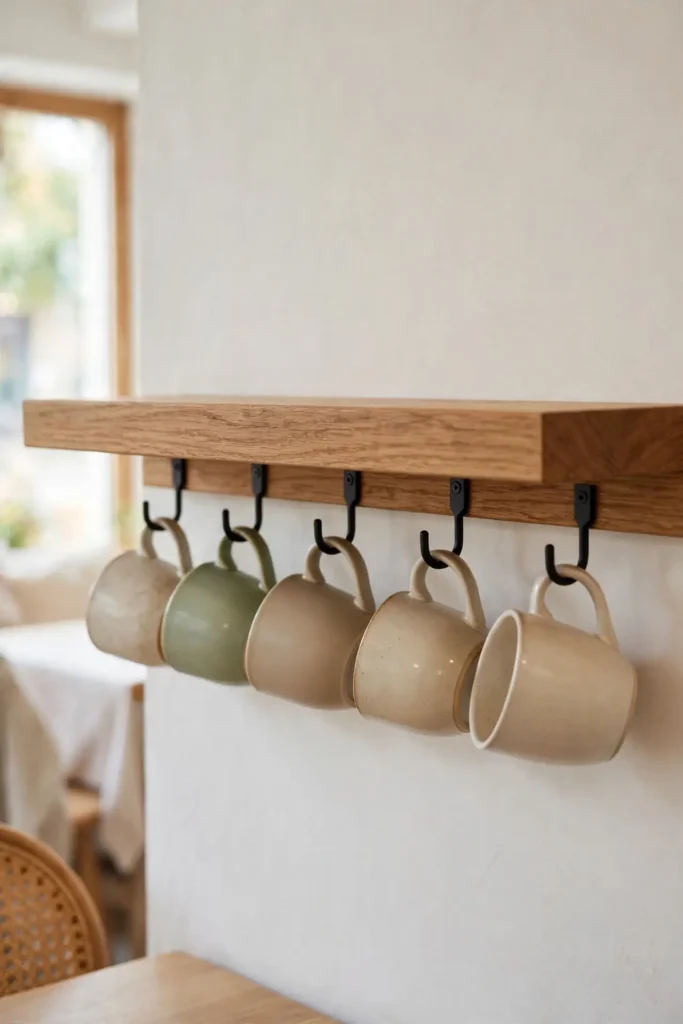
BEFORE: Mugs crowded my shelf surface and toppled whenever I reached for one. The shelf looked busy, cleaning took forever, and my favorite cup developed a chip from the constant jostling.
AFTER: I screwed short hooks under the shelf edge and hung every mug by its handle. The surface cleared instantly, cups stopped chipping, and the hanging row adds a charming cafe feel guests always compliment.
Hooks turn dead underside space into a mug gallery. I added a second row of tiny hooks for measuring cups, which freed a whole drawer. Just like fresh curtains for kitchen windows lift a room, this small hardware upgrade lifts the entire shelf from storage to style.
Matte Black Statements
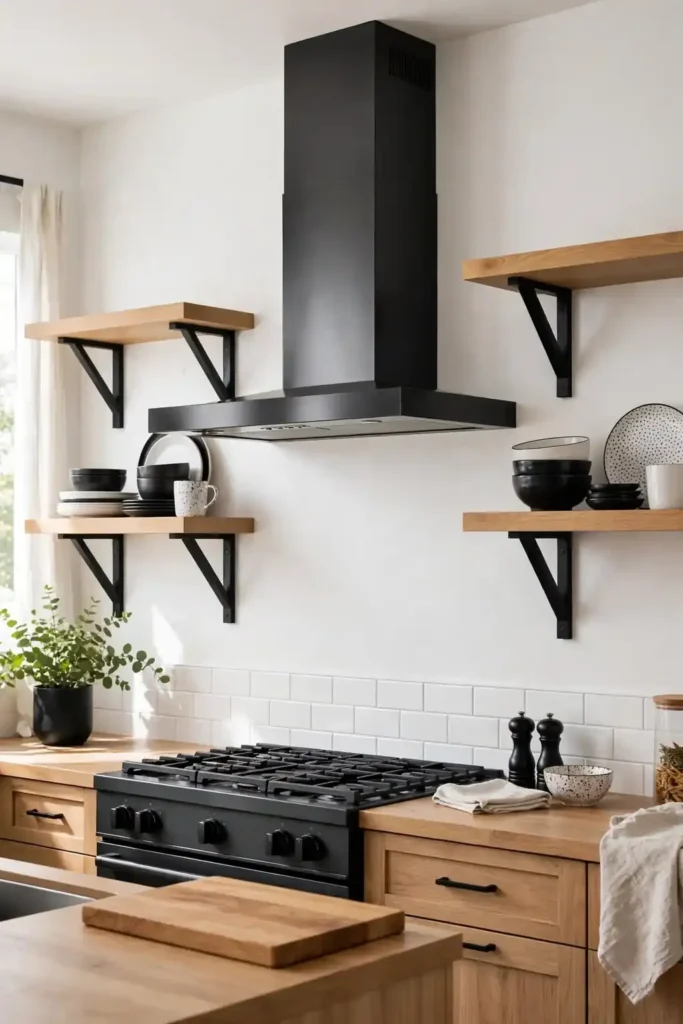
- Paint or buy matte black brackets and pair them with light wood shelves for maximum contrast.
- Mount two long runs flanking the range hood to frame the cooking zone like art.
- Style with black and white dishware, then add one warm wood cutting board to soften the look.
- Seal brackets with clear matte lacquer so the black finish resists kitchen grease and wipes clean.
Black brackets turn shelves into sculpture. I worried dark hardware would feel heavy, but against white tile it reads crisp and modern. My floating shelves for kitchen pair in black and oak became the most photographed corner of my home, and guests ask about it constantly.
Tiered Fruit Stations
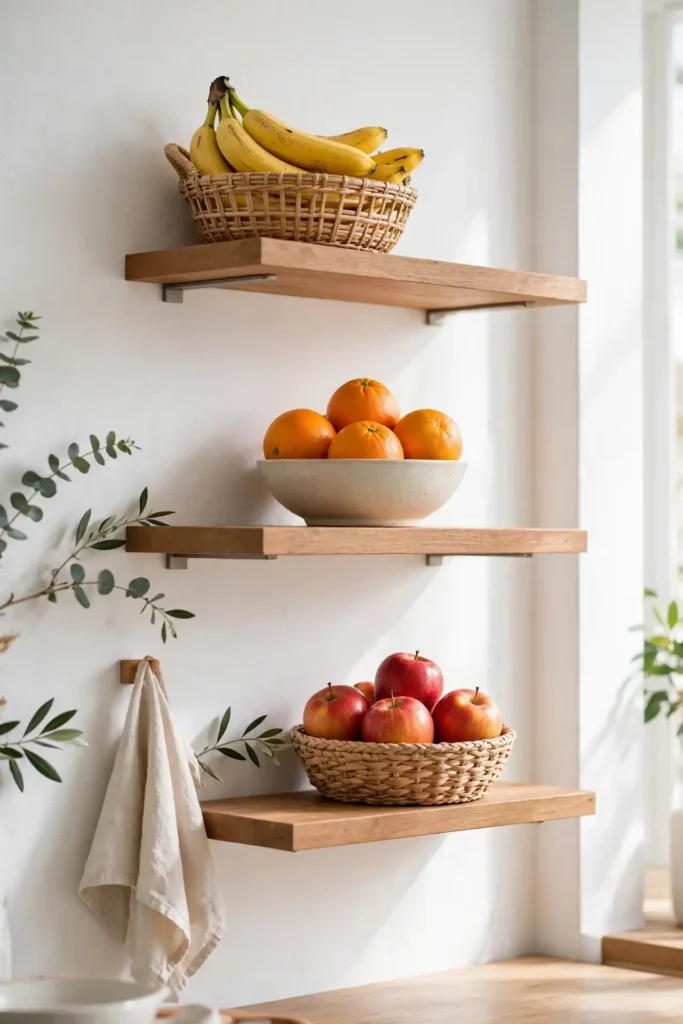
| Feature | Counter Basket | Wall Shelf Station |
|---|---|---|
| Counter Space | Eats it up | Frees it fully |
| Visibility | One angle only | Eye level display |
| Capacity | Single layer | Three tiered levels |
| Best For | Tiny fruit bowls | Big produce hauls |
Fresh produce stays fresher when air circulates, which wall shelves do beautifully. I moved fruit off the counter into a tiered wall station, and counter space opened up overnight. Apples last longer away from the banana’s ethylene, so give each fruit its own level for maximum freshness. I label each level with a tiny chalk tag, which stops family members from mixing everything together. The wall display also reminds me to eat produce before it spoils.
Coffee Bar Shelves
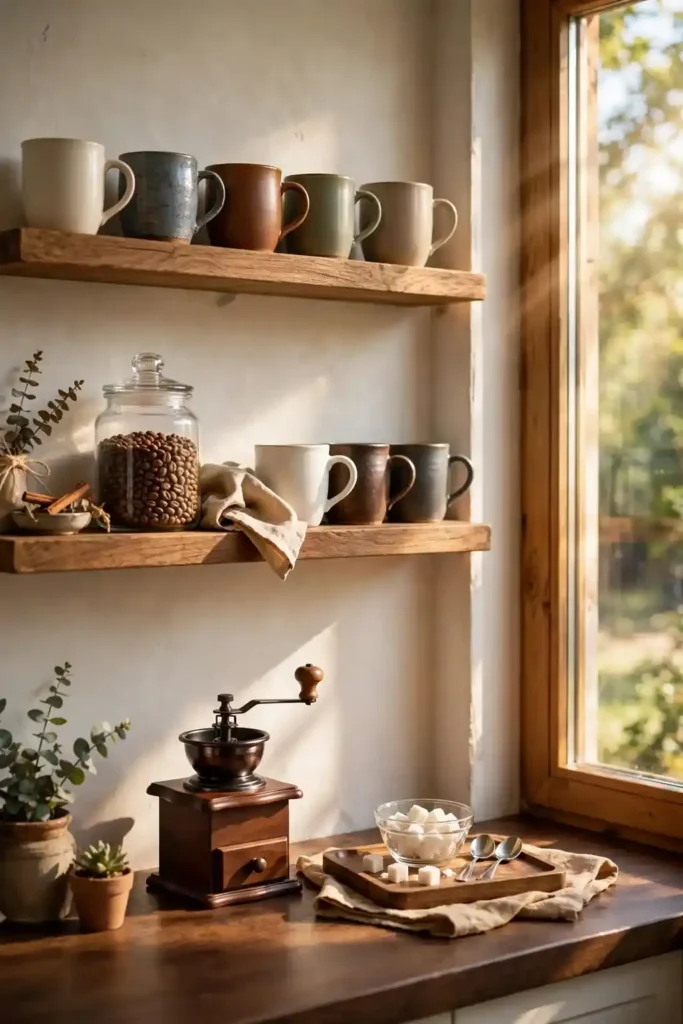
DO:
- Do keep mugs, beans, and the grinder together so the morning routine needs zero steps.
- Do add a tiny tray to corral sugar, spoons, and filters into one tidy landing zone.
- Do leave one shelf purely decorative with a framed print or small plant for charm.
DON’T:
- Don’t store the espresso machine under a low shelf where steam warps the wood above.
- Don’t crowd the shelf so tightly that you dread restocking the beans.
- Don’t forget a small trash bin nearby for spent filters and pods.
A dedicated coffee shelf turns rushed mornings into a small ceremony. I built mine beside the window, and the ritual of grinding beans now starts my day right. Keep the footprint tight, since coffee gear multiplies fast.
Apothecary Jar Walls
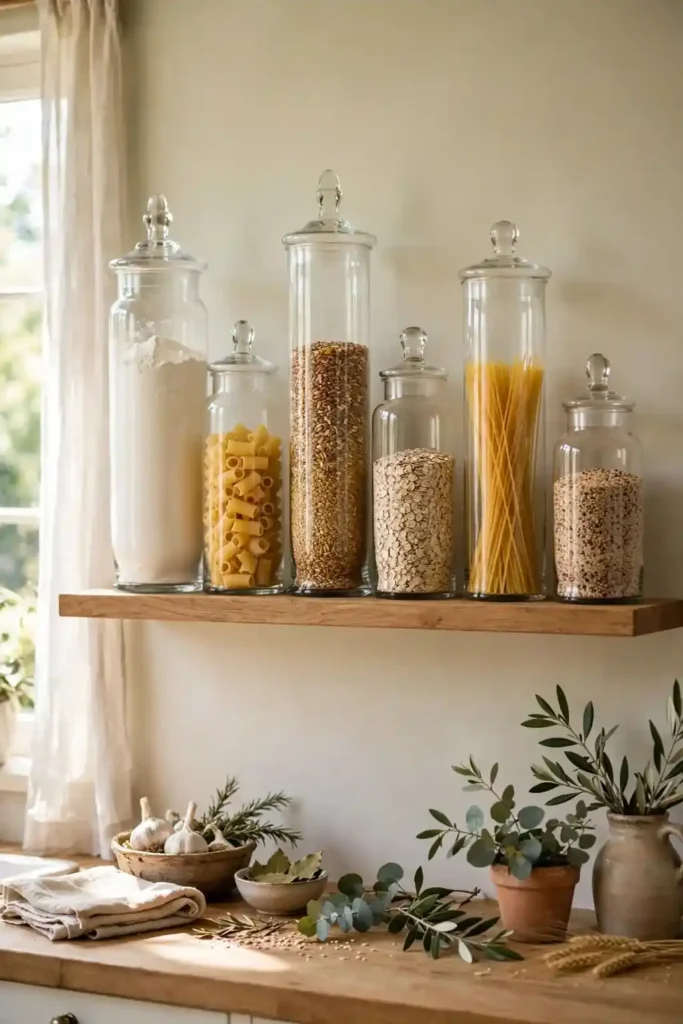
Cost: $40 to $80 for jars
Time: About two hours to style
Skill Level: Beginner, no tools needed
Best For: Pantry lovers and home bakers
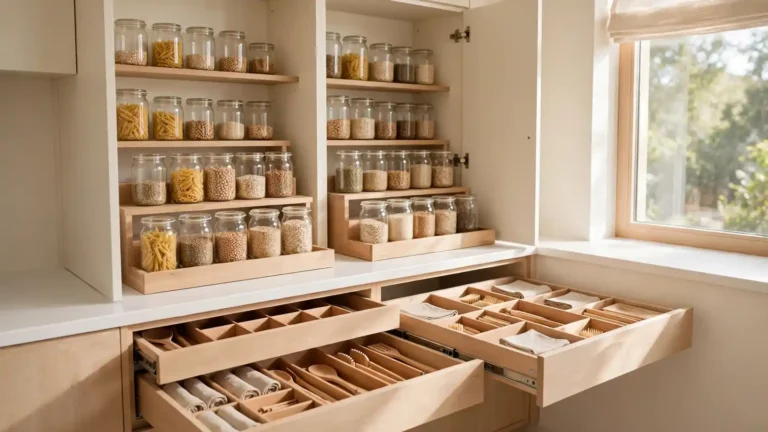
Rows of glass apothecary jars turn flour and pasta into decor. I lined one shelf with tall jars, and the kitchen instantly felt like a general store. Buy jars in two heights for rhythm, fill them from bulk bins, and never guess whether you are out of rice again. In my experience, uniform lids matter more than matching jars, so I buy one lid style in bulk. Wipe jar rims monthly to keep seals tight, and store the whole collection away from direct sun to protect oils.
Narrow Gap Fillers
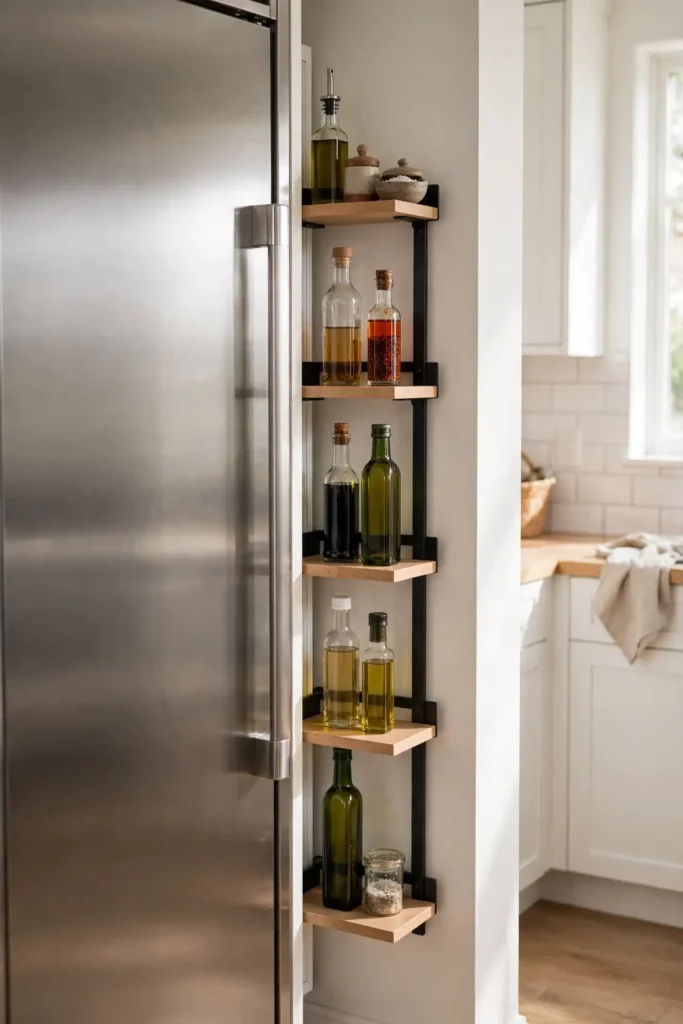
That awkward 10 inch gap beside the fridge used to collect nothing but dust bunnies. I slid in a slim shelf tower on brackets, and it now holds oils, vinegars, and the salt cellar daily. A narrow floating shelves for kitchen strip turns dead space into the hardest-working inches in the room.
Measure twice, since gaps this tight punish sloppy math. I cut my shelves a quarter inch short to clear the fridge door swing. Leave the bottom shelf open for tall bottles, keep everyday oils at hand height, and the whole tower stays reachable without stretching or step stools.
Plate Display Rows
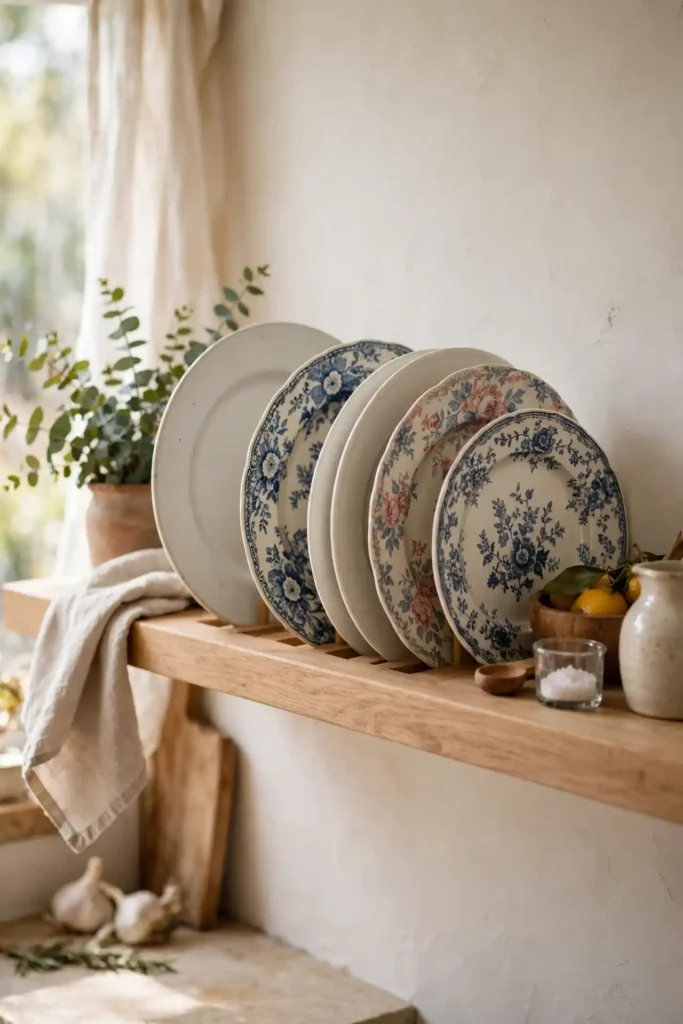
- Add a thin plate groove or small lip to each shelf so displayed plates lean safely without sliding.
- Mix plain white everyday plates with one or two patterned heirlooms for personality.
- Stand plates upright in slight overlap, like shingles, so the pattern reads from across the room.
- Reserve the lowest shelf for the plates you actually eat from daily to avoid constant restacking.
Pretty plates should not hide in cabinets. I moved my grandmother’s floral set onto a display row, and dinner guests ask about it every time. Keep everyday plates on the lowest shelf for easy grabbing, and the display stays both beautiful and practical. Dust weekly with a soft cloth to keep the glaze gleaming.
Herb Garden Shelves
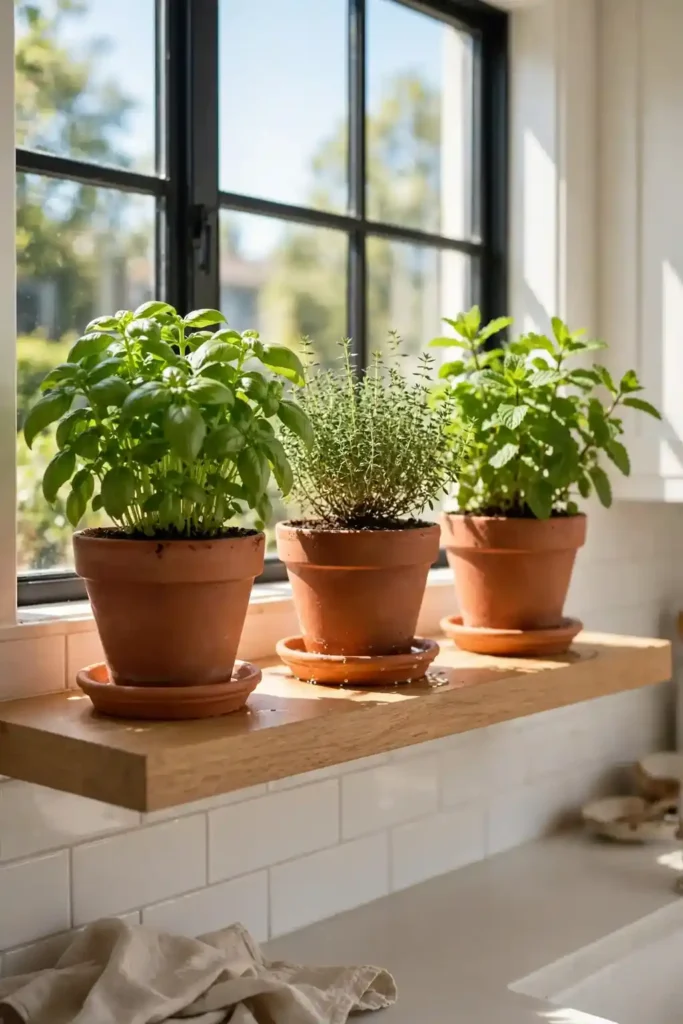
Quick Tip: Choose a shelf within a few steps of the stove and add a small grow light underneath the shelf above. Basil, thyme, and mint need six hours of light daily, so south-facing windows work best without any gadget.
Snipping fresh herbs mid-cook feels like a superpower. I keep basil and parsley on a sunny shelf, and weeknight pasta tastes brighter. Use pots with drainage trays to protect the wood, rotate pots weekly for even growth, and harvest often since cutting encourages bushier plants. I grow mint in its own pot since it bullies gentler herbs, and I freeze leftover basil in oil for winter cooking.
Baskets Above Shelves
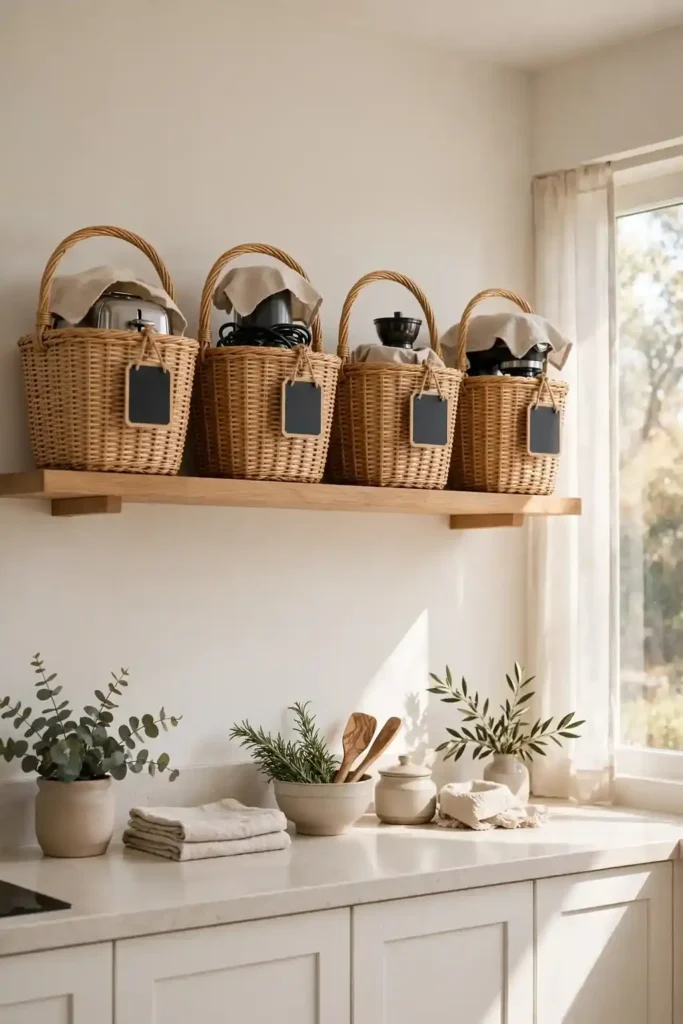
BEFORE: My top shelf became a graveyard for gadgets I used twice a year. The waffle maker and fondue pot sat out collecting grease, looking messy and making the whole kitchen feel cluttered.
AFTER: I corralled rarely used gadgets into labeled woven baskets on the top shelf. Now the shelf reads tidy, everything stays dust-free, and I only pull a basket down when the craving strikes.
Baskets hide the ugly-but-useful stuff beautifully. I label each basket with a chalk tag so nobody guesses. Keep one basket empty for incoming gadgets, since kitchen tools multiply mysteriously, and the top shelf stays calm instead of chaotic. Choose baskets with handles for easy lifting, and measure shelf height before buying.
Conclusion
Twenty ideas, one calmer kitchen. The right shelves turn bare walls into hardworking storage without a single bulky cabinet, and the open look keeps small kitchens feeling bright. I still remember the first shelf I hung and how instantly the room breathed easier. Pick the idea that solves your biggest frustration and hang just one this weekend; even a single floating shelves for kitchen run can change how the whole room works. Save this guide on Pinterest, try a look, and share your shelfie when it is up. Small shelves, big difference. Start small, style slow, and enjoy every inch you reclaim.