23 Lighting for Kitchen Ideas for a Bright, Welcoming Space
Great kitchens glow in layers, and I believe lighting for kitchen design deserves as much thought as cabinets. I have watched friends renovate everything yet keep one sad ceiling bulb, and the room never feels finished. Just as the right sofa for living room comfort anchors a lounge, layered light anchors a kitchen. Good lighting makes chopping safer, colors truer and evenings softer.
Below you will find twenty three ideas covering pendants, under-cabinet strips, dimmers and daylight tricks. I have tested most of these in real kitchens, from tiny rentals to roomy remodels. Some cost less than a pizza night, while a few are true statement pieces. Save your favorites on Pinterest as you scroll, then pick the one upgrade that fits your kitchen this weekend.
Bold Pendant Lights
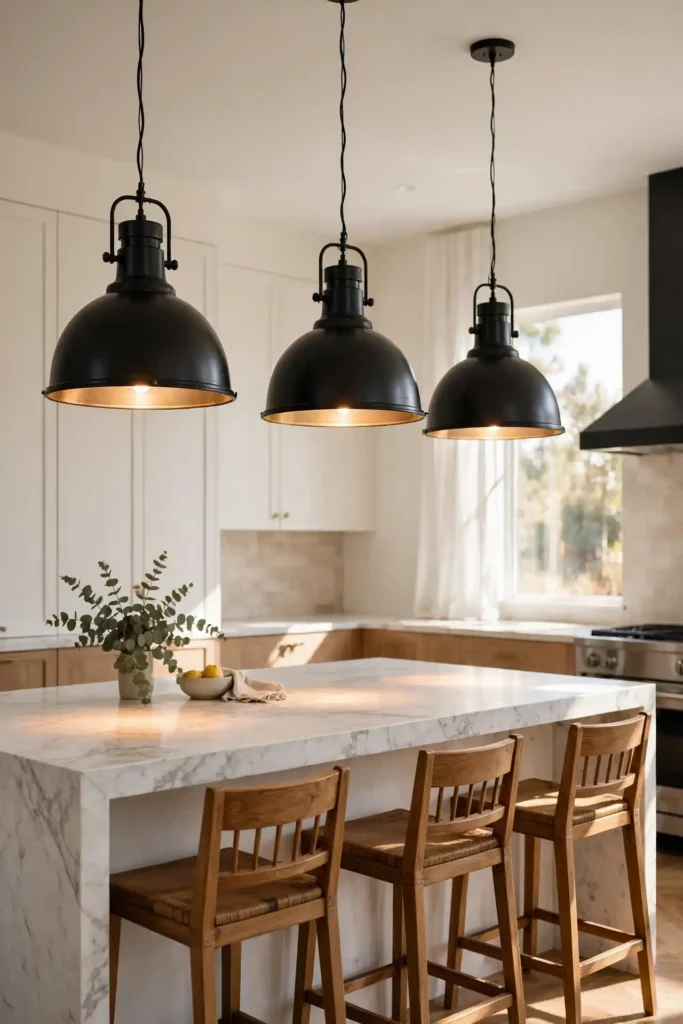
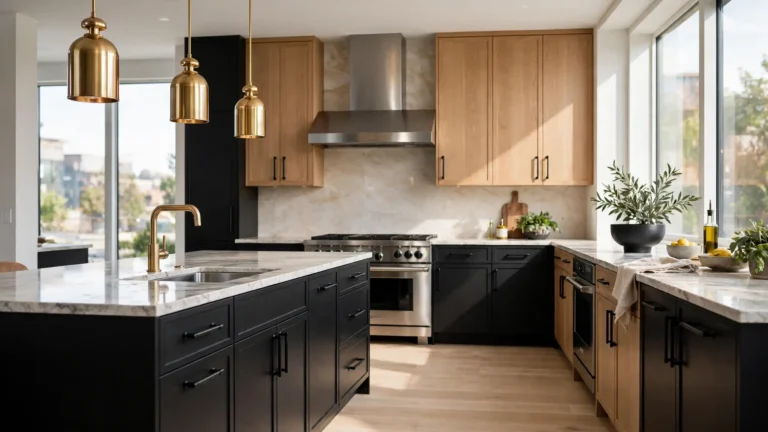
A dark kitchen wakes up the moment you hang pendants with real personality. I swapped plain domes for oversized black metal shades in my own kitchen, and the difference was instant. The room felt styled instead of just functional, like it finally had jewelry. Pendants draw the eye upward and make even small kitchens feel intentional.
Hang them in odd numbers for the best look, since three shades always read better than two. Keep the bulbs warm, around 2700 kelvin, so food and faces look appetizing. I’ve noticed guests linger longer under soft pendant glow at the island. They make chopping, mixing and pouring easier too, which is the real win.
Under-Cabinet Strip Glow
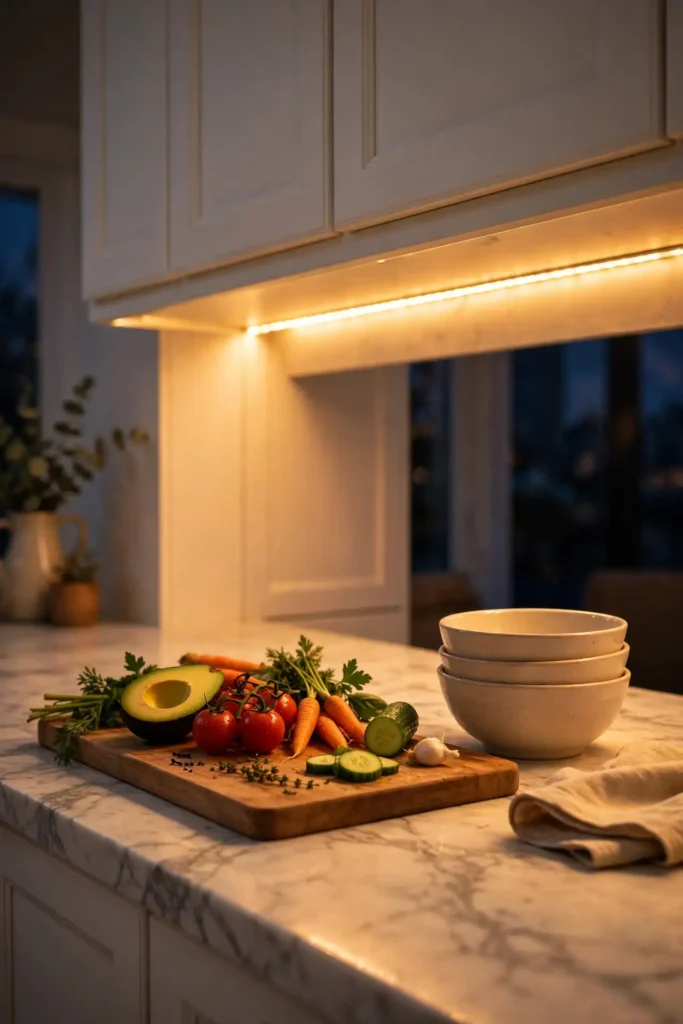
- Peel and stick LED strips fit under most cabinets in under an hour, no electrician needed for plug in versions.
- Choose warm white around 3000 kelvin to flatter countertops and make food look fresh.
- Mount the strip toward the front lip of the cabinet so light falls across the whole counter.
- Add a dimmer so you can drop the brightness for movie night ambiance.
Under-cabinet strips turn a flat countertop into a stage for cooking. I have tried battery and plug in versions, and both beat fumbling in shadows. They also make the kitchen look finished at night when the main lights go off. Cheap, quick and hugely effective, this is the upgrade I recommend first.
Warm Island Chandeliers
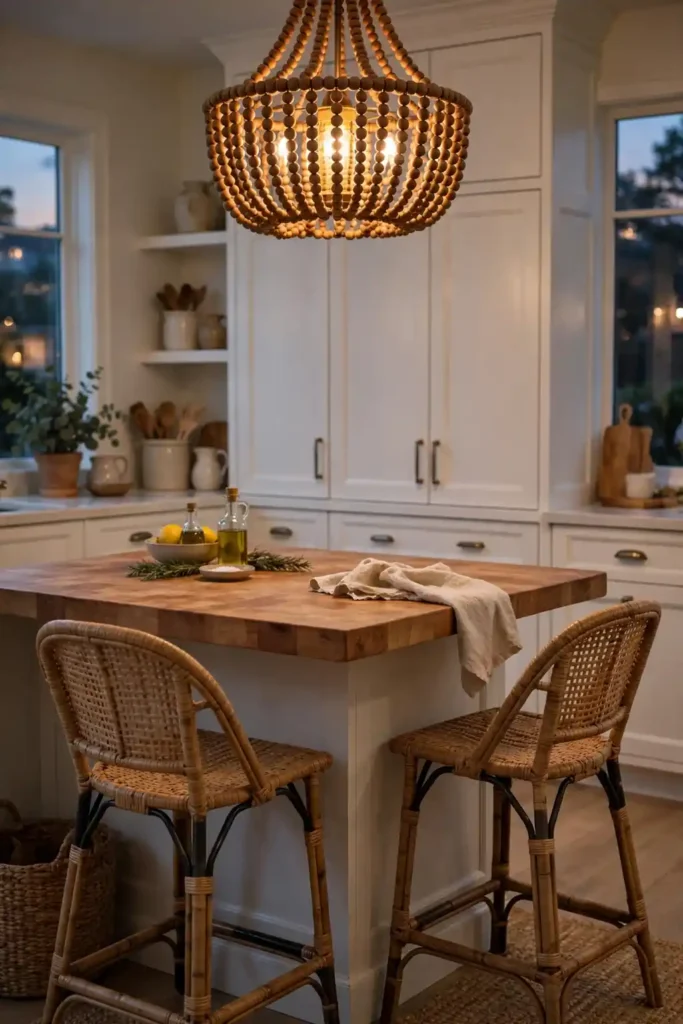
Quick Tip: Size your chandelier to the island, not the room. A good rule is one third of the island length for a single fixture. Two smaller fixtures beat one oversized piece when islands run long.
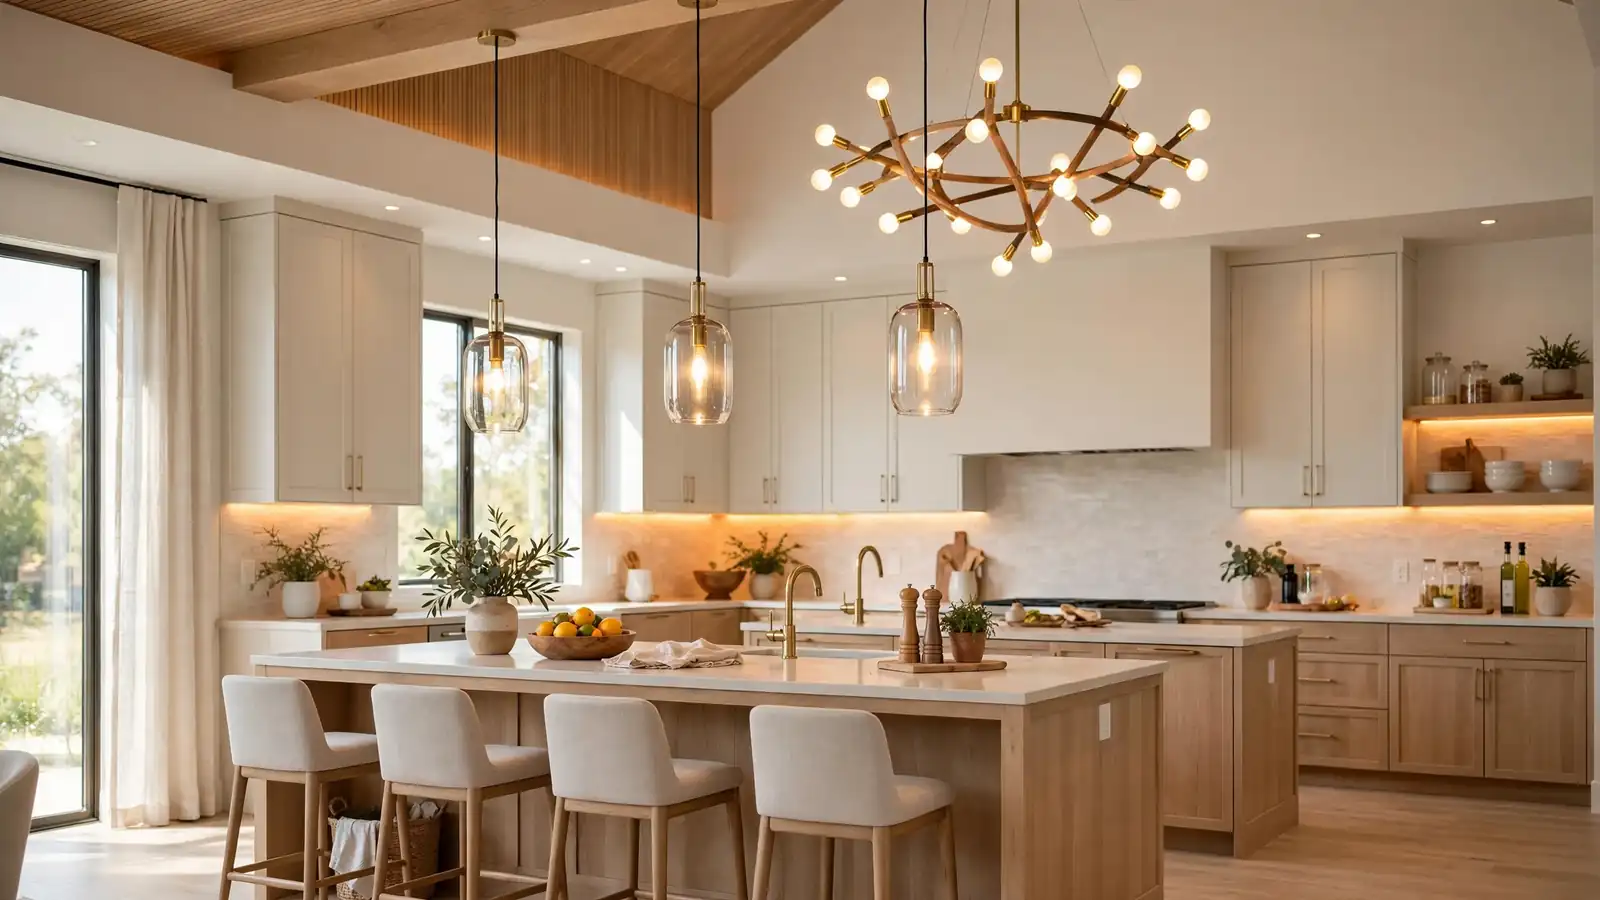
A chandelier over the island says this kitchen is for gathering, not just cooking. I have seen crystal styles in modern kitchens and wood bead versions in farmhouses, both glowing warmly at dinner. Pick dimmable bulbs so the same fixture works for homework and dinner parties. Hang it low enough to feel intimate but high enough to see across, and center it on the island with a tape measure.
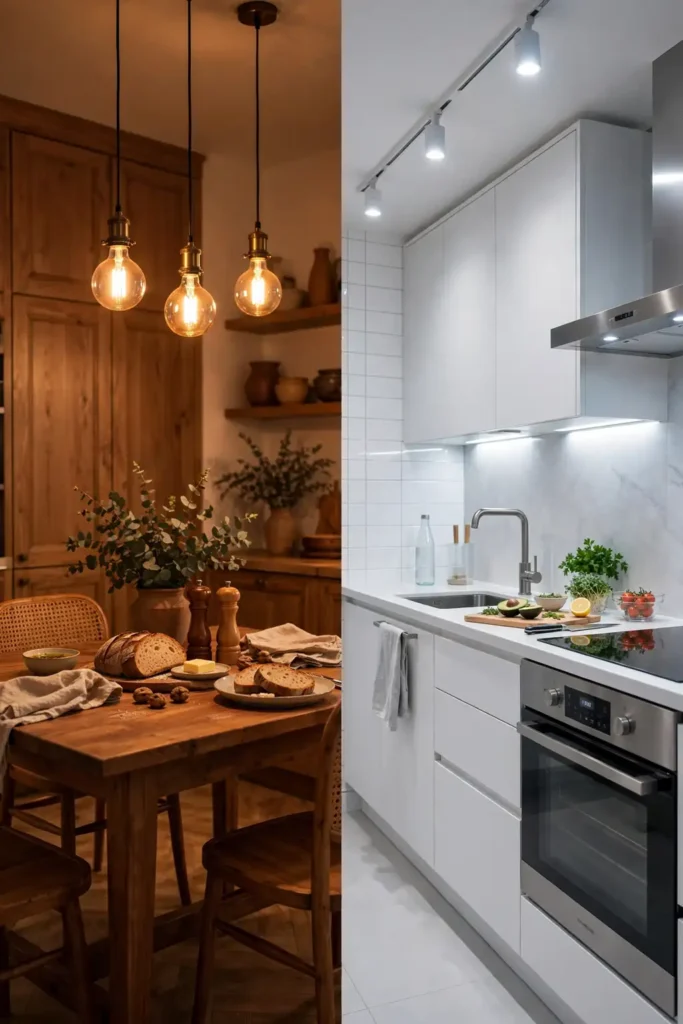
Dimmable Kitchen Zones
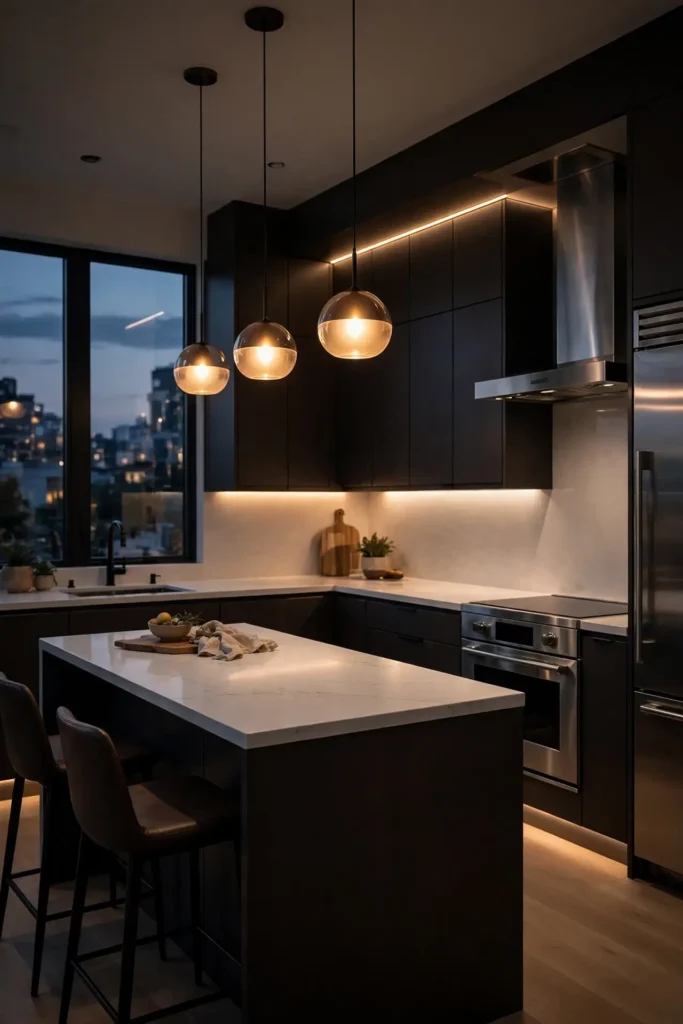
BEFORE: One harsh overhead light did everything, from morning coffee to midnight snacks. Every task happened under the same bright glare, and the kitchen never felt cozy.
AFTER: Three dimmable zones now handle the work. Bright counters for cooking, soft pendants for eating, and a low glow for late night wandering.
Zoning means the kitchen adapts to the moment instead of fighting it. I put counters, pendants and cabinets on separate dimmers, and the room finally feels right at every hour. Start with the zone you use most, usually the counters. Add the rest as budget allows. Wire dimmers during any remodel so you never rip open walls twice.
Task Light Upgrades
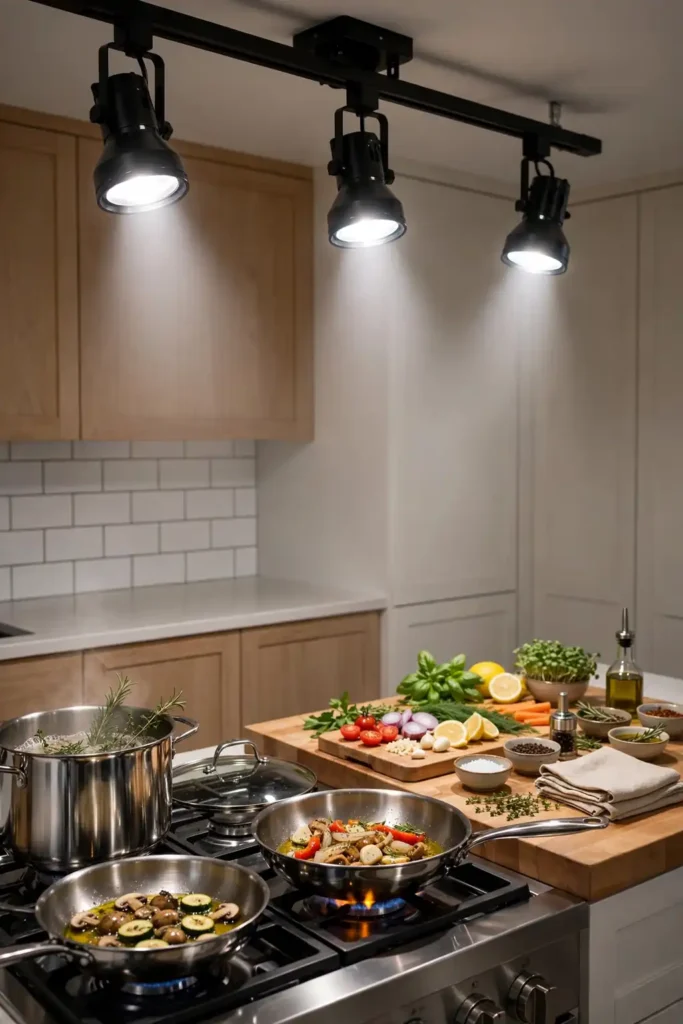
- Walk through the kitchen at night and note every shadowy corner where you chop or read labels.
- Install a bright task light at the stove, since splatter hides best in good light.
- Aim adjustable spots at the sink so dishes sparkle instead of hiding grime.
- Swap dim bulbs for daylight rated ones anywhere you do detailed work.
- Test each new light at night before calling the job done.
Good task lighting is the part of lighting for kitchen design that pays you back daily. I have noticed that sharp task light cuts prep time because you stop squinting. It also keeps counters safer, since you see what you are cutting. Bright, focused and simple, task lighting is pure function.
Bulb Temperature Guide
| Warm 2700K | Cool 4000K | |
|---|---|---|
| Look | Warm amber glow that flatters food | Crisp white light that shows true color |
| Best For | Dining, coffee, evening chats | Chopping, baking, cleaning |
| Mood | Cozy and welcoming | Bright and energetic |
| Pair With | Wood cabinets, brass fixtures | Steel appliances, white counters |
Match bulb temperature to what happens under it, not just the fixture style. I run warm bulbs in seating areas and cooler ones over prep zones, and the split feels natural. Mixed temperatures work fine when each zone has a clear job. Test a few bulbs at night before buying a whole box, since packaging lies. Your eyes adjust fast, so give each test bulb a full evening.
Cozy Breakfast Nook Lamps

DO:
- Do pick a small lamp with a fabric shade for a soft morning glow.
- Do plug it into a timer so it greets you at breakfast.
- Do match the lamp base to your kitchen hardware for cohesion.
DON’T:
- Do not use a harsh daylight bulb that kills the cozy mood.
- Do not block the window with a bulky lamp base.
- Do not run cords across walkways where feet catch them.
A tiny lamp in the breakfast nook makes mornings feel gentler. I have noticed even a fifteen dollar thrifted lamp changes the whole corner. Keep the shade light colored so it glows instead of glaring. This small touch makes coffee taste better, or at least it feels that way.
Pendant Height Rules
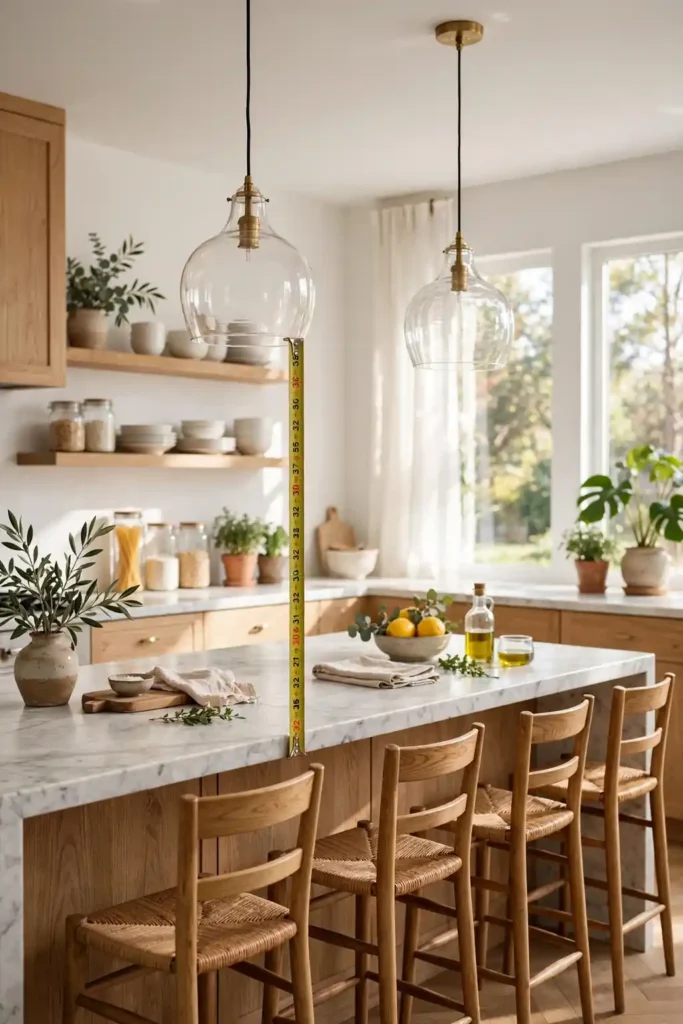
Ideal Height: 30 to 36 inches above the island counter | Spacing: one pendant every 24 to 30 inches | Ceiling Slope: use adjustable rods on sloped ceilings | Tall Cooks: raise fixtures two inches above standard
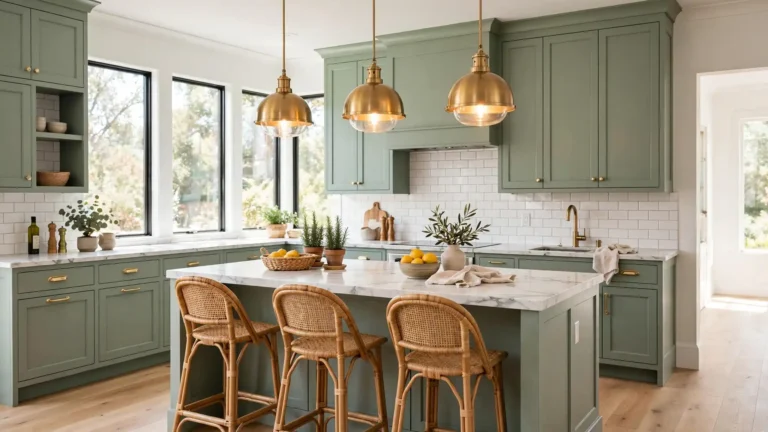
Height decides whether pendants feel like jewelry or obstacles at the island. I have seen beautiful fixtures ruined by hanging them too low over busy work zones. Measure from the counter surface, not the floor, for true accuracy. When in doubt, hang slightly higher, since glare bothers more than distance. Mark the spot with painter’s tape and live with it a day before drilling. Tape costs pennies and saves patching holes.
Statement Glass Shades
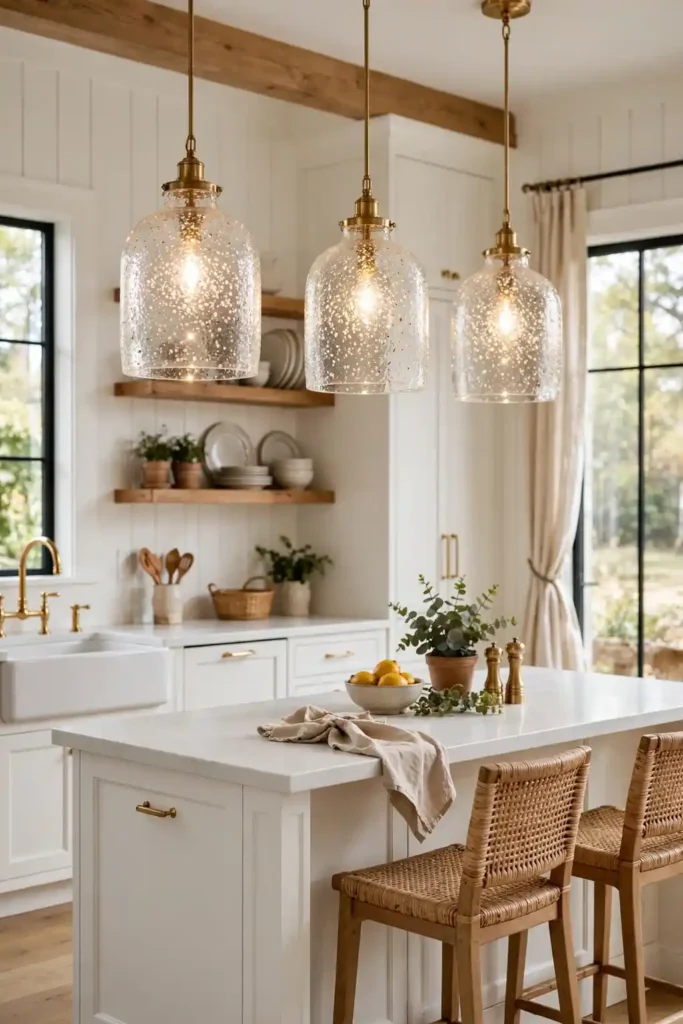
Glass shades turn plain bulbs into glowing sculptures over the counter. I replaced heavy metal domes with clear seeded glass, and the kitchen felt twice as bright. Light bounces through the glass instead of getting trapped. The seeded texture hides fingerprints, which matters in a working kitchen.
Pick amber glass for warmth or clear for maximum brightness. I have noticed amber flatters evening gatherings while clear wins for daytime cooking. Dust the glass monthly so light stays crisp. One statement shade over the sink can anchor the whole room. Pair them with simple hardware so the glass stays the star of the show.
Recessed Ceiling Lights
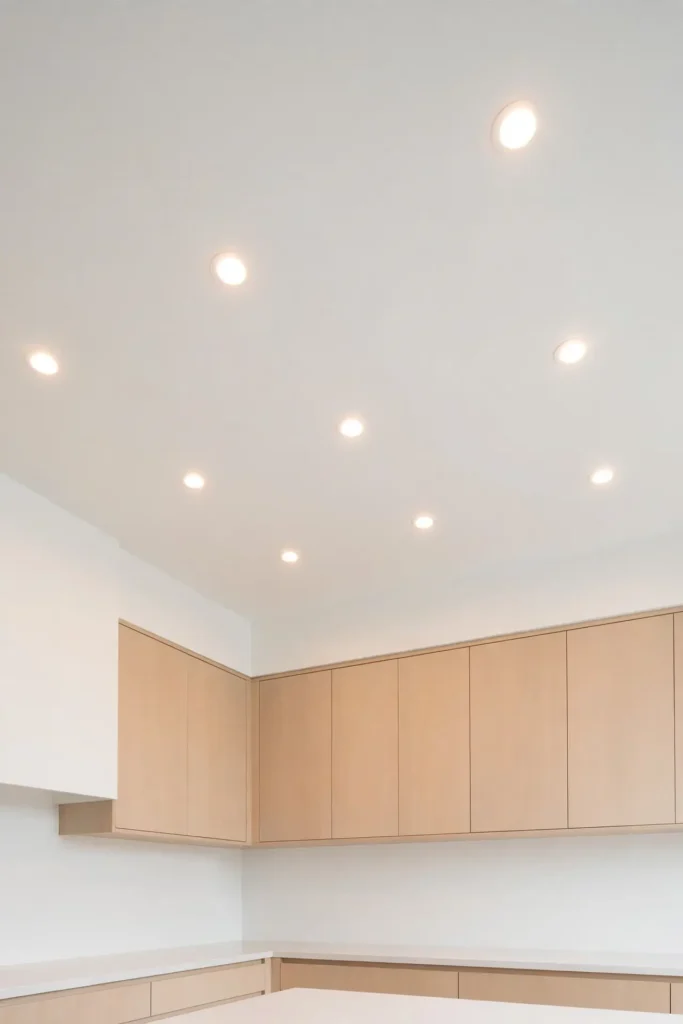
- Space recessed lights four to six feet apart for smooth, shadow-free coverage.
- Choose adjustable gimbal trims so you can aim light at counters and art.
- Pick IC-rated housings if insulation touches the ceiling above.
- Use warm dimmable LEDs to avoid the interrogation-room feel.
Recessed lights disappear into the ceiling and let everything else shine. I have seen them rescue low ceilings that could never carry a chandelier. They wash walls evenly, which makes small kitchens feel bigger. Keep the trim simple and white so the ceiling looks clean. Dim them at night and the kitchen turns into a calm evening space.
Charming lighting for kitchen
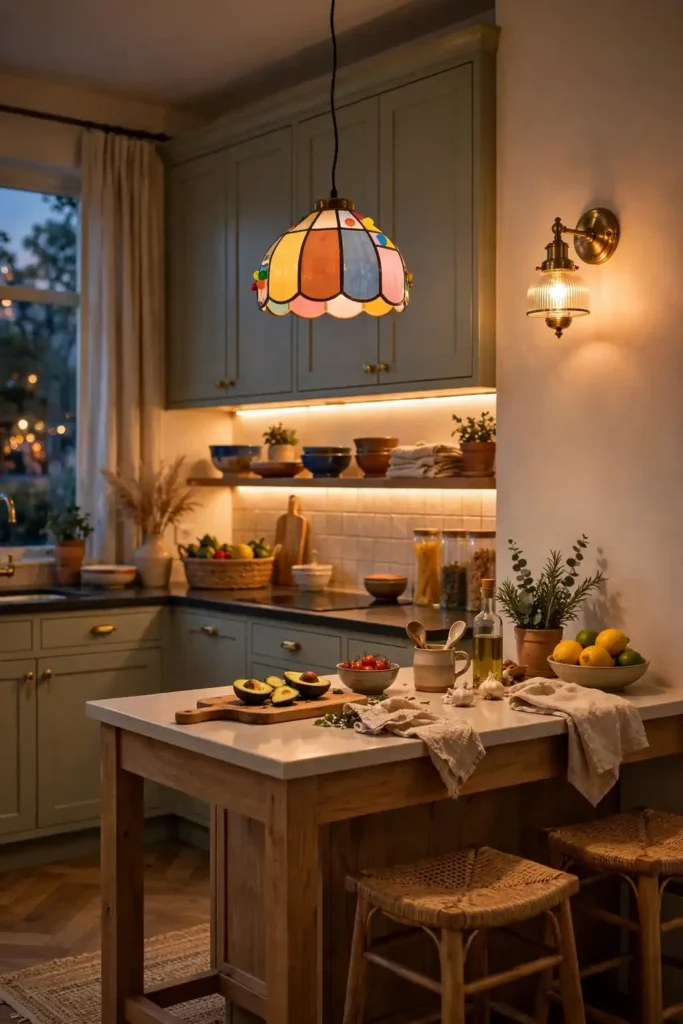
Quick Tip: Layer three light types instead of relying on one bright ceiling fixture. Combine overhead, task and accent light for a kitchen that works at every hour. Each layer needs its own switch so you control the mood.
Charming lighting for kitchen spaces always mixes function with a little personality. I have noticed the prettiest kitchens pair practical task lights with one playful fixture that sparks conversation. A vintage inspired sconce or a colorful pendant keeps the room from feeling sterile. Layer the brightness so mornings feel energetic and evenings feel soft. That balance is what makes guests want to linger around the island.
Cabinet Glow Layers
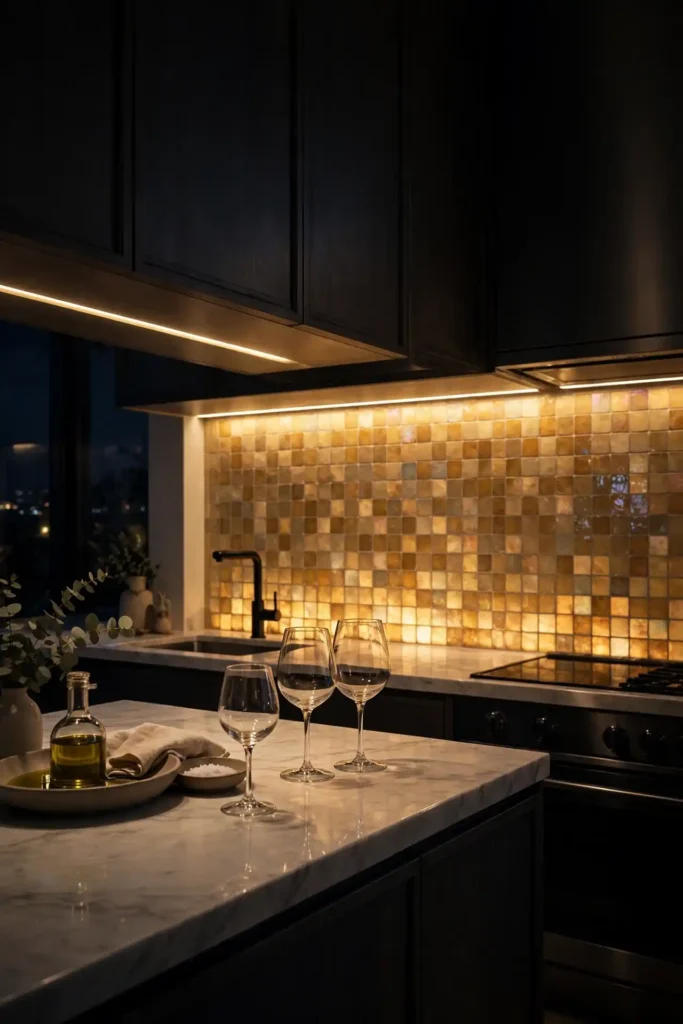
BEFORE: Upper cabinets cast dark shadows across the counters below. Evening prep meant leaning into the light to see what you were doing.
AFTER: Soft strips now line the cabinet undersides. The counters glow evenly, and the kitchen looks twice as deep at night.
Layered cabinet glow adds depth that a single ceiling light never can. I have seen narrow galley kitchens look wider once the counters carry their own light. Run the strips on a separate dimmer for evening ambiance. They sip electricity, so leave them on as a nightlight. The glow also shows off backsplash tile after dark, which is a lovely bonus.
Smart Dimmer Switches
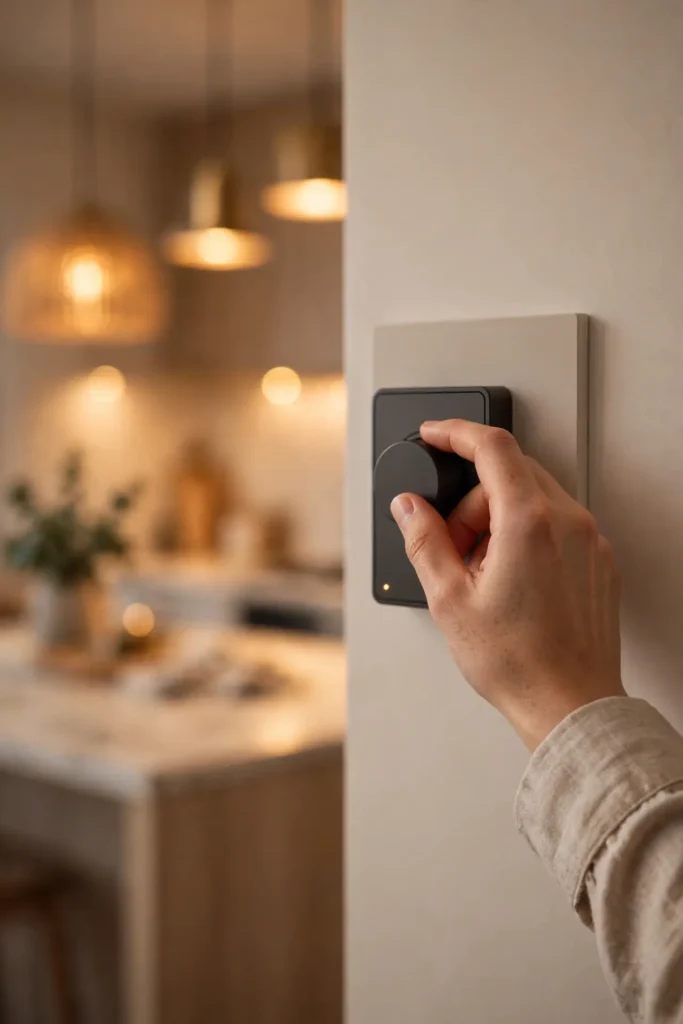
- Turn off power at the breaker before touching any switch.
- Remove the old switch and photograph the wiring for reference.
- Connect the smart dimmer wires to match, usually black to black and white to white.
- Pair the dimmer with your phone app and set schedules.
- Label the breaker so the next person thanks you.
Smart dimmers make lighting for kitchen zones effortless from the couch. I schedule bright mornings and soft evenings, and the kitchen follows along. Voice control helps when your hands are covered in flour. Start with one switch to test the brand you like. Most models install in fifteen minutes with a screwdriver and patience.
Fixture Finish Match
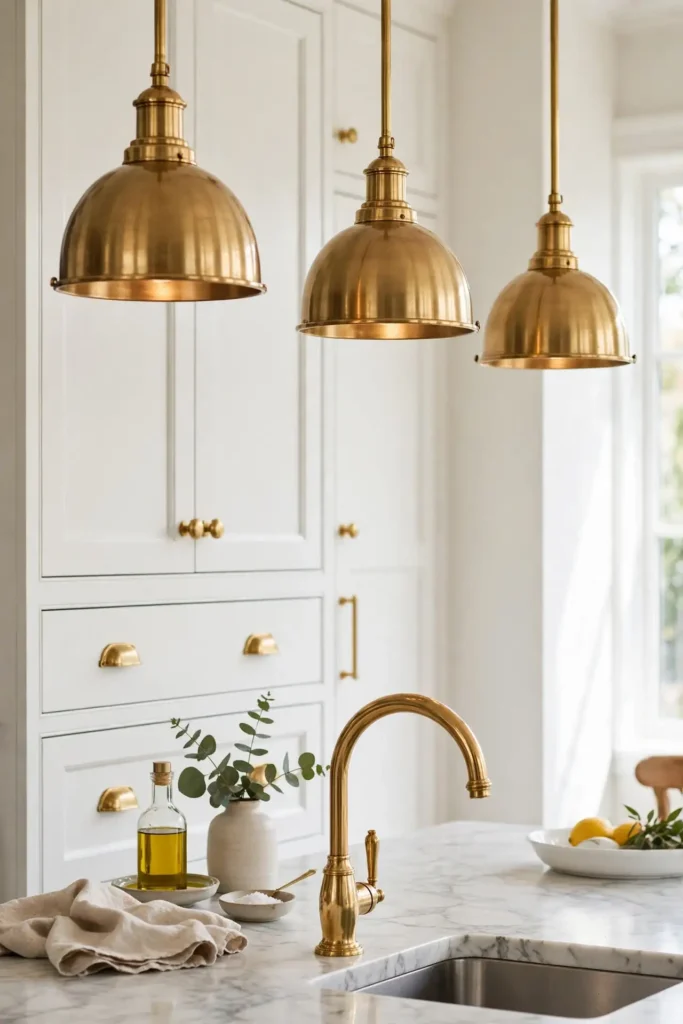
| Warm Brass | Matte Black | |
|---|---|---|
| Style | Classic with a modern edge | Bold and graphic |
| Pairs With | White, green and navy cabinets | Wood, concrete and white |
| Maintenance | Wipe fingerprints often | Hides smudges well |
| Cost | Mid to high | Budget friendly |
Pick one finish and repeat it on pendants, pulls and faucets for a pulled together look. I have noticed mixed metals work only when one clearly dominates. Brass warms cool palettes while black sharpens soft ones. Commit to a finish before buying the first fixture, and the rest gets easy. Photograph your cabinets and bring the photo when you shop for fixtures. That habit prevents clashing finishes at home.
Sink Window Sconces
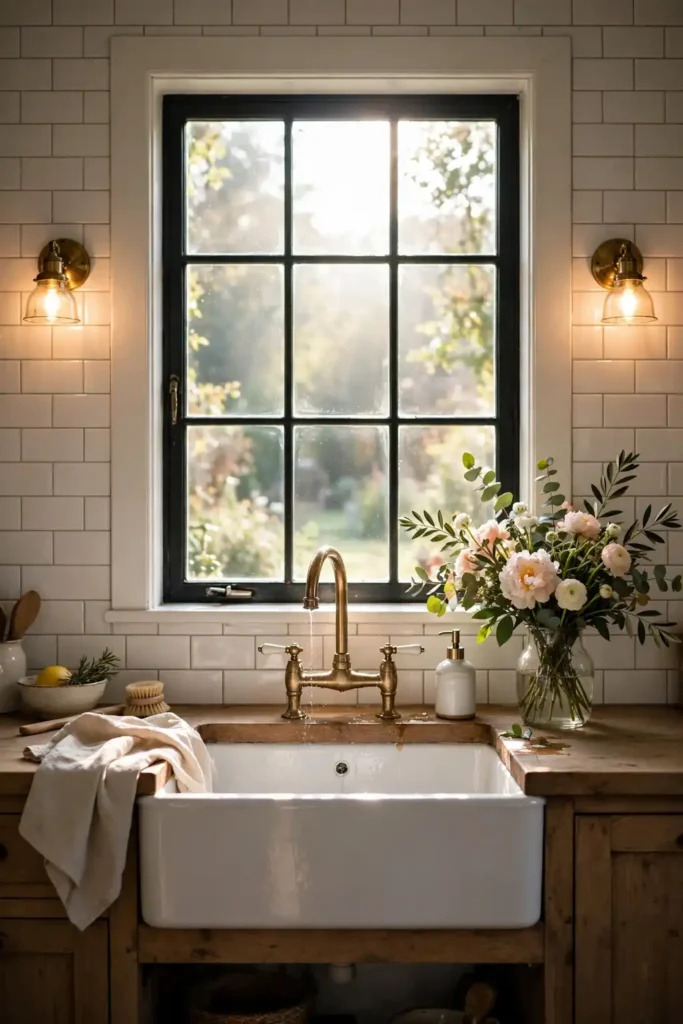
DO:
- Do flank the window with two small sconces for balanced light.
- Do choose damp rated fixtures near the splash zone.
- Do wire them to the same dimmer as the pendants.
DON’T:
- Do not hang shades that block your view of the yard.
- Do not skip a dimmer, since dish duty happens at all hours.
- Do not mix bulb temperatures between the two sconces.
Sconces at the sink turn dish duty into the prettiest job in the house. I have noticed evening dishes feel less like a chore under warm wall light. Keep the fixtures slim so they never crowd the window. This pair costs less than one pendant but delivers twice the charm.
Kitchen Color Temperature Facts
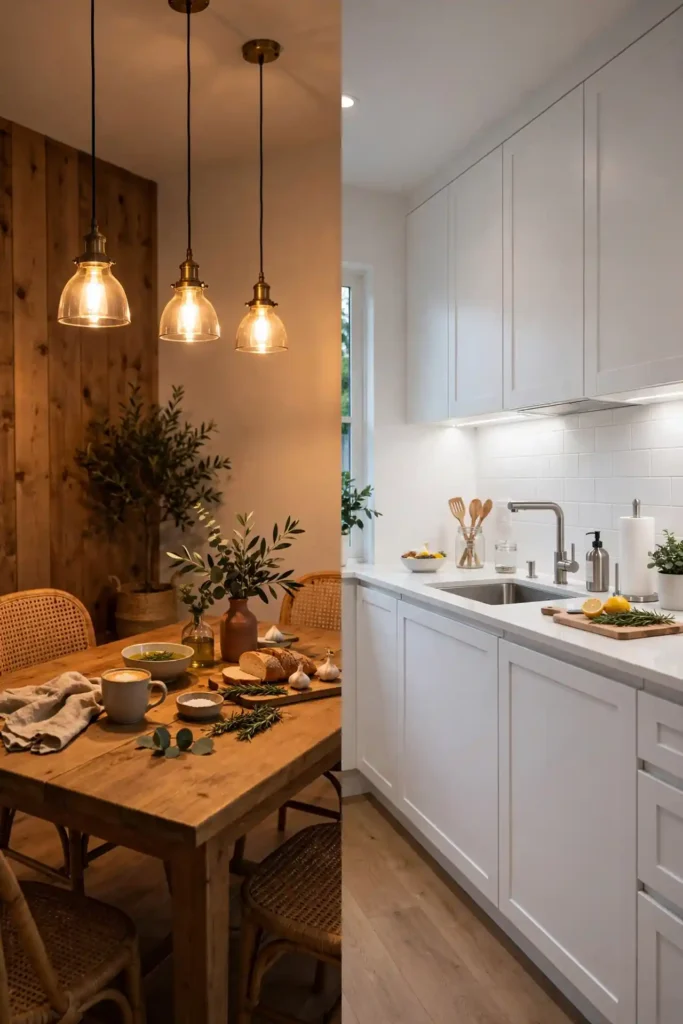
Warm 2700K: cozy dining and evening glow | Cool 4000K: crisp task light for prep | Daylight 5000K: best for color matching paint | Dim to Warm: bulbs that warm as they dim
Color temperature shapes how every meal looks and feels. I have seen the same white cabinets glow golden under warm bulbs and turn clinical under cool ones. Choose warm for gathering spots and cool for hardworking zones. Test bulbs after sunset, since daylight skews your judgment. Write the kelvin number on the box flap for easy reorders. That small label habit saves a second trip to the store. Keep a spare of each type in the junk drawer.
Brass Fixture Warmth
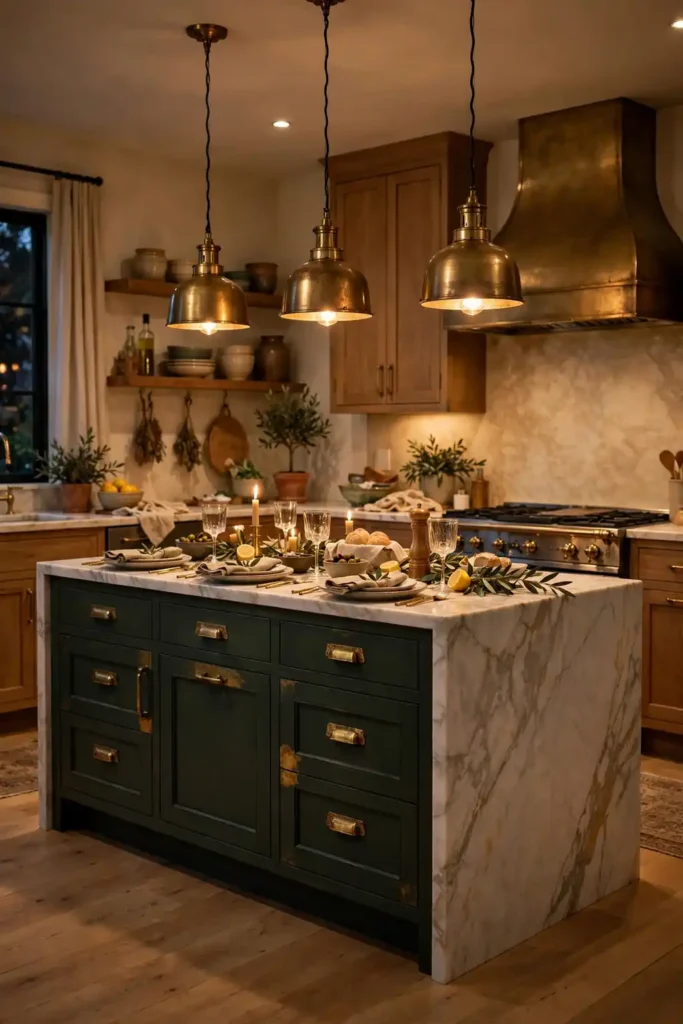
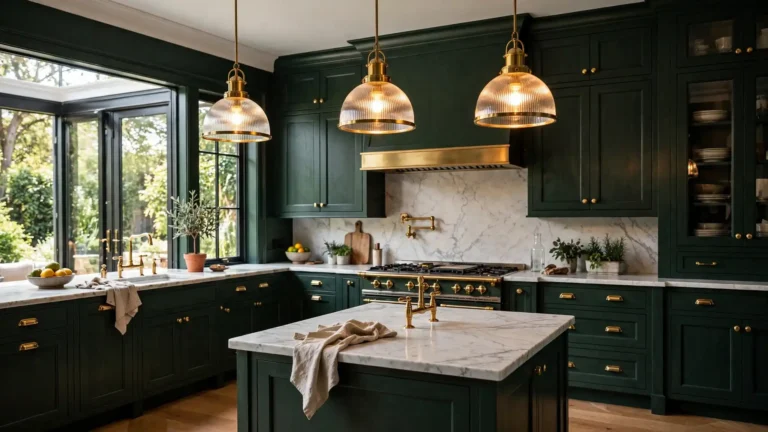
Brass fixtures bring a golden glow that flatters every skin tone at the table. I swapped nickel pendants for unlacquered brass, and dinner parties instantly felt warmer. The metal deepens with age, gaining character instead of wearing out. Brass also bridges traditional and modern kitchens without trying.
Let brass patina naturally instead of polishing it weekly. I have noticed the aged finish hides fingerprints far better than shiny chrome. Pair brass with deep green or navy cabinets for a rich look. A little brass goes far, so start with pendants. Add matching cabinet pulls later to tie the whole kitchen together.
Toe-Kick Night Lights
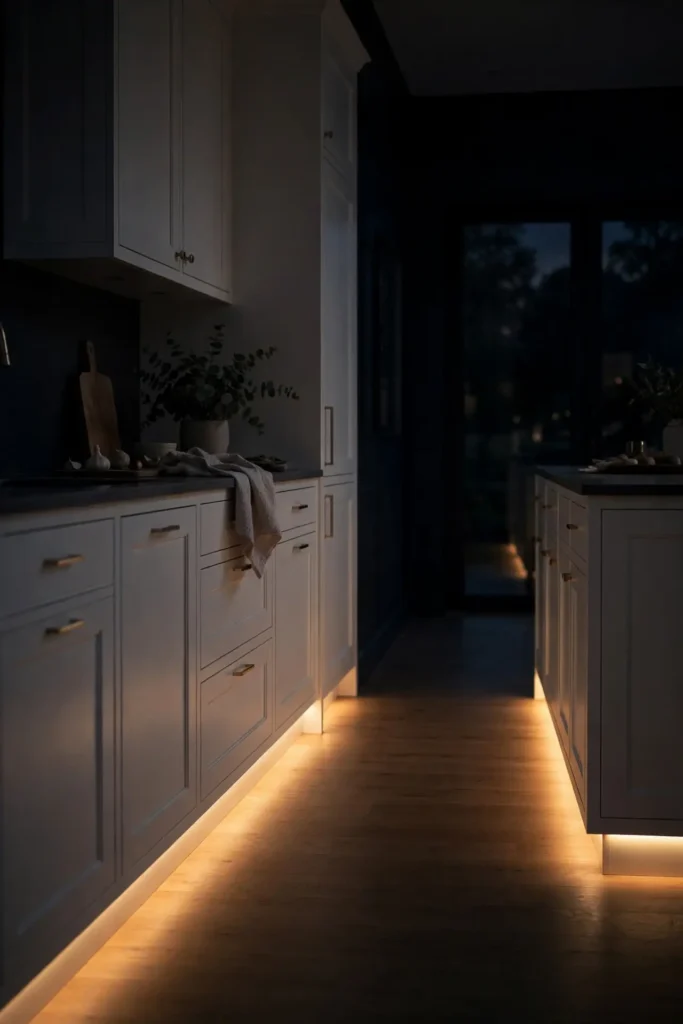
- Stick motion sensor strips under the toe-kick for hands-free night lighting.
- Choose warm tones so midnight trips never wake you fully.
- Run rechargeable strips if outlets are scarce under the cabinets.
- Test the sensor angle so pets do not trigger it all night.
Toe-kick lights make midnight kitchen trips safe without flipping harsh overheads. I have tried plug in versions and battery ones, and both beat stubbed toes. The soft floor glow also looks high end during evening gatherings. Guests always ask about it, which is a fun bonus. Set the timer for dusk to dawn and forget about them entirely.
Track Light Layouts
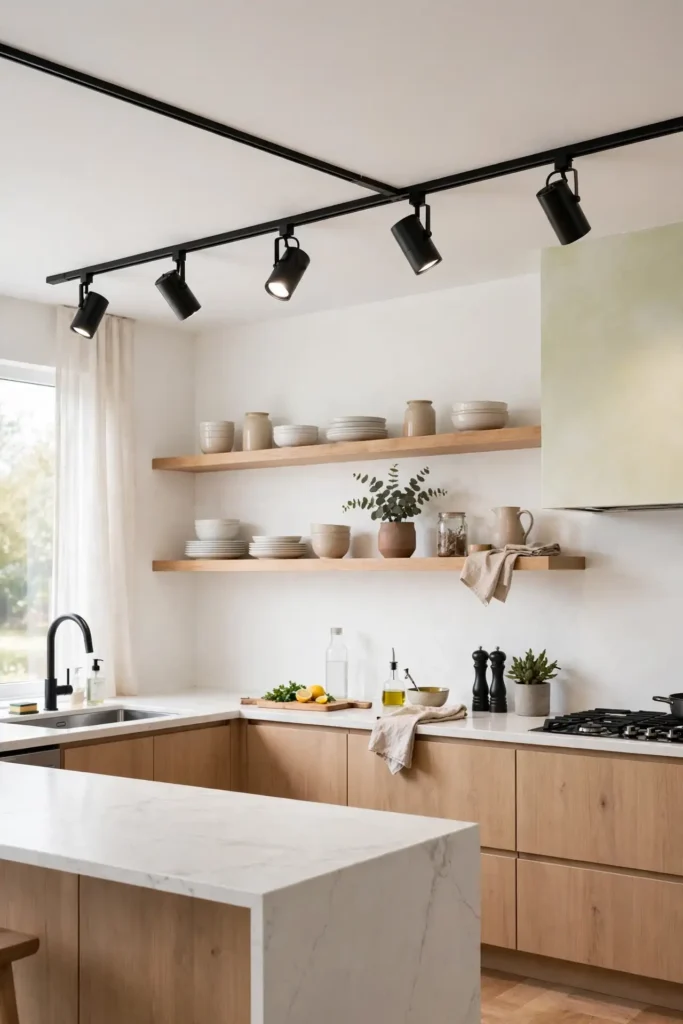
Quick Tip: Aim track heads at work zones, not at people’s faces. Angle each head about thirty degrees from the cabinet edge for the best spread. Leave one head aimed at open shelving so your dishes glow.
Track lighting is the flexible friend of lighting for kitchen makeovers. I have noticed renters love it because one ceiling point powers many heads. Twist a head toward the stove for cooking, then swing it to the art for parties. Keep the track color close to the ceiling so it disappears. Dimmable heads turn the same track from task bright to dinner soft in seconds.
Ceiling Fan Light Kits
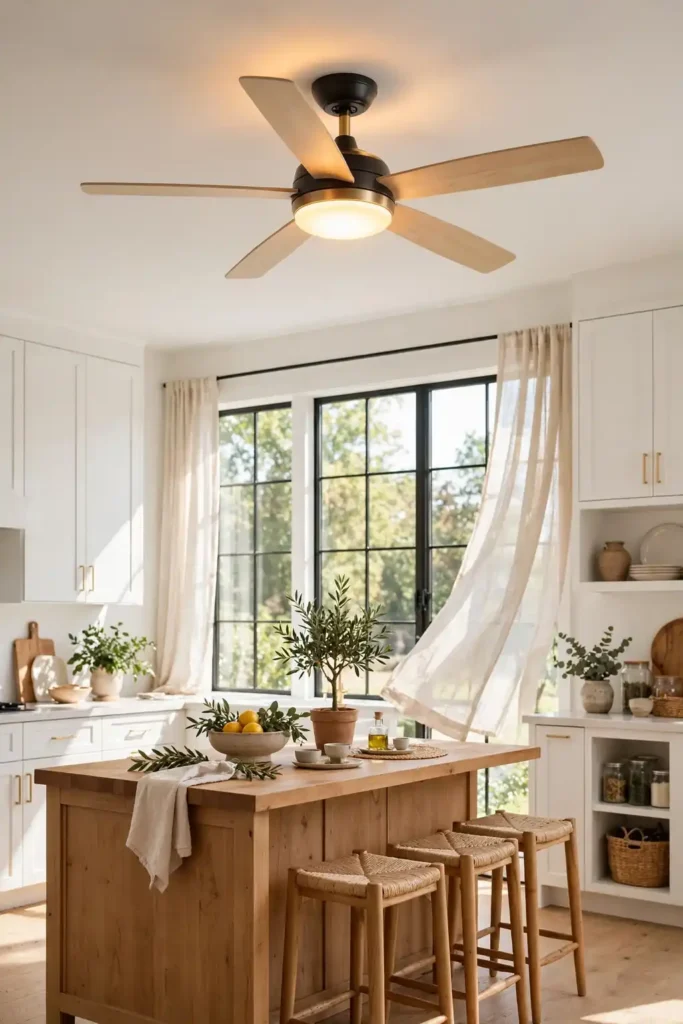
BEFORE: The kitchen had a wobbly fan with a dim dome that barely lit the room. Summer cooking meant sweating under weak yellow light.
AFTER: A new fan with a bright kit now cools and lights the space. Cooking feels breezy, and the room glows evenly.
Fan light kits pull double duty in any lighting for kitchen plan. I have seen them rescue hot kitchens where air conditioning never reaches. Pick a kit with dimmable LEDs so the breeze never fights the mood. Keep blades dusted, since grime dims the light fast. Reverse the fan in winter to push warm air down without a draft.
Open Shelf Puck Lights
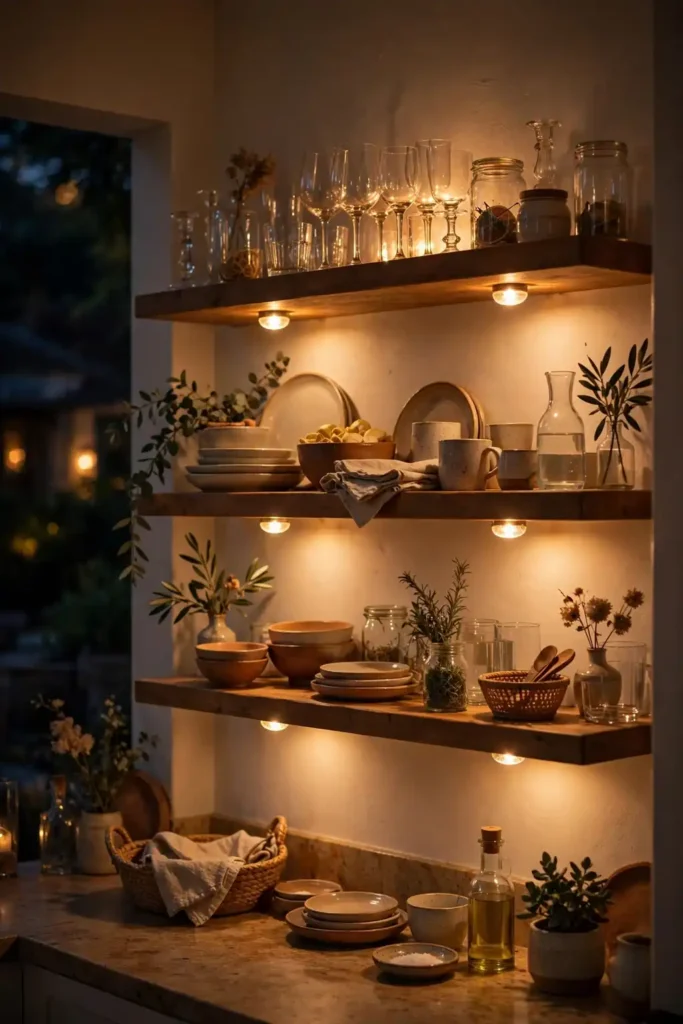
- Clean the shelf undersides so adhesive pucks stick firmly.
- Space pucks twelve inches apart for even glow.
- Press each puck for thirty seconds to set the adhesive.
- Pair them with the remote so one click lights the shelf.
Puck lights turn open shelves into glowing displays after dark. I have noticed dishes and glassware look store-bought pretty under tiny warm lights. They install in minutes with no wiring at all. Rechargeable versions beat batteries for heavy daily use. Hide the pucks behind the shelf lip so guests see glow, not hardware. That trick makes budget lighting look custom. Swap dead pucks in seconds when the charge finally fades.
Flush Mount Picks
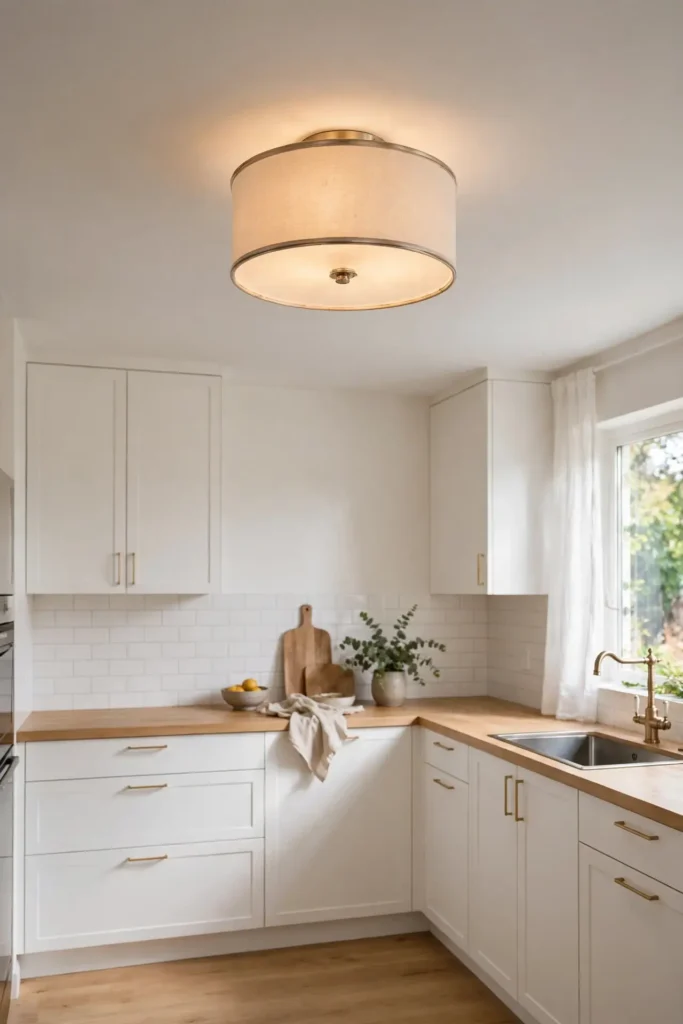
| Drum Shade | Glass Dome | |
|---|---|---|
| Shape | Wide cylinder, modern feel | Rounded, classic look |
| Light Spread | Soft sideways glow | Bright downward beam |
| Best Room | Low ceiling kitchens | Hallways and small kitchens |
| Cleaning | Dust fabric monthly | Wipe glass with cloth |
Flush mounts solve low ceilings where pendants would bonk heads. I have seen eight foot ceilings feel taller once the fixture hugs the surface. Choose a shade that spreads light wide instead of pooling it. Two small flush mounts often beat one big fixture in galley kitchens. Keep the profile under six inches so tall family members never notice it. That restraint keeps the ceiling feeling high and calm.
Skylight Boost Ideas
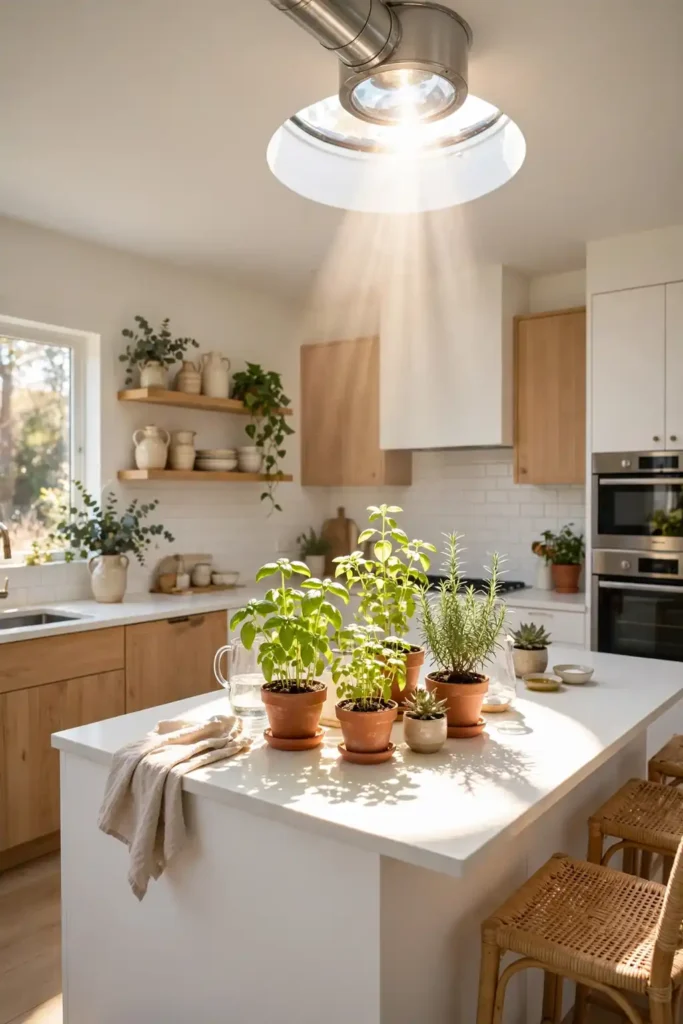
DO:
- Do add a tubular skylight for daylight with no major framing.
- Do pair skylights with dimmable fixtures for cloudy days.
- Do choose diffused glass to avoid harsh sun patches.
DON’T:
- Do not place a skylight directly over the stove.
- Do not skip the flashing details that prevent leaks.
- Do not forget shades for summer heat control.
Skylights flood the kitchen with free daylight that bulbs cannot copy. I have seen dark middle-of-house kitchens transform with one tube. The natural light makes colors read true all day. Pair it with good blinds, like the ones in our curtains for kitchen guide, so summer heat stays outside. That balance of sun and shade keeps the room bright without baking it.
Conclusion
Your kitchen deserves light that works as hard as you do. These twenty three lighting for kitchen ideas prove that small changes beat big budgets every time. Start with the zone that bugs you most, maybe the shadowy counter or the harsh overhead. Add dimmers, layer warmth and let daylight in where you can. I have seen how small changes like these can completely shift the way a space feels. Save this guide on Pinterest, try one upgrade this weekend, and tell me which glow you love most. Then watch how the whole room starts working better around you. Small light, big difference.