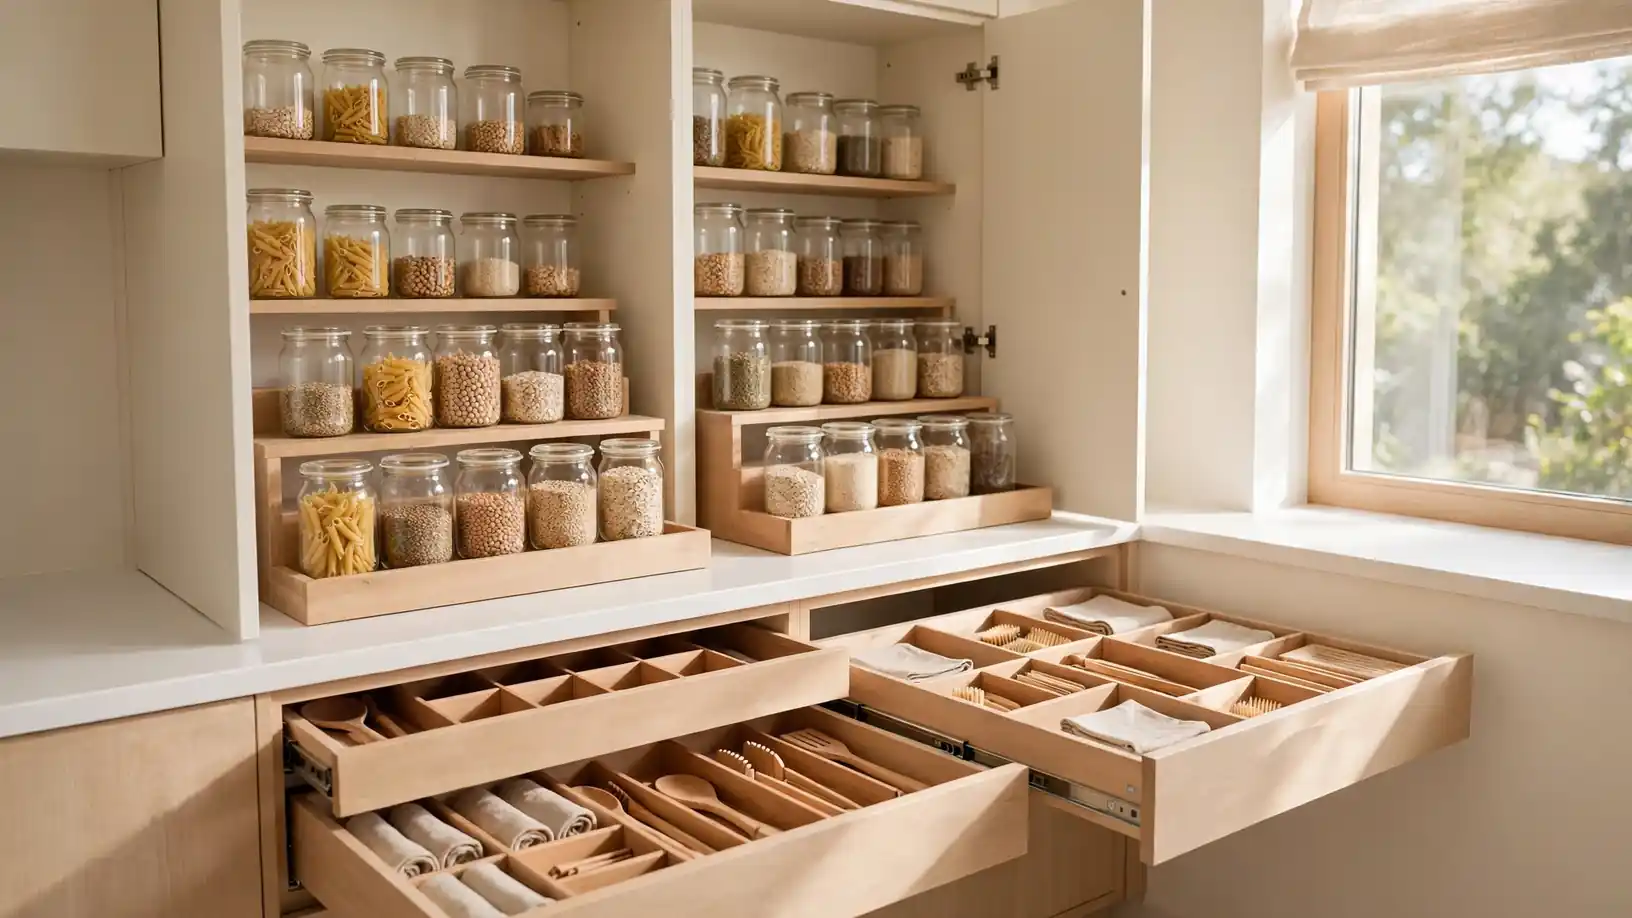
25 Small Kitchen Cabinet Organization Ideas to Maximize Space
Crammed cabinets turn cooking into a treasure hunt, but small kitchen cabinet organization ideas change everything fast. These clever tricks double your storage without any remodel or big spending. From tiered risers to door racks, each idea below makes every inch count. You will find affordable fixes, smart layouts, and simple habits that keep pots, pans, and pantry goods easy to grab.
This guide covers 25 proven organizers and layout tricks that work in the tiniest kitchens. Pick one cabinet this weekend and test a single idea before overhauling everything. Small wins build fast, and a tidy cabinet makes daily cooking calmer. If your pantry needs love too, these small pantry organization ideas pair beautifully with the cabinet fixes below.
Tiered Shelf Risers
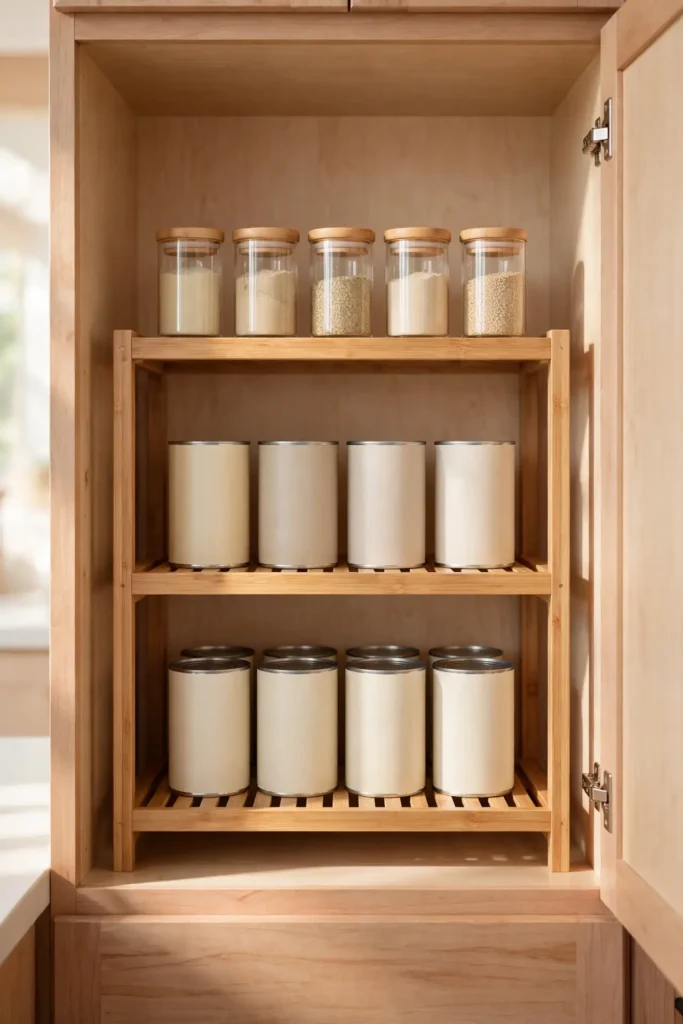
Canned goods vanish behind front rows in deep cabinets, but tiered risers fix that in seconds. These stepped platforms lift every can and jar into clear view so nothing hides in back. Metal and bamboo versions fit most standard shelves and wipe clean easily. Three tiers usually beat two in taller cabinets, giving short items the same visibility as tall ones.
Slide a riser onto the shelf, load the tallest items in back, and shortest up front. Group by category so soups sit with soups and beans with beans. In my experience, this single change cuts cooking prep time because you grab instead of search. Start with one cabinet first, then expand once you see the difference.
Lazy Susan Turntables
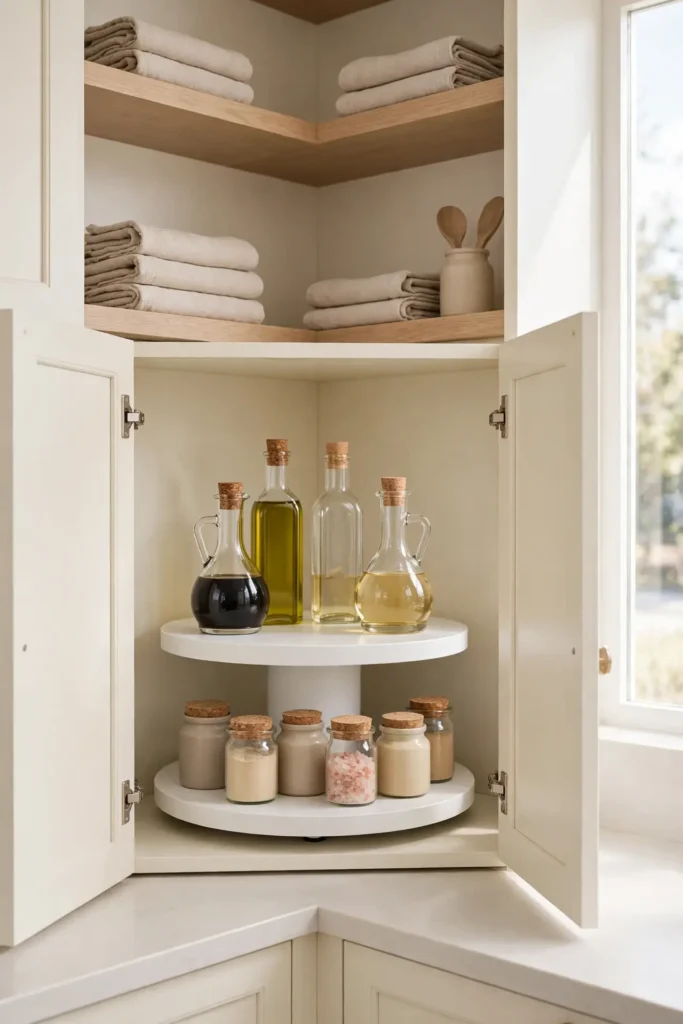
- Place a turntable in corner cabinets where items drift out of reach, and spin to find anything instantly.
- Choose a two-tier model for deep shelves so oils sit above vinegars without stacking.
- Add a small non-slip mat under the turntable to stop sliding on smooth shelf surfaces.
- Group cooking oils, sauces, and dressings on one spinner so meal prep stays in one spot.
Corners swallow bottles whole, yet one spin brings everything back into view. I have watched this trick rescue the darkest cabinet corners in rental kitchens. Pick a diameter that leaves finger room around the edges so it turns freely. Wipe the surface monthly and it will spin smoothly for years.
Pull Out Drawers
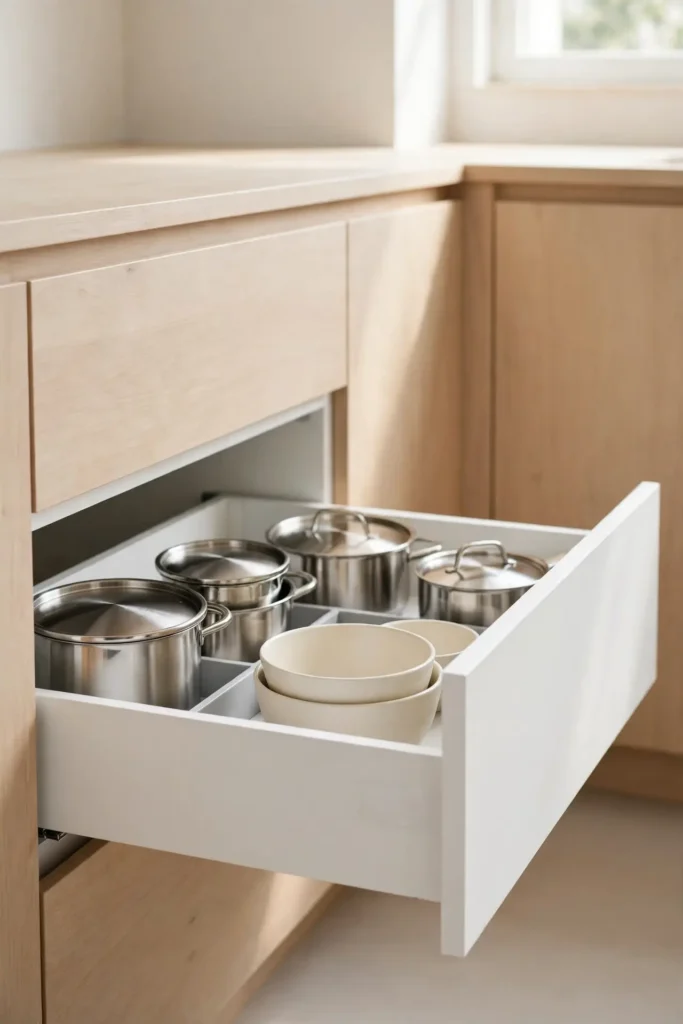
Quick Tip: Measure your cabinet opening before ordering pull out drawers, since sizes vary by manufacturer. Most models install with just a drill and a level in under thirty minutes. Choose full-extension slides so the drawer reaches every inch of depth. Line the drawer bottom with non-slip shelf liner so pots never slide around.
Deep lower cabinets hide pots in dark back corners where nobody reaches. Pull out drawers roll the whole shelf into the light with one smooth tug. Heavy pots, small appliances, and mixing bowls all become easy to grab. In my experience, this upgrade pays for itself in saved frustration within weeks. Start with the cabinet you open most each day. Renters can use no-drill versions that grip the shelf edges.
Door Mounted Racks
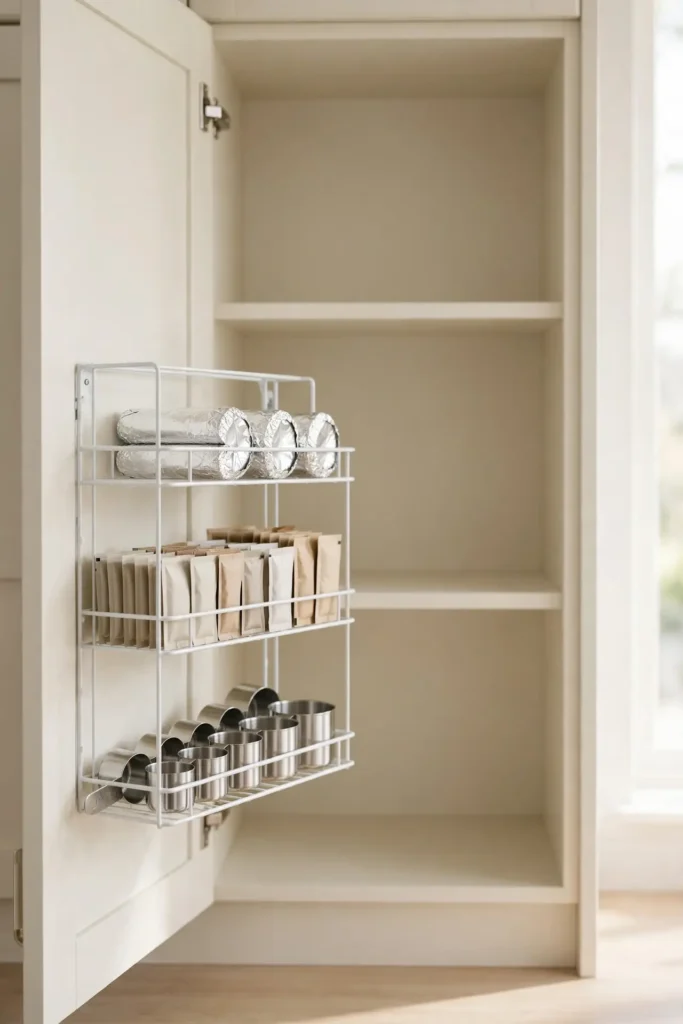
BEFORE: Cabinet doors stand empty while shelves overflow with wraps, spices, and small packets. Foil boxes slide around and lids scatter every time you reach inside. The door interior goes completely unused, which wastes prime real estate in a small kitchen.
AFTER: Slim racks mounted inside each door hold foil, wraps, spice packets, and measuring cups. Everything has a visible home, and shelves below stay clear for bigger items. Opening the cabinet feels calm instead of chaotic, since small things finally stay put.
Pick racks no deeper than two inches so doors still close fully. Command style adhesive hooks work for renters who cannot drill. I have seen this trick rescue the darkest cabinet corners in tiny galley kitchens. Load heavy items low on the door to protect hinges.
Stackable Can Organizers
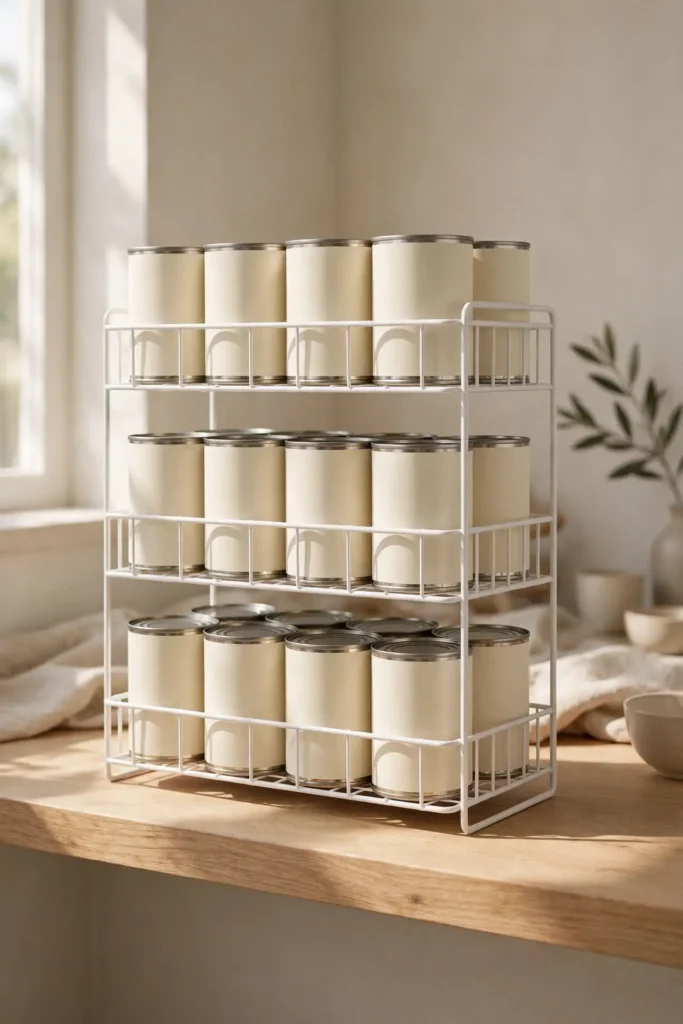
- Empty one shelf completely and wipe it down so cans sit on a clean surface.
- Sort cans by type, placing everyday soups and beans at the front of each stack.
- Load the organizer from the back so new cans roll forward and old ones get used first.
- Label the front edge with a small tag so everyone in the house knows where things live.
- Wipe the holder monthly so grease never builds up in the slots.
Stackable can organizers turn a jumbled shelf into a tiny grocery store display. Gravity does the sorting work as cans roll forward automatically. I have noticed families waste less food once expiry dates stay visible. One organizer usually holds ten to twelve standard cans in a single row.
Clear Storage Bins
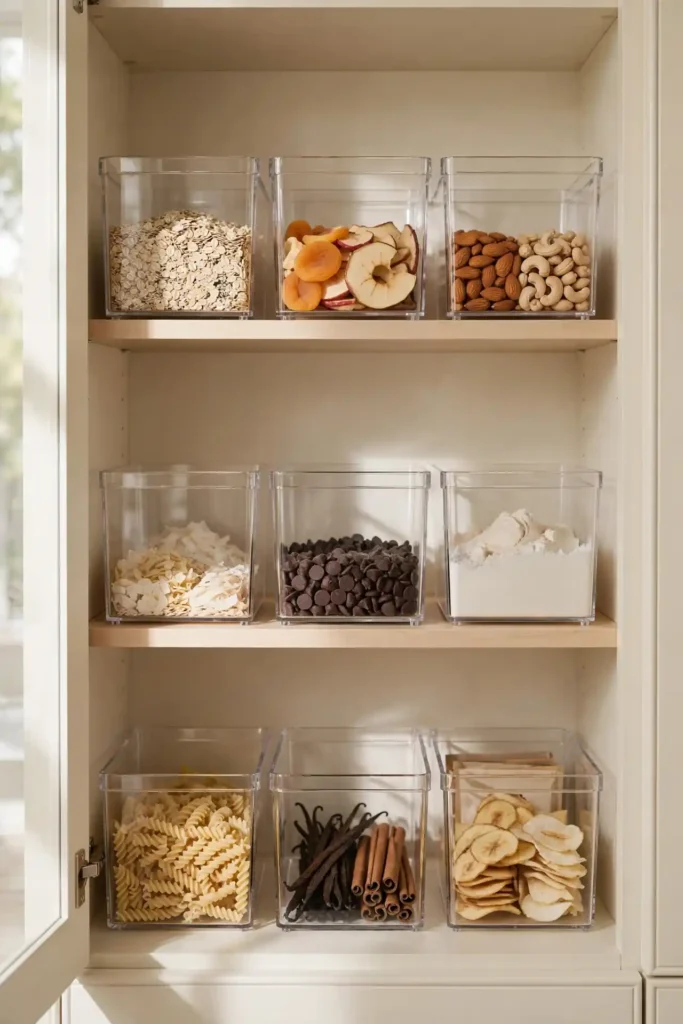
| Bin Type | Best Use |
| Open-front bins | Daily snacks and seasoning packets |
| Lidded bins | Baking supplies and backup stock |
| Divided bins | Tea bags and small spice refills |
| Stackable deep bins | Tall bottles and spray cleaners |
| Narrow bins | Slim gaps between appliances |
| Turntable bins | Corner cabinets and deep shelves |
Clear bins turn dark cabinets into see-through storage where everything stays visible. Pull one bin out like a drawer instead of reaching past clutter. I have seen this work well in many cases, especially in deep pantry cabinets. Choose BPA-free plastic or acrylic, and measure first so bins fit snugly. Label each bin with a small tag so the whole family keeps the system going.
Under Shelf Baskets
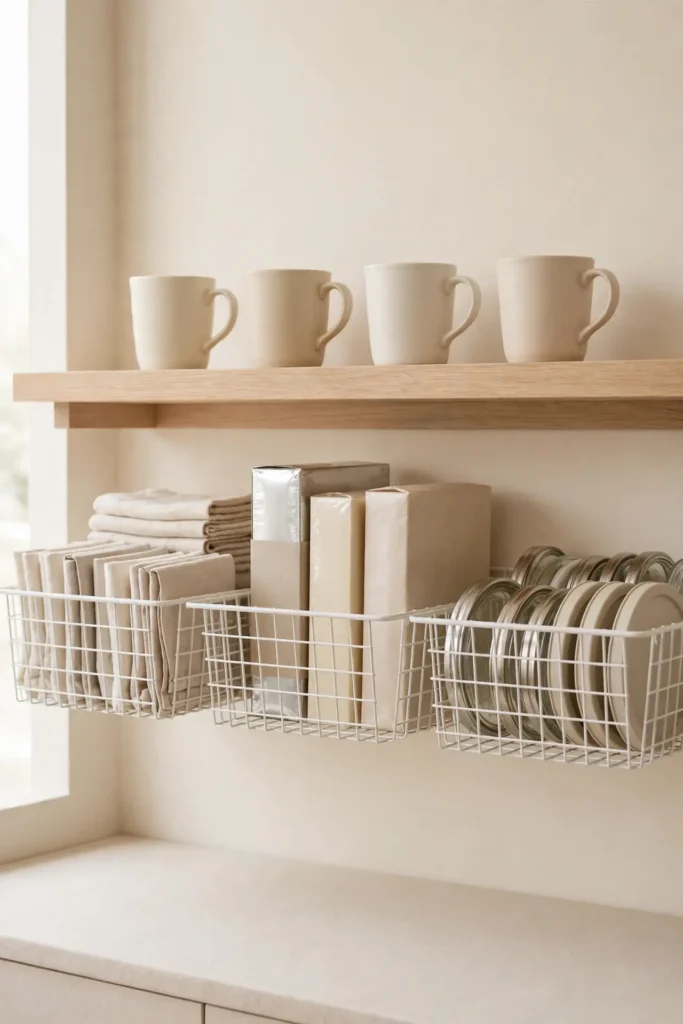
DO:
- Do slide wire baskets under existing shelves to create instant extra storage.
- Do store lightweight items like wraps, lids, and napkins in these baskets.
- Do use them in upper cabinets where mugs and glasses crowd the main shelf.
DON’T:
- Do not overload baskets with heavy cans that can bend the wire arms.
- Do not block the shelf below so items underneath stay easy to reach.
- Do not forget to leave finger space for sliding items in and out.
Under shelf baskets claim the dead air beneath every shelf and hook on with no tools. Renters love this trick because it leaves zero marks behind. Keep loads light and balanced so the baskets never sag.
Spice Drawer Inserts
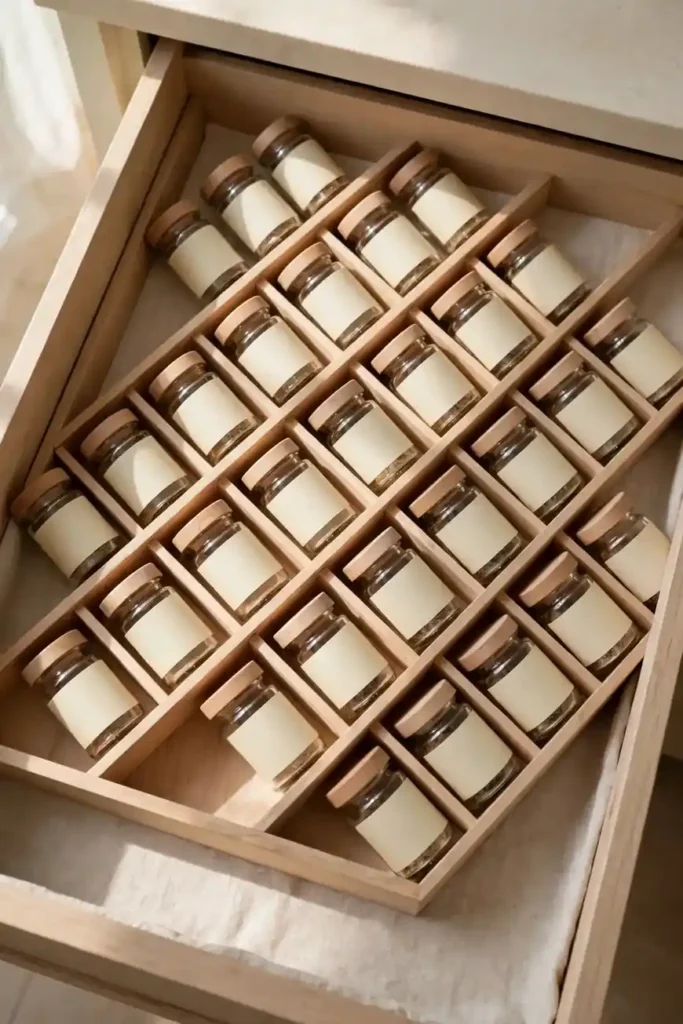
Cost: Low, about fifteen dollars per drawer. Time: One afternoon to sort and arrange. Skill Level: Beginner, no tools needed. Best For: Cooks who reach for spices daily. Works In: Any standard kitchen drawer near the stove.
Spice drawers beat spice cabinets because you see every label at once. Angled inserts tilt jars so names face up toward you. Alphabetize or group by cuisine, whichever matches how you cook. I have seen this work well in many cases, turning frantic searches into one smooth glance. Decant into matching jars for a uniform look that photographs beautifully. Keep everyday spices in front and rare blends toward the back.
Plate File Dividers
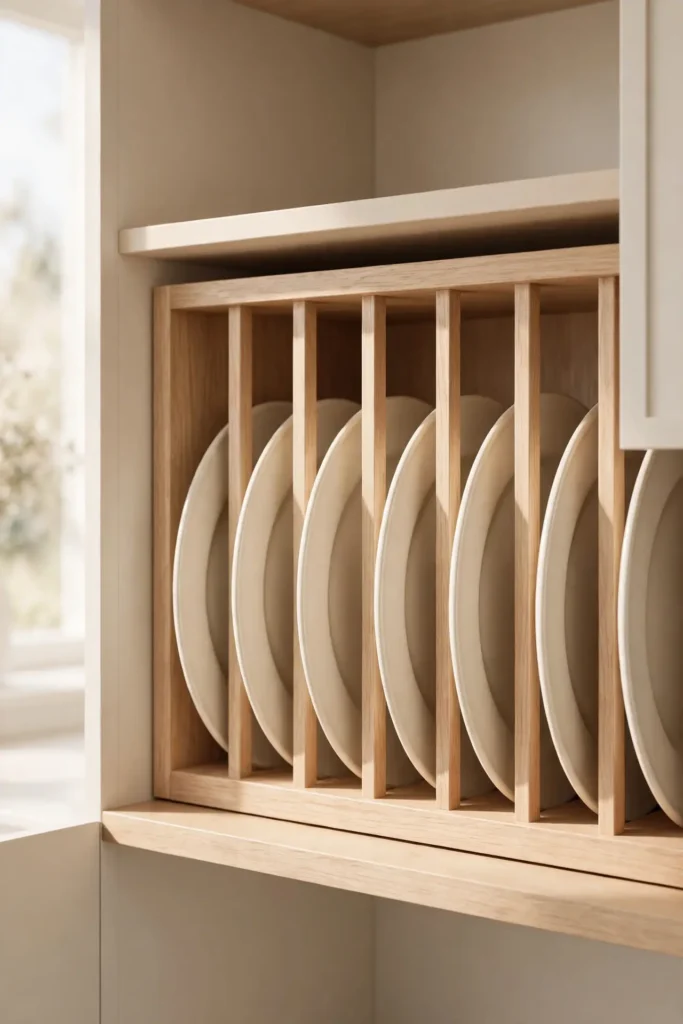
Stacked plates chip and grow heavy fast, yet vertical filing solves both problems. Plate dividers stand dishes upright like files so you slide one out without lifting the stack. No more unstacking six plates to reach the salad size. Wire and wood versions fit most cabinet depths.
Sort by size with dinner plates at one end and salad plates at the other. Leave a finger gap between each so plates never wedge tight. In my experience, this method also protects delicate rims from chipping. Guests notice the neat rows when you set the table together. Bowls file just as neatly between adjustable dividers.
Vertical Tray Storage
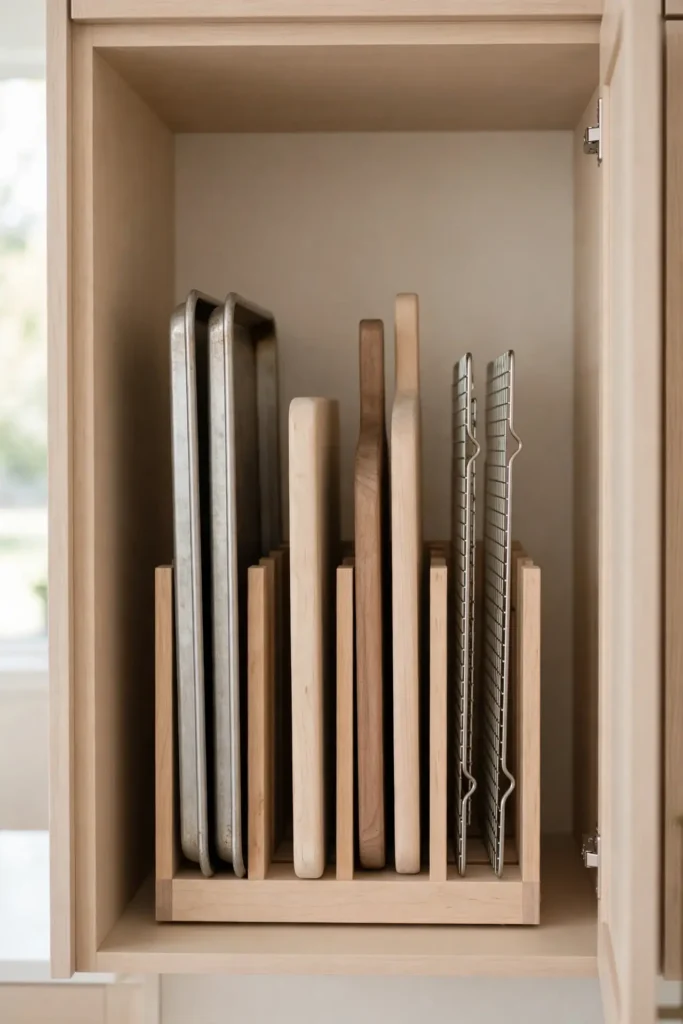
- Stand baking sheets, cutting boards, and trays upright in a narrow vertical organizer.
- Place the organizer near the oven so sheet pans stay within arm’s reach while baking.
- Choose adjustable dividers to fit everything from thin cookie sheets to thick cutting boards.
- File muffin tins and cooling racks vertically too, since they stack awkwardly flat.
- Label the front of each slot if multiple bakers share the kitchen space.
Flat stacks of trays avalanche the moment you pull the bottom one. Vertical filing ends that chaos completely. I have watched bakers reclaim entire shelves with this single change. Slide each tray into its own slot and grabbing becomes silent and smooth.
Tension Rod Dividers
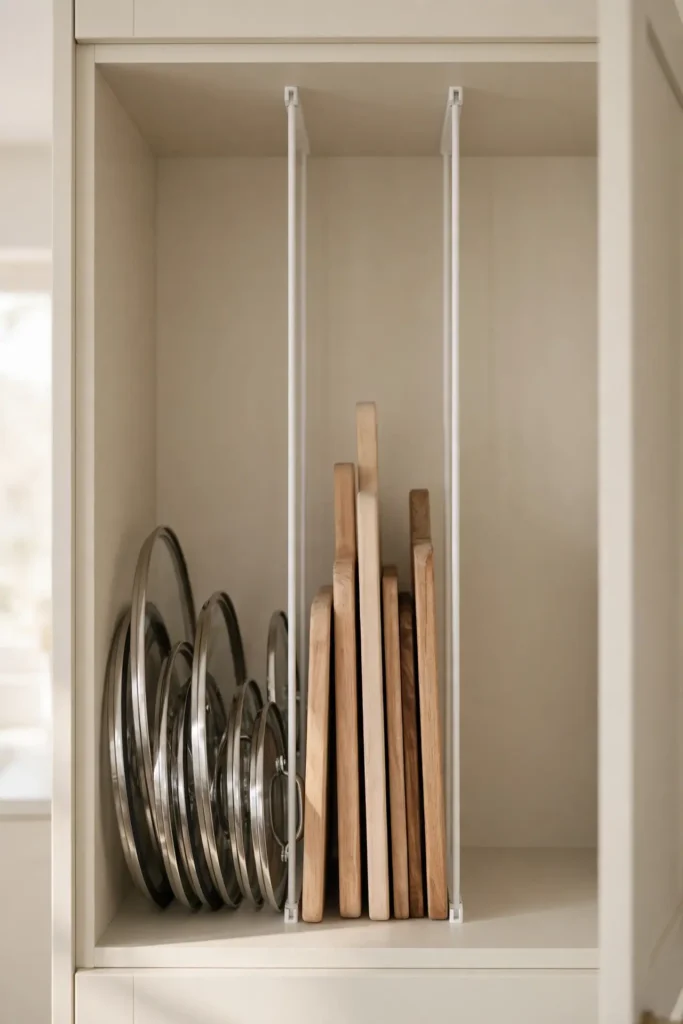
Quick Tip: Buy spring-loaded tension rods in the shortest length that fits your cabinet width. Twist to expand until both ends press firmly against the walls. Test the grip with a gentle tug before loading anything between the rods. Use two rods per divider for extra stability with heavier items.
Tension rods create instant dividers for lids, trays, and cutting boards with zero drilling. Wedge two rods vertically to form slots that hold items upright. They cost just a few dollars and move in seconds when layouts change. I have seen this work well in many cases, especially in rental kitchens. Keep rods snug so nothing slips. Replace rods yearly if the spring tension weakens over time.
Over Door Organizers
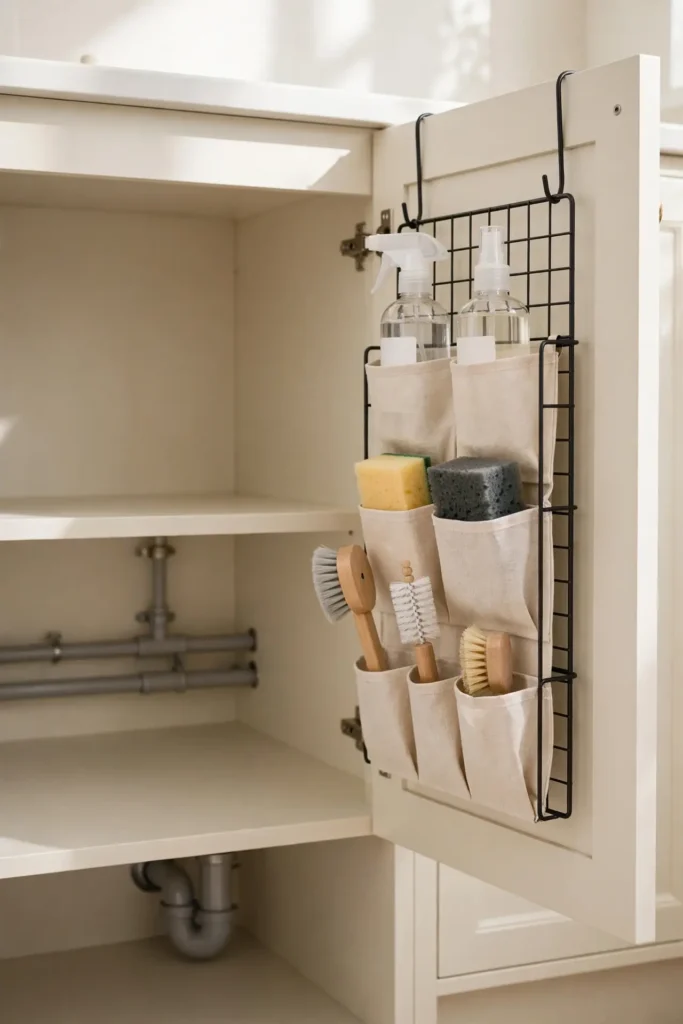
BEFORE: Cabinet doors stand empty while shelves overflow with wraps, spices, and small packets. Foil boxes slide around and lids scatter every time you reach inside. The door interior goes completely unused, which wastes prime real estate in a small kitchen.
AFTER: Slim racks mounted inside each door hold foil, wraps, spice packets, and measuring cups. Everything has a visible home, and shelves below stay clear for bigger items. Opening the cabinet feels calm instead of chaotic, since small things finally stay put.
Measure the door and cabinet frame gap before buying so it hangs flat. Most organizers hook over the top with no screws needed. I have noticed this trick doubles under-sink storage in minutes. Keep heavier bottles on lower hooks to protect the door.
Pot Lid Holders
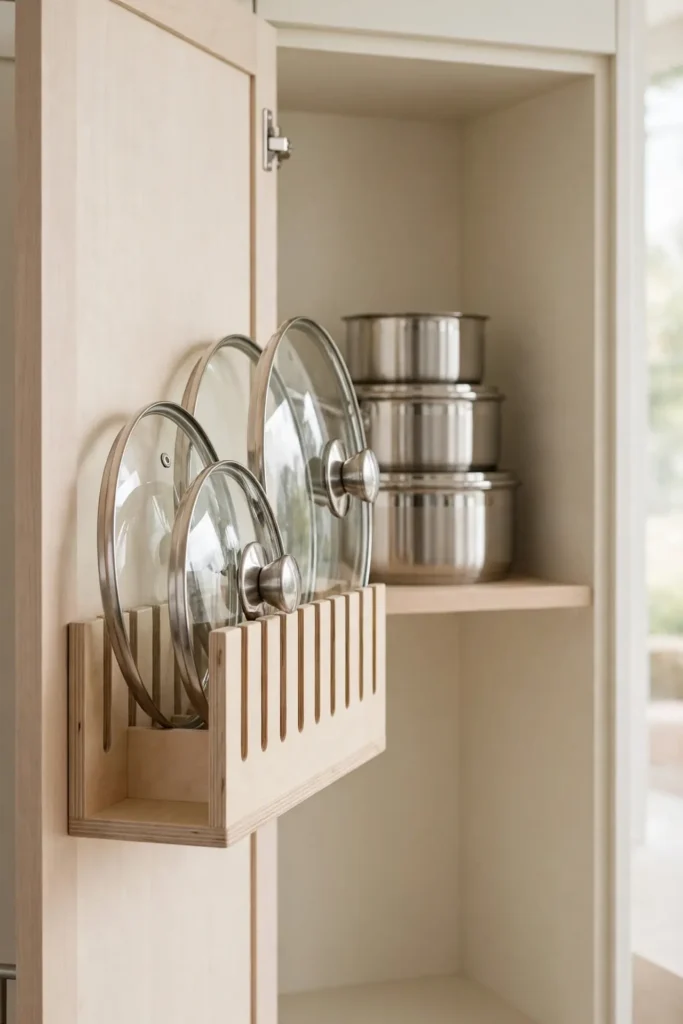
- Mount a lid holder on the cabinet door or inside wall where lids stay within reach.
- Sort lids by size, sliding the largest into the back slots first.
- Leave small gaps between lids so each one lifts out without scraping.
- Test every lid in its slot before finalizing the holder position.
- Wipe the holder monthly so grease never builds up in the slots.
Loose lids clatter and slide every time you open the cabinet. Dedicated holders end the noise and the mess in one move. I have watched this trick rescue the darkest cabinet corners in busy family kitchens. Your pots stack neatly once lids live elsewhere.
Lazy Corner Solutions
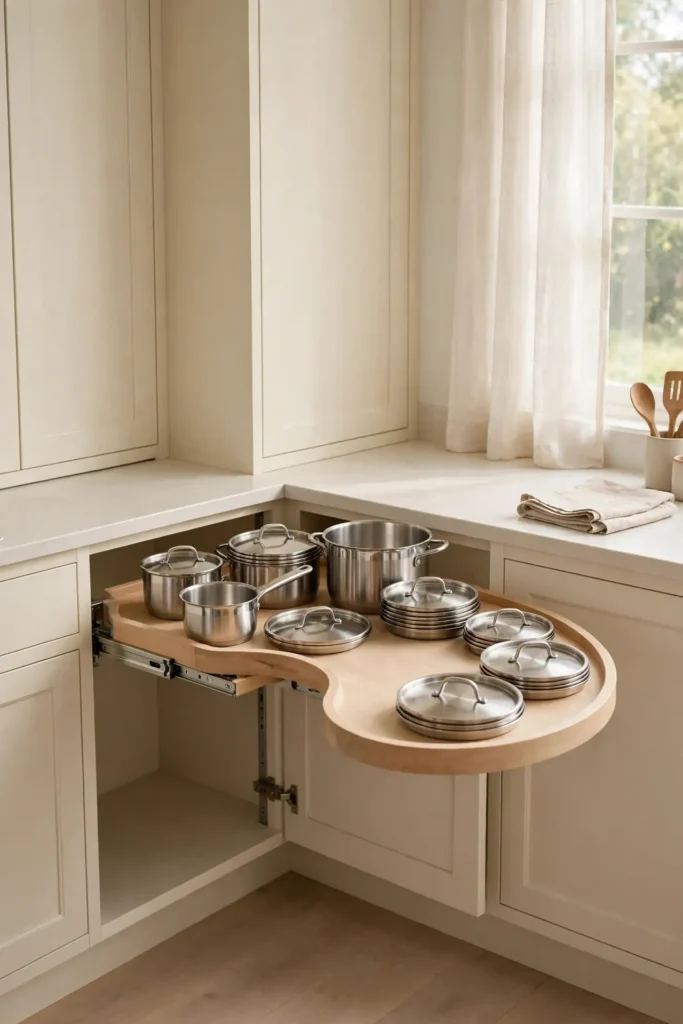
| Corner Fix | Best Use |
| Kidney-shaped pull out | Deep blind corners with pots |
| Half-moon revolving shelf | Corner cabinets with mixed items |
| Diagonal drawer inserts | Angled corner drawer bases |
| Swing-out corner caddy | Heavy small appliances in corners |
| Lazy Susan corner tray | Round spinning access in square corners |
| Pull-out corner basket | Wire baskets for cleaning supplies |
Blind corners swallow items into unreachable darkness. Purpose-built pull outs swing the whole corner into the light. I have seen this work well in many cases, especially in older kitchens with deep corners. Measure carefully since corner hardware comes in fixed sizes. Install once and the dead zone disappears for good.
Under Sink Caddies
DO:
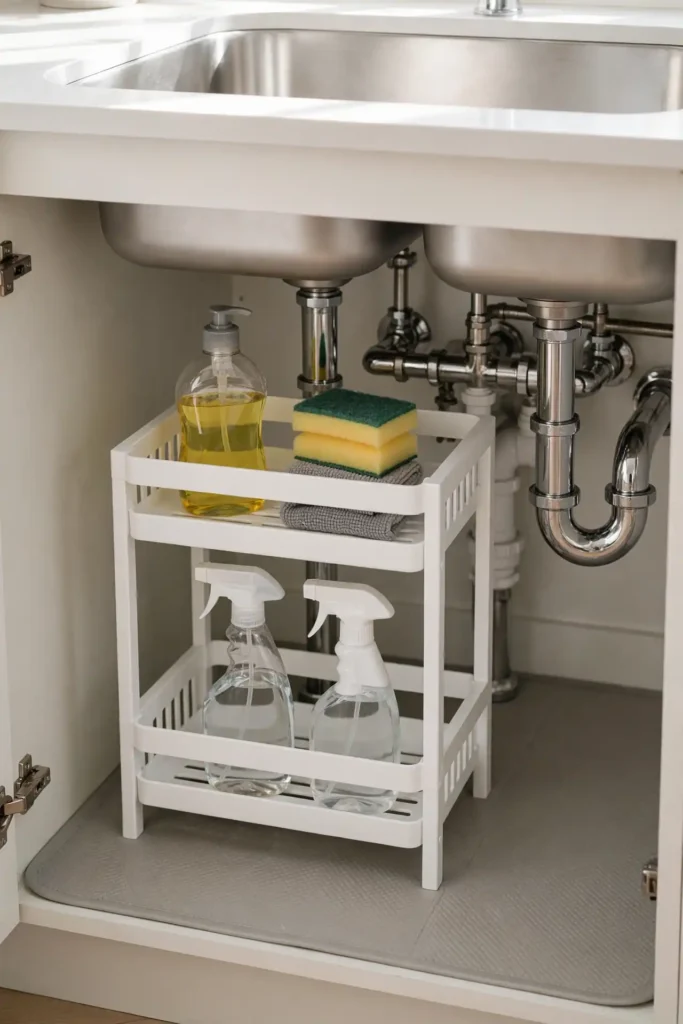
- Do choose a two-tier caddy that fits around pipes without wasting space.
- Do store dish soap, sponges, and brushes together in one portable caddy.
- Do pick rust-proof materials since under-sink areas stay damp.
DON’T:
- Do not cram the caddy so full that bottles tip when you pull it out.
- Do not store anything directly on the cabinet floor where leaks pool.
- Do not forget a waterproof mat underneath to catch drips and spills.
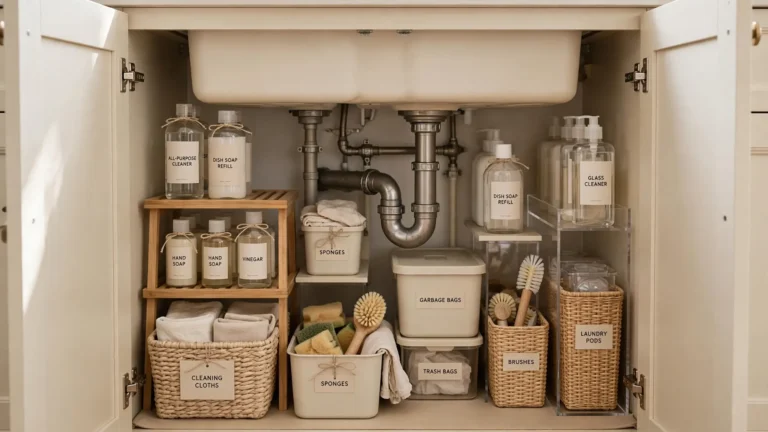
Under-sink cabinets hide pipes that steal most of the space. A slim caddy works around them and pulls out for easy access. I have noticed this trick doubles under-sink storage in minutes. Lift the whole caddy out to clean underneath monthly.
Magnetic Spice Jars
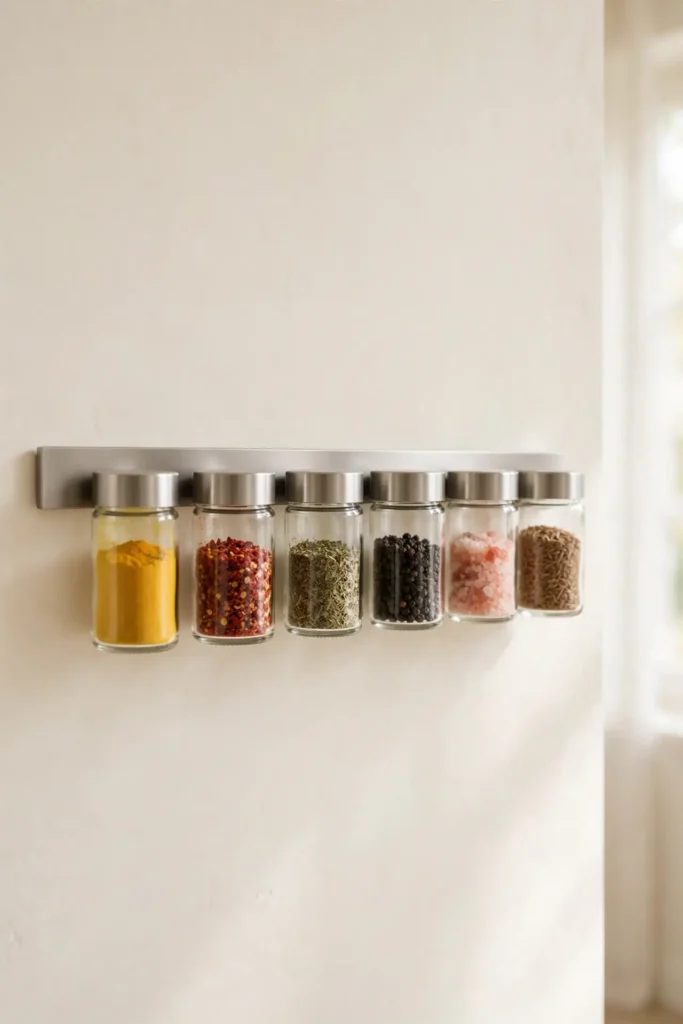
Cost: Low, about twenty dollars for twelve jars. Time: One afternoon to fill and mount. Skill Level: Beginner, simple peel-and-stick strips. Best For: Small kitchens with zero spare shelf space. Works In: Rentals, since strips remove without damage.
Magnetic jars stick to the fridge or a metal strip, freeing cabinet shelves entirely. Spices stay visible and within reach while cooking. I have seen this work well in many cases, especially in galley kitchens. Fill jars with a small funnel to avoid spills. Label the lids so you grab the right spice fast. Keep everyday blends at eye level and rare spices higher up.
Slide Out Shelves
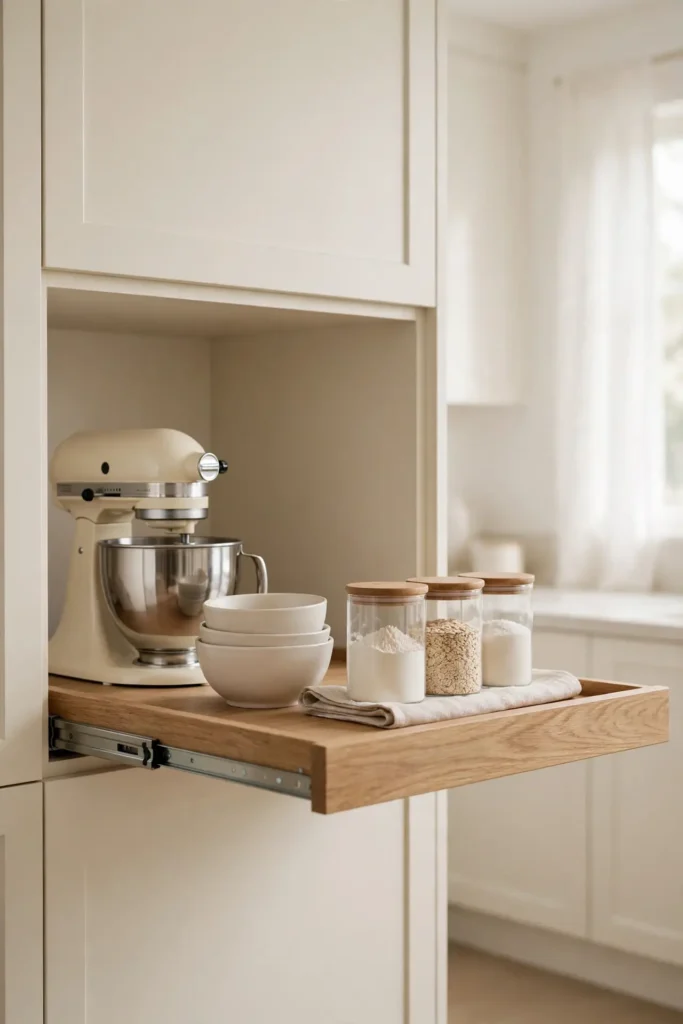
Fixed shelves force you to kneel and reach into dark cabinet depths. Slide out shelves glide forward on smooth rollers, bringing every item into daylight. Pots, appliances, and pantry goods all ride out together. Installation takes basic tools and about twenty minutes per shelf. No more forgotten appliances gathering dust in the back corners.
Measure twice so the shelf clears the door frame when extended. Full-extension glides reach further than partial ones, so choose those for deep cabinets. In my experience, this upgrade pays for itself in saved frustration within weeks. Your back will thank you every single day. Start with the cabinet you open most each day.
Cabinet Door Hooks
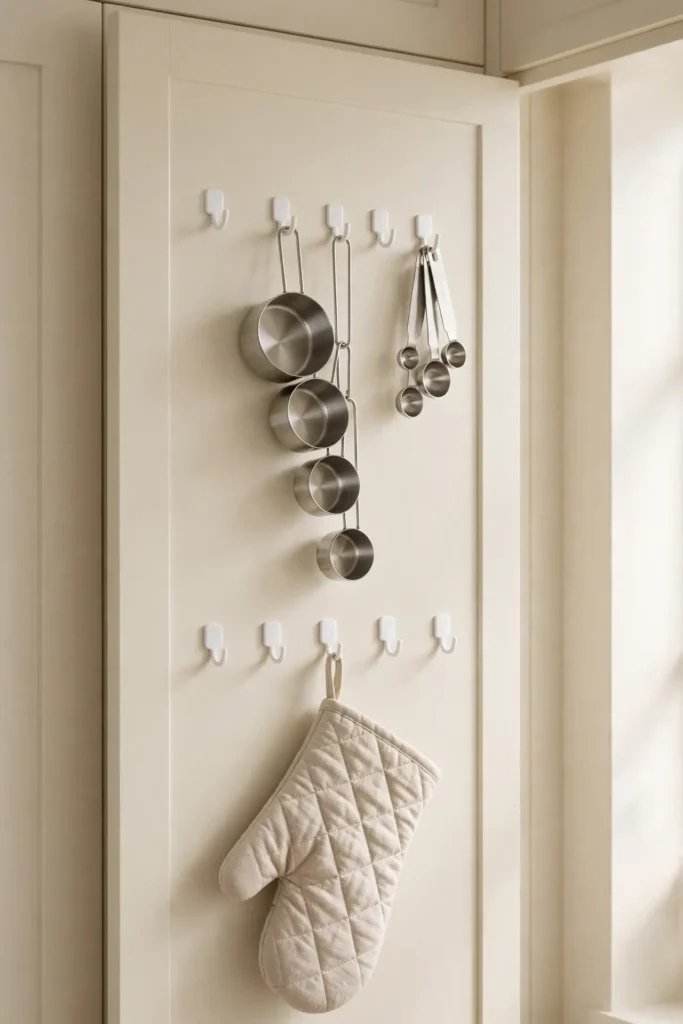
- Stick adhesive hooks inside cabinet doors to hang measuring cups and spoons.
- Hang oven mitts on the inside of the door nearest the stove for quick grabs.
- Use small hooks for aprons and reusable grocery bags to free shelf space.
- Space hooks evenly so items never overlap or tangle together.
- Choose hooks rated for at least one pound so they grip through steam and heat.
Door interiors offer hidden hanging space most kitchens ignore completely. Adhesive hooks install in seconds and remove without damage. I have noticed renters love this trick because it leaves zero marks. Hang only lightweight items so hooks hold strong for years.
Labeled Storage Jars
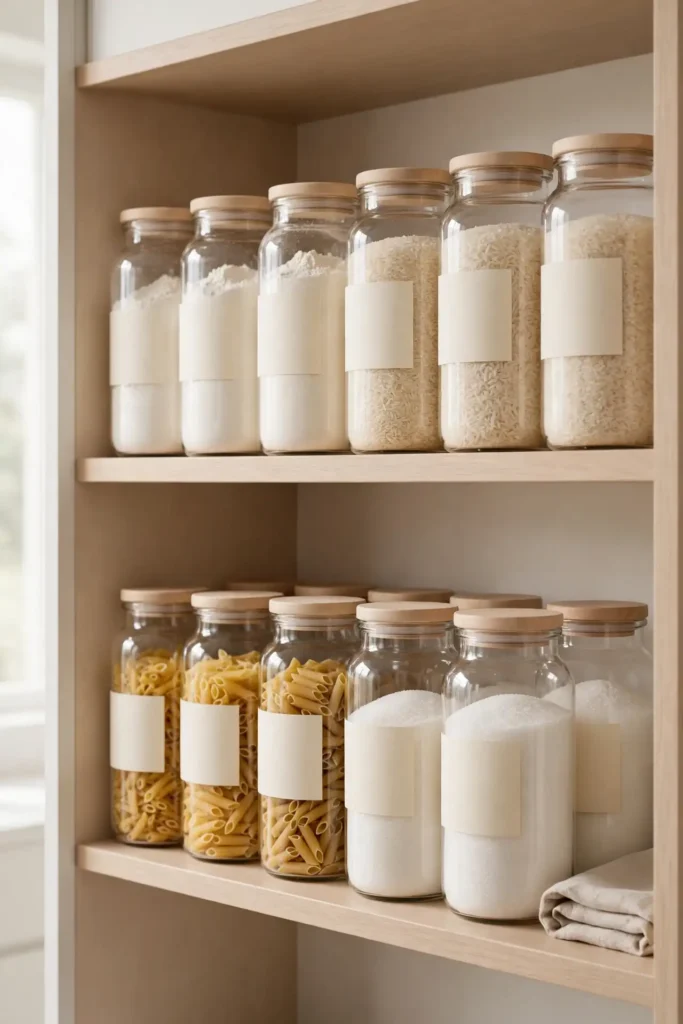
Quick Tip: Decant flour, sugar, rice, and pasta into matching glass jars with airtight lids. Add simple labels with a chalk marker so you can update names anytime. Uniform jars look tidy and keep staples fresher much longer. Measure your shelf height first so tall jars fit under the next shelf.
Mismatched boxes and bags create visual chaos inside every cabinet. Matching jars bring instant calm and make inventory obvious at a glance. I have seen this work well in many cases, especially in open shelving kitchens. Buy jars in one size family so they stack and line up neatly. Square jars waste less space than round ones in tight cabinets.
Narrow Gap Carts
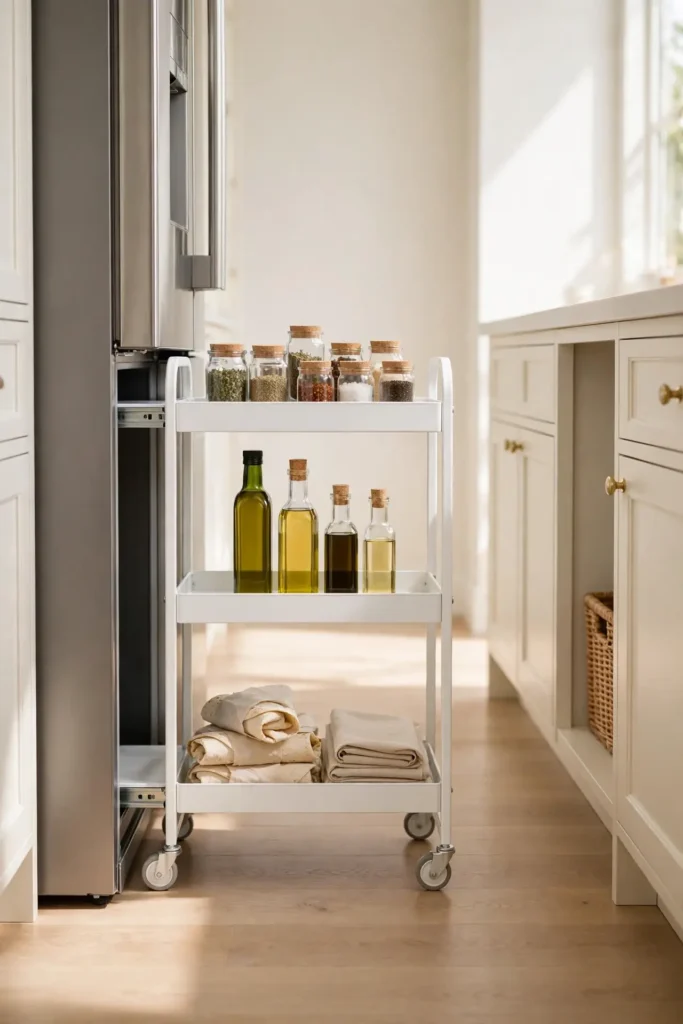
BEFORE: The slim gap between the fridge and cabinets collects dust and nothing else. That wasted strip could hold spices, oils, and canned goods. Most kitchens have at least one such gap hiding in plain sight. It stays empty because nothing seems to fit there.
AFTER: A narrow rolling cart slides into the gap with three tiers of storage. Spices, oils, and wraps ride out smoothly on wheels. You pull the handle and everything appears at once. The dead space now works as hard as any cabinet.
Measure the gap width before ordering since carts come in fixed sizes. Most need just four to six inches of clearance. I have seen this trick rescue the darkest cabinet corners in tiny apartments. Lock the wheels so the cart never drifts.
Adjustable Shelf Pegs
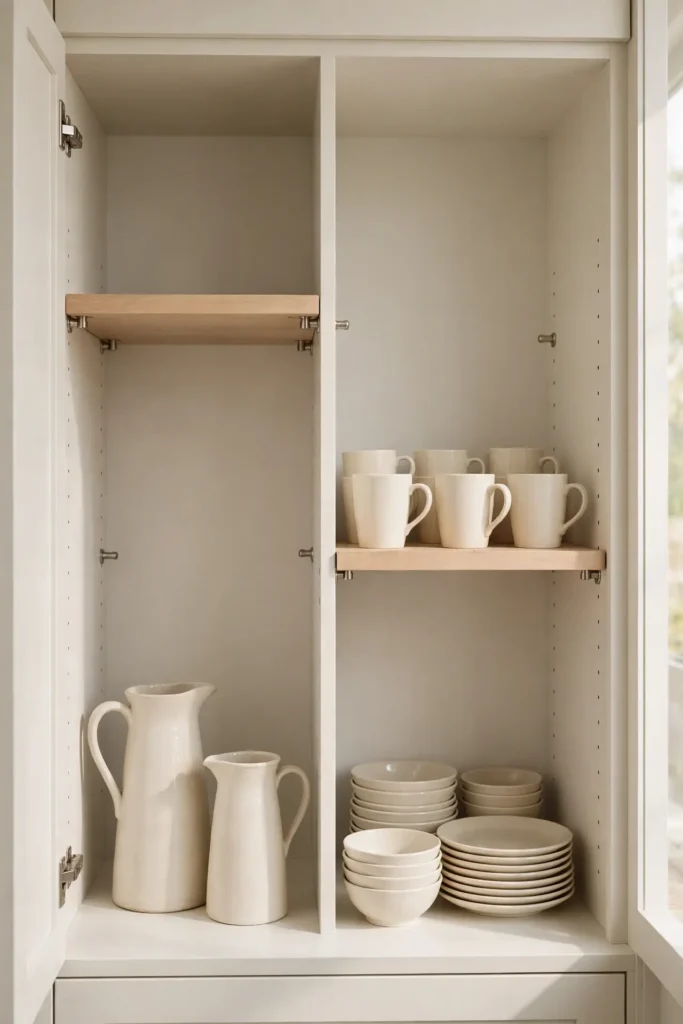
- Pull everything off one shelf and note which items never fit comfortably.
- Move the pegs to create a tall zone for pitchers and a short zone for mugs.
- Test the new heights with your tallest items before reloading the shelf.
- Reload by frequency, keeping daily dishes at the easiest height.
- Wipe the shelf and pegs while empty so everything starts fresh and clean.
Fixed shelf heights waste vertical space above short items. Adjustable pegs let you reclaim every inch in minutes. I have noticed this trick doubles usable shelf space in older cabinets. No new hardware needed, just a few minutes of rearranging.
Bakeware Vertical Racks
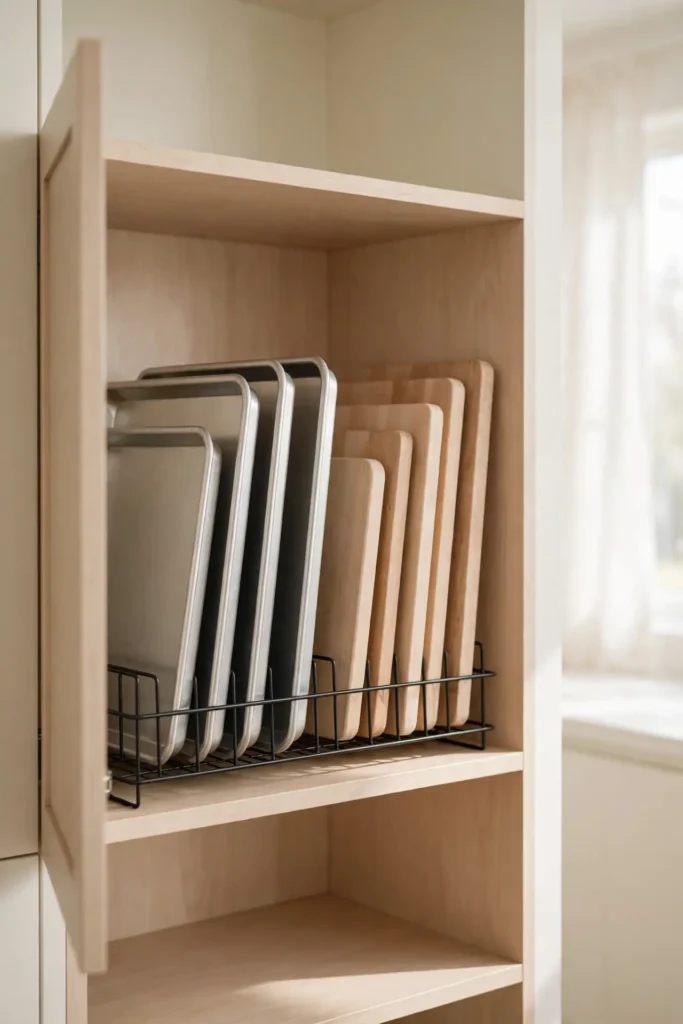
| Rack Style | Best Use |
| Wire vertical rack | Cookie sheets and cutting boards |
| Wooden plate rack | Ceramic platters and serving trays |
| Adjustable dividers | Mixed bakeware of varying thickness |
| Cabinet door rack | Lightweight trays on door interiors |
| Under-shelf rack | Muffin tins beneath existing shelves |
| Pull-out bakeware organizer | Deep lower cabinets near the oven |
Baking sheets stacked flat become a noisy avalanche with every use. Vertical racks file them like records for silent, easy access. I have seen this work well in many cases, especially with heavy stoneware. Choose rust-proof wire or sealed wood for steamy kitchens. Slide each piece into its own slot after every wash.
Pull Down Shelves
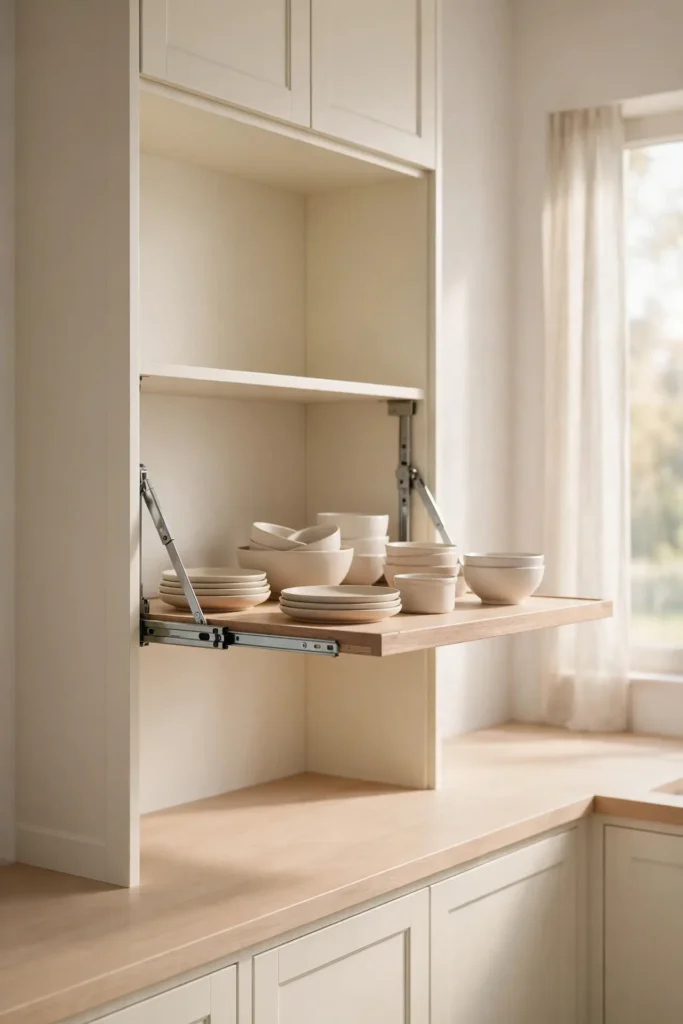
DO:
- Do install pull down shelves in upper cabinets that sit beyond comfortable reach.
- Do load everyday dishes on the moving shelf so it earns its keep daily.
- Do check the weight rating before placing heavy appliances on the mechanism.
DON’T:
- Do not force the shelf if it sticks, since forcing bends the arms.
- Do not mount the unit on weak cabinet sides without reinforcement.
- Do not overload one side, which strains the mechanism unevenly.
High upper cabinets become dead zones for shorter cooks. Pull down shelves bring the contents to you with a gentle tug. I have seen this work well in many cases, especially in kitchens with tall ceilings. Installation takes about an hour with basic tools.
Trash Bag Dispensers
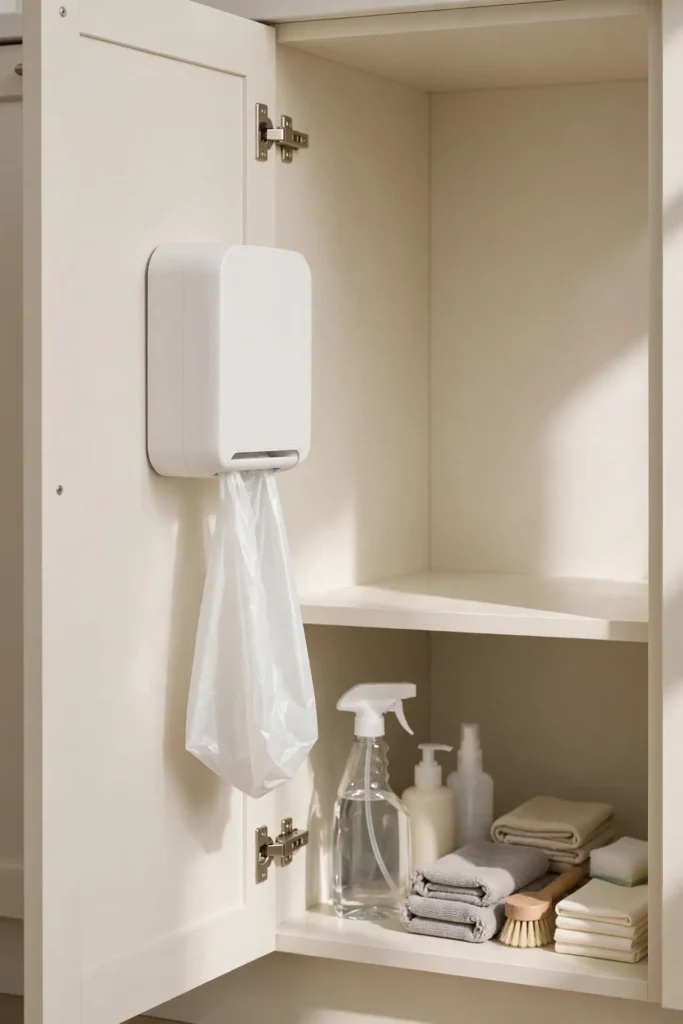
Cost: Very low, under ten dollars. Time: Fifteen minutes to mount. Skill Level: Beginner, adhesive or screws. Best For: Kitchens where bags always unravel. Works In: Any cabinet door or side wall near the bin.
Trash bag rolls unravel into messy piles under every sink. A mounted dispenser feeds one bag at a time through a neat slot. I have noticed this trick doubles under-sink tidiness in minutes. Mount it on the door or side wall where rolls stay dry. Refills take seconds when the roll runs out. Keep a spare roll behind the dispenser so you never run out mid-task.
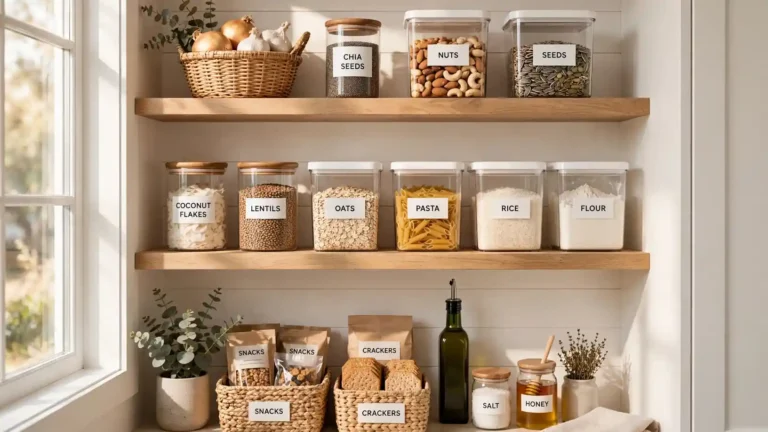
Decanted Pantry Staples
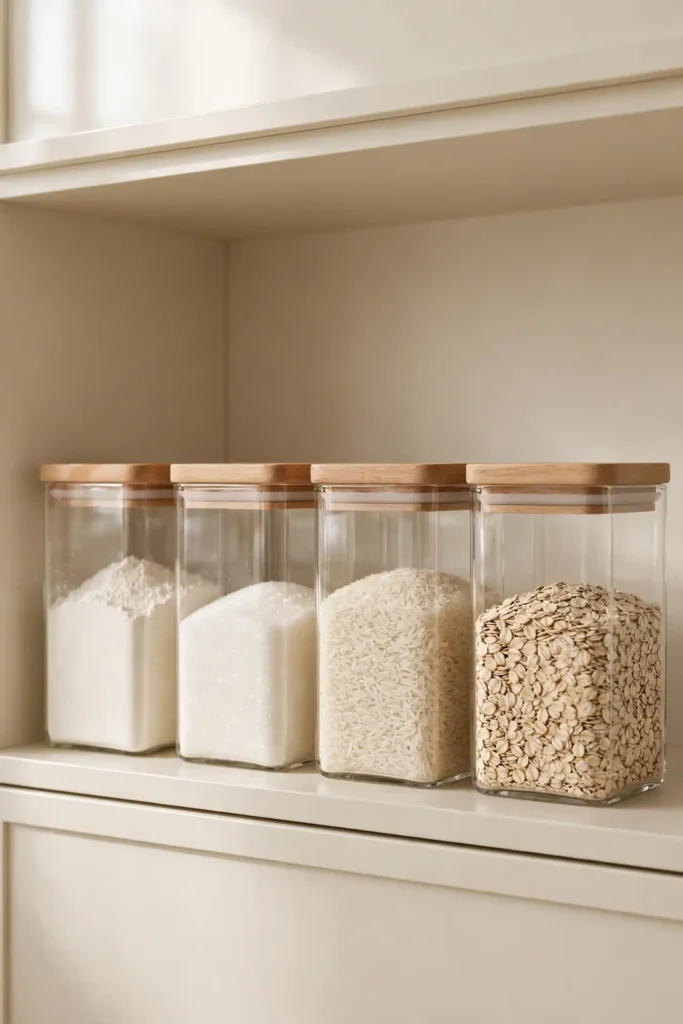
Bags of flour and sugar flop over and spill across cabinet shelves. Decanting staples into airtight containers ends the mess and keeps food fresher. Clear canisters show levels at a glance so you never run out mid-recipe. Square containers fit together with zero wasted gaps. They also stack neatly, doubling usable shelf space in one move.
Pour slowly using a wide funnel to avoid clouds of flour dust. Label each container with contents and date for easy rotation. For more dry goods inspiration, explore these kitchen counter organization ideas alongside your newly organized cabinets. In my experience, decanted staples make baking feel calmer and more joyful.
Conclusion
Small cabinets hold surprising potential once every inch works harder. Pick two or three ideas from this list and start this weekend. A single afternoon of organizing brings months of calmer cooking. These small kitchen cabinet organization ideas turn daily frustration into quiet joy, and I have seen how small changes like these can completely shift the way a space feels. Save this guide to Pinterest for your next kitchen refresh, and share your favorite trick with a friend who needs it. Even one organized cabinet changes how your whole kitchen feels each morning. Your tidy cabinets are closer than you think.
One Comment