23 Raised Garden Bed Ideas for a Thriving Backyard Harvest
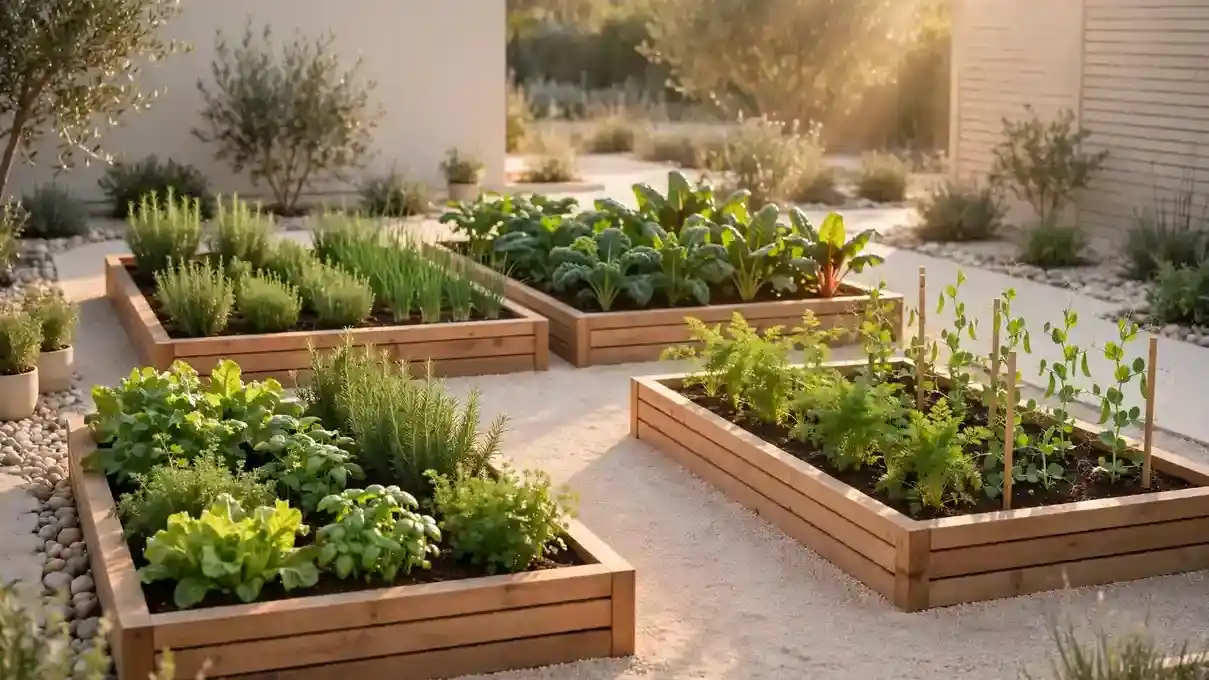
Growing your own food starts with the right foundation, and raised garden bed ideas give you exactly that. Whether you have rocky soil, a small backyard, or just want cleaner rows, a raised bed changes how your garden grows. I have watched beginners turn bare corners into lush harvests with nothing more than a simple wooden frame and good soil. These beds warm up faster in spring, drain better after rain, and keep weeds at bay. If fresh vegetables and herbs straight from your yard sound good, you are in the right place.
Below you will find 23 practical designs and smart growing tips that help you build beds lasting for years. Each idea covers materials, layouts, and watering tricks that fit real backyards and real budgets. In my experience, small choices like bed depth or soil mix decide whether plants thrive or struggle. Pick one idea that fits your space, gather your materials this weekend, and start planting. You can also browse these summer porch planter ideas to style the area around your new beds.
Cedar Box Classics
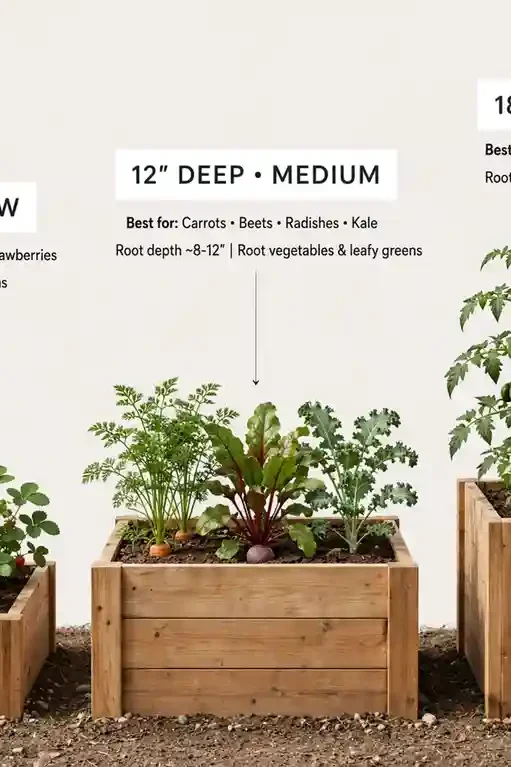
Cedar frames remain the gold standard for raised beds, and the reasons are practical. Cedar resists rot naturally, so a simple box lasts eight to ten years without chemical treatments. Boards cut to eight feet by four feet create the classic footprint, and stacking two six inch boards gives a perfect twelve inch depth for most vegetables.
Assembly takes one afternoon with basic tools. I have built several of these myself, and pre drilling the corners prevents splits in the wood. Line the bottom with landscape fabric to block weeds while letting water drain through. Fill with a mix of topsoil and compost, and you have a bed that looks tidy and grows strong plants from the very first season.
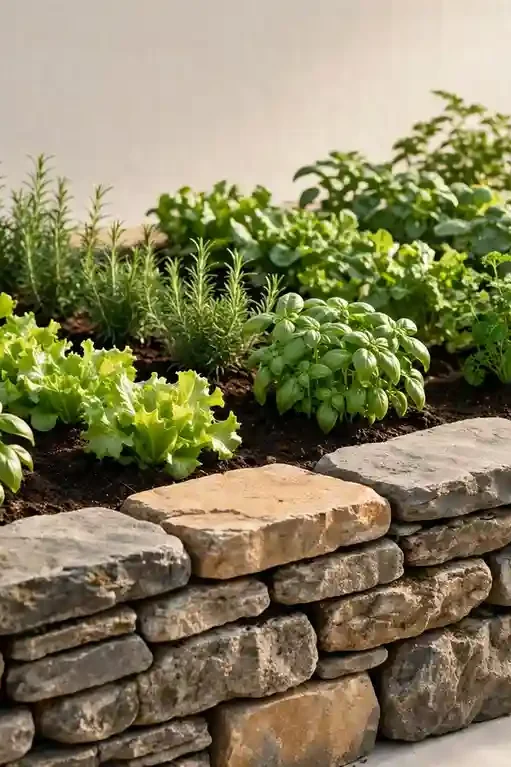
Stone Wall Beds
- Dry stacked stone walls create raised beds that look like they have stood for decades. Choose flat stones and fit them snugly so soil stays put.
- Build walls twelve to eighteen inches high for most vegetables. Taller walls work for deep rooted crops like carrots.
- Line the inside with landscape fabric before adding soil. This simple step stops soil from washing through the cracks.
- Stone absorbs heat during the day and releases it at night. I have noticed seedlings near stone walls sprout a few days earlier in spring.
Stone beds cost more labor than wood, but they last forever. They suit sloped yards and double as landscape features. With free fieldstone, this becomes a budget friendly permanent option. Take your time stacking, and the result feels rustic and refined.
Galvanized Trough Beds
Quick Tip: Drill six to eight half inch drainage holes in the bottom of any metal trough before you add soil. Without drainage, water pools at the base and roots rot within weeks. I also recommend raising the trough on bricks or a wooden frame so excess water escapes freely and air flows underneath. Check emitters monthly for clogs during the growing season.
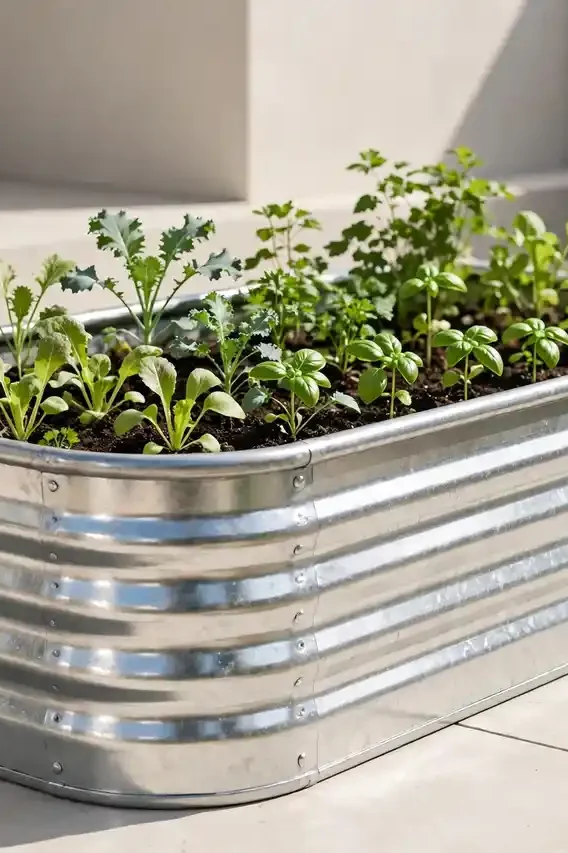
Galvanized stock tanks make instant raised beds with an industrial farmhouse look. They come in two, four, and six foot lengths, and the metal reflects heat to warm soil early. I have seen these work well in many cases for renters who want a garden they can take along. Watch soil moisture on hot afternoons, and flush the lines each spring to clear winter sediment.
Corner L Shaped
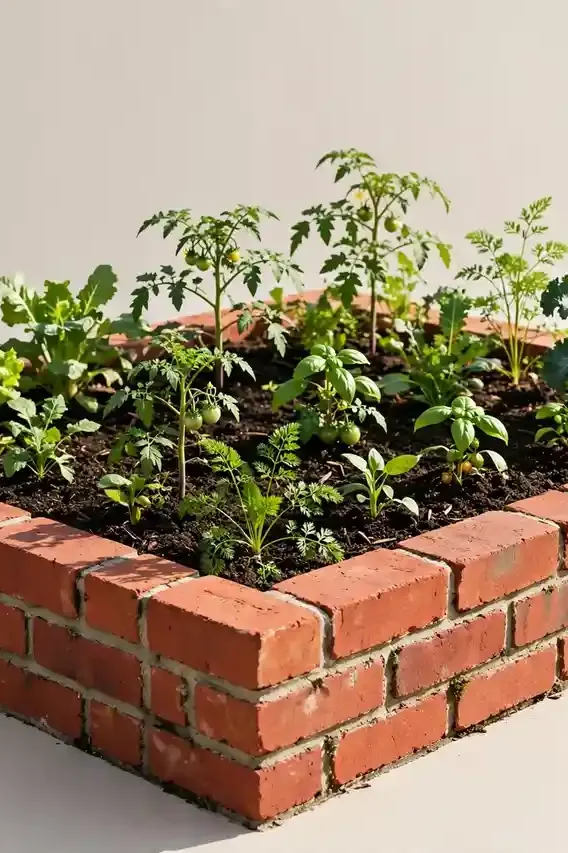
BEFORE: Corner spots in most yards sit empty and collect weeds. The awkward angle makes standard rectangular beds feel forced and wastes the space behind them.
AFTER: An L shaped raised bed hugs the corner and turns dead space into prime growing real estate. You gain two planting wings with easy reach from both sides.
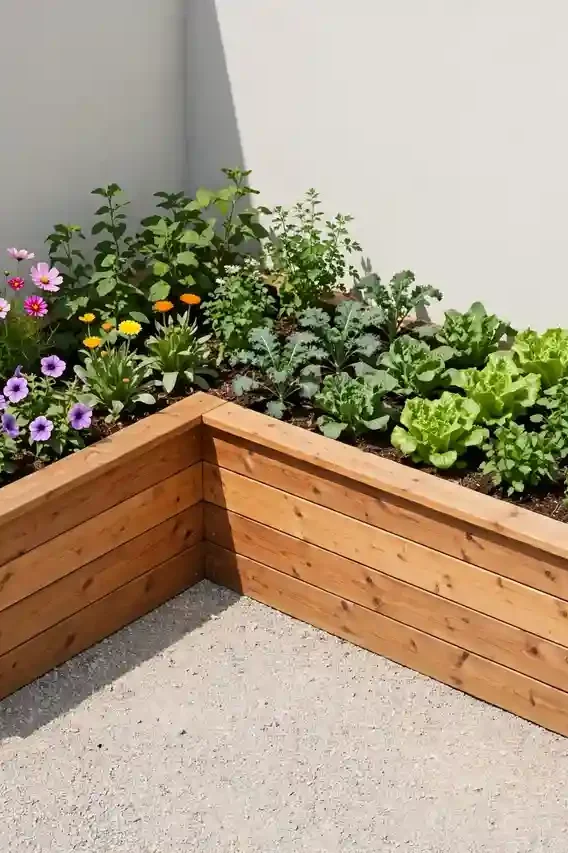
Build the L from two rectangular frames joined at a right angle, or cut boards to form one continuous shape. This layout works beautifully along fences where two boundaries meet. I have noticed corner beds get great sun exposure from multiple directions. They also create a natural frame that makes the whole yard feel designed.
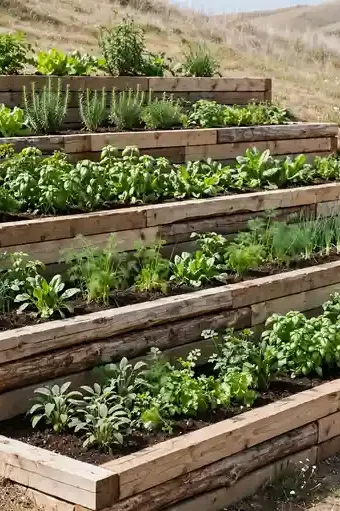
Tiered Hillside Beds
- Mark level contour lines across the slope with stakes and string.
- Build the lowest retaining wall first, backfilling soil behind it as you go.
- Repeat upward, keeping each tier twelve to eighteen inches deep.
- Add a simple step or path between tiers for easy access.
- Mulch each tier heavily to prevent erosion during heavy rain.
Tiered beds turn a steep unusable slope into productive garden space. Each level catches water instead of letting it run off, which keeps soil moist longer. That is why many experts recommend terracing for hillside gardens. The finished look resembles classic European kitchen gardens, charming and highly practical.
Raised Bed Soil
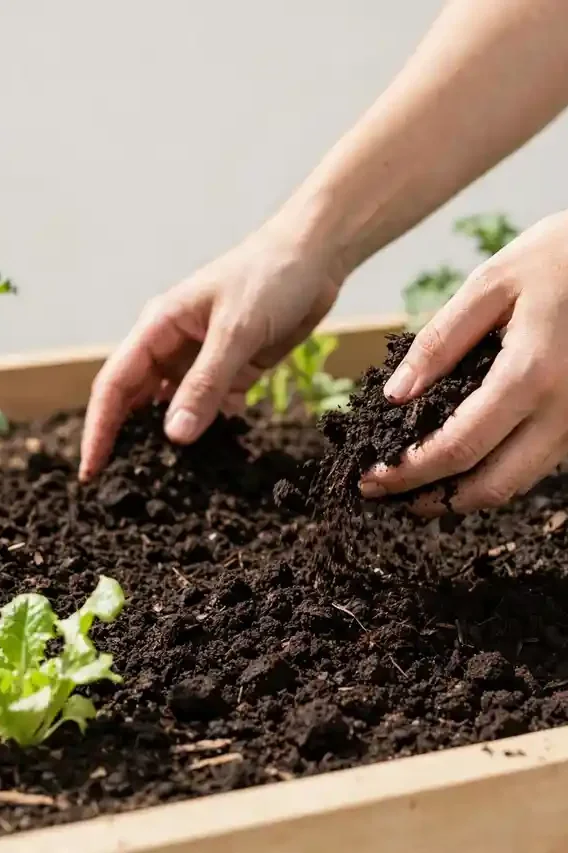
Choosing the right soil mix makes or breaks a raised bed garden.
| Mix | Bagged Garden Soil | DIY Triple Mix |
|---|---|---|
| Cost | Higher per cubic foot | Lower in bulk |
| Quality | Consistent | Varies by source |
| Best for | Small beds | Large beds |
| Effort | Open and pour | Mixing required |
The classic raised bed recipe blends one third topsoil, one third compost, and one third aeration like perlite or coarse sand. This mix drains well yet holds enough moisture for roots. I have tried many ratios, and this one rarely disappoints. Fill beds a few weeks before planting so the soil settles naturally. Top it with mulch after planting to lock in moisture.
Herb Spiral Towers
DO:
- Do face the tallest point north for even sun.
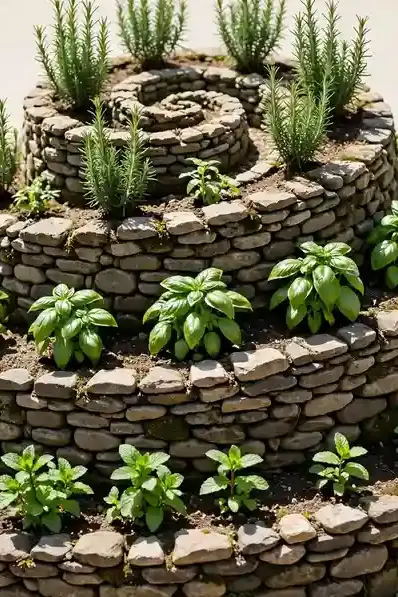
- Do place moisture loving herbs like mint at the bottom.
- Do use small stones or bricks for a sturdy structure.
- Do plant Mediterranean herbs like rosemary at the dry top.
DON’T:
- Do not let aggressive mint take over; keep it in a buried pot.
- Do not build the spiral wider than six feet or the center gets hard to reach.
- Do not skip mulch between stones, or weeds fill every gap.
A herb spiral packs a dozen plants into a tiny footprint using vertical space. The design creates microclimates, dry at the top and moist at the base. I have seen this work well for small patios. One weekend of stacking stones gives you fresh herbs near your kitchen.
Wicking Water Beds
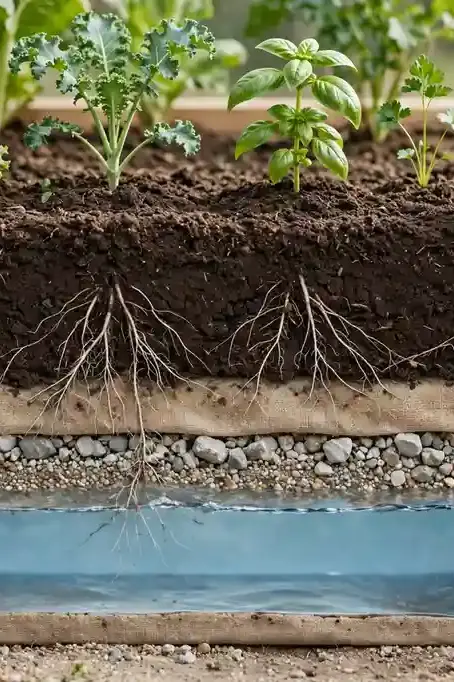
A wicking bed is a self watering raised bed with a hidden water reservoir at the bottom.
How It Works: Water reservoir below soil wicks moisture upward to roots | Water Use: Up to 50% less than surface watering | Build Time: One weekend with basic tools | Best For: Hot climates, vacation gardeners, and water restrictions
Wicking beds water plants from below through a reservoir hidden under the soil. Roots draw up exactly what they need, so nothing evaporates off the surface. I have noticed these beds keep plants happy through week long heat waves. They need refilling only every week or two, which suits anyone who travels.
Pallet Wood Frames
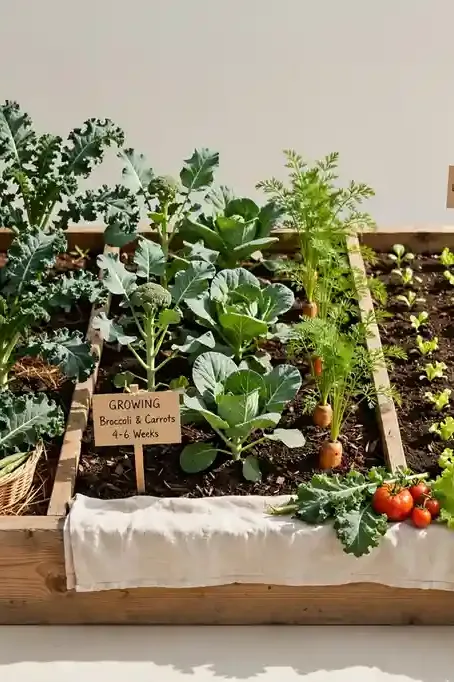
Free pallets make surprisingly solid raised beds if you choose heat treated wood marked HT. Avoid pallets stamped MB, which were treated with harsh chemicals. Break the pallets apart carefully, pull every nail, and sand the rough edges. Three pallets usually yield enough boards for one four by four foot bed.
The rustic look fits cottage gardens perfectly, and the price cannot be beaten. I have built several pallet beds, and they typically last three to four seasons before needing replacement. Line the inside with landscape fabric to extend their life. For a longer lasting version, seal the wood with linseed oil each spring.
Keyhole Garden Beds
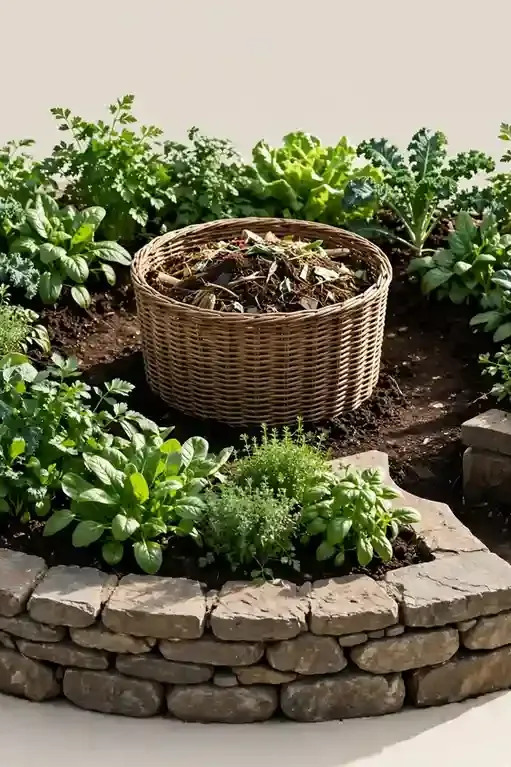
- A keyhole bed is a round raised bed with a wedge cut out, and the center holds a compost basket.
- Kitchen scraps go into the basket, feeding the surrounding soil all season long.
- Keep the diameter under six feet so every plant stays within easy reach.
- Water poured into the basket spreads outward to thirsty roots.
Keyhole gardens suit small yards and community plots where space is tight. The built in composting cuts waste and feeds plants continuously. That is why many experts recommend them for sustainable gardening. One bed can produce an impressive amount of food from a tiny circle of soil.
Raised Bed Irrigation
Quick Tip: Run half inch drip tubing down the center of each bed and add emitters every twelve inches. Connect the tubing to a simple battery timer so watering happens automatically each morning. I have noticed timed drip lines cut water use nearly in half compared to hand watering.
Drip irrigation beats sprinklers for raised beds because water goes straight to the roots. Leaves stay dry, which means fewer fungal problems all summer. Mulch over the tubing hides it and slows evaporation further. Set the timer for early morning, and your beds practically care for themselves. Flush the lines each spring to clear winter sediment.
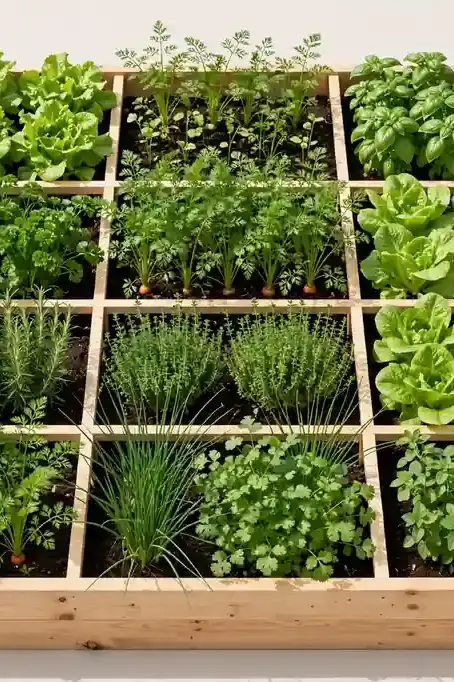
Square Foot Layout
BEFORE: Tossing seeds randomly into a bed wastes space and creates a tangled mess. Plants crowd each other, airflow drops, and harvests shrink.
AFTER: Square foot gardening divides the bed into twelve inch grids with a simple wooden lattice. Each square holds a set number of plants, so spacing stays perfect.
A four by four foot bed holds sixteen squares, enough for salads all summer. This method suits beginners because the grid removes all guesswork. I have seen new gardeners succeed fast with this system. To style the patio around your beds, browse these outdoor patio ideas for a complete backyard look.
Metal Frame Builds
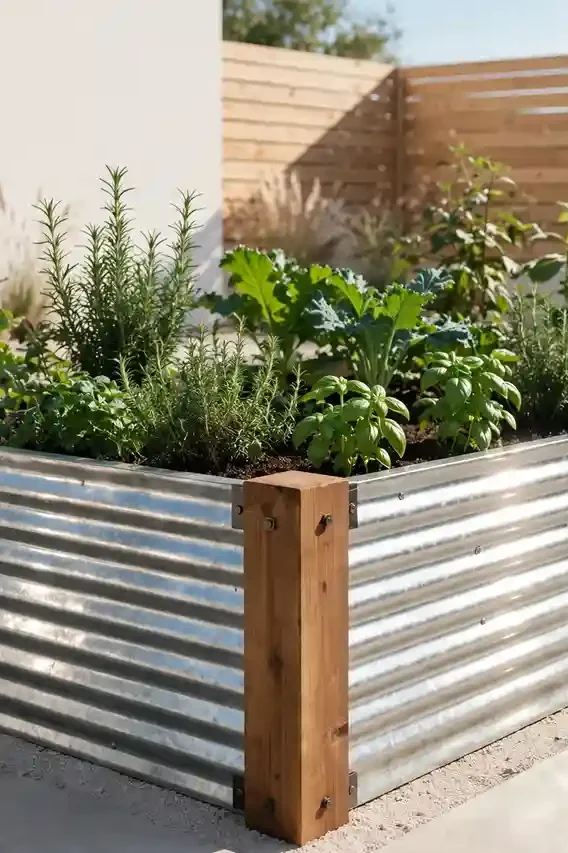
- Cut corrugated metal panels to size with tin snips, wearing gloves.
- Frame the corners with two by four lumber for strong rigid joints.
- Bolt the metal to the wood frame every twelve inches.
- Set the bed level on cleared ground and fill with soil.
- Cap the top edge with a flat board to create a comfortable seat.
Metal and wood combo beds look sharp and modern while costing less than full cedar. The wood corners add strength where metal alone would flex. I have noticed these beds hold up well for five plus years. They suit contemporary yards and pair nicely with gravel paths and clean edging.
Bed Depth Guide
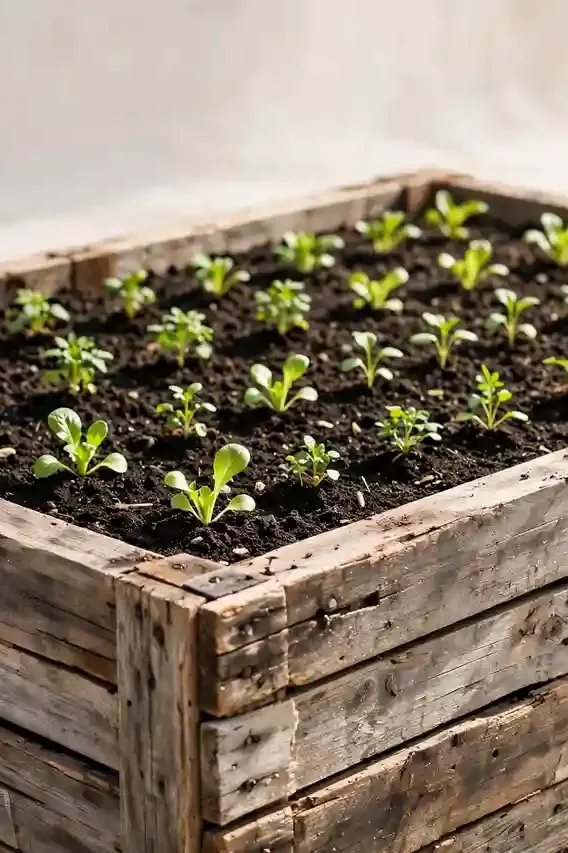
Different plants need different soil depths to thrive.
| Depth | Shallow 6-8 in | Deep 12-18 in |
|---|---|---|
| Best for | Lettuce, herbs, radishes | Tomatoes, carrots, peppers |
| Soil cost | Lower | Higher |
| Build effort | Simple single board | Stacked boards |
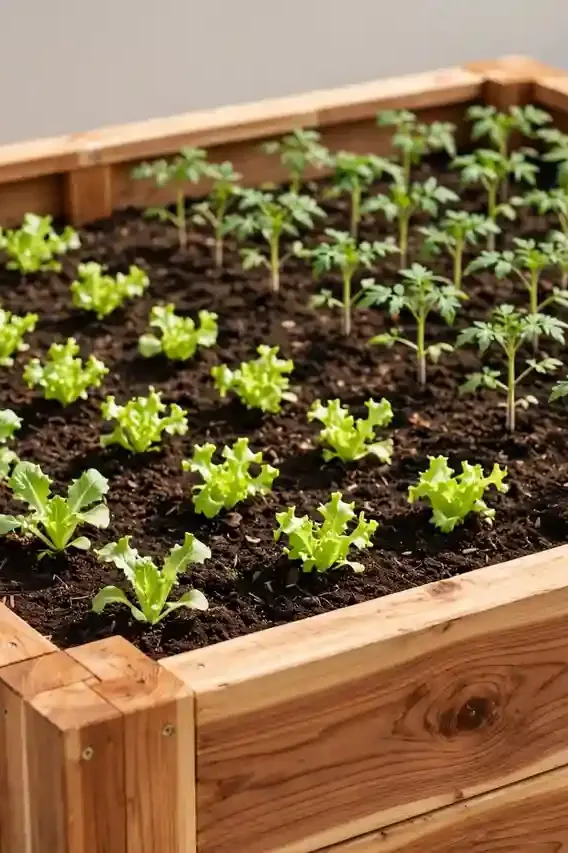
Six inches of soil grows salad greens and herbs just fine, so do not overbuild every single bed. Root vegetables and tomatoes need twelve inches or more for strong yields. I have tried shallow beds for carrots, and the stunted roots taught me a clear lesson. Match depth to your crop list before you buy lumber. When in doubt, build deeper; extra soil never hurts plant growth.
Compost Top Dressing
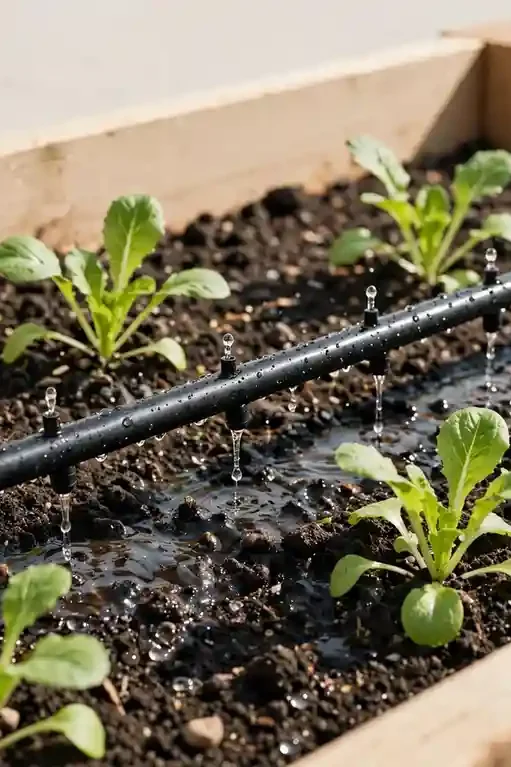
DO:
- Do spread one to two inches of finished compost over beds each spring.
- Do use compost that smells earthy, not sour or ammonia like.
- Do water the bed after top dressing to settle nutrients in.
DON’T:
- Do not use unfinished compost with visible food scraps.
- Do not pile compost against plant stems where it can cause rot.
- Do not skip this step; beds lose nutrients every single season.
Top dressing feeds soil life without any digging or tilling. Worms pull the compost down and aerate the bed naturally over a few weeks. In my experience, beds fed this way need far less fertilizer. Your plants get slow release nutrition exactly when roots are most active in spring.
Hoop House Covers
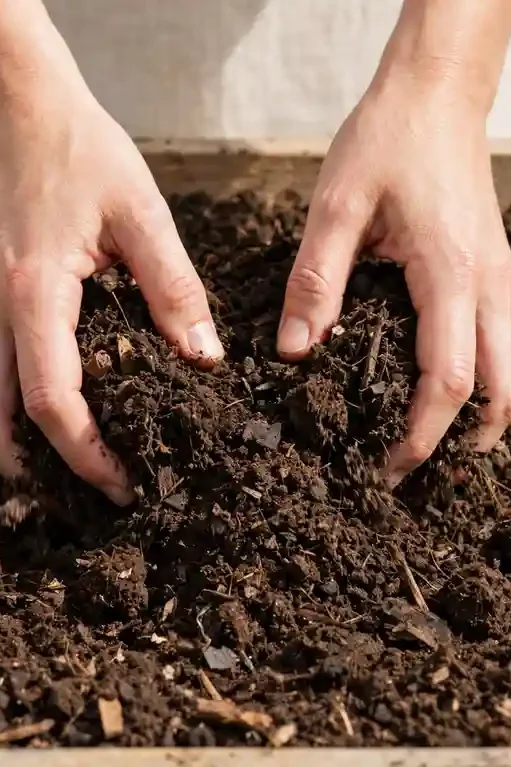
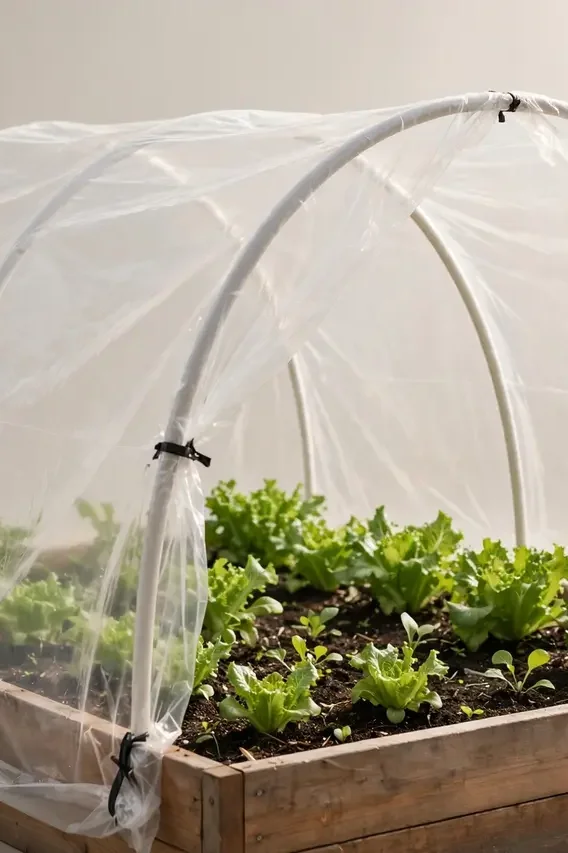
A hoop house is a simple curved cover that turns any raised bed into a mini greenhouse.
Frame: Half inch PVC bent into arches | Cover: 6 mil greenhouse plastic | Season Gain: 4-6 extra weeks | Best For: Spring greens and fall crops
Slide PVC pipes into brackets on the bed sides to form hoops, then drape plastic over the top. Clamp the edges so wind cannot lift the cover. I have harvested lettuce in November using this simple setup. Open the ends on warm days to prevent overheating, and close them before frost. The whole project costs under thirty dollars per bed.
Brick Edge Beds
Reclaimed bricks create raised beds with old world charm that suits traditional gardens. Lay bricks in two or three courses with mortar, or dry stack them for a casual look. A bed two bricks high gives about eight inches of depth, perfect for herbs and flowers. Check local salvage yards for affordable used bricks.
Mortared brick beds last for decades with almost no maintenance. They hold heat well, which peppers and tomatoes appreciate on cool nights. I have noticed brick edged beds make the whole garden look intentional and tidy. Take time to level the first course, because every row above follows it.
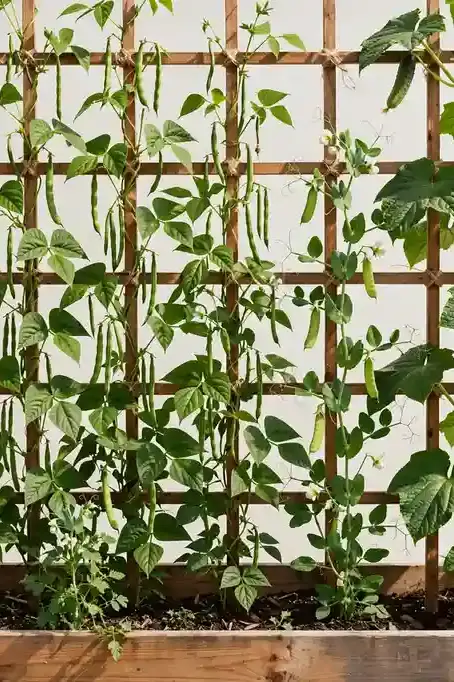
Trellis Back Beds
- Attach a trellis to the north side of a raised bed so climbing plants grow upward without shading neighbors.
- Cattle panels, wooden lattice, or simple string trellises all work well for beans and cucumbers.
- Secure the trellis deeply so heavy summer vines cannot topple it in wind.
- Plant shade tolerant lettuce at the base where the trellis casts afternoon shade.
Growing vertically doubles your harvest from the same footprint. Cucumbers hang straight and clean instead of curling on damp soil. I have seen this work well in many cases for tiny urban yards. A trellis also adds beautiful height that makes the garden feel lush and full.
Bed Mulch Layers
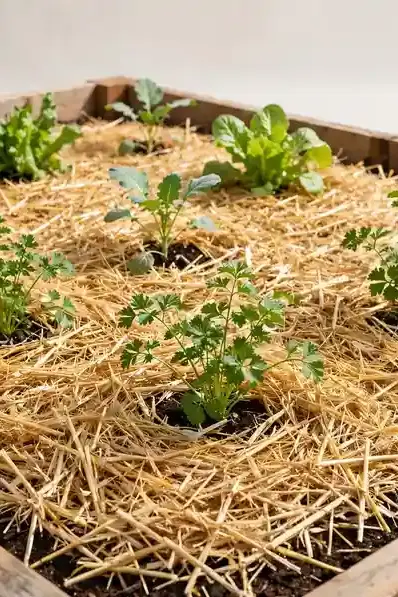
Quick Tip: Spread three inches of straw or shredded leaves over bed soil after planting. Mulch locks in moisture, blocks weeds, and feeds earthworms as it breaks down. I have noticed mulched beds need watering half as often during summer heat. Avoid dyed wood mulches, which can leach unwanted chemicals into vegetable beds.
Keep mulch a few inches away from plant stems to prevent rot. Refresh the layer midseason as it compresses and decomposes. That is why many experts recommend mulching as the single easiest garden upgrade. Your soil stays cool, moist, and alive with beneficial organisms all season long.
Self Watering Planters
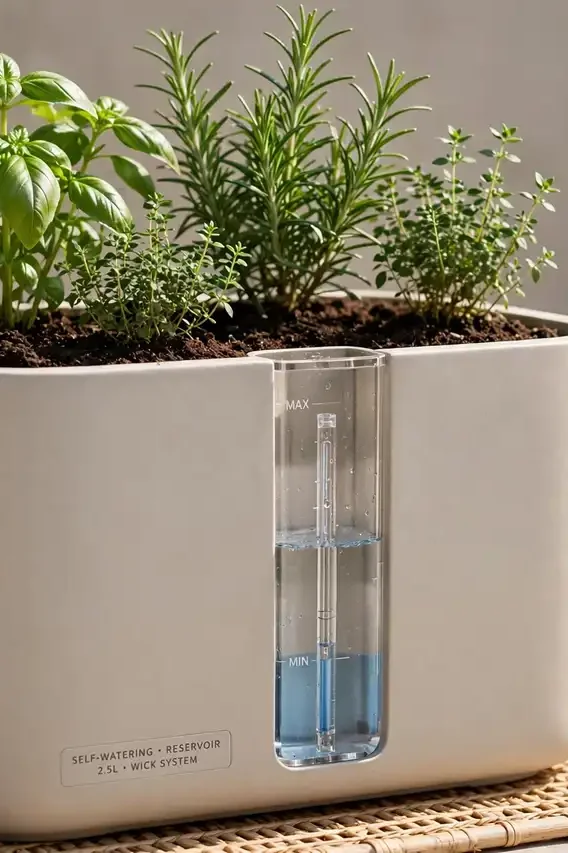
BEFORE: Container plants dry out fast, and missing one hot afternoon can kill a whole pot of basil. Daily hand watering eats time and still leaves plants stressed.
AFTER: Self watering planters hold a reservoir below the soil that feeds roots for days. You fill the tank weekly, and plants drink steadily without any daily effort.
These planters work like small scale wicking beds for patios and balconies. They suit herbs, peppers, and cherry tomatoes beautifully. In my experience, beginners succeed faster with self watering pots. Less stress for you means healthier plants and bigger harvests from small spaces. Start with one pot to see the difference.
Vertical Side Planting
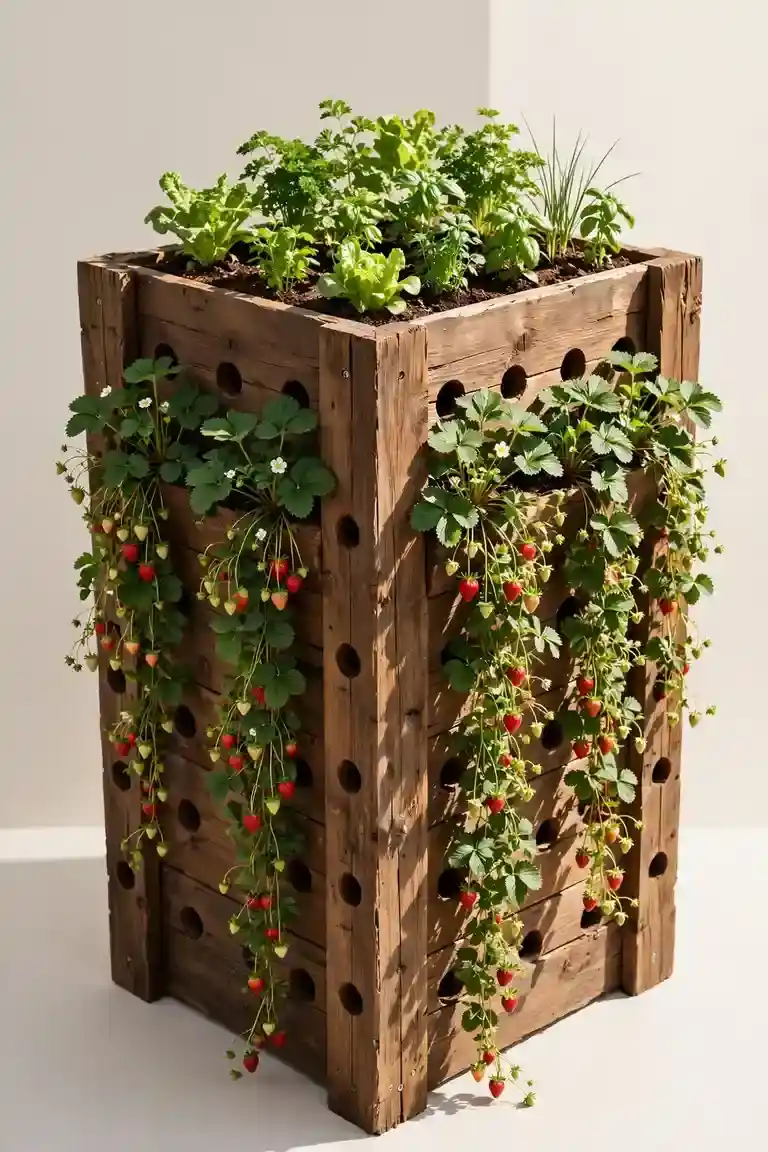
- Drill two inch holes along the sides of a deep wooden raised bed, spacing them six inches apart.
- Line the holes with landscape fabric tubes to hold soil in place.
- Plant strawberries or herbs through each side opening.
- Water from the top; moisture spreads to every side pocket.
- Mulch the top surface to reduce evaporation from the upper soil.
Side planting squeezes extra crops from the same bed footprint. Strawberries cascading down the sides look gorgeous and stay clean off the soil. I have tried this with lettuce too, and the layered look gets compliments. It works best on beds at least eighteen inches deep.
Bed Spacing Plans
Smart spacing prevents overcrowding and disease in raised beds.
| Method | Tight Spacing | Wide Spacing |
|---|---|---|
| Plant density | More plants per bed | Fewer, larger plants |
| Airflow | Reduced, watch for mildew | Excellent circulation |
| Best for | Cut and come again greens | Tomatoes, squash, peppers |
| Water needs | Higher, roots compete | Lower per plant |
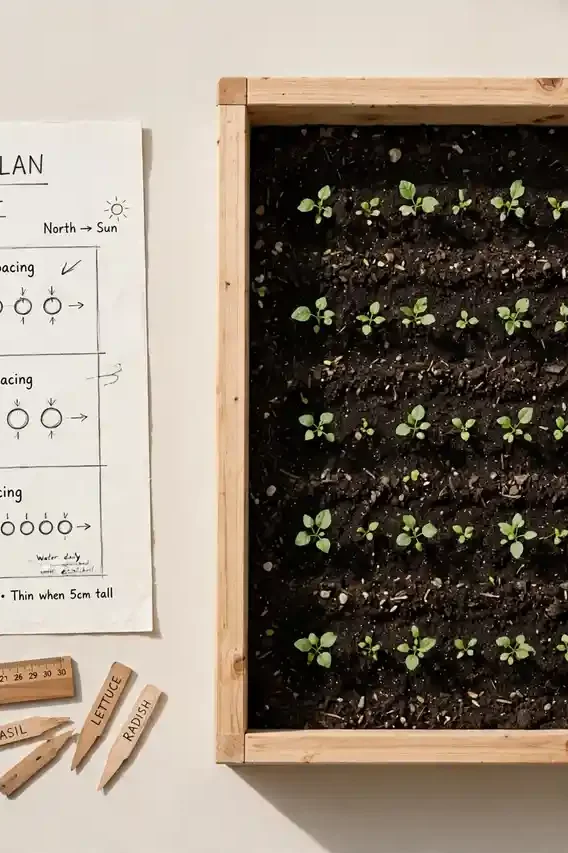
Crowded plants compete for light and nutrients, so yields drop despite more plants. Give tomatoes eighteen inches and lettuce just six. I have learned that generous spacing grows healthier plants with less pest trouble. Sketch your layout on paper before transplanting anything outdoors. A little planning saves an entire season of frustration.
Harvest Succession Planting
DO:
- Do sow a new row of beans every two weeks for continuous harvests.
- Do replace spent spring crops with heat lovers like peppers in June.
- Do keep a simple planting calendar on the fridge.
DON’T:
- Do not plant everything at once unless you want a single overwhelming harvest.
- Do not leave empty soil bare; cover it or replant within days.
- Do not forget fall crops; August sowings feed you into October.
Succession planting stretches one bed across three seasons of food. As soon as one crop finishes, another takes its place without missing a beat. In my experience, this habit doubles total yield from the same space. You will harvest something fresh nearly every week from spring through fall.
Conclusion
Raised beds make gardening simpler, cleaner, and far more productive than struggling with poor native soil. Pick the design that matches your space and budget, then build it well once so it serves you for years. I have seen how small changes like these can completely shift the way a garden grows and how much joy it brings. Save your favorite raised garden bed ideas on Pinterest, gather your materials this weekend, and start planting. Your thriving backyard harvest is closer than you think. Share your results and inspire others to grow.