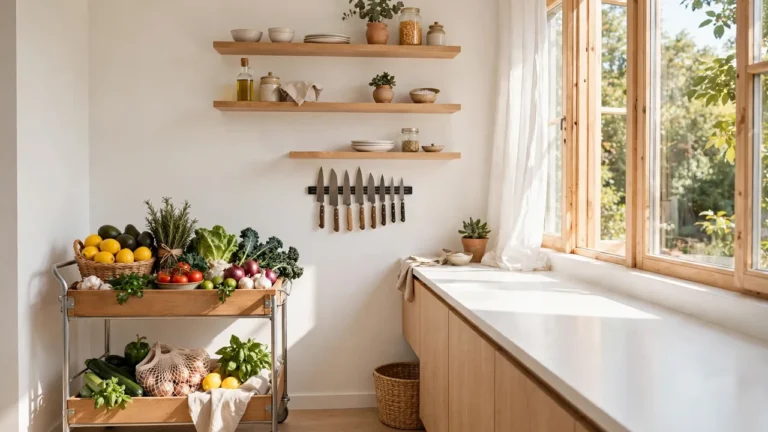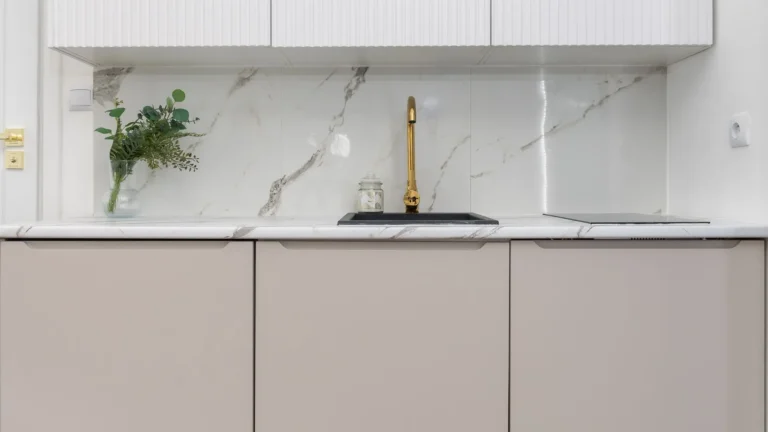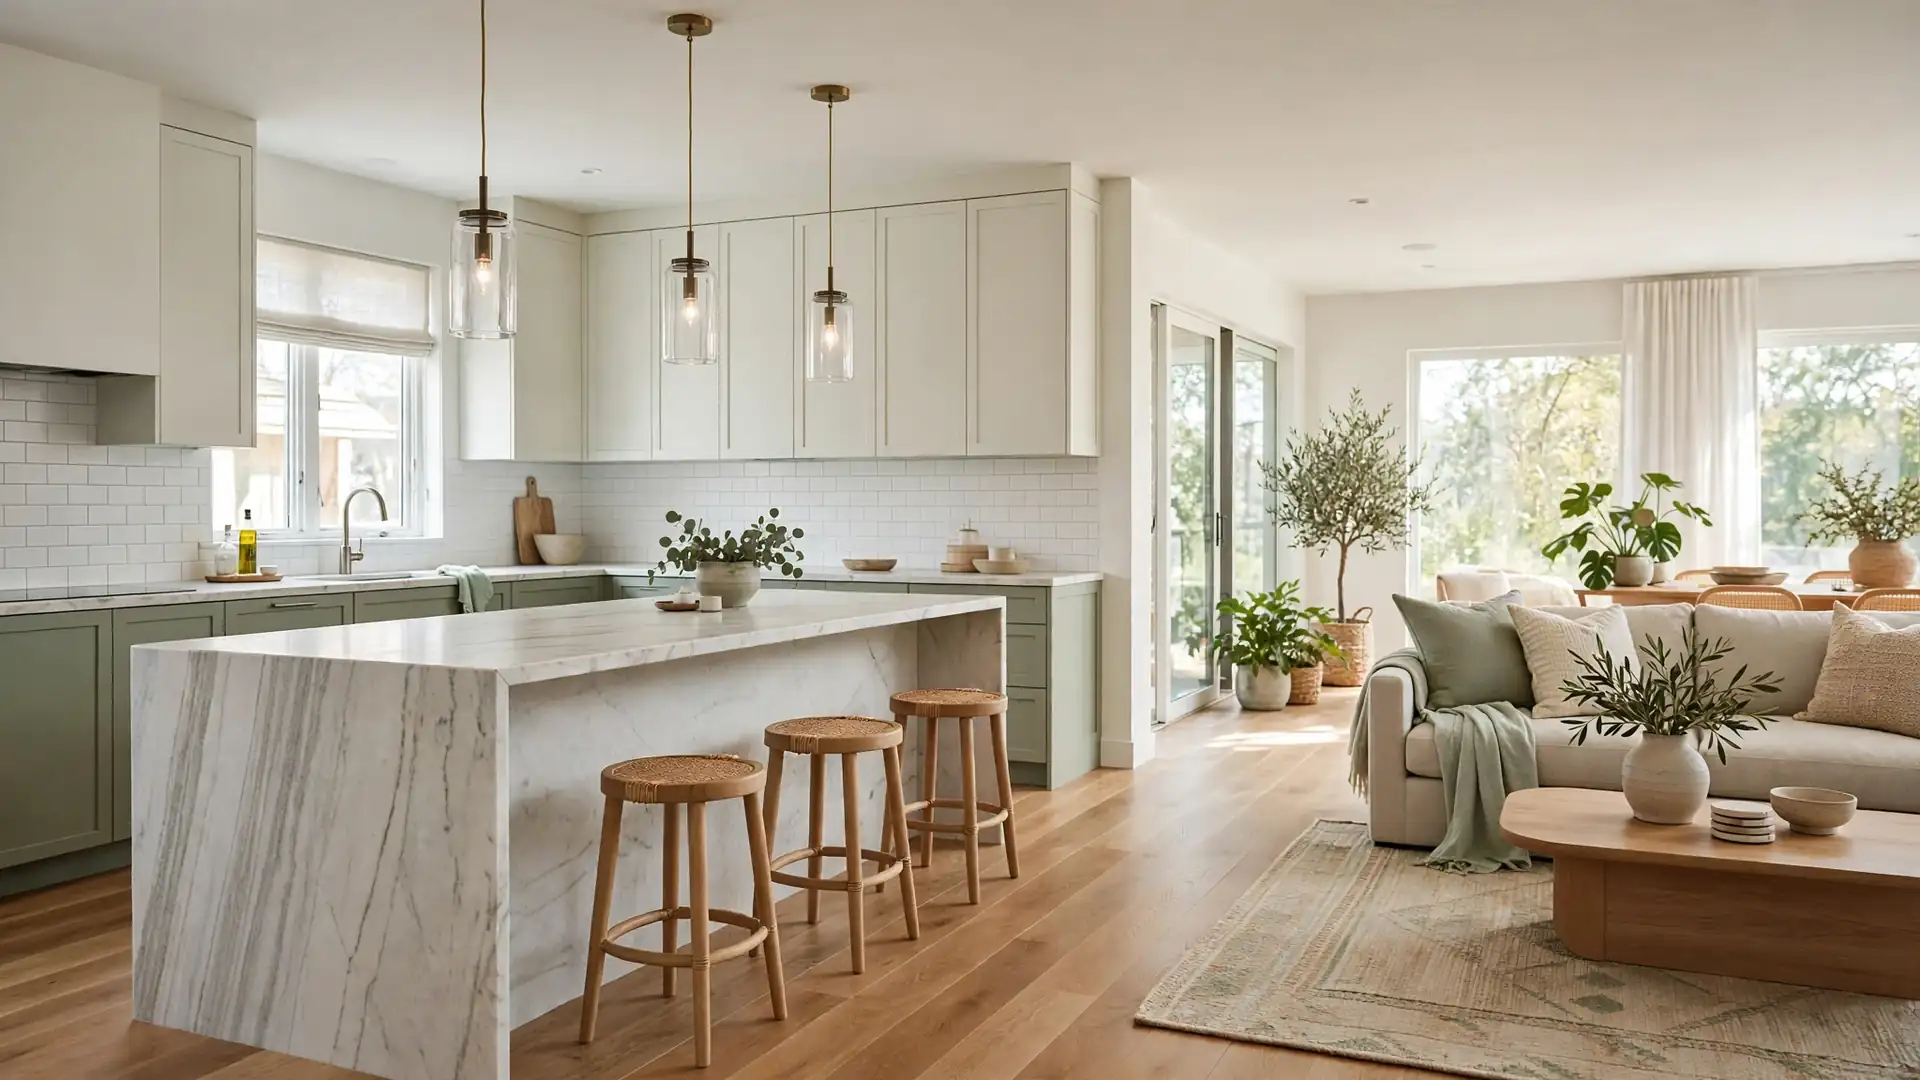
24 Open Concept Kitchen Upgrades for a Modern, Beautiful Home
The wall between the kitchen and the living room rarely earns its keep. It blocks light, traps cooking smells, and cuts the cook off from everyone else. The open concept kitchen upgrades in this guide fix that divide with islands, light, storage, and finishes that let both rooms breathe as one.
Inside are twenty four upgrades, from oversized islands and waterfall counters to pantry walls that swallow the clutter. The same bold thinking behind awkward bedroom makeover ideas applies here: solve the room’s real problem first and the style follows. In my experience, the happiest open kitchens are planned around how people gather, not just how cabinets line up.
Oversized Island Centerpiece
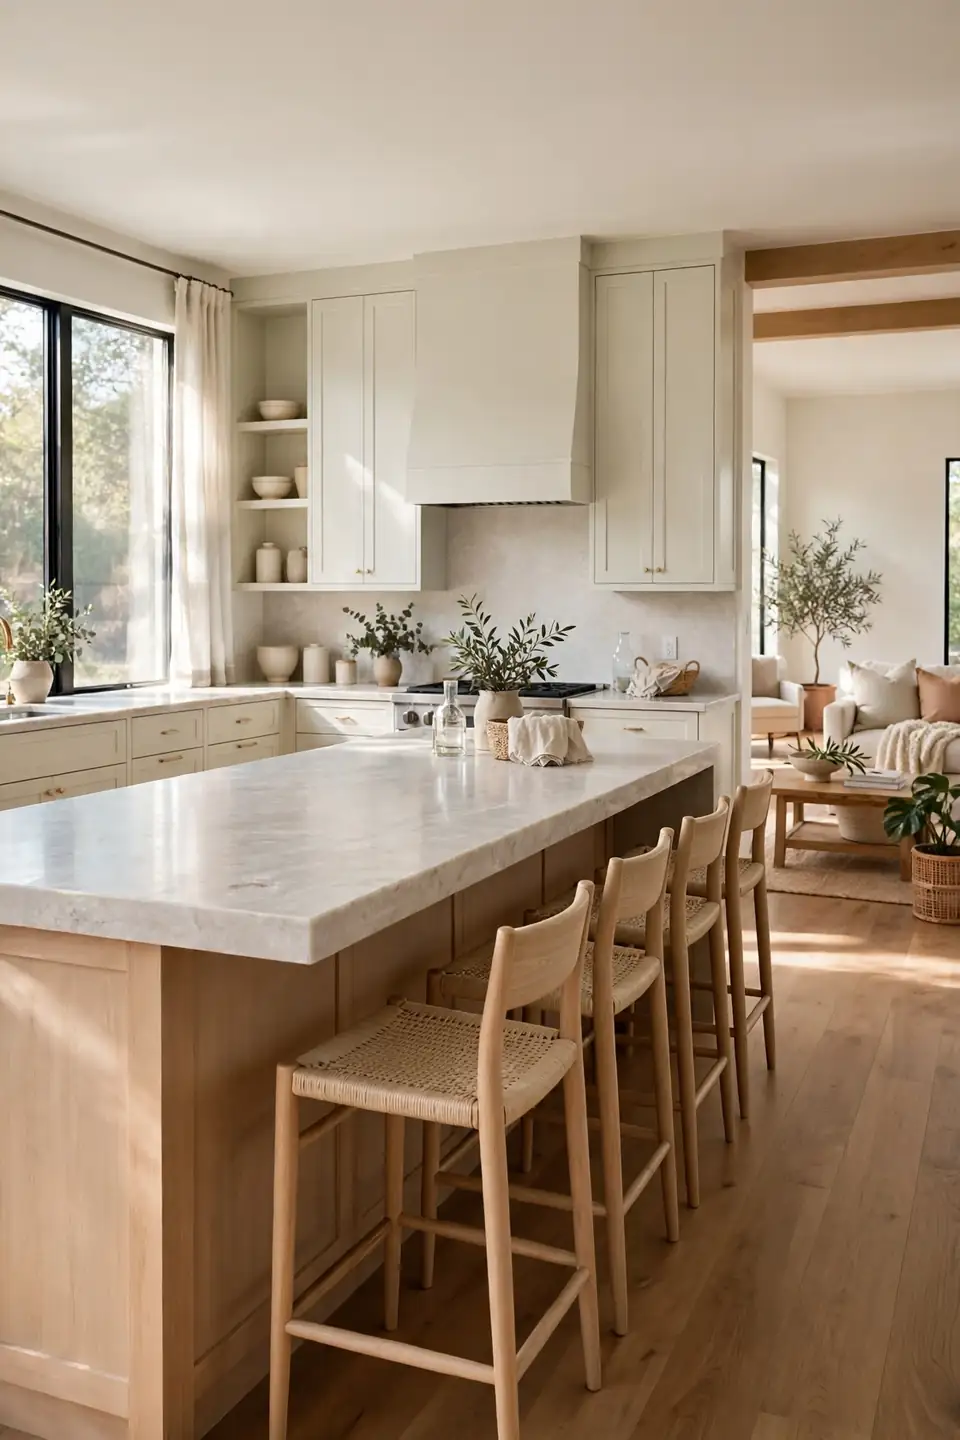
One wide island changes how an open kitchen behaves. It catches groceries, seats guests, hides storage, and gives the cook a runway of clear counter on both sides. Sized right, it replaces the dining table on weeknights and the buffet on holidays. It earns every centimeter it takes.
Leave at least ninety centimeters of walkway on every working side, more where the dishwasher and oven open. A single slab or simple shaker base keeps the mass calm against the living room view. In my experience, hosts end up living at the island: coffee in the morning, laptops after lunch, and everyone drifting back at dinner.
Pendant Trio Over Island
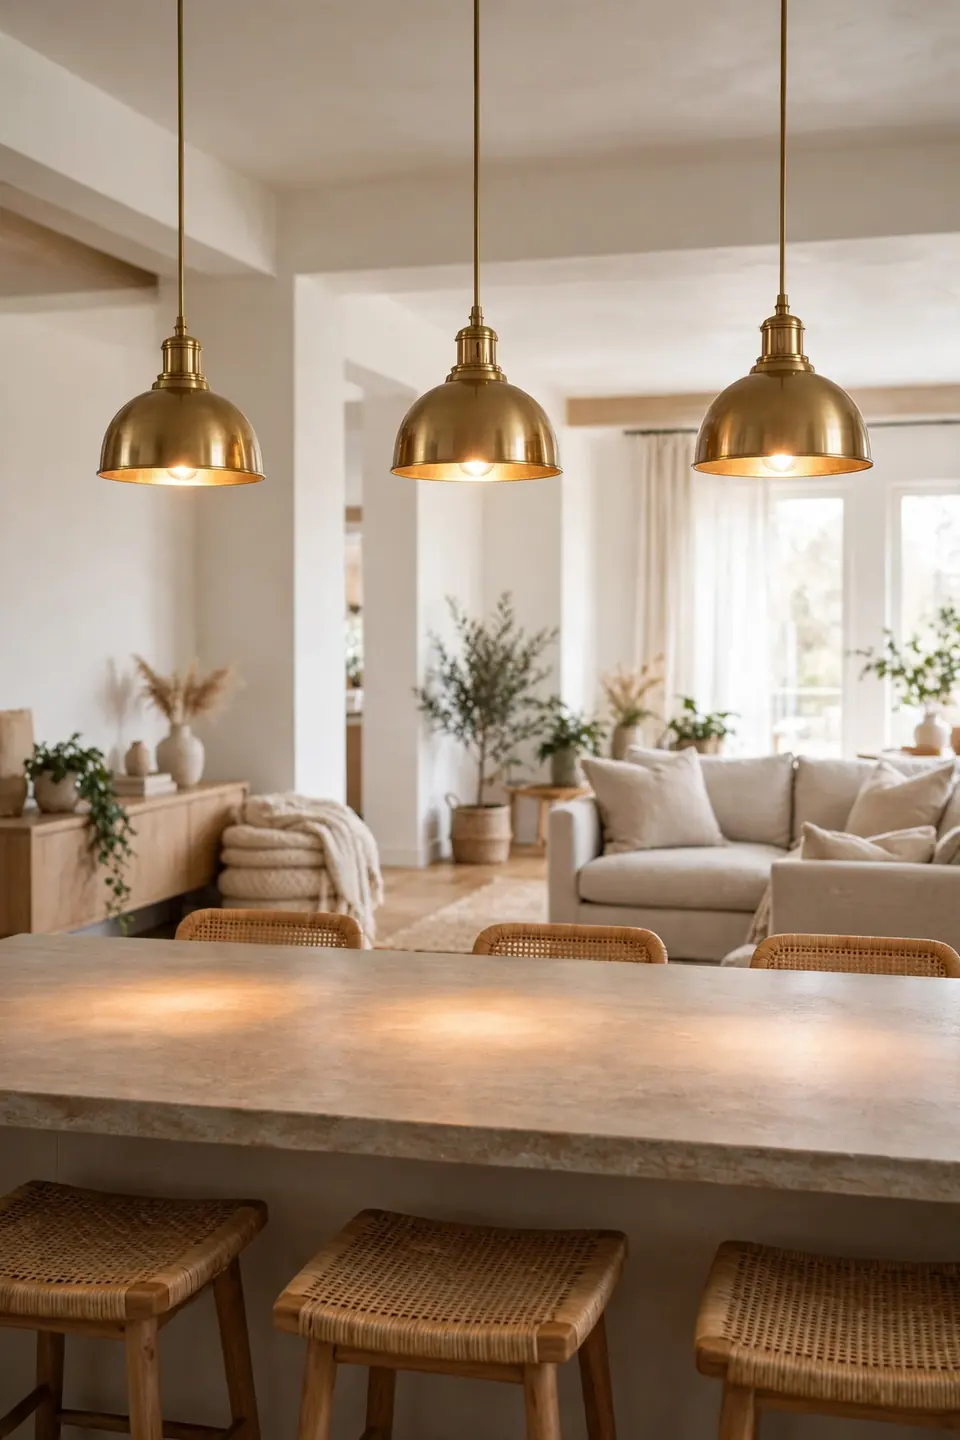
- Hang three pendants in a row so light pools evenly along the whole island.
- Match the metal finish to cabinet hardware for one calm, connected line.
- Choose shades wide enough to cover prep zones without glare in the eyes.
- Fit dimmers so dinner light can drop to a warm evening glow.
- Keep bottoms about eighty centimeters above the counter for clear sightlines.
Pendants also mark the kitchen’s territory inside the open room. Without a wall, light becomes the boundary, and a steady row of fixtures tells the eye where cooking ends and lounging begins. I’ve noticed guests settle under the pendants naturally, leaving the work triangle free for the cook during busy weekend mornings.
Waterfall Countertop Edge
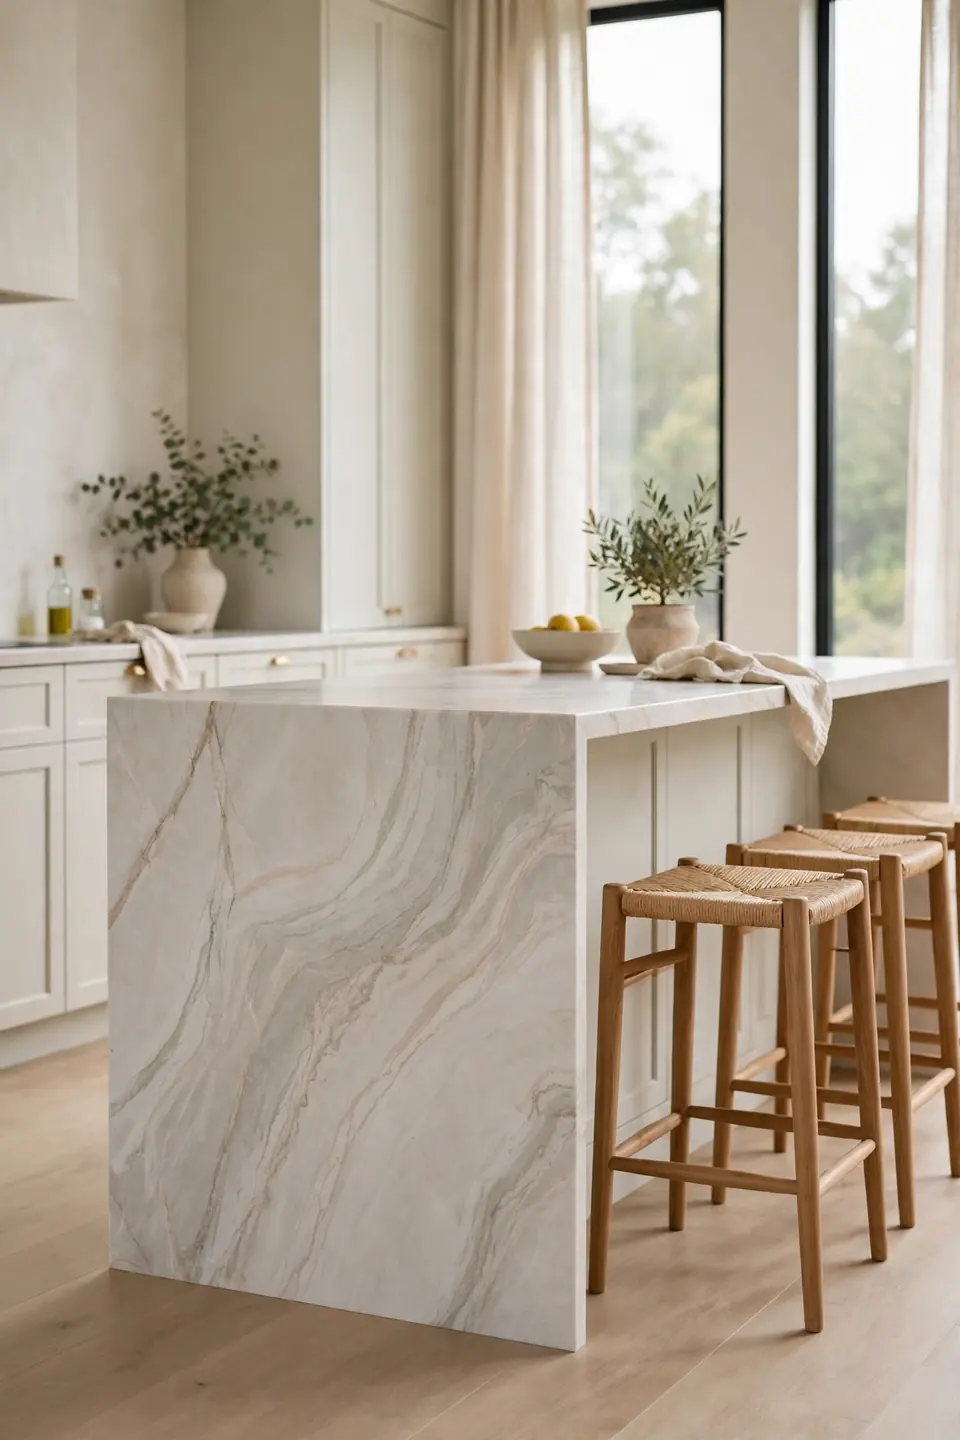
Quick Tip: Run the counter material down the island ends in one unbroken sheet. The waterfall edge protects cabinet corners from bumps and bags, and it reads as furniture from the living room side, which softens the whole open plan.
Stone with gentle veining suits the treatment best, because busy patterns fight where the slab bends. Butcher block and matte quartz both take the edge well and cost less than full marble. Whichever surface wins, book the fabricator early: waterfall miters take longer to cut, and the island usually lands last in the schedule, when patience runs thin and guests are already invited.
Half Wall, Full View
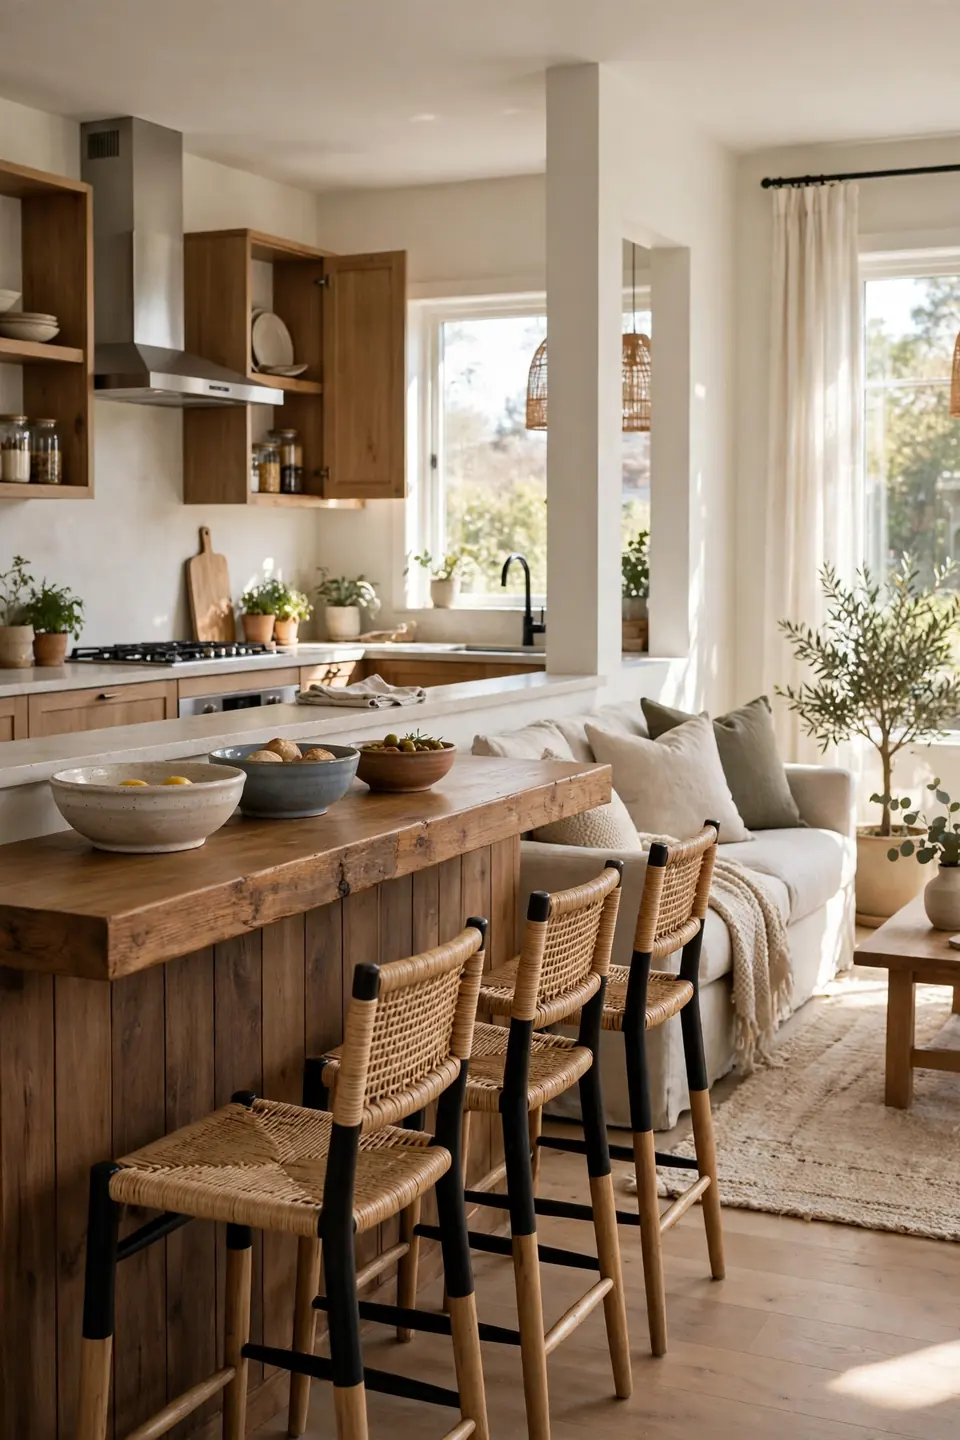
BEFORE: The kitchen hid behind a full stud wall with one narrow doorway. Steam, smells, and noise stayed trapped inside, and the cook worked alone while everyone else gathered in the next room.
AFTER: Half the wall came down to counter height, leaving a wide ledge for stools and serving dishes. Sightlines now run from the sofa to the stove, daylight crosses both rooms, and conversation travels with the cook.
A half wall keeps what full removal loses: outlets, a splash guard for the sofa, and somewhere to lean. Check with a builder first, because even short walls can hide pipes or carry load. The ledge top in stone or thick wood finishes the job and earns compliments daily.
Statement Range Hood
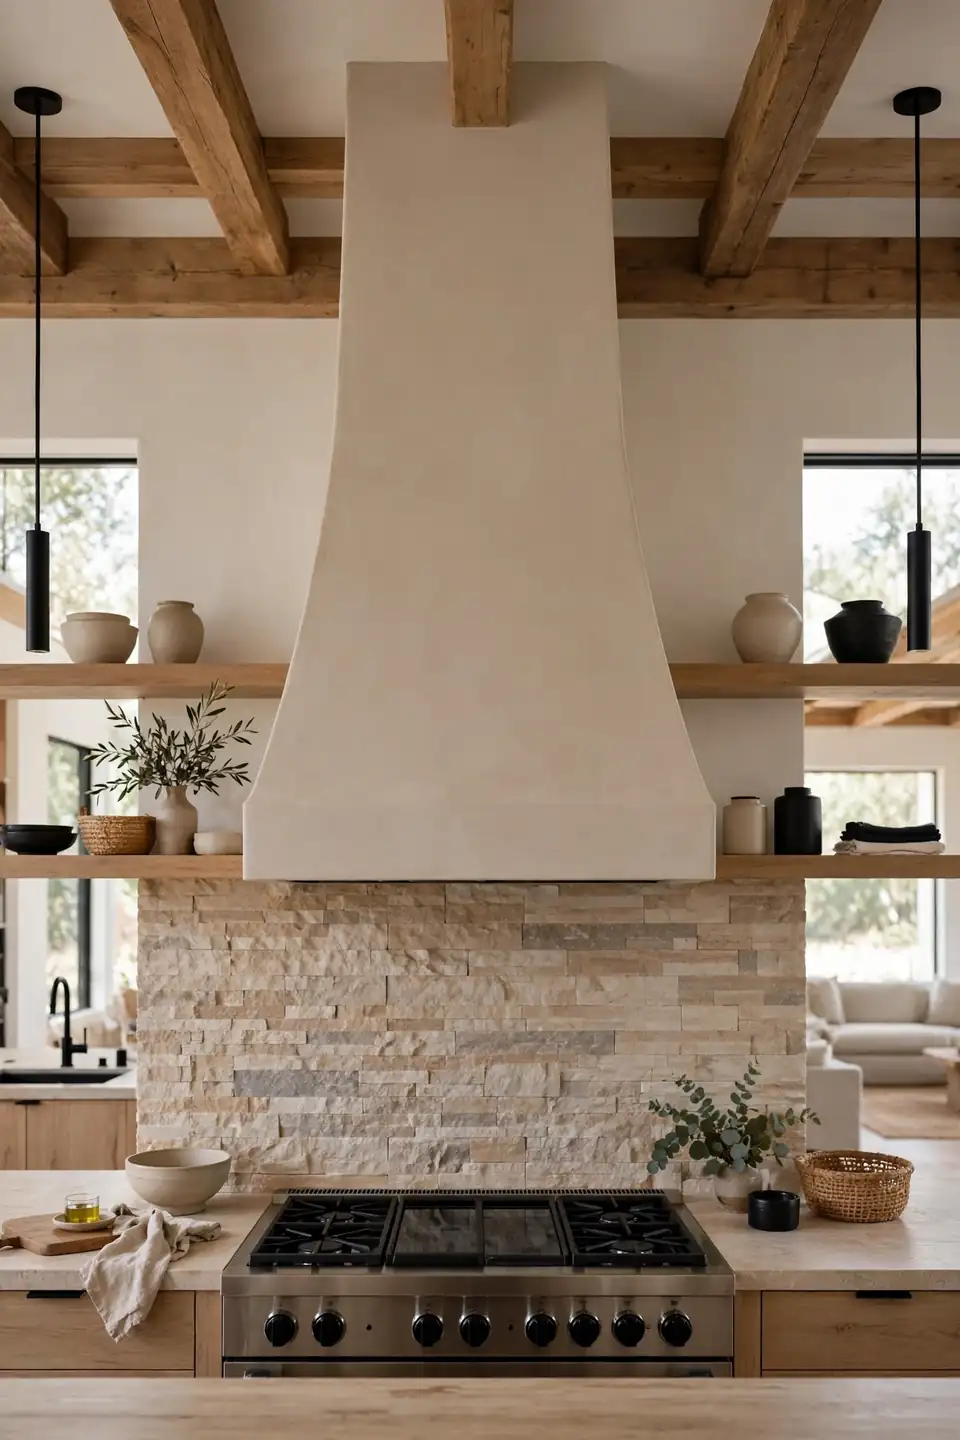
What You Need: A hood body, outside ducting, and a fan rated for the range.
- Measure the range; the hood should match its width or exceed it.
- Plan the duct route first, keeping runs short and straight.
- Set the hood sixty to seventy five centimeters above the burners.
- Vent outdoors so steam and grease leave the house for good.
- Finish in plaster, wood, or metal to suit the room.
The hood is the one tall statement an open kitchen gets, so treat it like a fireplace for the cooking zone. Plaster keeps the mood calm; brushed steel turns the energy up. Decide the mood first and let the fan specs follow behind it.
Island Versus Peninsula
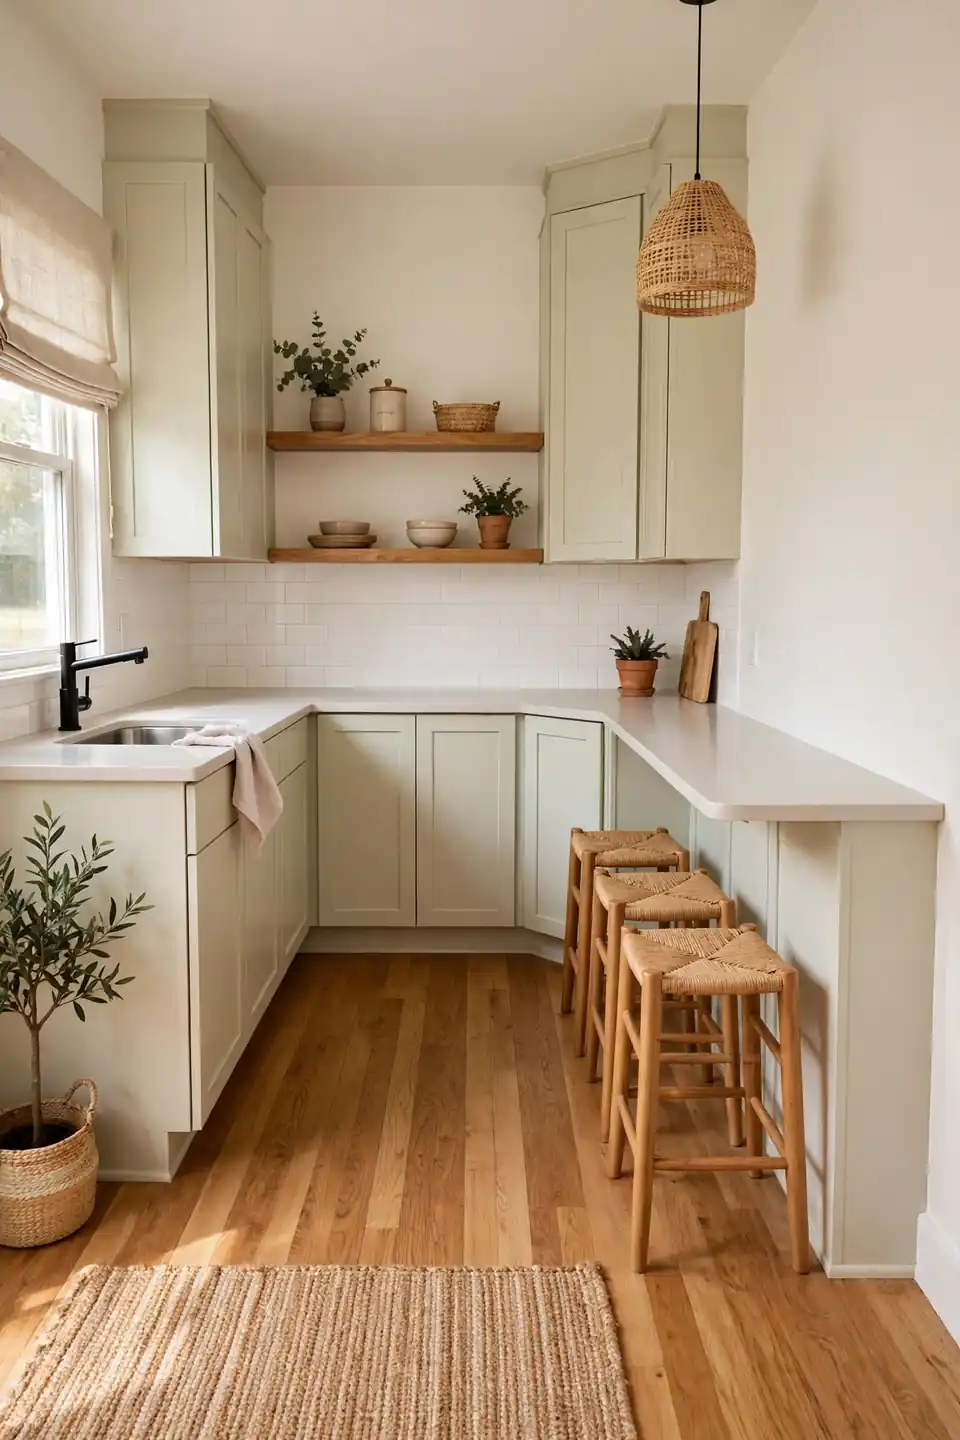
| Feature | Island | Peninsula |
|---|---|---|
| Floor space | Needs walkways on all four sides | Works against one wall or return |
| Seating | Stools on two or three sides | Stools along one open side |
| Storage | Cabinets reachable from both faces | Deep corner cabinet at the join |
| Best for | Wide rooms with a clear center | Smaller opens and rental layouts |
Peninsulas forgive tight floor plans because one short side borrows the wall, while islands reward space with flow on every side. Renters often build a peninsula from a stock cabinet run and a slab top, then take it apart when the lease ends. Either shape beats a bare gap in the middle of the room.
Open Shelving Zones
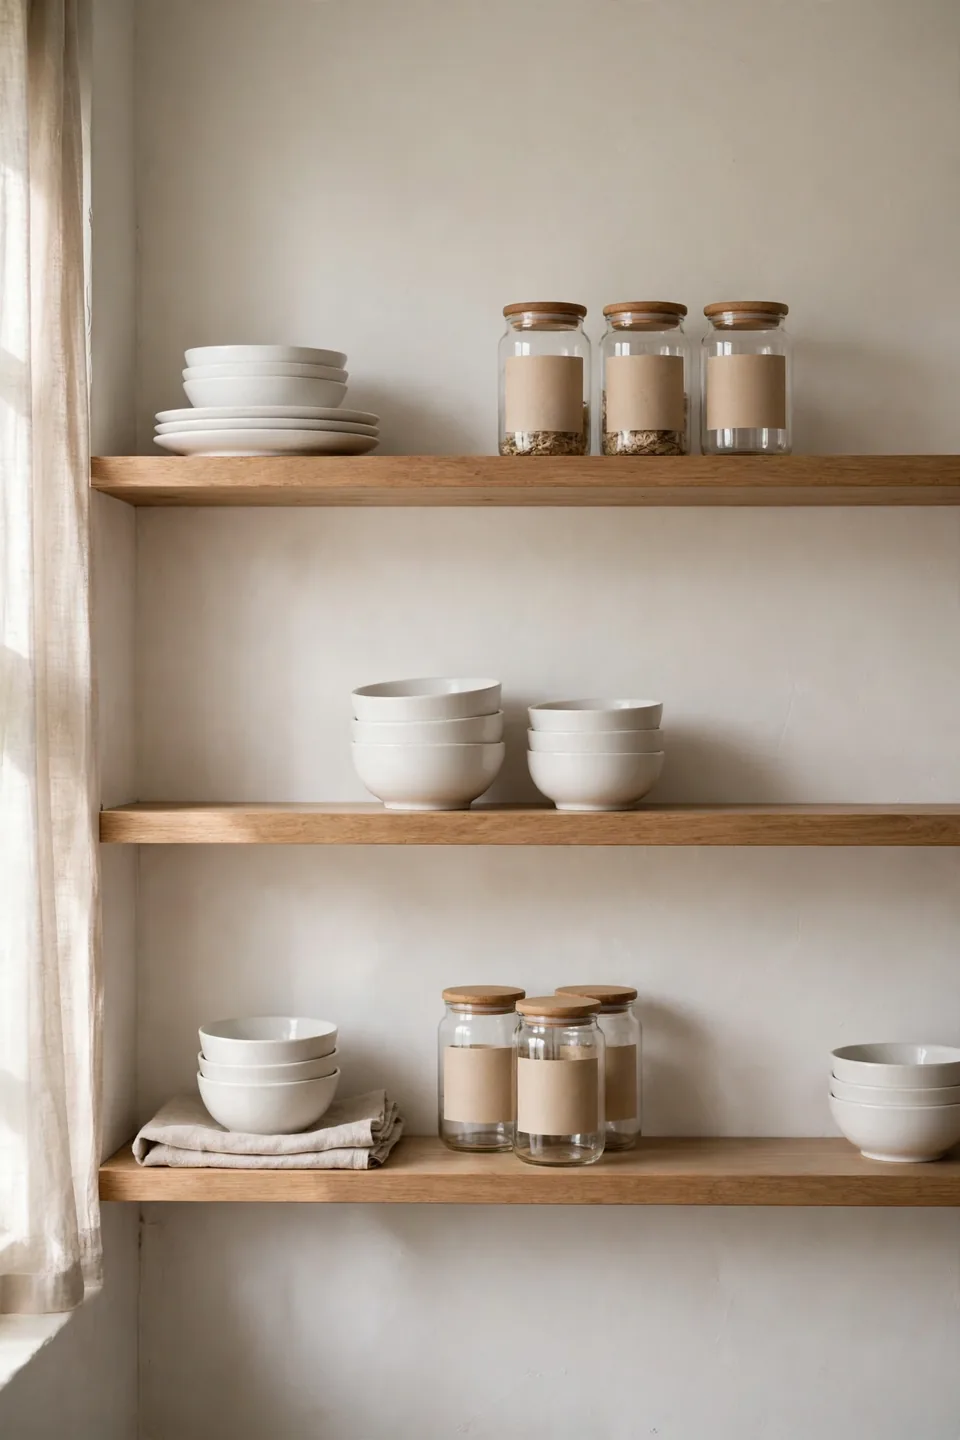
Do:
- Group daily dishes on the lowest shelf within easy reach.
- Repeat one palette of white, wood, and glass for calm.
- Leave breathing gaps; half empty shelves look deliberate.
- Anchor each shelf with one taller piece, like a pitcher.
Don’t:
- Stack every cabinet find in uneven, dusty towers.
- Mix loud packaging and labels into the display.
- Hang shelves over the range where grease settles.
- Fill top shelves with heavy pieces nobody can lift safely.
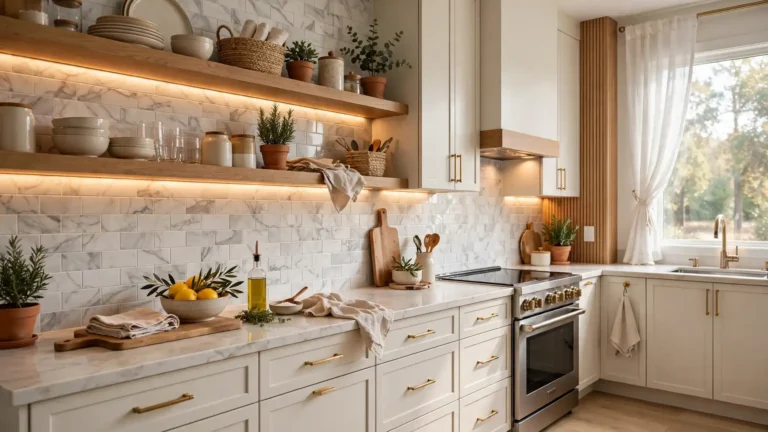
Open shelves trade doors for discipline, and one zone is usually enough. Flank the sink or fill the stretch beside the hood, then keep the rest of the run closed. Guests read the tidy shelf as style; the cook reads it as speed on busy mornings when bowls and glasses sit ready.
Breakfast Bar Bridge
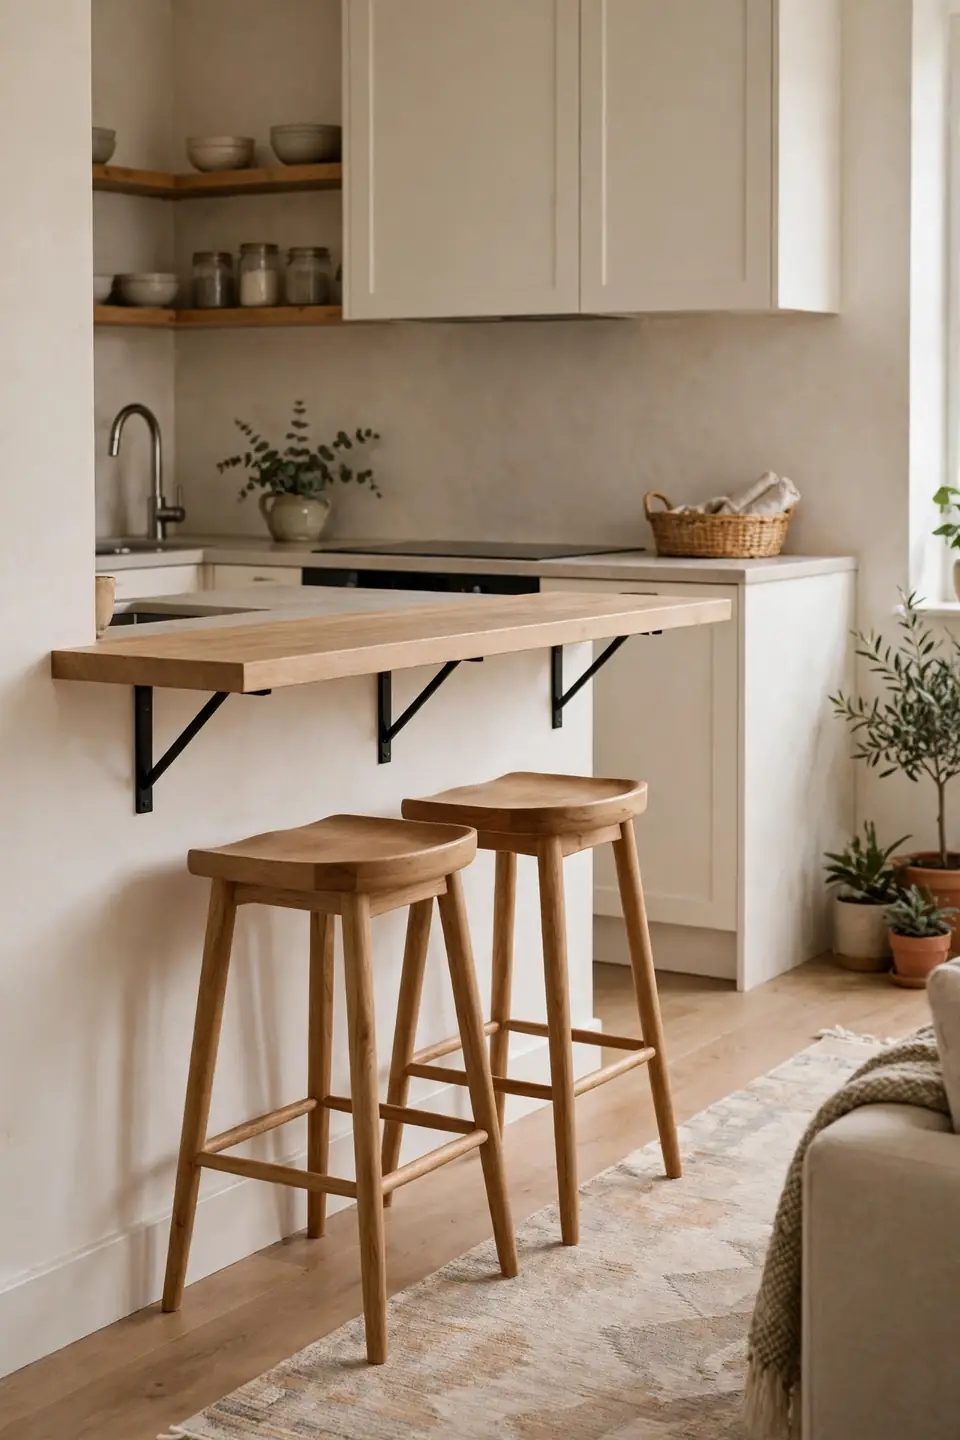
Cost: A stock counter overhang and two stools start near three hundred dollars
Time: One weekend for brackets, slab, and stools
Skill Level: Confident beginner with a stud finder
Best For: Narrow kitchens that open to the living room
A breakfast bar turns the edge of the kitchen into shared ground. Kids land there with homework, guests perch with a drink, and the cook keeps company without surrendering counter space. Extend the counter twenty five to thirty centimeters past the cabinets, support it well, and choose stools that tuck fully under so the walkway stays honest during the morning rush.
Two-Tone Cabinetry Blend
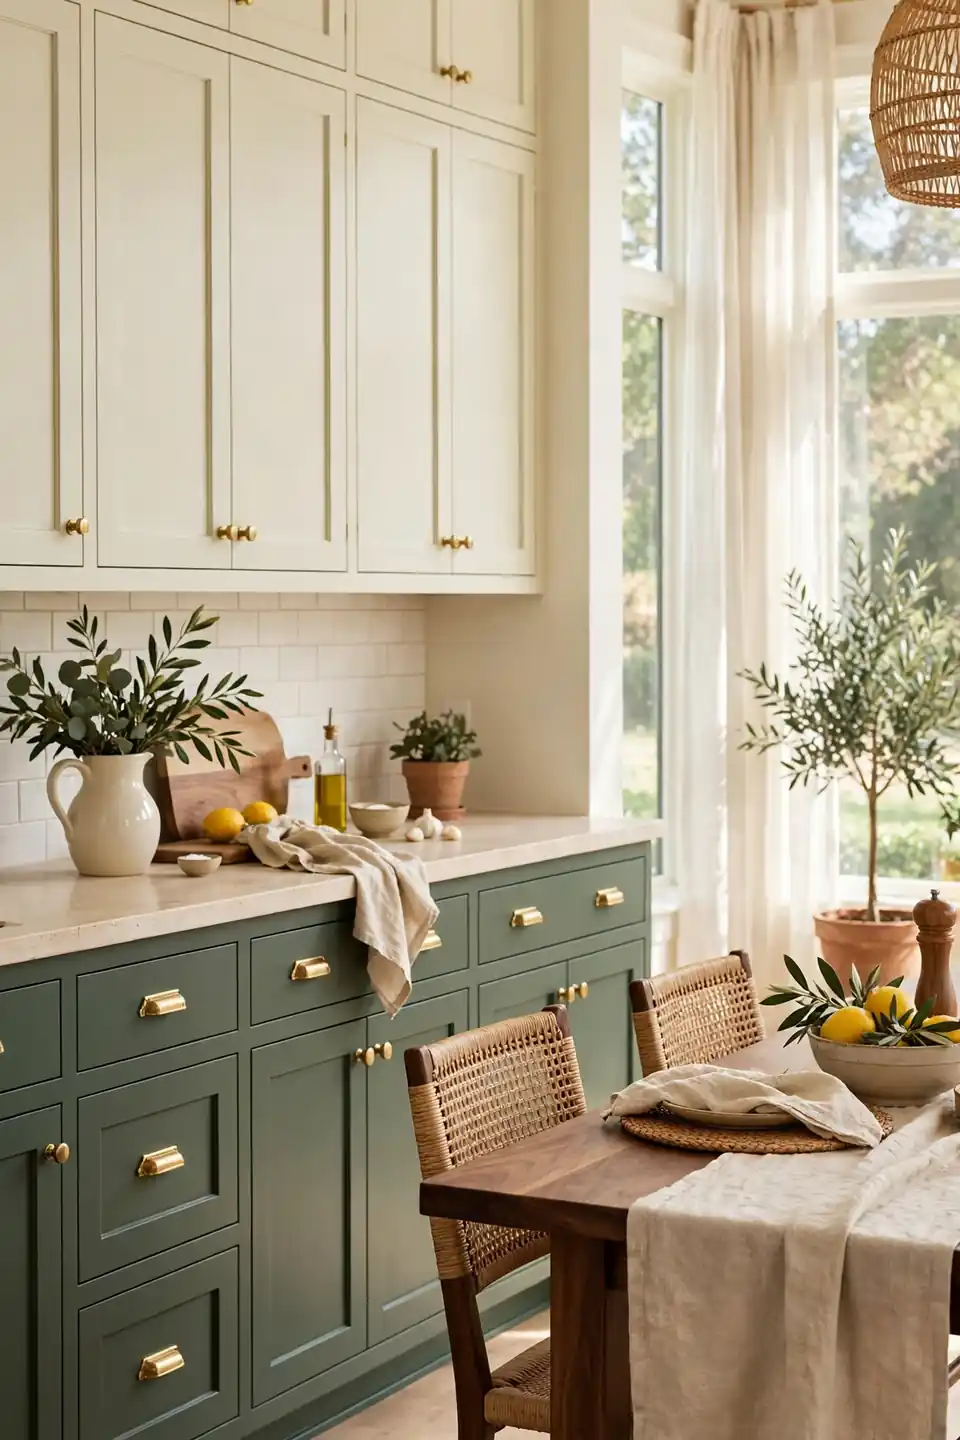
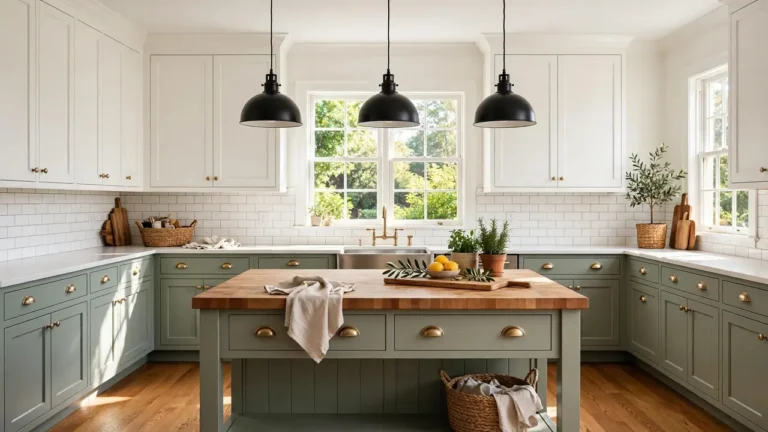
Two cabinet colors give an open kitchen its structure. Deep lowers in sage, navy, or warm charcoal ground the room, while pale uppers keep the wall light and the ceiling high. The living side reads the contrast as design rather than storage.
Repeat one of the two tones somewhere across the open space, a cushion, a rug border, or the dining chairs, and the rooms lock together. Keep hardware identical on both colors so the split looks planned. That’s why many experts recommend choosing the darker tone from something already in the living room, like a leather chair or a walnut frame.
Under-Cabinet Light Strips
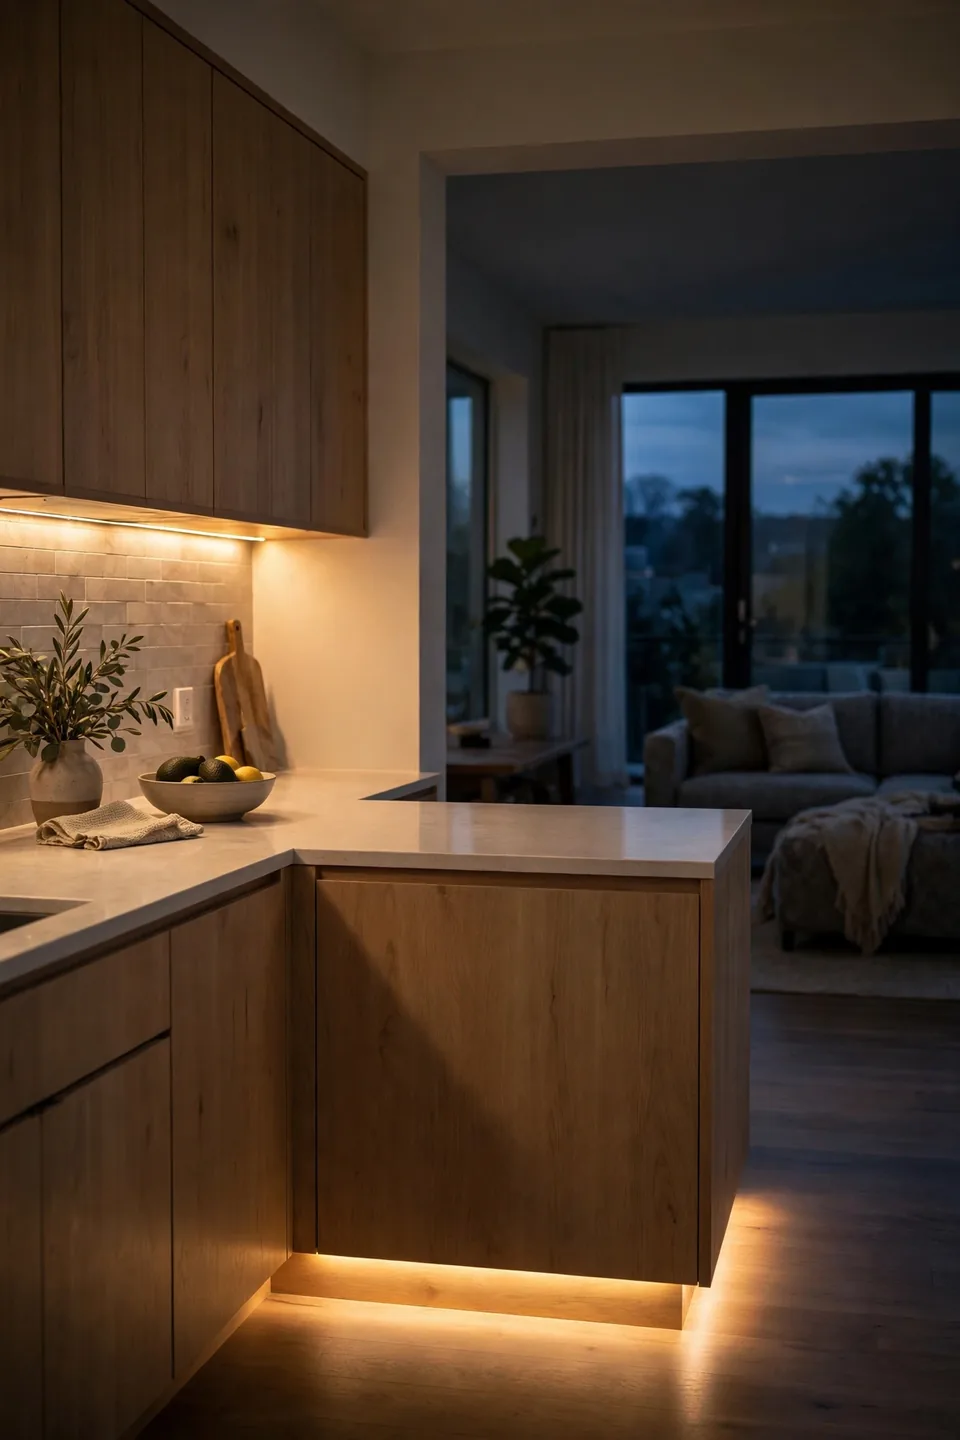
- Stick LED strips under every upper cabinet for shadow free prep light.
- Pick warm white bulbs near three thousand kelvin to flatter food and skin.
- Hide the driver inside a cabinet and switch the run from the doorway.
- Add a second strip under the island toe kick for a soft night glow.
- Choose aluminium channels so the light line looks finished, not glued on.
Light at counter level changes the mood of the whole open plan after dark, the same way the deep calm palette in navy blue vanity bathroom ideas settles a small bath. Counters glow, the room beyond stays soft, and midnight snacks stop needing the big ceiling lights at all.
Hidden Appliance Garage
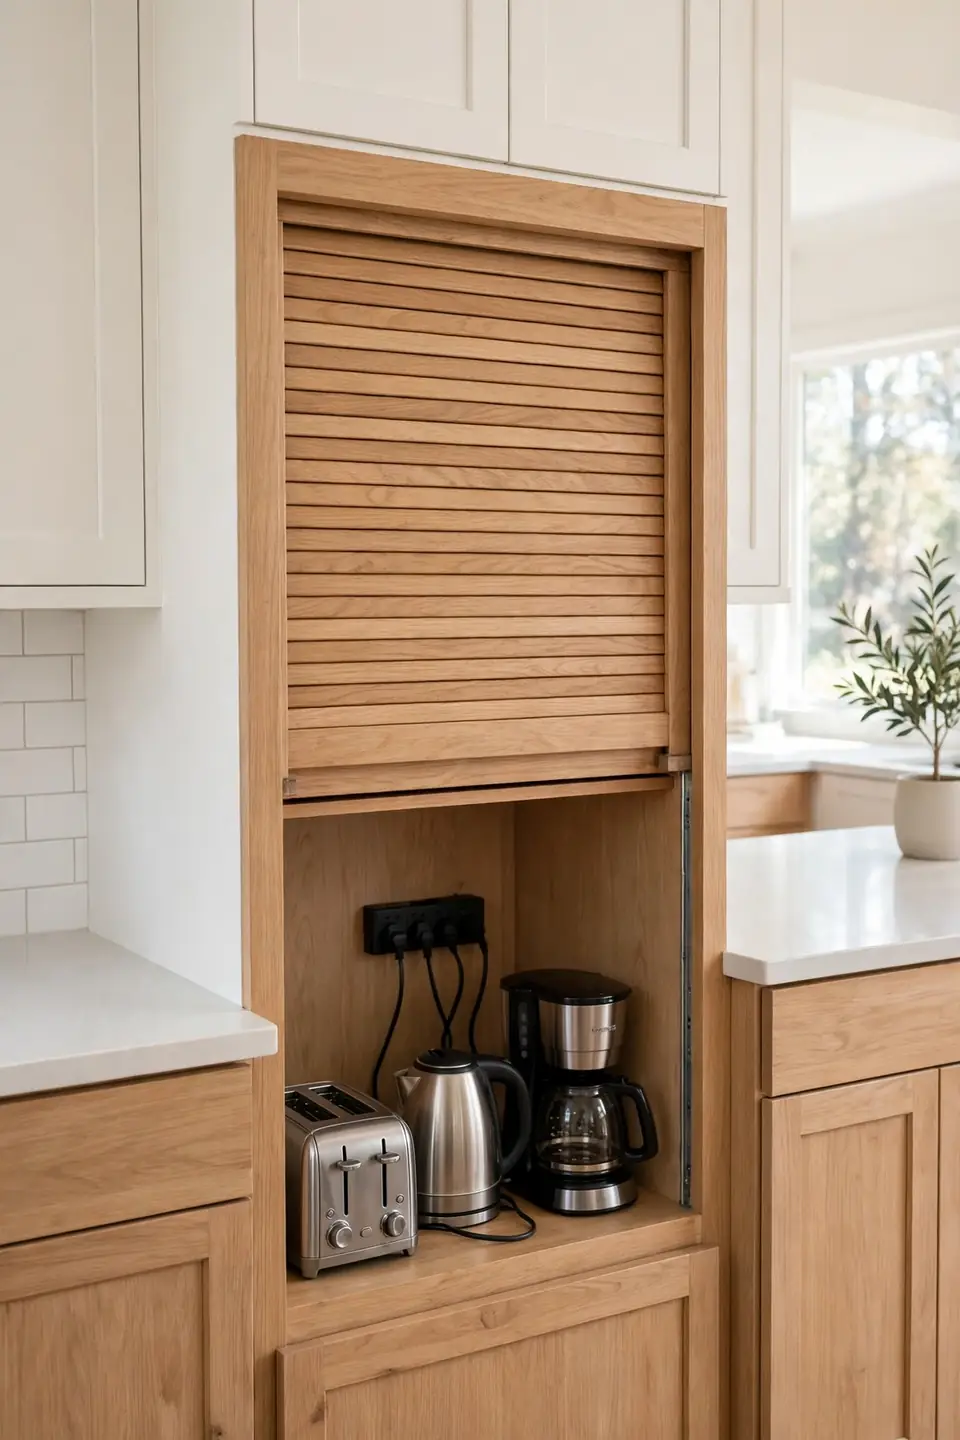
Quick Tip: Give the toaster, kettle, and coffee maker one cabinet with a roll up or flip door and an outlet inside. Breakfast gear lives plugged in yet invisible, and the open kitchen keeps its clean counters for guests to admire.
Garages work best at the counter’s far end, near the fridge, where morning traffic naturally flows. Fit the shelf height to the tallest machine and add a heat safe mat under the kettle. I’ve seen this one cabinet end the daily appliance shuffle for good, because everything returns to a home that closes with one quiet push. Counters stay party ready.
From Closed To Open
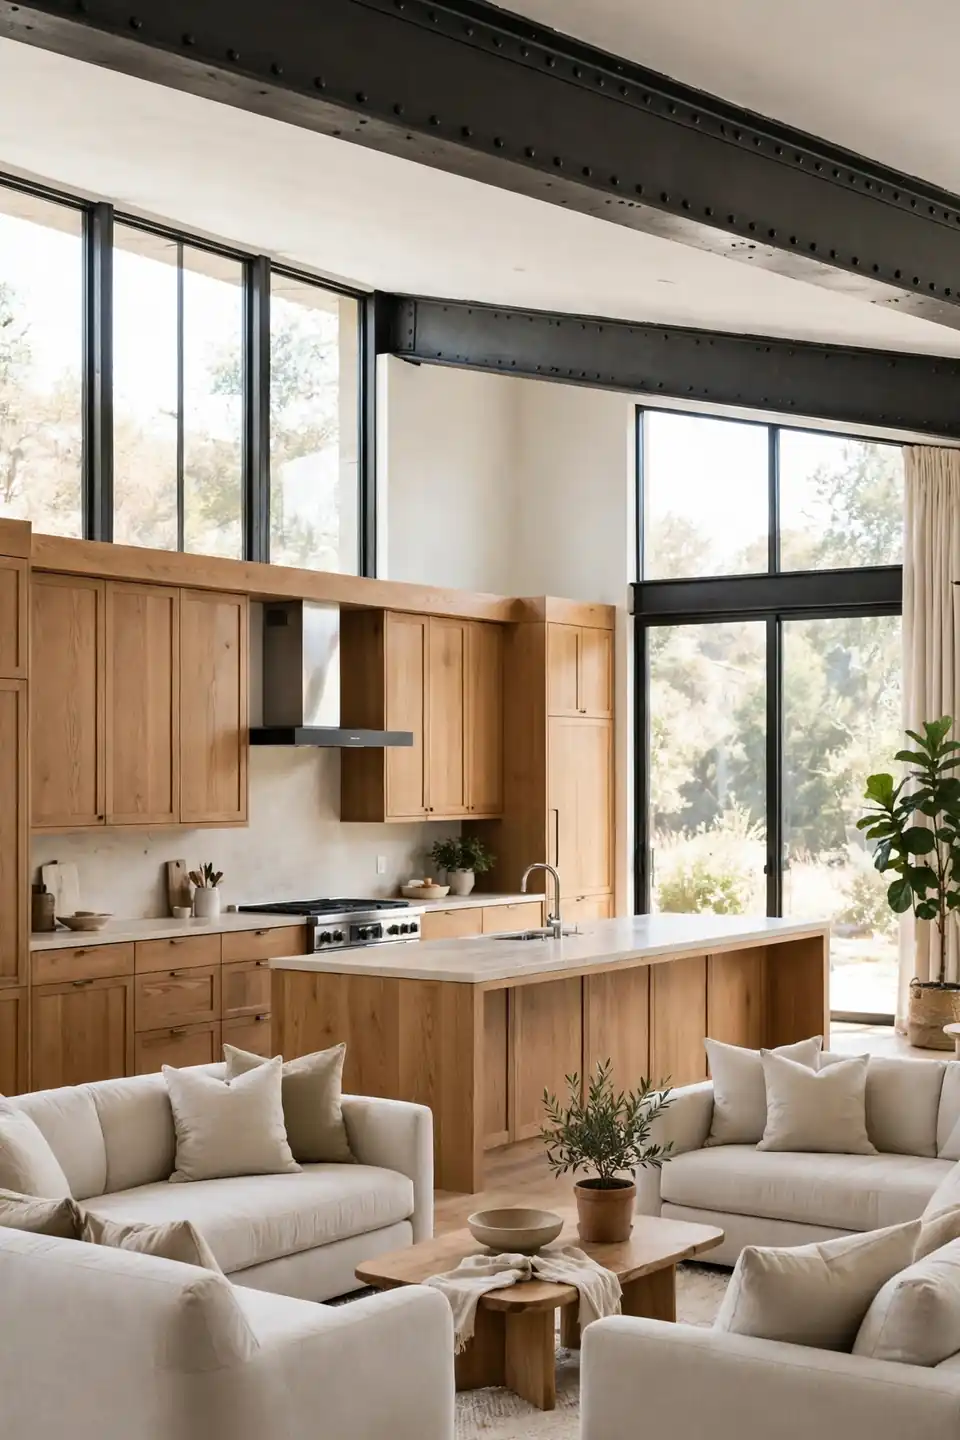
BEFORE: A full wall split the flat into two dim halves. The kitchen got the small window, the living room got the sofa, and dinners meant shouting through a doorway with a hot pan in hand.
AFTER: The wall came out, a steel beam took its place, and one long run of cabinets met a big island. Now the cook faces the room, the light, and the people, and the flat feels twice its measured size.
Full removal is the boldest of the open concept kitchen upgrades, so price the beam, the permits, and the patching before the first swing of a hammer. A structural engineer earns their fee here. The payoff, though, is a home that finally hosts the way its owners actually live.
Pantry Wall Built-Ins
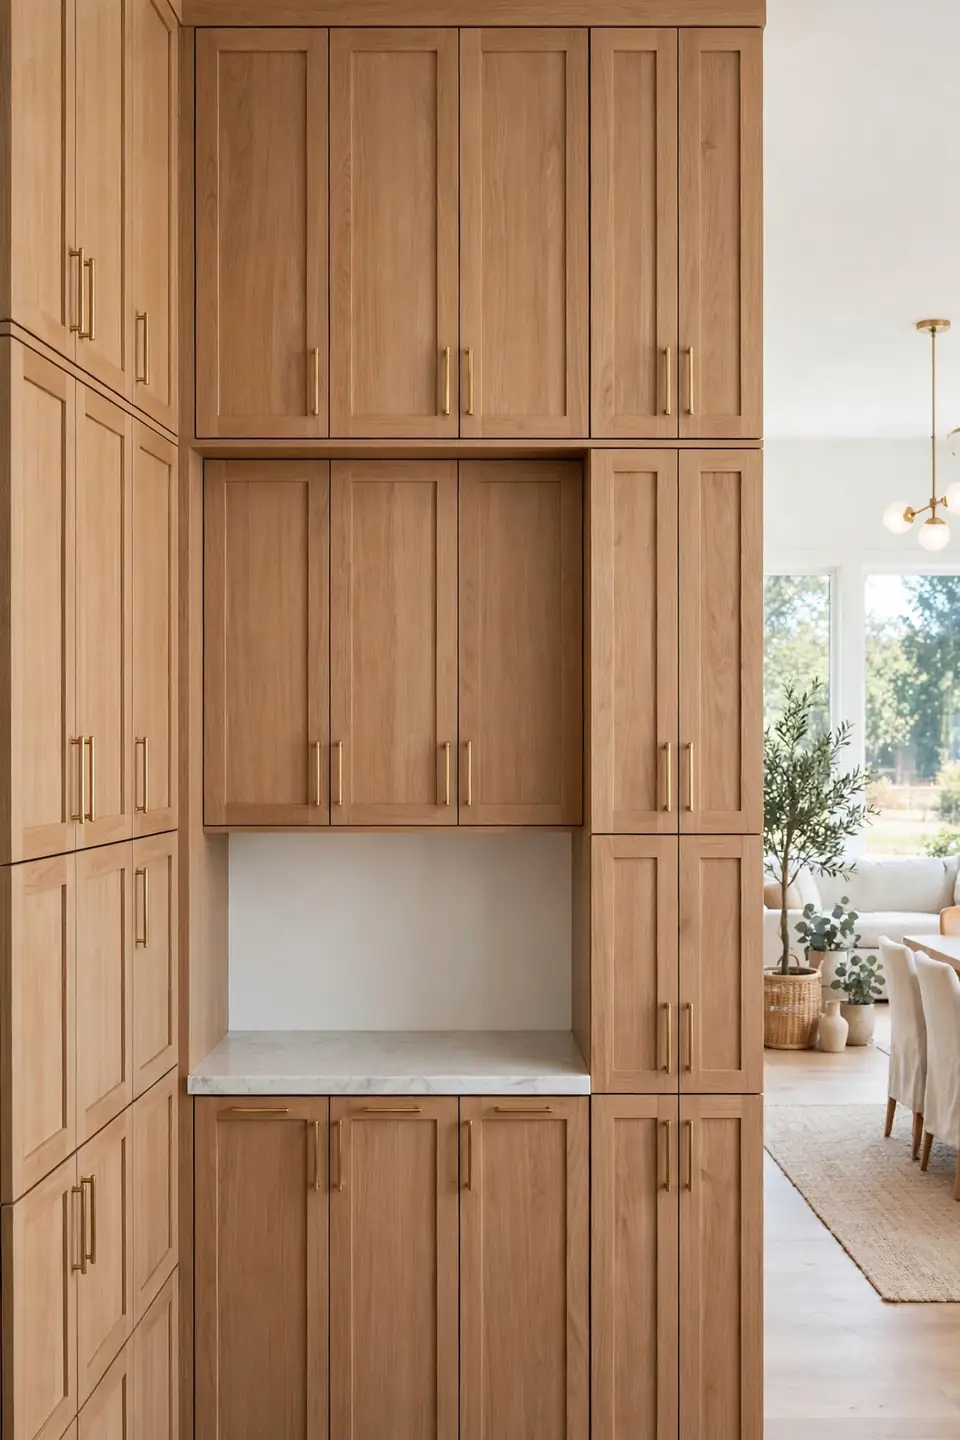
What You Need: One free wall, stock cabinets or shelving, doors that match the kitchen run, and labels you can read at a glance.
- Measure the wall and mark studs, outlets, and the swing of nearby doors.
- Fit tall units at both ends and leave the middle for a work counter.
- Put daily food at eye level, bulk and backup supplies up high.
- Add pull out baskets inside deep units so nothing hides at the back.
- Finish with matching doors and hardware so the wall reads as furniture.
A pantry wall removes the freestanding shelf chaos that open plans expose. Everything edible lives behind calm doors, and the island stays clear for cooking instead of storage overflow during the week.
Butcher Block Versus Quartz
| Feature | Butcher Block | Quartz |
|---|---|---|
| Cost | Lower, often half the price | Higher, priced by the slab |
| Care | Oil monthly, sand out stains | Wipe clean, no sealing needed |
| Look | Warm grain that suits open shelves | Cool, even color with subtle vein |
| Best for | Farmhouse and budget first projects | Busy family kitchens and resale |
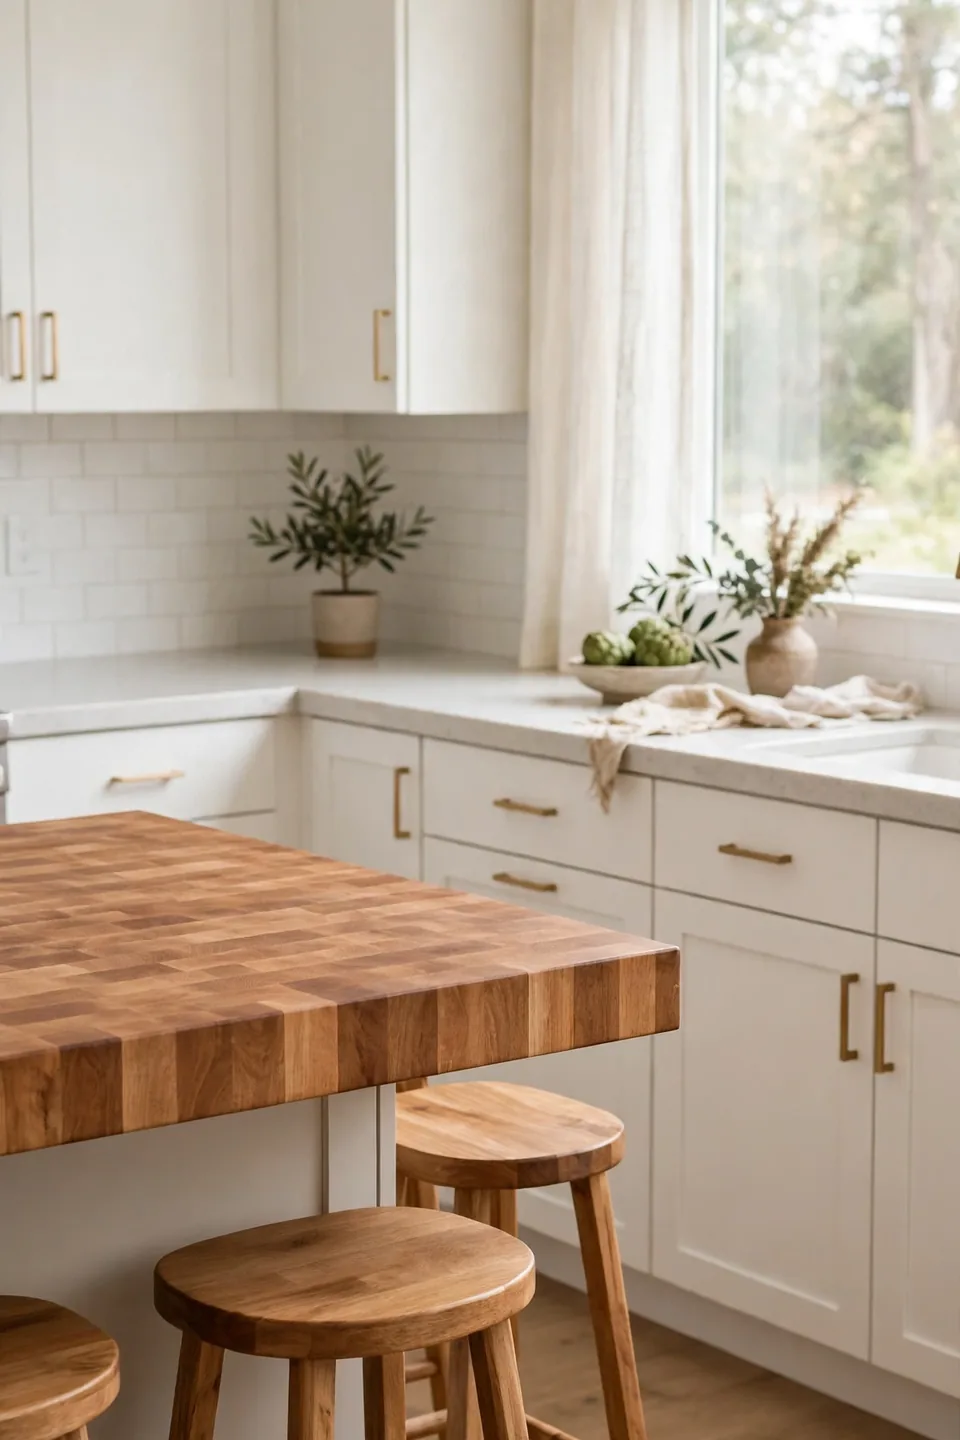
Counters carry the open kitchen’s look more than any other surface, because they face both rooms all day. Block warms a white scheme and forgives a tight budget; quartz shrugs off red wine and homework ink alike. Many couples split the difference: quartz on the work run, a thick block slab riding the island.
Matching Floor Run-Through
Do:
- Run one floor from the front door through the kitchen.
- Pick waterproof luxury vinyl or sealed oak for the wet zone.
- Lay planks toward the longest window to stretch the view.
- Keep one spare box of boards for future repairs.
Don’t:
- Break the floor at the old wall line with a threshold strip.
- Mix three wood tones between kitchen, hall, and living room.
- Choose glossy tiles that show every crumb and paw print.
- Forget the underlay; footsteps echo in open plans.
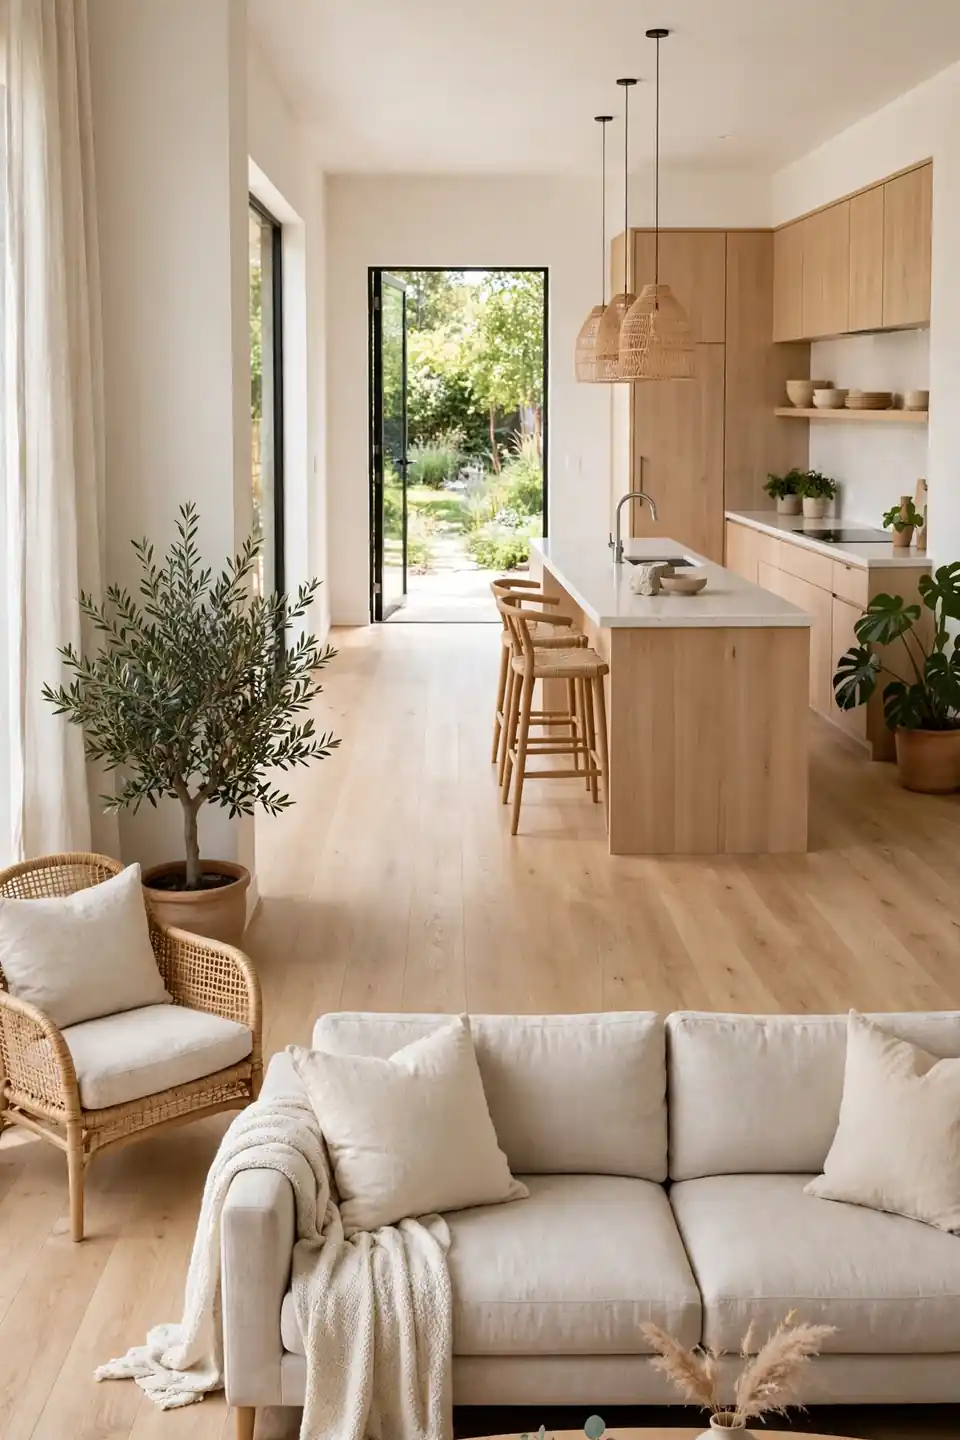
One continuous floor is the quiet upgrade that makes removal of a wall look finished. The eye travels without a bump, furniture groups float where they please, and the whole level reads as one generous room rather than two patched halves.
Ceiling Beam Definition
Cost: A faux beam in foam or hollow pine starts near two hundred dollars
Time: One day to fit, caulk, and paint
Skill Level: Intermediate; ladders and long miters involved
Best For: Long open rooms where the kitchen blurs into the lounge
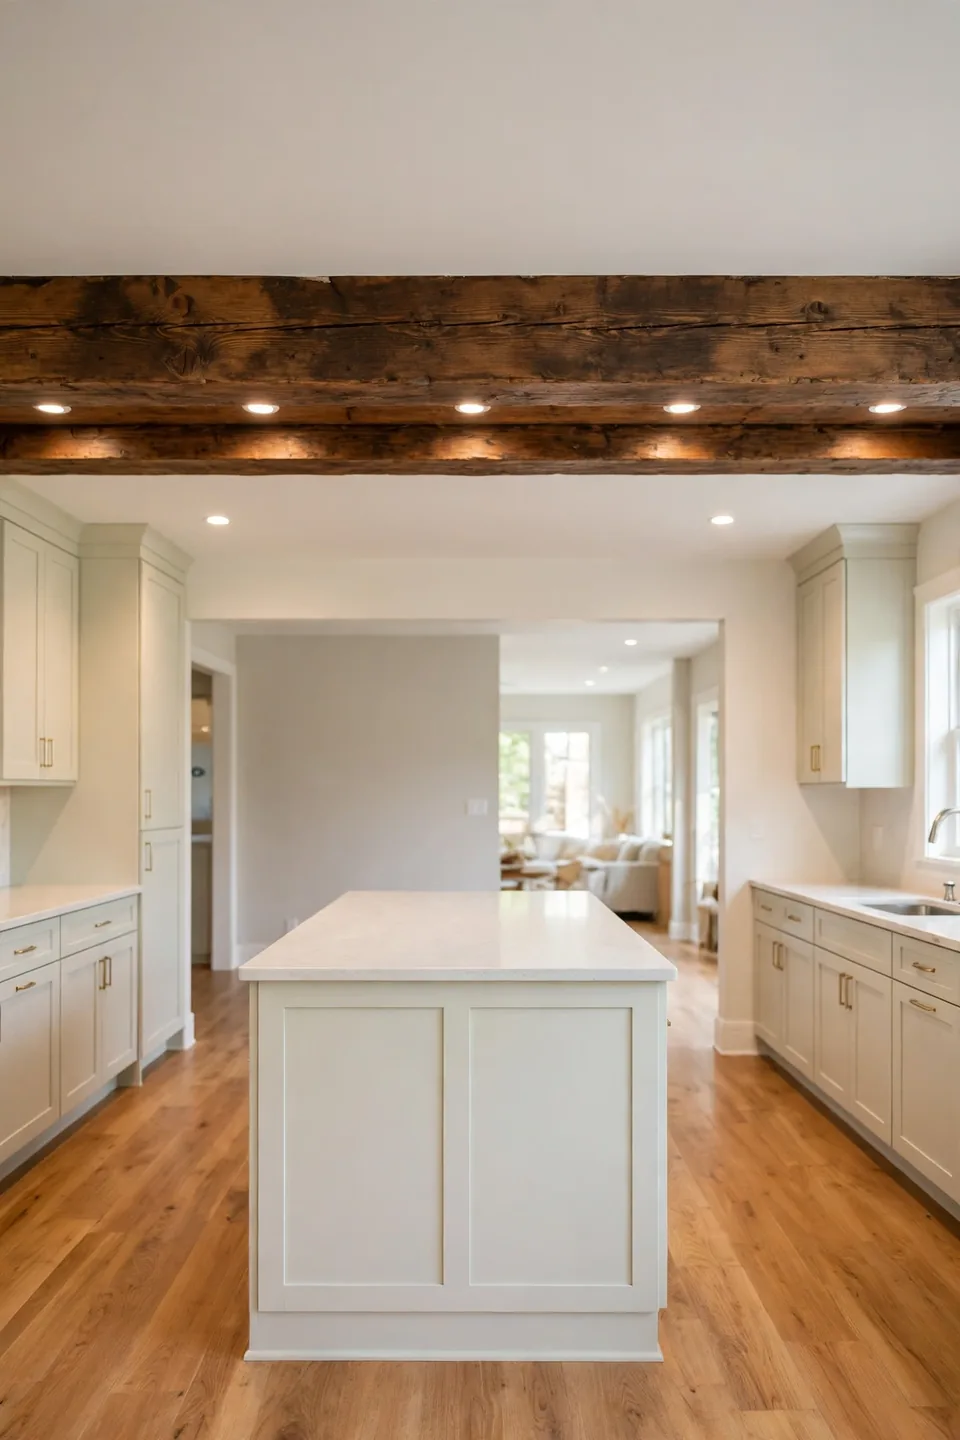
Where a wall disappears, a beam can draw the border in the air. It gives the kitchen its own ceiling territory, carries recessed lights or a pot rail, and echoes the island below. Paint it white for calm or stain it to match the floors; either way, guests read the room’s zones without a single wall standing. Simple, and it works.
Glass Front Uppers
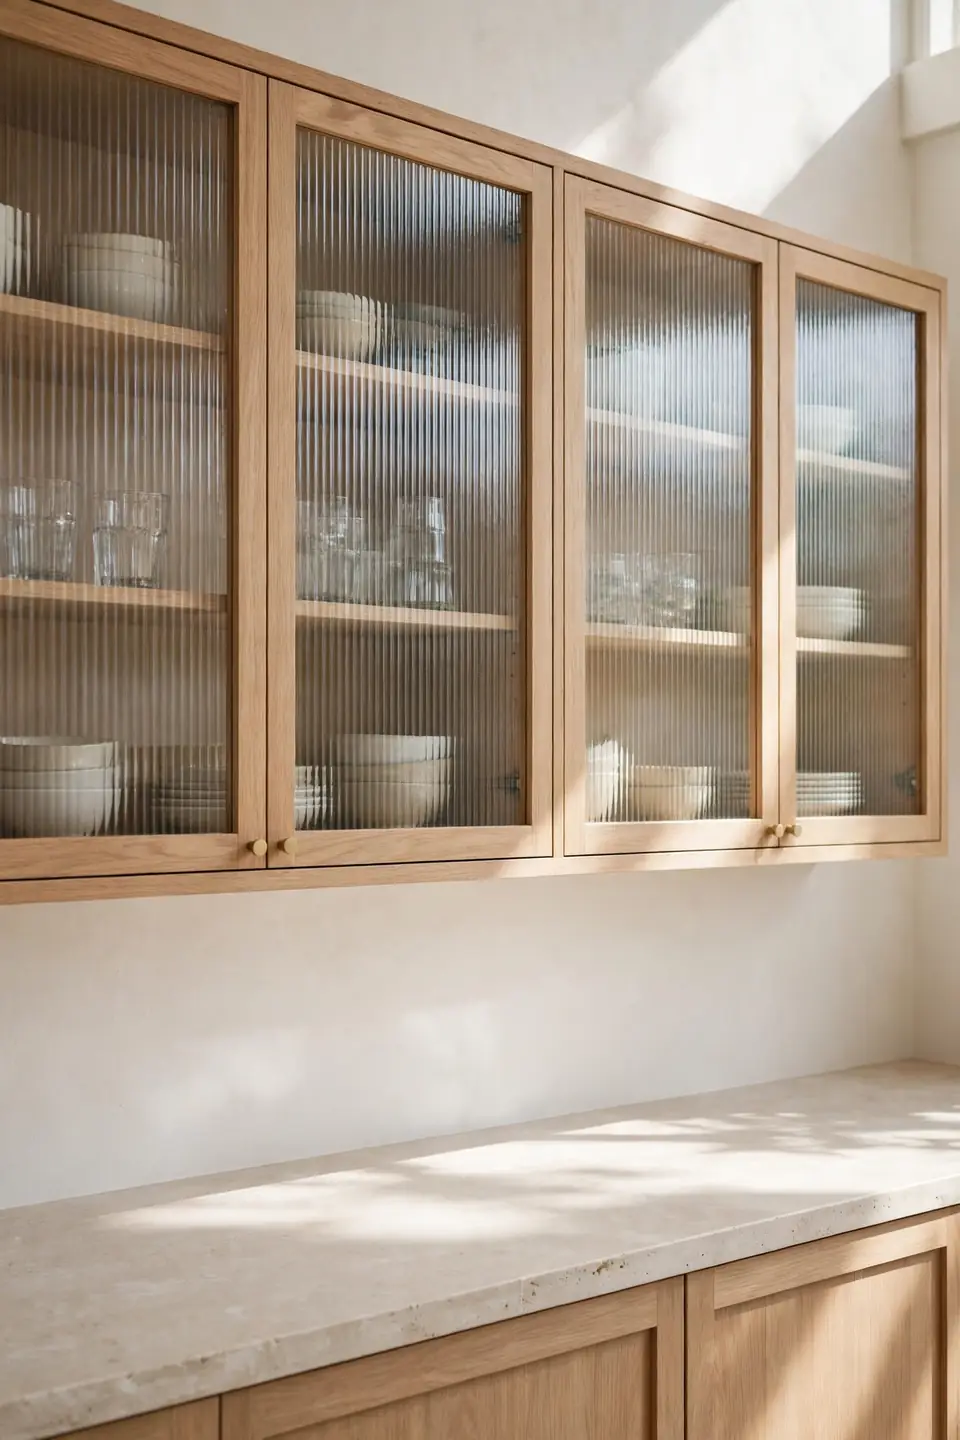
Solid cabinet doors can wall off an open kitchen all over again. Glass fronts lighten the run, show off pretty bowls and glasses, and bounce window light deeper into the room. The effect reads as display, not storage. Light wins twice here.
Frosted or reeded glass forgives the everyday jumble behind it while clear panes suit the truly tidy. Keep the top shelf for the good pieces and daily glasses low. In my experience, two glass doors in a long run are plenty; the rhythm of frame, glass, frame keeps the wall interesting without turning the kitchen into a shop window.
Sink In The Island
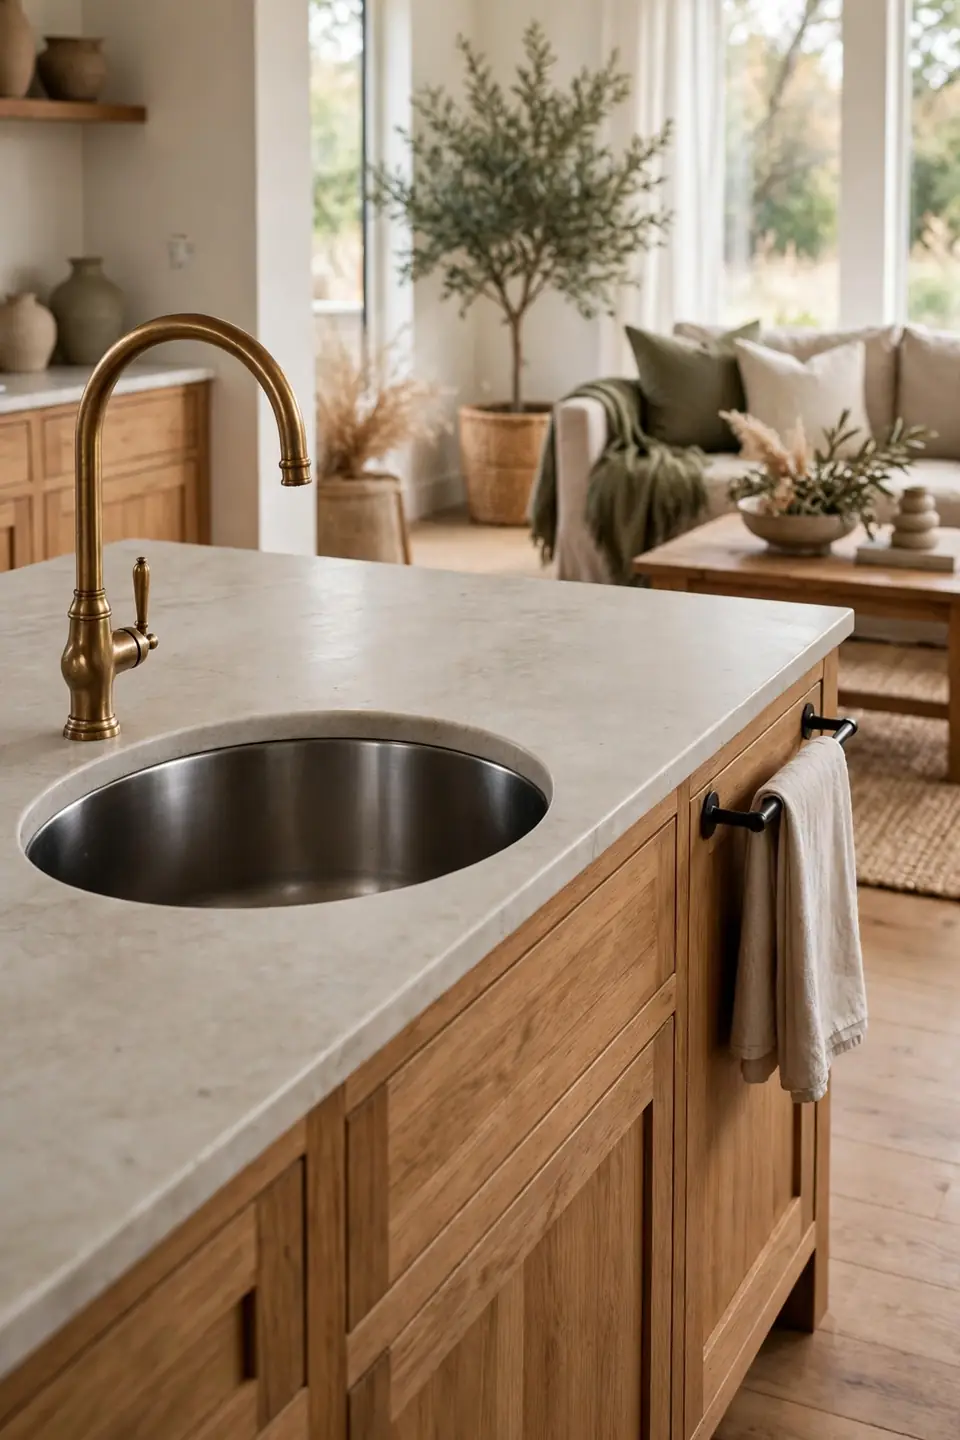
- Center the sink on the island’s long side for a social wash up spot.
- Face the cook toward the living room, never toward a blank wall.
- Fit a deep single bowl that swallows roasting pans whole.
- Run the dishwasher beside it and a bin pull out on the other side.
- Pick a faucet with a pull down sprayer and a calm, quiet arc.
An island sink turns cleanup into part of the evening instead of exile from it. Rinsing, chatting, and watching the room happen at once, the cook stays in the conversation. Just keep a folded towel rail on the island end, because drips travel when helpers carry glasses across the new open stretch.
Pot Filler Convenience
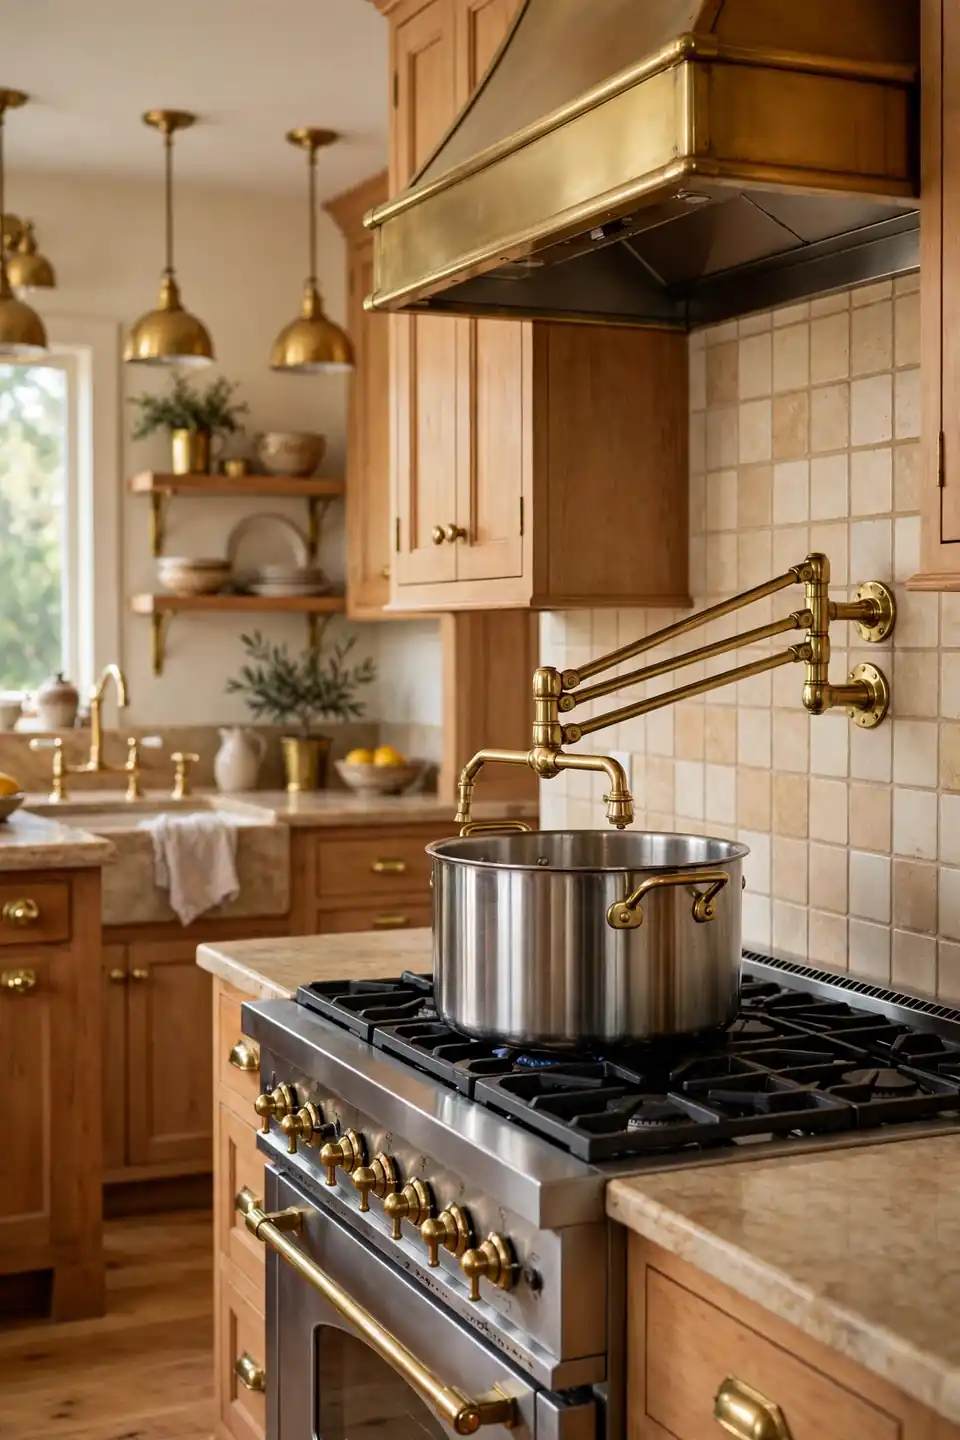
Quick Tip: Mount a swing arm pot filler on the backsplash behind the range. Heavy pasta pots fill at the stove instead of crossing the open room from the sink, and the tap folds flat when the cooking is done.
The plumbing run is short when the range backs onto a wet wall, so the upgrade often costs less than feared. Choose a finish that matches the faucet across the room and the two fixtures rhyme. It is a small luxury, yet on soup nights and pasta Sundays it feels like the kitchen finally thought ahead for the cook who fills the big pot.
Banquette By The Window
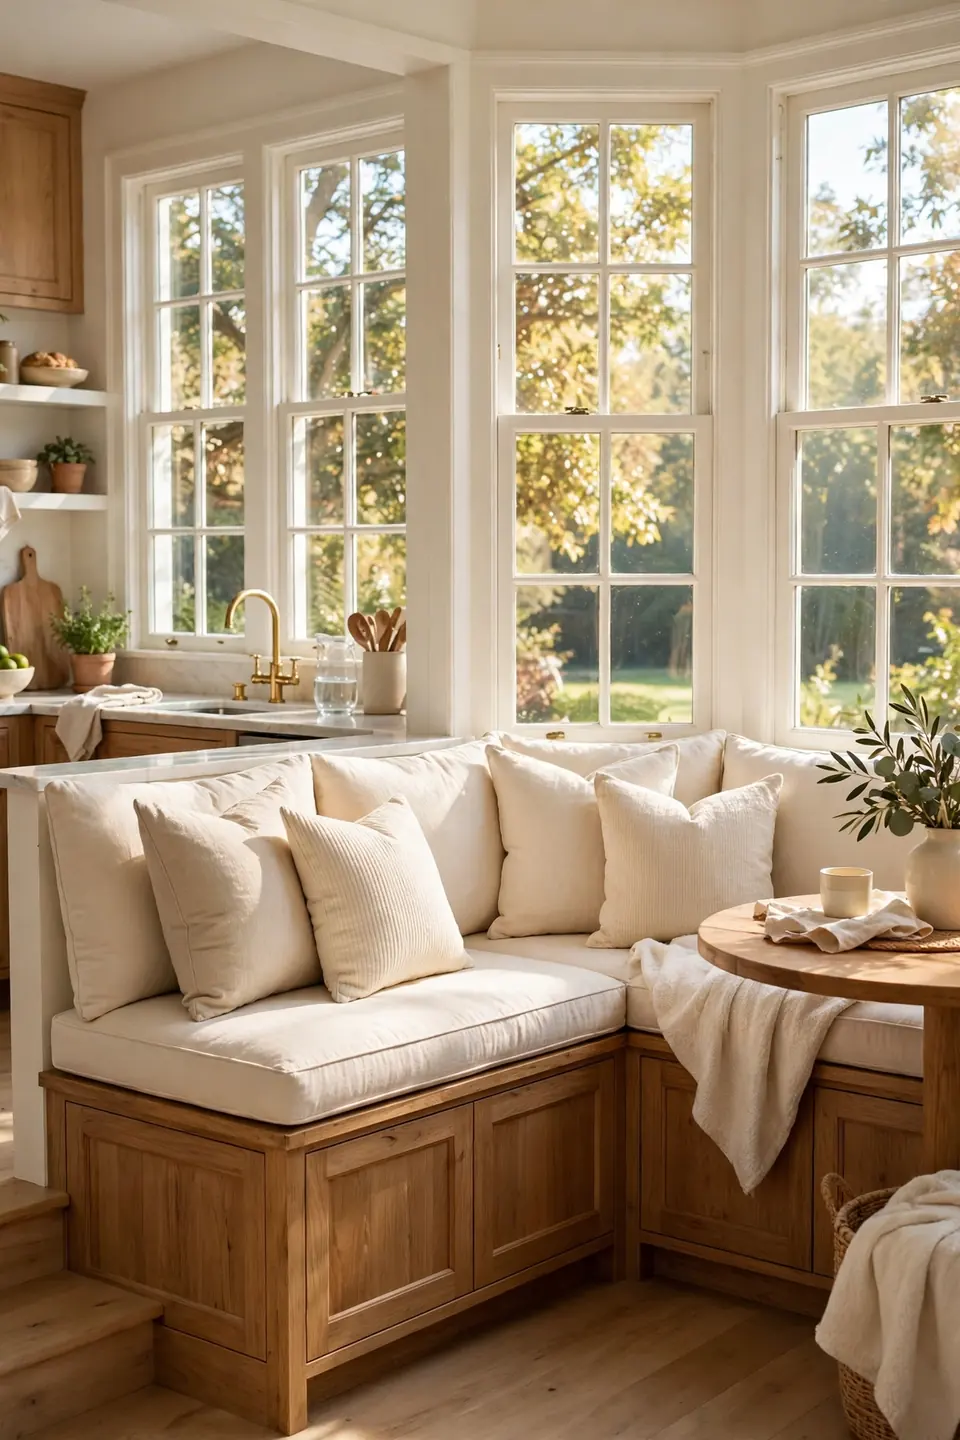
BEFORE: A small table floated in the walkway between kitchen and living room, chairs scraping out into traffic. Meals felt temporary, and the pretty window bay beside it sat empty except for a plant stand.
AFTER: A built in banquette hugs the bay, its bench seats hiding blankets and board games. The table tucks close, four people sit in comfort, and breakfast lands in the best light in the house.
Banquettes return the inches chairs waste, roughly a foot of clearance on the bench side. Cushions in outdoor fabric shrug off jam and coffee, and the nook quickly becomes homework central, laptop desk, and the seat every guest claims first on slow weekend mornings at home.
Smart Storage Pull-Outs
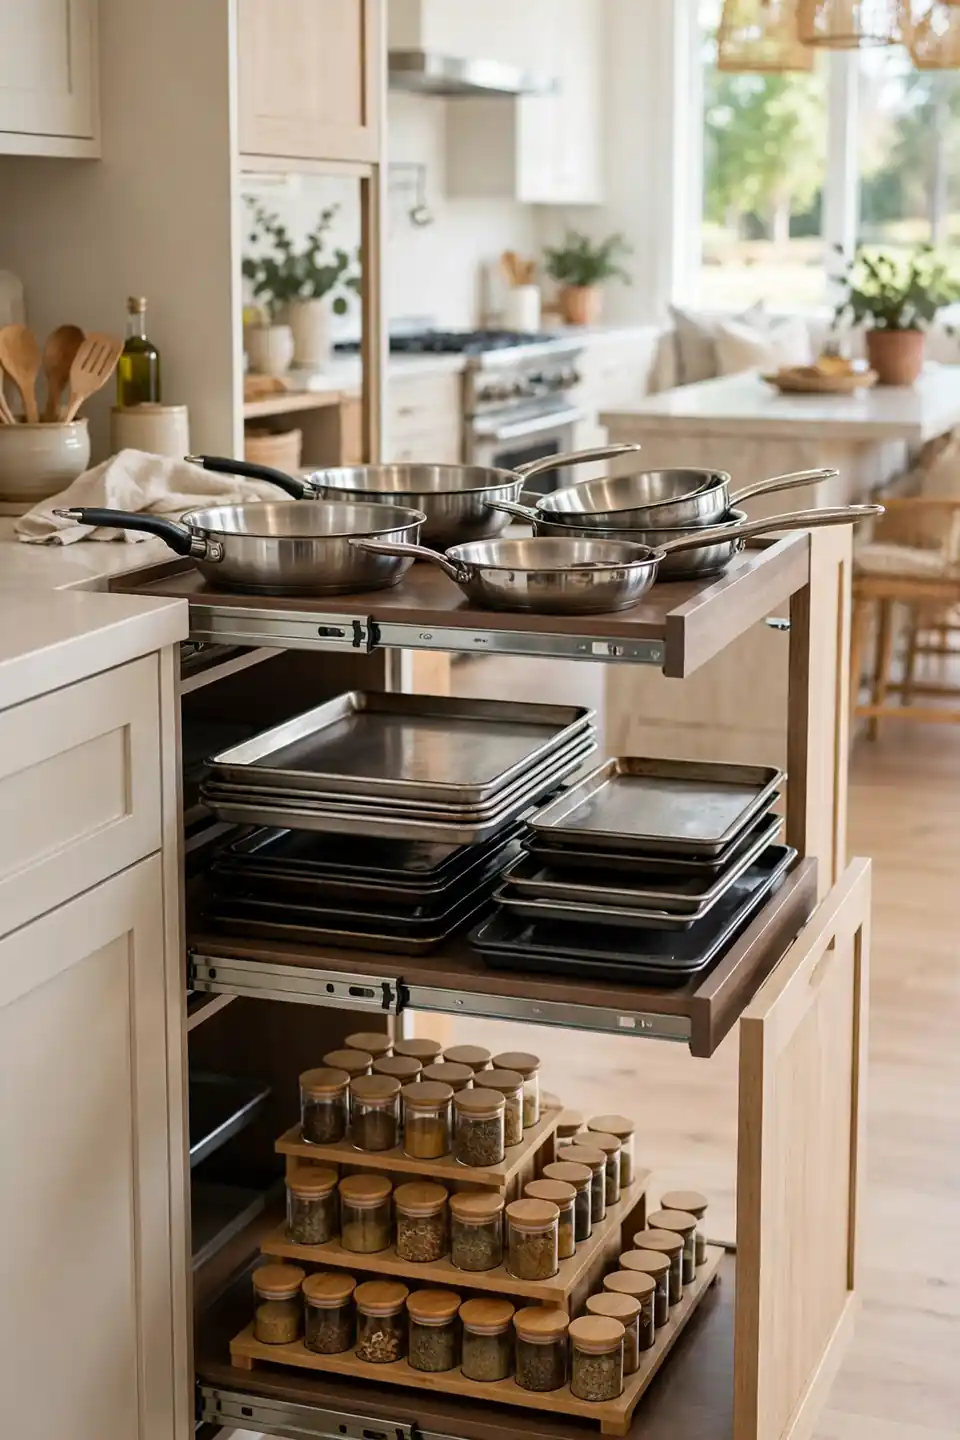
What You Need: Cabinet measurements, full extension runners, and bins sized to what you actually store.
- Empty one cabinet and group its contents by task, not by shape.
- Measure depth and height, then order pull outs two centimeters narrower.
- Fit runners level and test the glide before loading anything heavy.
- Load heavy pans low, spices and oils on a tiered pull out.
- Label the cabinet door inside so guests can help put things away.
Open plans punish clutter because nothing hides, and pull outs are how deep cabinets stay honest. Pots march out to meet the cook instead of hiding in a dark stack. Start with the pan cabinet beside the range; the daily relief sells the rest of the project on its own.
Gas Versus Induction Range
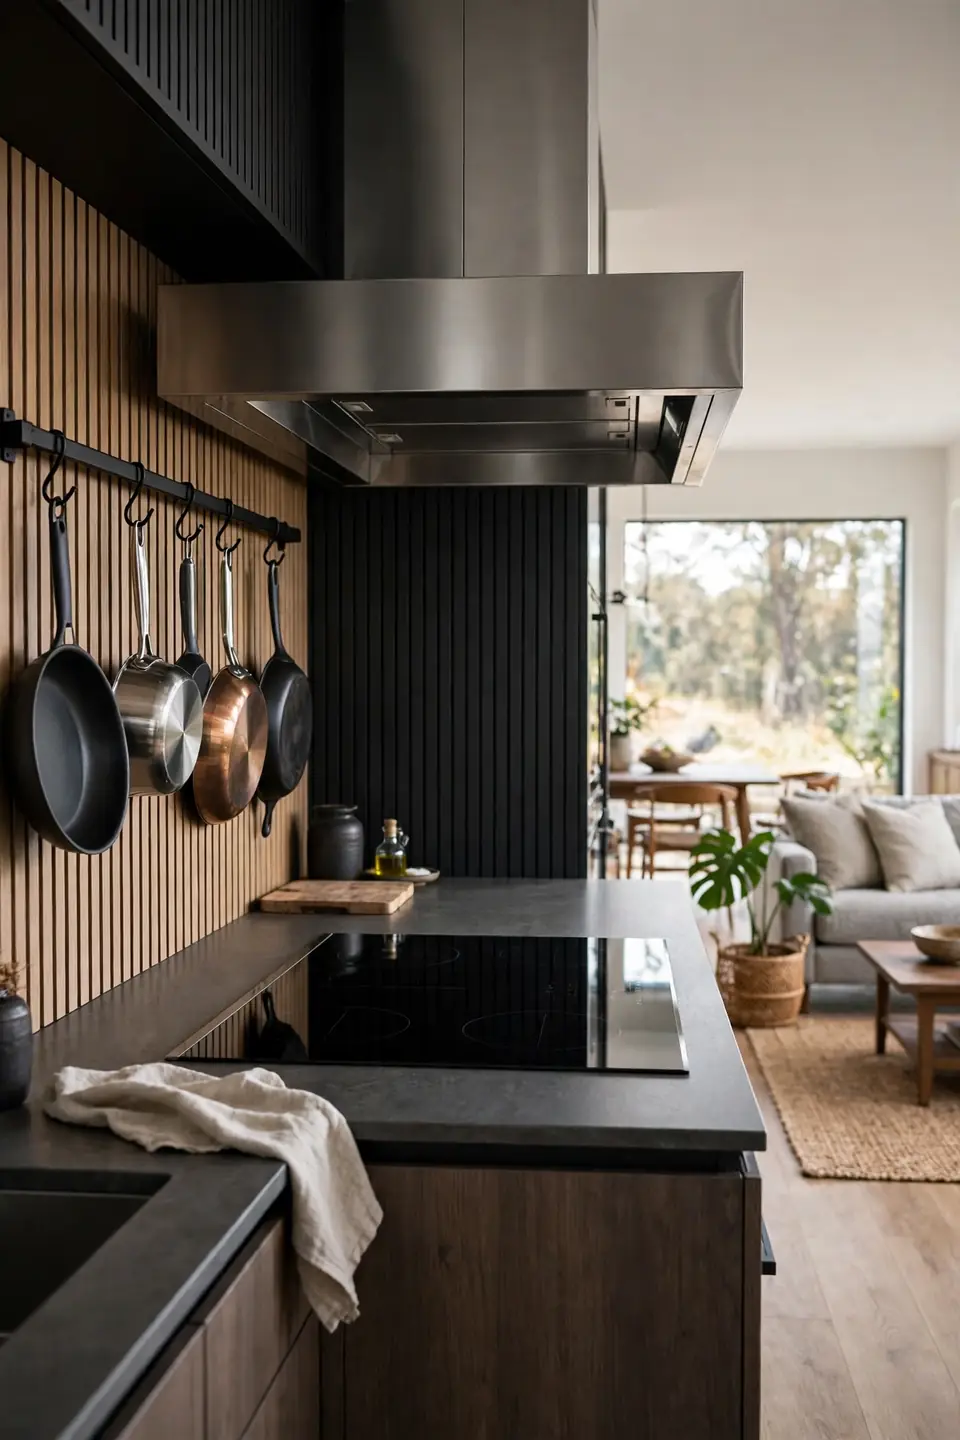
| Feature | Gas | Induction |
|---|---|---|
| Heat control | Instant flame, visual and familiar | Fast boils, precise low simmer |
| Cleaning | Grates lift, crumbs hide beneath | Flat glass wipes in seconds |
| Cookware | Nearly every pan works fine | Needs magnetic based pans only |
| Open plan fit | Adds warmth, needs strong venting | Cool surface, safer around kids |
The range anchors the open kitchen’s working wall, and the choice shapes daily life more than dinner parties. Gas feels familiar and forgiving; induction boils faster and keeps the room cooler while guests linger nearby. Borrow a plug in induction plate for a month before deciding, and let real weeknight cooking cast the deciding vote.
Cohesive Color Palette
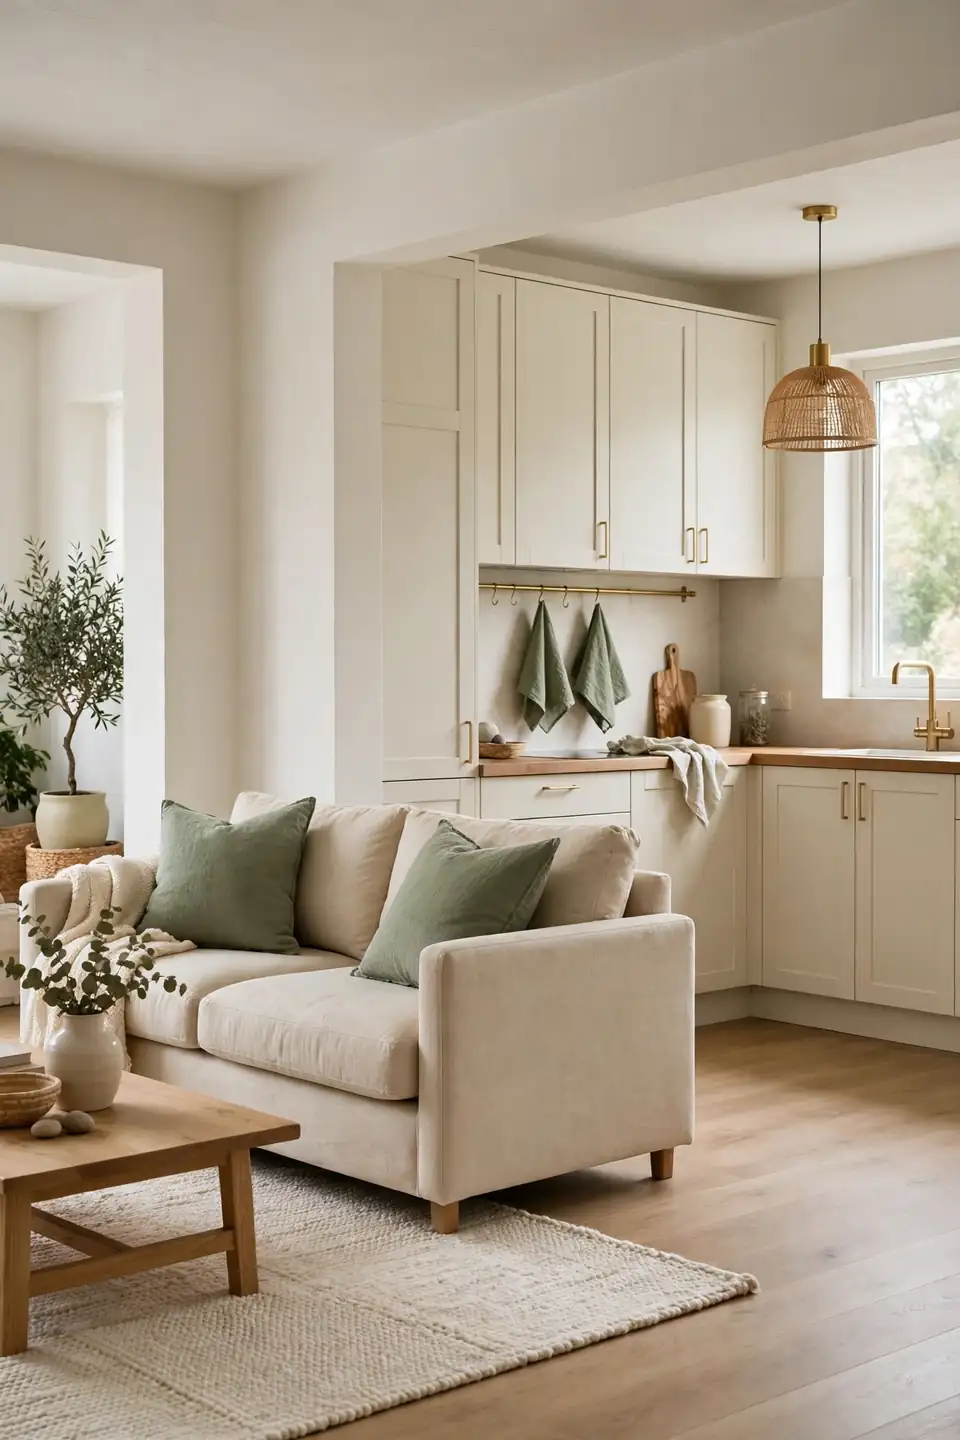
Do:
- Carry the living room’s main color into kitchen textiles.
- Limit the whole open level to three main tones.
- Repeat wood and metal finishes at least twice each.
- Test paint swatches under morning and evening light.
Don’t:
- Paint the kitchen a loud color the lounge cannot answer.
- Mix cool grey cabinets with warm orange floors.
- Buy every appliance in a different finish.
- Match everything so exactly that the rooms feel flat.
One palette is the cheapest upgrade on this page, because paint and textiles cost little and change everything. Stand at the front door and squint: the open level should read as one calm picture, with the kitchen’s color notes echoing the sofa, the rug, and the art across the way.
Layered Lighting Plan
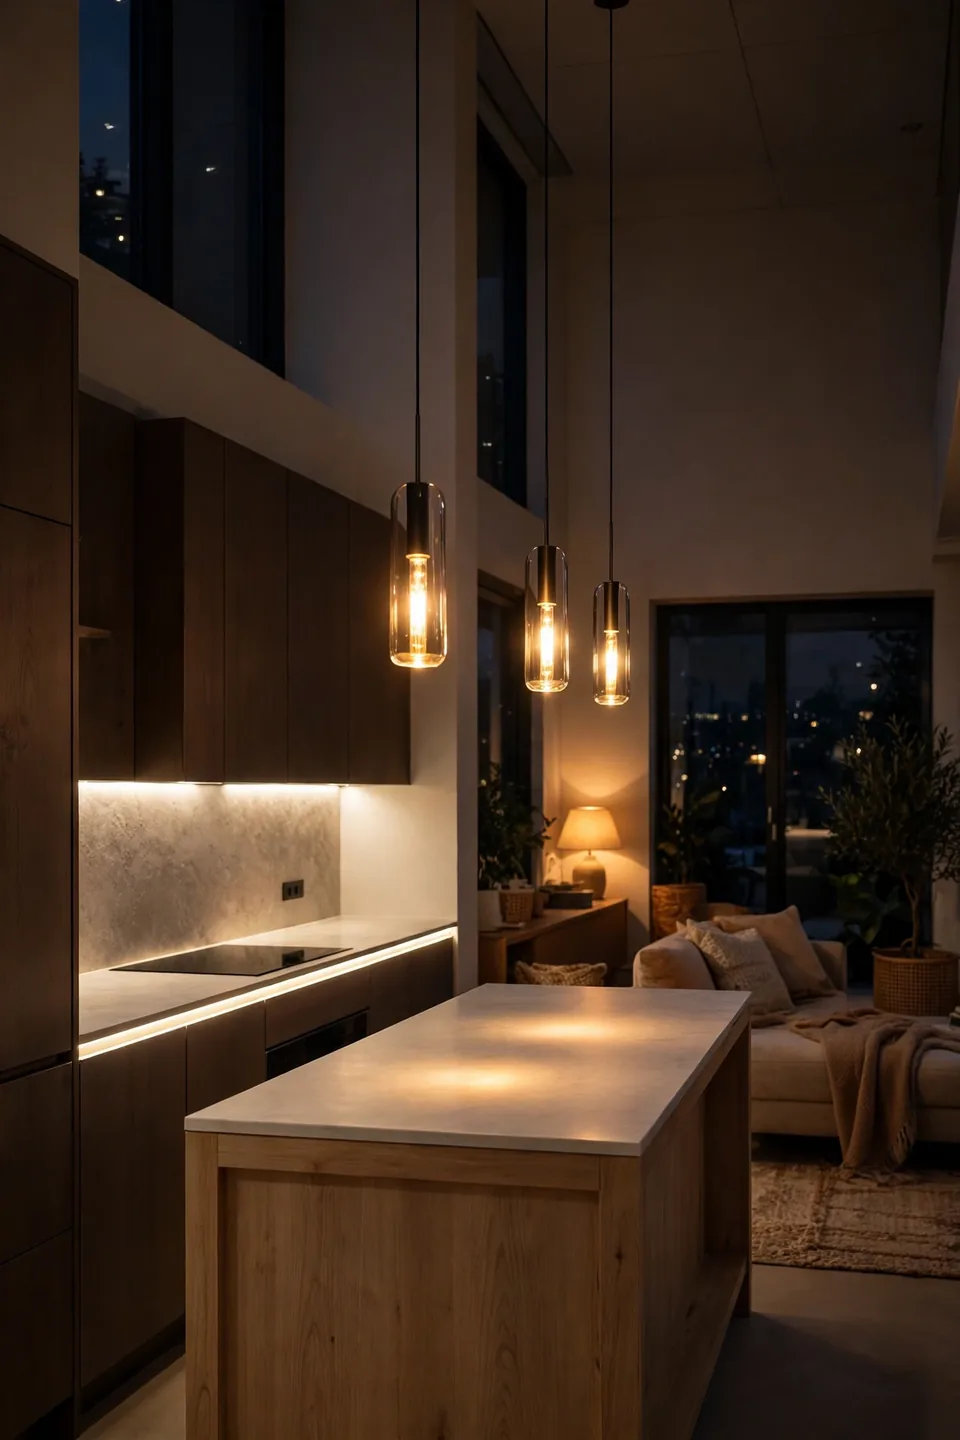
Cost: Pendants, under cabinet strips, and dimmers start near four hundred dollars
Time: A weekend with an electrician for new points
Skill Level: Mixed; pros wire, owners choose and fit shades
Best For: Open kitchens that feel flat or harsh after dark
Walls came down, so light has to do the zoning now. Task light over counters, pendants over the island, and a soft lamp glow from the living side give the open plan its evening shape. On separate dimmers, the same room cooks bright at six and glows gently by nine, and nobody misses the wall that used to hold the switches.
Conclusion
Open kitchens reward bold moves made in the right order: structure first, then storage, light, and color. Pick the upgrade your room complains about most, whether that is a missing island, a dark work run, or counters that never clear. These open concept kitchen upgrades build on each other, so one finished project makes the next one easier. Save this pin for the weekend planning session, share it with the person who shares your kitchen, and start with the change you will feel every single day. I’ve seen small upgrades completely shift how a home gathers.