25 One Wall Kitchen Ideas for Smart, Space-Saving Style
One wall is all some kitchens get, and honestly, it can be plenty. Smart one wall kitchen ideas turn a single straight run of cabinets into a kitchen that cooks, stores, and hosts without wasting a step. The layout stays honest: everything within reach, nothing lost in awkward corners, and a clear working line from fridge to sink to stove.
Inside are twenty five layouts, finishes, and storage moves sized for apartments, studios, and narrow family homes, each one built around that single wall. The soft palette tricks used in blush pink bedrooms work here too, because warm neutrals and layered light make a compact run feel generous. In my experience, the kitchens that succeed plan the wall like a sentence, every element in order and nothing extra.
Sage Green Single Run

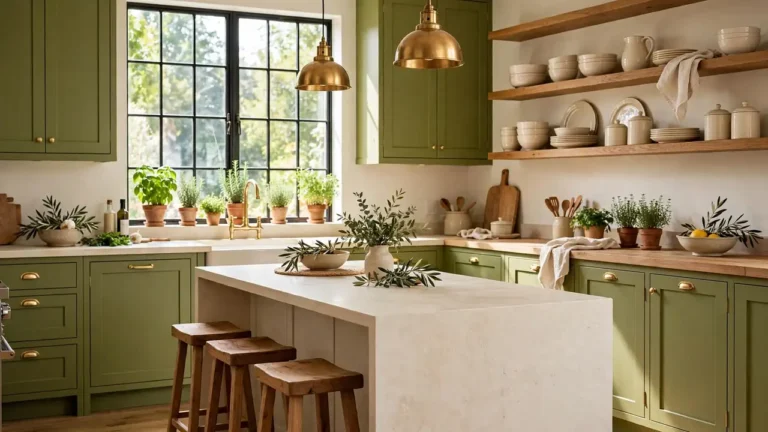
Soft sage does something clever on a single run: it reads as a color and a neutral at the same time. Painted across one unbroken line of cabinets, the green calms the wall instead of chopping it into boxes, and pale oak counters keep the whole run feeling light. The eye travels the length of the kitchen without a single visual stop.
Keep the upper cabinets the same sage or drop them for one long shelf, because mixed colors shorten a short wall. Brass or brushed nickel handles warm the green up, while matte black can push it cold. I’ve noticed sage hides everyday splashes better than white, which matters when every cabinet sits in the splash zone of daily cooking.
Open Shelves Above Counter
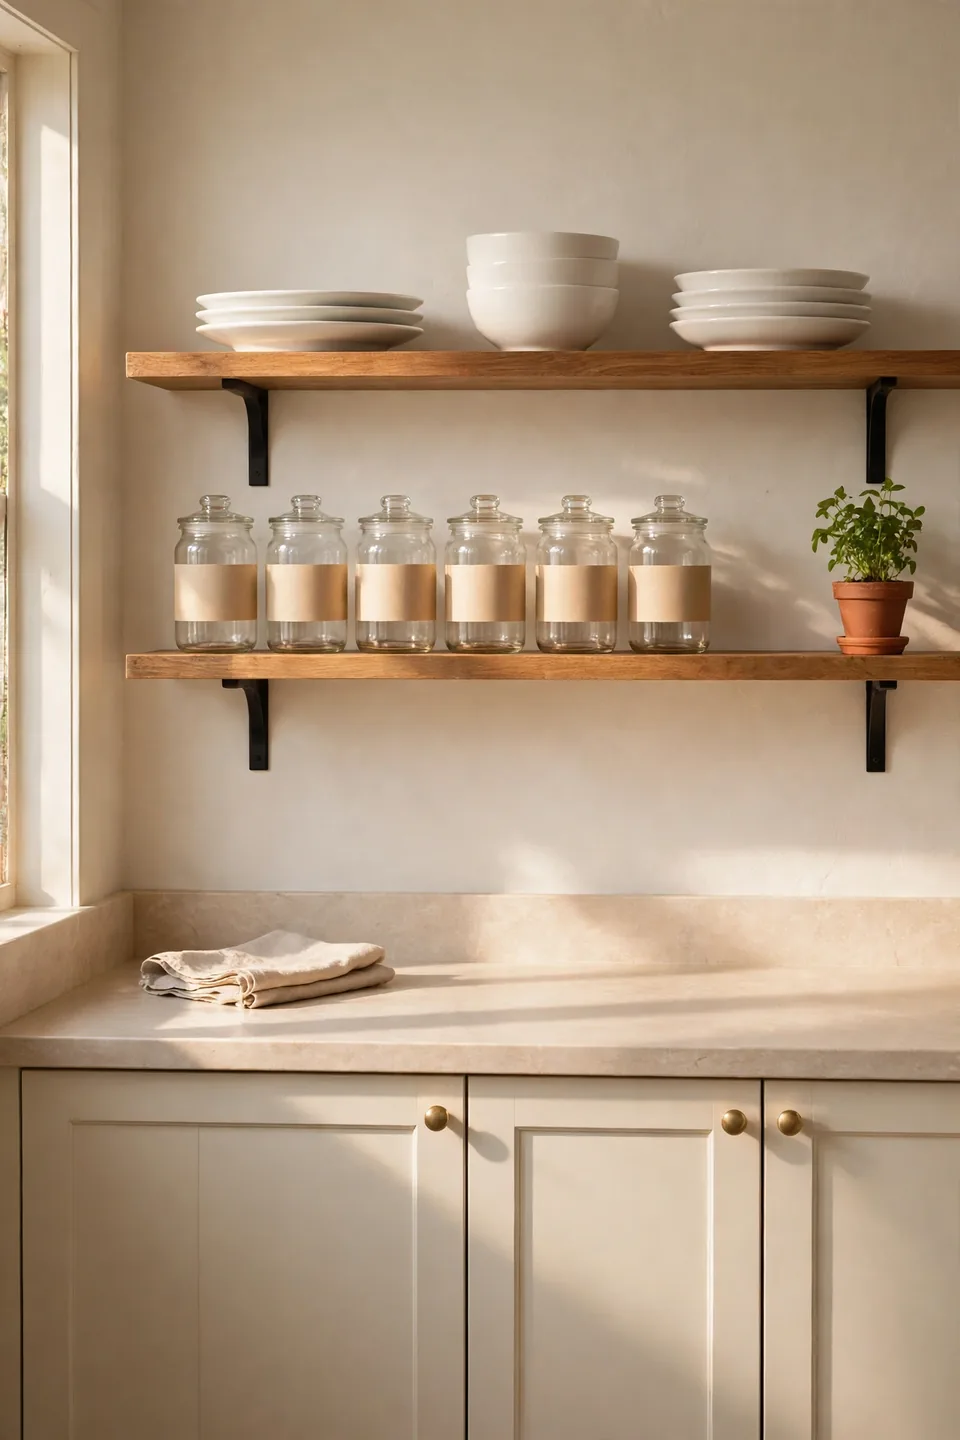
- Swap upper cabinets for two long oak shelves and the wall instantly breathes.
- Store daily dishes and glasses on the lowest shelf, within easy reach.
- Keep jars uniform and labels blank or turned inward for a calm look.
- Leave breathing room between groups; crowded shelves read as clutter.
- End the shelf run a few inches before the wall ends for a finished edge.
Shelves suit a single wall because they remove the heavy box shadows that upper cabinets throw across the counter. The trade is honesty: everything shows, so everyday pieces earn the shelf and the rest moves into base cabinets. Dust settles faster than in closed cabinets, so choose shelves only if a weekly wipe feels painless. Most owners find the light, open feeling worth that small routine.
Slim Breakfast Ledge
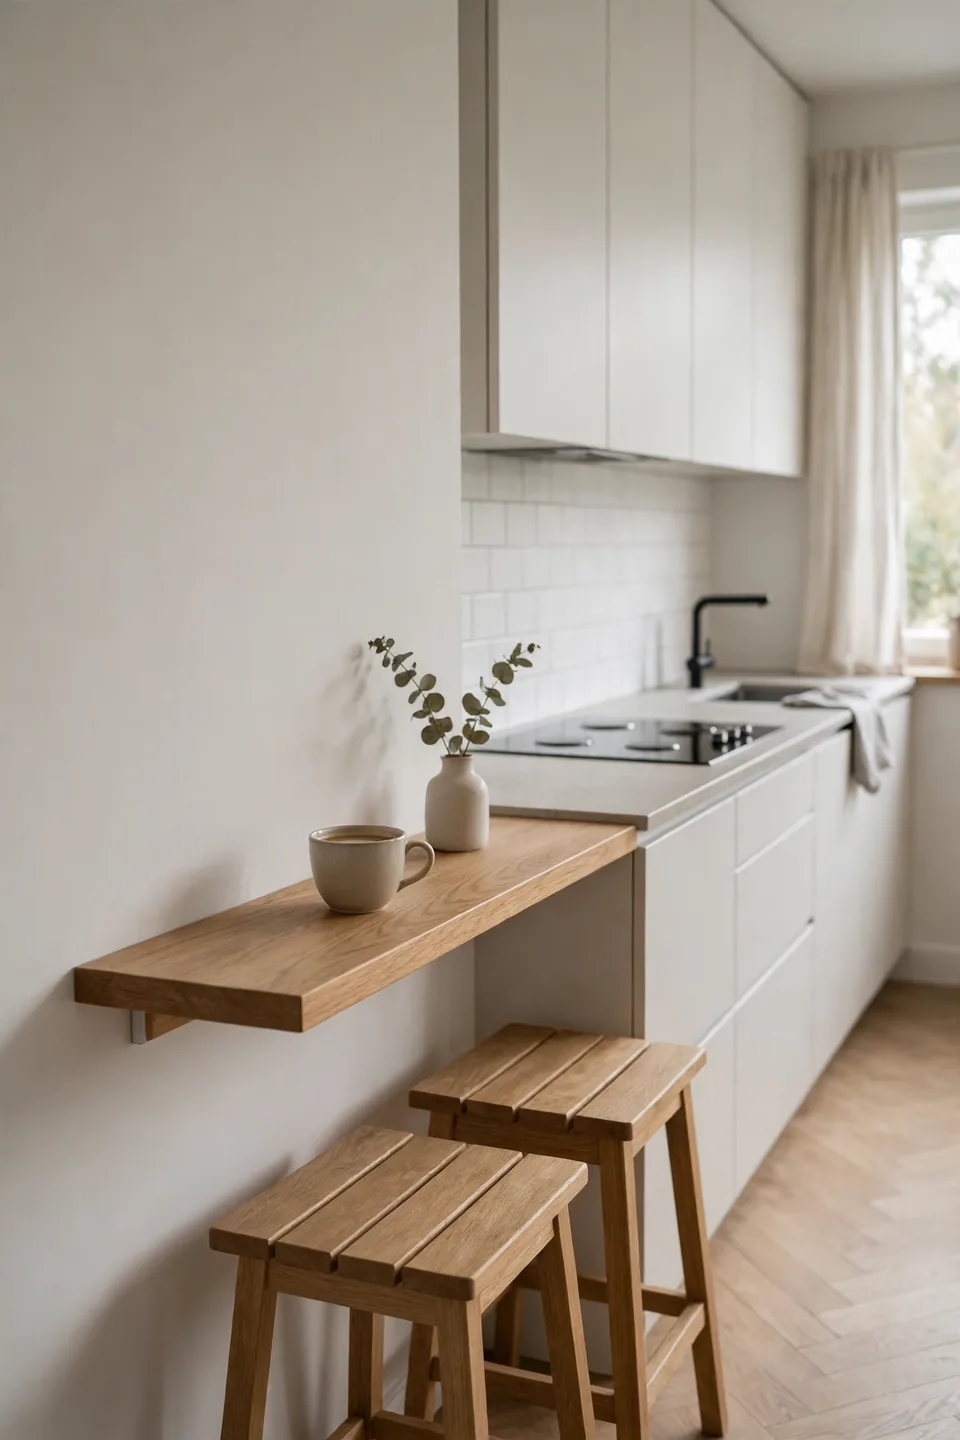
Quick Tip: Mount the ledge at counter height, around thirty six inches, and keep it ten to twelve inches deep. That depth holds a plate and a laptop without stealing floor space, and stools slide fully underneath so the walkway stays clear.
A ledge gives a one wall kitchen the dining spot it seems to lack, without pretending there is room for a table. Set it on the facing wall or under a window, and breakfast, homework, and laptop work all leave the counter free for cooking. In small homes this narrow strip often becomes the hardest working surface in the room, precisely because it asks for so little space.
Cramped Corner To Calm
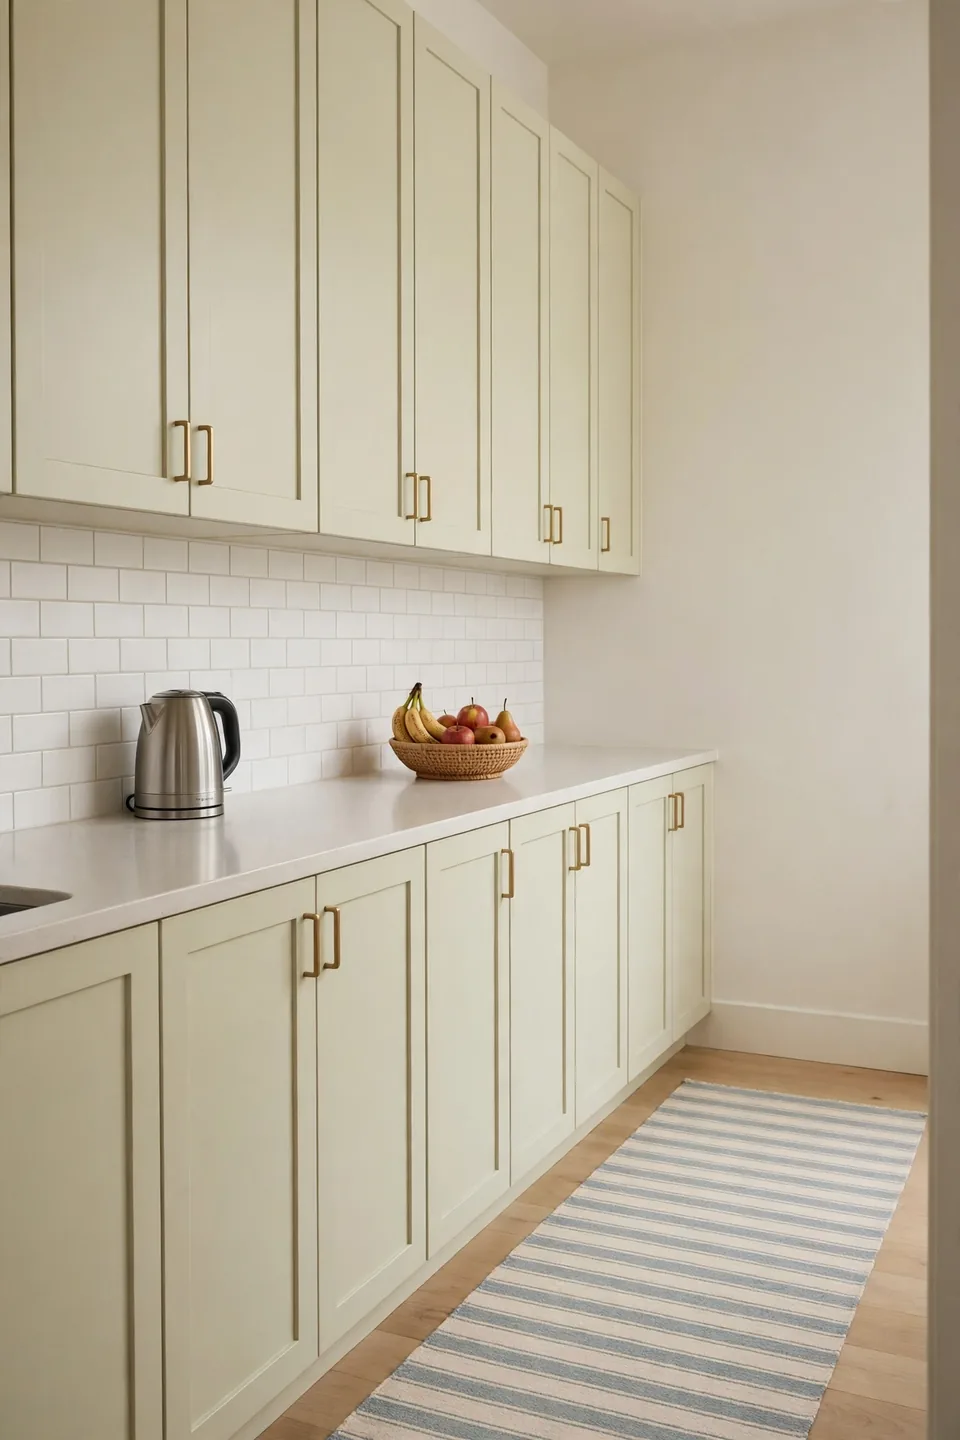
BEFORE: The old kitchen crammed a fridge, stove, and sink along one wall with a microwave wedged between them and counters buried under mail and a drying rack that never emptied. Every meal started with clearing space to chop, and the room felt smaller than its measurements.
AFTER: The same wall now runs in work order, fridge, sink, stove, with one clear stretch of counter between sink and hob. Appliances live in a single garage cabinet, and a runner pulls the eye along the calm line.
Nothing moved structurally; only the order changed. Grouping by task instead of by habit turned a stressful wall into a steady one. That’s why many experts recommend sketching your three work zones on paper before buying a single cabinet for a small kitchen.
Measure The Run First
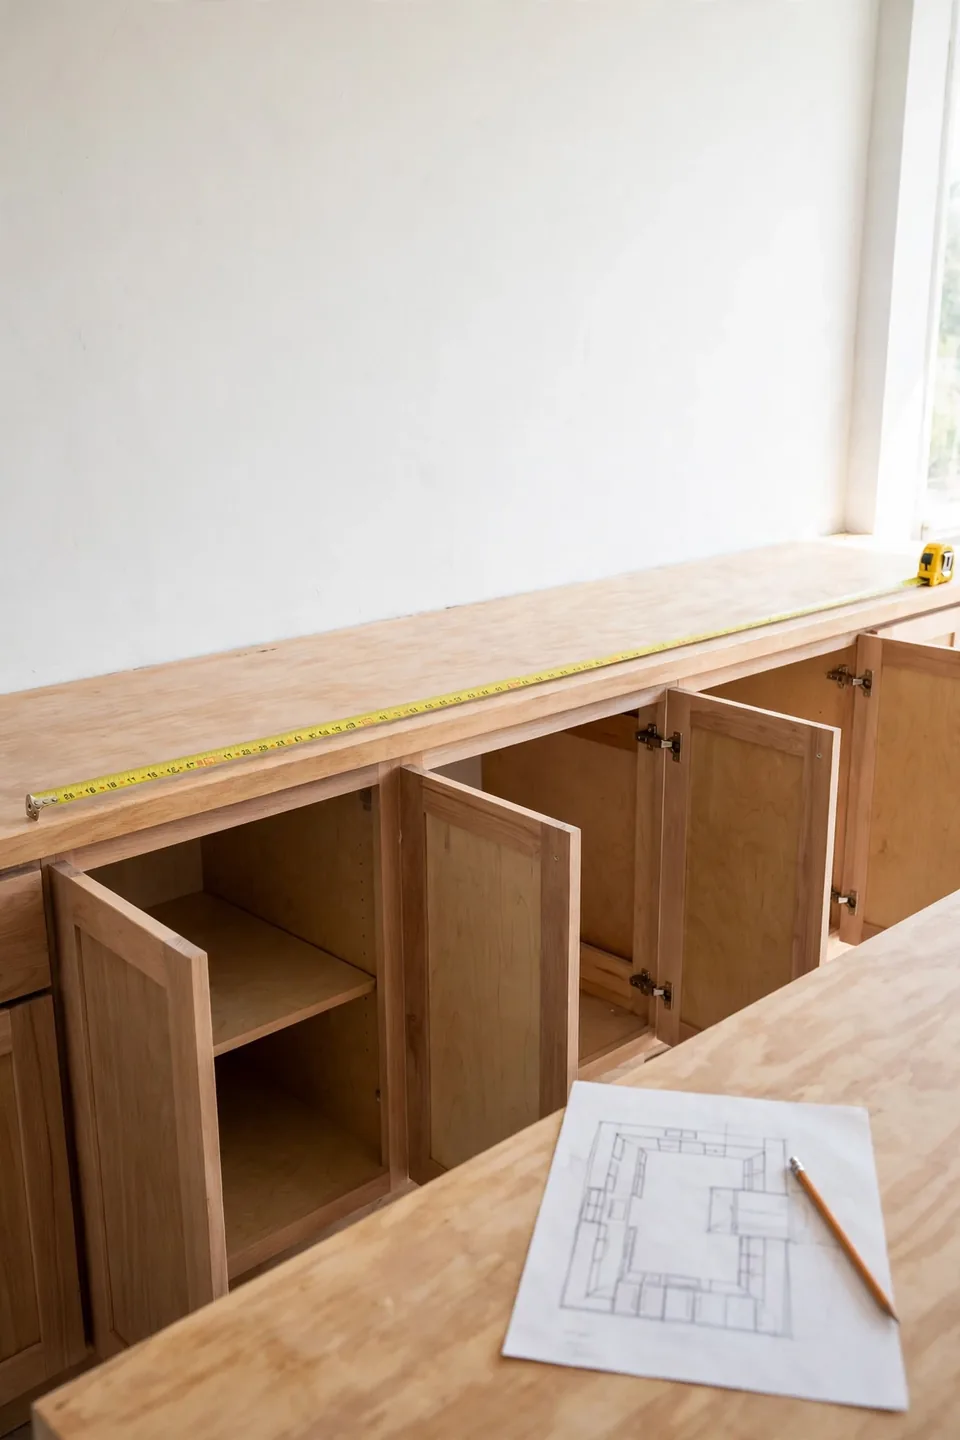
- Measure the full wall length, then subtract space for the fridge at one end.
- Mark the sink center under or near the plumbing, since moving pipes costs most.
- Allow at least twenty four inches of clear counter between sink and stove.
- Plan landing space beside the oven for hot pans, fifteen inches minimum.
- Sketch the run to scale on paper before ordering any cabinet.
Numbers protect a one wall layout because there is no second run to absorb mistakes. A stove squeezed against a wall scorches the paint and crowds every pan handle, while a sink pushed to the corner wastes the best counter stretch. Twenty quiet minutes with a tape measure and a sketch prevents years of daily annoyance, and costs nothing but attention.
Flat Front Versus Shaker

| Feature | Flat Front | Shaker |
|---|---|---|
| Look | Smooth, modern, calm | Framed, classic, detailed |
| Cleaning | One wipe, no grooves | Edges catch crumbs and grease |
| Cost | Usually lower | Usually higher |
| Best for | Tiny runs needing calm | Traditional homes |
On a short wall, flat fronts keep the run reading as one quiet surface, which makes the kitchen feel longer. Shaker doors add shadow lines that suit bigger rooms and traditional houses. Neither is wrong; the question is how much visual detail your small space can carry before it starts to feel busy at a glance. Budget matters too, because flat fronts often leave money spare for better hardware and lighting. Both styles suit painted finishes in any color.
Tall Cabinets Done Right
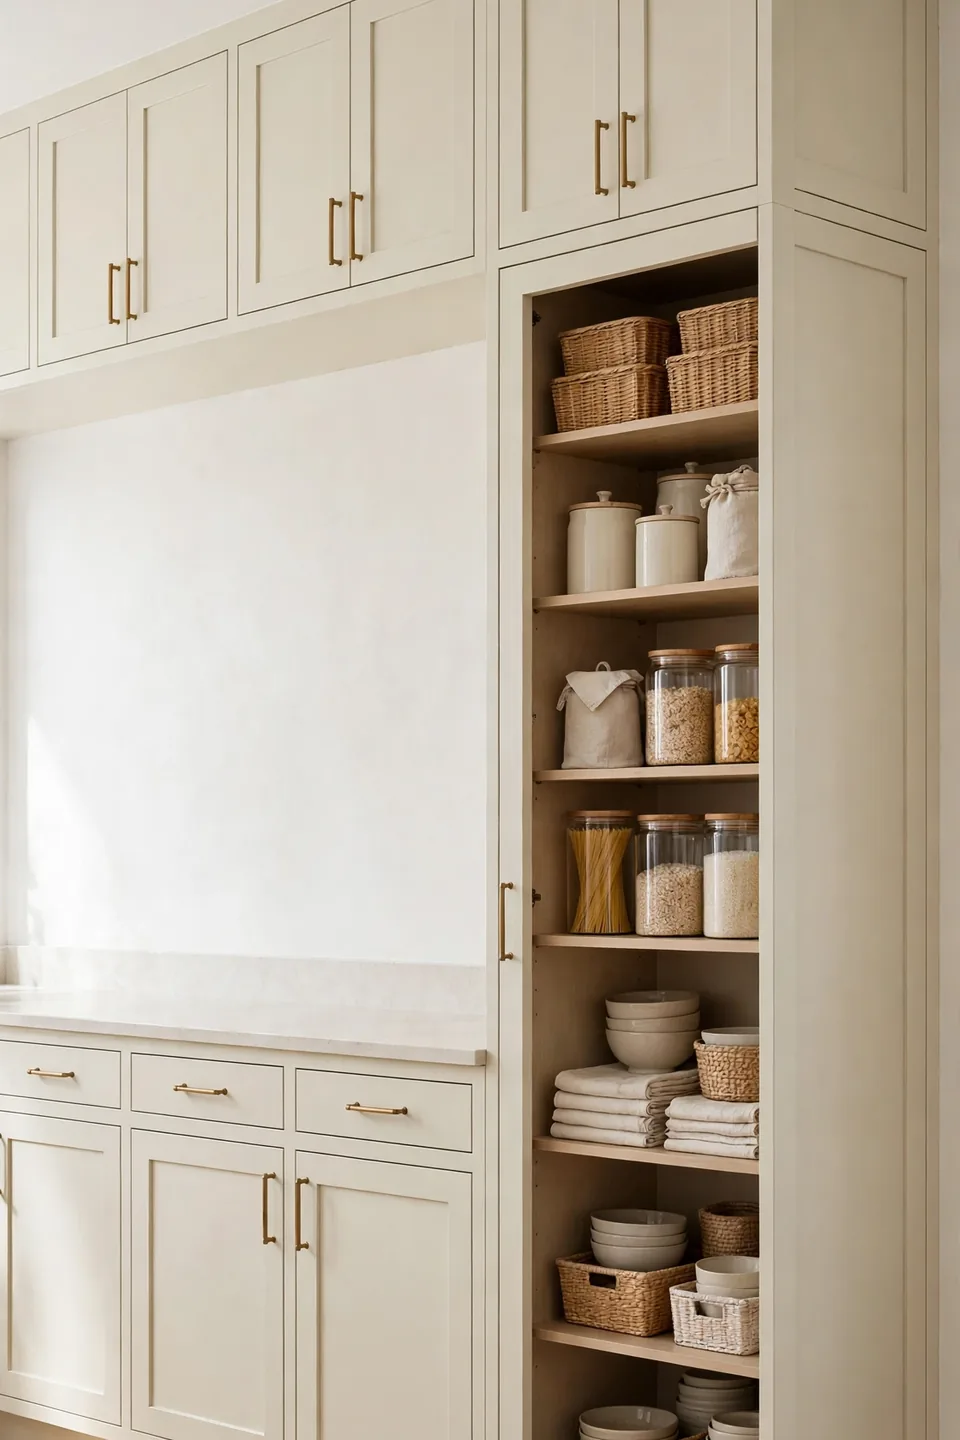
Do:
- Place the tall unit at one end of the run.
- Match its finish exactly to the base cabinets for a built in look.
- Store bulk food and small appliances inside.
- Run it to the ceiling so no dust ledge forms on top.
Don’t:
- Put a tall unit in the middle of the counter run.
- Block a window or doorway swing with its depth.
- Choose a contrasting color that chops the run visually in half.
- Skip pull out shelves in the deep lower section.
One tall cabinet gives a single wall the pantry it never had, holding the slow cooker and the baking trays that otherwise eat counter space. Kept at the end of the run, it reads as a full stop at the end of a sentence.
Studio Wall Kitchen Facts
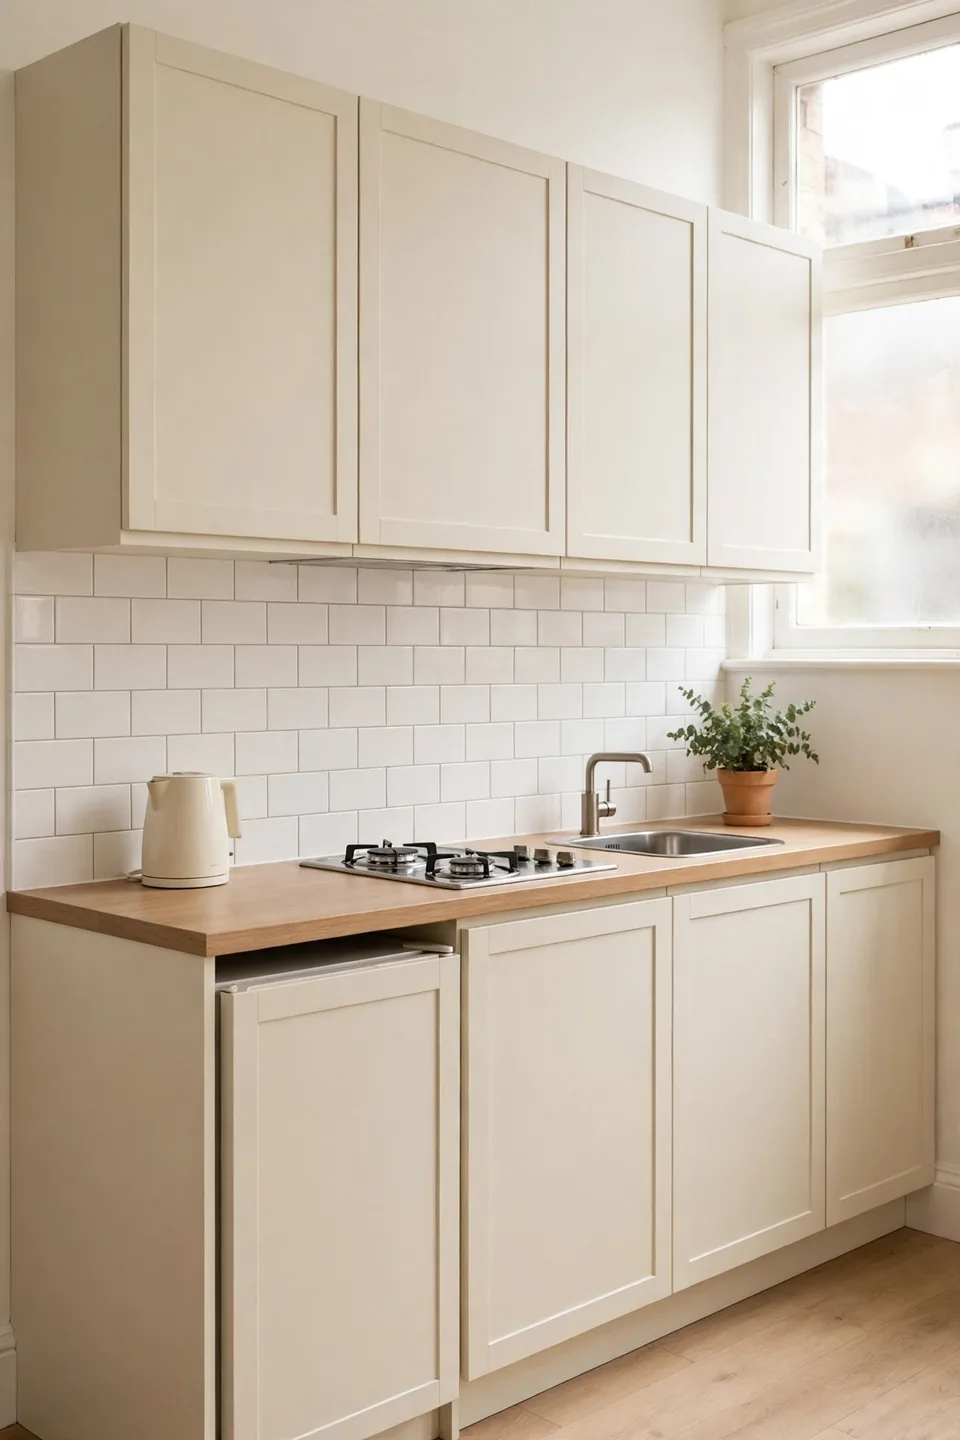
Cost: A compact single run refresh starts from about $1,800 for cabinets and counter
Time: One long weekend covers fitting, tiling, and the final styling
Skill Level: Confident DIY for flat pack units, professional for plumbing moves
Best For: Studios, granny flats, and first apartments with one short wall
Studio kitchens live or die on the single wall, because cooking, washing, and storage all share a few feet of counter. A two burner hob instead of four frees a chopping stretch, and an under counter fridge keeps the line unbroken. I’ve seen this work well in many cases where the renter chose compact appliances first and styled around them later.
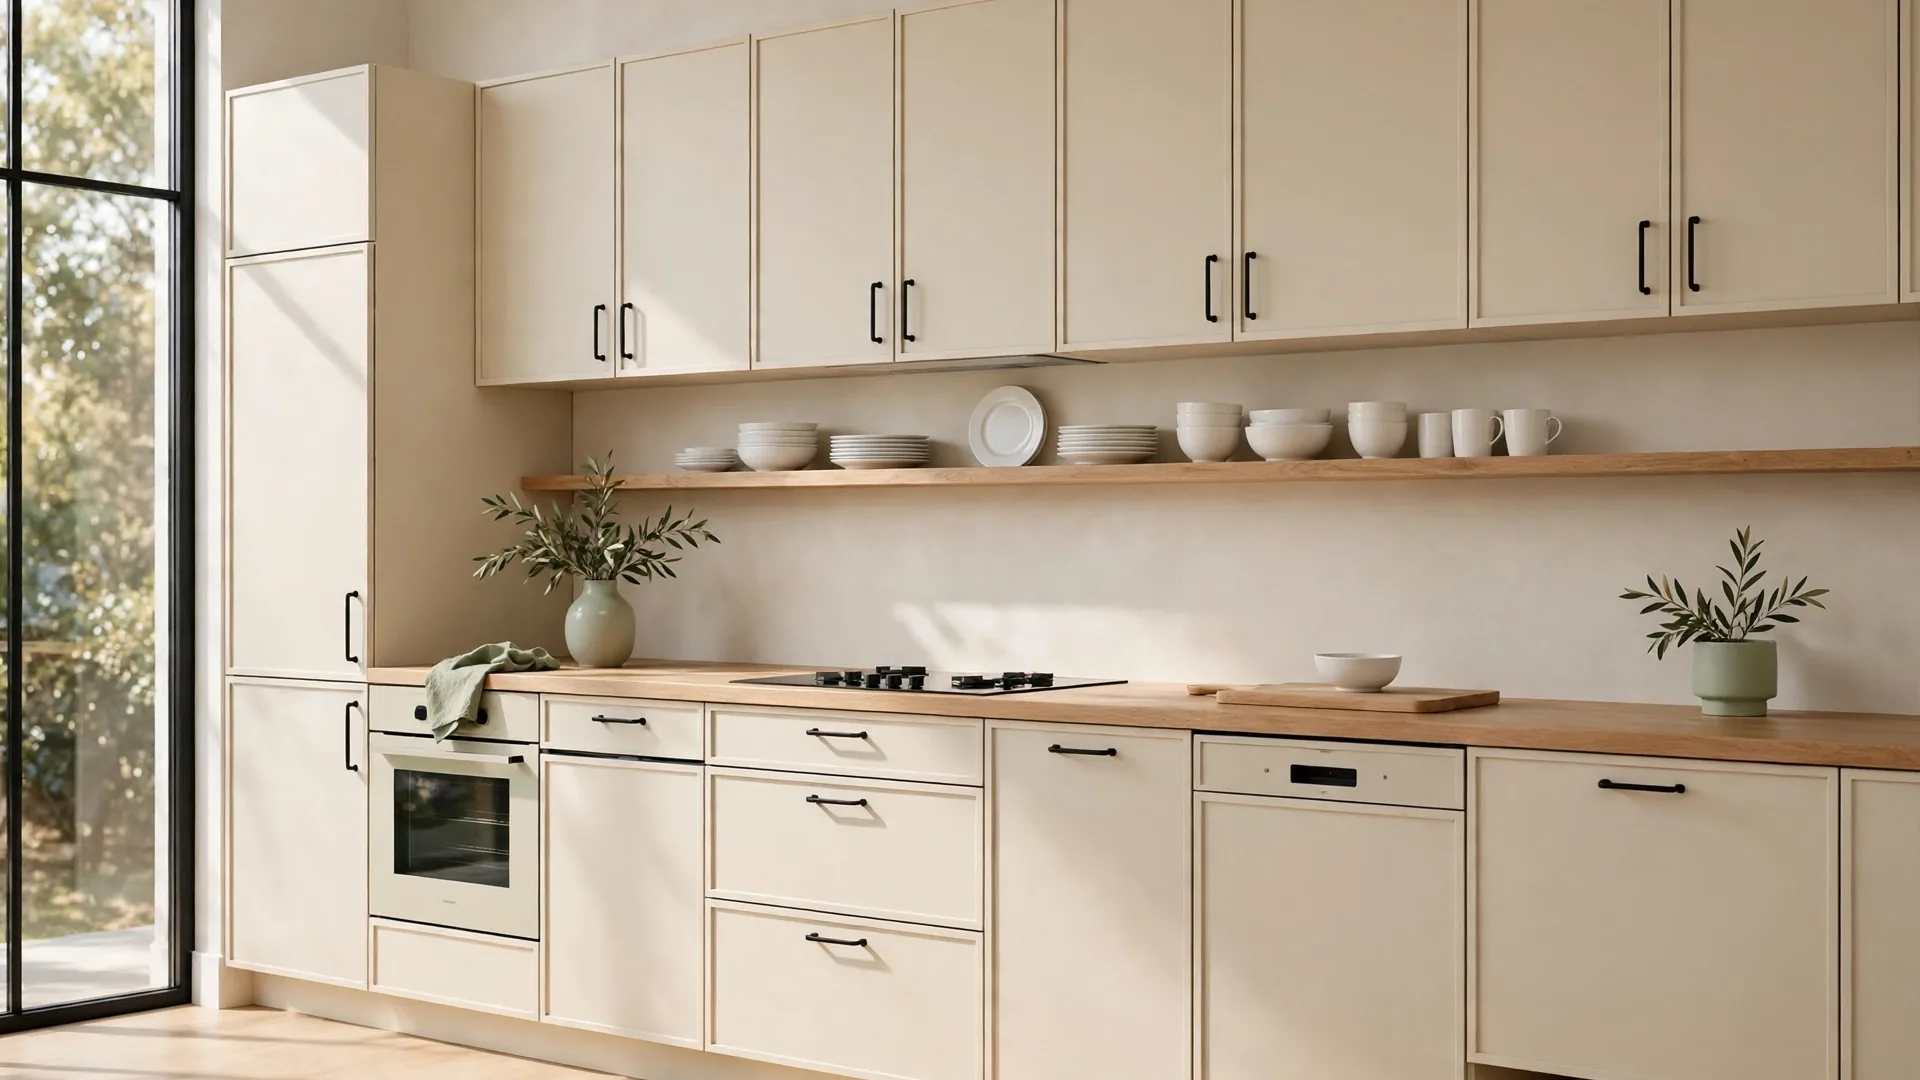
Cream Cabinets Warm Wood
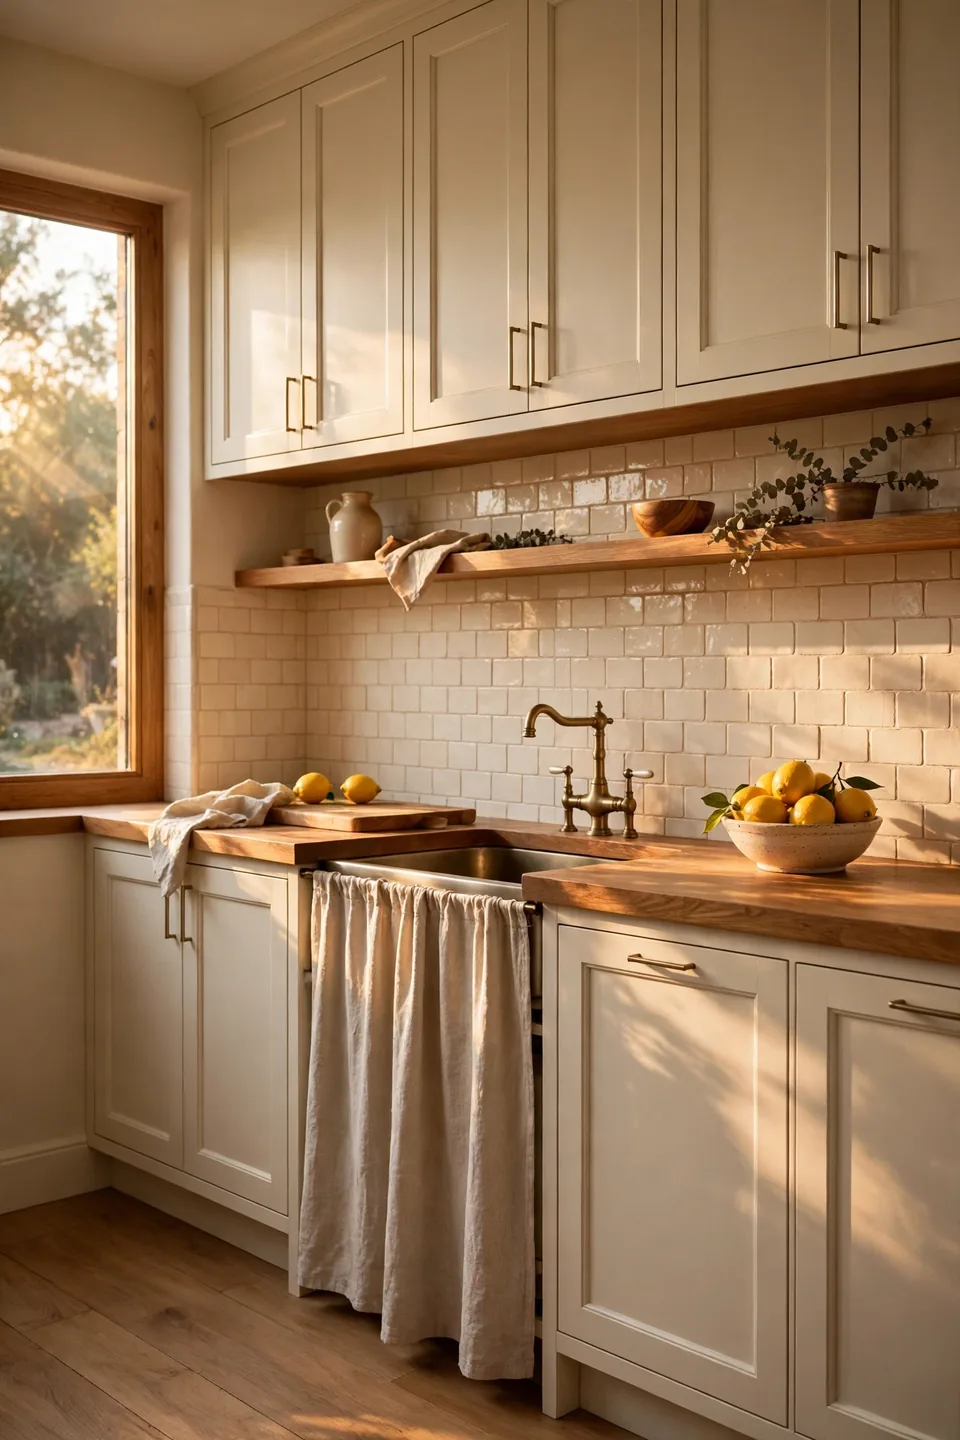
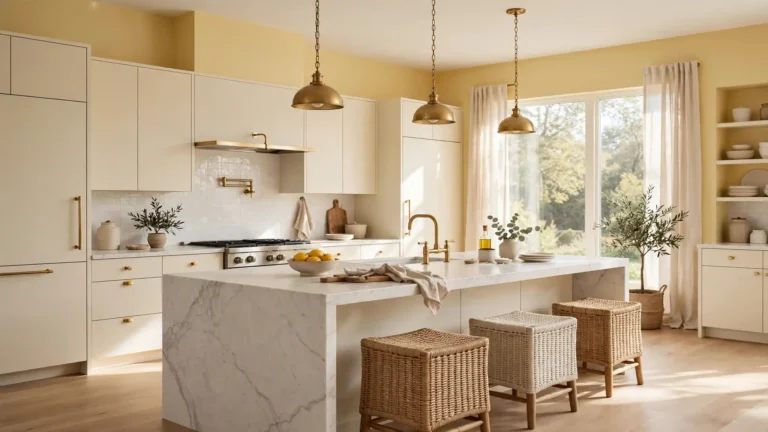
Cream and warm wood is the palette that forgives everything. Cream cabinets soften the long straight line of a single run, and an oak counter brings the warmth that keeps cream from reading cold or clinical. The combination flatters north facing rooms, hides minor scuffs gracefully, and pairs with almost any floor already in the home.
Carry the same wood onto one open shelf or a pair of stools so the warmth repeats and the run feels planned. Keep walls a shade lighter than the cabinets for gentle contrast. This palette rarely dates, which matters in a kitchen where changing the cabinet color means repainting the entire room’s focus wall.
Under Cabinet Light Strips

- Fit warm white strips, around 2700 to 3000 kelvin, under every upper cabinet.
- Mount them near the front edge so light falls on hands, not the backsplash.
- Hide wires inside a slim channel for a clean, finished underside.
- Add a dimmer; full brightness for cooking, low glow for evenings.
- Choose one continuous run instead of puck lights that leave dark gaps.
Good task light matters even more in a kitchen where the cook’s own body shadows the single counter. The layered glow thinking behind bathroom mirror lighting ideas applies here: light placed at the point of use flatters the work. Strips cost little, fit in an hour, and make evening cooking feel calm instead of murky. Few upgrades this cheap change a room this much.
Narrow Island On Wheels
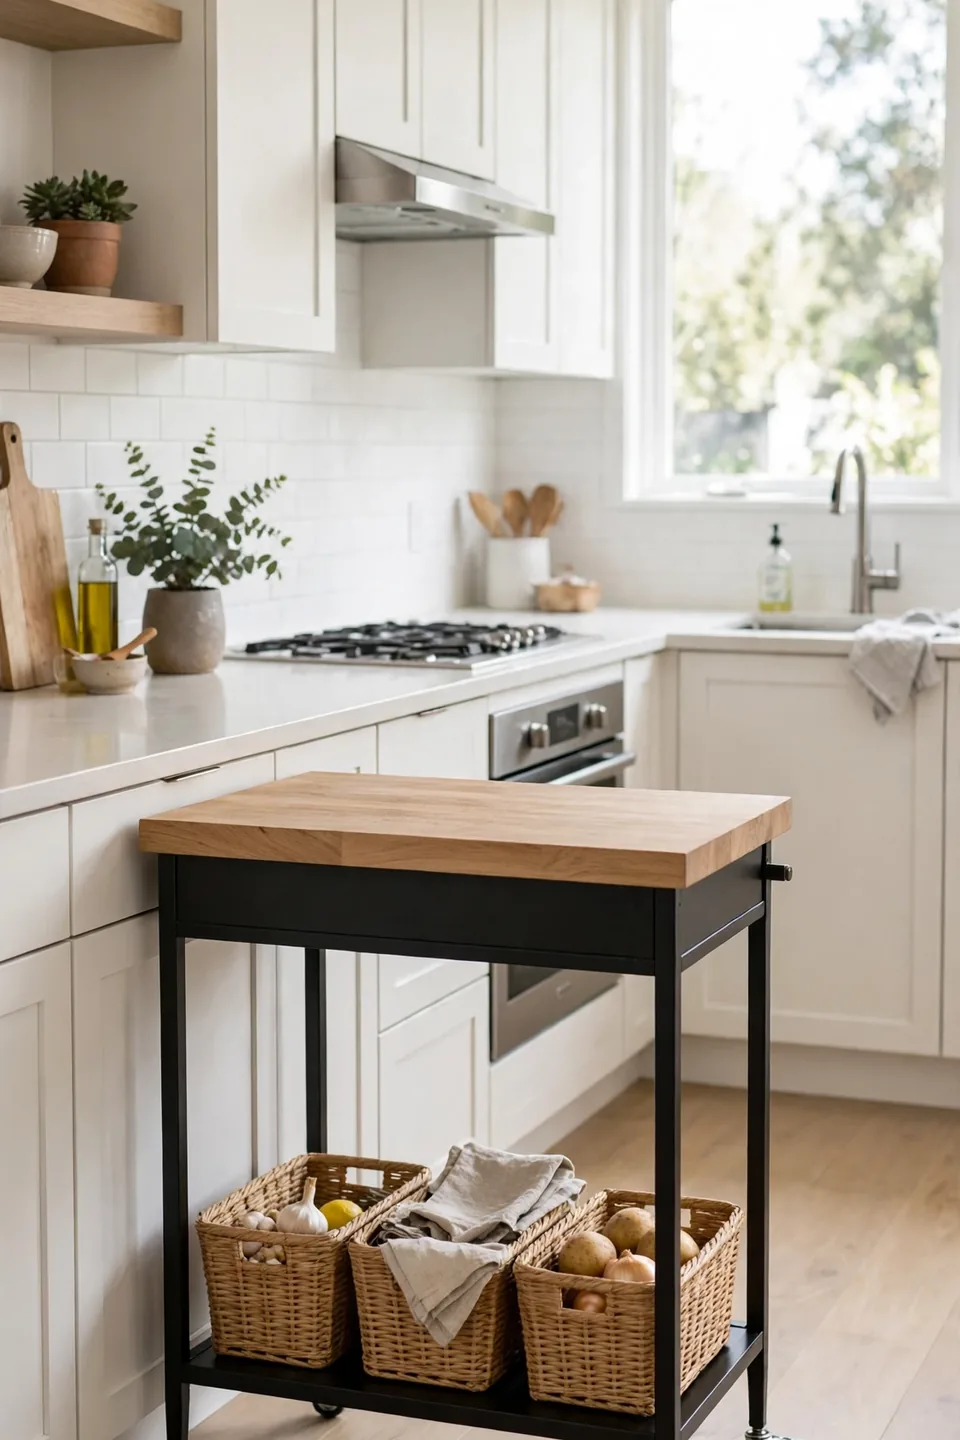
Quick Tip: Choose a cart no deeper than sixteen inches and lock its casters before chopping. It should park flat against the cabinet run or a side wall when not in use, leaving a clear walking line of at least thirty six inches.
A rolling cart answers the one wall kitchen’s only real complaint, not enough counter, without a renovation. Wheel it out for baking days and dinner parties, then park it as a coffee station or extra shelf the rest of the week. A butcher block top earns its keep as a chopping surface, and the lower shelf swallows mixing bowls and cookbooks that never fit the run.
Dark Counters Bright Cabinets
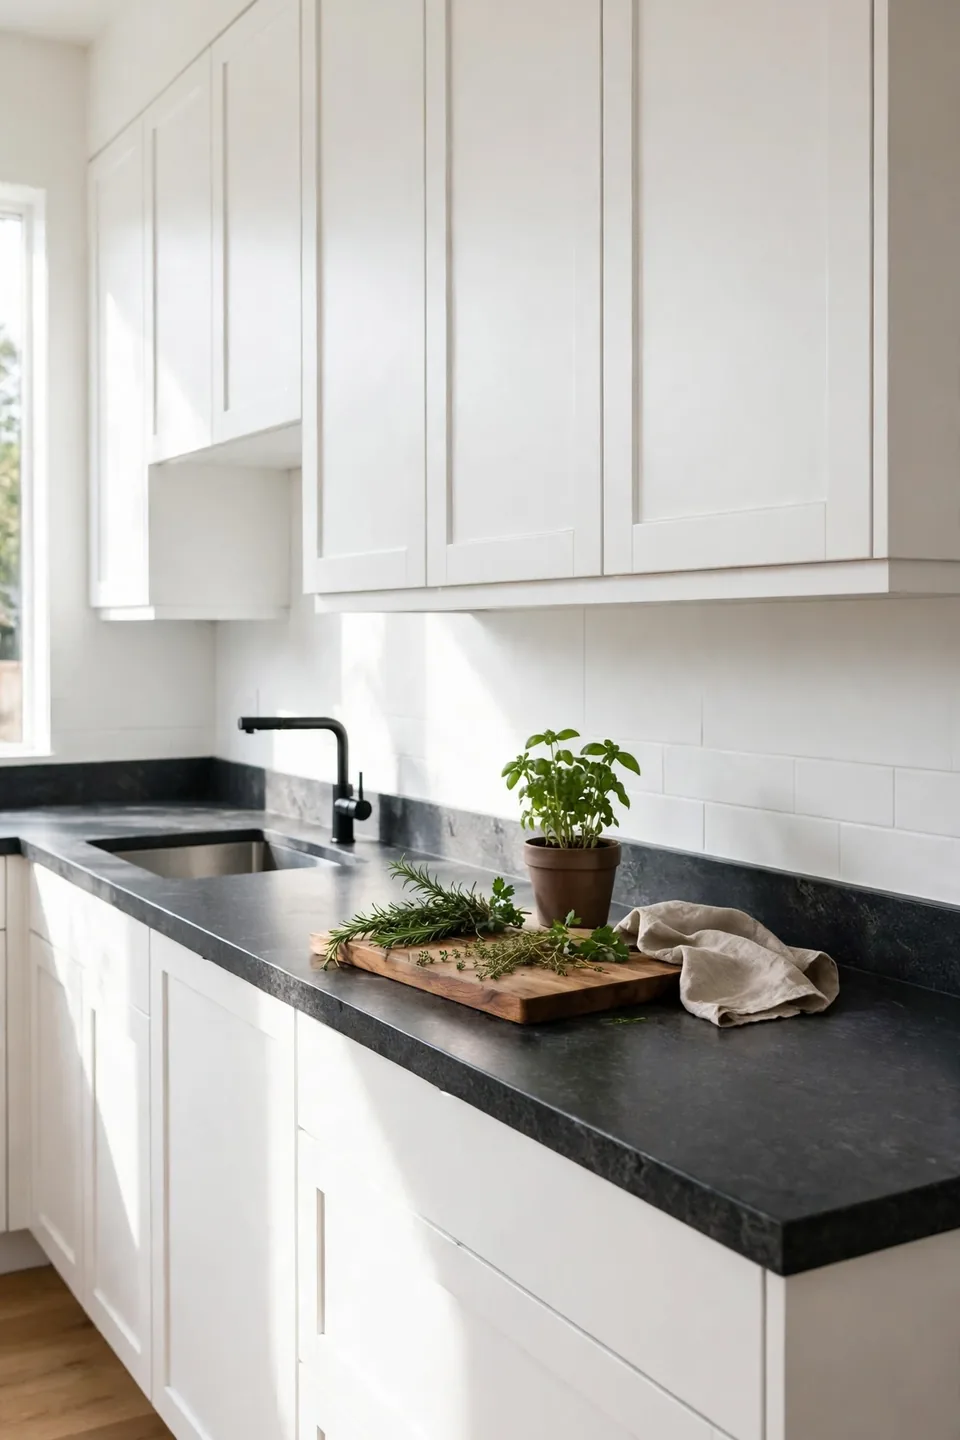
BEFORE: The kitchen wore pale laminate counters against pale cabinets, and the whole wall faded into one washed out blur. Spills hid until they dried, crumbs disappeared visually, and guests called it fine, the word people use when nothing stands out.
AFTER: A charcoal stone counter now draws one strong dark line along the bright run, grounding the cabinets and giving the eye a clear horizon. Every object on it shows up crisply against the dark surface.
Contrast gives a small kitchen its structure. The dark line also works hard practically, showing flour and crumbs at a glance so the surface stays honestly clean. Keep the backsplash light to stop the contrast turning heavy, and repeat the dark tone once, in handles or a kettle.
Appliance Garage Setup

- Pick the counter stretch nearest the wall end, where clutter gathers anyway.
- Fit a cabinet with a lift up or tambour door that parks above the counter.
- Add a power outlet inside the garage so appliances stay plugged in.
- Slide the toaster, blender, and coffee maker in, tallest at the back.
- Close the door after breakfast and enjoy a clear counter all day.
Clutter is the fastest way to shrink a small kitchen, and honest one wall kitchen ideas always include a hiding place. The garage keeps daily machines plugged in and reachable, yet invisible behind one door. I’ve tried this in a rental with a simple curtain front version, and the calm it brings to morning routines is out of proportion to its size.
Glossy Tile Versus Matte

| Feature | Glossy Tile | Matte Tile |
|---|---|---|
| Light | Bounces light, brightens the run | Absorbs light, calmer mood |
| Upkeep | Wipes clean, shows splashes | Hides splashes, needs sealing |
| Feel | Fresh and classic | Soft and modern |
| Best for | Dark or windowless walls | Bright rooms needing calm |
The backsplash is the largest visible surface on a single wall, so its finish sets the room’s brightness more than the cabinet color does. Glossy tile acts like a soft mirror in a dim kitchen, while matte tile settles a sun flooded one. Stand in the room at noon and at dusk before deciding; kitchens live in both lights.
Pull Out Pantry Columns
Do:
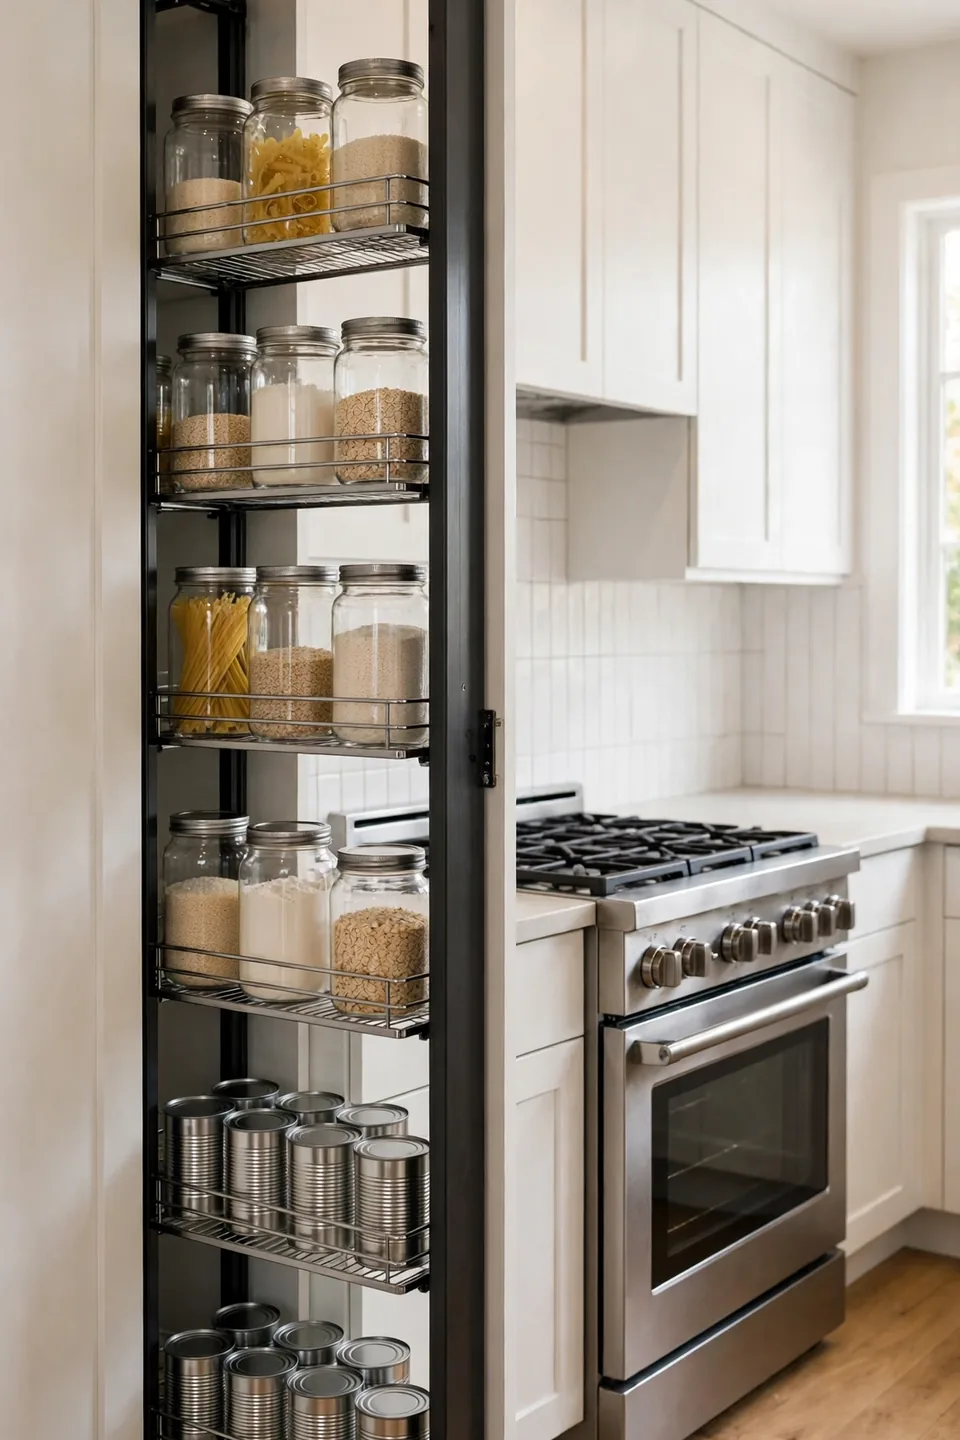
- Fill the six to nine inch gap beside the stove or fridge.
- Store oils and spices at cooking height.
- Choose full extension runners so the back row stays reachable.
- Group items by meal type to speed up weeknight cooking.
Don’t:
- Store heavy jars on the top shelf of a tall pull out.
- Block the column’s path with a bin or stool.
- Forget a soft close runner; slamming jars rattle the whole wall.
- Overfill until items topple every time the column moves.
Every one wall plan hides a leftover sliver of space, and a pull out column turns that gap into the hardest working storage in the room. Spices sit exactly where cooking happens, in one visible layer, so nothing expires forgotten at the back of a deep cupboard.
Sink Under The Window
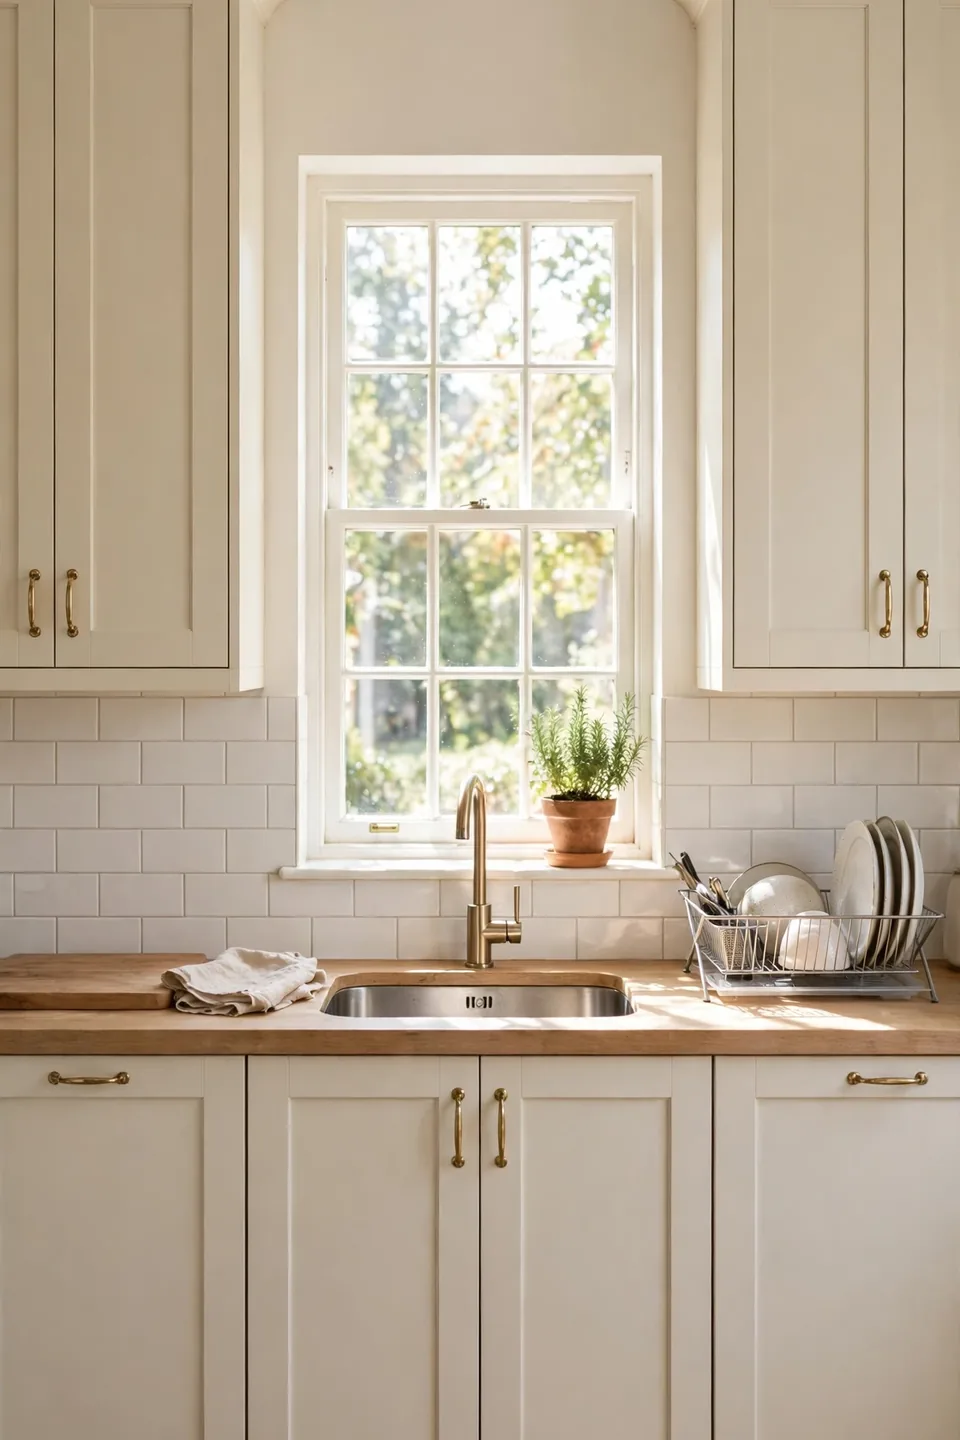
Cost: Keeping the sink on existing plumbing under a window costs little beyond fittings
Time: A plumber swaps and seals a sink in half a day
Skill Level: Professional for plumbing, beginner for the styling around it
Best For: Long walls where the window sits near the middle of the run
Centering the sink under the window gives the busiest spot on the wall the best light and the only view. Washing up stops feeling like a chore facing a blank wall, and herbs thrive on the sill within snipping reach. If the window sits off center, let the sink follow the plumbing instead; a forced center helps nobody. The window stretch also dries dishes faster in moving air.
Matte Black Accent Line

A line of matte black, faucet, handles, rail, and light fittings, gives a pale single run its punctuation. Repeated at the same height, the dark details read as one deliberate stripe along the wall, and the kitchen gains the graphic structure it lacked. The trick is discipline: every metal in the room joins the line or stays out.
Resist mixing in chrome or brass for just one piece, because a single shiny rebel breaks the stripe and draws the eye for the wrong reason. Black also grounds light wood and cream palettes that can drift bland. Keep the black count modest, five or six touches, so the accent stays an accent and never becomes a theme.
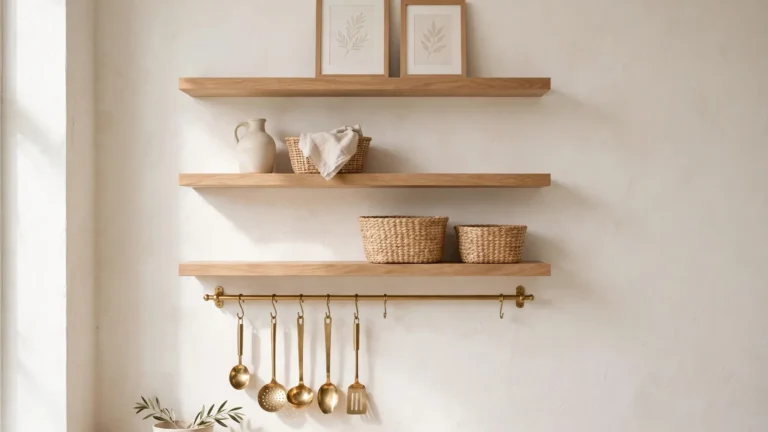
Rail Hooks For Utensils
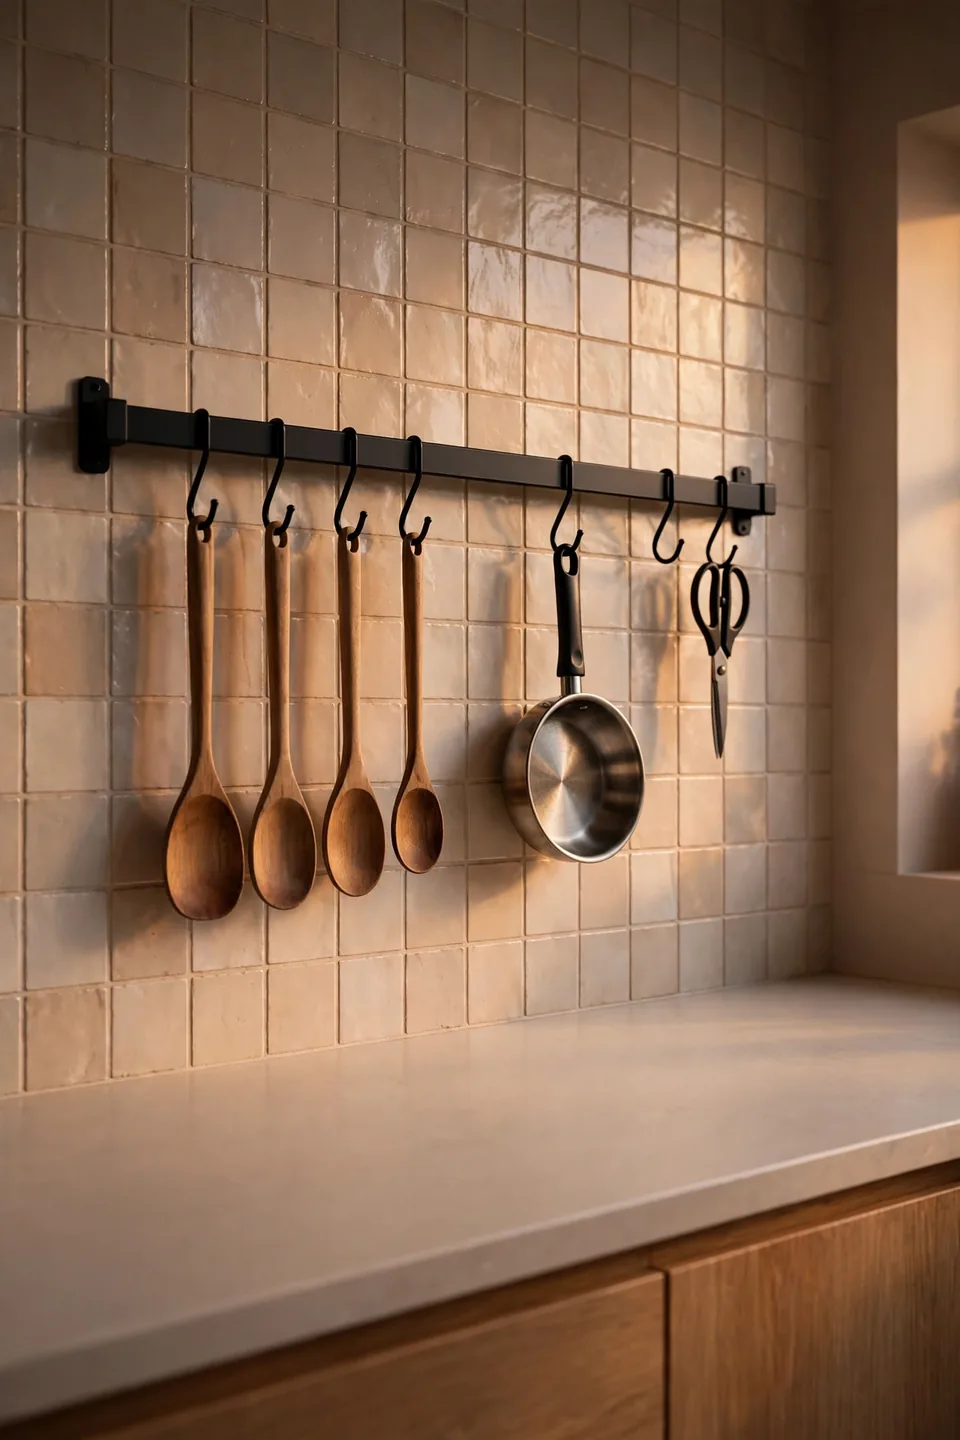
- Mount a rail on the backsplash between counter and upper cabinets.
- Hang daily tools, spoons, tongs, scissors, on simple S hooks.
- Keep the heaviest pan on the stove side, lightest tools near the sink.
- Leave gaps between groups so the rail reads tidy, not loaded.
- Match the rail finish to handles and faucet for one calm line.
Drawers are precious in a small kitchen, and a rail moves the most used tools out of them and onto the wall instead. Cooking speeds up when the spoon you need hangs at eye level, and the counter below stays completely clear for prep. I’ve noticed rails also discourage clutter creep, because everything on display has to earn its hook in full view of the room.
Fold Down Dining Table

Quick Tip: Hang the table so its top sits twenty nine to thirty inches high when open, standard dining height, and fit a sturdy piano hinge with a locking leg. A wobbly fold down table gets left folded forever, which defeats the entire idea.
Opposite the run or under the window, a fold down table gives the kitchen a dining room on demand. Breakfast for two, laptop space at noon, extra prep surface during a big cook, then it folds flat and the floor returns. For studio living this single hinge often replaces three pieces of furniture, and the wall run stays purely for cooking, exactly as a small kitchen needs.
Cluttered Counters To Clear
BEFORE: Every appliance the household owned lived on the counter: toaster, kettle, blender, coffee machine, knife block, fruit bowl, and a paper tray breeding mail. Actual prep space shrank to one chopping board balanced by the sink, and cooking felt like working in a cupboard.
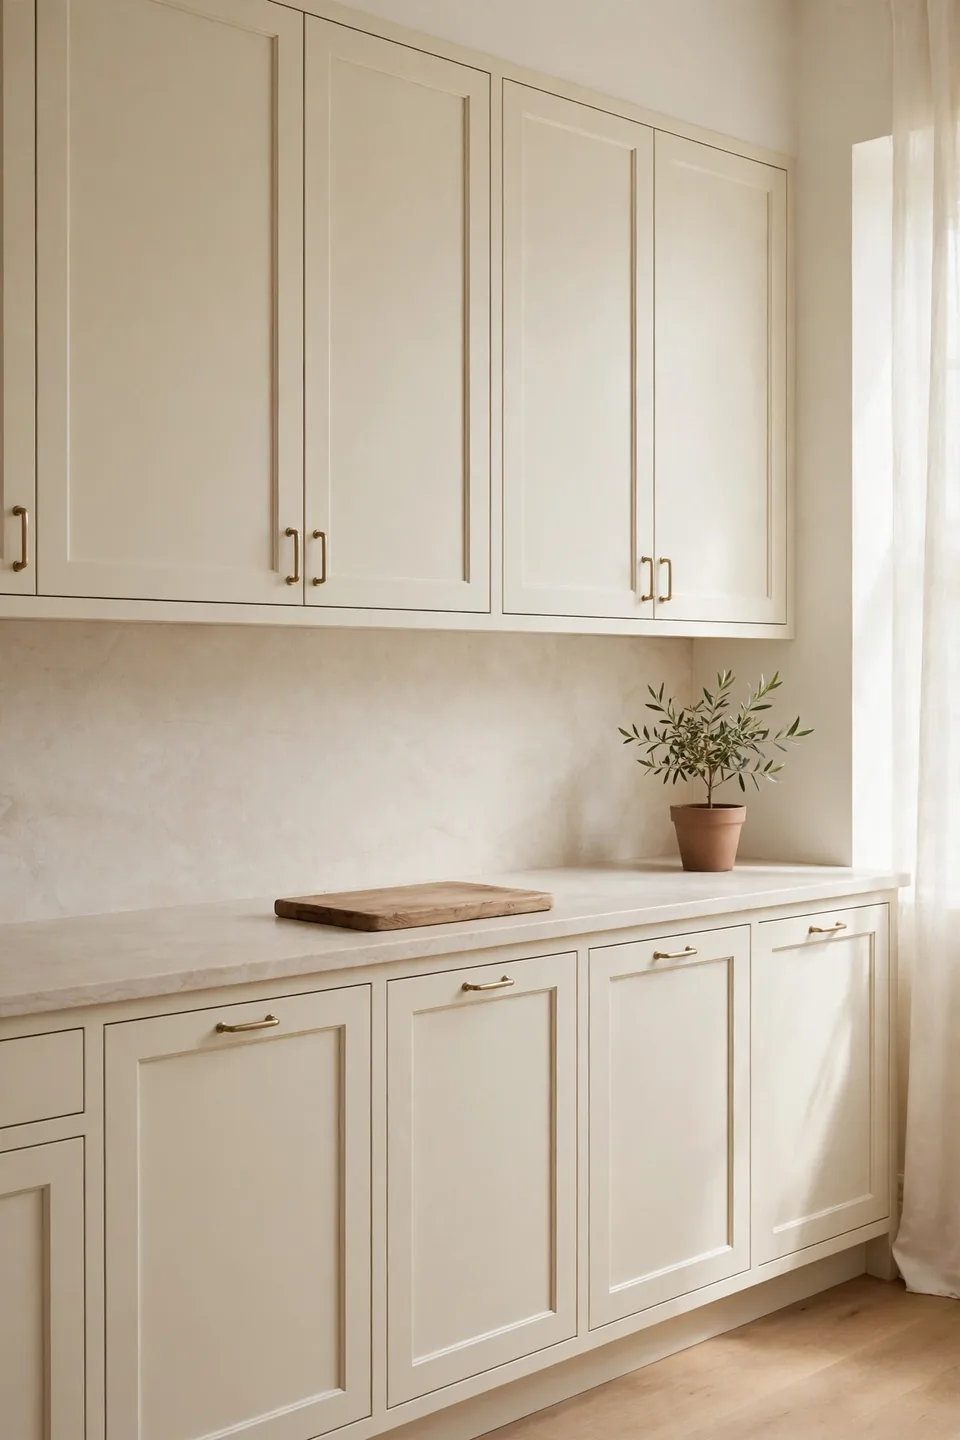
AFTER: Two appliances earned counter spots, the kettle and the coffee machine used daily. Everything else moved into a garage cabinet and pantry column, leaving a clear stretch that wipes down in seconds.
The rule that made it stick is simple: an item lives on the counter only if it is used every single day. Weekly tools go behind doors, monthly tools go higher or lower. Clear counters are not about owning less; they are about giving the small kitchen’s only worktop back to cooking.
Layered Lighting In Order
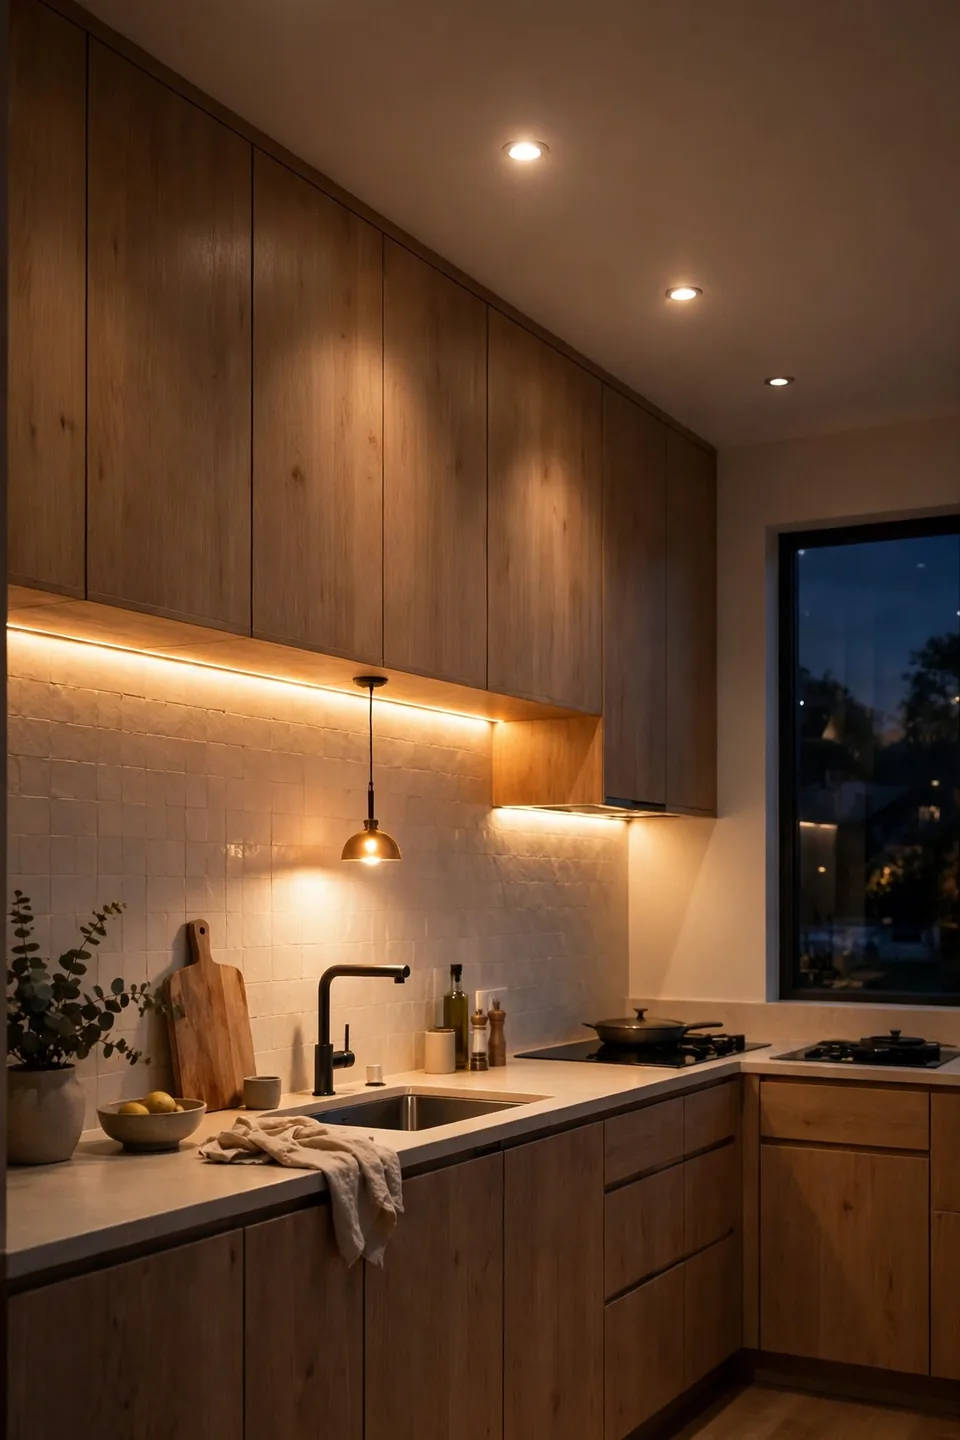
- Start with ceiling light bright enough to fill the whole room evenly.
- Add under cabinet strips as task light aimed at the counter surface.
- Hang one pendant or sconce over the sink for a focused, friendly pool.
- Put each layer on its own switch or dimmer for control.
- Match bulb warmth across all three layers, around 2700 to 3000 kelvin.
One ceiling light forces a single wall kitchen to work in its own shadow, since the cook stands between the light and the counter. Layers fix that geometry: ambient light for the room, task light for the work, and one warm accent to make evenings feel settled. Install in that order and even a basic rental run glows like a designed kitchen by dinner time.
Integrated Versus Freestanding Fridge
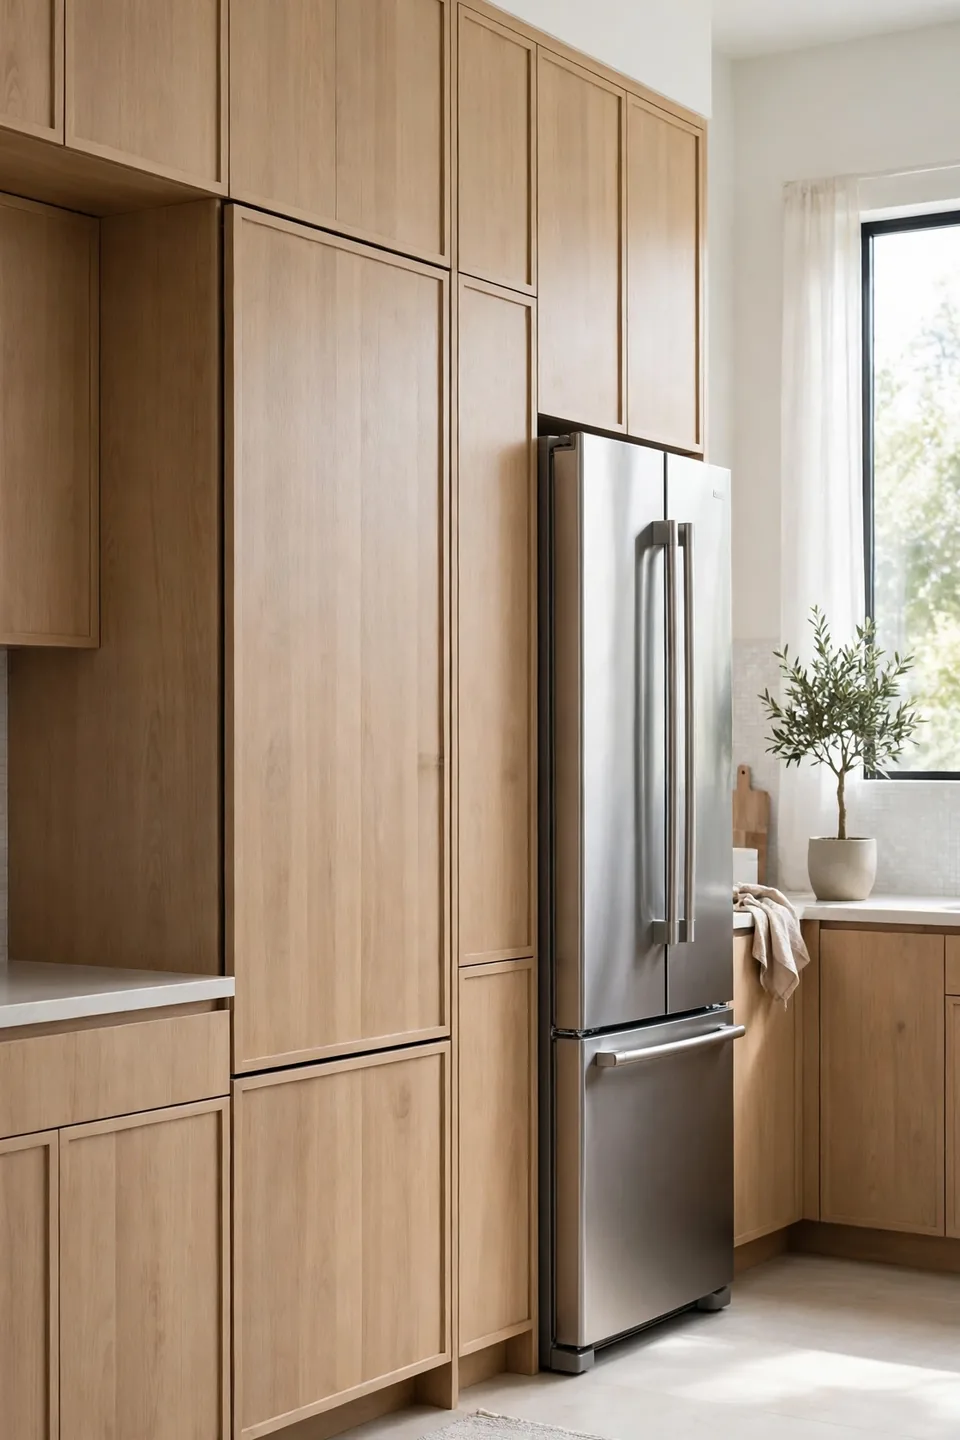
| Feature | Integrated Fridge | Freestanding Fridge |
|---|---|---|
| Look | Hidden, run stays unbroken | Visible appliance block |
| Capacity | Smaller inside | Larger, family friendly |
| Cost | Higher, plus panel | Lower, plug and go |
| Best for | Open plan studios | Big weekly shops |
In an open plan room, an integrated fridge keeps the kitchen wall reading as furniture, which calms the whole living space. Families who shop weekly usually trade that calm for capacity and pick freestanding. Place either at the very end of the run, so its door swing never steals counter or blocks the cook mid recipe. Measure your weekly shop honestly before falling for the hidden look. Either way, keep its finish consistent with the rest of the run.
Handle Choices That Work
Do:
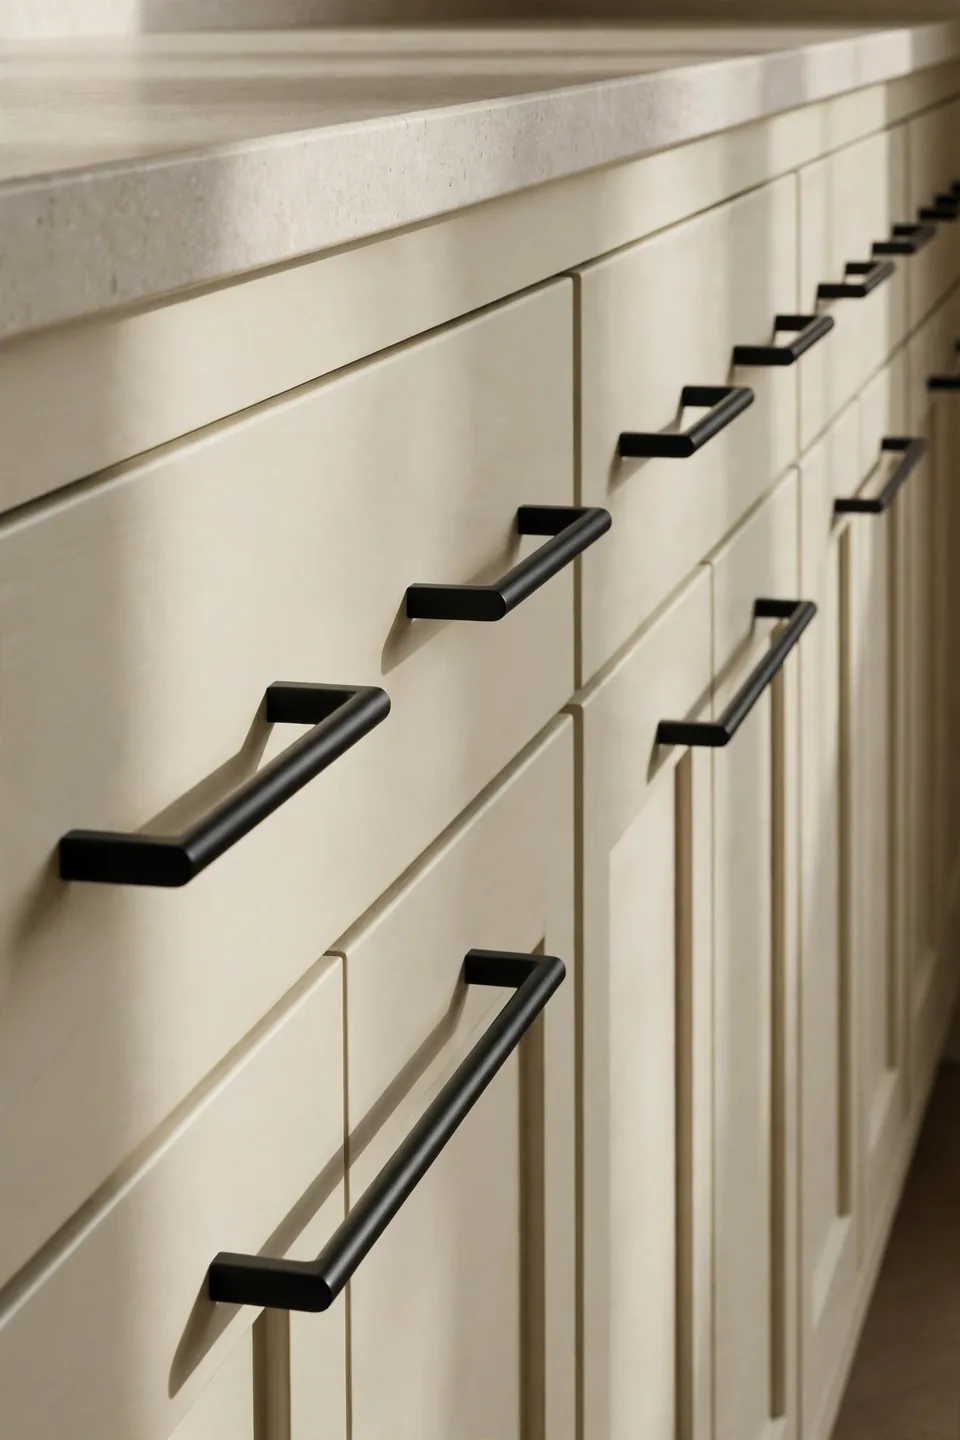
- Repeat one handle style across the whole run for a calm rhythm.
- Choose long bars that suit drawers and daily gripping.
- Mount drawer handles centered and door handles at a consistent height.
- Choose a finish that already exists in the room, faucet or rail.
Don’t:
- Mix knobs and bars randomly from drawer to drawer.
- Choose tiny handles that pinch fingers on pan drawers.
- Overlook snag risk; sharp bars catch sleeves in tight kitchens.
- Change finish halfway along the run for one feature cabinet.
Handles are the detail your hand touches a hundred times a day, so they carry more daily pleasure than the cabinet color does. On a single run they form a visible rhythm, a line of repeats that makes the wall feel intentional. Spend here first.
Rental Friendly Wall Run
Cost: Peel and stick tile, handles, and a rail refresh a run from about $180
Time: One weekend, with every change fully reversible
Skill Level: Beginner, needing no drilling beyond two rail screws
Best For: Renters with a dated single wall kitchen and a strict landlord
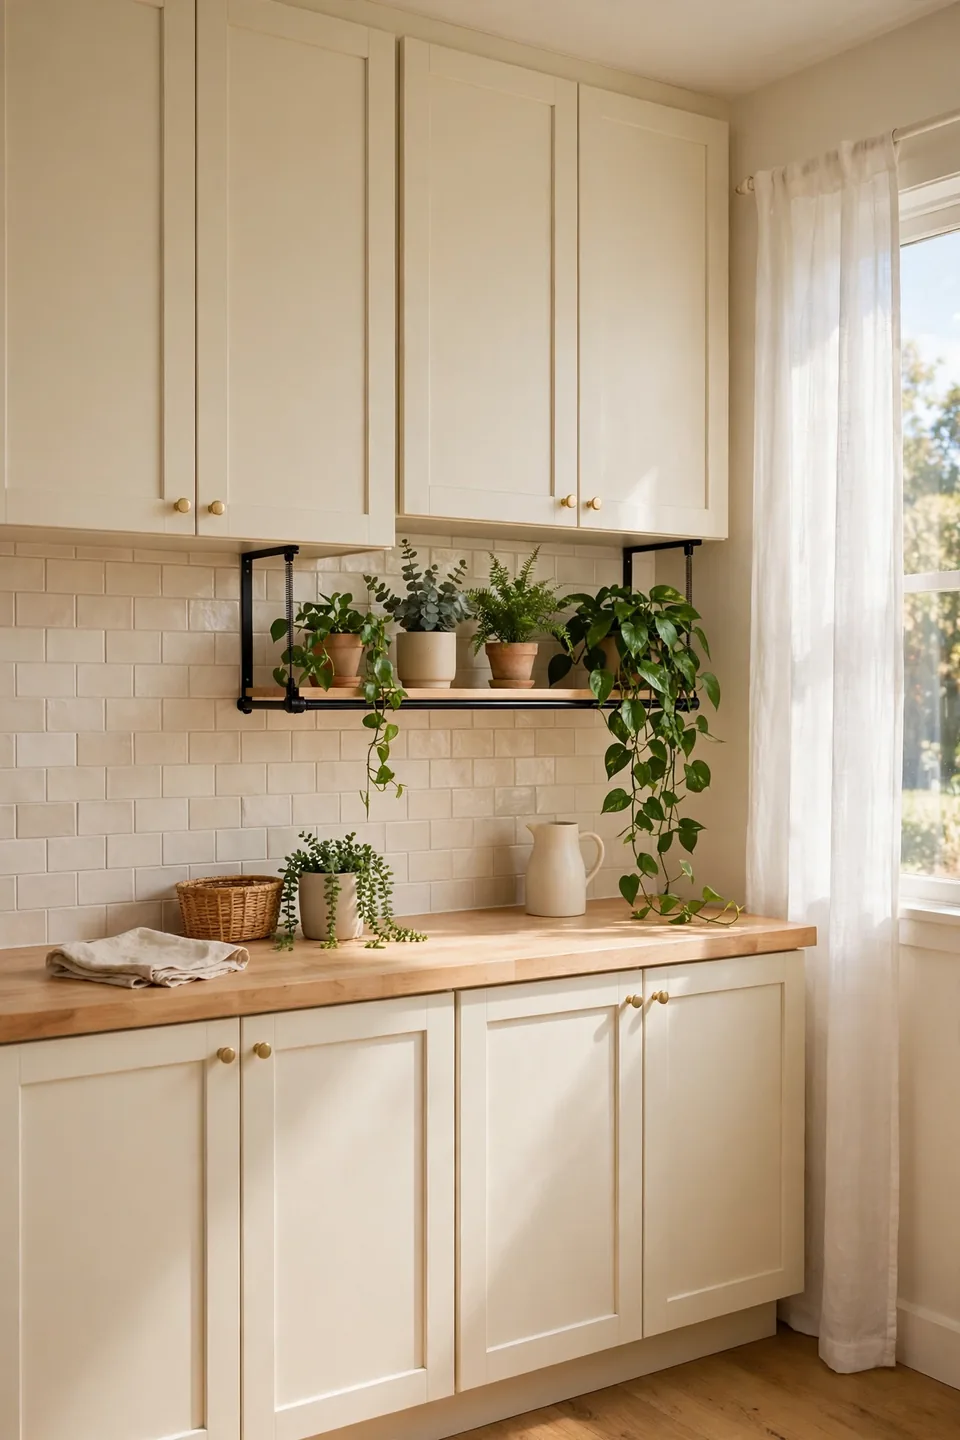
Renters often assume a one wall kitchen cannot change, yet the highest impact moves are reversible. Peel and stick tile transforms the backsplash, swapped handles modernize every door, and a rail adds storage without a single cabinet change. Photograph the original state, keep every old handle in a labeled bag, and the deposit stays safe while the kitchen finally feels like yours.
Long Run Family Hub

Length is a gift, so spend it on zones. A long single run can hold a cooking end, a washing middle, and a family end with a ledge, stools, and charging shelf, all on one wall. Kids do homework inside the kitchen’s orbit without standing in the cook’s path, and the whole household shares one warm, well lit room.
Mark the zones with small signals: a runner in front of the cooking stretch, a tray that corrals the family end’s clutter, hooks for school bags at the far tip. I’ve seen this work well in many cases where families stopped fighting the layout and simply gave each activity its own signed stretch of the same generous wall.
Conclusion
A single wall asks for order, not apologies. Line up the work zones, give every object a home, and even modest one wall kitchen ideas start to feel deliberate rather than squeezed. Pick one move from this list, the shelf, the light strip, the tall cabinet, and live with it for a week before adding the next. Small, honest changes stack up fast in a small kitchen. Save this pin for your planning weekend, share it with a friend facing a narrow room, and let your one wall pull its full weight.