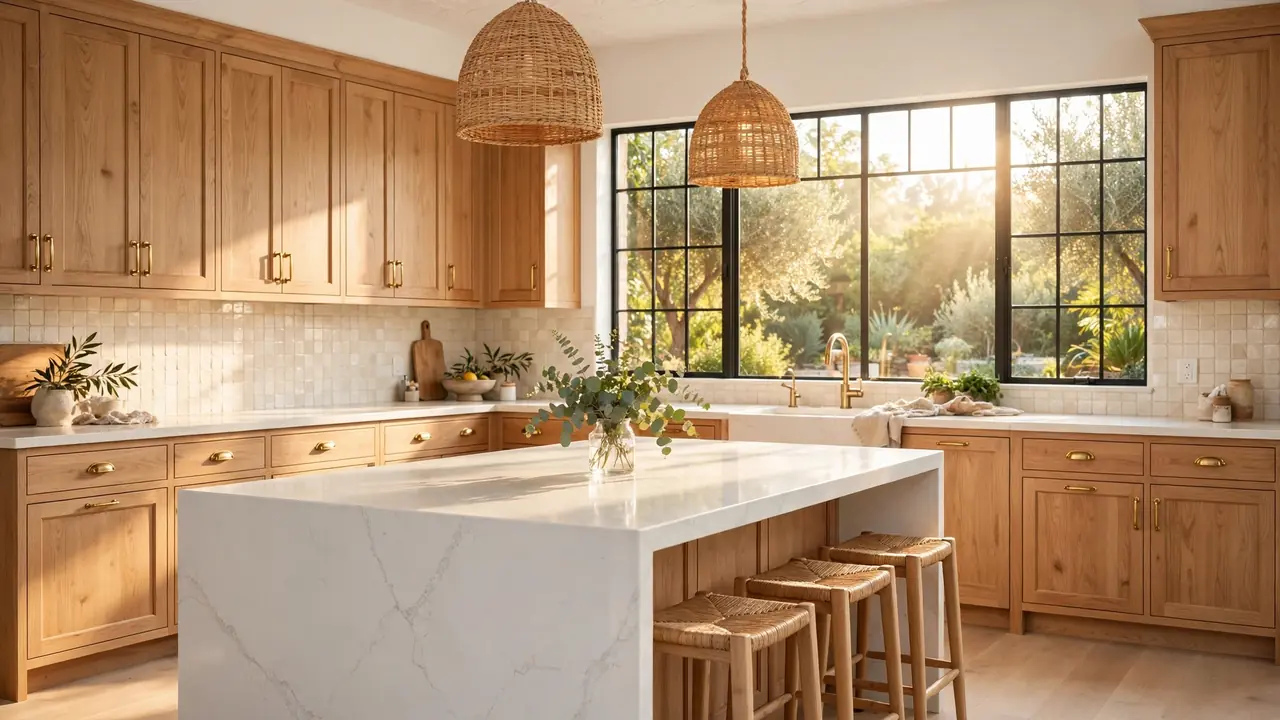
24 Natural Wood Kitchen Cabinet Ideas for Warmth & Ease
There is a reason natural wood kitchen cabinet ideas keep showing up on mood boards everywhere. Wood brings a warmth that painted finishes struggle to match, and it works in almost every kitchen style, from relaxed farmhouse to clean modern. I have noticed that even a small stretch of wood cabinetry can make the whole room feel more inviting, like the kitchen is giving you a quiet welcome every morning.
In this collection, you will find 24 ways to bring that warmth home, whether you are planning a full refresh or simply styling the cabinets you already have. If you love seasonal layers, these fall kitchen decor ideas pair beautifully with wood tones for a harvest glow. Pick the ideas that fit your space and budget, then let the natural grain do the heavy lifting.
White Oak Shaker Cabinets
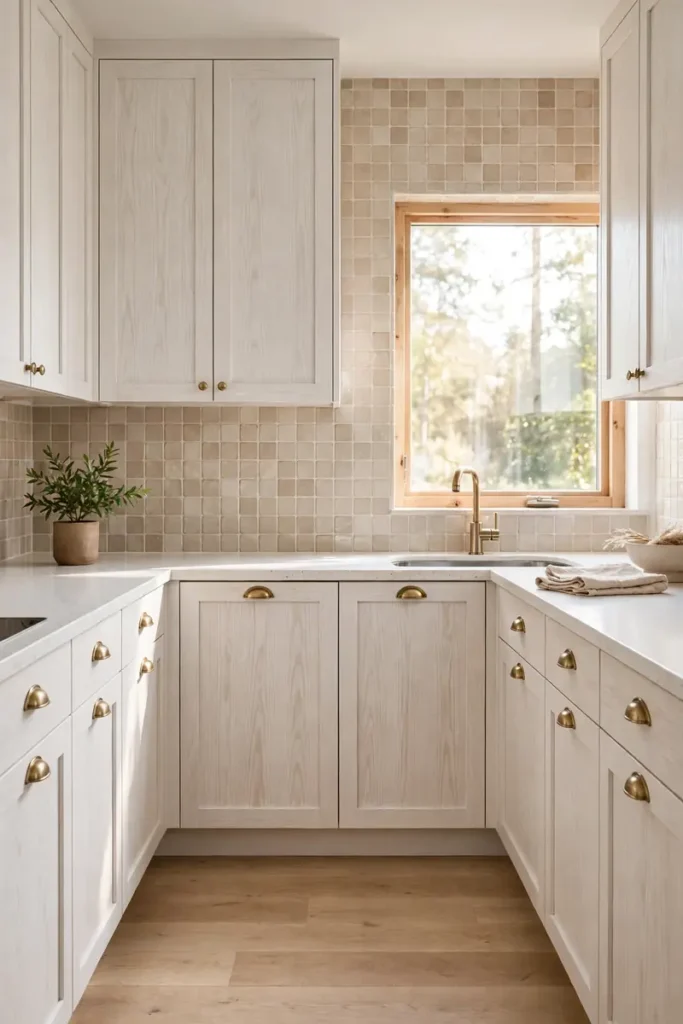
White oak has quietly become the cabinet wood everyone asks for, and the reason is simple. The pale tone keeps kitchens feeling open while the grain adds enough character to avoid a flat, boring look. It pairs beautifully with warm brass or matte black hardware.
If your kitchen feels dark or cramped, this is the wood to consider first. White oak reflects light gently instead of shouting for attention, which makes small spaces feel calmer. I have seen this work in galley kitchens where every inch of brightness counts toward a more relaxed mood.
Warm Walnut Islands
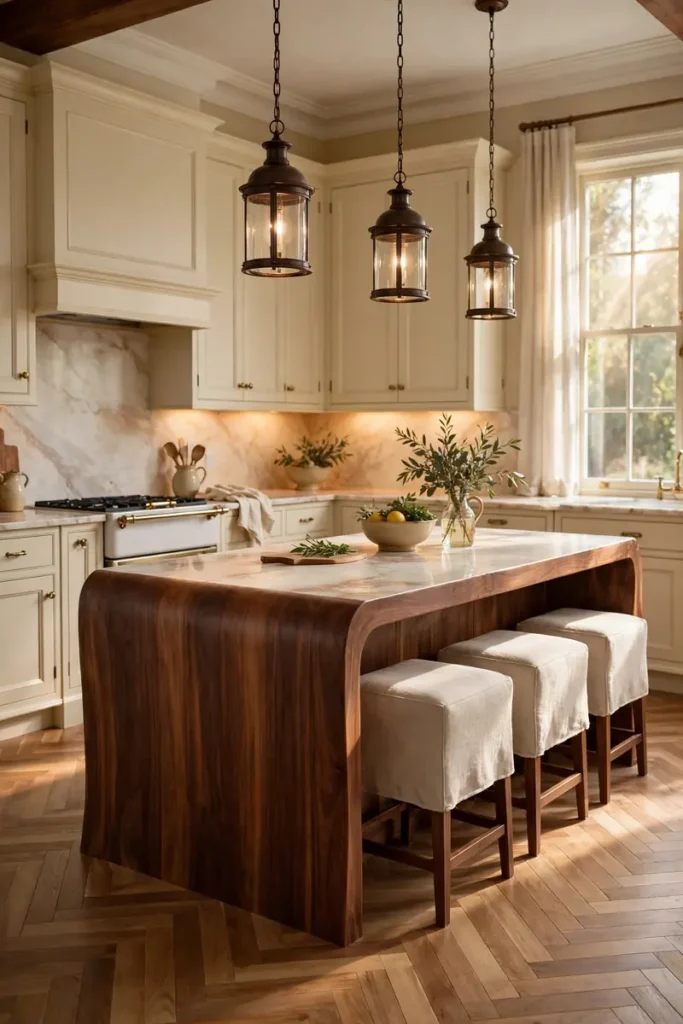
- A walnut island grounds the room the way a good rug grounds a living room. The deep brown tone adds instant richness without making the space feel heavy.
- Keep the surrounding cabinets light so the island stays the star. Cream, soft white, or pale greige all let walnut shine.
- Choose a simple edge profile on the countertop. Busy edges fight with the strong grain, while a clean eased edge lets the wood speak.
- Add two or three pendant lights with warm bulbs above it. The glow brings out the reddish undertones that make walnut so appealing.
- Seal it well if you have kids. A hardwax oil finish stands up to daily life and is easy to touch up when scratches appear.
The beauty of a walnut island is how it anchors an open floor plan. It gives the eye a place to land between the living area and the cooking zone. I have noticed guests naturally gather around it, which makes it as practical for hosting as it is beautiful to look at.
Light Maple Pairing
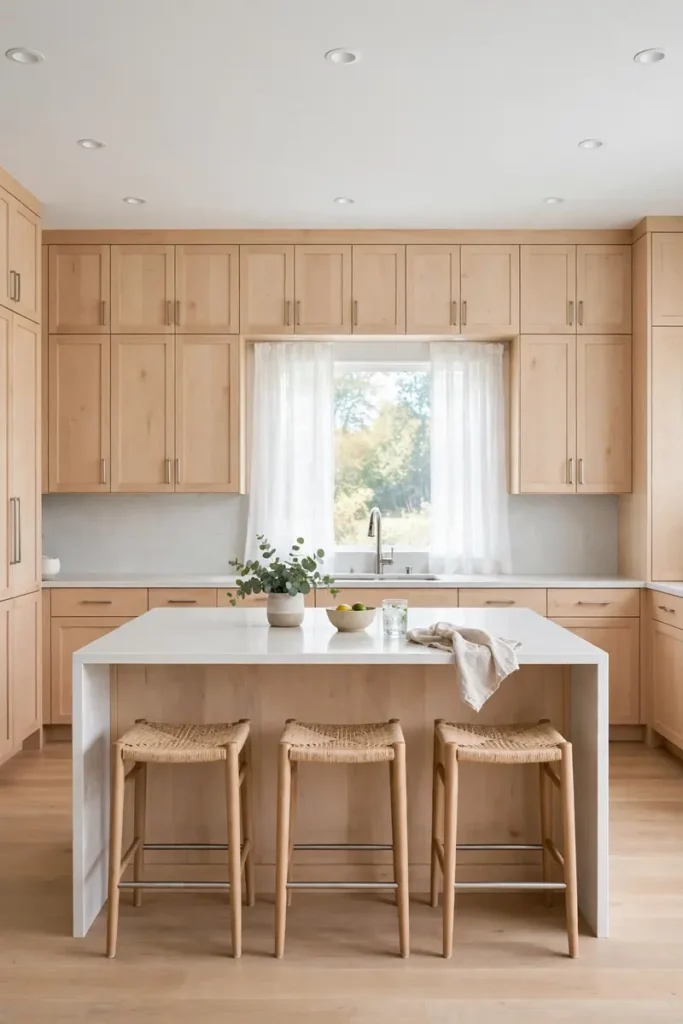
Quick Tip: Sample maple in your own light before you commit. Boards can look pink under warm bulbs and yellow under cool ones, so tape a sample to the cabinet area and check it morning, noon, and night.
Maple earns its fans by being the easygoing member of the wood family. The fine, even grain hides fingerprints and small dings, which busy households appreciate more than they expect. Pair it with white counters and simple hardware for a kitchen that feels fresh without trying too hard.
Reclaimed Wood Charm
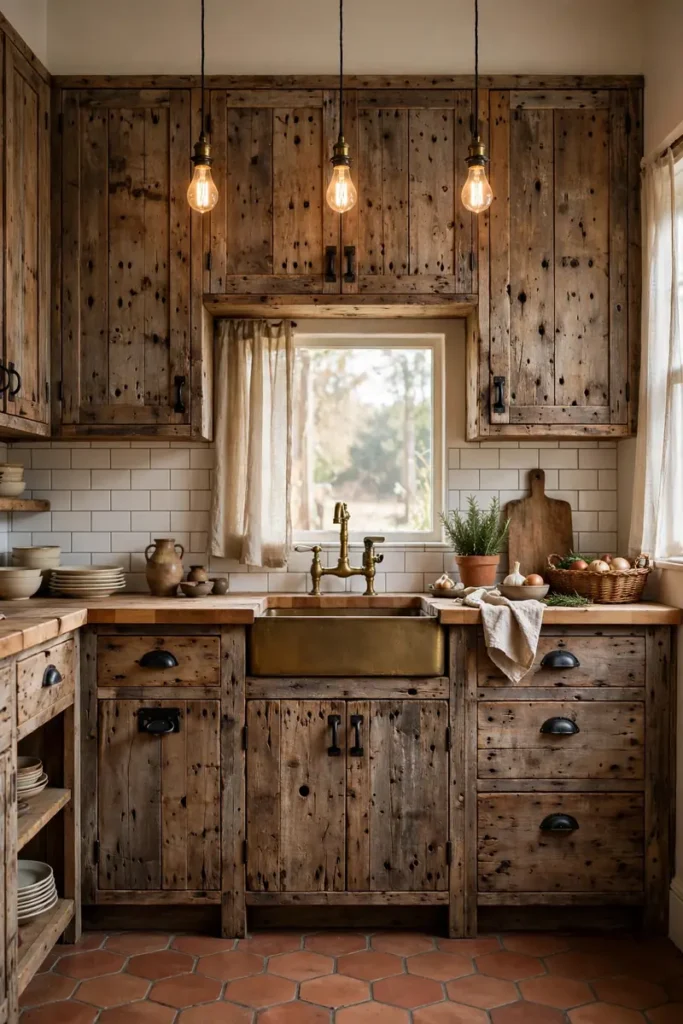
BEFORE: The kitchen felt new but oddly cold, like a showroom nobody actually cooked in. The smooth, uniform cabinets had no story to tell, and the space never quite felt like home.
AFTER: Now the reclaimed wood fronts bring texture, tiny knots, and a sense of history to every drawer. The room feels collected and warm, as if the kitchen grew over time instead of arriving all at once.
Reclaimed wood works best when you let its imperfections lead. Ask your supplier where the timber came from, since the backstory becomes part of the design. In my experience, guests always ask about it, which tells you the character is doing its job. That conversation alone makes the choice worthwhile.
Open Wood Shelving
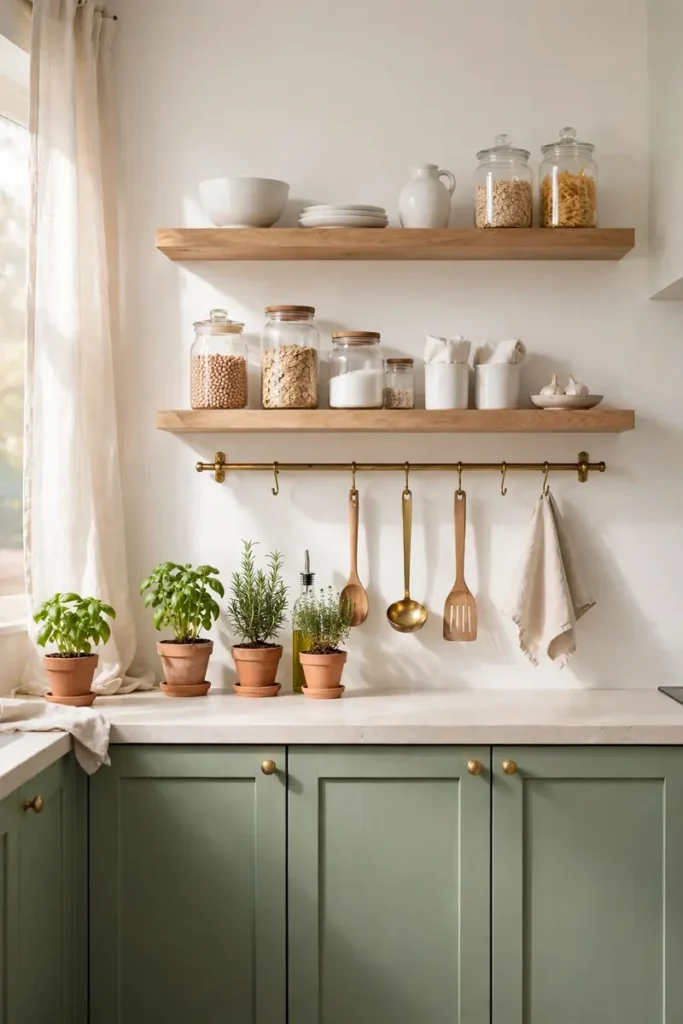
- Pick one wall near the stove or sink, where you reach for things most. Short runs of shelving stay tidy more easily than a full wall.
- Choose shelf wood that echoes your cabinets or floor. Matching undertones keeps the look calm instead of busy.
- Style with daily items first, pretty things second. Plates, bowls, and glasses you actually use will keep the shelves feeling alive.
- Leave breathing room between objects. Crowded shelves collect dust and look cluttered, while spaced pieces feel intentional.
Open shelving asks for a little honesty about your habits. If you love the lived-in look and reach for the same dishes daily, it will feel natural. I have seen it work beautifully in small kitchens, where it replaces heavy uppers and lets the walls breathe again.
Two-Tone Wood Mix
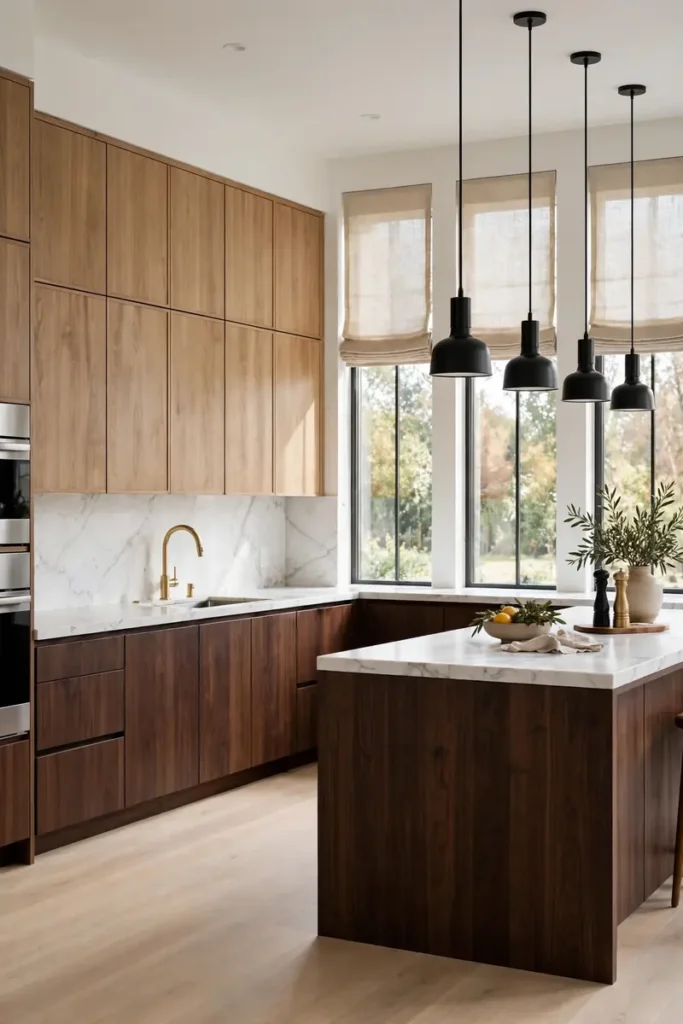
| Light Wood Uppers | Dark Wood Lowers | |
| Feel | Airy and open above | Grounded and rich below |
| Best for | Small or dark kitchens | Large rooms that need anchoring |
| Pairs with | White counters, simple tile | Marble, brass, warm metals |
| Upkeep | Shows less dust | Hides scuffs near the floor |
Two-tone schemes succeed when the contrast feels deliberate. Keep the lighter wood on top so the room stays bright, and let the darker tone handle the hardworking lower zone. I have noticed this combo photographs well too, which matters if you love sharing your space online.
Butcher Block Accents
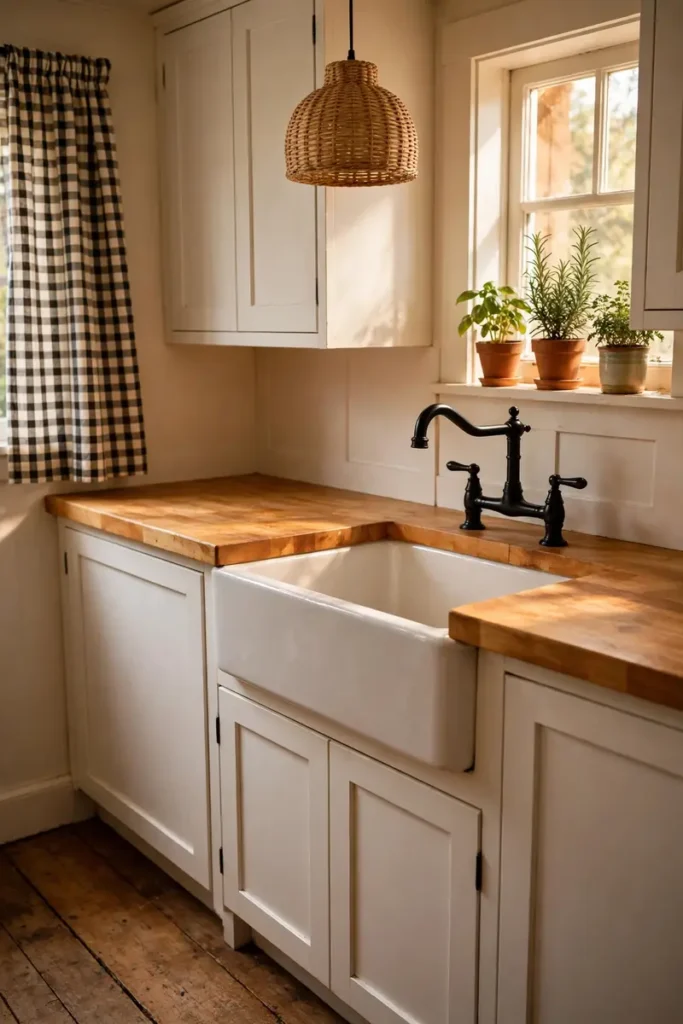
DO:
- Do oil the surface monthly with food-safe mineral oil.
- Do use a lighter wood tone to keep prep zones feeling bright.
- Do pair it with a deep farmhouse sink for classic charm.
- Do sand out knife marks gently before re-oiling each season.
DON’T:
- Do not set hot pans directly on the wood.
- Do not let water pool around the faucet base.
- Do not use harsh bleach cleaners that dry out the grain.
- Do not forget to reseal the area near the dishwasher vent.
Butcher block brings a working-kitchen honesty that stone cannot copy. It invites chopping, kneading, and gathering in a way that feels natural. I have noticed families use these counters more, simply because the surface feels warm and forgiving under their hands every day. That daily comfort is the real payoff here.
Vertical Grain Panels
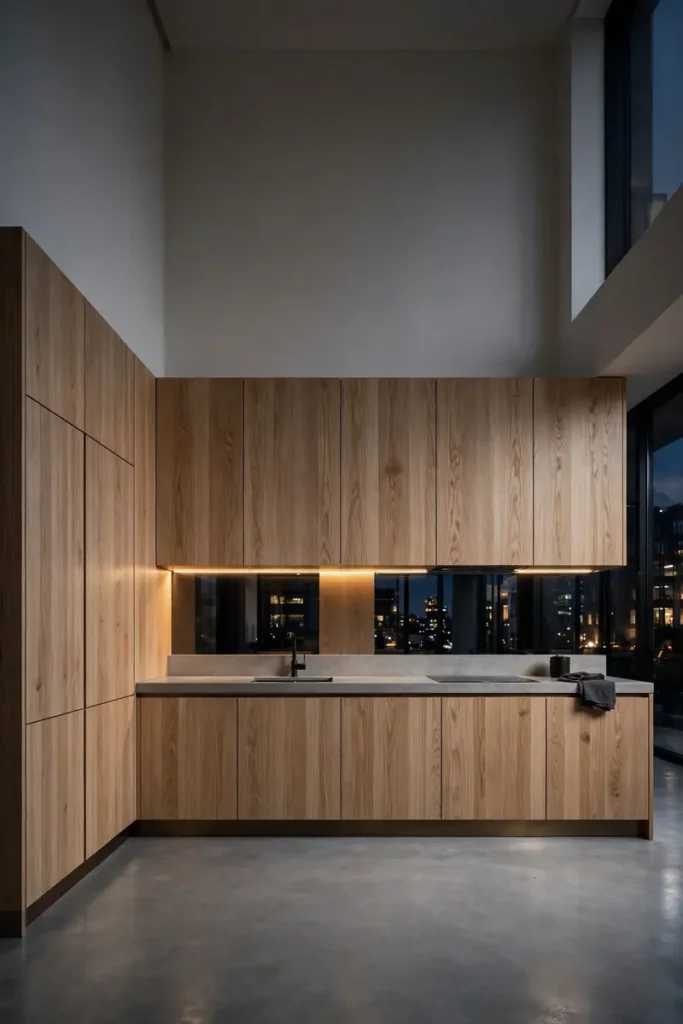
Cost: Medium to high | Time: Two to four weeks | Skill Level: Professional install | Best For: Modern and minimalist kitchens
Vertical grain pulls the eye upward, which makes standard ceilings feel a little taller. The straight, quiet lines suit handleless doors and slab fronts best. In my experience, this is the detail that makes visitors pause and ask who designed the kitchen, even in modest homes.
Honey Oak Revival
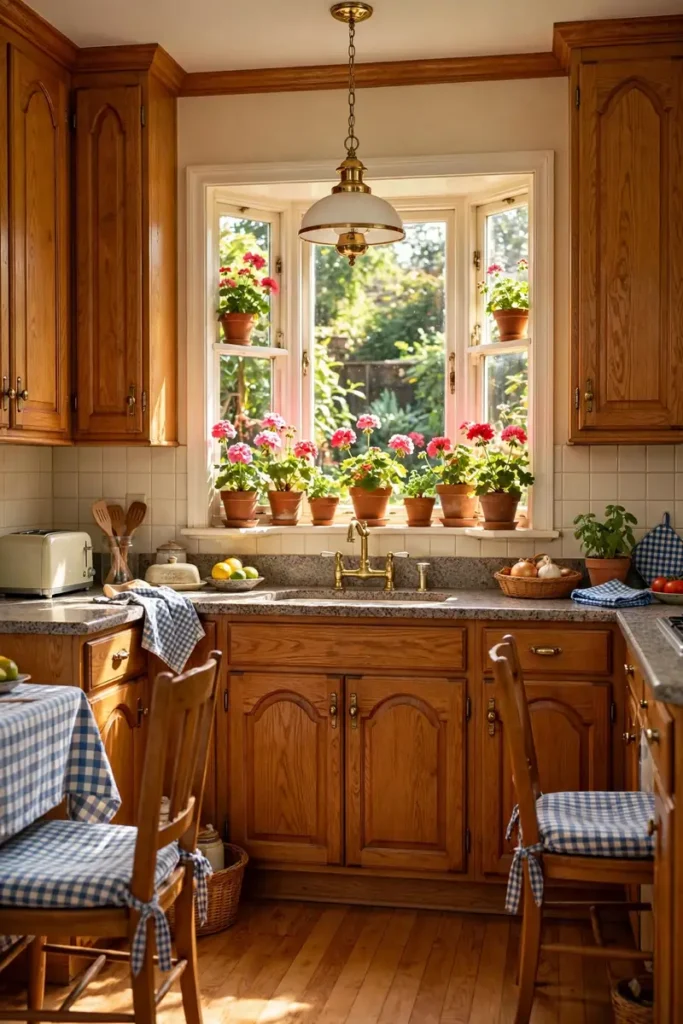
Honey oak is back, and this time nobody is painting over it. The golden tone that once felt dated now reads as cheerful and confident next to today’s softer palettes. Designers are pairing it with creamy whites and aged brass instead of fighting its warmth.
The trick is balance. Let the oak carry the golden notes while everything around it stays quiet and neutral. I have seen dated kitchens wake up with nothing more than new hardware and a lighter wall color beside those honeyed doors. Small changes, big payoff.
Dark Stained Bases
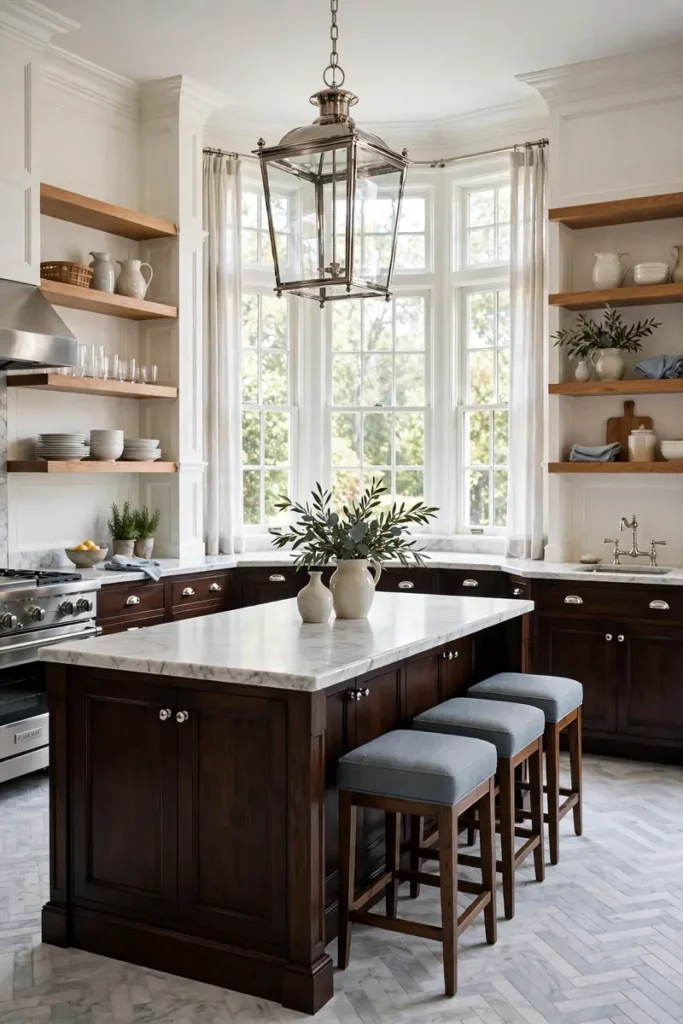
- Dark bases hide the scuffs and splashes that lower cabinets collect. Espresso, walnut stain, and deep charcoal-brown all work hard in busy zones.
- Balance them with light uppers or open shelving. The contrast keeps the room from feeling bottom-heavy.
- Test the stain on your actual wood species first. The same color looks wildly different on oak versus maple.
- Choose satin sheen over high gloss. Satin forgives fingerprints and looks richer under kitchen lighting.
Dark lower cabinets act like a tailored suit for the kitchen. They bring structure and a quiet confidence that lighter rooms sometimes lack. I have noticed they make white counters pop, which is a simple way to get a high-end look without a luxury budget.
Glass Front Wood
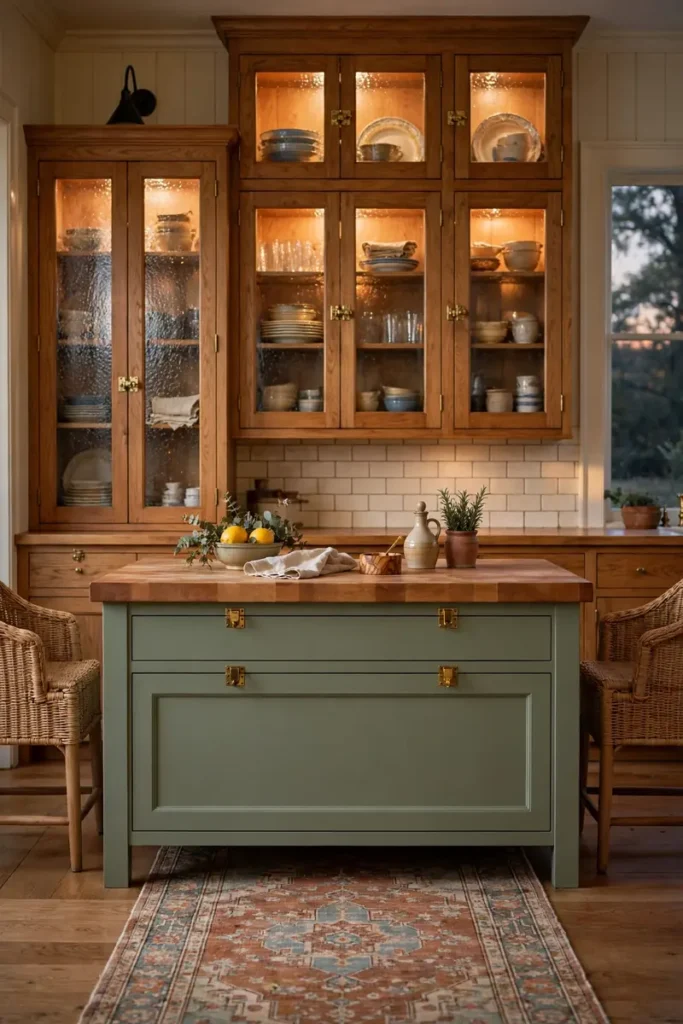
Quick Tip: Light the inside of glass cabinets if you want the full effect. A slim LED strip along the top of each cabinet turns everyday dishes into a display. Keep the styling simple so the glow, not the clutter, gets noticed.
Glass fronts break up long runs of wood and give the eye somewhere to rest. They work especially well flanking a range or framing a window. Style them loosely, since perfectly arranged shelves can feel stiff next to the warmth of natural grain. A little imperfection keeps them feeling human.
Floating Wood Shelves
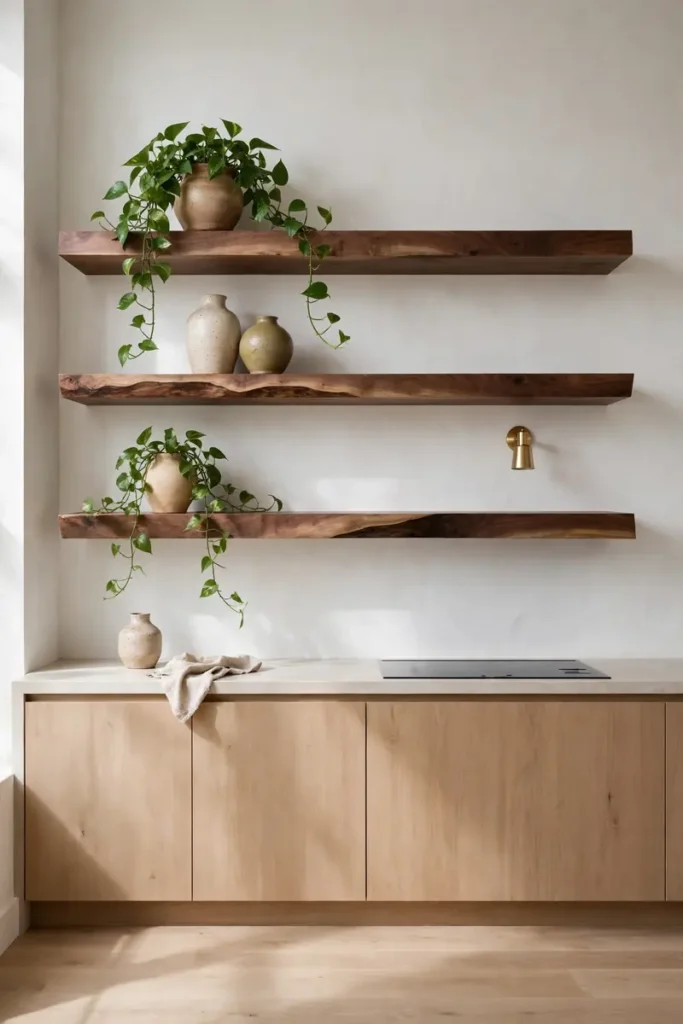
BEFORE: The blank wall above the counter felt unfinished, and the upper cabinets made the small kitchen feel boxed in. Everything was practical but nothing felt personal.
AFTER: Thick walnut slabs now float where the heaviness used to be, styled with ceramics and a trailing plant. The wall breathes, the wood glows, and the kitchen finally has a focal point with soul.
Floating shelves demand strong brackets and solid studs, so do not skip the hardware. A two-inch thick slab needs support rated well above its weight once styled. I have seen too many sagging shelves that skipped this step, and the fix is always harder than doing it right first.
Rustic Beam Details
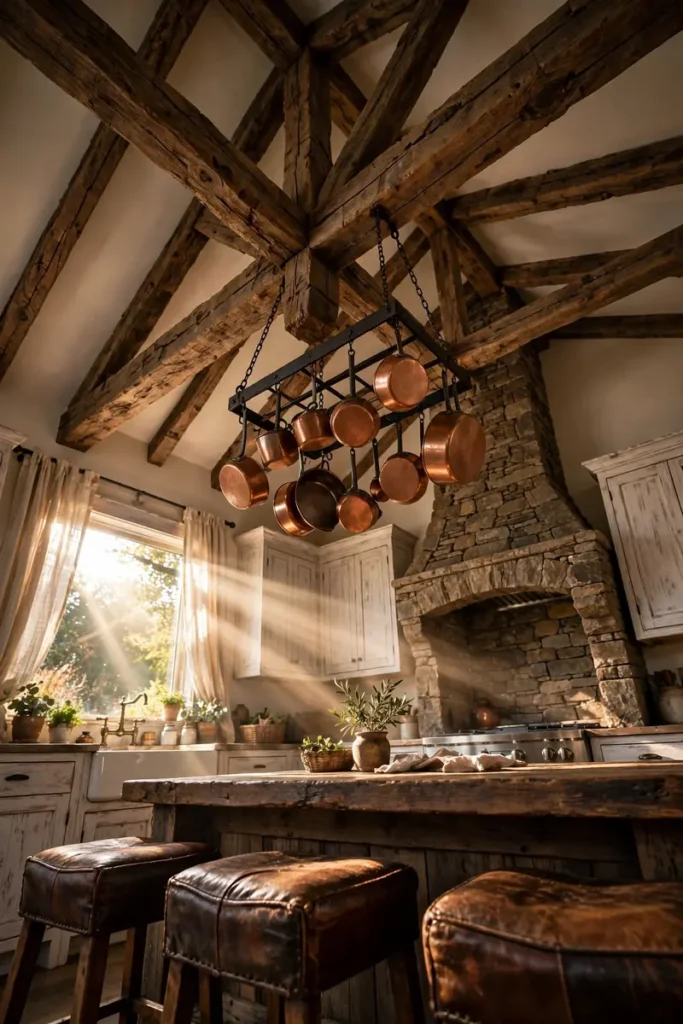
- Start with a single beam over the island or range. One strong beam makes a statement without overwhelming the room.
- Match the beam tone to your cabinets loosely, not exactly. A little variation feels collected rather than matchy.
- Hang something useful from it, like copper pans or dried herbs. Beams earn their keep when they work as well as look good.
- Keep the finish matte and a bit rough. Too much polish kills the rustic character you are paying for.
Beams bring architecture to kitchens that lack it. They draw the eye up and give flat ceilings instant personality. I have noticed they photograph beautifully from the dining table, which makes the whole open space feel more intentional. It is a big move with an even bigger payoff.
Slim Shaker Profiles
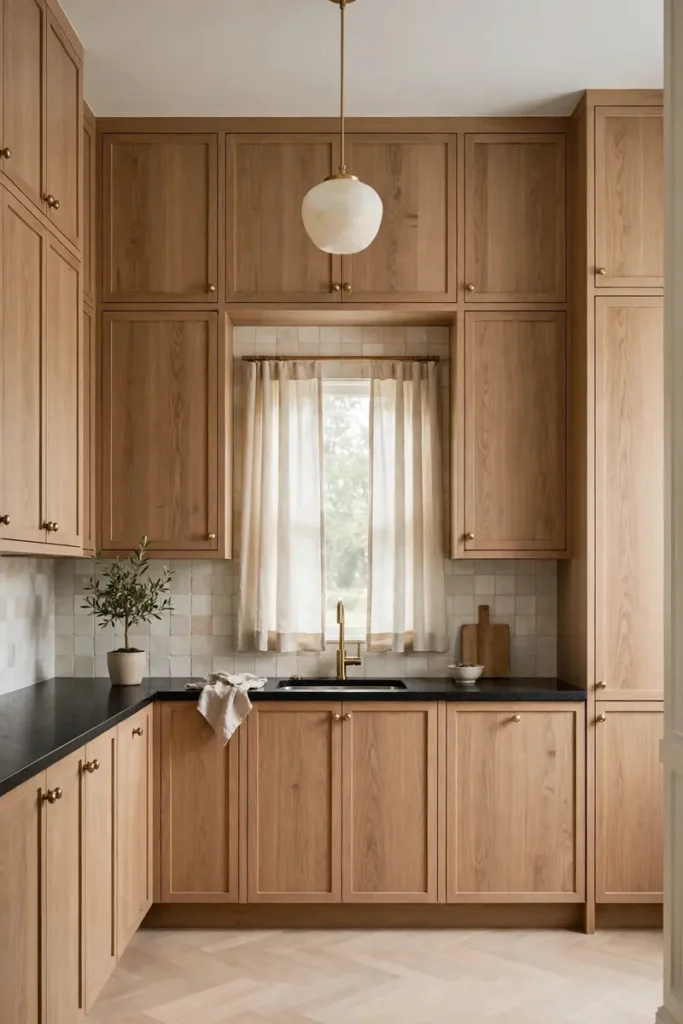
| Slim Shaker | Classic Shaker | |
| Rail width | Narrow, about one inch | Wide, about two and a half inches |
| Look | Tailored and current | Familiar and traditional |
| Best in | Modern farmhouse, transitional | Cottage, classic colonial |
| Pairs with | Sleek bar pulls, minimal knobs | Cup pulls, round knobs |
Slim shaker is the quiet update the classic profile needed. It keeps the familiar frame but trims it down for a lighter feel. I have seen it bridge styles beautifully, working as well in a city condo as in a country house with modern leanings.
Wood and Brass Mix
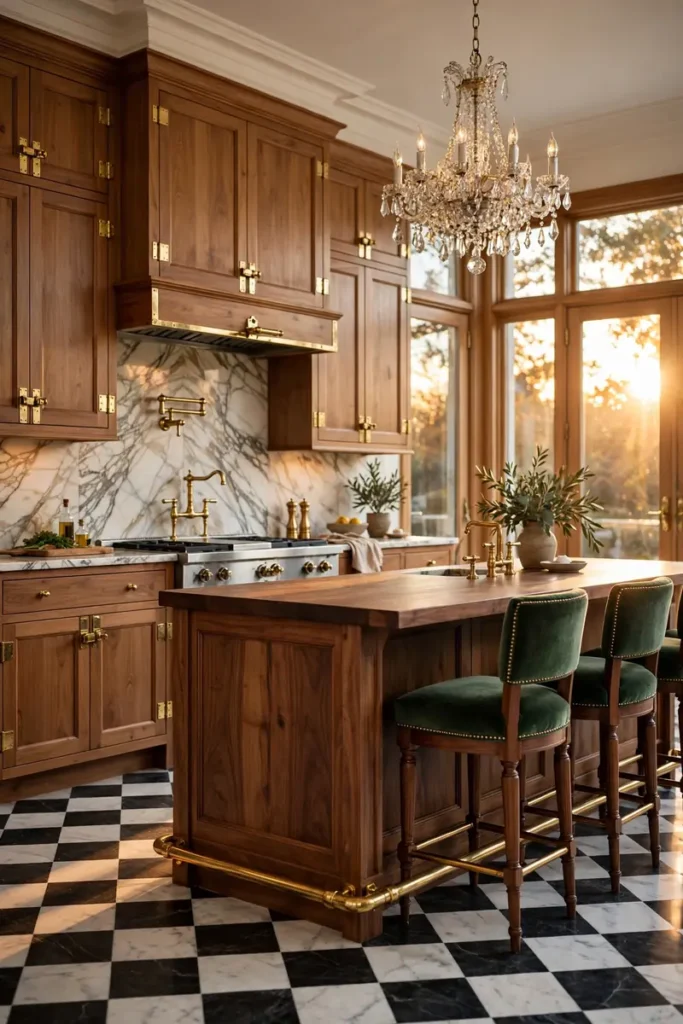
DO:
- Do let the brass age naturally for a living finish.
- Do repeat brass in at least three spots for balance.
- Do choose warm wood tones that echo brass undertones.
- Do mix metals sparingly if you add a third finish.
DON’T:
- Do not polish unlacquered brass daily; patina is the point.
- Do not pair cool gray wood with warm brass.
- Do not use brass everywhere or it loses its jewelry effect.
- Do not forget to seal wood near the brass faucet.
Wood and brass together feel like jewelry for the kitchen. The metal warms up the grain while the grain keeps the metal from feeling cold. In my experience, this pairing ages better than most trends, since both materials look richer with time and touch. That is a rare quality worth investing in.
Matte Wood Finish
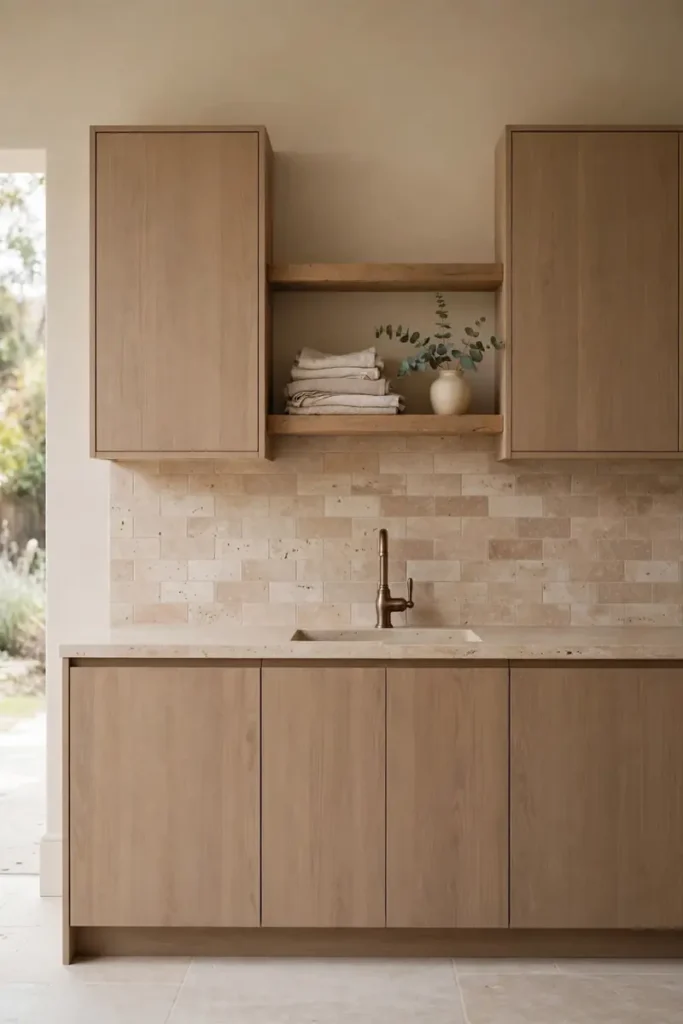
Cost: Low (finish choice) | Time: Same as standard | Skill Level: Any | Best For: Soft, glare-free kitchens
Matte finishes let wood look like wood, not plastic. They soften reflections and make the grain the star instead of the shine. I have noticed matte kitchens feel calmer in photos and in person, which suits anyone craving a quieter, more restful cooking space. It is an easy win.
Curved Wood Corners
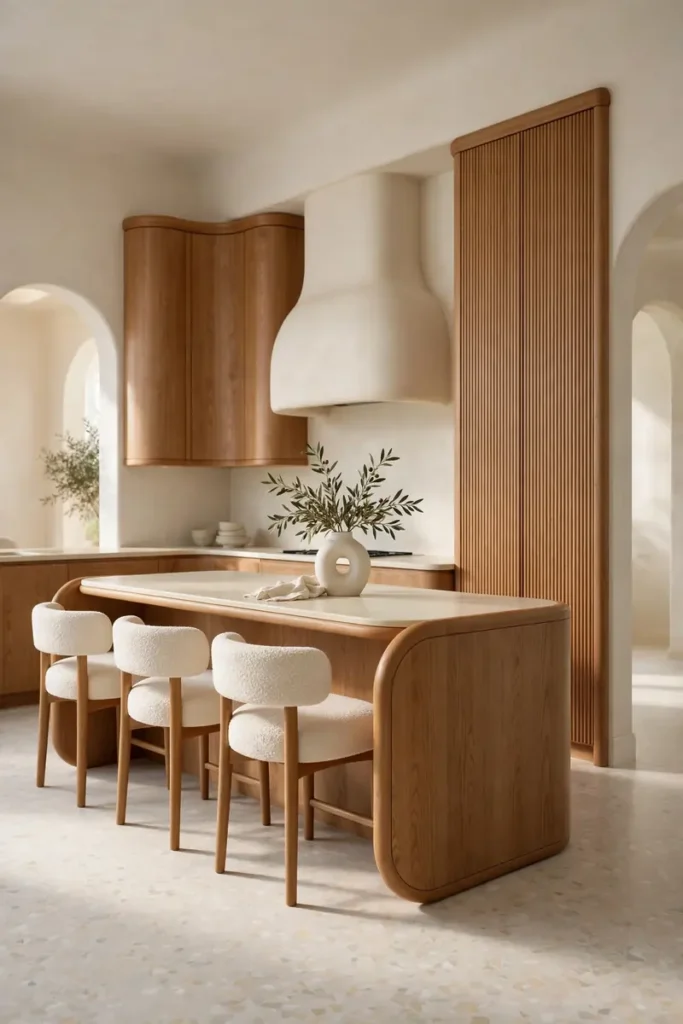
Sharp corners are giving way to soft curves, and wood bends to the trend beautifully. Rounded island ends and curved corner cabinets feel custom in the best way. The eye glides around them instead of stopping short, which makes traffic flow feel easier too. It is a subtle luxury.
Curves cost more than straight runs, so use them where they count. A rounded island end near the walkway prevents bruised hips and looks sculptural. I have seen one curved detail lift an entire kitchen from nice to memorable. That single gesture does more work than a whole wall of decor.
Pantry Wall Storage
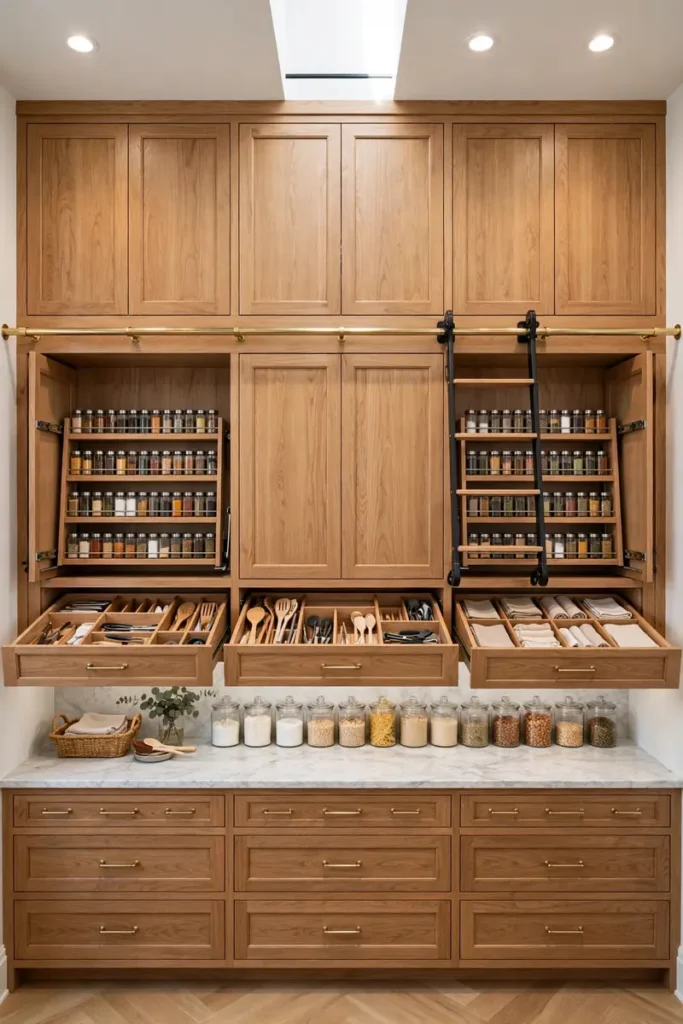
- A full pantry wall turns dead space into the hardest working zone in the kitchen. Floor-to-ceiling wood storage swallows appliances, bulk goods, and all.
- Mix closed cabinets with a few open cubbies. Hidden storage keeps clutter away while open spots display pretty jars.
- Add pull-outs inside deep cabinets. Everything becomes reachable, which means less forgotten food in the back.
- Include a counter-height shelf for small appliances. Coffee gear and toasters stay plugged in but out of sight.
The pantry wall is where wood earns its keep through sheer usefulness. It brings warmth and order in equal measure. I have noticed families who add one wonder how they ever managed without it, since the kitchen instantly feels twice as big. Storage, it turns out, is a design feature too.
Natural Edge Details
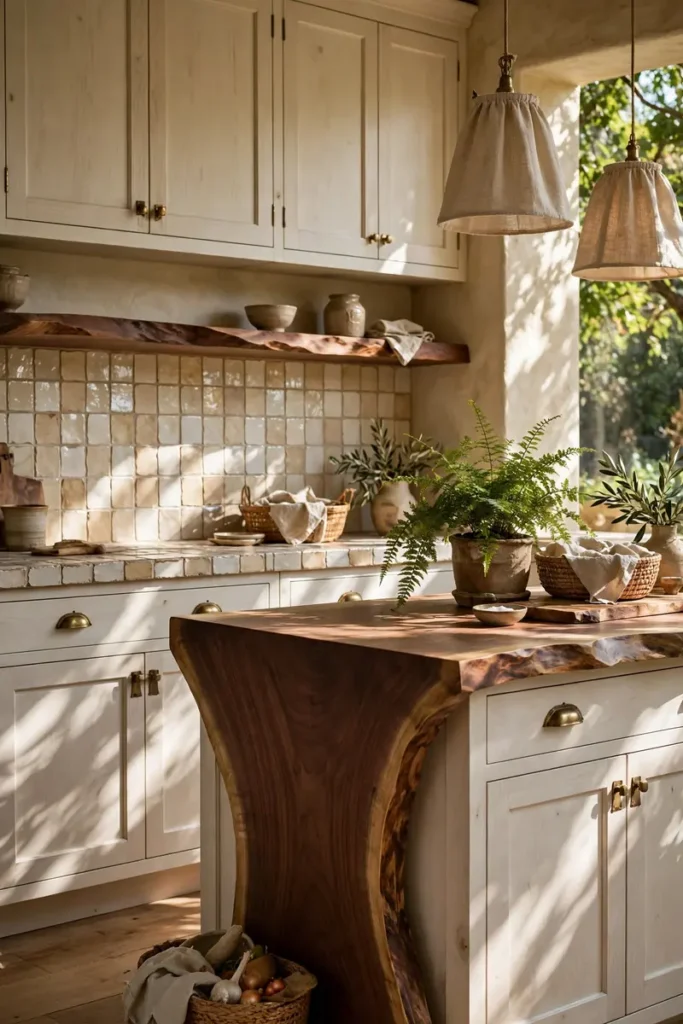
Quick Tip: Run your hand along the edge before you buy. A good live edge feels smooth with no splinters, even though it looks wild. If it snags your sleeve, the maker skipped the final sanding.
Natural edges remind you that wood was once a tree, and that story never gets old. Use them sparingly so they stay special. I have seen a single live edge shelf outshine an entire wall of standard cabinets, which proves restraint pays off. Less really is more here.
Light Wood Backsplash
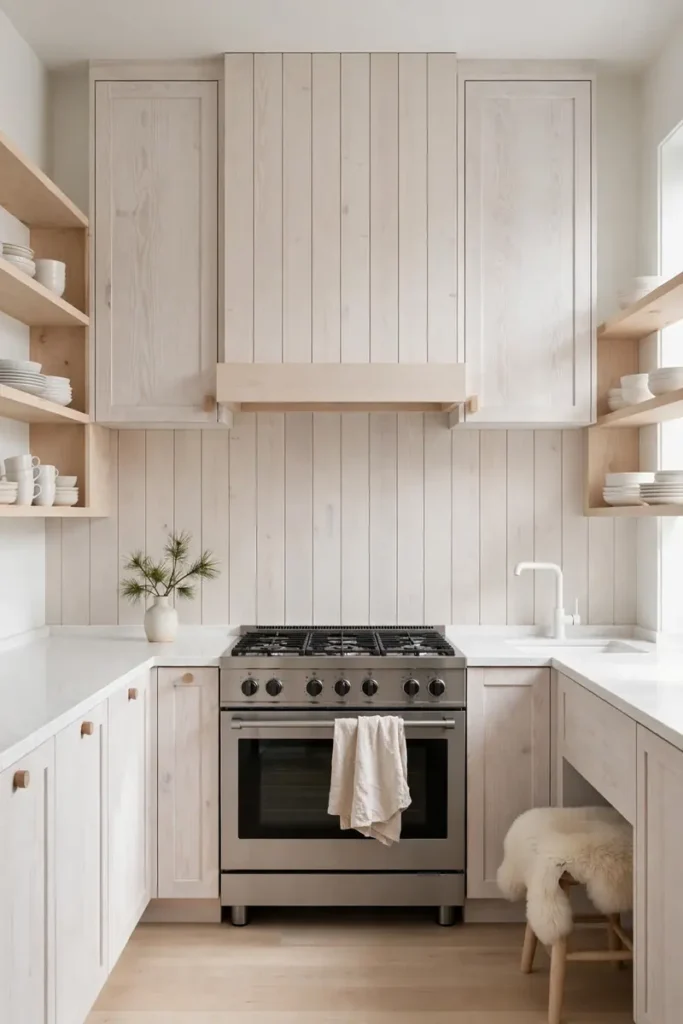
BEFORE: The tile backsplash felt cold and expected, and grease showed on every glossy square. It did its job but added nothing to the room.
AFTER: Pale ash planks now run behind the range, sealed against splashes and glowing in the daylight. The kitchen feels softer and more cohesive, like the cabinets simply continue upward.
Wood backsplashes need the right sealer, so treat this as a technical choice first. A marine-grade finish behind the range handles heat and steam well. I have seen this detail surprise skeptics the most, since it looks delicate but performs like a workhorse. Function and beauty can share the same plank.
Contrasting Stone Tops
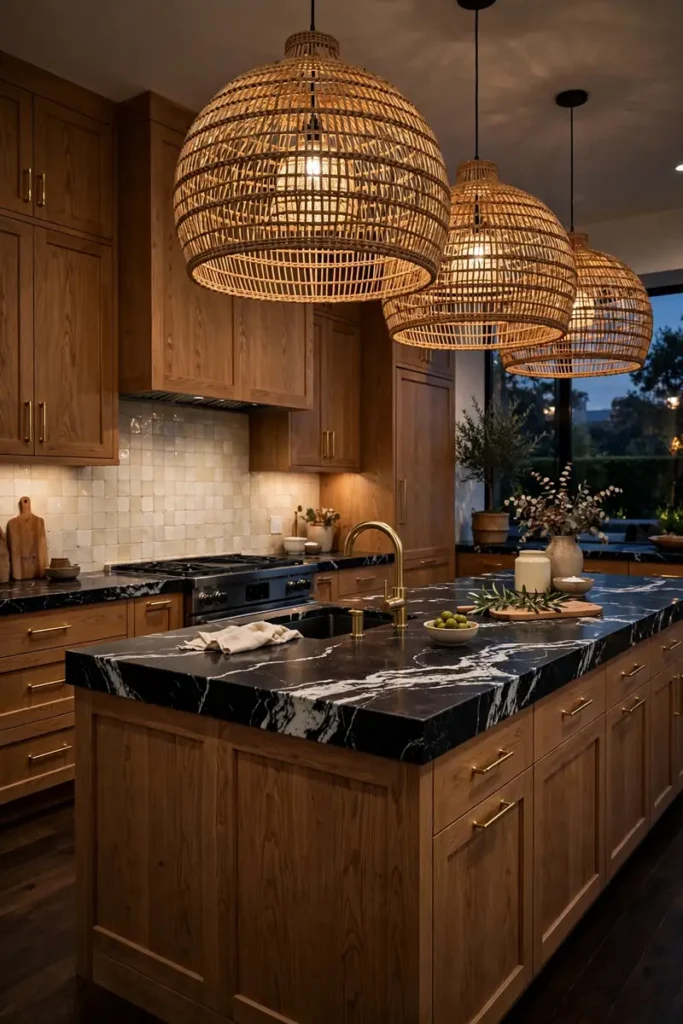
- Choose the stone first, then match the wood to it. Strong veining sets the tone that everything else follows.
- Keep the wood tone warm and simple. Busy grain fights dramatic stone, while calm oak lets it shine.
- Repeat one color from the stone elsewhere. A black faucet or dark hardware ties the contrast together.
- Hone the stone instead of polishing it. The soft sheen sits better next to natural wood grain.
Contrast is what makes a kitchen memorable instead of merely nice. Dark stone over warm wood creates a tension the eye loves. In my experience, this is the combination guests photograph most, which tells you it has real stopping power. Use it boldly and do not second-guess the drama.
Soft Close Upgrades
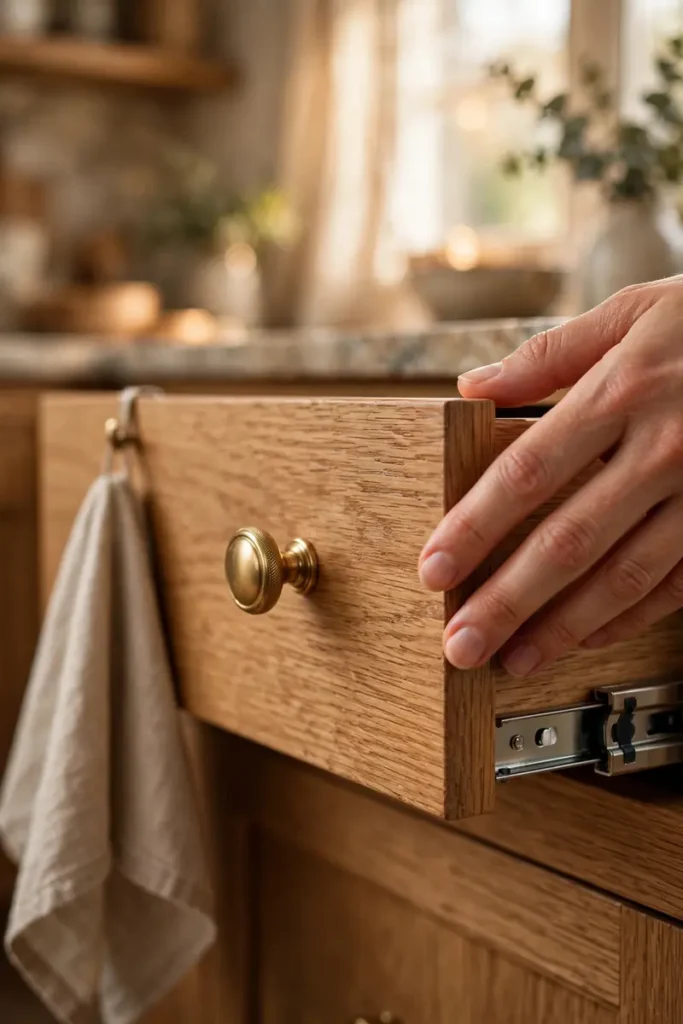
| Basic Hinges | Soft Close Upgrade | |
| Sound | Doors slam shut | Silent, gentle close |
| Feel | Everyday and plain | Premium and calm |
| Cost | Included standard | Small extra per door |
| Install | Simple screw fit | Same fit, easy swap |
Soft close hardware is the smallest upgrade with the biggest daily payoff. Every door and drawer shuts with a whisper instead of a bang. I have noticed households with kids feel the difference most, since the kitchen stays peaceful even during the morning rush. It is luxury you feel, not just see.
Under Cabinet Glow
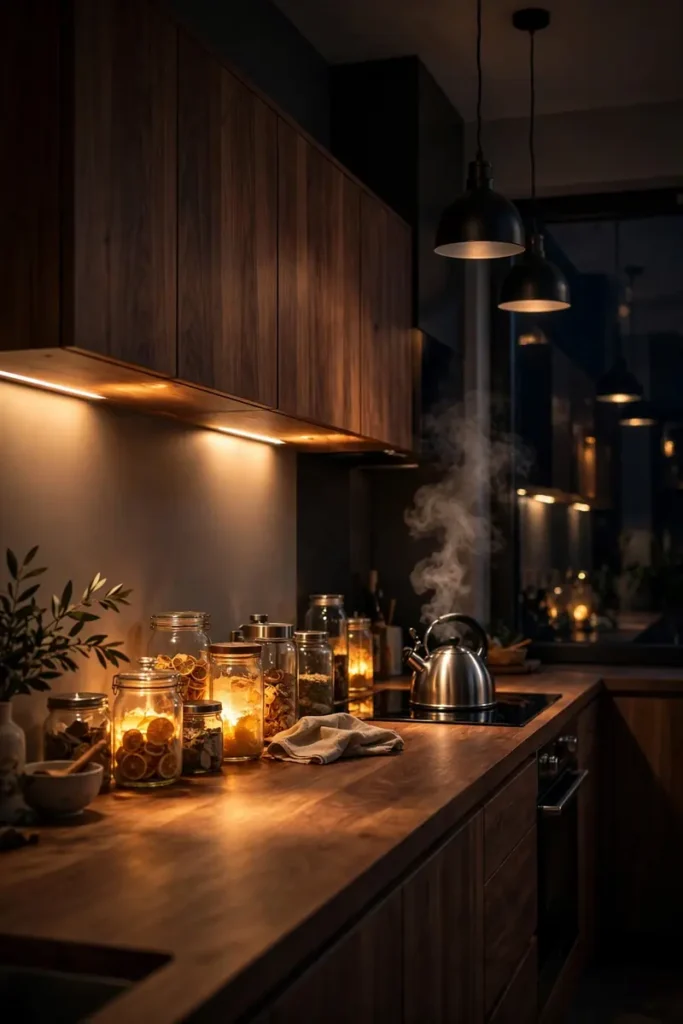
DO:
- Do choose 2700K warm white strips for a candle-like glow.
- Do mount strips toward the front edge for even light.
- Do add a dimmer so evenings feel soft, not clinical.
- Do hide the driver inside a cabinet for a clean look.
DON’T:
- Do not use cool daylight strips that flatten wood tones.
- Do not leave visible dots; pick high-density LED tape.
- Do not skip the backsplash zone when planning runs.
- Do not plug into a switched outlet you cannot reach.
Under-cabinet light turns wood into something almost alive after dark. The grain catches the glow and the whole kitchen softens. In my experience, this is the feature owners say they would never give up, since it changes how the kitchen feels every single evening. Daylight shows the kitchen; evening light shows it off.
Styled Open Displays
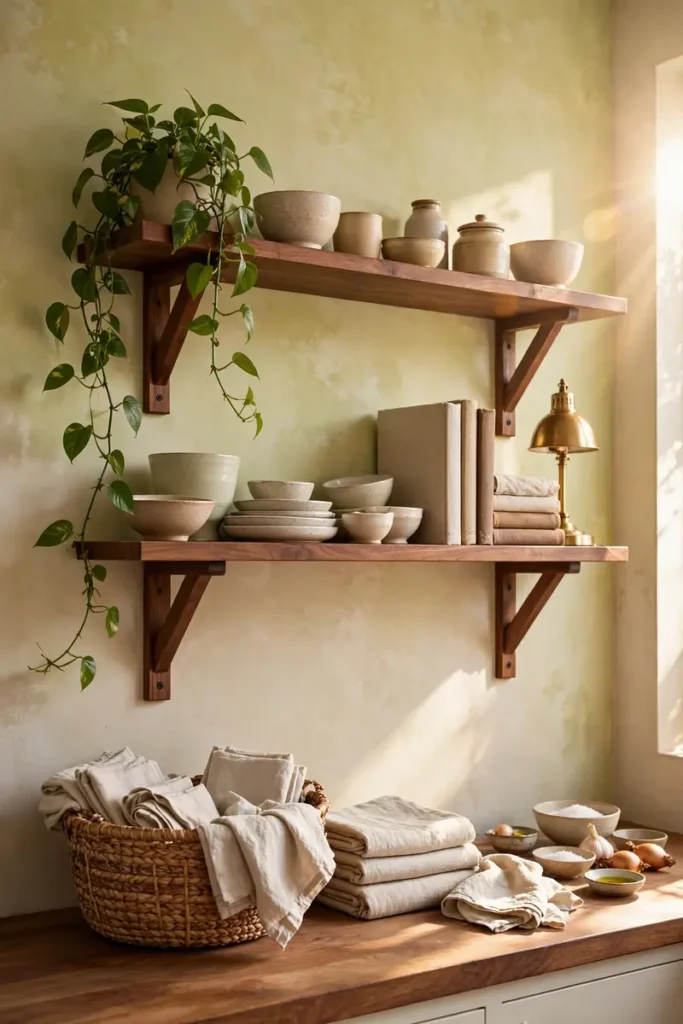
Cost: Low | Time: One afternoon | Skill Level: Beginner | Best For: Personal, collected kitchens
Styling is where your kitchen stops looking like a catalog and starts feeling like yours. Group items in odd numbers and vary their heights for a natural rhythm. I have seen the simplest shelf become the most photographed corner of a home, just because someone styled it with care and restraint.
Conclusion
These 24 ideas prove that natural wood kitchen cabinet ideas are less about following a trend and more about choosing warmth that lasts. Whether you go for pale oak, rich walnut, or a simple shelf styled with care, the grain brings a quiet richness no paint can copy.
Save this collection to your kitchen board on Pinterest so it is waiting when you are ready. Try one idea this weekend and see how the room shifts. I have seen how small changes like these can completely shift the way a space feels, and yours deserves that warmth. Share it with someone planning their own refresh.

2 Comments