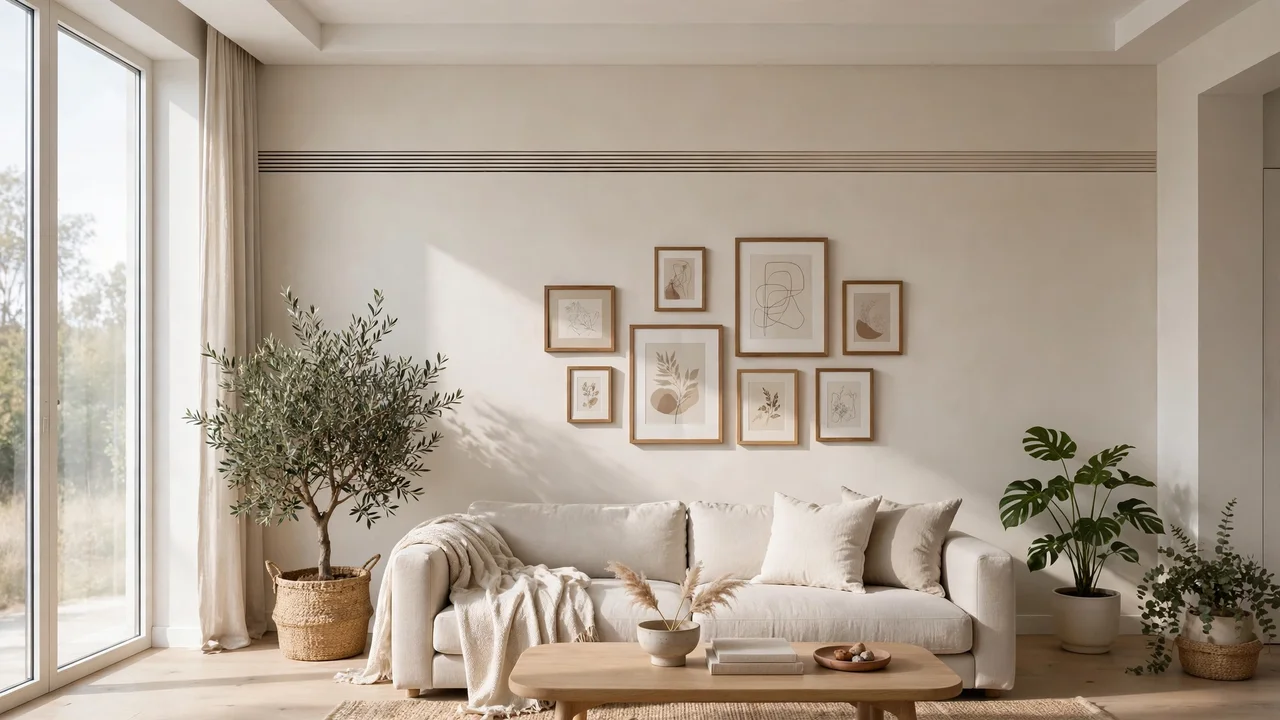
How to Decorate Around a Large Wall Vent
That large vent on your living room wall does not have to ruin your decor. Learning how to decorate around a large wall vent is easier than you think, and In my experience most people overthink it. A few smart moves can make that metal grille blend right into your beautiful room.
This guide covers everything from the golden rule of airflow to paint tricks, decorative grilles, and styling ideas. You will also find common mistakes to avoid and pro tips for a polished finish. If you enjoyed our guide on how to make a rental bathroom look modern, you will love these renter-friendly ideas too.
By the end, your vent will fade into the background and your style will shine. Let us get started.
Why Wall Vents Feel Like Eyesores
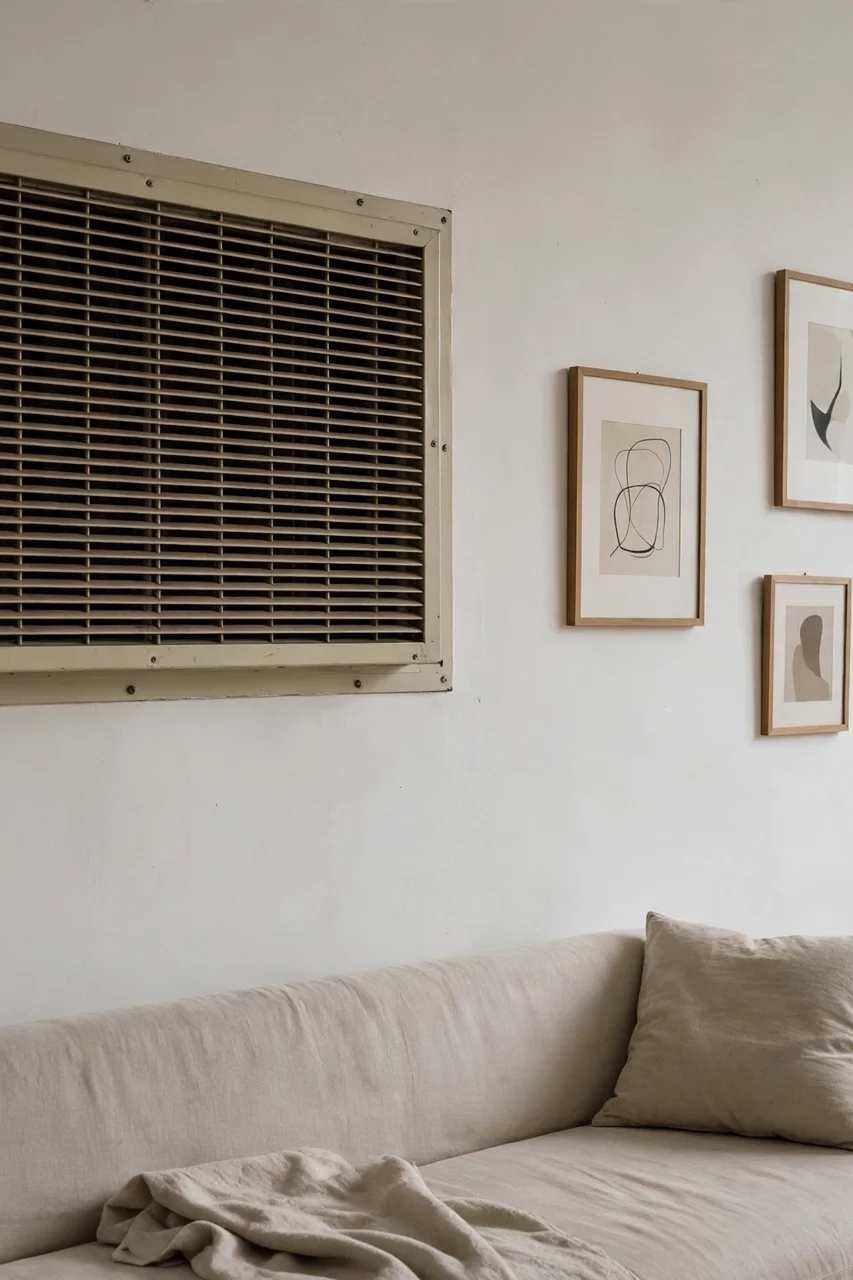
That big metal grille on your living room wall steals attention from everything else. It sits there, dull and beige, right in the middle of your styled space. No matter how nice your sofa looks, your eye keeps landing on the vent. It feels industrial and out of place in a room.
The good news is that vents are easy to disguise once you know the tricks. A little paint and smart styling can make it nearly disappear. You do not need to replace it or call a contractor. Let us start with the one rule you must never break.
Don’t Block Airflow
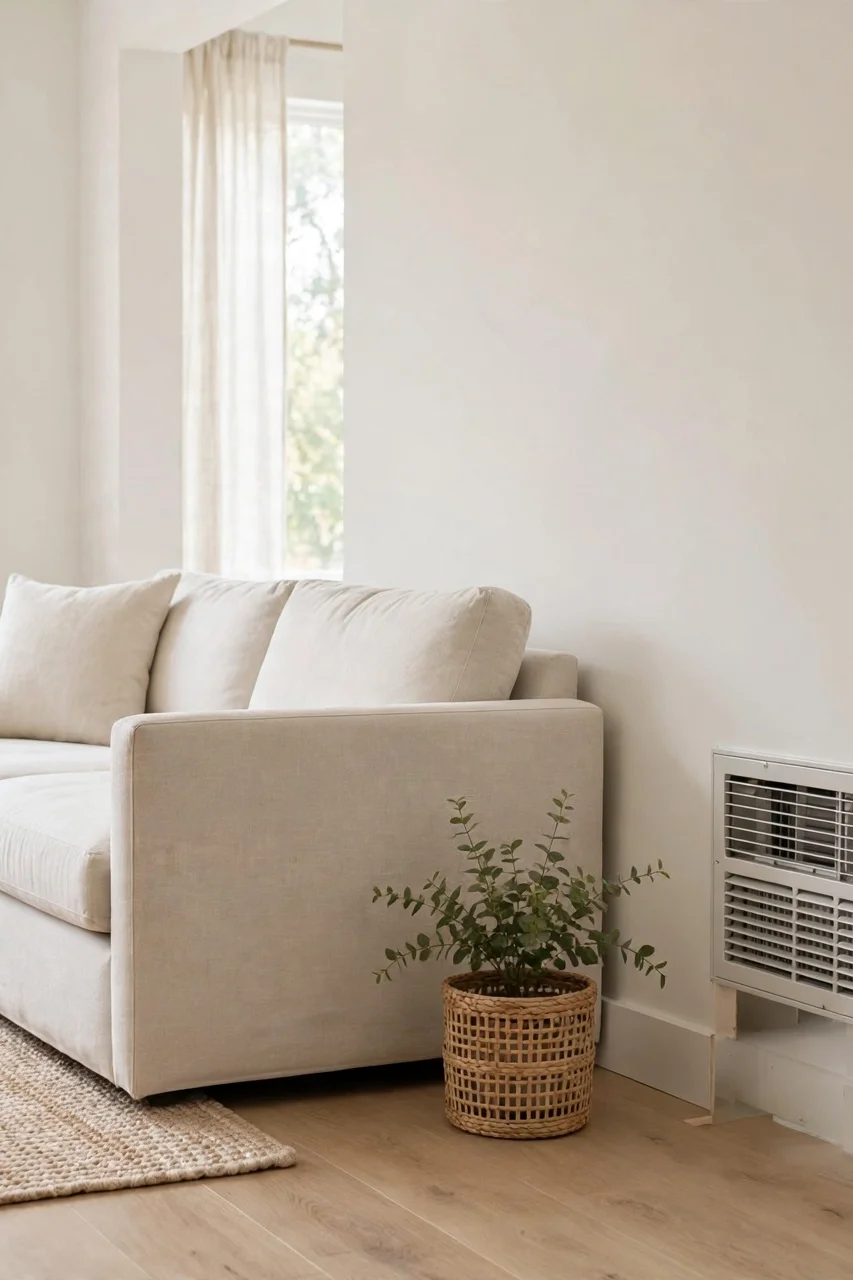
Before you cover anything, you need to protect your airflow. Vents exist to keep your heating and cooling working properly. Blocking them can strain your system and raise your energy bills. A few simple habits keep the air moving while you style around the vent.
- Keep at least 6 inches of clear space in front of every vent so air flows freely.
- Never push furniture flat against a wall vent, even if it looks tidier that way.
- Vacuum the vent grille every few months so dust does not choke the airflow.
- Choose decorative covers with open patterns that let air pass through easily.
Paint to Blend In
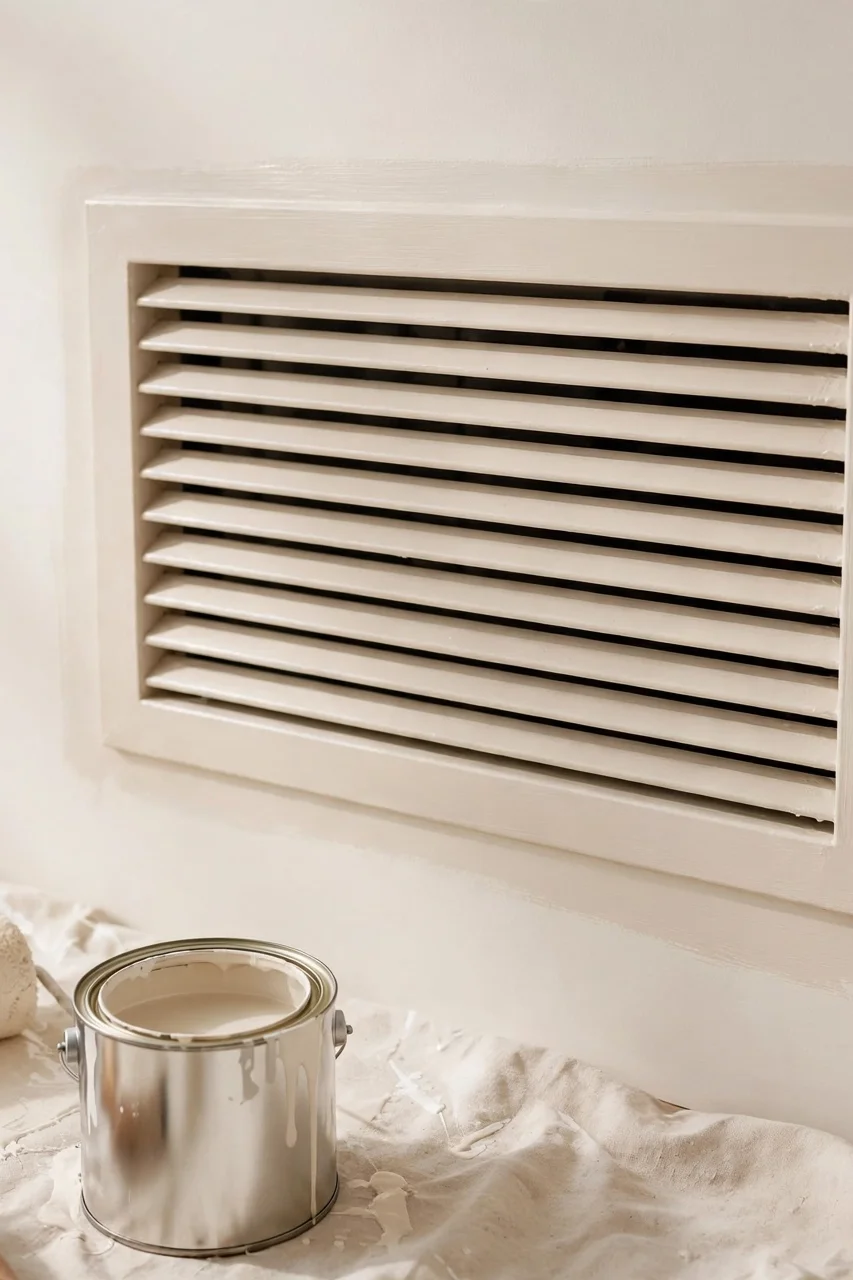
Quick Tip: Match your wall paint exactly, including the finish. A vent painted in flat wall color disappears far better than one in glossy white. Take a paint chip to the store if you are not sure about the shade.
Painting is the cheapest fix and often the most effective. Remove the grille, clean it well, and apply a bonding primer first. Two thin coats of wall paint will do the job. Let it dry fully before reattaching. The vent will blend into the wall like it was never there.
Cover With Decorative Grilles
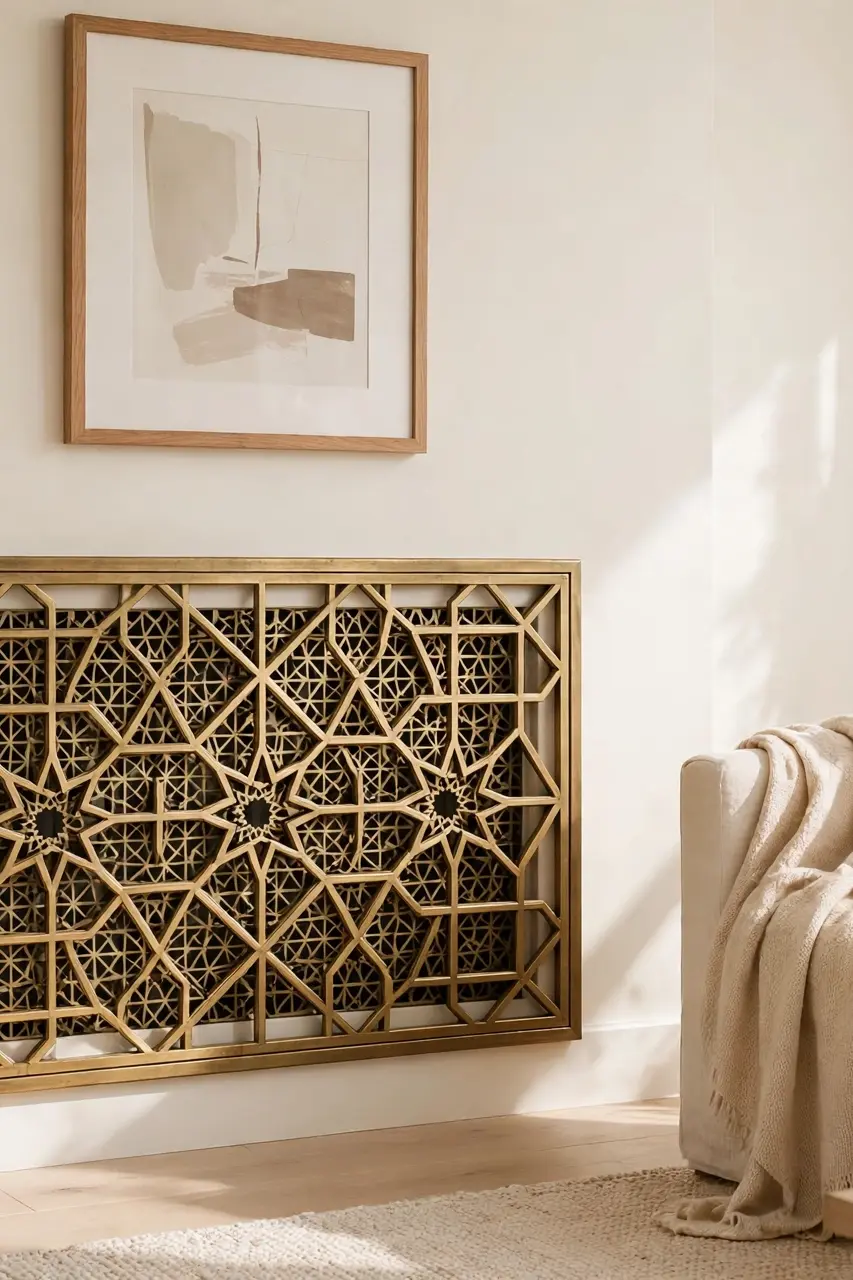
Common Mistake: Most people grab any decorative cover and screw it on without checking the airflow rating. Solid or tightly woven covers can cut airflow by half. That forces your system to work harder and can leave rooms feeling stuffy.
The Fix: Look for covers labeled high-airflow or with at least 60 percent open area. Metal grilles with wide lattice patterns work best. Measure your vent opening first, then pick a cover slightly larger for a clean, intentional look.
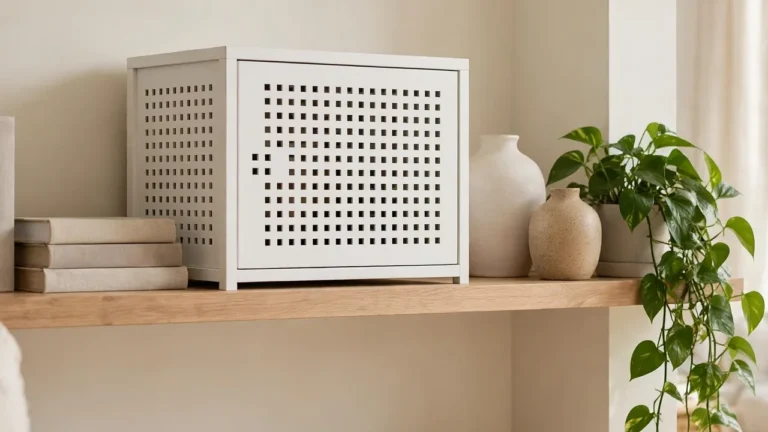
A decorative grille turns an eyesore into a design detail. Brass, matte black, or white finishes can match your hardware and light fixtures for a pulled-together feel. Installation takes minutes with just a screwdriver. Just remember to keep the pattern open enough for air to pass through freely.
Use Art Above
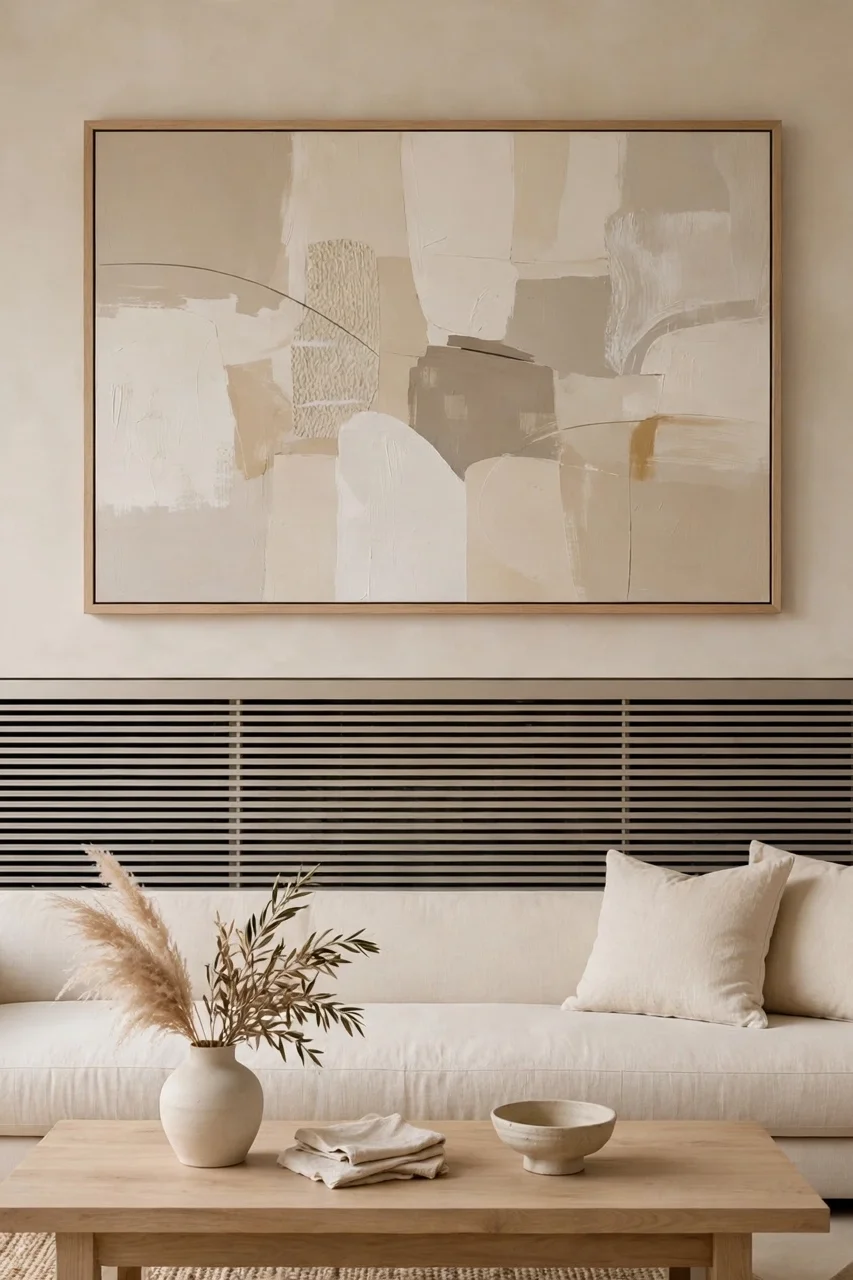
What You Need:
- A large frame or two: Hang one oversized piece above the vent to pull the eye upward.
- Painter’s tape: Map out your art arrangement on the wall before hammering any nails.
- A level: Keep frames straight so the whole wall looks polished and intentional.
- Command strips: Try layouts damage-free first, especially helpful for renters.
- A step stool: Reach high spots safely when hanging art above the vent.
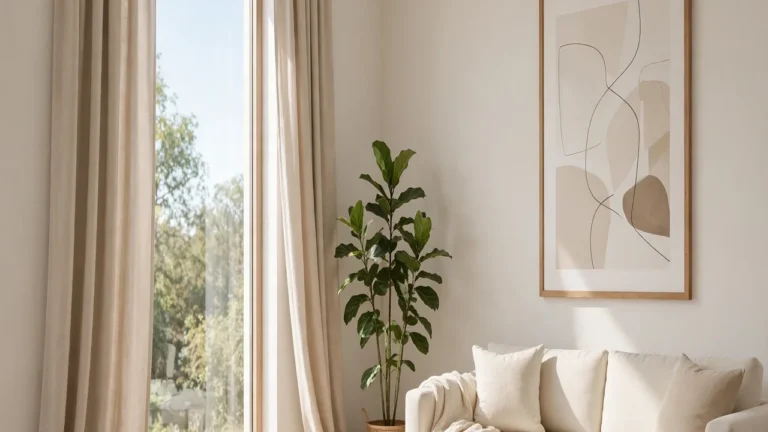
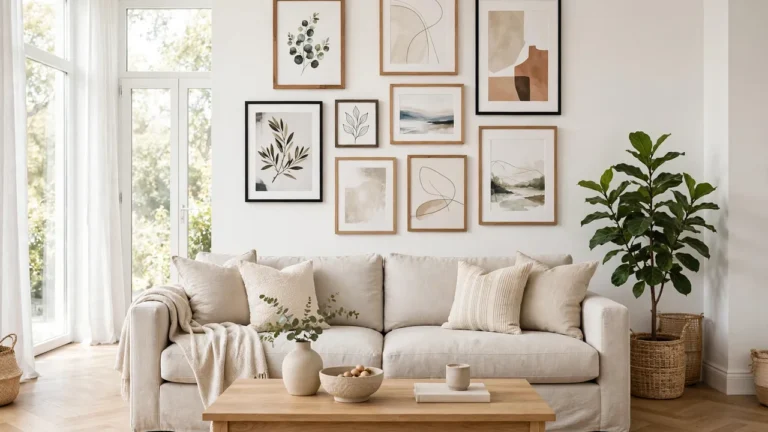
Art above the vent works because it gives your eye something better to look at. When I learned how to decorate around a large wall vent, this trick made the biggest difference. Hang the center of your art at eye level. Keep the vent visible below, styled as part of the wall.
Place Furniture Nearby
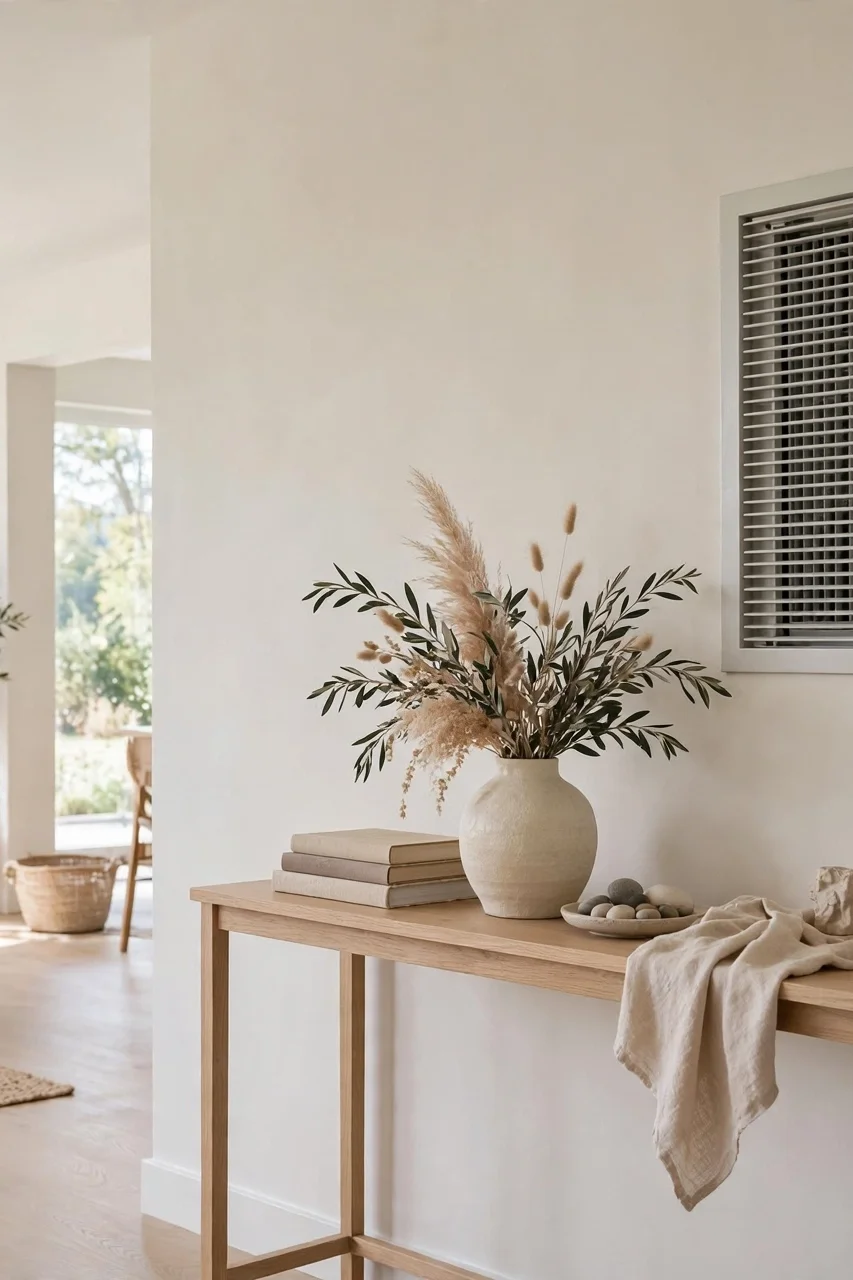
Before: The vent sits alone on a bare wall, drawing every eye in the room. The wall around it feels empty and unfinished. Guests notice the metal grille before they notice anything else you have styled.
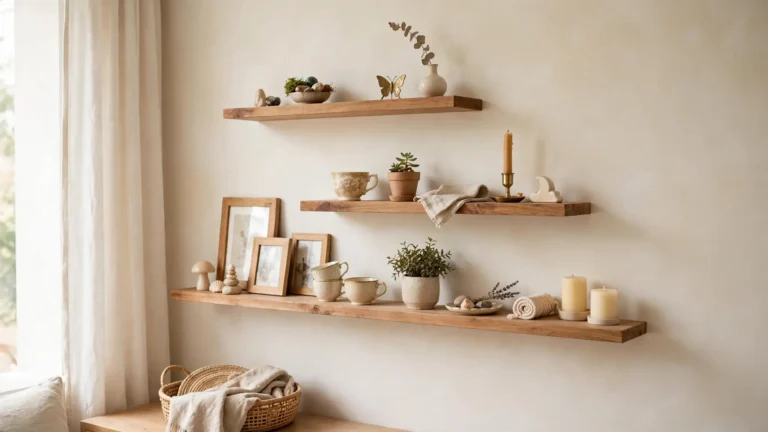
After: A slim console table now stands beside the vent, styled with books and a small vase. The wall feels furnished and complete. The vent fades into the background while the decor takes center stage.
Furniture near the vent redirects attention without blocking airflow. Choose pieces with legs so air flows underneath and around them. A narrow console, a small bench, or a leaning bookshelf all work well. Style the top with a few simple objects and the vent becomes a background detail.
Add Plants
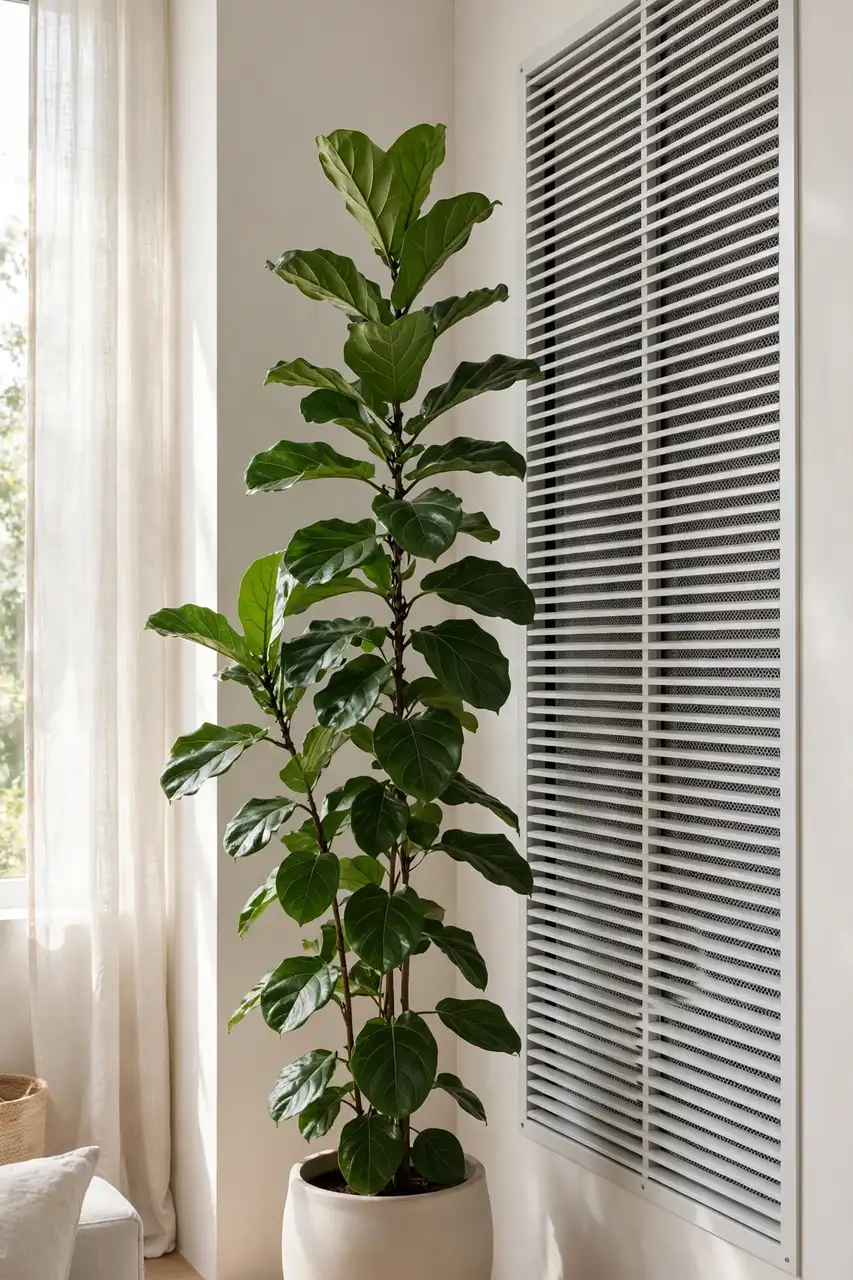
Do This:
- Place a tall plant beside the vent to draw the eye upward.
- Choose a pot that matches your decor for a cohesive look.
- Water regularly so the plant stays lush and full.
- Rotate the plant monthly so it grows evenly on all sides.
Avoid This:
- Do not let leaves press against the vent and block airflow.
- Skip tiny plants that get lost next to a large vent.
- Avoid fake plants that collect dust and look flat.
- Do not place the pot where it blocks walking paths.
Greenery is one of the easiest ways to soften a hard metal vent. The organic shapes of leaves contrast beautifully with straight grille lines. A tall plant also fills vertical space that often goes unused. Pick something low-maintenance if you are completely new to houseplants.
For more small-space organization ideas, check out our guide on how to organize a small coat closet.
Style the Wall
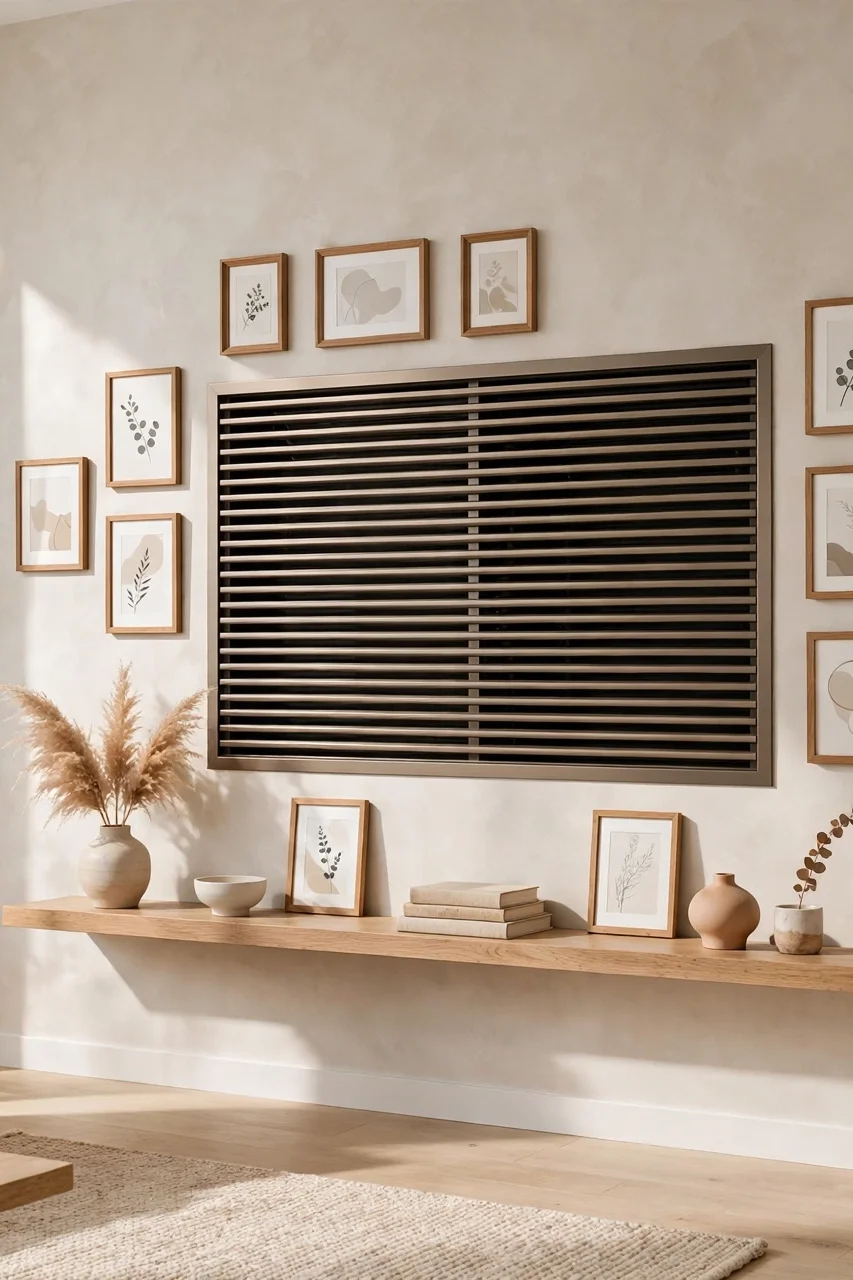
Time Needed: One afternoon | Difficulty: Easy | Cost: Low to medium | Best For: Renters and homeowners
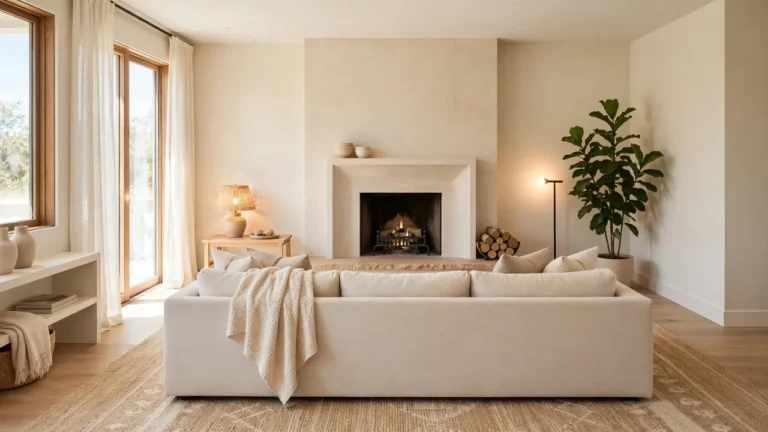
Styling the whole wall ties every trick together into one cohesive look. Combine paint, art, a plant, and a piece of furniture for maximum impact. Step back often to check the balance from across the room. The goal is a wall that feels designed, not decorated around a problem.
Common Vent Mistakes
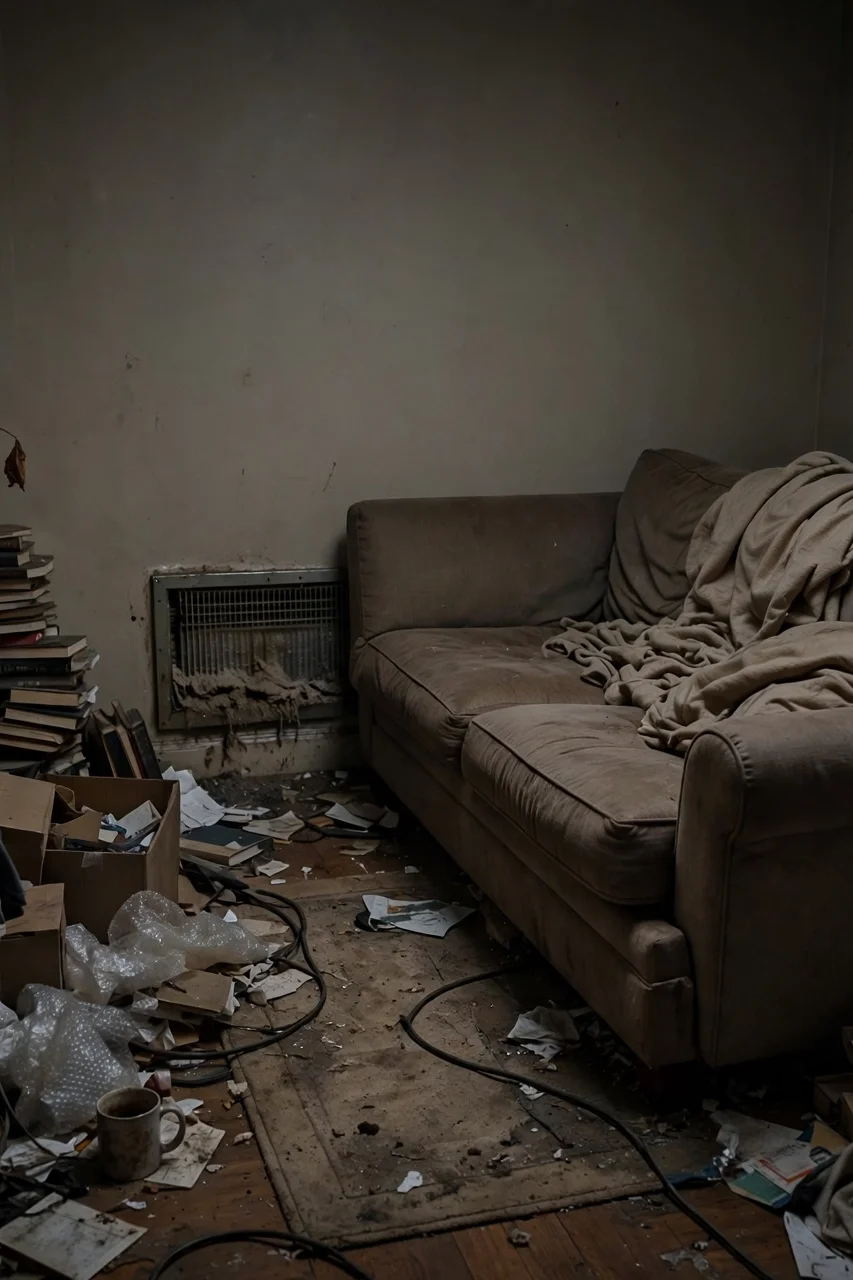
The biggest mistake I see is covering the vent with a solid panel or artwork. It might look clean, but it chokes your airflow and can damage your HVAC system. Another common error is painting the vent shut, which seals the louvers in place. Both shortcuts create bigger problems than an ugly vent.
People also forget to clean their vents, letting dust build up until the grille looks gray and grimy. A quick vacuum every few months keeps it fresh. And do not ignore the wall around the vent; scuffs and marks there make the whole area look neglected.
Pro Tips for Awkward Vents
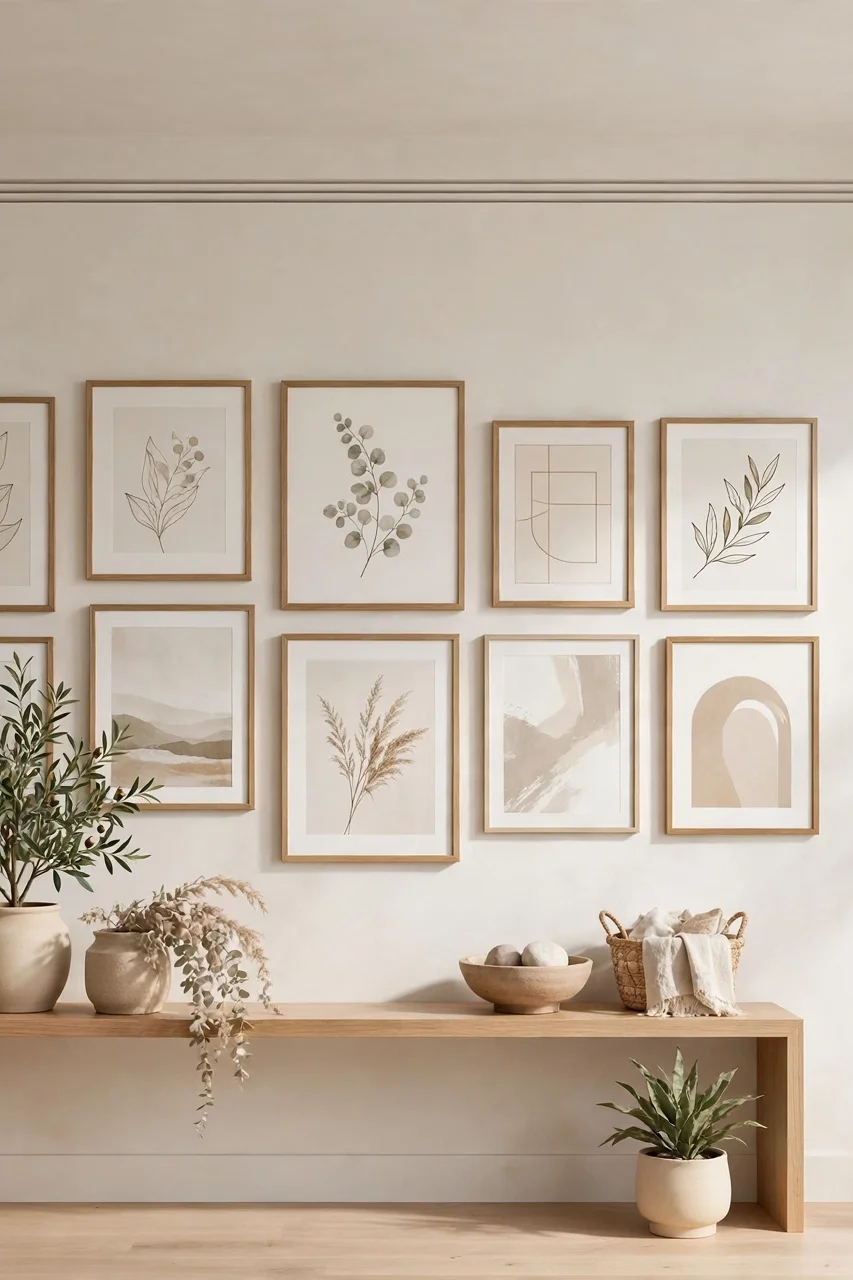
These final tips pull everything together for a polished result. Small details make the difference between a vent that stands out and one that blends in. Work through them in order, and check your progress from across the room after each step.
- Stand across the room and check if the vent still catches your eye first.
- Adjust your art, plant, or furniture until the wall feels balanced.
- Take a photo to spot issues your eyes might miss in person.
- Clean the vent one last time so it looks fresh in its new setting.
Conclusion
Your wall vent no longer has to be the first thing anyone notices. With paint, art, plants, and smart furniture placement, you now know how to decorate around a large wall vent without blocking airflow. I have seen how making this one change can completely shift the feel of a room. Try these ideas this weekend and enjoy your refreshed space. Save this guide to Pinterest so you can find it when you are ready to start, and share it with a friend who needs it too. Your living room deserves to feel finished, and now it can.
One Comment