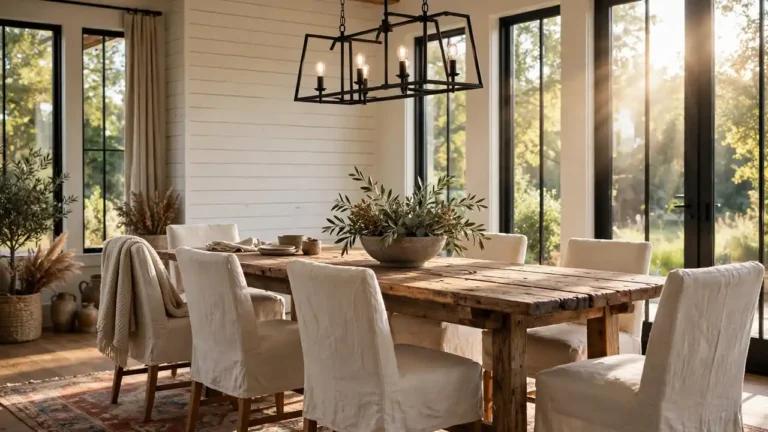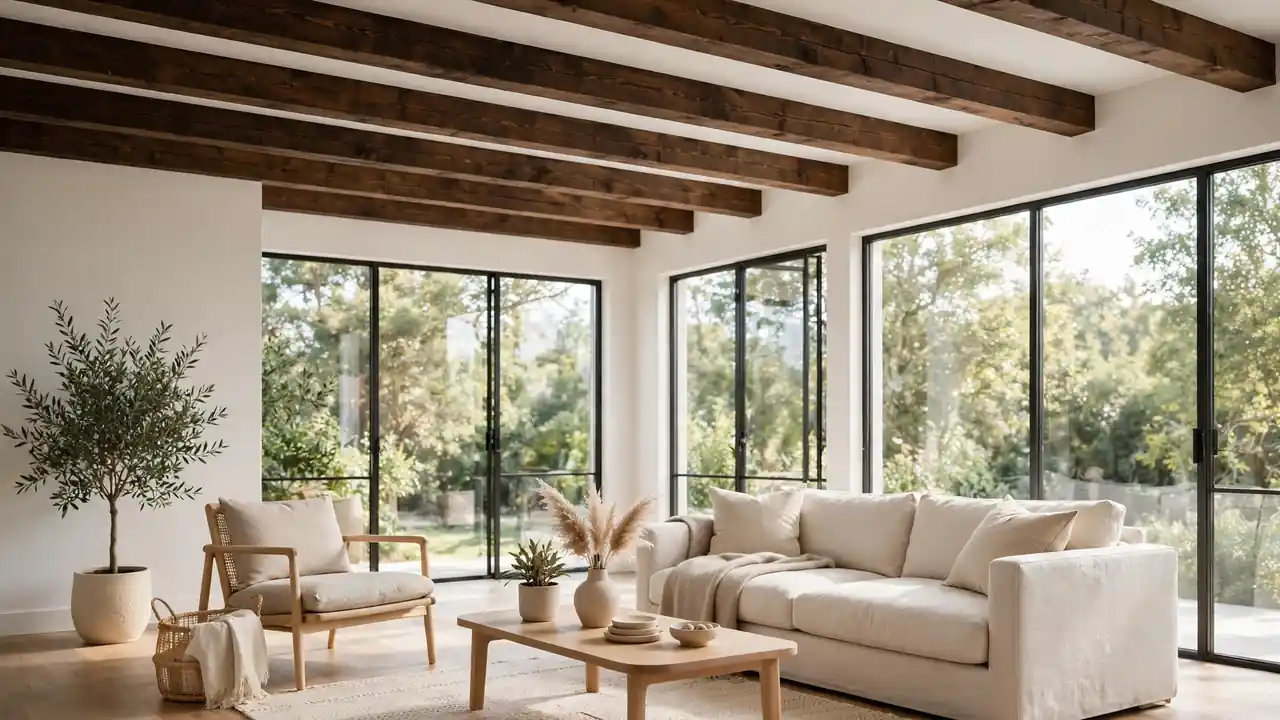
How to Decorate a Room With Exposed Ceiling Beams
If you are learning how to decorate a room with exposed ceiling beams, you already have one of the best design assets a room can offer. Beams add warmth, character, and architectural interest that most rooms can only dream of.
The trick is treating them as intentional features rather than obstacles to work around. A few smart choices with paint, lighting, and decor turn raw beams into the coziest focal point in your home.
Furniture placement matters just as much as the beams themselves. Our guide on how to choose furniture for a narrow living room shows how the right pieces complement strong architectural features. Now let’s make those beams shine.
Treat Beams as the Room’s Natural Centerpiece
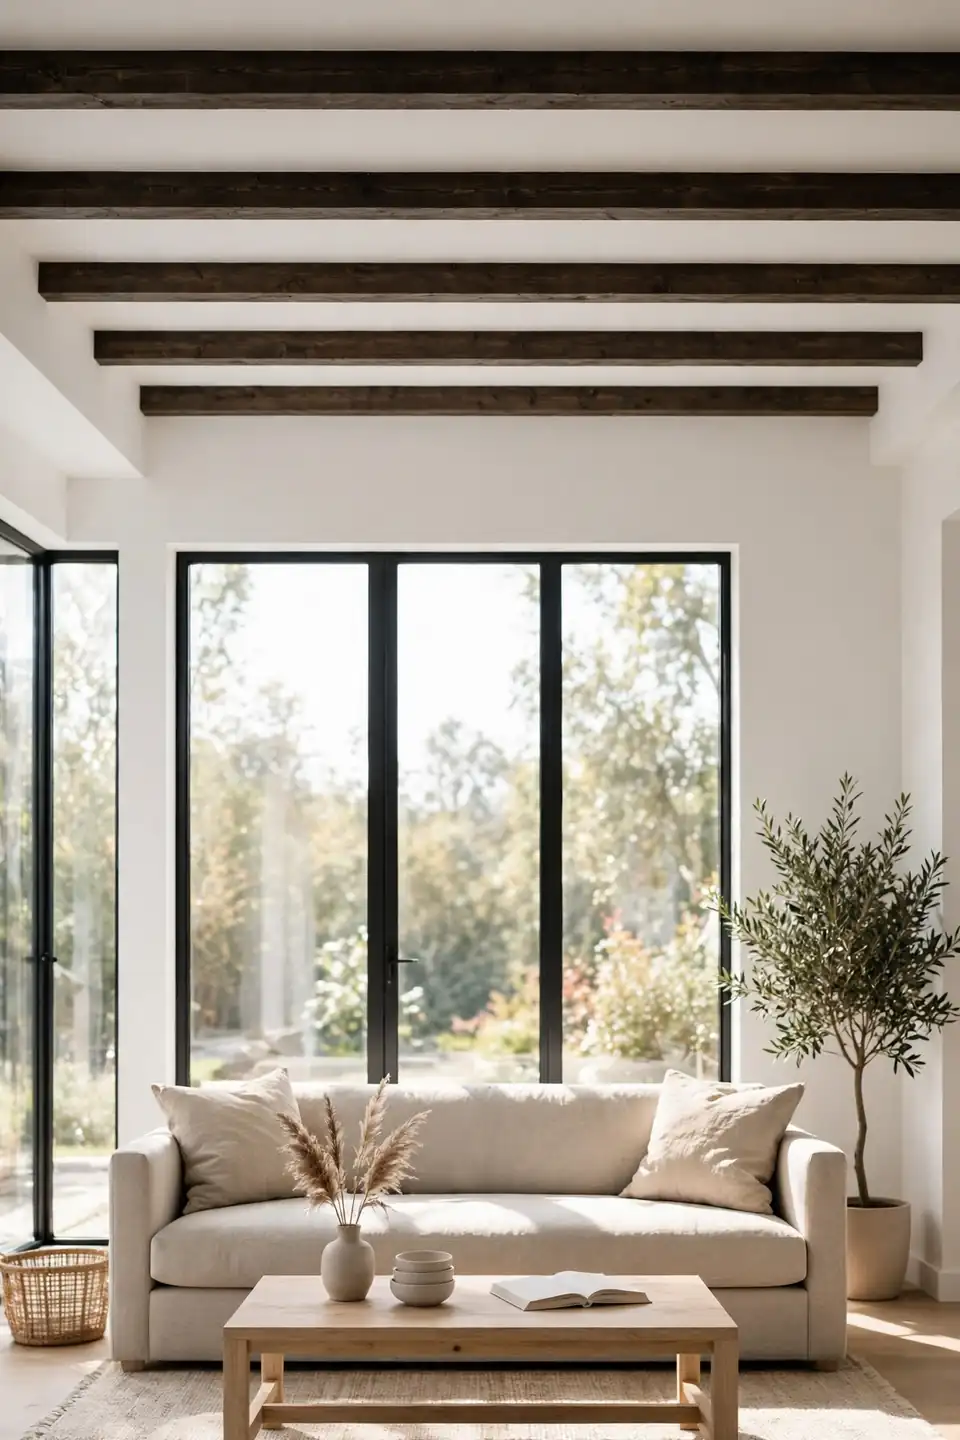
Bold architectural features work best when the rest of the room supports them instead of competing. Exposed beams already give your ceiling rhythm and texture, so keep walls calm and furniture simple enough to let that structure breathe. A neutral backdrop lets the wood grain become the star.
Start by noticing where the eye lands when you enter. Most people look up within the first few seconds, which means your beams set the tone for the whole space. Arrange seating and key pieces so they sit comfortably under or between the beams, not fighting them for attention.
Decide Which Finish Suits Your Beams

Beam finishes change the entire mood of a room, so this choice deserves real thought before you touch a paintbrush or sandpaper. The right finish makes beams feel intentional and warm, while the wrong one can make them look heavy or out of place.
- Leave natural wood bare or lightly sealed for a warm, rustic feel.
- Stain beams darker to add drama and contrast against light ceilings.
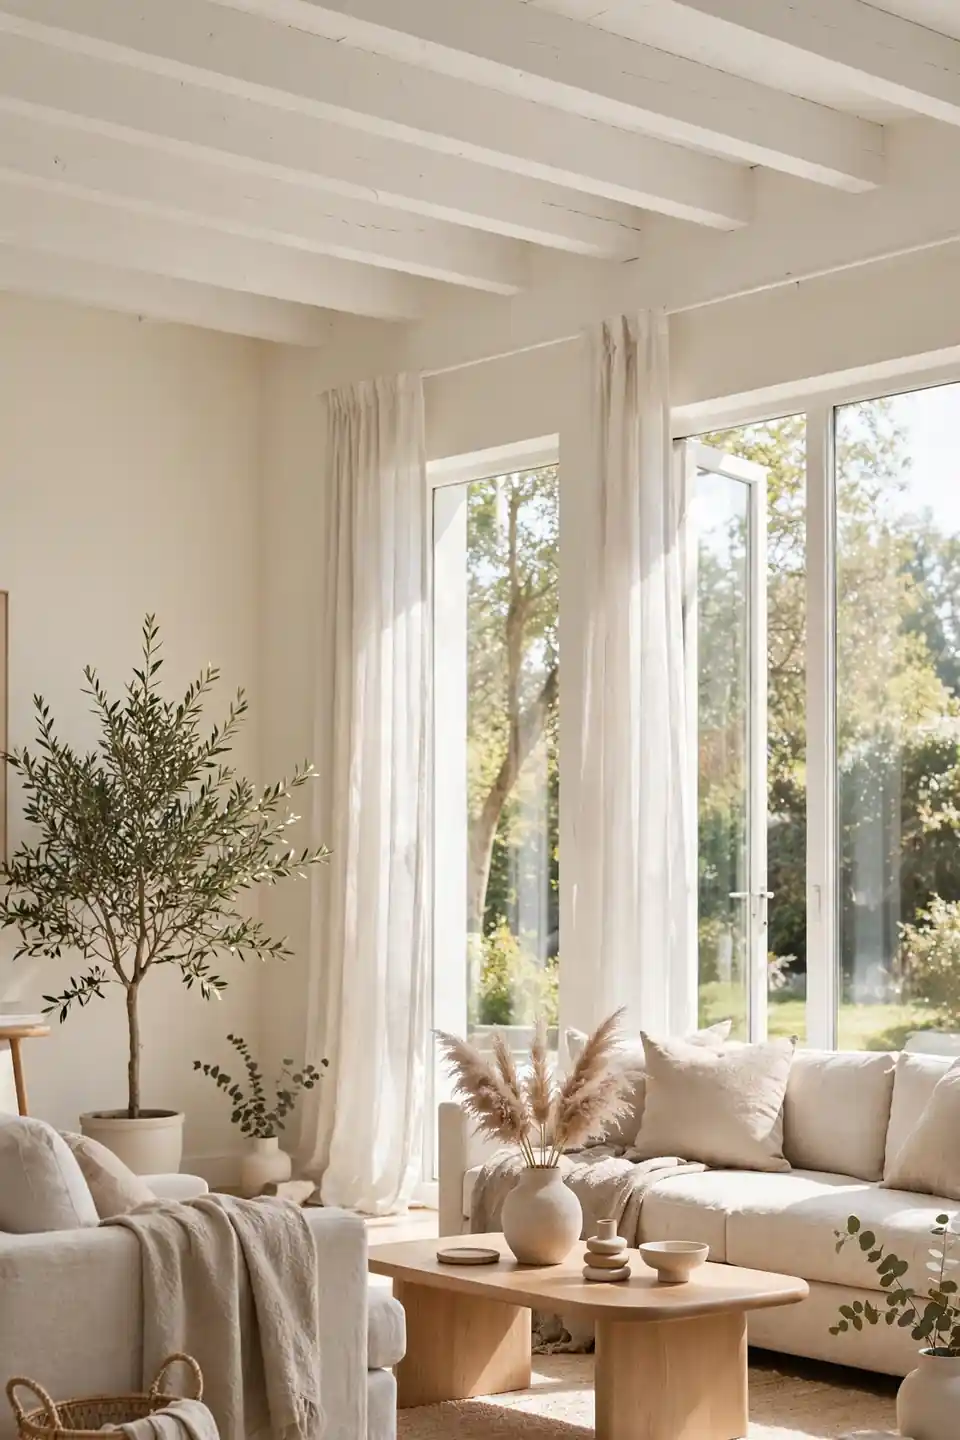
- Paint them white or cream to brighten the room and keep things airy.
- Consider a limewash finish for a soft, aged look that still shows the grain.
Paint Beams to Brighten a Dark Ceiling
Quick Tip: Test your paint color on one small beam section first and check it in both daylight and evening light before committing to the whole ceiling.
White or cream paint on dark beams instantly lifts a low or shadowy ceiling. The key is choosing a shade with warm undertones so the result feels cozy rather than stark. Many homeowners stop after one coat and wonder why the old finish peeks through, so plan for two coats plus a primer designed for wood.
Leaving Beams Visually Cut Off From the Decor
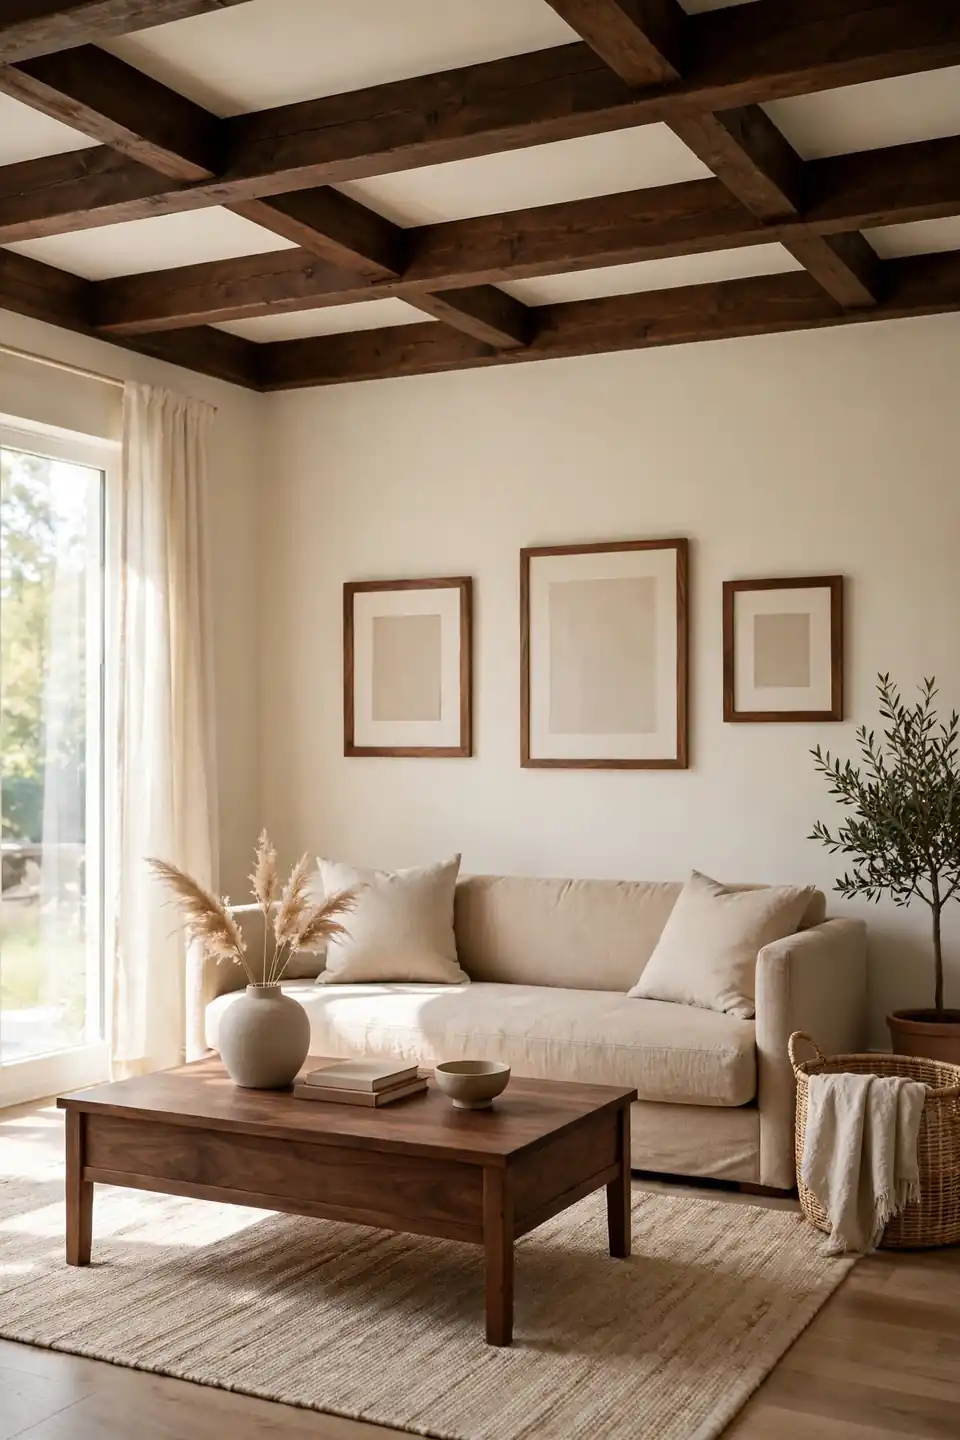
Common Mistake: Treating beams as background and decorating the room as if they were not there.
The Fix: Echo the beam material or color in at least two other spots, like a wood coffee table or matching picture frames.
Beams that have no visual partner in the room look accidental instead of charming. Repeating their tone in furniture, flooring, or accessories ties the whole design together. This small effort is what separates a room with beams from a room designed around them. The difference is night and day once you make the connection.
Gather These Supplies Before You Start

What You Need:
- Sandpaper or a light sanding sponge
- Wood-safe primer
- Paint or stain in your chosen finish
- Painter’s tape and drop cloths
- A sturdy ladder or scaffolding
Having everything on hand before you begin keeps the project moving and avoids mid-job store runs. Beam work happens overhead, so comfort and safety matter as much as the finish itself. Take your time with prep, because clean, sanded wood holds paint far better than dusty, glossy surfaces.
From Heavy and Overwhelming to Warm and Balanced
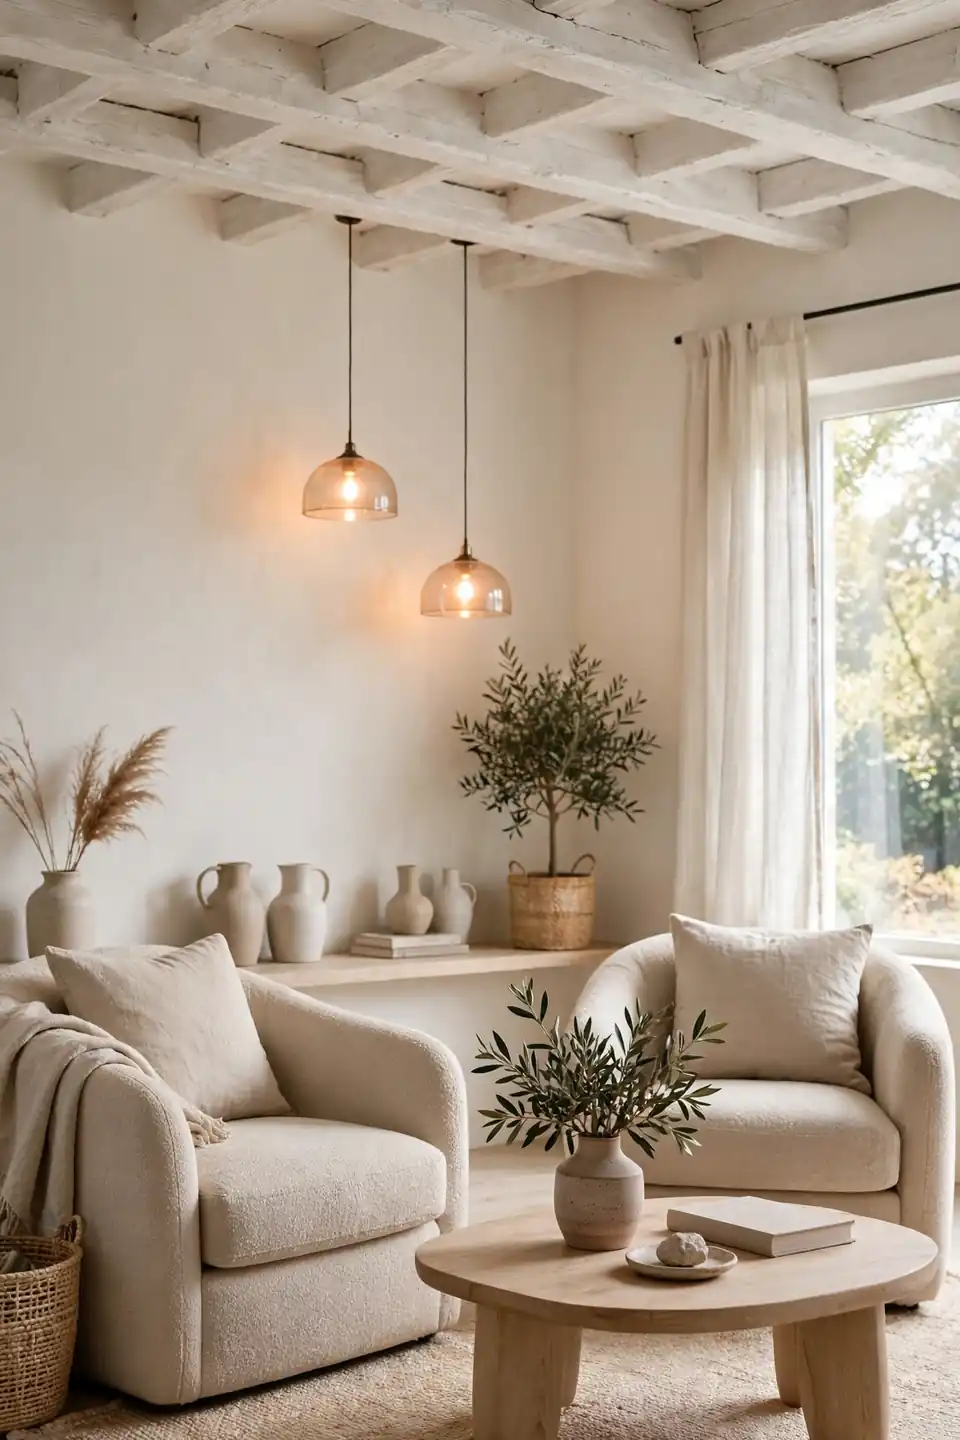
BEFORE: Dark, rough beams pressed down on a dim room, making the ceiling feel low and the whole space gloomy.
AFTER: The same beams, lightly whitewashed and paired with warm lighting, now add cozy character that draws the eye upward.
Small rooms benefit the most from this kind of transformation. Lighter beam finishes bounce light around instead of absorbing it, which matters in tight spaces. If your kitchen feels cramped too, read how to make a small kitchen feel less crowded for matching ideas throughout your home.
Hang Lighting and Decor the Right Way
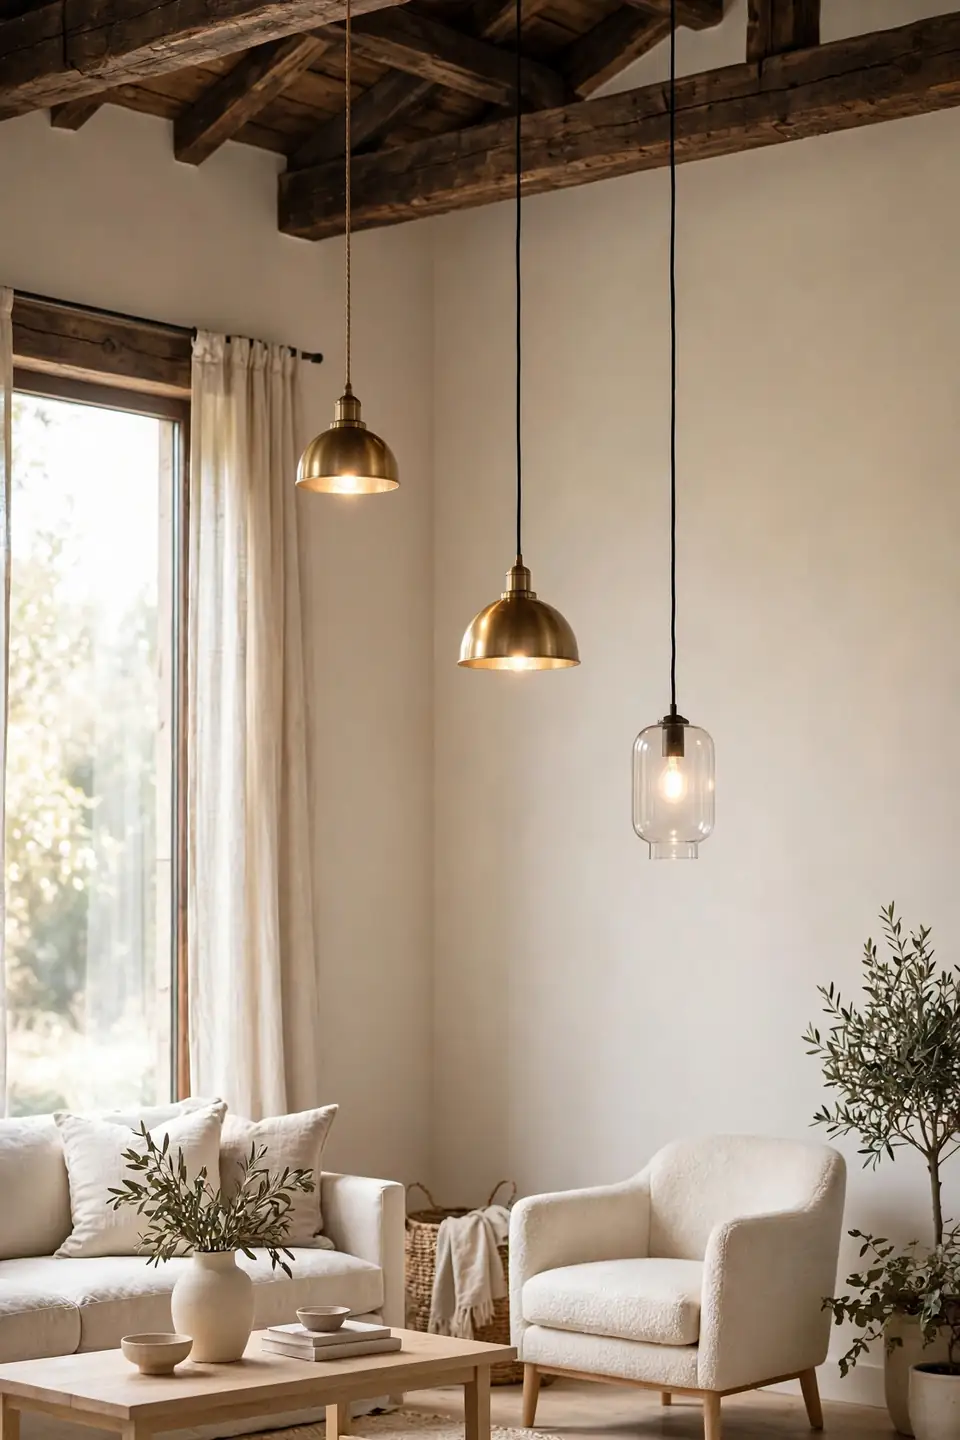
Do This:
- Hang pendant lights from beams at staggered heights
- Mount curtain rods just below the beams for a layered look
- Use beams to anchor string lights or a hanging plant
Avoid This:
- Drilling into structural beams without checking with a pro
- Hanging heavy fixtures from decorative faux beams
- Blocking natural light with decor hung too low
Beams are natural hanging points, but they need a thoughtful approach. Light fixtures hung from beams create beautiful pools of light and highlight the wood at the same time. Keep the scale in proportion, since oversized pendants in a small room compete with the beams instead of complementing them.
Beam Basics Worth Knowing
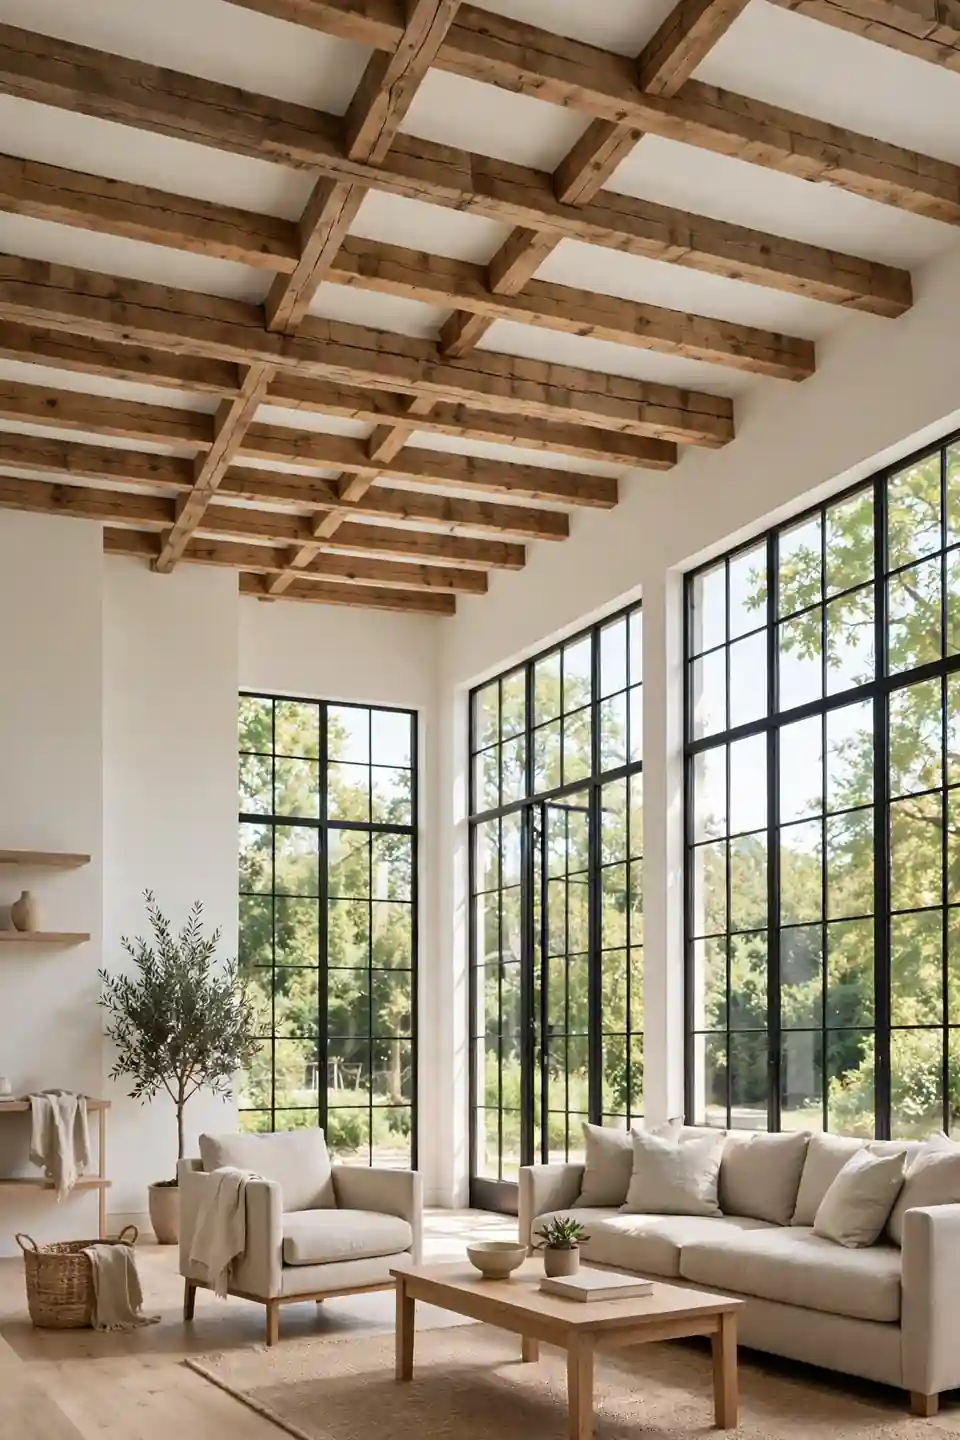
Quick Facts:
Best paint: Acrylic latex with a wood primer underneath
Cost range: Most DIY beam refreshes cost under $200
Time needed: A weekend is plenty for one room
Skill level: Beginner friendly with basic tools
Knowing the basics keeps the project stress free and budget friendly. Most beam updates need nothing more than paint, sandpaper, and patience. The results look expensive because the architecture itself does half the work for you. Start with the most visible beam and work outward from there for the best payoff.
Pair Beams With the Right Textiles and Colors
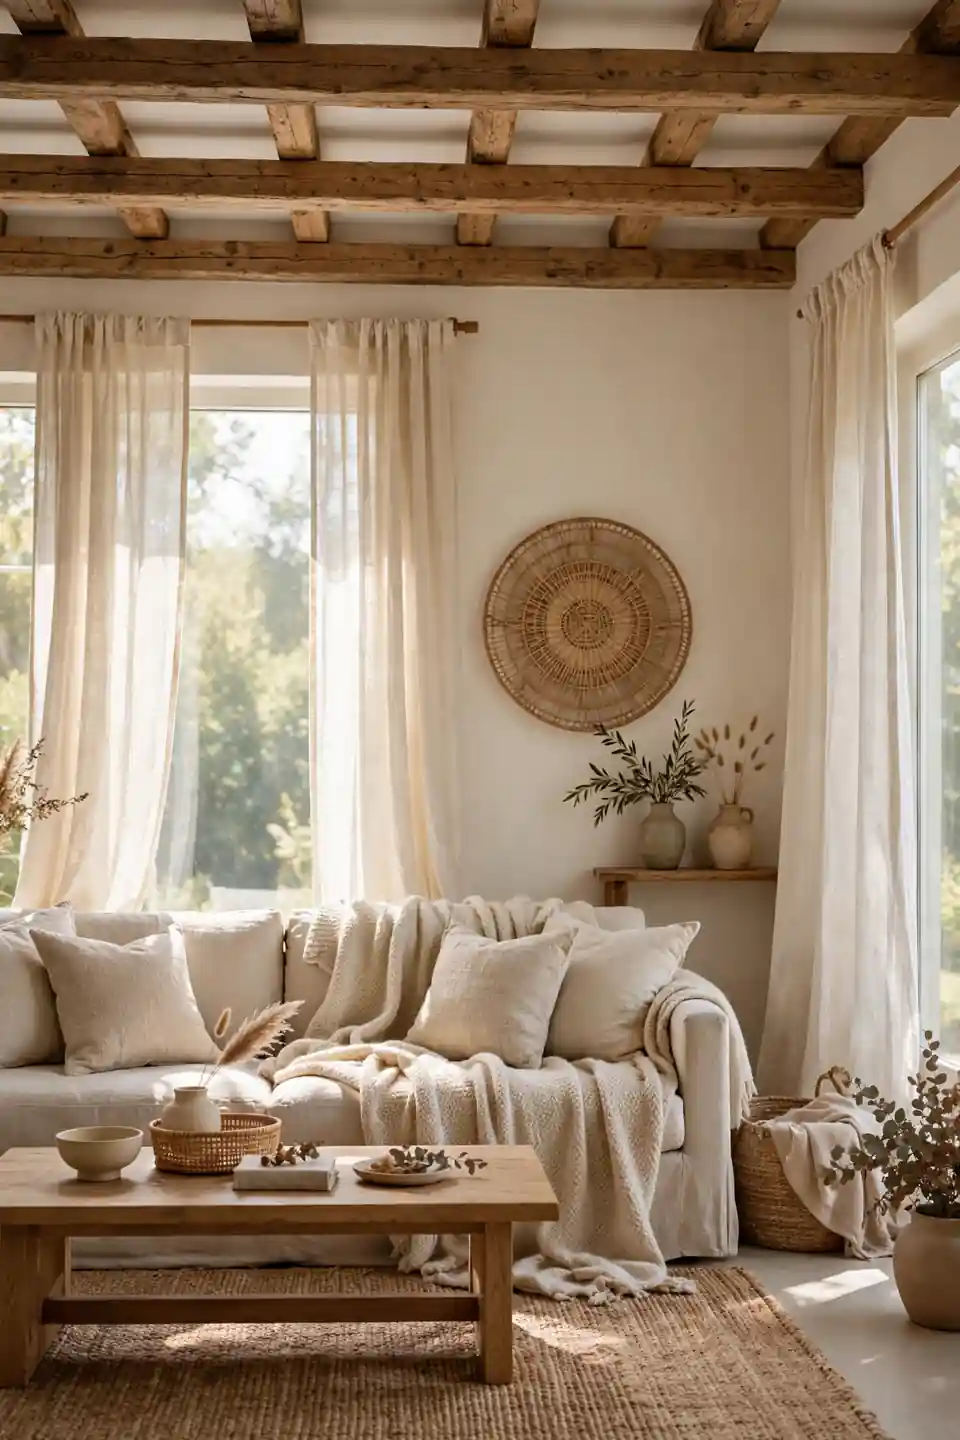
Soft furnishings balance the hard lines of overhead beams beautifully. Linen curtains, woven rugs, and plush throws introduce texture at eye level that echoes the warmth above. Stick to a palette that flatters the wood tone: creams and warm grays for dark beams, deeper accents for painted white ones.
Bedding and upholstery in natural fibers keep the room feeling relaxed and lived in. A few well chosen patterns, like subtle stripes or gentle botanical prints, add interest without overwhelming the architecture. The goal is harmony: every layer should feel like it belongs with the beams, not next to them.
Pull the Whole Room Together in Five Steps
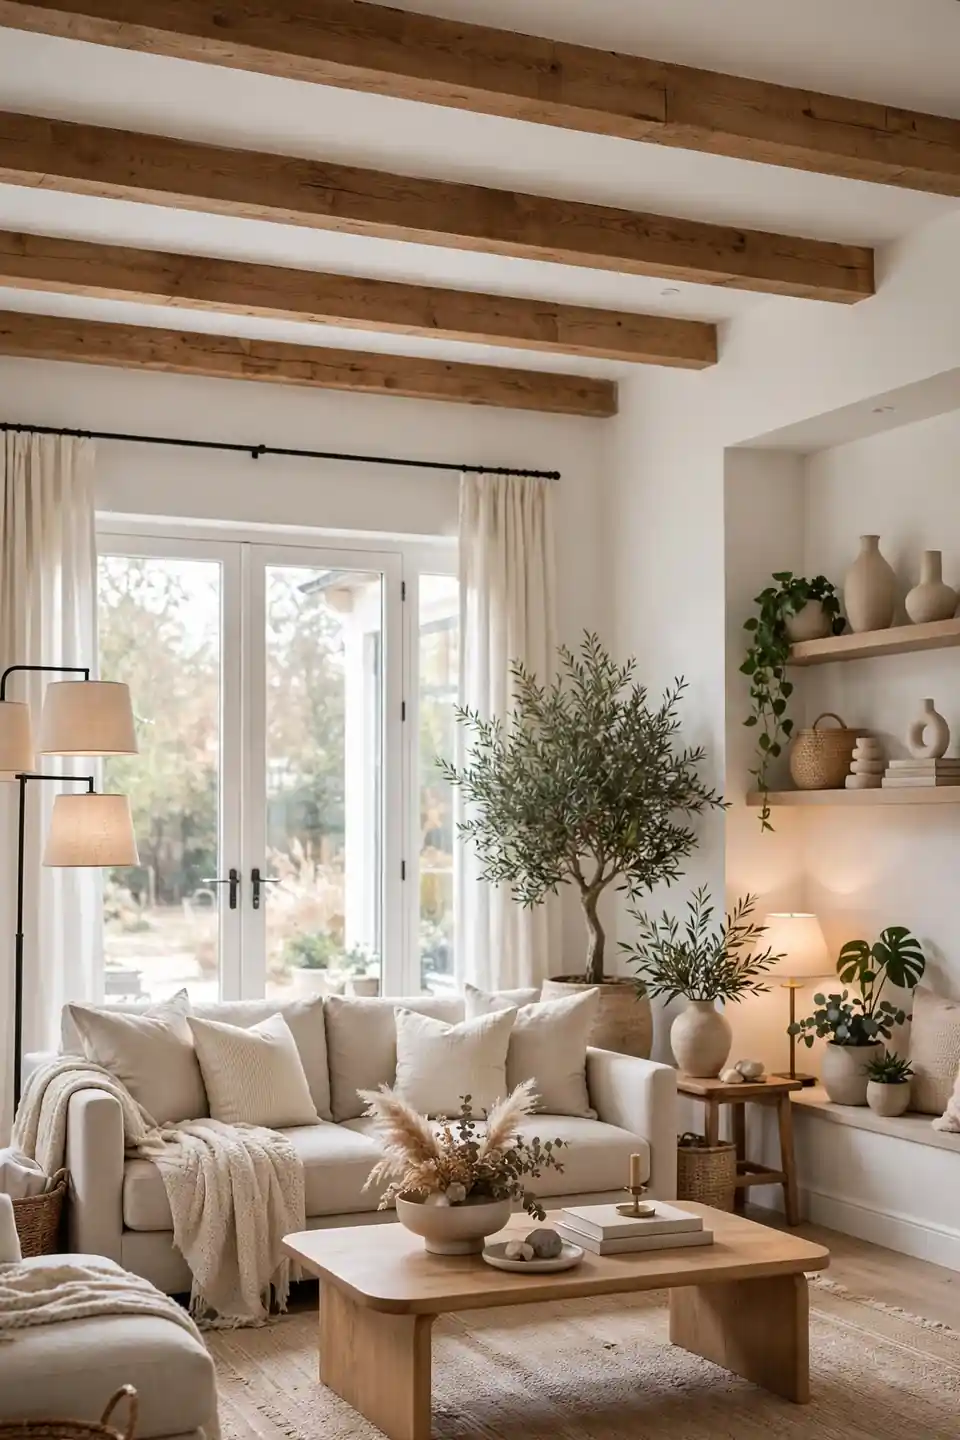
A simple order of operations keeps your beam project calm, organized, and fun from start to finish. Working in the right sequence saves time and avoids rework, so follow these steps and your room will feel professionally styled with very little stress.
- Clean and lightly sand every beam, then wipe away all dust.
- Apply primer and your chosen paint or stain, working with the grain.
- Update lighting so the new finish gets the glow it deserves.
- Add textiles and decor that echo the beam color and texture.
- Step back, adjust, and enjoy the character your beams bring.
Conclusion
Learning how to decorate a room with exposed ceiling beams is really about letting great architecture do what it does best. A little paint, thoughtful lighting, and decor that speaks to the wood turn an overlooked ceiling into the soul of the room. Save this guide to your home decor board on Pinterest so you can revisit each idea when you are ready to start. Your beams have been waiting for their moment, and now they finally get it. Share your finished room with us, because nothing inspires like real homes with real character.