How to Arrange Furniture Around a Bay Window
A bay window gives you light, depth, and a natural focal point, but it can also make a room feel tricky to furnish. Mastering how to arrange furniture around a bay window comes down to one principle: let the window lead and place everything else in response. When the layout respects the angles and the light, the whole room feels calmer.
Many rooms go wrong in one of two ways: everything gets pushed flat against the walls, or the bay itself gets crowded with bulky pieces. If you have ever wondered why a small space still feels tight after rearranging, the guide on how to make a small bedroom work for two people shows how smart placement opens up even the smallest rooms.
Start With the View
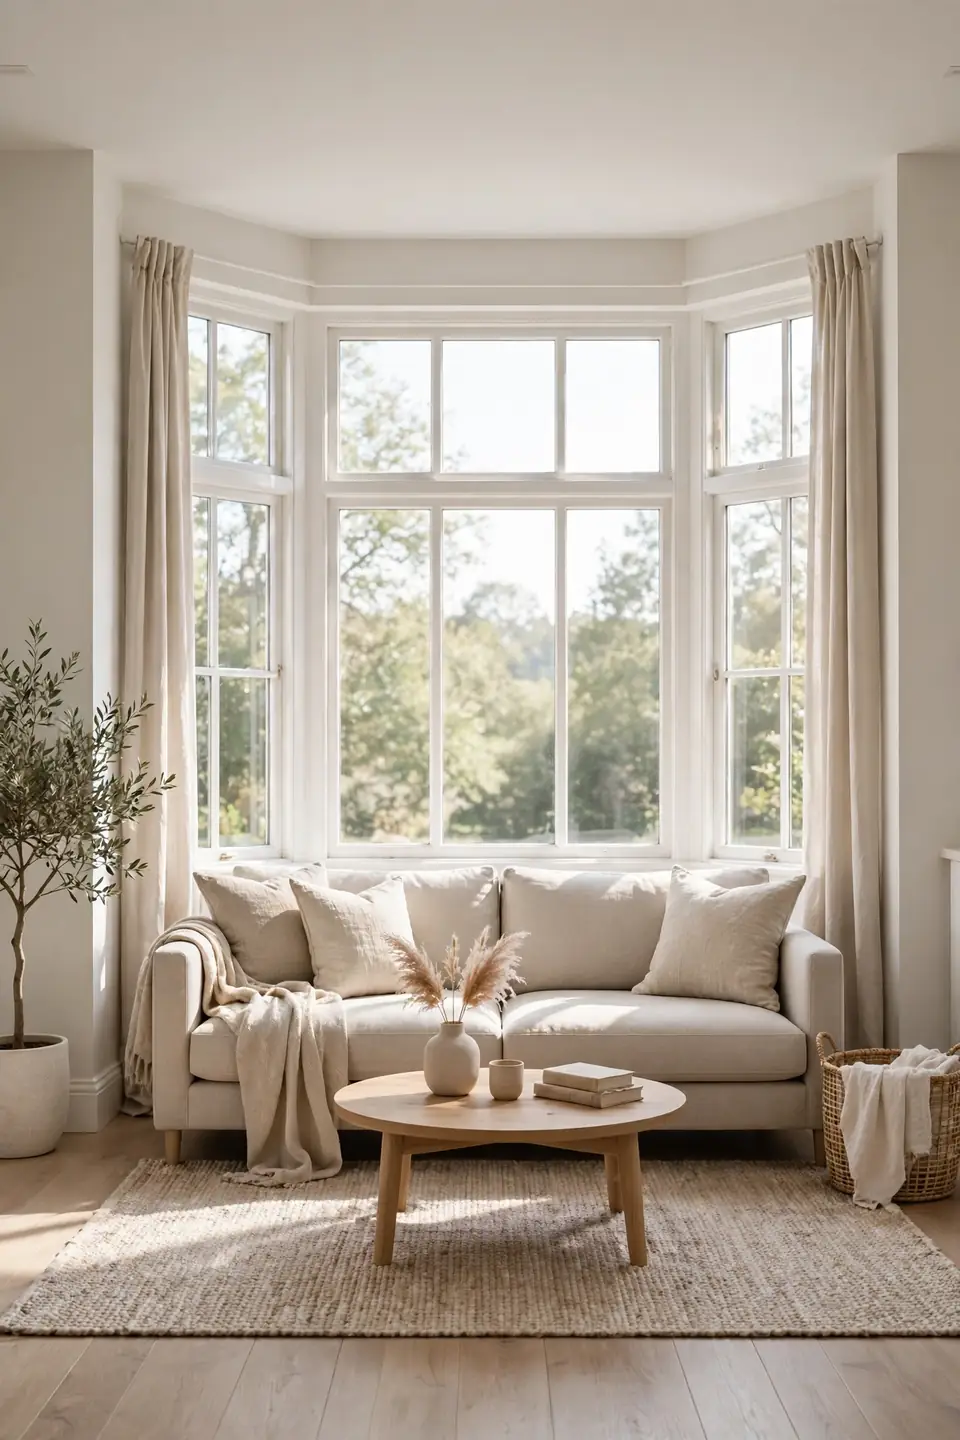
Before moving a chair, stand in the bay and look out, then turn around and look at the room from the window’s perspective. The sightline from the glass tells you where the natural gathering spot wants to be. Most bays face the room’s longest wall, which makes that wall the anchor for your largest piece.
Notice where sunlight lands during the hours you use the room most. A sofa placed to catch morning light feels welcoming, while a reading chair tucked into the bay’s side angle gets afternoon glow without glare. Let these observations guide every placement decision that follows.
Measure the Bay Before You Move Anything
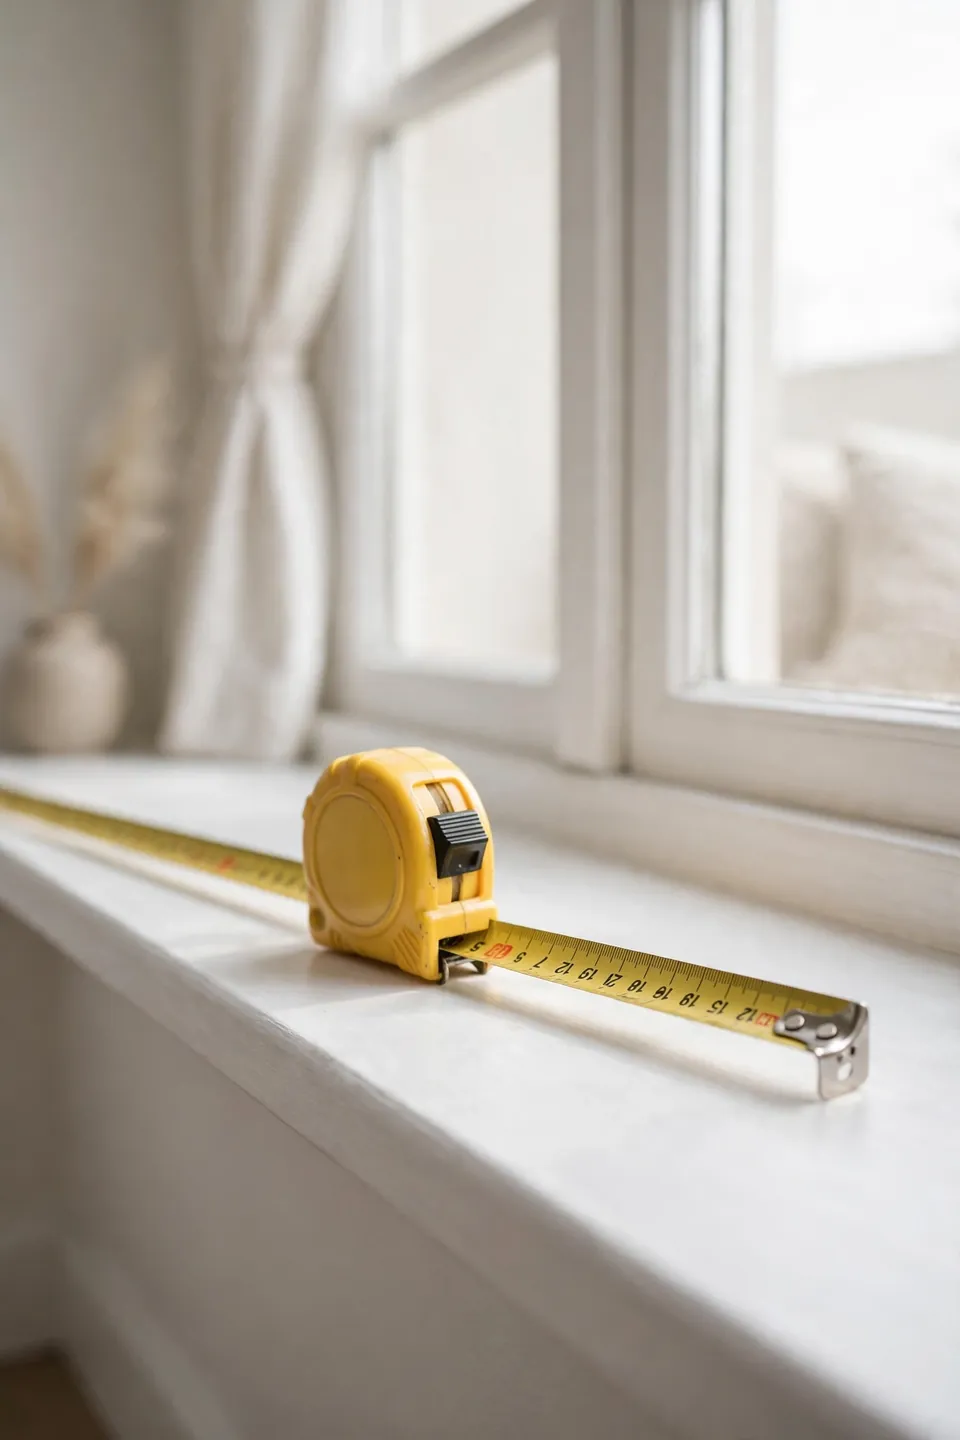
Grab a tape measure and note the width of each window panel, the depth of the bay from the main wall, and the height of the sill. These three numbers decide what fits and what will block light or look cramped.
- Measure each angled panel of the bay separately, since the side panels are often narrower than the center one.
- Record the depth from the main wall to the outermost glass, because this tells you how far furniture can extend.
- Check the sill height; anything taller than the sill will cut the view from seated positions.
- Mark the swing of nearby doors so placed pieces never block a path.
Give the Bay Breathing Room
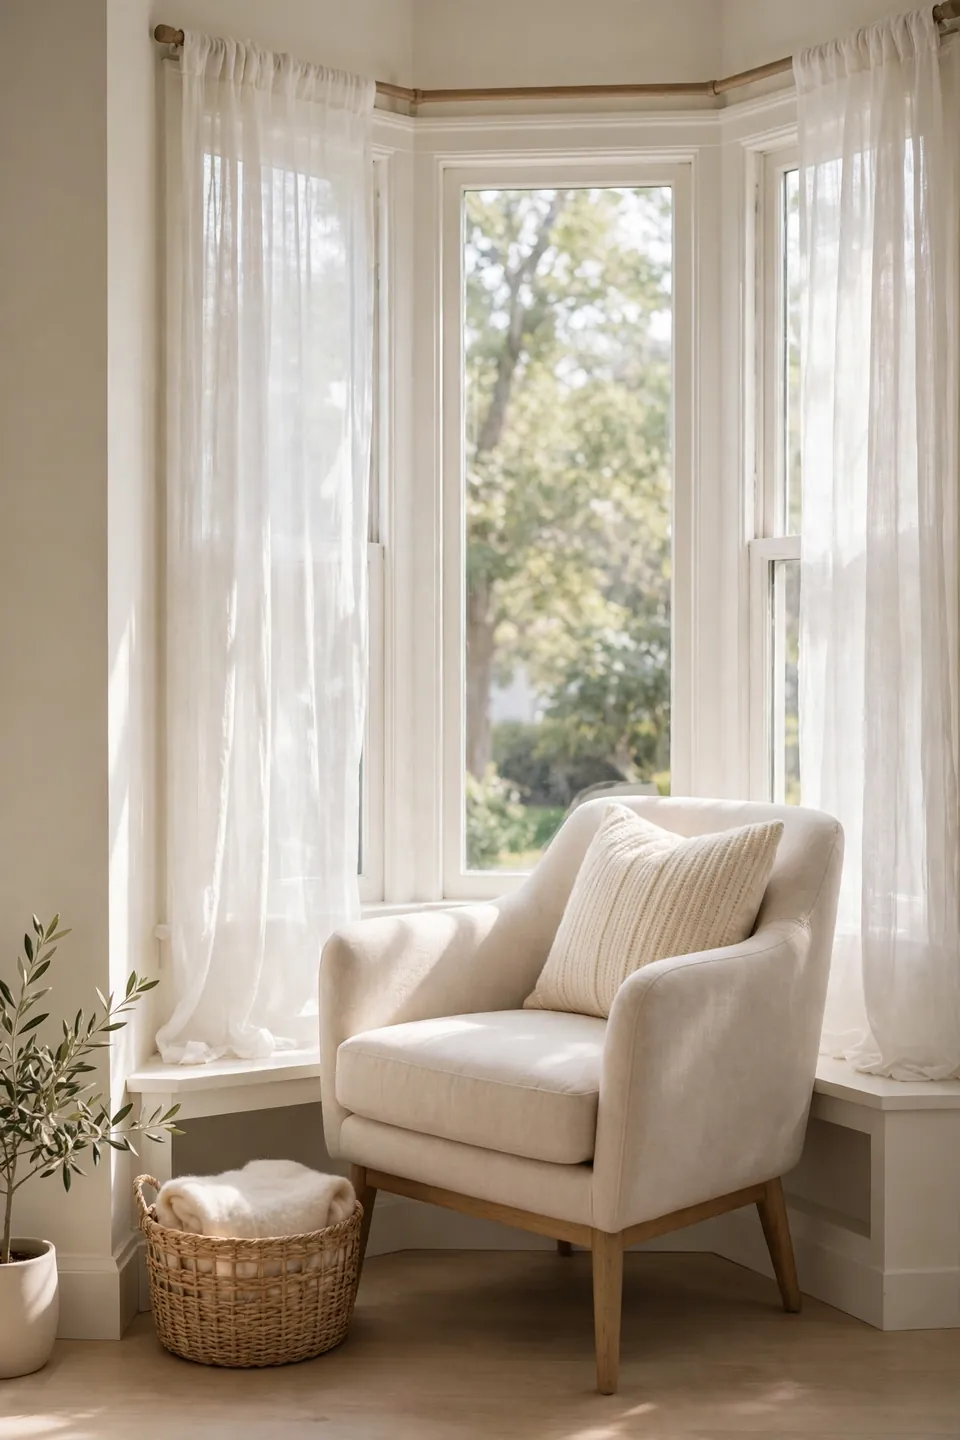
Quick Tip: Leave at least 18 inches between the front edge of any bay furniture and the main seating area so the transition feels open rather than pinched.
That gap matters more than it sounds. When a bench or chair sits too close to the sofa, the middle of the room feels squeezed even if the measurements work. A walkway lets light travel across the floor and gives the bay its own identity as a destination, not just a bump in the wall.
Work With the Angles, Not Against Them
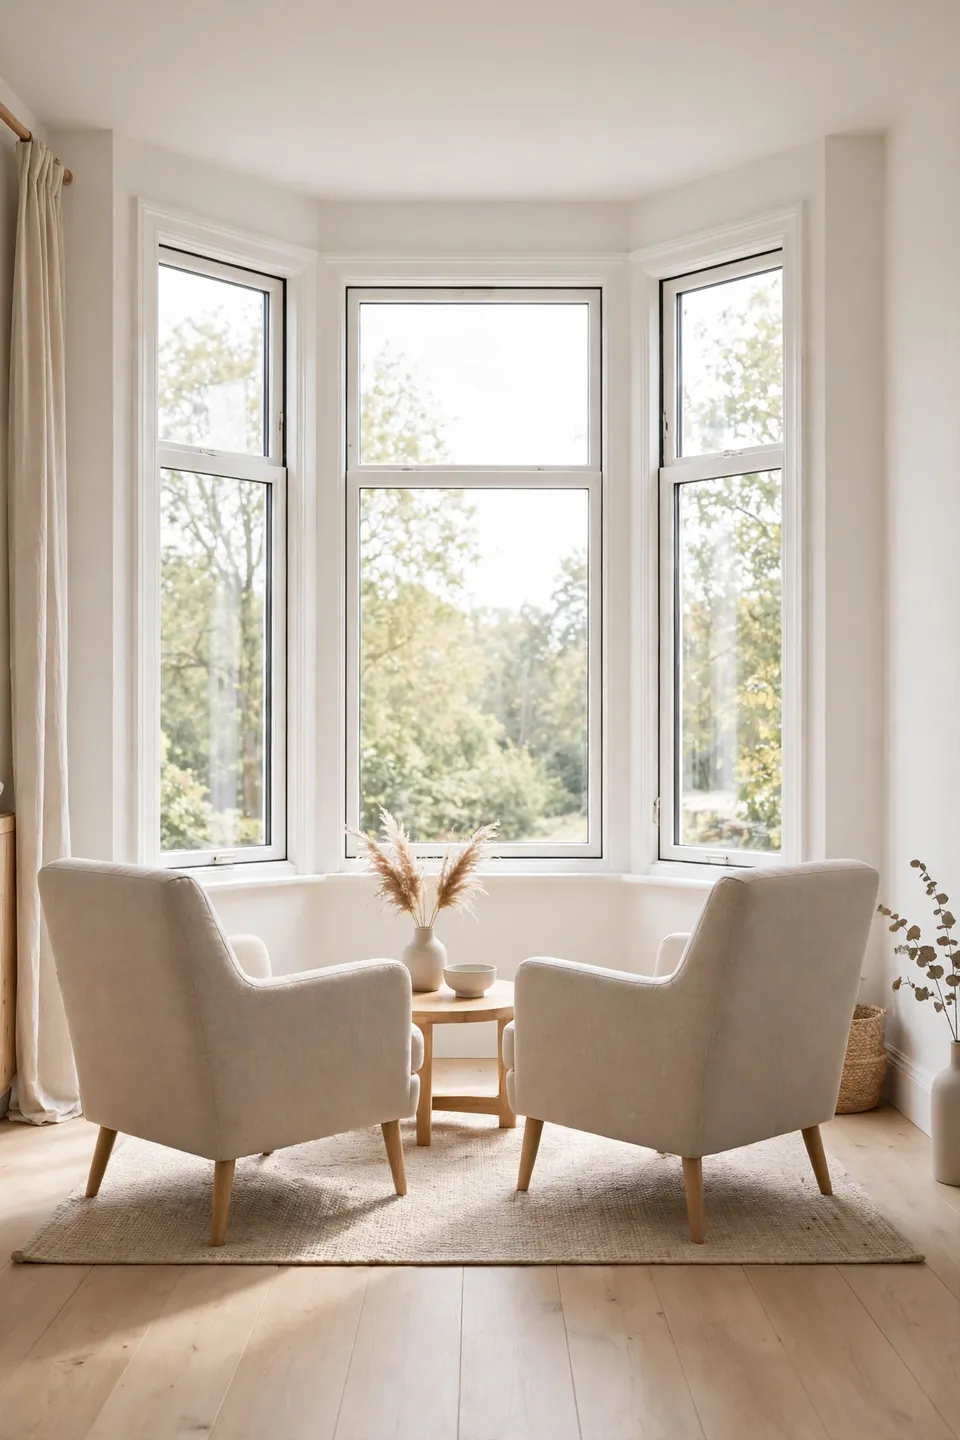
Common Mistake: Pushing a rectangular sofa straight across the bay opening, which fights the angled walls and leaves dead triangular gaps behind it.
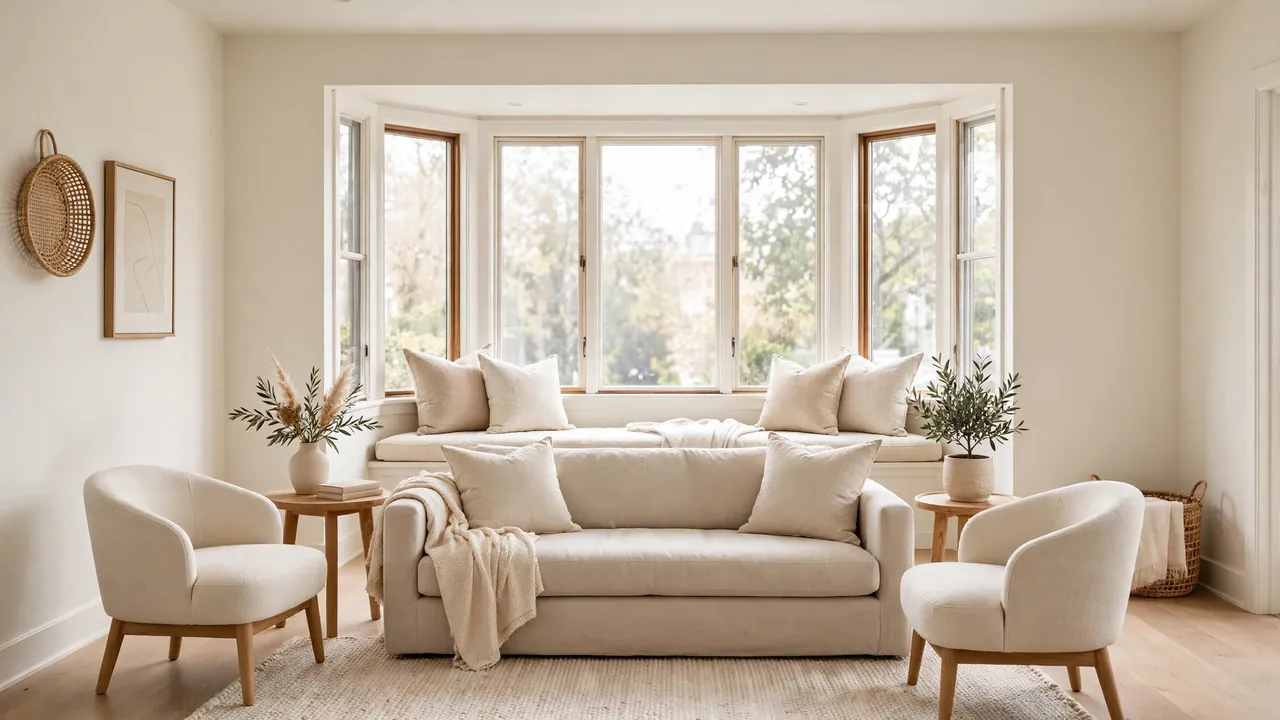
The Fix: Angle a loveseat or two chairs to echo the bay’s shape, or float the sofa parallel to the main wall and let the bay hold a separate small zone.
The bay’s angles are an asset when you mirror them instead of ignoring them. A pair of chairs set at the same angle as the side panels feels intentional, while a straight sofa jammed into the curve always looks like a compromise. Work with the geometry and the room gains character.
Build a Cozy Bay Reading Nook
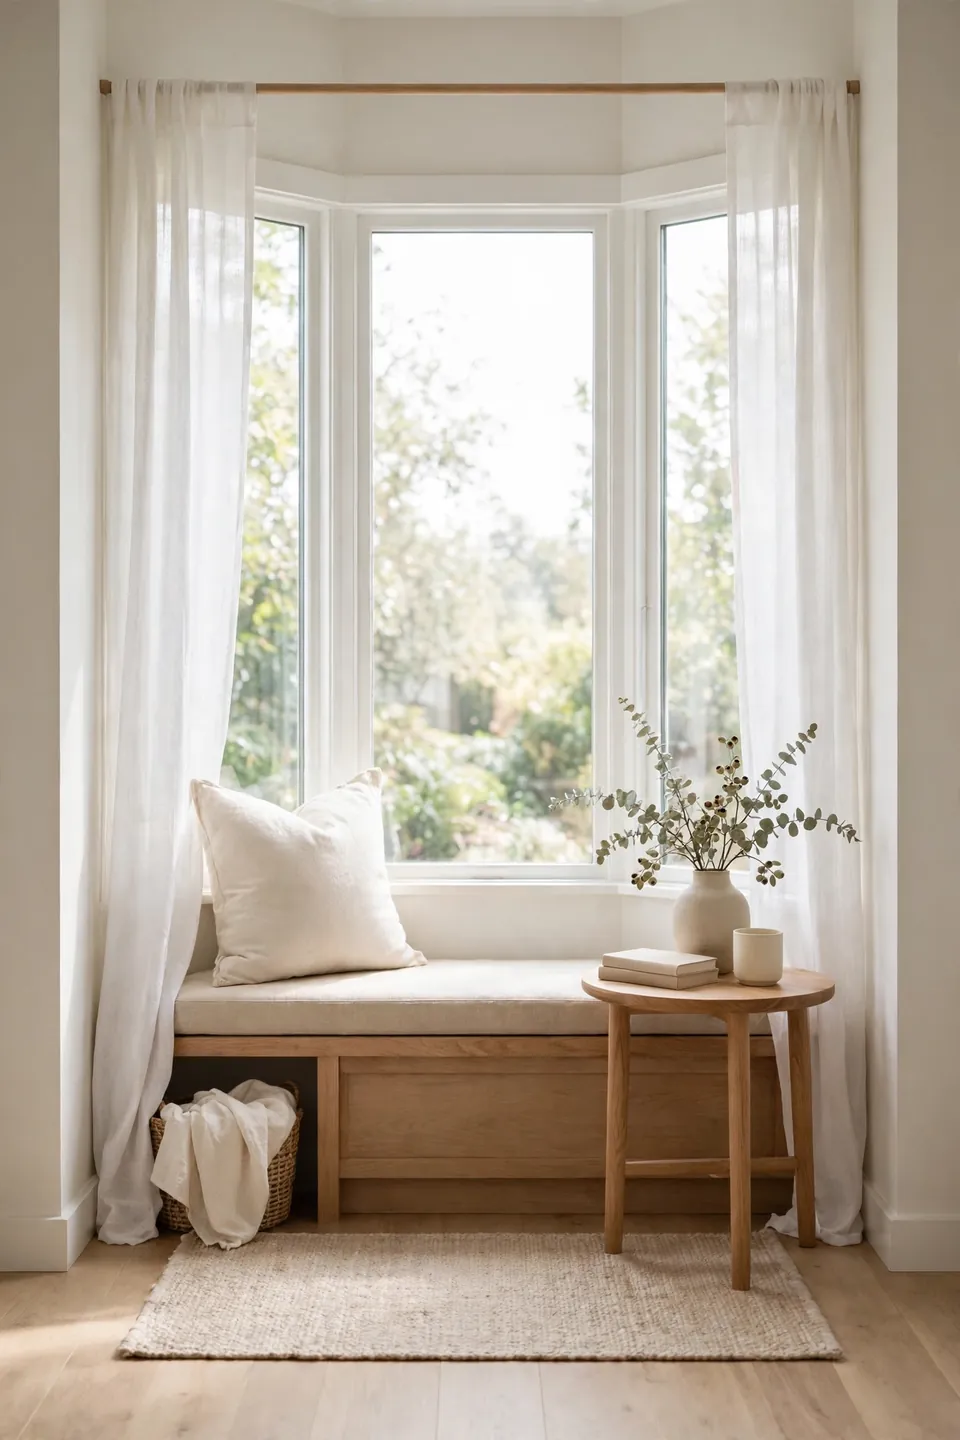
What You Need:
- A low-profile bench or two small ottomans that sit below the sill line
- A slim floor lamp or wall-mounted sconce for evening reading light
- A soft throw and one lumbar pillow in a washable fabric
- A small side table that fits within the bay’s depth
- Sheer curtains that filter glare without blocking the view
A reading nook turns the bay from empty space into the room’s favorite seat. Keep every piece low enough that the window stays visible from across the room. For more ideas on warming up tricky corners, see how to decorate a living room with a fireplace in the corner, which uses the same low-profile principle.
Keep the Glass as the Focal Point
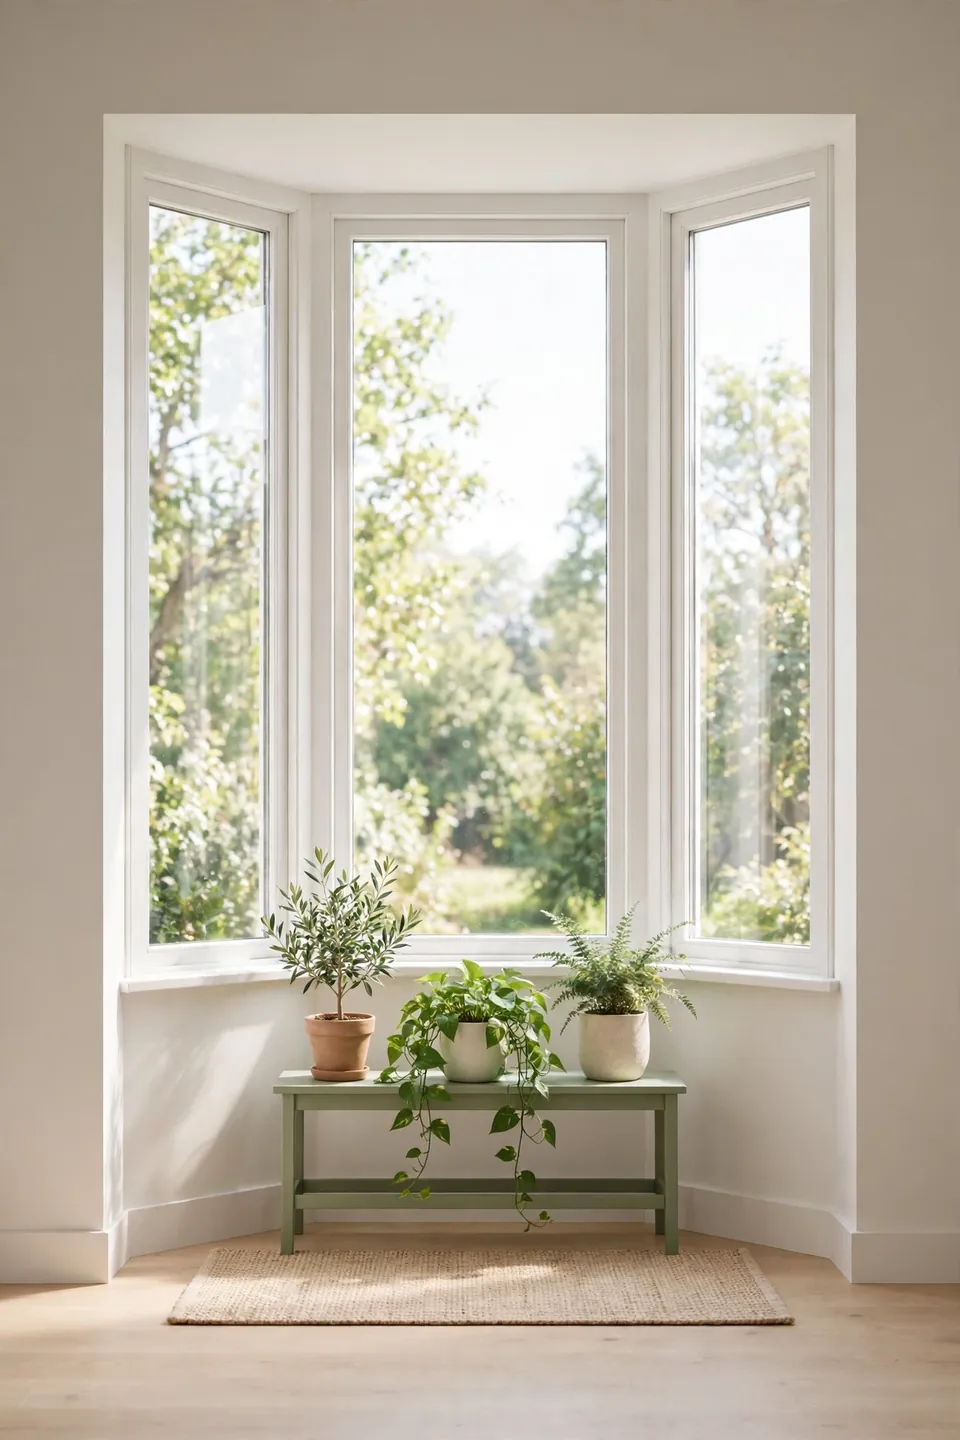
BEFORE: A tall bookcase stands directly in front of the center panel, blocking daylight and making the bay feel like an afterthought rather than a feature.
AFTER: The bookcase moves to the solid wall beside the bay, and a low plant stand takes its place under the glass, so light floods in and the window becomes the room’s centerpiece.
Heavy or tall pieces near glass always steal the bay’s best quality, which is light. Reserve the area directly in front of the window for items under sill height. Your eye should travel straight to the outdoors, with furniture playing a supporting role around the edges.
Balance the Rest of the Room
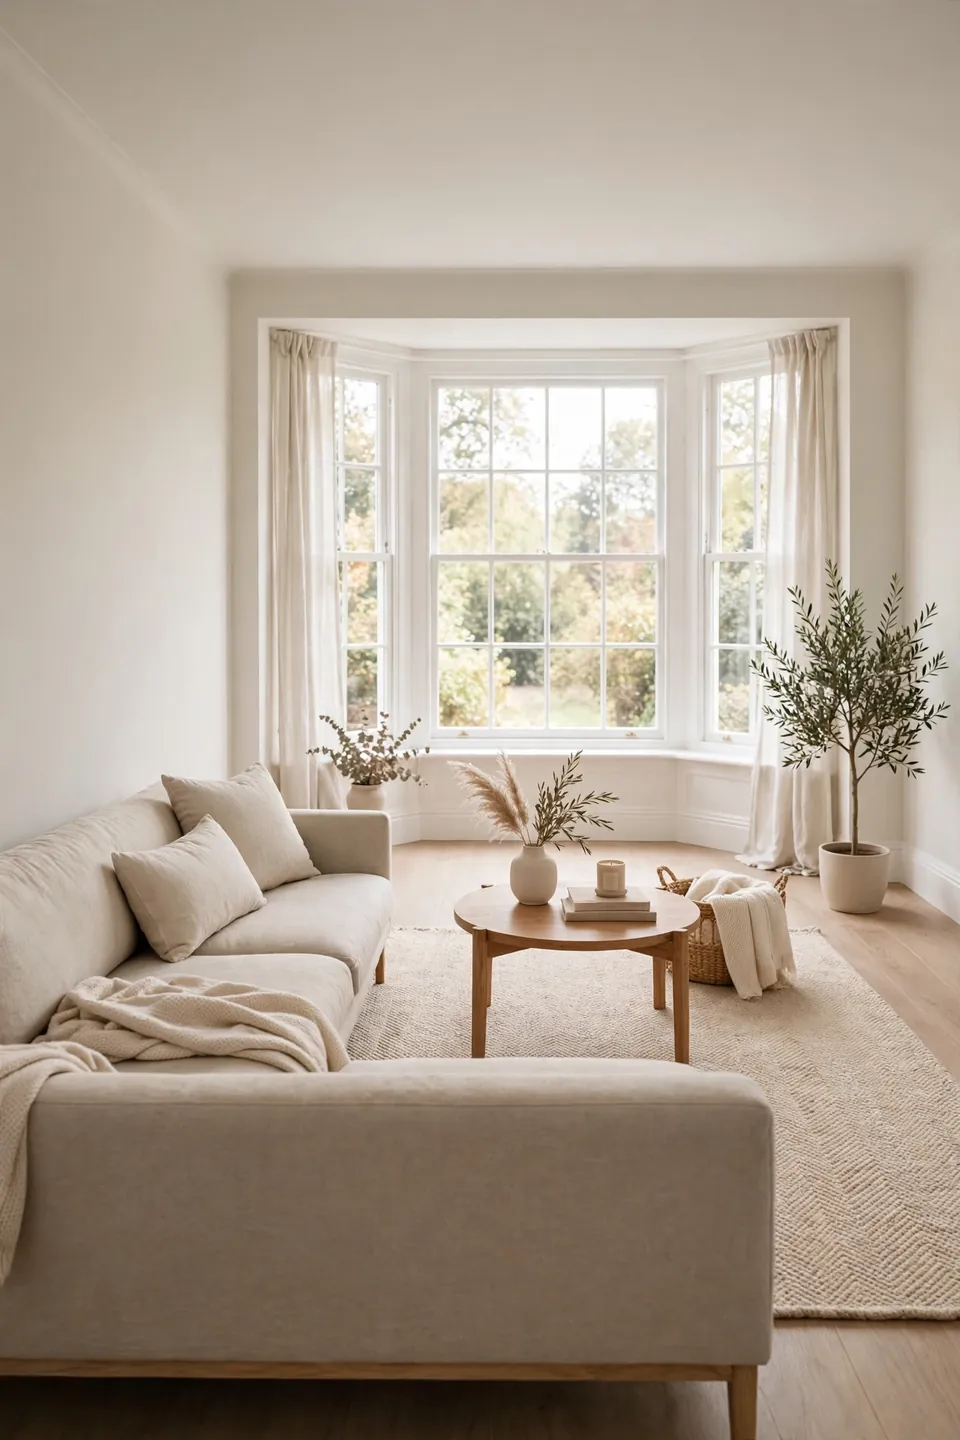
Do This:
- Place the largest sofa on the wall opposite or adjacent to the bay for visual balance
- Use a rug that extends from the main seating area toward the bay to connect the zones
- Repeat one accent color from the bay nook in the main seating area
Avoid This:
- Floating every piece in the middle of the room with no anchor to any wall
- Matching every fabric exactly, which makes the room feel flat instead of layered
- Pushing all seating against walls, leaving an empty hole in the center
Balance does not mean symmetry; it means no single area feels heavier than the rest. When the bay holds a light, airy zone, the opposite side can handle a slightly weightier arrangement. Step back to the doorway often and check that your eye moves comfortably around the whole space.
Bay Window Layout Facts Worth Knowing
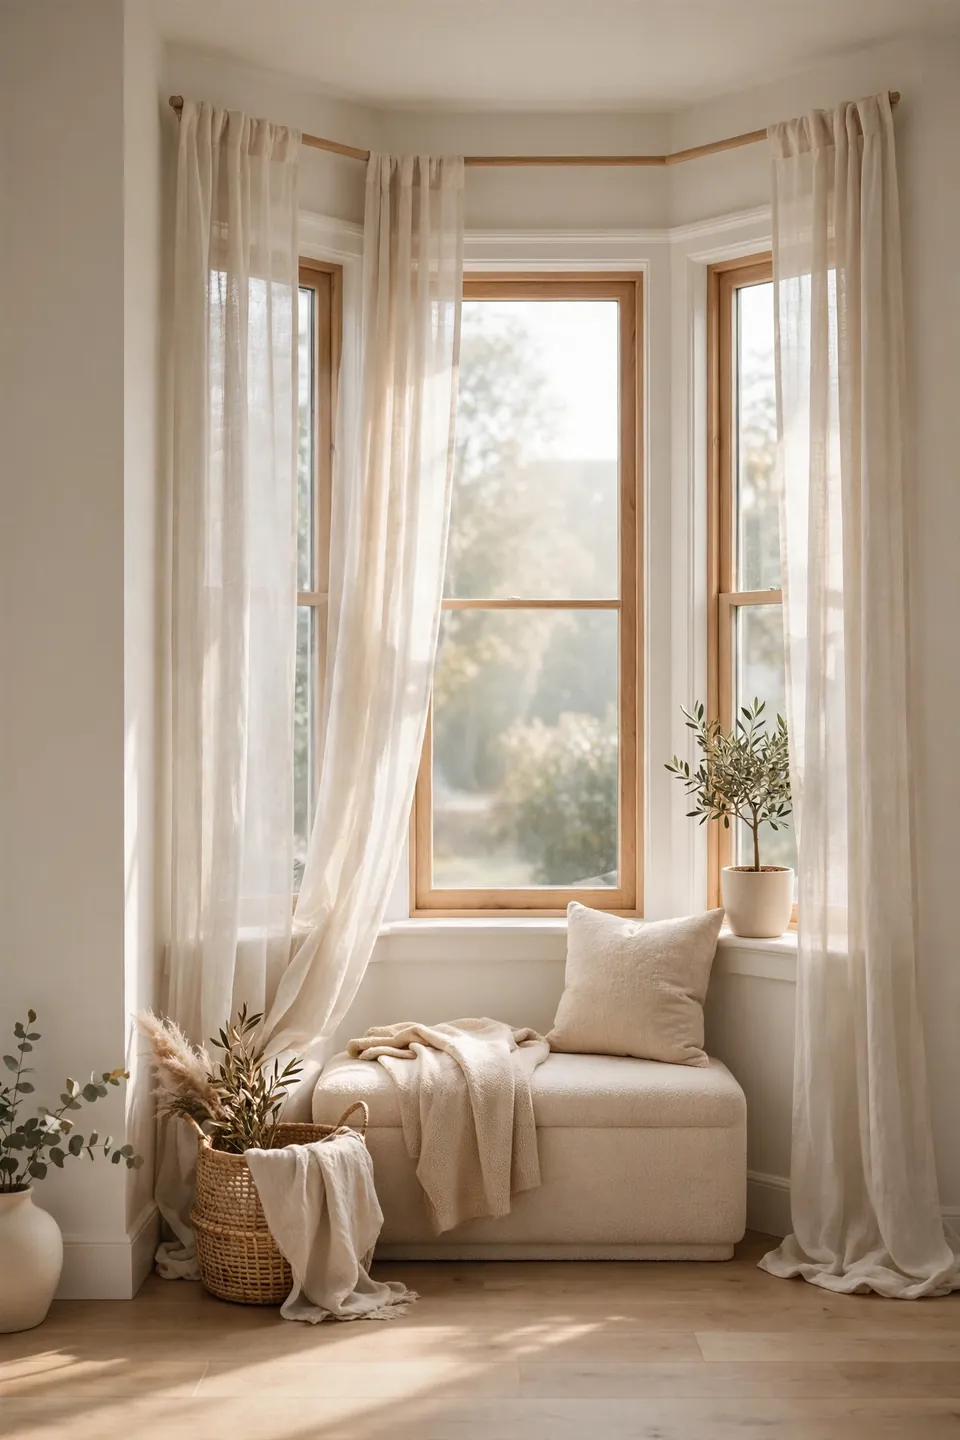
Ideal clearance: 24 to 36 inches of walkway around main seating pieces
Sill rule: Keep bay furniture at or below sill height to protect the view
Best rug size: Large enough to sit under front legs of all main pieces
Light tip: Sheers diffuse harsh sun while preserving the outdoor view
These numbers are starting points, not strict rules, but they prevent the most common layout errors. Measure your own bay and adjust by a few inches where needed. A layout that respects clearance, sightlines, and light will feel right even before you add the decorative touches.
Soften the Transition Zones
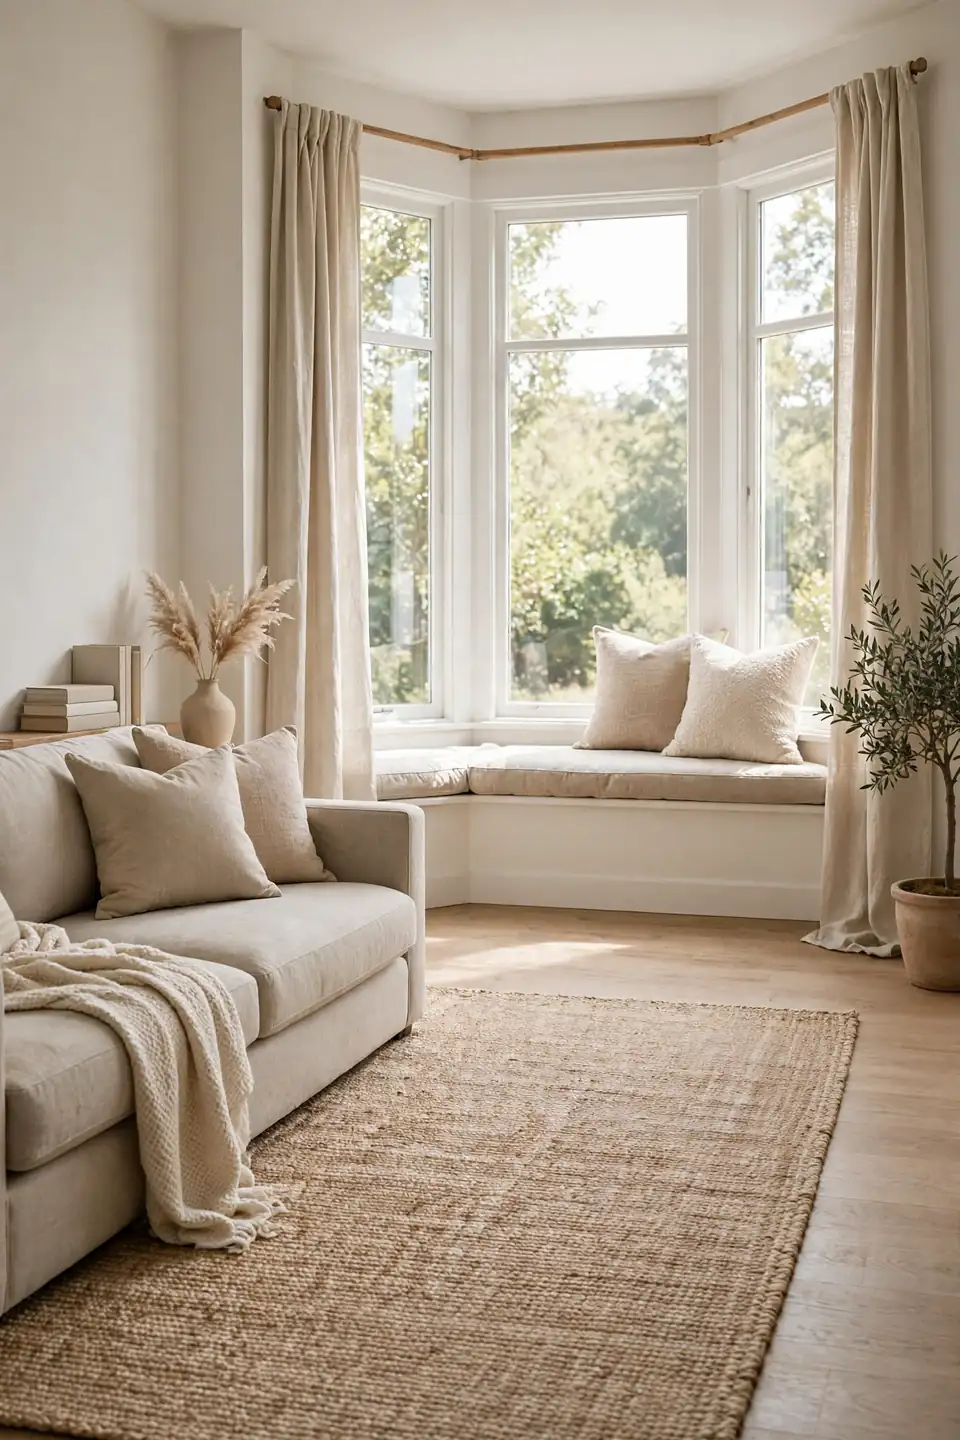
The spot where the bay meets the main room often feels abrupt, like two rooms glued together. A rug that overlaps both areas erases that line and makes the floor read as one continuous surface. Choose a pattern that is calm enough to span both zones without shouting.
Curtains help too. Hanging panels on the outer edges of the bay, rather than on each individual window, draws the eye outward and makes the whole window assembly feel wider and more intentional. The fabric softens the hard angles where glass meets wall.
Finish With Layers That Invite
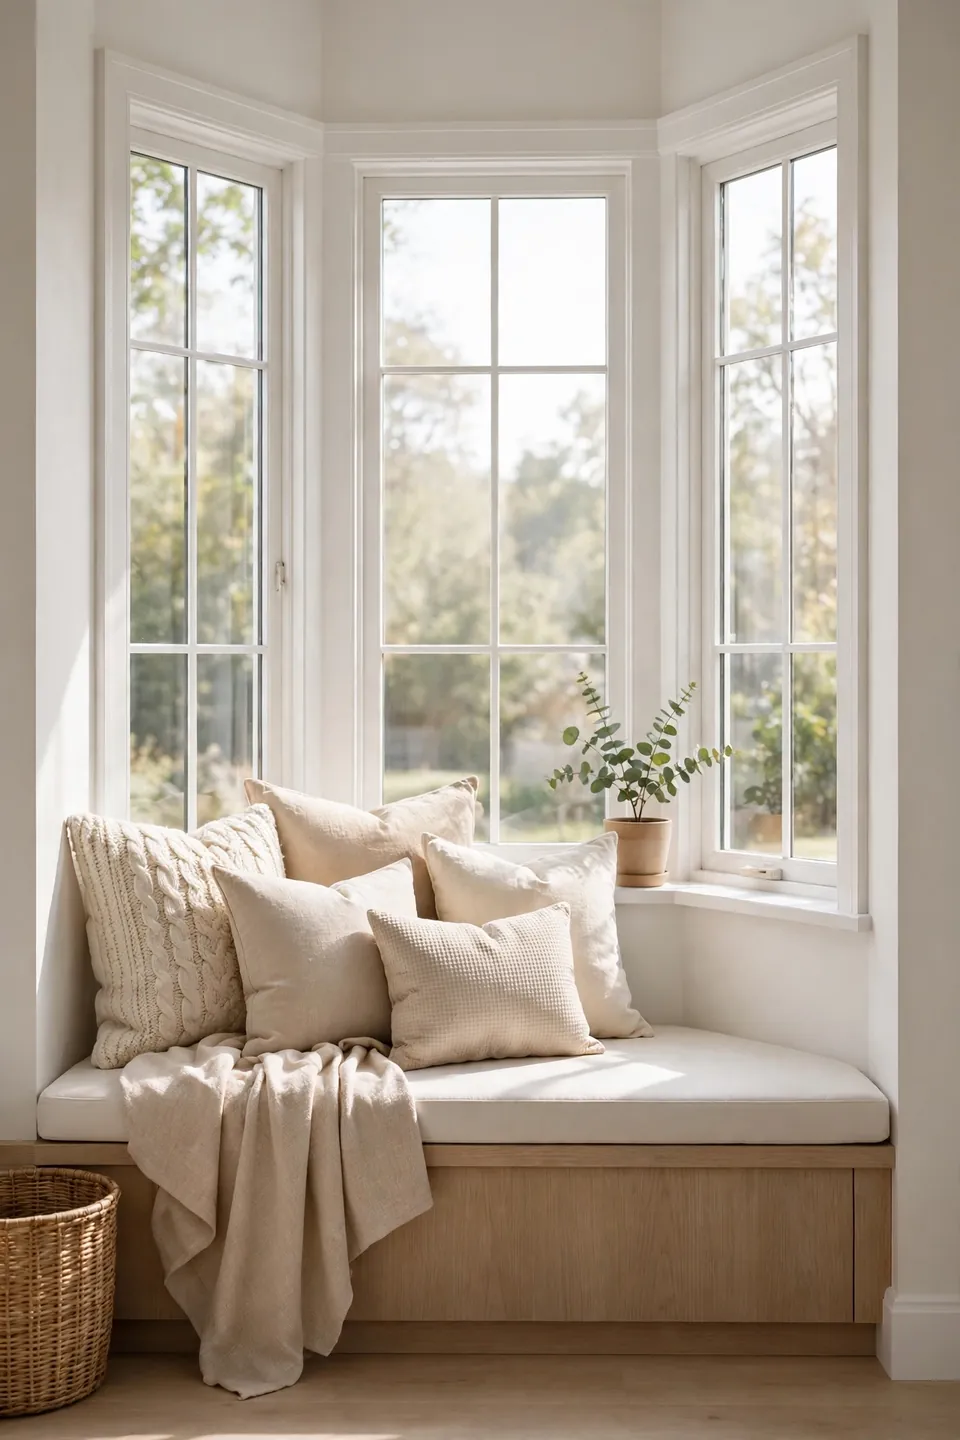
The final layer is what makes the arrangement feel finished rather than merely placed. Add texture through pillows or a throw, bring in a living plant for softness, and include one personal object so the bay zone feels styled and welcoming, not staged.
- Drape a throw over the bay bench or chair arm for instant softness.
- Set a small plant on the sill or side table to bring life to the glass edge.
- Add one stack of books or a candle on the side table for a lived-in feel.
- Step back to the room entrance and remove one item if the bay feels crowded.
Conclusion
Once you stop fighting the angles, how to arrange furniture around a bay window becomes a simple rhythm: measure first, keep the glass clear, and build outward from the light. The bay works best as its own small destination that still belongs to the larger room, connected by a rug and a repeated accent color that ties both zones together. Save this guide to your Pinterest boards so you can revisit each step while you rearrange at your own pace, and enjoy watching your brightest corner become the favorite seat in the whole house.