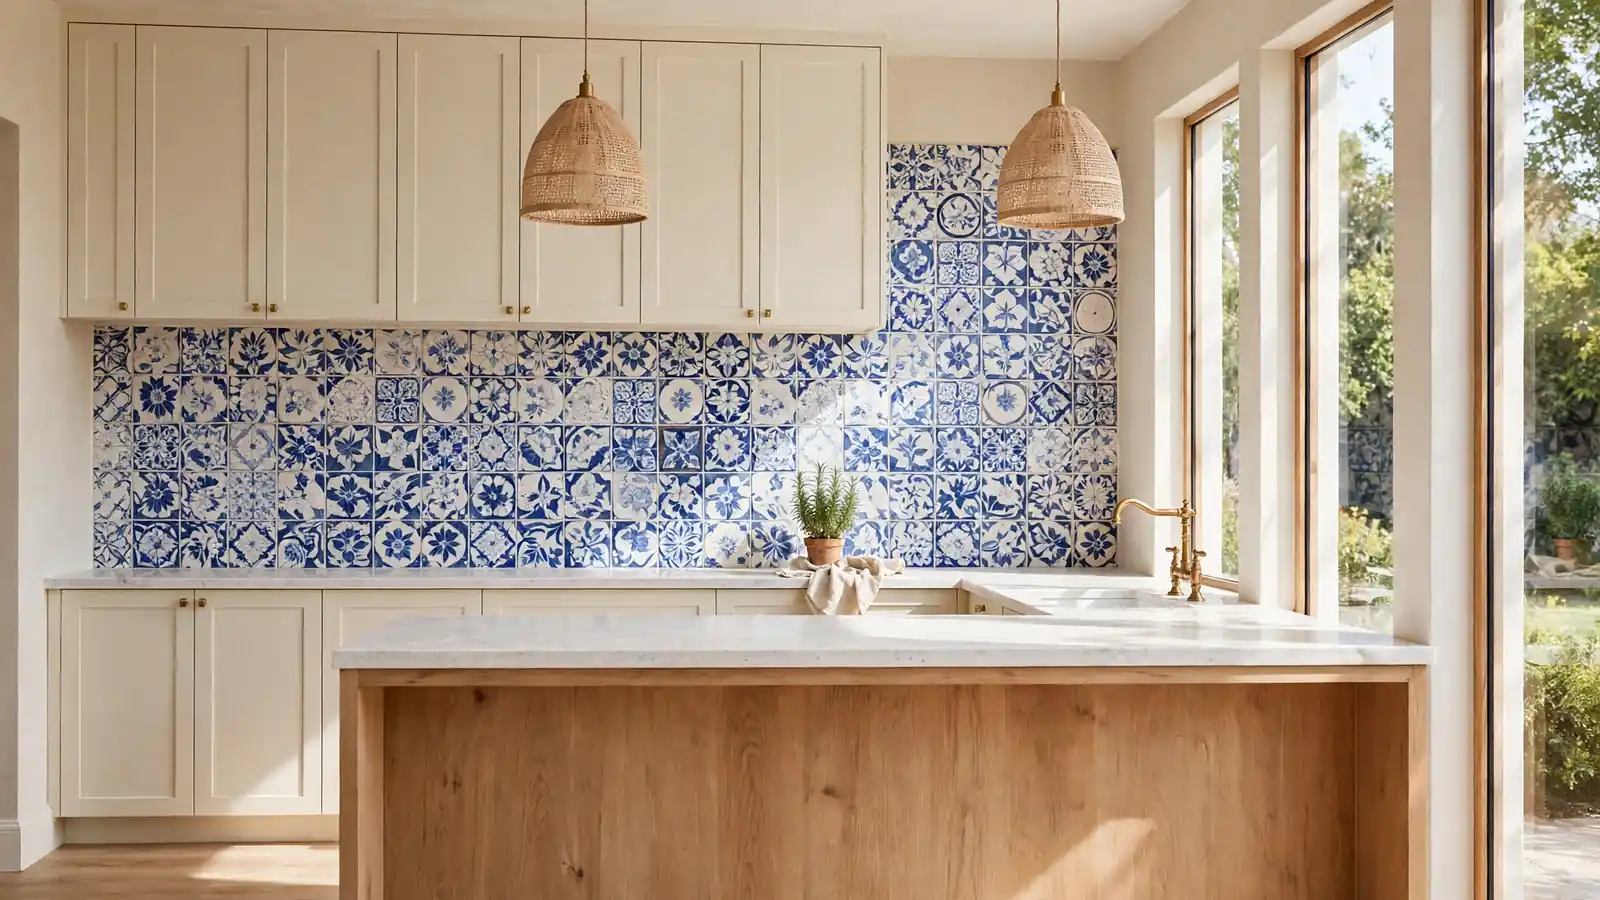
24 Hand Painted Tile Kitchen Design Ideas for Artistic Beauty
A plain backsplash does a quiet job, but a painted one tells a story every time you walk in for coffee. The best hand painted tile kitchen design ideas mix artisan color with everyday practicality, turning the wall behind your stove into the most loved part of the room. I’ve noticed these kitchens get saved and shared more than any marble slab, because every tile carries a human touch.
That same love of handcrafted detail shows up in English manor style home decor inspiration, where pattern and history warm even formal rooms. Here the mood is brighter and more personal: soft blues, sage greens, warm terracotta, and cream cabinets. The twenty four ideas ahead cover full backsplashes, single accent rows, murals, island fronts, and renter friendly options, each one sized for real kitchens and real budgets.
Blue Floral Backsplash
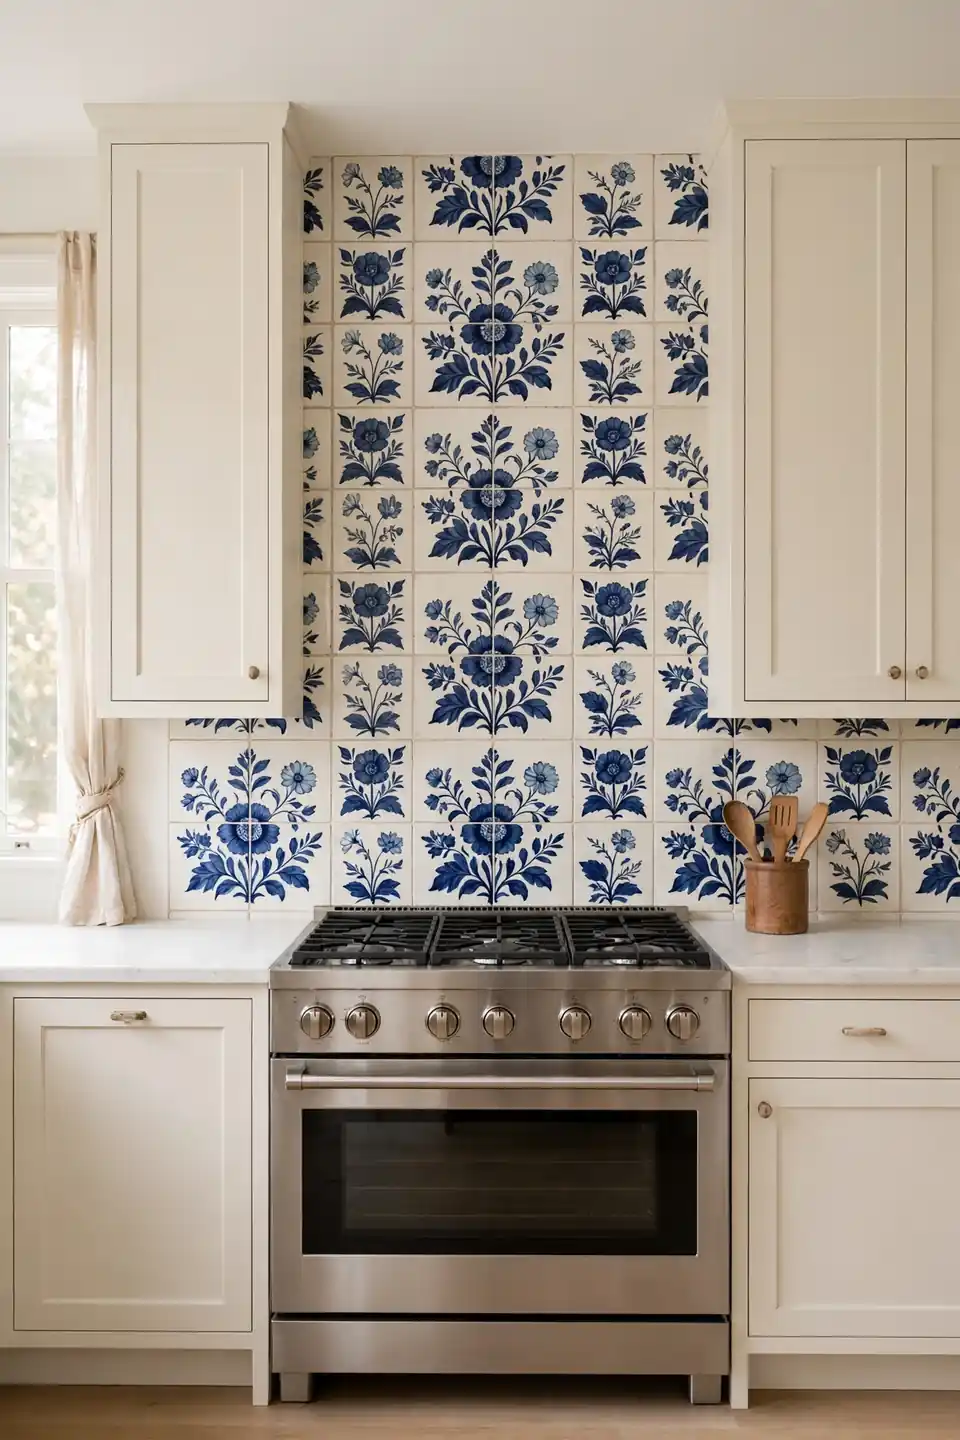
A stove wall covered in blue blooms changes how the whole kitchen feels at breakfast. Hand painted florals soften the hard edges of ranges and hoods, and the slight wobble in each brush stroke keeps the pattern alive instead of flat. Choose two blues, one deep and one pale, so the design reads clearly from across the room.
Cream cabinets frame the color without fighting it, while a white stone counter gives the eye a calm place to land. In my experience, floral tiles forgive splashes better than plain ones, since the pattern hides small marks between cleans. Repeat one flower shape on a nearby canister or cloth and the wall feels planned, not busy.
Terracotta Medallion Tiles
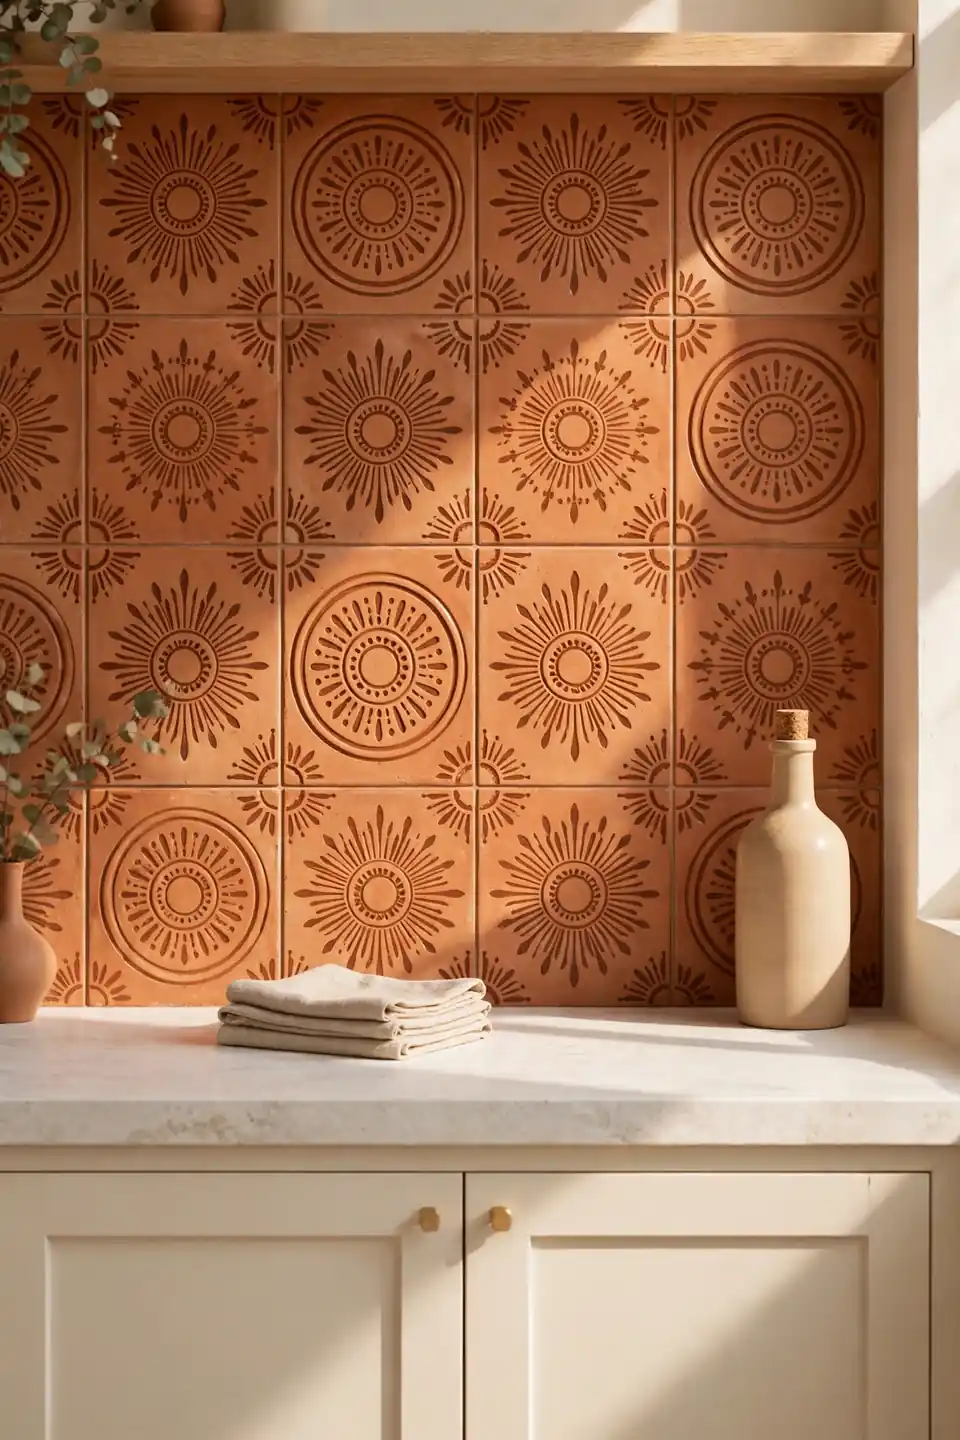
- Center one large medallion tile above the stove as the anchor of the whole wall.
- Surround it with smaller matching tiles in a softer, faded wash of the same clay color.
- Keep grout warm beige rather than bright white so the pattern stays gentle.
- Repeat the medallion shape on the floor mat or a nearby trivet for quiet rhythm.
- Leave the surrounding walls cream so the terracotta holds all the warmth.
Terracotta suits kitchens that face north or sit under trees, where cool light flattens other colors. The clay tones glow even on gray mornings, and the medallion shape adds a crafted, old world note without a full renovation. Start above the range, live with it, then extend only if the room asks for more.
Sage Green Botanical Tiles

Quick Tip: Order one sample tile and tape it beside your window for a full day before committing. Sage shifts more than most colors, reading gray in the morning and fresh green by lunch, and the right shade depends entirely on your light and your cabinets.
Botanical motifs pair naturally with the plants most kitchens already keep on the sill. Soft leaves on the tiles echo real herbs a few feet away, so the wall feels grown rather than decorated. Keep cabinets white and counters pale wood, and let the sage carry the color story in calm, even doses. Brass taps warm the green nicely at dusk.
Plain to Painted Makeover
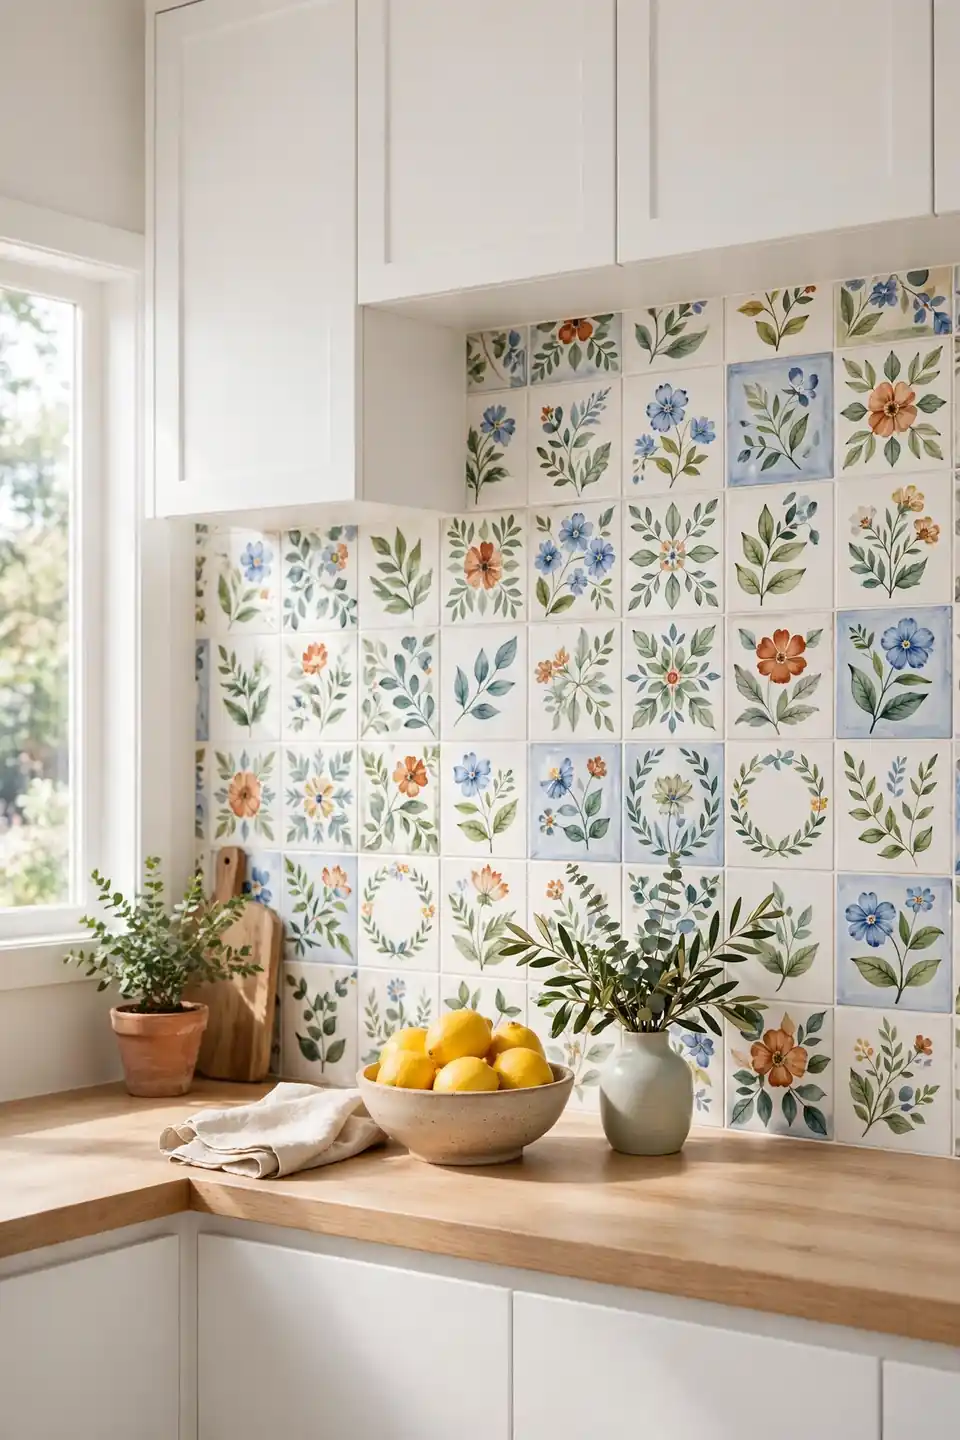
BEFORE: The old backsplash was plain white tile in good shape, and the kitchen worked fine, yet nothing in the room made anyone smile. Cooking felt like a chore done in a rental, even after five years in the house.
AFTER: One weekend of painted tiles changed the register completely. Blue and sage florals climbed the wall, the same cabinets looked freshly chosen, and guests started asking which studio made the tiles by hand.
A makeover like this respects a budget because the tile, cabinets, and counters all stay in place. Paint, patience, and a steady Saturday do the work. Pick colors from something you already own, a rug or a favorite bowl, and the new wall will belong from day one.
Painting Your Own Tiles
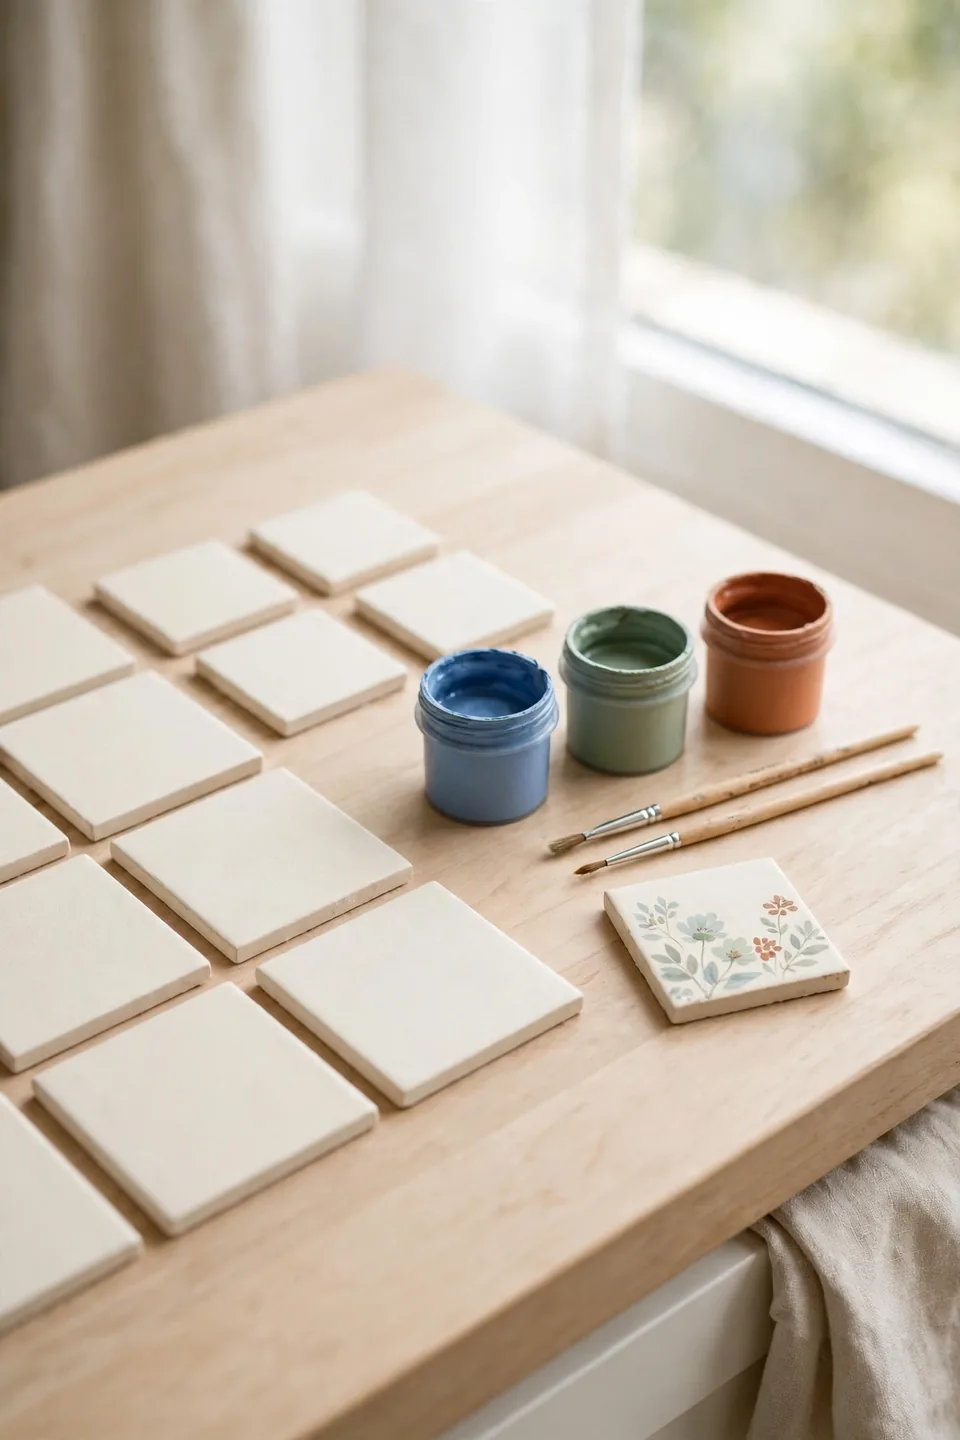
- Wash each tile with a degreasing cleaner and let the surface dry fully overnight.
- Lightly sand glossy tiles so the primer grips, then wipe away every trace of dust.
- Brush on a bonding primer in thin coats, keeping edges clean with a damp cotton swab.
- Sketch your motif in pencil, then paint in layers, letting each color dry before the next.
- Seal the finished tiles with two coats of heat resistant clear sealer.
Painting your own tiles costs a fraction of artisan prices and carries a charm no factory print can copy. Small imperfections read as character once the wall is grouted and lit. Start with a single test row, and let that strip teach you brush size and paint thickness before the whole wall begins.
Painted Versus Printed Tiles
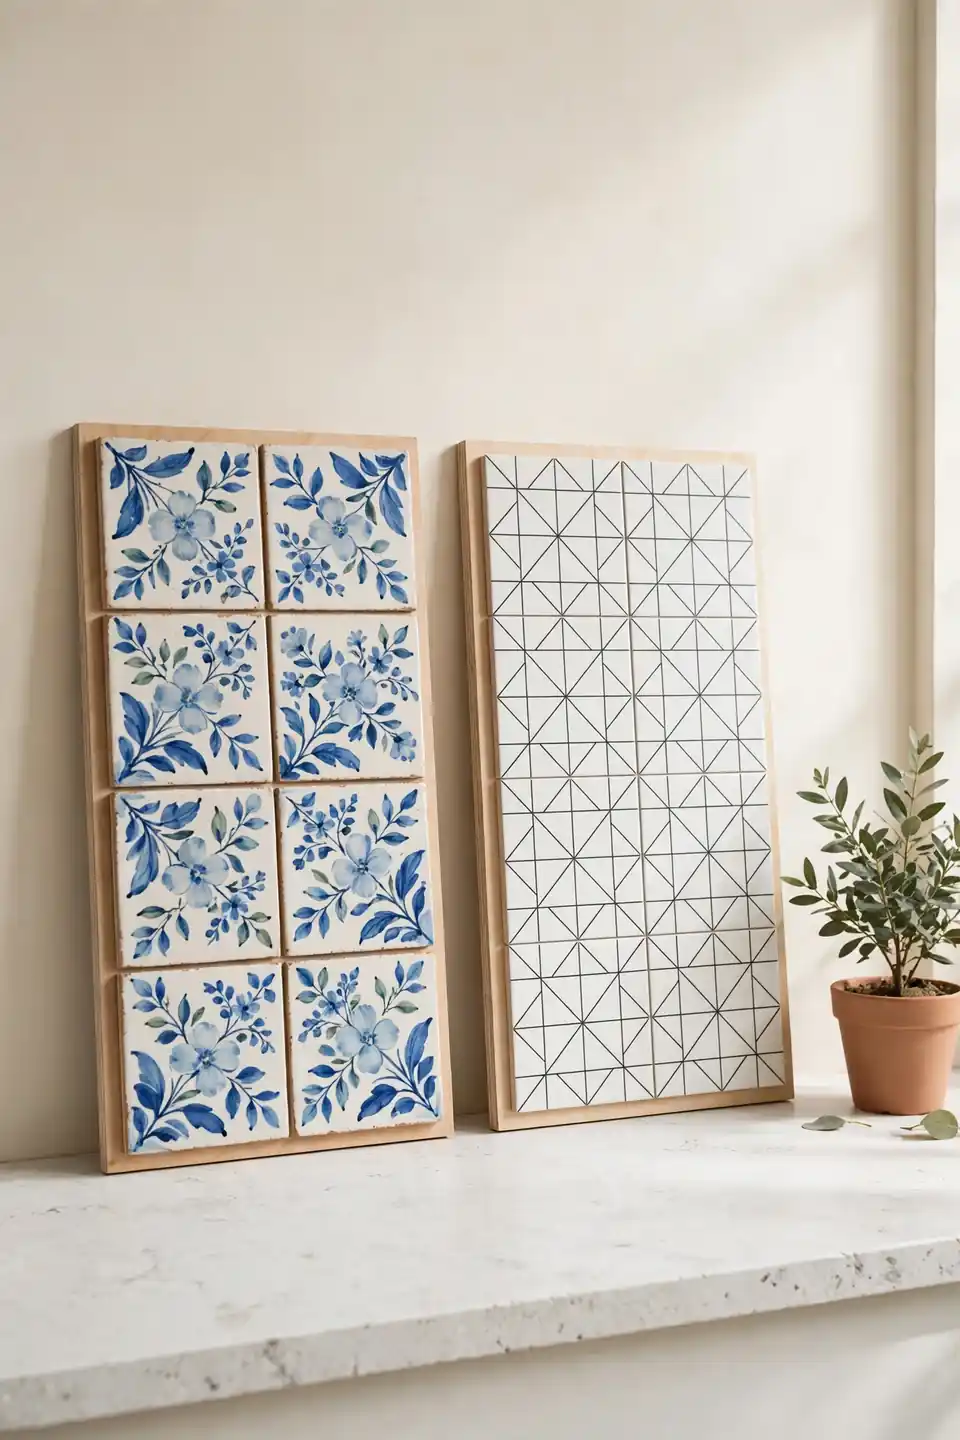
| Feature | Hand Painted | Printed |
|---|---|---|
| Cost | Higher per tile | Lower per tile |
| Look | Brush marks, one of a kind | Perfectly even repeats |
| Repairs | Repaint a single tile | Match the batch or redo |
| Best For | Small feature walls | Large full rooms |
Printed tiles win on price and speed, and modern prints look convincing from a few steps back. Hand painted tiles win up close, where guests actually stand with a coffee in hand. Many kitchens mix both: printed field tiles for the long runs, hand painted pieces saved for the stove wall and the sink. Sample boards propped on the counter settle the argument faster than any catalogue photograph can.
Backsplash Care Basics
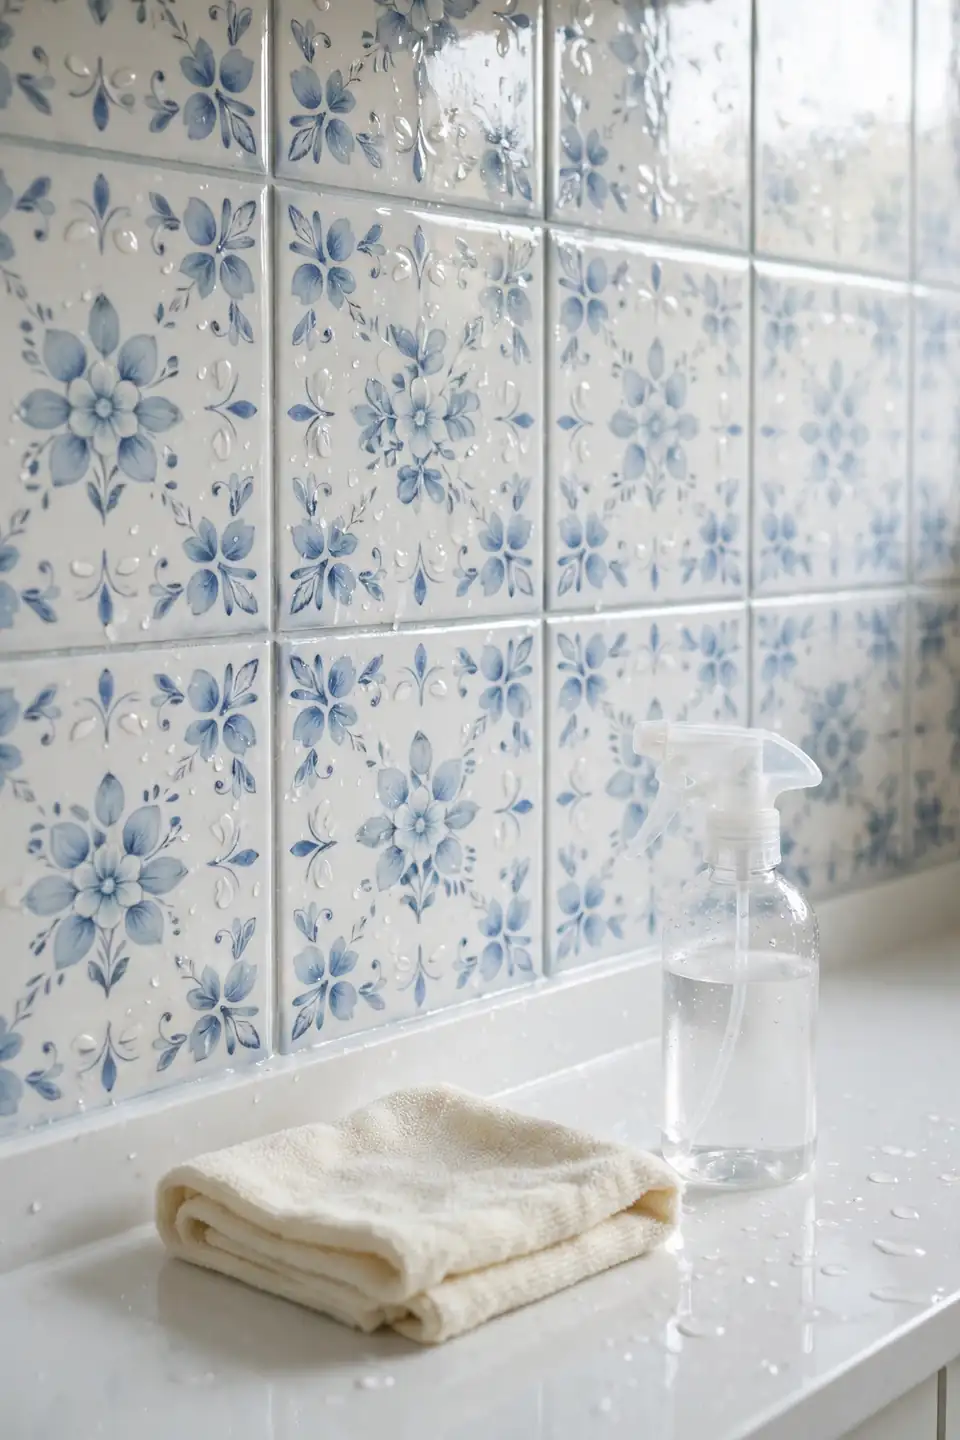
Do:
- Wipe splashes the same day with a soft cloth and warm water.
- Clean with a mild, non abrasive soap once a week.
- Dry the tiles after washing up so water spots never settle.
- Reseal painted surfaces once a year in busy cooking zones.
Don’t:
- Scrub with stiff brushes that scratch the paint layer.
- Spray harsh bleach cleaners directly on painted motifs.
- Let tomato sauce or oil sit overnight on the grout.
- Steam clean at close range for long stretches.
Painted tiles are tougher than they look once the sealer cures, but gentle habits keep the colors bright for years. Treat the wall like a good wooden table: quick wipes, mild soap, no heroics. Five calm minutes a week protect the whole investment.
Tile Project Quick Facts

Cost: A few dollars per tile for DIY painting, more for artisan work
Time: One to two weekends for a standard backsplash
Skill Level: Beginner friendly with patience and a steady hand
Best For: Backsplashes, stove walls, and small accent rows
Most of the budget goes on tiles and sealer, while brushes and primer stay cheap. The real cost is drying time between coats, which no shortcut removes. Plan the wall in sections, finish one stretch fully before starting the next, and the project stays calm instead of sprawling across every counter for a month. Keep a few spare tiles from the same batch stored flat in a dry cupboard for future repairs.
Moroccan Star Patterns
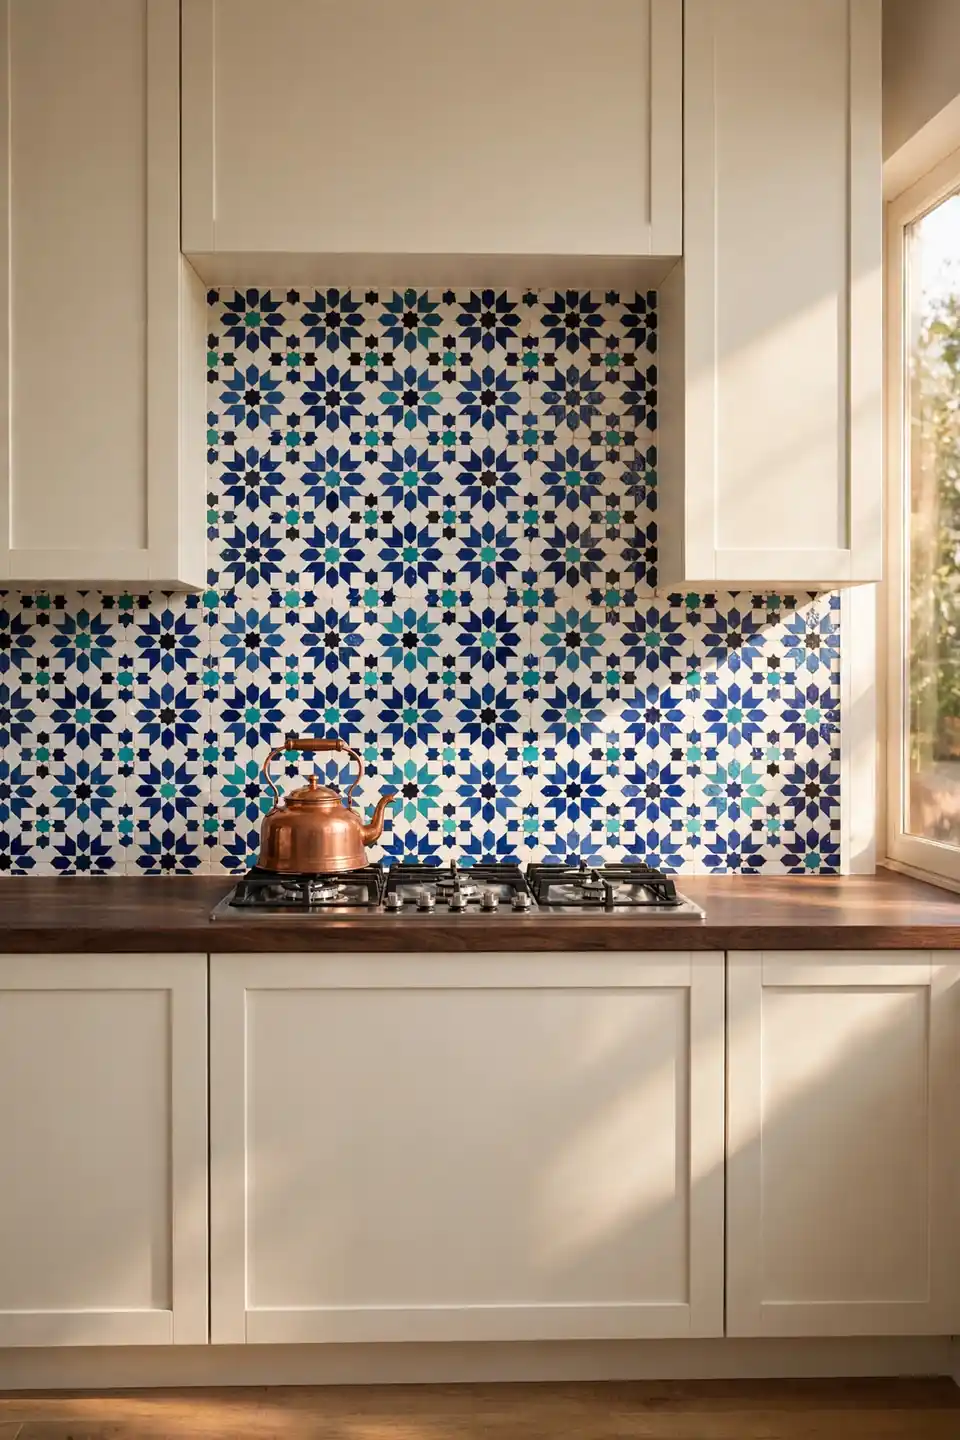
Eight pointed stars lock together in a rhythm that never seems to repeat, even across a whole wall. Moroccan patterns suit kitchen geometry because stoves and sinks already form strong rectangles, and the stars soften those lines without hiding them. Cobalt, turquoise, and white keep the classic palette bright.
Balance the busy pattern with plain cream cabinets and a quiet counter, then repeat one star color in a runner or a kettle. I’ve noticed patterned walls photograph beautifully, which is why these kitchens travel so far on Pinterest. Order ten percent extra tiles, since cuts around outlets waste more pattern than plain tile.
Mediterranean Blue and White
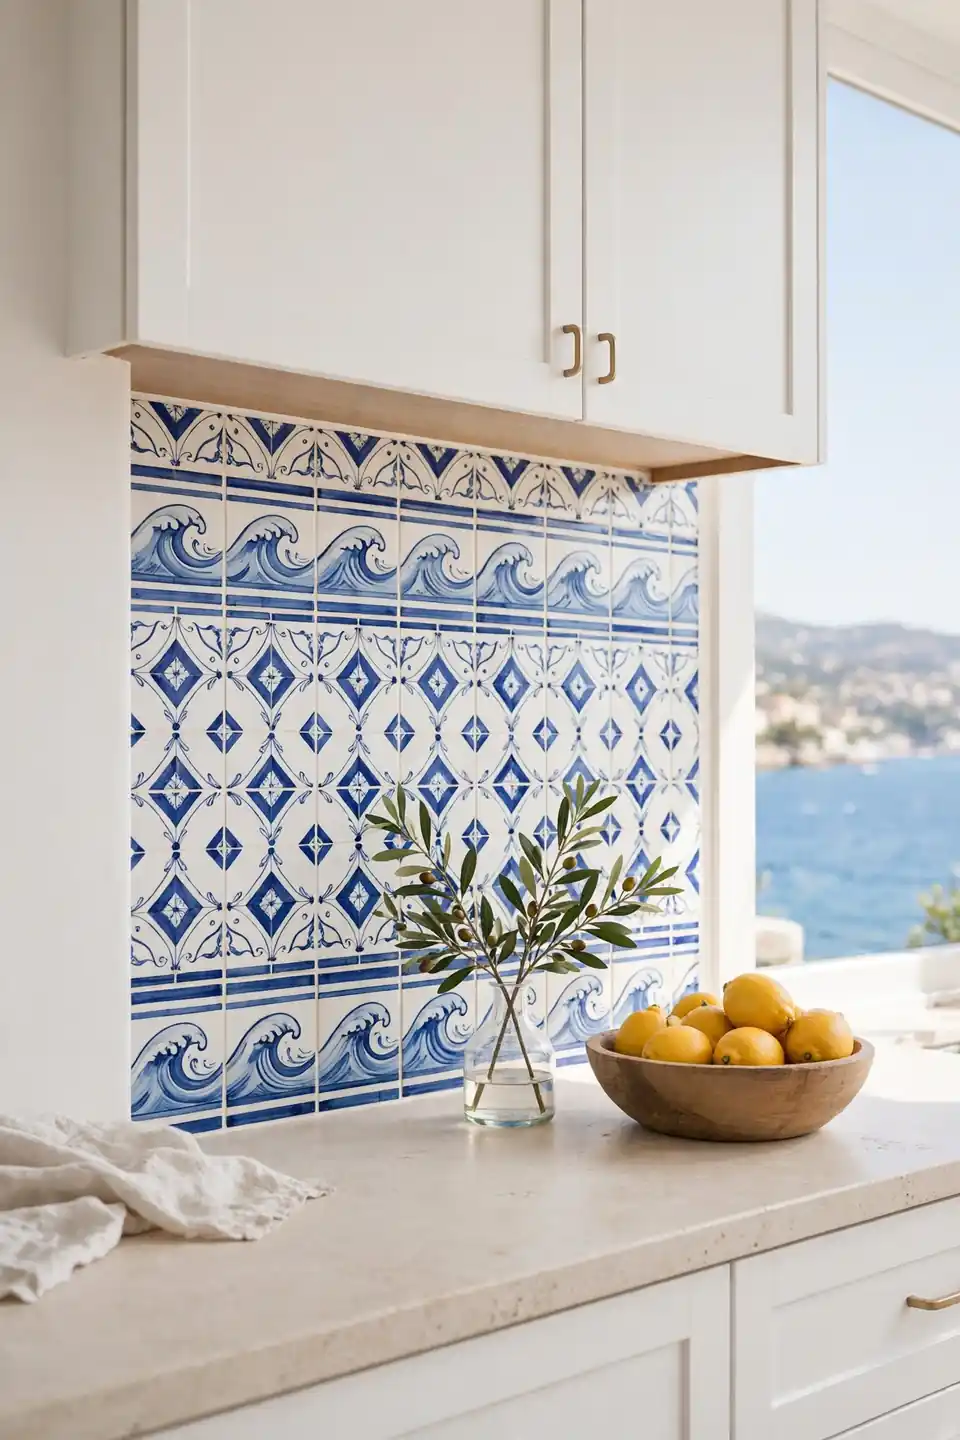
- Mix wave, diamond, and dot patterns inside one blue and white palette.
- Keep cabinets white so the tiles carry all of the pattern.
- Set a bowl of lemons or oranges on the counter for a warm counterpoint.
- Choose pale grout to keep the wall light and coastal.
- Carry one tile color onto a nearby tray or jug.
Blue and white is the oldest partnership in tile history, and it still feels fresh every single spring. The palette flatters food, skin, and morning light equally, which is why Mediterranean kitchens never date the way trend colors do. Keep metal finishes simple, brushed nickel or brass, and let the tiles lead.
Fruit Motif Accent Row

Quick Tip: Place the painted row at eye level behind the counter you use most, not behind the stove. Fruit motifs reward a close look, and a prep counter gives people time to enjoy the lemons while they chop and chat.
A single row of painted fruit keeps a mostly white kitchen calm while adding the handmade note everyone remembers. The rest of the wall stays plain and cheap to install, so the budget lands exactly where eyes land too. Swap the fruit with the seasons in your styling: lemons in summer, figs and grapes when evenings cool. Guests lean in closer to this wall than to any other in the house.
Range Wall Focal Point

BEFORE: The range wall held a short strip of plain tile that stopped halfway up, leaving a wide band of painted drywall above it. The hood floated without support, and the stove, the hardest working spot in the room, looked like an afterthought.
AFTER: Tiles now climb from counter to ceiling in a field of blue and cream florals, and the hood reads as part of one tall design. This is where hand painted tile kitchen design ideas earn their keep, turning a work zone into the view everyone faces while dinner cooks.
Full height tile also solves a practical problem, since a sealed painted surface wipes cleaner than painted drywall. Keep the pattern scale medium here; tiny motifs blur at ceiling height, and huge ones crowd a standard hood.
Mixing Tile Sizes Well
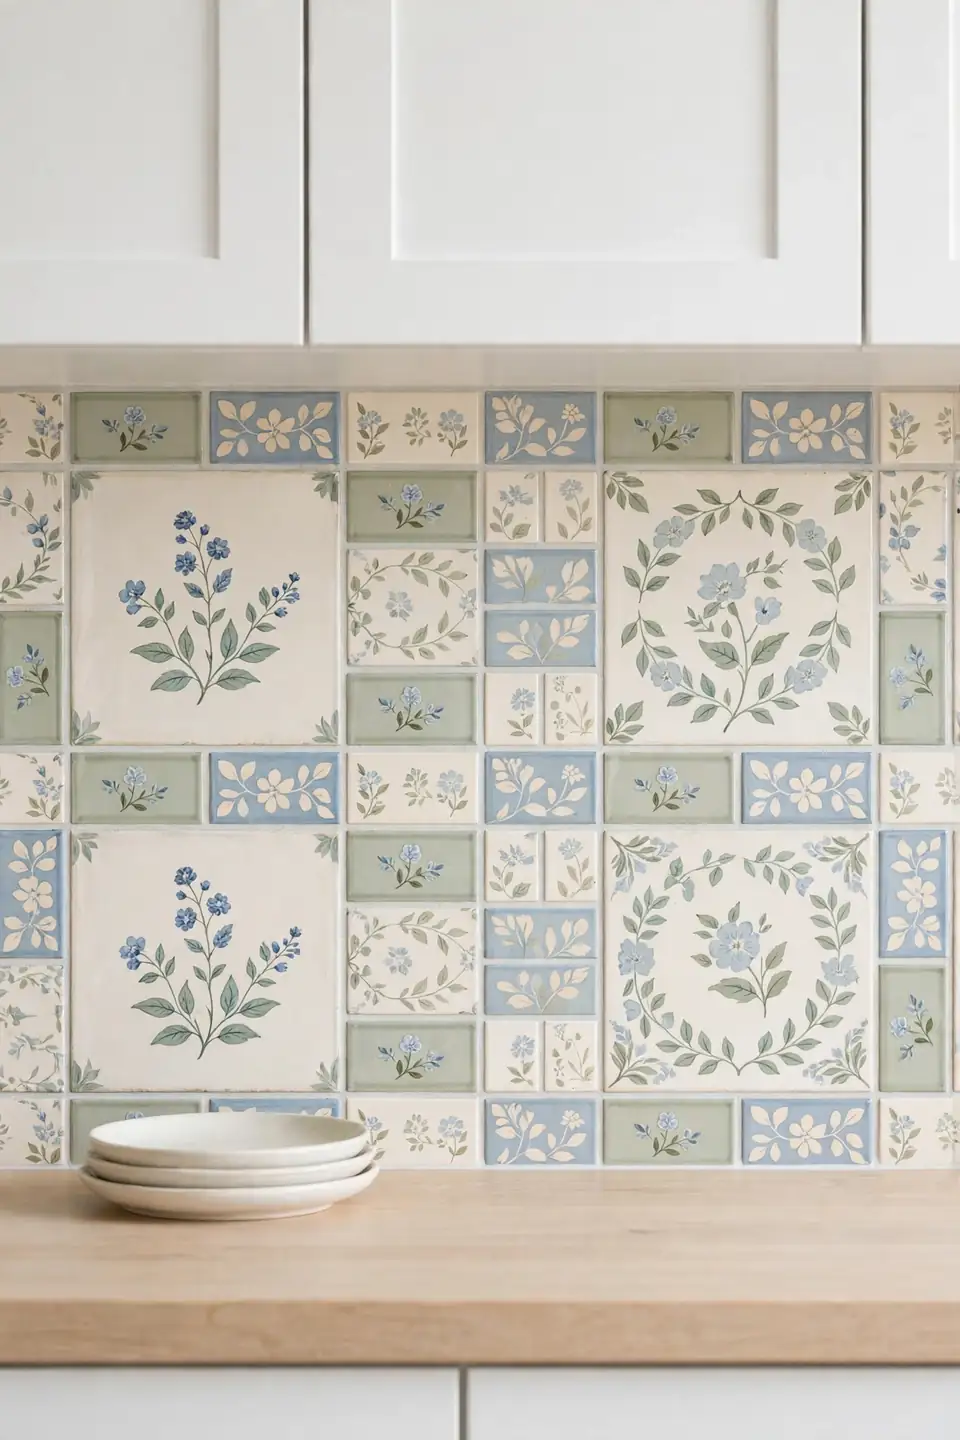
- Sketch the wall to scale and mark where large tiles end and small ones begin.
- Anchor the layout with the largest tiles around the stove, the natural center.
- Fill edges and corners with the smaller size to limit awkward cuts.
- Keep one color family across both sizes so the mix reads deliberate.
- Dry lay one full section on the counter before any adhesive opens.
Mixed sizes give a backsplash the collected feel of an old farmhouse wall, built up over years rather than installed in a day. The trick is rhythm: repeat the size change at even intervals and the eye reads pattern, not chaos. Grout in one consistent color pulls the whole patchwork together.
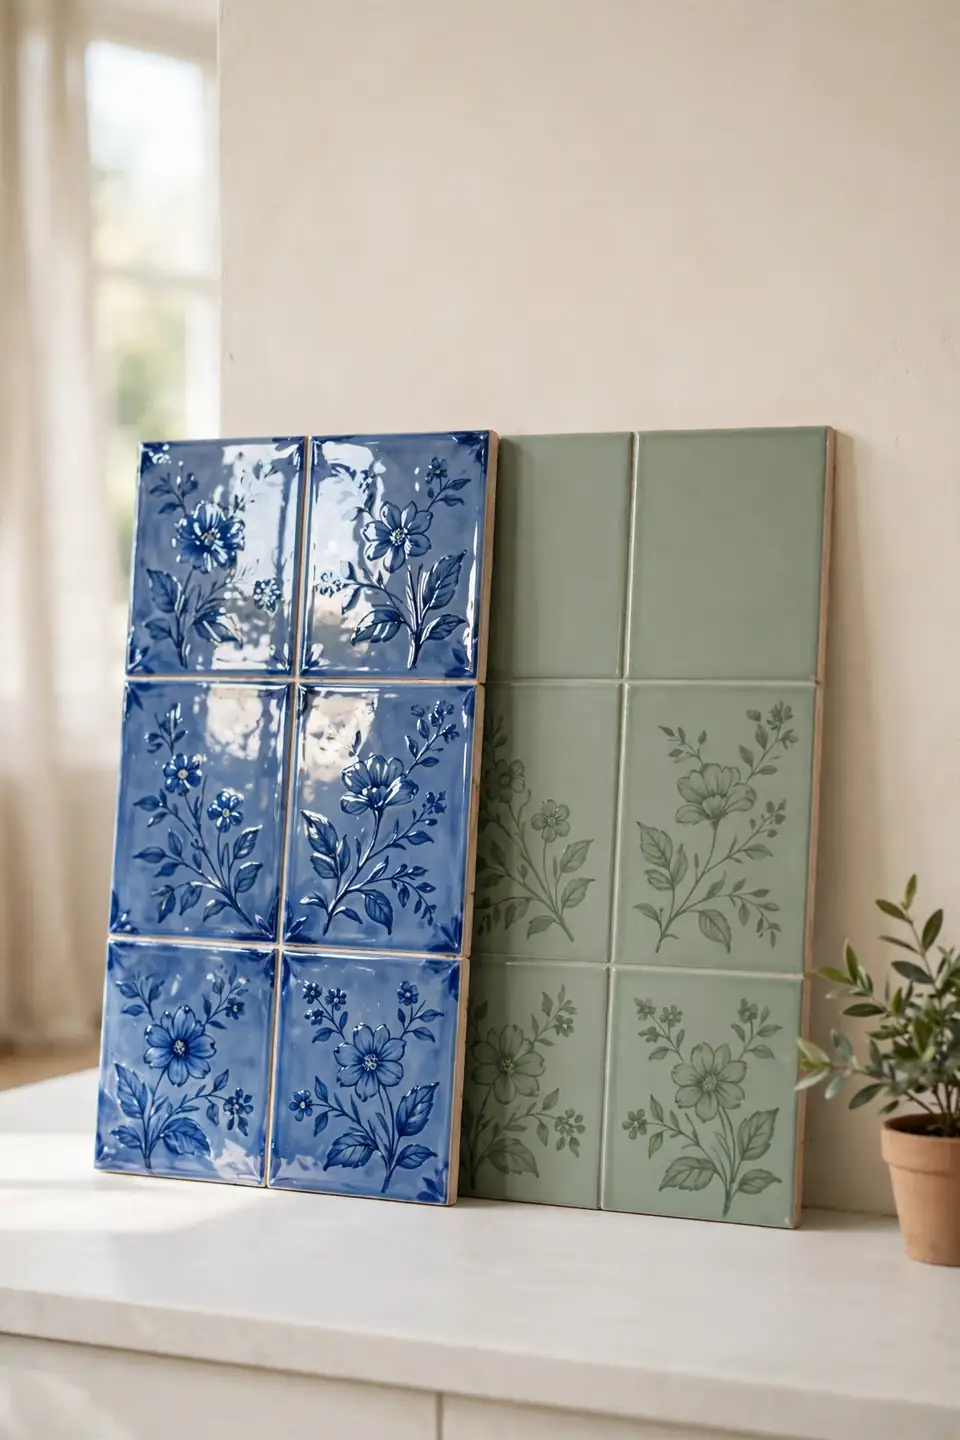
Gloss Versus Matte Finishes
| Feature | Gloss Finish | Matte Finish |
|---|---|---|
| Light | Bounces light around the room | Soft, even glow |
| Upkeep | Shows splashes sooner | Hides marks longer |
| Feel | Classic and polished | Calm and modern |
| Steam | Beads and wipes dry | Needs a good sealer |
| Best For | Darker kitchens | Bright, busy rooms |
Gloss has been the kitchen standard for a century because it scrubs clean and throws window light deep into the room. Matte has loyal fans too, especially in sunny kitchens where glare tires the eyes by noon. Handle one tile of each finish under your own lights before deciding; showroom lamps flatter everything, and your morning sun will tell the honest truth.
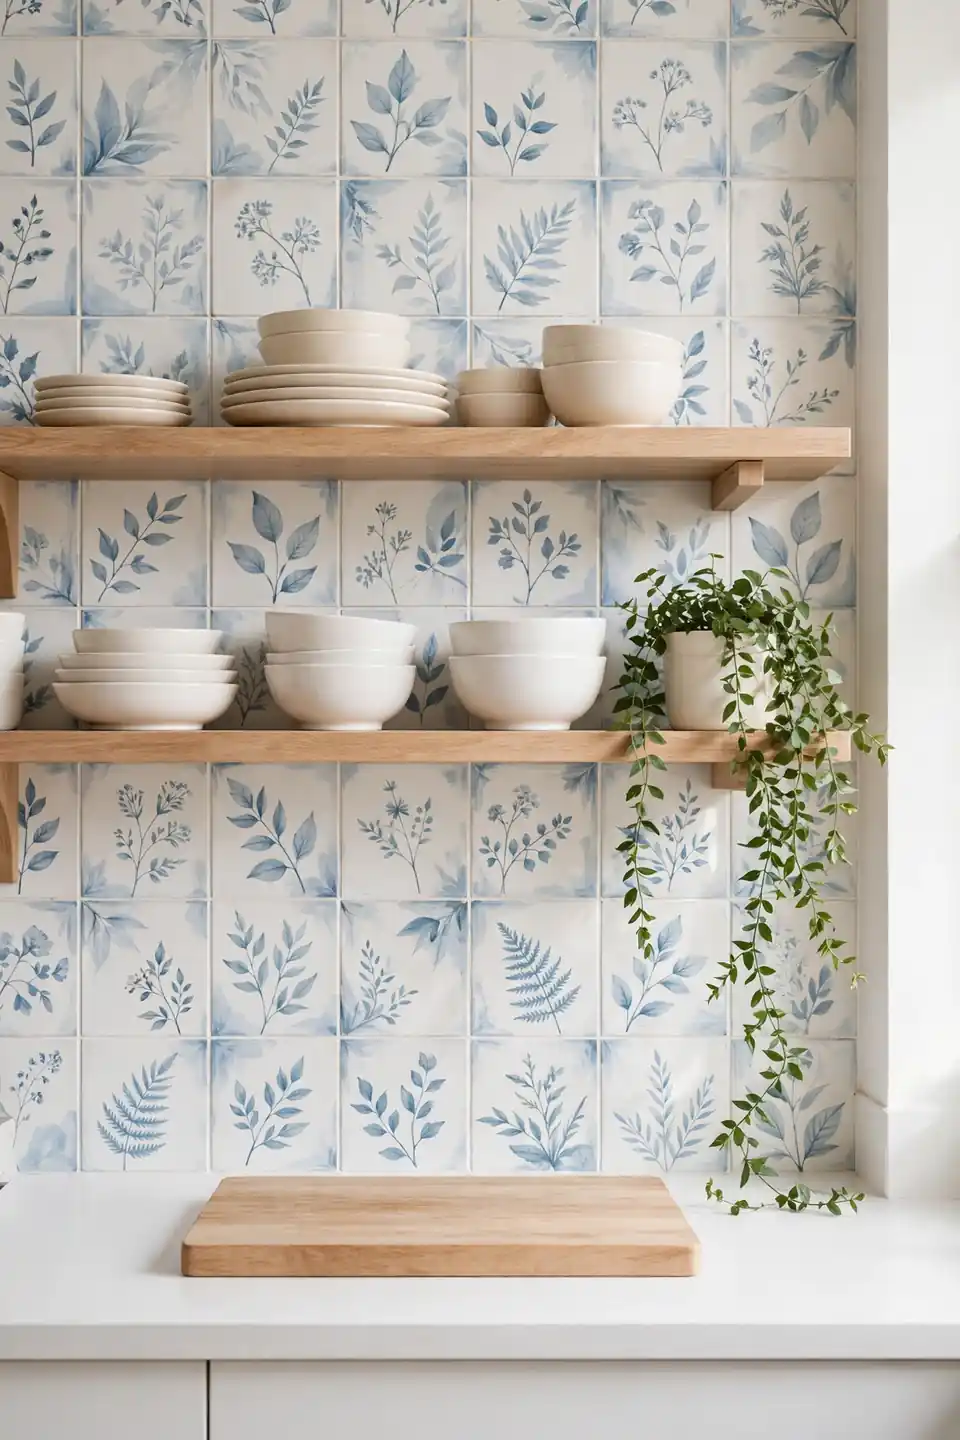
Open Shelf Tile Backdrop
Do:
- Style shelves in low stacks so the tile pattern stays visible.
- Leave gaps between groups to let the painted motifs breathe.
- Repeat one tile color in a bowl or jug on the shelf.
- Keep daily dishes plain cream against the patterned wall.
Don’t:
- Crowd every inch until the tiles disappear behind clutter.
- Mix many colored dishes that fight the tile palette.
- Hang shelves so high that top items gather dust unseen.
- Drill new holes without checking the pattern alignment first.
Open shelves turn a backsplash into a gallery wall that changes with your dishes. The tiles do the decorative work, so the shelves themselves can stay simple and useful. Edit the display each season and the kitchen feels renewed without a single new purchase.
Small Kitchen Quick Facts
Cost: Low to moderate, since small walls need fewer feature tiles
Time: One weekend for most galley and L shaped layouts
Skill Level: Beginner, with small areas that forgive slow work
Best For: Galley kitchens, apartments, and narrow counters
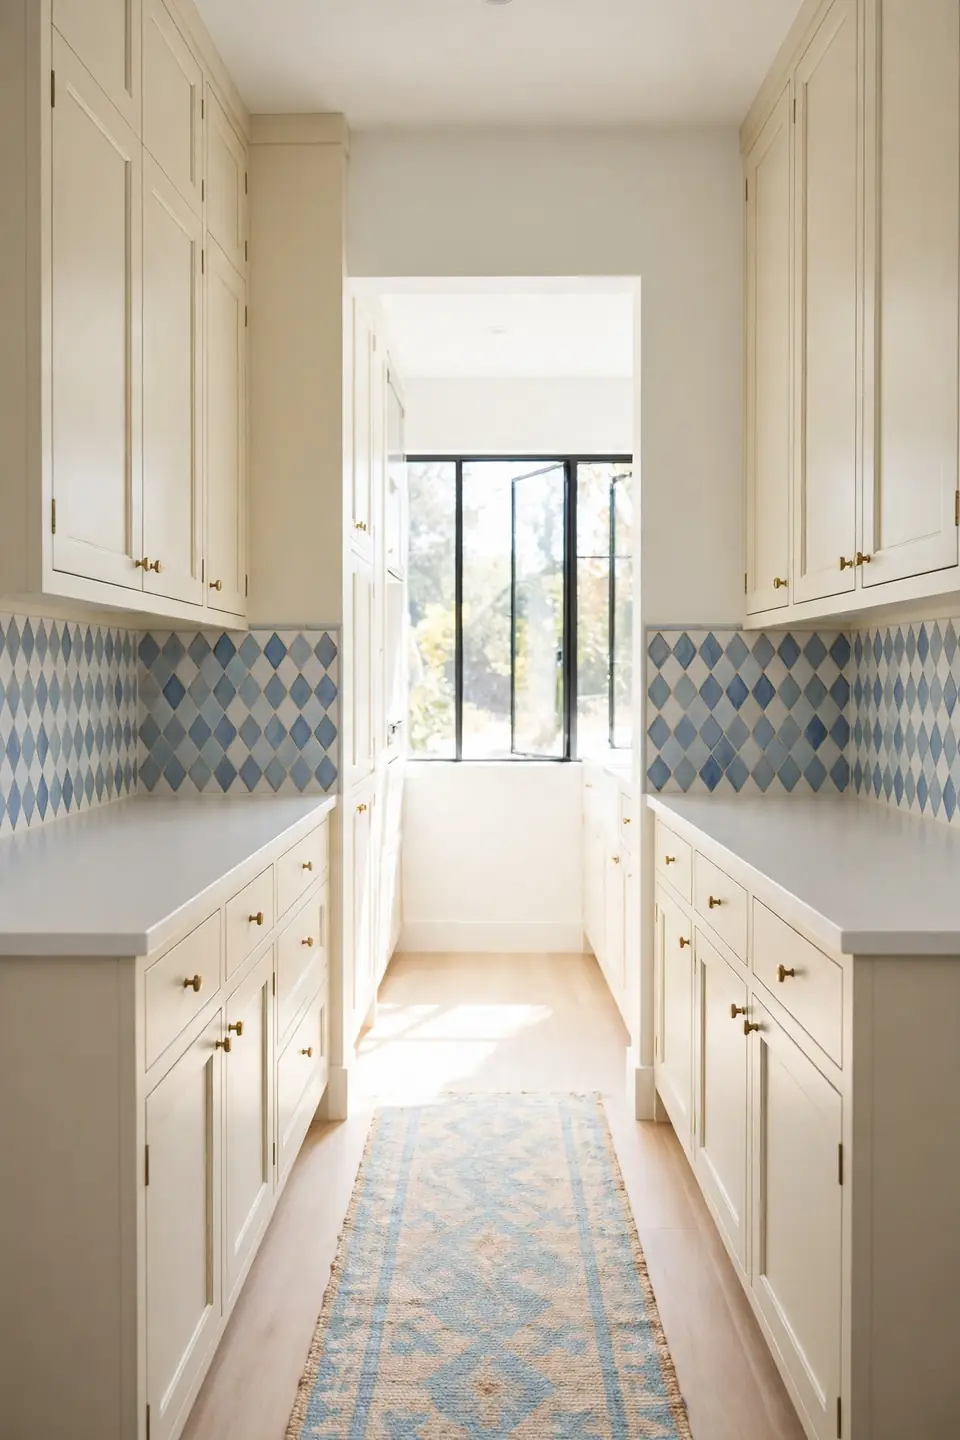
Small walls are the kindest place to learn tile work, because a feature area may need only thirty tiles. Pattern that would overwhelm a big room reads as jewel box detail at this scale. Keep the palette to two colors, let one metallic accent repeat through the room, and even the tiniest kitchen feels considered rather than cramped. Breakfast still happens at the counter every morning while the work goes on around it.
Delft Style Corner Tiles
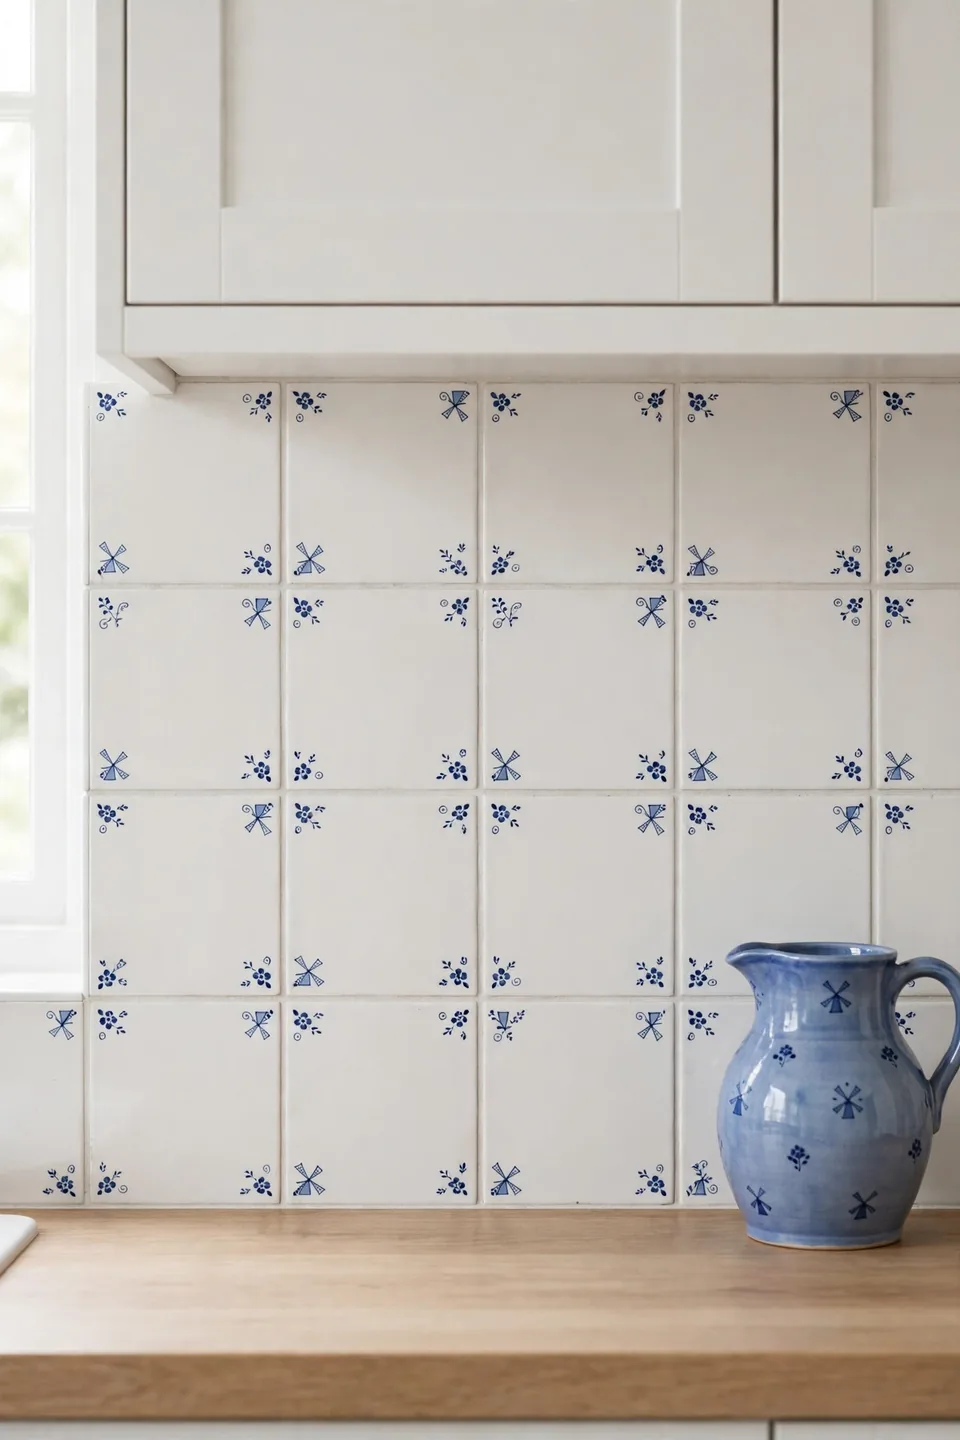
Most of the wall stays plain white, yet every tile corner carries a tiny painted flower, a small bird, or a curling vine. Delft style tiles prove that pattern does not need coverage to make an impression; it needs rhythm. Stand back and the corners join into a quiet lattice across the whole backsplash.
The gentle blue on white pairs easily with soft color elsewhere, much like the calm palettes in soft peach and sage living room ideas, where restraint keeps pastels feeling grown up. Keep counters pale wood and hardware simple, and let those small blue corners do all the talking in the room.
Terracotta Sun Motifs
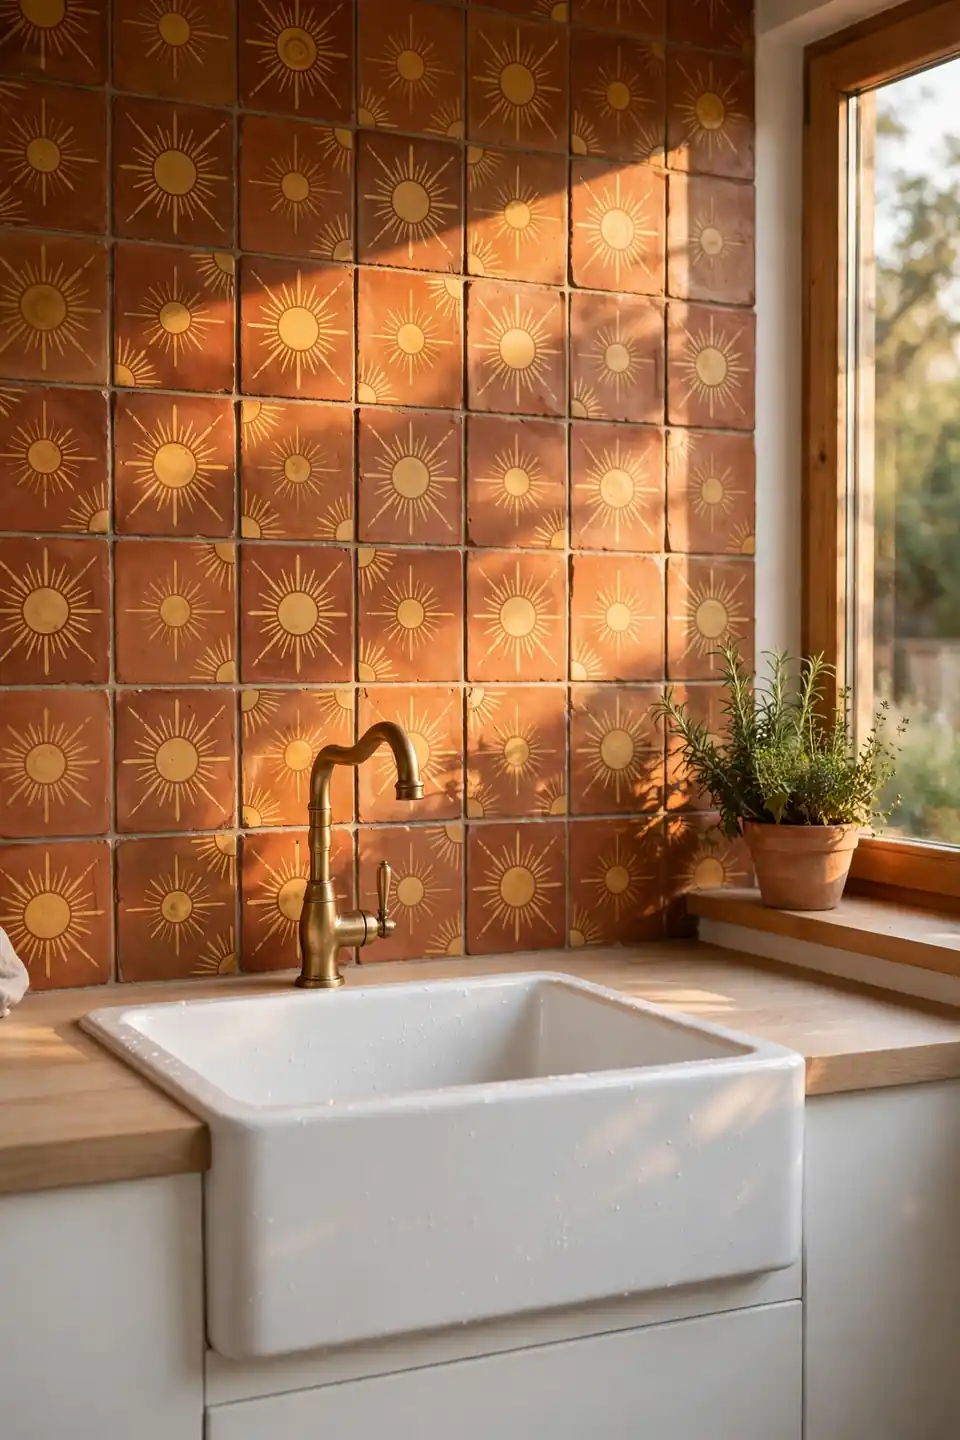
- Place one large sun tile directly above the sink as a daily focal point.
- Alternate sun tiles with plain terracotta to rest the eye between motifs.
- Match grout to the clay body so rays read as one warm field.
- Repeat the golden tone in a brass tap or a woven runner.
Sun motifs carry centuries of kitchen folklore, standing for warmth, harvest, and a house that feeds people well. Above a sink they earn their place honestly, greeting the person who washes up morning and night. In my experience, one strong motif repeated calmly beats a dozen different designs competing for attention.
Herb Garden Tile Murals
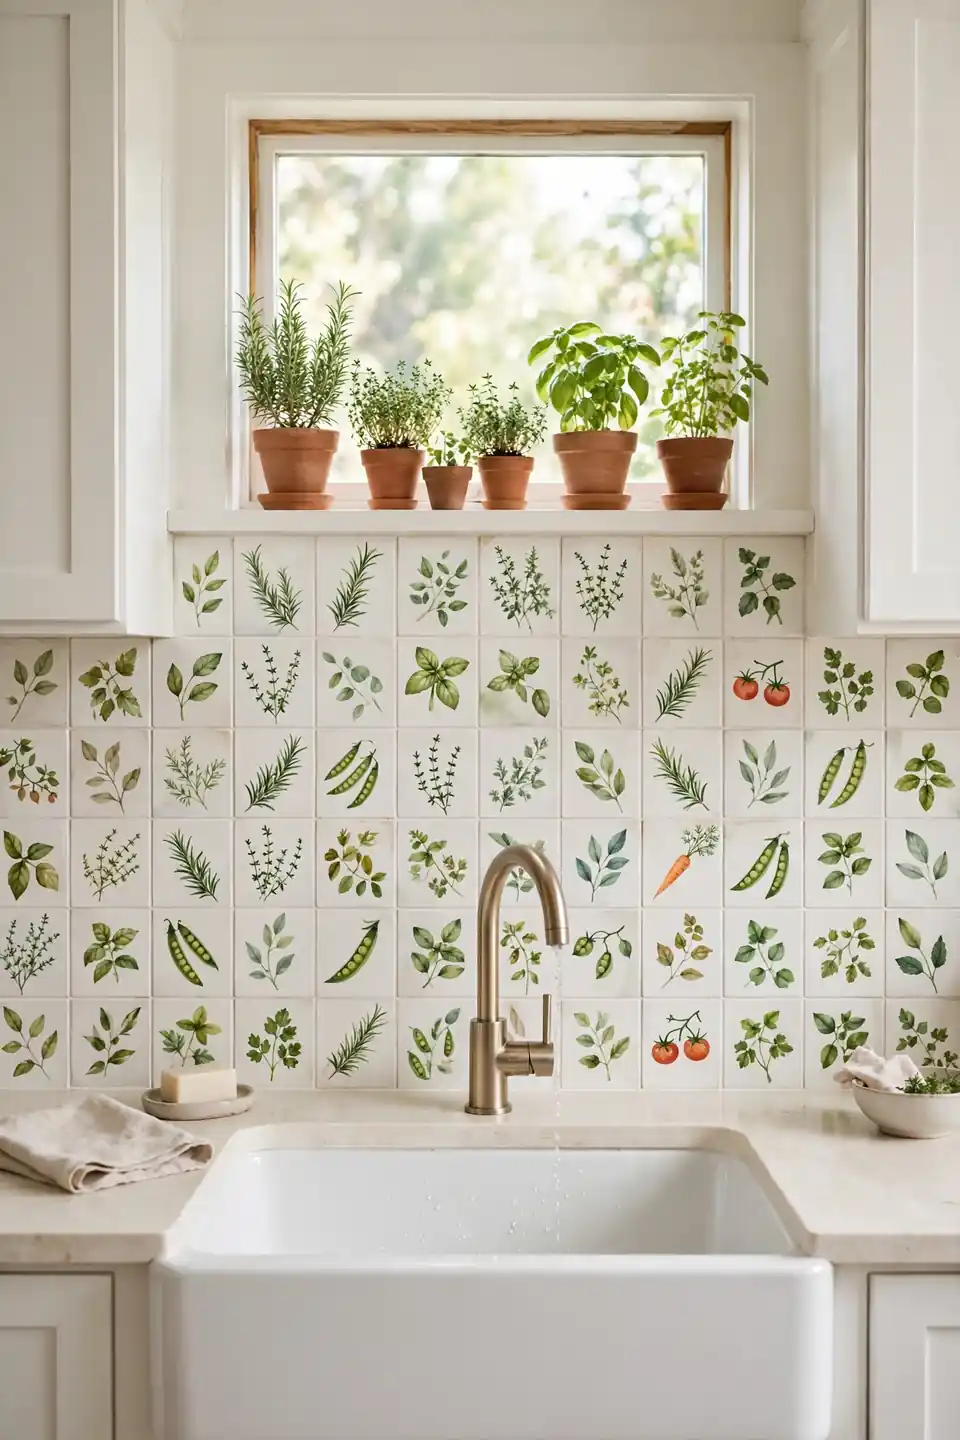
Quick Tip: Commission or paint the mural on a removable board first if you are unsure about placement. A board lets you live with the herbs for a season, move the panel to a new home later, and keep the wall beneath completely untouched.
A painted herb mural behind the sink turns the most practical corner of the kitchen into its garden. Basil, rosemary, and sage appear in soft watercolor strokes, echoing the real pots along the sill above. Keep the surrounding tiles plain cream so the mural reads like a framed picture, washed in morning light daily. Real leaves change with the weeks; the painted ones hold the garden together all winter.
Painted Tile Island Front

BEFORE: The island began as a plain painted box that collected scuffs from shoes and stools. It worked as a counter, yet from the living room side it looked like the back of something, unfinished and easy to ignore.
AFTER: Painted tiles now cover the front in a calm blue and cream pattern, and the island reads as furniture from every angle. Stools slide in against a surface that shrugs off kicks, and the pattern ties the island to the backsplash across the room.
Island fronts take real punishment, so choose a hard wearing sealer and keep spare tiles for the corners that catch chair legs. Start with the front face only; the sides can stay painted wood until you know the pattern suits the room.
Sealing Tiles for Steam
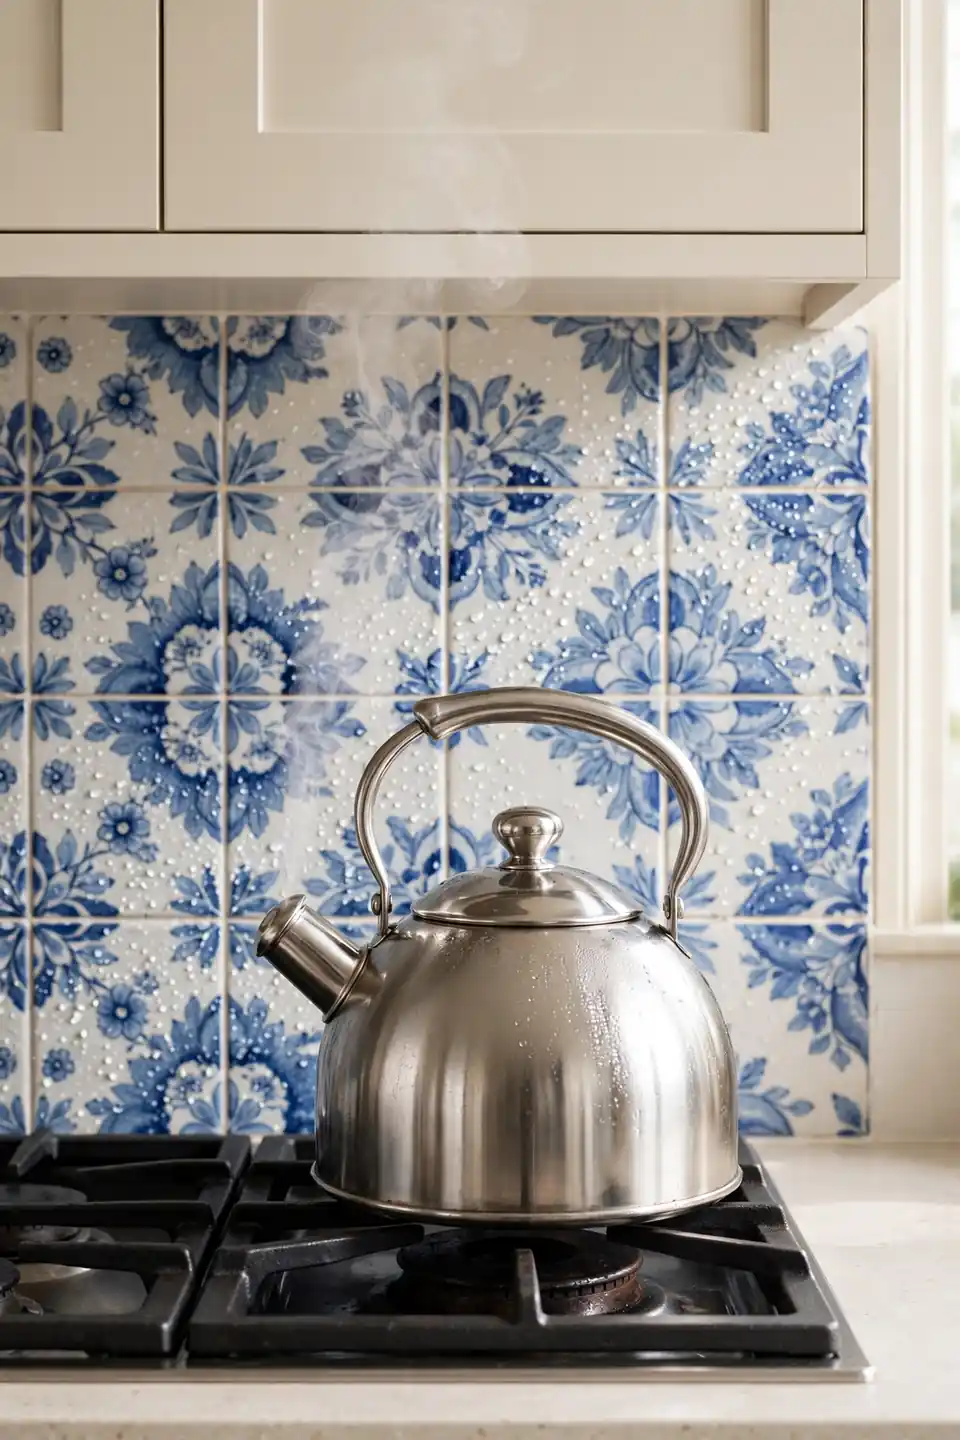
- Let fresh paint cure for the full time on the tin before sealing anything.
- Wipe tiles with a dry cloth so no dust seals under the finish.
- Brush sealer in one direction, thin and even, following the tile edges.
- Allow the first coat to dry fully, then add a second for steam zones.
- Run the extractor whenever the kettle boils during the first week.
Steam is the honest test of any painted tile, and a proper sealer passes it quietly for years. Beads of water should sit on the surface, not soak in and darken the paint. That’s why many experts recommend two thin coats over one thick one: thin coats cure harder and stay clearer over white grounds.
Budget Versus Custom Tiles
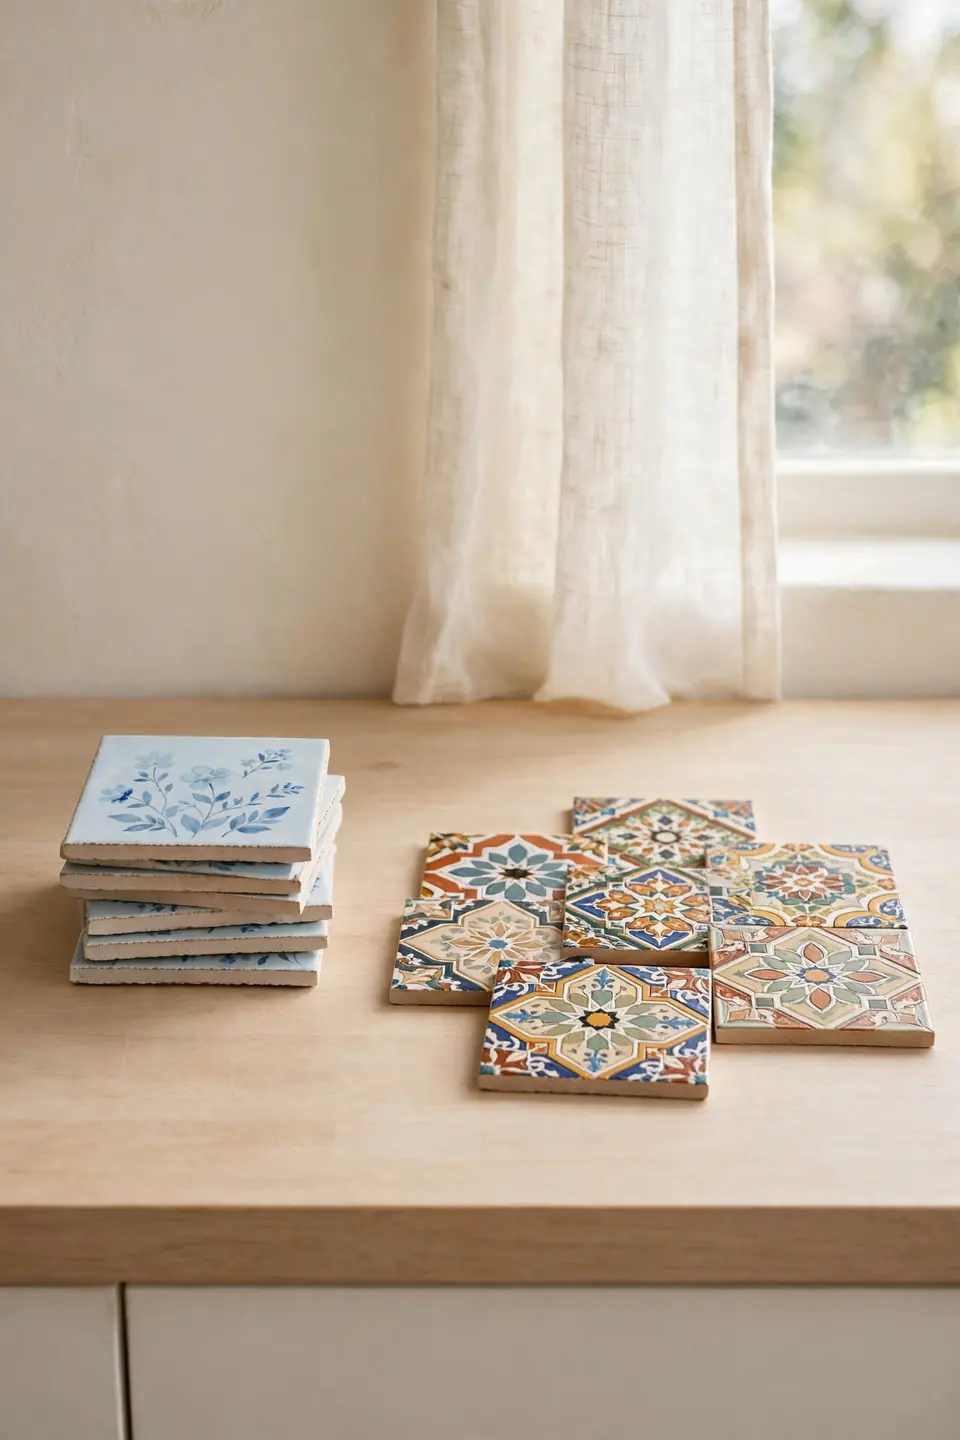
| Feature | Budget Tiles | Custom Tiles |
|---|---|---|
| Cost | A few dollars each | Many times more |
| Wait | Take home today | Weeks for firing |
| Design | Simple, repeated motifs | Fully personal artwork |
| Repairs | Easy to repaint at home | Reorder from the maker |
| Best For | Whole walls | One feature panel |
Budget tiles painted at home or bought from small makers cover a whole wall for the price of two custom pieces. Custom tiles repay their cost on one small panel where every brush stroke shows at reading distance. The smartest kitchens mix both freely, spending where eyes linger and saving where they merely pass on the way to the kettle.
Tile Pattern Mixing Mistakes
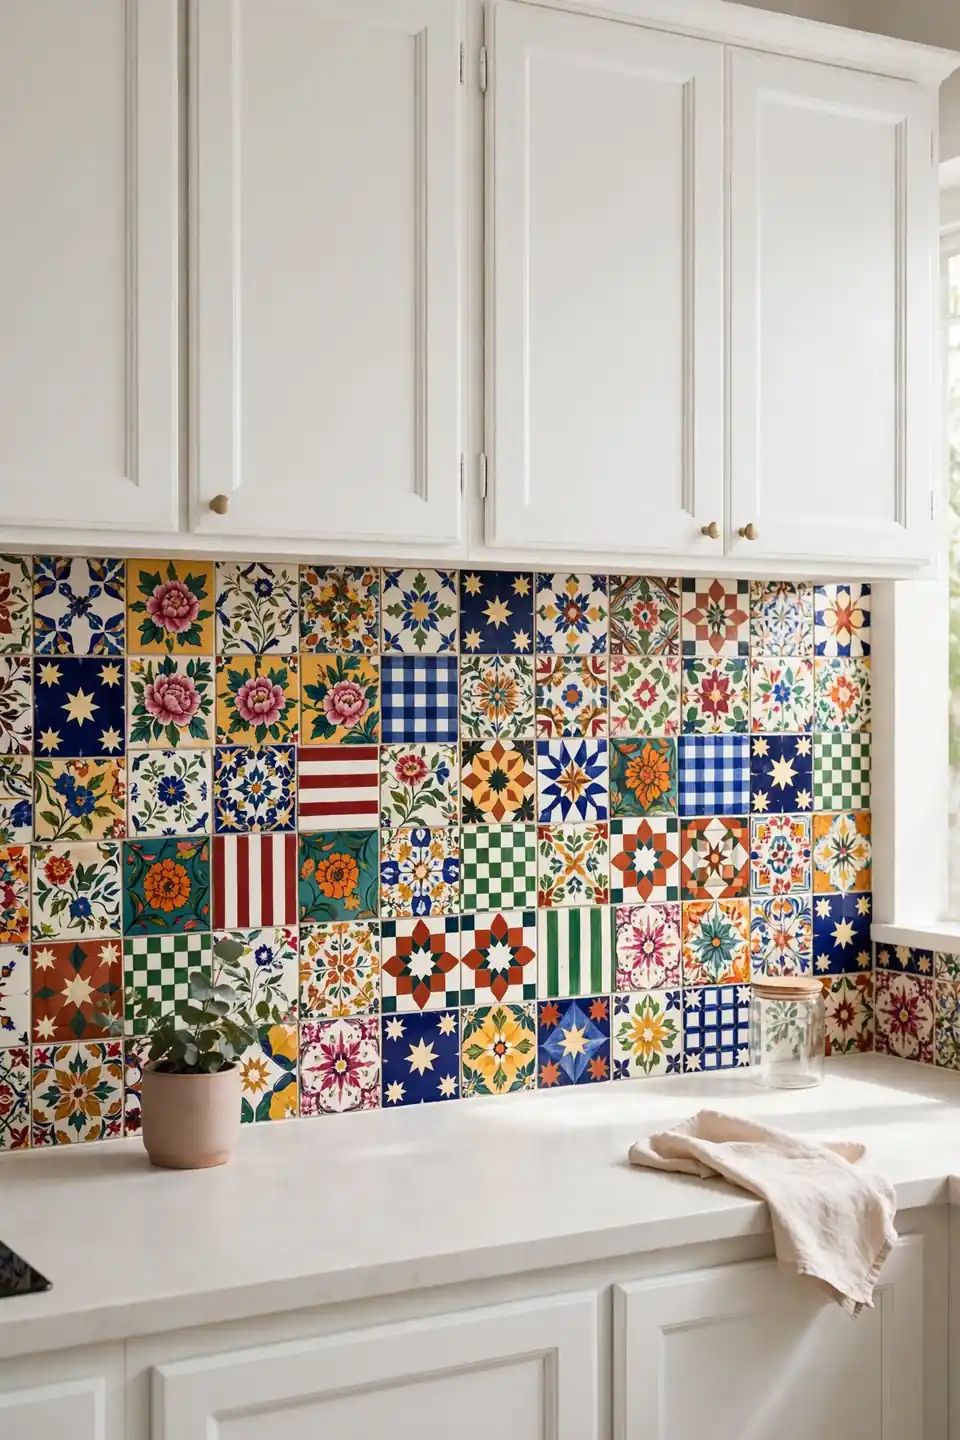
Do:
- Limit the wall to two patterns that share one color.
- Separate busy tiles with a band of plain ones.
- Repeat each pattern at least three times so it reads intentional.
- Stand across the room and judge the mix from a distance.
Don’t:
- Combine stars, checks, and florals all at full strength.
- Change pattern at every row without a resting band.
- Mix warm and cool grout colors on the same wall.
- Copy a showroom wall sized for a far bigger kitchen.
Pattern mixing fails from generosity, not taste: every tile is lovely, so all of them get used. Editing is the skill. Remove one design, add breathing room, and the remaining patterns suddenly look expensive, calm, and completely deliberate.
Rental Friendly Tile Facts
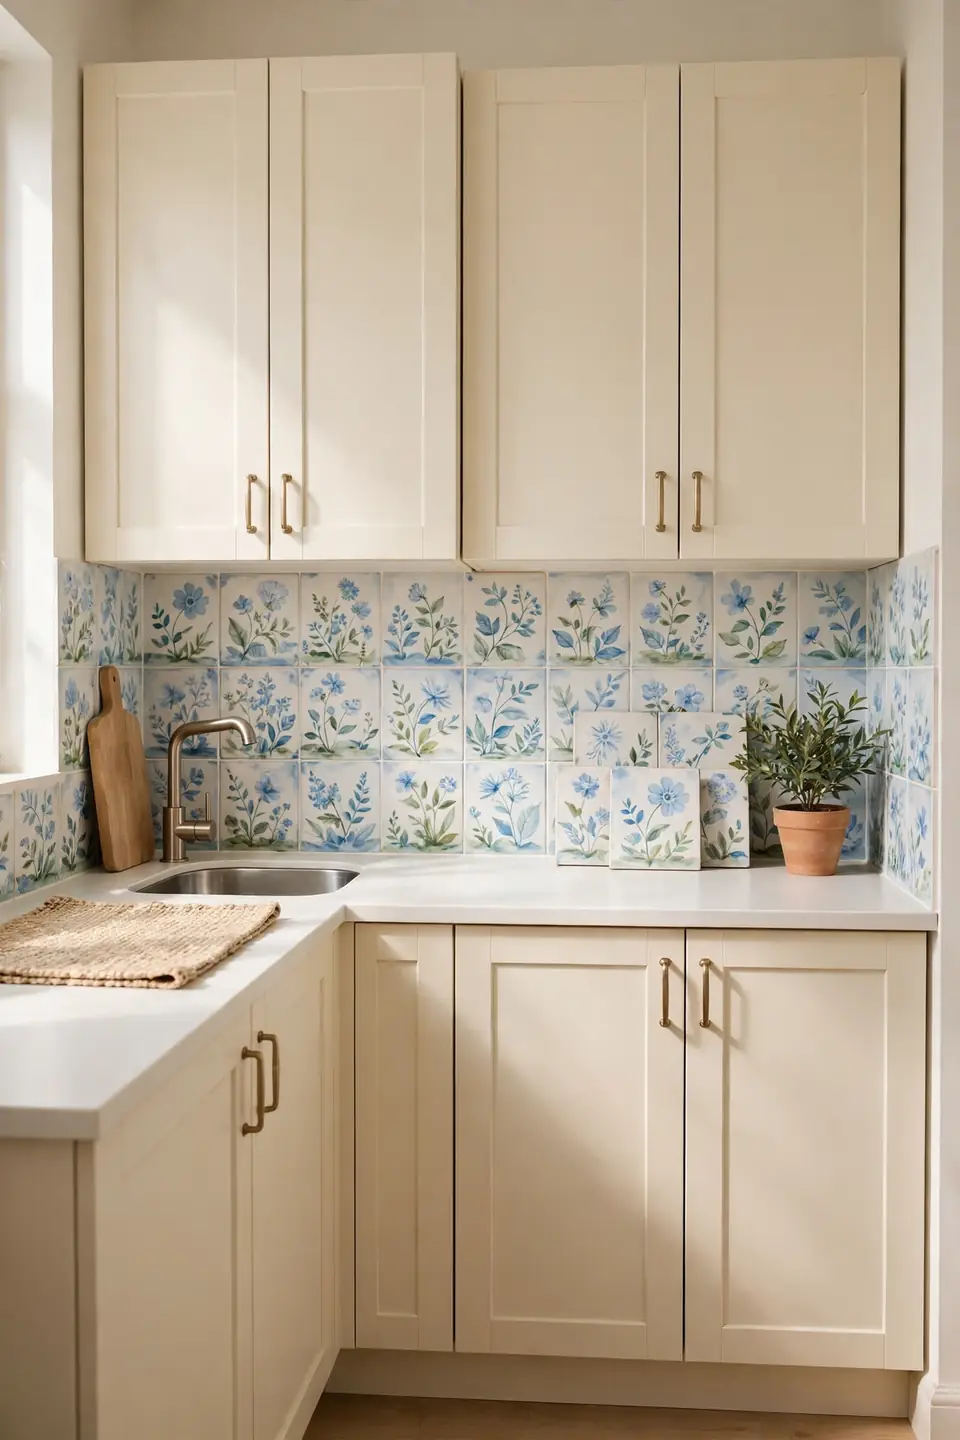
Cost: Low, especially with painted panels or peel and stick bases
Time: One afternoon to fit most rental backsplashes
Skill Level: Beginner, no adhesive or grout required
Best For: Apartments, dorms, and short tenancy kitchens
Removable options have changed what renters can attempt: painted tile boards, peel and stick panels, and leaning sample boards all bring pattern without touching the landlord’s walls. Photograph the original wall before you start, keep every fixing reversible, and the deposit stays safe. When moving day finally comes, the tiles travel with you to the next kitchen. Start with the wall behind the stove, where one small panel does the most visual work per dollar spent.
Conclusion
Painted tiles ask for a little courage and repay it every single day. Start small if you need to: one row, one panel, one sunny motif above the sink. Save your favorite ideas from this list to a Pinterest board, order samples this week, and tape them up where the light changes through the day. I’ve seen how a single painted wall shifts a kitchen from purely practical to quietly personal. The best hand painted tile kitchen design ideas are simply the ones that make you glad to stand in your own kitchen, coffee in hand, every morning.