20 DIY Christmas Craft Ideas for a Handmade Holiday Glow
There’s something magical about a tree trimmed with pieces you made yourself. diy christmas craft ideas turn simple afternoons into the best part of the season, and the finished pieces carry a warmth store-bought decor never quite manages. In my experience, the crafts you make with your own hands become the ornaments you reach for year after year.
This collection gathers twenty projects that look far more polished than their supply lists suggest. Most use things you already own: paper, twine, pinecones from the yard, and a glue gun. If handmade ornaments are your favorite corner of the season, you’ll love these diy christmas ornaments for even more tree-trimming inspiration. Every idea below includes the exact steps and materials, so pick one, clear the table, and make something worth keeping.
Salt Dough Ornaments

Flour, salt, and water turn into the most charming ornaments on your tree. Mix one cup of flour with half a cup of salt, then stir in half a cup of water until a smooth dough forms. Roll it out, cut stars and trees with cookie cutters, and poke a hole at the top with a straw for the string.
Bake at a low oven until hard, then paint with acrylics and seal with a clear coat. I’ve noticed the handmade wobbles and fingerprints are exactly what make them special. Hang a few on the tree and gift the rest with handwritten tags for a personal touch.
Cinnamon Stick Stars
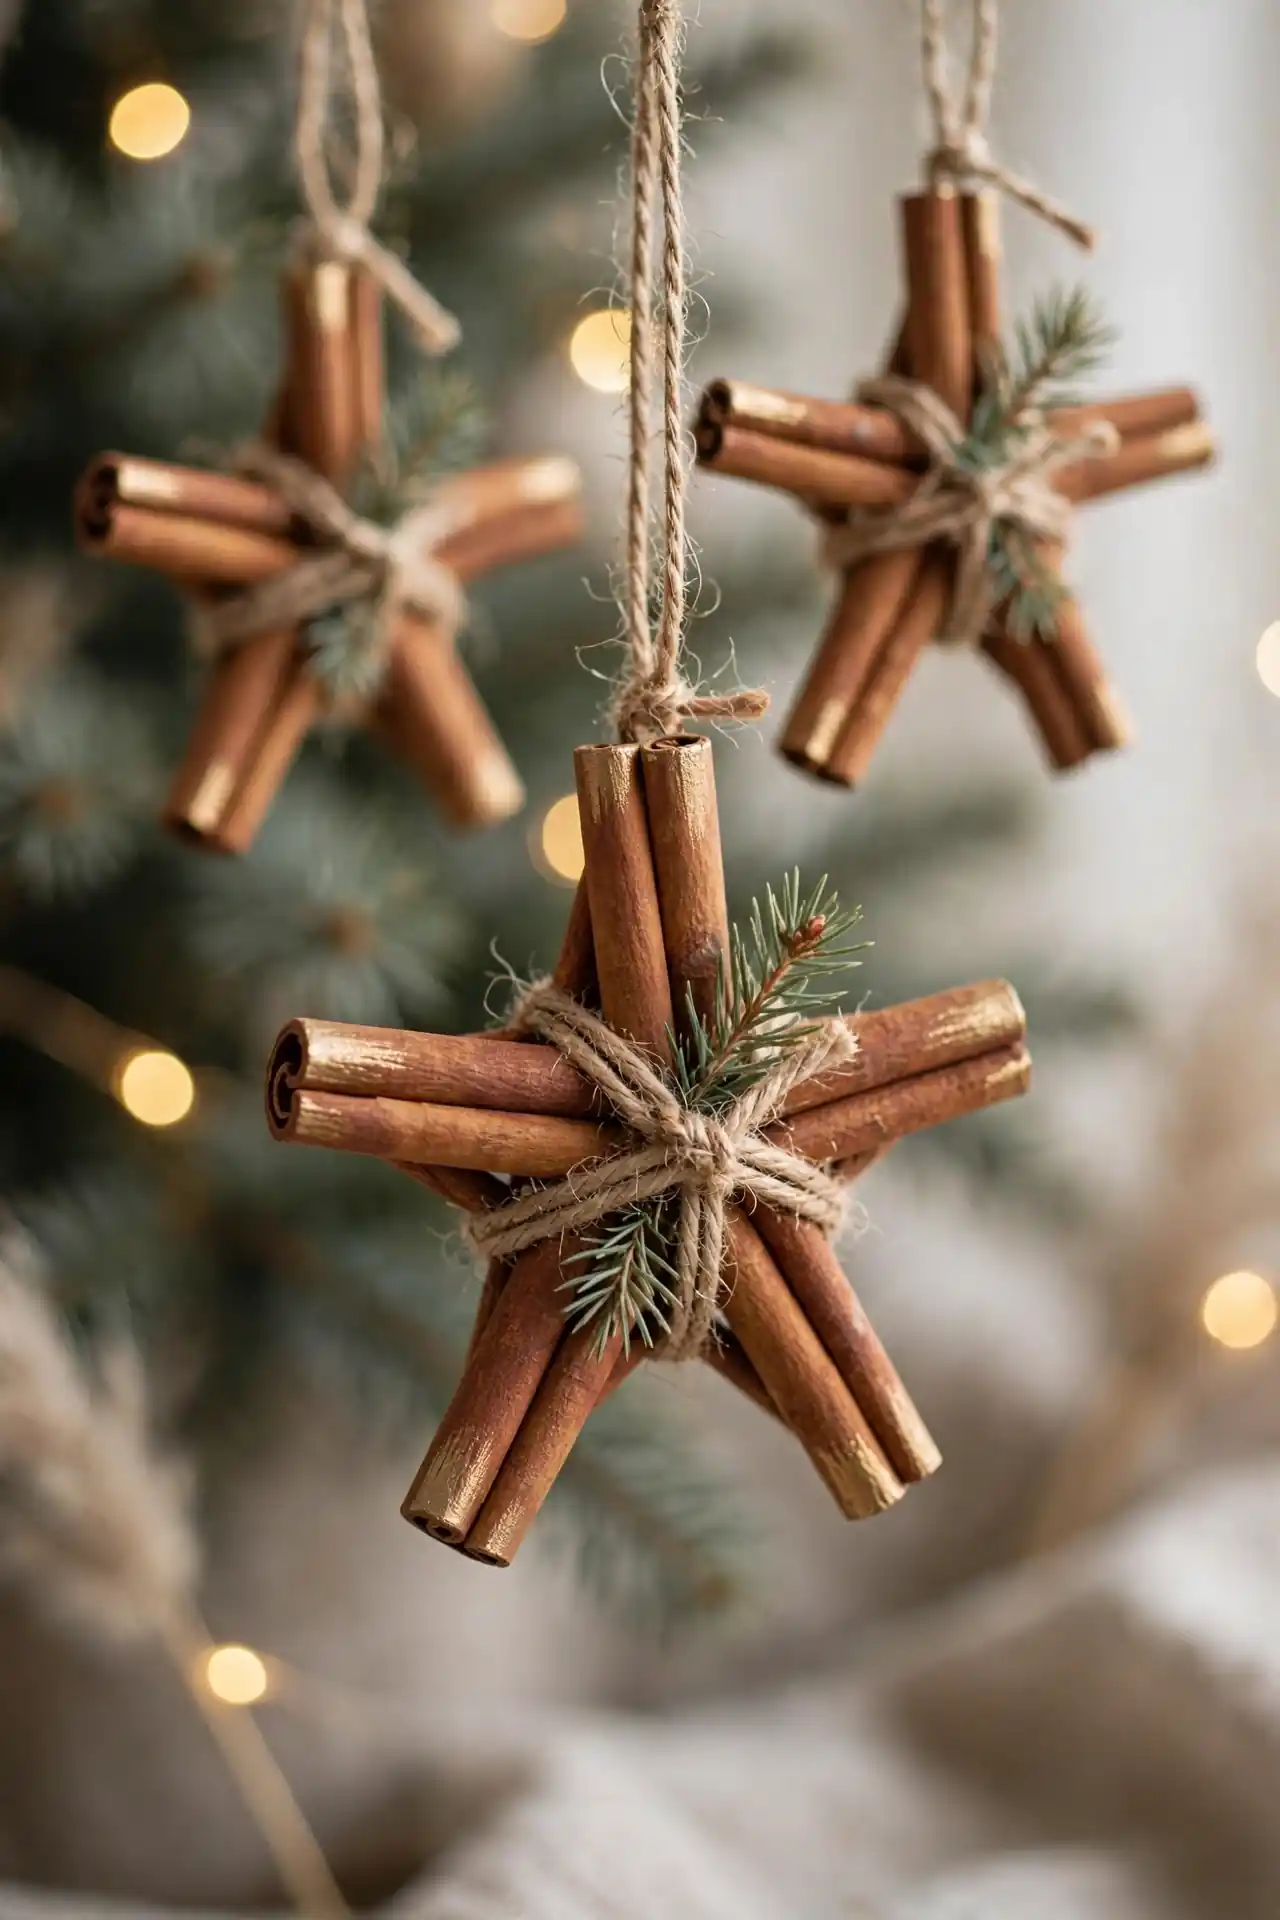
These smell as good as they look.
- Bundle five cinnamon sticks and tie them at the center with jute twine to form a star.
- Hot glue a small pine sprig at each point for a fresh green accent.
- Dab the tips with gold paint for a subtle shimmer that catches tree lights.
- Loop a ribbon through the top point so each star hangs straight.
- Tuck a few into gift bags as fragrant toppers.
The whole house smells like a bakery while you work, which is half the fun. I’ve seen this work well in many cases as a last-minute craft because the supplies are pantry basics. Make a dozen in under an hour and scatter them across the tree, the mantel, and wrapped presents.
Twig Reindeer Family
Quick Tip: Collect straight twigs about pencil thickness for the legs and body. Snap rather than cut for a natural look, and let the bark stay rough because it adds character.
Lash four twigs into legs, one longer piece into a body, and add branching antlers with hot glue. A red pom pom nose finishes each face in seconds. Line the herd along a windowsill where the light hits them. They look best in a group of three or five, like a forest migration frozen mid-step. Wrap the joints with extra twine for strength, and dot tiny black eyes with a paint pen.
Pom Pom Garland
BEFORE: A bare mantel with last year’s tired tinsel looked flat and uninspired. The room needed color but nothing store-bought felt right.
AFTER: A chunky yarn pom pom garland in cream, cranberry, and forest green now swags across the mantel. It took one evening and cost almost nothing.
Wrap yarn around your fingers, tie the middle, snip the loops, and fluff. String twenty or so onto twine with a tapestry needle. In my experience, mixing three colors keeps it festive without looking busy. Drape it, step back, and enjoy the instant cheer. Vary the sizes slightly for a playful, organic look that feels collected rather than perfect.
Orange Slice Garland
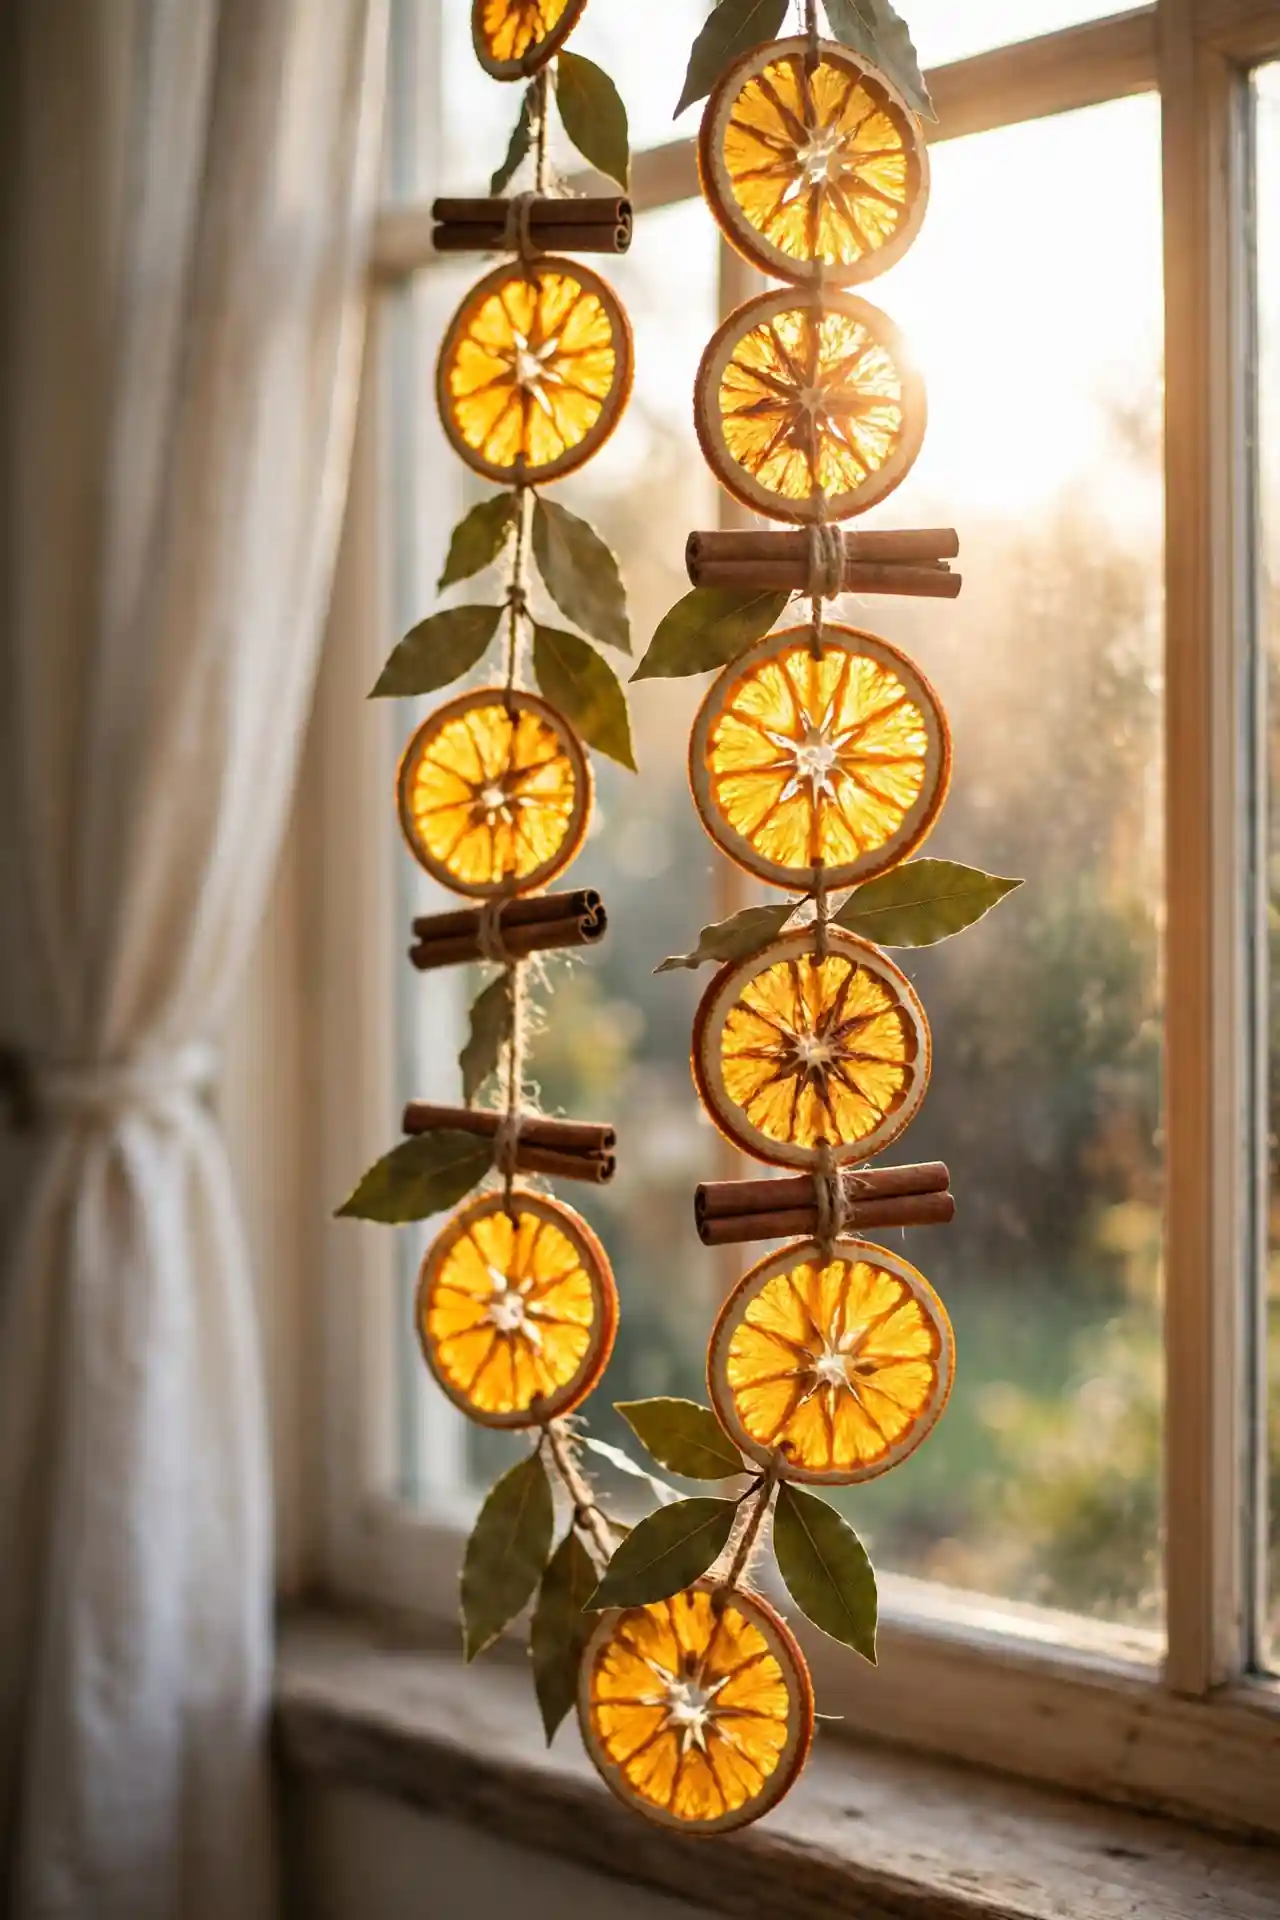
- Slice oranges a quarter inch thick and pat them dry with paper towels.
- Bake low and slow, flipping once, until the edges curl and turn amber.
- Thread the cooled slices onto twine with a large needle, spacing them evenly.
- Add cinnamon sticks or bay leaves between slices for extra texture.
The translucent slices glow when they catch window light, like tiny stained-glass rounds. I’ve tried hanging them on the tree too, where they sit nicely against green branches. They keep their color for weeks if the room stays dry, and they smell faintly of citrus the whole time. Thread a few dried apple rings in too if you have them; the mix of shapes looks lovely.
Pinecone Christmas Trees

| Painted Green | Natural Frosted |
| Look: classic mini tree in deep green | Look: snowy woodland with white tips |
| Supplies: green acrylic paint, small brush | Supplies: white paint, dry brush technique |
| Best spot: bookshelf or side table | Best spot: dining table centerpiece |
| Vibe: cheerful and traditional | Vibe: calm and wintry |
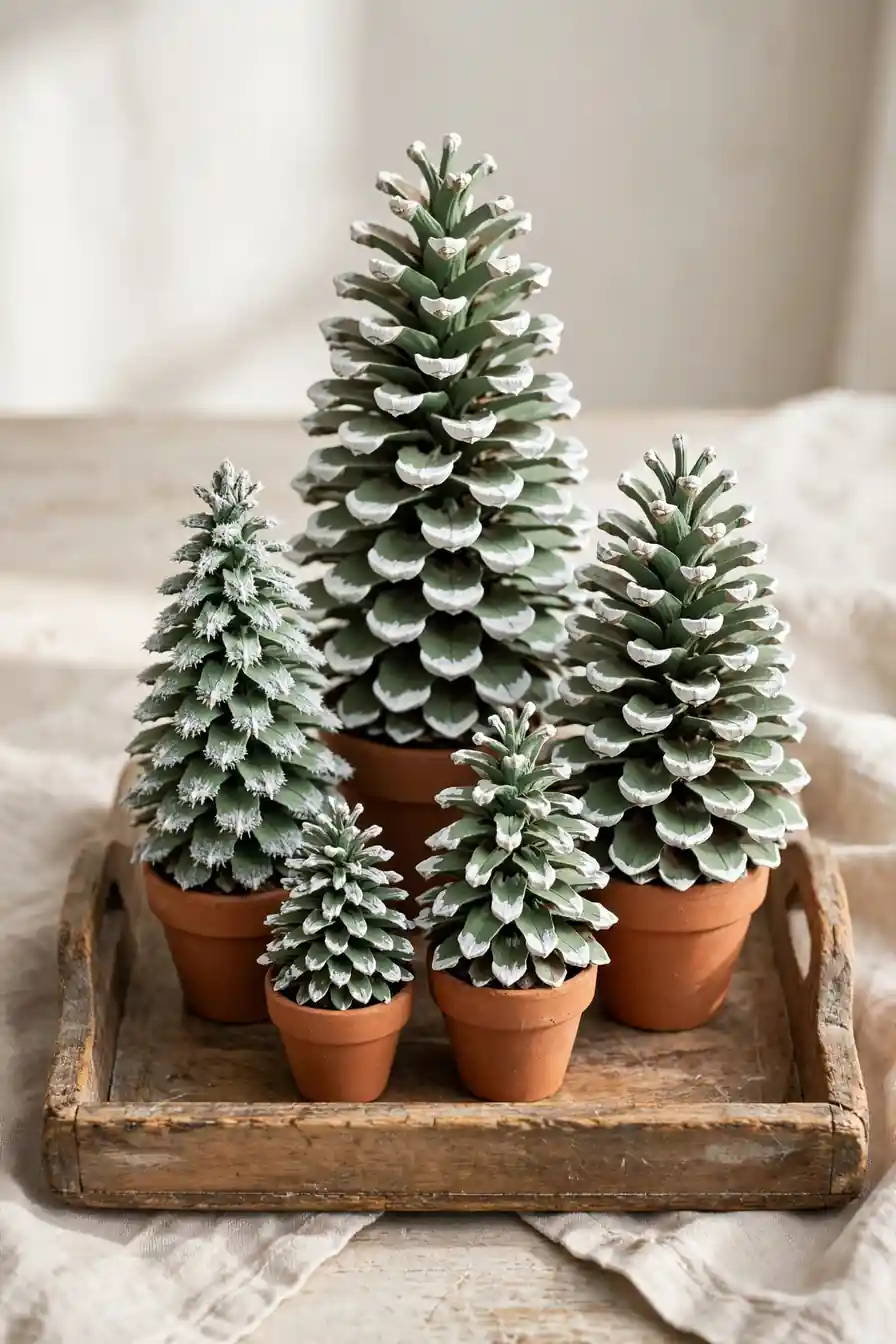
Stand pinecones upright in small clay pots and they read instantly as miniature trees. A dab of white paint on the tips suggests fresh snow. Cluster several at different heights on a tray for a tabletop forest that guests always ask about. Hot glue a tiny wooden star or bead to the top of each tree for a finishing touch.
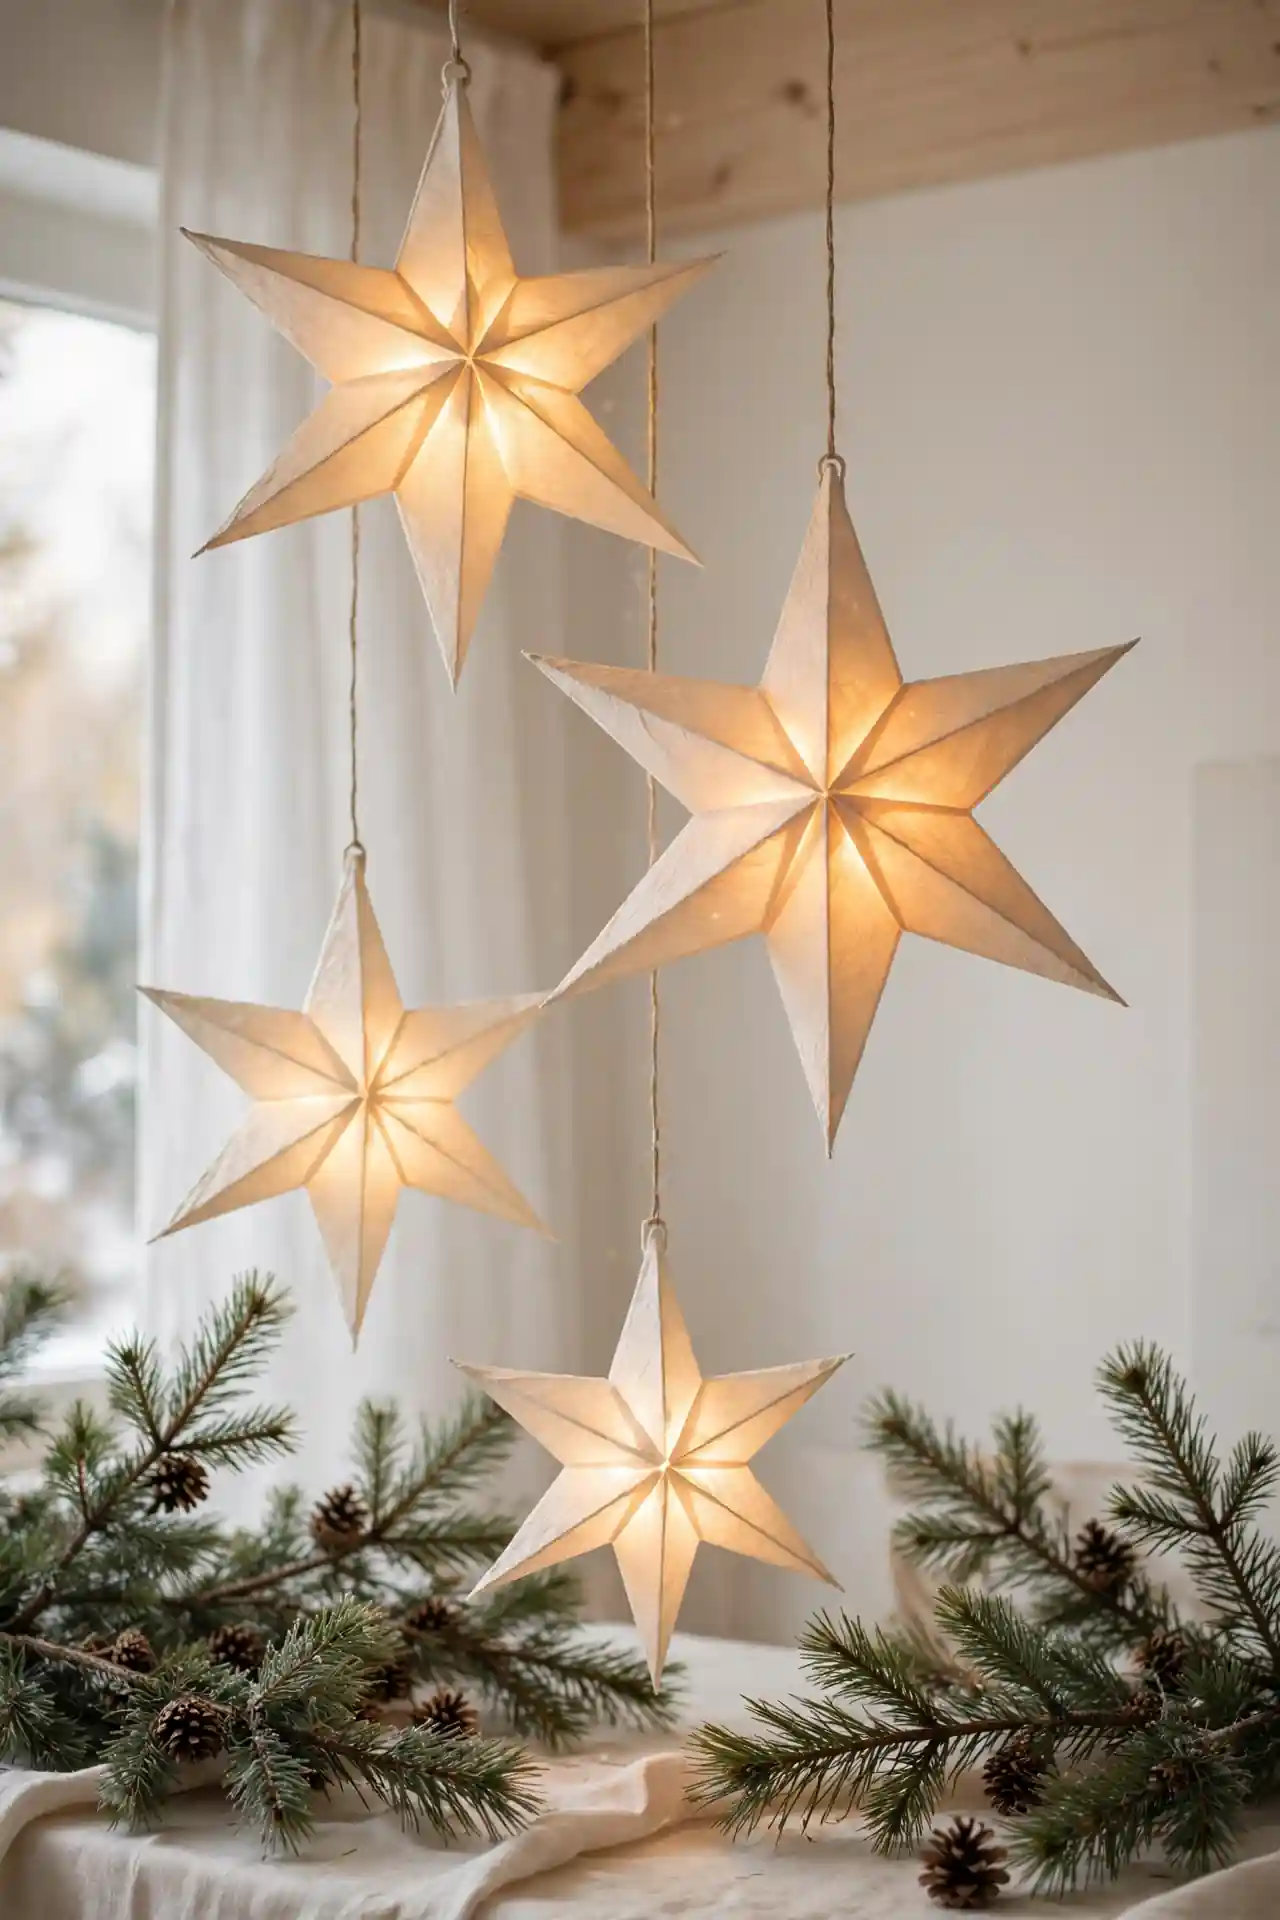
Paper Bag Luminaries

DO:
- Fold the top rim down an inch for a sturdy finished edge.
- Cut simple stars or trees with a craft punch so the light shines through.
- Use battery tea lights only, never real flames.
- Weight each bag with a scoop of sand before lighting.
DON’T:
- Don’t leave them burning where wind can tip them.
- Don’t use thin tissue bags that scorch easily.
- Don’t place them near dry garlands or curtains.
Line them along the front walk and the whole house glows with welcome. The cutout shapes throw dancing patterns onto the snow or pavement. I’ve noticed neighbors slow down to look, which might be the best review a craft can get.
Felt Stocking Bunting

Cost: Low | Time: One afternoon | Skill Level: Beginner | Best For: Mantels and stair rails
Cut mini stocking shapes from felt scraps and stitch or glue a contrasting cuff on each. Clip them to twine with tiny clothespins and hang where stockings usually go. They double as gift card holders on Christmas morning, which makes them as useful as they are cute. Use pinking shears for zigzag edges that won’t fray, and alternate colors in a repeating pattern. Tuck a candy cane into each stocking on Christmas Eve for a sweet morning surprise. They store flat in a drawer until next December.
Mason Jar Snow Globes
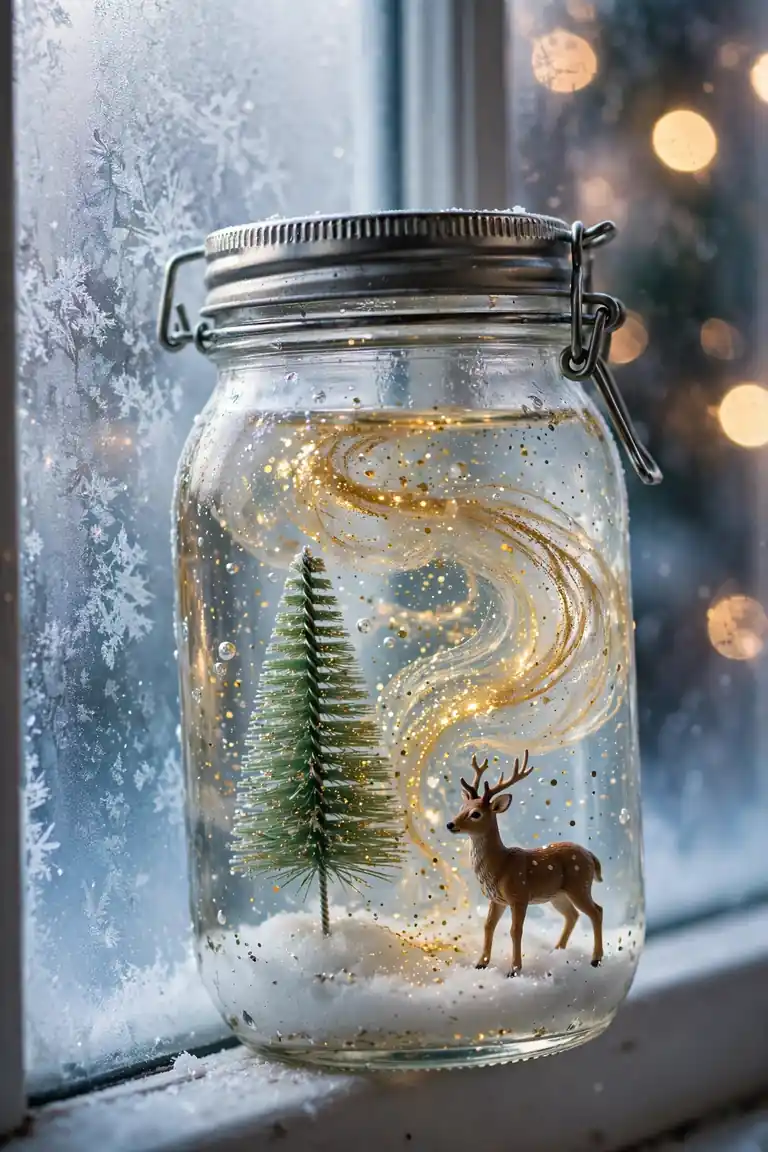
Glue a tiny bottle-brush tree or figurine to the inside of a mason jar lid. Fill the jar with water, a drop of glycerin, and a spoonful of glitter, then screw the lid on tight and flip. The glycerin slows the glitter so it falls like real snow.
Shake and watch the snow swirl around your tiny scene. Use waterproof glue and seal the lid rim with silicone so nothing leaks. Kids love picking their own figurines, and the finished globes make sweet teacher gifts that cost very little. Let the glue cure overnight before adding water, and use distilled water to keep the glitter bright.
Wreath Card Display
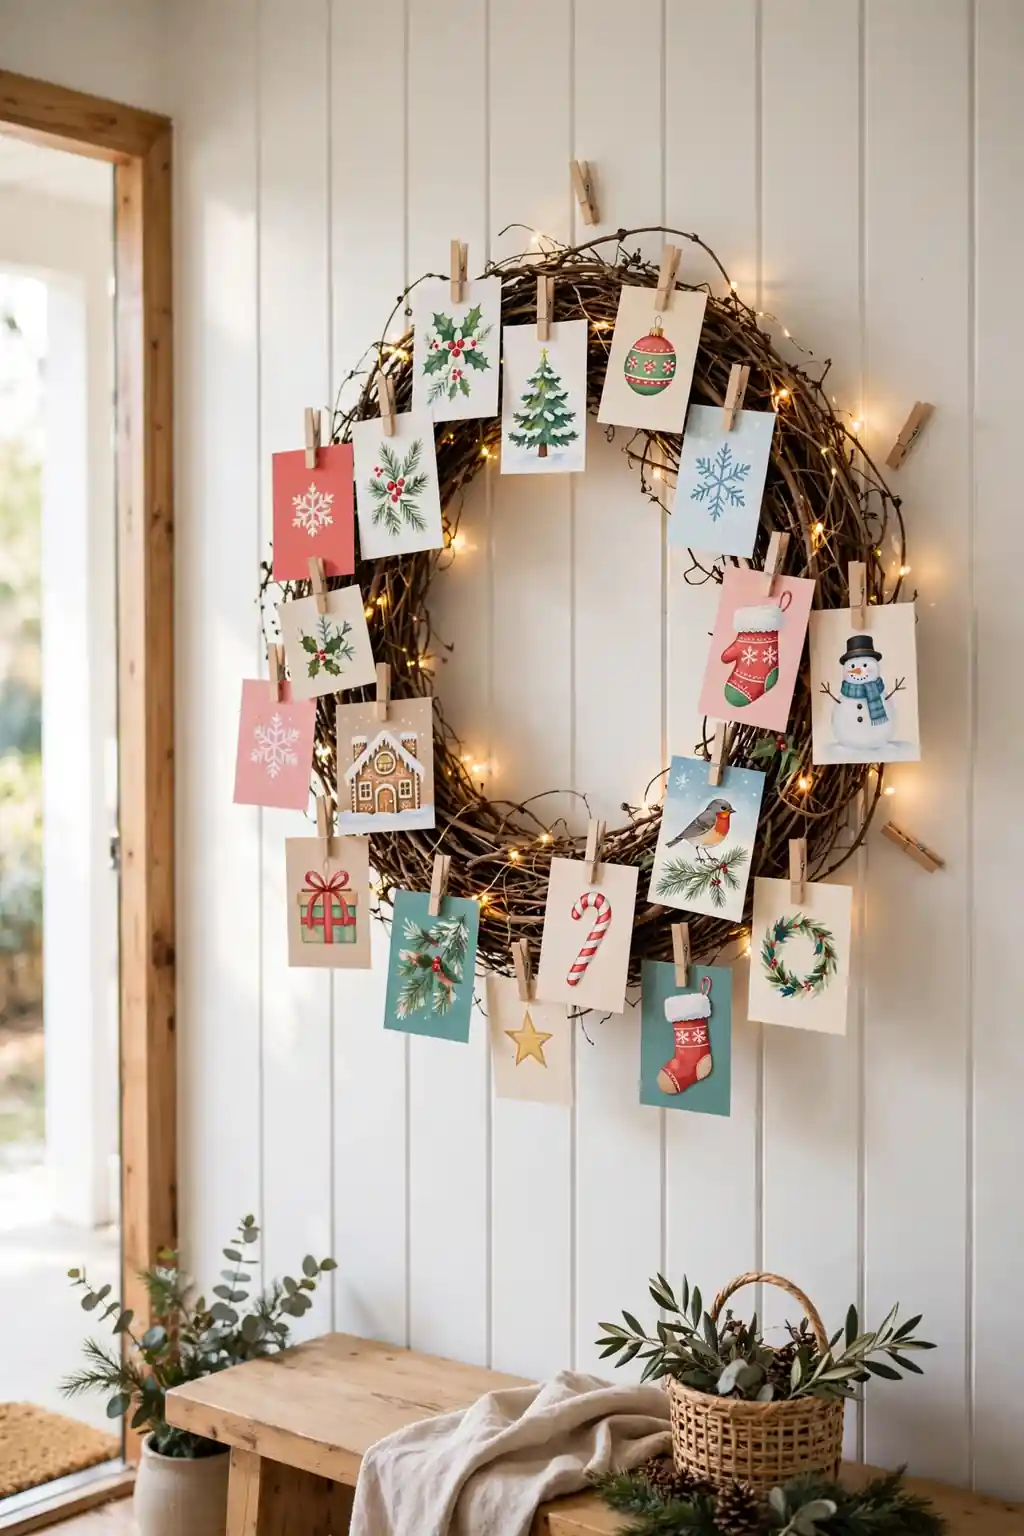
Holiday cards deserve better than a pile on the counter.
- Hang a plain grapevine wreath at eye level on an interior door.
- Clip each new card around the ring with mini clothespins as it arrives.
- Weave a short strand of fairy lights through the vines for evening glow.
- Add a bow at the top once the circle fills out.
The display grows more meaningful every December as cards arrive. By Christmas Eve you have a full circle of everyone you love. That’s why many experts recommend keeping holiday traditions visible; this one turns the mail into decor without spending a thing.
Bead Snowflake Ornaments
Quick Tip: Use memory wire or pipe cleaners as the frame because both hold the snowflake shape without sagging. Thread beads in a repeating pattern so each of the six arms matches, and finish with a crystal bead at every tip.
Twist three pipe cleaners into a six-point star and thread beads along each arm. The finished snowflakes catch light from every angle and look far more delicate than their cost suggests. Hang them in a window where they spin slowly, or cluster several on the tree for a frosty corner. Store them flat in tissue between seasons so the wire arms keep their shape.
Cardboard Gingerbread Houses
BEFORE: A pile of shipping boxes sat by the recycling bin, destined for the curb. The kids were restless on a gray afternoon with nothing planned.
AFTER: A whole village of cardboard gingerbread houses now lines the hallway shelf. Paint, cotton balls, and an hour of gluing turned trash into the season’s sweetest street.
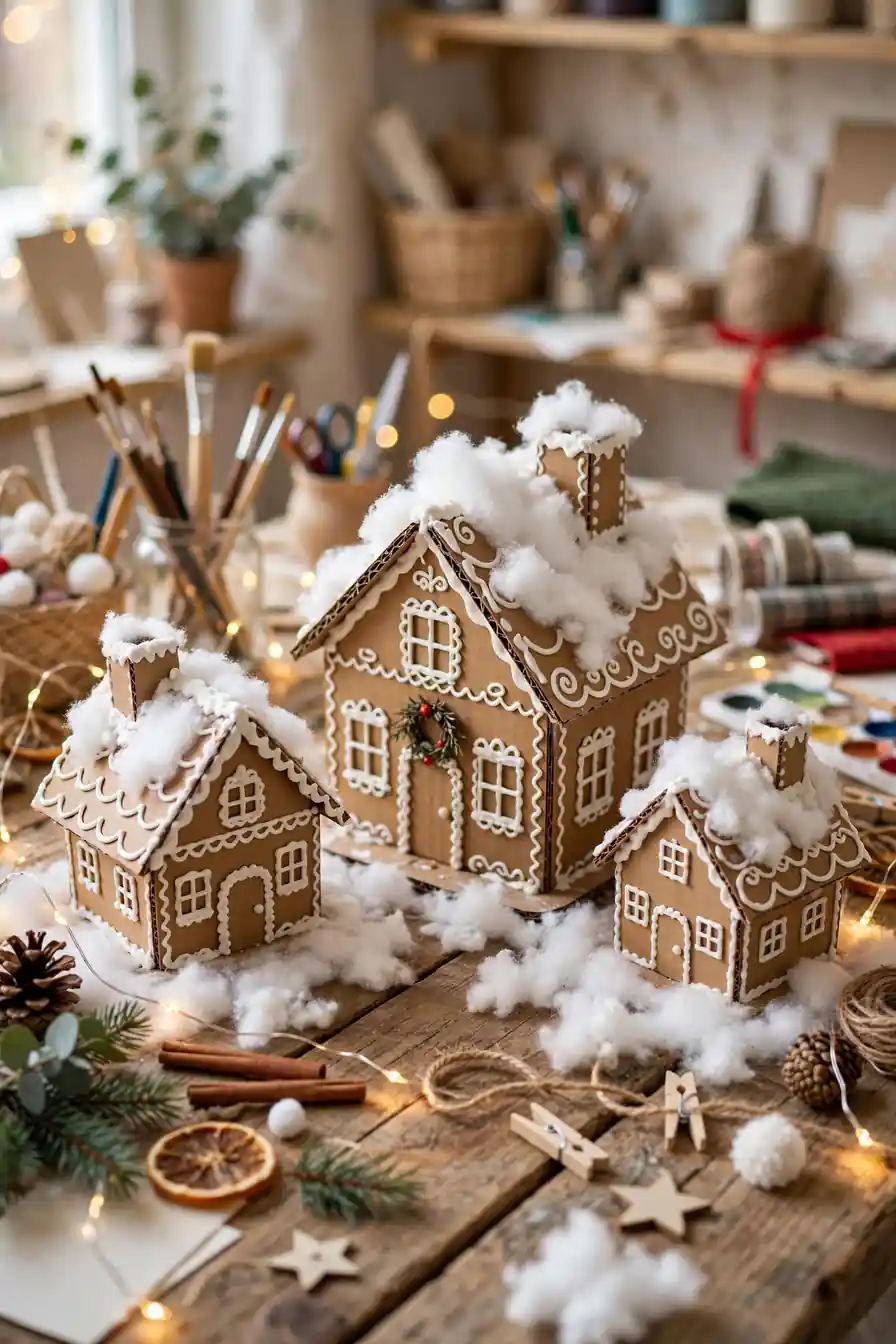
Cut simple house shapes from corrugated cardboard and paint them warm brown. Pipe windows and doors with white craft paint, then glue cotton along the roof edges for snow. If little hands want in on the fun, these christmas crafts for kids to make keep everyone happily busy while the glue dries.
Dried Citrus Wreaths
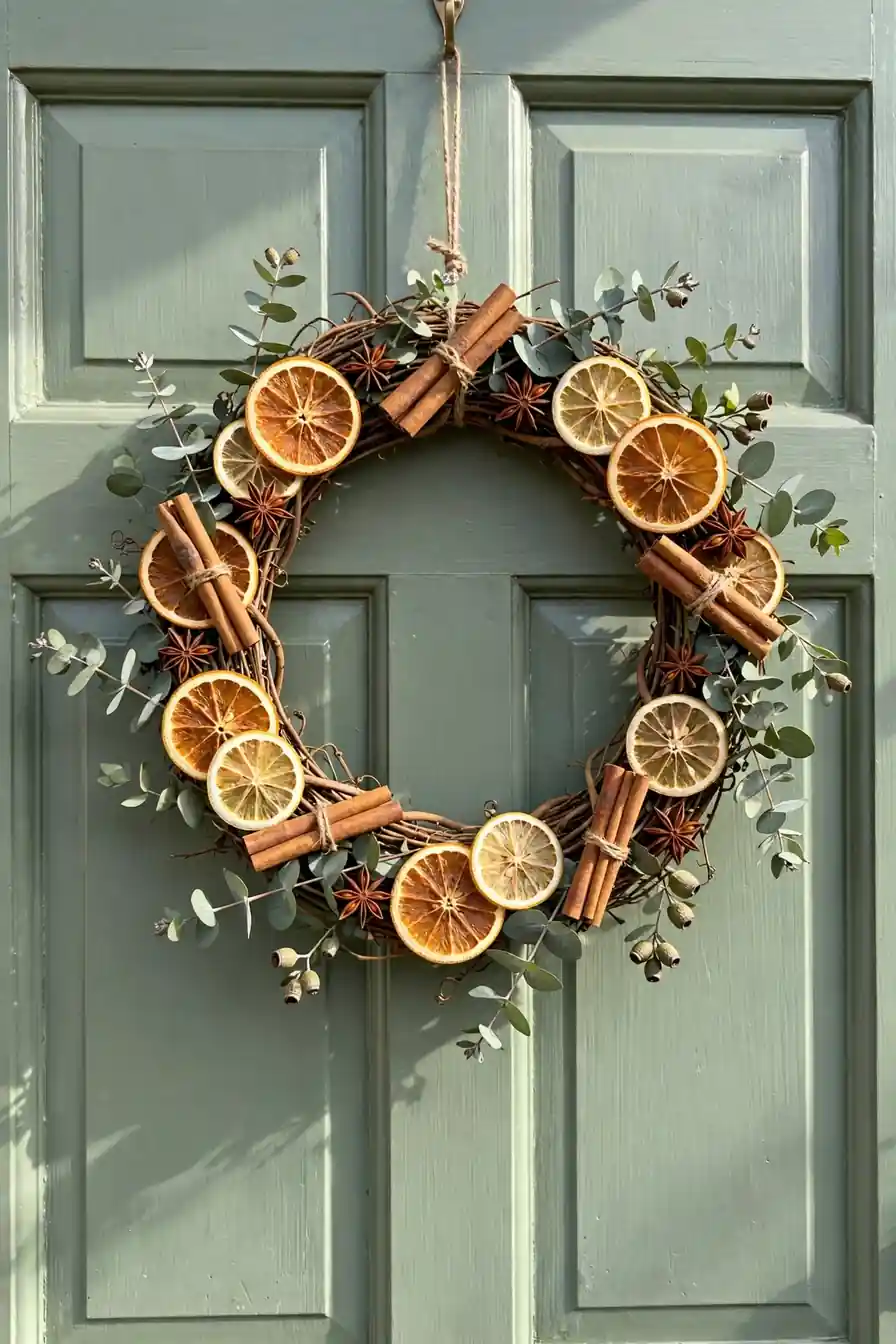
- Attach dried orange and lemon slices to a grapevine wreath base with hot glue.
- Tuck cinnamon sticks and star anise into the gaps for scent and texture.
- Weave in eucalyptus sprigs or bay leaves for fresh green contrast.
- Hang with a wide linen ribbon and fluff any flat spots.
The wreath smells incredible every time the door opens and closes. It dries further on the door rather than wilting, so it looks good for the whole season. I’ve seen this work well in many cases as a hostess gift too, wrapped in kraft paper with a sprig of pine. Refresh it next year with a few new slices glued over any faded spots.
Yarn Wrapped Trees
| Single Color | Mixed Textures |
| Look: sleek and modern, one shade | Look: cozy and layered, several yarns |
| Supplies: one skein, paper cone | Supplies: yarn scraps, paper cone, beads |
| Best spot: office desk or shelf | Best spot: mantel grouping |
| Vibe: minimal and calm | Vibe: warm and handmade |
Wrap yarn tightly around a paper cone from base to tip, securing the ends with hot glue. The texture does all the visual work, so even plain cream yarn looks rich. Group three in different heights and colors for a vignette that suits any room. Finish the tip with a small loop of twine so the tree can hang as an ornament too.
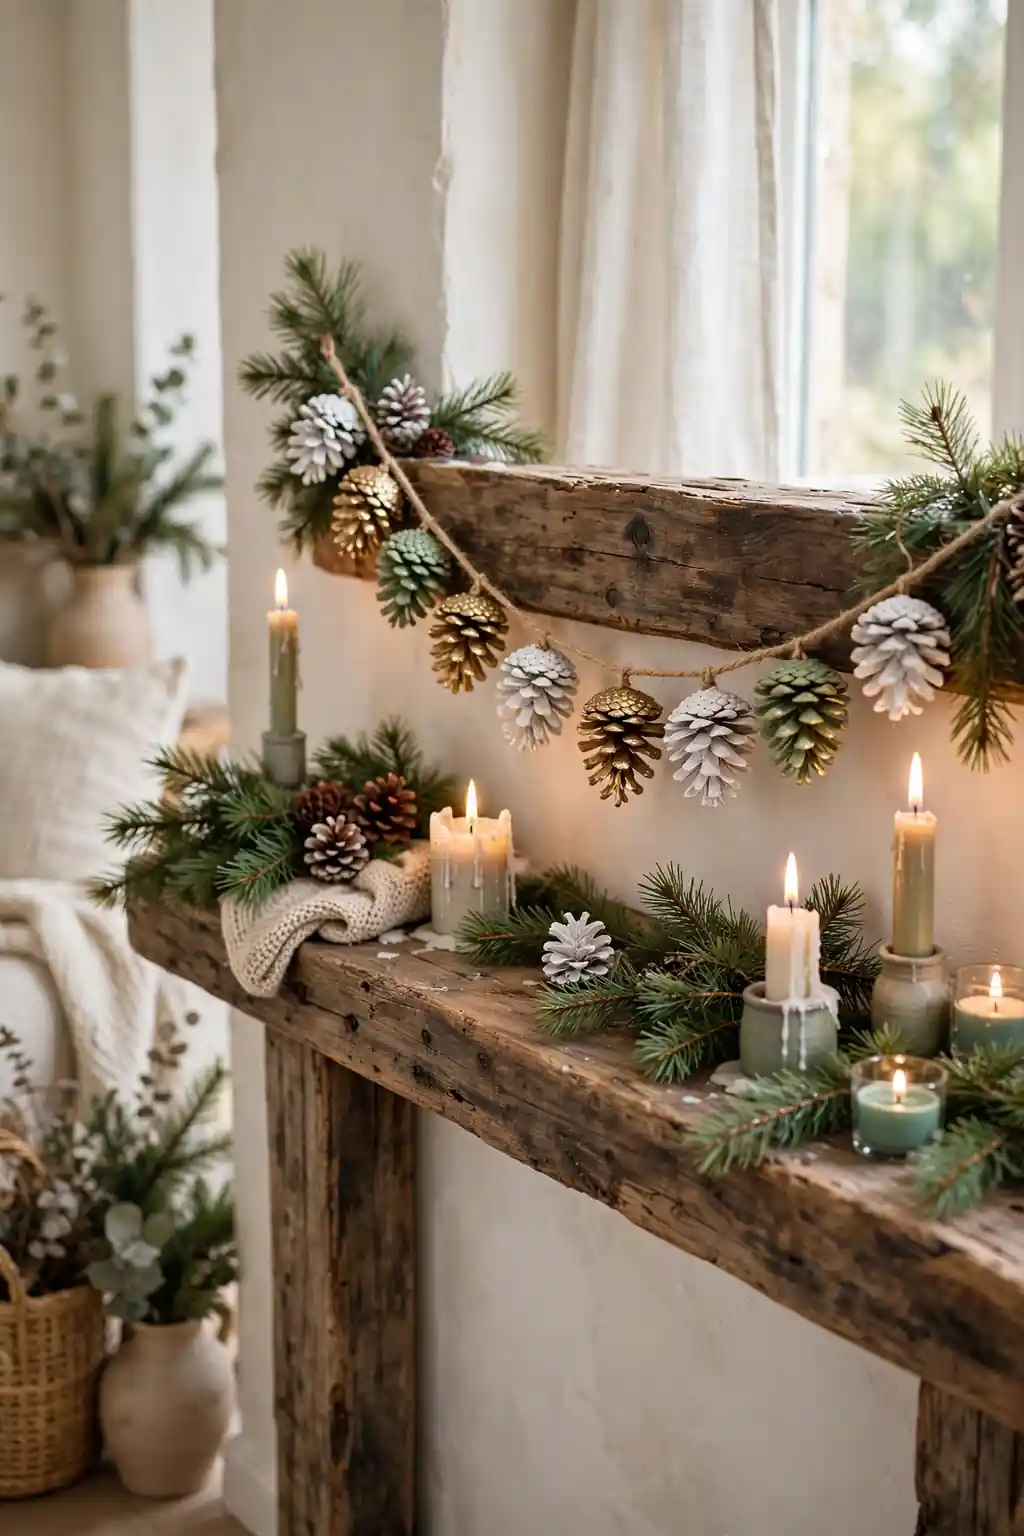
Painted Pinecone Garland

DO:
- Dip just the tips in paint for a snowy, frosted effect.
- Let each coat dry fully before adding the next color.
- Thread twine through the top scales with a tapestry needle.
- Mix painted and natural pinecones for depth.
DON’T:
- Don’t soak pinecones in paint or they lose their shape.
- Don’t hang it where it brushes candles or heat vents.
- Don’t skip the drying step or the paint will smudge.
String the finished pinecones along twine and drape it across the mantel or a doorway. The painted tips catch the light in a way plain pinecones never do. It stores flat in a box and comes out looking fresh every single year.
Paper Star Lanterns

Cost: Very low | Time: One evening | Skill Level: Beginner | Best For: Windows and corners
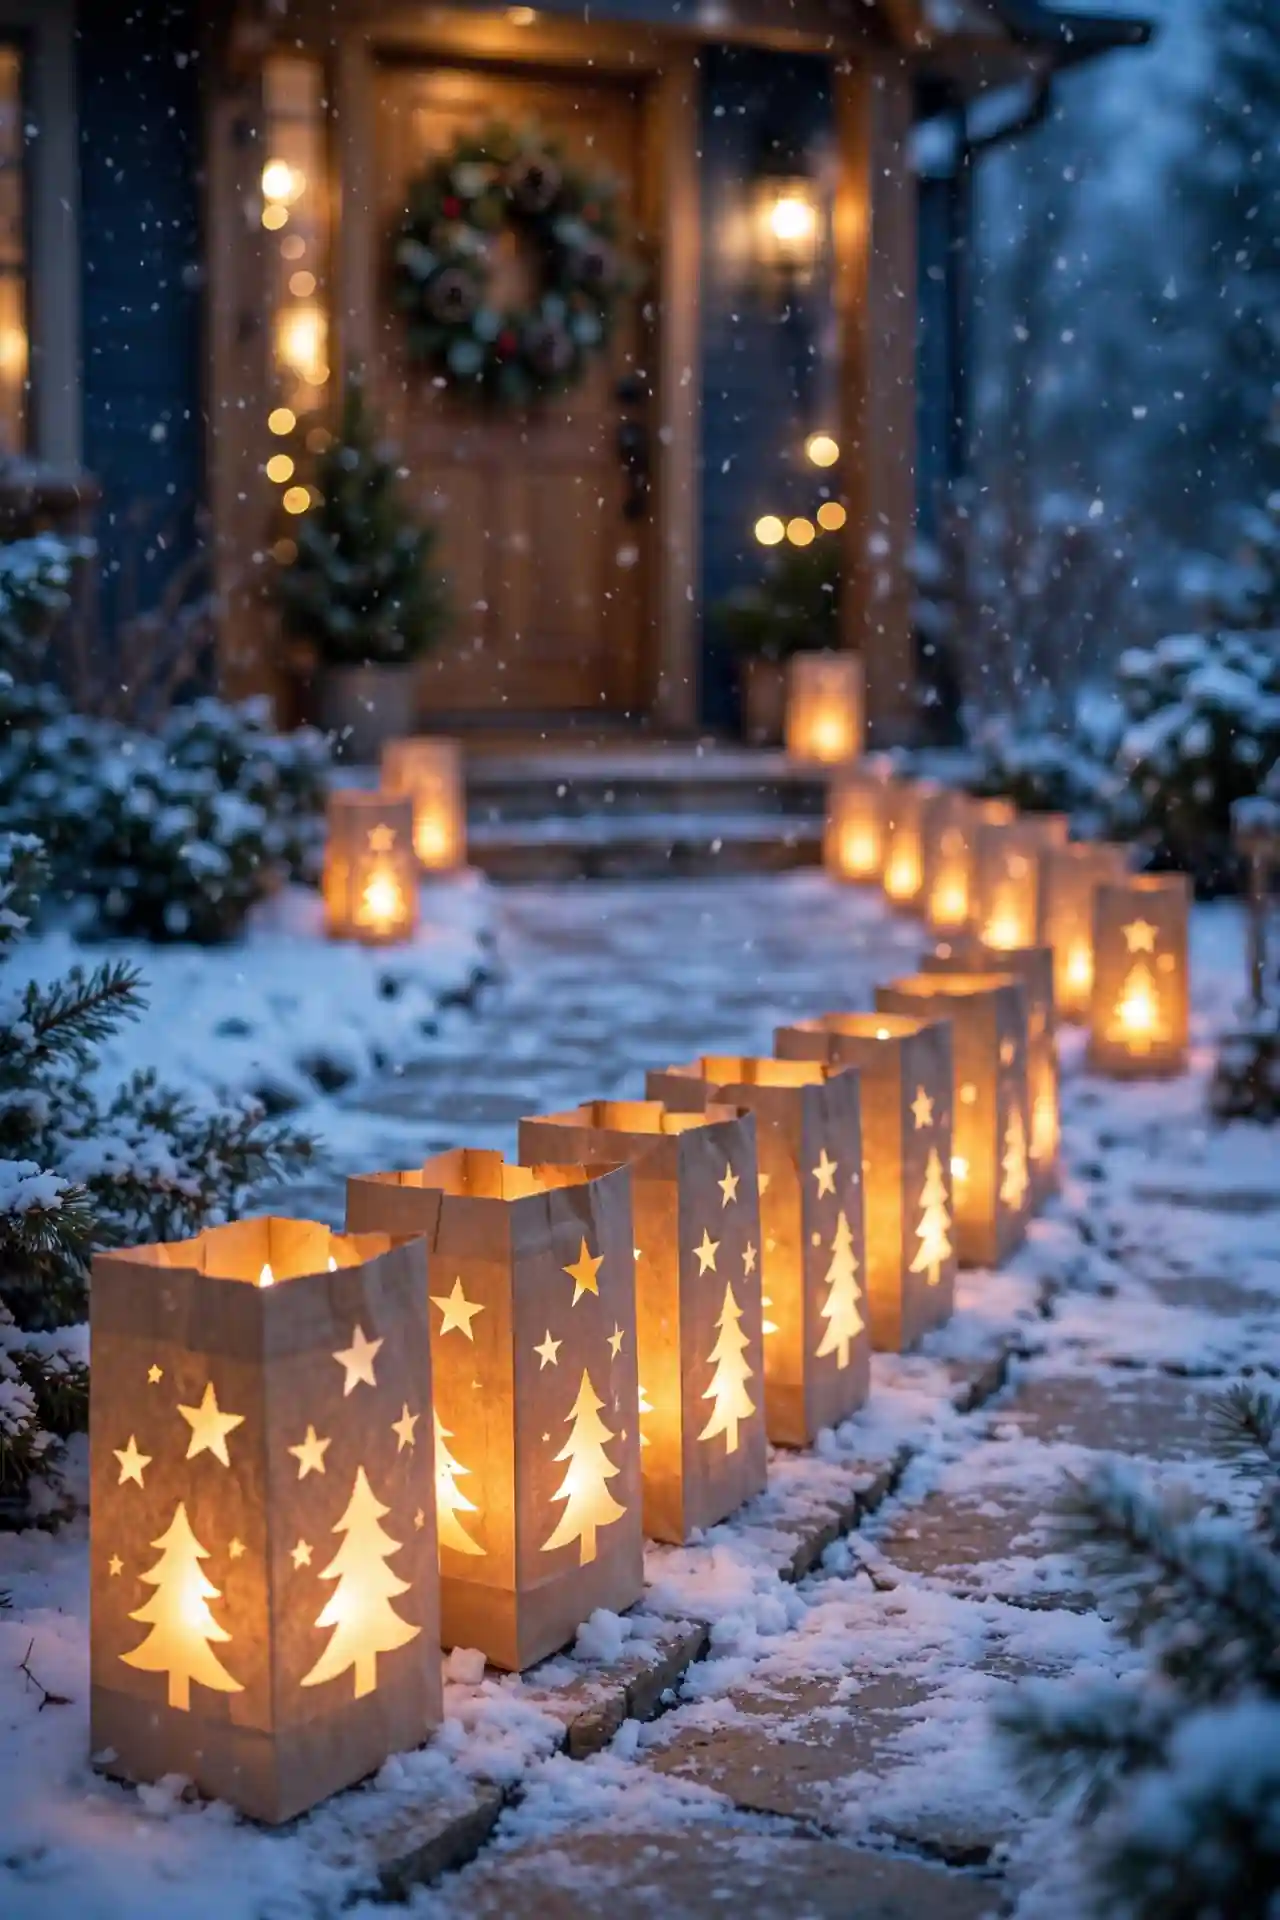
Fold paper lunch bags into star points and glue them into a round lantern shape. Drop a battery tea light inside and the folded paper glows like frosted glass. Hang several at different heights in a window for a display that stops foot traffic. Score the folds with a ruler for crisp points, and choose slightly heavier paper so the lantern holds its shape. Make them in two sizes and cluster the small ones around one large lantern. The soft glow flatters every corner of the room.
Twig Star Toppers

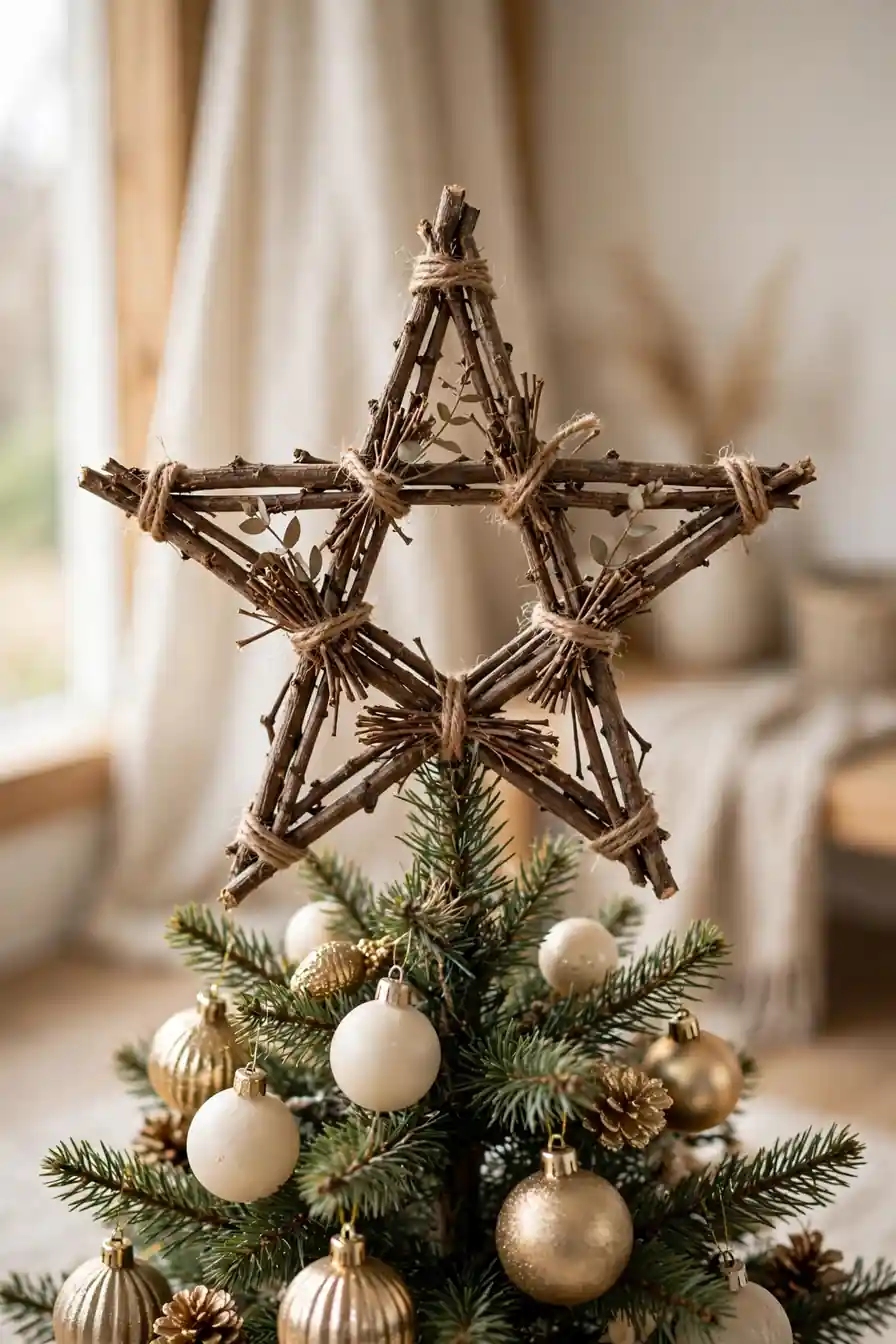
Five straight twigs lashed at the angles make a star with real presence. Bind each joint tightly with jute twine, then wrap the whole star once more for strength. A dab of gold paint on the tips keeps it rustic but polished.
Slide it onto the top branch and step back to check it sits straight. In my experience, twig toppers suit slim trees best because they stay light and airy. It takes twenty minutes to make and looks like something from a boutique holiday market. Secure it with floral wire wrapped around the top branch so it survives curious cats and wagging tails.
Fabric Scrap Ornaments
Those leftover fabric pieces finally have a purpose.
- Cut circles or stars from quilting cotton, linen, or old shirts.
- Stitch two pieces together, leaving a gap, then stuff lightly.
- Close the gap, add a twine loop, and press flat.
- Mix patterns: one plaid, one solid, one tiny print.
The tree ends up with a collected, heirloom feel that matching ornament sets never achieve. I’ve noticed guests always ask where they came from, and saying you made them never gets old. Use pinking shears on the edges for a no-sew finish that still looks tidy. Slip a cinnamon stick inside before closing for a subtle scent surprise.
Clay Tag Ornaments
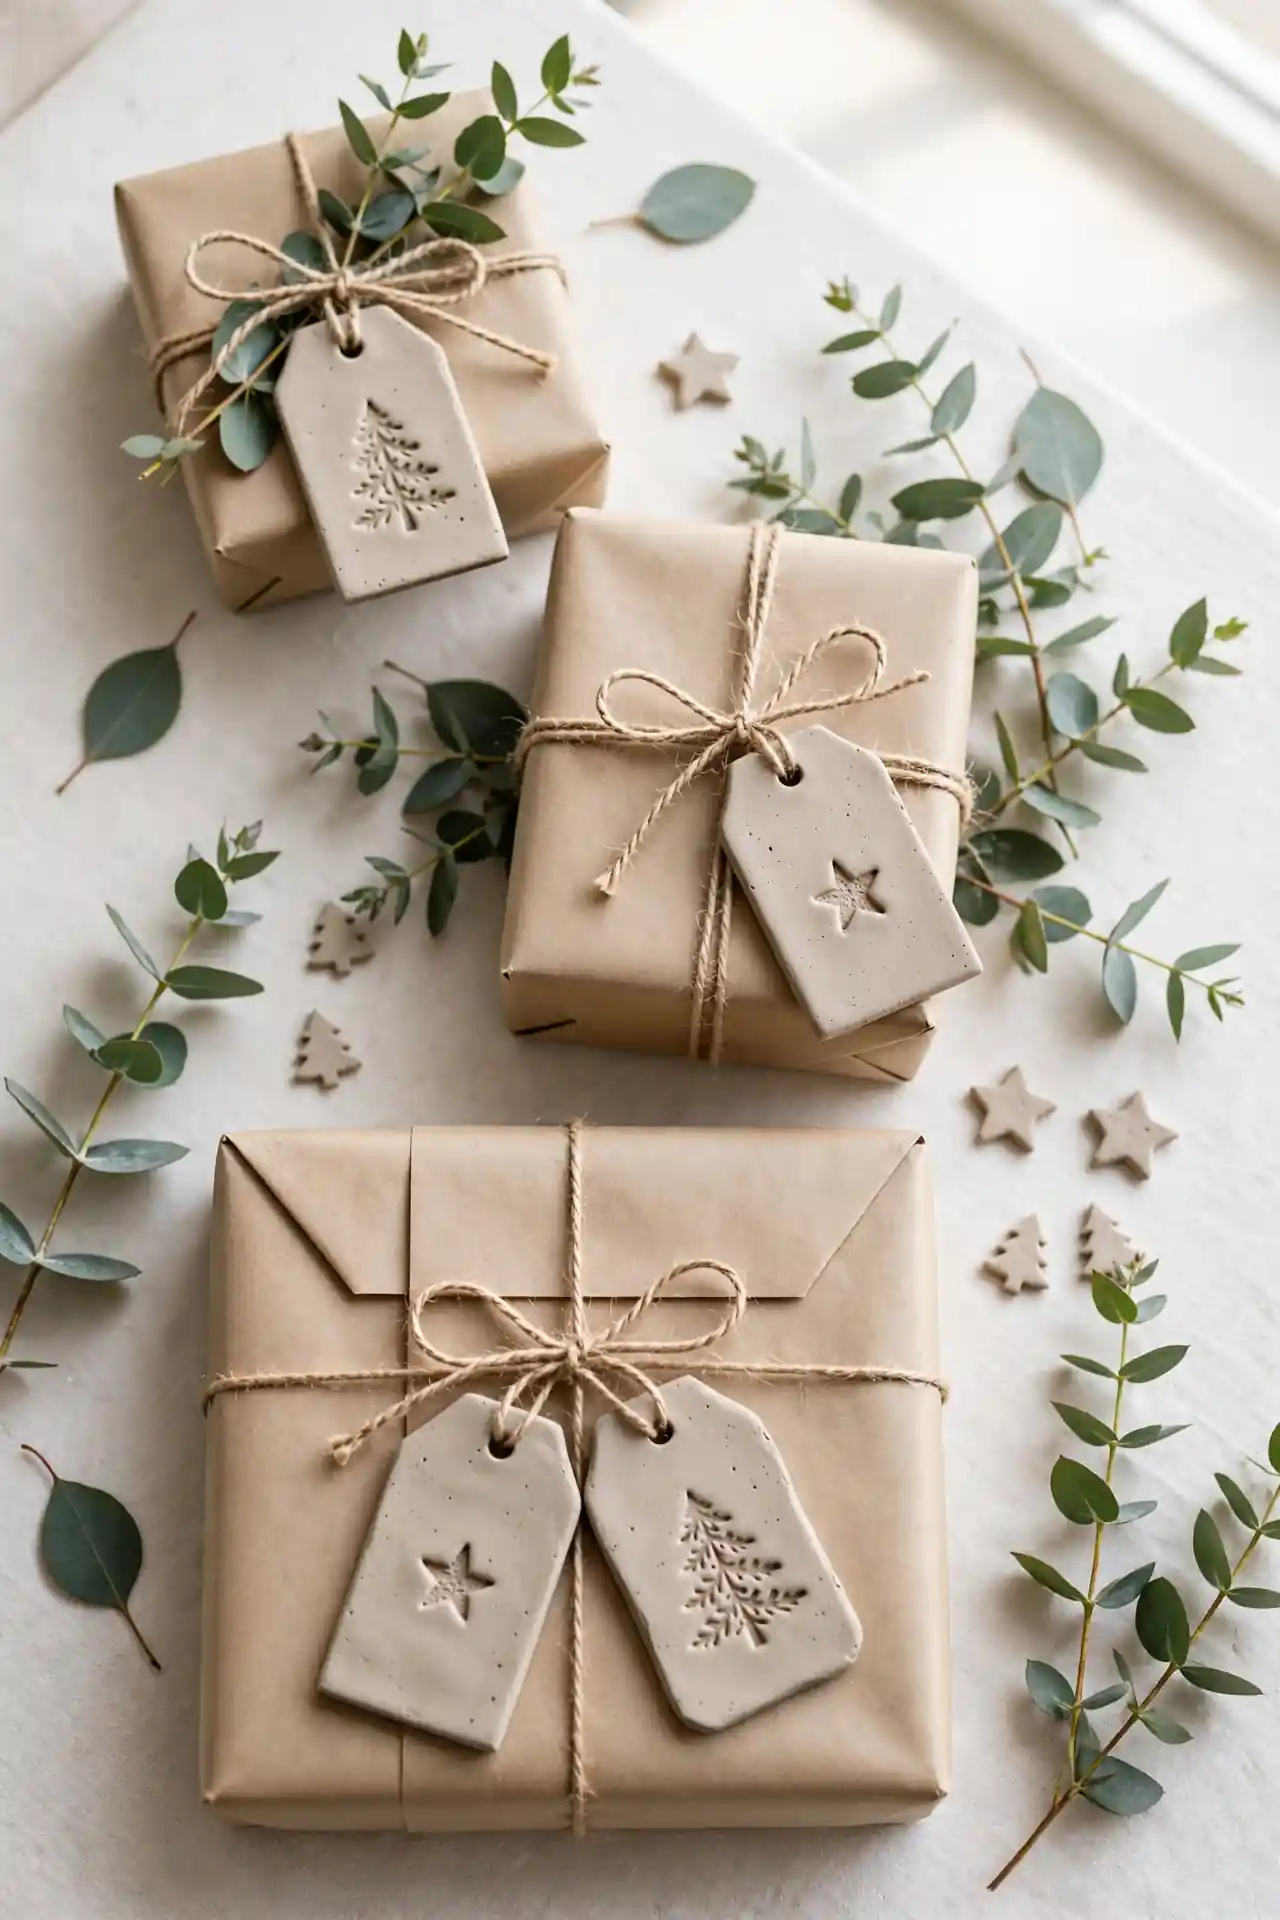
Quick Tip: Roll air-dry clay to a quarter inch thick on parchment so it releases cleanly. Stamp with cookie cutters or bottle caps, poke a hanging hole before it dries, and sand the edges lightly once hard.
Paint the tags white or leave them natural, then stamp names with letter stamps for place settings. They work as gift tags now and ornaments later, which doubles their value. Tie one to every present and watch the tree fill up as gifts pile underneath. Brush the edges with gold paint for a gilded look that elevates the simplest shapes. They dry overnight and last for years with gentle handling.
Evergreen Kissing Balls

BEFORE: The entryway felt bare and cold every December, with nothing to greet guests but a doormat. The ceiling hook sat empty for years.
AFTER: A lush ball of fresh evergreens now hangs from a wide ribbon in the doorway. It took one foam ball, a bag of clippings, and an afternoon.
Push short evergreen sprigs into a foam ball until no foam shows, then add red berries in clusters. Hang it where guests pause, like the front entry or a wide hallway. The scent hits before the sight does, and that first impression lasts. Mist the ball lightly every few days to keep the greens fresh through New Year.
Conclusion
The best part of a handmade holiday is how the making becomes the memory. Pick the project that caught your eye, gather a few simple supplies, and give yourself one unhurried afternoon. Start with the salt dough ornaments if you need a quick win, then work your way up to the kissing ball. Before long you’ll have a home full of pieces with stories attached. These diy christmas craft ideas prove that the most loved decorations are rarely the most expensive ones. Save your favorites to Pinterest, try one this weekend, and share a photo of what you create. In my experience, once you start crafting for Christmas, the store-bought aisle never looks quite as tempting again.