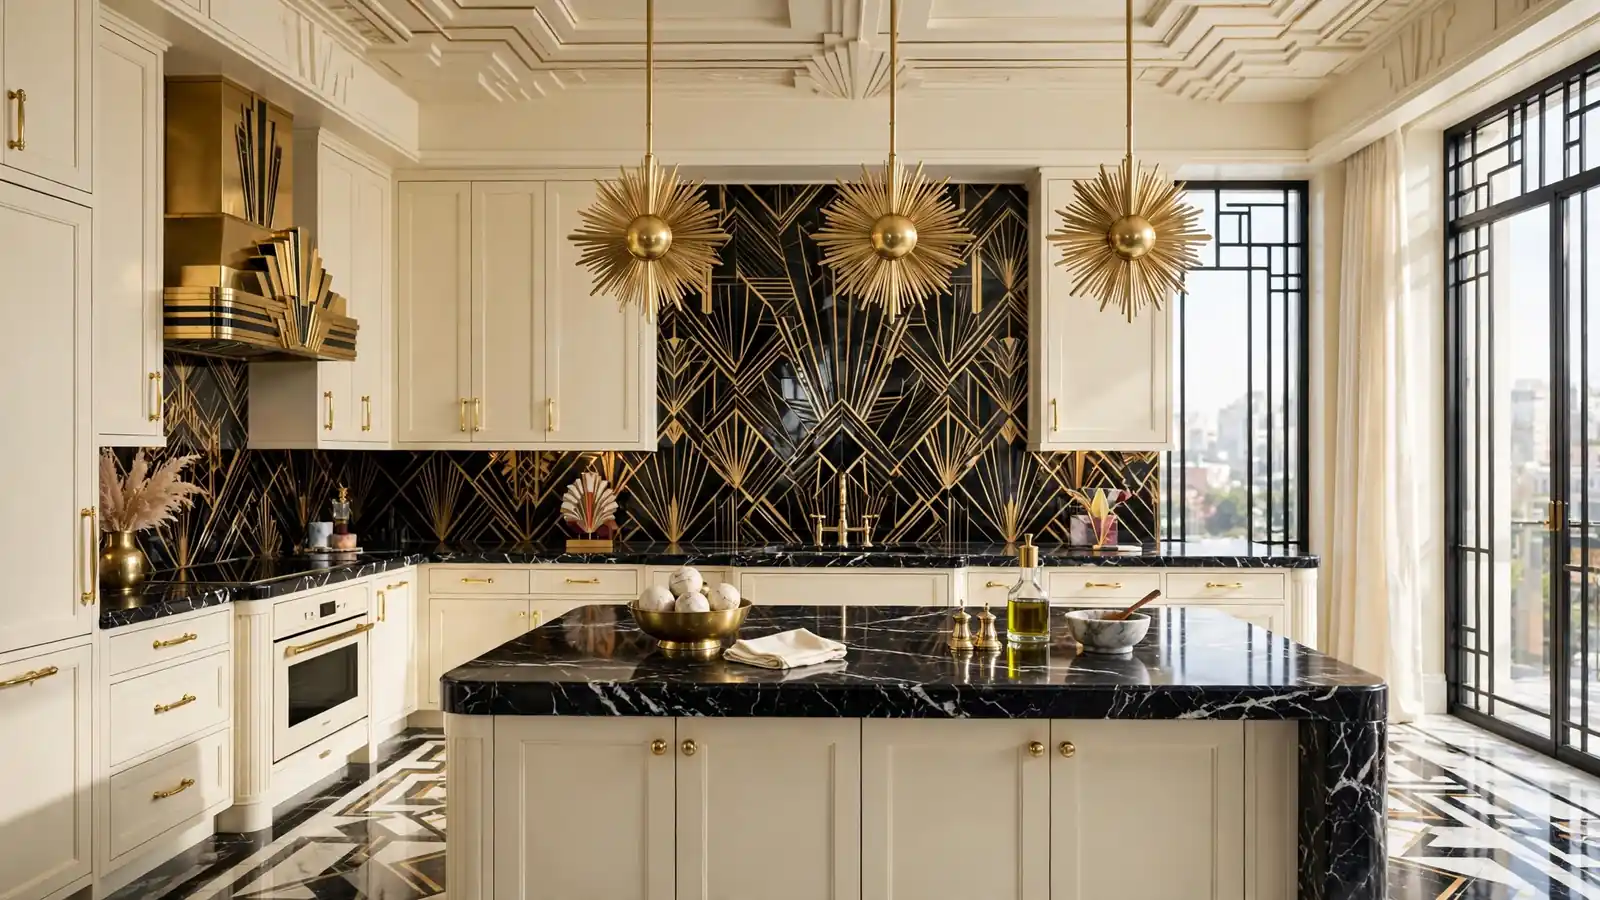
20 Art Deco Kitchen Decorating Ideas for Glamorous Style
Bold geometry, gleaming brass and glossy black accents can turn an ordinary cook space into a jewel box. The smartest Art Deco kitchen decorating ideas borrow the glamour of 1920s hotels and scale it down for real family life. In my experience, one strong pattern plus one metal finish is enough to set the tone without overwhelming the room.
Every idea below pairs a photograph with clear steps, costs and styling notes, so planning feels simple. The same love of texture behind natural plaster wall bedroom design works beautifully here too, swapping rough plaster for polished stone and lacquer. Pick two or three favourites, repeat them across the room, and the whole kitchen starts to feel collected, confident and unmistakably deco.
Geometric Tile Backsplash
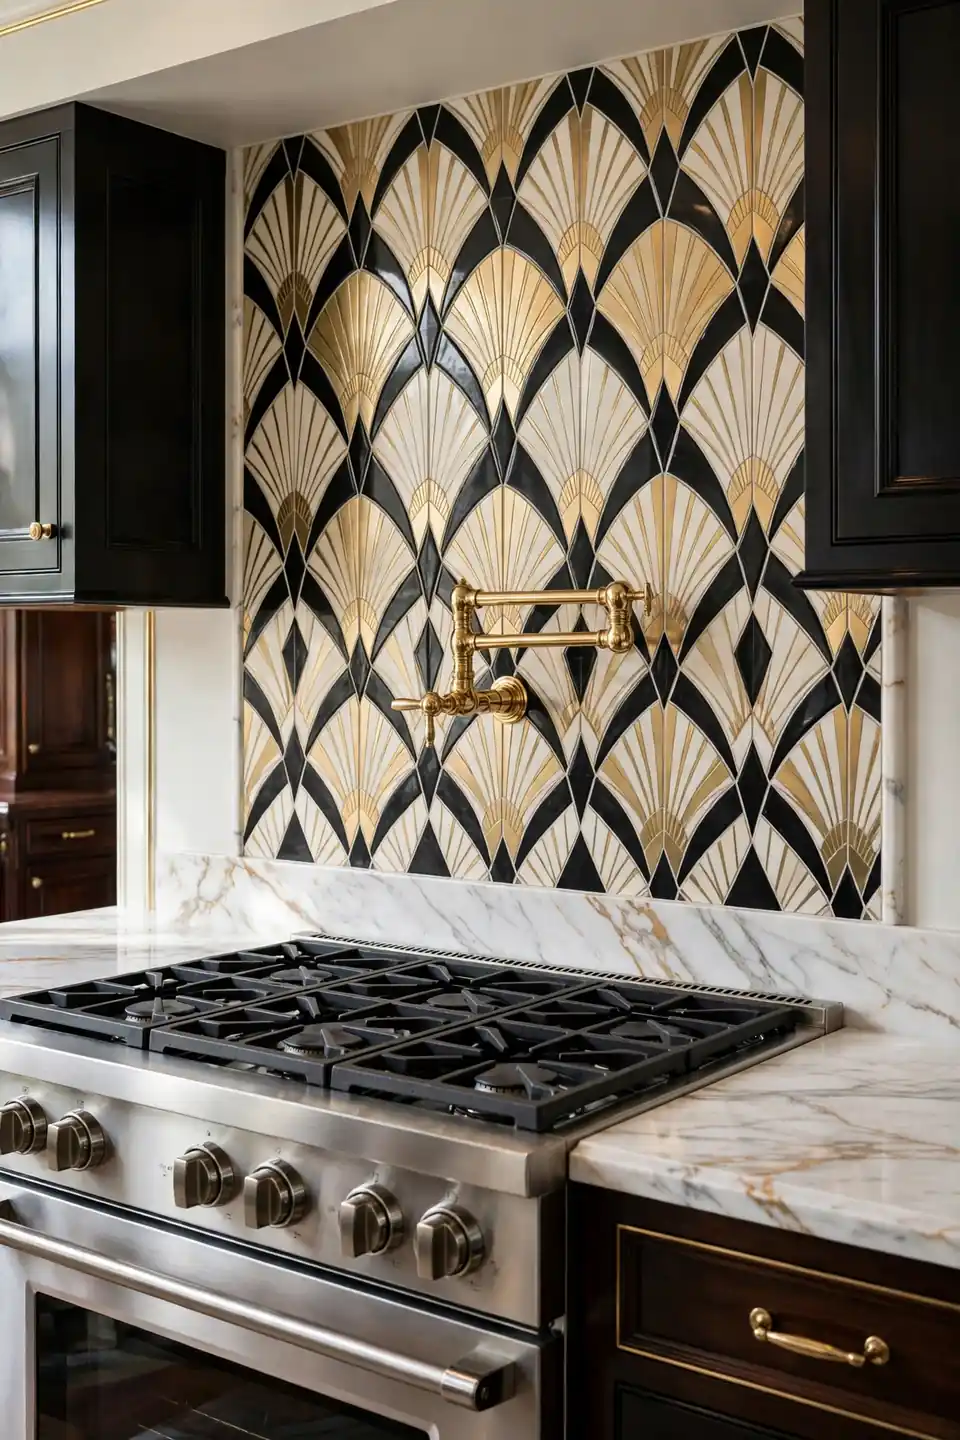
Few upgrades change a kitchen faster than a patterned backsplash. Fan, diamond and chevron tiles in black, cream and soft gold bring instant rhythm to plain cabinets, and the glossy glaze bounces light around the room. Choose one repeat pattern and let it run from counter to cabinet for a tailored, hotel style finish.
Grout colour quietly decides the mood here. Dark grout sharpens every line and hides cooking splashes, while pale grout softens the pattern into a gentle backdrop. I have noticed smaller tiles suit compact kitchens best, because the repeat reads clearly without crowding the wall. Seal the grout once a year and the whole wall keeps its crisp, polished look.
Brass Cabinet Hardware
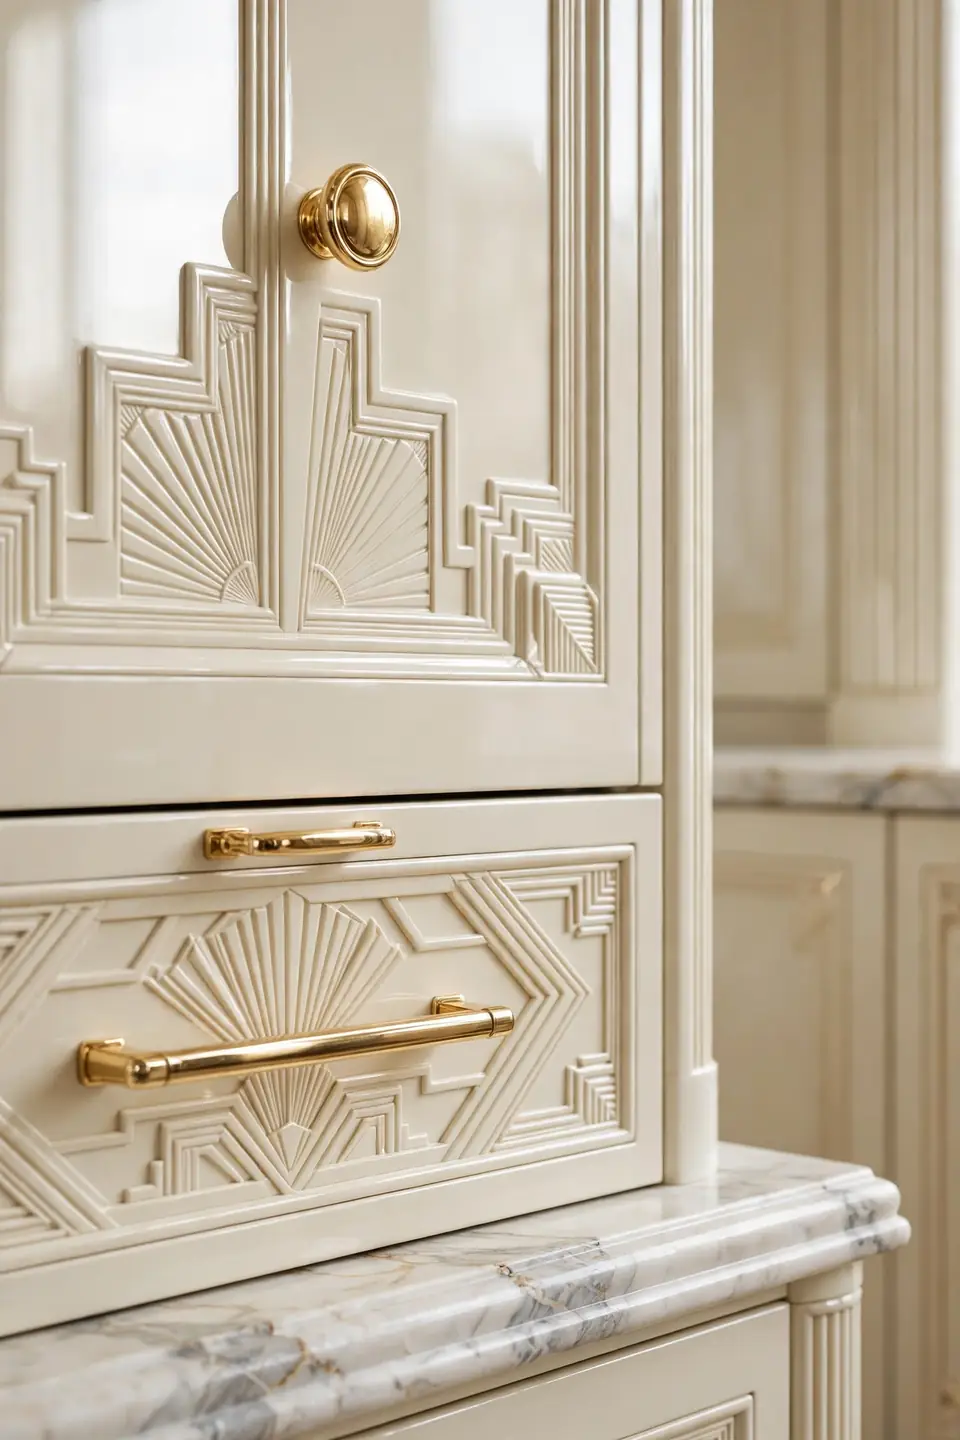
- Swap dated knobs for slim brass bar pulls, keeping one consistent length across the whole drawer run.
- Match hinges and latches to the same finish so every metal detail reads as one set.
- Pair round knobs on doors with longer pulls on wide drawers for a tailored rhythm.
- Polish weekly with a soft cloth; harsh sprays dull the lacquer and leave cloudy patches.
- Order one spare of each piece, because foundry batches shift slightly in tone over time.
Hardware is the jewellery of the kitchen, and brass brings the warm glow this style depends on. In my experience, changing handles delivers more visible change per pound than almost any other weekend update, especially against cream or black painted cabinets.
Sunburst Pendant Lights
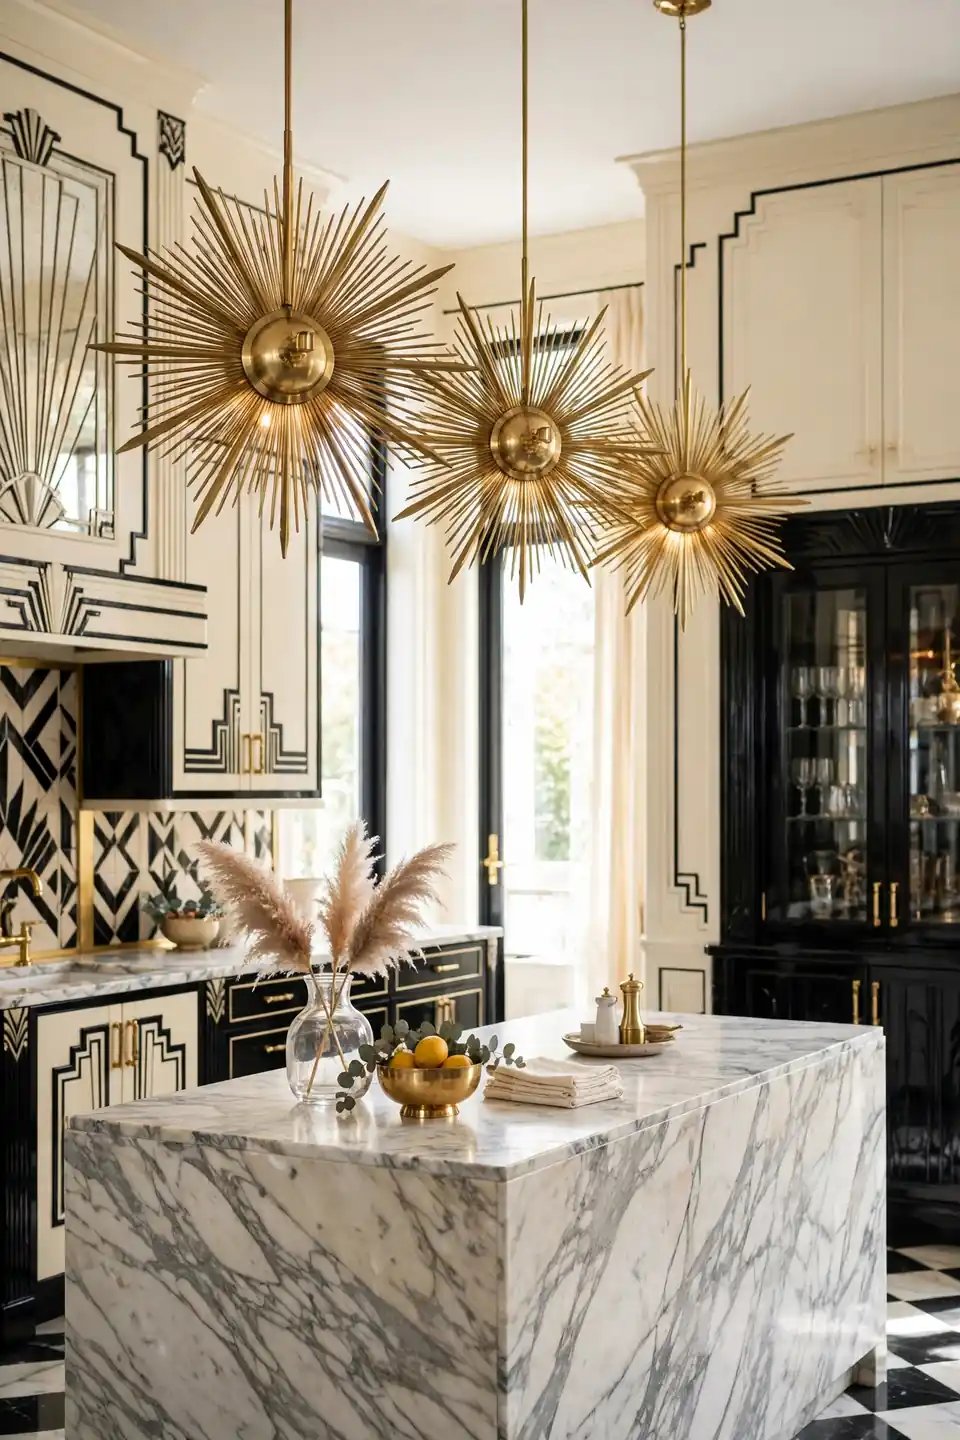
Quick Tip: Hang pendants so the widest ray tips sit level with your eye line when standing at the island. Even spacing matters more than size, so measure the island into thirds and centre each light on its mark before drilling.
Sunburst shades throw star shaped pools of light across marble and brass, giving the whole room a cinema lobby glow. Choose warm white bulbs around 2700K so the gold tones look rich rather than yellow, and fit a dimmer for evening meals when softer light flatters every surface. Two or three pendants suit most islands, while a single small kitchen island takes one oversized statement piece.
Black and Cream Cabinets

BEFORE: The old kitchen wore one flat shade of beige on every door, so the room felt washed out and the brass handles disappeared against the pale fronts.
AFTER: Glossy black base cabinets ground the space while cream uppers keep it bright, and the contrast makes every gold detail pop like jewellery on an evening dress.
Two tone cabinetry is the backbone of the deco look because it adds drama without pattern overload. Keep the darker shade below eye level, repeat it once in a small appliance or stool fabric, and the scheme feels deliberate rather than accidental. Marble counters bridge the two colours and stop the contrast looking harsh.
Scalloped Range Hood

- Measure the wall above your hob and mark a centre line, since the fan shape must sit perfectly symmetrical.
- Choose a ready made scalloped hood in plaster, metal or tiled finish that matches your cabinet colour story.
- Fix a level batten first, lift the hood shell onto it with help, and secure it into the studs.
- Fill the side gaps, paint or tile the surround, then seal every edge with heat safe silicone.
A scalloped hood turns the cooking zone into the room’s centrepiece, echoing theatre curtains and old hotel grills. Keep the area beneath it clear of tall clutter so the fan silhouette stays readable from the doorway.
Marble Waterfall Island
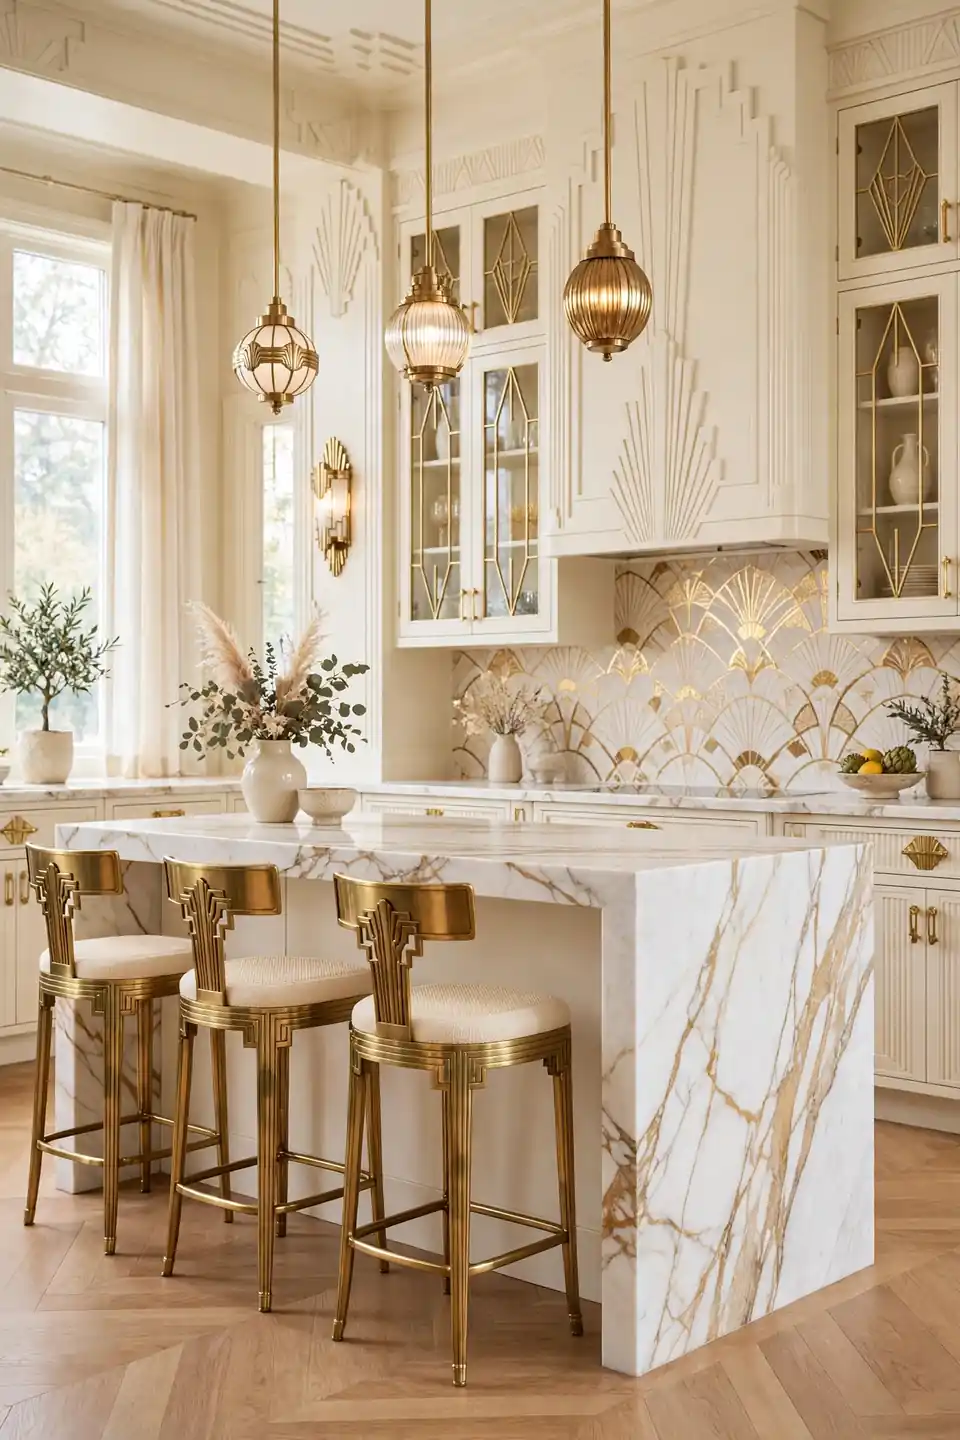
| Option | Full Waterfall | Single End Panel |
|---|---|---|
| Visual impact | Bold, both ends wrapped | Softer, one feature end |
| Cost | Higher, extra slab needed | Lower, half the stone |
| Cleaning | Two faces to wipe | One face to wipe |
Waterfall edges carry the marble veining down to the floor, turning the island into a carved block of stone. Bookmatching the veins where the top meets the side panel gives the most luxurious result, so ask your fabricator to plan the cuts before the slab arrives on site. Pair the island with plain cabinet fronts so the stone, not the doors, holds the spotlight in the room.
Fluted Glass Cabinet Doors
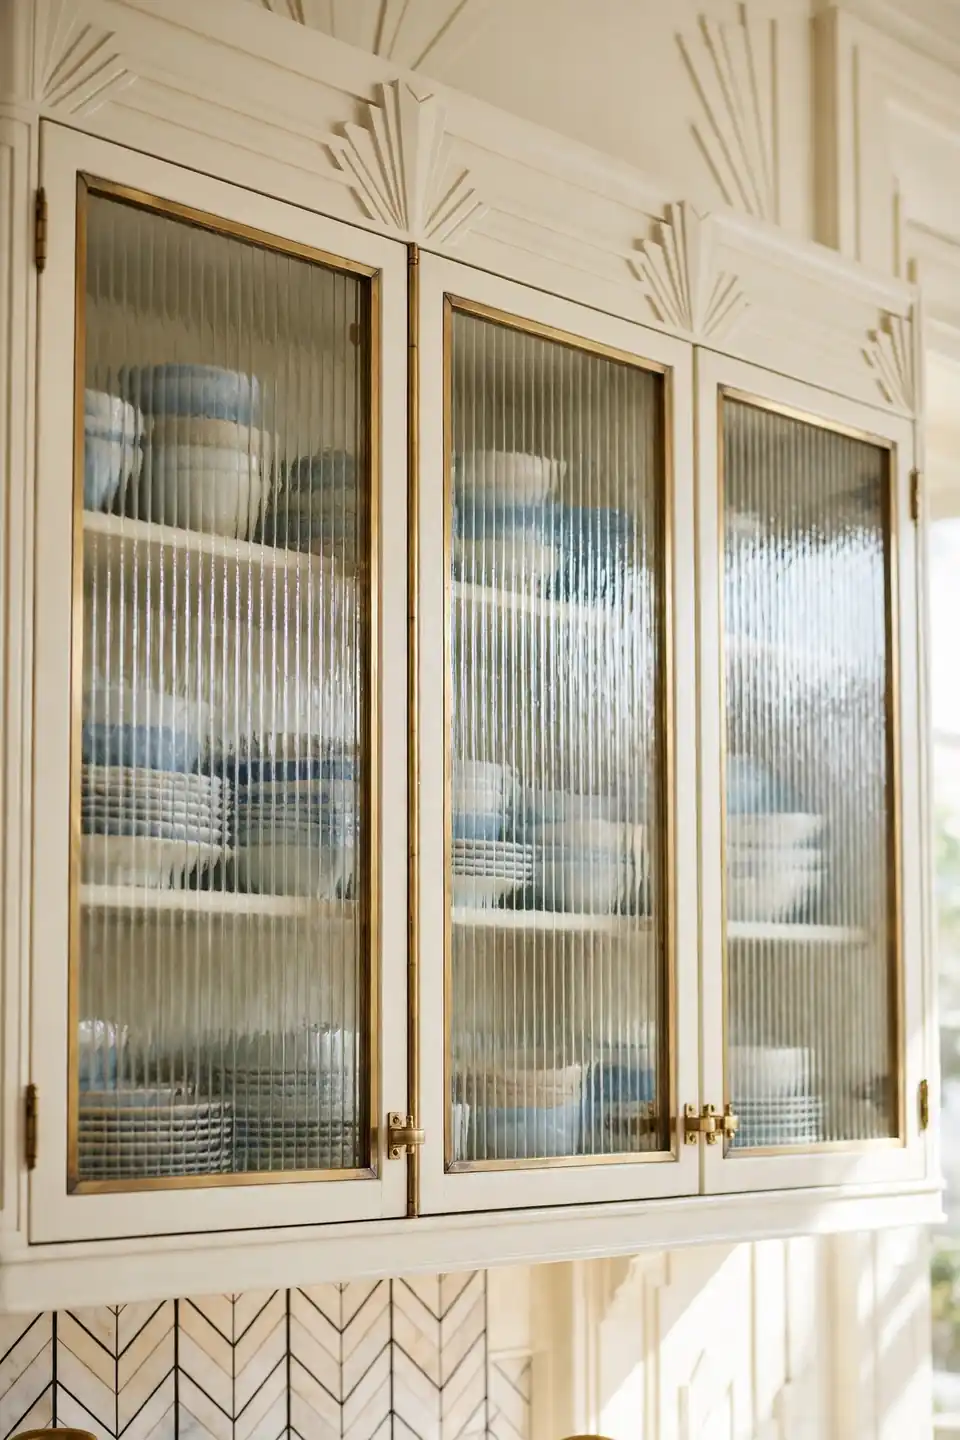
Do:
- Choose reeded glass with fine vertical lines for a soft, private blur.
- Fit warm LED strips inside the cabinet to glow through the ridges at night.
- Keep everyday glasses and white dishes behind the glass for a calm pattern.
Don’t:
- Mix frosted, clear and fluted panes in one run; the mismatch looks accidental.
- Store bright plastic containers behind the glass, since colours bleed through oddly.
- Skip the inside light entirely; unlit fluted glass can read dull and grey.
Fluted glass hides honest clutter while still showing shapes and shadows, which suits busy family kitchens. In my experience it is the kindest cabinet front for homes that cook daily but still want a polished, dressed look.
Emerald Green Cabinetry

Cost: Mid range for repainting, higher for new fronts
Time: One long weekend for painting both coats
Skill Level: Confident beginner with good masking patience
Best For: North facing kitchens needing warmth and depth
Emerald is the jewel tone that defines deco glamour, deep enough to feel rich yet lively under evening light. Balance it with cream uppers, marble counters and plenty of brass, and keep the floor pale so the colour glows instead of swallowing the room. Green also flatters food photography, which keen home cooks quietly appreciate. Test the shade on a large board first, because emerald deepens noticeably once it dries on the door.
Fan Pattern Floor Tiles
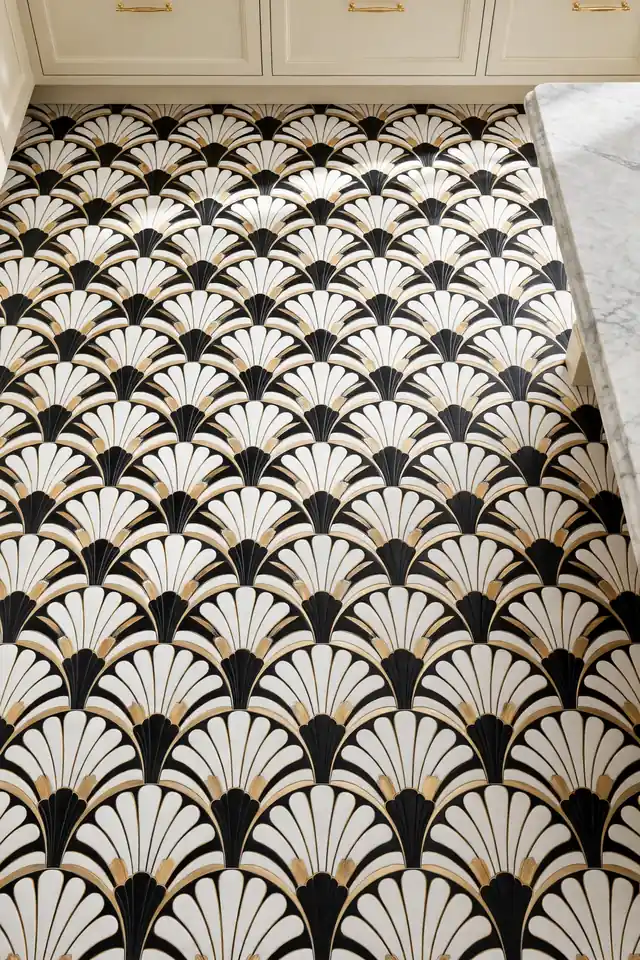
Pattern underfoot anchors the whole design, and fan shaped tiles are the signature deco motif. Rows of overlapping scallops in black, white and muted gold create movement that leads the eye from the doorway straight to the island. The scale feels grand in large kitchens and surprisingly cosy in small ones.
Porcelain versions handle water, dropped pans and muddy paws without complaint, which makes the look practical as well as pretty. Choose a mid grey grout to outline each fan while forgiving everyday marks between deep cleans. A matte finish also grips better under wet shoes on rainy days. It also keeps the whole pattern looking sharp for years.
Gold Faucet and Fixtures
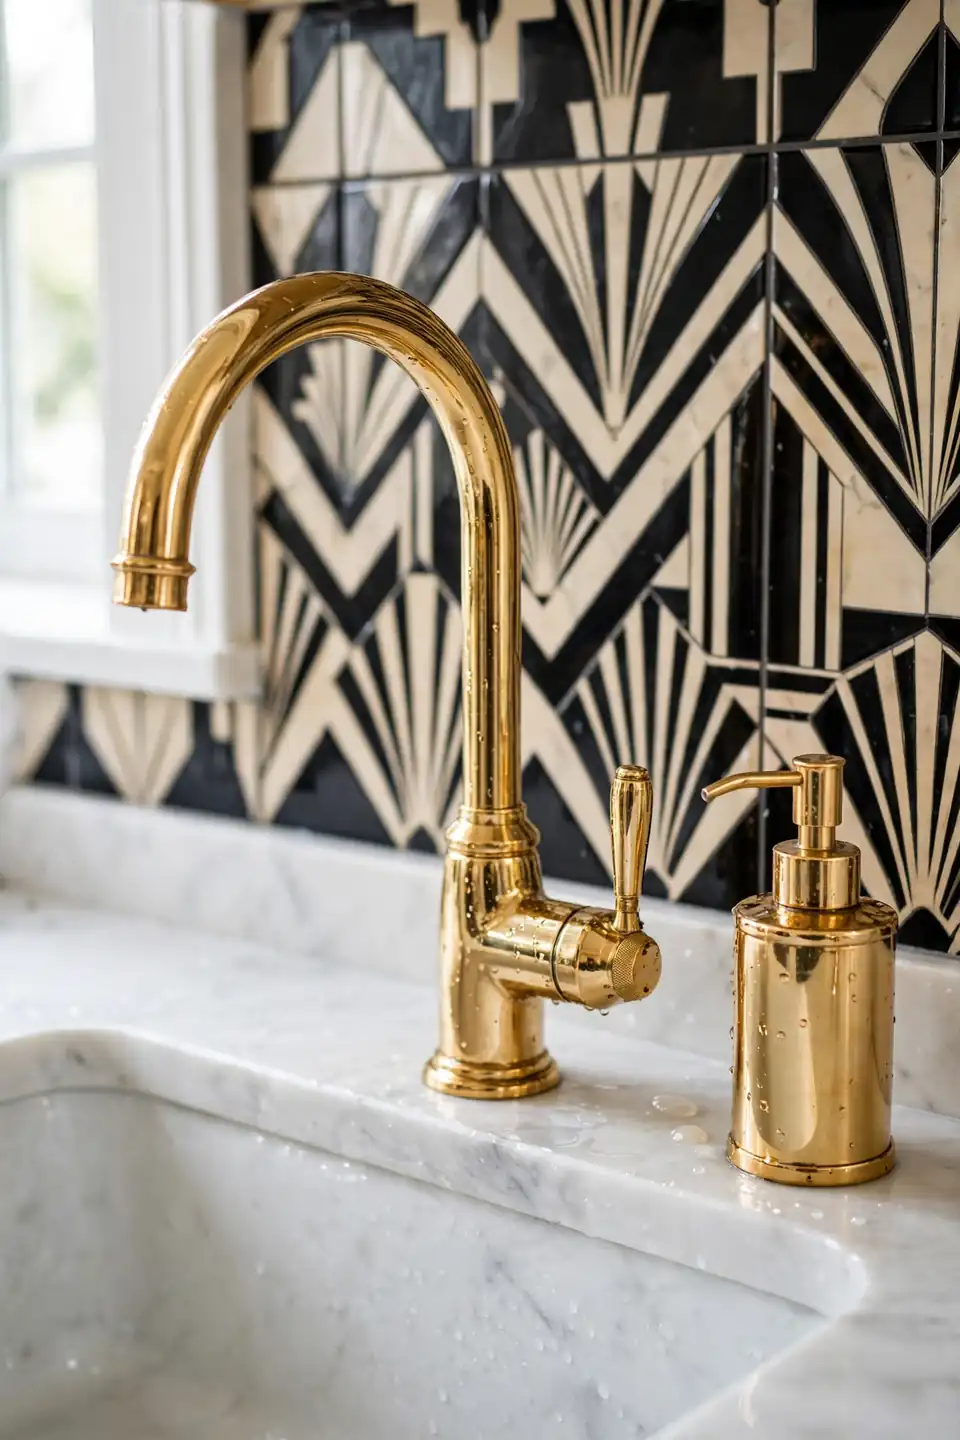
- Pick one gold tone, brushed or polished, and repeat it on the faucet, handles and light fittings.
- Choose a tall gooseneck or bridge faucet so the fixture reads as sculpture over the sink.
- Wipe water spots after washing up; minerals dull polished gold faster than brushed finishes.
- Match the sink grid, soap dispenser and bin lid to the same metal family for calm.
- Order from one brand range where possible, because gold tones vary widely between makers.
A single gold faucet can lift plain cabinets into deco territory before anything else changes. The look deepens when the dining space echoes it, and the leafy prints in vintage botanical dining room inspiration show how brass frames and green tones flatter each other across an open plan.
Stepped Mirror Backsplash

Quick Tip: Order mirror panels with bevelled edges and stepped corners cut by the glazier, then fix them with mirror adhesive in vertical strips. Test one offcut behind the hob first, because heat and steam vary between kitchens.
Stepped mirrors bounce light into dark corners and double the sparkle of pendants and brass. Antique or smoked finishes forgive splashes far better than clear mirror, and they lend the soft, aged glow found in grand hotel bars. Clean with a damp microfibre cloth only, since sprays can creep behind the silvering and spot the edges over time. Framing each panel in slim brass trim sharpens the deco geometry further.
Chevron Marble Flooring
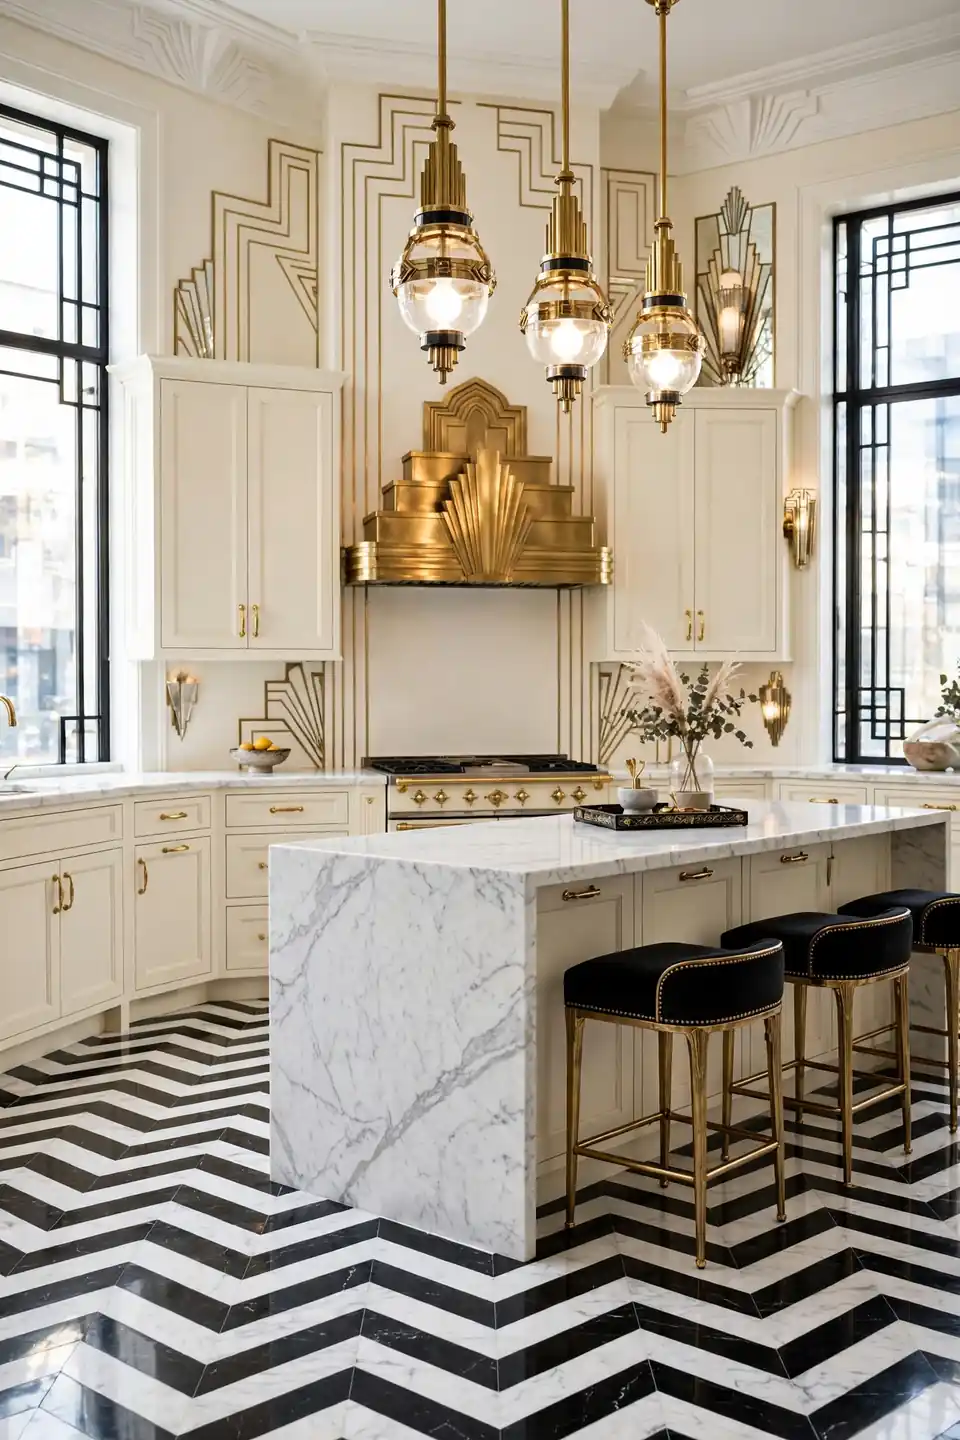
BEFORE: Worn lino in a dull grey sheet made the kitchen feel temporary, and its seams lifted near the sink where water pooled every single day.
AFTER: Large chevron marble tiles now run wall to wall, their zigzag lines stretching the room wider while the polished stone reflects pendant light beautifully. The black border tiles frame the pattern like a picture.
Of all the Art Deco kitchen decorating ideas in this guide, chevron marble delivers the strongest first impression at the door. Real marble needs sealing twice a year, while marble look porcelain offers the same pattern with far less upkeep for busy homes.
Tiered Crystal Chandelier
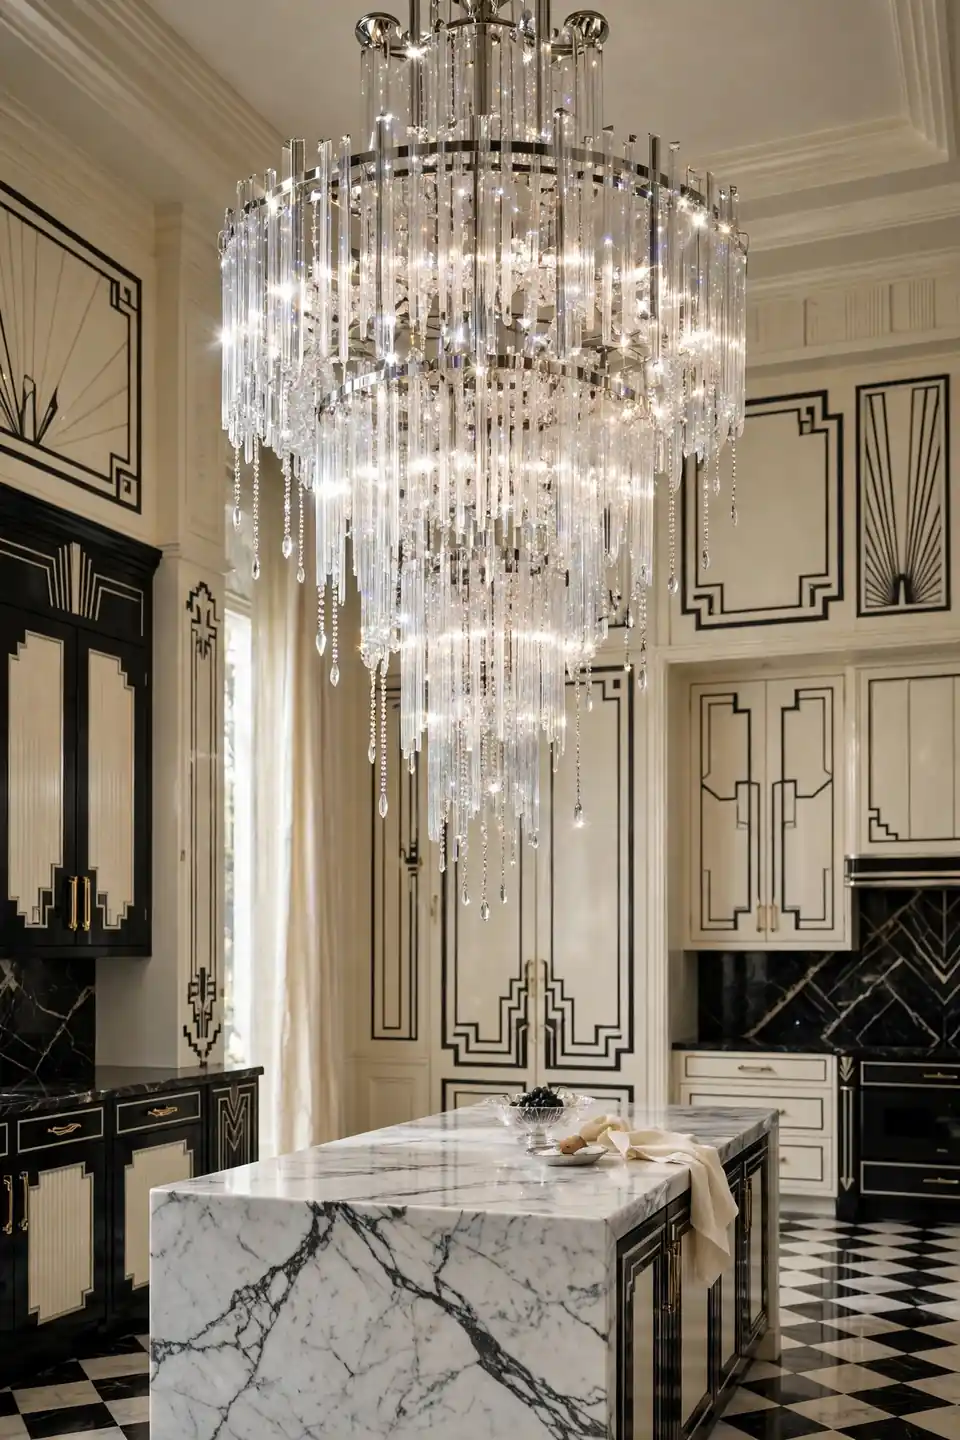
- Check your ceiling height first; tiered pieces need at least 2.4 metres to hang clear of tall cooks.
- Choose a diameter roughly one third of your island length so the tiers balance the stone below.
- Have an electrician reinforce the ceiling box, since crystal fittings weigh far more than standard pendants.
- Hang the lowest tier about 80 centimetres above the worktop for clear sight lines while cooking.
- Fit dimmable warm bulbs and clean the drops monthly with a lint free cloth for maximum sparkle.
A tiered chandelier crowns the island like the centrepiece of a grand hotel dining room. Keep other lighting simple nearby so this one fitting owns the ceiling completely.
Lacquered Cabinet Finishes

| Finish | High Gloss | Satin |
|---|---|---|
| Shine | Mirror like reflections | Soft gentle sheen |
| Fingerprints | Shows marks quickly | Hides marks well |
| Mood | Bold hotel glamour | Calm tailored elegance |
Lacquer gives cabinets a deep, liquid shine that plain paint cannot match, and the reflective surface makes small kitchens feel wider. Spray application in a workshop produces the smoothest result, so budget for professional finishing rather than brushes. Wipe doors with a damp cloth and buff dry to keep the mirror finish streak free through daily cooking. Cream and black remain the classic colour pairing, though deep green lacquer is gaining ground fast. It photographs beautifully for resale listings too.
Gold Trimmed Open Shelves

Do:
- Fit brass brackets with a visible deco step shape for honest, stylish support.
- Group objects in threes, mixing glass, ceramic and one small plant per shelf.
- Leave a hand span of empty space at each end so displays can breathe.
Don’t:
- Line up every jar in a row; rigid lines fight the relaxed glamour of the style.
- Store cleaning bottles on display shelves, since labels cheapen the whole arrangement.
- Hang shelves too high to dust weekly; greasy film dulls brass and glass quickly.
Open shelves trimmed in gold turn storage into display, giving everyday pieces a gallery moment. Keep the styling loose and the colours tight, and the shelves will reward you daily.
Velvet Bar Stool Seating
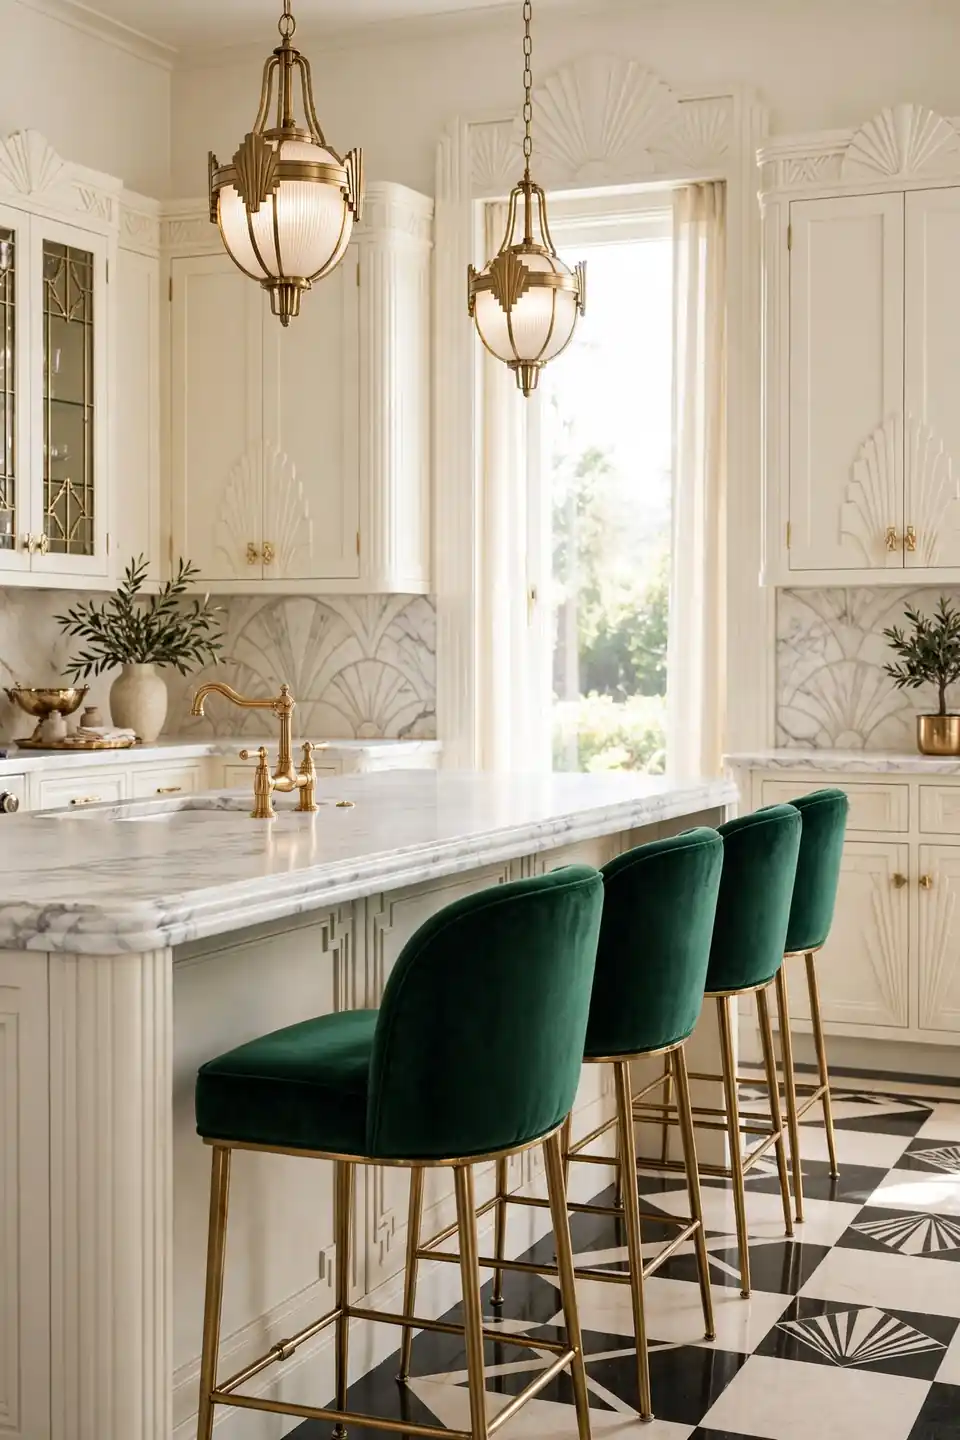
Cost: Mid range, with performance velvet at the top
Time: One afternoon of shopping and assembly
Skill Level: Beginner, just check seat heights carefully
Best For: Islands used for dining and homework daily
Velvet stools bring the lounge mood of a cocktail bar to the breakfast rush. Emerald, blush and navy pile fabrics glow against marble and brass, while channel stitching on the backs repeats the fluted lines found elsewhere in deco design. Choose performance velvet with a rub count over 30,000 and spills wipe away before they settle. Brass foot rails protect the fabric and complete the tailored silhouette from every angle.
Bold Geometric Wallpaper

Bold geometric paper on one wall can carry an entire decorating scheme. Black and gold fans, sunbursts or stepped diamonds behind the dining end of the kitchen set the palette for cabinets, metals and fabrics. Large repeats suit large walls, while smaller prints behave better in compact galley layouts.
Modern vinyl papers wipe clean, so splashes near the sink or hob are no longer a worry. Hang the paper on the wall furthest from direct steam where possible, and seal the edges neatly with a bead of clear silicone. Pull one colour from the print into your cabinet paint for a joined up finish.
Arched Doorway Entry
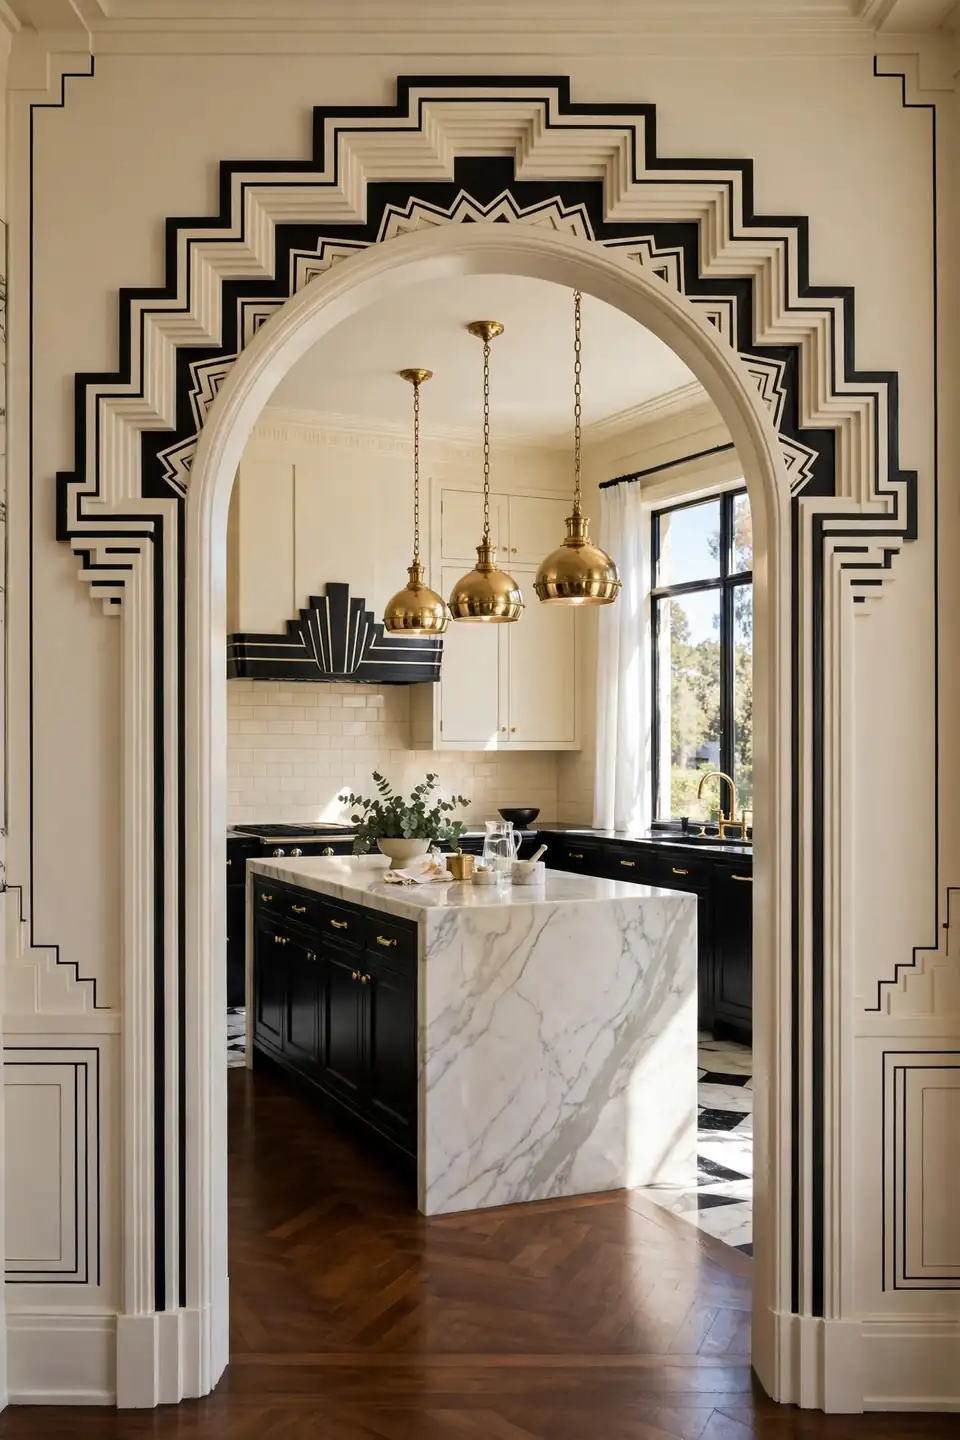
- Widen the opening if budget allows; deco arches look best with generous, confident curves.
- Add stepped trim mouldings around the arch to echo skyscraper lines from the era.
- Paint the arch interior a shade deeper than the walls for a framed, theatrical reveal.
- Fit a brass or black metal edge strip where flooring changes at the threshold line.
- Hang a small pendant just inside the arch so the entry glows at night.
An arched entry frames the kitchen like a stage set, making even Tuesday dinners feel like occasions. The curve also softens all the straight lines of cabinetry, which is why deco rooms feel grand yet welcoming at once.
Crystal Knob Details

Quick Tip: Fit crystal knobs on the doors you see first from the entry, then match the rest later if budget is tight. Uniform sparkle near the eye matters more than covering every single drawer at once.
Cut crystal knobs scatter tiny rainbows across cabinet fronts whenever sunlight hits the kitchen. They pair beautifully with black lacquer and brass backplates, and the faceted grip feels satisfyingly solid in the hand. Keep a couple of spares in a drawer, because dropped crystal can chip on hard stone floors. Swap one run of drawers first and live with them a week before committing the full set.
Dramatic Black Countertops

BEFORE: Pale laminate counters washed out the whole room, showing every crumb and stain while offering none of the drama the cabinets deserved.
AFTER: Honed black granite now caps the cream cabinets, its matte surface grounding the brass and marble like the lid of a grand piano. Cooking feels calmer on the dark, forgiving surface.
Black counters are the quiet powerhouse of the deco palette, anchoring pale cabinets and giving metals a dark stage to shine against. Honed finishes hide crumbs better than polished ones, and a simple bevel edge keeps the profile period correct. Wipe with mild soap only, since acids dull the sealant.
Conclusion
Small changes stack up fast in a deco kitchen. A patterned backsplash, warmer metal, bolder contrast and one sparkling light can shift the whole mood within a single month of weekends. Save your favourite Art Deco kitchen decorating ideas to a Pinterest board before you shop, then work through them one at a time and share the finished room with friends who love a little glamour. Start with the cheapest change on your list and let the momentum carry the rest. I have seen plain rental kitchens bloom under this treatment, and yours can too, one gleaming detail at a time.