23 Vintage Brass and Marble Bathroom Decor Ideas for Timeless Luxury
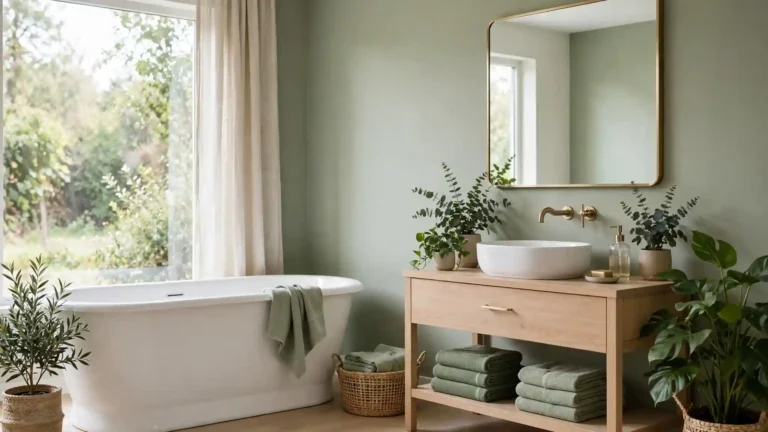
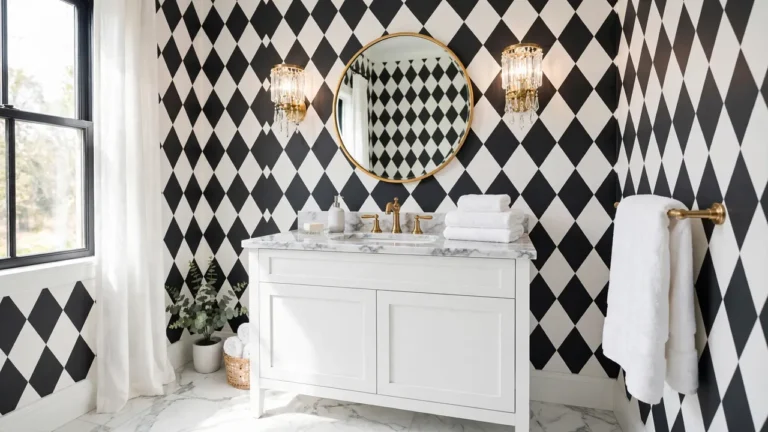
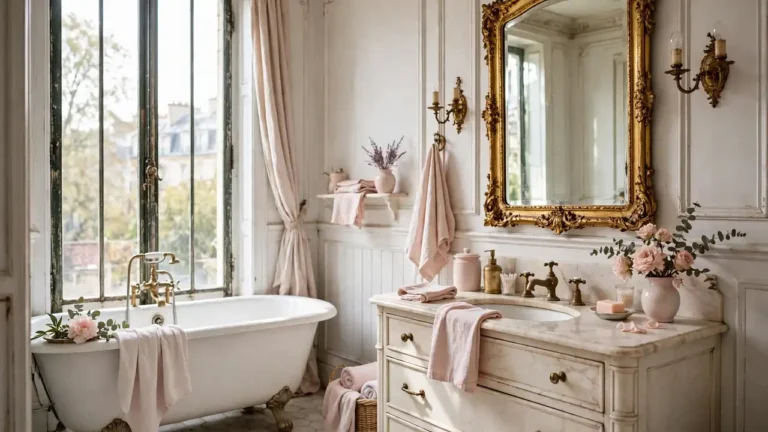
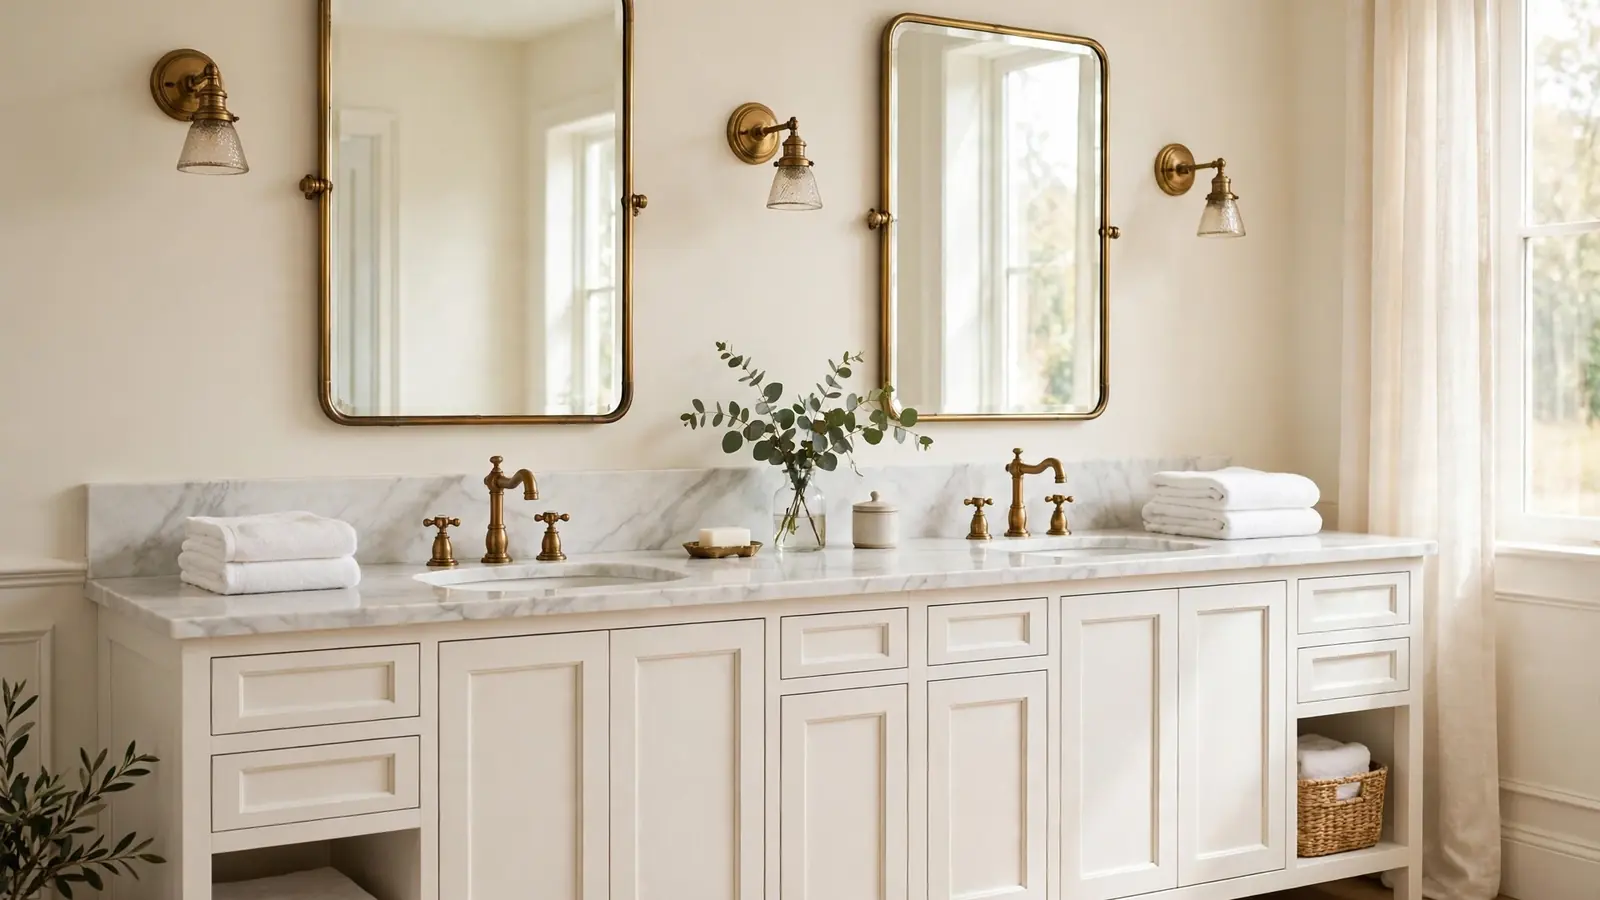
Warm metal against cool stone is the pairing readers keep saving, season after season. The best vintage brass and marble bathroom decor layers aged, honey toned fixtures over white veined stone, so even a small bath feels collected and calm. I’ve noticed these rooms age gracefully, because brass deepens while marble stays bright.
That same respect for honest materials shows up in black walnut kitchen interior inspiration, where deep wood does the warming. Here the palette is lighter, built on white stone, cream walls, and one warm metal repeated with discipline. The twenty three ideas ahead cover vanities, mirrors, lighting, tubs, and small upgrades, each one practical for a real bathroom and a real budget.
Marble Vanity Statement

A marble vanity sets the tone before any accessory arrives. One thick slab with soft gray veining gives the room its pattern, its brightness, and its sense of permanence in a single move. Choose a honed finish over polished, since honed stone hides water spots and feels calmer under morning light.
Let the stone edge stay simple and square so the veining does the talking. A single basin keeps the top easy to wipe, and warm brass below echoes the glow without competing. In my experience, one generous vanity in real marble beats a room full of small upgrades, because every routine, from hand washing to evening skincare, happens at this one surface.
Brass Faucet Pairings
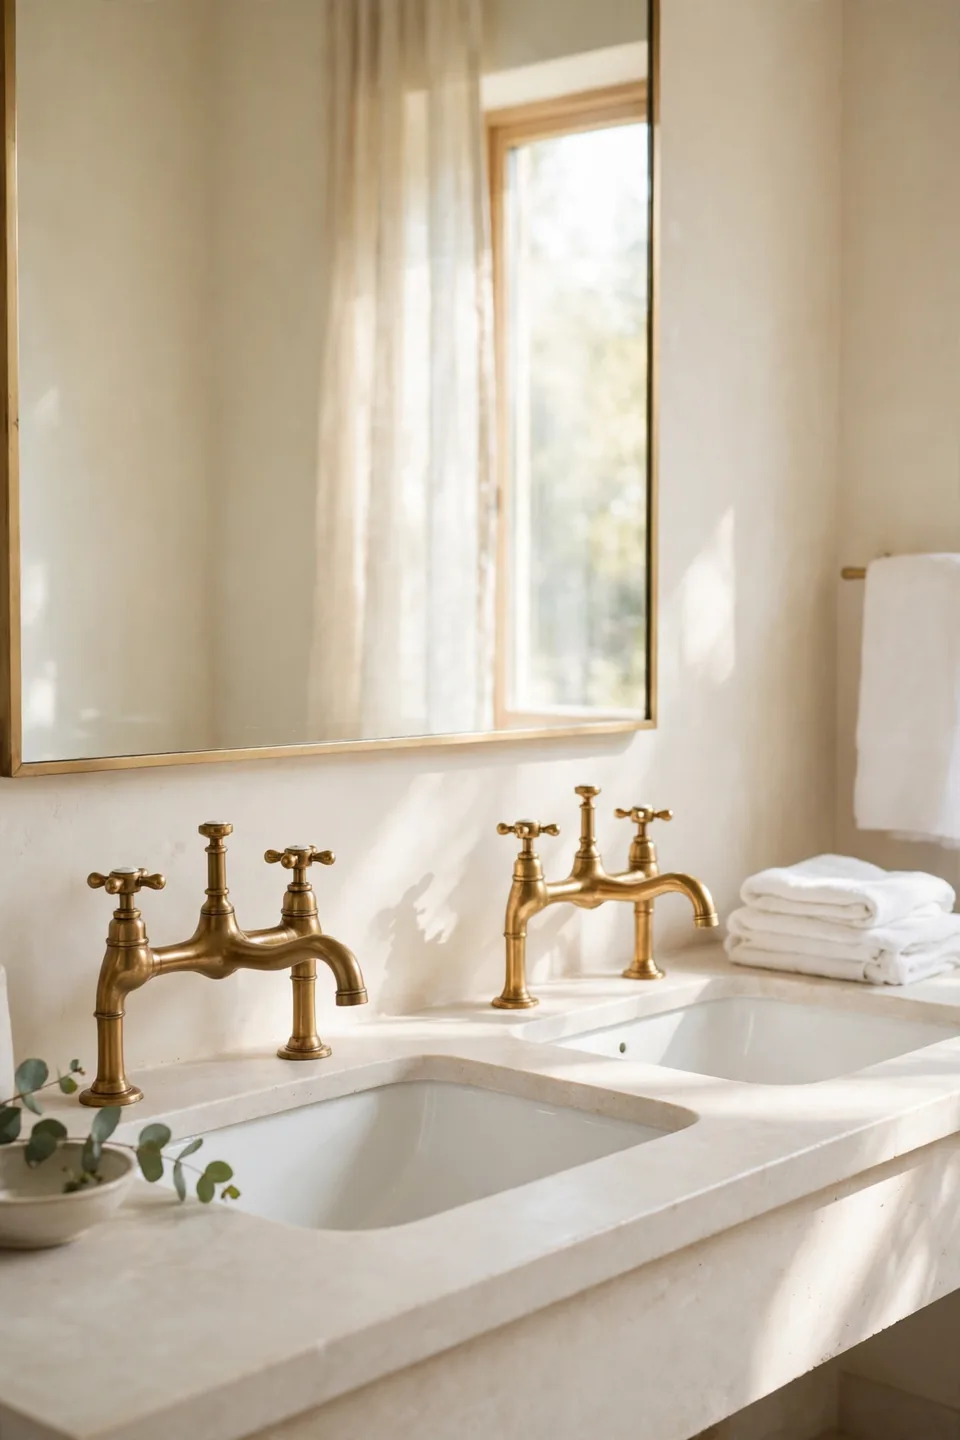
- Choose a bridge faucet for vintage character, the spout and handles joined on one brass bar.
- Match the finish to knobs and towel bars so the room reads as one plan.
- Pick cross handles for an older feel, or slim levers for easier turning.
- Leave enough spout height to clear tall vases and pitchers at the sink.
- Wipe brass dry after splashes so spots never dull the warm finish.
Faucets are the one fixture hands touch all day, so quality shows here first. Solid brass bodies outlast plated substitutes by decades, and the finish deepens slowly into a soft honey tone. Buy the faucet before the vanity is drilled, since hole spacing decides which styles fit your stone.
Antique Mirror Glow
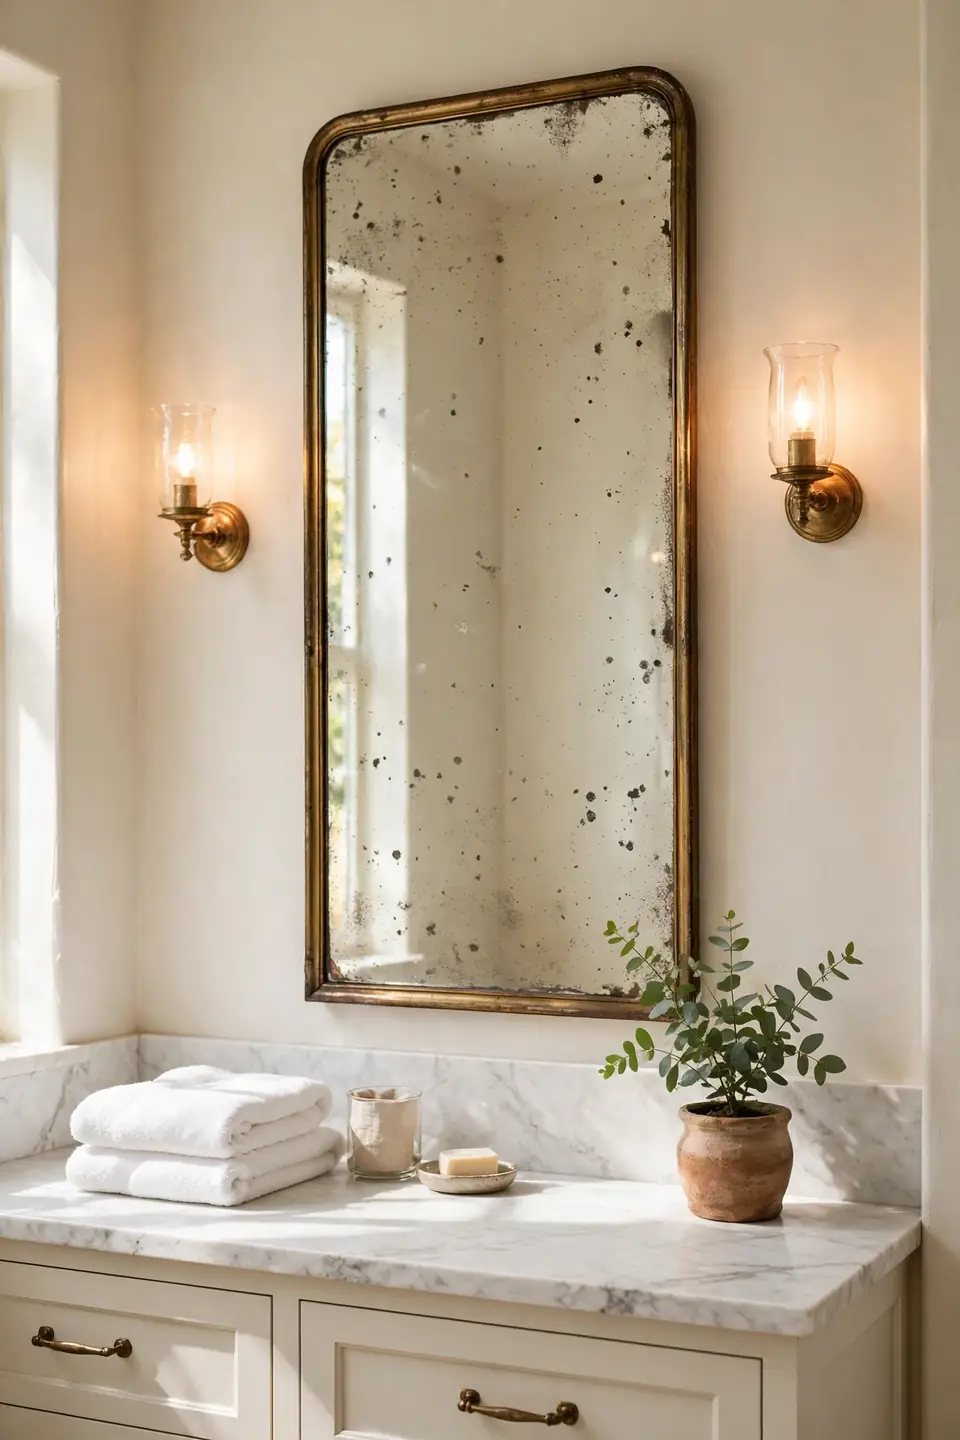
Quick Tip: Hang the mirror so its center sits near eye level, around sixty inches from the floor. A tall shape stretches the wall, doubles the sconce glow, and makes a modest vanity feel twice as grand without one extra inch of stone or tile.
Foxed glass, the kind with soft smoky edges, flatters skin and hides the harsh reflections cheap mirrors throw back. Keep the frame slim and the brass aged rather than shiny, so the mirror reads as a found piece instead of a store display. One large mirror also beats two small ones in shared baths, since the unbroken reflection makes mornings calmer.
Powder Room Transformation

BEFORE: The powder room wore builder chrome, a chipped laminate counter, and one bare bulb above a plain mirror. Guests got the worst version of the house, and the tiny room felt colder than the hallway outside it.
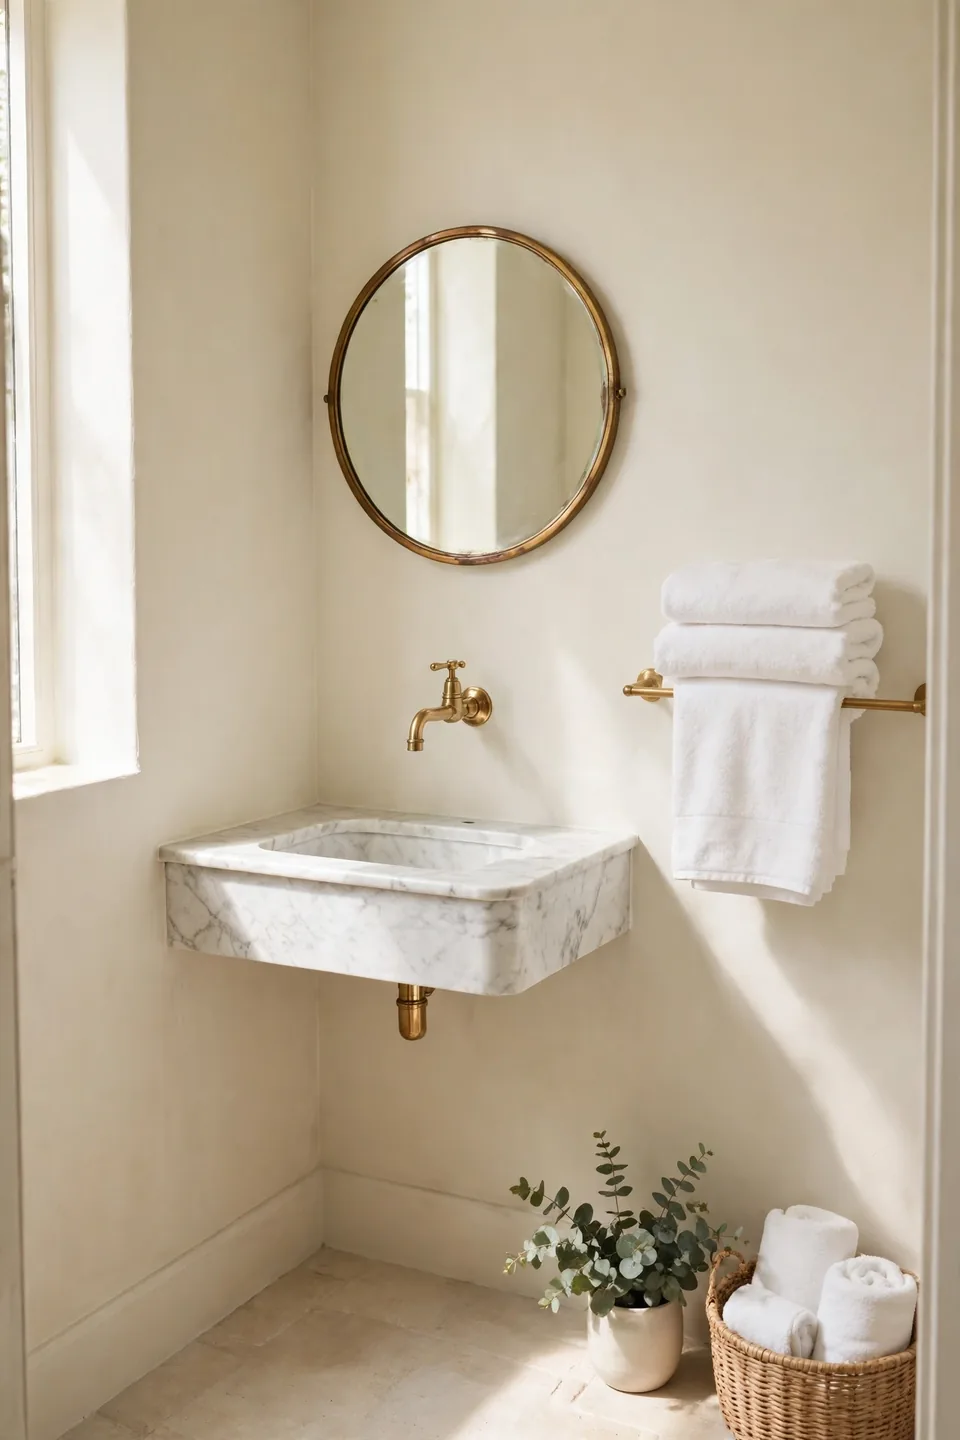
AFTER: A marble pedestal sink, warm brass faucet, and oval brass mirror now greet every guest. Cream paint softened the walls, and a slim sconce replaced the bare bulb with light that flatters faces instead of flattening them.
Small rooms reward bold material choices because there is less surface to pay for. A pedestal sink frees floor space, which makes the room feel larger, and real stone on a tiny footprint costs less than expected. Keep the palette tight, stone, brass, cream, and let guests remember the smallest room most.
Shower Fixture Swap
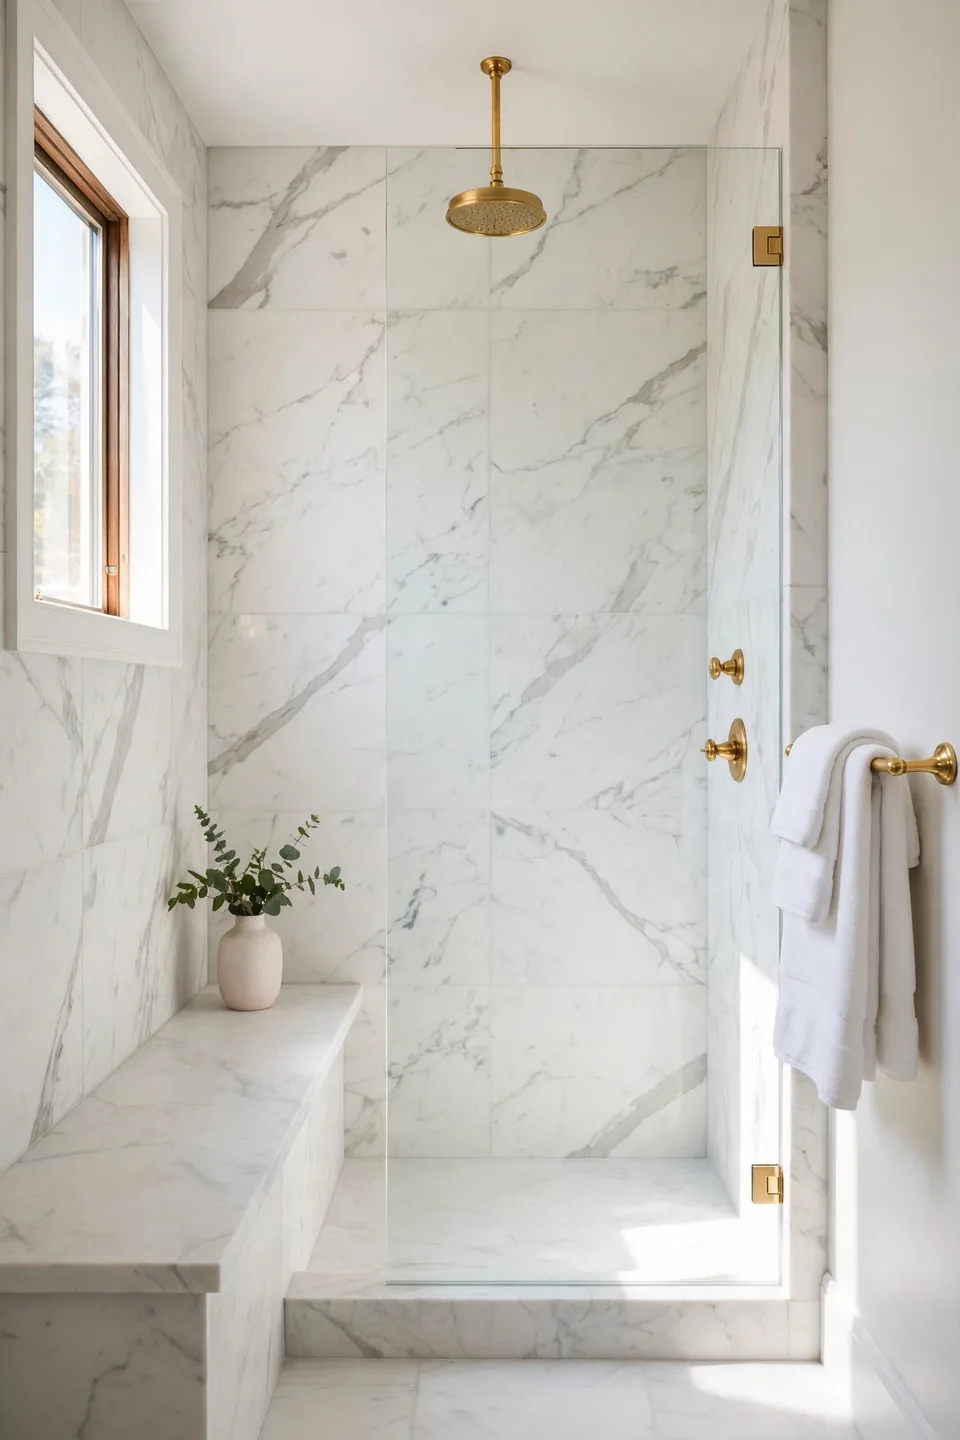
- Turn off the water, then unscrew the old shower head, arm, and trim plates by hand or with a padded wrench.
- Clean old tape and residue from the threads so the new brass fittings seat fully.
- Wrap fresh thread tape clockwise, then fit the new brass arm and rain head snugly.
- Slide on the new escutcheon plates and controls, matching the brass finish exactly.
- Run the water, check every joint for drips, and tighten a quarter turn where needed.
Matching every control in one finish is what makes the swap read as a renovation instead of a repair. Brass inside the shower warms the white marble around it, and the rain head spreads water softly, so daily showers feel slower and quieter.
Brass Finish Showdown

| Finish | Look | Upkeep |
|---|---|---|
| Unlacquered | Ages to soft honey | Polish or let it deepen |
| Brushed | Satin, hides fingerprints | Wipe with soft cloth |
| Antique | Dark, timeworn depth | Dust only, no polish |
| Polished | Bright, mirror shine | Frequent wiping needed |
Finish decides how the room ages more than any single fixture does. Unlacquered brass changes with touch and time, which suits old houses and patient owners. Brushed finishes stay steady and forgive busy family use, while antique tones bring instant history to a new build. Order one sample of each, set them on your marble for a week, and watch them in morning and evening light before the full order goes in.
Marble Care Rules

Do:
- Seal marble once a year so water and soap soak in slowly.
- Blot spills right away, especially oils and colored soaps.
- Set bottles on a brass tray to keep rings off the stone.
- Clean with warm water and gentle dish soap.
Don’t:
- Scrub with vinegar or bleach cleaners that etch the surface.
- Leave wet metal cans sitting directly on the marble overnight.
- Drag heavy jars across the counter and chip the polished edge.
- Ignore the sealer schedule and let stains settle deep.
Marble asks for small habits, not hard labor. A tray, a soft cloth, and a yearly sealer keep the stone bright for decades, and tiny marks that do appear read as patina beside aged brass rather than damage. Real stone rewards steady, gentle care.
Small Bath Quick Facts
Cost: Moderate, mostly fixtures and stone offcuts
Time: One long weekend for fixtures, mirror, and paint
Skill Level: Beginner friendly, with a plumber for valve work
Best For: Hall baths and small primary suites
Small bathrooms shine with this pairing because every surface earns attention. Wall mounted faucets free counter depth, round mirrors soften tight corners, and light marble bounces the little daylight available into every last corner. Brass warms the white so the room never feels clinical. Start with the faucet and mirror, the two pieces faces meet first, and let those choices set the finish for everything that follows.
Clawfoot Tub Revival
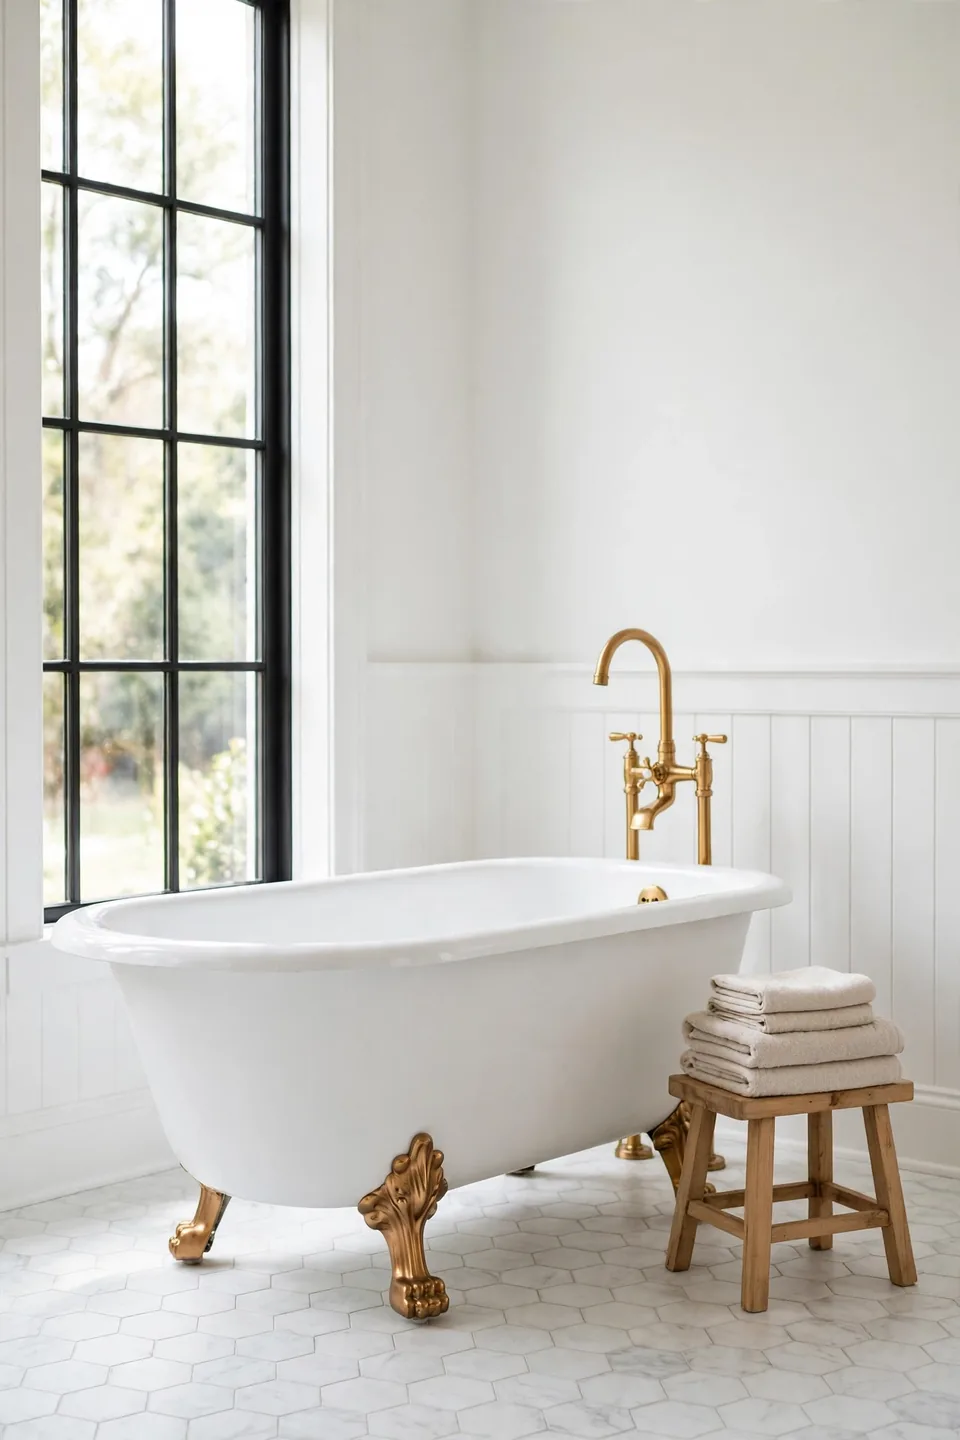
A clawfoot tub turns bathing into a small ceremony again. Deep sides hold heat longer than built in boxes, and the open floor beneath makes even a modest room feel wider. Brass feet and a tall brass filler finish the silhouette with warmth against the cool stone floor. The same trick works in bedrooms styled around Scandinavian farmhouse bedroom decor, where pale wood repeats until the room settles.
This pairing sits at the heart of vintage brass and marble bathroom decor, because both materials improve with age and daily use. Set the tub near a window if plumbing allows, add a small stool for towels and a book, and keep the floor marble pale so the tub reads as sculpture in the room.
Sconce Lighting Layers

- Place sconces at eye level on both sides of the mirror for shadow free light.
- Choose warm bulbs near 2700K so brass glows instead of glaring.
- Add a dimmer so bright morning light can soften for evening baths.
- Match shade shapes across the room, linen drums or opal glass globes.
- Keep one ceiling light for cleaning days, but live by sconce light daily.
Face level light is the kindest upgrade a bathroom can get. Overhead bulbs carve shadows under eyes, while paired sconces wash faces evenly and make the marble veining glow. I’ve seen this work well in many cases where a full renovation was not possible, since two fixtures and a dimmer changed the whole morning mood.
Towel Bar Warmth

Quick Tip: Mount towel bars on the wall nearest the tub or shower, close enough to reach without a dripping walk. Warm towels waiting within arm’s reach make winter mornings easier, and the brass bar doubles as quiet wall jewelry in a plain room.
Hardware placement decides whether a bathroom feels thoughtful or random. Group the towel bar, hook, and paper holder in one finish and one height line, and the wall reads planned. Thick white towels folded in thirds show the brass at both ends, a small hotel habit that costs nothing and lifts the room every single day.
Guest Bath Refresh

BEFORE: The guest bath mixed a scratched acrylic counter, chrome faucet, and a frameless mirror under flat white light. Everything worked, yet nothing felt cared for, and overnight guests hurried through the room like a public restroom.
AFTER: A marble counter remnant, warm brass faucet, and framed brass mirror changed the room in one weekend. Cream paint warmed the walls, and a small vase of greenery finished the sink like a bedside table.
Guest baths are the safest place to test a bolder finish, since the room is small and the audience is kind. Remnant marble keeps costs sane, and brass brings the welcome. Add one thoughtful extra, a carafe and glass on the counter, and guests feel hosted rather than housed.
Open Shelf Styling
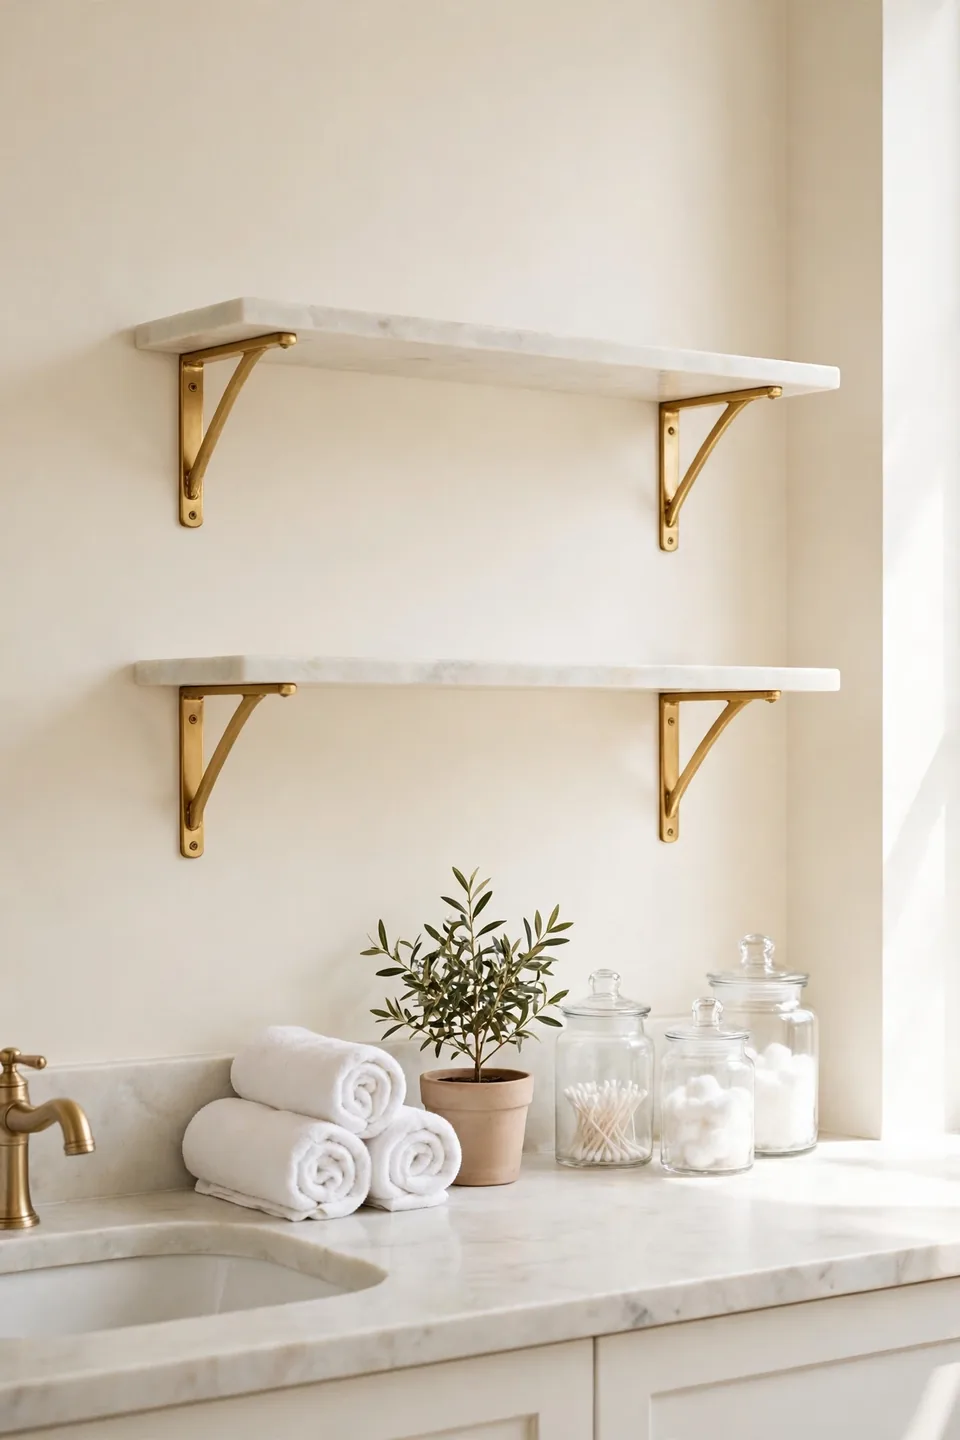
- Mount brass brackets into studs, checking level twice before the marble shelf goes on.
- Set the shelf and load the heaviest items, jars and spare bottles, in the center.
- Roll white towels tightly and stack them at one end for softness.
- Group daily items in odd numbers, three jars or five small pieces.
- Leave the front third empty so the shelf reads calm, not crowded.
Open shelves suit this palette because the materials themselves are the display. Marble and brass need no decoration in front of them, only tidy habits behind them. Keep daily items low, pretty pieces high, and wipe the stone weekly so the shelf always looks freshly styled.
Marble Tile Pattern Choice
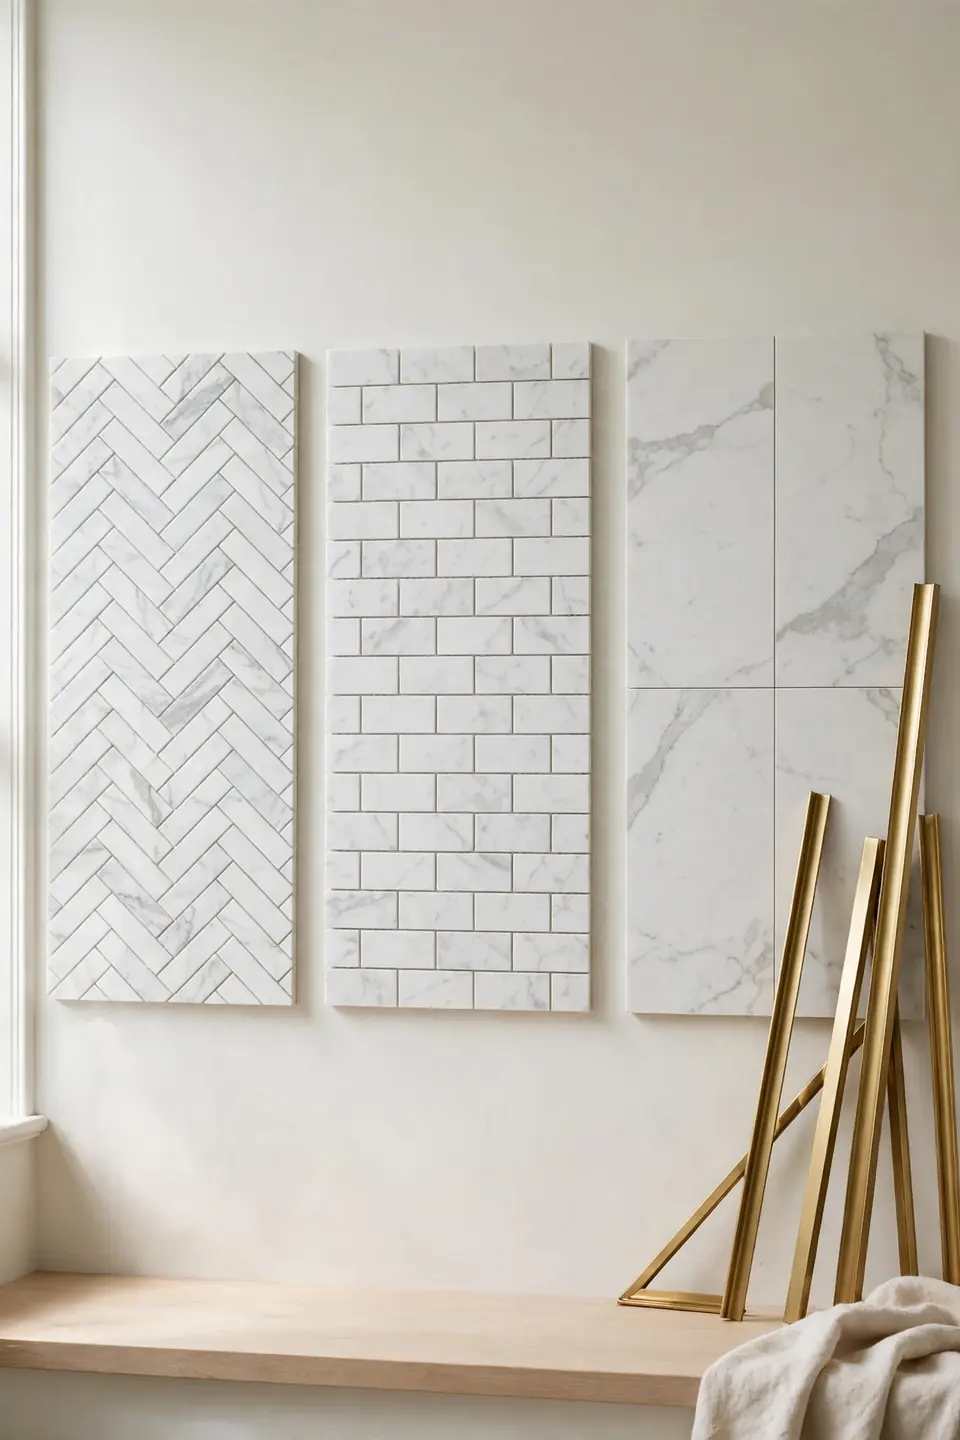
| Pattern | Feel | Best Spot |
|---|---|---|
| Herringbone | Classic movement | Shower floors and niches |
| Stacked Subway | Clean and modern | Full walls behind vanities |
| Large Format | Calm and spacious | Floors and low splash zones |
| Hex Mosaic | Vintage grip underfoot | Small floors and entries |
Pattern changes how the same marble behaves. Small pieces mean more grout lines, which add grip on floors and texture on walls, while large tiles show the veining in long, quiet sweeps. Match grout close to the stone color so pattern, not grid, leads the eye. Keep brass edging on exposed tile corners for a finished, jewelry like detail that echoes the fixtures.
Metal Mixing Rules
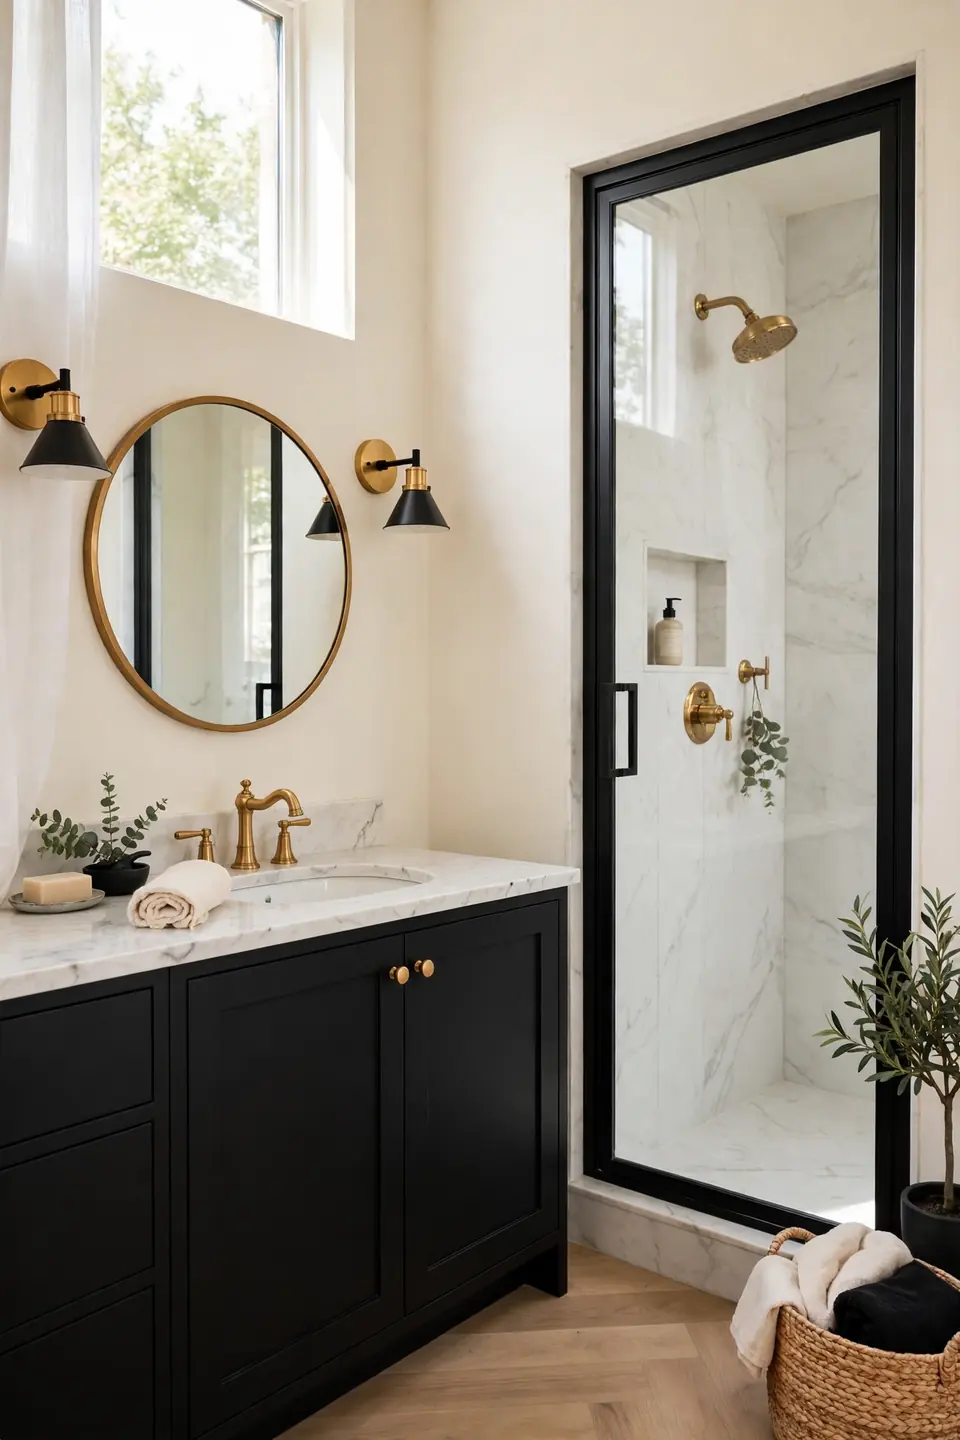
Do:
- Let brass lead on faucets, mirrors, and lighting.
- Repeat the second metal at least three times so it reads as a plan.
- Keep both metals in the same warmth family, warm brass with warm black.
- Carry the mix into small details, hooks, hinges, and drawer knobs.
Don’t:
- Scatter four or five finishes across one small room.
- Place shiny chrome beside aged brass and expect harmony.
- Mix cool silver tones with warm marble veining.
- Hide the pairing behind closed doors only.
Two metals are plenty for one bathroom. Brass carries the warmth, black adds the outline, and marble keeps the peace between them. Choose the lead metal first, then repeat the supporting one with discipline, and even a mixed room feels calm and deliberate.
Budget Brass Quick Facts

Cost: Low to moderate, spent in stages over months
Time: One fixture swap per weekend, no full closure
Skill Level: Beginner, with basic tools and patience
Best For: Renters and first homes on real budgets
A brass and marble look does not demand one large check. Start with the faucet, the hardest working piece, then the mirror, then lighting, letting each stage settle before the next spend. Remnant stone yards sell small marble pieces cheaply, perfect for one vanity. That’s why many experts recommend staging the plan: the room improves monthly, and every purchase gets full attention and honest use.
Marble Backsplash Moment
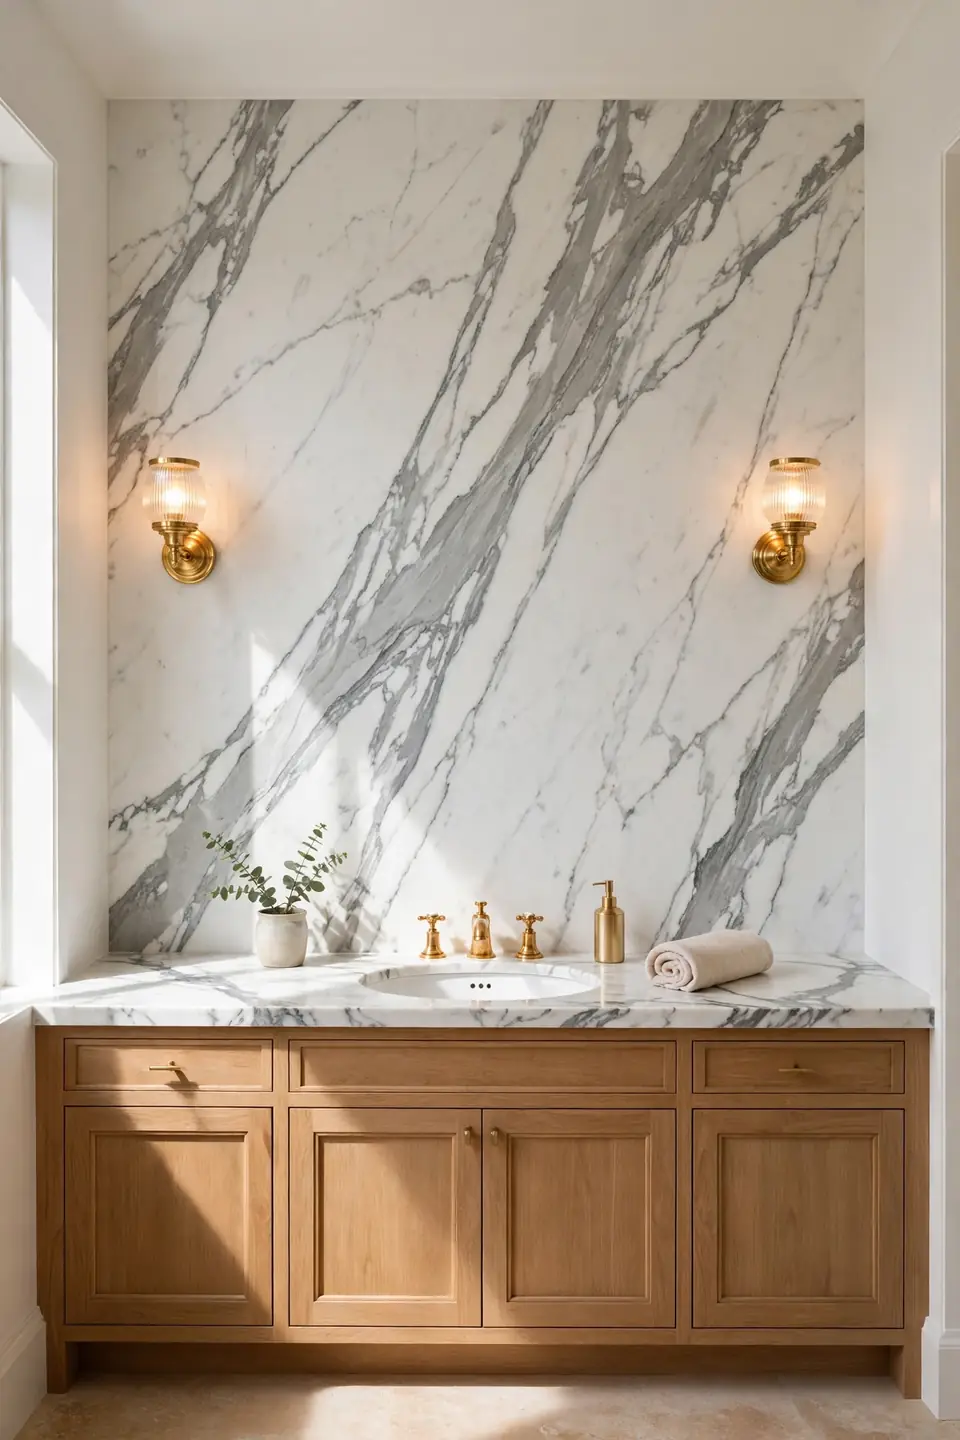
A full height marble backsplash turns the vanity wall into the room’s artwork. One slab, counter to ceiling, shows veining in long dramatic sweeps that small tiles can never match. The stone also ends grout lines behind the sink, where splashes used to stain and darken.
Book matching, two mirrored slabs, doubles the drama for wide double vanities. Keep the rest of the room quiet, plain towels, simple mirror, warm brass, so the wall stays the single loud voice. Sealed yearly, the slab shrugs off daily splashes and keeps its gallery calm for decades. In my experience, guests photograph this wall more than any other surface in the house.
Cabinet Knob Details
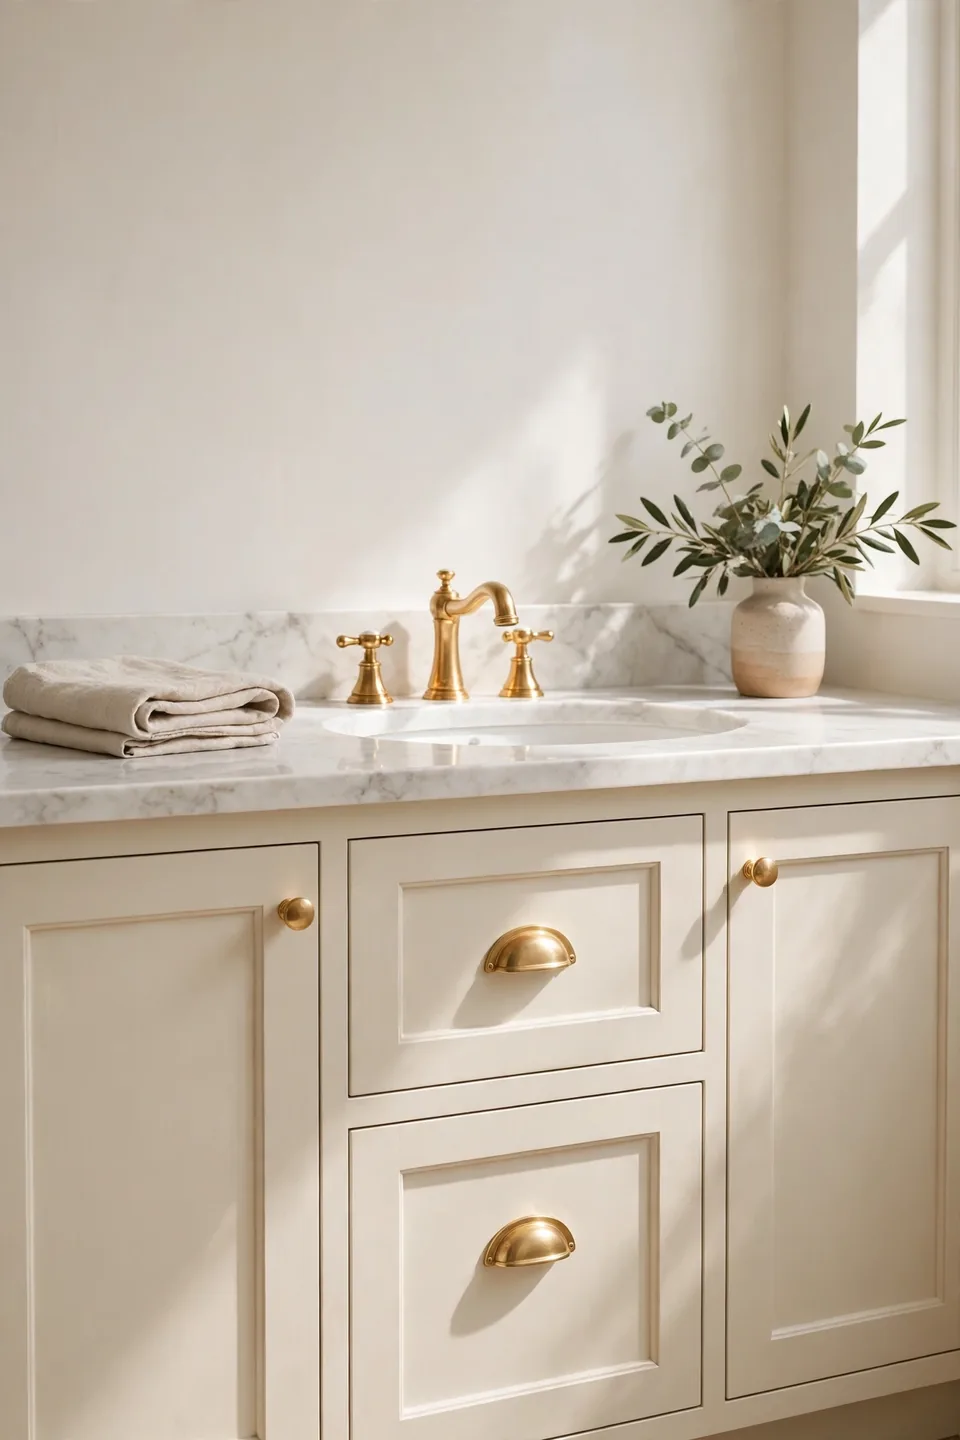
- Choose knobs for doors and cup pulls for drawers, one shape per job.
- Size knobs near one inch so fingers grip them comfortably when wet.
- Match the knob finish to the faucet finish exactly.
- Center knobs on the rail, at the corner nearest the opening side.
- Keep spare knobs from the same batch for future cabinet additions.
Small hardware carries more visual weight than its size suggests, because hands and eyes land on it constantly. Brass knobs warm painted cabinets the way buttons finish a coat. Buy one knob first, live with it on a single door for a week, and check the finish in morning and evening light before ordering the full set for the room.
Soap Dish Styling

Quick Tip: Choose a brass dish with raised ridges or tiny feet. Soap dries between uses instead of melting into a puddle, the bar lasts twice as long, and the marble below stays free of soap rings and cloudy residue week after week.
Counter corners collect the small things guests notice most. A brass dish, a folded hand towel, and one green sprig turn the sink edge into a composed still life instead of a clutter line. Keep only what hands use daily on the stone surface, and store the rest behind doors, so the pretty corner survives real weekday mornings.
Primary Bath Retreat
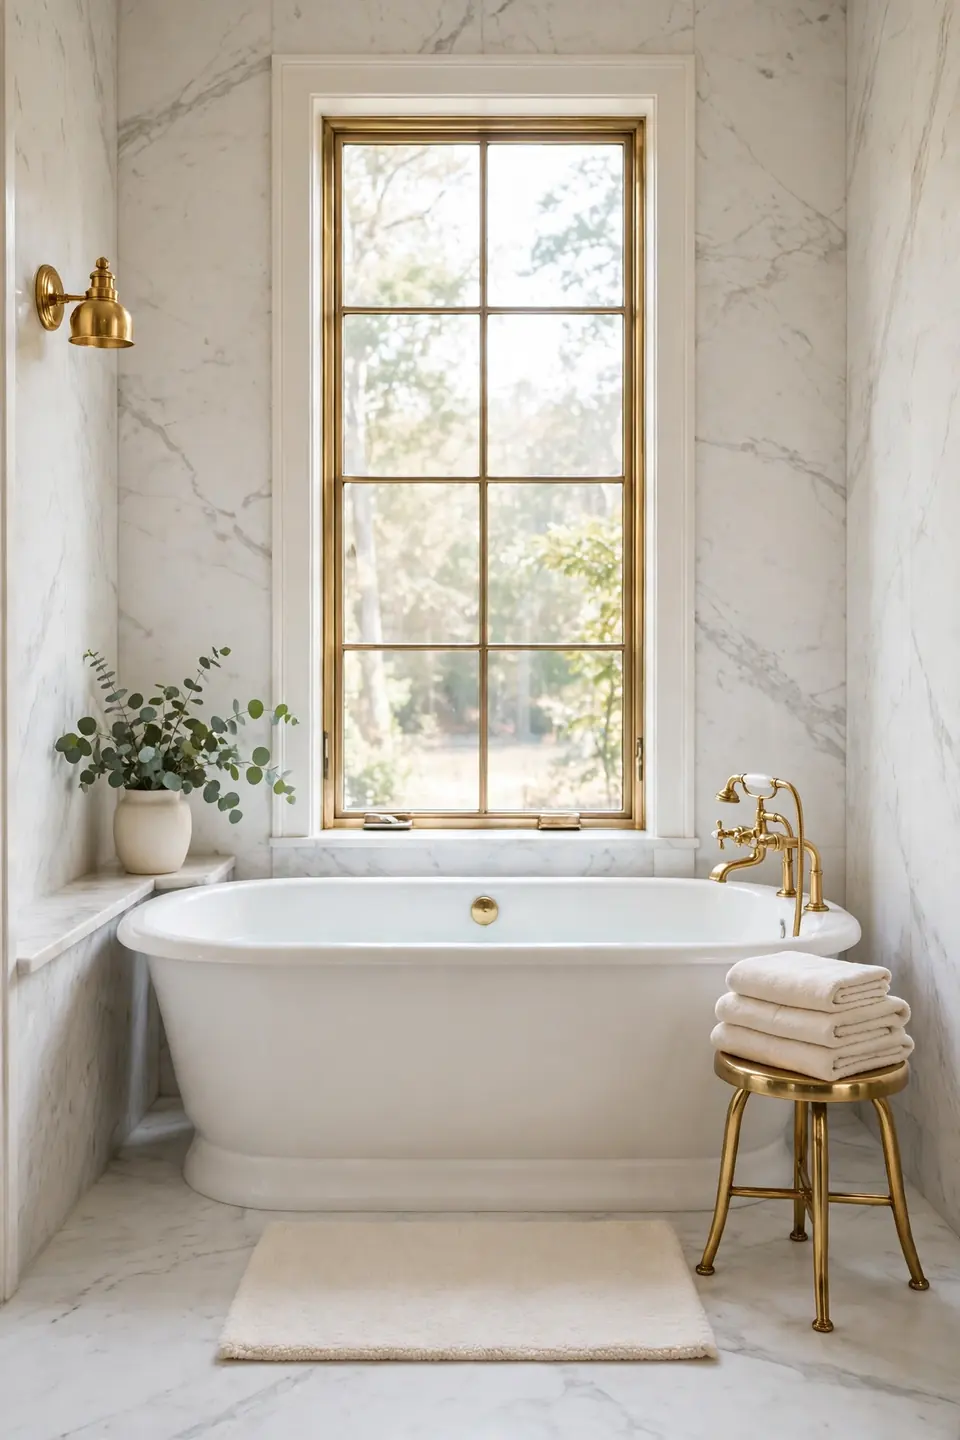
BEFORE: The primary bath served as storage with a tub, holding cleaning bottles, a scale, and laundry baskets beside a builder grade vanity. Chrome fixtures and cold tile made the largest bathroom in the house feel like the least loved.
AFTER: Marble floors, a deep soaking tub, and warm brass fixtures now anchor a calm retreat. Bottles moved behind mirrored doors, a brass stool holds towels, and evening baths by window light became the household’s quiet ritual.
A retreat is mostly subtraction. Clear the floor, hide the bottles, keep stone and brass and soft towels, and the room exhales. One warm metal repeated at tub, sink, and shower keeps the calm unbroken from door to window.
Layered Lighting Setup
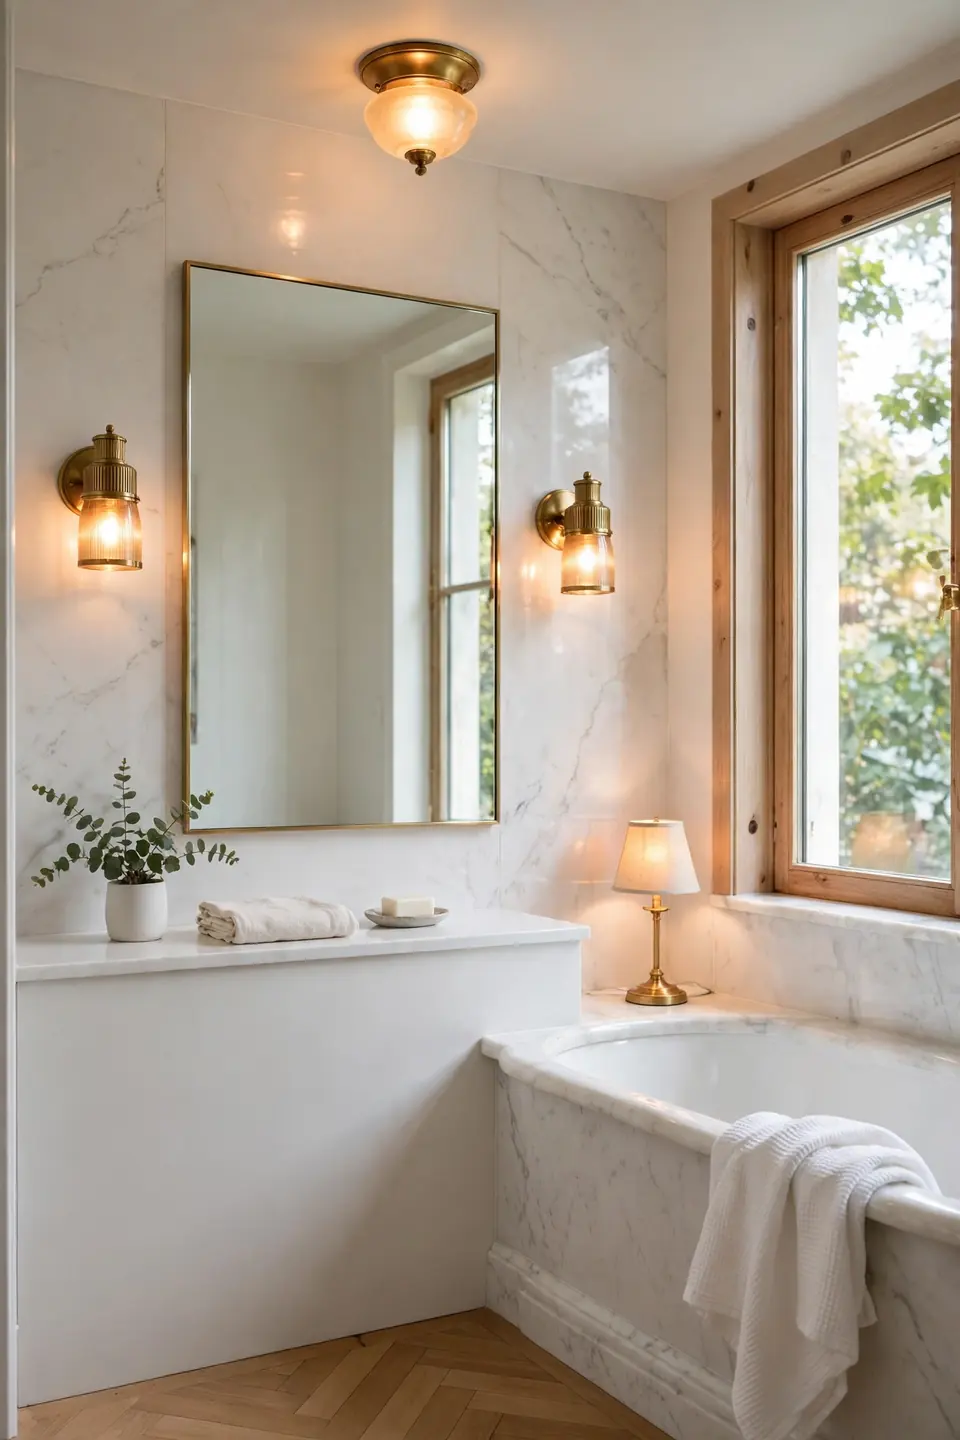
- Start with sconces at face level beside the mirror, wired on their own dimmer.
- Add one ceiling fixture in the same brass finish for full room light.
- Place a small warm lamp or candle glow near the tub for evenings.
- Choose bulbs in one warm temperature so layers blend without clashing.
- Test the room at dawn and dusk, then adjust dimmer levels once.
Layered light lets one room serve two lives, bright and honest at seven in the morning, low and golden by nine at night. Marble multiplies every layer by reflecting it softly, and brass fixtures glow like small lamps themselves. Keep bulbs consistent in warmth, and the whole room stays in one gentle register.
Stone Counter Comparison
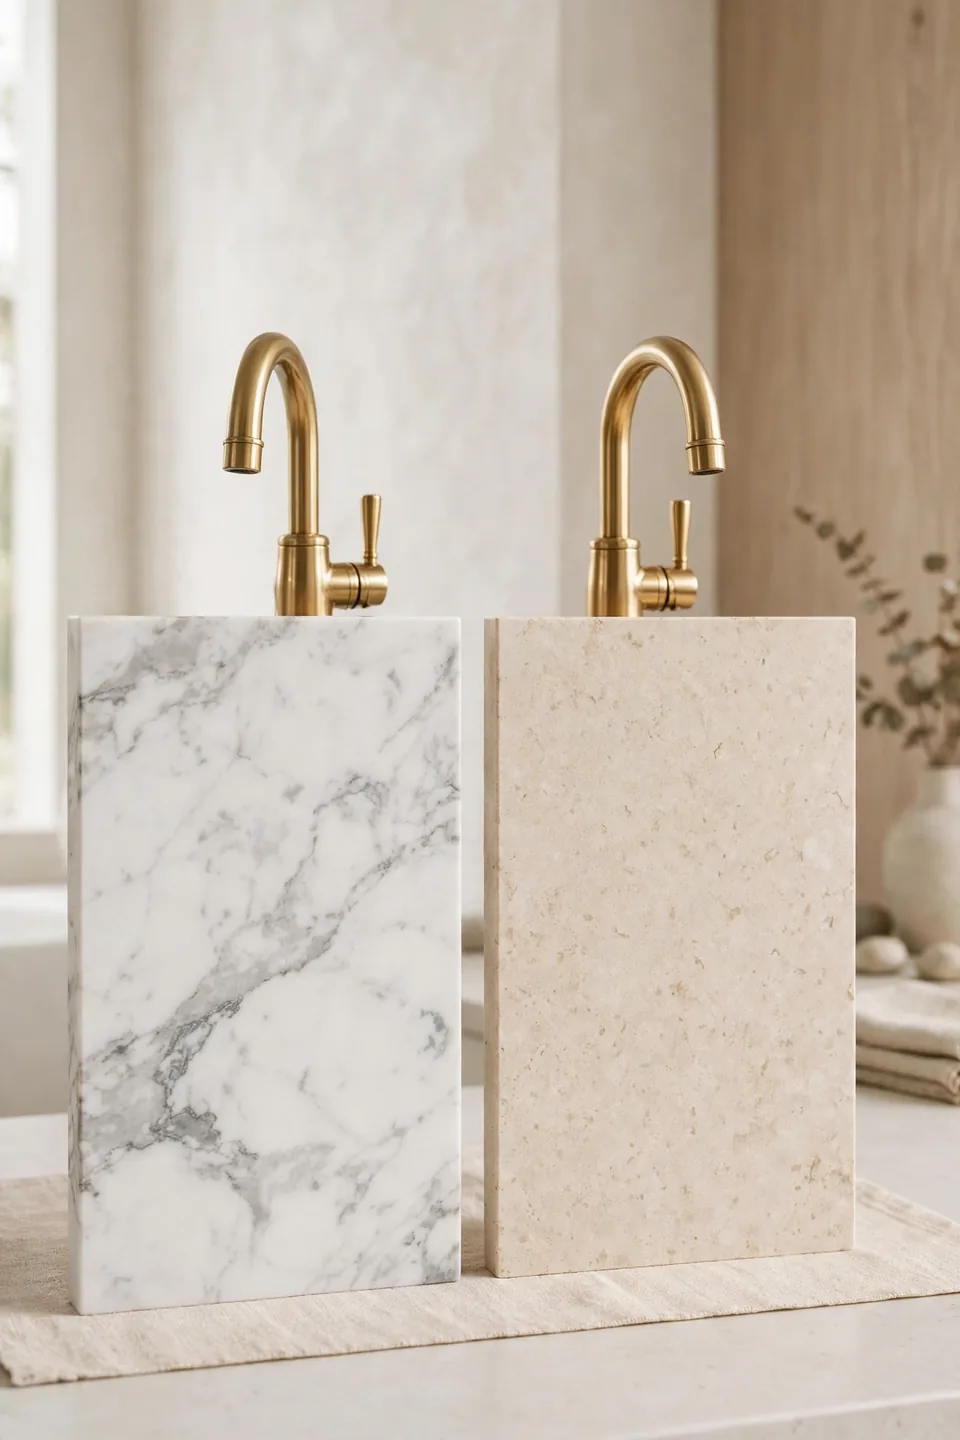
| Stone | Character | Care |
|---|---|---|
| Marble | Living veining, cool touch | Seal yearly, blot spills |
| Quartzite | Harder, marble look | Seal rarely, very forgiving |
| Granite | Speckled, hides crumbs | Seal yearly, sturdy daily |
Marble wins on beauty and loses slightly on forgiveness, while quartzite offers the same pale look with a harder heart. Granite hides daily mess best but reads busier beside calm brass. Choose with your habits, not your hopes: households that blot spills quickly thrive with real marble, and busy families often land happily on quartzite with no regrets later. Set a sample of each beside your faucet finish before deciding for good.
Daily Shine Habits
Do:
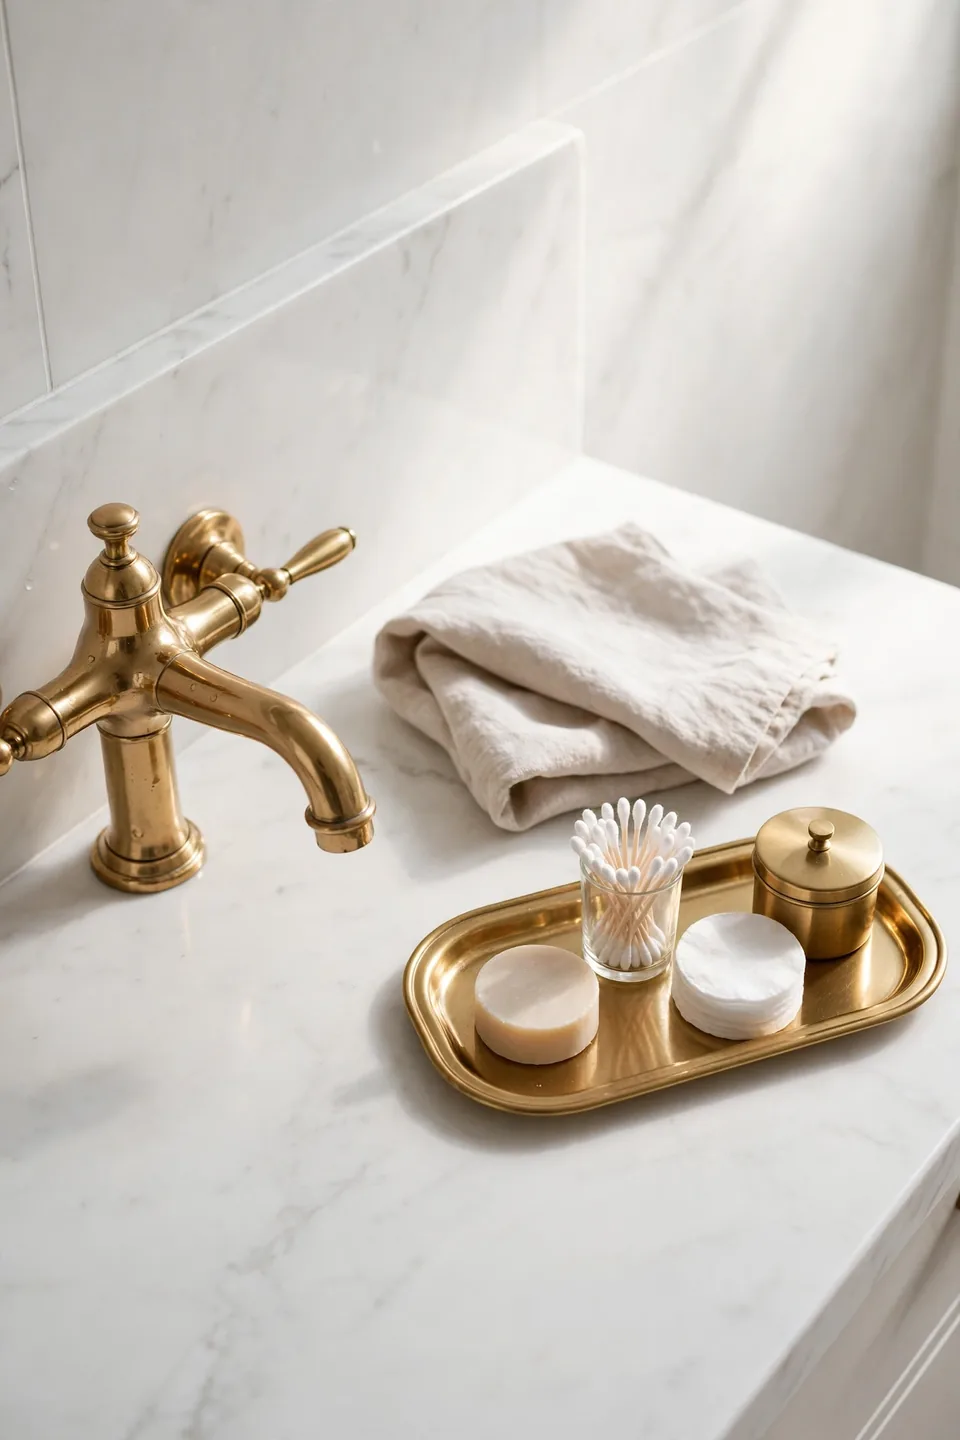
- Wipe faucets dry with a soft cloth after the morning rush.
- Rinse soap and toothpaste splashes off marble before they dry.
- Keep a small tray under daily bottles to catch drips early.
- Buff brass weekly with a dry cloth to hold the glow.
Don’t:
- Spray brass with harsh cleaners that strip the warm finish.
- Leave wet cloths sitting on the marble for hours.
- Set hot styling tools directly on the stone surface.
- Let water pool around the faucet base all day.
Five calm minutes protect the whole investment. Dry metal, clear stone, tidy tray, and the bathroom greets every morning already shining. Guests assume a housekeeper; the real secret is simply never letting water sit where it lands.
Conclusion
Brass and marble ask for simple choices and reward them for decades. Pick one warm finish, repeat it with discipline, let pale stone carry the light, and keep daily habits small and steady. Save your favorite ideas from this list to a Pinterest board, choose the three that fit your bathroom today, and start with the change you will touch every morning. I’ve seen how small, steady upgrades turn a plain bath into the room people photograph. The finest vintage brass and marble bathroom decor is not the most expensive room, just the one that feels warm, calm, and cared for daily.