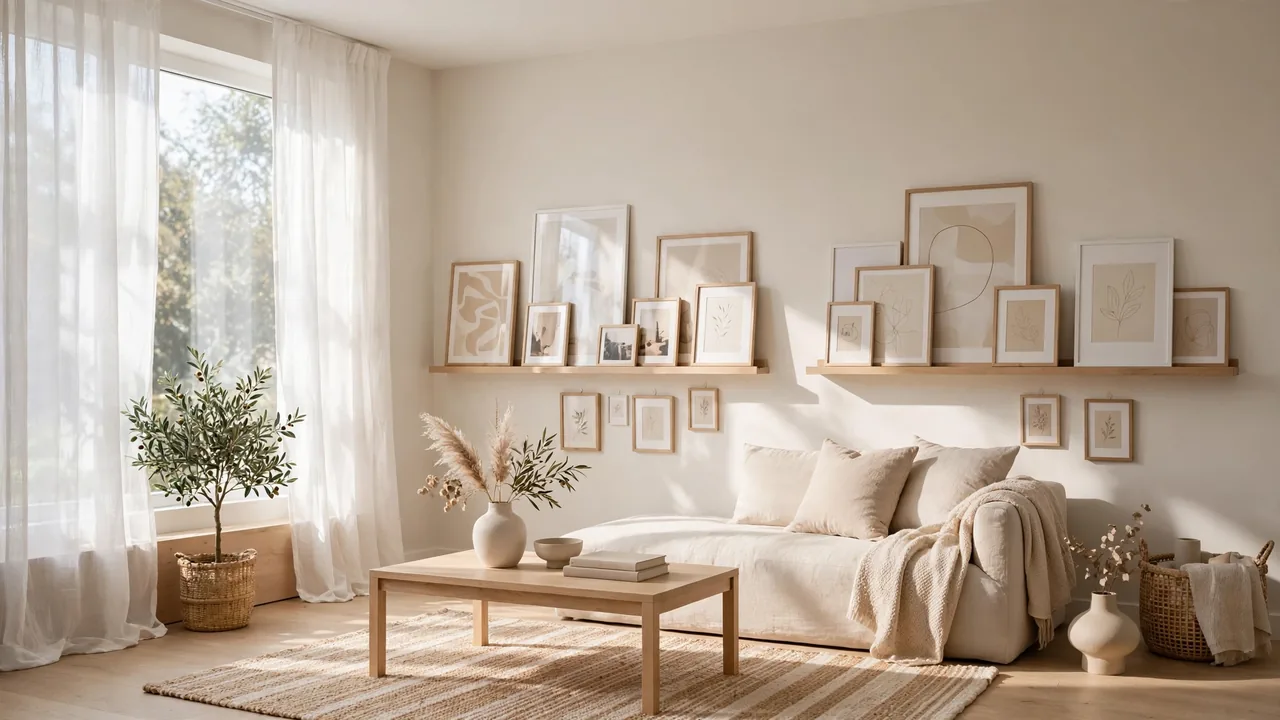
How to Decorate Walls Without Drilling
Blank walls can make even a lovely room feel unfinished, and learning how to decorate walls without drilling opens up renter-friendly options that keep your deposit safe. You do not need power tools or landlord approval to create walls worth looking at.
In my experience, renters wait months to hang a frame because they fear wall damage, while the right no-drill methods take an afternoon. If you are also working with a tricky layout, see how to arrange furniture in narrow rooms for ideas that pair well with these wall solutions.
This guide walks you through ten practical approaches, from adhesive strips to leaning art, so you can choose what fits your walls and your style. By the end, you will know exactly which method to use in every room.
Why Drilling Is Not Always an Option
Many renters sign leases that forbid holes in walls, and losing a security deposit over a few nail holes feels painful. Homeowners face their own limits too, like concrete walls, tile backsplashes, or plaster that crumbles the moment a drill touches it. Even small apartments often have strict rules, and patching holes badly can cost more than the decor itself.
The good news is that wall decor never required drilling in the first place. Modern adhesives hold surprising weight on drywall, and styling tricks like leaning large frames create a relaxed look that a row of drilled holes cannot match.
Know Your Wall Type First
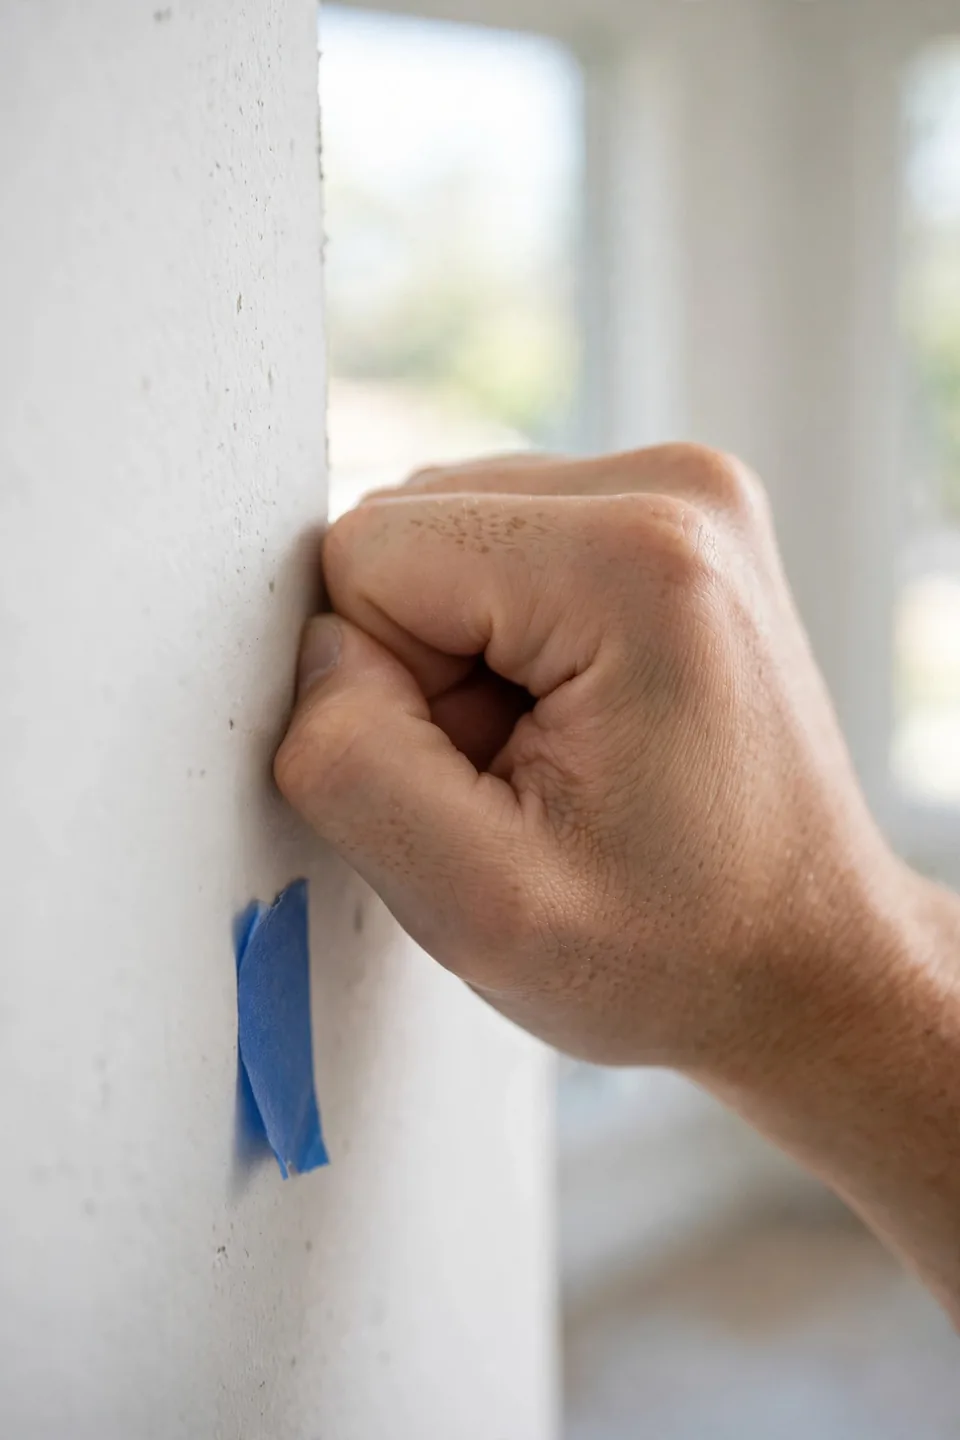
Different walls grip adhesives differently, so identifying your surface prevents frames from sliding off at midnight. A quick check now saves you from repainting or repairing damage later, and the whole test takes less than five minutes with no special tools.
- Press your knuckle against the wall. A hollow sound usually means drywall, while a solid thud points to plaster or concrete.
- Stick a small piece of painter’s tape on the surface and peel it off. If paint comes with it, the paint is weak and adhesives may pull it away.
- Check for texture. Heavy orange-peel or knockdown texture reduces adhesive contact, so plan for lighter frames or more strips.
- Note damp areas like bathroom walls. Moisture weakens most adhesives, so choose products rated for humid rooms.
Adhesive Strips and Hooks
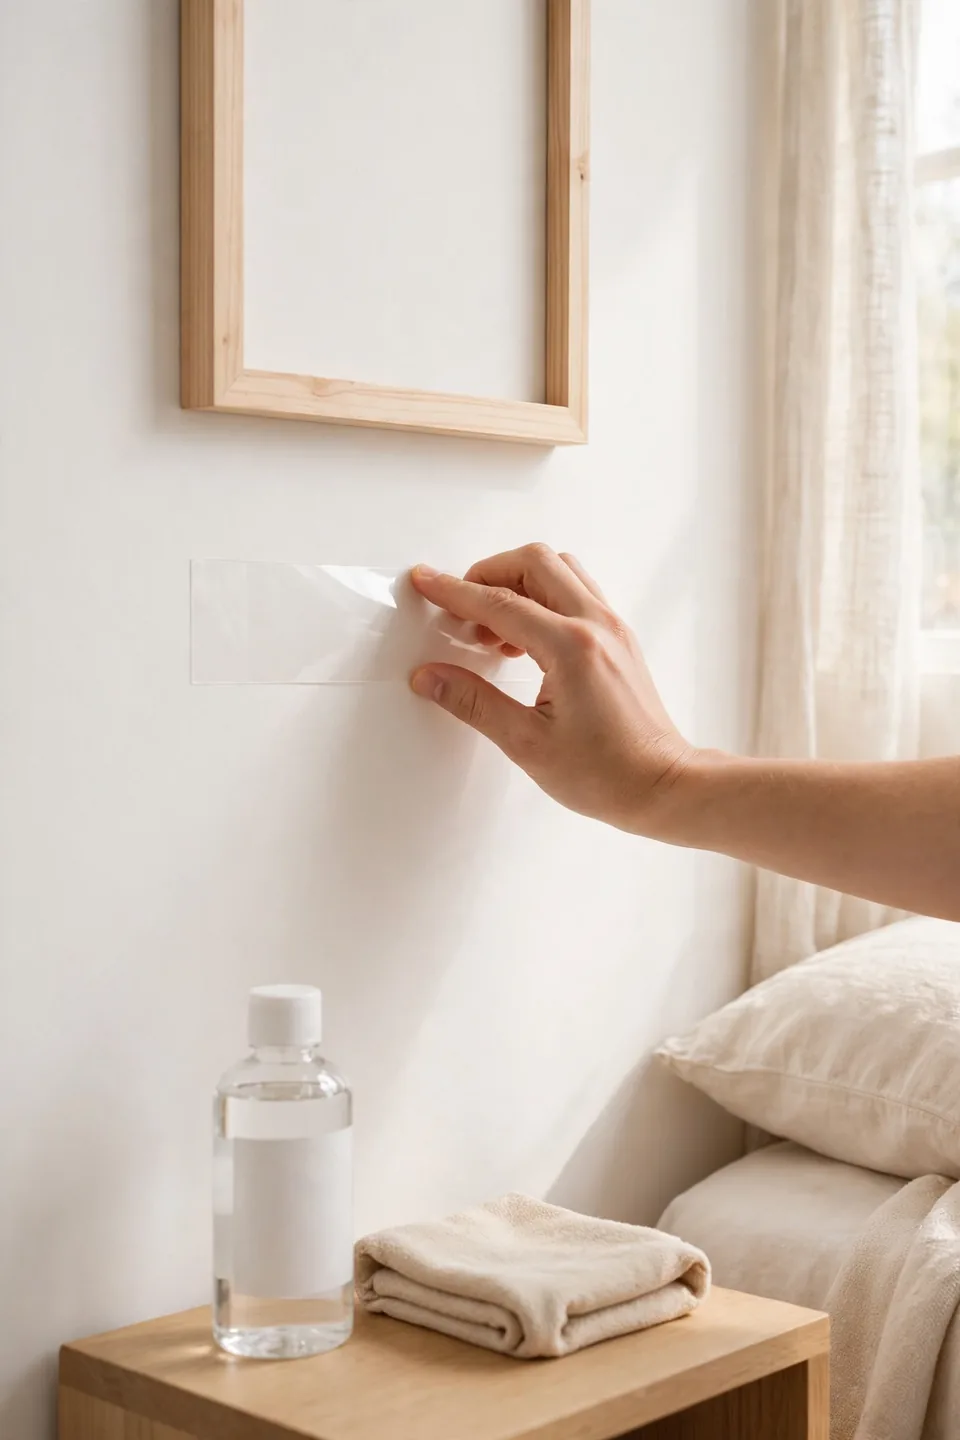
Quick Tip: Always clean the wall with rubbing alcohol and let it dry fully before pressing a strip in place. Dust and grease are the top reasons strips fail, not the weight of your frame. Press and hold for a full thirty seconds to activate the bond.
Adhesive strips are the workhorse of drill-free decorating because they hold up to several pounds and remove when you pull the tab. Match the strip size to your frame weight, and use two sets for anything wider than a sheet of paper. Replace strips yearly in sunny spots, since heat weakens the adhesive over time.
Lean and Layer Large Art
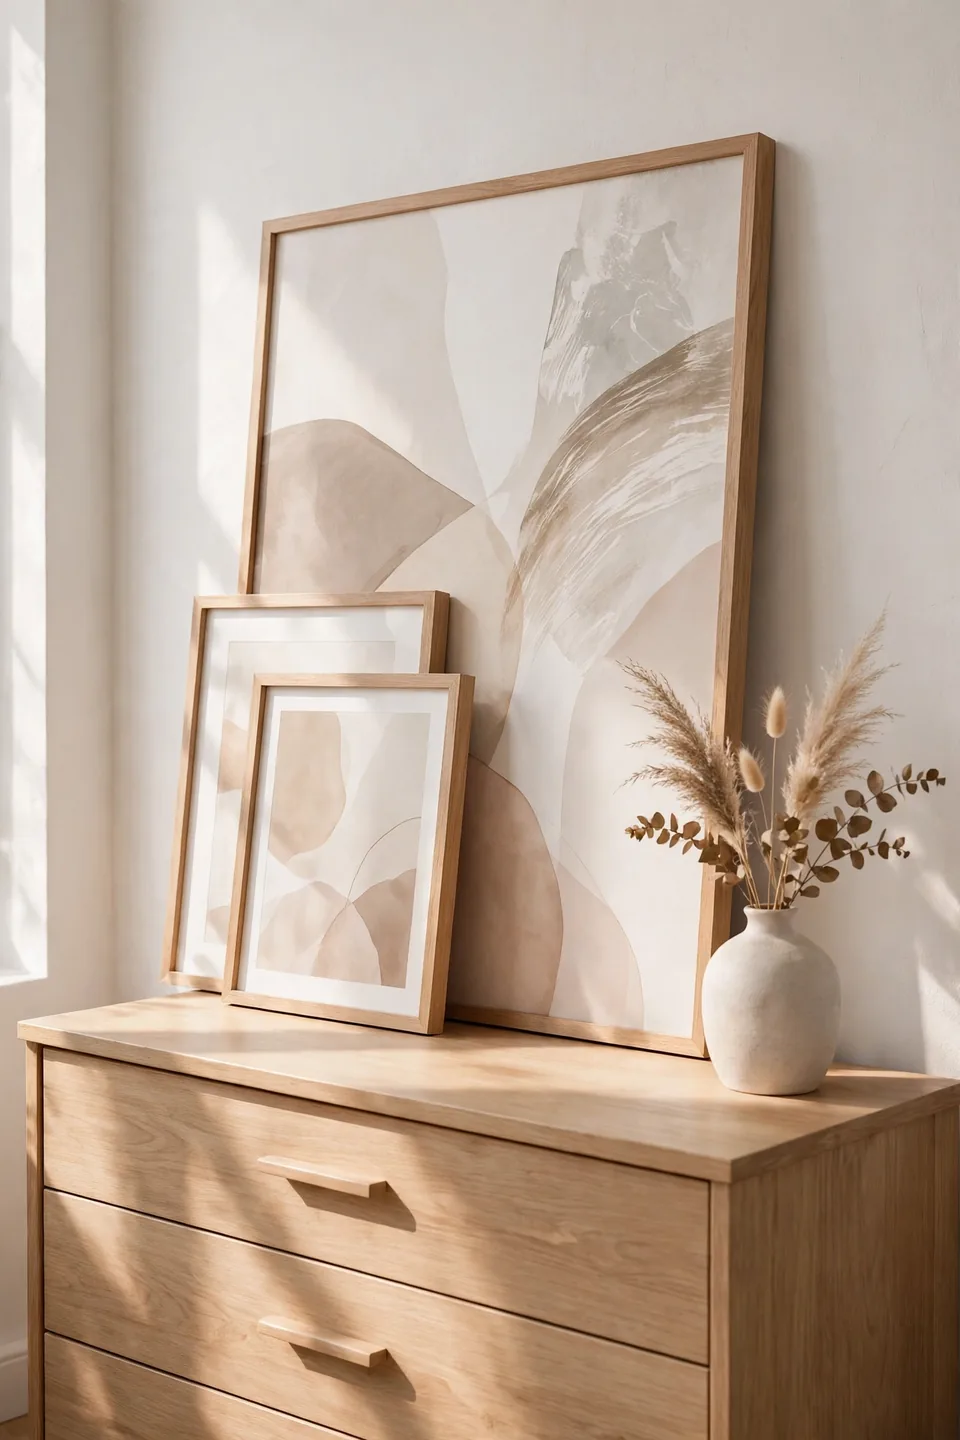
Common Mistake: Most people assume art must hang on the wall to look intentional, so they force small frames onto strips that cannot hold them. The result is crooked pieces and damaged paint when the strips give way under too much weight.
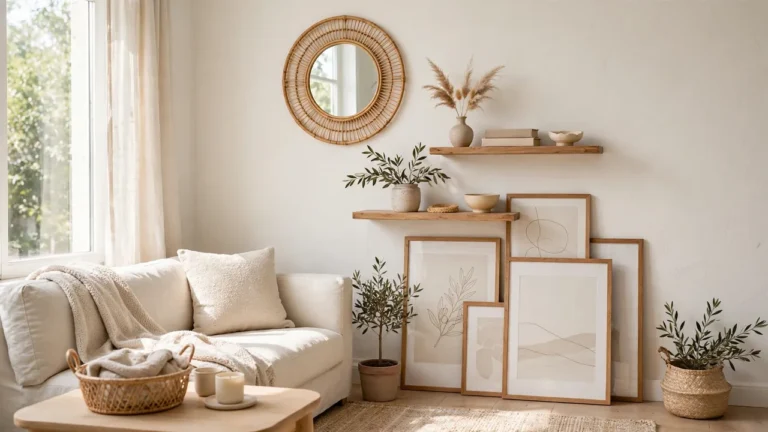
The Fix: Lean large frames against the wall on a dresser, mantel, or even the floor for a relaxed gallery feel. Layer a smaller frame in front of a bigger one, and the arrangement looks styled rather than unfinished.
Leaning art works best when the bottom edge sits securely and the top tilts gently back against the wall. Keep the largest piece at the back and vary heights in front for depth. This approach suits renters perfectly because nothing touches the wall except the frame’s top edge.
Use Picture Ledges for Flexibility
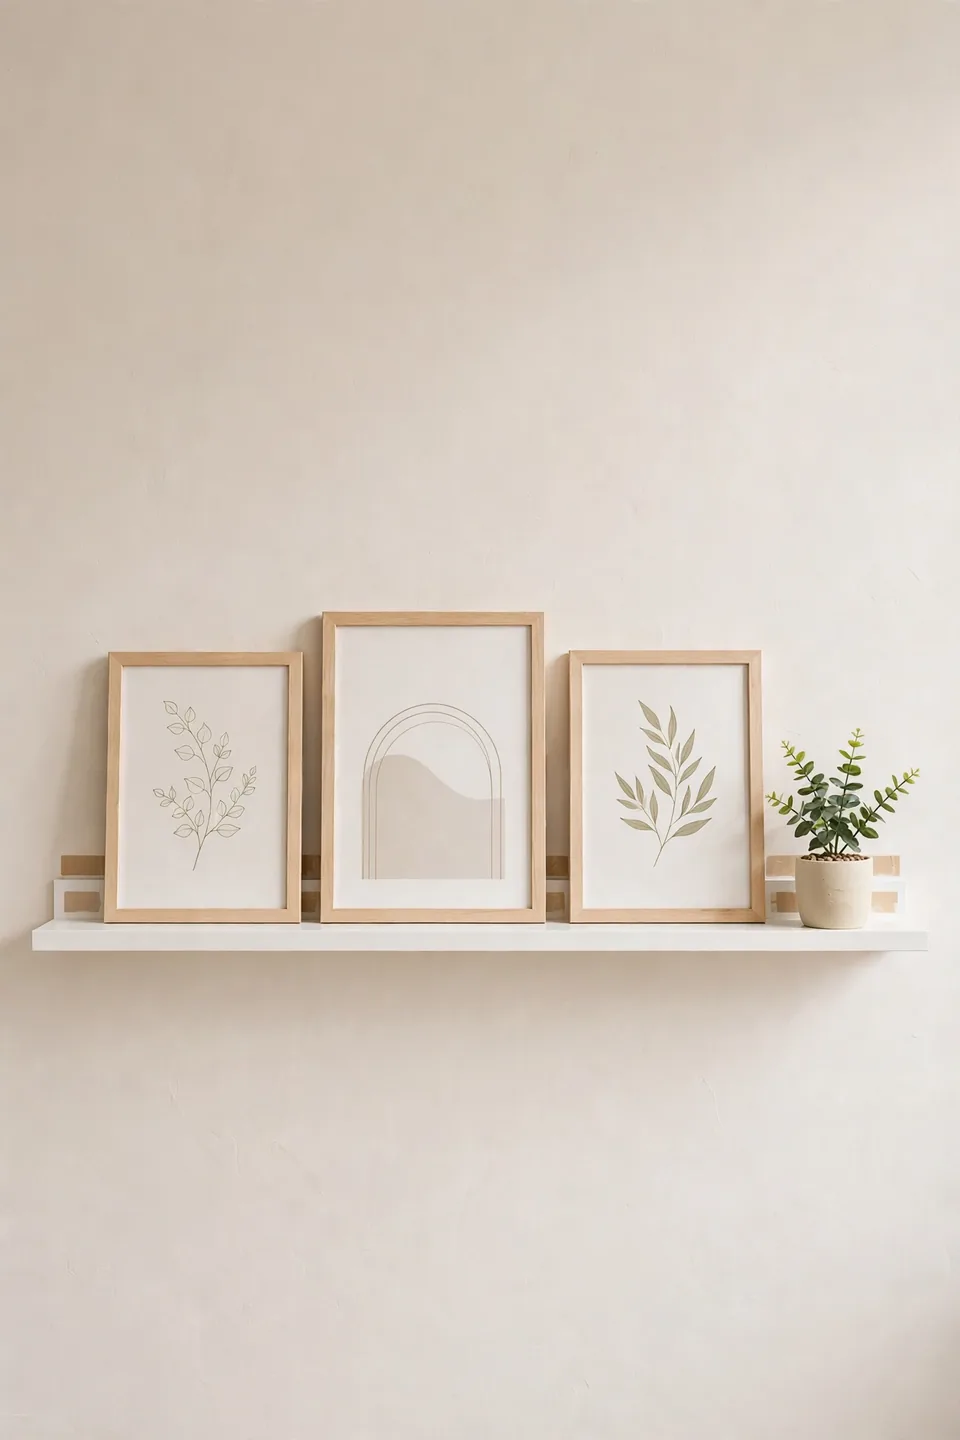
What You Need:
- Narrow picture ledge shelf: A slim shelf with a front lip keeps frames from sliding off.
- Adhesive mounting strips rated for shelves: Choose heavy-duty strips designed for the shelf’s loaded weight.
- Small level: A level keeps the ledge straight, which matters more than you might think.
- Painter’s tape: Use it to mark the ledge position on the wall before you commit.
- Microfiber cloth and alcohol: Clean the wall area so the strips bond at full strength.
Picture ledges let you swap art with the seasons without touching the wall again, which is why learning how to decorate walls without drilling often starts here. Style the ledge with two or three frames, a small plant, and one sculptural object. Step back often while styling to check the balance from across the room.
Try Washi Tape and Decals
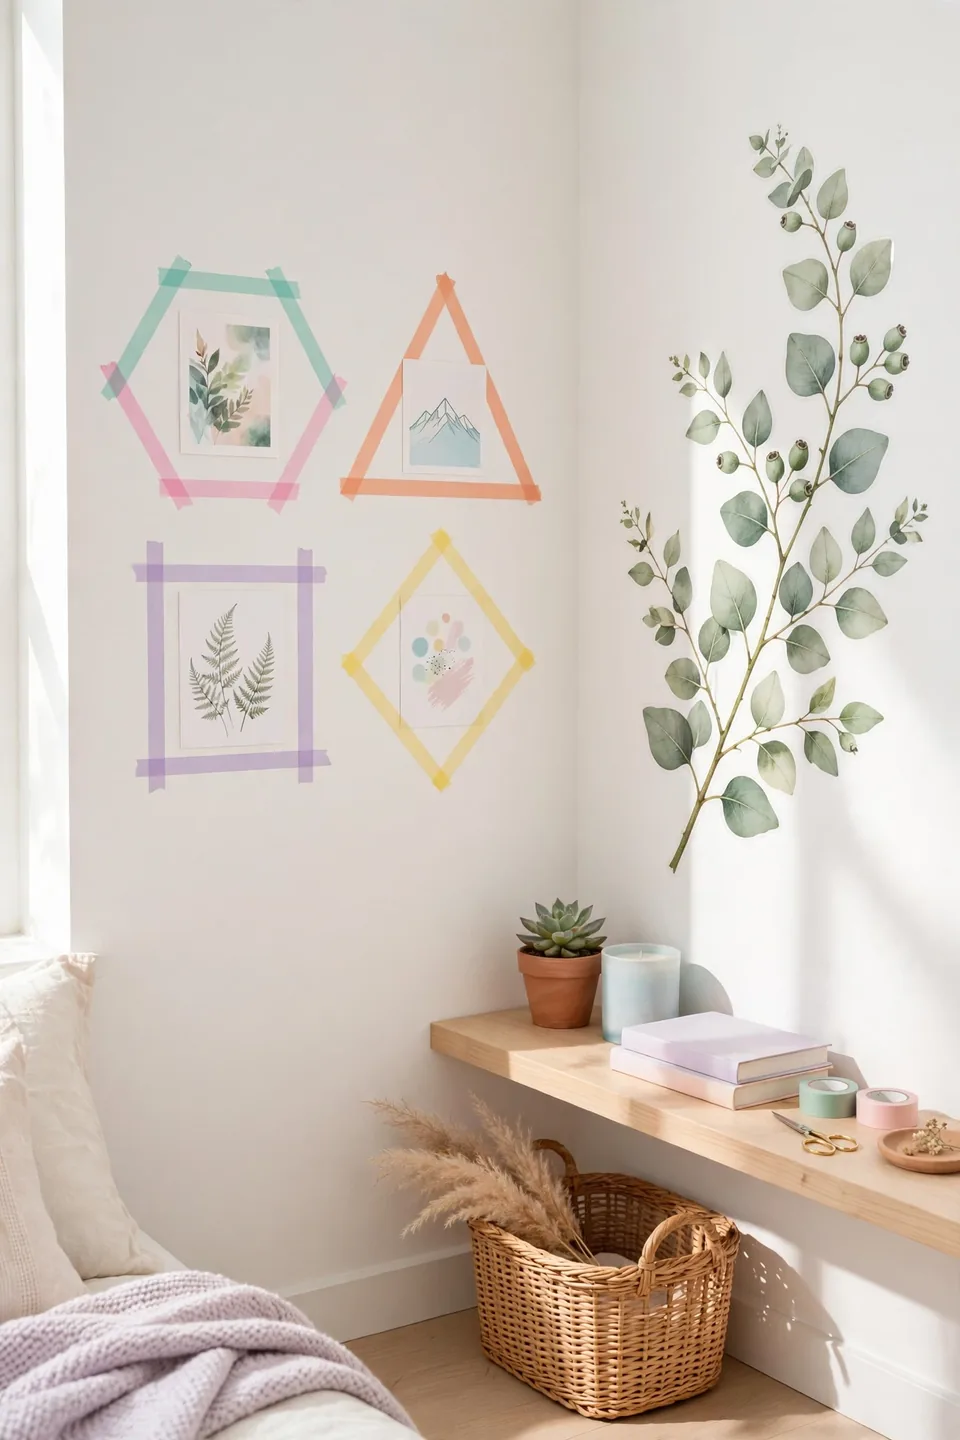
Before: Bare walls stare back at you every morning, and the rental agreement bans even tiny nail holes. You start to accept that your walls will stay blank until you move somewhere you can drill.
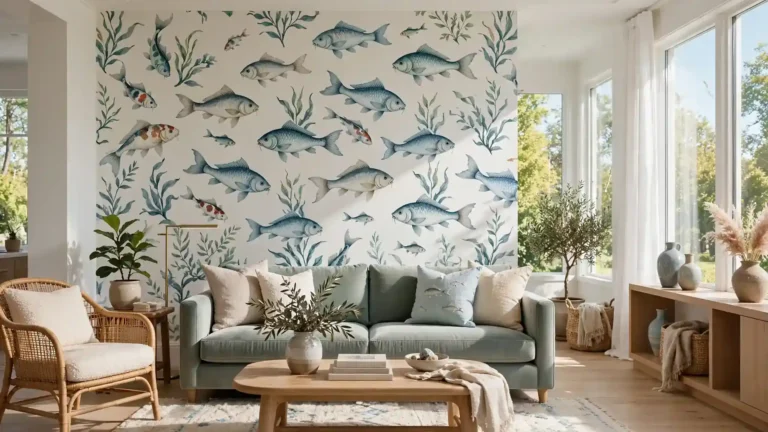
After: Colorful washi tape frames your prints like custom matting, and removable decals add pattern without residue. The room feels personal and finished, and everything peels away cleanly on moving day.
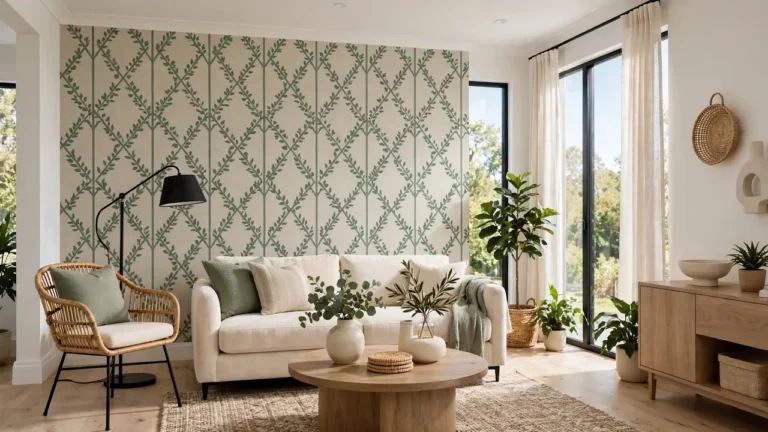
Start with washi tape borders around lightweight prints, then try larger decals on one accent wall. If your small space needs more help, these ideas for how to make small rooms look bigger pair beautifully with bold wall treatments. Remove decals slowly with gentle heat from a hair dryer to protect the paint.
Hang With Tension Rods
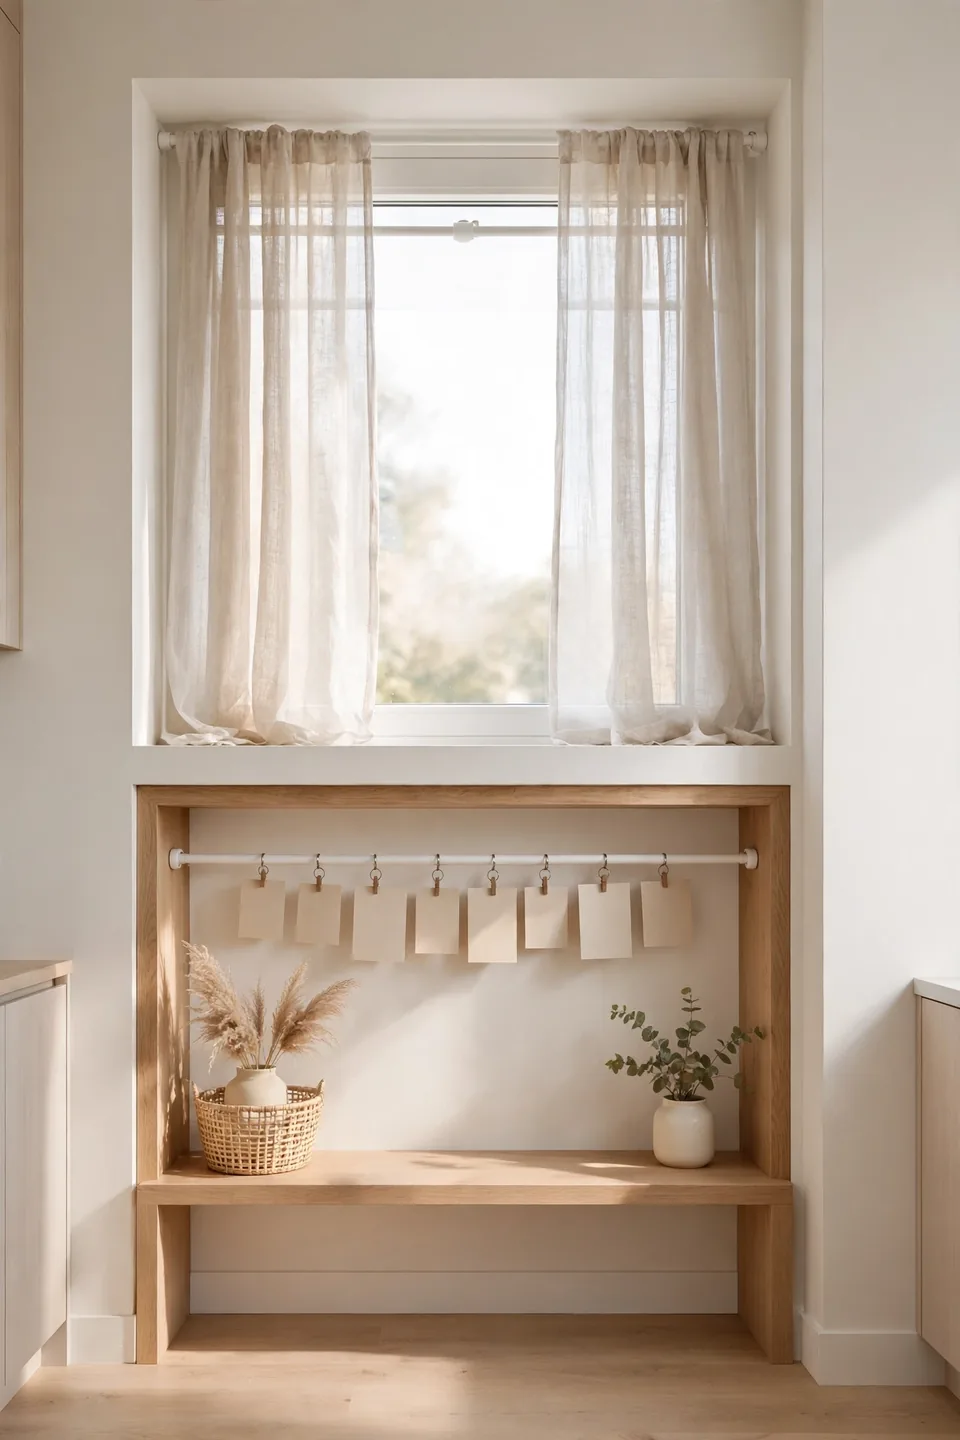
Do This:
- Measure the window or alcove width before buying so the rod extends at least an inch on each side.
- Choose curtains or tapestries with a rod pocket or clip rings for easy hanging.
- Twist the rod until it feels snug, then give it a firm tug to test the hold.
Avoid This:
- Do not hang heavy quilts or thick rugs from a tension rod meant for curtains.
- Avoid placing rods on crumbly plaster, which can crack under sideways pressure.
- Do not skip the tug test, since a falling rod can damage floors and frames.
Tension rods shine inside window frames and between closet walls, where two solid surfaces face each other. Hang lightweight curtains, fabric panels, or even a row of small prints clipped to rings. Check the tension monthly, because temperature shifts can loosen the grip over time.
Create a Gallery Without Nails
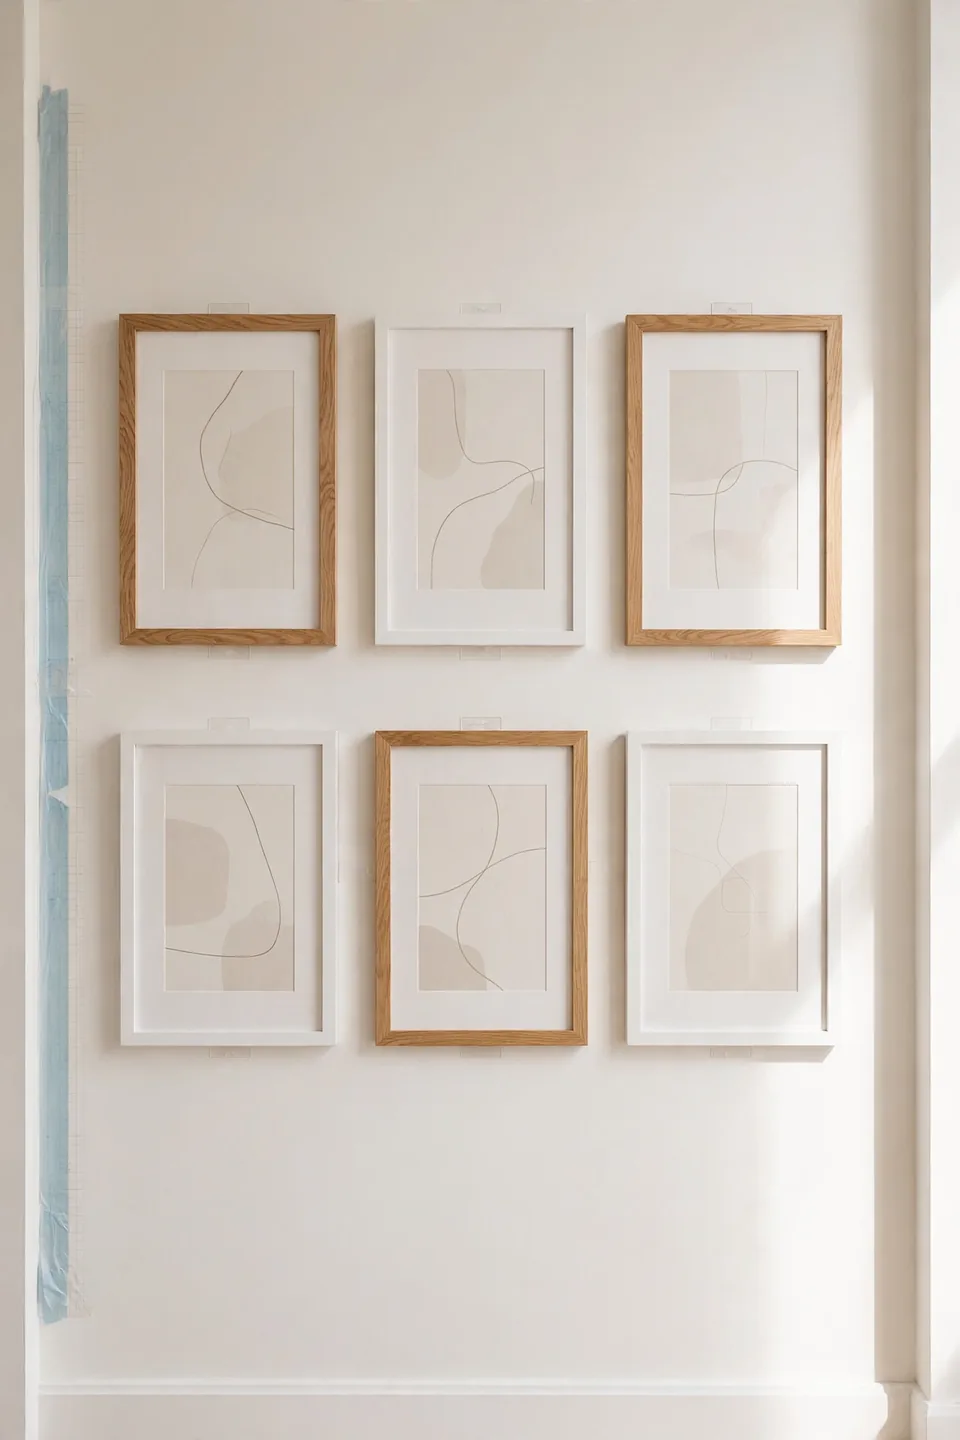
Time Needed: 2 hours | Difficulty: Easy | Cost: Low
Best For: Living rooms and hallways | Tools Required: Adhesive strips, level, painter’s tape
Pro Tip: Photograph your layout on the floor first, then transfer it to the wall
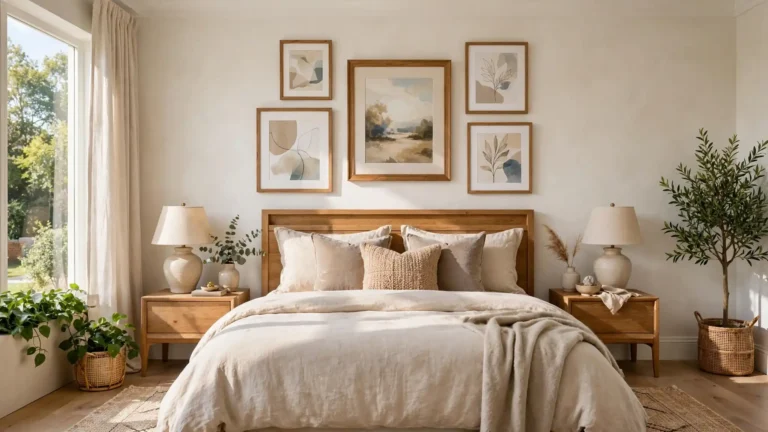
Lay your frames on the floor and arrange them until the grouping feels balanced, leaving two inches between pieces. Photograph the layout, then mount each frame with adhesive strips using the photo as your map. A level and painter’s tape guides keep rows straight without a single nail hole.
Common Mistakes That Damage Walls
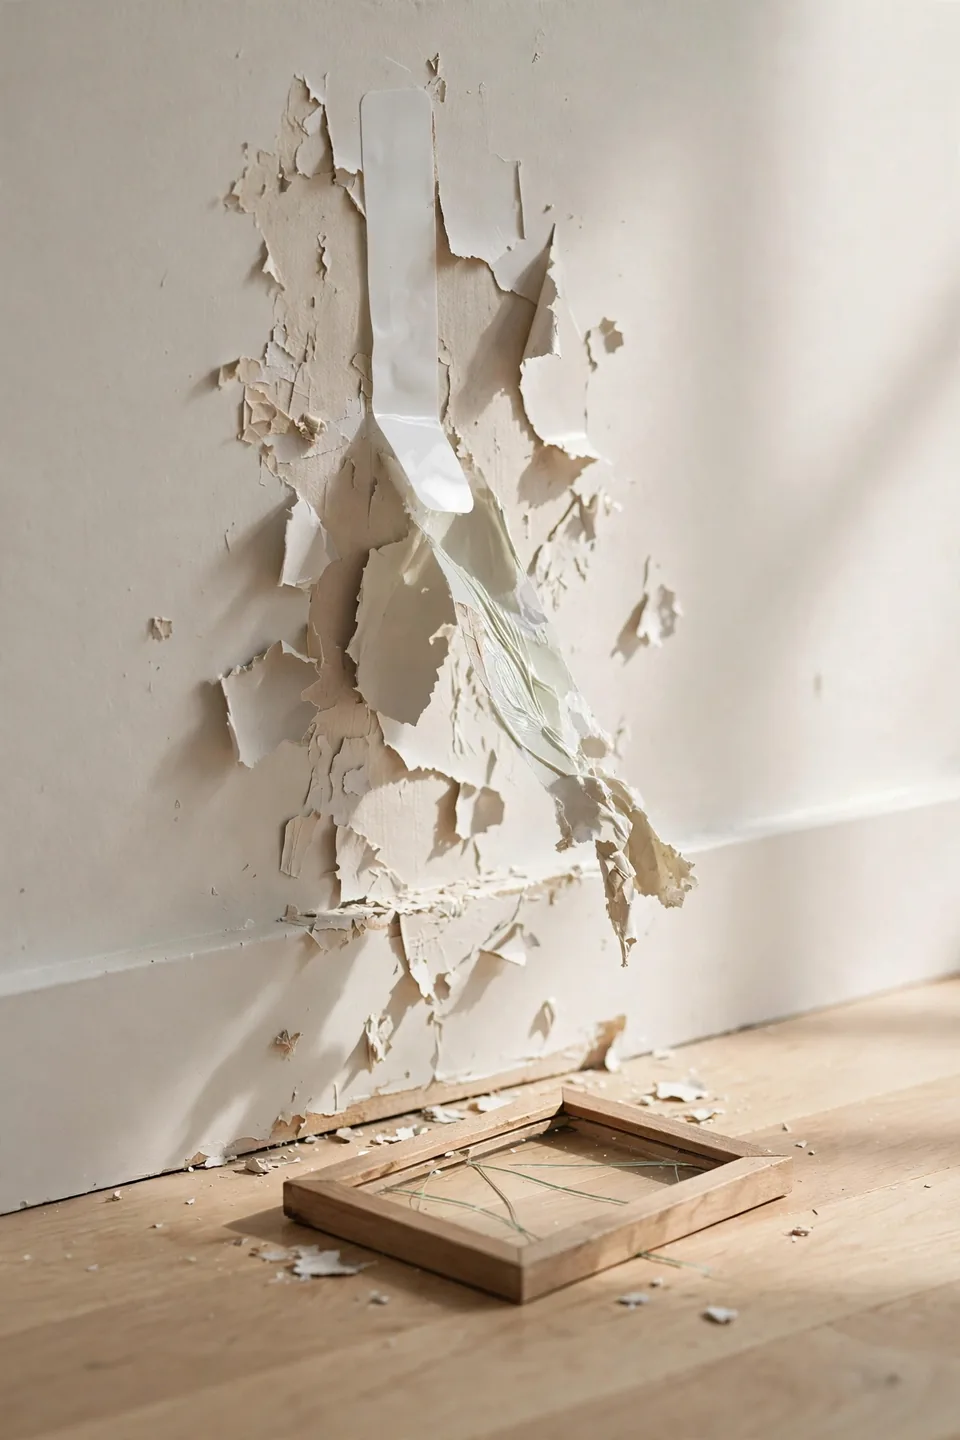
The biggest wall killer is skipping surface prep, since dust and grease stop adhesives from bonding fully. Another frequent error is overloading a single strip with a frame twice its rated weight, which ends in a midnight crash and torn paint. Test one strip in a hidden spot first, like behind a door, to confirm your paint can handle removal.
People also peel strips off too fast, yanking sideways instead of pulling the tab slowly downward. Always follow the removal direction on the package, and warm old strips with a hair dryer so they release without taking paint along.
Pro Tips for a Polished Look
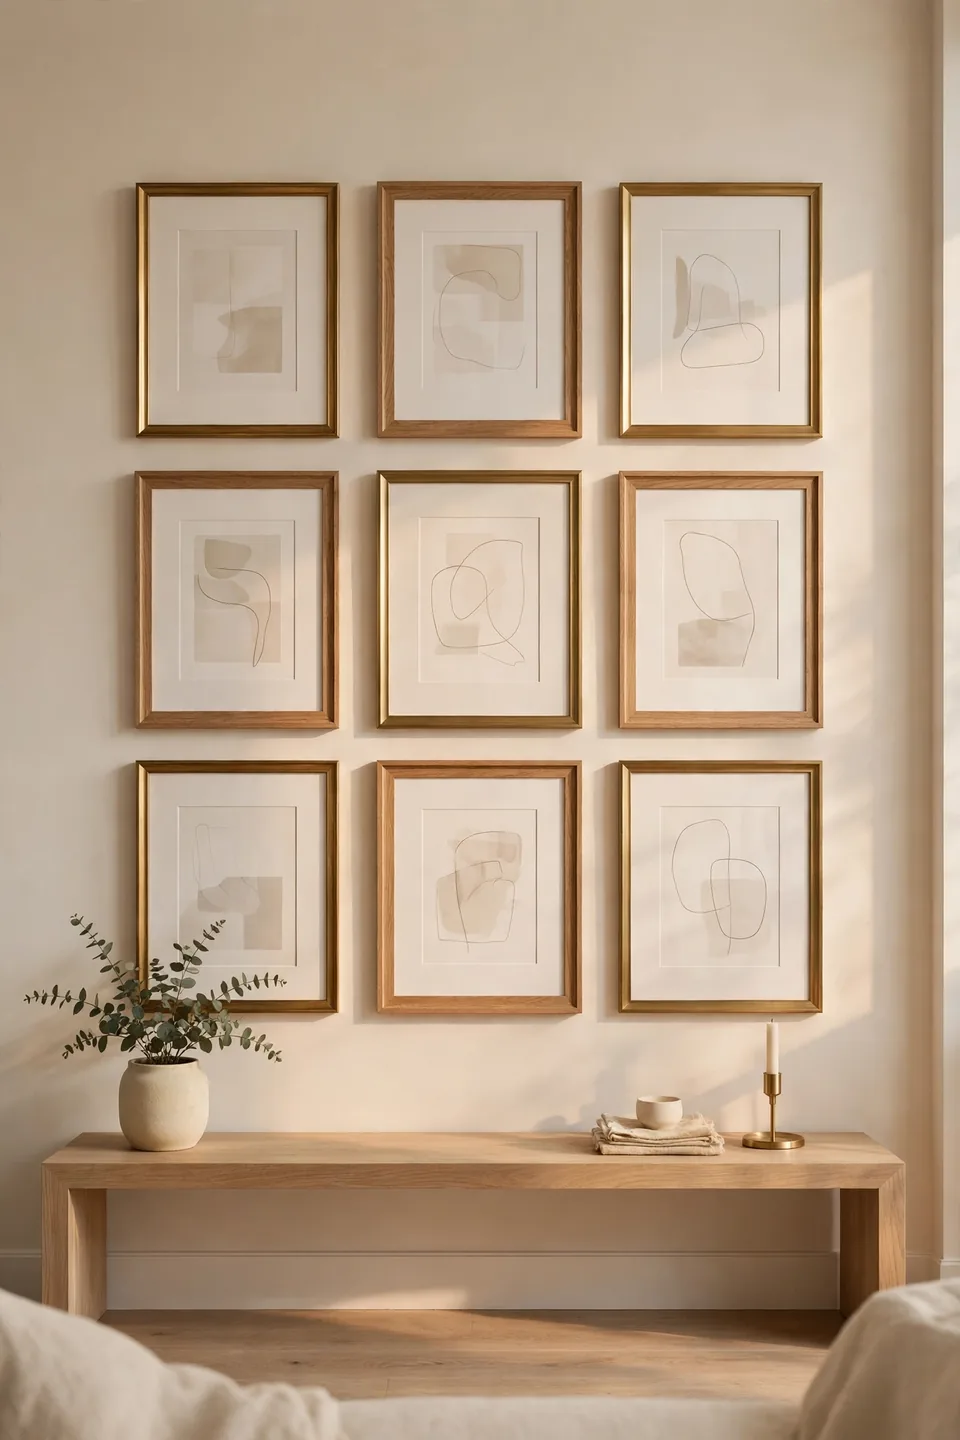
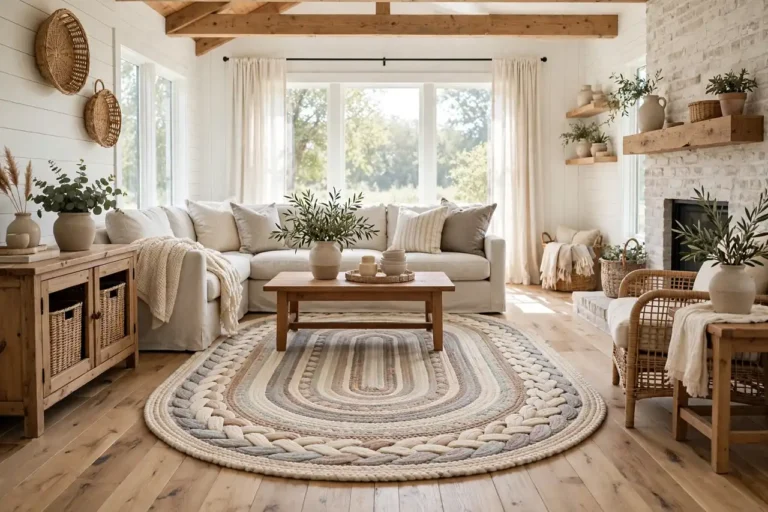
Small styling choices separate a polished wall from a cluttered one, and they cost nothing extra to apply. These finishing touches pull every no-drill method together into a look that feels deliberate, designed, and completely at home in your space.
- Keep a consistent color palette across frames so mixed pieces feel like a collection.
- Leave breathing room between groupings; crowded walls read as clutter, not decor.
- Match frame finishes to your room’s metals, like brass frames with brass lamps.
- Step back to the doorway after each addition to judge the whole wall, not just one frame.
Conclusion
You now have ten reliable ways to fill blank walls without picking up a drill, from hardworking adhesive strips to relaxed leaning art. Learning how to decorate walls without drilling means your style no longer depends on your lease terms or your wall material. Start with one wall this weekend and build from there. Save this guide on Pinterest so the steps are handy when you are ready for the next room, and share it with a friend who rents. I’ve seen how making this one change can completely shift the result.
2 Comments