24 Halloween Door Decorations for a Spooktacular Welcome
Your front door sets the tone for the whole haunting season, and halloween door decorations turn an ordinary entry into a showstopper neighbors remember. A few well-chosen pieces can shift a plain doorway into something playful, spooky, or downright theatrical. I have dressed up my own entry more times than I can count, and the doors that stop foot traffic always share one secret: layers. Wreaths, garlands, lighting, and a surprise or two work together to build the mood. You do not need a big budget or professional help to pull it off.
Start with a clear theme so every piece feels intentional, then build outward from the door itself. For a fuller porch look, pair your entry with these halloween porch decor ideas to carry the theme across steps, railings, and planters. In my experience, the best displays mix store-bought statement pieces with a few handmade touches. Keep walkways clear and lights bright enough for trick-or-treaters. The ideas below cover every style, from cute to creepy, so you can pick a lane and commit.
Spiderweb Door Drape
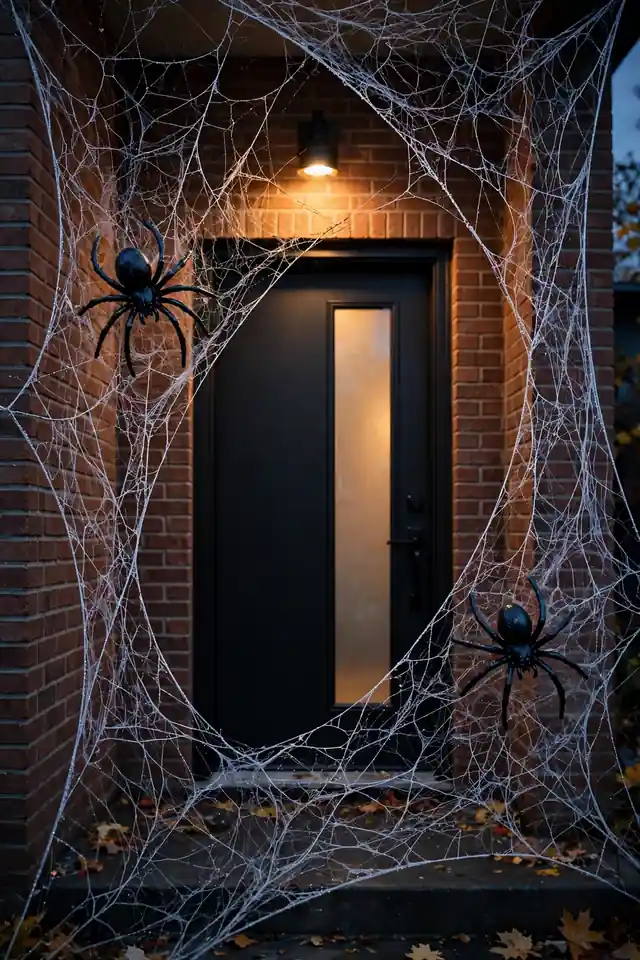
Nothing frames a doorway faster than a giant web stretched corner to corner. Stretchy white webbing clings to trim, brick, and siding with a few discreet hooks, and oversized plastic spiders finish the illusion. I like to layer two webs at slight angles for depth, then tuck a battery tea light behind the largest spider for a shadowy glow at night. The effect reads instantly from the street and costs less than a pizza.
Keep the webbing loose rather than drum tight so it catches the breeze and moves a little. That small motion sells the realism far better than a perfect geometric web. Anchor the bottom corners with clear tape so trick-or-treaters do not snag it on their way past.
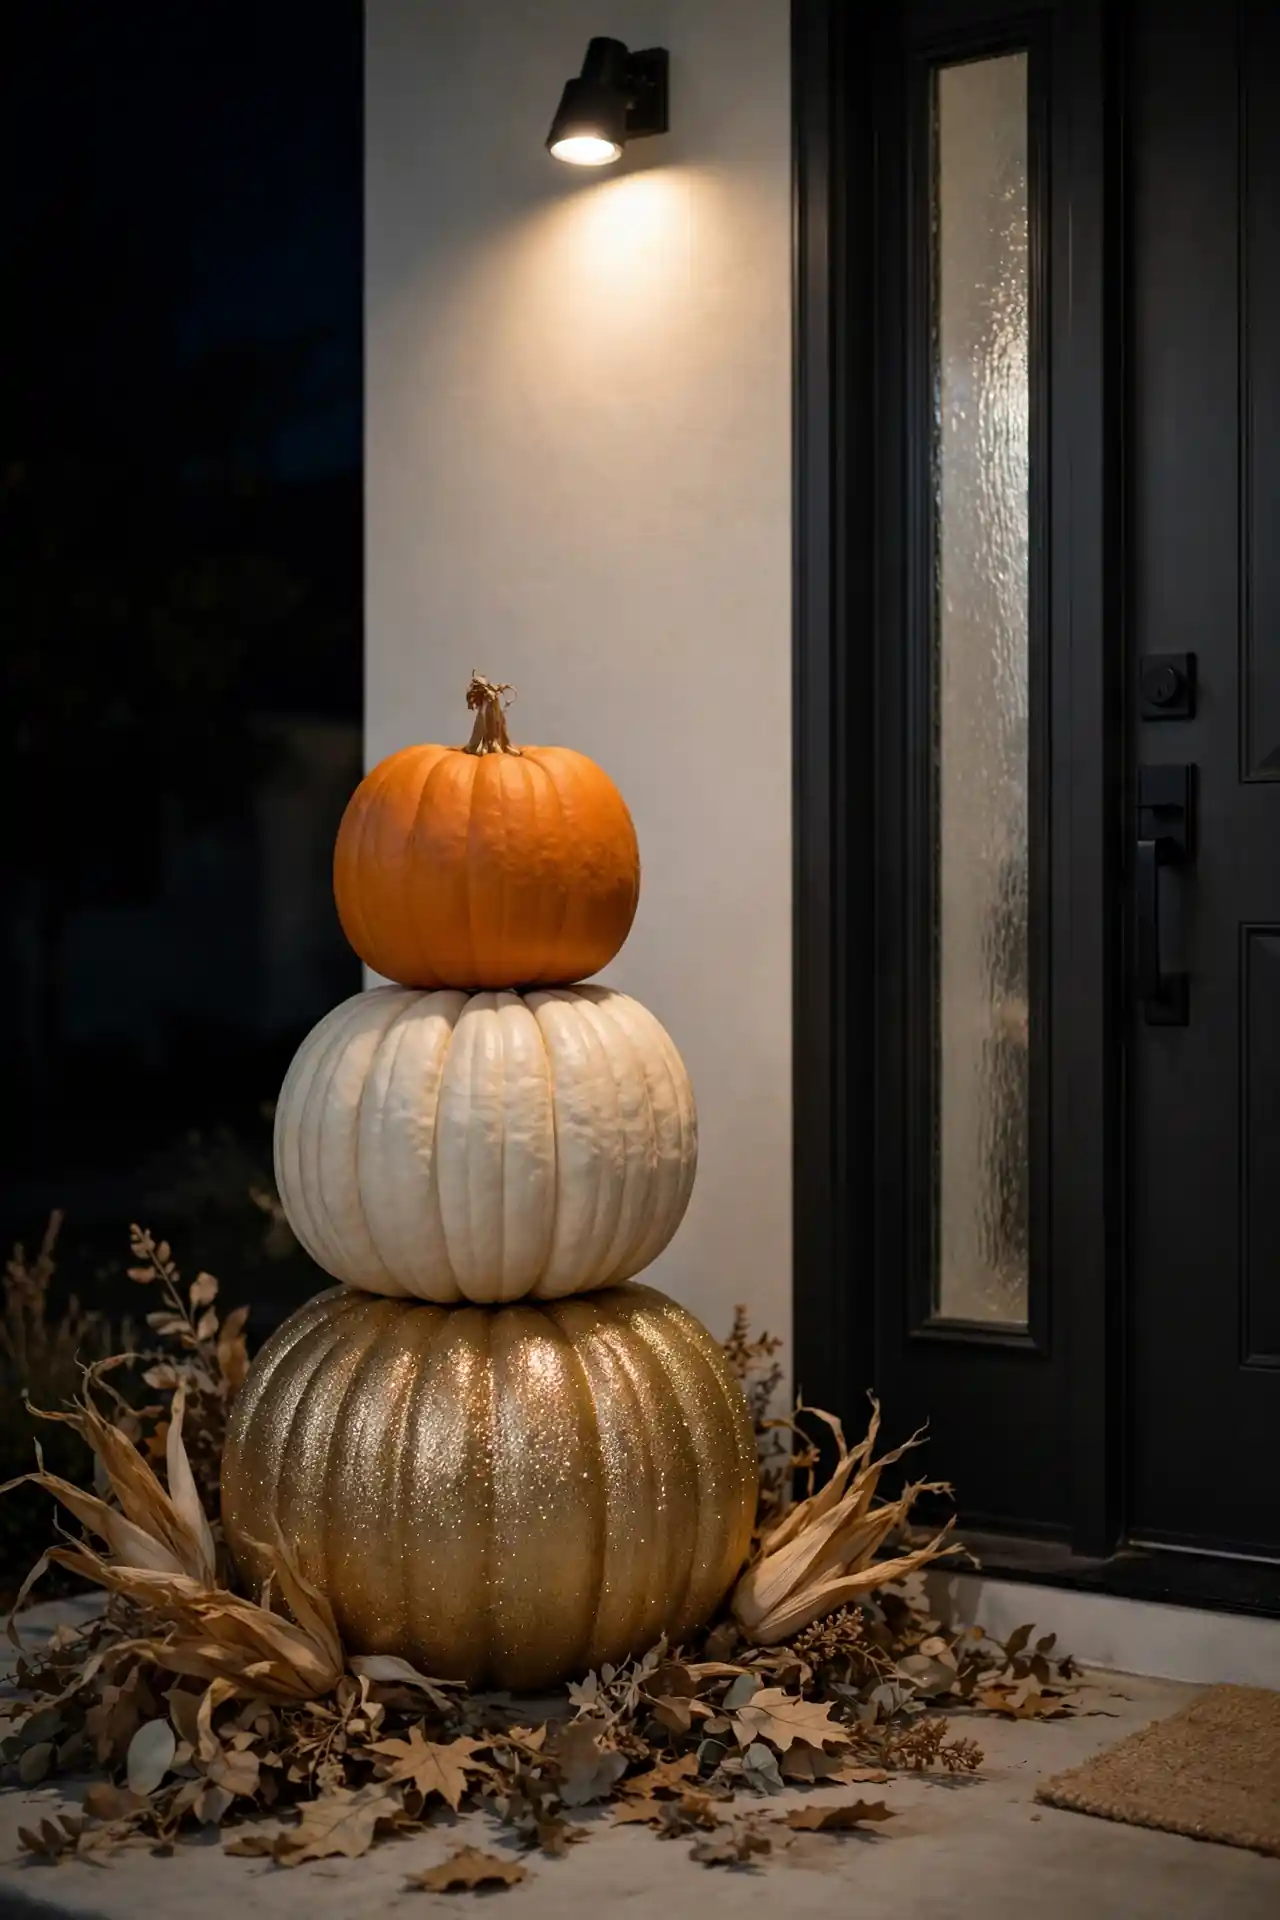
Pumpkin Stack Entrance
- Stack three faux pumpkins in graduated sizes beside the door for instant height.
- Mix textures: one smooth, one ribbed, one glittered for visual interest.
- Weigh the bottom pumpkin with a sandbag so wind cannot topple the tower.
- Tuck dried corn husks or faux leaves around the base to hide seams.
- Add a small spotlight at the base to make the stack glow after dark.
I have tried real pumpkins for this, and they slump within a week. Faux pumpkins hold their shape all season and survive rain without a complaint. Choose warm orange tones that echo your porch lights, and the whole entry feels pulled together in minutes.
Witch Hat Wreath
Quick Tip:
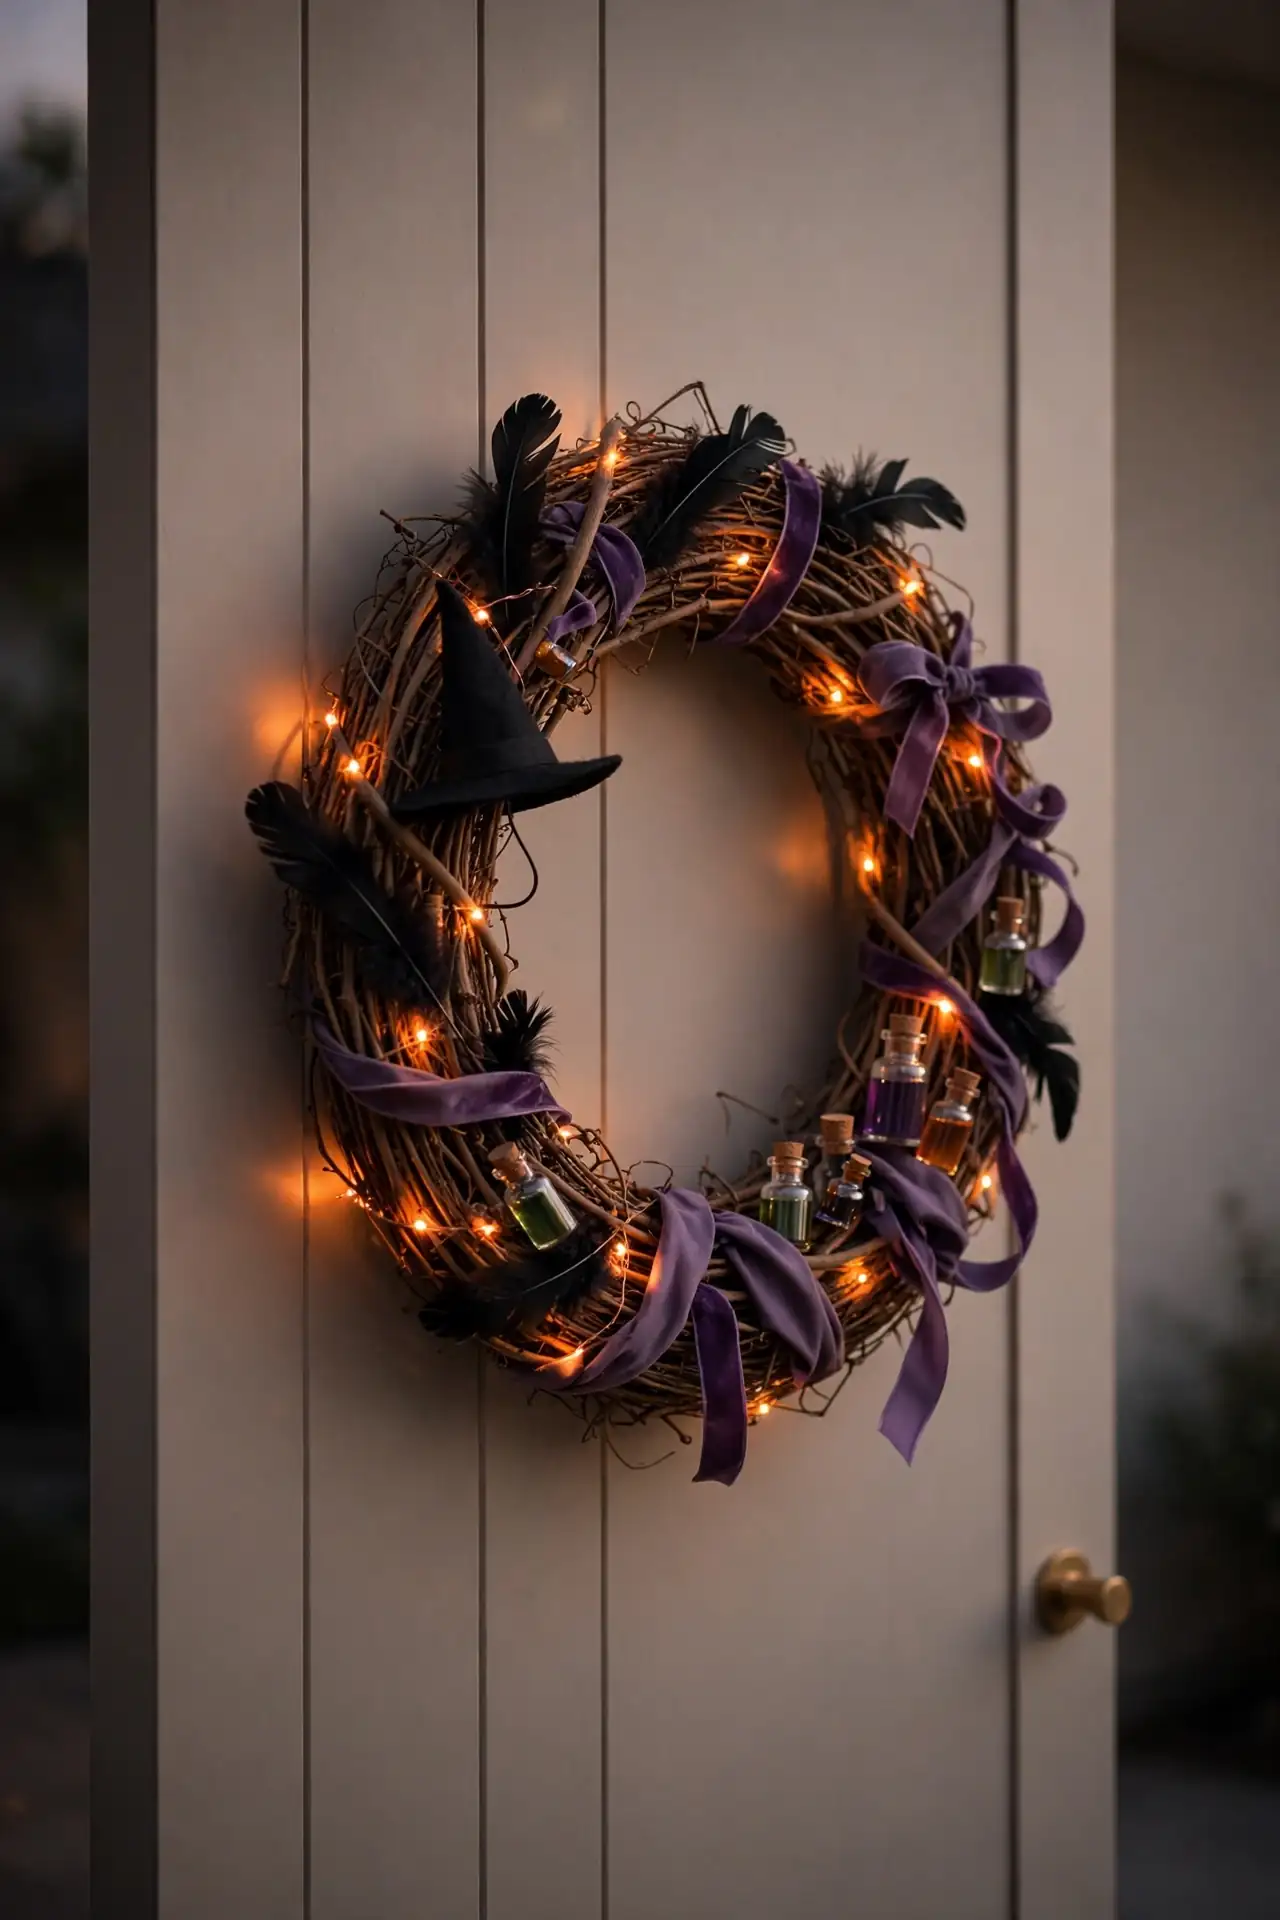
Build on a grapevine wreath base so glue and wire have something sturdy to grip. Wire a miniature witch hat off-center, then fill gaps with black feathers, purple ribbon loops, and tiny potion bottles. Hang it slightly crooked on purpose; a little tilt makes it feel enchanted rather than store-bought.
This wreath earns compliments every single year in my neighborhood. The asymmetry is what makes it work, so resist the urge to center everything perfectly. A strand of orange fairy lights woven through the back gives it a warm glow that shows up beautifully in evening photos. I hang mine with a wide black ribbon so the door color peeks through the grapevine twists.
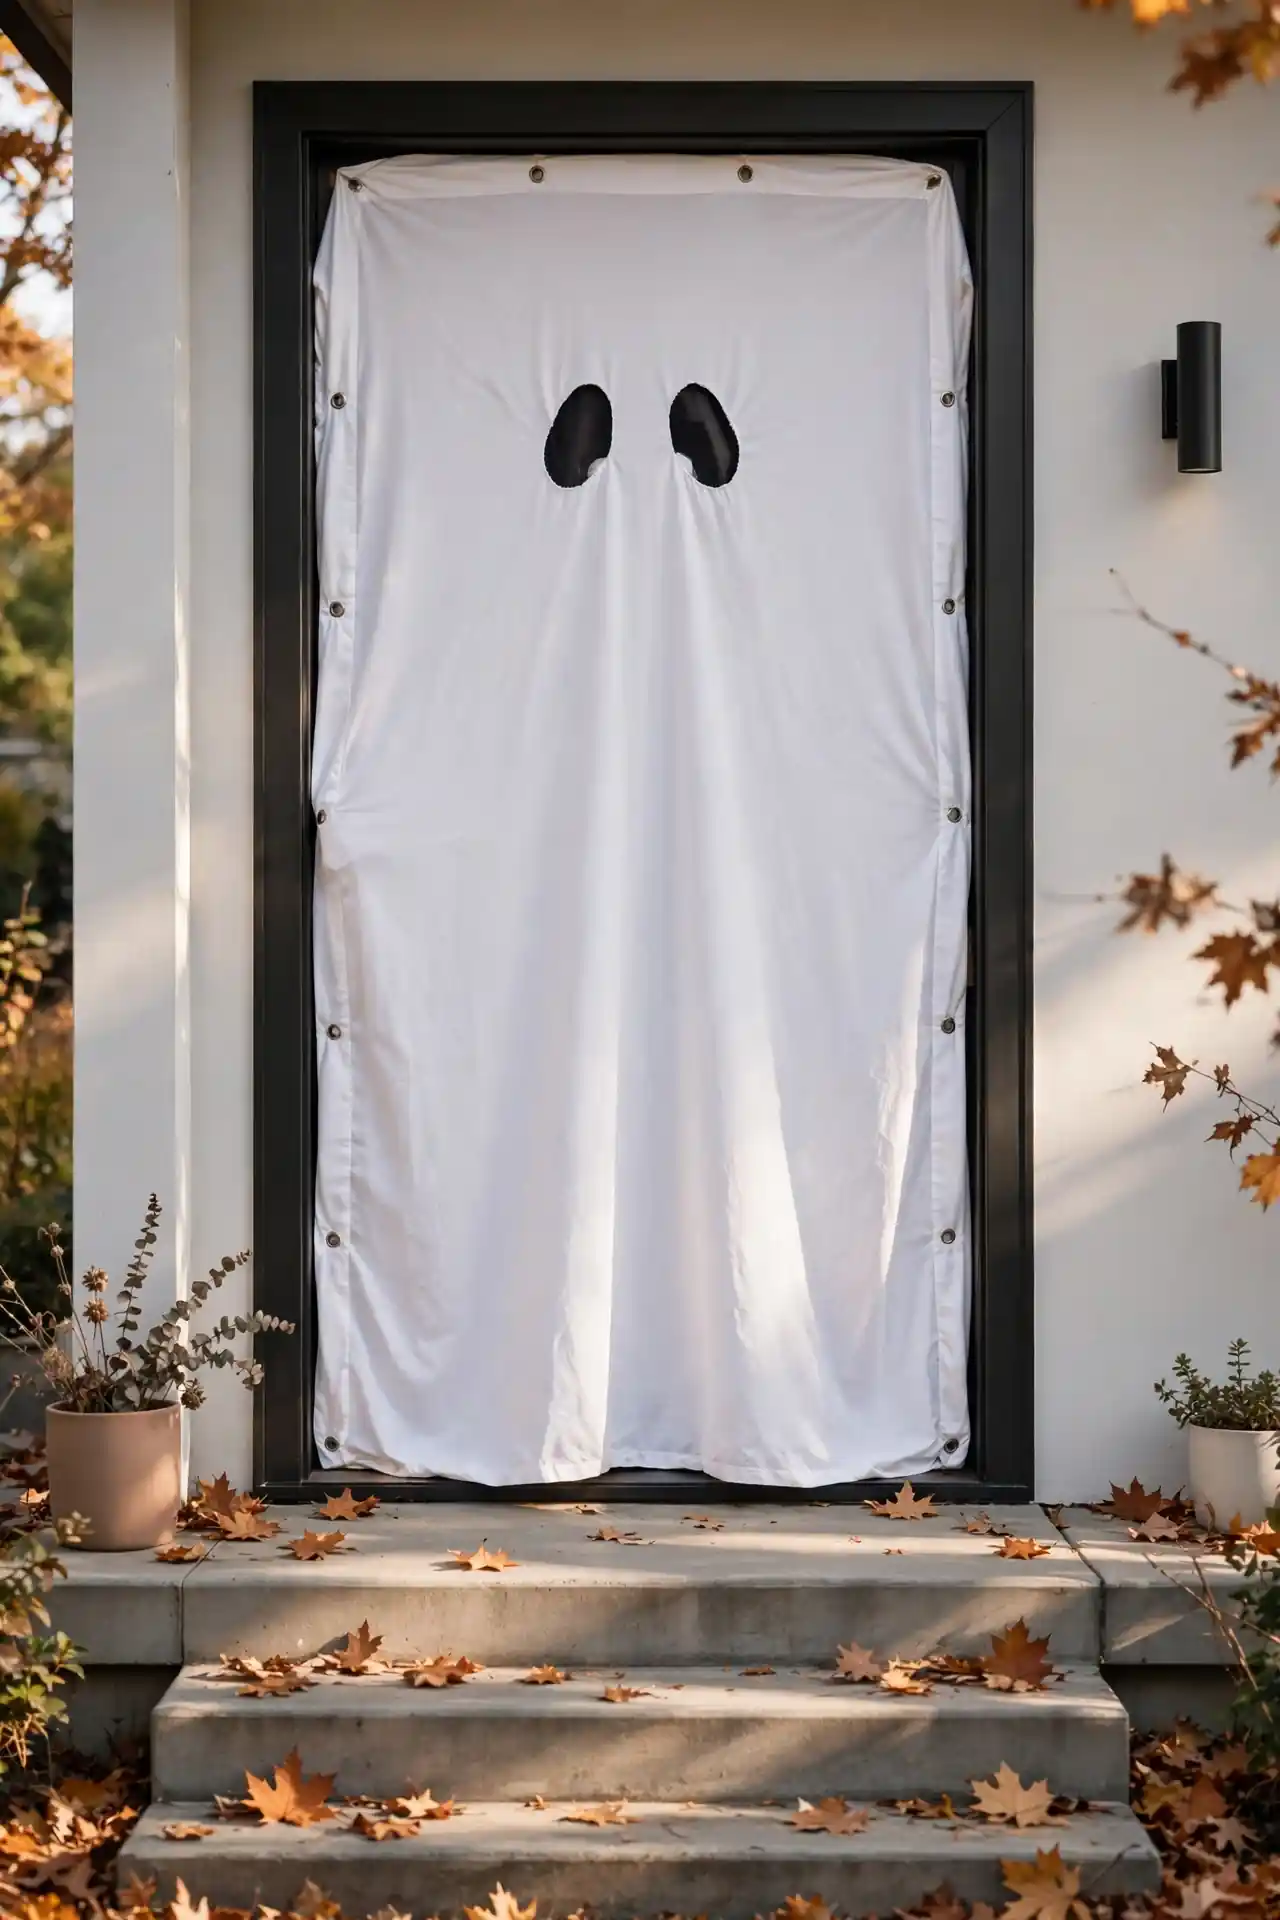
Ghostly Door Cover
BEFORE: A plain painted door disappears into the background on Halloween night, no matter how nice the color. Visitors walk up, knock, and leave without a second glance at the entry itself.
AFTER: A fitted ghost sheet with friendly cutout eyes turns the whole door into a character. Suddenly kids are posing for photos before they even ring the bell, and the entry becomes part of the fun instead of just a barrier.
Choose a cover with reinforced grommets so it hangs flat in wind. I have seen cheap versions flap and tear by mid-October, while the slightly pricier fitted ones last for years.
Bat Swarm Border
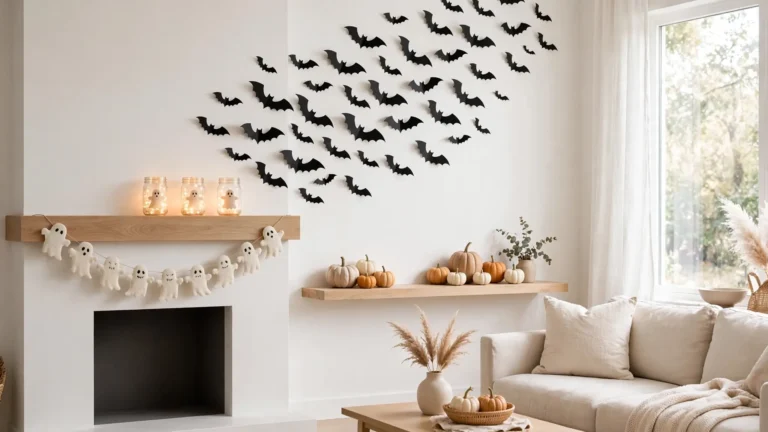
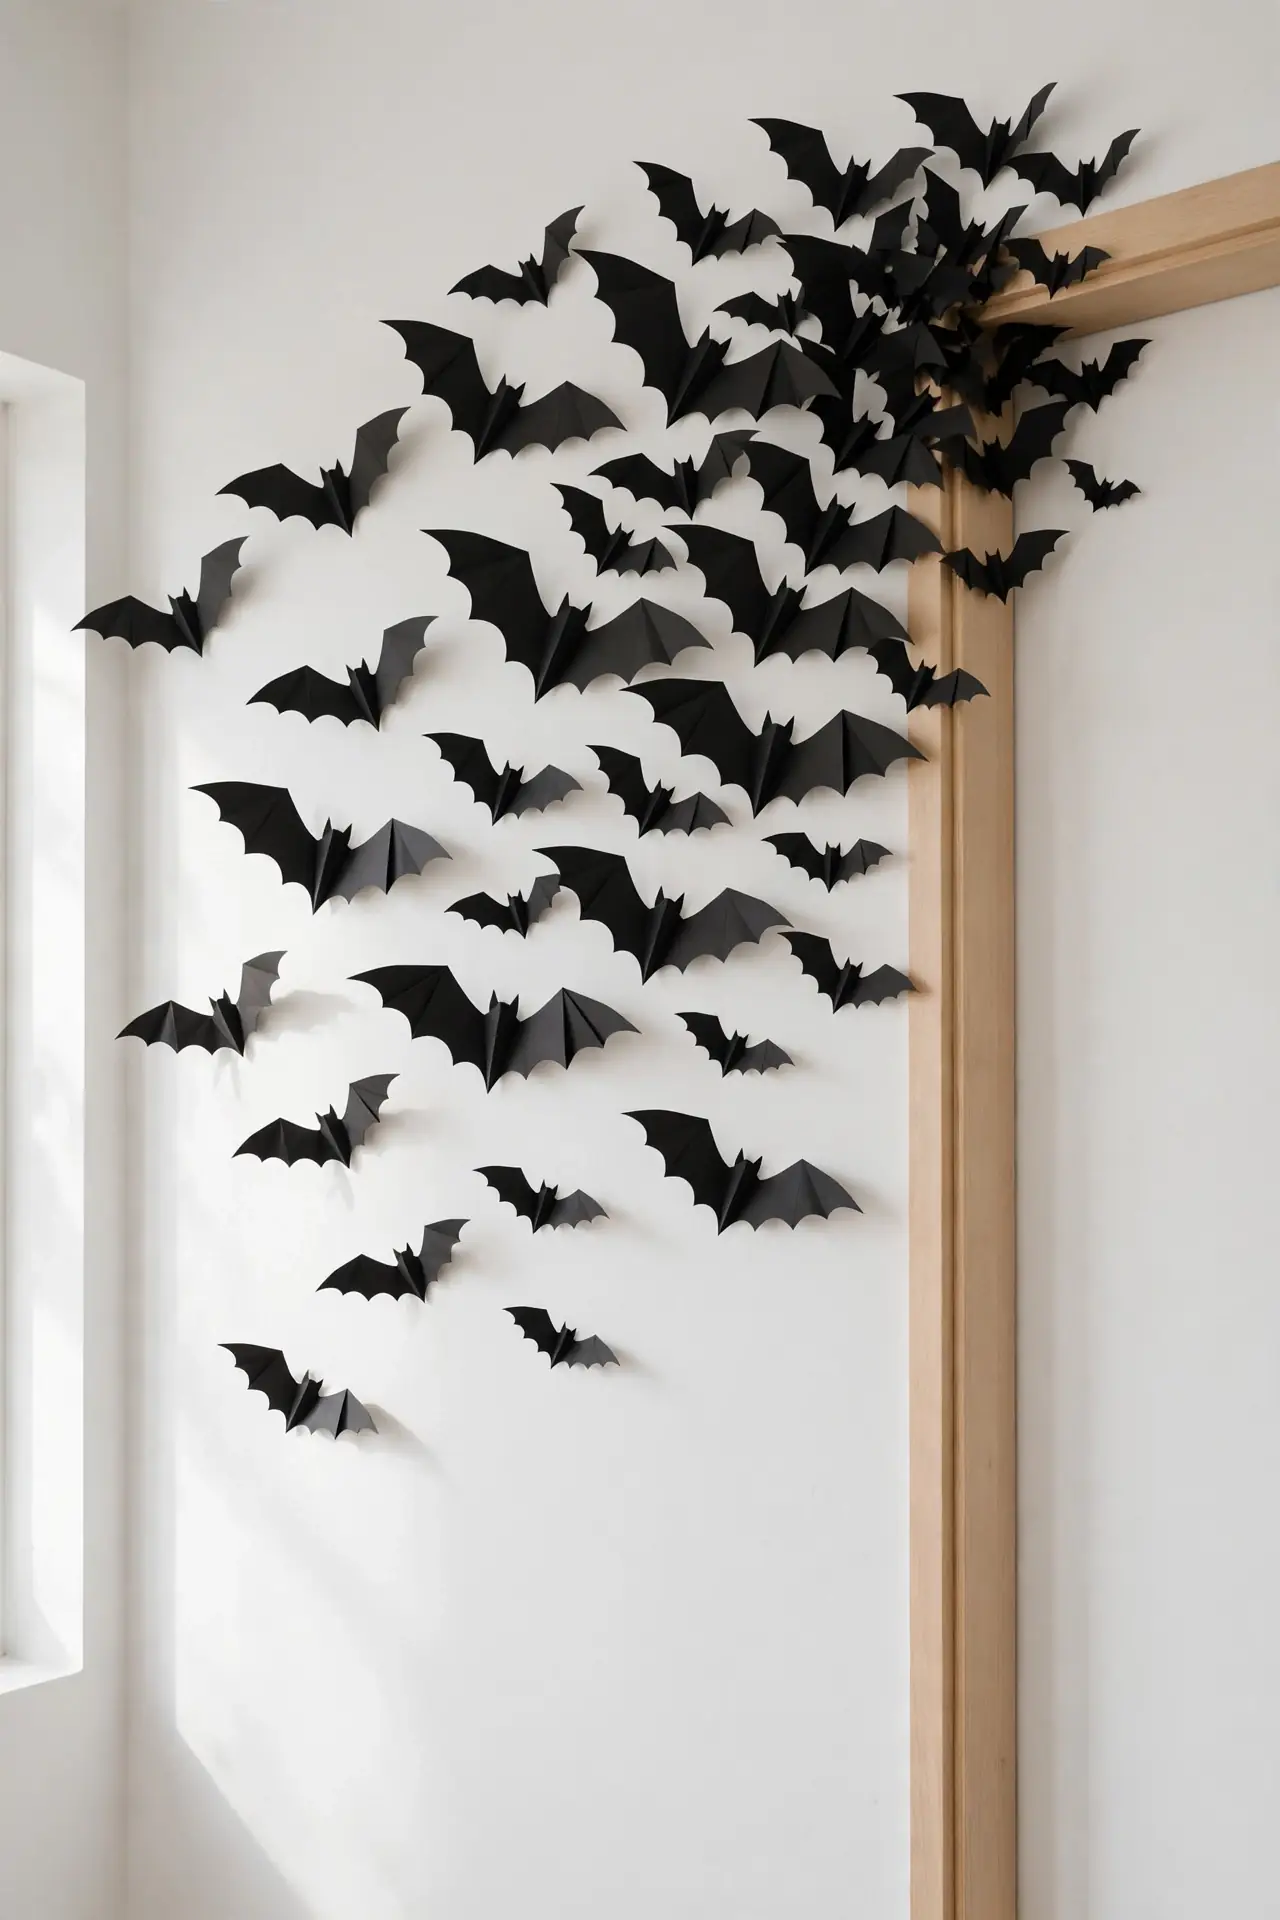
- Cut bat silhouettes from black cardstock in three sizes using a printed template.
- Fold each bat slightly at the center so the wings lift off the surface.
- Attach bats to the door frame with removable adhesive dots, denser at one corner.
- Trail the swarm outward onto the adjacent wall for a flying-away effect.
The 3D fold is the whole trick here. Flat bats look like stickers, but folded ones cast tiny shadows that read as movement. Start the cluster tight near the top hinge and let it scatter outward. I have watched neighbors stop mid-walk to look closer, which is exactly the reaction you want.
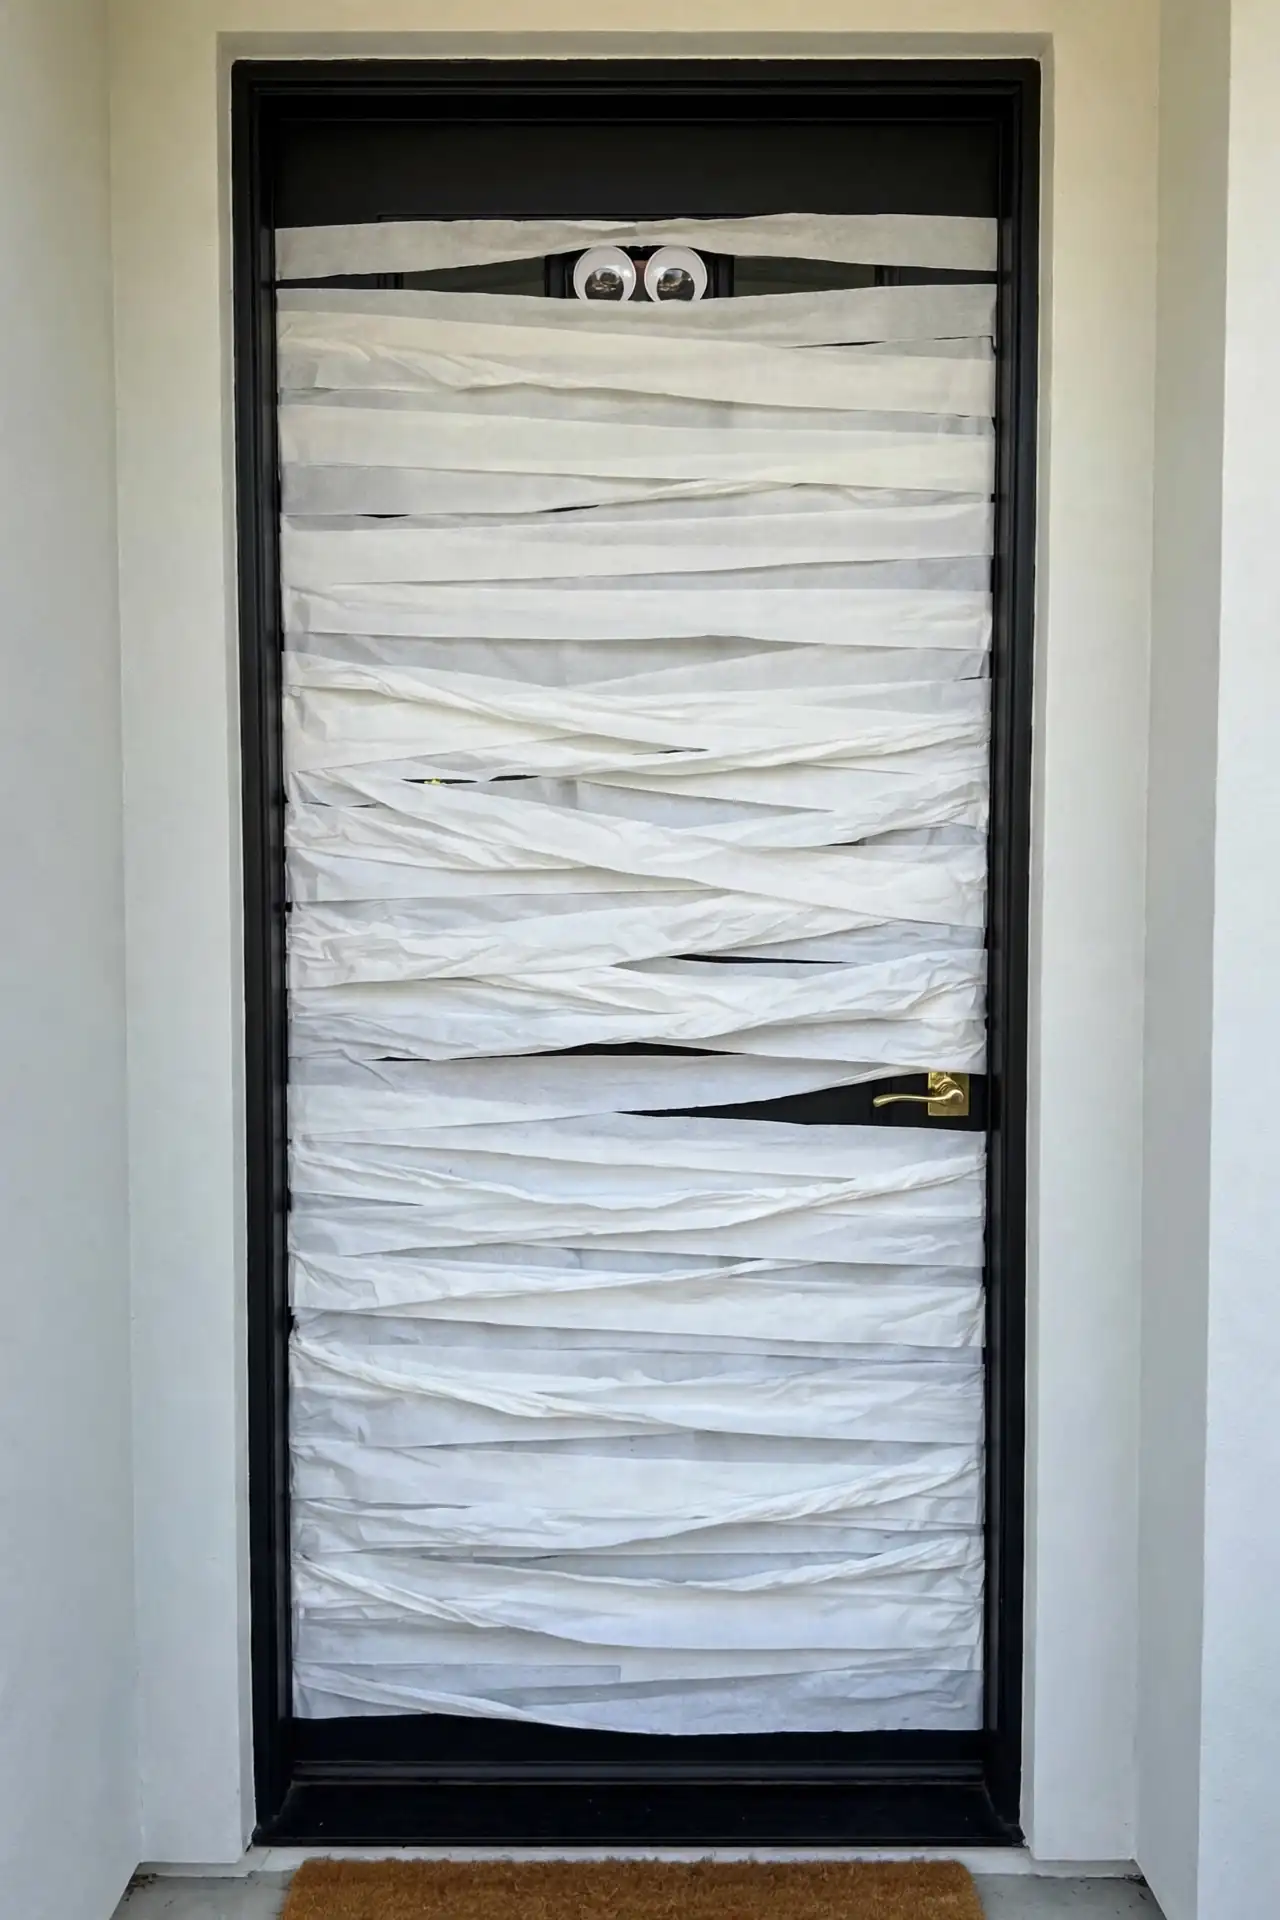
Mummy Wrapped Door
| Option | Look | Effort |
| Crepe paper strips | Classic white mummy | Low, one afternoon |
| Gauze fabric rolls | Textured, weatherproof | Medium, sturdier finish |
| Painter’s tape bands | Crisp modern lines | Low, easy removal |
| Muslin cloth strips | Soft vintage mummy | Medium, reusable yearly |
Wrap horizontal bands with slight overlaps, then add two big googly eyes peering through a gap near the top. That single detail turns wrapping into a character. I recommend painter’s tape if you rent, since it peels off cleanly without damaging paint. Muslin is my pick for windy porches because it never tears mid-season. Leave the handle area clear so the door still opens easily.
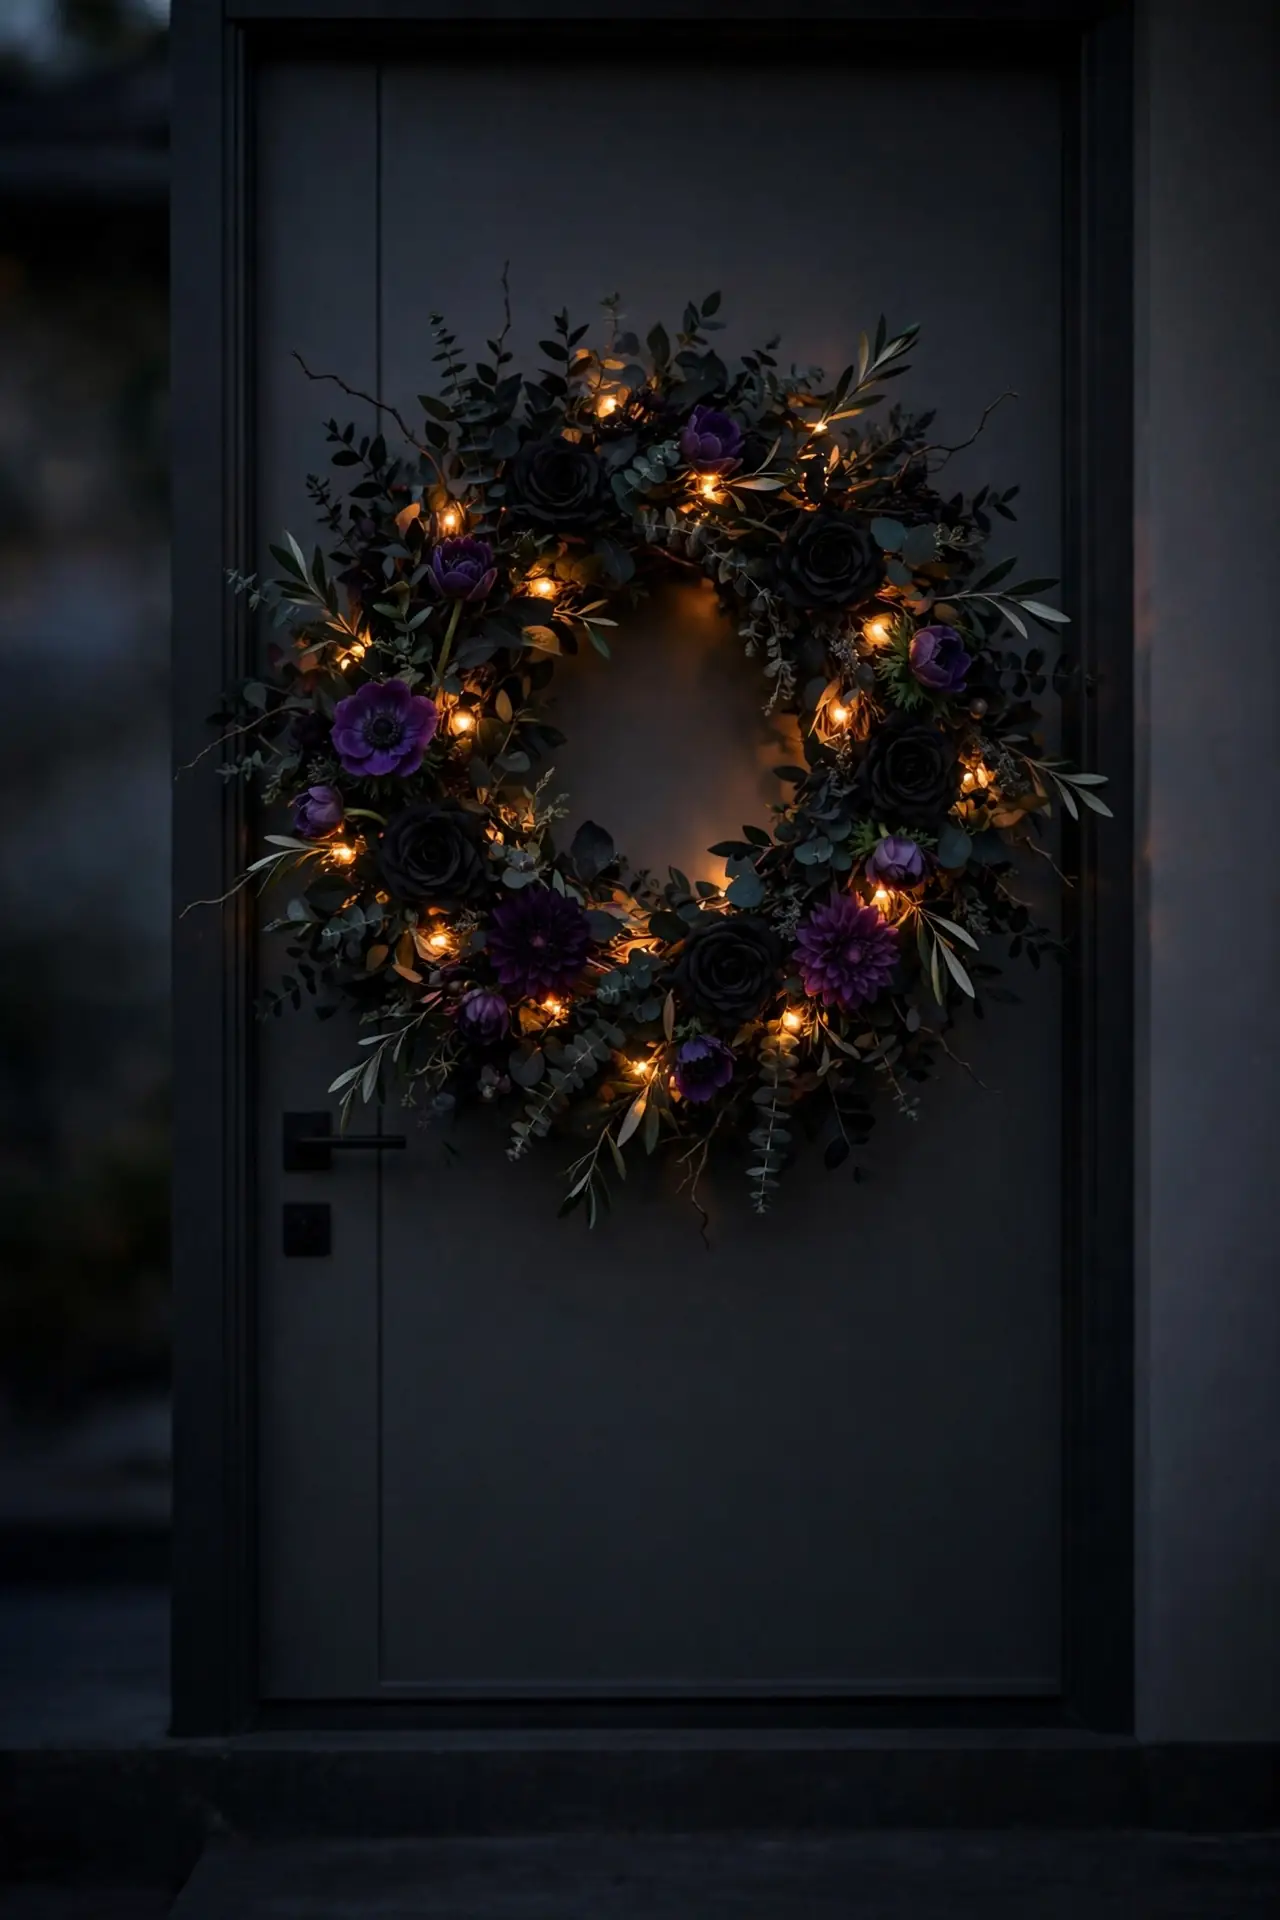
Haunted Wreath Glow
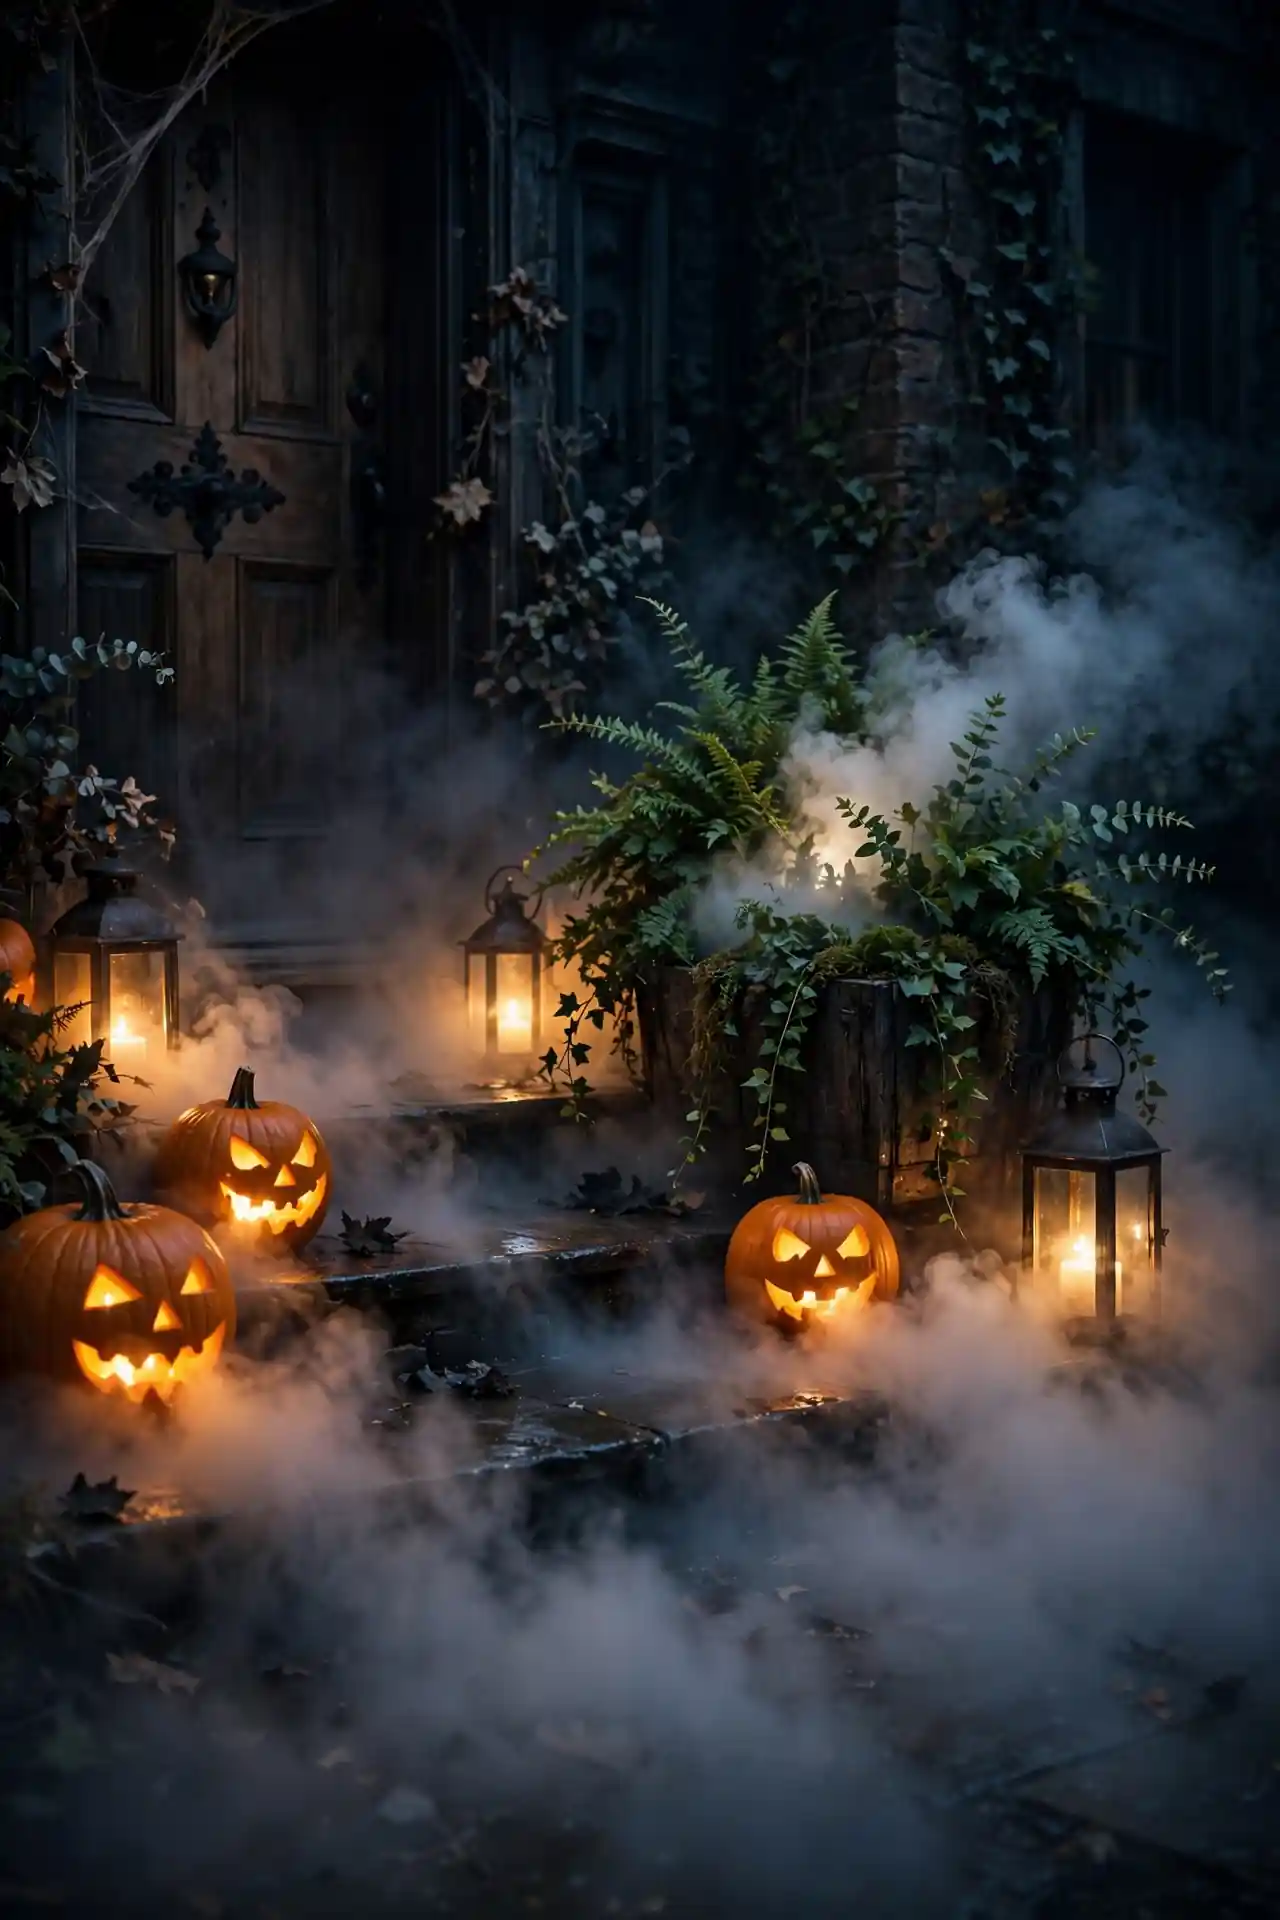
DO:
- Weave battery fairy lights through dark foliage for an eerie glow.
- Add black roses or deep purple blooms for moody color.
- Hang the wreath at eye level so lights catch visitors’ faces.
DON’T:
- Use plug-in lights that leave cords trailing across the walkway.
- Overload one side; balance keeps it elegant, not messy.
- Forget a timer so lights switch on automatically at dusk.
A glowing wreath does double duty as decor and a porch light. I have noticed guests linger longer at lit entries, which means more compliments for you. Keep the light color warm amber rather than harsh white; it flatters both the wreath and your doorway.
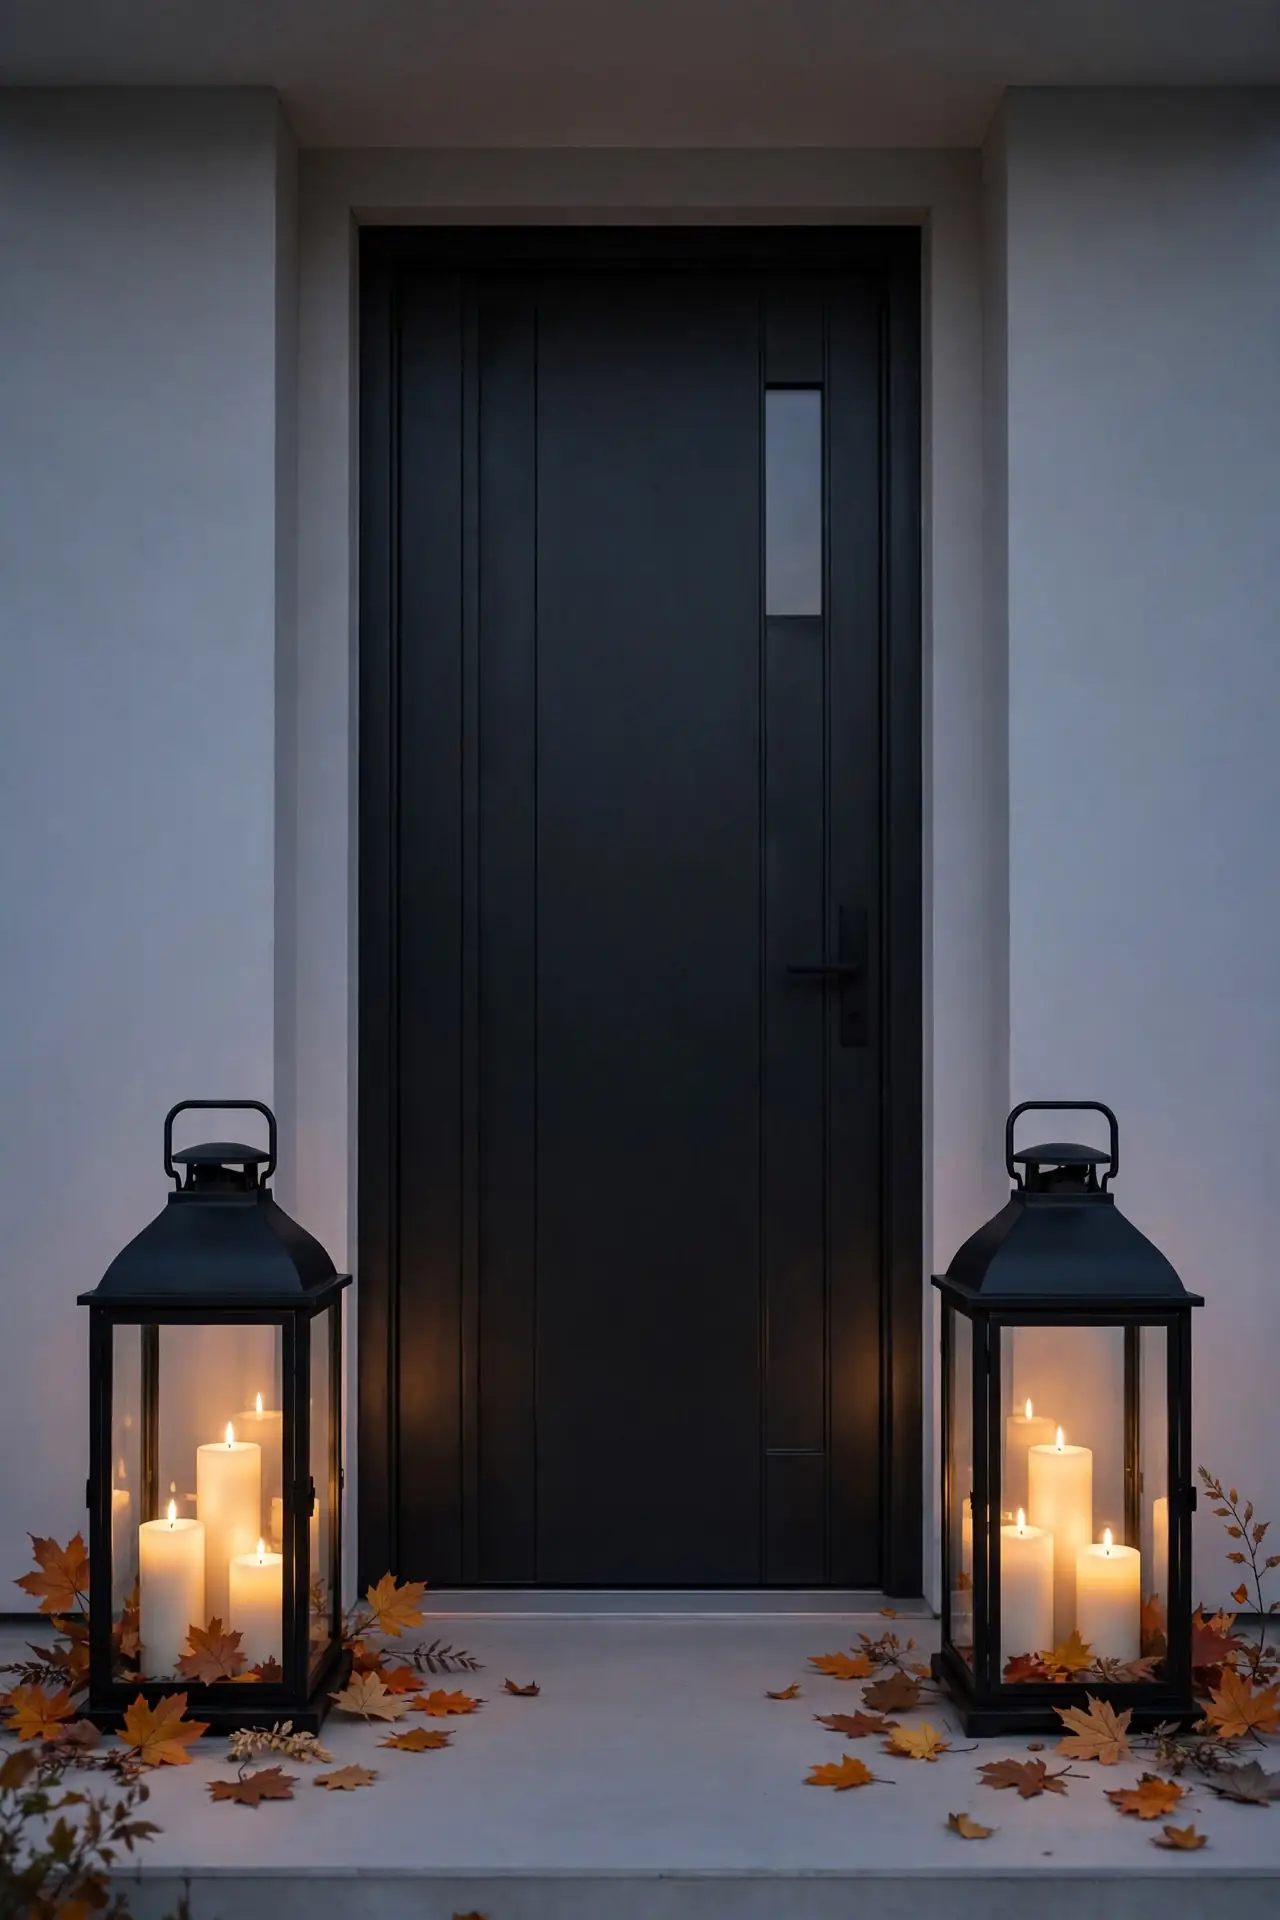
Lantern Path Pair
Flanking the door with matching lanterns is the fastest way to make an entry feel deliberate and welcoming after dark.
Cost: Low to medium, depending on lantern size
Time: Under an hour to arrange
Skill Level: Beginner
Best For: Homes with steps or a wide stoop
Fill each lantern with a cluster of LED pillar candles at different heights for a layered glow. I like to scatter a few faux autumn leaves around the bases to tie them into the season. Real flames are a risk with costumes brushing past, so flameless is the safer call. The symmetry frames your door beautifully in photos.
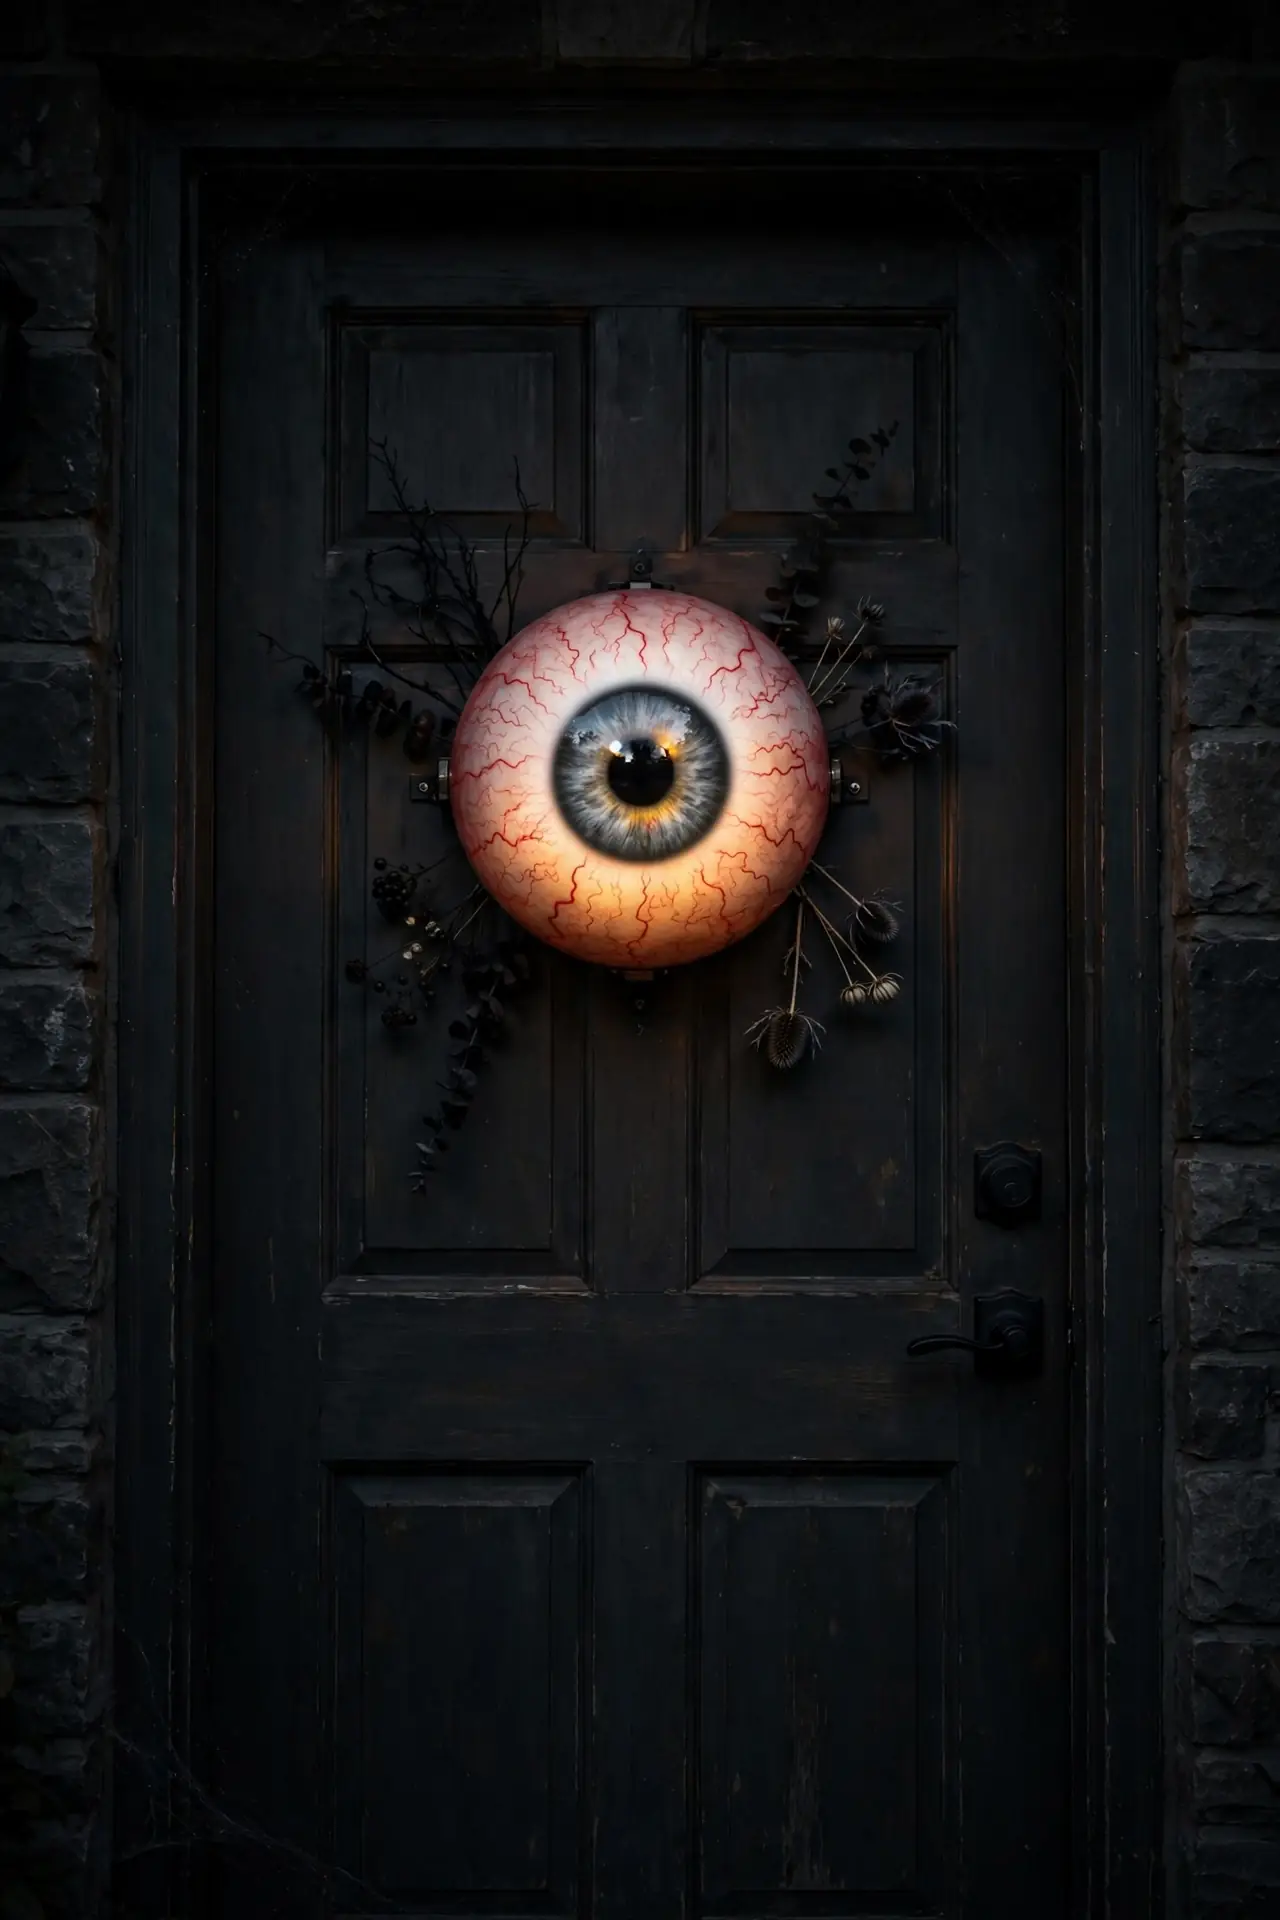
Monster Eye Peeper
A single oversized eyeball staring from the door’s center panel is creepy in the best way. Craft stores sell giant plastic eyes, or you can paint one on a foam ball and mount it with removable adhesive. Add red veining with a thin brush for extra unease. Kids find it hilarious while adults do a genuine double take, which tells you the scale is right.
Position it at adult eye level so it meets visitors stare for stare. I have seen this work well in many cases where the rest of the porch stays simple; one bold focal point beats ten small scattered items. Pair it with dim lighting so the eye seems to glow from within.
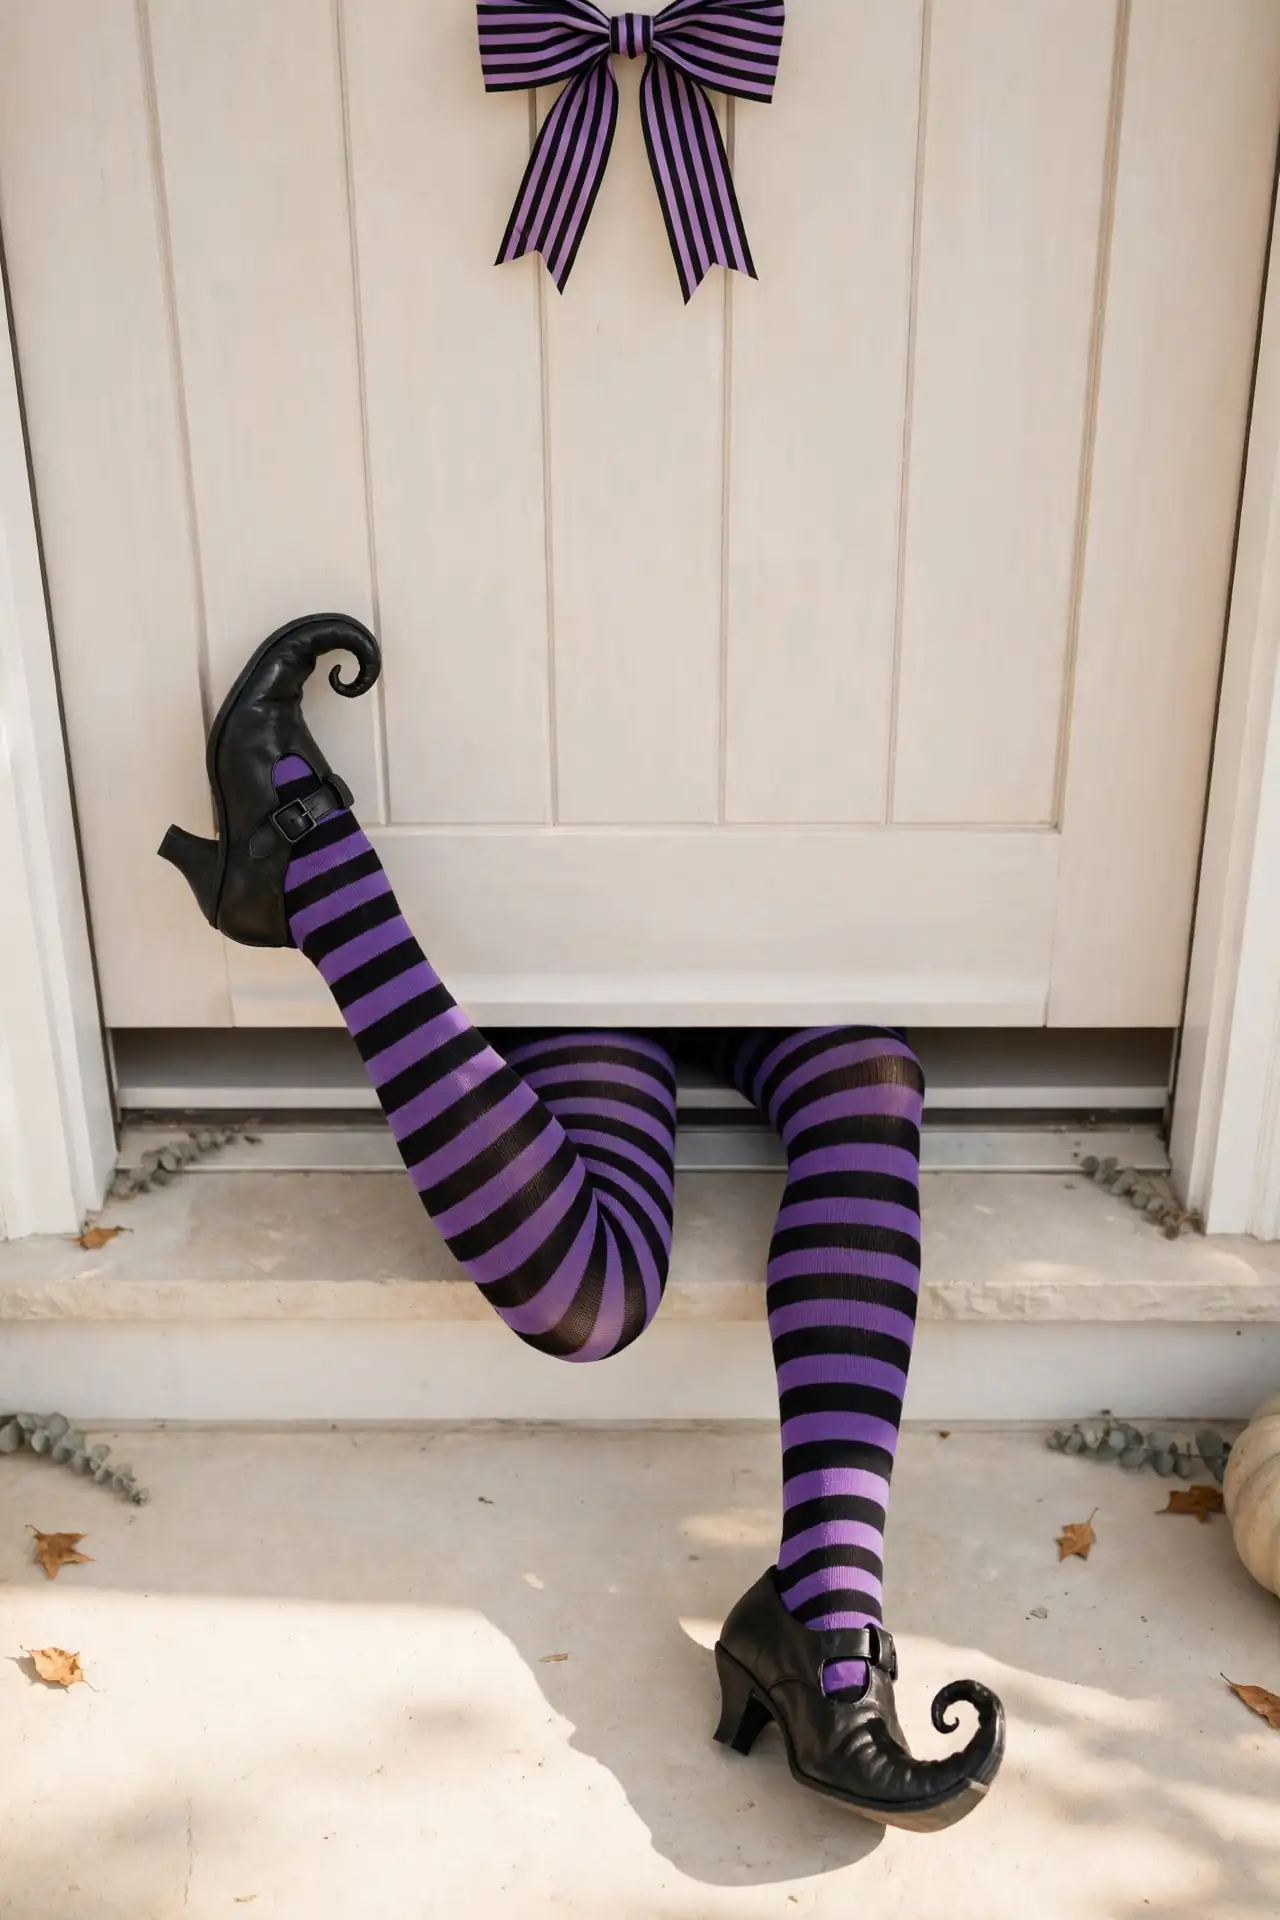
Witch Legs Entry
- Tuck striped witch legs under the bottom of the door so they peek out.
- Use stuffed stocking legs with curled-toe shoes for a storybook look.
- Angle the legs playfully, one bent at the knee, for extra charm.
- Add a striped ribbon bow on the door above for a finished vignette.
- Secure legs with removable adhesive so they survive wind and visitors.
This look leans cute rather than creepy, which makes it perfect for families with small kids. I have seen whole streets of children stop to giggle at this one display. Keep the rest of the entry simple so the legs stay the star of the show. A matching striped wreath bow ties the whole look together in minutes.
Skeleton Door Greeter
Quick Tip:
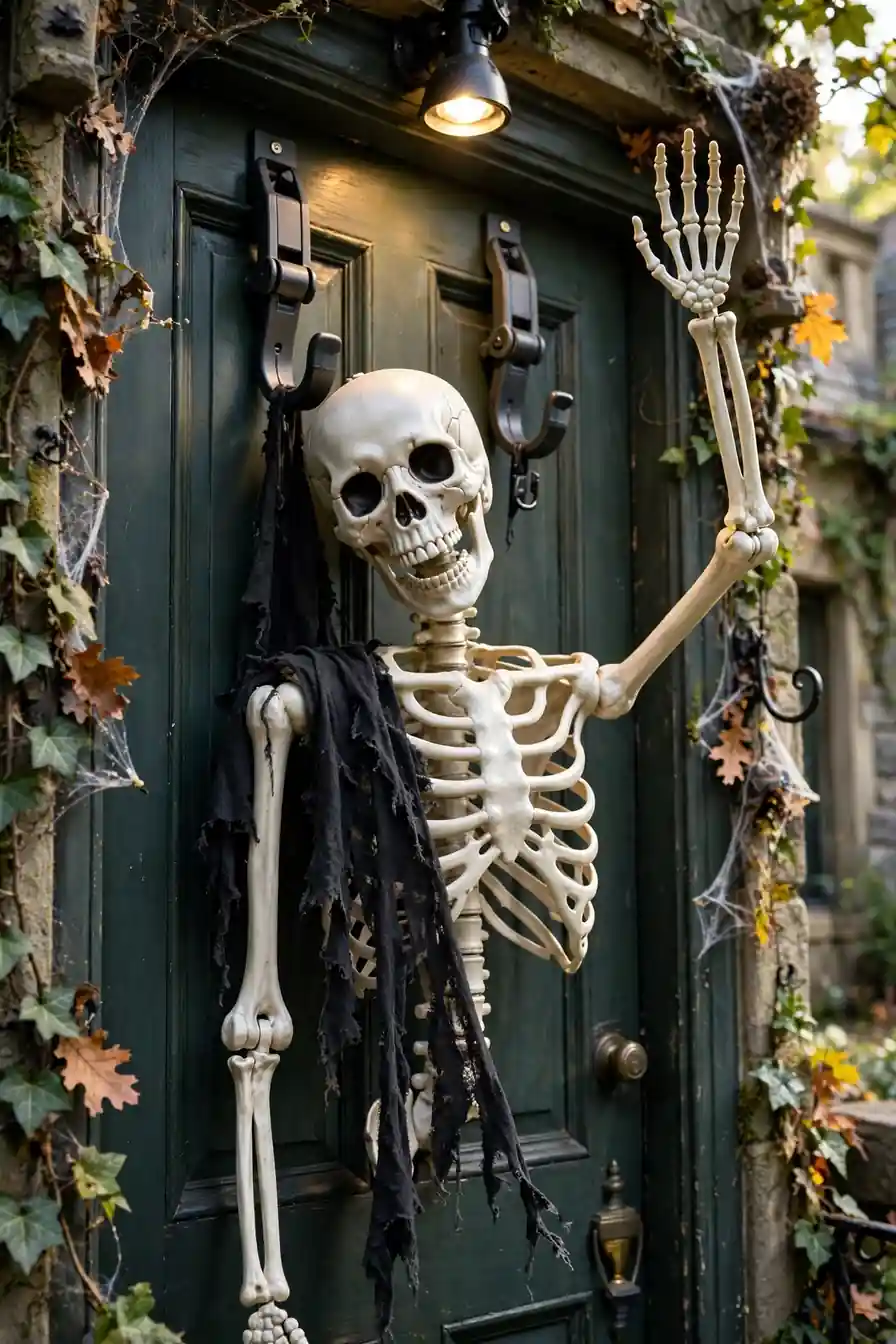
Mount a posable plastic skeleton to the door with heavy-duty removable hooks rated for its weight. Pose one bony hand in a wave and tilt the skull slightly, as if it is greeting every visitor personally. Drape a tattered black cloth over one shoulder for a finished, haunted-mansion look.
This greeter becomes the photo spot of your porch without any extra effort. I have tried wiring a small speaker behind it for a creaky greeting, and kids absolutely lose their minds. Keep the pose simple though; over-posed skeletons look cluttered from the street. A single spotlight aimed at the skeleton makes it pop after dark.
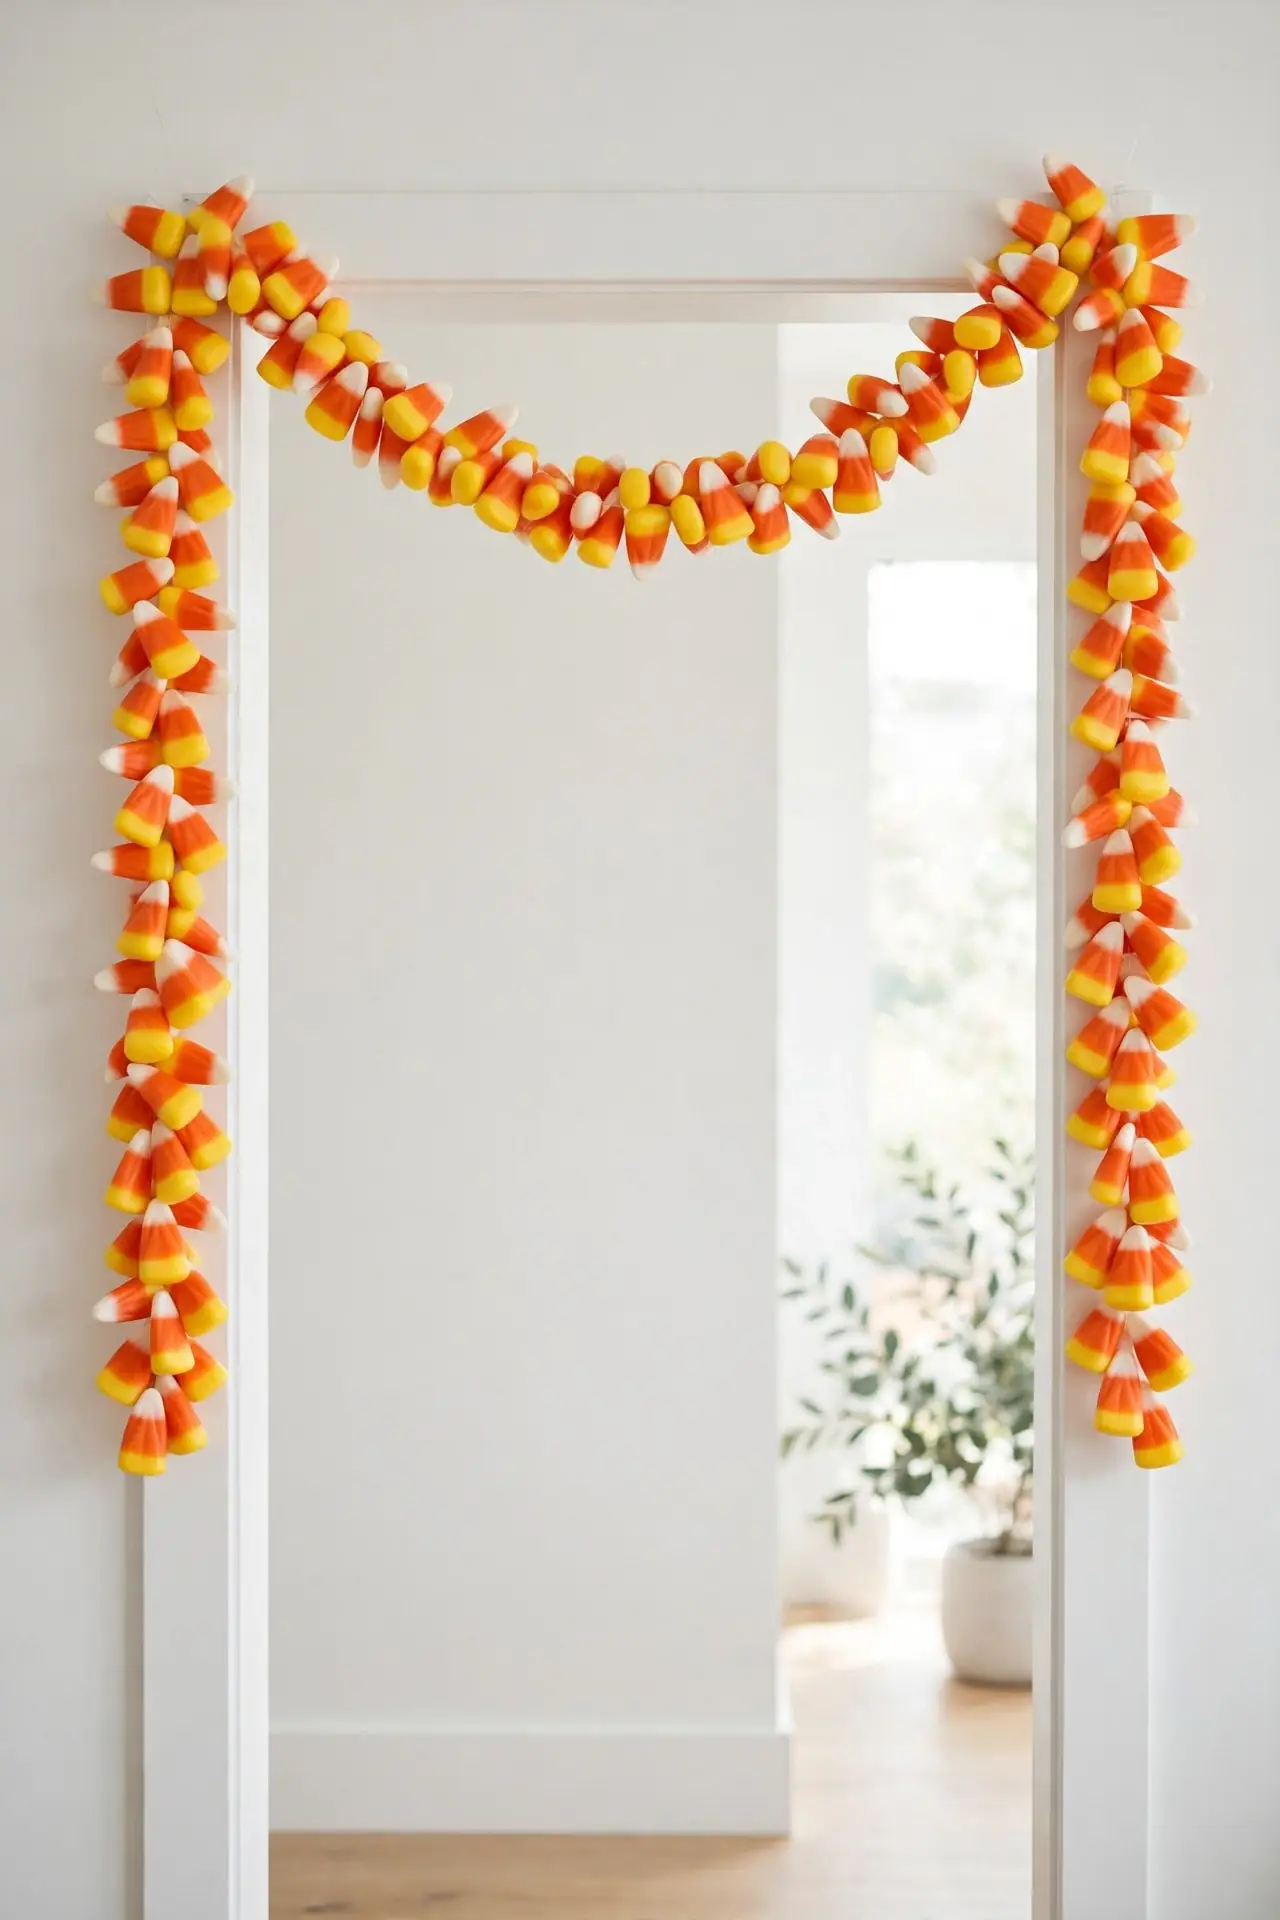
Candy Corn Garland
BEFORE: A bare door frame feels unfinished even when the wreath is perfect. The eye travels straight past the entry to the rest of the house, and the doorway never becomes a destination.
AFTER: A chunky candy corn garland swagged across the top of the frame pulls the whole entry together. The classic orange, yellow, and white bands read as Halloween from a block away, and the doorway finally feels dressed for the occasion. For a coordinated look across your whole entry, these halloween yard ideas pieces layer beautifully with porch planters and step lights.
String the garland on clear fishing line so it appears to float. I like to double the strand for fullness, then let the ends drape down both sides of the frame like curtains.
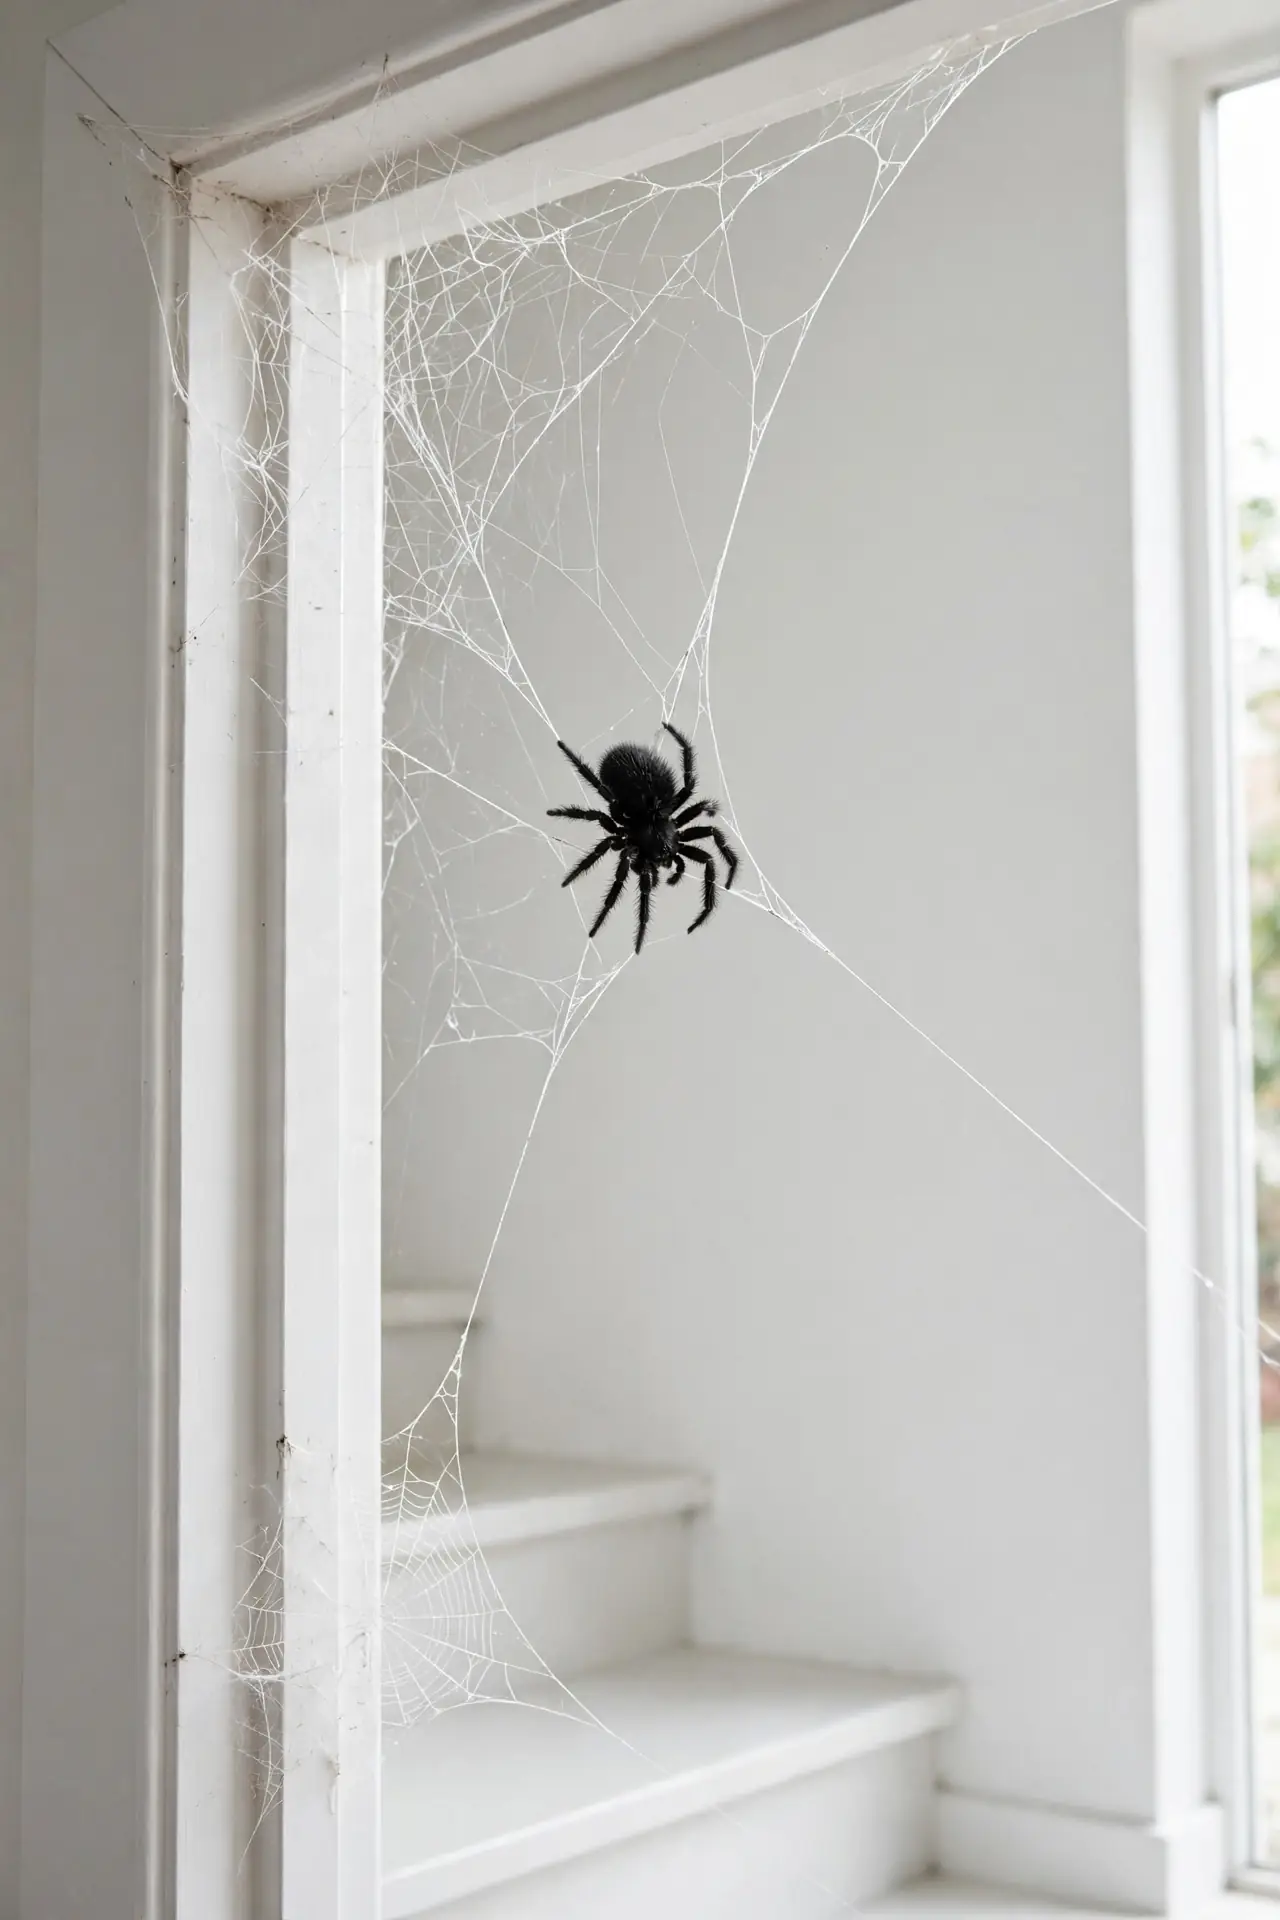
Cobweb Corner Frame
- Start with a large web anchored at the top corner of the door frame.
- Stretch strands to the opposite side, varying tension for a natural look.
- Nest a big fuzzy spider where two strands cross near eye level.
- Add a second smaller web low near the steps for depth.
Corner webs look more natural than centered ones because real spiders build in corners. That small authenticity detail is what separates convincing decor from obvious plastic. I refresh the webbing halfway through the season since sun fades the white to gray. Fresh webbing photographs much better for anyone documenting their display.
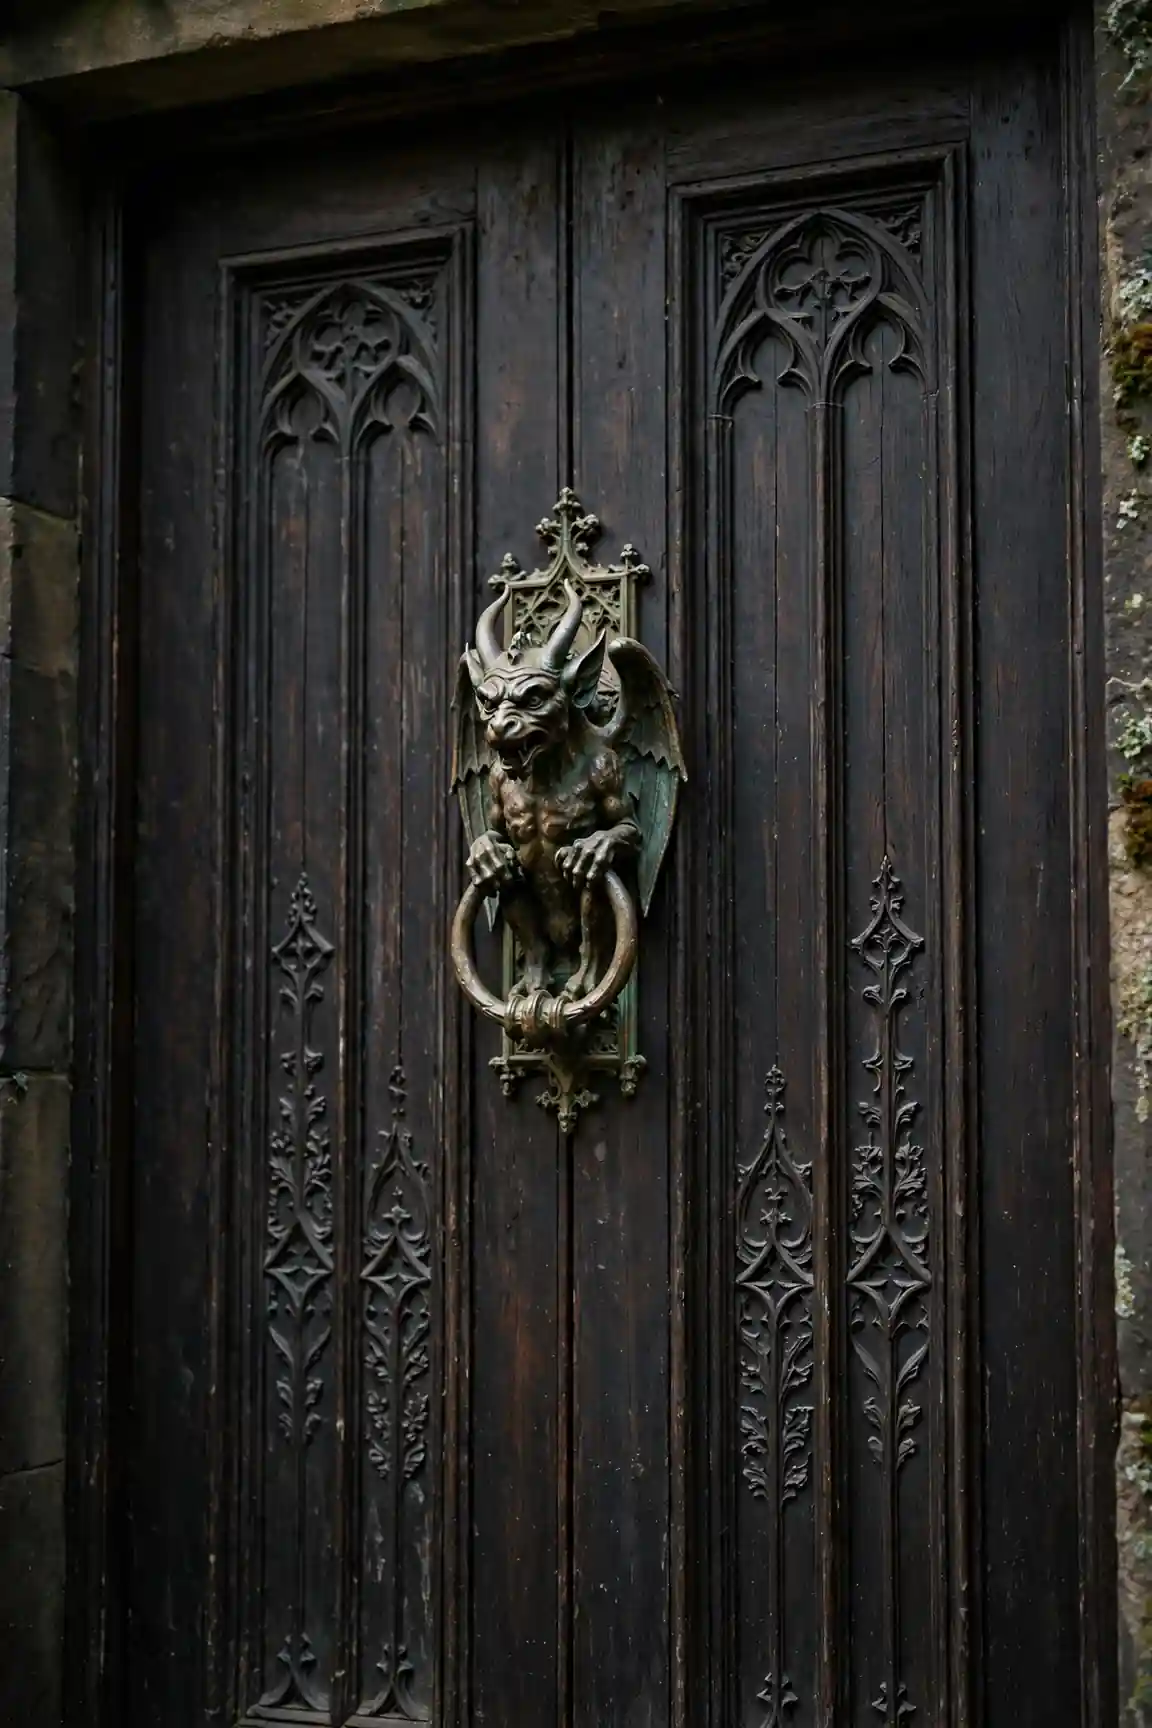
Gargoyle Door Knockers
| Option | Style | Price Range |
| Resin mini gargoyles | Classic gothic | Budget friendly |
| Metal antique finish | Heirloom look | Mid range |
| Light-up eyes version | Extra spooky at night | Slightly more |
| Wooden carved pair | Rustic farmhouse gothic | Mid range |
Mount one on each door of a double entry for symmetry, or a single oversized one as a bold statement. The knocker becomes interactive decor when brave visitors actually use it. I have noticed the metallic finishes age beautifully outdoors, developing a patina that suits the theme. Wooden carved versions suit farmhouse porches perfectly and feel warm rather than severe. Choose a mounting method that suits your door material.
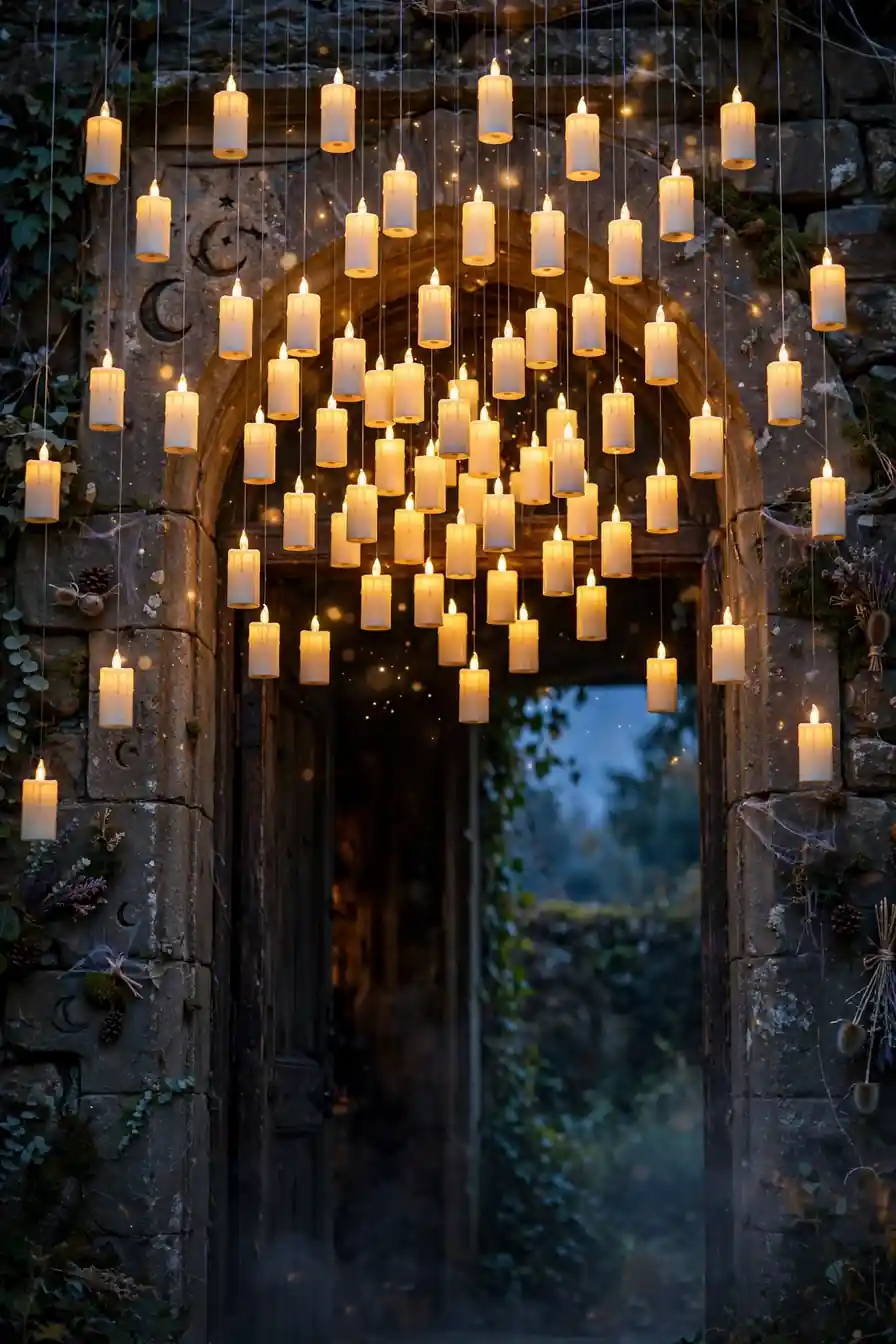
Floating Candle Line
DO:
- Hang LED candles at varied heights with clear fishing line.
- Cluster them denser above the doorway, sparser toward the edges.
- Use candles with a flicker mode for a realistic flame effect.
DON’T:
- Hang real candles anywhere near a doorway with foot traffic.
- Use visible string; fishing line keeps the floating illusion intact.
- Place them where tall visitors might walk into them.
This trick borrows straight from wizard movies, and the effect is pure magic after dark. I recommend testing the layout in daylight first, since spacing looks different once the candles glow. A remote control for the whole set saves you from ladder trips every evening.
Spider Nest Entry
Turning the whole entry into a spider’s lair works when you commit fully rather than scattering a few webs.
Cost: Low; webbing and spiders are cheap
Time: One to two hours
Skill Level: Beginner
Best For: Covered porches with anchor points
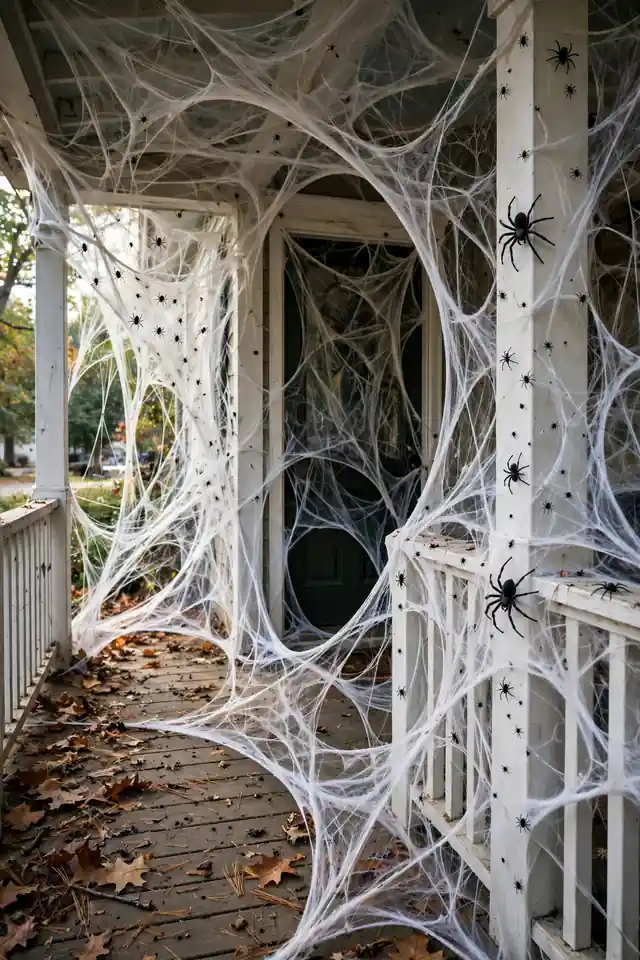
Layer webbing from the ceiling, door frame, and railings so the entry feels wrapped, then add spiders in three sizes for realism. I have seen this work well when a single color palette keeps it cohesive; all-white webs with black spiders never miss. Leave a clear path through the middle so visitors feel brave walking in, and refresh any sagging strands weekly.
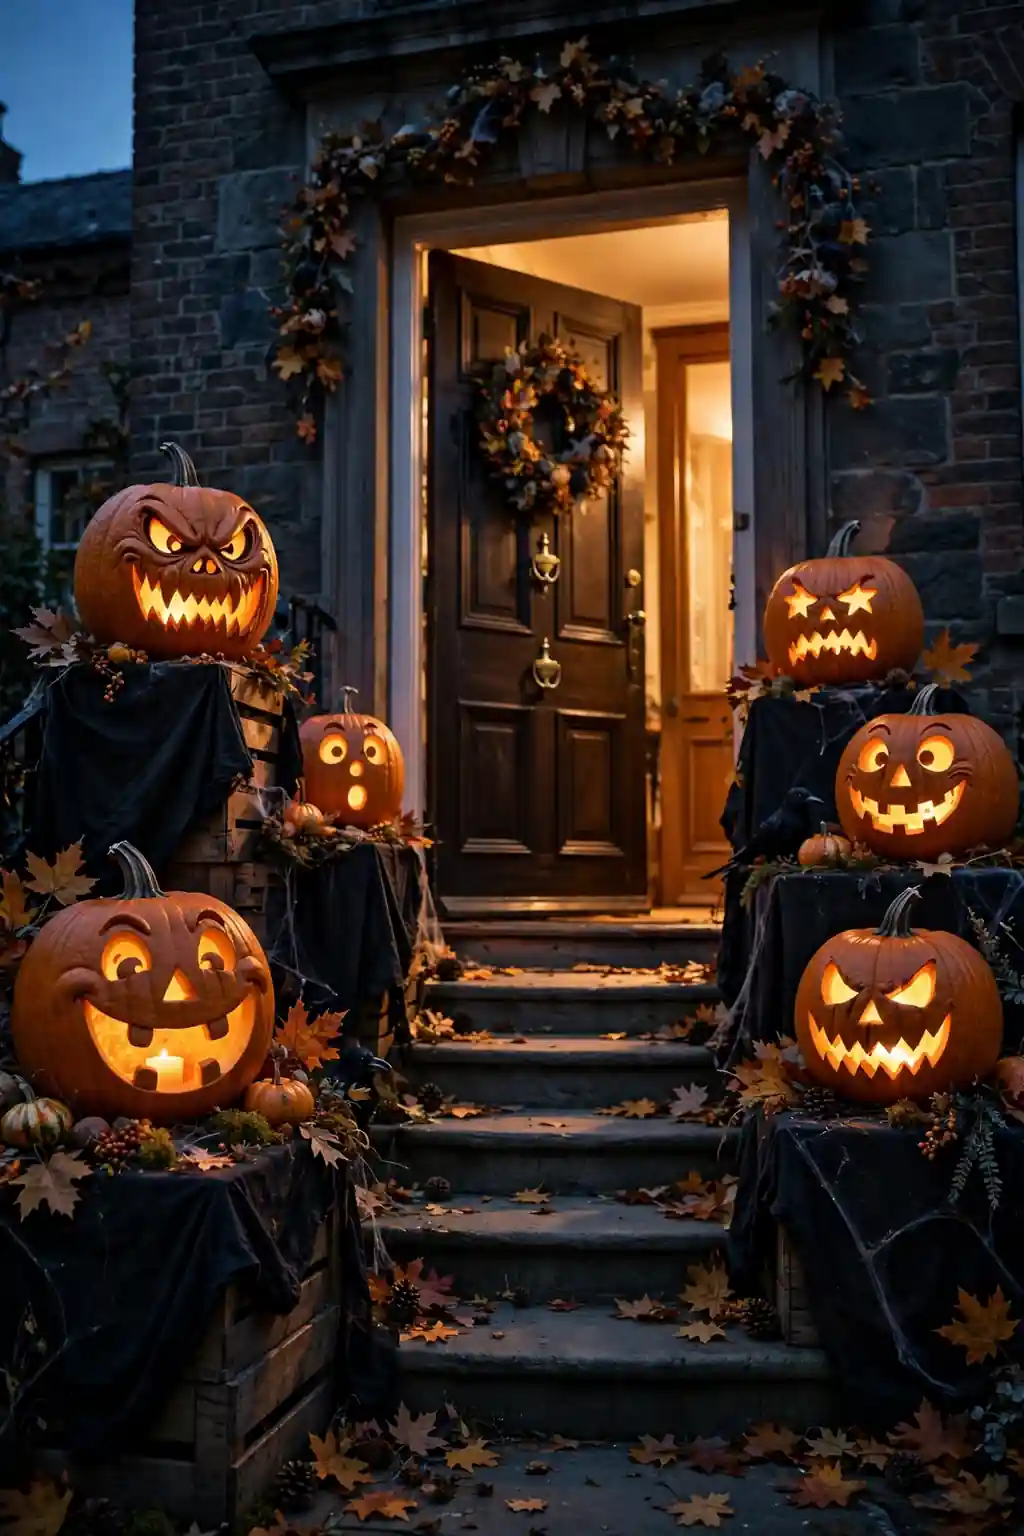
Jack O Lantern Row
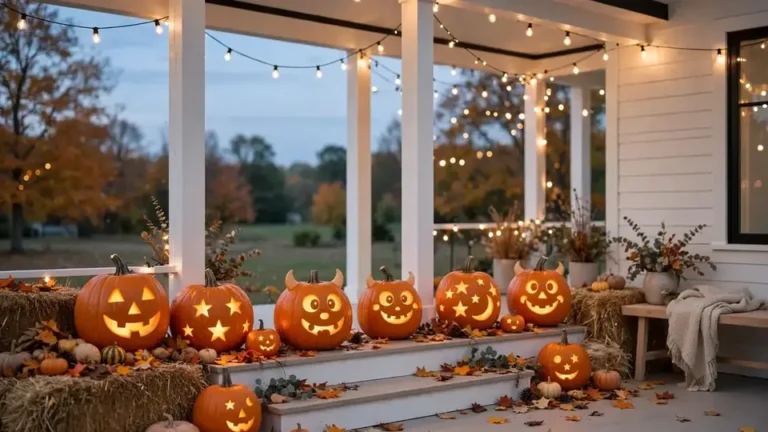
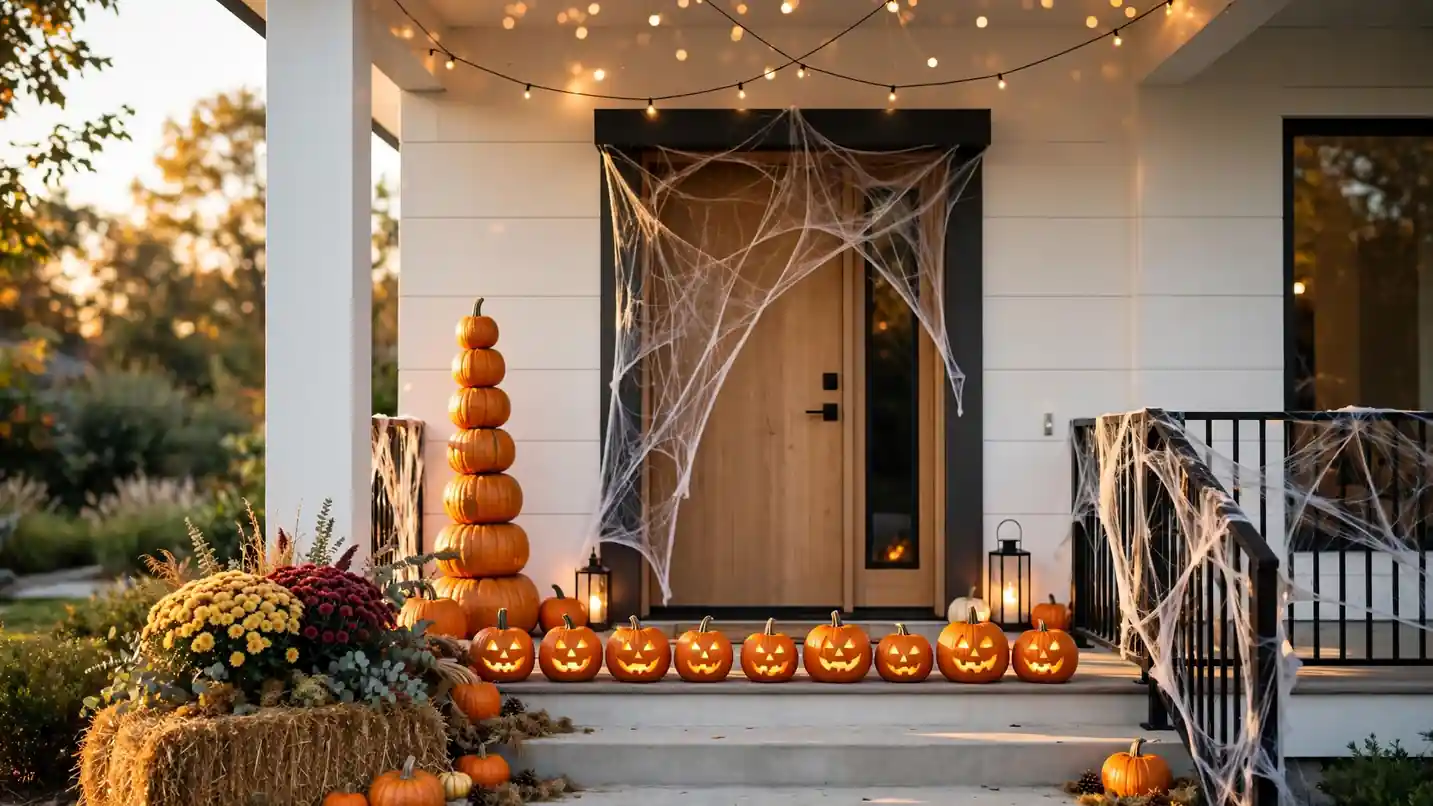
Line both sides of the door with glowing jack-o’-lanterns and the entry practically decorates itself. Carve a mix of silly and spooky faces so there is something for every age, then light them with LED tea lights for safety. I stagger heights using overturned crates hidden under black cloth, which adds drama without buying new stands. The warm glow spilling across the steps is unbeatable.
Real pumpkins last about a week once carved, so time this display for the final days before Halloween. For the rest of the month, uncarved pumpkins with painted faces hold up beautifully. I switch from painted to carved in the last week, which keeps the entry fresh all season long.
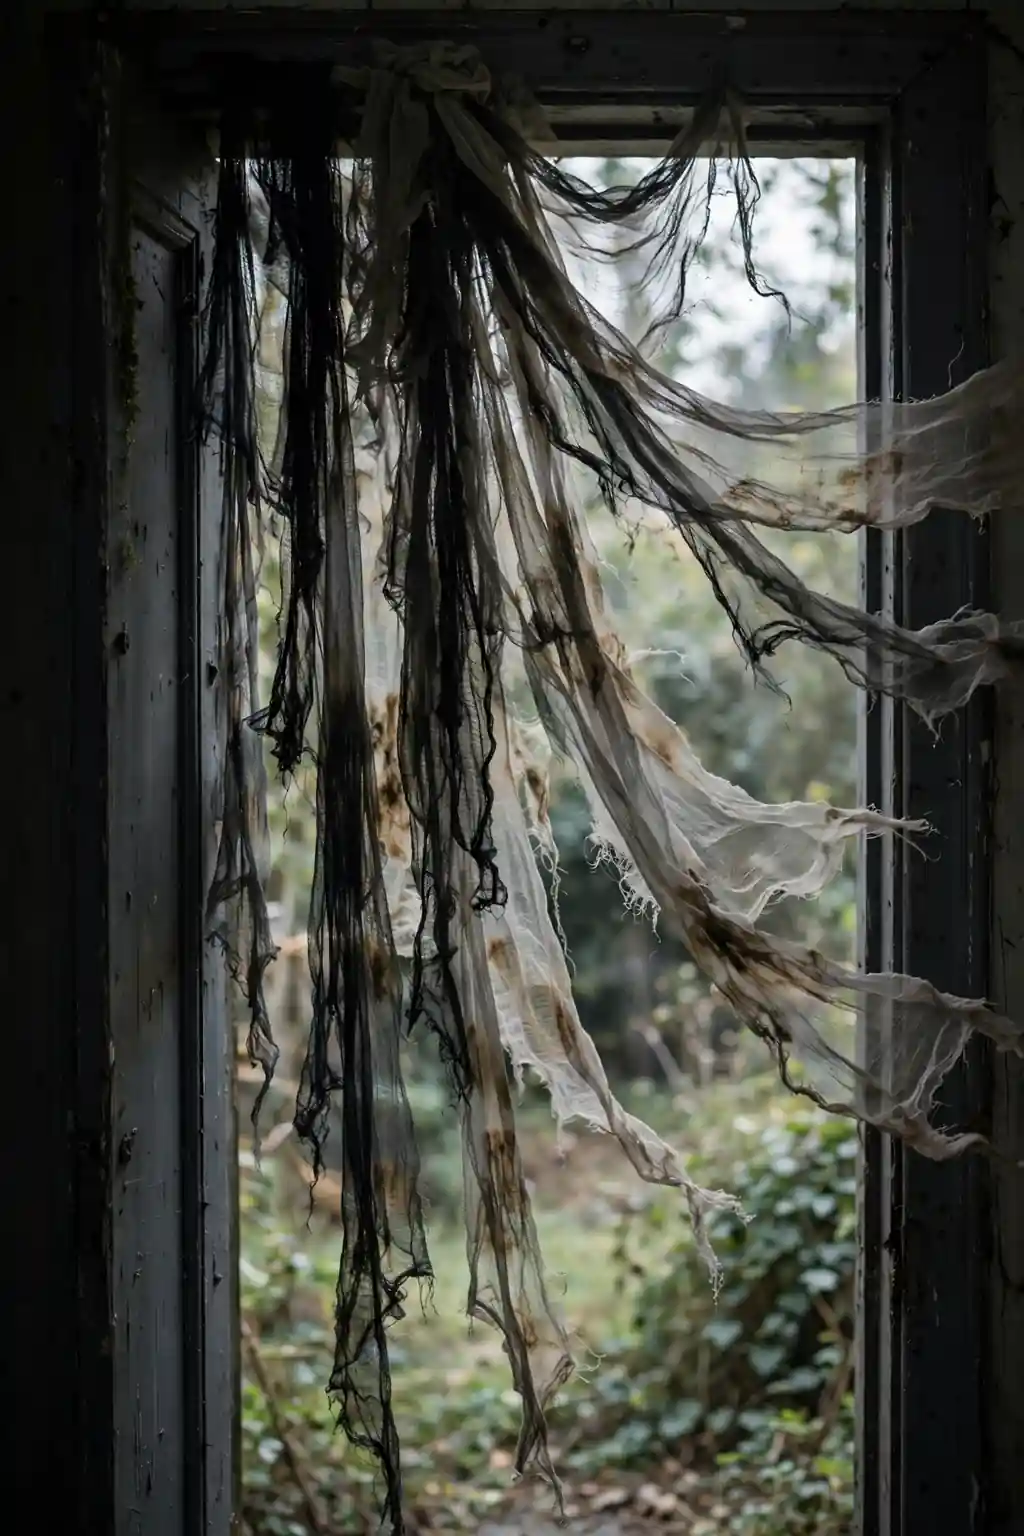
Creepy Cloth Cascade
- Drape black gauze from the top of the frame in uneven lengths.
- Slash the bottom edges for a tattered, wind-worn look.
- Layer gray over black for smoky depth in daylight.
- Secure with removable hooks so paint stays intact.
- Let one panel drift across the door for a haunted-house entrance feel.
Cheesecloth is the secret weapon here; it is cheap, lightweight, and tears into perfect tatters. I soak mine in strong tea for an aged, yellowed tint that looks authentically ancient. The fabric moves in the breeze, which gives the whole entry a restless, haunted energy that static decor cannot match.
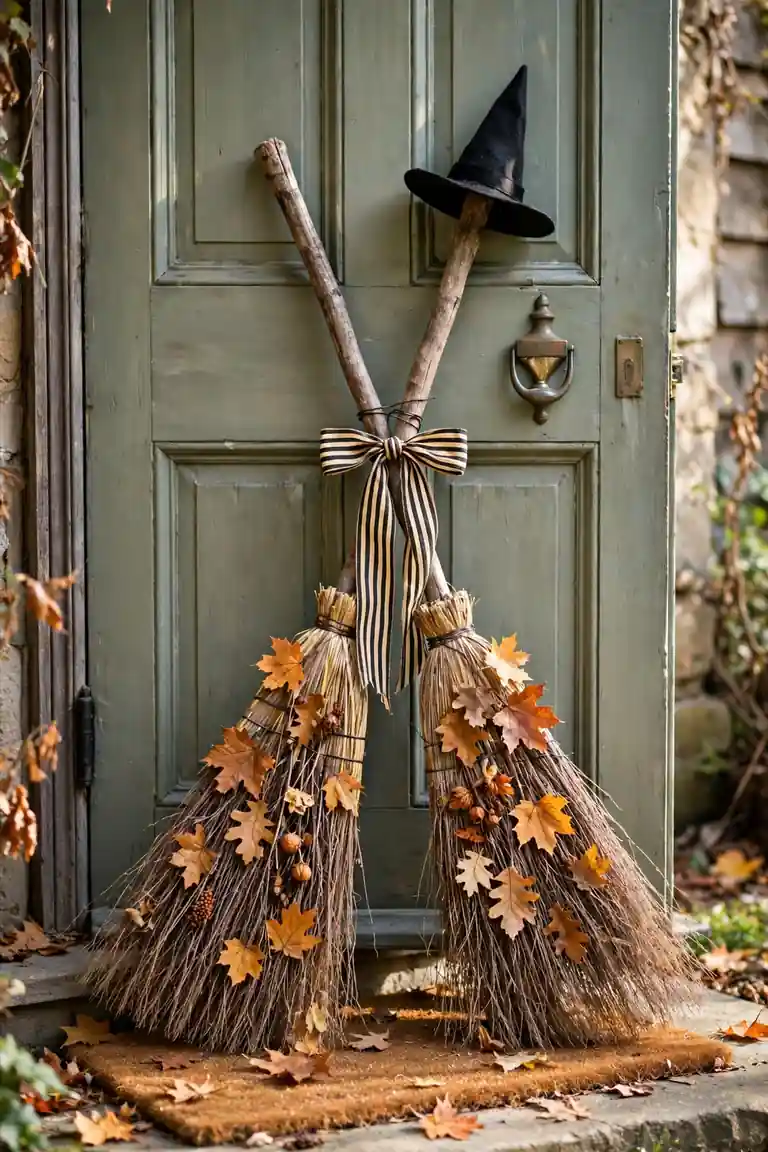
Witches Broom Duo
Quick Tip:
Lean two rustic brooms against the door in a crossed X shape and wire them together where they meet. Tuck a small witch hat on top and scatter faux leaves around the bristles. The whole arrangement takes ten minutes and reads instantly as witchy without a single plastic decoration.
This is my favorite last-minute option when October sneaks up on me. Thrift stores always have brooms, and a little spray paint refreshes worn bristles fast. Add a striped ribbon bow at the crossing point for a finished look that ties into the rest of your porch perfectly every time.
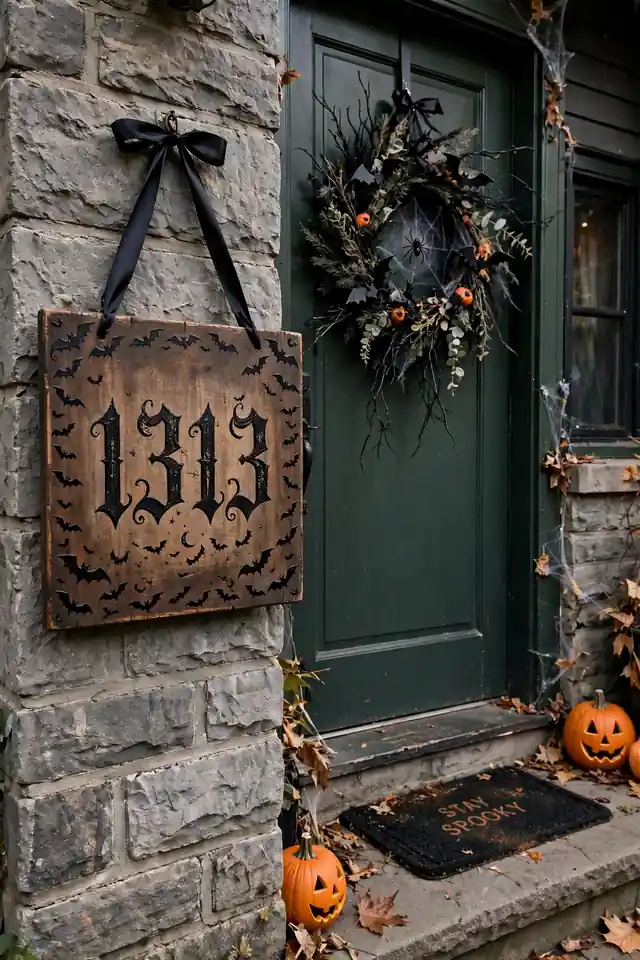
Gothic Address Plaque
BEFORE: Standard brass house numbers vanish against Halloween decor, and delivery drivers squint past your spooky entry. The practical details get lost when the theme takes over.
AFTER: A hanging plaque with eerie gothic lettering and tiny bat silhouettes keeps the address readable while joining the theme. Guests find your haunted house without circling the block, and the entry gains a custom, finished detail.
Choose a lightweight wooden plaque with painted lettering for an authentic look. I keep the design bold enough to read from the street; spooky should never mean confusing for guests or delivery drivers. Hang it with a black ribbon at eye level beside the door.
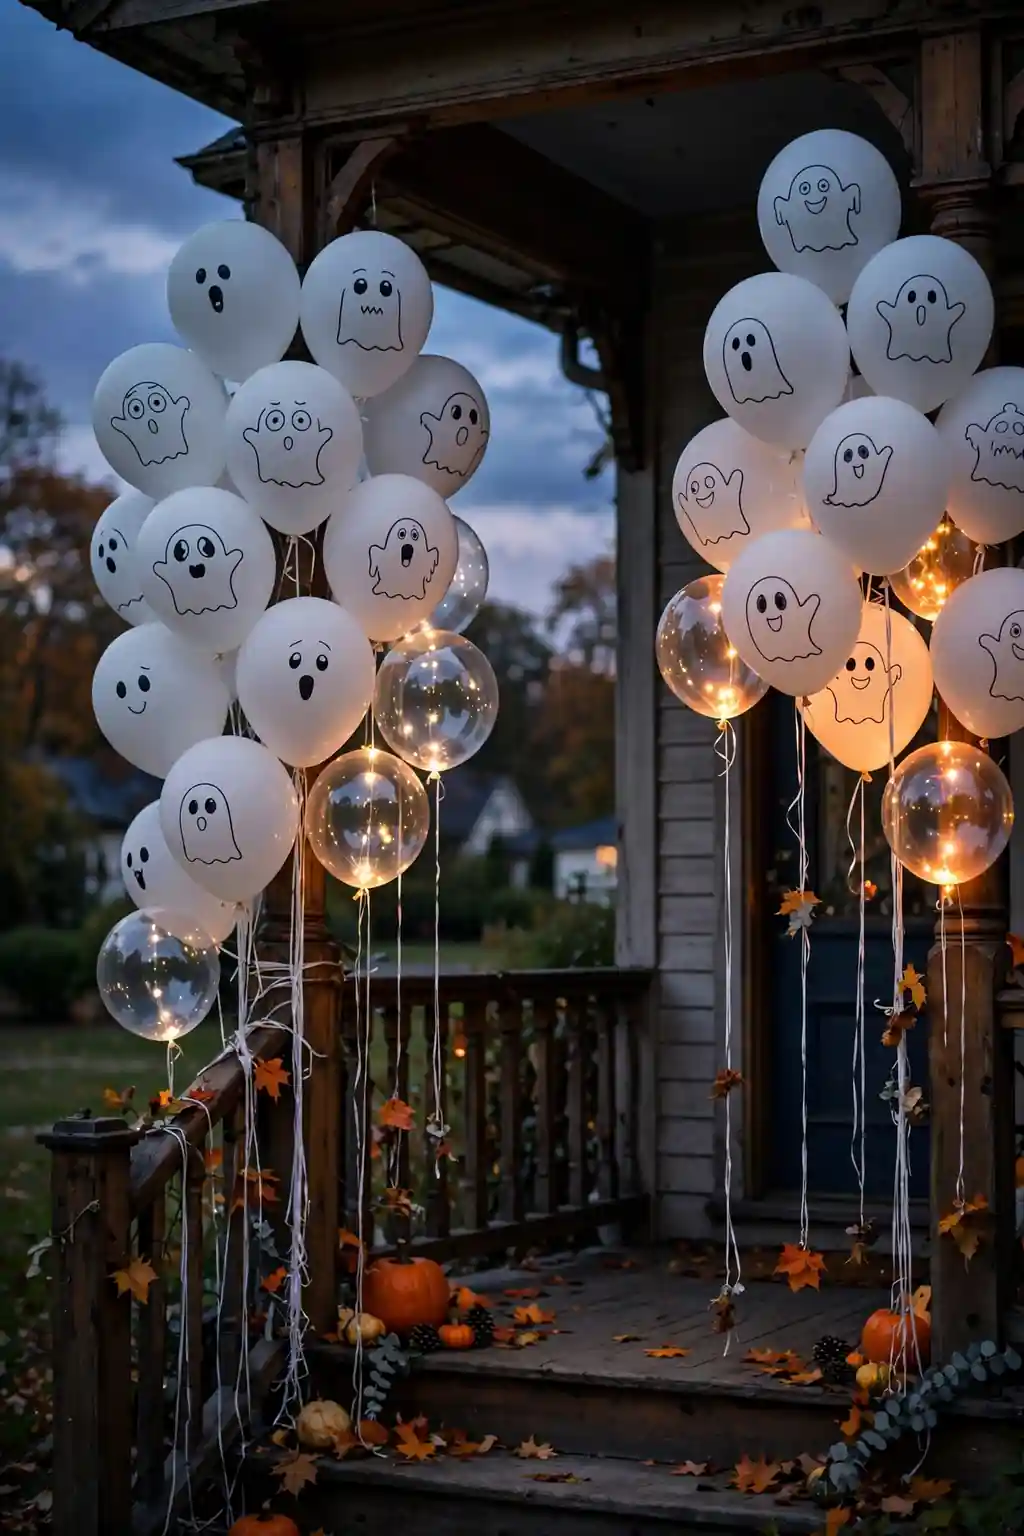
Ghost Balloon Cluster
- Inflate white balloons in mixed sizes and draw simple ghost faces with marker.
- Tie them in clusters of five to seven at varied string lengths.
- Anchor clusters to porch railings or weighted bases on both sides.
- Add a few clear balloons with battery lights inside for nighttime glow.
Balloons bring motion and height that flat decor cannot. I have noticed they photograph incredibly well, especially the lit ones after dark. Use outdoor-rated balloons so they survive a week of weather. Replace any that deflate promptly; a saggy ghost ruins the illusion faster than anything else on the porch, so check them daily.
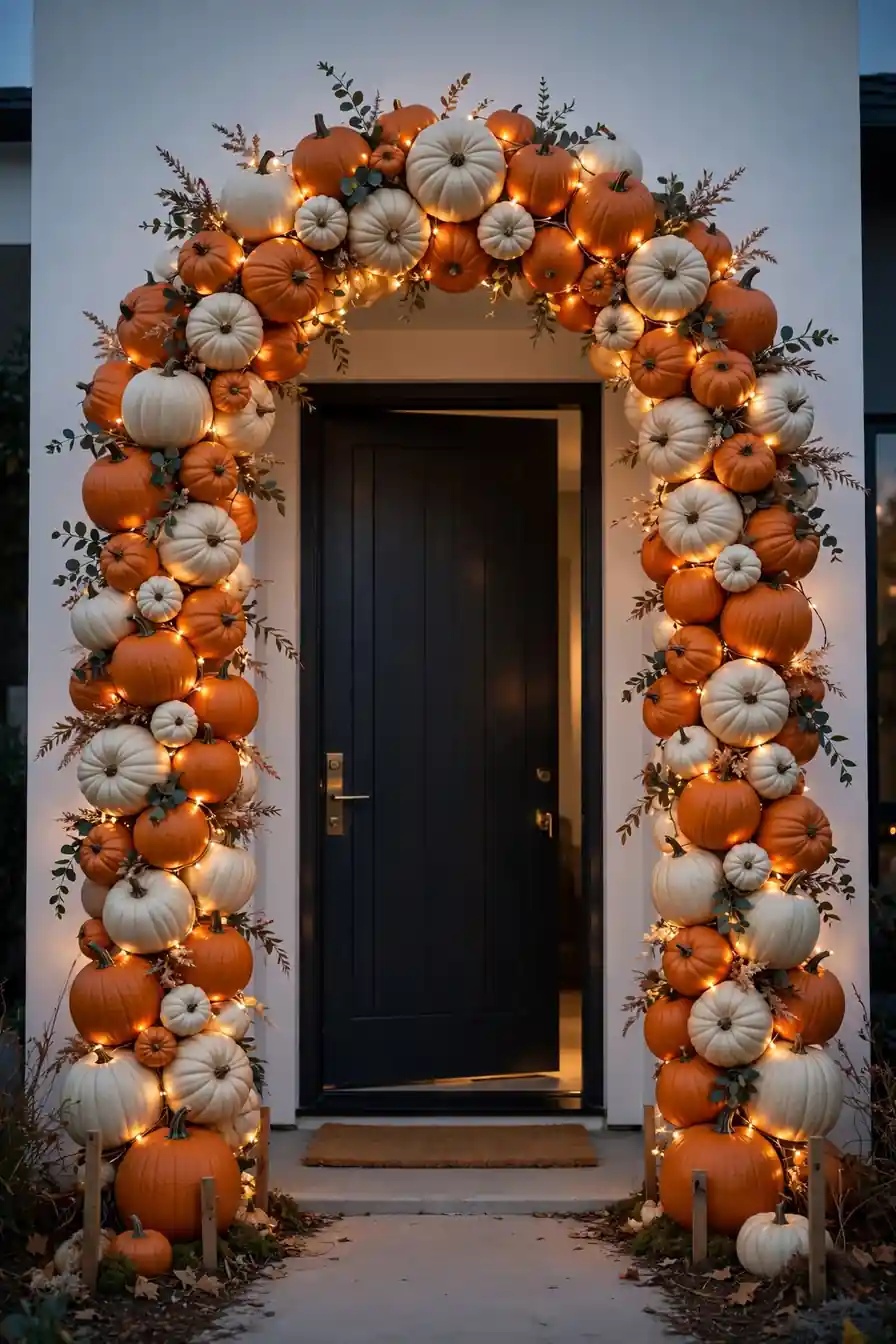
Pumpkin Arch Frame
| Option | Build | Stability |
| Foam pumpkin arch kit | Snap together | Light, stake it down |
| DIY PVC plus faux pumpkins | Custom sizing | Very sturdy |
| Balloon and pumpkin mix | Quick assembly | Best for parties |
| Grapevine plus gourds | Natural harvest look | Sturdy, heavier base |
An arch turns the doorway into a grand entrance guests walk through, which feels ceremonial and fun. I center it on the door so every arrival gets the full effect. Weigh the base well; arches catch wind like sails on gusty October nights. Thread fairy lights through the structure for an evening glow that makes the whole thing magical and photo-worthy.
Black Cat Silhouette
DO:
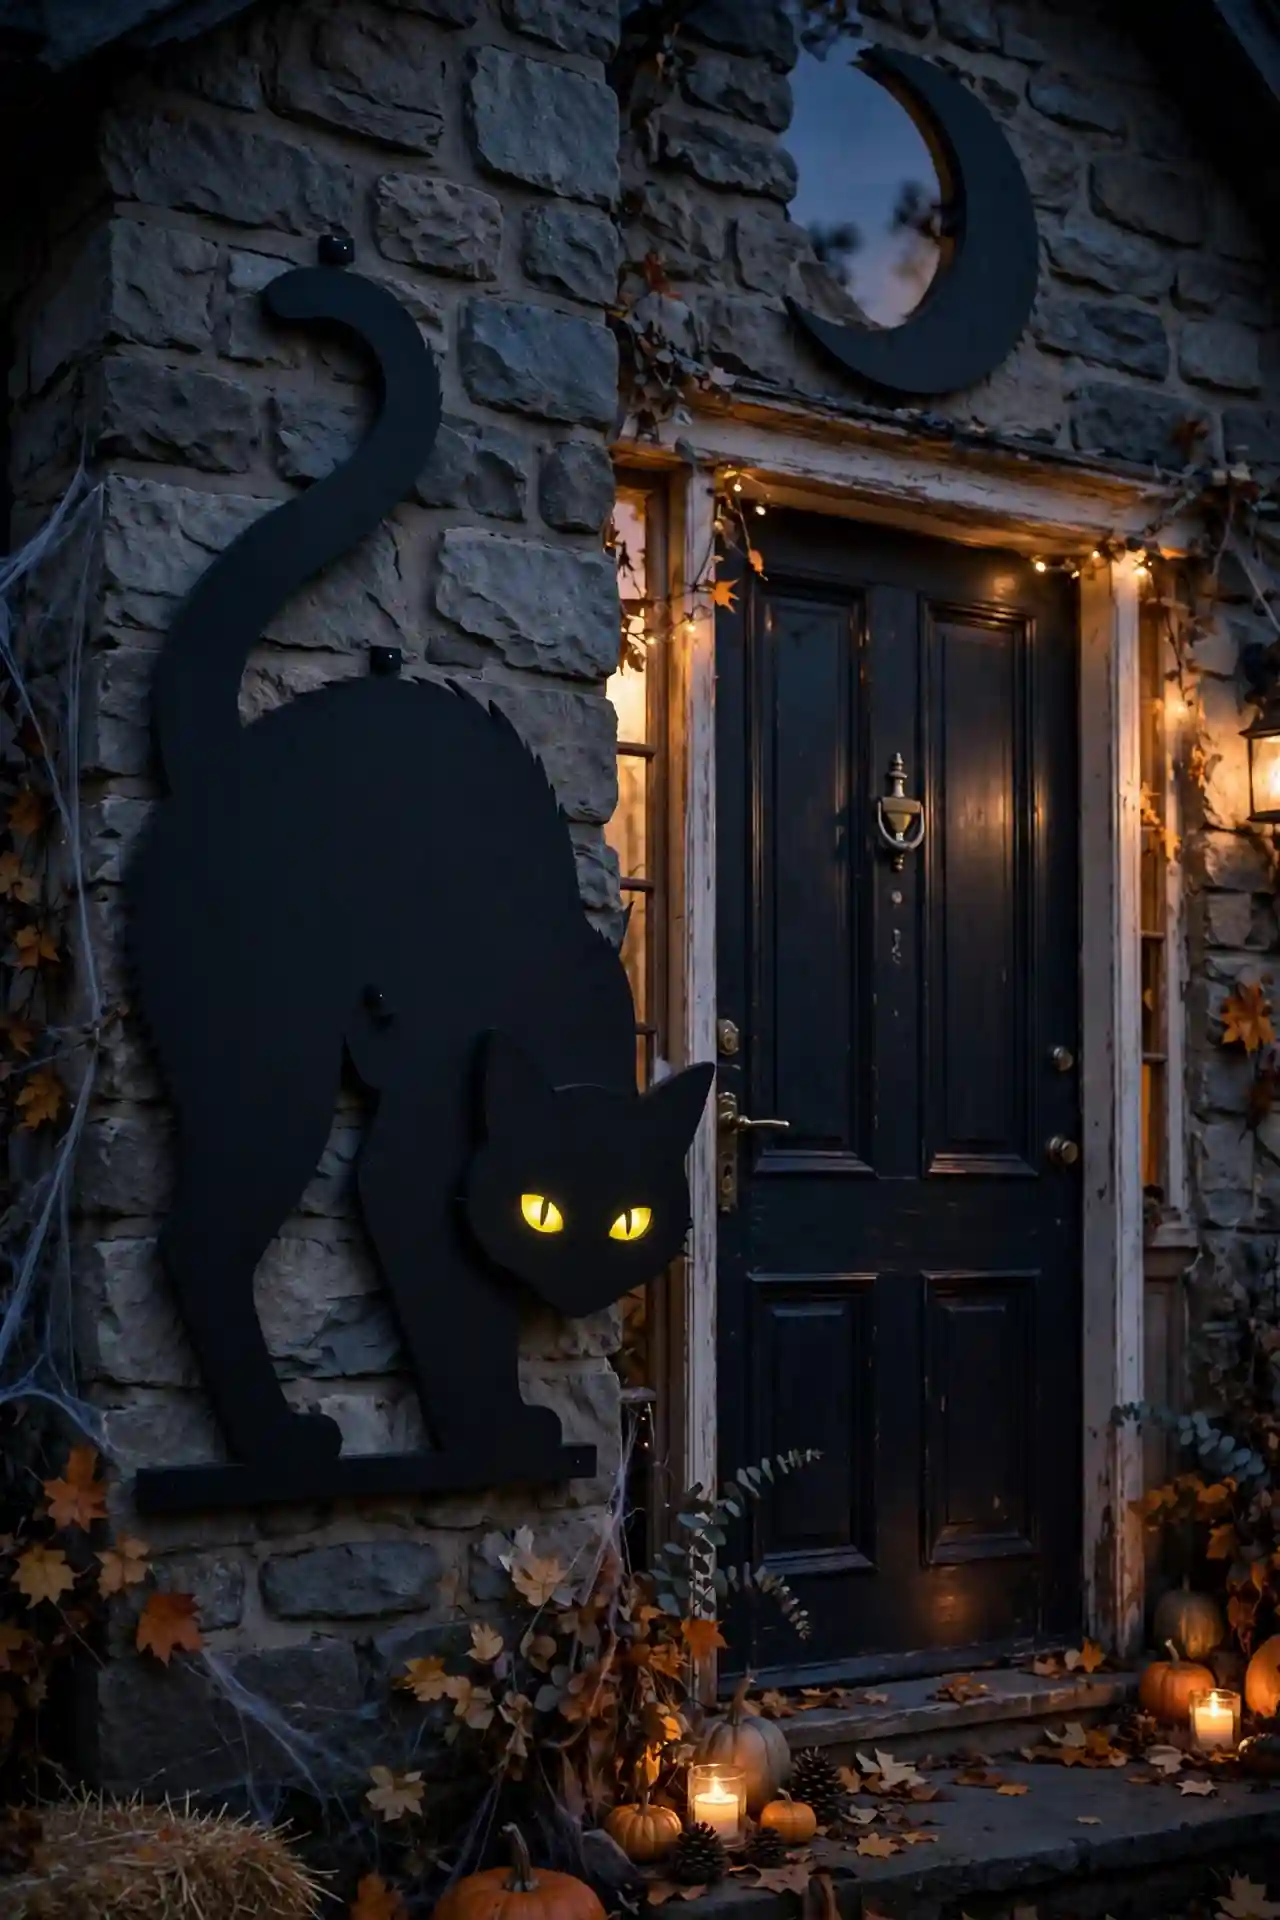
- Cut the silhouette from matte black foam board for clean edges.
- Pose it arched and alert on a porch post or beside the door.
- Add reflective yellow eyes that catch headlights at night.
DON’T:
- Use glossy material that reflects porch light and ruins the silhouette.
- Make it too small; go bigger than feels natural for street visibility.
- Forget to secure it; foam board becomes a kite in October wind.
The arched-back cat is the most recognizable Halloween shape there is. I pair mine with a crescent moon cutout above it for a classic storybook scene. Keep the design simple and bold; intricate details disappear after dark. This one works beautifully for homes that prefer spooky-cute over gory.
Fog Machine Welcome
Nothing says haunted house like fog rolling across your doorstep as visitors approach.
Cost: Medium; machines are affordable and fluid lasts
Time: 30 minutes setup
Skill Level: Beginner
Best For: Halloween night itself
Run the machine in short bursts rather than continuously for the best effect and fluid savings. I place mine behind a planter so the fog seems to rise from nowhere. Keep the nozzle pointed low across the ground, since low fog looks far spookier than a cloud at face height. This is a party-night trick, not an all-month setup, so save the fluid for the big night.
Conclusion
Your front door is the handshake of your Halloween display, and these ideas prove a memorable entry does not demand a big budget or endless weekends. Pick the two or three concepts that match your style, layer them with good lighting, and let the neighborhood do the rest. I have seen how small changes like these can completely shift the way a space feels, turning an ordinary doorway into the highlight of the block. Save your favorites on Pinterest, try one this weekend, and share photos of your spooktacular result. Happy haunting, and may your halloween door decorations draw a crowd all season long.