22 Christmas Crafts for Kids to Make for Holiday Magic
Holiday afternoons feel magical when little hands stay busy with christmas crafts for kids to make. Glue sticks, glitter, and construction paper can fill an entire December afternoon with giggles and pride. Kids love seeing their handmade treasures hung on the tree or taped to the fridge for everyone to admire.
Below you will find 22 simple projects that use supplies you probably already own, from paper plates to pinecones. Each one suits busy parents and restless little crafters alike. For even more festive fun, browse these diy christmas craft ideas to keep the creativity flowing all season long. Most take under an hour from start to finish.
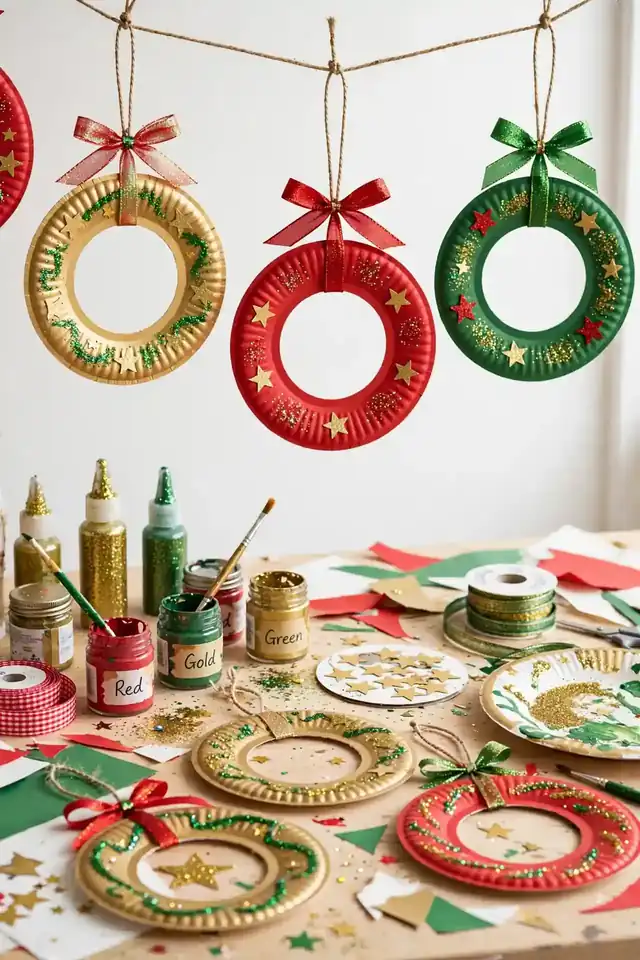
Paper Plate Ornaments
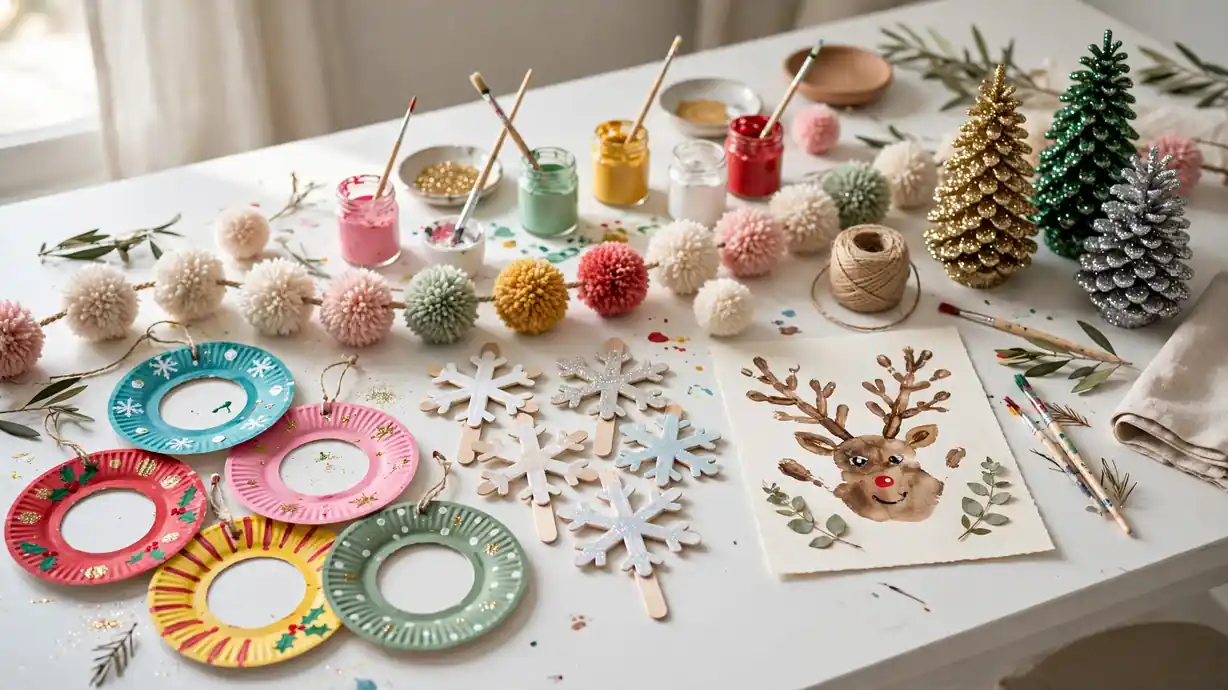
Paper plates are the unsung heroes of holiday crafting, and kids turn them into the sweetest tree ornaments. Hand each child a plate and let them paint it red, green, or gold while you cut a circle from the center. The ring that remains becomes the ornament base, sturdy enough for little fingers to decorate.
Once the paint dries, ribbons, stickers, and glitter glue bring each ring to life in minutes. Punch a hole at the top, thread through some twine, and the ornaments are ready to hang. I’ve noticed kids beam with pride when they spot their own creation dangling among the store-bought baubles.
Pom Pom Garland
- Wrap yarn around a fork 30 times, slide it off, and tie the middle tight.
- Cut the loops open, fluff the ball, and trim stray bits for a round shape.
- Thread finished pom poms onto twine with a blunt needle, spacing them evenly.
- Hang the garland across the mantel or doorway once every pom pom sits in place.
This project keeps small fingers busy for a good half hour, and the finished garland looks charming strung across the mantel. In my experience, kids love choosing their own color mixes, so set out a few yarn shades and let them decide. The soft texture adds warmth to any holiday corner.
Salt Dough Keepsakes
Little hands love squishing salt dough, and the finished keepsakes make treasured grandparent gifts.
Quick Tip: Stir two cups of flour with one cup of salt and one cup of water, then roll and stamp stars and hearts. Bake at 200 degrees for two hours, flipping once, so pieces harden without browning. Cool fully, then paint white with gold details for a boutique look.
Once painted, thread ribbon through the holes and date the back with a marker for a yearly tradition. Kids love comparing this year’s batch with older ones on the tree. Store finished keepsakes in tissue paper so the paint stays fresh.
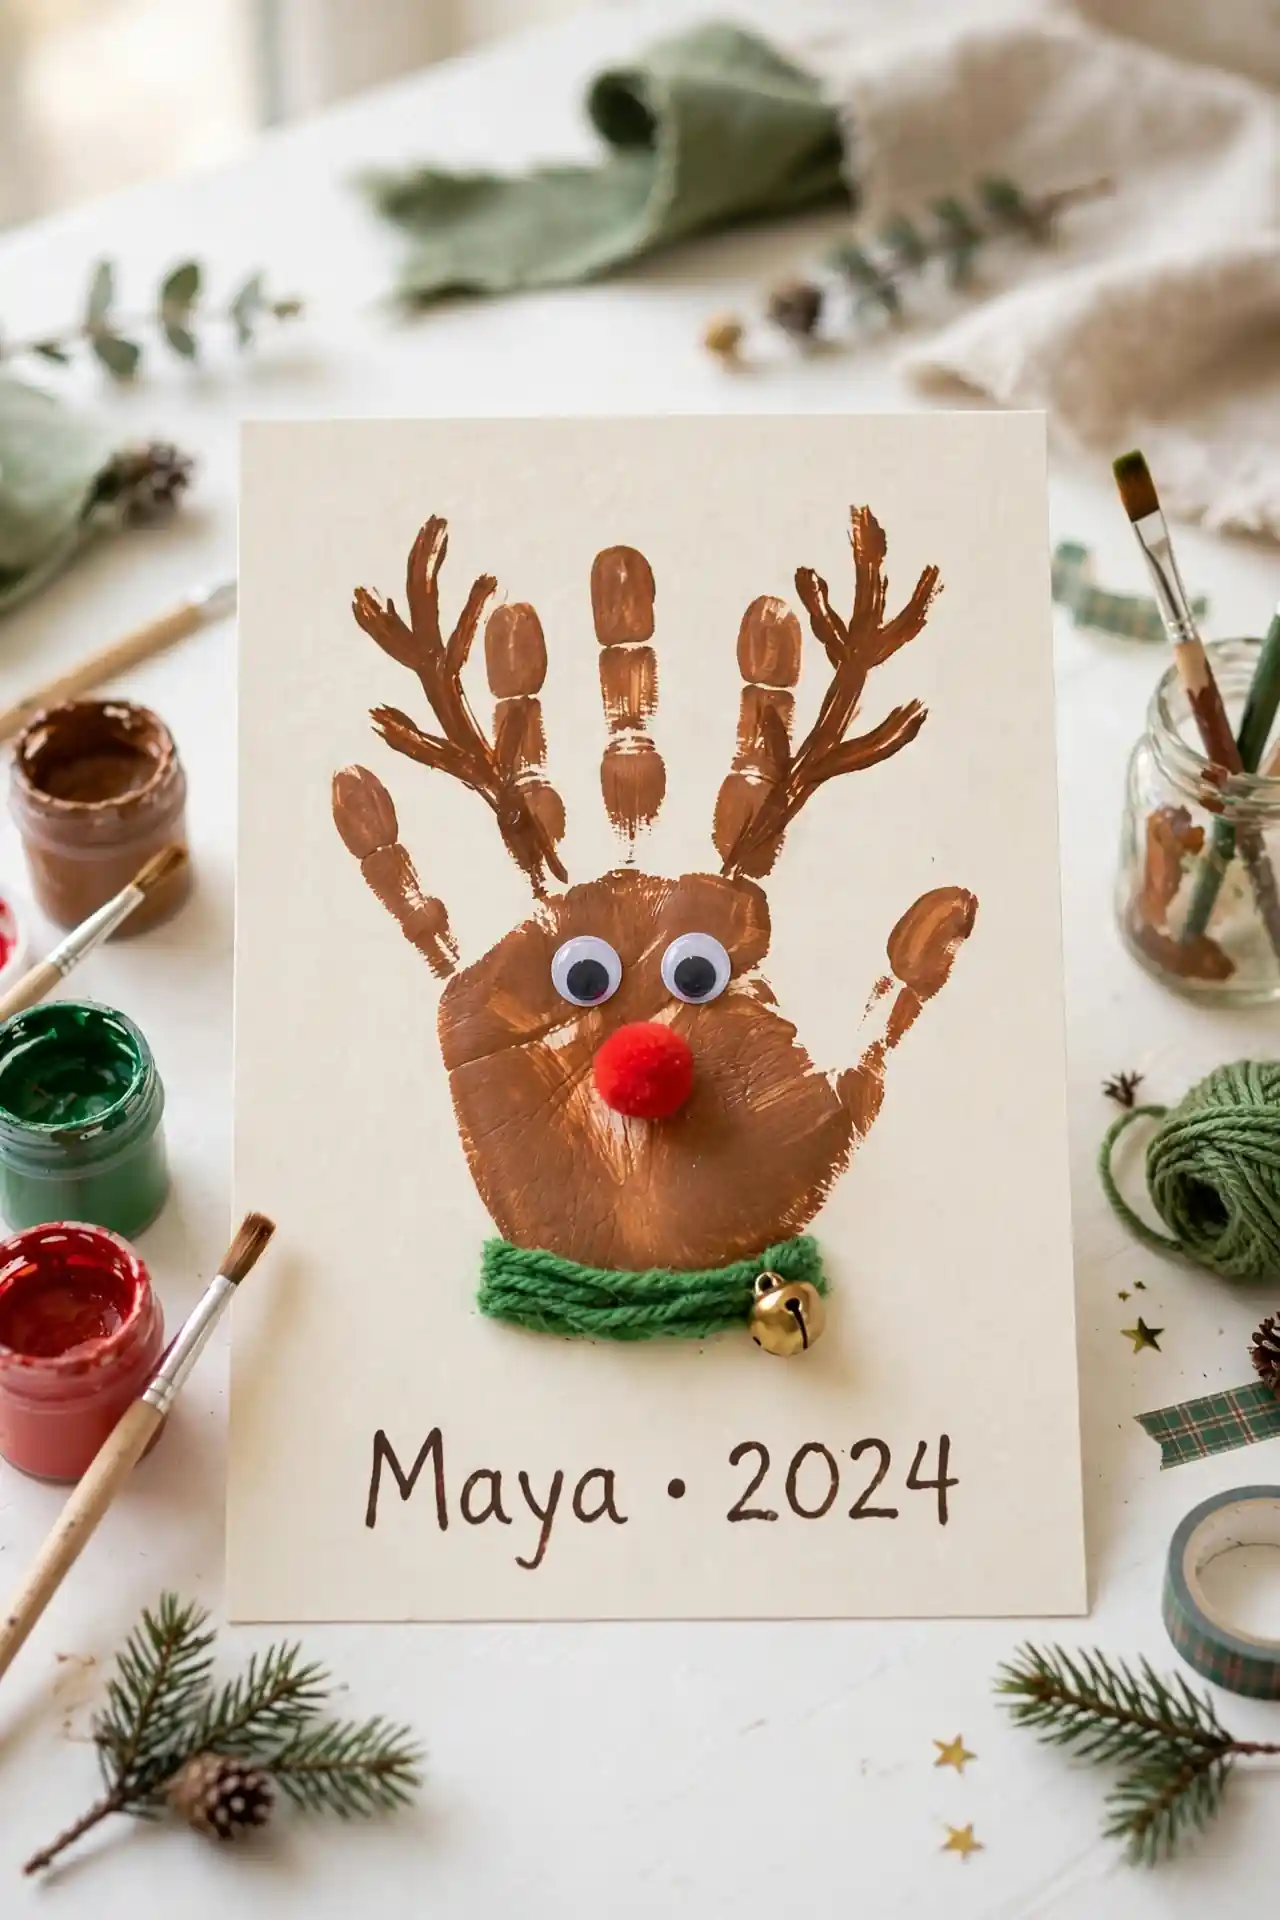
Handprint Reindeer Art
BEFORE: A blank sheet of brown construction paper sits on the table, and a small hand gets painted with washable brown paint. The child presses their palm down firmly, fingers spread wide like antlers.
AFTER: Once dry, googly eyes and a red pom pom nose turn the print into the jolliest reindeer face. A green paper collar and the child’s name with the year finish this keepsake. Frame it or gift it to grandparents.
Handprint art captures how tiny those fingers once were, which makes parents melt every December. I’ve seen this work well in many cases as a classroom gift, since each print turns out unique. Keep baby wipes nearby for quick cleanup between prints. The whole project takes about twenty minutes, drying time included.
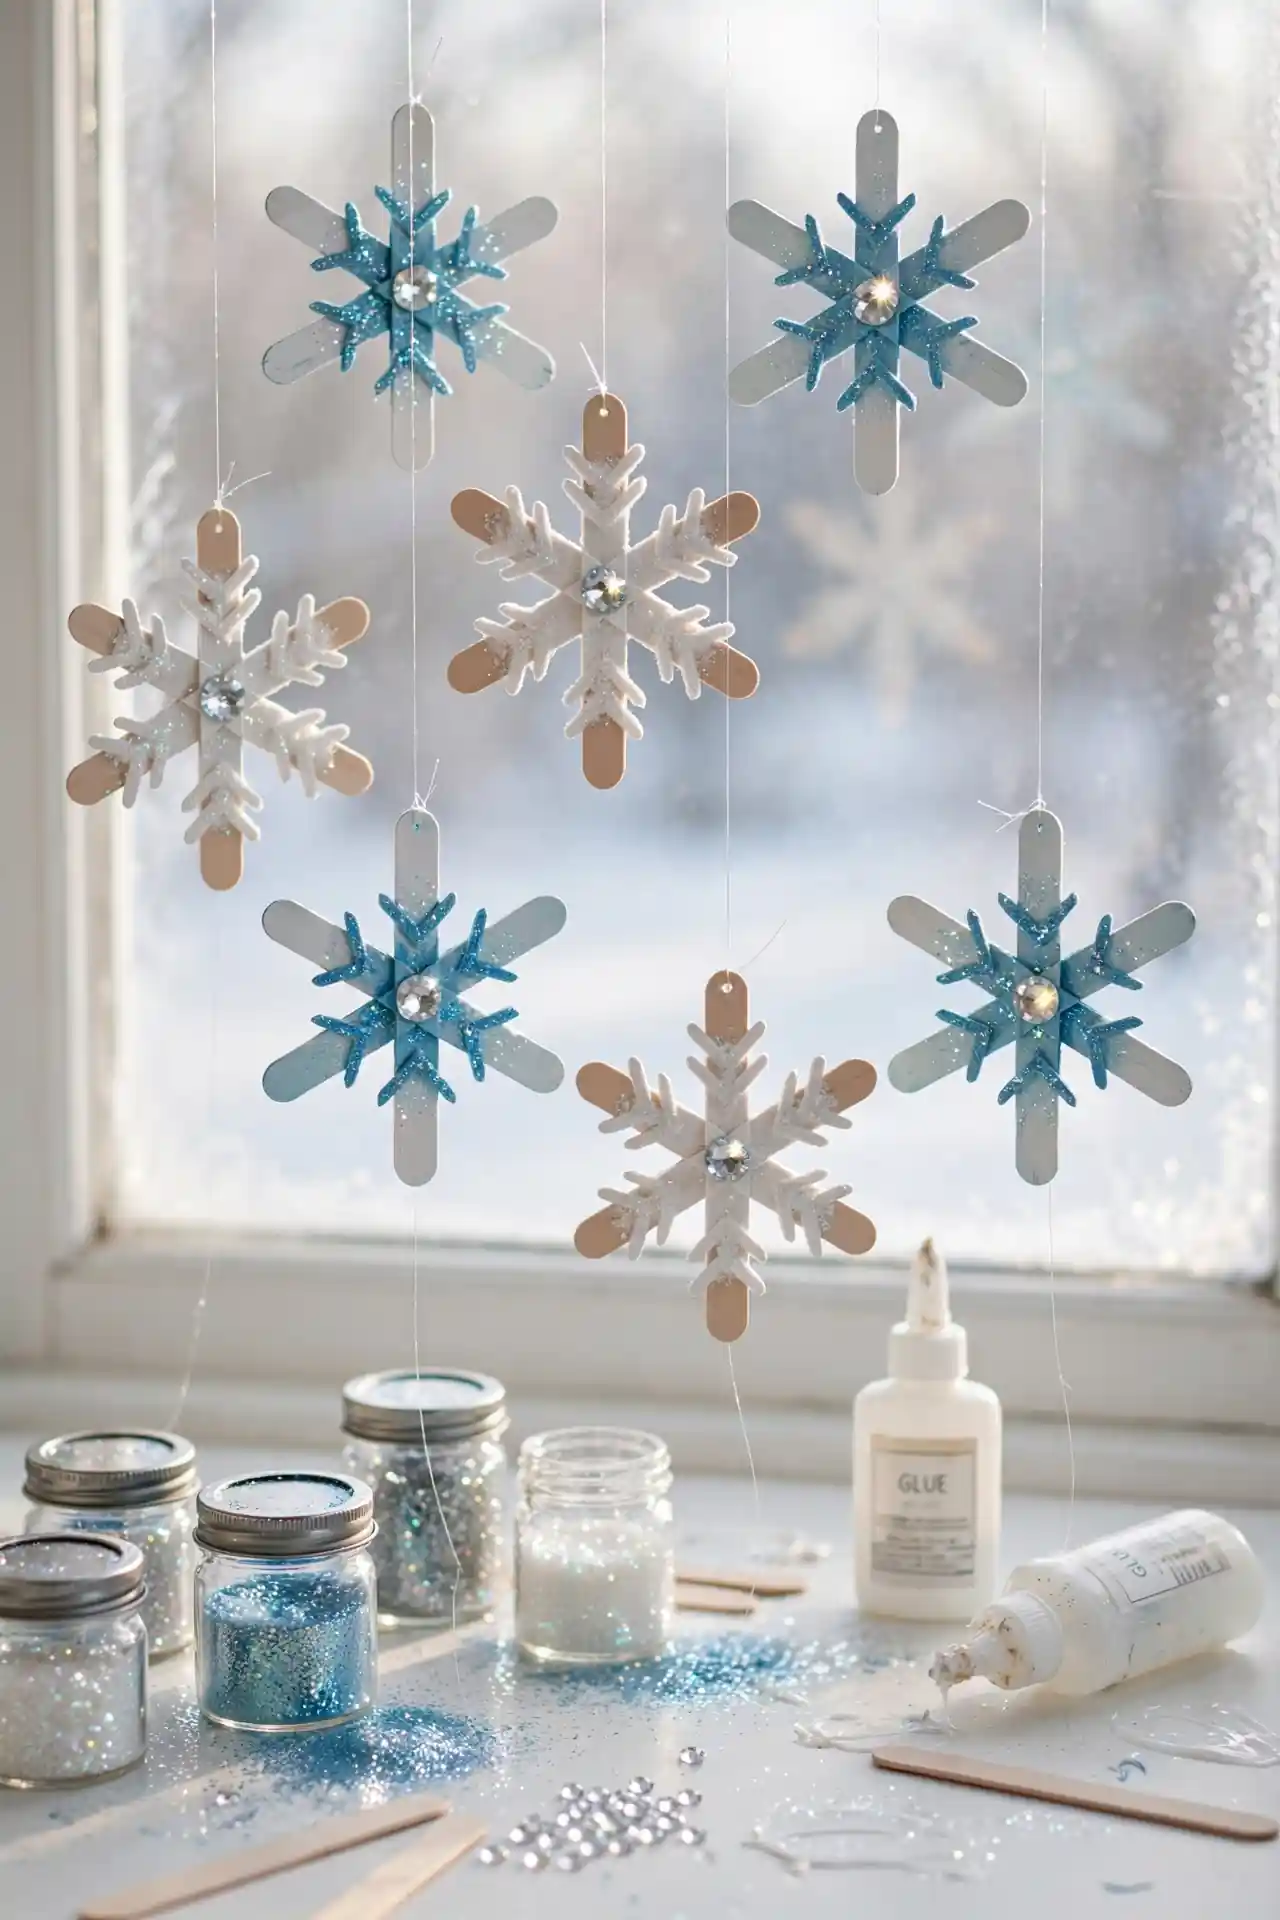
Popsicle Stick Snowflakes
- Glue three sticks into a six-point star by crossing them at the center.
- Let the glue dry fully, then paint the star white or icy blue.
- Dot glitter glue along each arm and sprinkle with fine glitter.
- Add a small rhinestone at the center for extra sparkle.
- Tie a loop of fishing line at one tip for hanging.
These delicate snowflakes catch the light beautifully on the tree, and kids love making a whole blizzard of them. That’s why many experts recommend this project for classrooms: the steps are simple, the materials cost pennies, and every snowflake turns out different. Hang them in windows for a frosty display.
Cotton Ball Santas
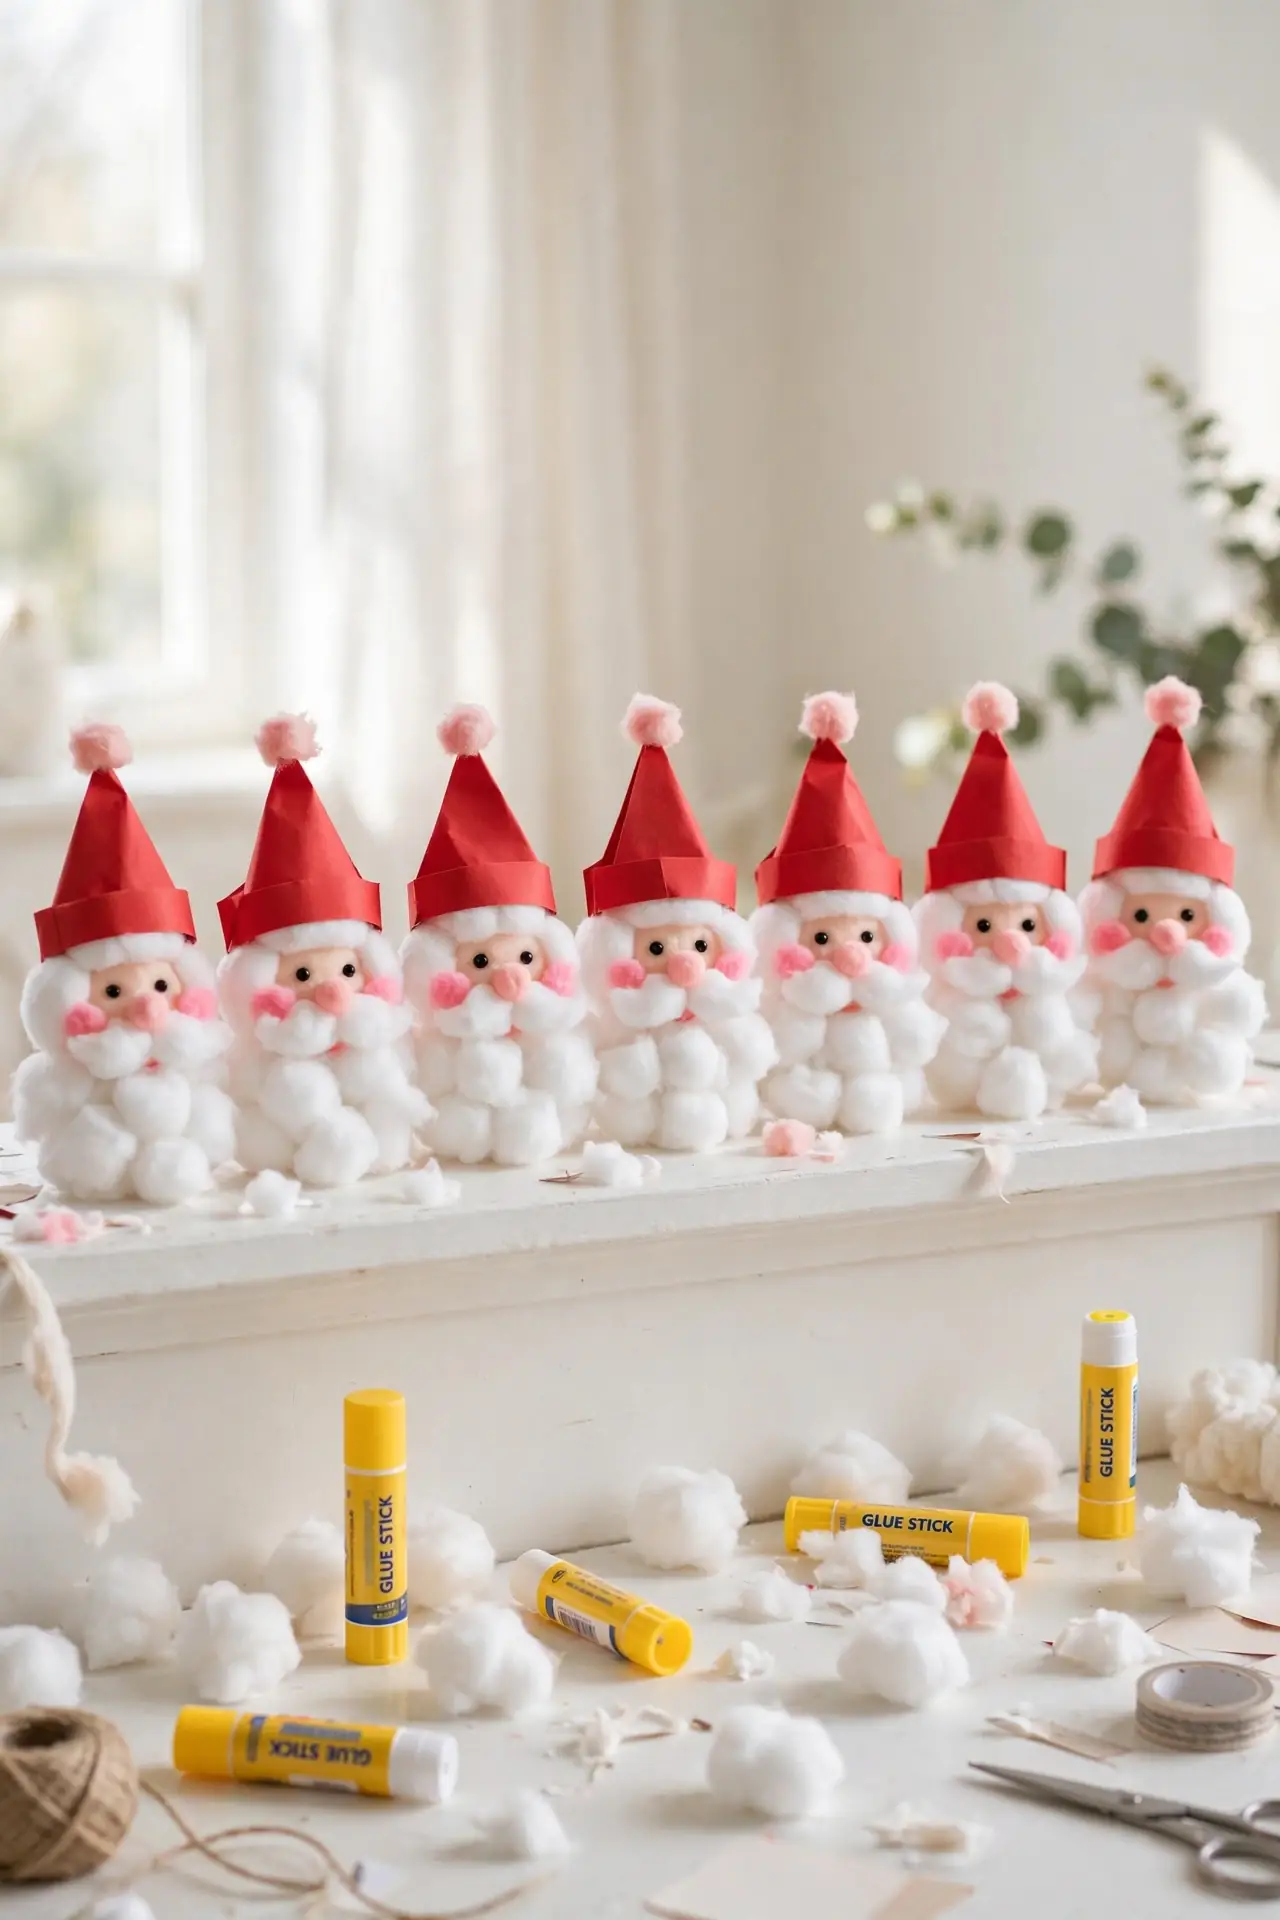
Two versions of this jolly craft suit different ages, attention spans, and decoration plans. Pick the one that fits your afternoon.
| Classic Santa | Mini Santa Ornament | |
| Base | Paper plate face | Walnut shell or bottle cap |
| Beard | Cotton balls glued thick | Small cotton pad trim |
| Hat | Red construction paper triangle | Red felt mini triangle |
| Hanging | Tape to fridge | Ribbon loop for tree |
Cotton ball beards always get giggles, and the finished Santas look adorable lined up on the mantel. Let kids go generous with the glue so the beard stays fluffy and full. A rosy cheek dabbed with pink paint gives each Santa extra character.
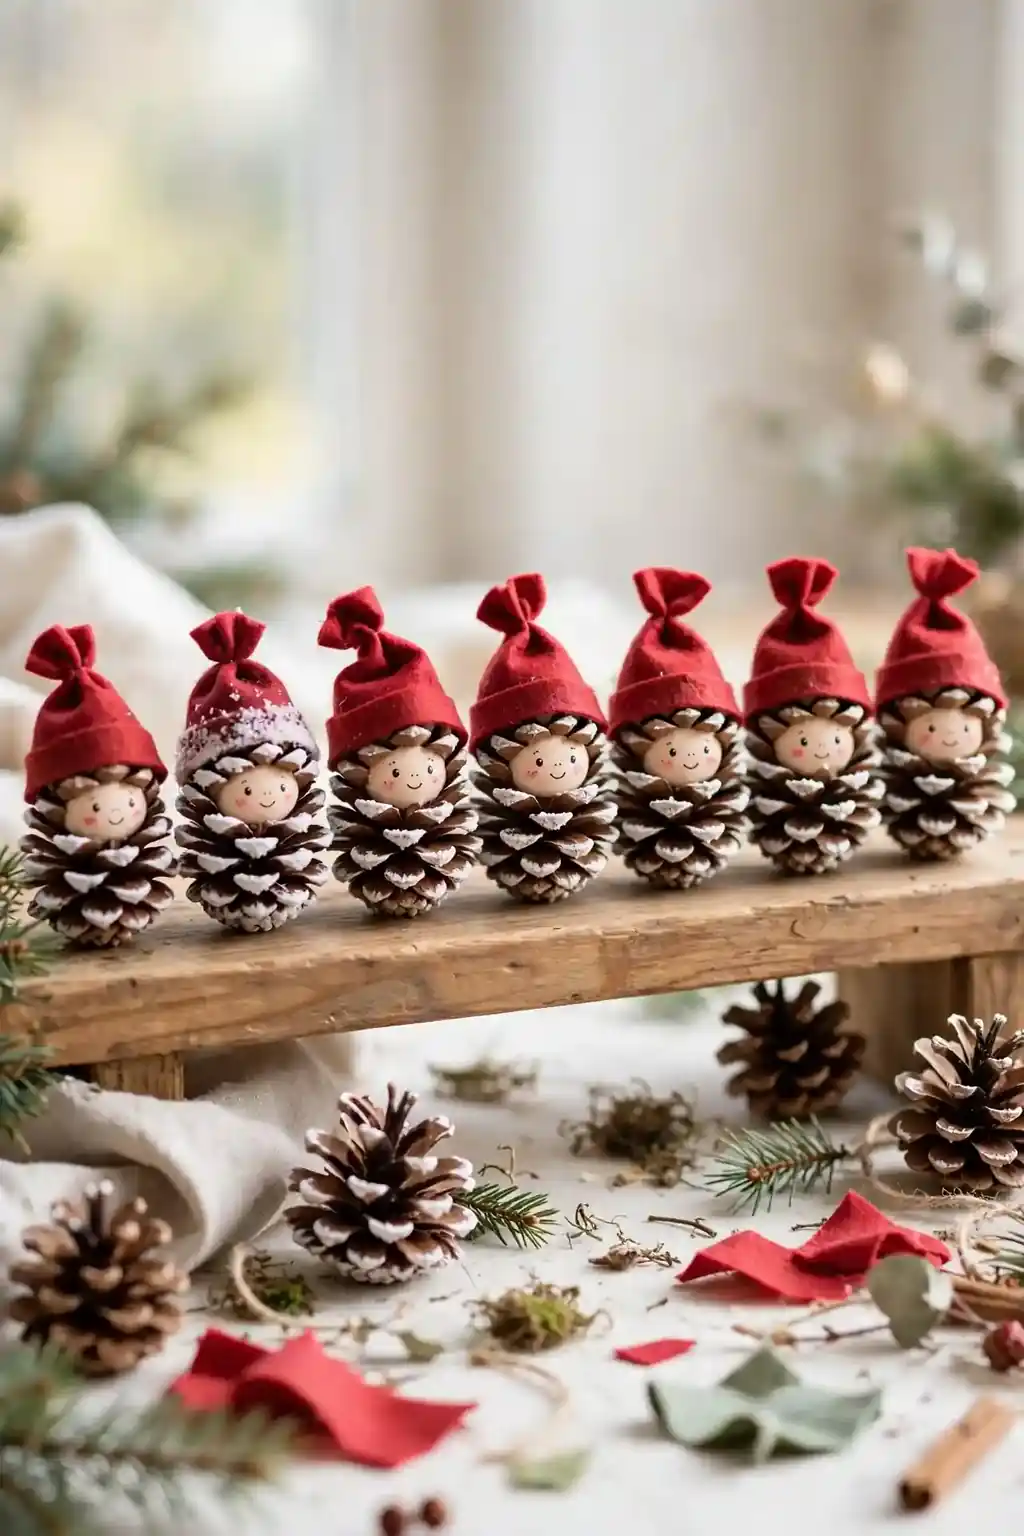
Pinecone Elves
DO:
- Do pick pinecones that sit flat so the elves stand steady on shelves.
- Do use felt triangles for hats, glued snug over the pinecone top.
- Do draw tiny faces with a fine marker once the glue dries.
DON’T:
- Don’t use hot glue without an adult handling the gun.
- Don’t overload with glitter, or the elf details get lost.
- Don’t skip the drying time, or hats slide right off.
Pinecone elves bring woodland charm to the tree, and no two ever look alike. Gather cones on a nature walk to make the project even more special. A dab of white paint on the tips suggests fresh snow.
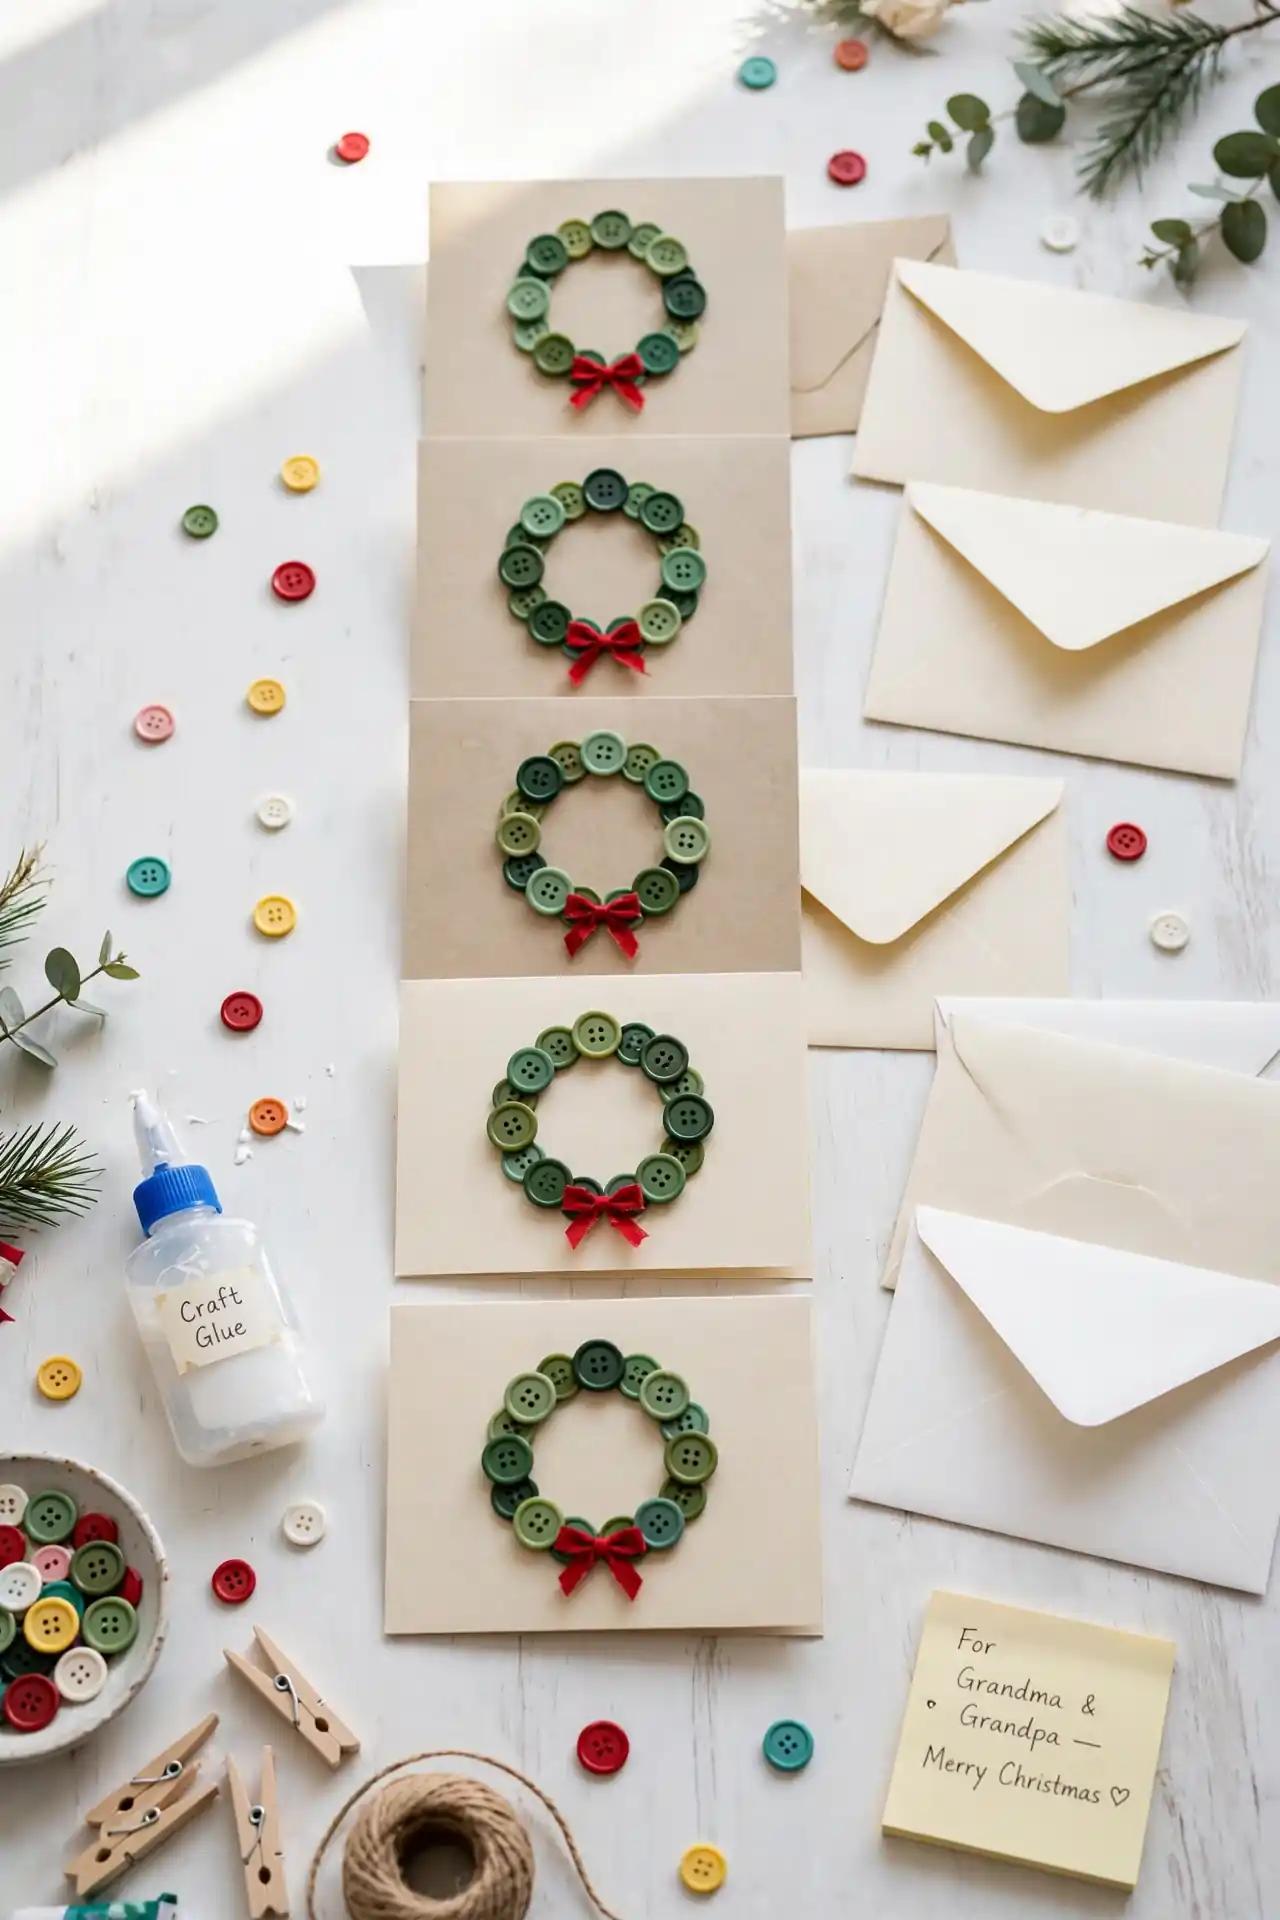
Button Wreath Cards
Cost: Pennies | Time: 20 minutes | Skill Level: Beginner | Best For: Grandparent cards
A green circle of buttons on a folded card makes the sweetest mini wreath. Raid the sewing box for red, gold, and green buttons.
Kids arrange the buttons in a ring, gluing each one down, then add a tiny bow at the top. Writing a message inside turns it into a keepsake card grandparents will keep for years. I’ve noticed even toddlers can place buttons with a little help, which makes this a lovely all-ages project. Sort buttons by color first for a tidy wreath, or mix them up for a playful look.
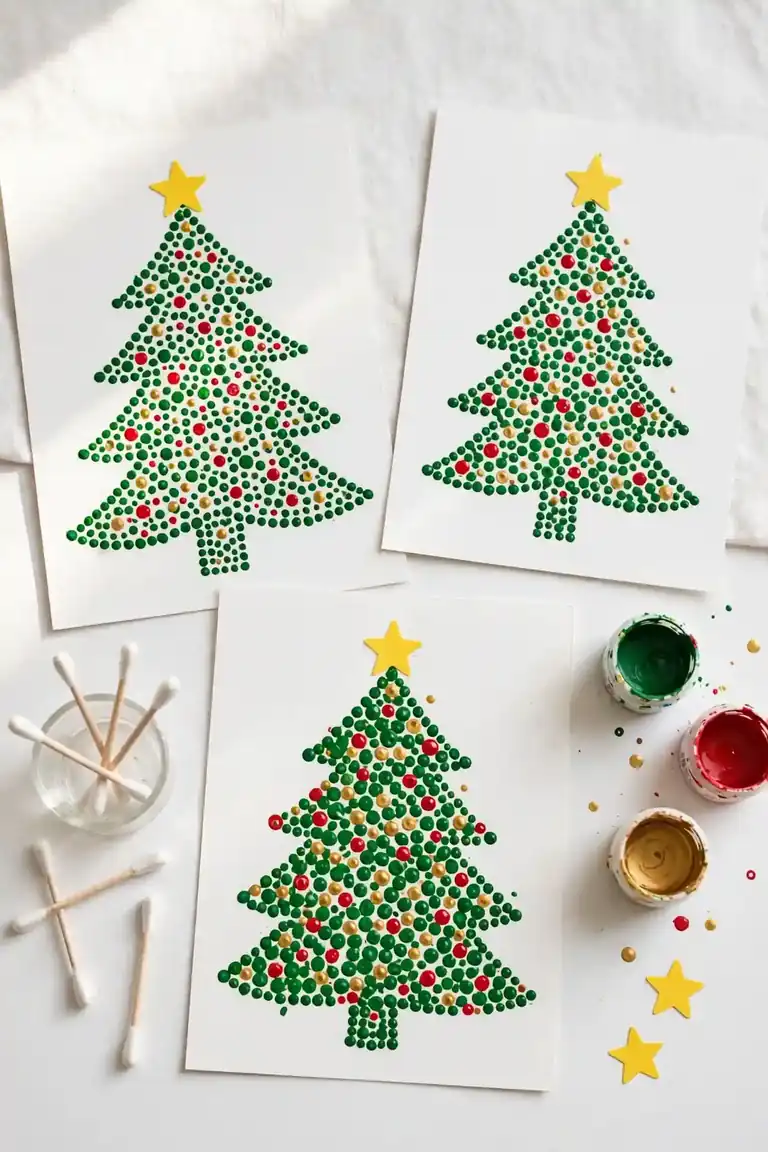
Q-Tip Painted Trees
Q-tips make surprisingly great paintbrushes for little hands, and dotted Christmas trees look adorable. Draw a simple triangle tree on cardstock, then let kids dab green paint dots all along the branches. The dot pattern fills in slowly, which keeps them focused and calm. A brown trunk and yellow star sticker finish the picture.
Once the green dots dry, add red and gold dot ornaments with fresh Q-tips for a festive touch. This gentle, repetitive motion suits quiet afternoons and younger kids especially well. Frame the finished trees or turn them into holiday cards for the family. The mess stays minimal since Q-tips hold just a dab of paint.
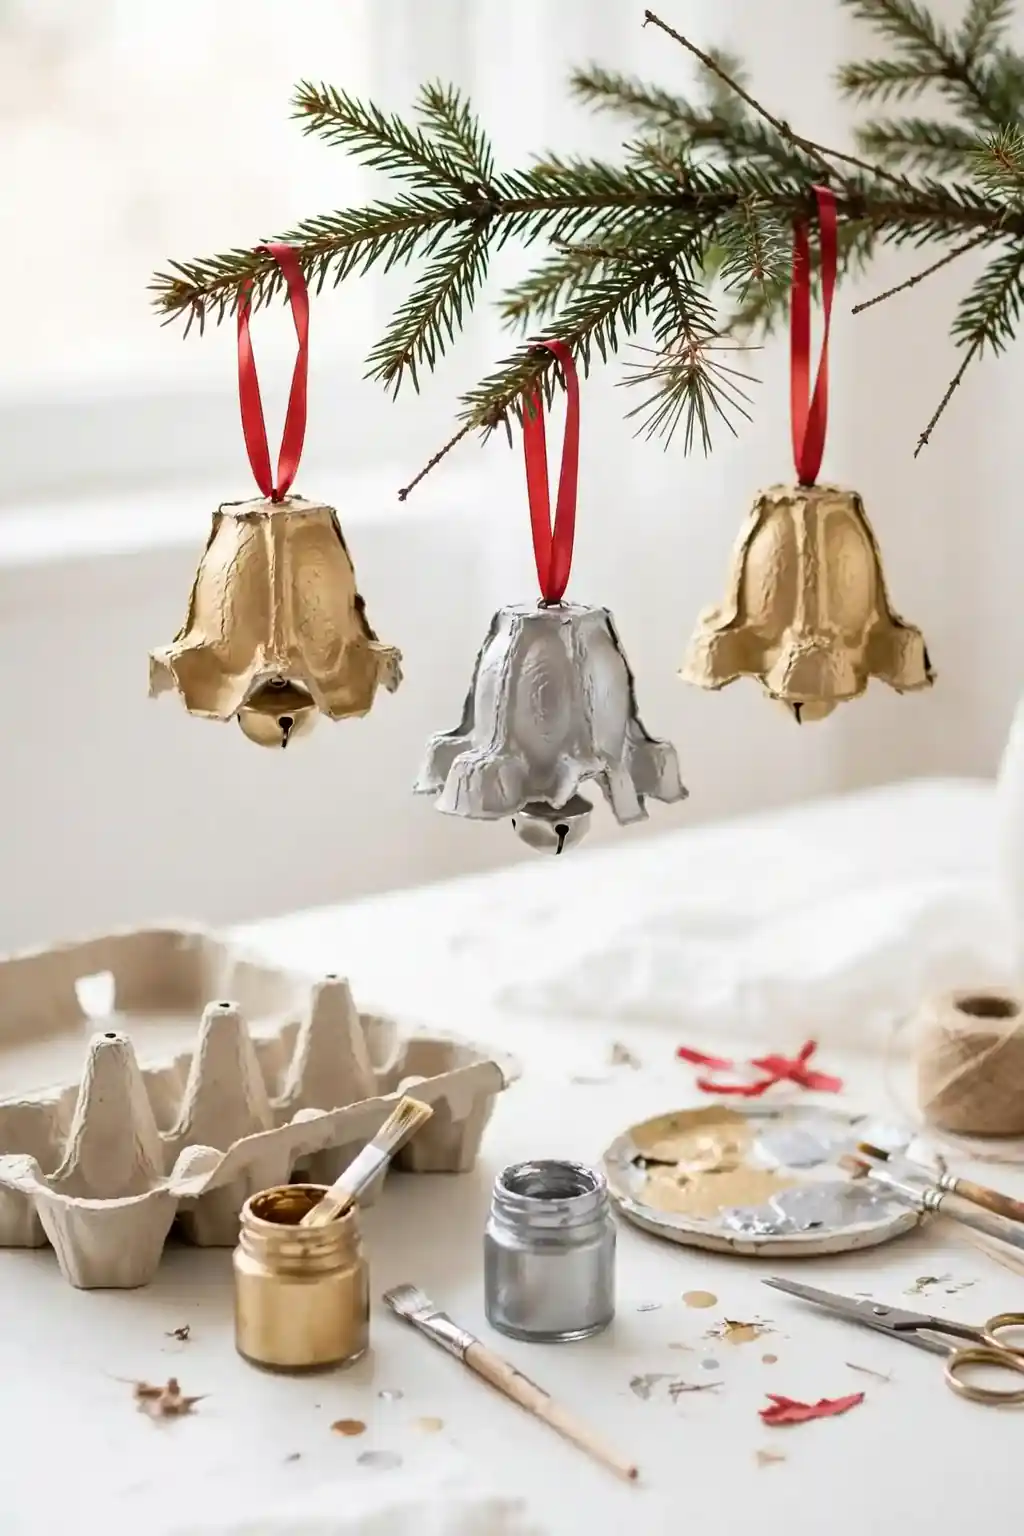
Egg Carton Bells
- Cut individual cups from a cardboard egg carton and trim the edges smooth.
- Paint each cup gold or silver, then poke a hole through the top.
- Thread a jingle bell inside with string, knotting it to hold firm.
- Add glitter glue stripes around each cup for extra shine.
- Tie a ribbon loop on top and hang the bells on the tree.
The gentle jingle delights toddlers, and the recycled material makes parents happy too. In my experience, a muffin tin keeps paint cups tidy while kids work. These bells look charming clustered together on one branch. Let kids ring-test each bell before hanging to pick their favorite jingle.
Felt Star Wands
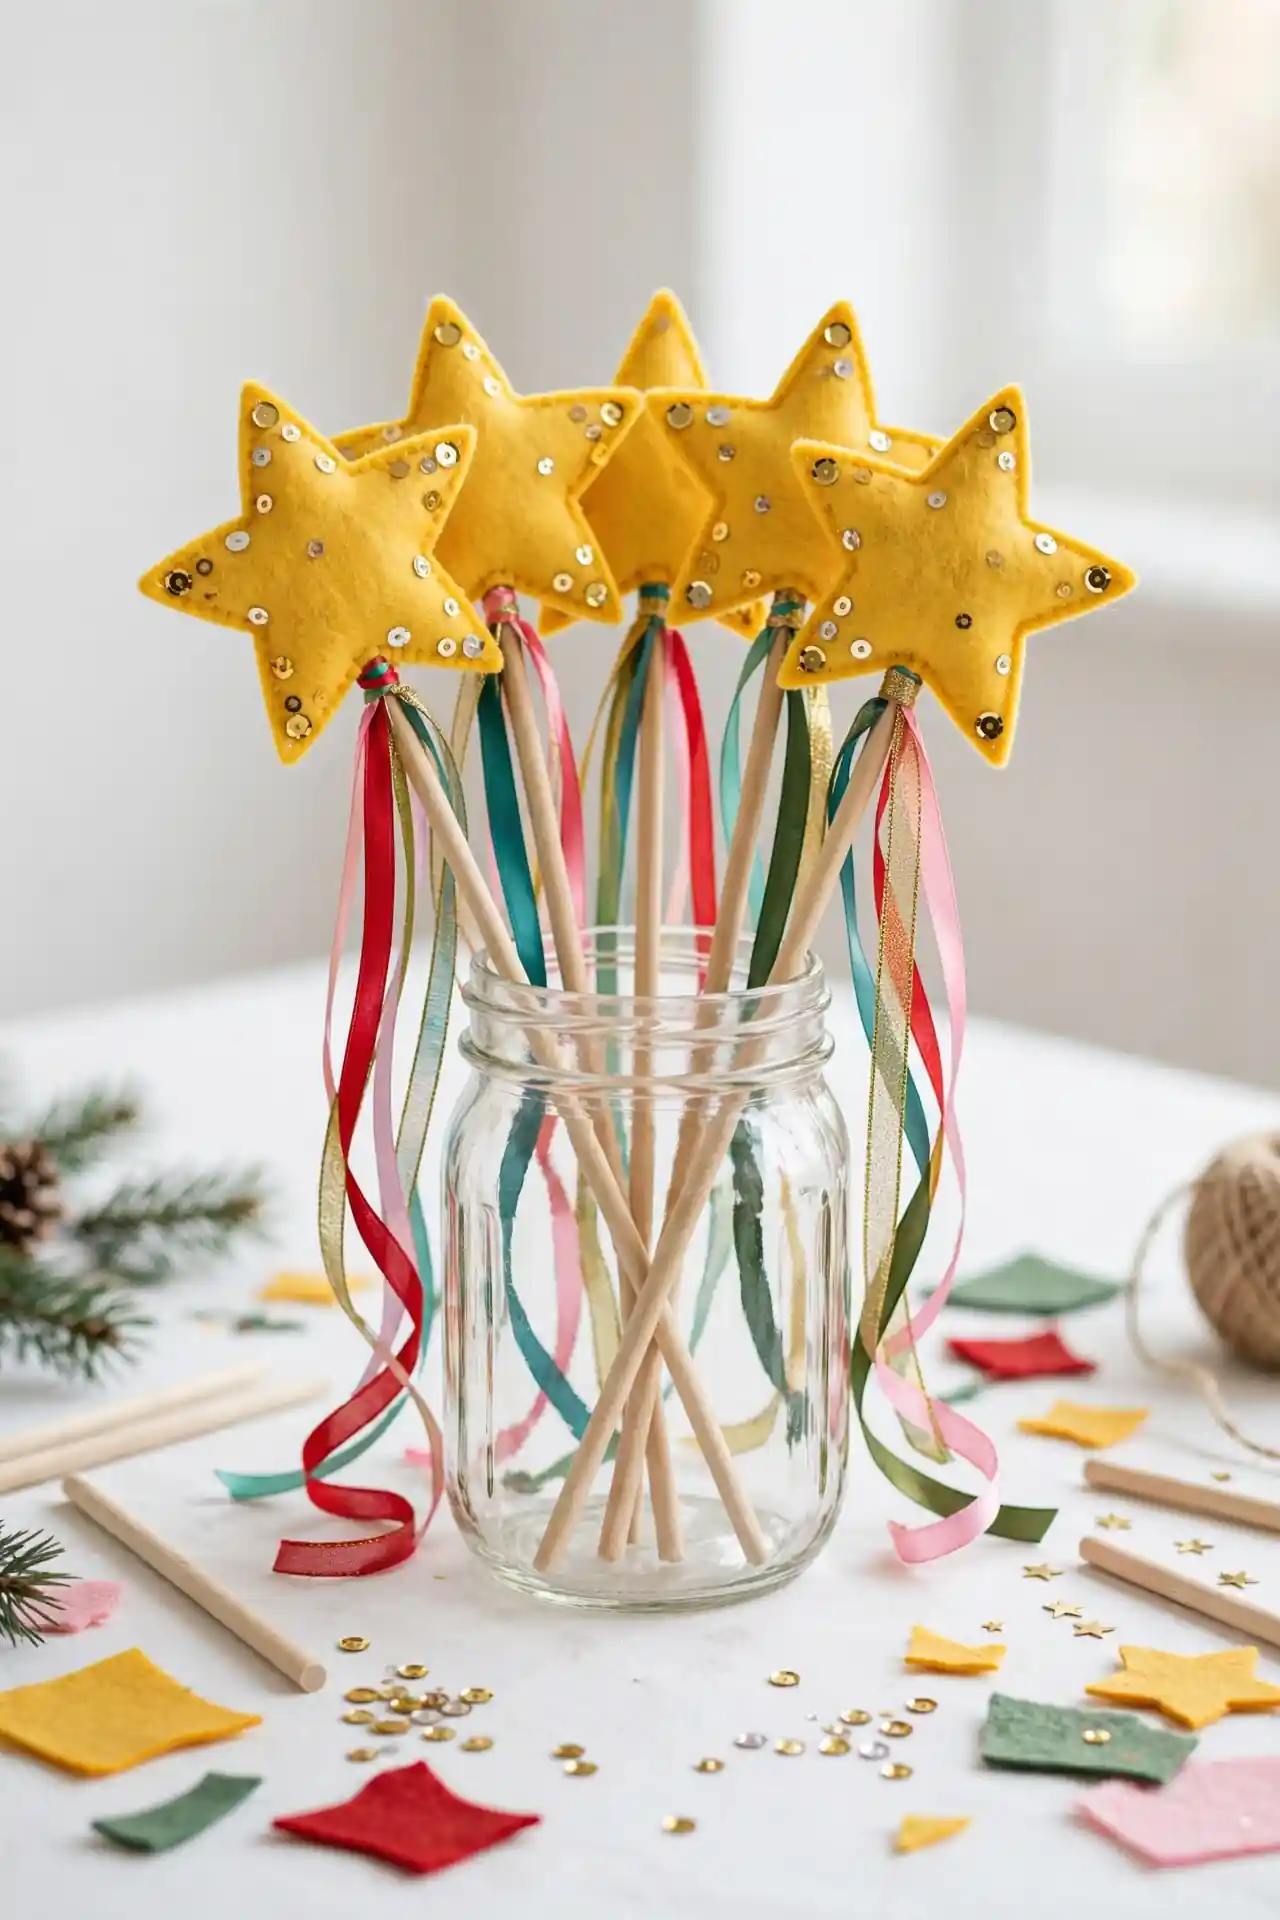
Every kid wants a magic wand at Christmas, and felt stars deliver the magic.
Quick Tip: Cut two star shapes from yellow felt and glue them around a wooden dowel, sandwiching the stick between the layers. Add sequins and ribbon streamers at the base of the star. Let the glue dry fully before any royal waving begins.
These wands star in holiday photos and living-room parades alike. Kids wave them while singing carols, which keeps the energy joyful. Tuck a finished wand into a stocking for a handmade surprise on Christmas morning. The project suits ages four and up, with adults handling the cutting. Store wands upright in a jar so the streamers stay smooth.
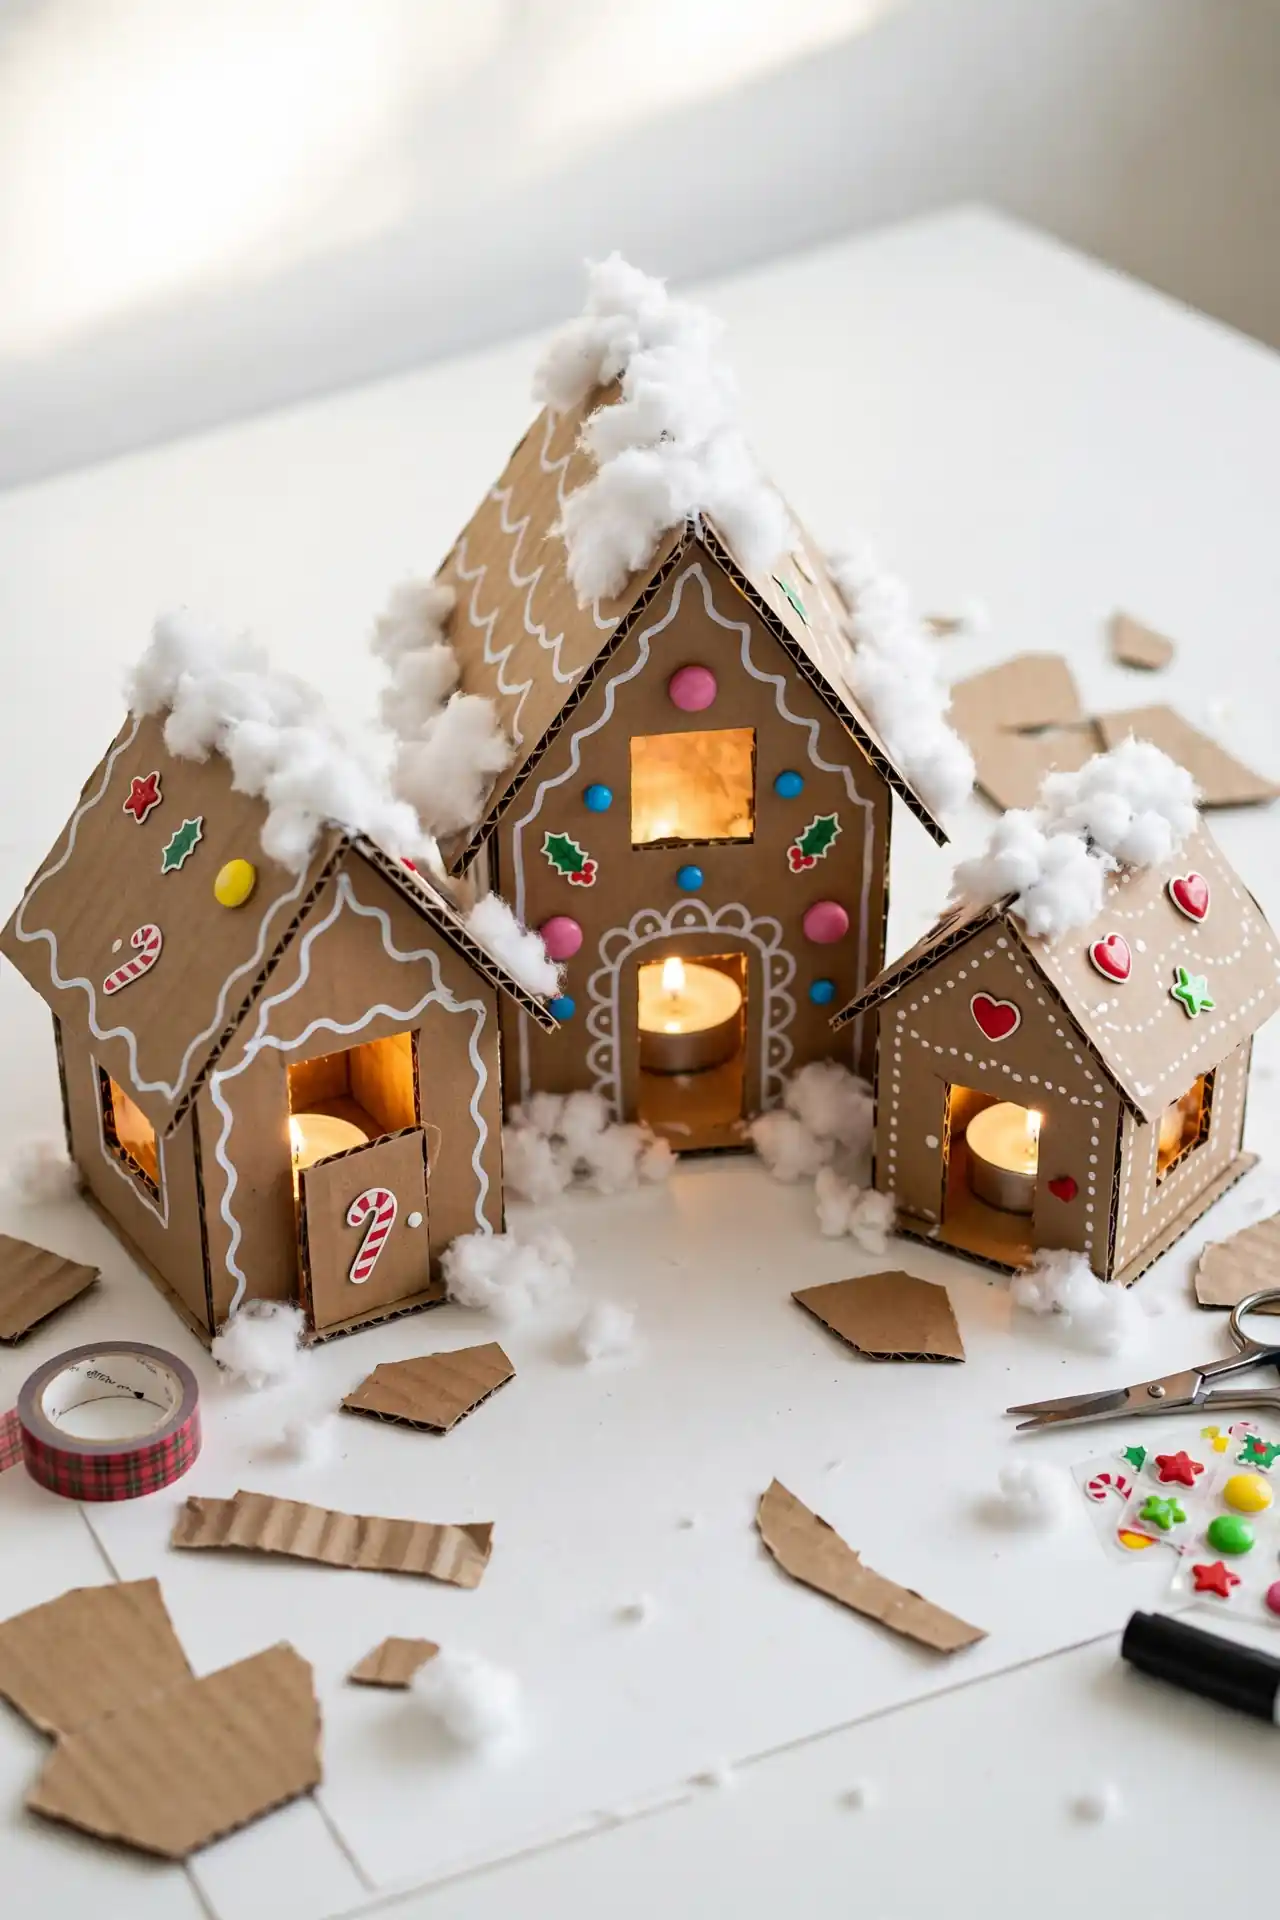
Cardboard Gingerbread Houses
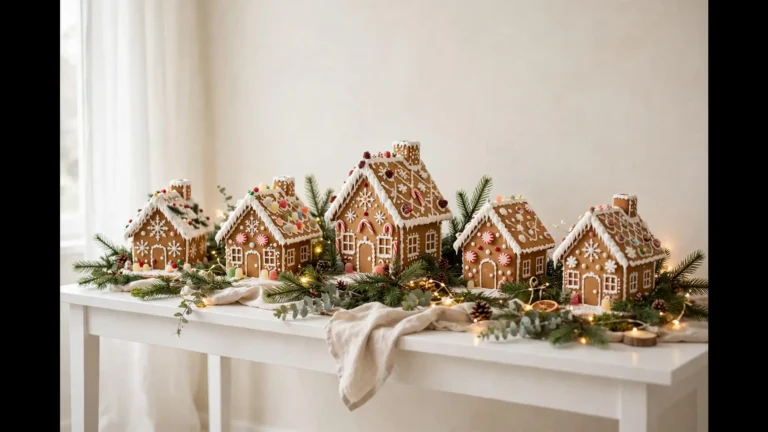
BEFORE: A stack of brown cardboard scraps and a printed house template wait on the table. Kids trace the walls and roof pieces, then cut them out with safety scissors while an adult scores the fold lines.
AFTER: Taped together and decked with cotton ball snow, sticker candy, and marker icing, the house looks good enough to eat. A battery tea light inside makes the windows glow at night.
Unlike real gingerbread, this version lasts for years on the mantel. Projects like these diy christmas ornaments keep little hands busy while building real skills. Save the template to reuse every December.
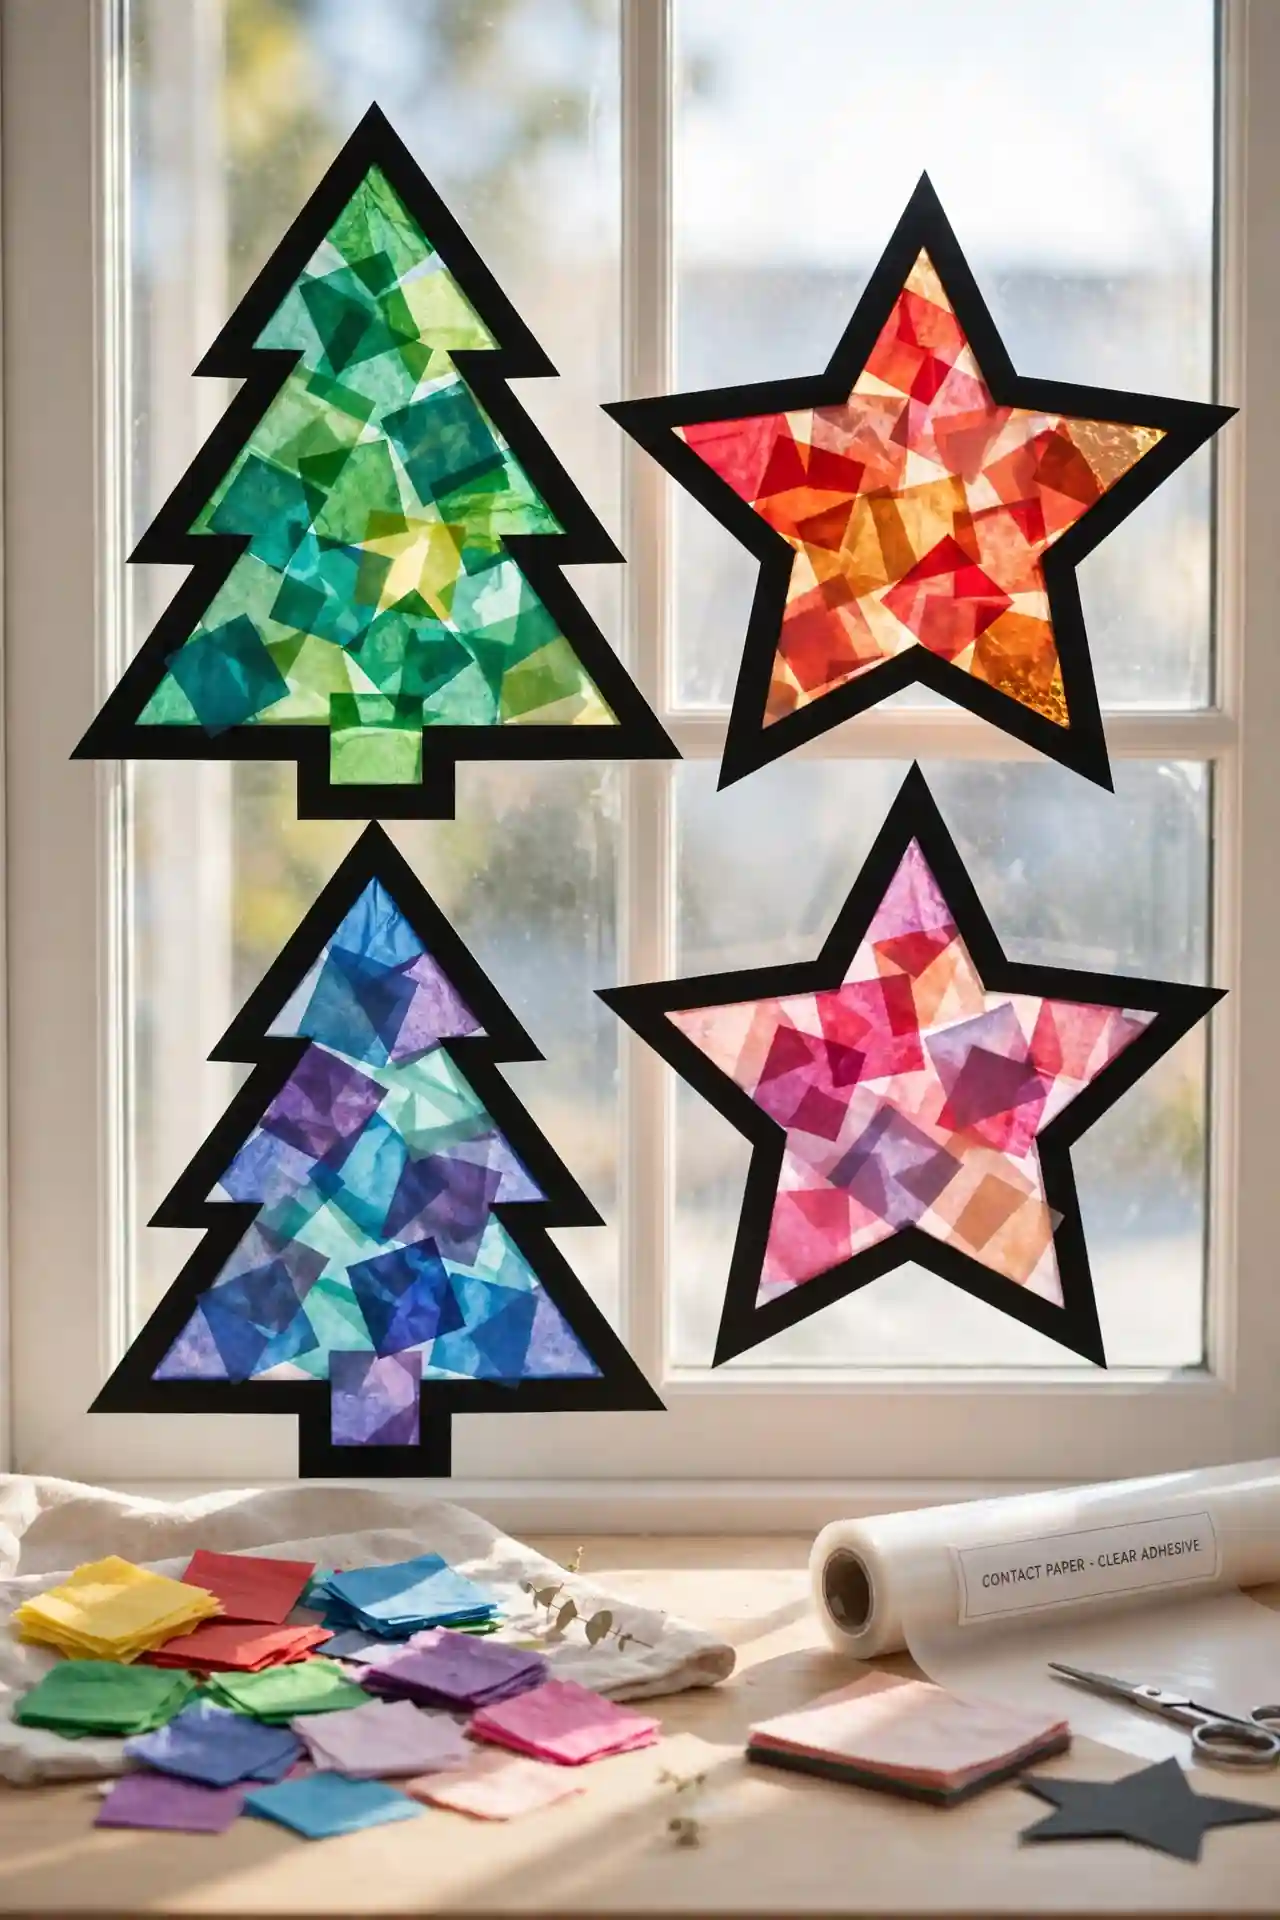
Tissue Paper Stained Glass
- Cut a Christmas shape from black cardstock, leaving a wide frame border.
- Stick clear contact paper behind the frame, sticky side facing out.
- Let kids press small tissue paper squares onto the sticky surface.
- Overlap the tissue squares slightly so no gaps show through.
- Trim the edges and hang the finished piece in a sunny window.
Sunlight streaming through the tissue colors stops everyone in their tracks. I’ve seen this work well in many cases as a group project, with each child making one panel of a bigger window display. The glowing effect looks far fancier than the simple steps suggest.
Pipe Cleaner Candy Canes
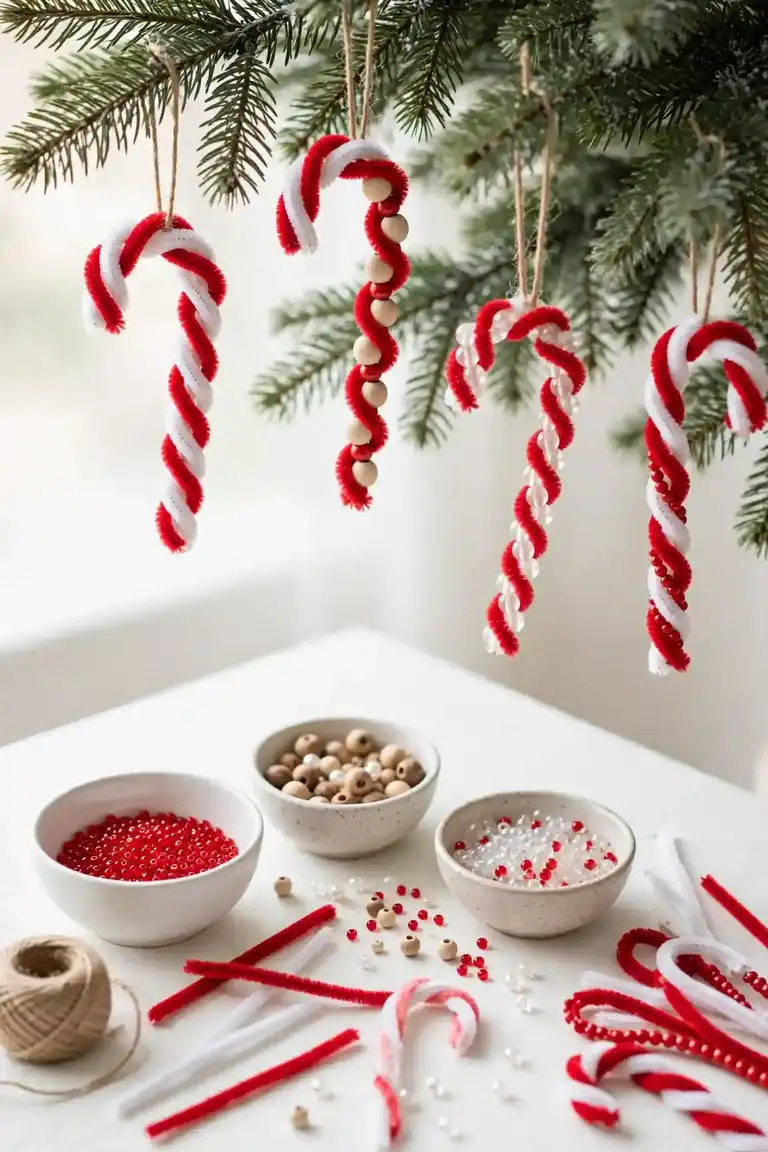
Red and white pipe cleaners twist into the cutest candy canes. Compare the two easy methods below for little hands.
| Twist Pair | Bead Thread | |
| Materials | 2 pipe cleaners | 1 pipe cleaner plus beads |
| Steps | Twist together, bend top | Thread beads, bend top |
| Age | 3 and up | 5 and up |
| Look | Classic striped | Chunky beaded |
Hang the finished canes on the tree or tie them onto gifts as toppers. The beading version builds fine motor skills while the twist version suits wiggly toddlers. Either way, the results look sweet enough to fool the eye from across the room. Make a whole batch for the classroom tree.
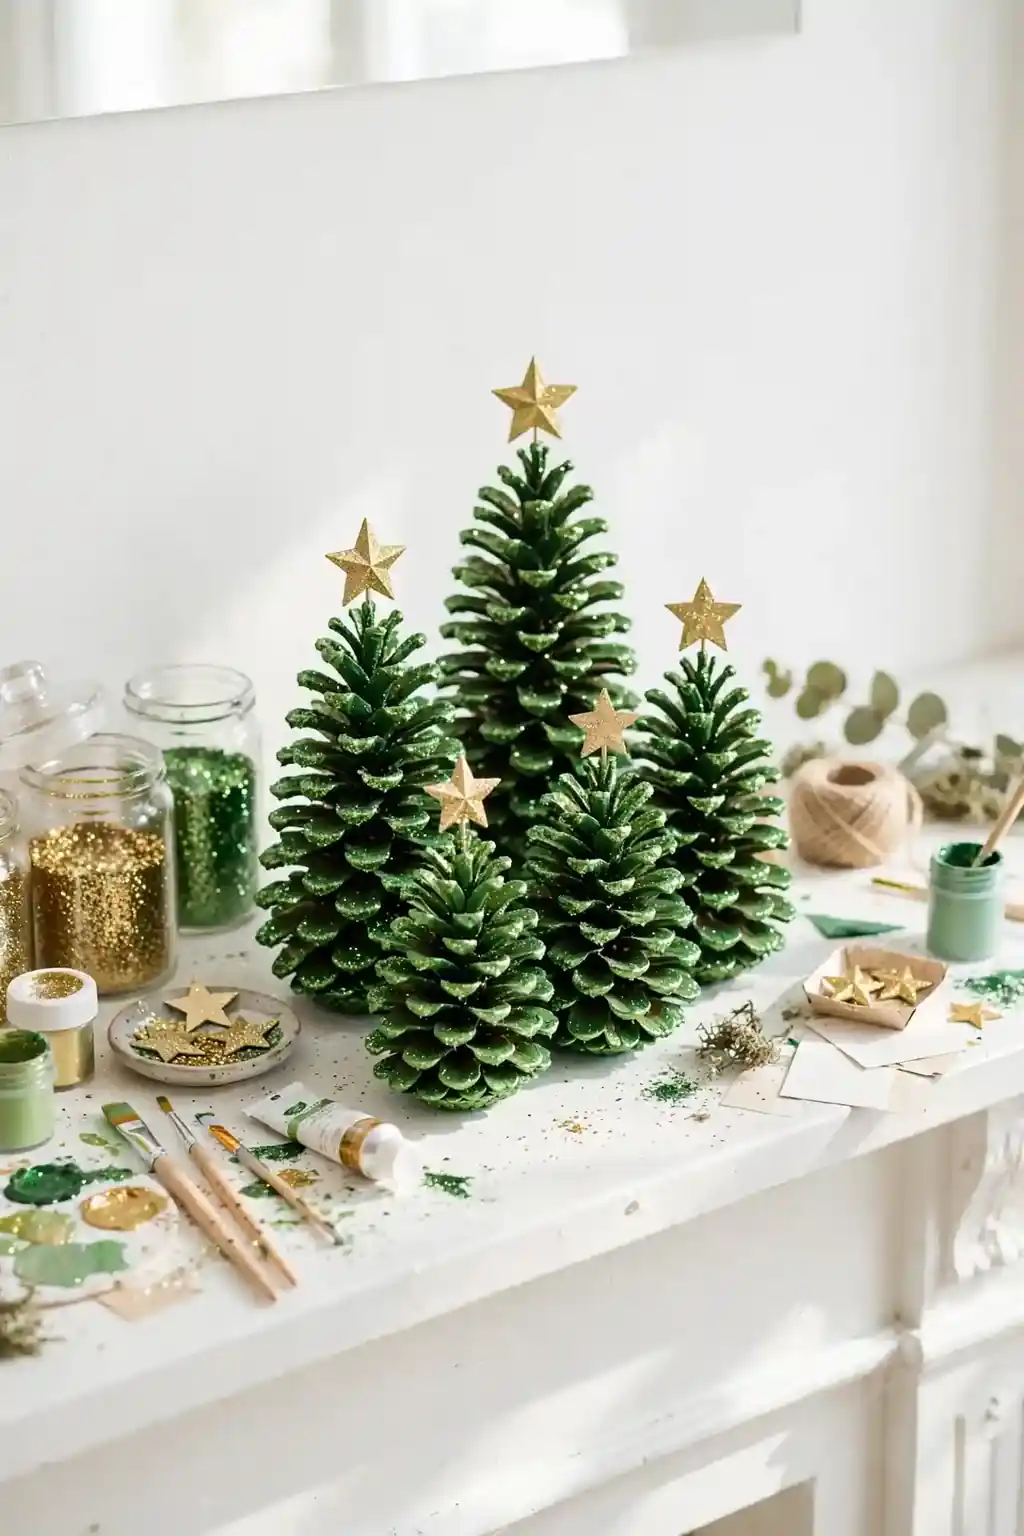
Glitter Pinecone Trees

DO:
- Do paint pinecones green first so no brown shows through the glitter.
- Do sprinkle glitter over a paper plate to catch the extras.
- Do glue a gold star on top once everything dries.
- Do work on newspaper for the easiest cleanup afterward.
DON’T:
- Don’t shake the pinecone while wet, or glitter flies everywhere.
- Don’t use fine glitter near toddlers who still mouth objects.
- Don’t skip sealing with hairspray, or glitter sheds for weeks.
These mini trees look magical grouped on the mantel or as table centerpieces. The sparkle catches candlelight beautifully at dinner. Kids love gifting them in little paper bags. A cardboard star cut from last year’s cards makes a charming topper.
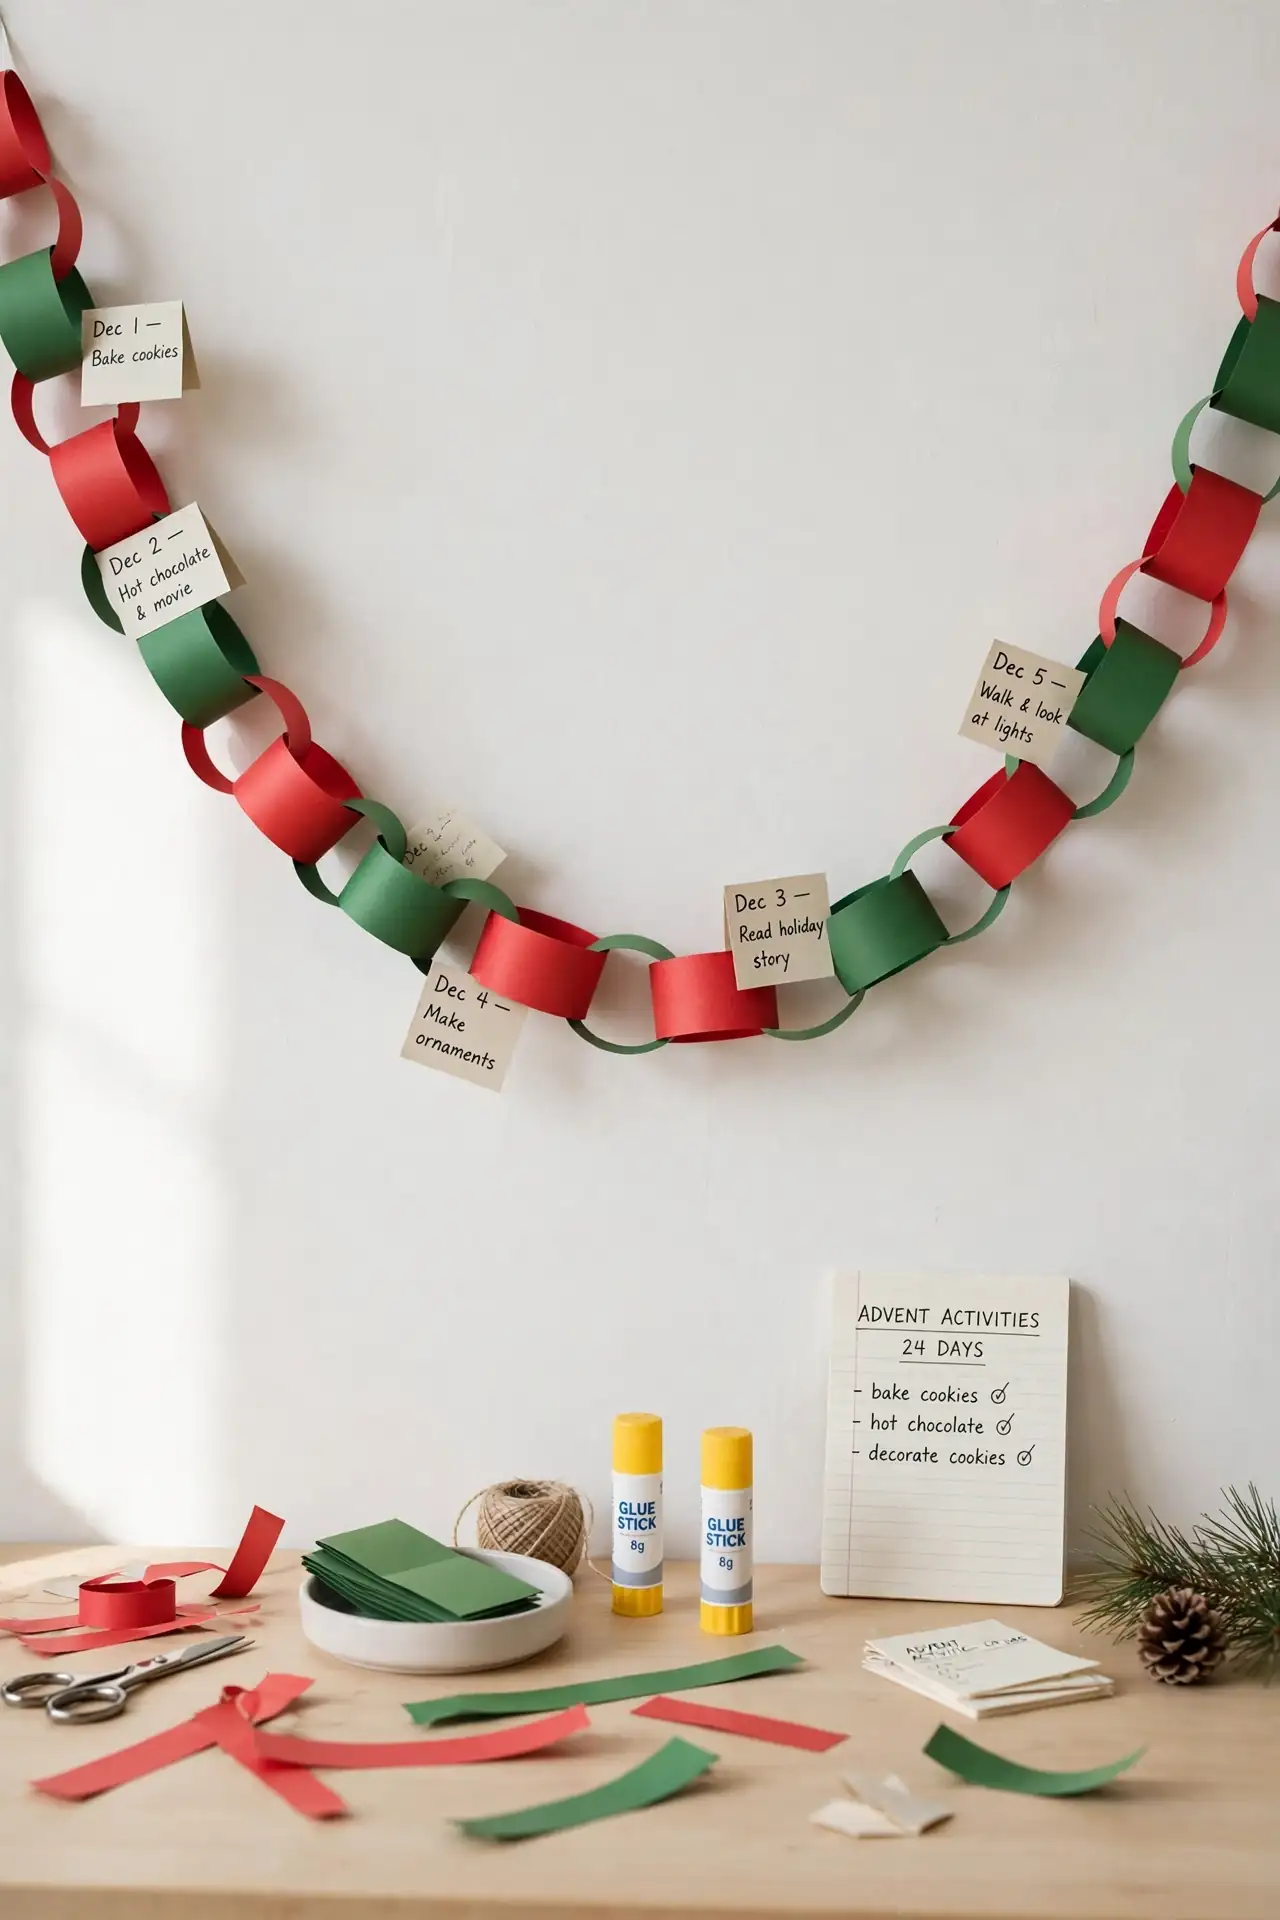
Paper Chain Countdown
Cost: Free | Time: 30 minutes | Skill Level: Easy | Best For: December countdown
Linking paper strips into a chain gives kids a hands-on way to count down to Christmas. Write a tiny activity on some links for extra excitement.
Each morning the child tears off one link, which makes the wait feel active instead of endless. Alternate red and green strips for a classic look, or let kids pick their own pattern. I’ve noticed the daily ritual builds anticipation beautifully, and the shrinking chain shows time passing. Hang it where everyone can see the countdown. Start on December first with 25 links for the full countdown.
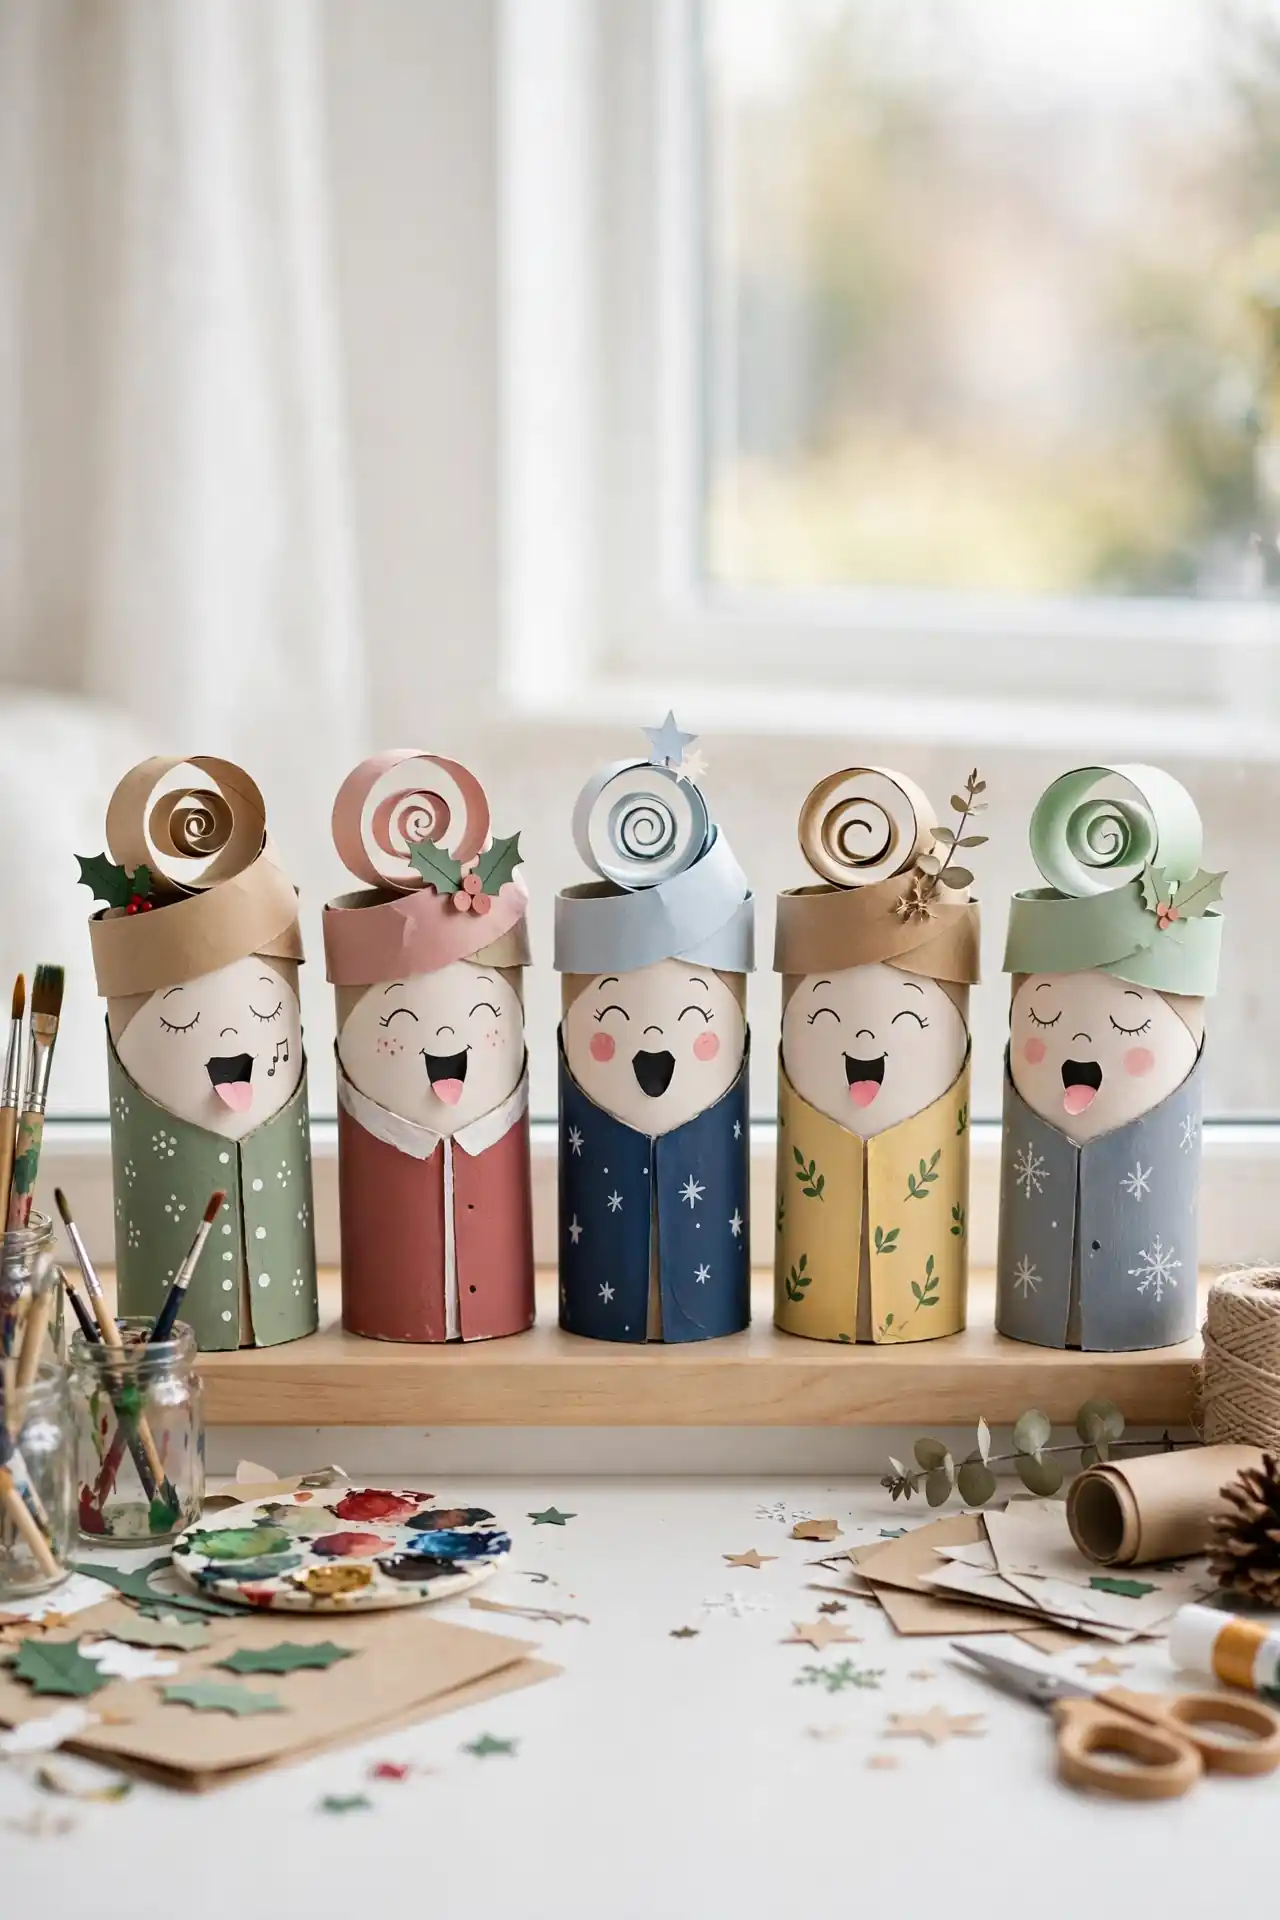
Toilet Roll Carolers
Empty toilet rolls become the jolliest little carolers with a bit of paint and paper. Paint each roll in a festive coat color, then glue on a paper face with a wide singing smile. A strip of paper curled around the top makes a cozy winter hat. Tiny songbooks from folded paper complete the choir.
Line the finished carolers along the windowsill or mantel for a cheerful choir. Kids love naming each singer and making up their carols. The whole troupe takes shape in under an hour, and the recycled rolls make this a budget-friendly favorite. An adult can help with tricky hat folds for younger crafters.
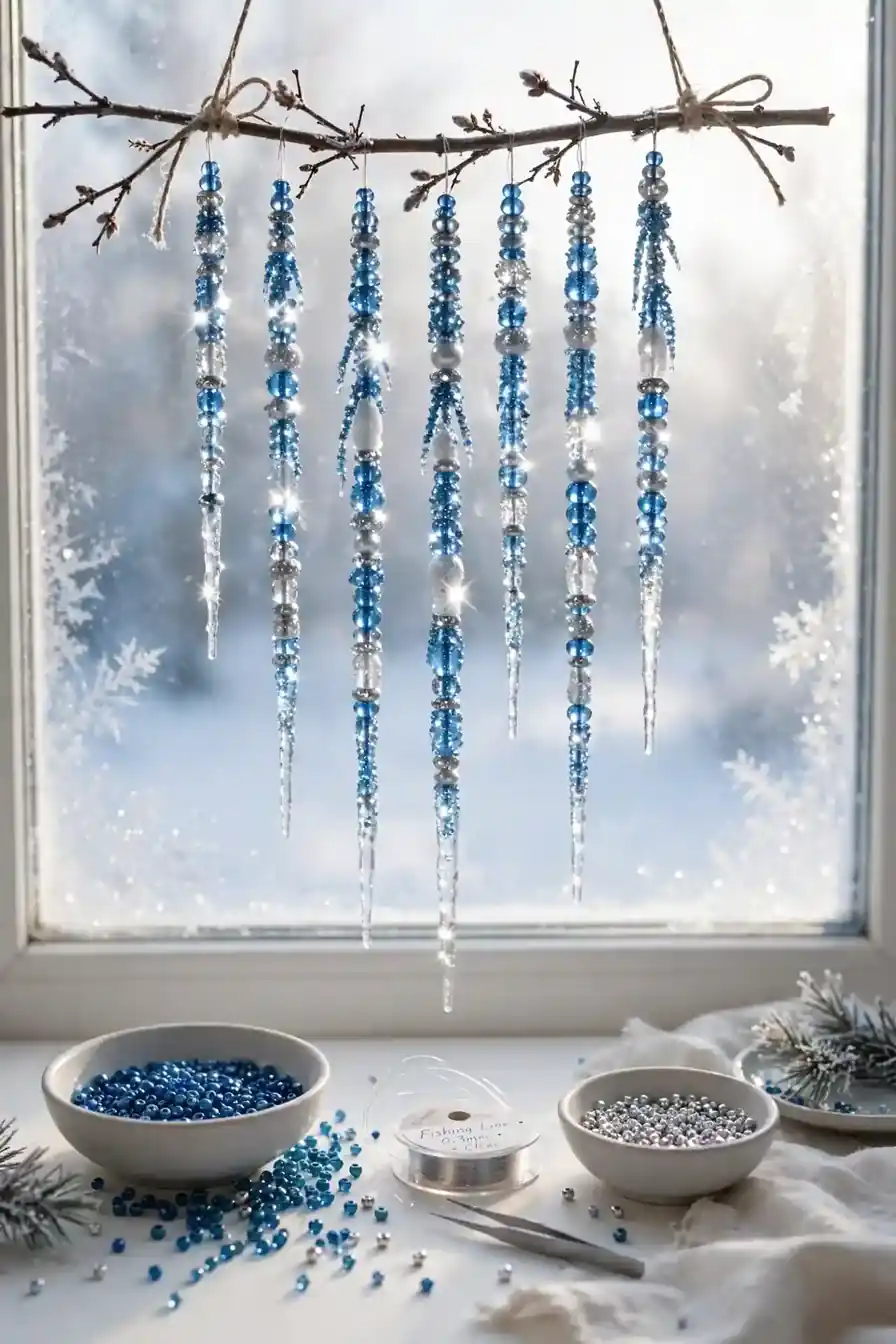
Beaded Icicle Strands

- Cut clear fishing line into 12-inch lengths for each icicle strand.
- Thread blue and silver beads in a tapering pattern, bigger at top.
- Knot the bottom bead twice so nothing slides off the line.
- Mix in a few crystal-look beads for extra sparkle.
- Tie five or six strands to a small twig for a hanging icicle branch.
These shimmering strands catch window light like real icicles, and kids feel proud hanging their own winter branch. That’s why many experts recommend beading for focus: the repetitive threading calms busy minds. Hang the finished branch where the sun hits it. Little fingers build patience along with pretty decorations.
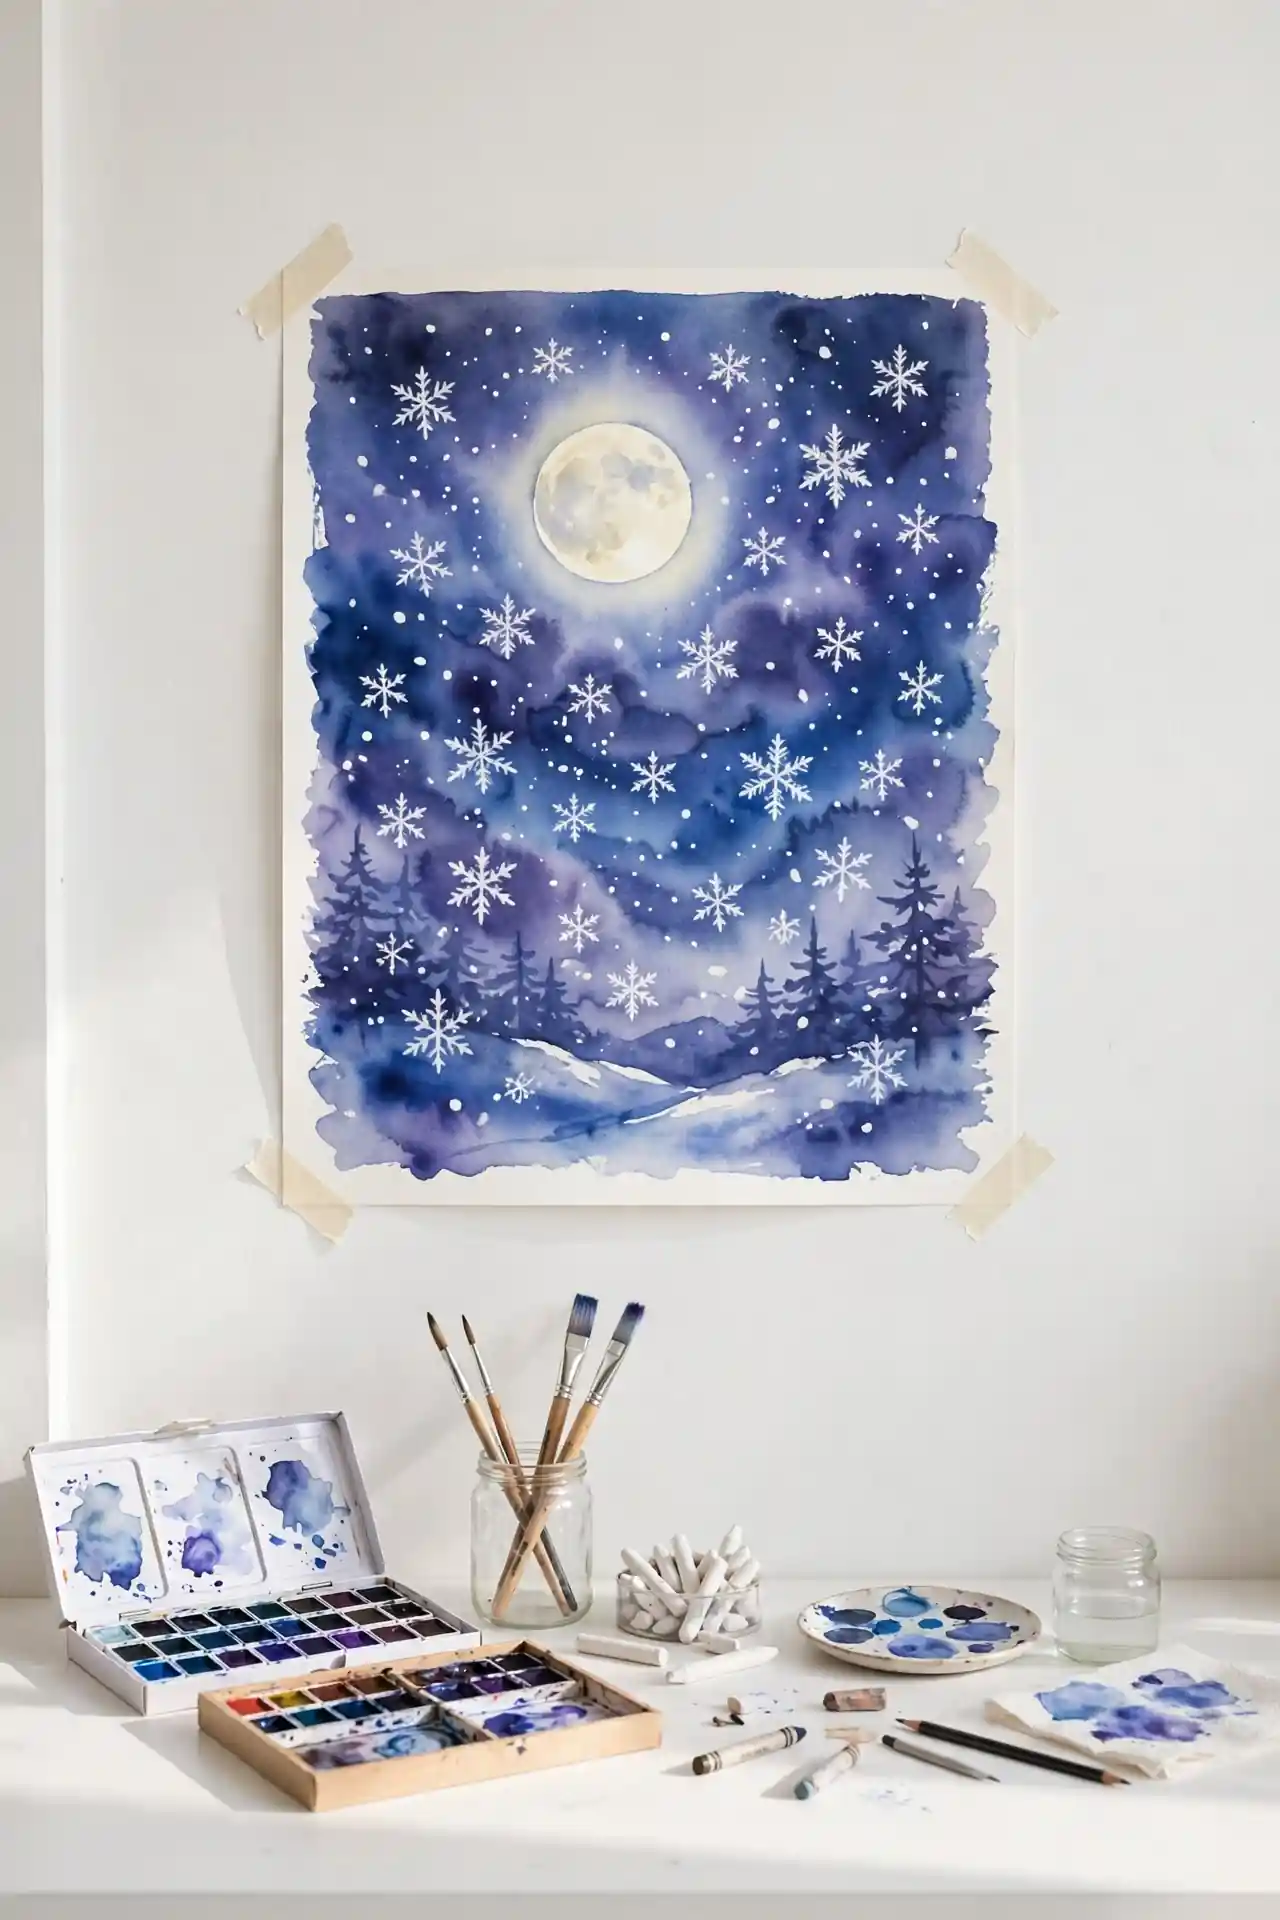
Watercolor Snowy Scenes
Watercolors and white crayons team up for magical snowy night scenes. Kids of all ages love the surprise reveal.
Quick Tip: Draw snowflakes and a moon with white crayon on thick paper first, pressing firmly. Paint over the whole sheet with blue and purple watercolor wash. The wax resists the paint, so the white designs glow through like magic.
Kids gasp when their hidden drawings appear, which makes this a memorable rainy-day project. Use thick watercolor paper so the sheet doesn’t buckle under the wash. Frame the best scenes as gifts or string them into a glowing gallery wall. The technique teaches a real art principle while feeling like pure play.
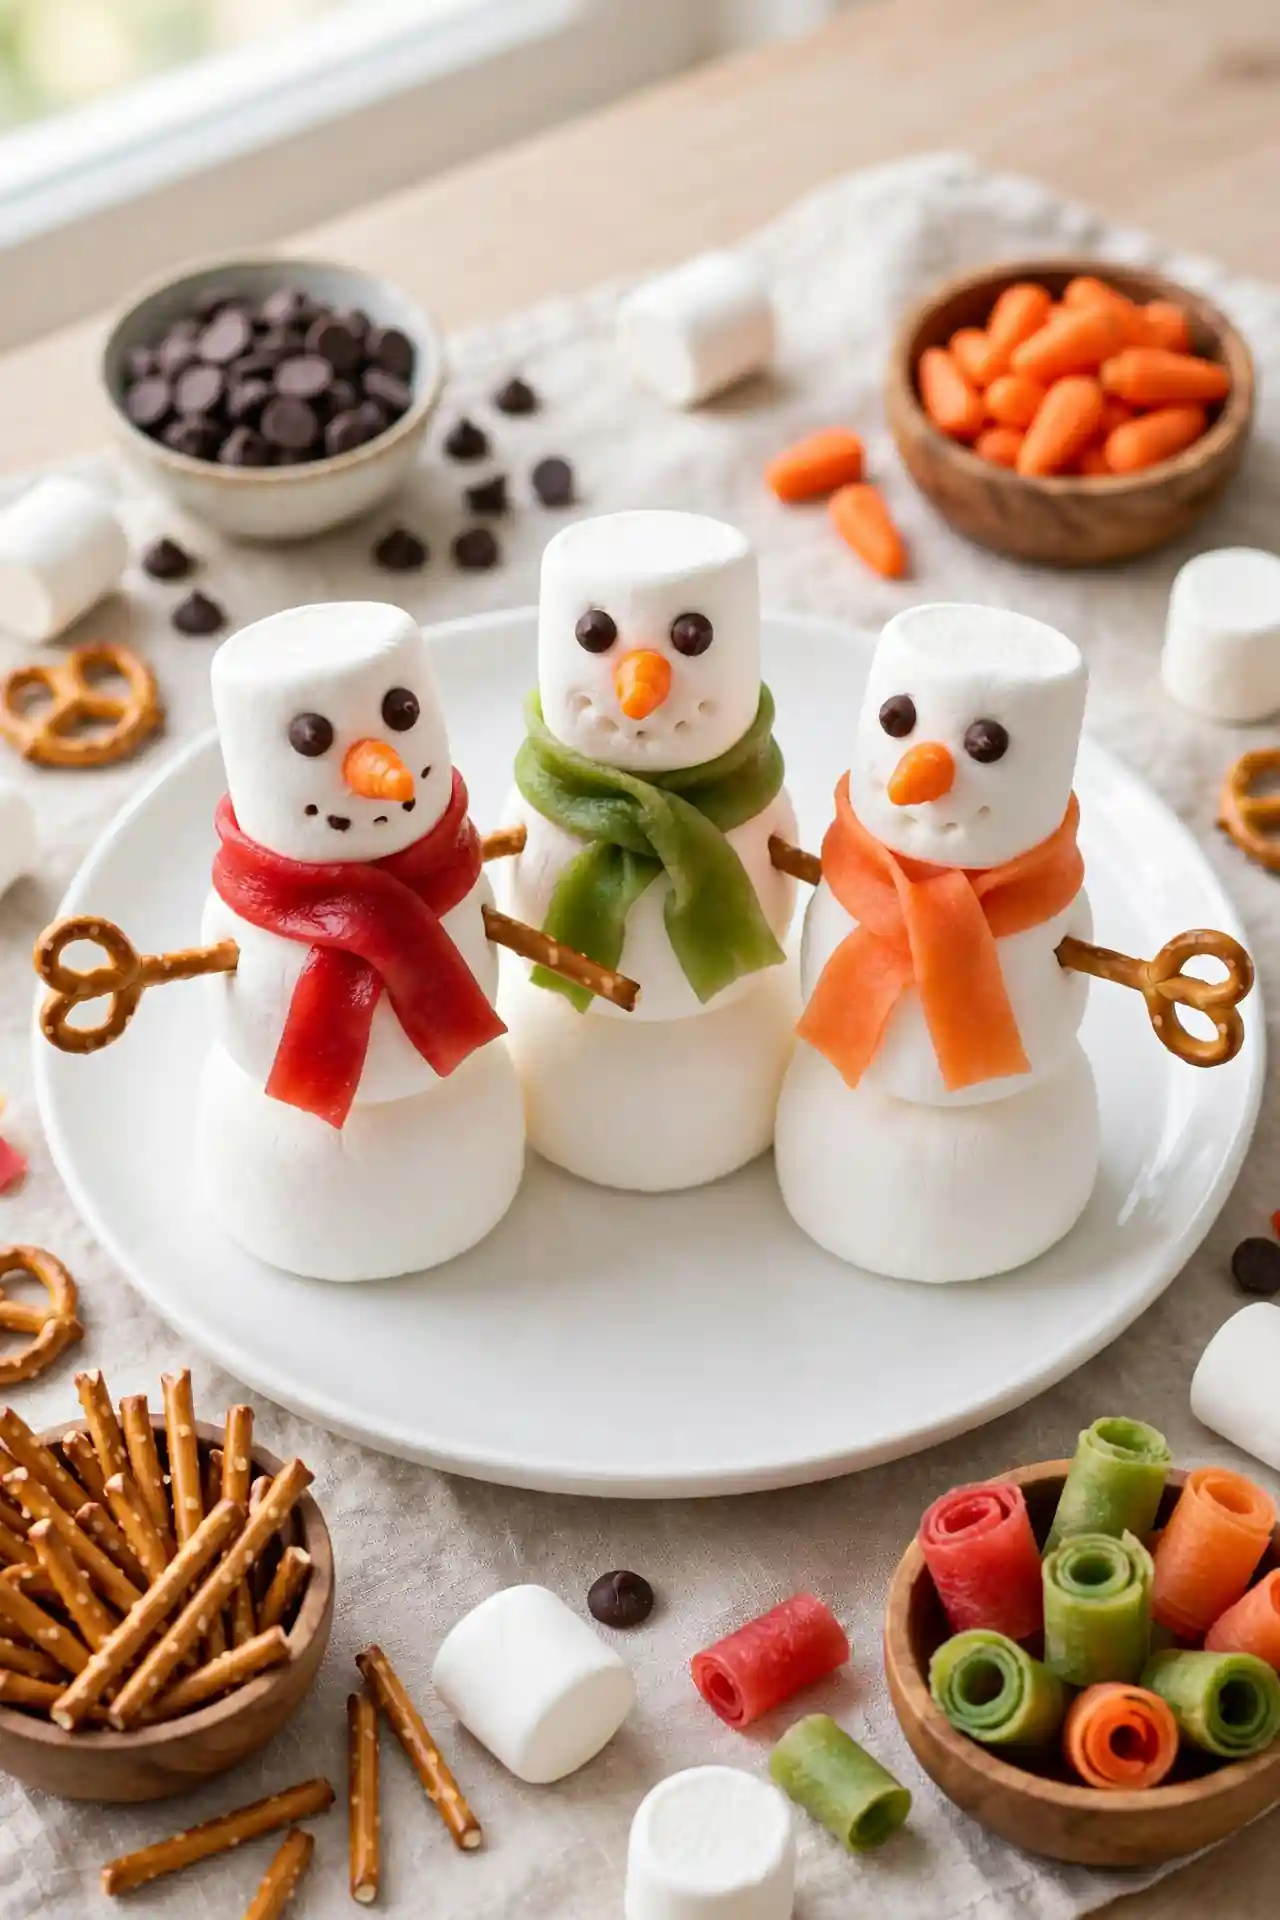
Marshmallow Snowmen
BEFORE: Three big marshmallows, pretzel sticks, and mini chocolate chips wait in small bowls. Kids stack the marshmallows with a dab of frosting between each layer. An adult pokes the pretzel arms in place for younger builders.
AFTER: Chocolate chip eyes, an orange candy nose, and pretzel arms bring each snowman to life. A fruit roll-up scarf adds the perfect finishing touch. These edible snowmen rarely survive until dinner. Make extras because little chefs always sneak a taste.
This tasty craft doubles as an afternoon snack, which kids appreciate. Keep the building area clean since sticky fingers are part of the fun. In my experience, the decorating stage takes the longest because everyone wants their snowman to look its best.
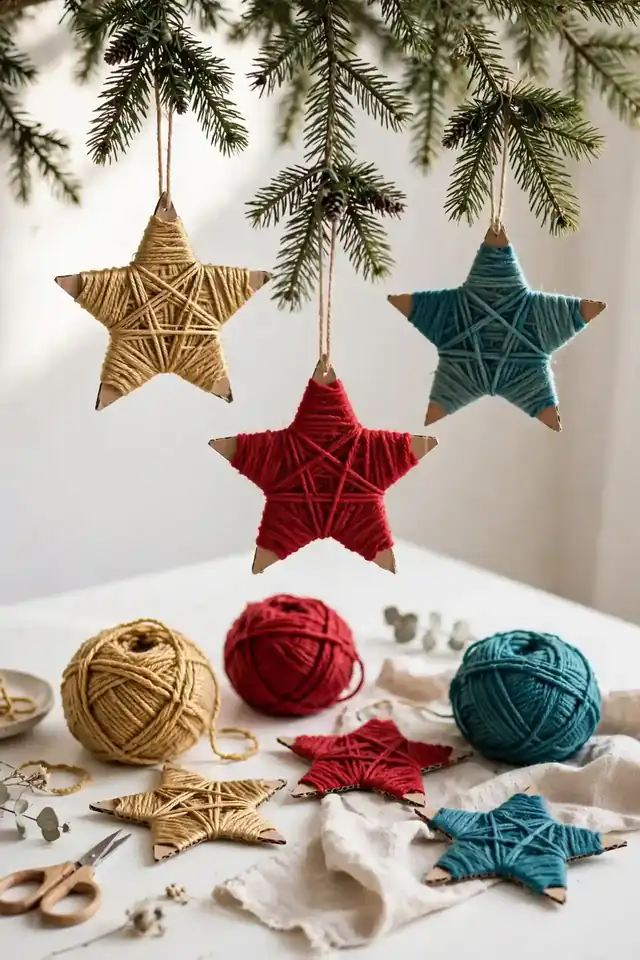
Yarn Wrapped Stars
- Cut a star shape from sturdy cardboard for each child.
- Tape the yarn end to the back, then wrap around each point.
- Keep wrapping until no cardboard shows through the yarn.
- Add small beads onto the yarn every few wraps for sparkle.
- Tuck the loose end under the wraps and add a hanging loop.
The wrapping motion mesmerizes kids, and the finished stars look rich and textured on the tree. Mix yarn colors for a striped effect, or stick to gold for classic style. I’ve noticed this project suits quiet evenings when everyone needs to wind down. The repetitive wrapping builds focus and patience in little hands.
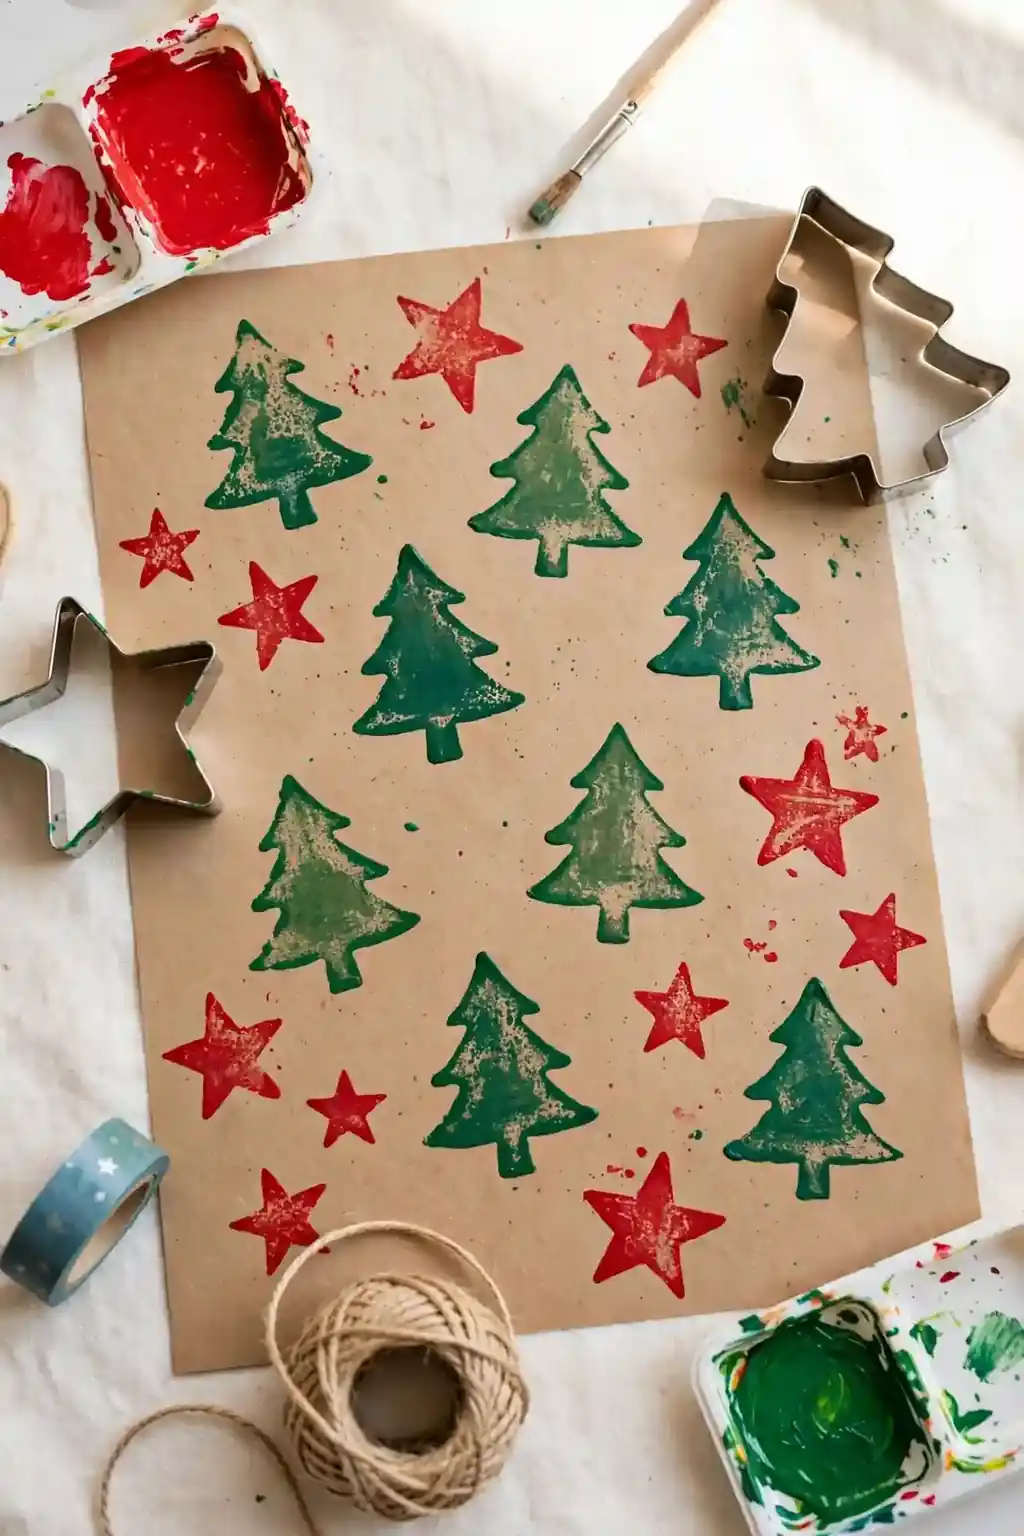
Cookie Cutter Prints
Christmas cookie cutters stamp the prettiest prints with paint. Compare paint choices below for cards, wrapping paper, and wall art.
| Washable Paint | Stamp Pads | |
| Colors | Any mixed shade | Limited pad colors |
| Cleanup | Soap and water | Wipes needed |
| Best for | Big paper sheets | Small cards |
Dip the cutter edge lightly and press straight down for crisp shapes. Kids love stamping rows of trees and stars across brown kraft paper to make custom gift wrap. Let each sheet dry flat before rolling. An old tray keeps the paint contained and the table clean. This project works for all ages, from toddlers to grandparents.
Conclusion
These christmas crafts for kids to make prove that the best holiday memories come from creating together. Pick one project this weekend and gather the family around the table with hot cocoa. Save your favorites on Pinterest so you can find them again next December. Kids grow fast, but the ornaments and cards they make this year will bring smiles for decades. Try two or three crafts across the month to build a whole collection of handmade treasures. Share your creations and inspire other families to start handmade traditions. The magic of the season lives in small, joyful moments of making something with love.