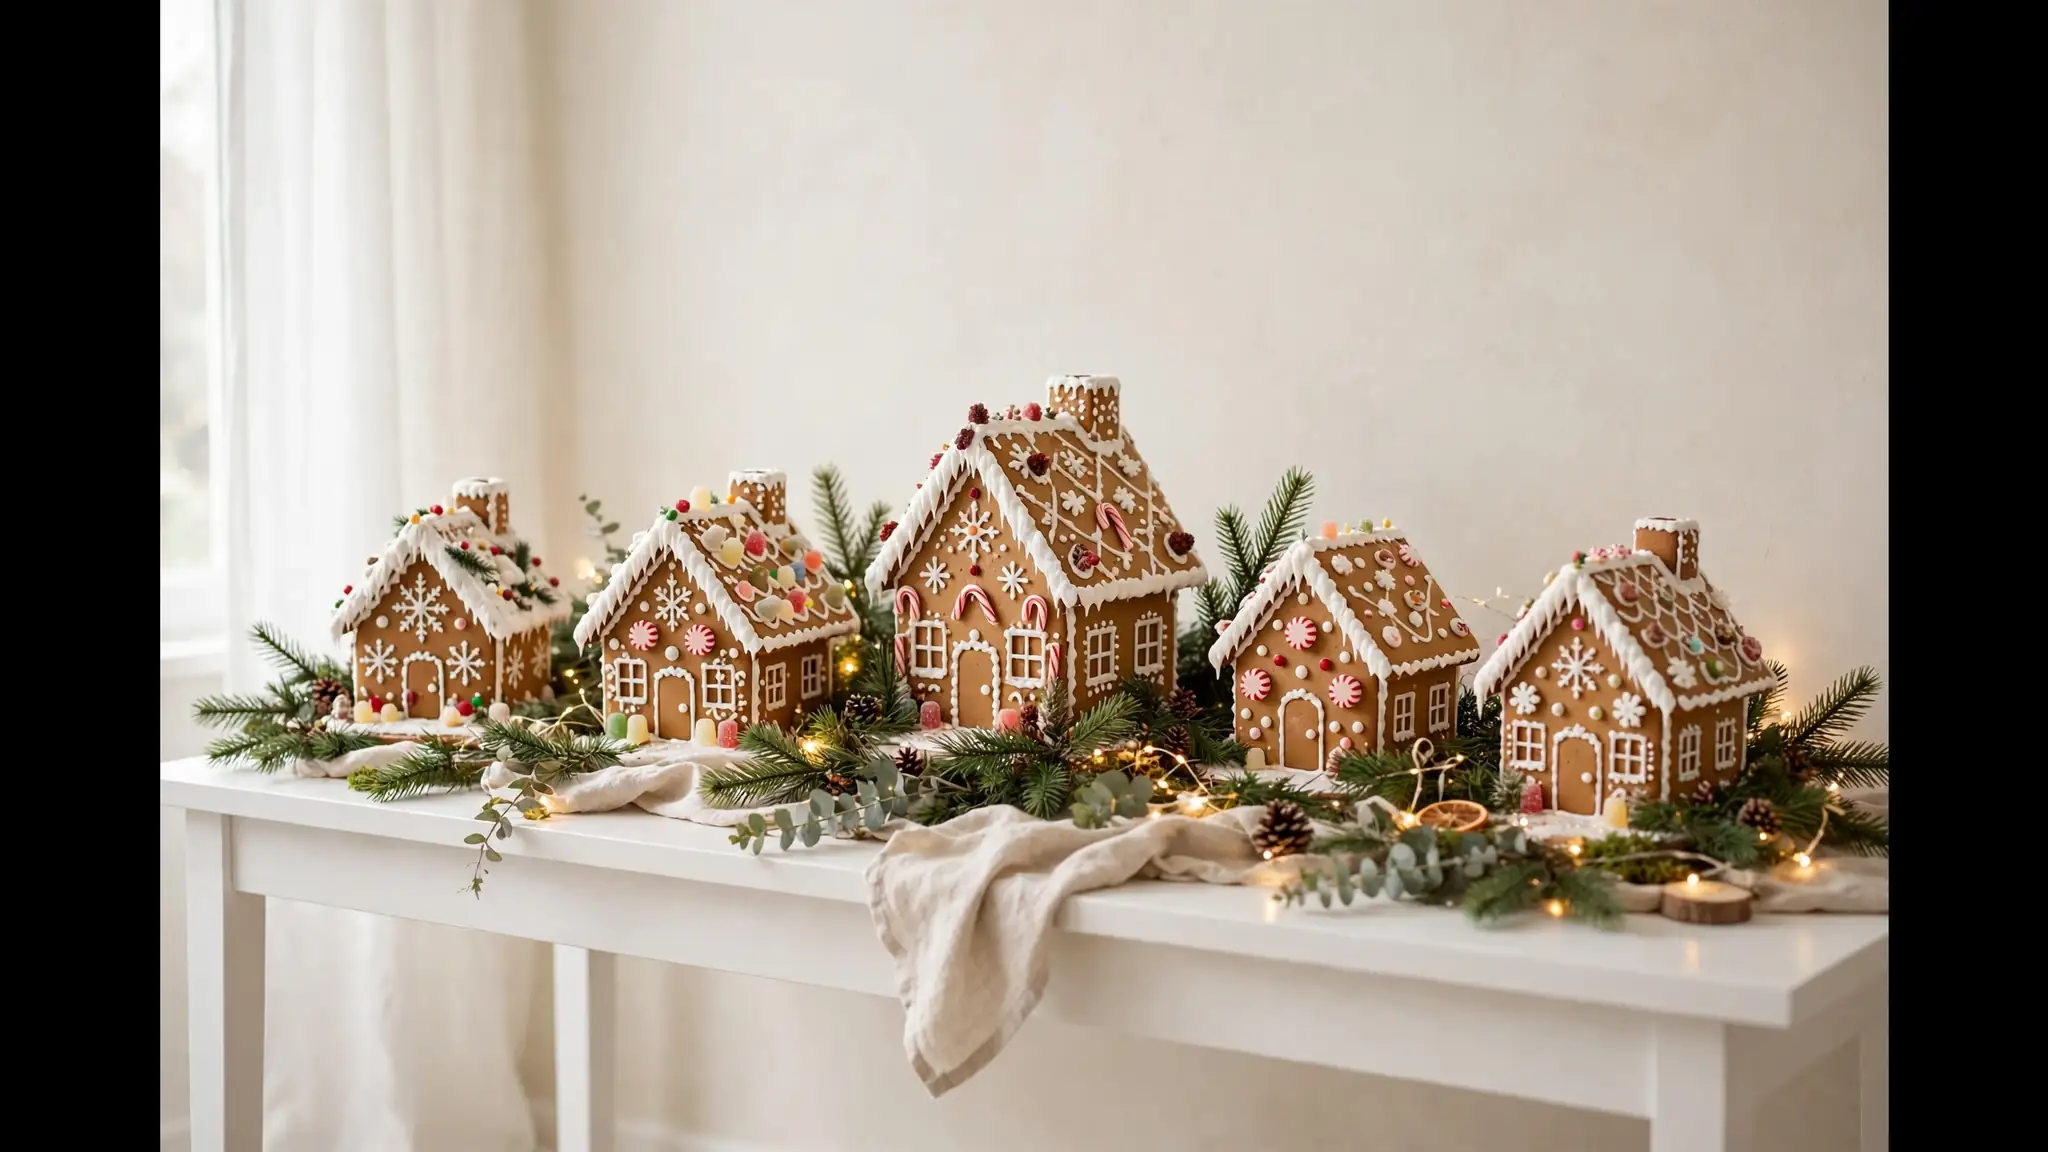
24 Christmas Gingerbread House Ideas for Sweet Holiday Magic
There is nothing quite like the smell of warm spice cookies drifting through the house when December arrives, and christmas gingerbread house ideas turn that cozy feeling into something you can see. I’ve noticed the houses that get remembered year after year are never the most perfect ones; they are the ones built slowly, with kids laughing at the table and icing dripping in all the wrong places. This guide shares 24 sweet builds, from classic candy cottages to glowing winter villages, each one beginner friendly and full of charm.
Before you preheat the oven, gather royal icing, sturdy cookie walls, and a flat board for each build. Work on one house at a time so nothing collapses while you decorate. If you love seasonal projects that warm the whole home, our fall bedding combo brings the same cozy comfort to the bedroom while these houses sweeten the kitchen. Below are 24 ideas to bake, build, and enjoy this season.
Classic Candy Cottage
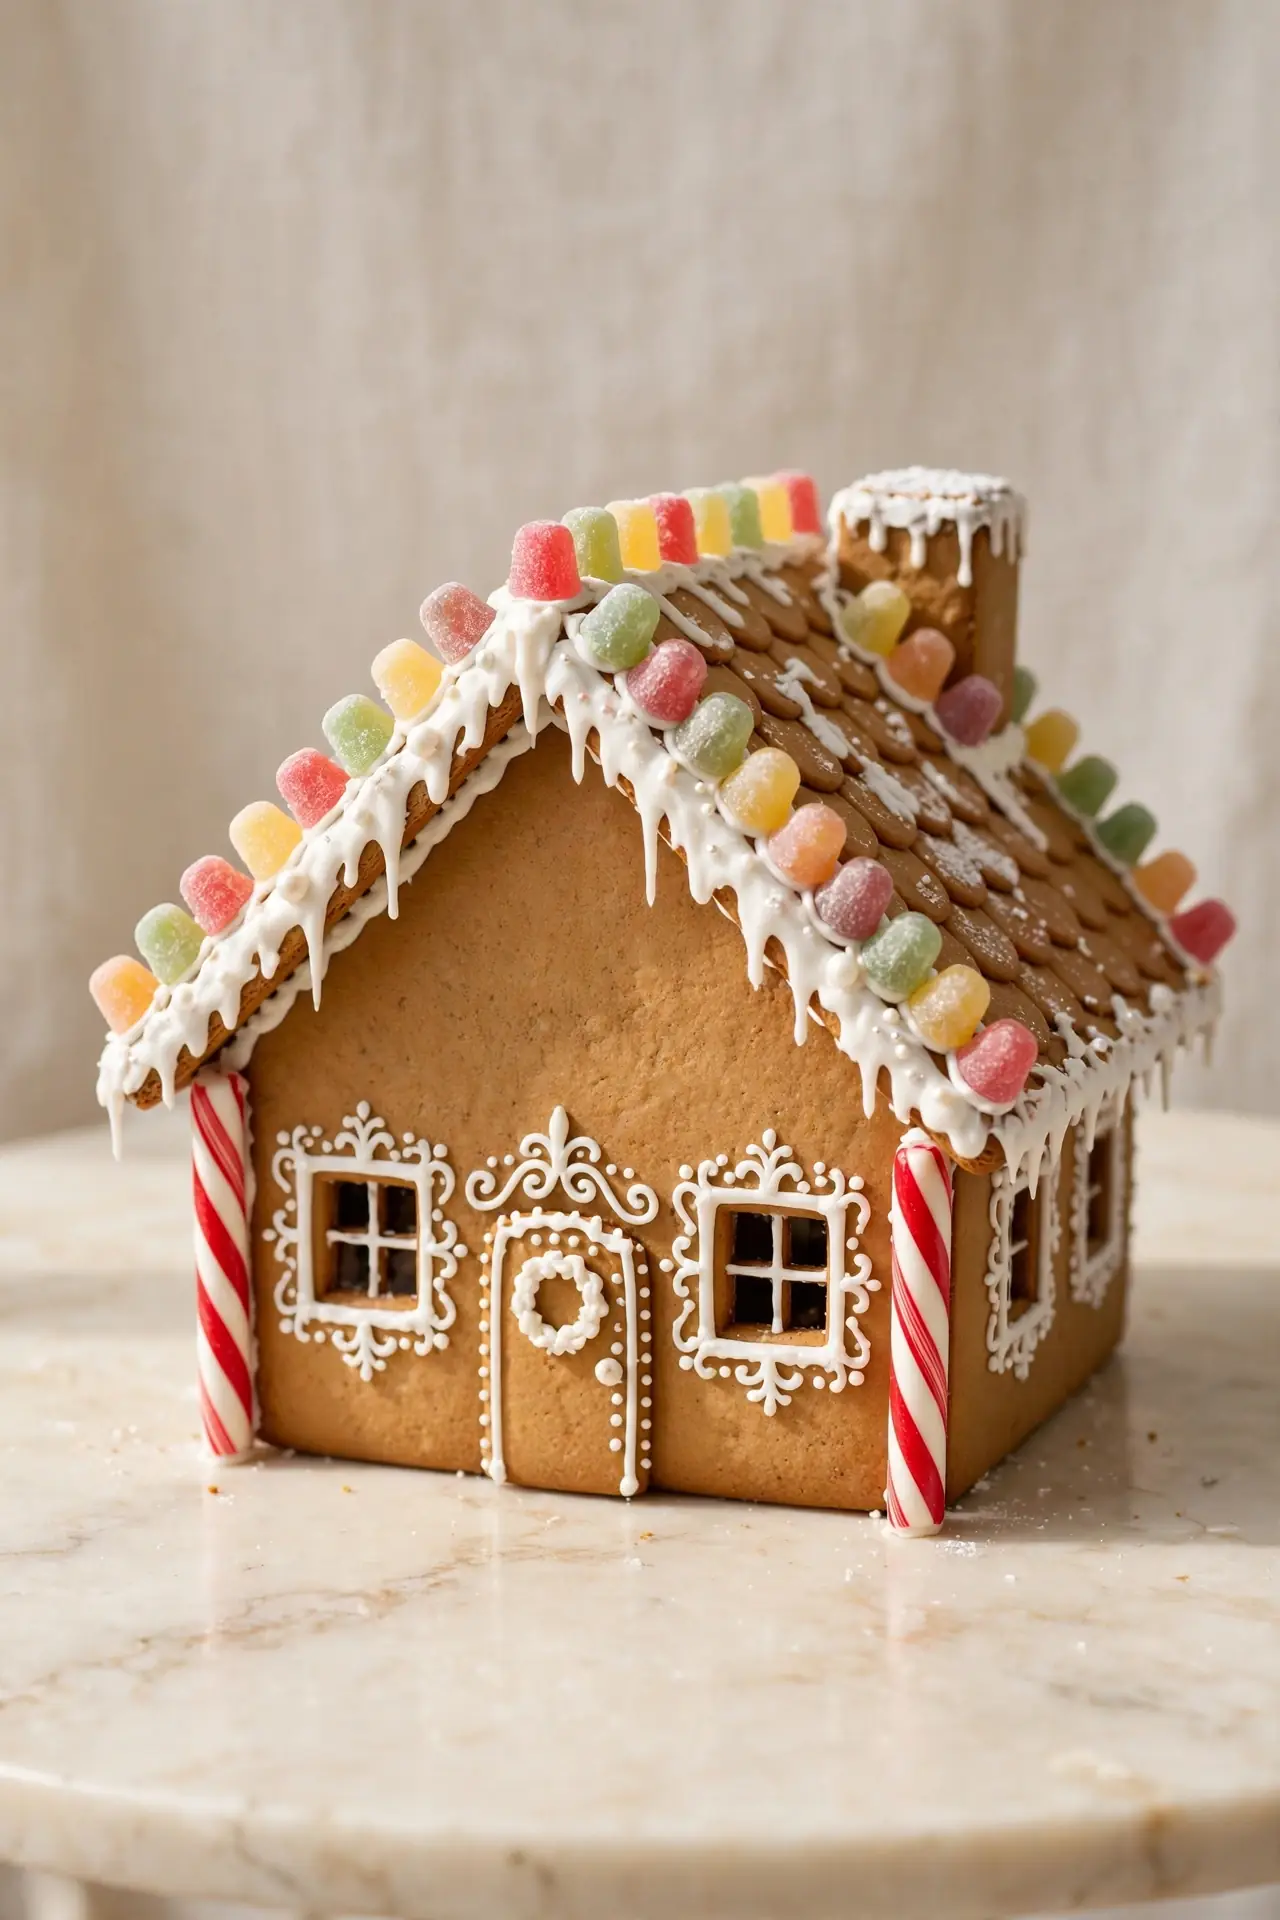
Some holiday traditions never fade, and the classic candy cottage is one of them. Bake four sturdy walls and a pitched roof, then glue everything with thick royal icing and let it set. Outline the windows with piped icing, press gumdrops along the roofline, and flank the door with two striped candy canes. Red and white candies pop beautifully against the warm brown cookie.
I’ve seen this work well in many cases where beginners start here and gain confidence fast. Use candies in one color family so the house looks styled, not scattered. A dusting of powdered sugar on the roof sells the snowy finish. Kids love this one, and it photographs beautifully for holiday cards.
Winter Village Centerpiece
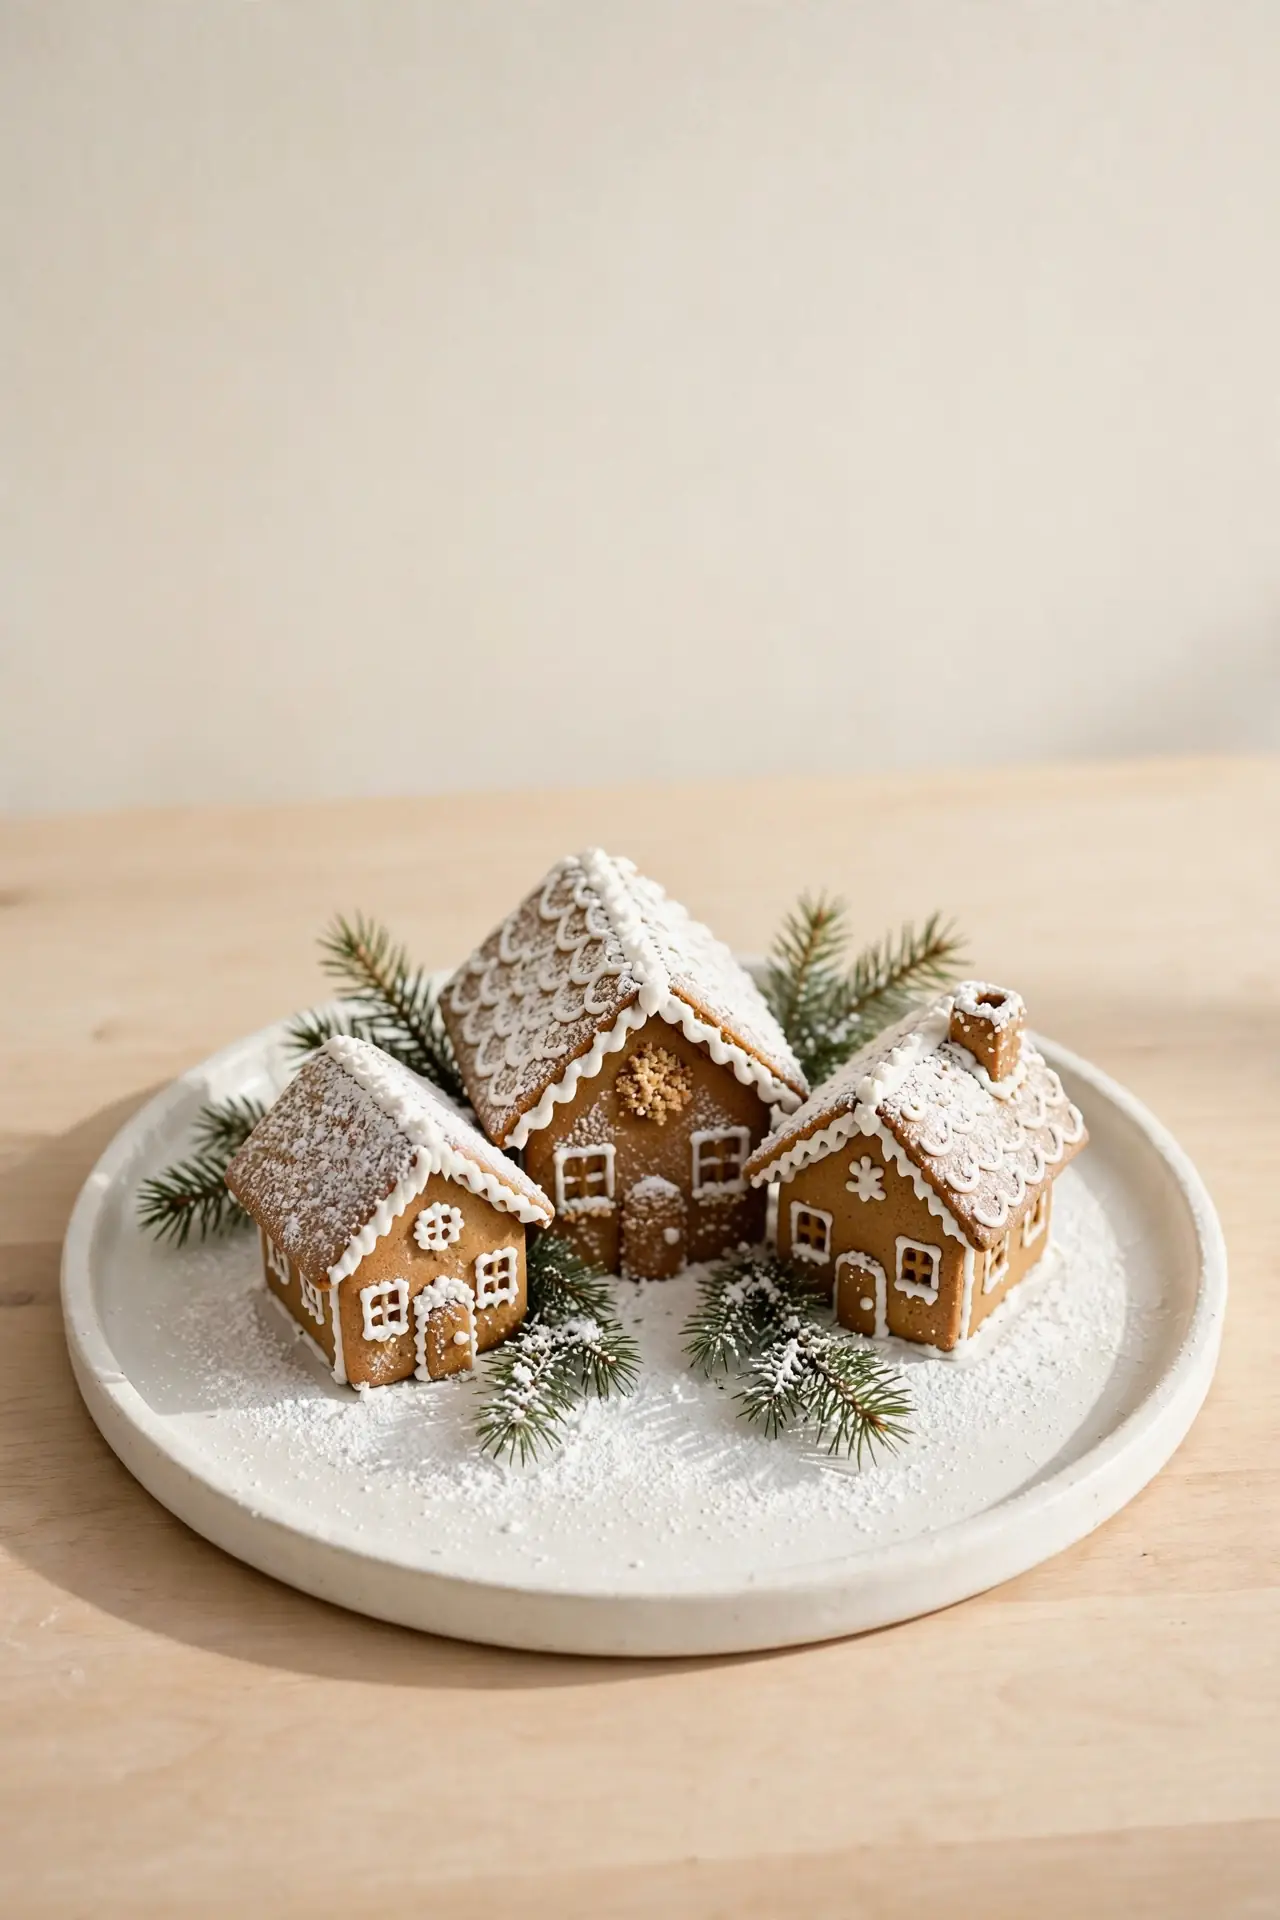
When one house feels too small, a whole village on a tray becomes the glowing heart of your holiday table.
- Start with a round white tray so powdered sugar snow stays contained.
- Build three houses in different heights for a natural skyline.
- Tuck bottle brush pines and tiny marshmallow snowmen between the houses.
- Add a battery tea light behind the middle house for a warm glow.
- Dust everything lightly with powdered sugar right before guests arrive.
I’ve noticed centerpieces like this draw guests in faster than any store bought decor. Keep the palette to white, brown, and one candy color so it looks calm, not busy. This display works beautifully on a dining table or entryway console, and cleanup is just one tray.
Rustic Chalet Charm
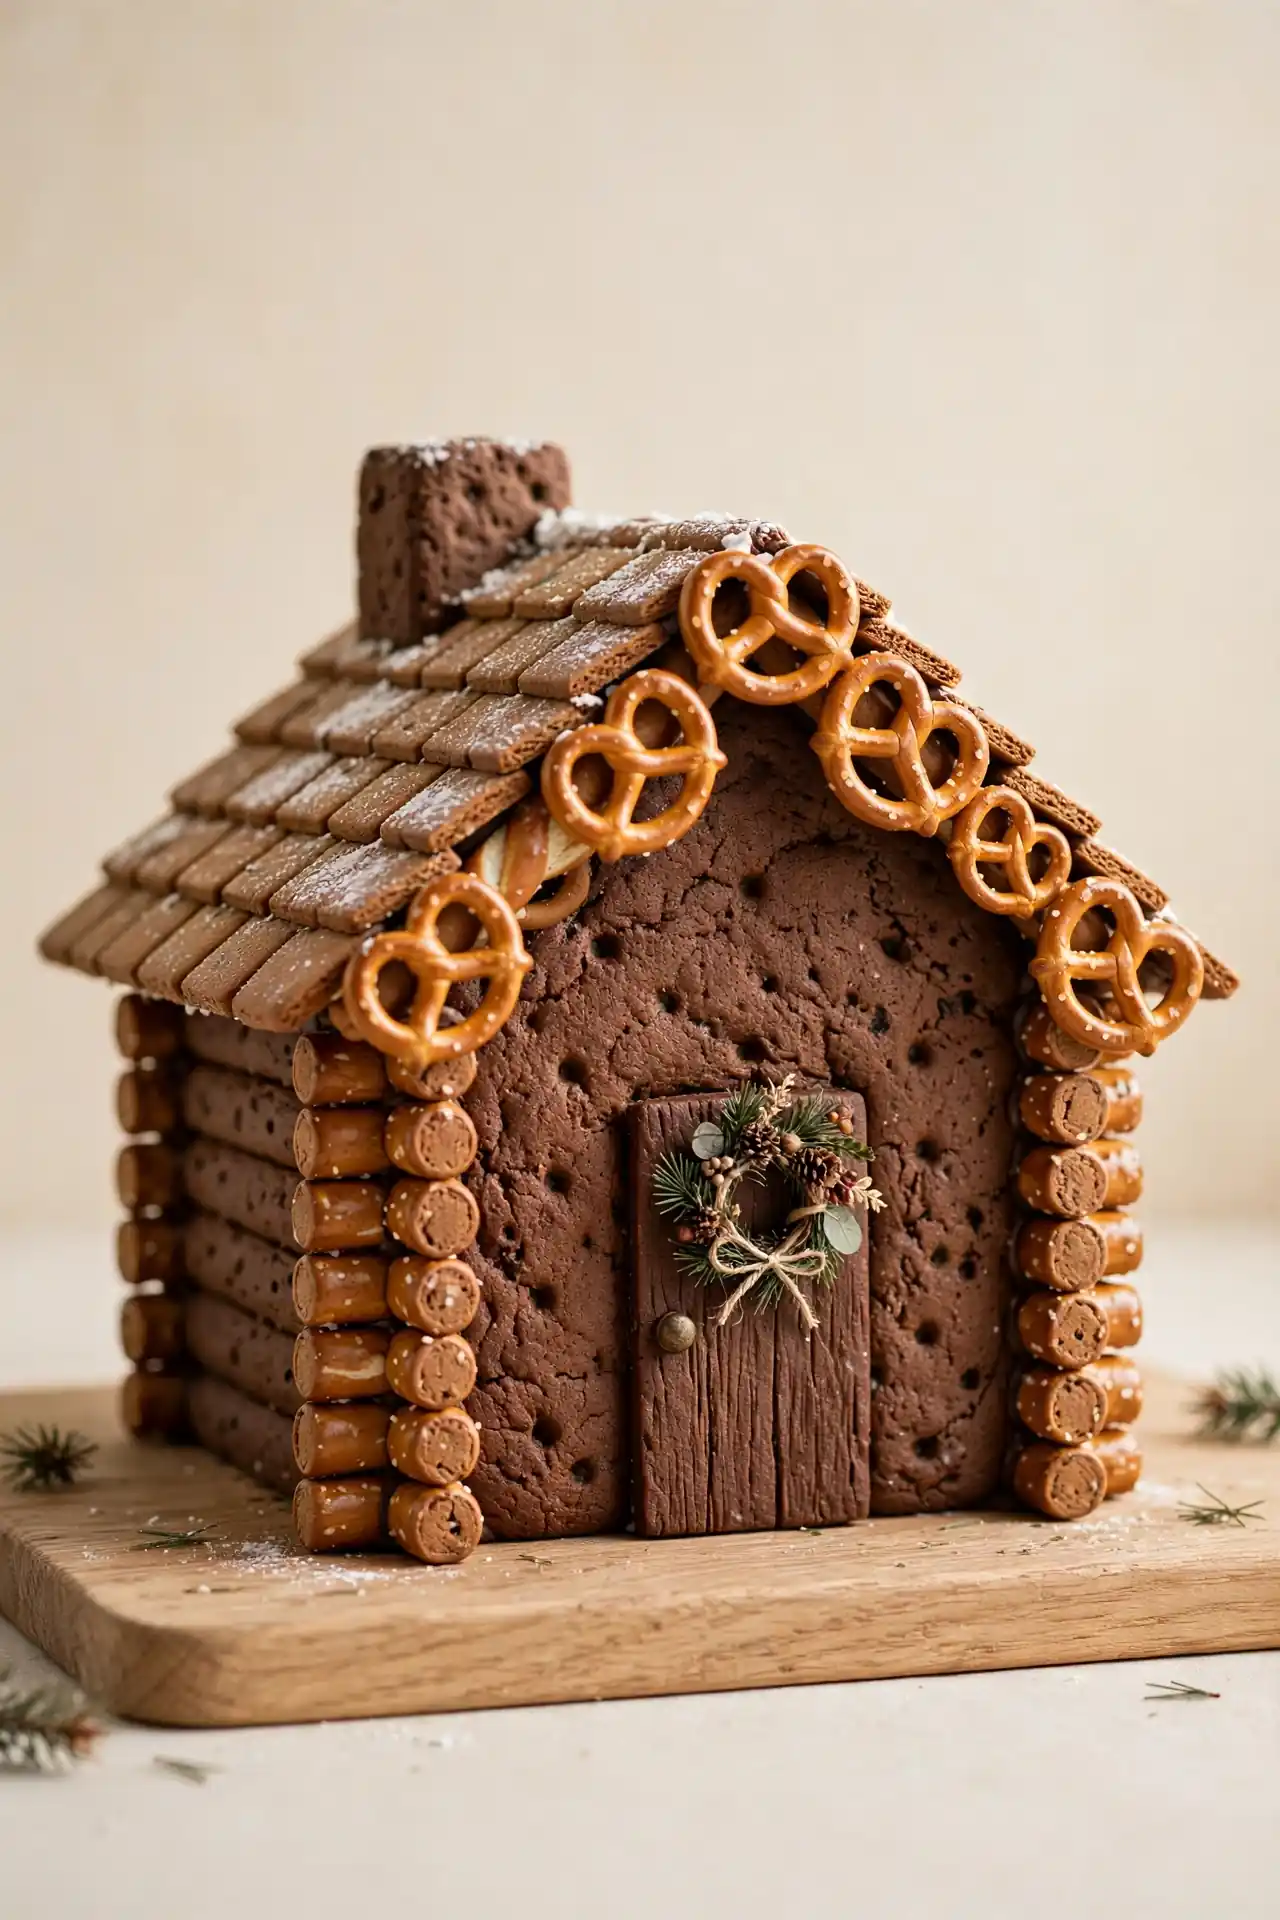
Skip the candy overload and lean into cozy mountain charm instead.
Quick Tip: Pipe horizontal icing lines across the walls to mimic stacked logs, then press short pretzel sticks over them. The texture reads like a real log cabin and needs almost no candy.
Add a tiny pine wreath above the door and a dusting of cocoa powder along the base for a woodland feel. I love how this style suits grown up holiday tables because it feels warm without being loud. Pair it with a plaid runner and a few pinecones, and the whole scene feels like a mountain lodge in miniature.
Sugared Roof Peaks
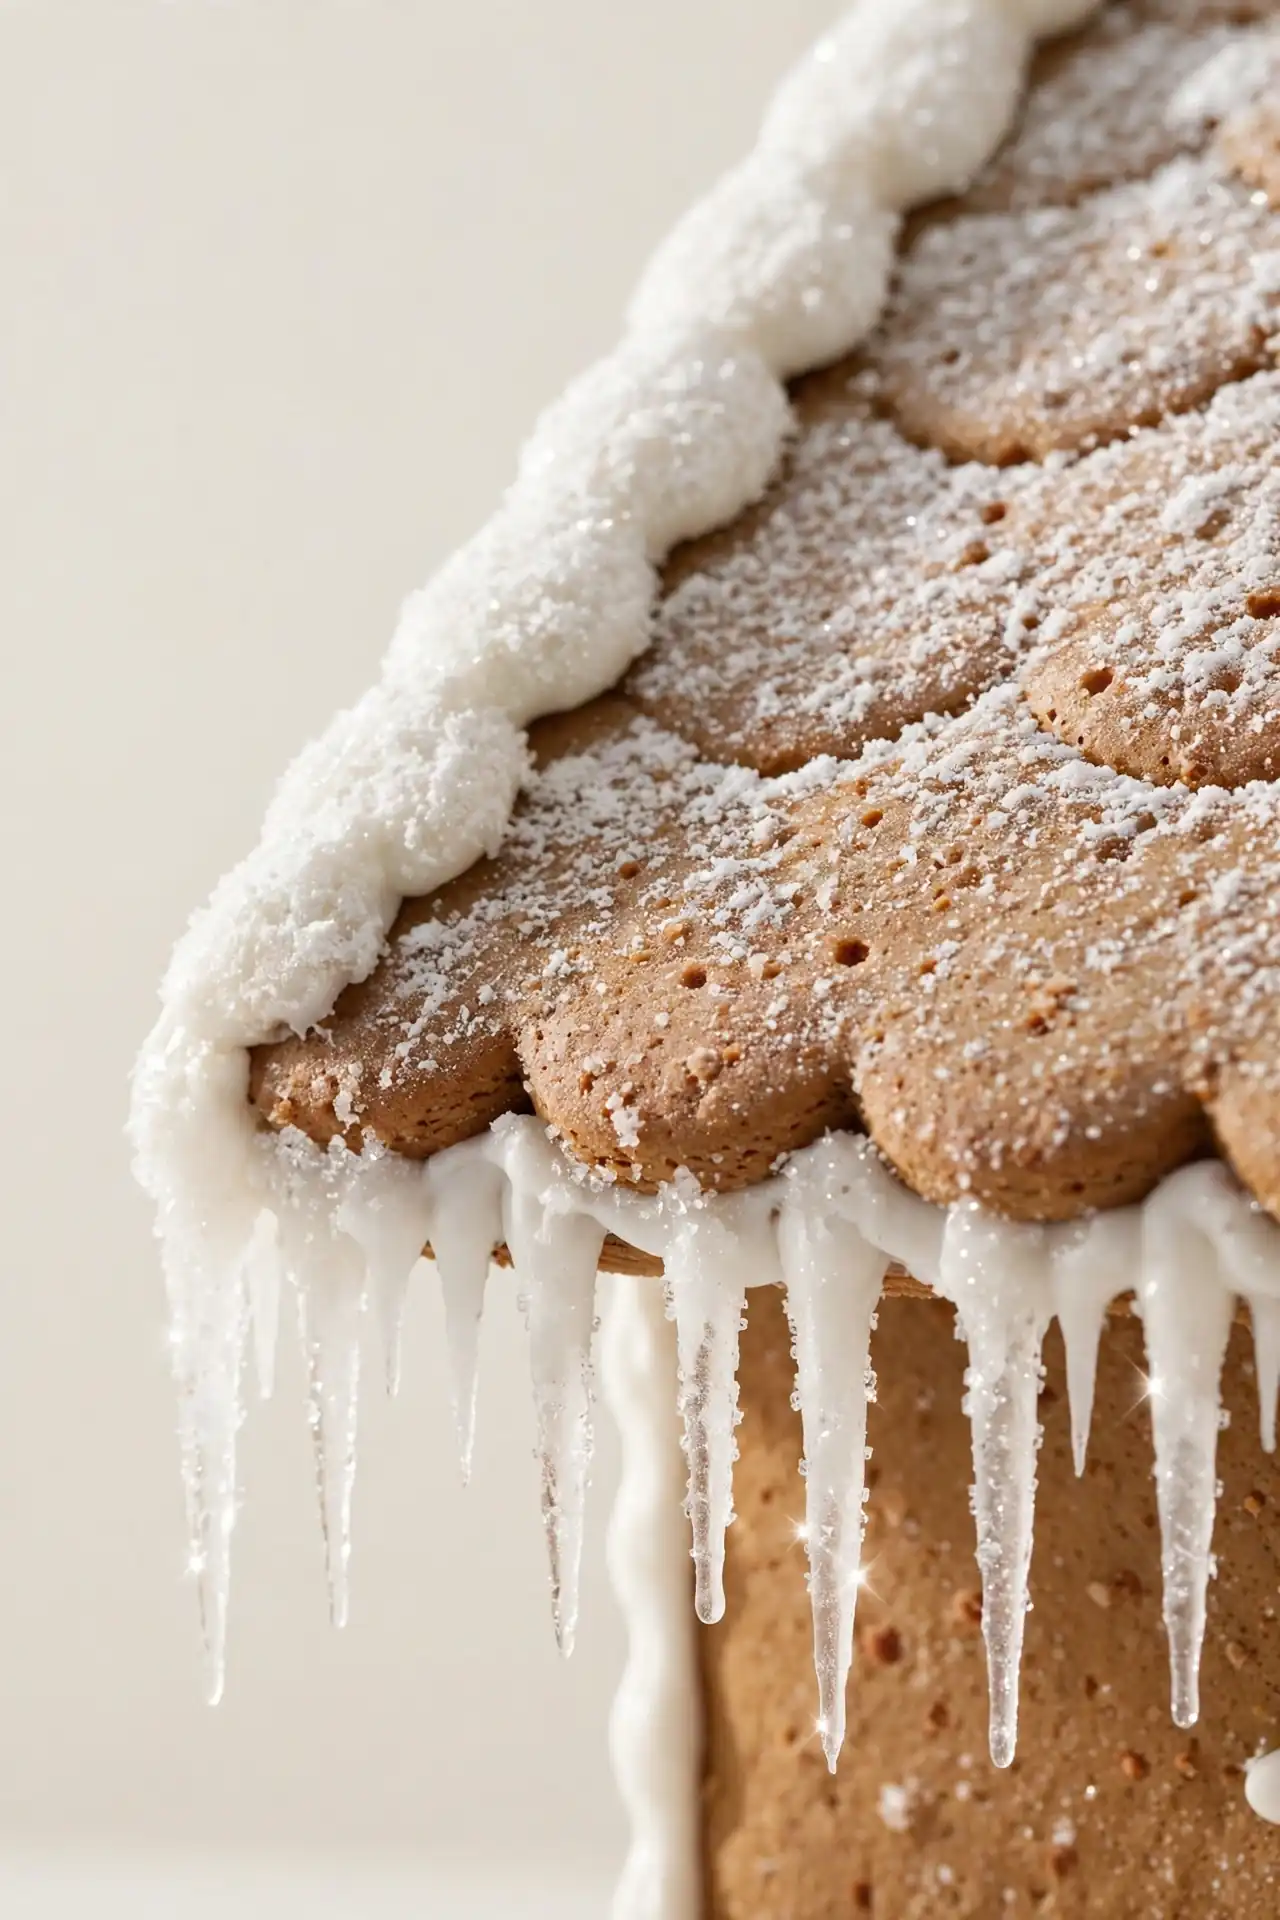
Flat, shiny roofs look unfinished, but snowy peaks look magical.
BEFORE: Most bakers pipe a smooth layer of icing on the roof and stop there. The result looks neat but flat, and the house reads more like a cookie than a winter scene.
AFTER: Sprinkle coarse sparkling sugar over wet icing, then drag a fork lightly to form ridges. Hang short icing icicles along the eaves. The roof now catches the light and looks freshly snowed on.
This small upgrade takes five extra minutes and changes the whole mood. I’ve seen plain houses turn into showpieces with just this trick. It works on any roof shape, so try it on every build this year.
Candy Cane Lane
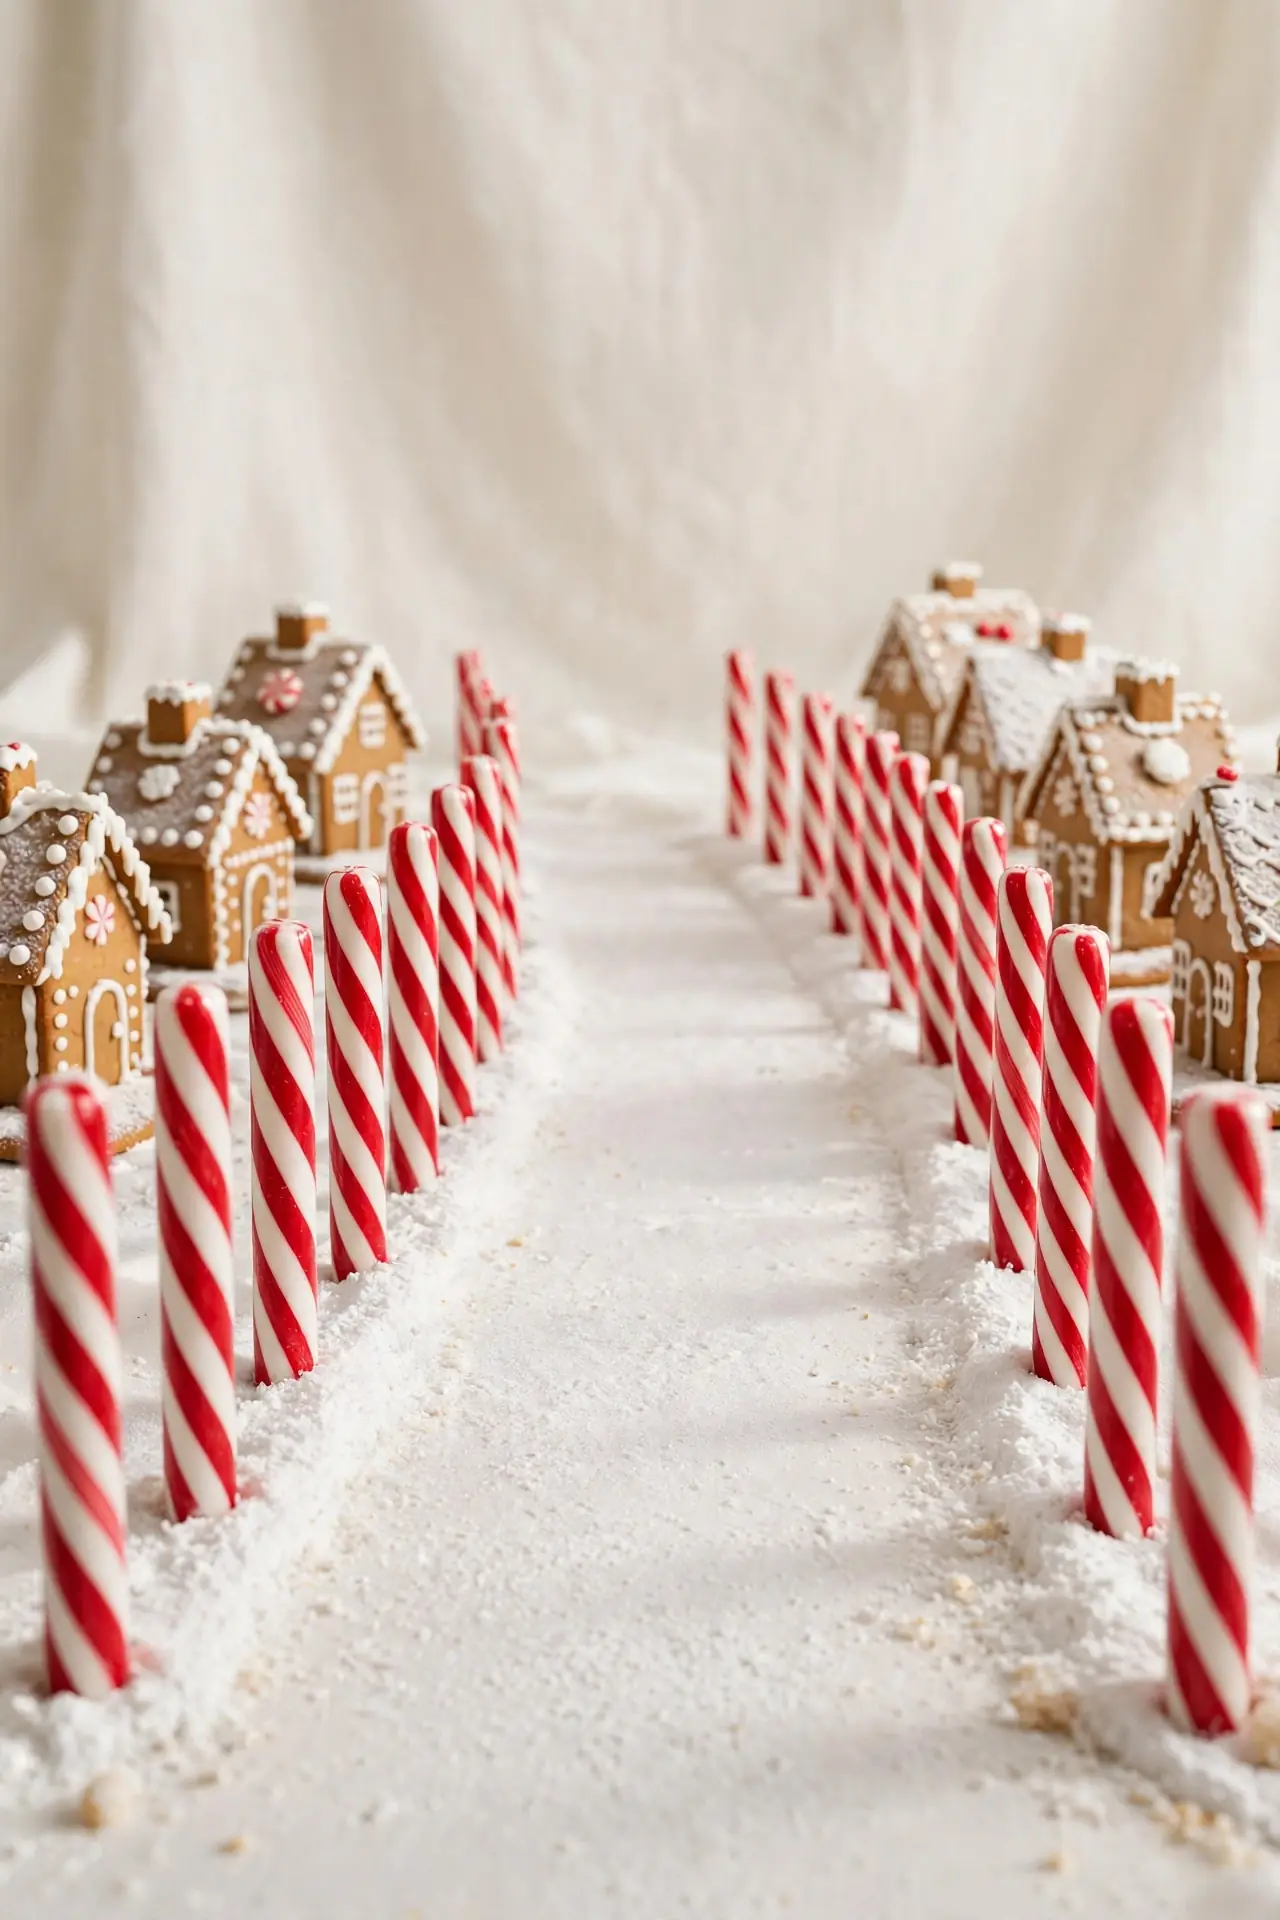
Line your walkway with striped candy cane posts and kids will go absolutely wild.
- Push small candy canes upside down into a thick line of royal icing along the base edge.
- Connect the tops with a piped icing garland so they read as a fence, not scattered sticks.
- Line the path with crushed peppermint gravel for a frosty walkway.
- Place the lane in front of the house door so it leads the eye home.
This idea doubles as a fun kid activity because placing the canes is easy and safe. Keep canes the same size so the lane looks neat and tidy. In my experience, a tidy lane makes even a simple house look planned and charming.
Frosted Window Magic
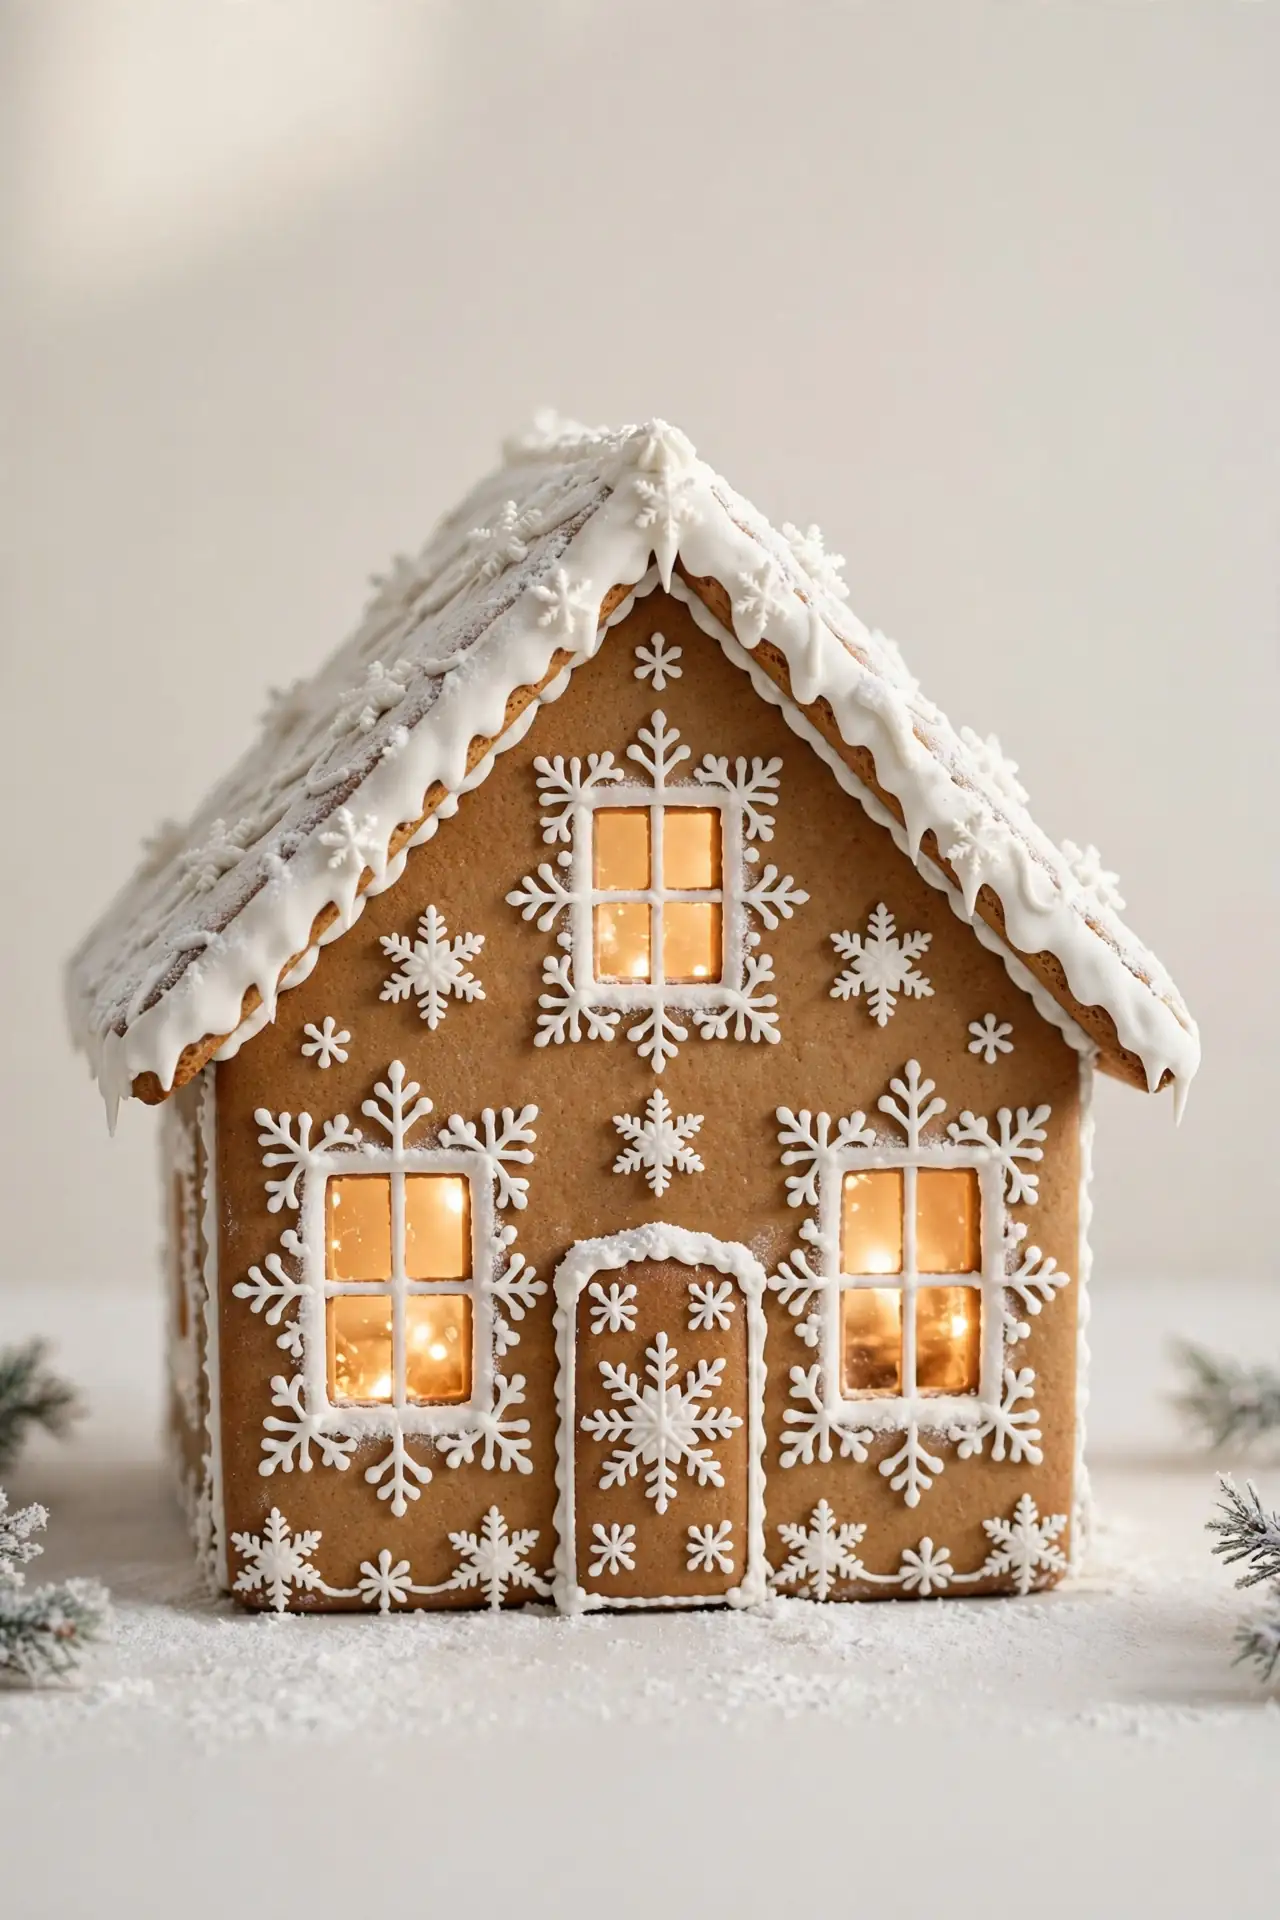
Which window style makes your cookie house glow: piped snowflakes or gumdrop frames?
| Window Style | Daytime Look | Nighttime Look |
|---|---|---|
| Piped snowflakes | Delicate white lace | Soft glow through icing |
| Gumdrop frames | Colorful candy border | Jewel like glow |
| Clear candy panes | Glassy shine | Bright light beams |
Clear candy panes win at night because light passes straight through them. Melt hard candies in a lined pan, pour into window openings, and let them harden before assembly. I’ve noticed backlit houses photograph best after sunset. Choose the style that matches your palette, then light every house the same way for a cohesive village. Glass candy melts fast, so watch the pan closely and pour while it is fully liquid.
Miniature Gingerbread Barn
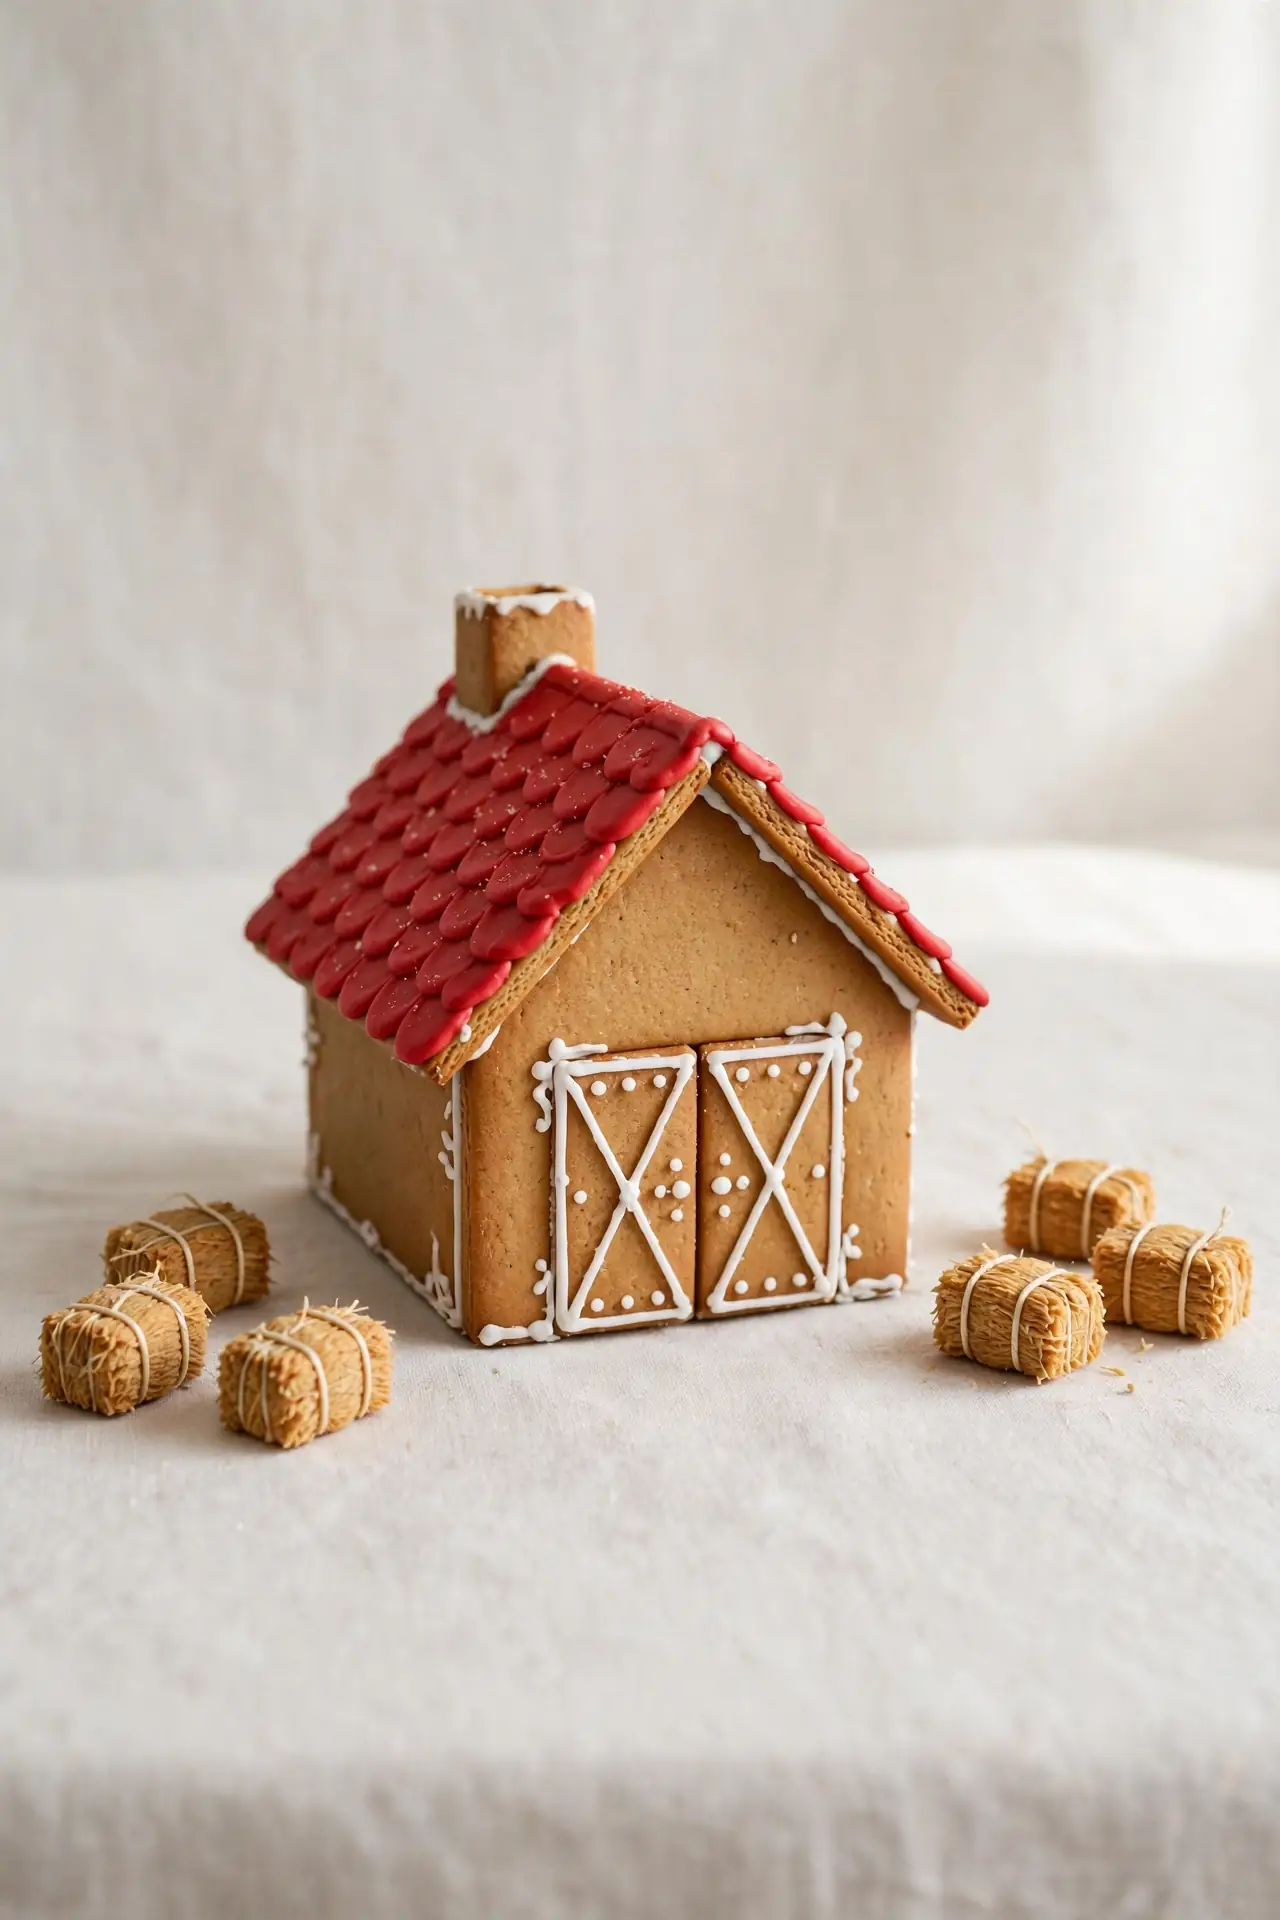
Big barns steal the show, but a miniature version fits anywhere.
DO:
- Build the barn smaller than your main house for proper scale.
- Pipe white icing X shapes on the doors for a classic barn look.
- Add tiny hay bale cookies beside the entrance.
- Use a red icing wash for the walls.
DON’T:
- Do not skip the roof overhang or rain would soak a real barn.
- Do not use heavy candies that topple small walls.
- Do not place the barn too close to taller houses.
This little barn adds farmhouse charm to any village scene. It also gives kids a second, simpler build to decorate. Tuck it beside the main house and the whole display gains a storybook feel.
Peppermint Parlor House
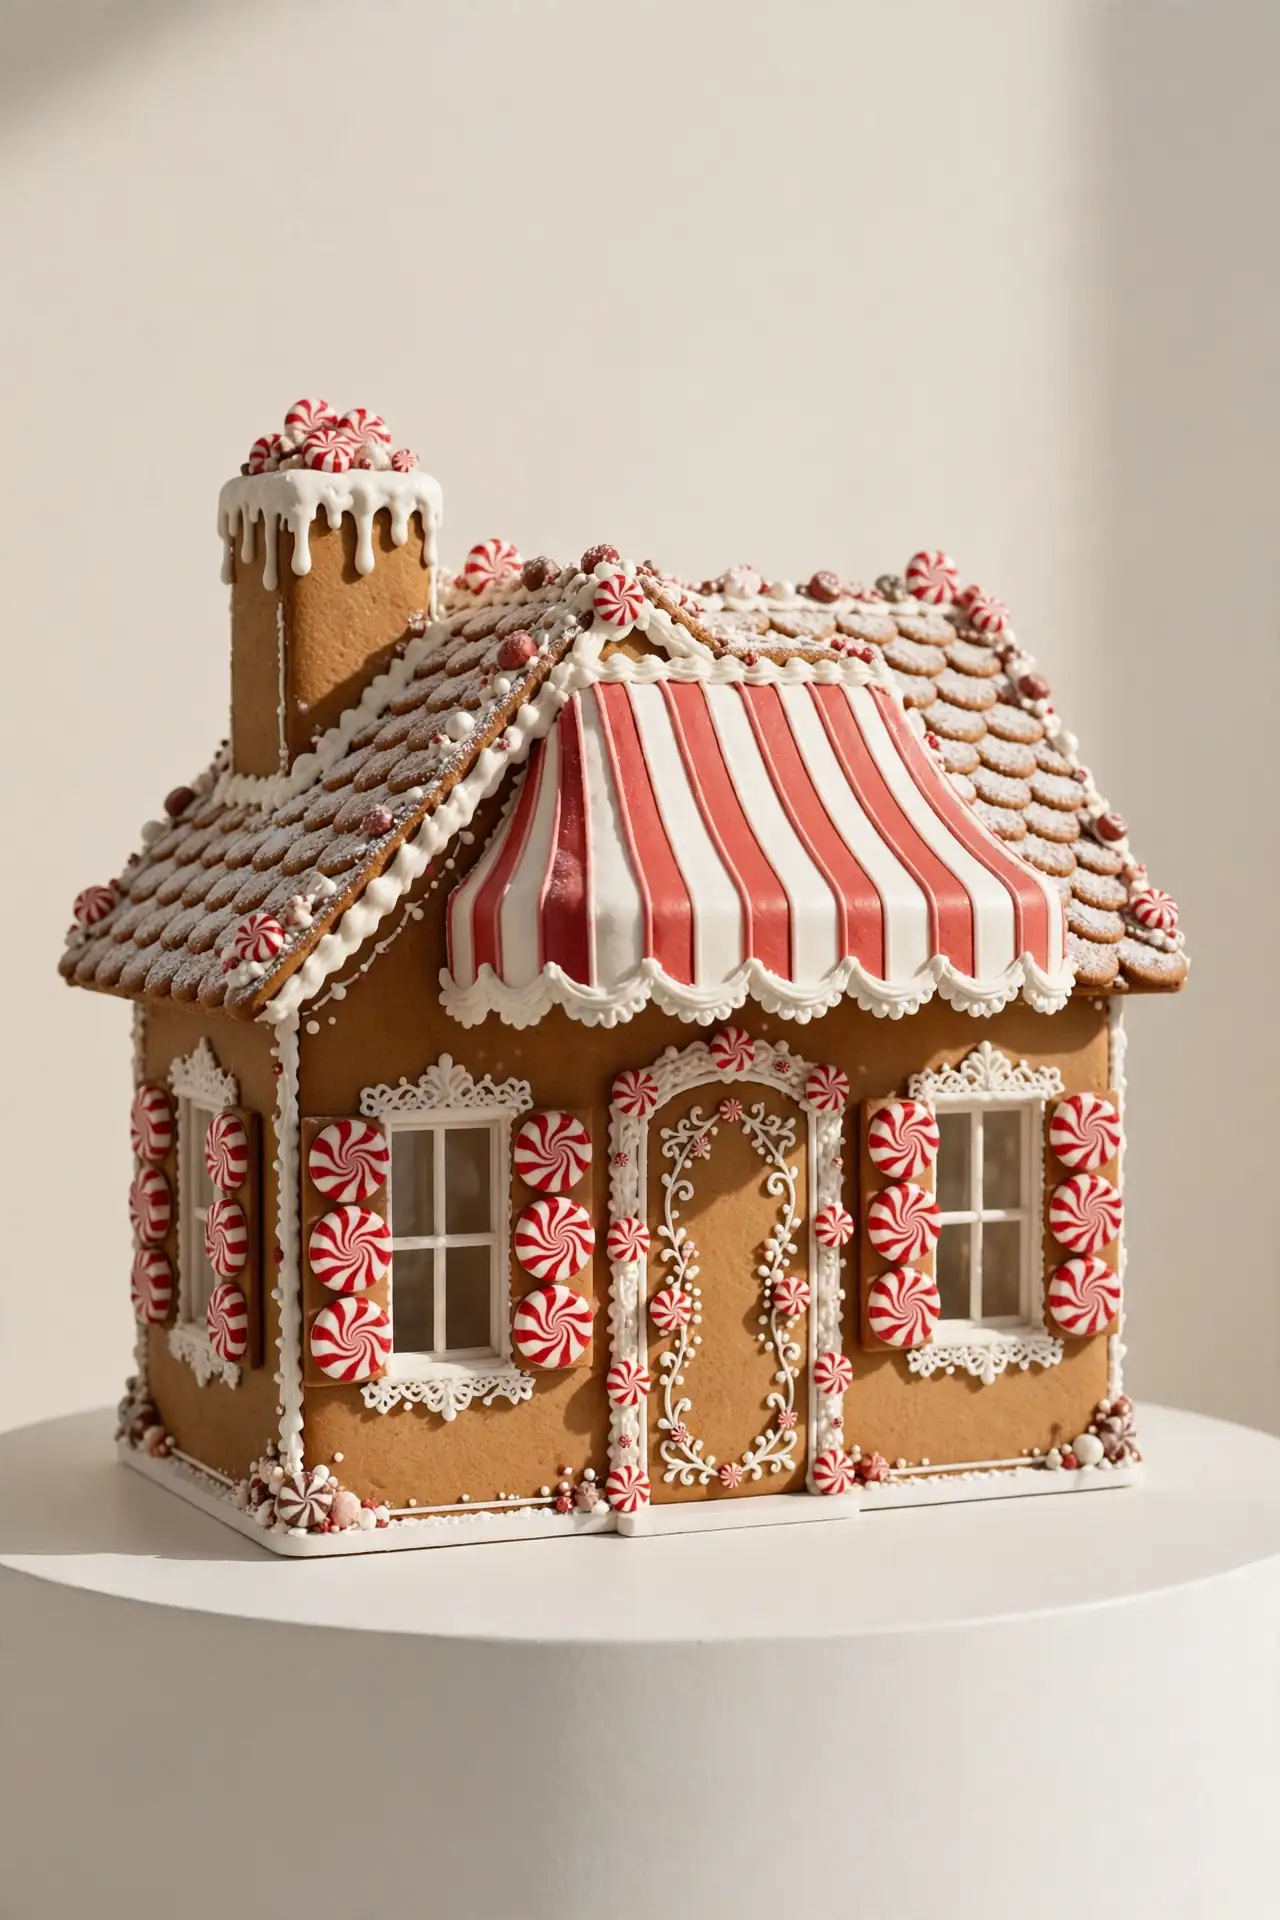
Peppermint brings instant holiday cheer to any sweet build.
Cost: Low, candies from the baking aisle | Time: Two hours | Skill Level: Beginner | Best For: Kids and candy lovers
Stick to red and white so the peppermint theme reads clearly from across the room. Crush peppermints for roof shingles and use whole swirls as window shutters. I love serving this house as the edible centerpiece at holiday parties because guests can snap off a piece. Keep a small bowl of extra candies nearby so the display stays full all evening. A red ribbon tied around the base board adds a finished, gift like feel.
Snowy A-Frame Cabin
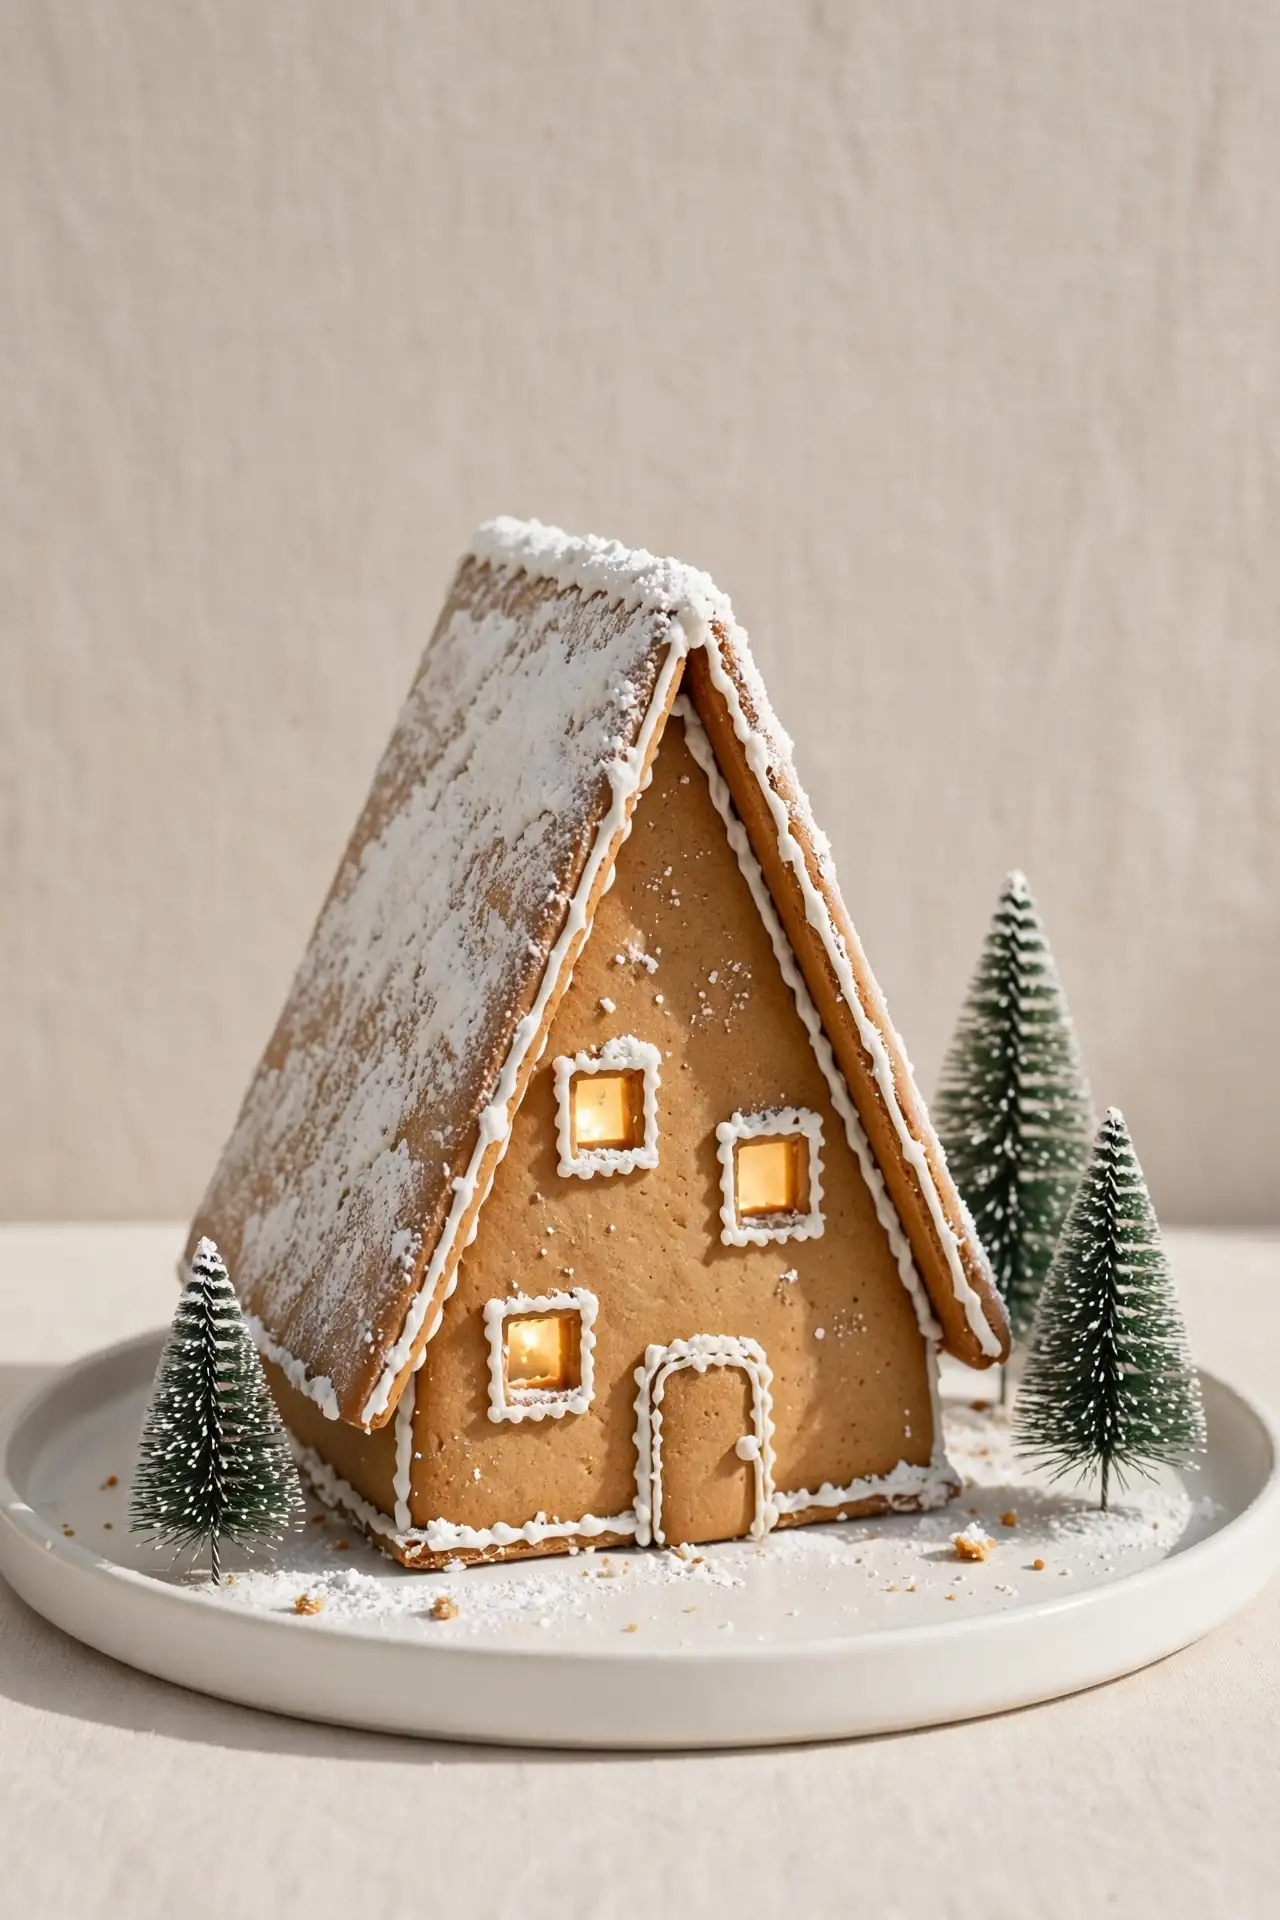
A-frames are having a moment in real architecture, so give your cookies one too. Cut two large triangles for the roof walls and one rectangle for the back. The steep pitch sheds imaginary snow beautifully and needs no ridge beam. Pipe white icing down the seams and press tiny sugar pearls along the edges. Tuck two bottle brush pines beside the door for scale.
This shape builds faster than a classic house because there are fewer walls. I’ve noticed modern minimalists love this design since it skips the candy clutter. Display it on a white cake stand so the snowy theme stays crisp and clean.
Gingerbread Church Glow
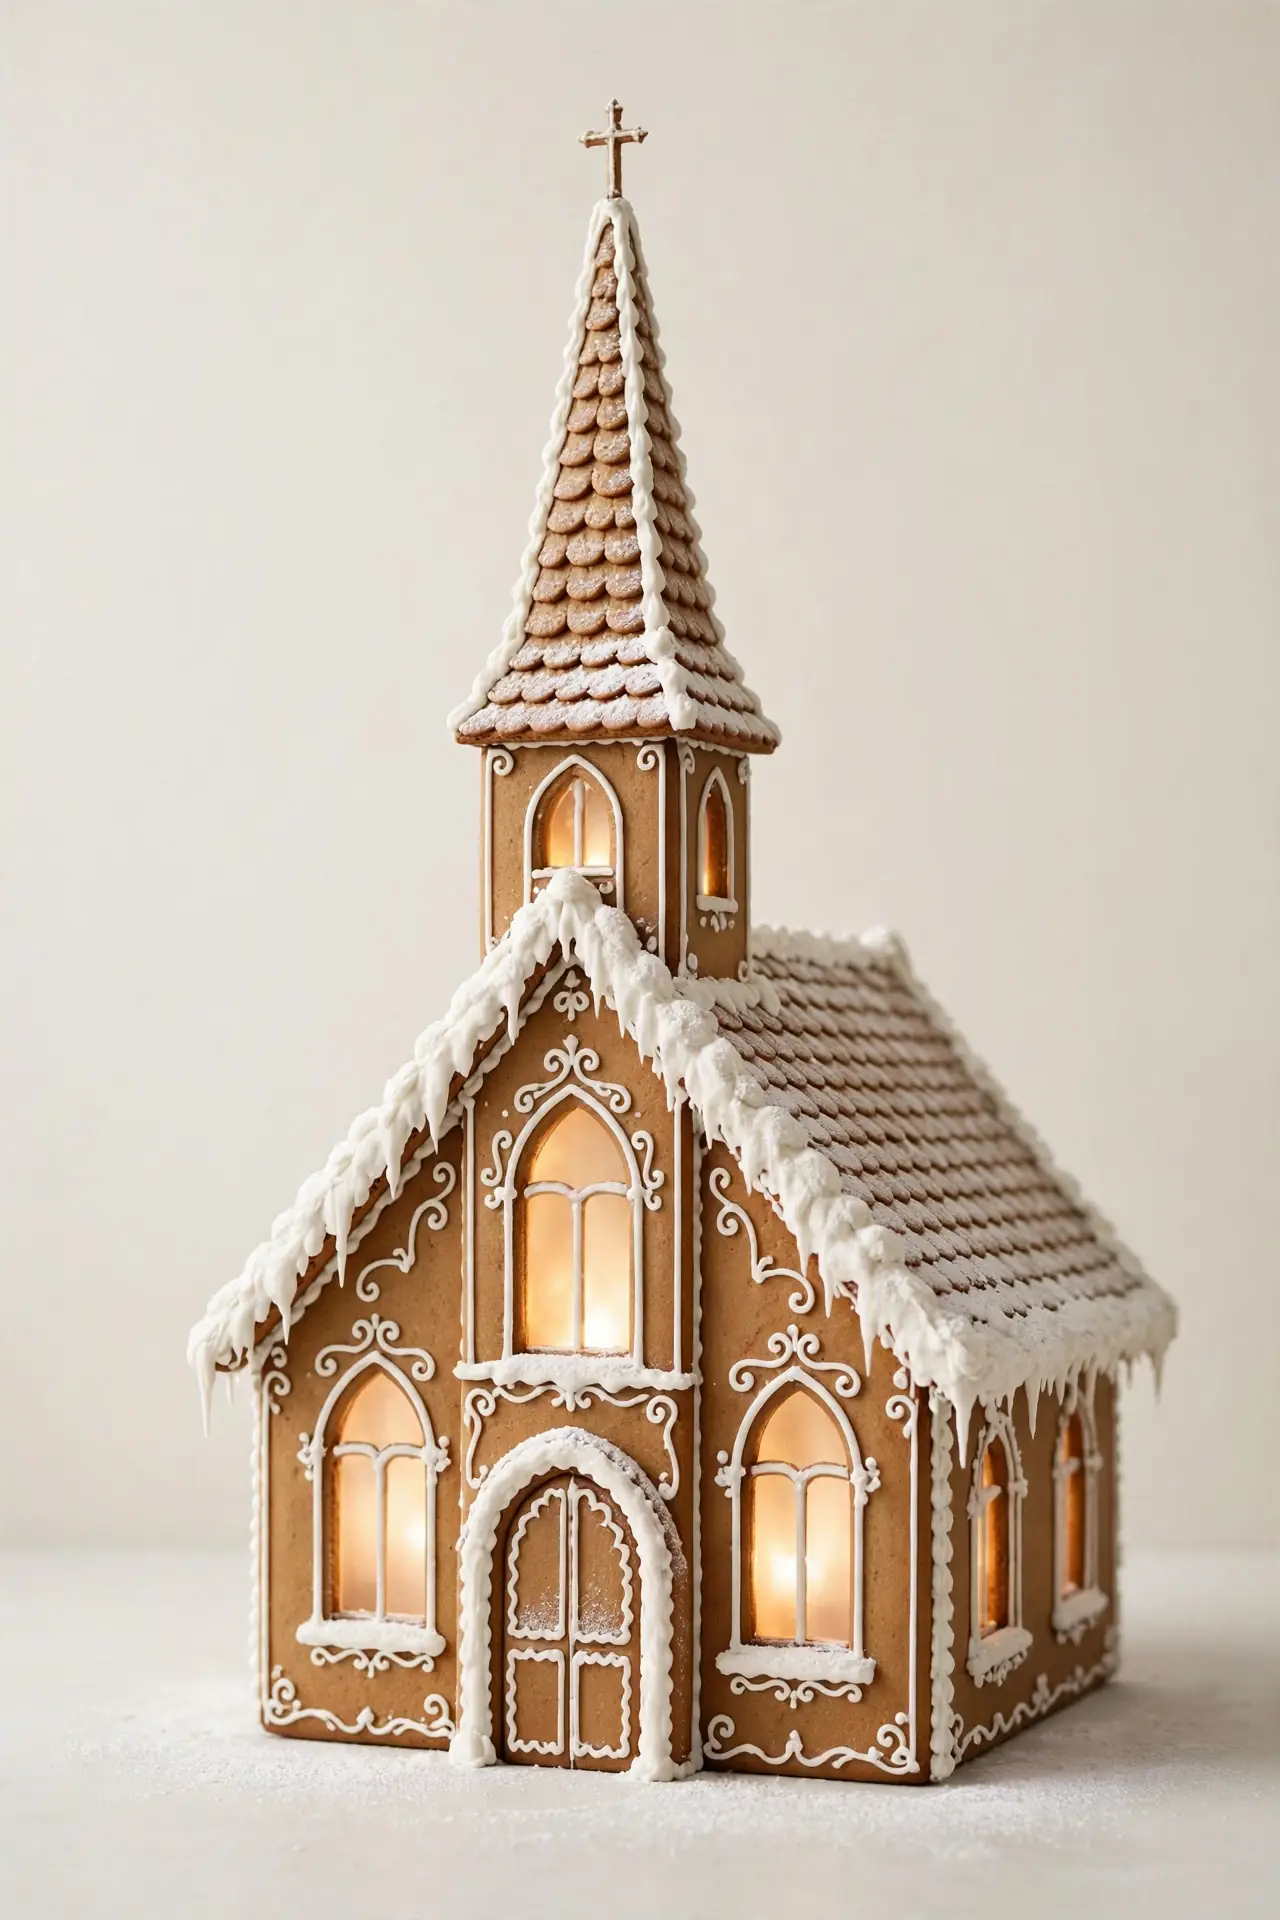
For a serene, almost sacred centerpiece, build upward with a steeple.
- Stack a narrow tower on one end of a simple rectangular base.
- Cut arched windows with a small round cutter before baking.
- Pipe thin white crosses or dots above each arch for detail.
- Top the steeple with a star shaped cookie or a single gumdrop.
- Place a warm tea light inside so the arches glow softly.
This build suits quiet, elegant holiday tables where less means more. Keep decorations white and gold for a peaceful look. I’ve seen this work well as a mantel centerpiece, glowing gently behind stockings and garland.
Ice Cream Shoppe
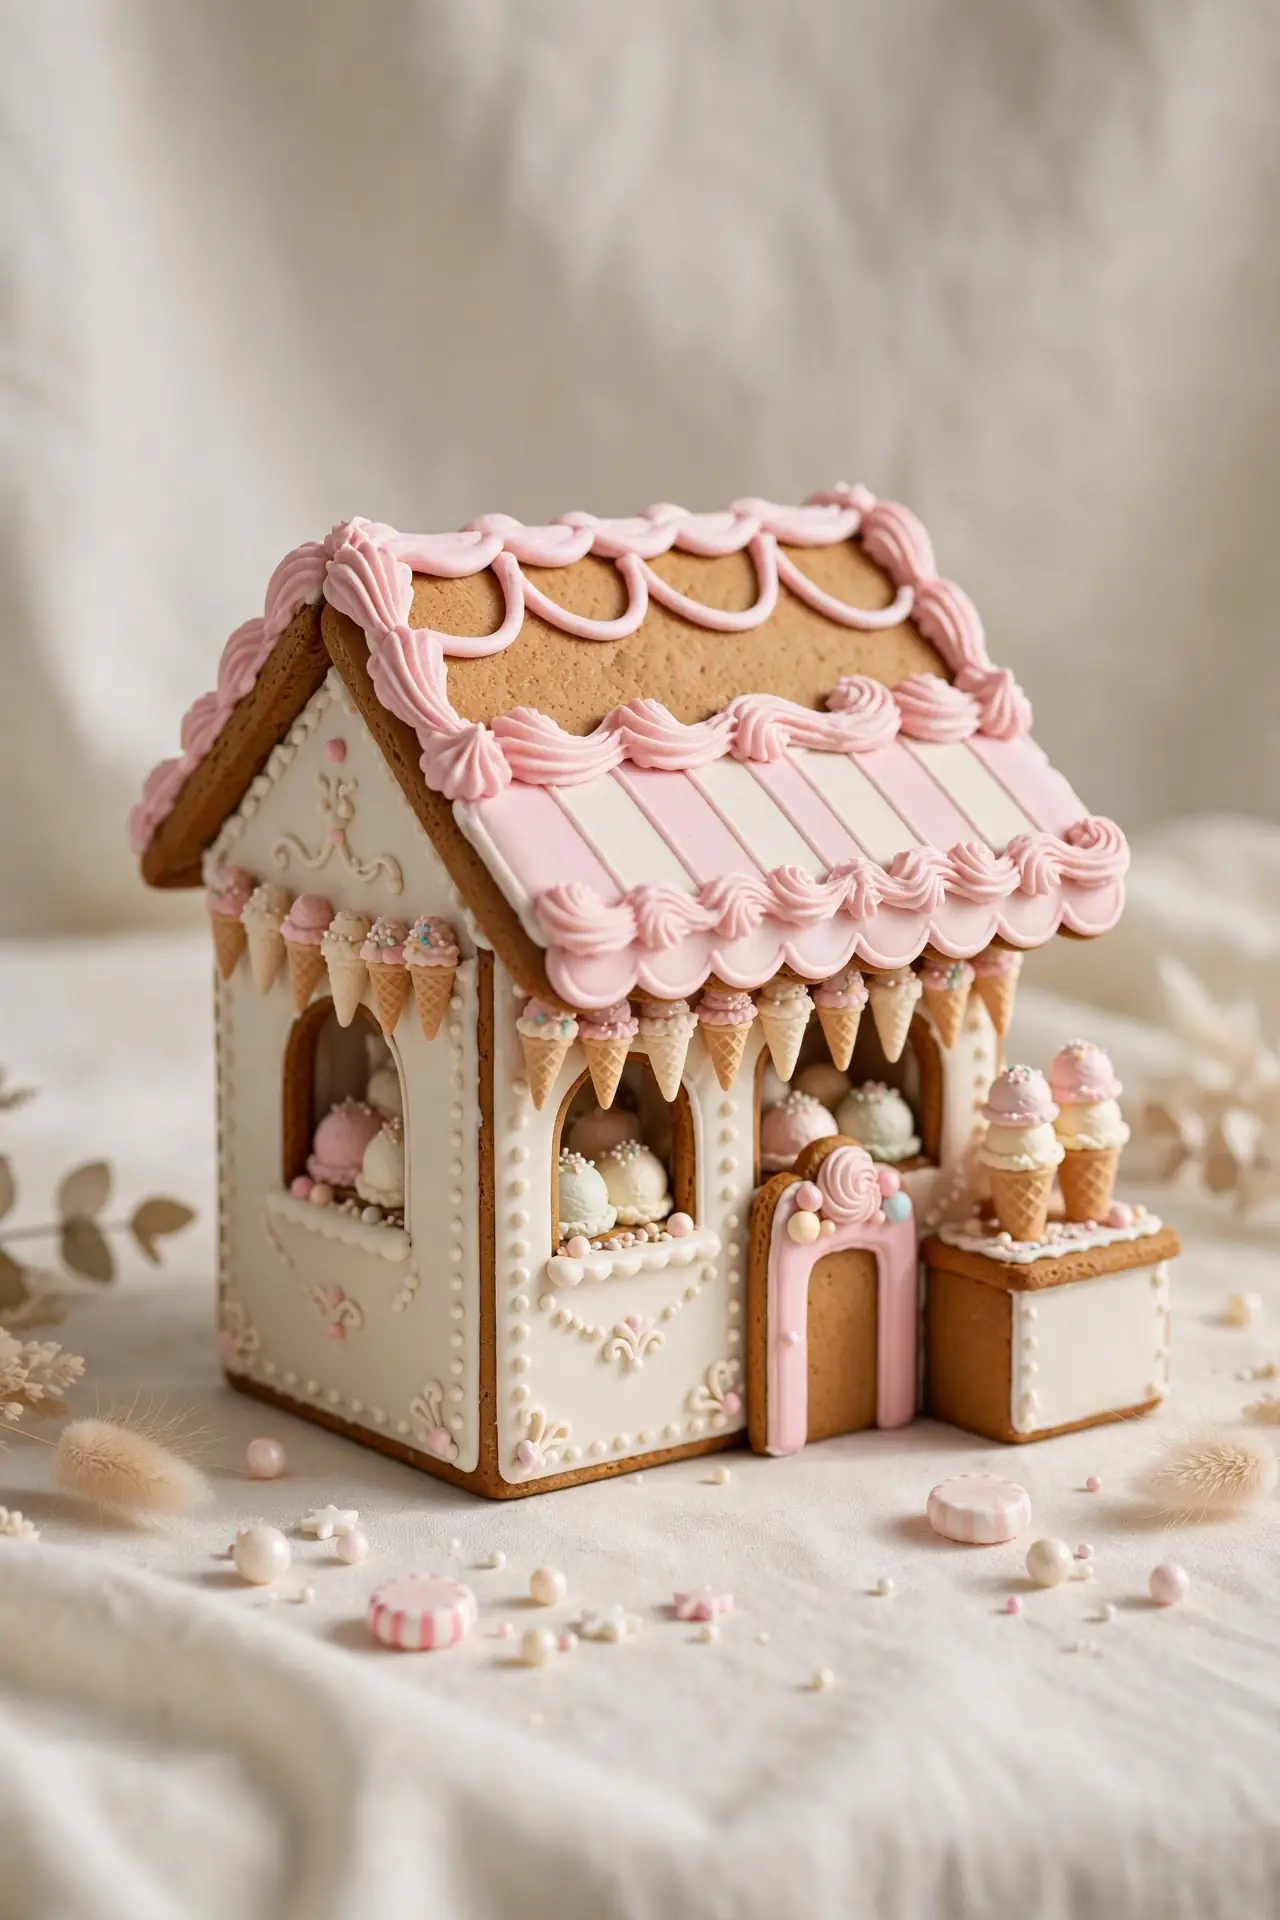
Who says December desserts have to be serious?
Quick Tip: Pipe a scalloped pink icing awning over the front and add tiny ice cream cone cookies as columns. The playful storefront look takes shape in minutes and always makes kids smile.
Use pastel candies, like pink mints and pale yellow drops, for a sweet shop palette. Add a small striped sign shaped cookie above the door. This house breaks the brown and red monotony of a village. It works best as the fun, lighthearted corner of a larger display. Finish with a striped straw cookie leaning by the door for a soda shop touch.
Lantern Lit Entryway
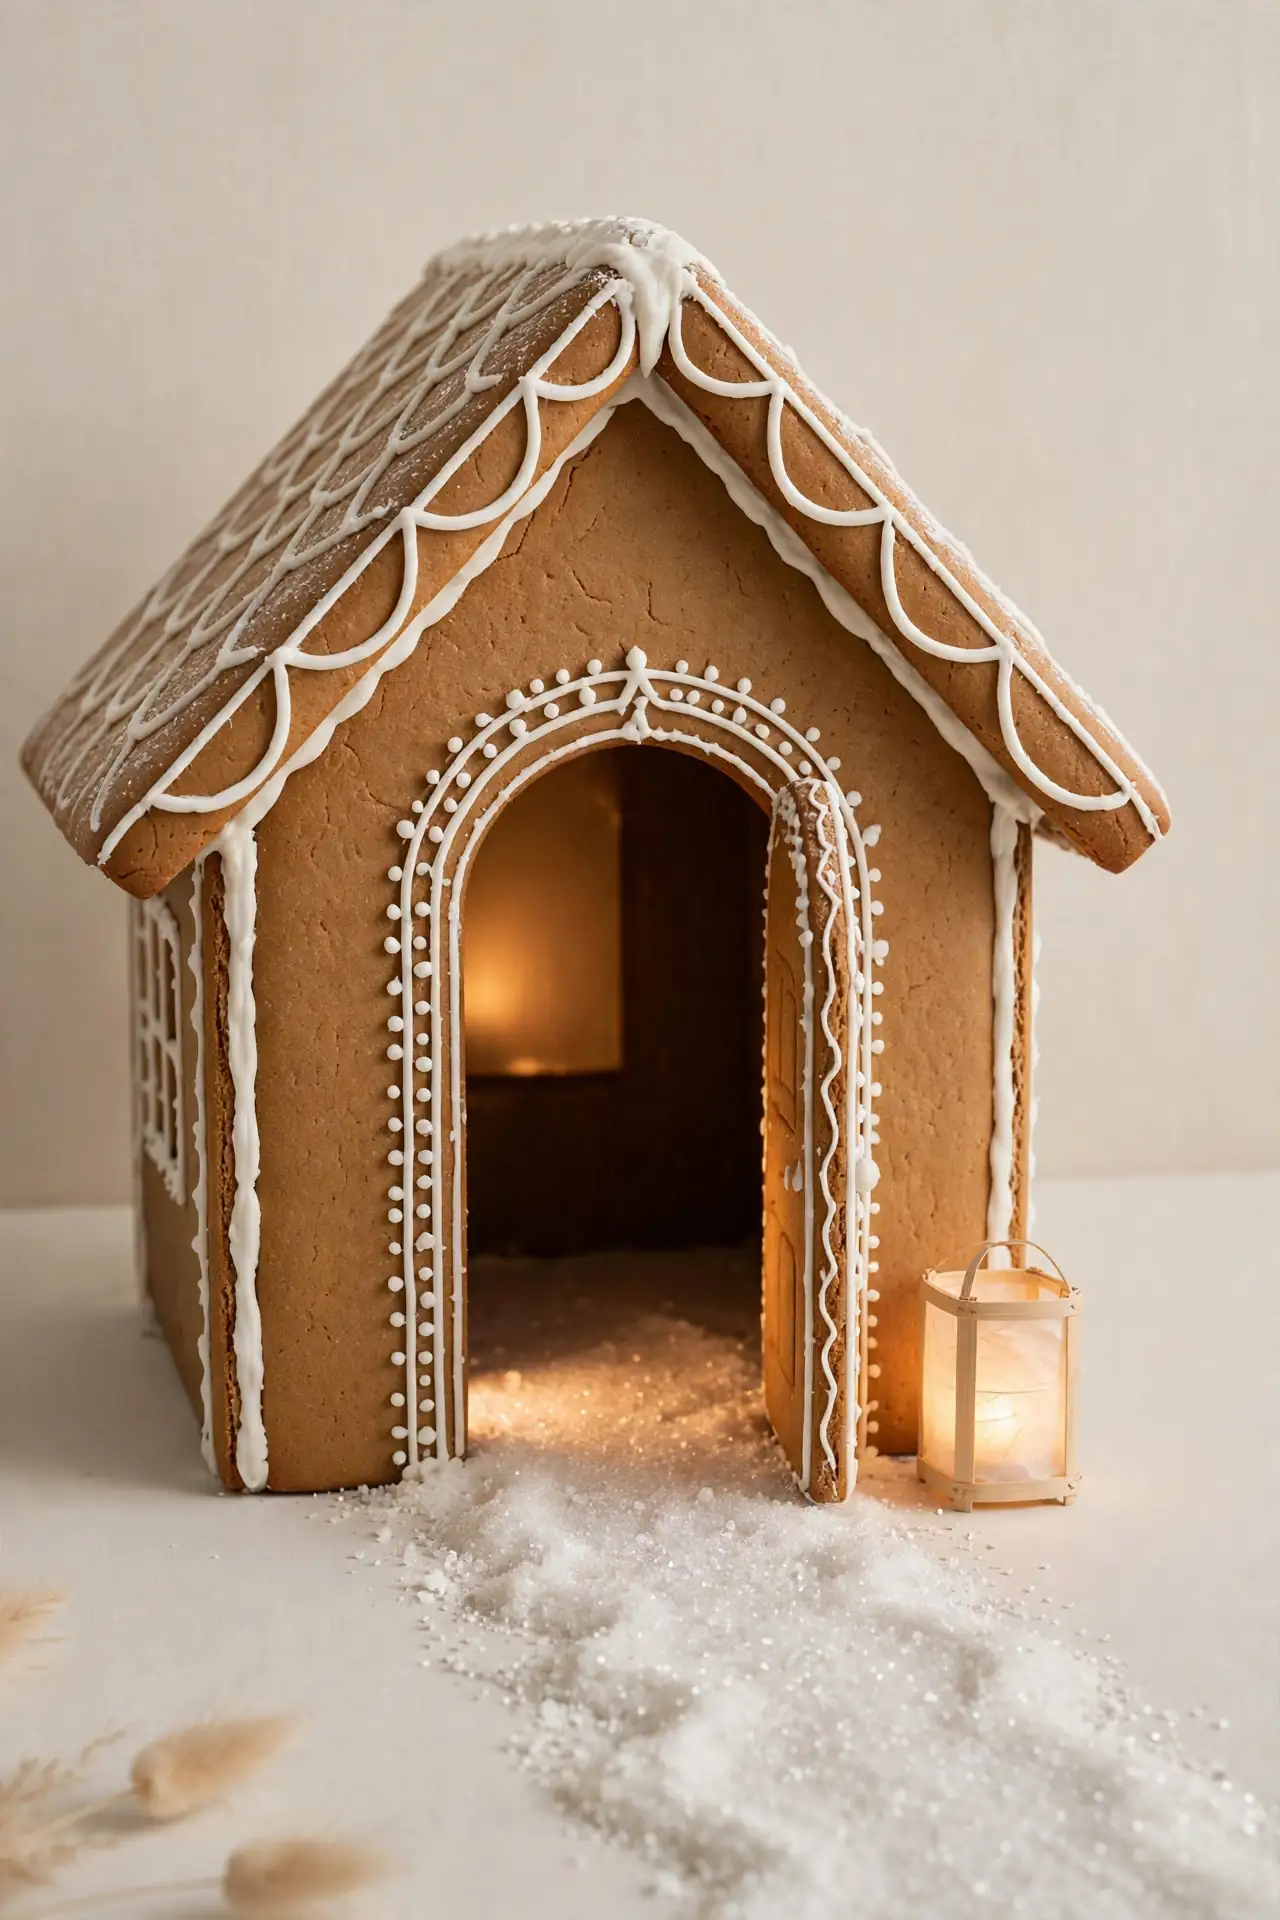
A dark entryway tells no story, but a lantern lit one invites guests in.
BEFORE: Most houses end at the front door with a plain icing frame. At night the doorway disappears into shadow and the house looks flat from the front.
AFTER: Set a tiny LED tea light inside a small glass jar beside the door. Pipe a warm yellow glow of icing around the frame. The entry now feels welcoming and draws the eye first.
Battery lights stay cool, so they are safe inside cookie walls. I’ve noticed lit entryways photograph beautifully in evening shots. This trick costs almost nothing and doubles the charm after dark.
Frosty Pretzel Fences
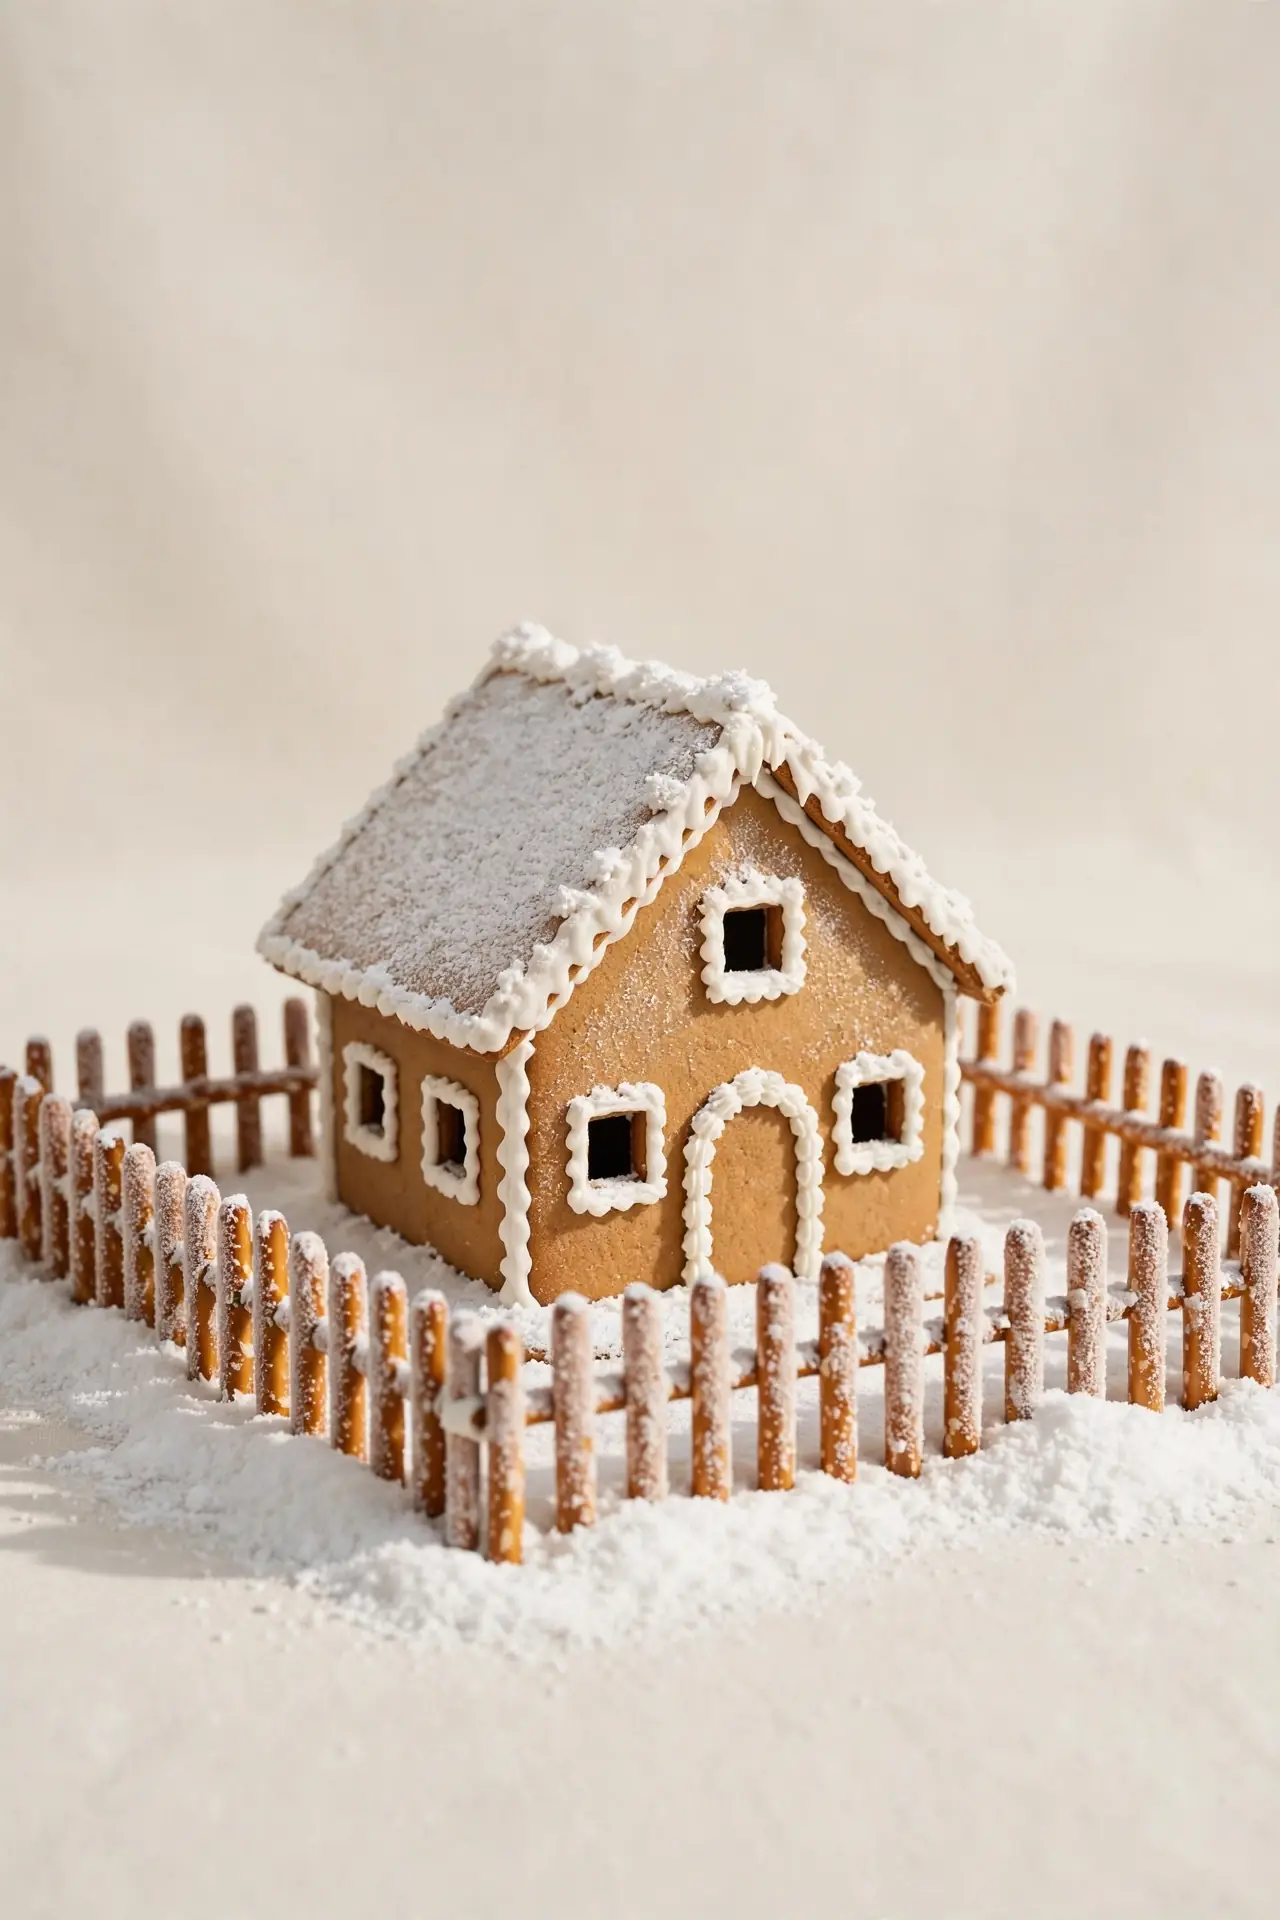
Fences sound fussy until you break them into three easy steps.
- Snap pretzel sticks to equal lengths for neat, even rails.
- Pipe two horizontal icing lines on the base and press the sticks upright.
- Brush the tops with white icing and dust with sparkling sugar for frost.
Short fences frame a house without hiding it, so keep them low and tidy. I love how the salty crunch contrasts with all the sweetness around it. This detail takes ten minutes and makes the whole scene feel like a real winter yard. Swap in chocolate dipped pretzels for a two tone fence kids will love.
Sugary Stone Walls
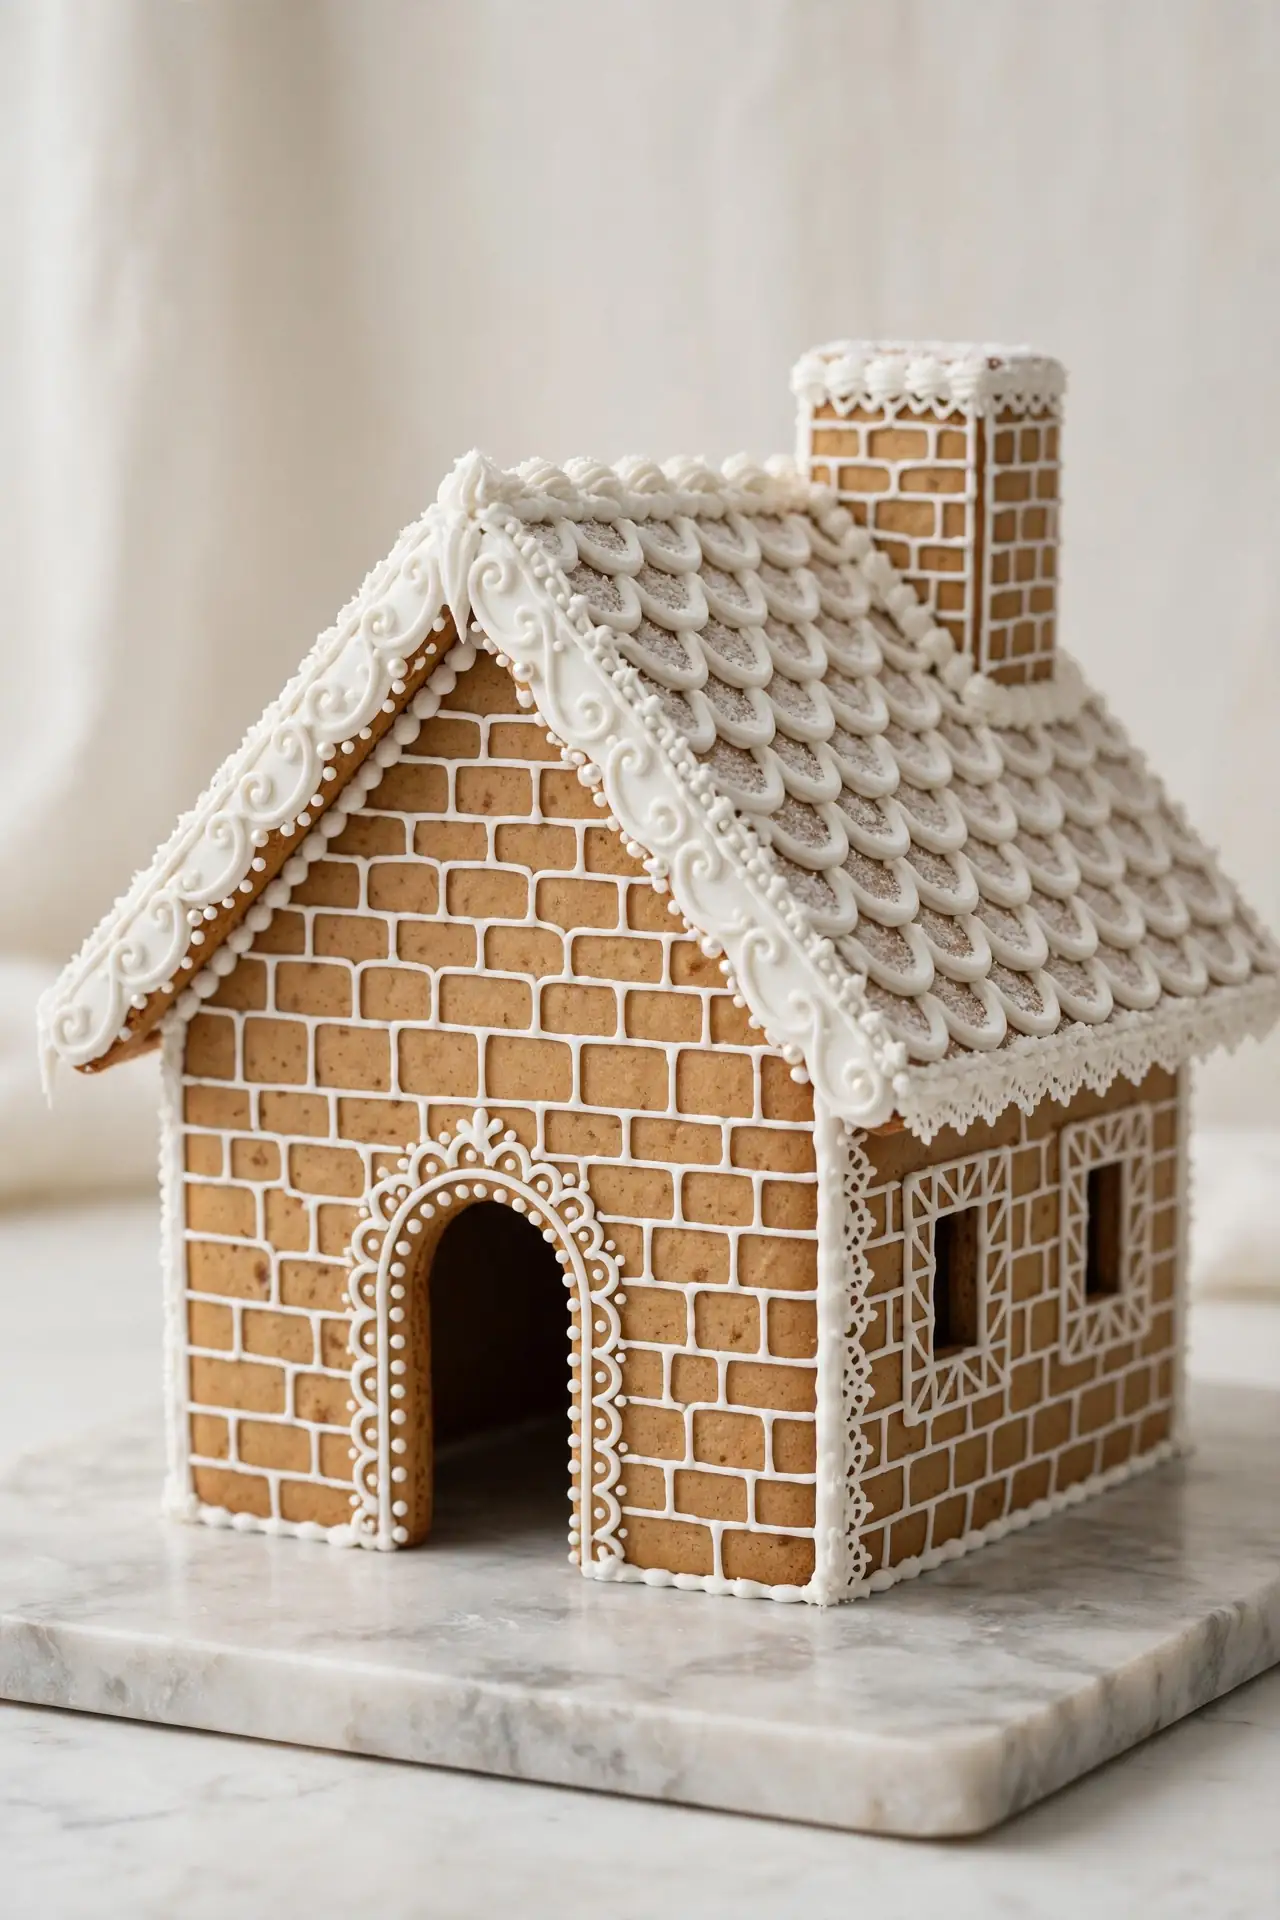
Smooth walls or piped stone texture: which reads more charming up close?
| Technique | Look | Best For |
|---|---|---|
| Piped stone pattern | Rustic cottage texture | Farmhouse scenes |
| Smooth icing wash | Clean modern finish | Minimalist displays |
| Speckled cocoa dust | Aged storybook walls | Vintage themes |
Piped stonework suits rustic villages, while smooth walls suit modern ones. Use a small round tip and practice on parchment first. I’ve noticed textured walls hide small baking flaws beautifully. Pick one technique per village so the houses feel like they belong together. Stone patterns also pair well with pretzel fences and mossy green gardens, so plan the whole scene around the wall style you choose.
Gumdrop Garden Party
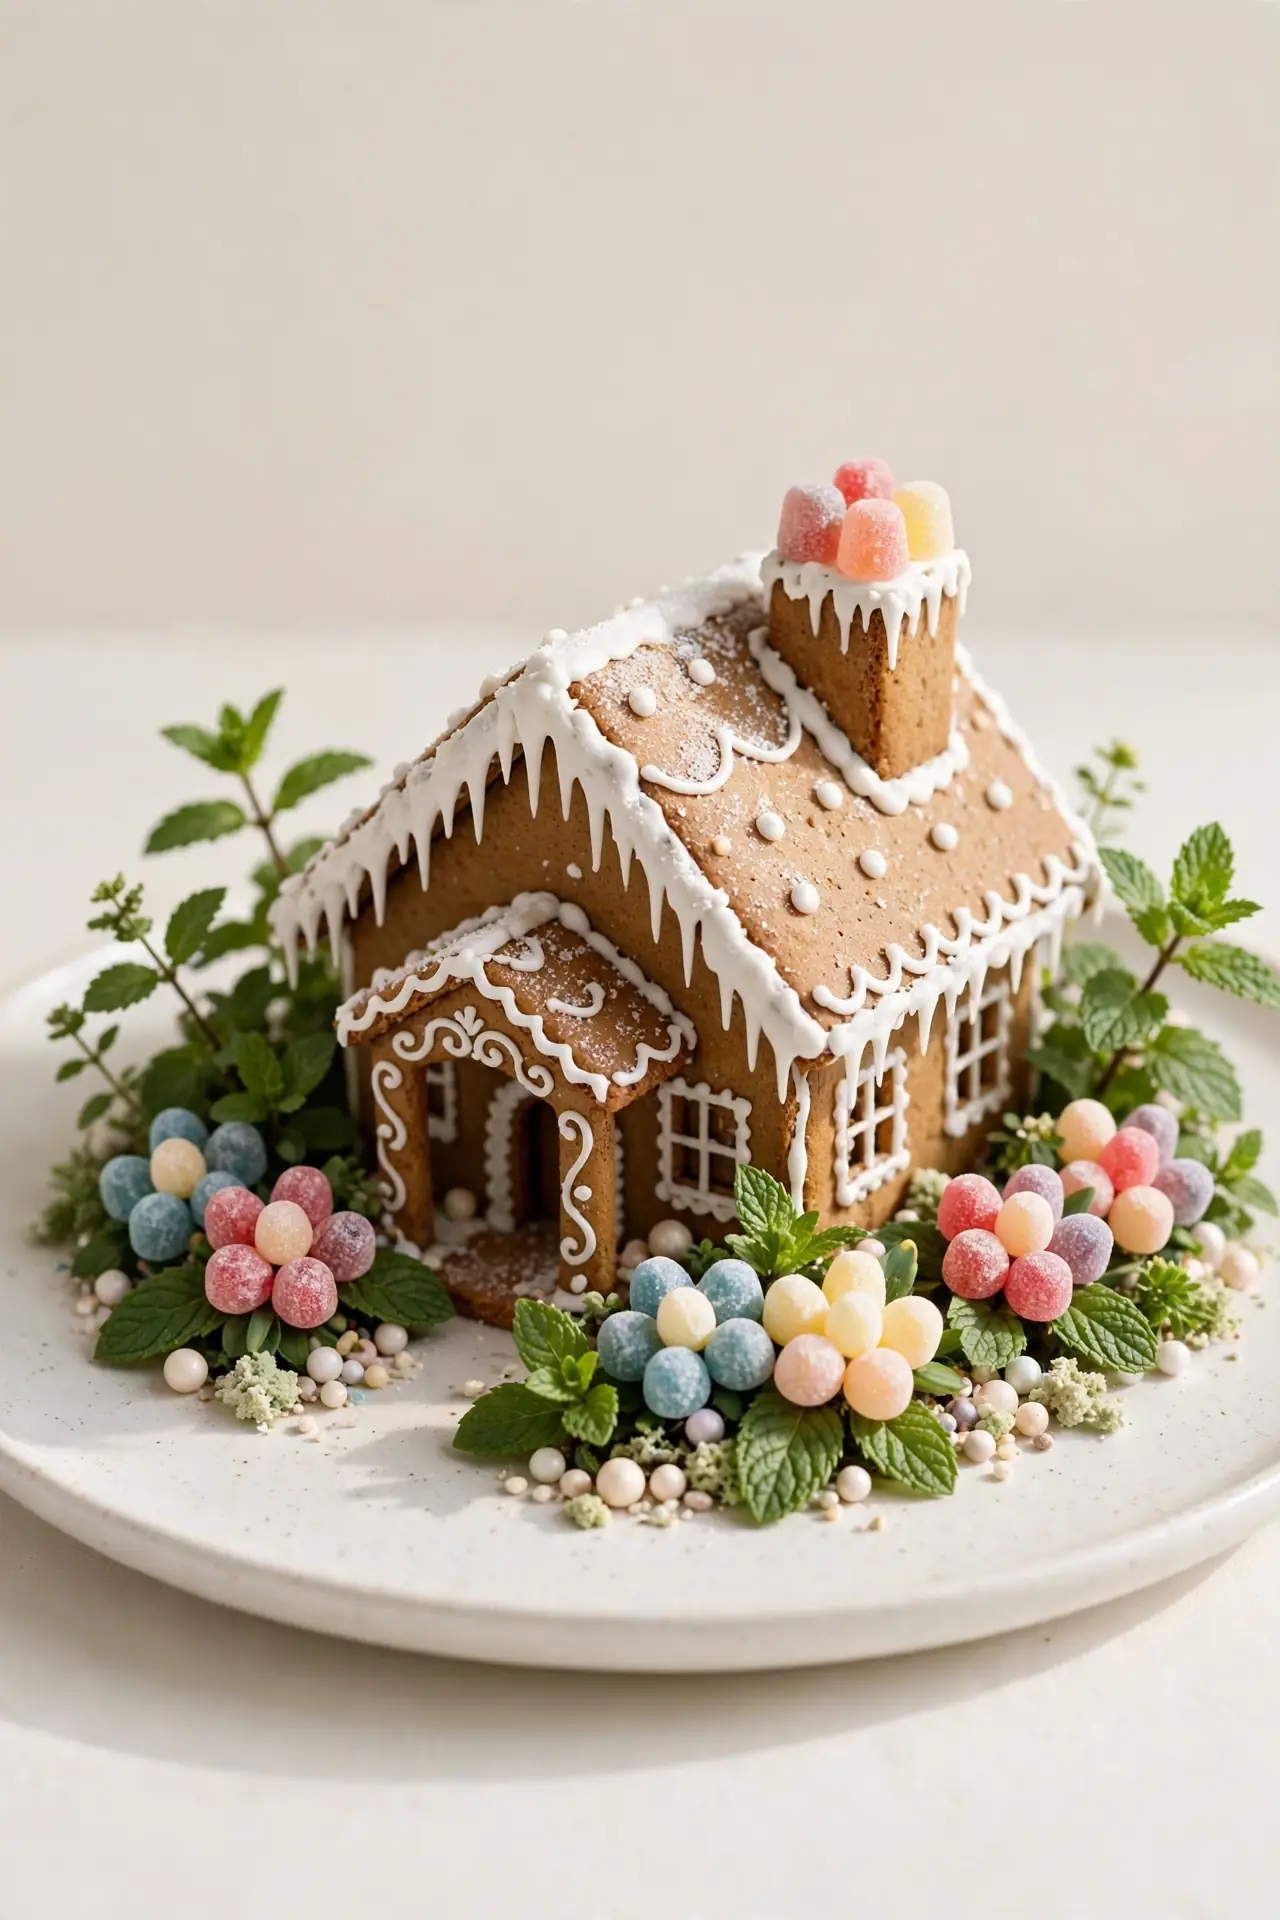
Gardens full of candy blooms sound like a child’s dream.
DO:
- Plant gumdrop flowers in rows of icing soil along the front.
- Mix green mint leaves as bushes for color contrast.
- Keep the garden bed narrow so the house stays the star.
DON’T:
- Do not use sticky gummies that slide off in warm rooms.
- Do not overcrowd the front or the doorway gets hidden.
- Do not skip the icing soil or flowers look like they float.
This cheerful garden brings color to brown heavy displays. Kids love arranging the candy blooms themselves. In my experience, a tidy garden edge makes the whole house look professionally styled.
Cozy Cabin Firelight
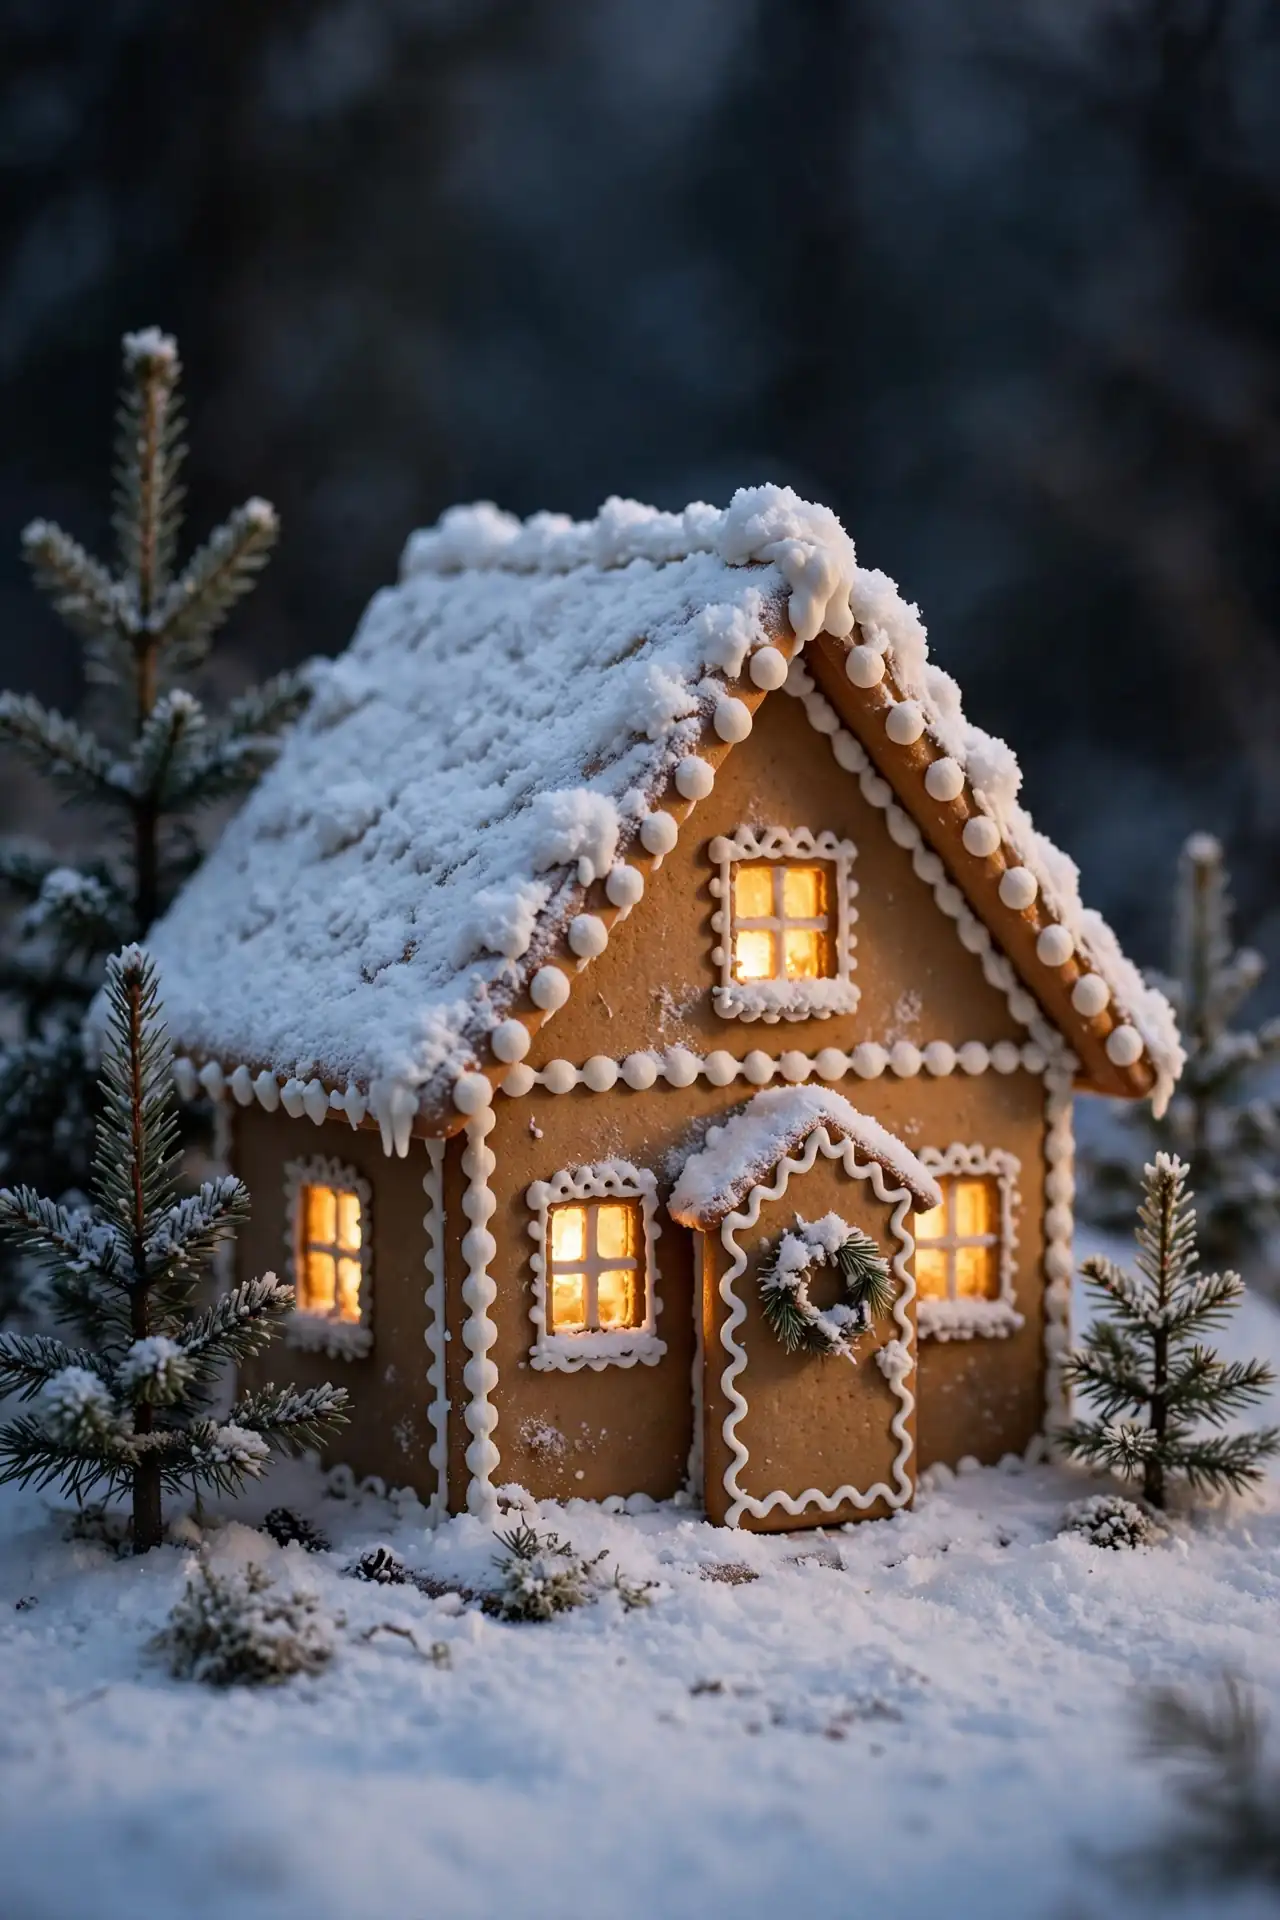
Nothing beats the glow of a tiny cabin at dusk.
Cost: Low, pantry staples plus one LED light | Time: One evening | Skill Level: Beginner | Best For: Cozy mantel displays
Bake the walls a shade darker for a log cabin feel, then light the inside with a warm LED. The amber windows against the dark cookie look like a real firelit room. I love placing this cabin on the mantel where the glow joins the stockings and garland. Link it into your christmas fireplace decor ideas display and the whole mantel tells one warm story. It takes one evening and fills the room with warmth.
Nordic Frost Cottage
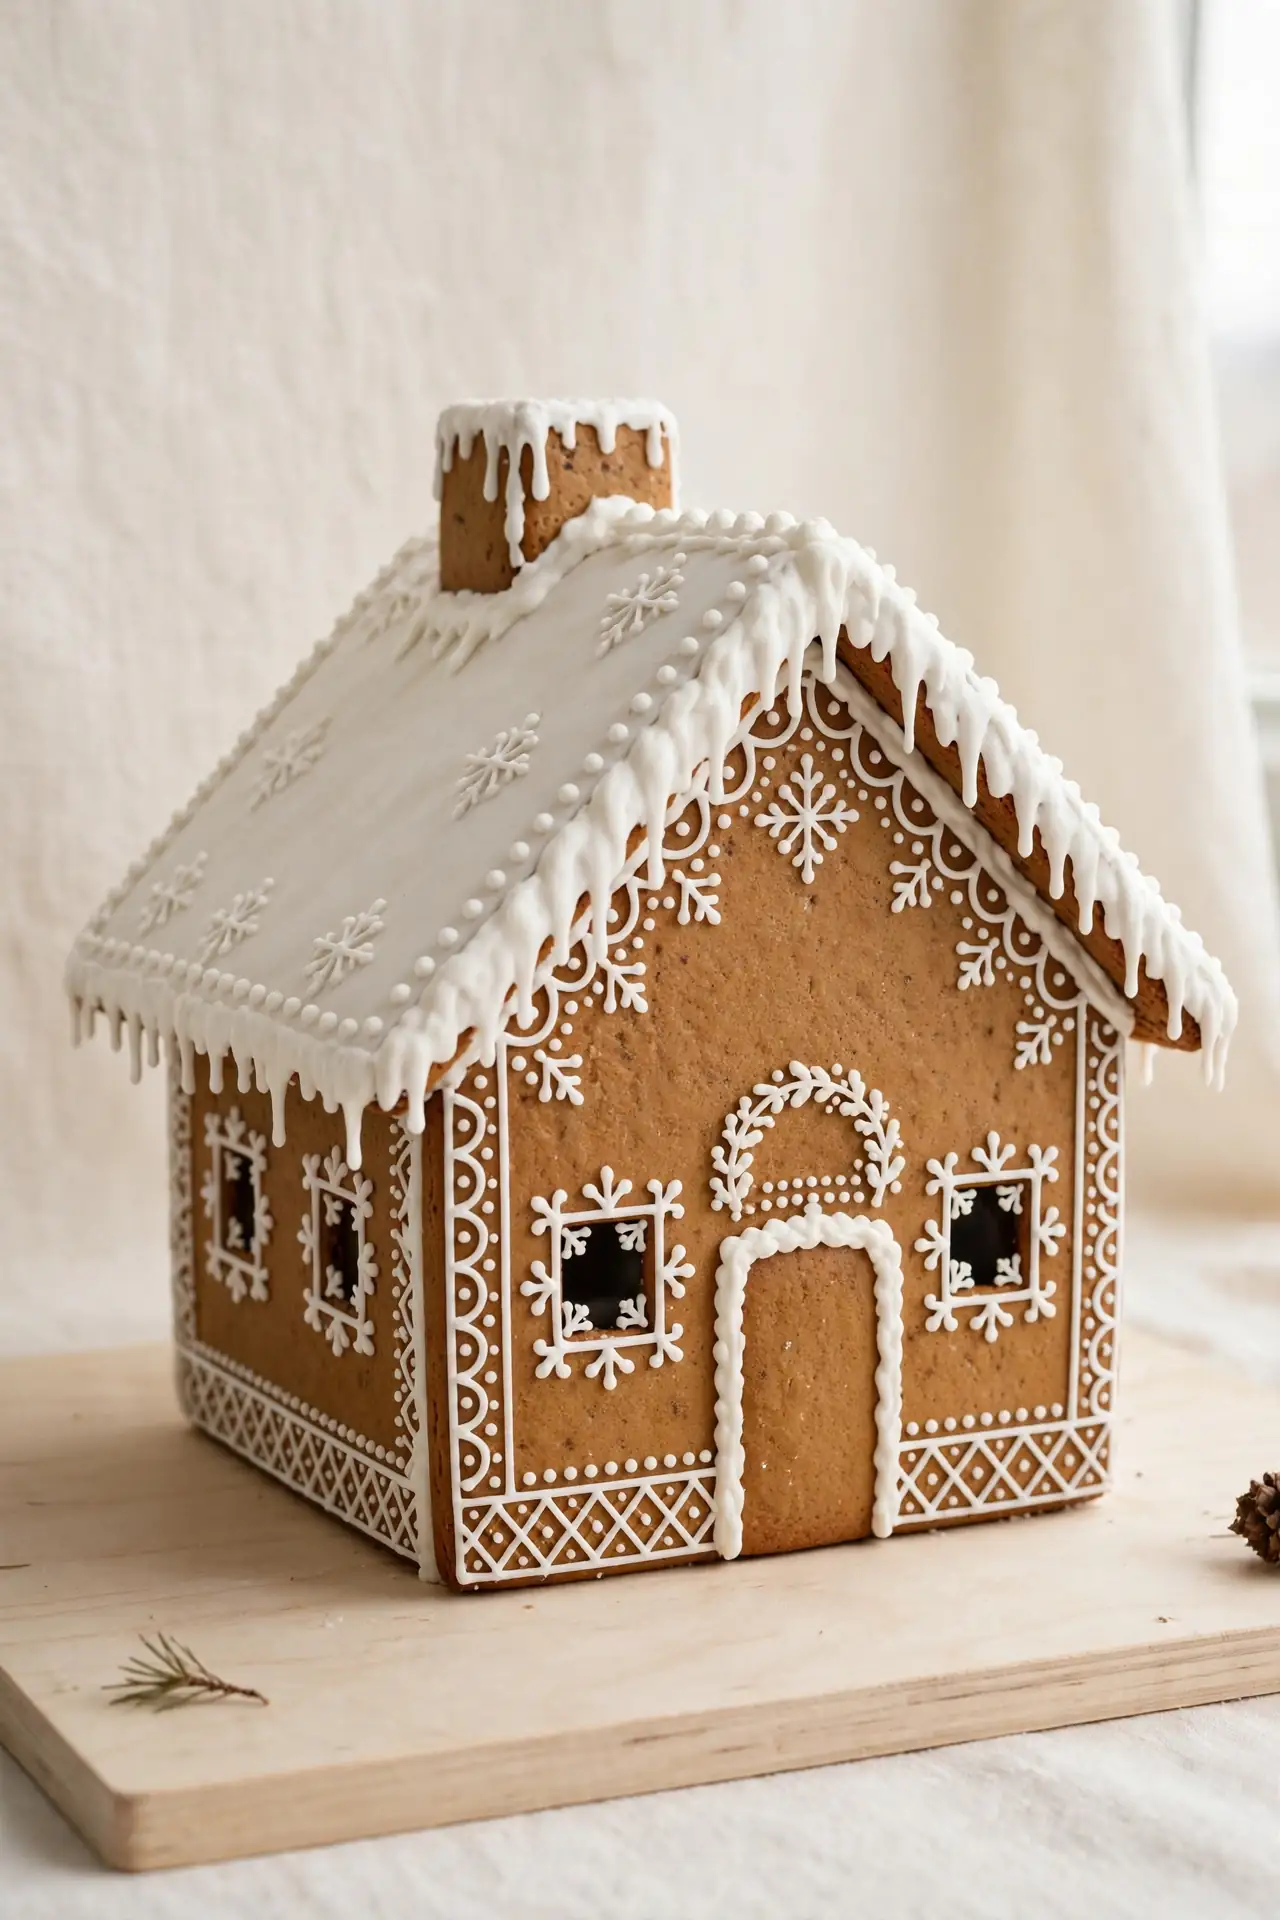
Less really is more when white icing meets warm cookie. Bake simple walls and cover them in thin white icing patterns, like dots, lines, and tiny stars. Leave plenty of brown cookie showing so the contrast stays crisp. Skip colored candy entirely and let the icing do the talking. A single white wreath on the door finishes the look.
This Scandinavian style suits calm, neutral holiday decor perfectly. I’ve noticed it photographs beautifully against light wood and linen. If your home leans minimal, this cottage will feel right at home on your table. A plain white cake stand keeps the palette calm and bright.
Wreath Hung Doorways
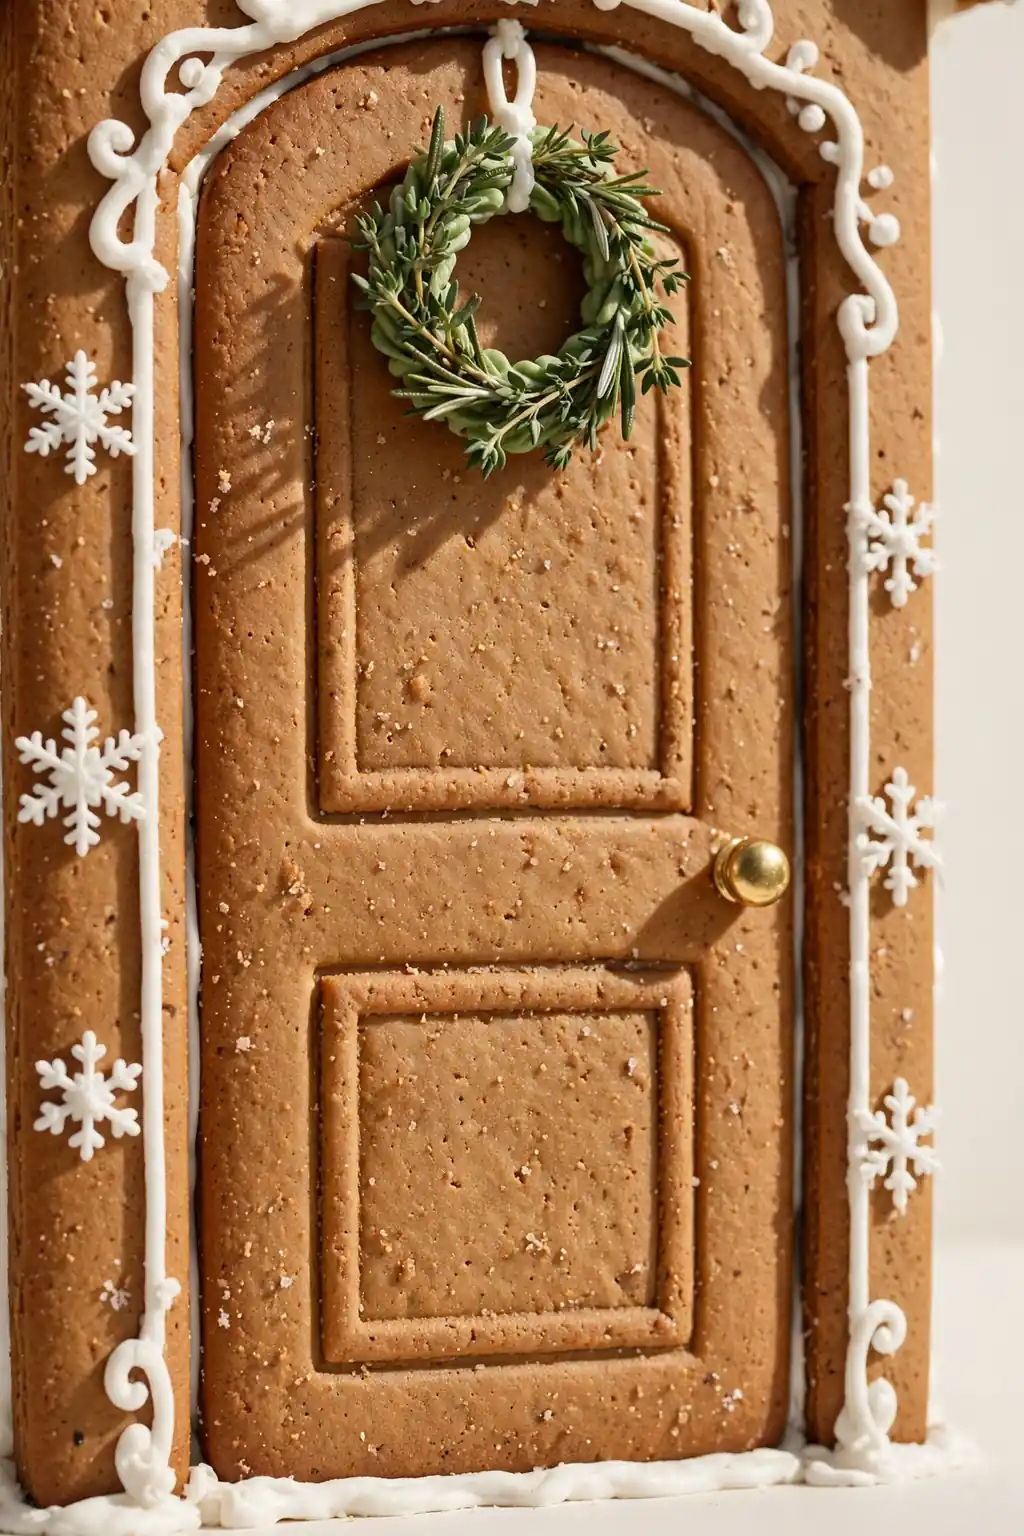
A bare cookie doorway begs for one small finishing touch.
- Twist green tinted coconut or icing into a small ring shape.
- Press tiny red cinnamon dots around the ring as berries.
- Hang it with a thin icing loop above the door frame.
- Match the wreath size to the door so it looks balanced.
- Add one tiny bow of fruit leather for a polished finish.
Small details like this separate charming houses from plain ones. The wreath takes five minutes but reads as real care. I’ve seen guests lean in close just to admire these tiny touches. This tiny detail punches far above its weight.
Glowing Gumdrop Windows
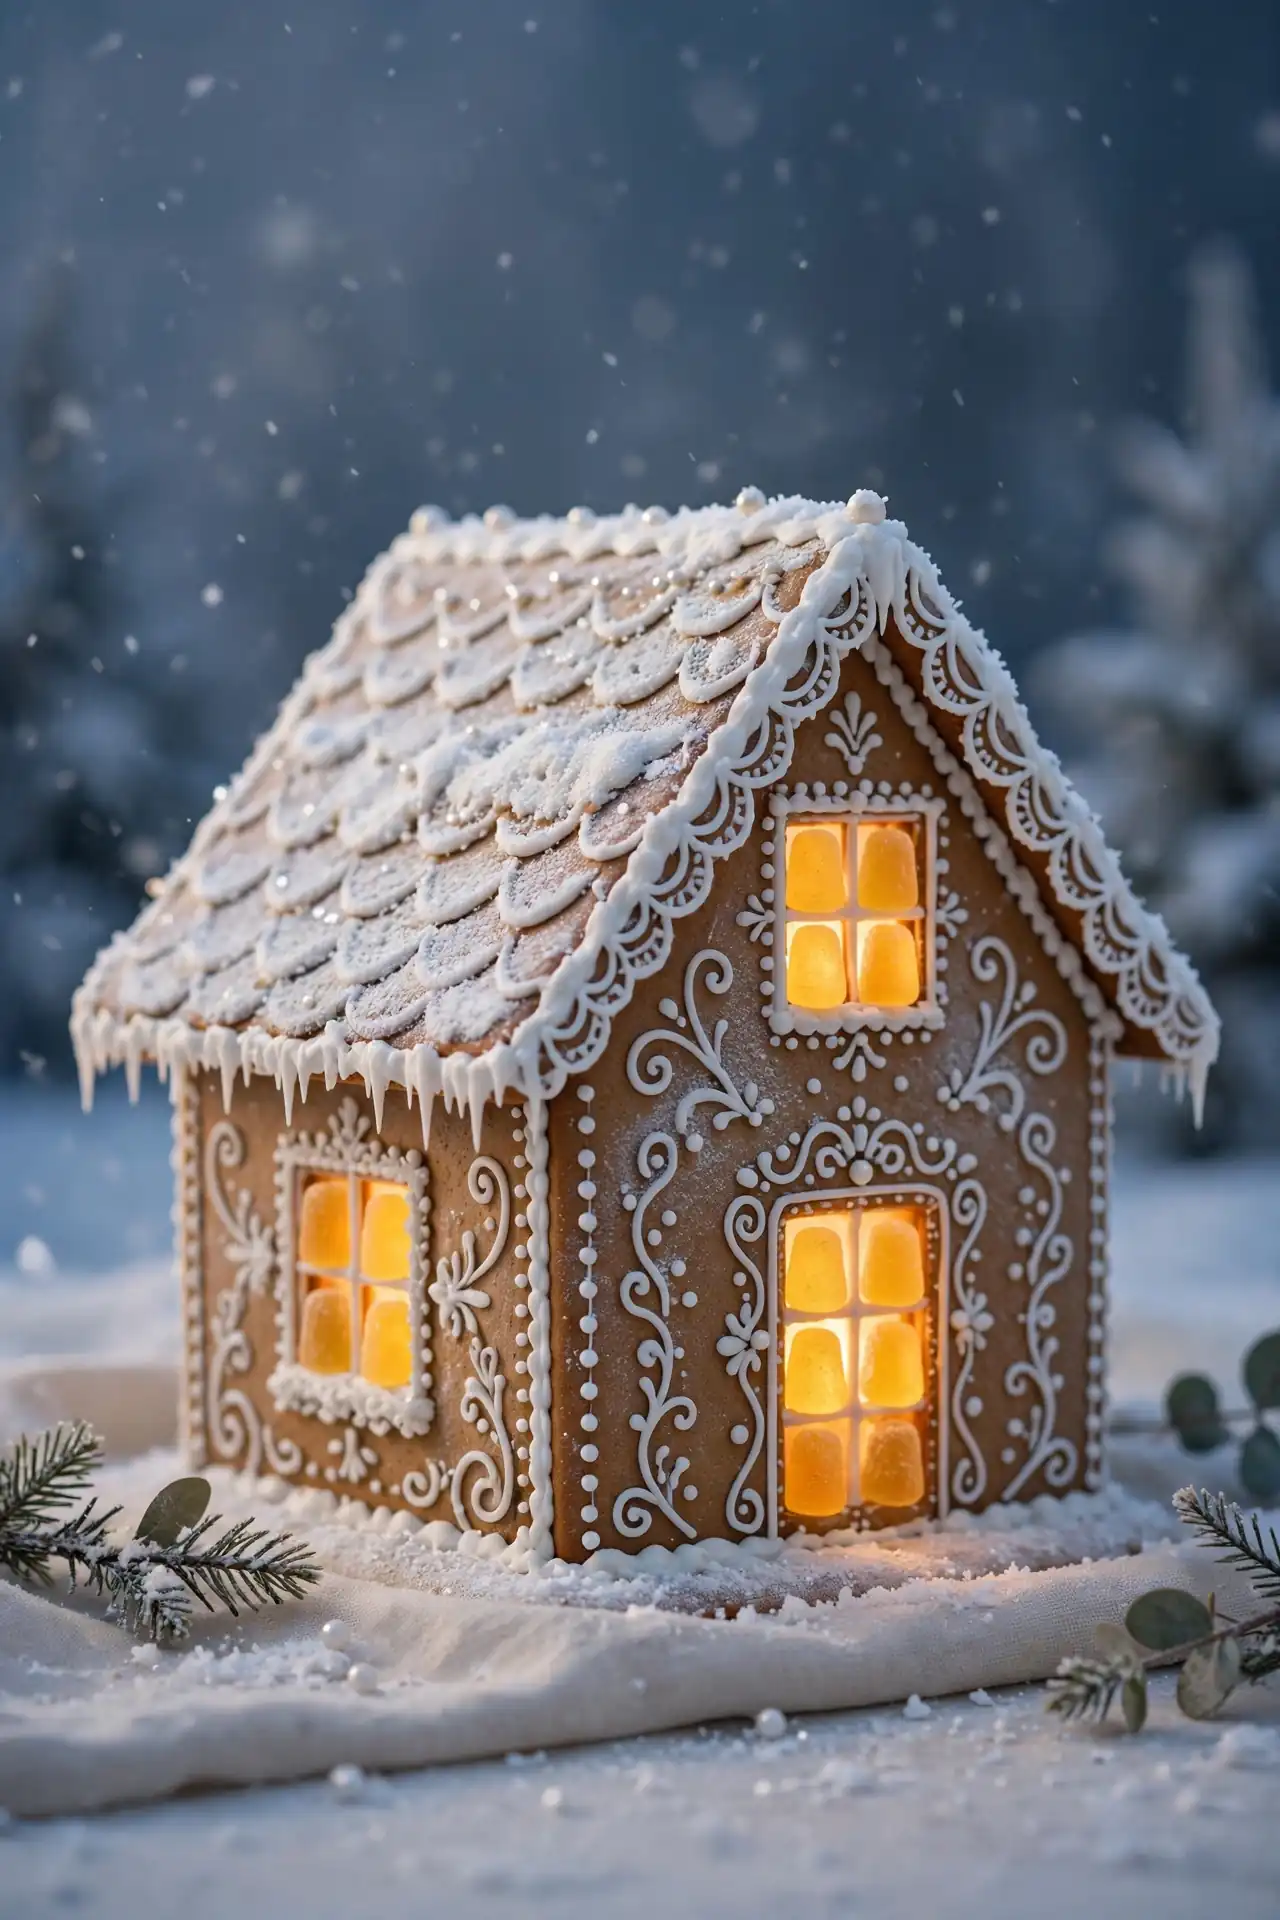
Daylight flatters every build, but evening light changes everything.
Quick Tip: Press translucent amber and red gumdrops into the window openings before the walls fully set. When you light the house from inside, the candies glow like stained glass and the effect is pure magic.
Use LED tea lights, never real flames, inside cookie houses. Space the windows evenly so the glow spreads across the whole wall. I love this effect on a dark sideboard where the lit windows become the room’s nightlight. It turns a simple build into an evening showpiece. Dim the overhead lights and let the windows steal the show.
Marshmallow Snow Drifts
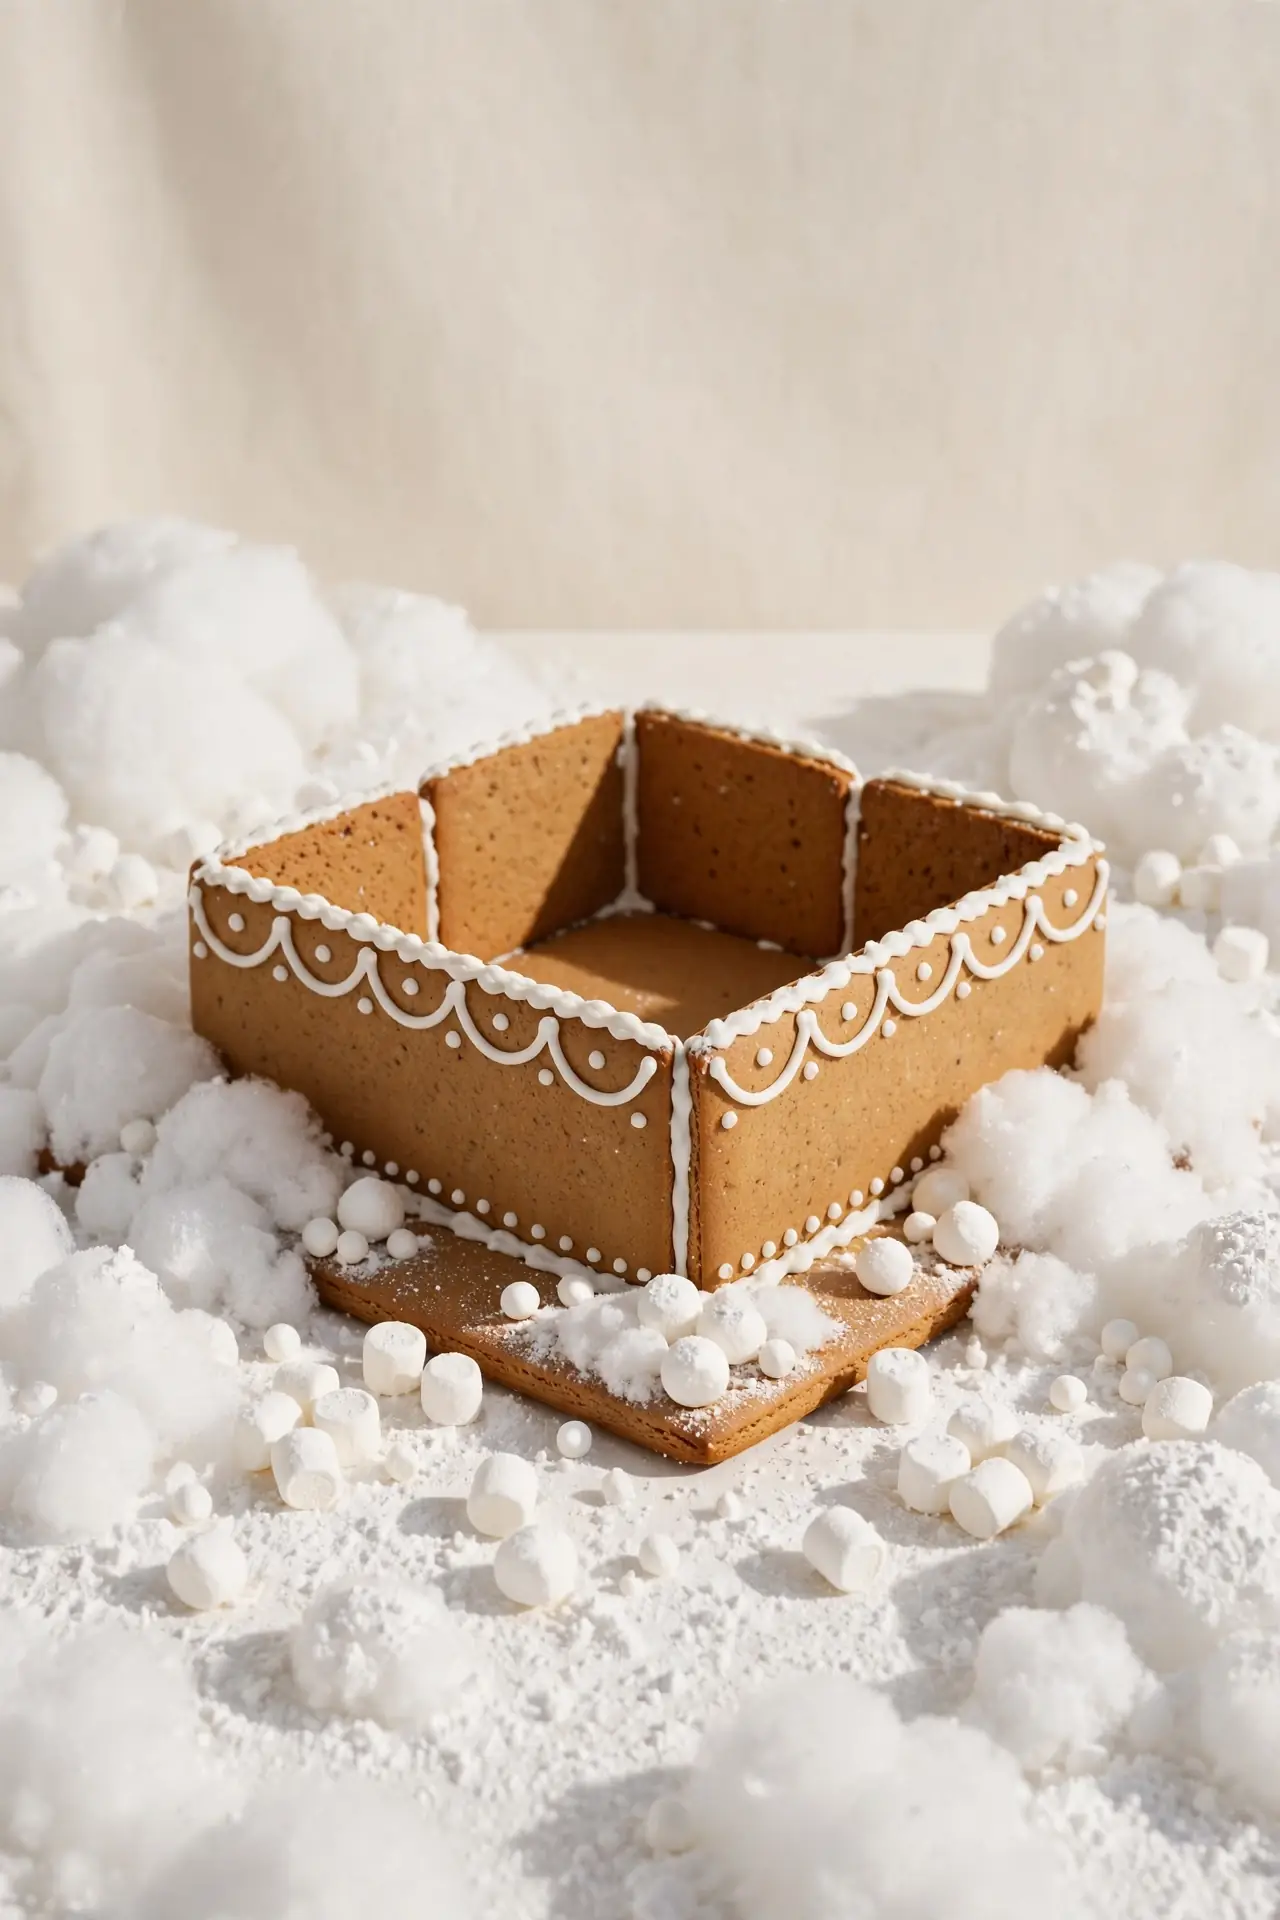
Plain white plates leave houses looking stranded, but marshmallow drifts ground them.
BEFORE: A house sitting on a flat plate looks isolated, like it landed from nowhere. The base draws the eye away from the details you worked so hard to pipe.
AFTER: Pile mini marshmallows around the base in soft mounds and tuck a few against the walls. Dust with powdered sugar. The house now sits in a snowy landscape that feels complete.
Marshmallows are cheap, fast, and kids love placing them. I’ve noticed drifted bases photograph better from every angle. This is the fastest way to make any house look finished.
Gingerbread Train Station
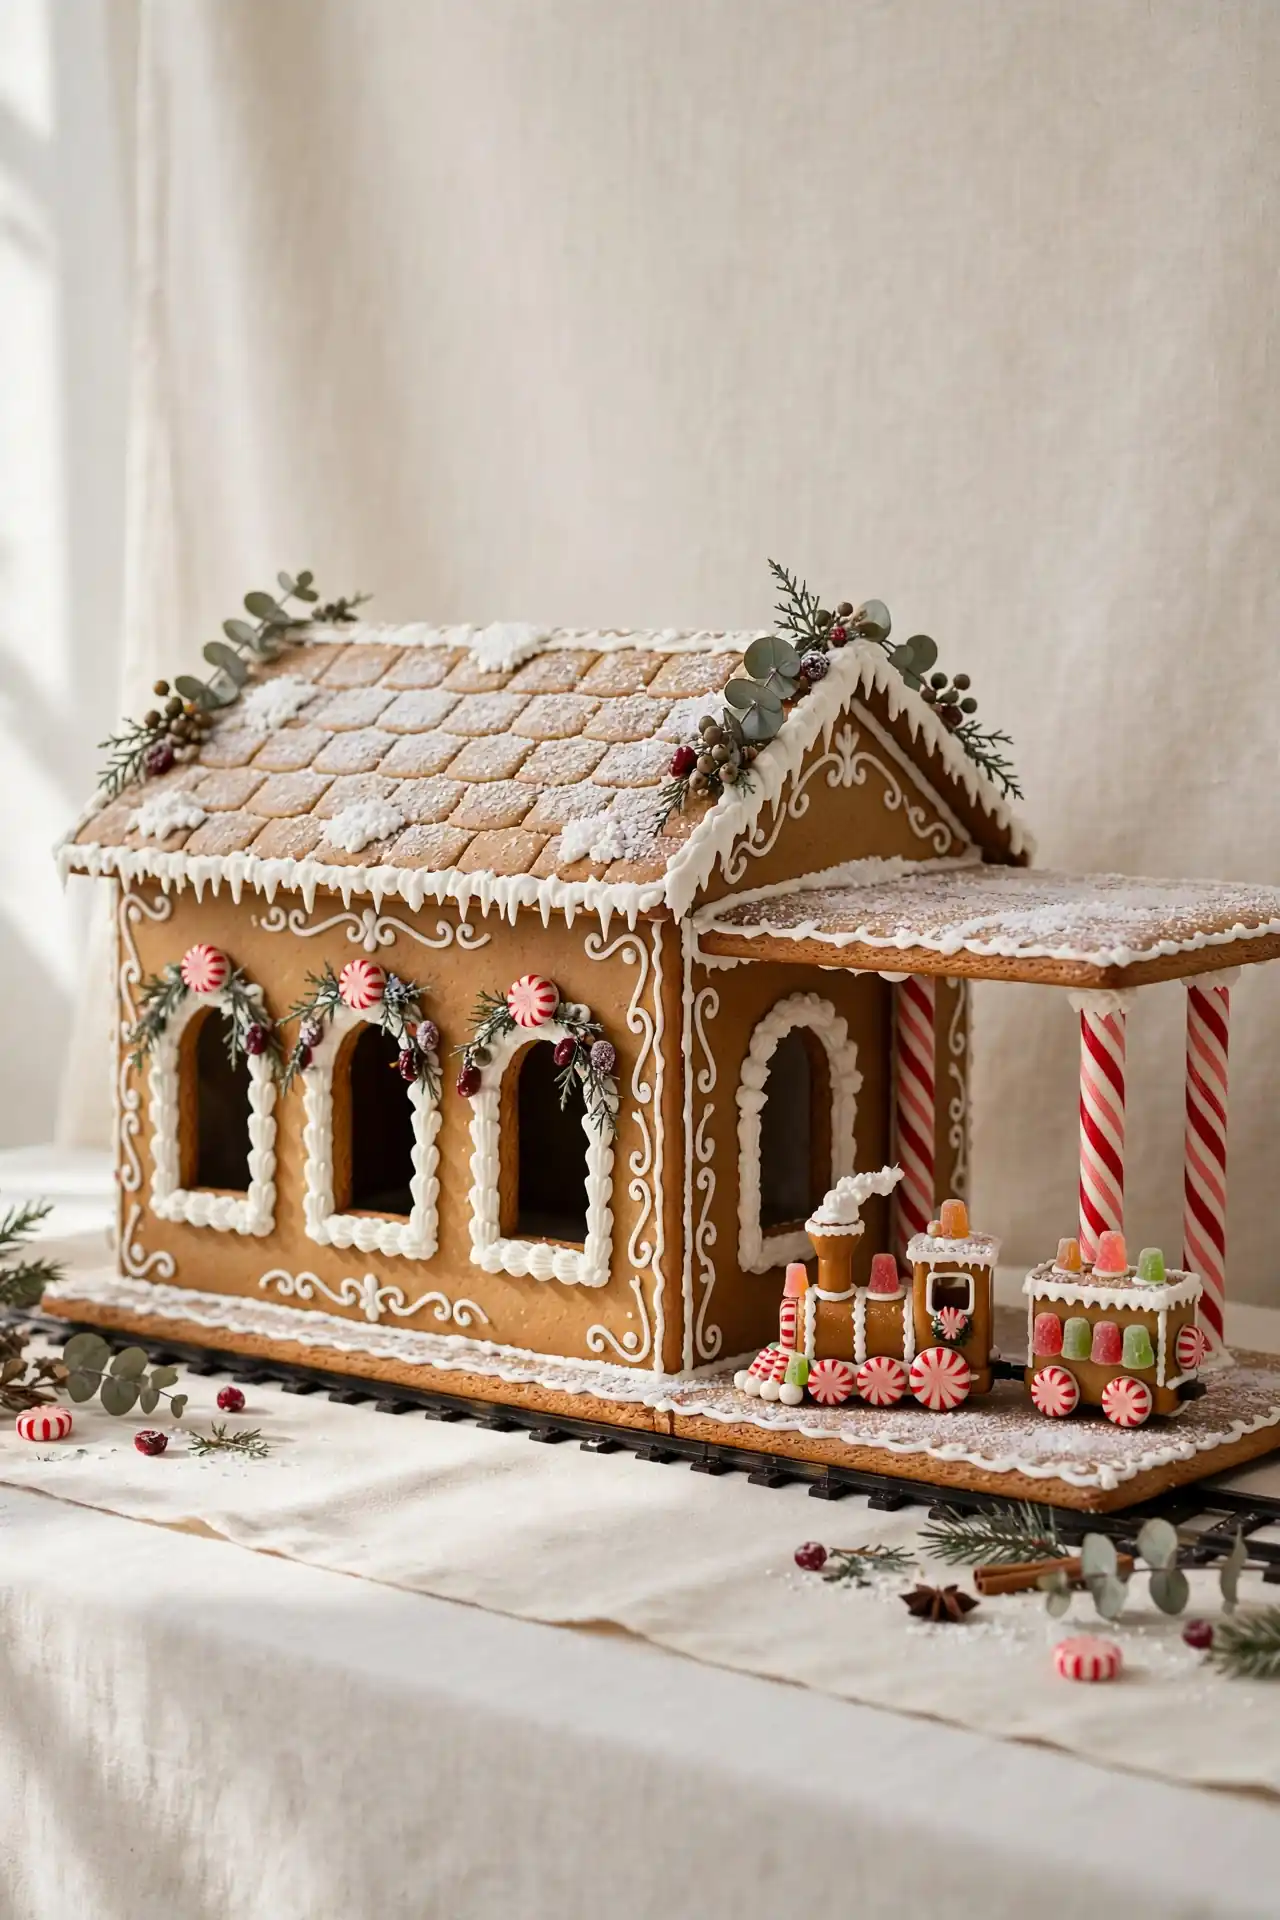
Add motion to your village with a candy train and a little station.
- Build a low rectangular station with a wide arched doorway.
- Line up rectangular cookies as train cars on a licorice track.
- Connect the cars with piped icing couplings and candy wheels.
- Add a tiny clock cookie above the station door for charm.
The train gives your village a sense of journey and play. Kids will rearrange the cars for hours. In my experience, a station anchors one end of a long display beautifully. Keep the track straight so the train looks ready to roll. A little station sign cookie makes it feel official.
Sugar Cookie Pathways
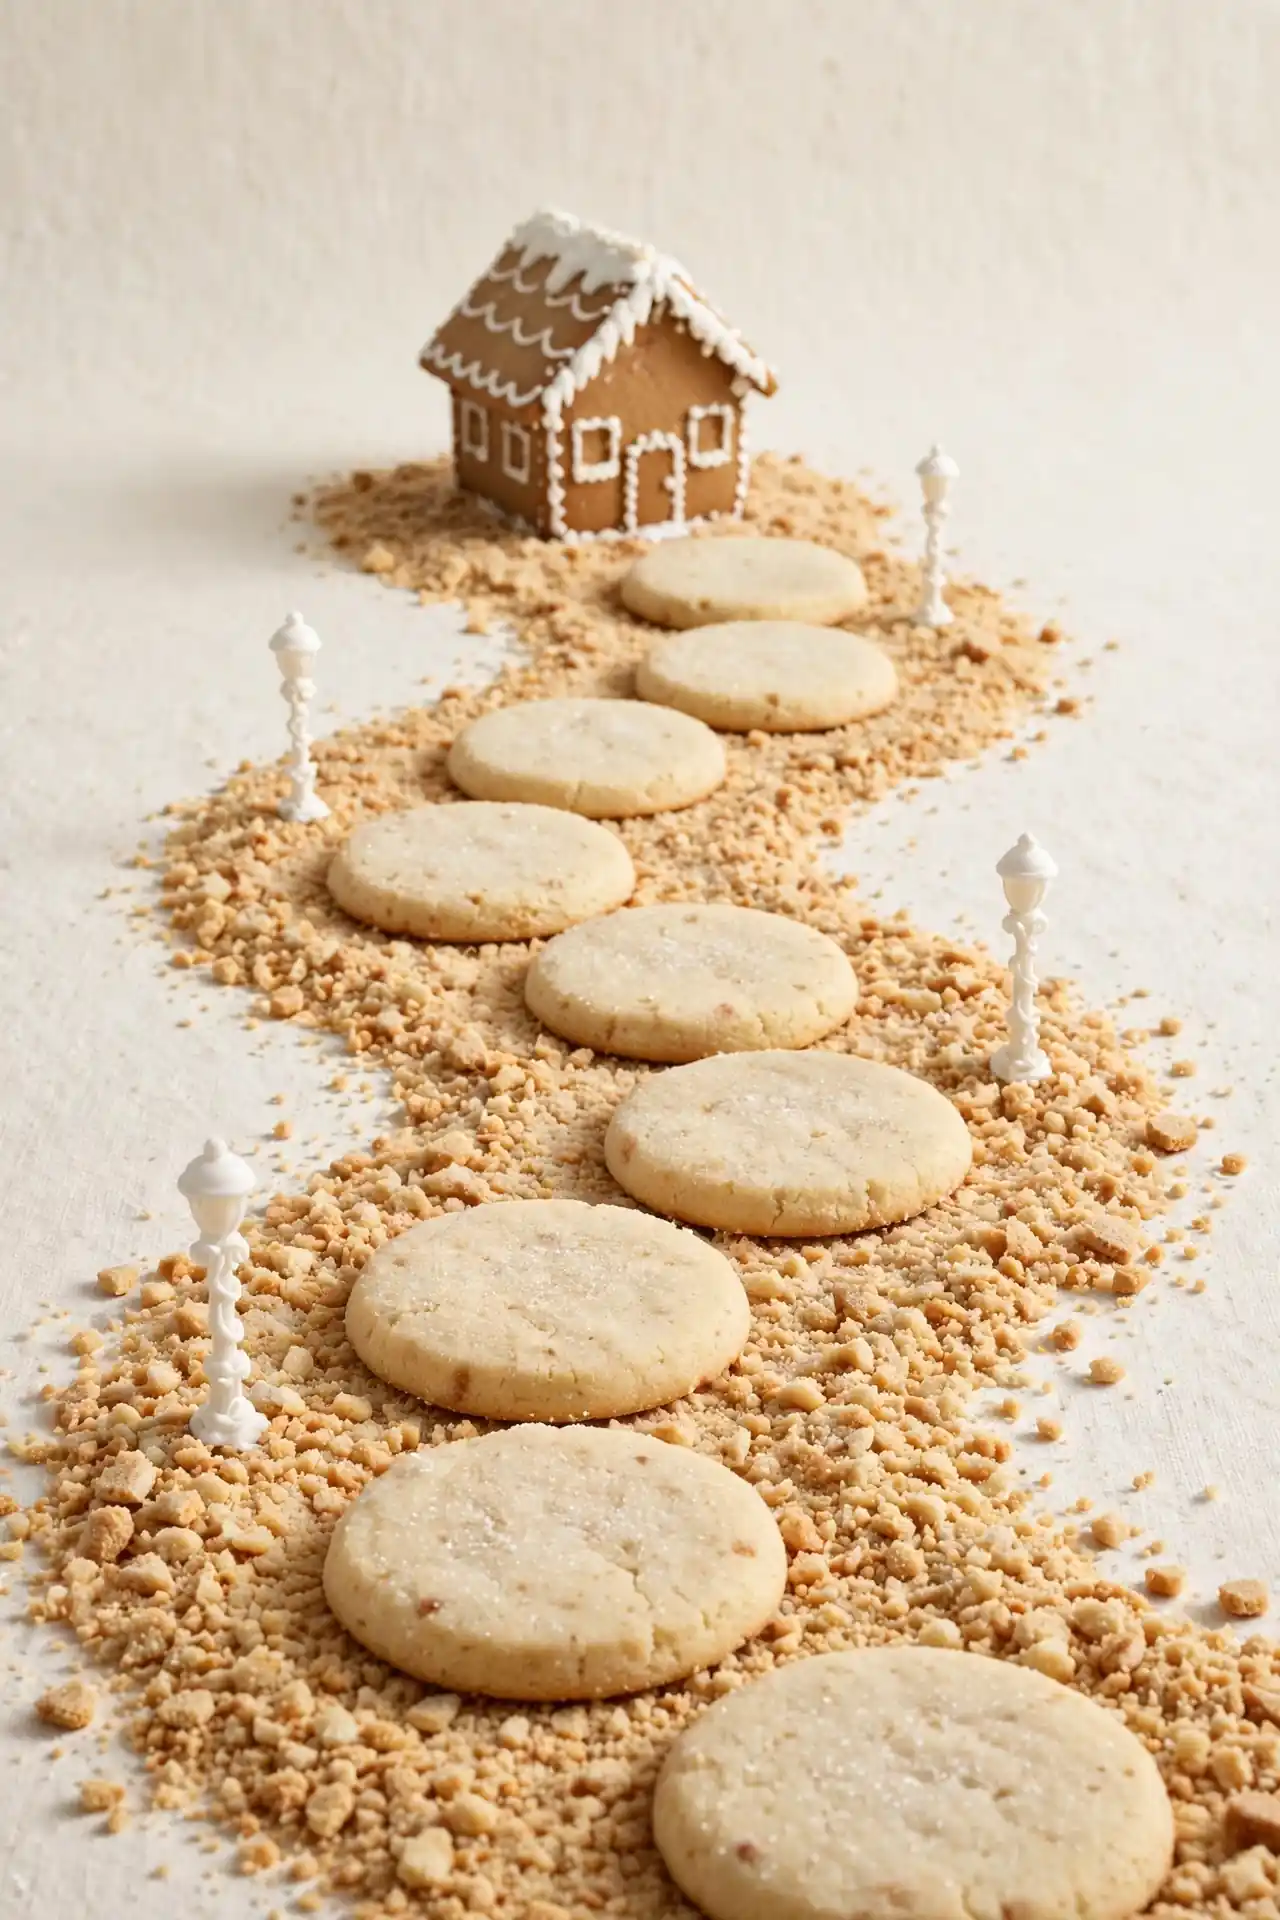
A bare base looks flat, but a cookie path adds journey and charm.
| Path Material | Texture | Mood |
|---|---|---|
| Crushed graham cracker | Sandy crunch | Rustic trail |
| Powdered sugar swirls | Soft drifts | Snowy walk |
| Mini cookie rounds | Playful steps | Storybook lane |
Lay the path before placing the house so the edges tuck underneath neatly. Curve it gently instead of running it straight for a natural feel. I’ve noticed curved paths lead the eye exactly where you want it. This small ground detail makes the whole scene feel like a tiny world. Sprinkle the path edges with powdered sugar so it blends into the snowy base.
Evergreen Rooftop Village
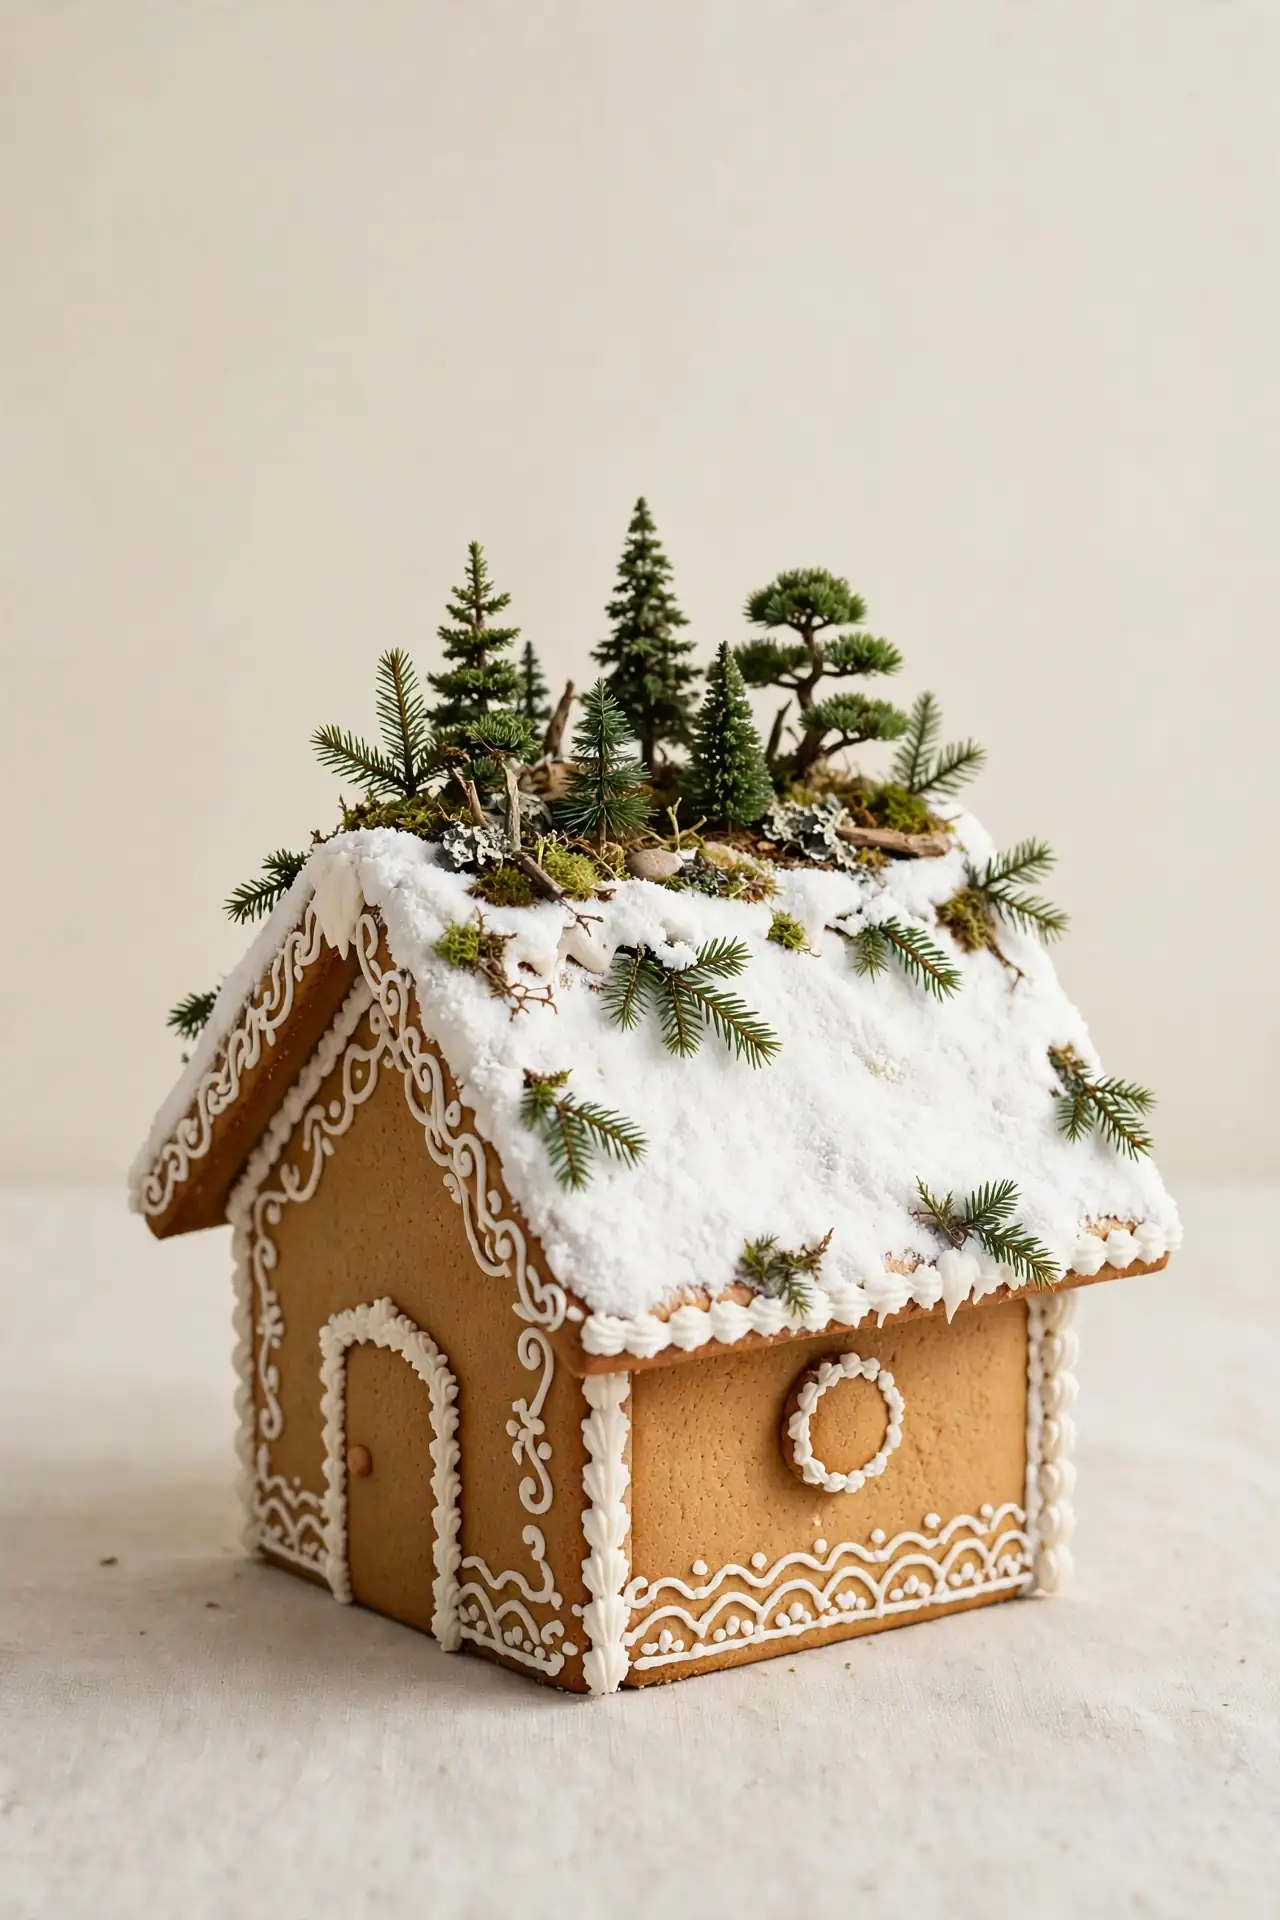
Green sprigs on a snowy roof add life to an all cookie scene.
DO:
- Press fresh rosemary sprigs into wet icing along the ridge.
- Mix in tiny pinecones for woodland texture.
- Keep sprigs small so the roofline stays visible.
DON’T:
- Do not use thirsty greens that droop within hours.
- Do not glue sprigs with hot icing that burns the leaves.
- Do not cover the whole roof or the snow effect disappears.
Real greenery brings scent and life to an edible display. This idea bridges your cookie village and your fresh holiday garlands. I’ve seen this work well on entryway tables where guests smell pine before they see the houses.
Twinkle Light Finale

Finish your village the way holiday movies do: with lights.
Cost: Low, one string of fairy lights | Time: Fifteen minutes | Skill Level: Beginner | Best For: Evening displays
Drape warm white fairy lights loosely around the rooftops, never tight enough to pull icing. Battery packs hide easily behind the houses, and timers switch them on at dusk automatically. I love how the lights turn a daytime craft into an evening spectacle. Keep spare batteries nearby so the glow lasts through New Year. Step back, dim the room lights, and enjoy the sweetest finale of the season. Your village deserves a grand, glowing finish.
Conclusion
These 24 builds prove that christmas gingerbread house ideas are about joy, not perfection. Pick one style that speaks to you, gather your candies, and build slowly with the people you love. I’ve seen how small projects like these turn an ordinary December evening into a memory that lasts. Every crooked wall and dripping icicle tells the story of an evening well spent, so embrace the charming imperfections. Start tonight and watch your kitchen glow.
Save your favorites on Pinterest, try a new technique each year, and share your village with friends and family. Your sweetest holiday magic is waiting on the kitchen table.

One Comment