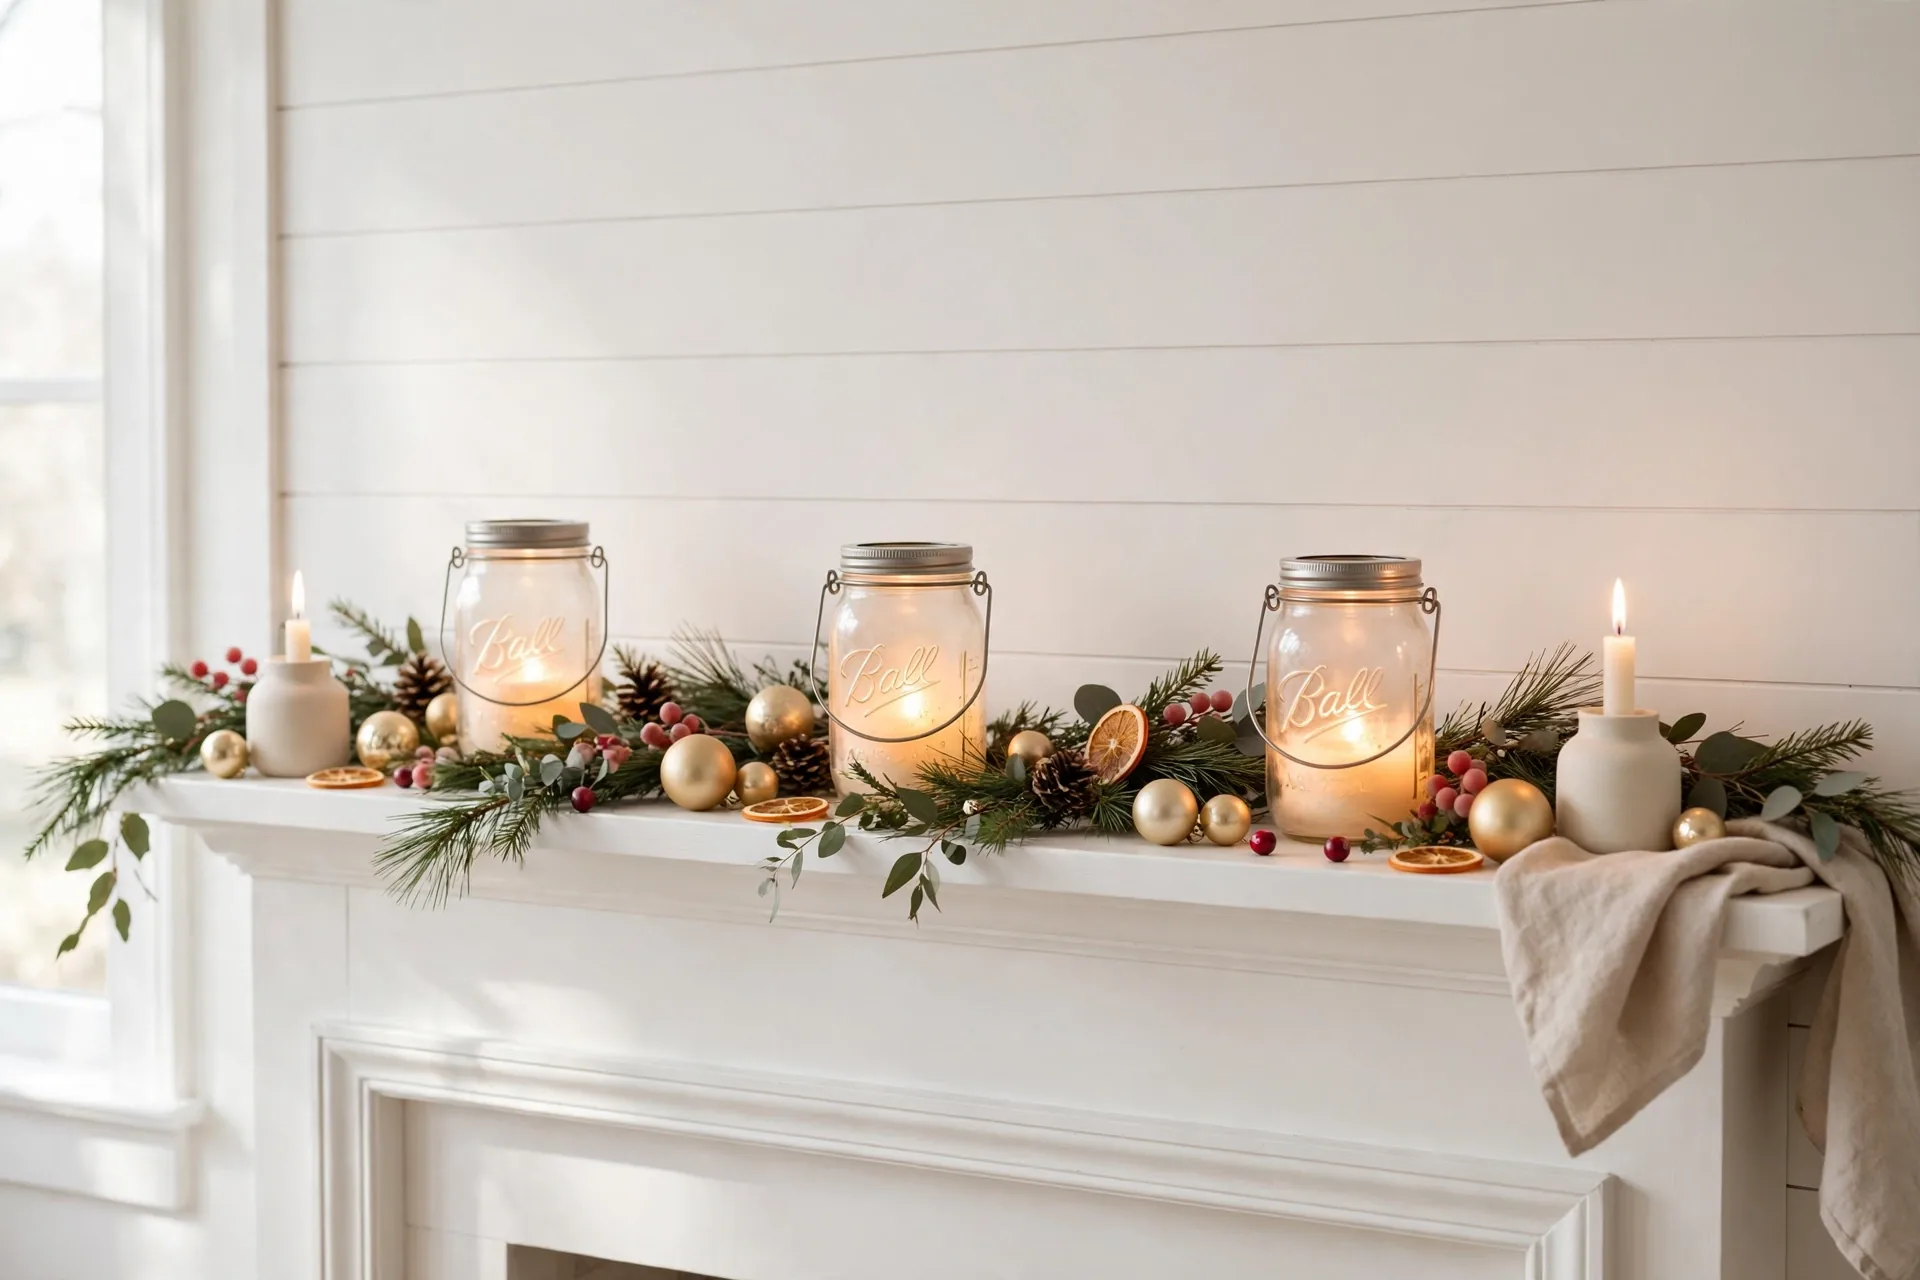
22 Christmas Mason Jar Ideas for Magical Holiday Charm
A glass jar, a candle, and a little holiday spirit are all you need to start. These christmas mason jar ideas turn humble pantry staples into glowing centerpieces, sweet gifts, and mantel magic. I’ve noticed the prettiest jars keep things simple: warm light, natural greens, and one festive touch. No fancy tools or rare supplies needed, just bits from your kitchen and craft drawer. This guide walks through 22 ideas, from frosted candle jars to layered cocoa gifts, each one quick enough for a cozy afternoon project. Gather your jars and let’s make something merry together.
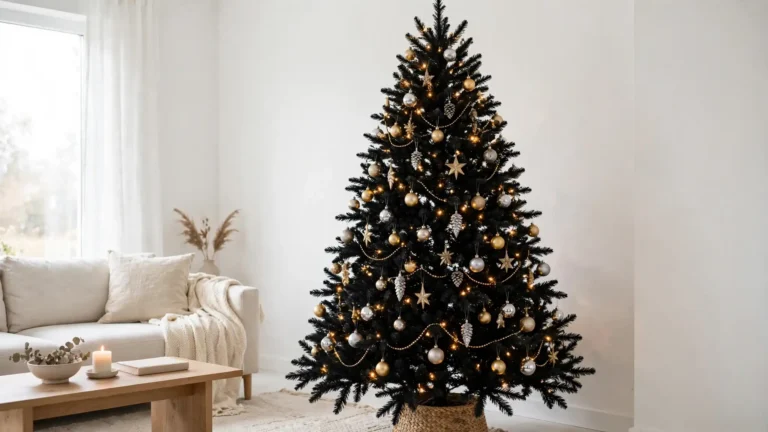
Dark, dramatic trees are having a moment, and fans of our black christmas tree ideas know that gold and white jars pop beautifully against black branches. In my experience, planning your jar crafts around the tree colors keeps the whole room pulled together. Below are 22 ideas to mix, match, and make your own.
Glowing Tealight Display
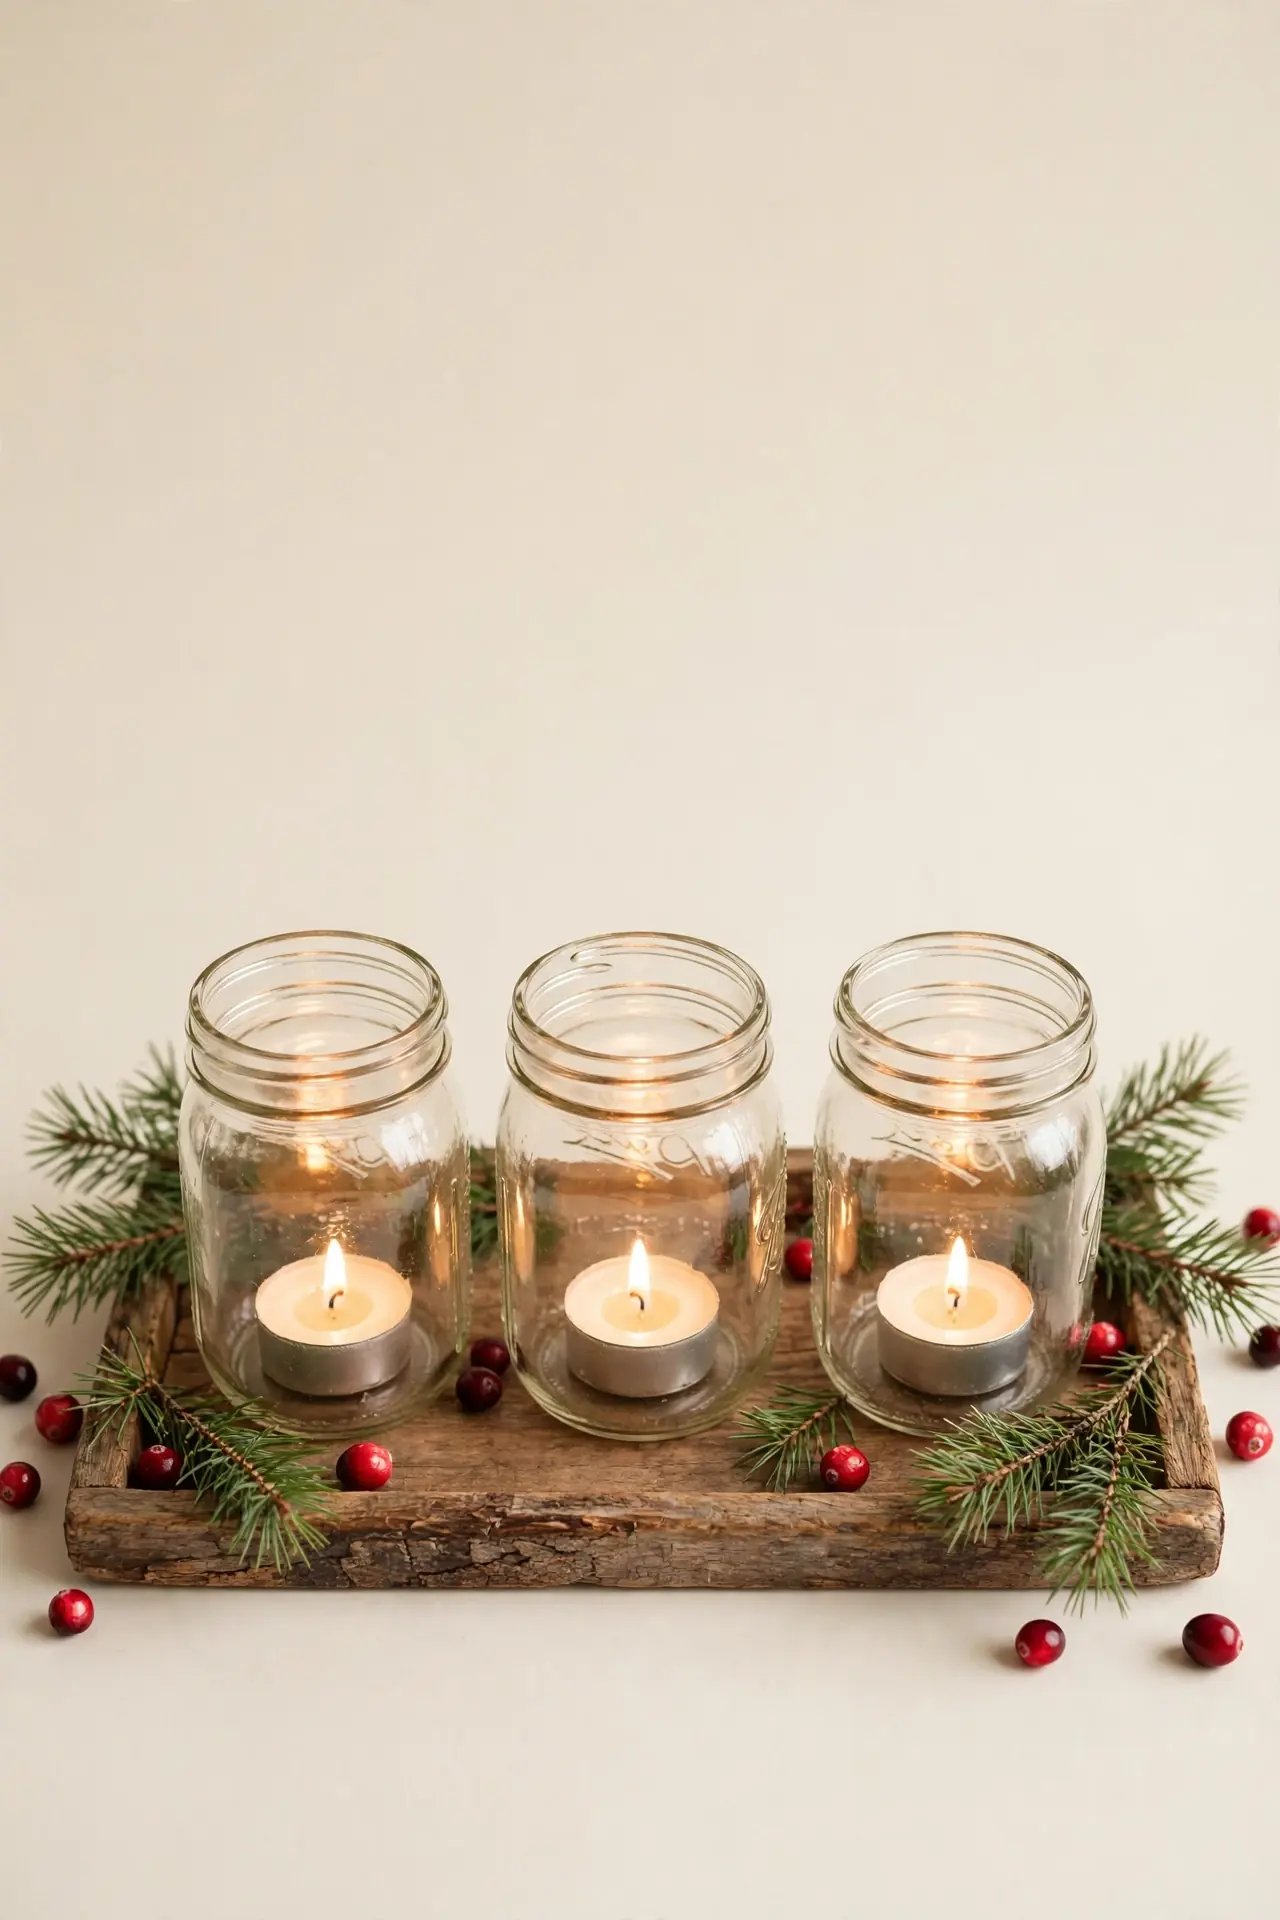
Warm candlelight through glass is the fastest way to make a room feel festive. Set a tealight inside a plain mason jar and the flame softens into a gentle glow. Cluster three jars of different heights on a tray lined with pine sprigs for a thoughtful centerpiece. Unscented candles last longest and keep wax mess low.
Keep the styling relaxed so the light stays the star. A sprig of eucalyptus tucked beside each jar adds softness, and a few gold pinecones fill the gaps on the tray. I’ve noticed jars grouped in odd numbers photograph best for holiday cards. Battery tealights work well on high shelves or near little hands. Once the season ends, the same jars hold flowers through the spring.
Pine Sprig Lanterns
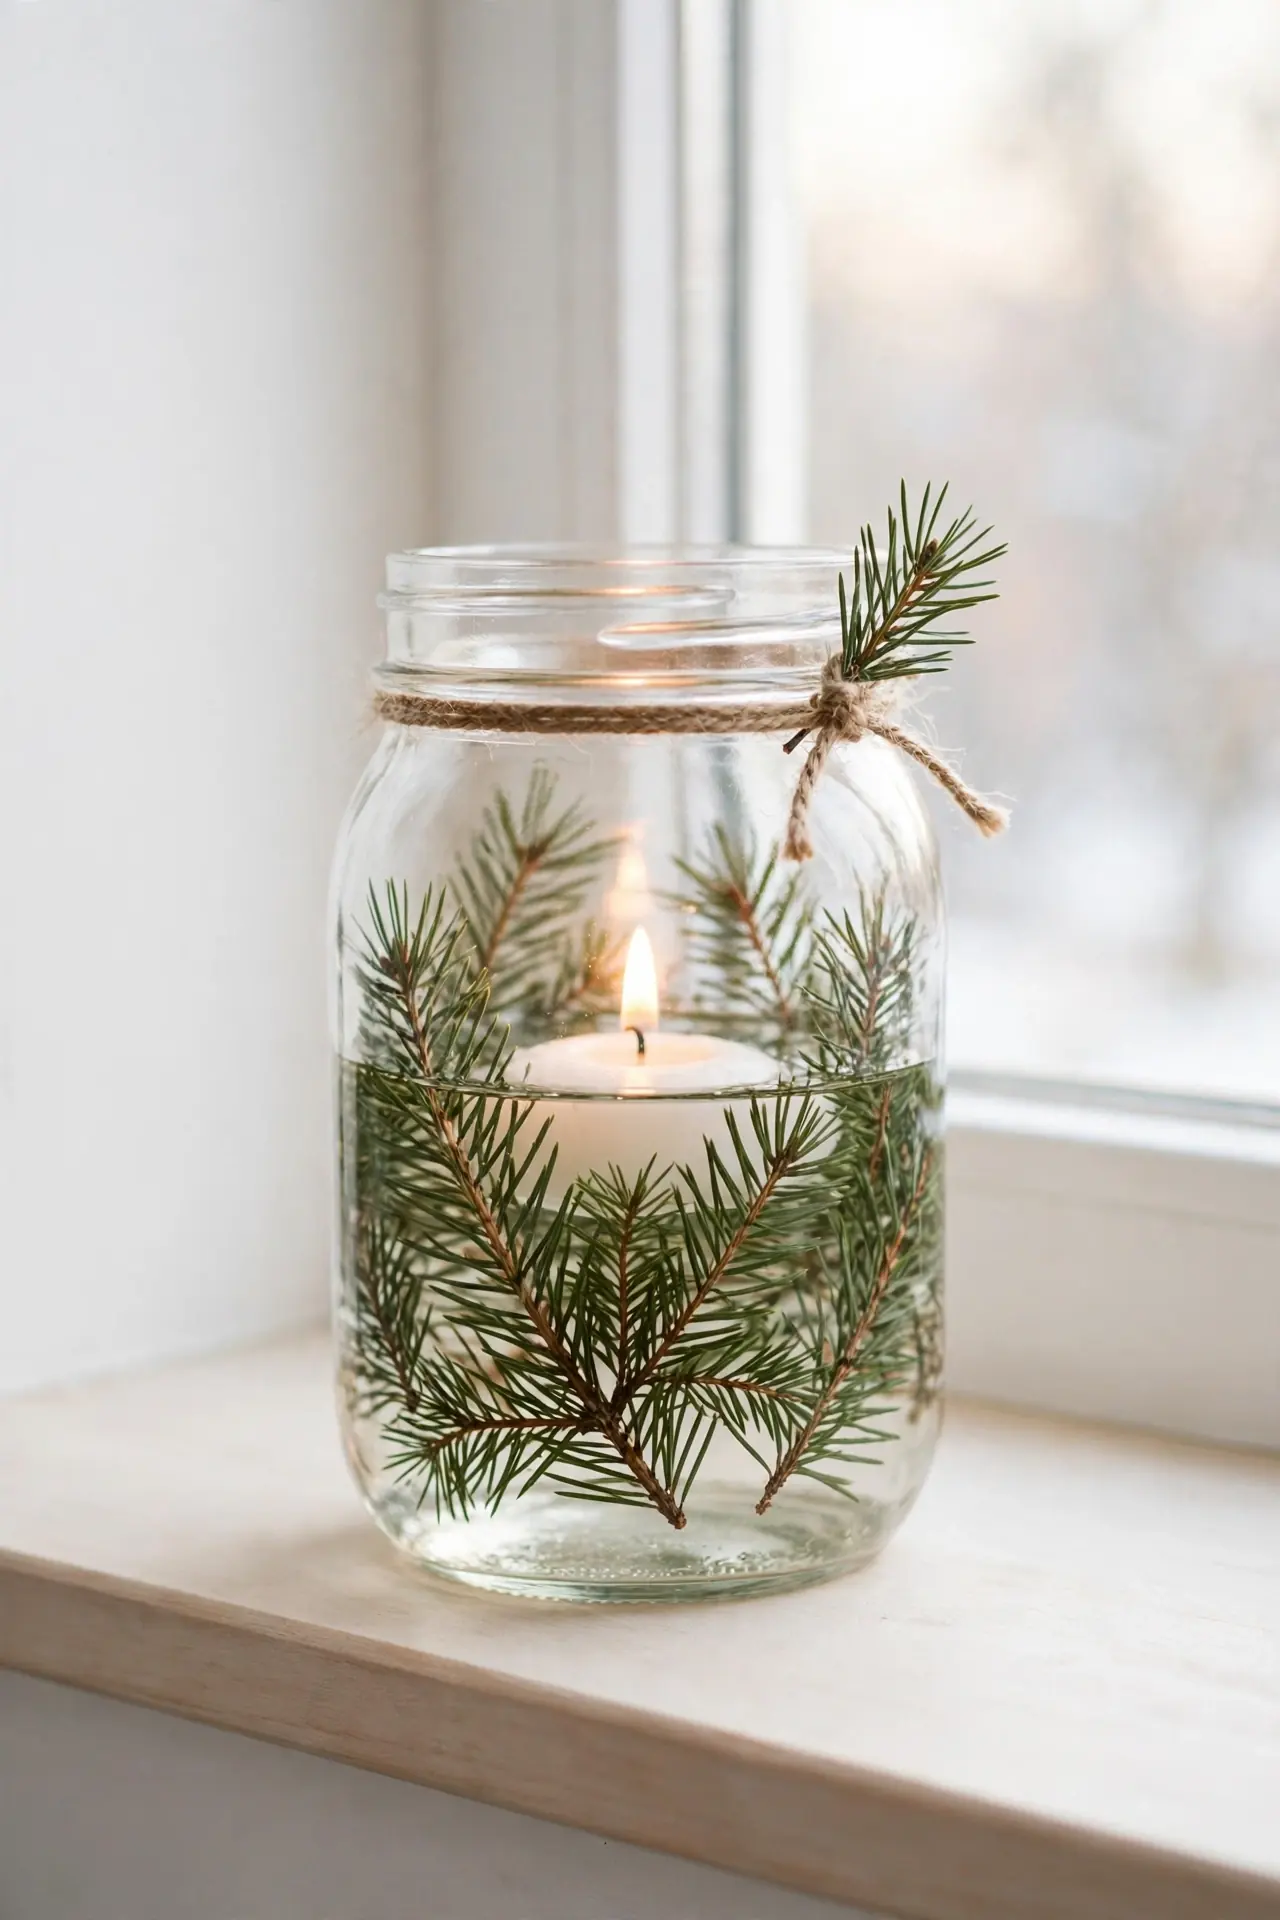
- Press fresh pine sprigs against the inside walls of a clean, dry jar.
- Pour in a little water so the greens stay fresh for weeks.
- Float a small candle on top so it hovers just above the sprigs.
- Tie natural twine around the rim with a sprig tucked in the knot.
- Set them along a bright windowsill where daylight shows off the greens.
These lanterns bridge day and night beautifully. By daylight they look like fresh terrariums, and after dark the candle turns them into glowing orbs. Pine holds up for weeks in cool water. Swap the candle for a fairy light string when flames feel risky. Line a mantel with several and the glow multiplies fast.
Cinnamon Stick Bundles
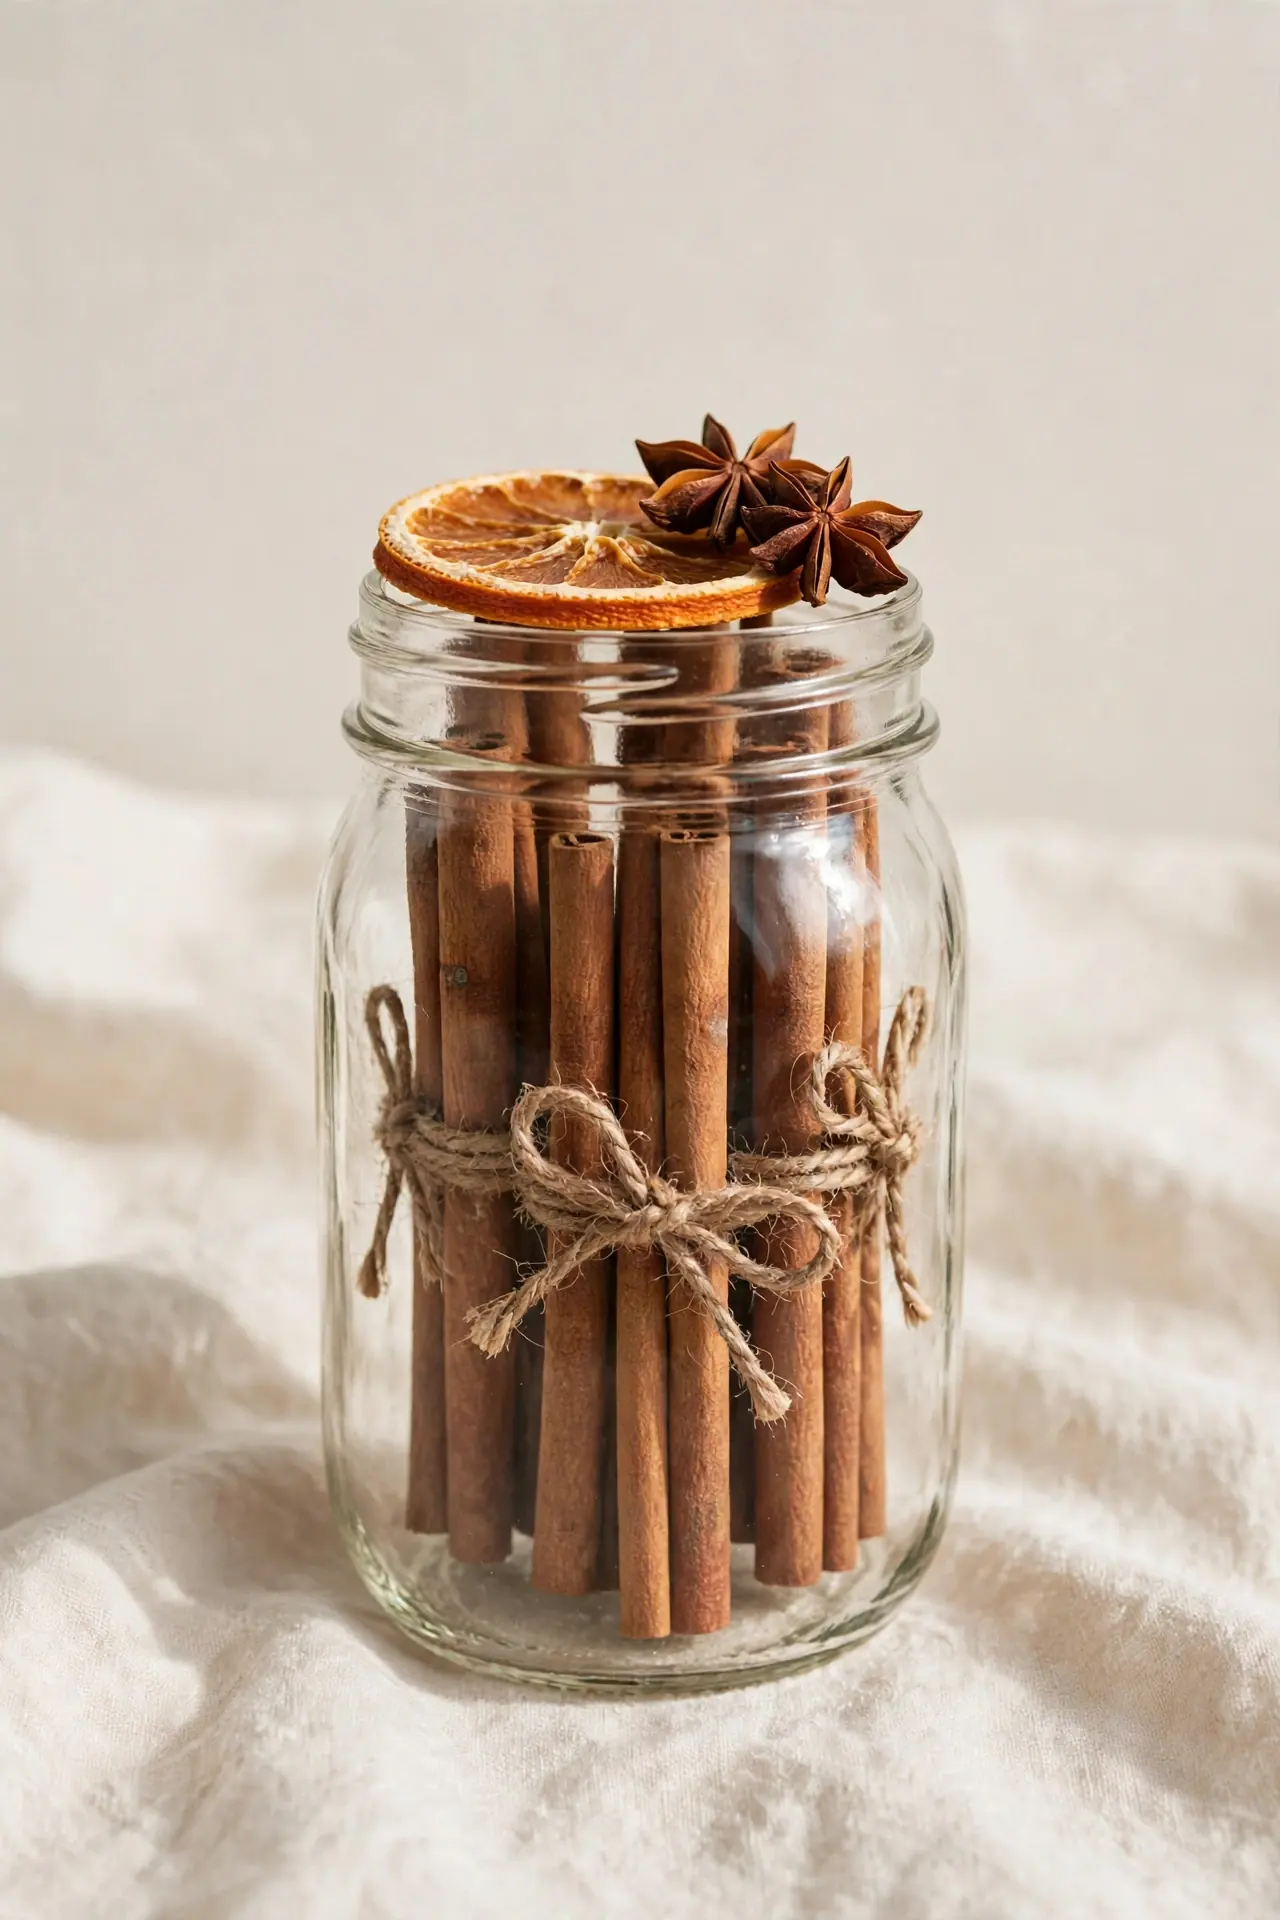
Quick Tip: Warm the jar first with hot water so the cinnamon scent releases faster. Bundle five or six cinnamon sticks with twine and stand them upright inside a wide-mouth jar. The sticks fill the glass with rich brown texture and a cozy holiday scent that drifts without any candle at all.
Top the bundle with a dried orange slice and a star anise for a natural garnish. I’ve noticed these jars scent a small room on their own within an hour. Tuck one into a gift basket with cocoa mix for an easy neighbor present. Refresh the sticks with a drop of cinnamon oil when the scent fades.
Snowy Epsom Village
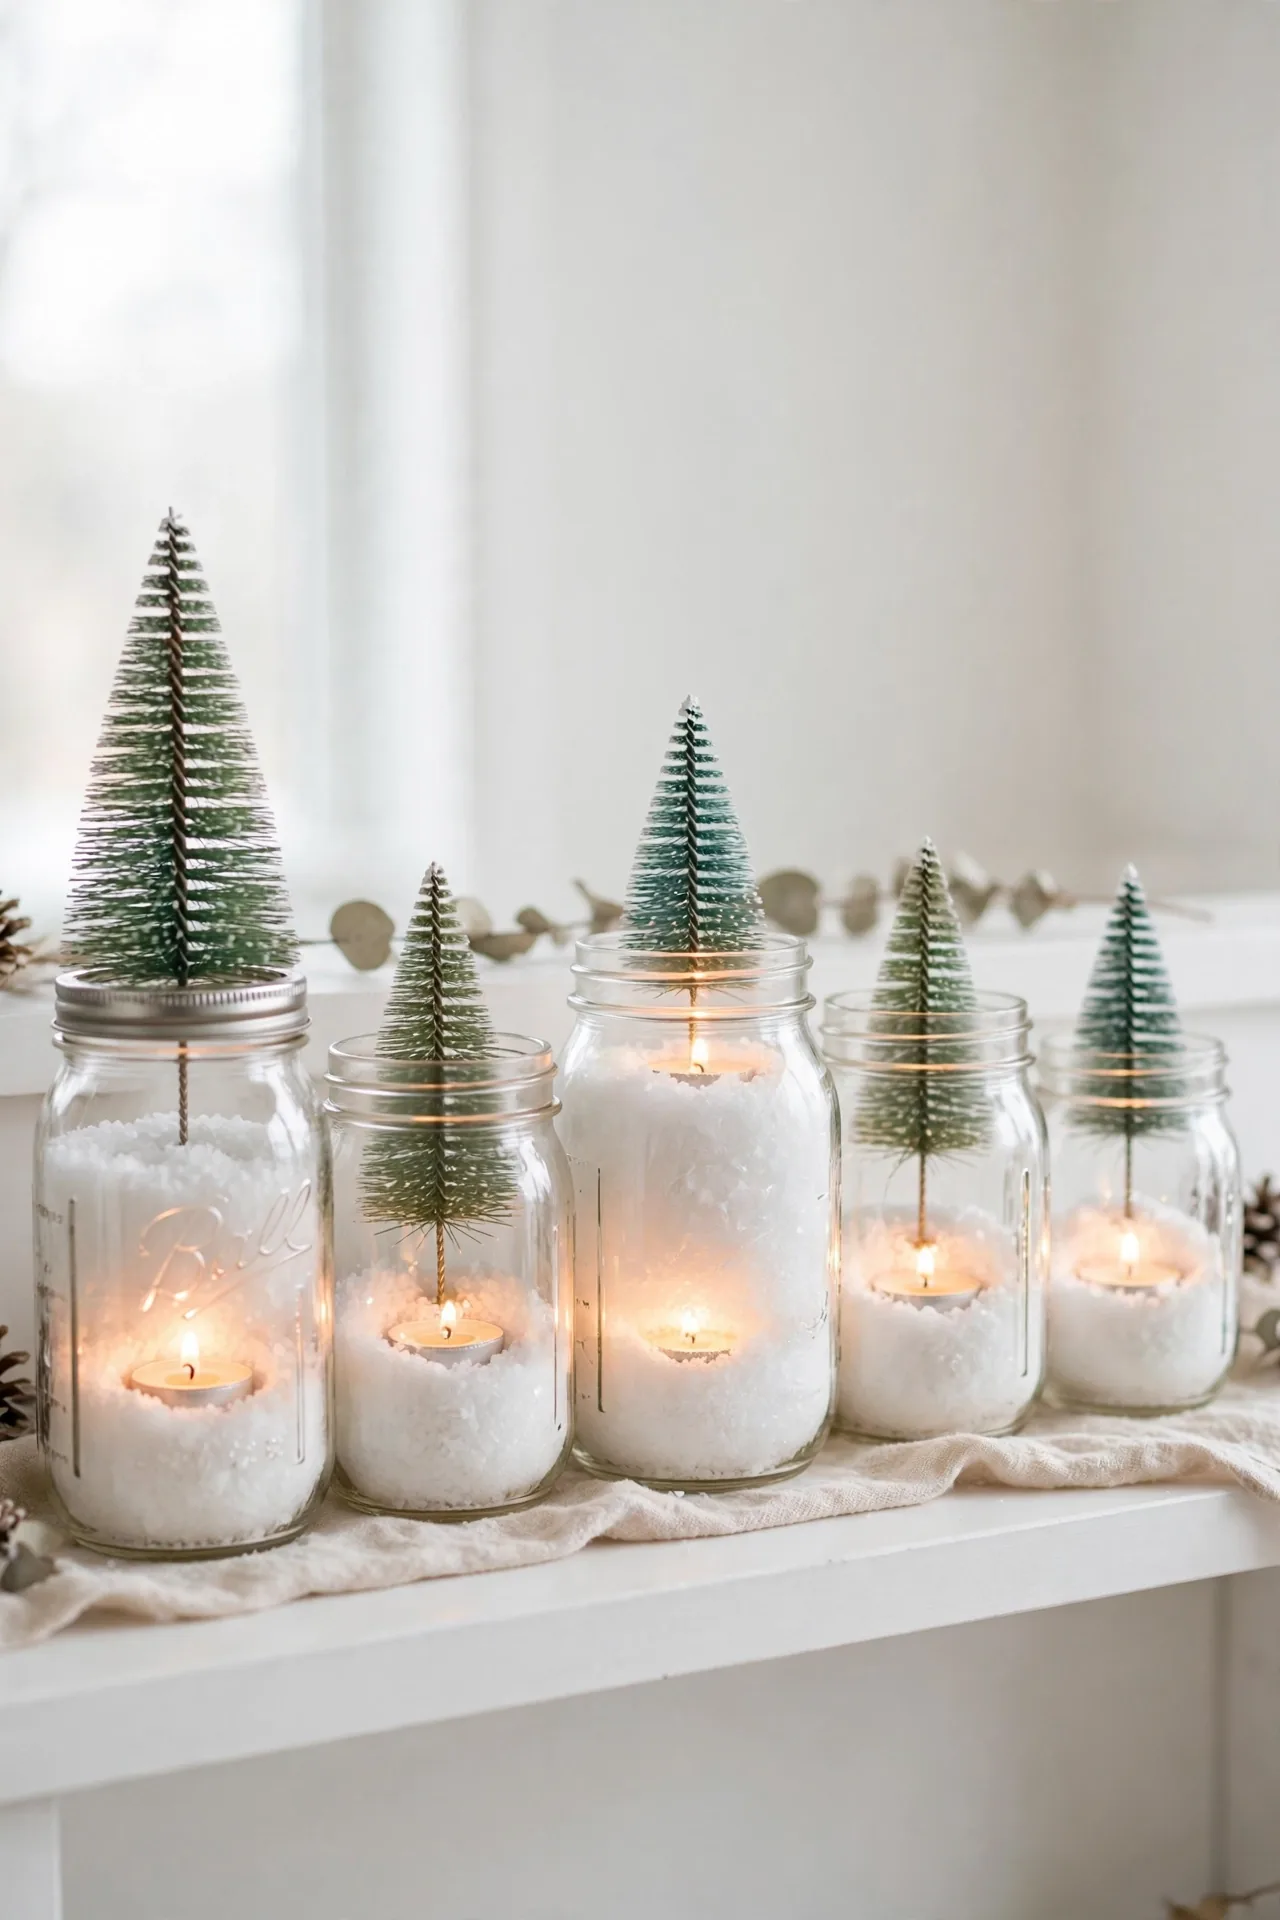
BEFORE: Before, the jars sat empty on the shelf, holding nothing but dust. Holiday decor felt scattered, with random candles and loose ornaments spread across the room. The shelves looked bare even though plenty of Christmas bits were lying around.
AFTER: After, a spoonful of Epsom salt turns each jar into a snowy scene with a tiny bottle-brush tree inside. The white crystals catch the light like powder. Grouped together, the jars become a glowing winter village that anchors the whole shelf.
Sprinkle the salt thick at the base so the trees stand firm. A battery tealight buried in the salt glows through the crystals like moonlight on snow. I’ve noticed Epsom salt keeps its sparkle all season without clumping. Dust the lids and reuse the salt next year.
Layered Cocoa Kit
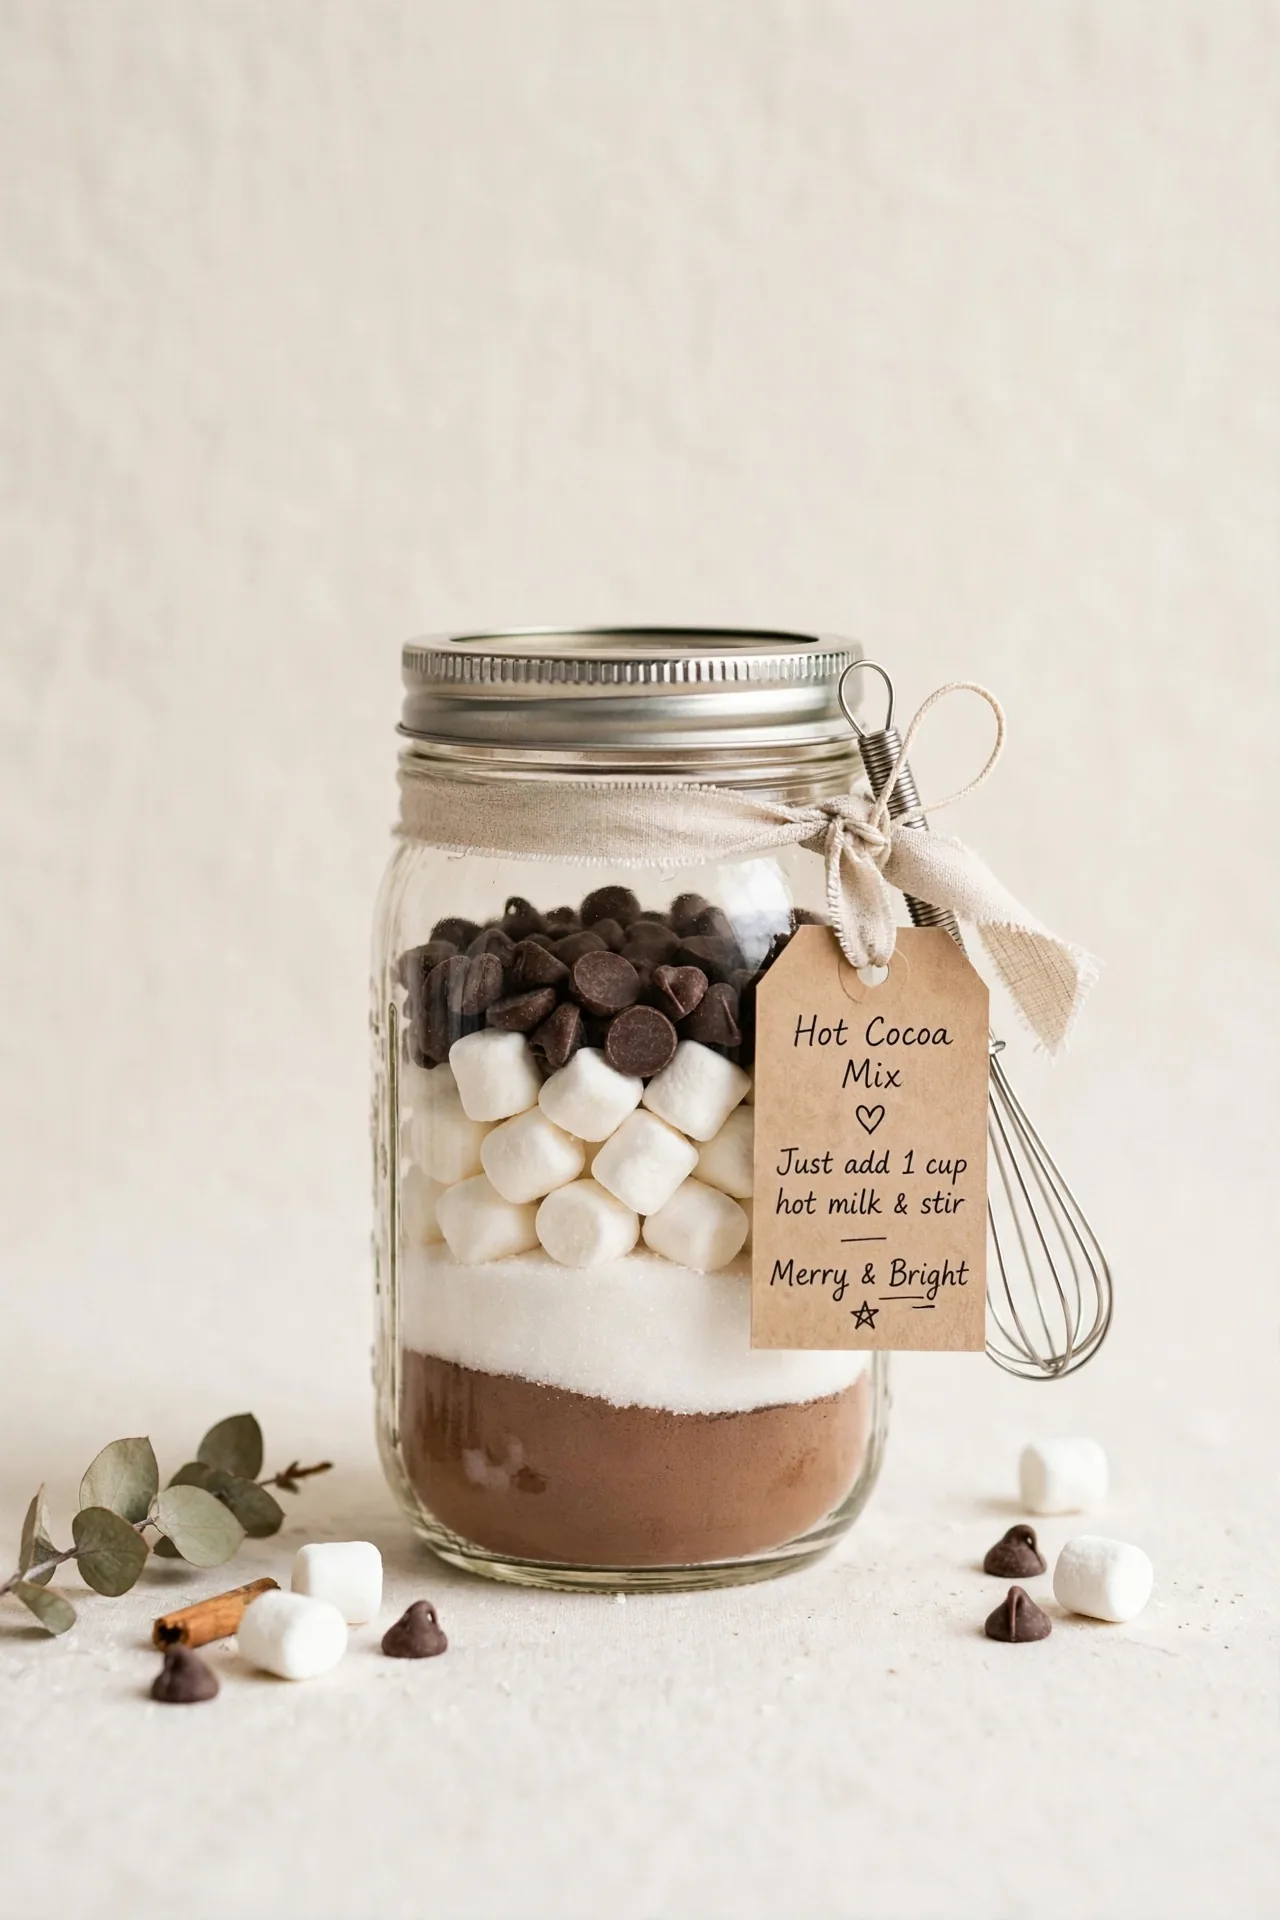
- Spoon cocoa powder into the jar first, tapping it level for a clean line.
- Layer sugar, then mini marshmallows, then chocolate chips in neat even bands.
- Screw the lid on and tie a small whisk to the neck with ribbon.
- Attach a handwritten gift tag with simple mixing directions on the back.
The layers look good enough to keep on the counter all December. Wide-mouth jars pour neatly without a funnel, and the bands stay crisp if you do not shake them. I’ve noticed a layer of crushed peppermint on top makes them extra festive. Make a few at once and holiday gifting is done.
Fairy Light Twinkles
| Copper Wire Lights | Battery Fairy Lights | |
|---|---|---|
| Glow | Warm pinpoint sparkle | Soft scattered twinkle |
| Battery Life | About 72 hours per set | About 100 hours per set |
| Cost | Budget friendly multipacks | Slightly higher per strand |
| Best For | Tall jars and vases | Small jars and gifts |
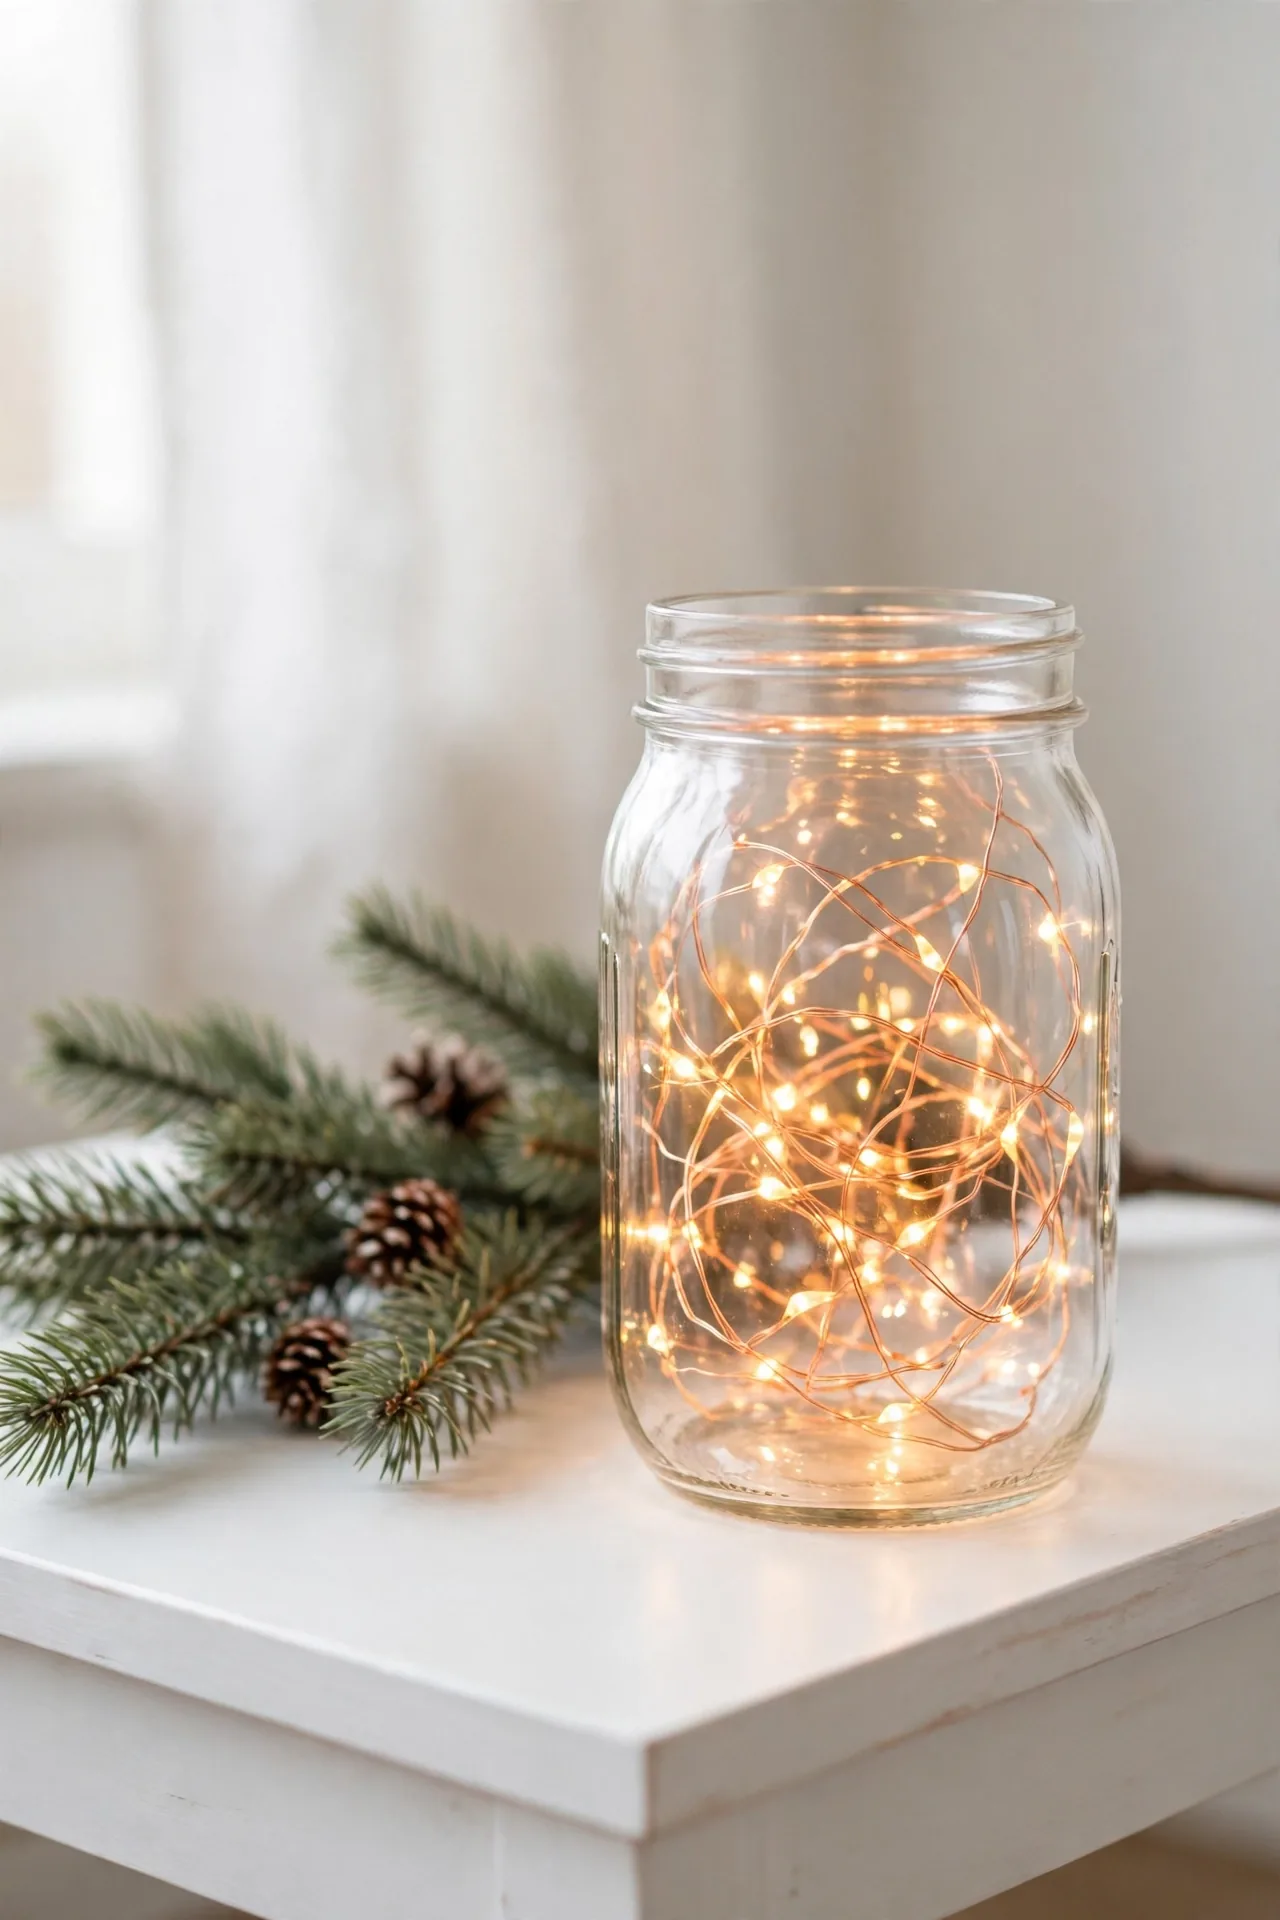
Fairy lights turn an empty jar into a lantern in seconds. Coil the strand loosely so the lights spread through the glass instead of clumping at the bottom. A timer battery pack switches them on each evening by itself. I’ve noticed warm white suits Christmas best; cool white reads more modern. Frost the outside of the jar with spray for a softer, snowier glow. Hide the battery pack behind the jar so nothing breaks the illusion.
Cranberry Ribbon Trim
- Do pick wired ribbon so bows keep their shape.
- Do fill the jar with cranberries for jewel-tone color.
- Do tie ribbon at the neck, not the lid.
- Do match ribbon to your tree colors.
- Don’t add water unless the jar seals tightly.
- Don’t choose ribbon wider than the jar.
- Don’t glue bows; ties let you reuse them.
- Don’t leave fresh berries unchecked past a week.
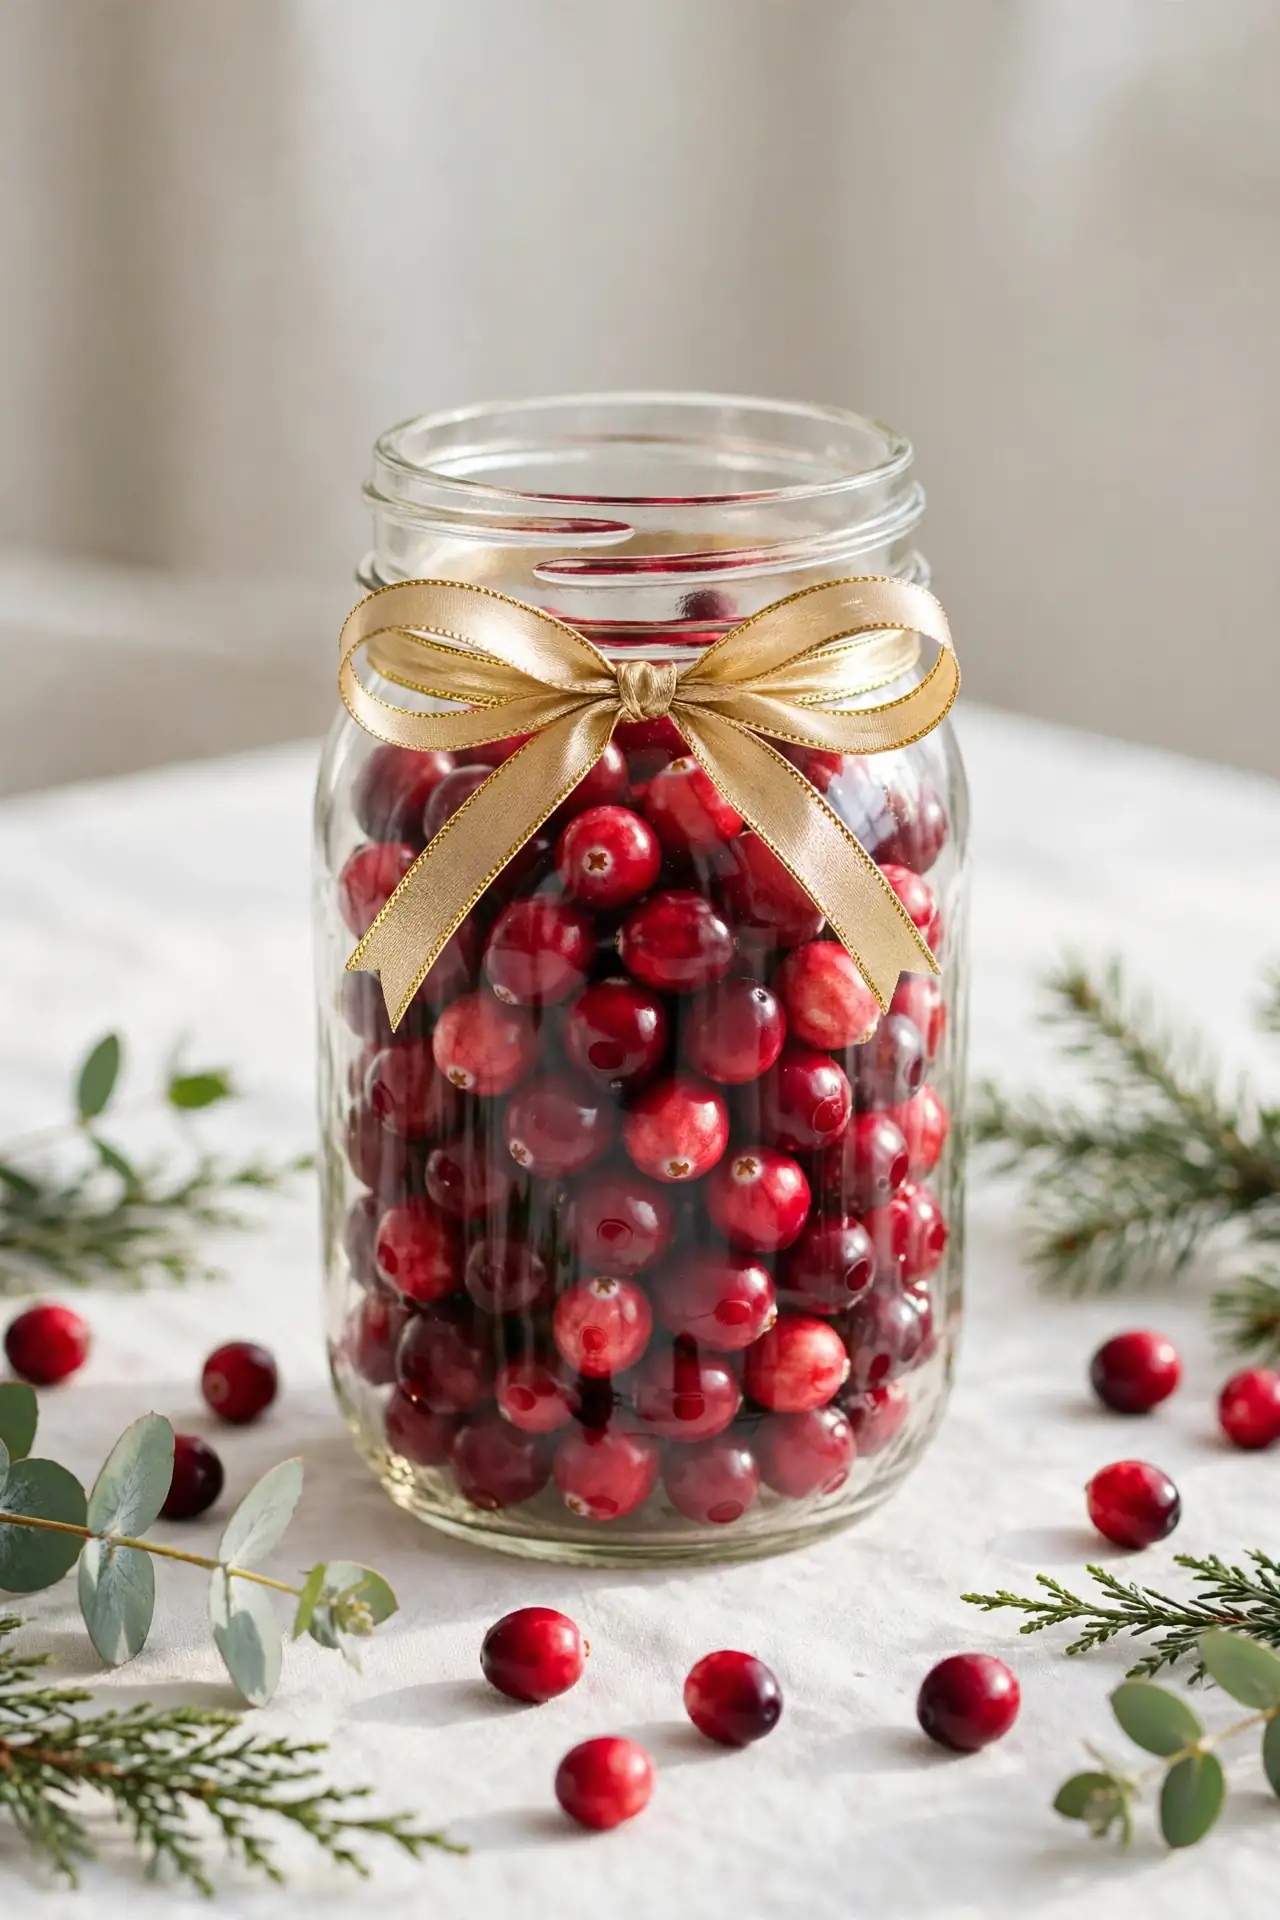
Ribbon and cranberries make the simplest jars look dressed up. The deep red berries glow against the glass, and a good bow adds that finished gift-shop feel. I’ve noticed cranberry jars last longest in a cool spot away from sun. Swap berries for faux ones when you want the look to last the whole season.
Vintage Ornament Fill
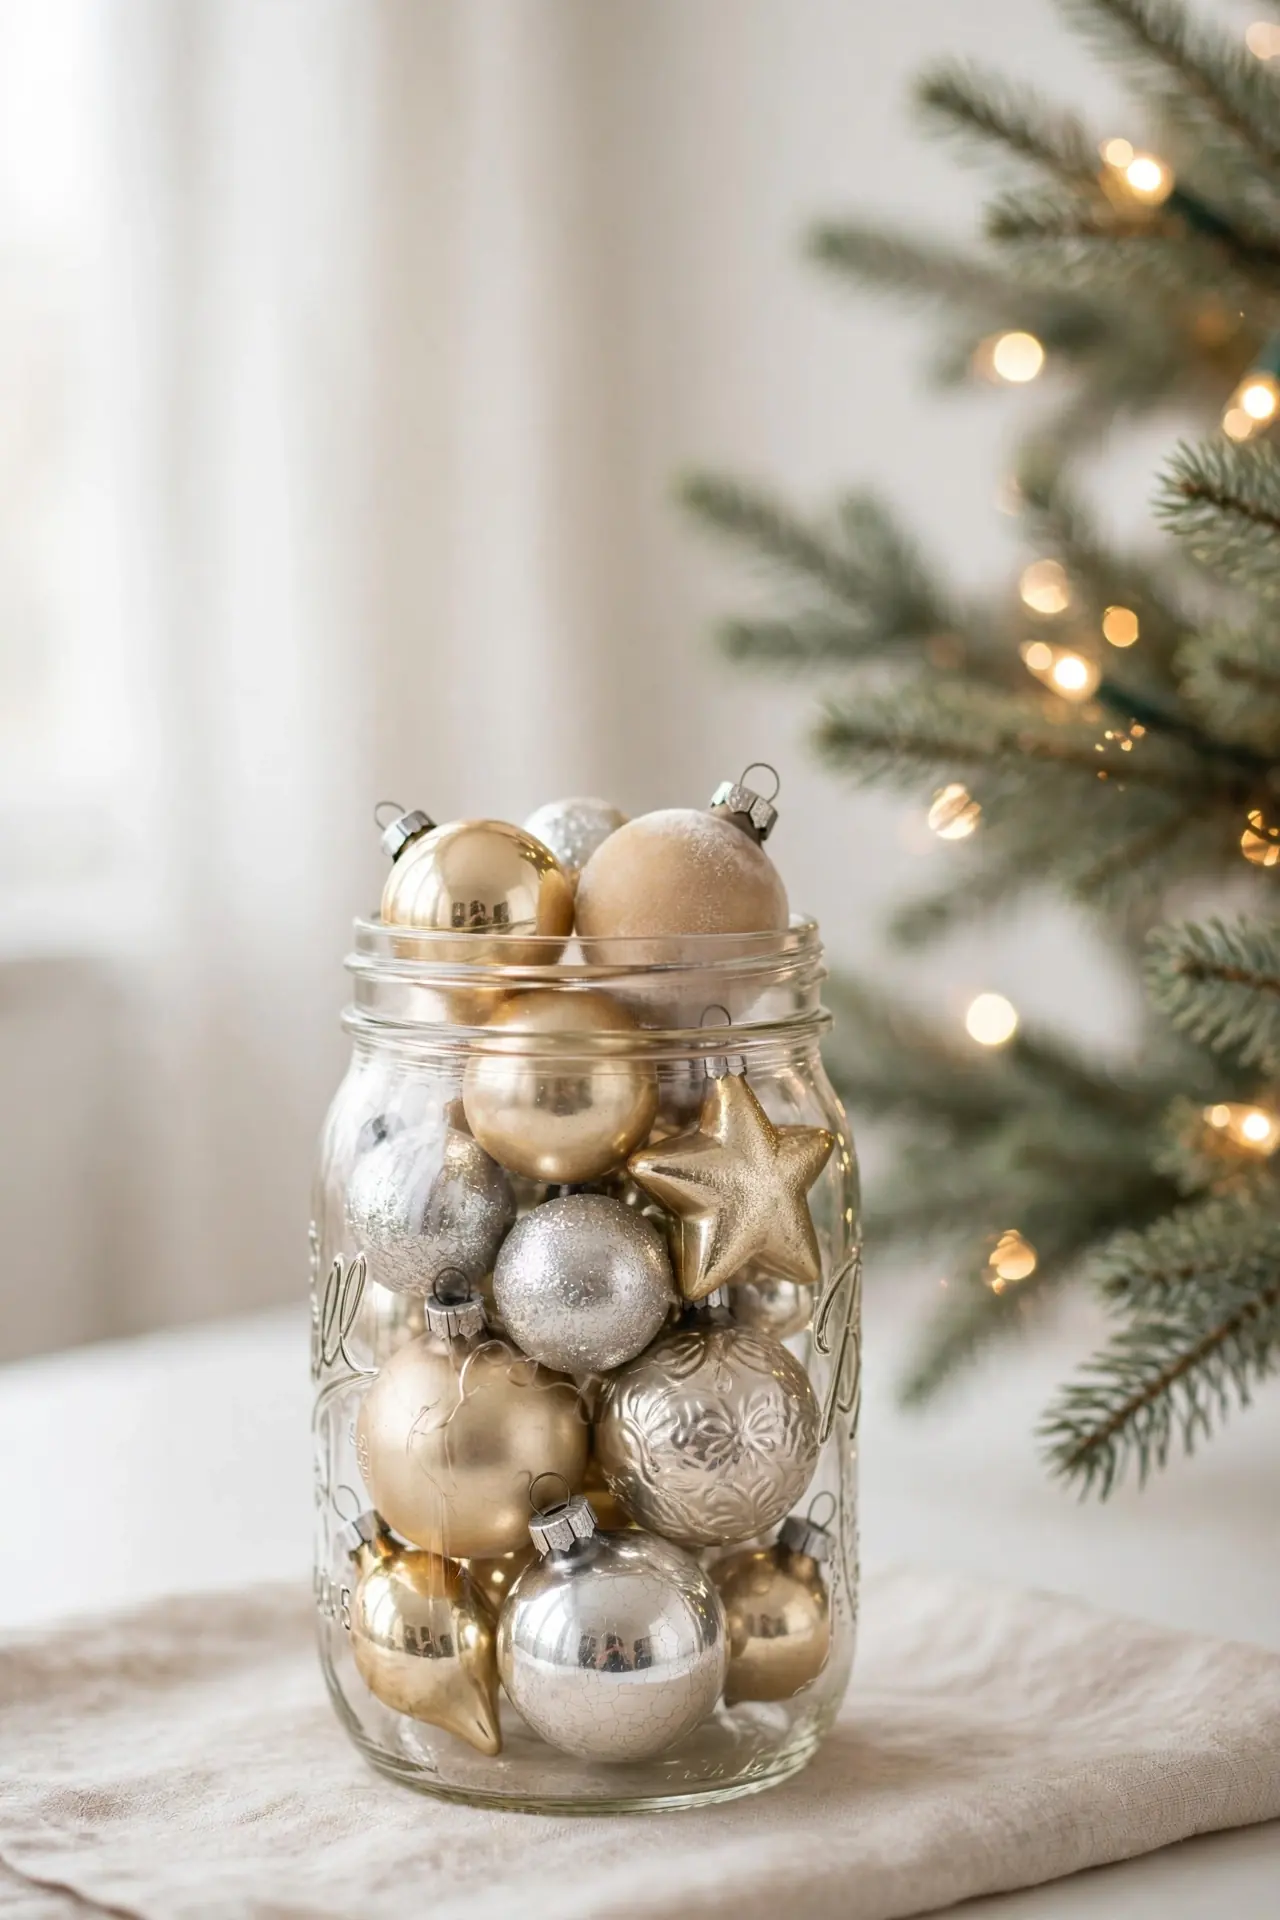
Cost: Free when you rescue forgotten ornaments from the back of the closet.
Time: About fifteen minutes per jar, including the ribbon tie.
Skill Level: Beginner friendly; layering shiny baubles takes no special skill.
Best For: Heirloom ornaments too fragile to hang on the tree.
Old ornaments deserve a second act, and a jar shows off both sides of each bauble. Mix matte and shiny finishes for depth, and tuck tissue paper between fragile pieces. I’ve noticed silver and gold ornaments glow especially well under warm light. Set the jar near the tree skirt so it reads as part of the display.
White Berry Spray
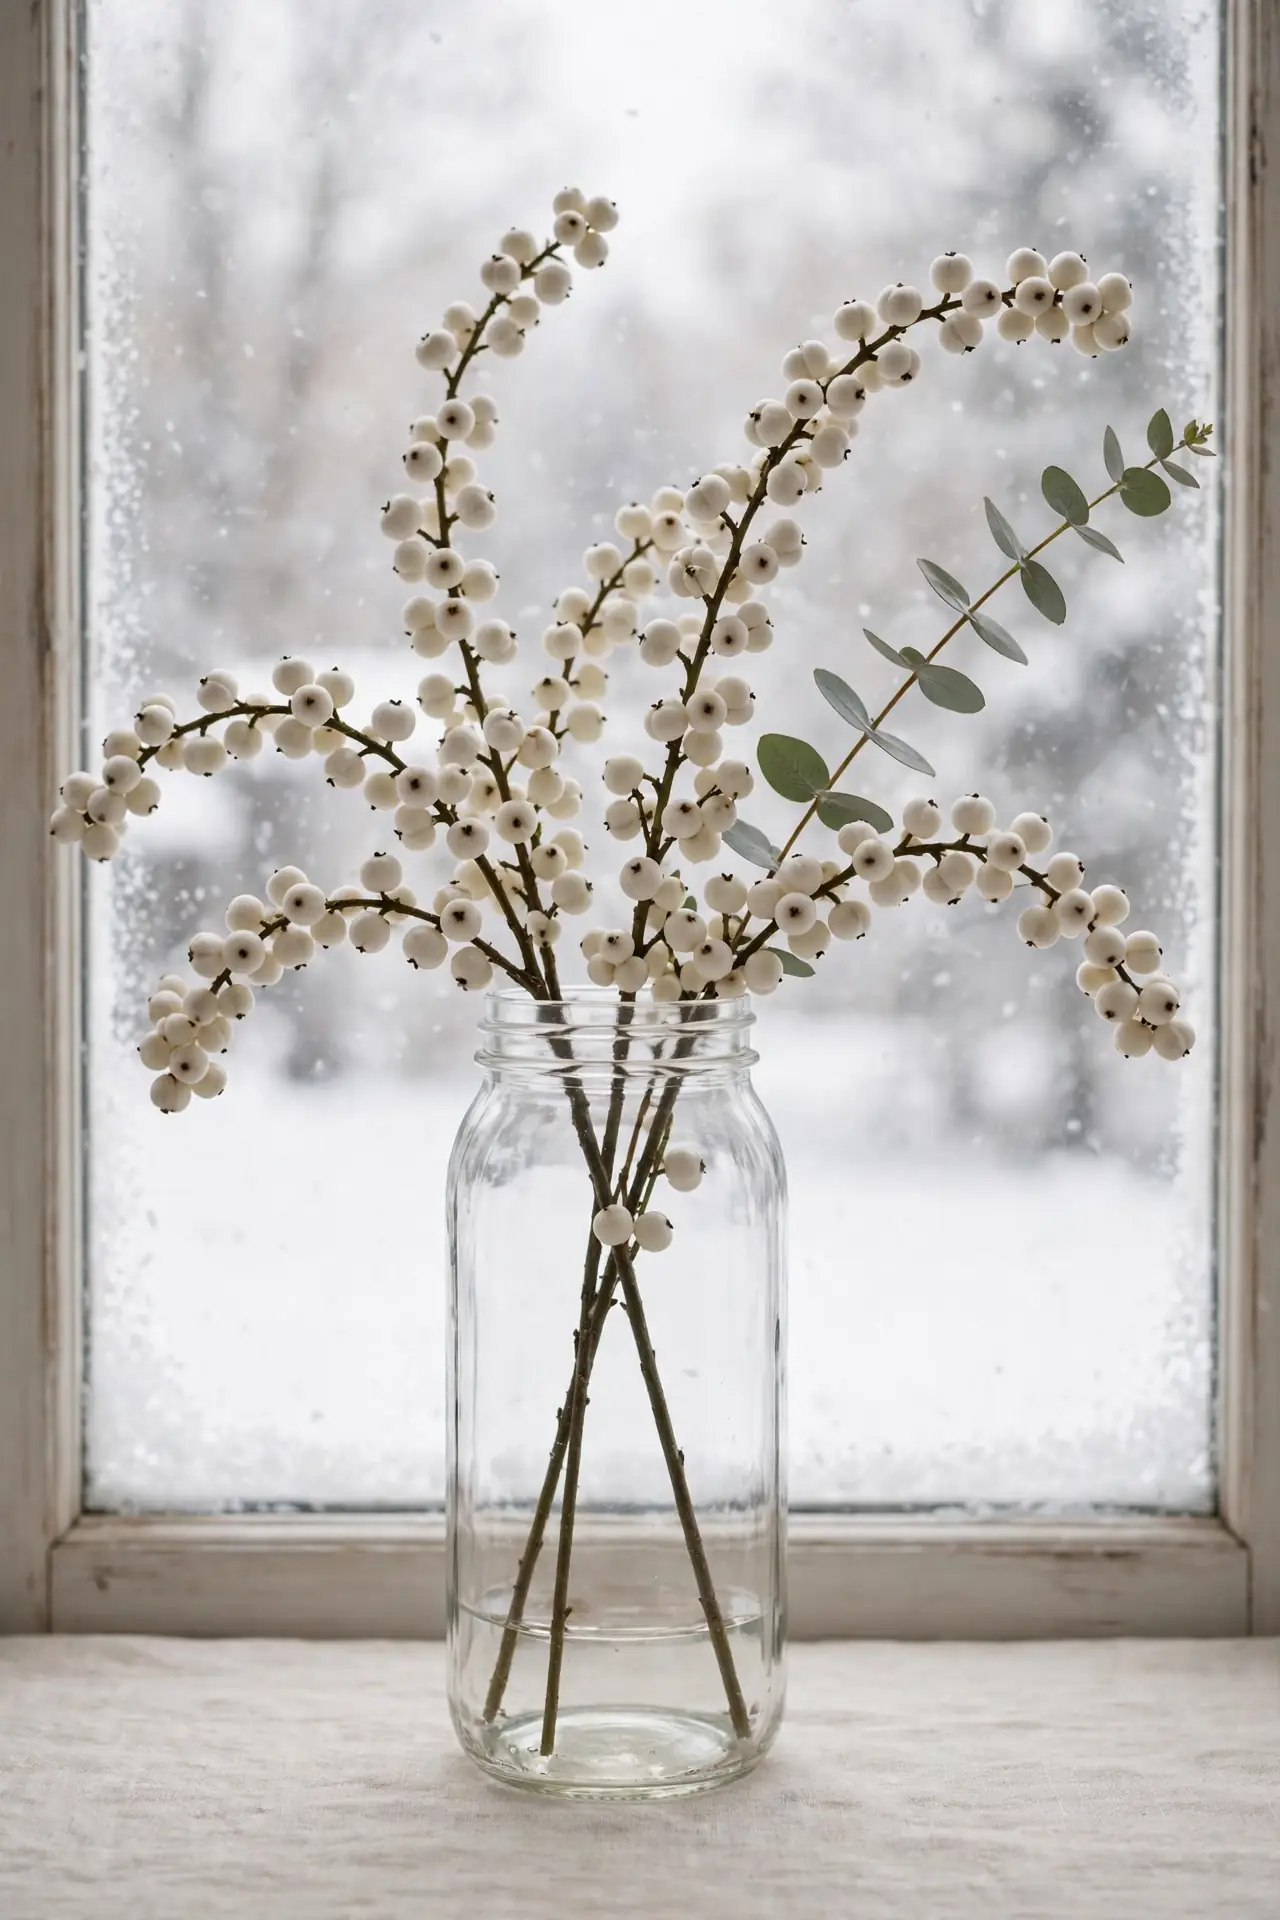
White berries bring a frosty calm that red berries just cannot match. Tuck a few stems of faux snowberries into a tall jar so they arc over the rim. The pale beads pop against dark green shelves and black furniture alike. In my experience, mixing in one eucalyptus stem keeps the white from feeling stark.
Keep the jar itself plain so the berries stay the focus. A clear glass jar with no ribbon lets the pale stems shine. I’ve noticed these arrangements photograph beautifully against a snowy window backdrop. Move them to the bedroom after Christmas for a soft winter look that lasts into January.
Gold Pinecone Tops
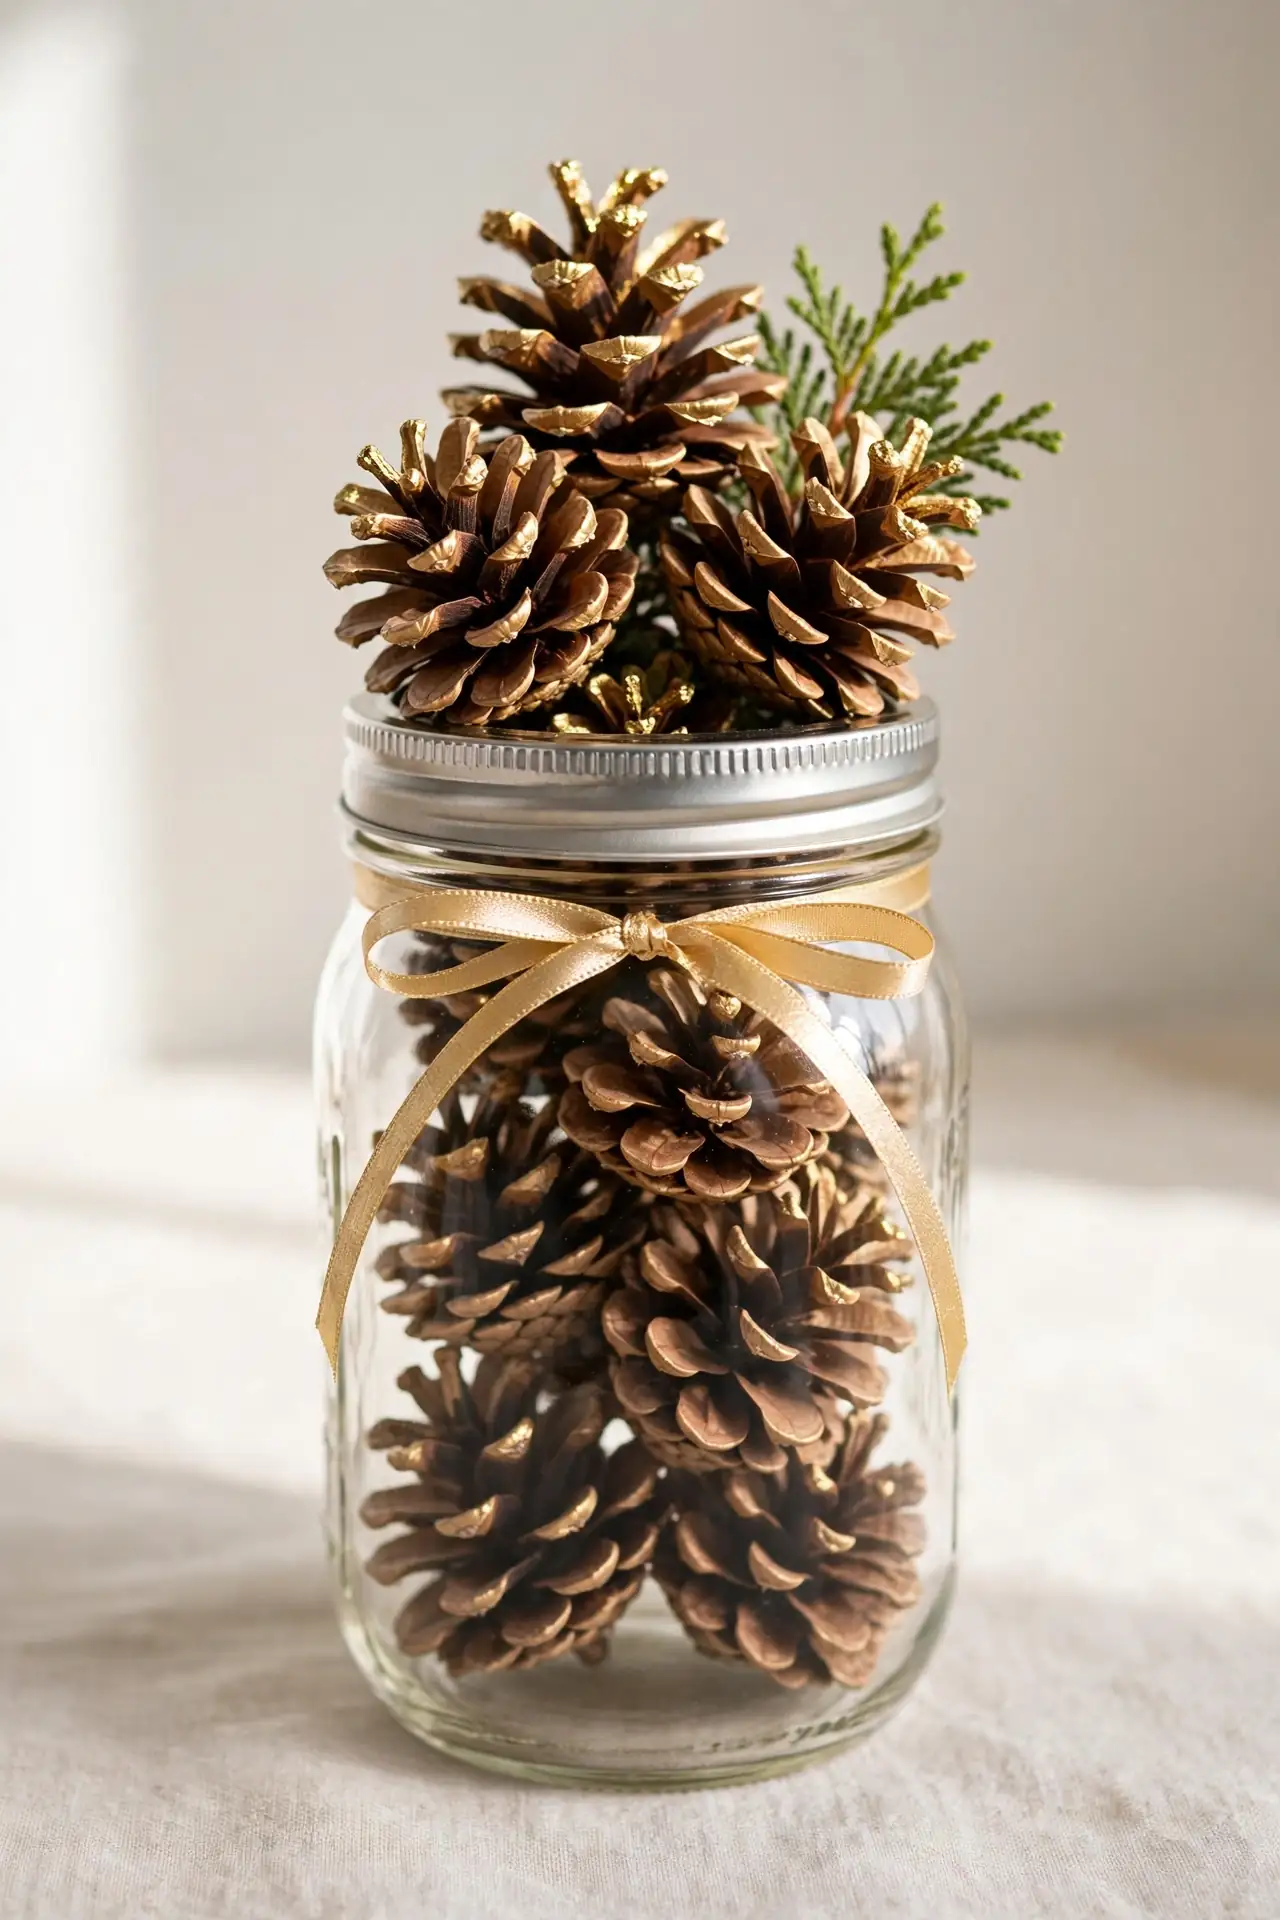
- Gather dry pinecones and brush them lightly with gold craft paint.
- Fill the jar halfway with plain pinecones as a textured base.
- Rest the gold ones on top where they catch the light.
- Add a sprig of cedar between the cones for fresh green contrast.
- Tie a gold ribbon around the neck to echo the painted tops.
Gold-tipped pinecones look far more expensive than they are. The metallic tips catch candlelight and tree lights alike, scattering tiny glints across the room. I’ve noticed one light coat of paint reads more elegant than heavy coverage. Seal with clear spray so the gold does not rub off on hands.
Peppermint Candy Swirls
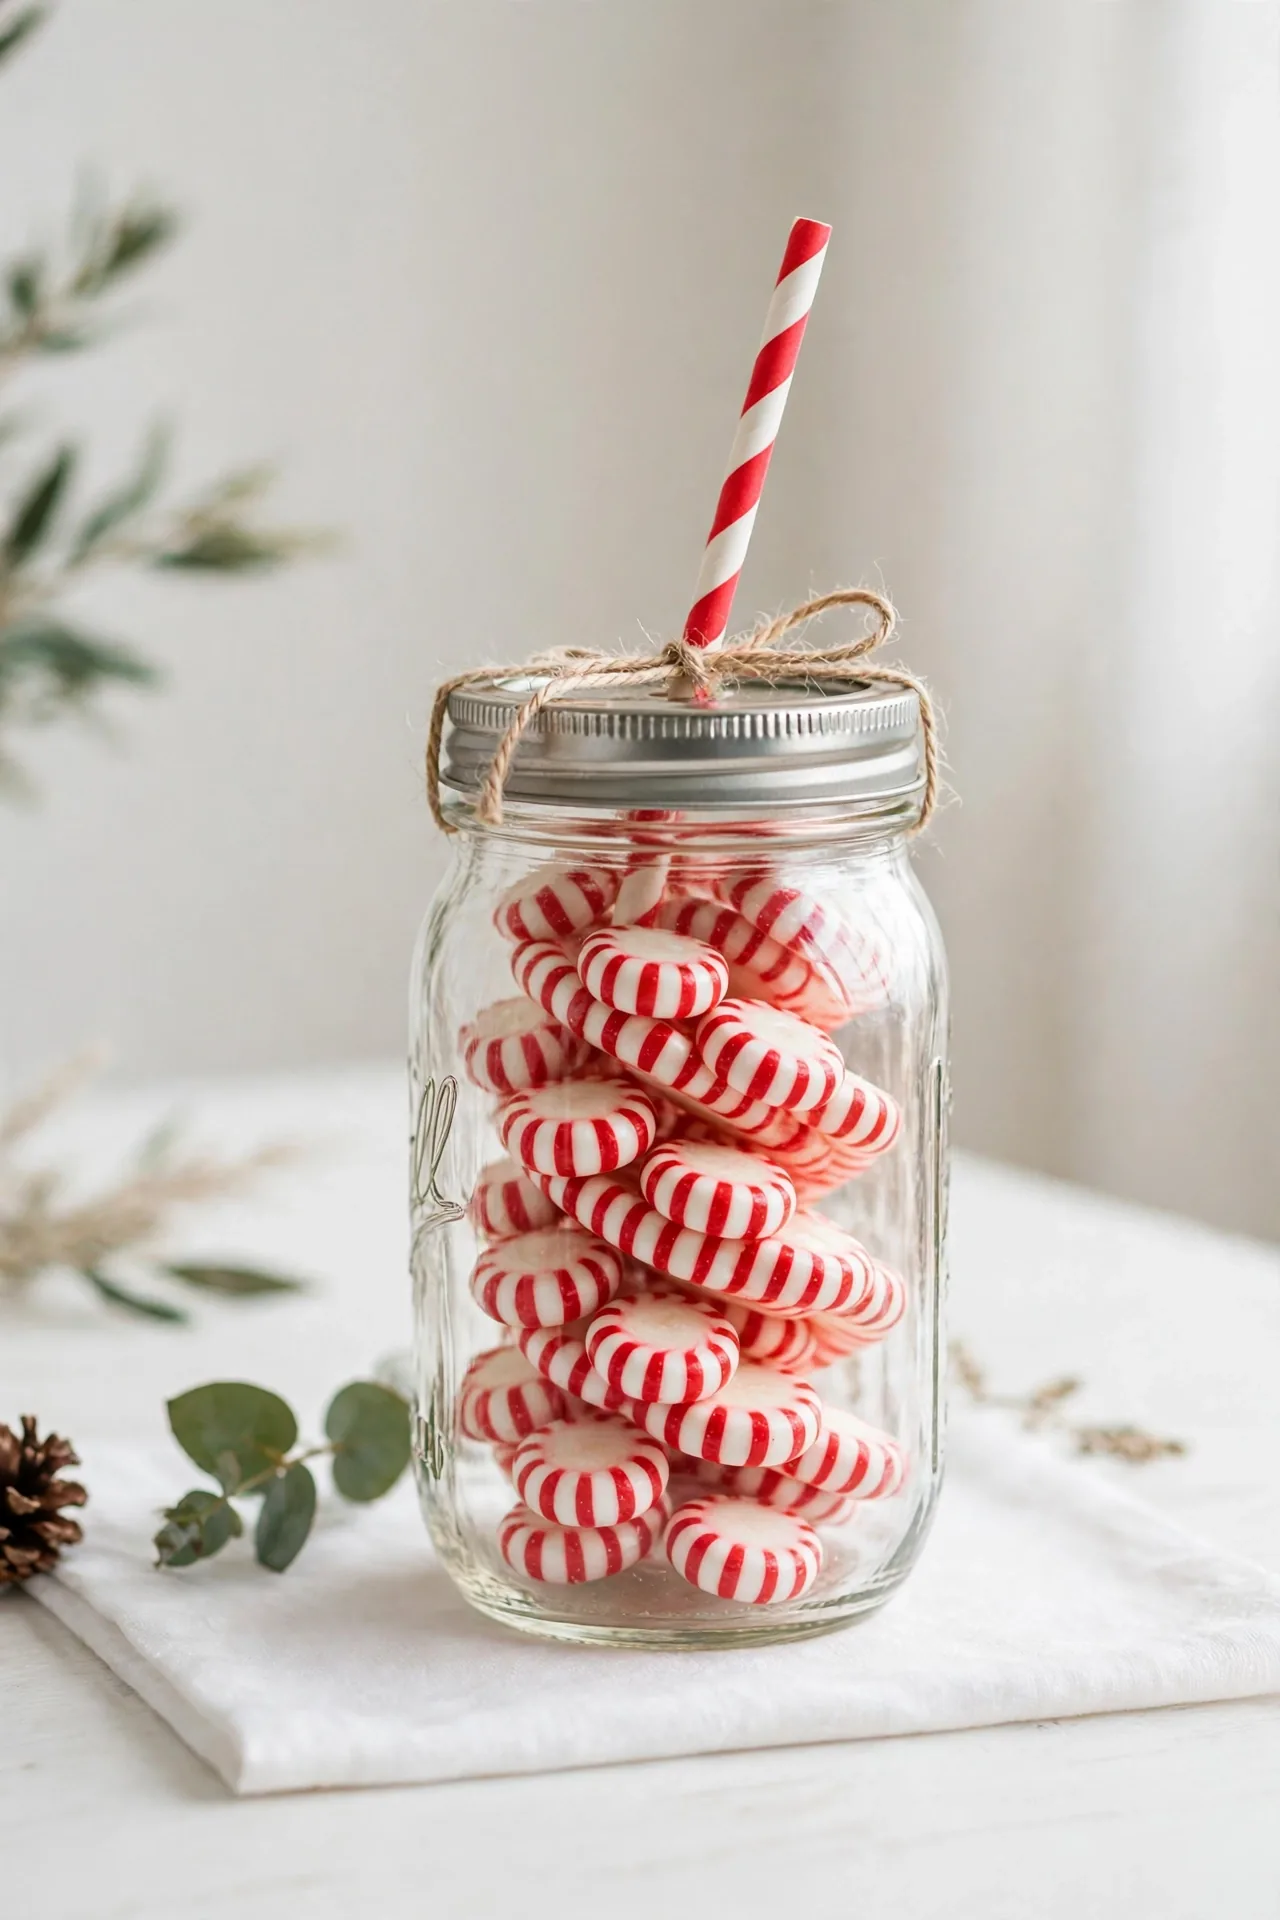
Quick Tip: Unwrap the candies first so red stripes show through the glass clearly. Layer red and white peppermints in a jar, alternating the colors for a barber-pole effect. The glossy wrappers catch the light, and the whole jar smells faintly of mint. Kids love shaking the jar to hear the candy rattle.
Top with a striped paper straw tied to the lid for a soda-shop feel. I’ve noticed these jars disappear fast at parties, so make an extra for refills. Use airtight lids to keep the candy fresh through New Year. Pair the jar with hot cocoa packets for a themed gift.
Twine Star Toppers
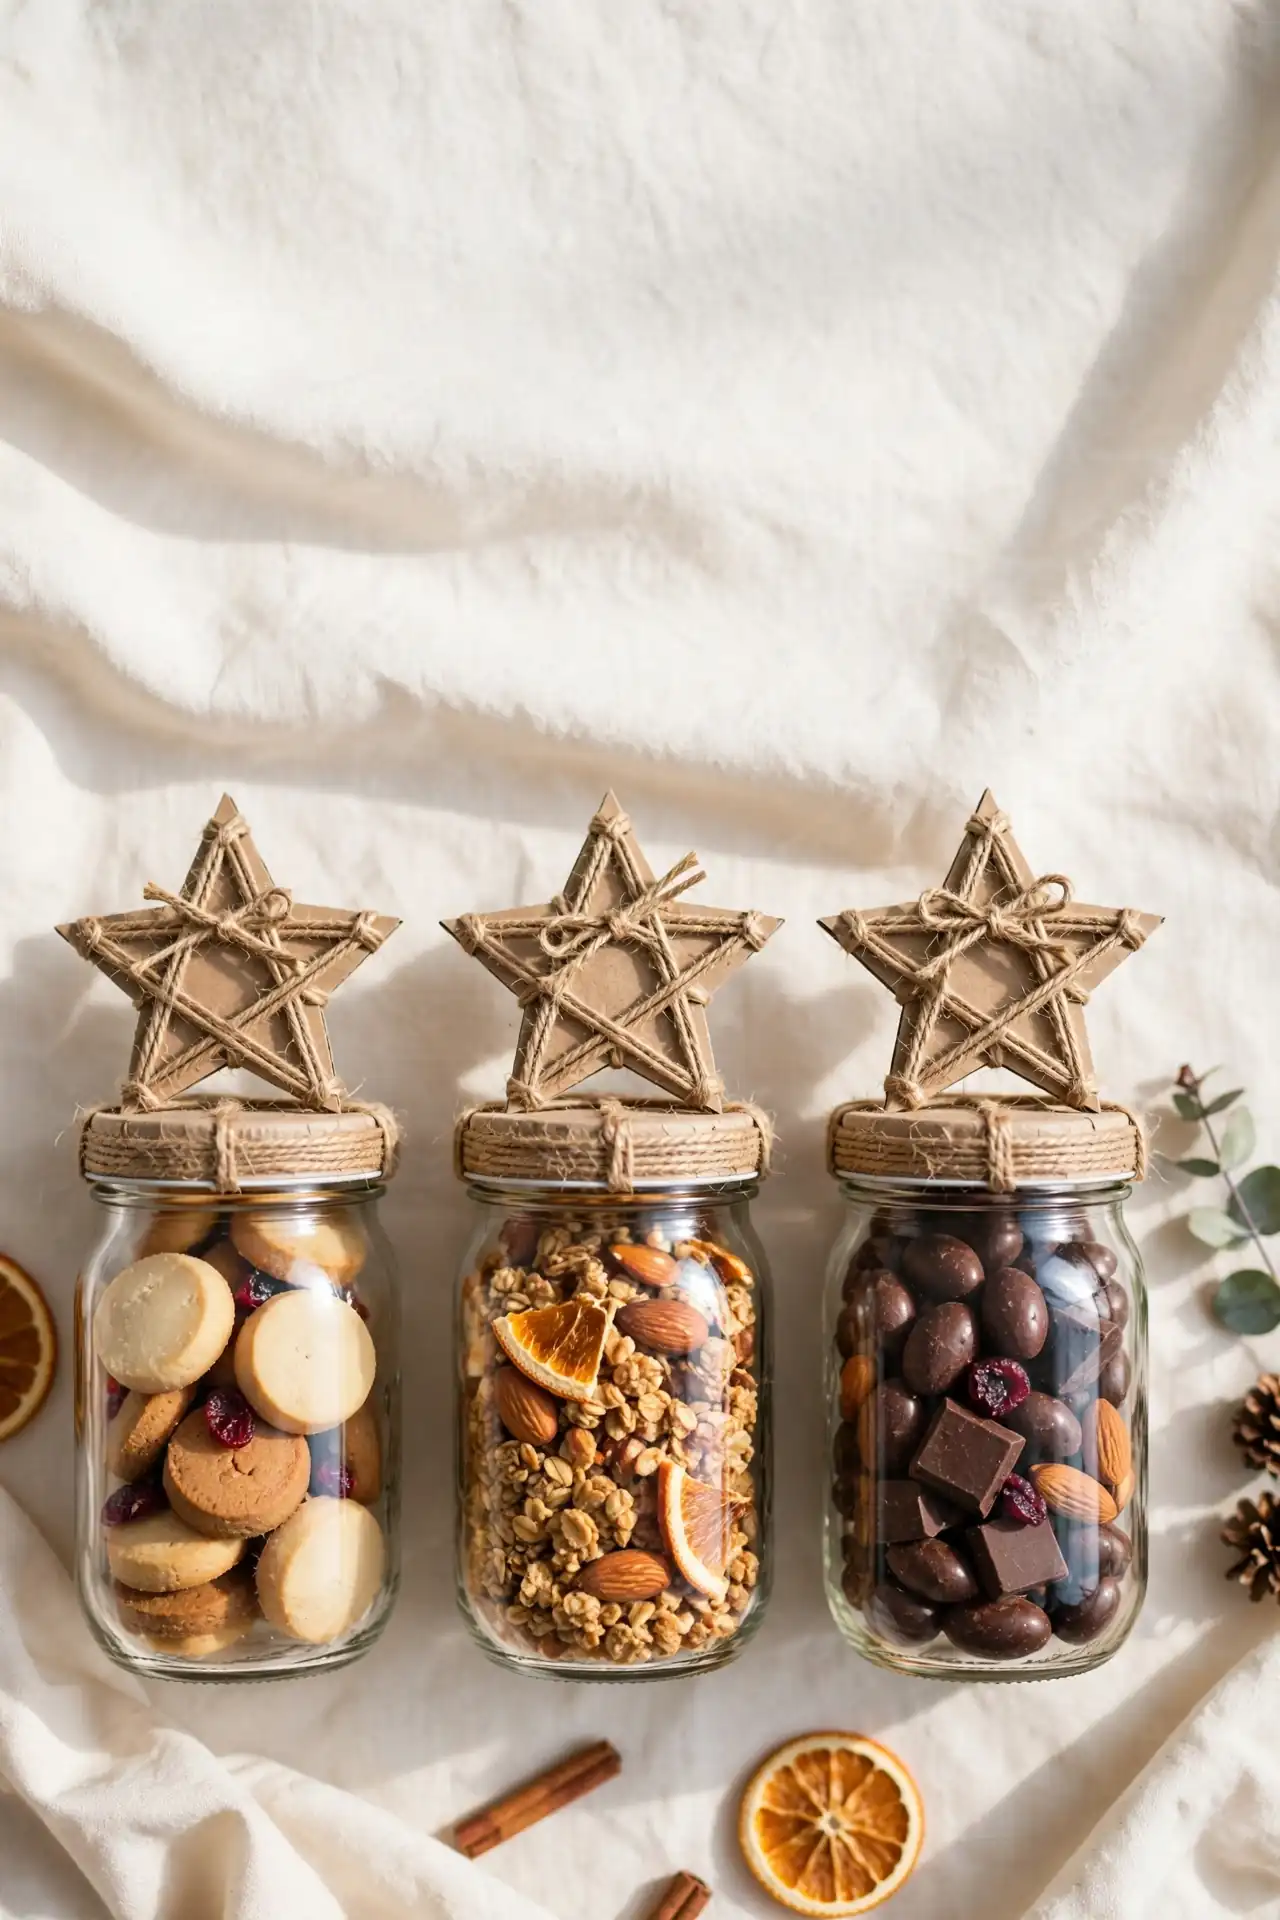
BEFORE: Before, the lids looked plain and unfinished next to the decorated jars below them. Guests saw shiny metal caps that clashed with the rustic holiday styling. The jars felt like storage containers instead of decor.
AFTER: After, a twine star glued to each lid turns the whole jar into a finished piece. The rustic stars tie the set together and hide the metal completely. Now the jars look handmade and gift-ready from every angle.
Cut star shapes from thick cardboard and wrap them tightly with jute twine. A dab of hot glue on the lid holds each star firm. I’ve noticed slightly uneven stars look more charming than perfect ones. Make a batch while watching a holiday movie and the time flies.
Hot Chocolate Bar
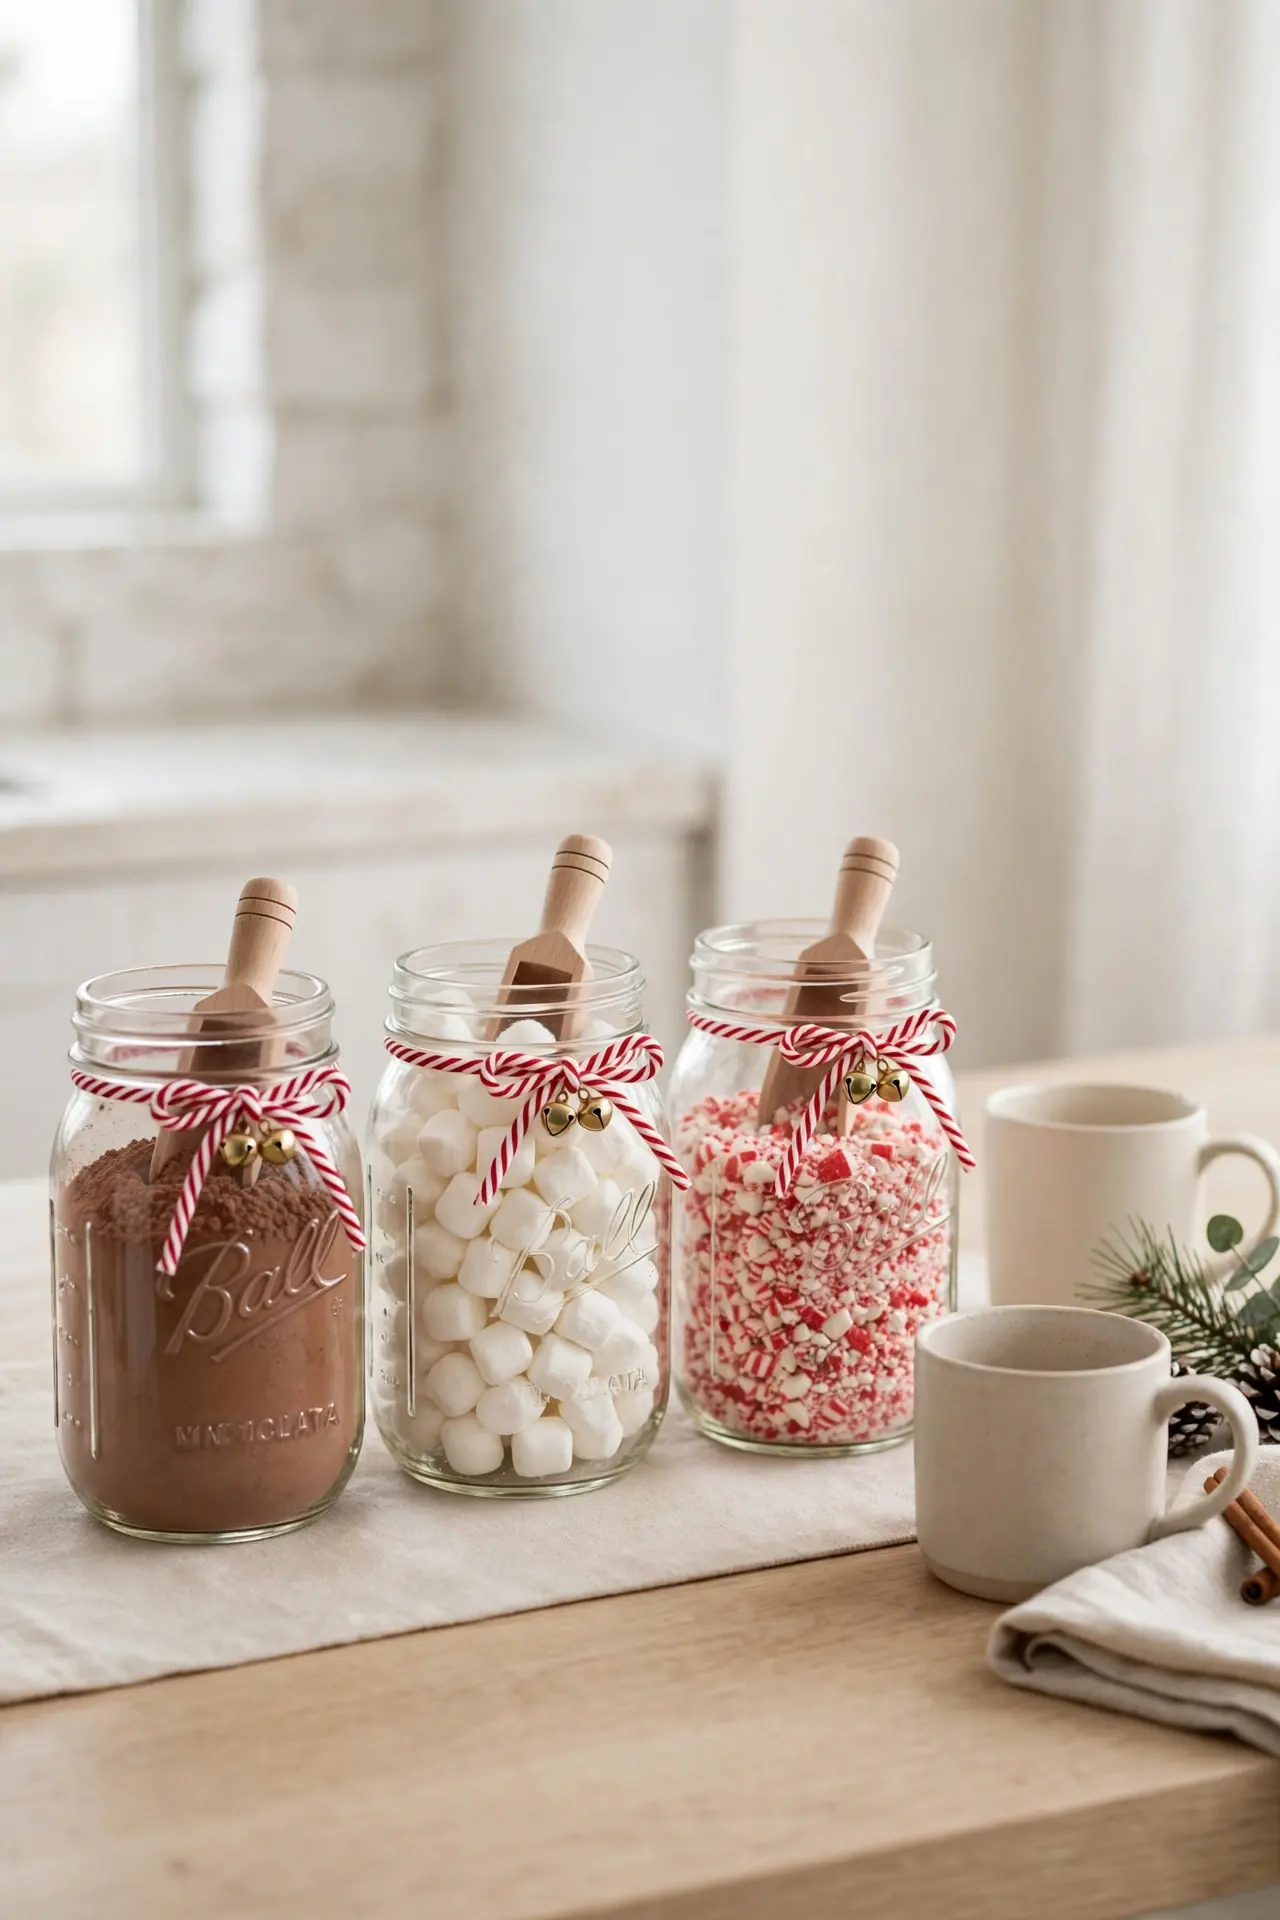
- Line up three jars and fill them with cocoa mix, marshmallows, and crushed candy.
- Add small wooden scoops to each jar so guests can serve themselves.
- Tie striped ribbon around each neck and attach a tiny jingle bell.
- Set out mugs, napkins, and a small sign so guests know the drill.
A jar cocoa bar turns an ordinary evening into an event. Guests mix their own mugs exactly how they like them, and the jars look festive on the counter. I’ve noticed dark cocoa mix layered with white marshmallows photographs especially well. Refill the jars through the season and the bar stays ready for drop-in visitors.
Silver Bell Accents
| Silver Jingle Bells | Mercury Glass Balls | |
|---|---|---|
| Sound | Gentle festive jingle | Silent shimmering shine |
| Finish | Brushed silver metal | Mottled antique mirror |
| Cost | Very budget friendly | Mid range per bag |
| Best For | Kid friendly mantel jars | Elegant table centerpieces |
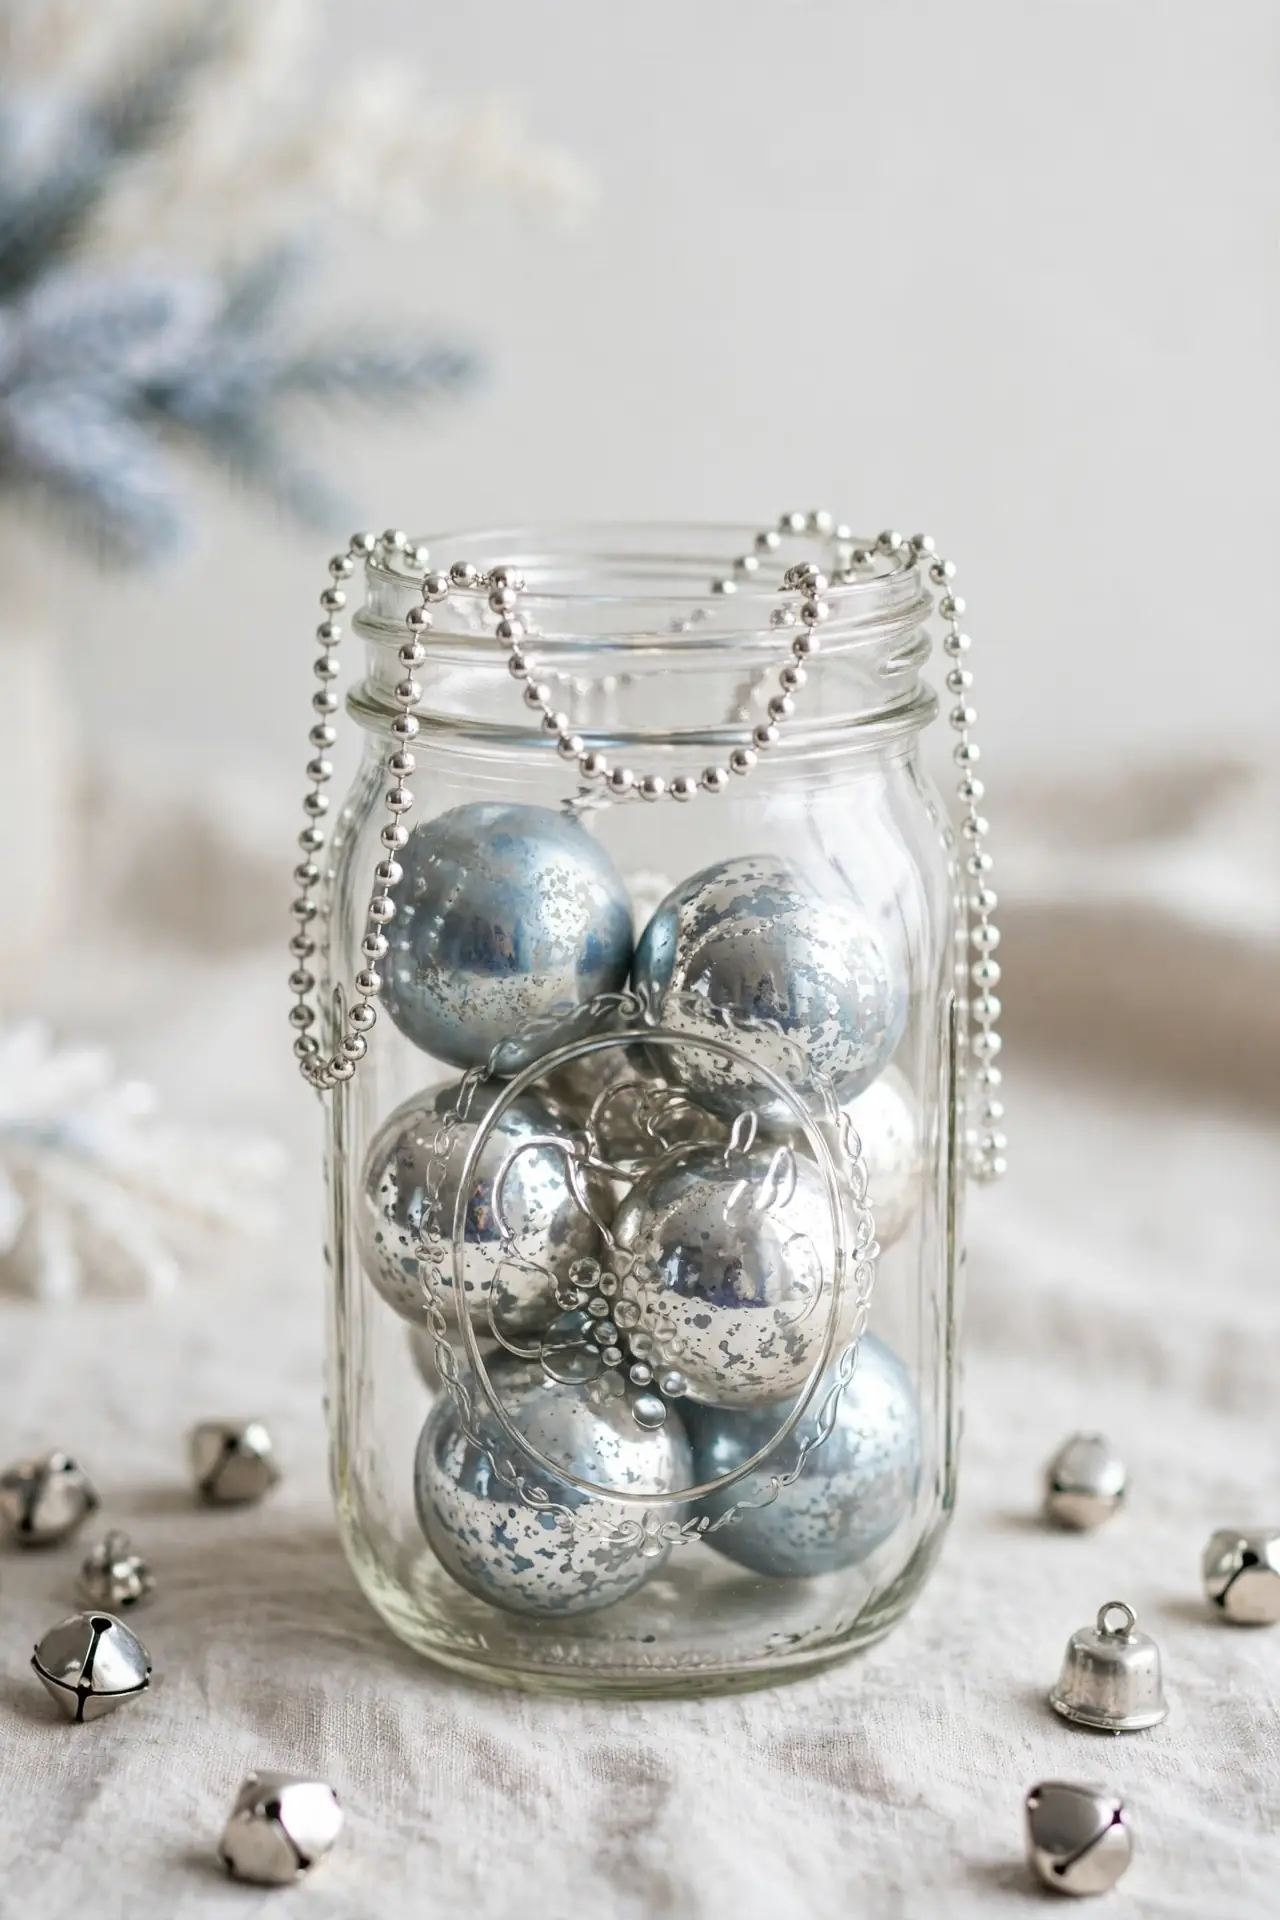
Silver accents bring a cool sparkle that balances warm candlelight. Scatter small bells around the base of each jar or drop mercury balls inside for reflected glow. A strand of silver beads draped over the rim adds jewelry-like detail. I’ve noticed silver pairs beautifully with blue and white holiday palettes. Keep one metallic tone per jar so the look stays crisp instead of busy. Polish the bells before filling so they shine their brightest.
Pine Twig Trees
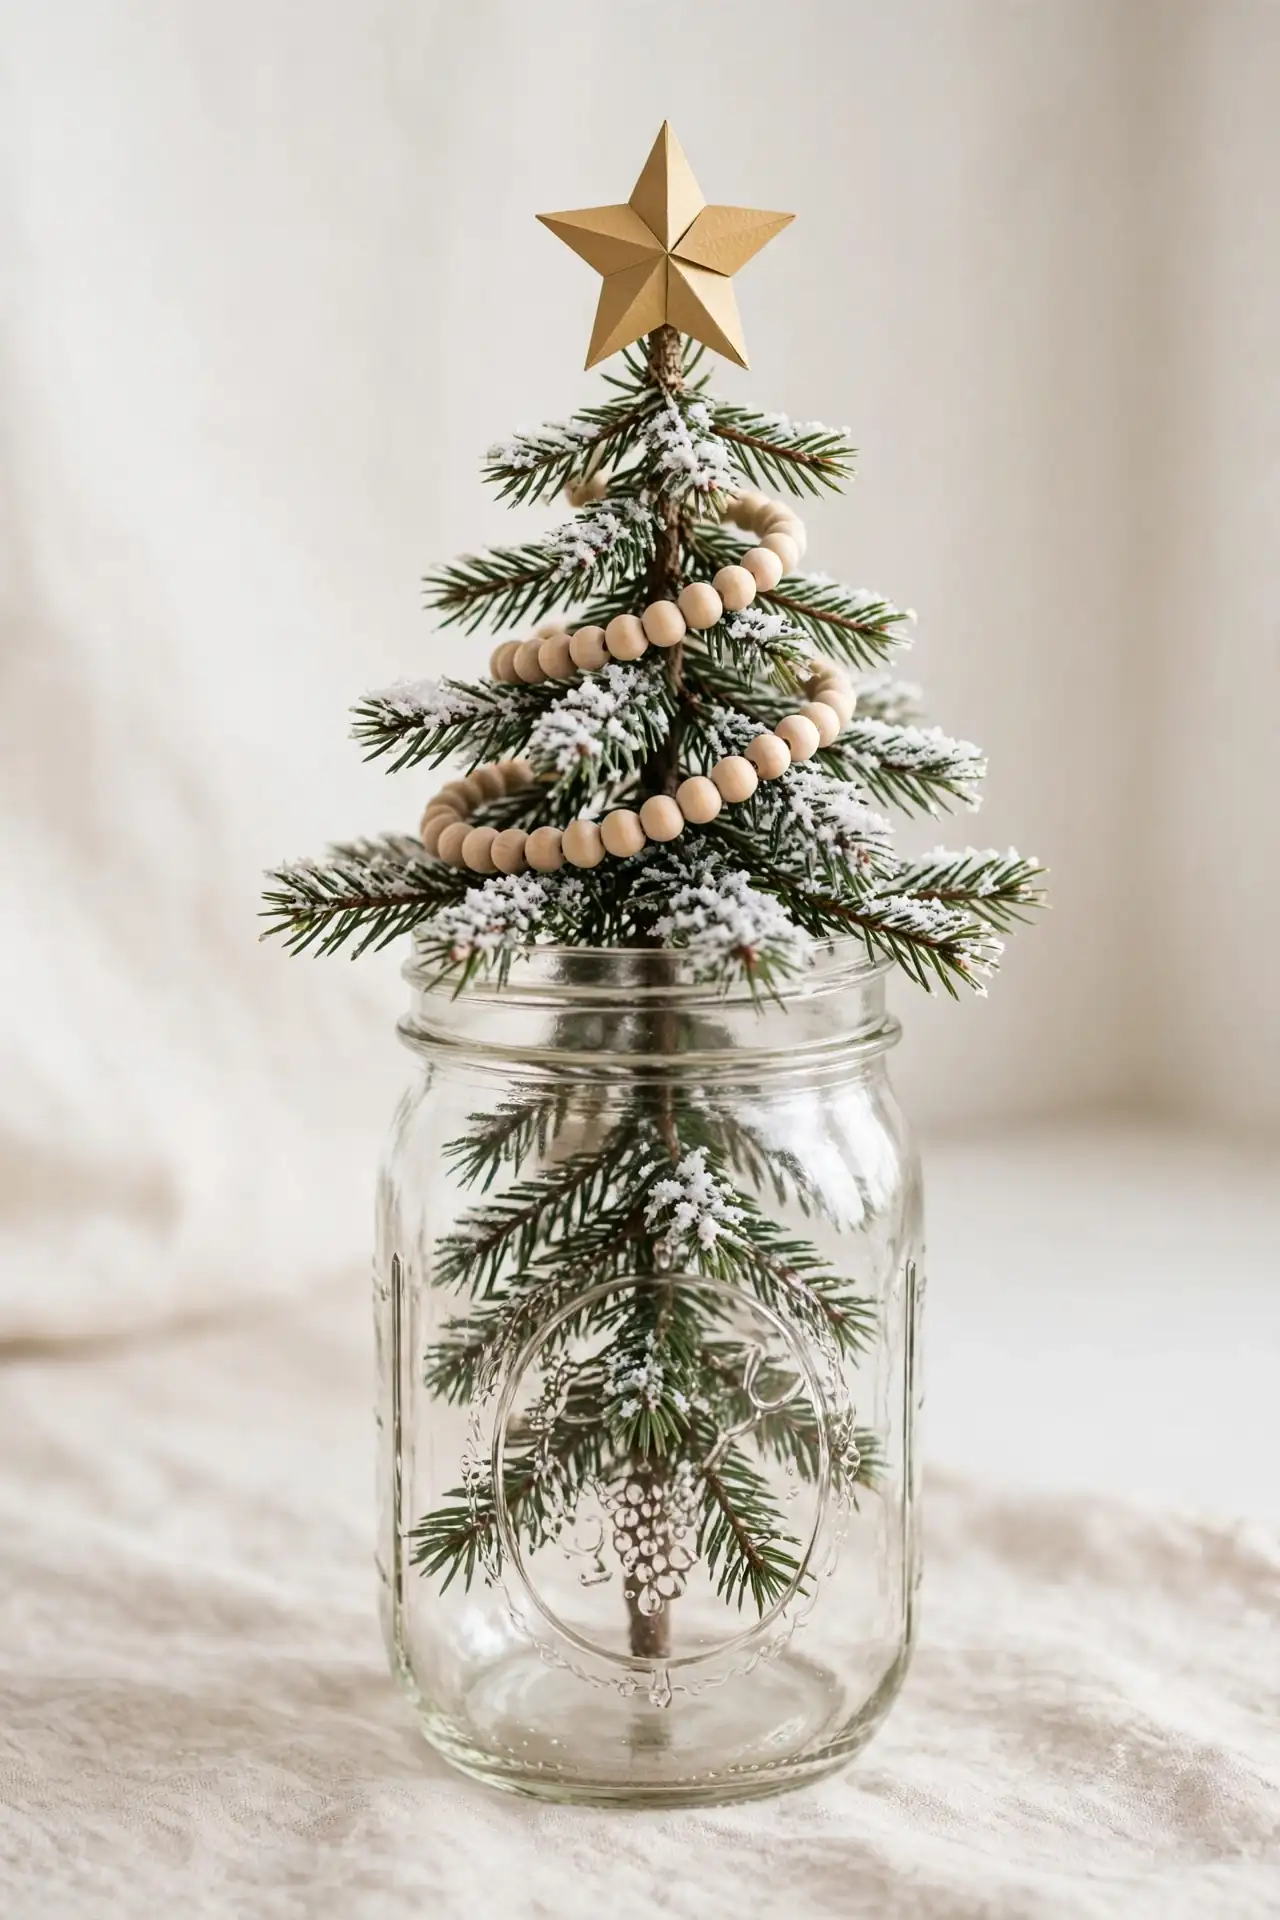
- Do trim twigs to graduated lengths for a tree shape.
- Do anchor the trunk in floral foam at the base.
- Do dust branches with fake snow for frost.
- Do top the tree with a gold paper star.
- Don’t use dyed twigs; natural bark looks better.
- Don’t overcrowd the jar or the shape disappears.
- Don’t skip the foam base or it topples.
- Don’t place lit candles beside dry twigs.
Twig trees look like miniature forests trapped in glass. They take minutes to build yet guests always ask how you made them. They pair well with our christmas craft ideas for adults on a craft-night table. Kids love decorating the tiny branches with bead garlands.
Eucalyptus Winter Greens
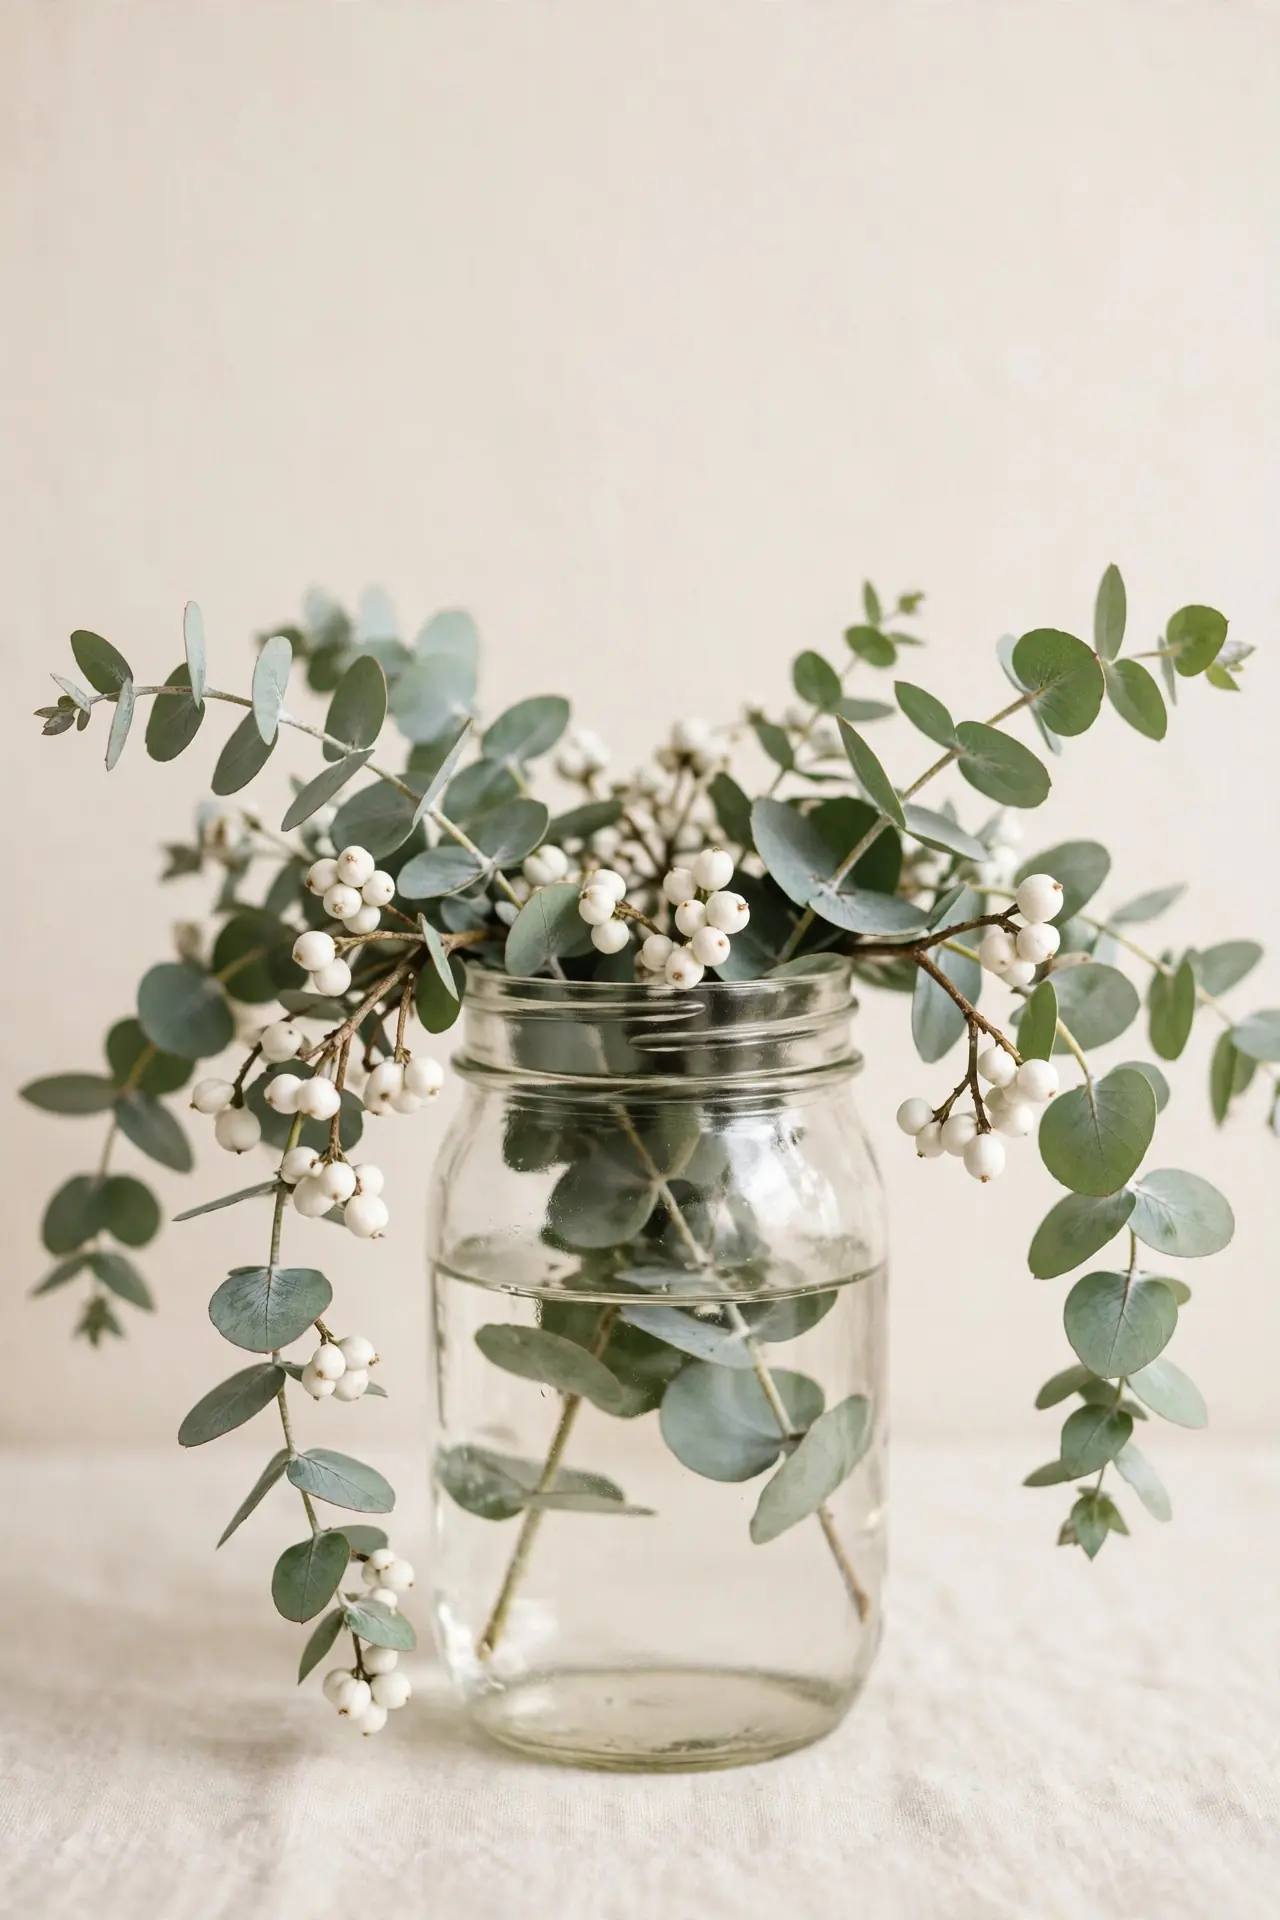
Cost: A single bunch of eucalyptus fills three or four jars.
Time: Ten minutes to trim stems and arrange each jar.
Skill Level: Easy; if you can trim a stem, you can style this.
Best For: Modern holiday decor with a calm, natural palette.
Eucalyptus brings a soft sage color that feels modern against traditional red and gold. The round leaves drape gracefully over jar rims, and the scent is subtle rather than sharp. I’ve noticed silver-dollar eucalyptus photographs best because the leaves are so graphic. Mix in a few white berries for contrast. The stems dry beautifully, so the arrangement lasts well past the holidays.
Burlap Bow Wrap
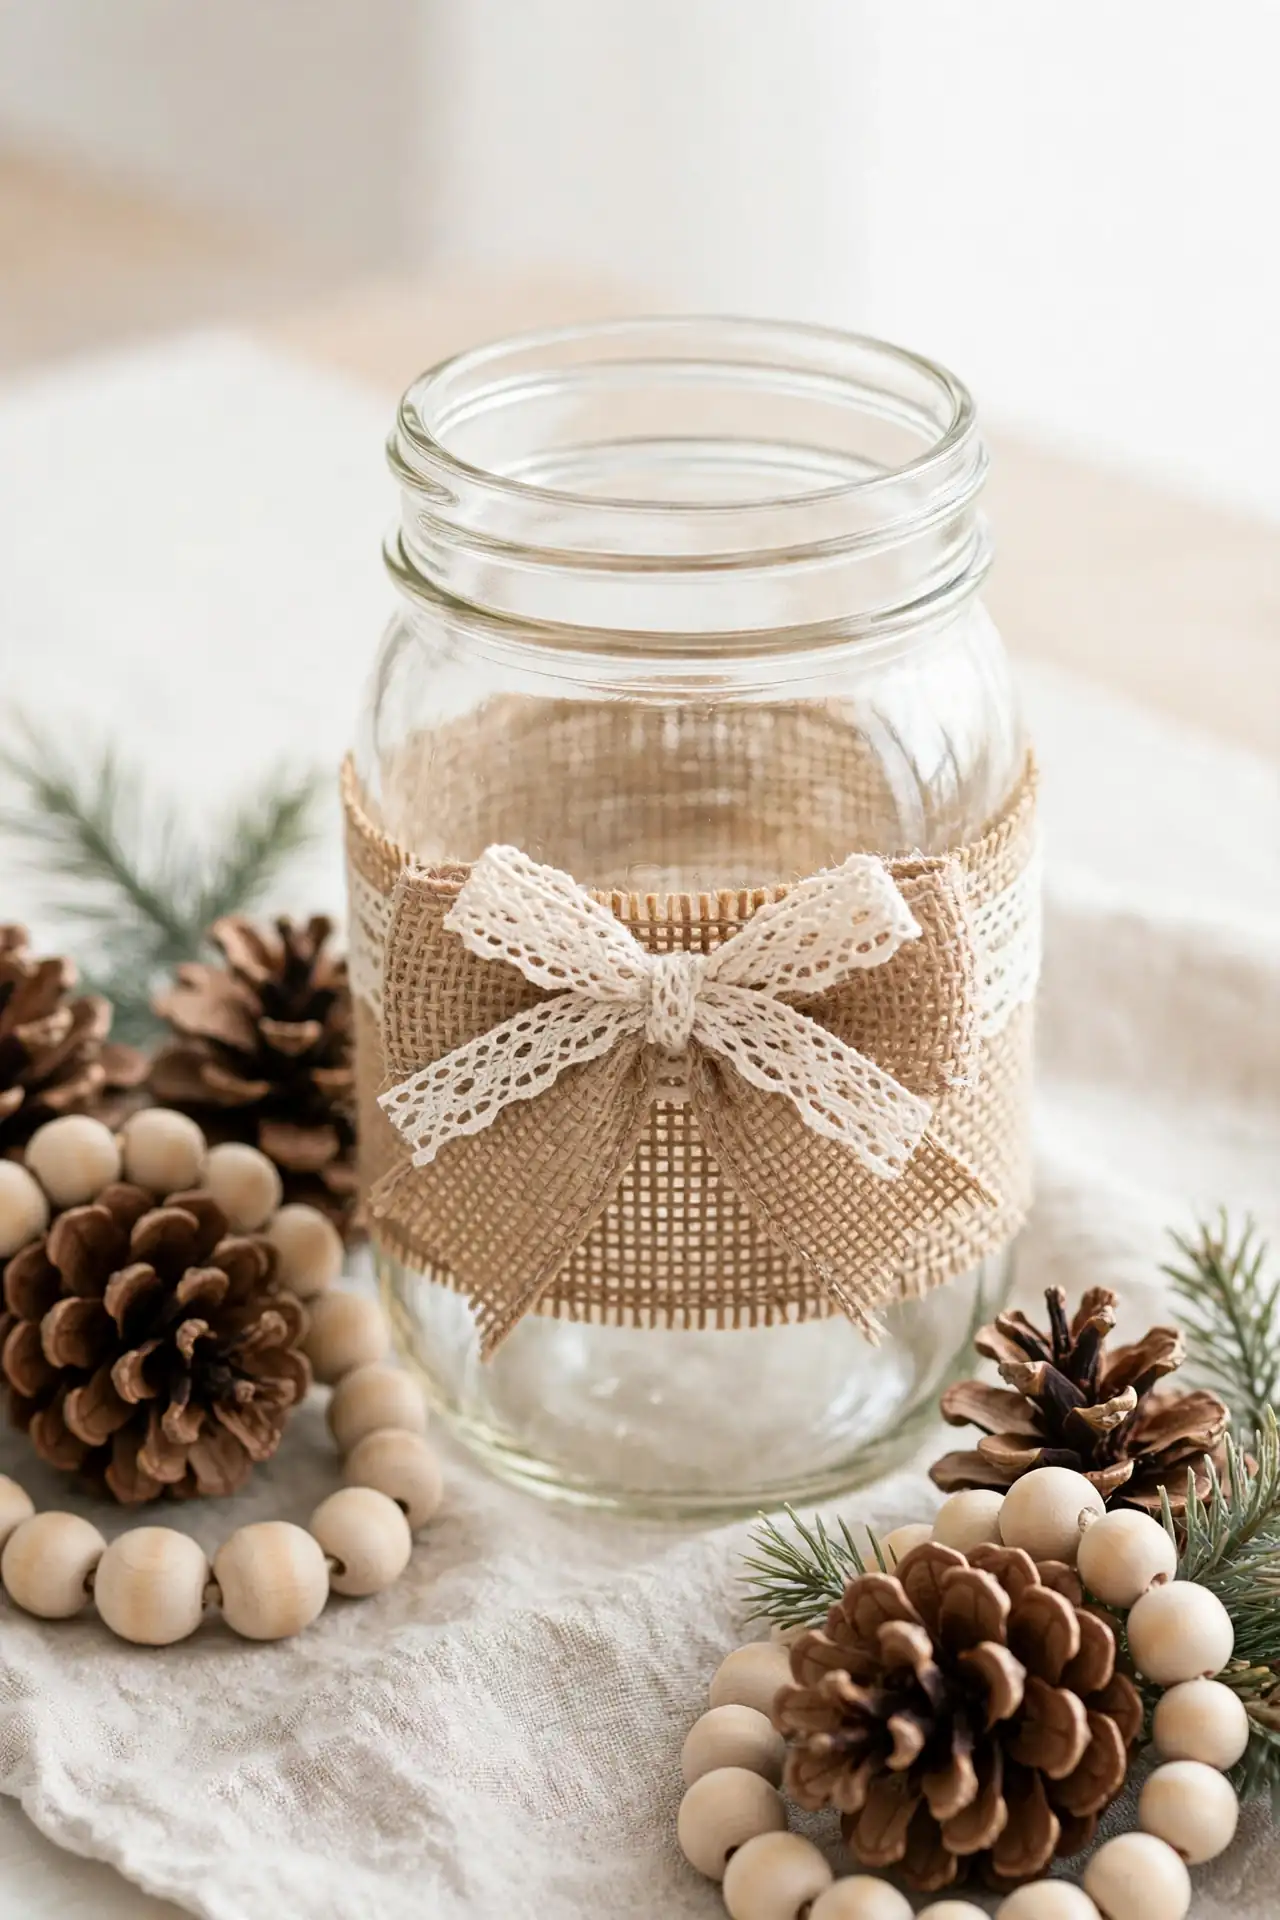
Burlap gives mason jars a farmhouse warmth that suits rustic holiday themes. Wrap a wide strip around the middle of the jar and secure it with hot glue at the back. Tie a simple bow from the same fabric and glue it over the seam. The rough texture contrasts beautifully with smooth glass.
Layer a thin lace ribbon over the burlap for a softer, vintage feel. I’ve noticed burlap jars look best grouped with pinecones and wooden beads. Keep the burlap away from open flames since the fibers catch easily. Battery candles give the same glow without any worry at all.
Dried Orange Slices
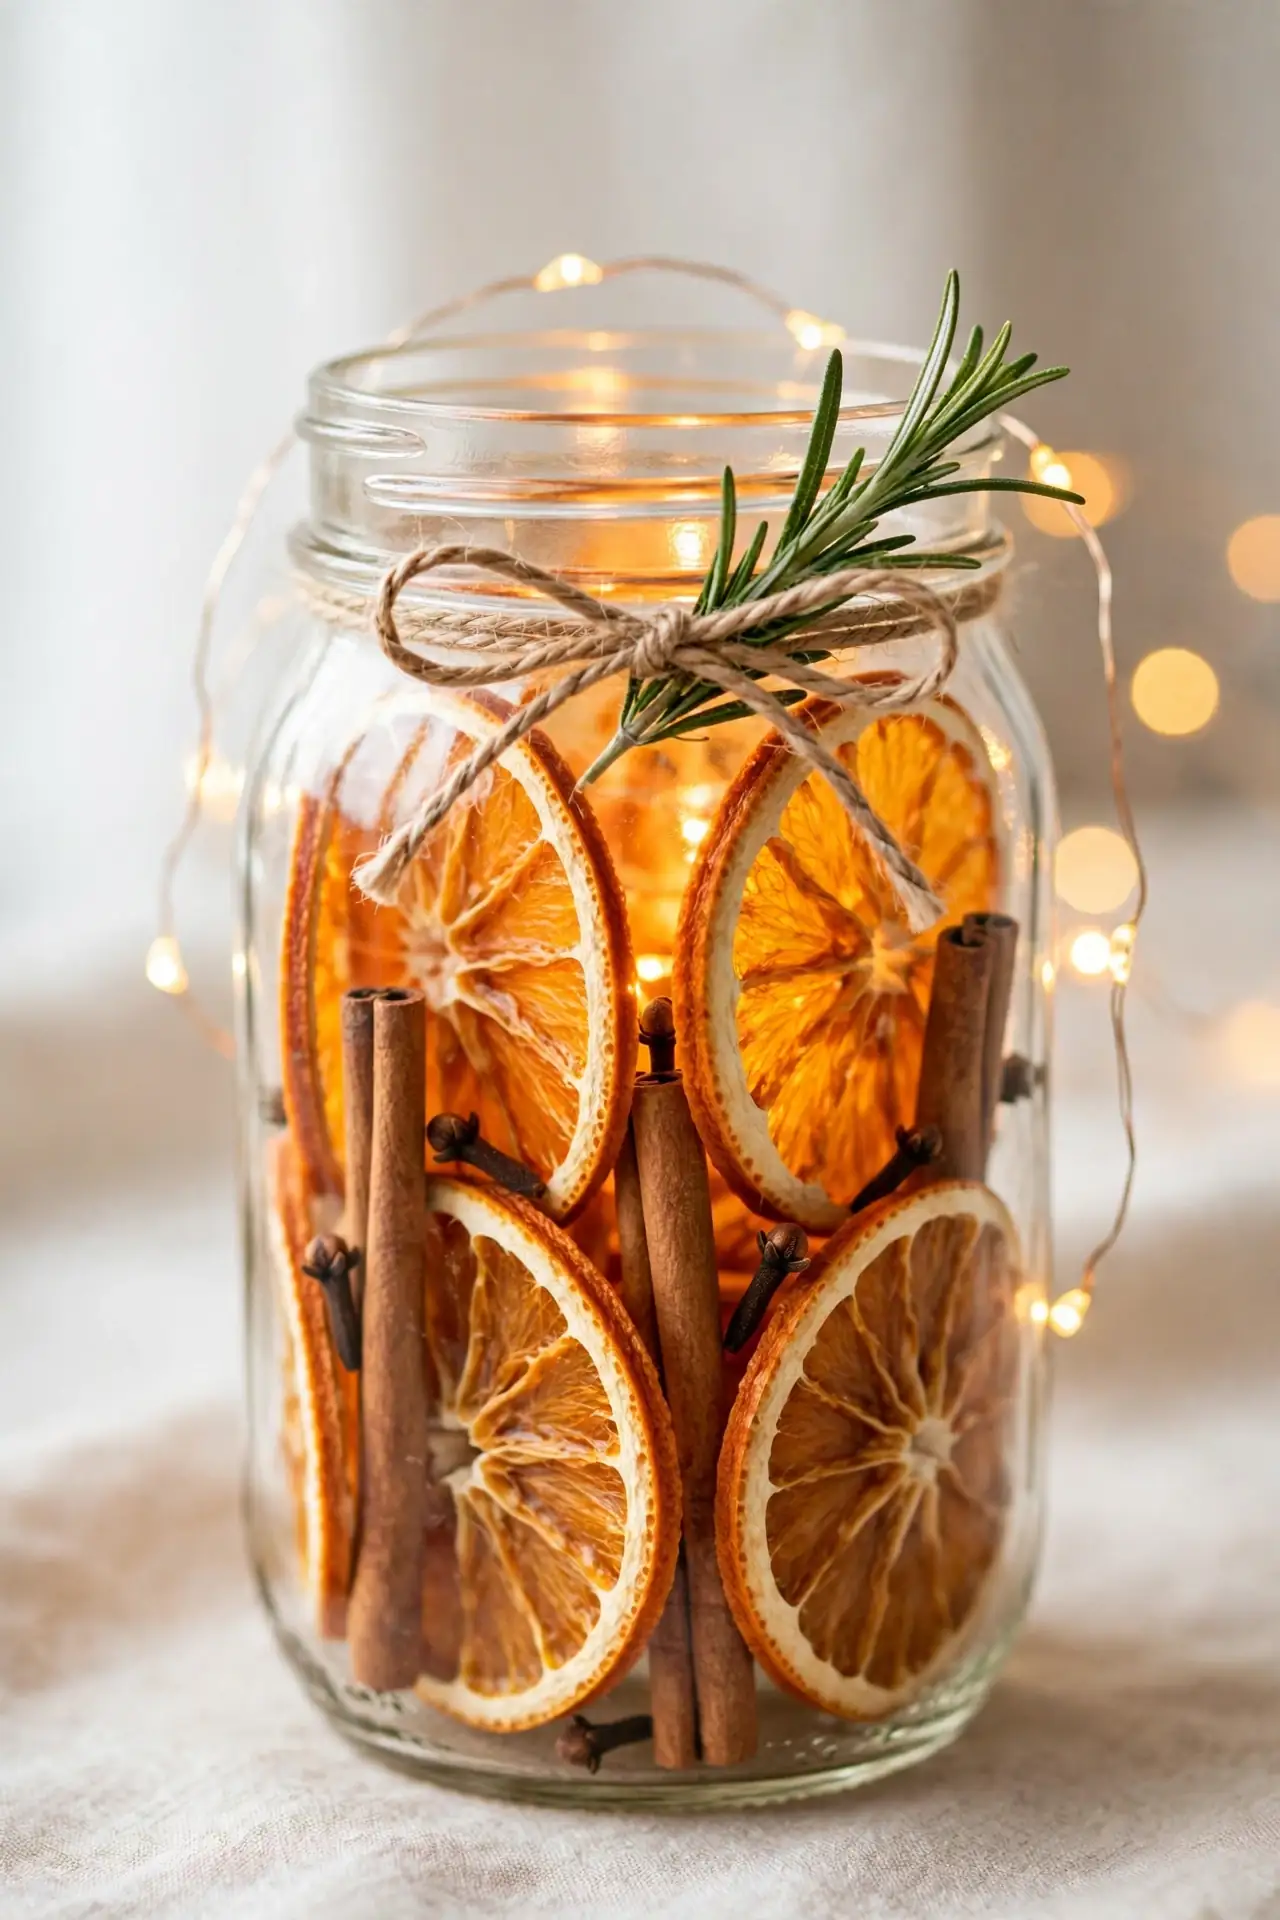
- Slice oranges thin and dry them low in the oven until crisp.
- Stand the amber slices upright inside the jar like little stained-glass windows.
- Tuck cinnamon sticks and whole cloves into the gaps for scent.
- Weave a short fairy light strand behind the slices for glow.
- Finish with a twine bow and a sprig of rosemary.
Dried oranges glow like amber when light shines through them. The translucent slices turn a simple jar into something that looks straight from a holiday market. I’ve noticed blood oranges give the deepest color, though any orange works. Dry a big batch at once because you will want these in every room.
Glitter Snow Scene
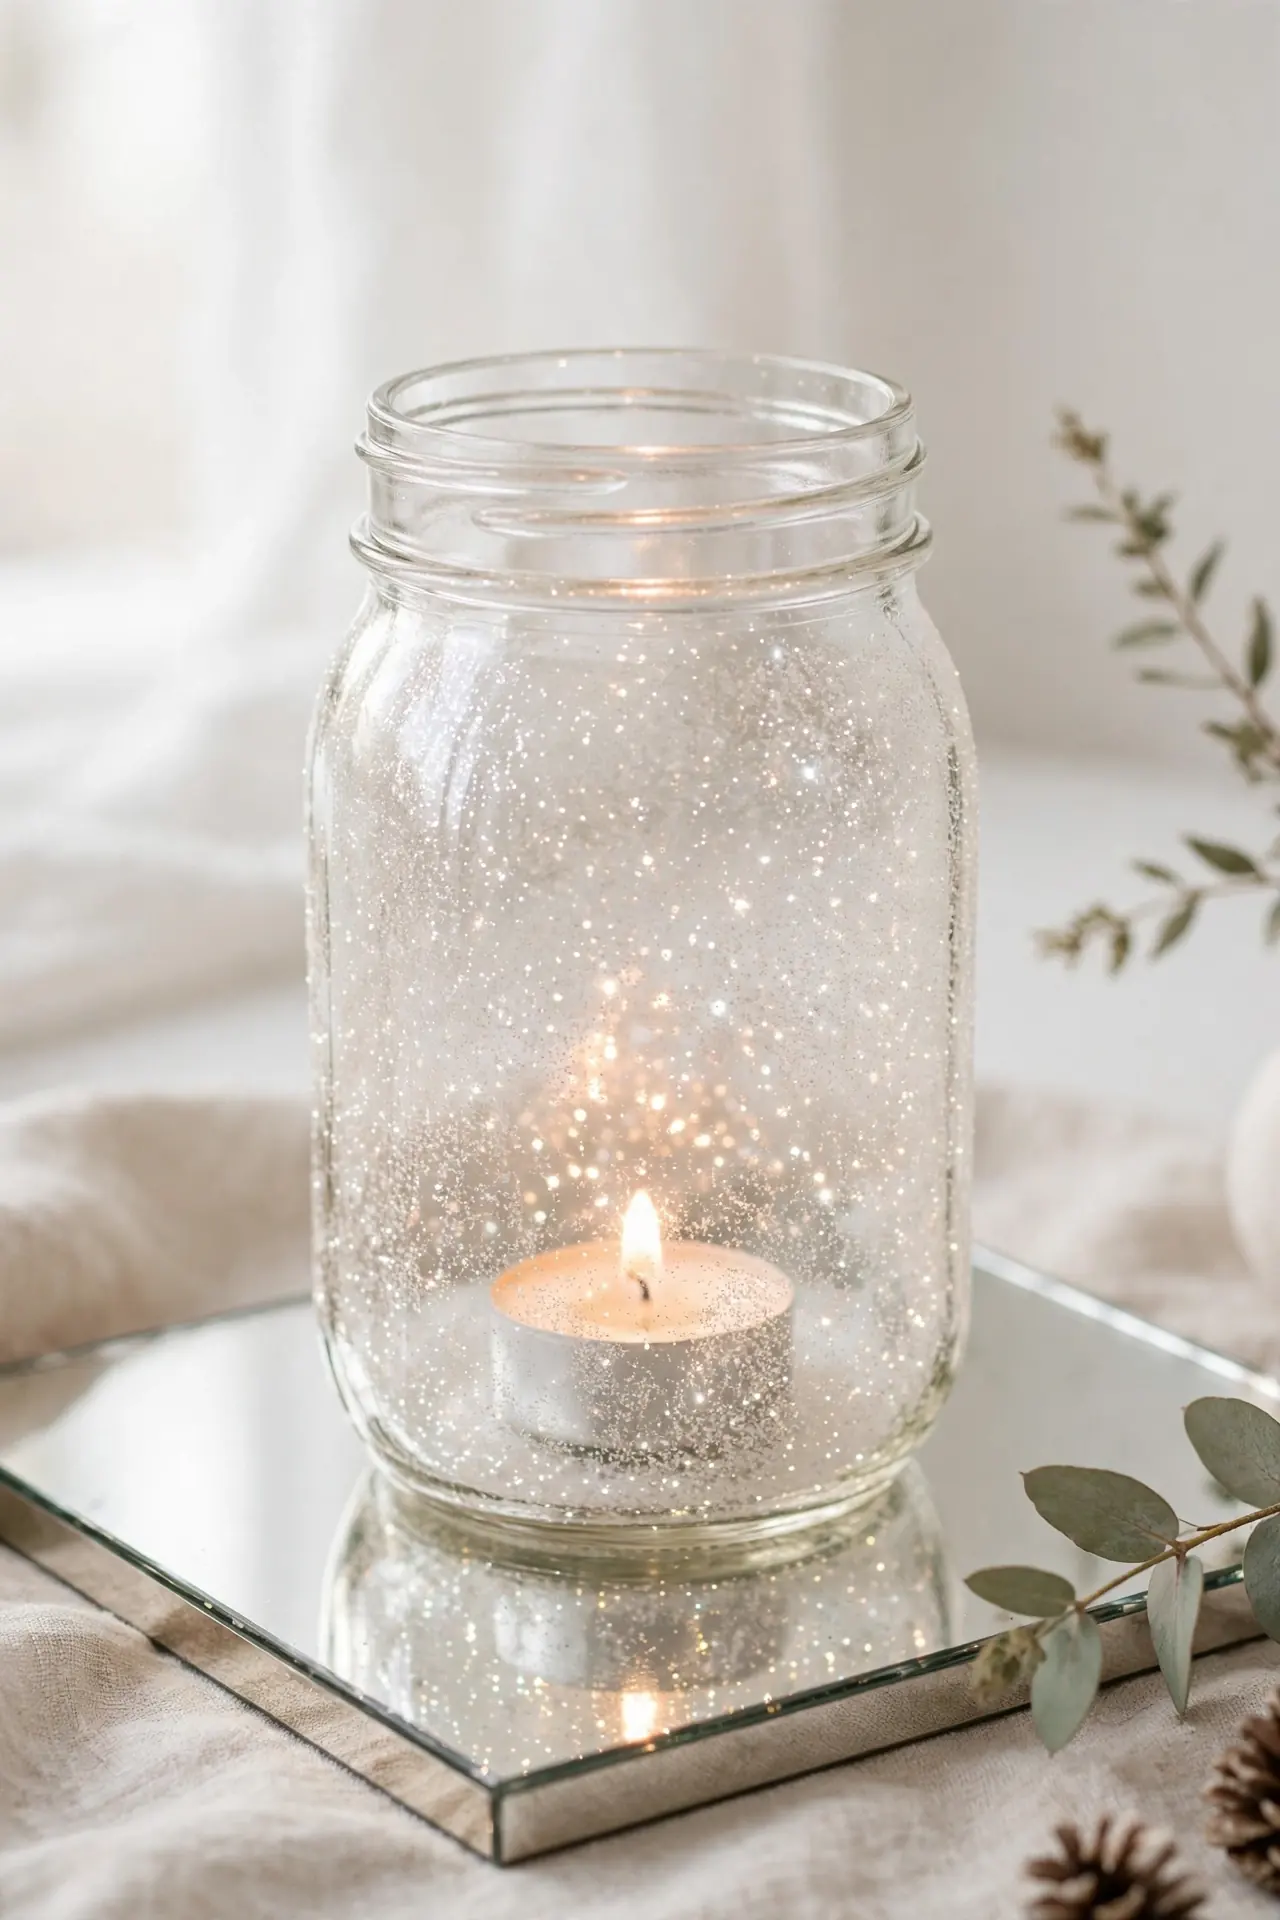
Quick Tip: Use fine glitter, not chunky, for a smooth snowy coating. Brush the inside of the jar with decoupage glue and shake glitter over it until covered. Tap out the extra and let it dry fully before adding a tealight. The sparkle multiplies candlelight beautifully.
Choose white or champagne glitter for an elegant snow effect. I’ve noticed a second light coat evens out any patchy spots. Place these on a mirrored tray to double the shimmer. Seal the glitter with a clear topcoat once fully dry. Keep the glittered jars away from toddlers since flakes shed a little at first.
Mini Poinsettia Pots
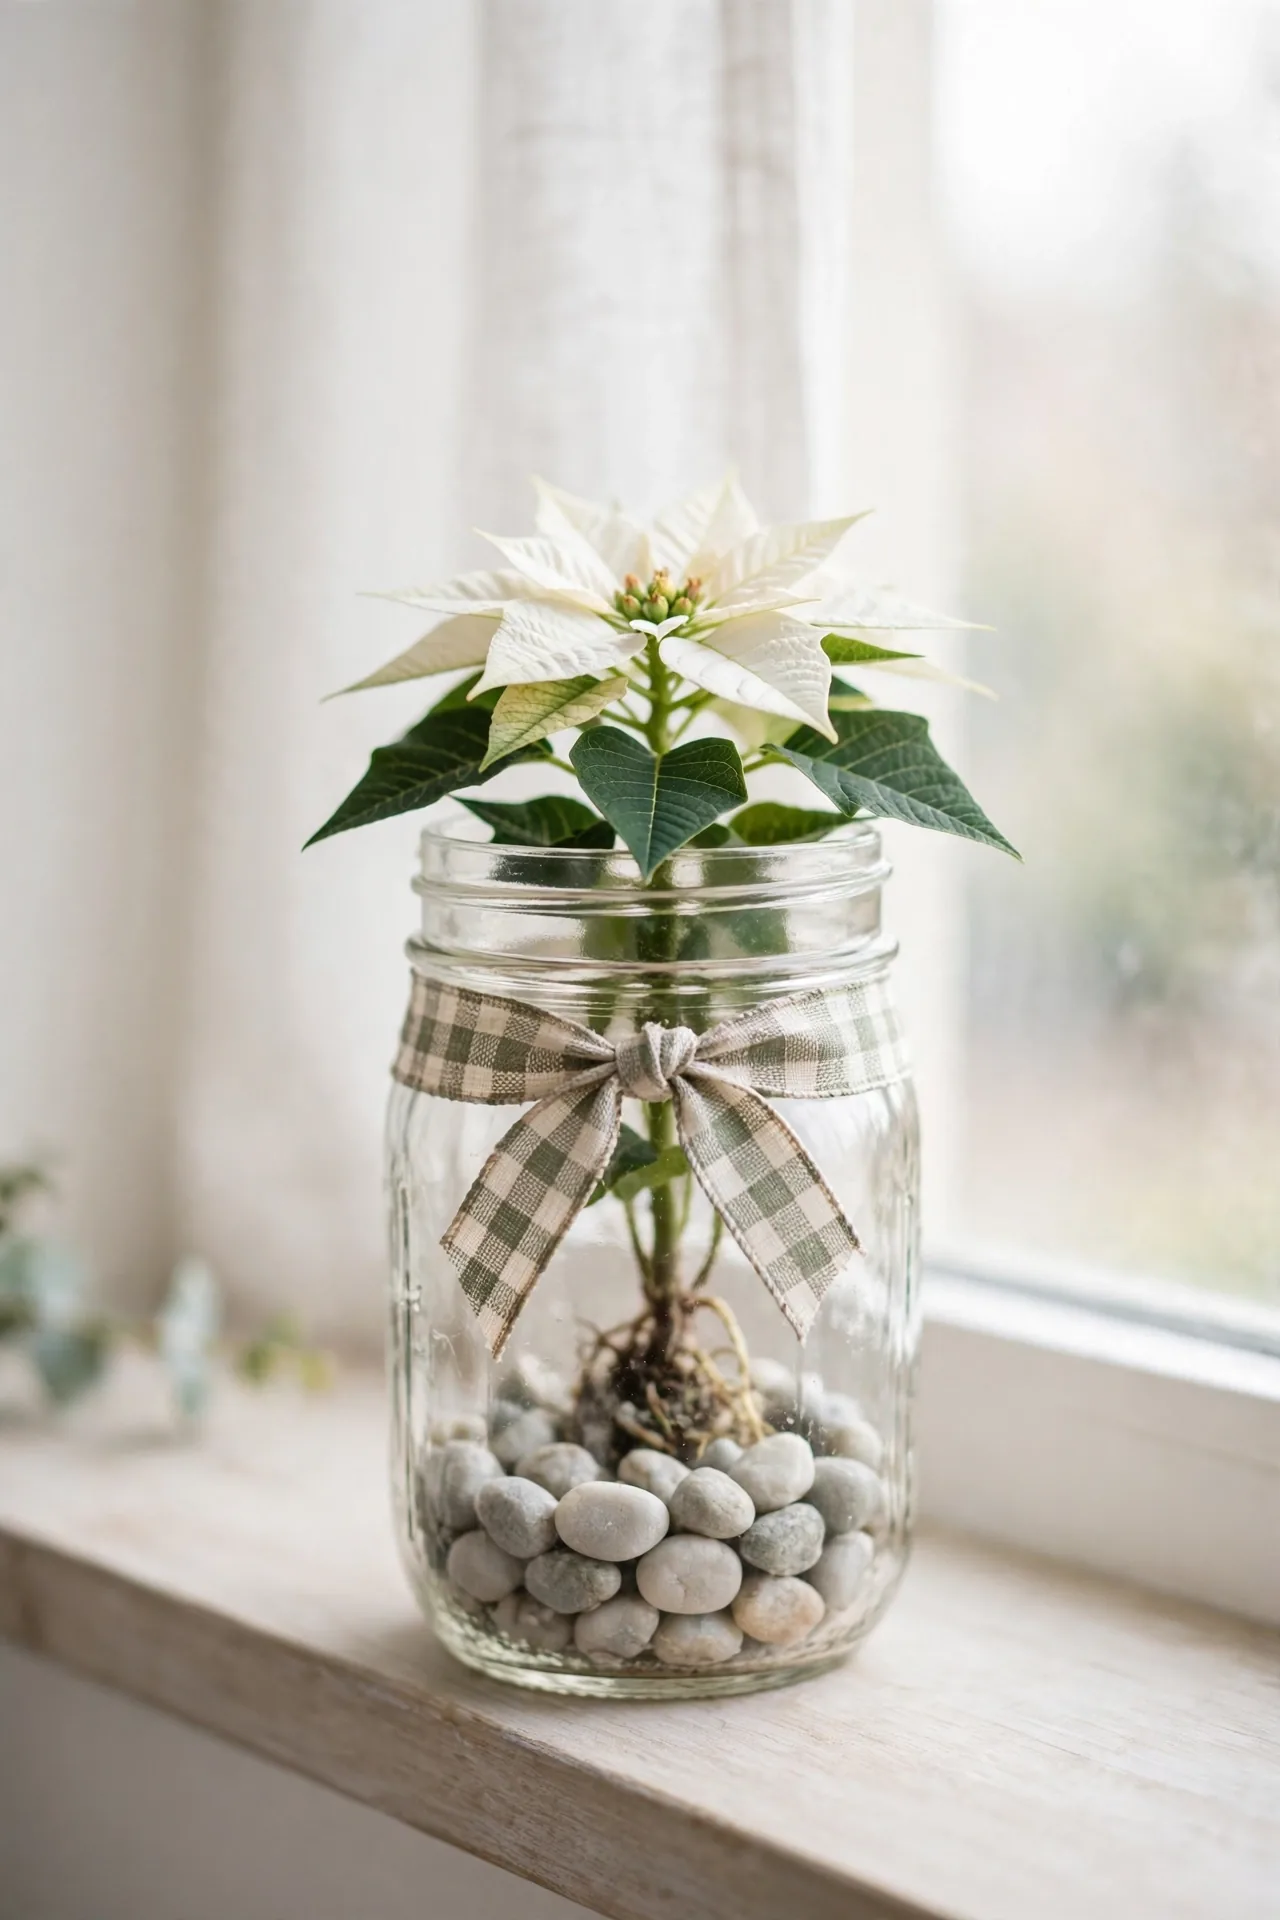
BEFORE: Before, the poinsettias sat in flimsy foil wrappers that clashed with the decor. The shiny red foil cheapened even the prettiest blooms. Guests noticed the pots more than the flowers.
AFTER: After, each plant drops into a mason jar wrapped with plaid ribbon. The glass hides the nursery pot and shows off the stems. The poinsettias suddenly look like a florist arrangement instead of a grocery run.
Pick jars wide enough that the root ball slides in without forcing. A layer of pebbles at the bottom keeps the roots above any standing water. I’ve noticed white poinsettias in clear jars look especially fresh against green decor. Water sparingly since jars have no drainage holes.
Chalkboard Label Jars
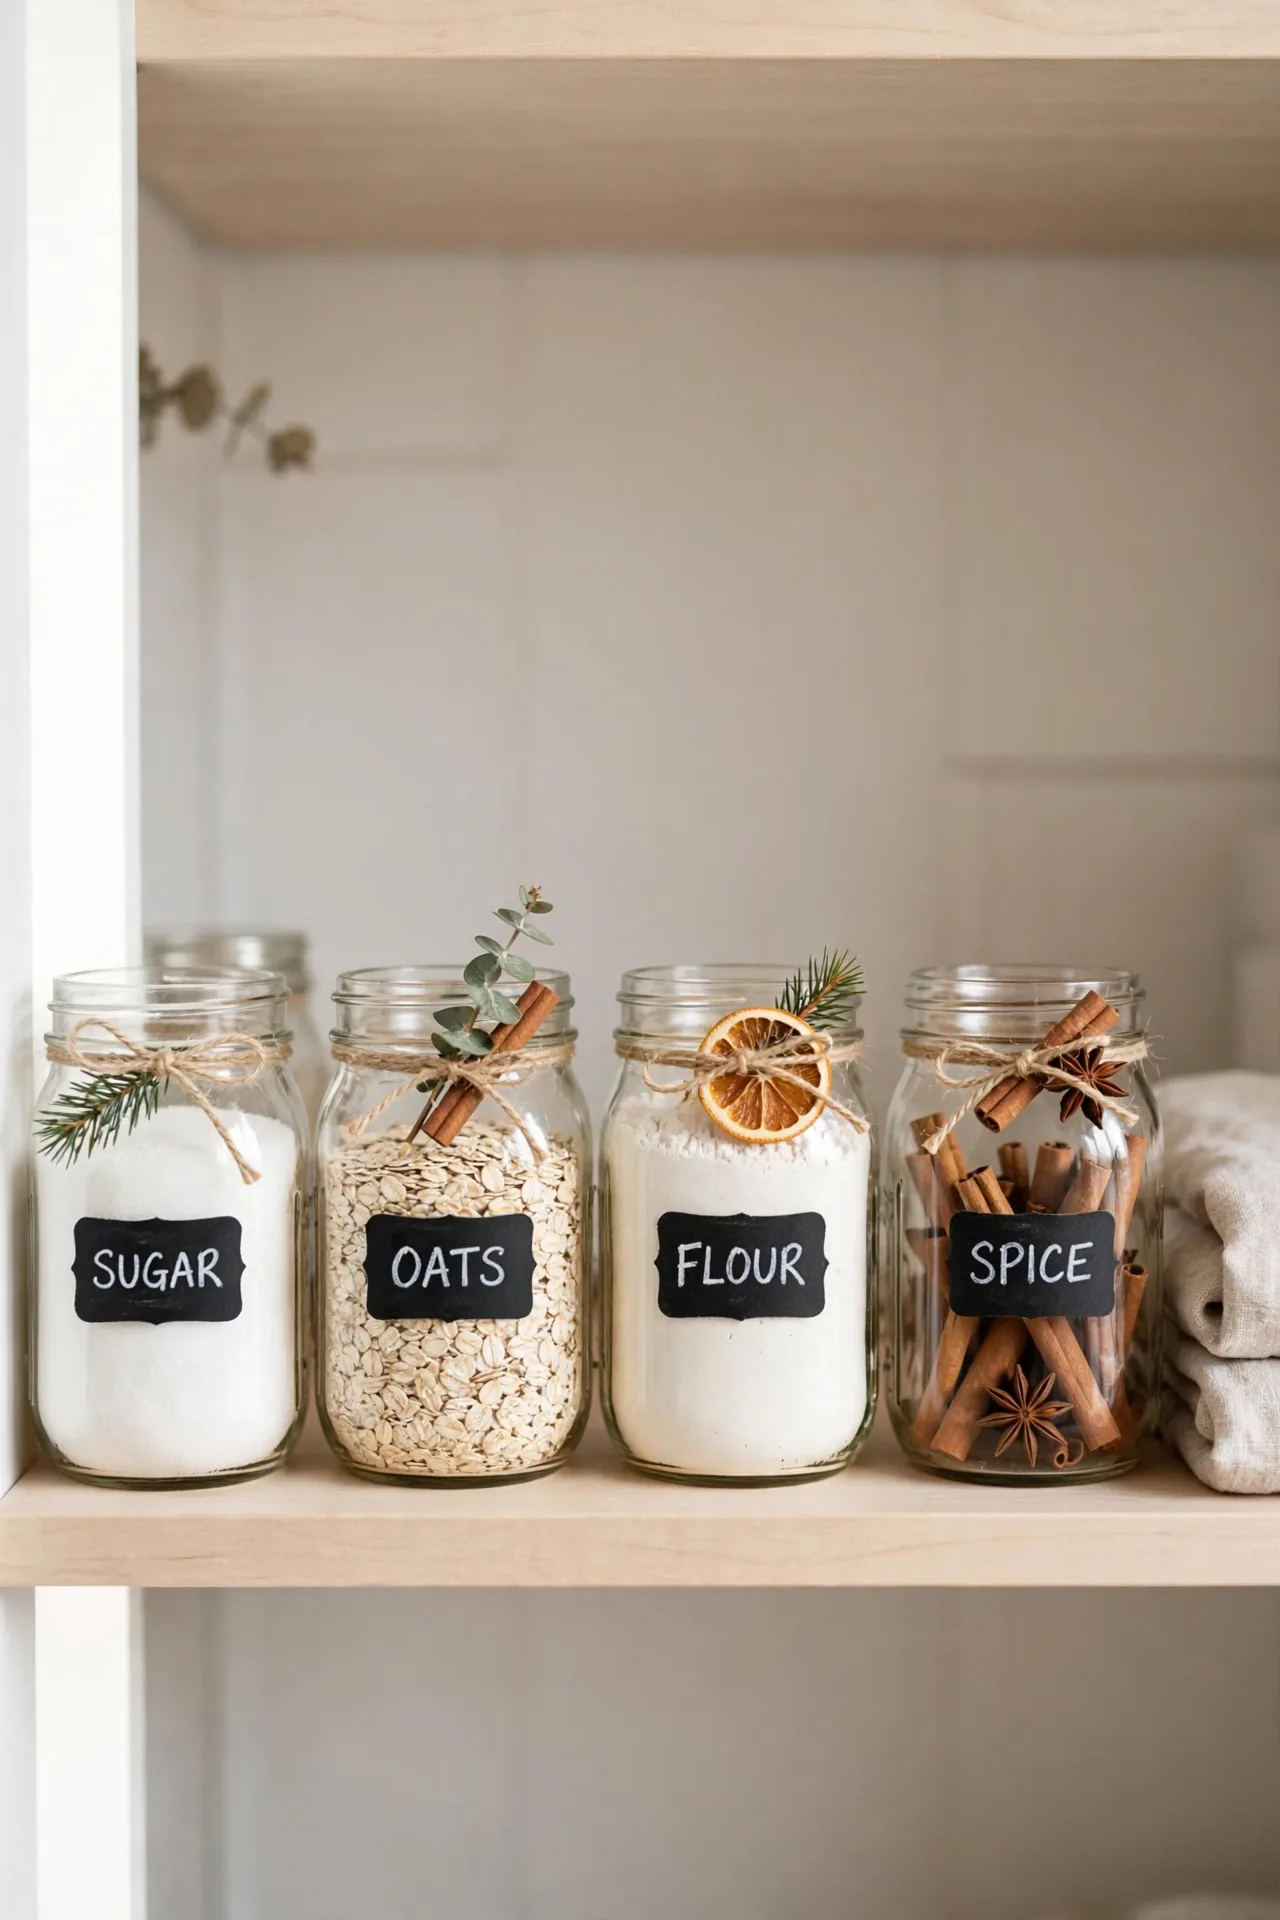
- Paint a small rectangle on each jar with chalkboard paint and let it cure.
- Label the contents in chalk marker: cocoa, candy, or pinecones.
- Fill the jar and screw on the lid, then tie twine around the neck.
- Smudge the chalk lightly for a relaxed vintage label look.
Chalkboard labels turn storage jars into decor that earns its shelf space. Change the labels with the seasons and the same jars work year-round. I’ve noticed white chalk markers show up best on the dark paint. Keep a damp cloth nearby for quick label changes before guests arrive. The handwritten touch makes even simple contents feel special.
Frosted Glass Glow
| Frosting Spray | Frosted Film | |
|---|---|---|
| Finish | Soft etched matte | Even translucent sheen |
| Effort | Two quick coats | Cut, peel, and smooth |
| Cost | One can covers many jars | One roll covers several |
| Removal | Soaks off with hot water | Peels away cleanly |
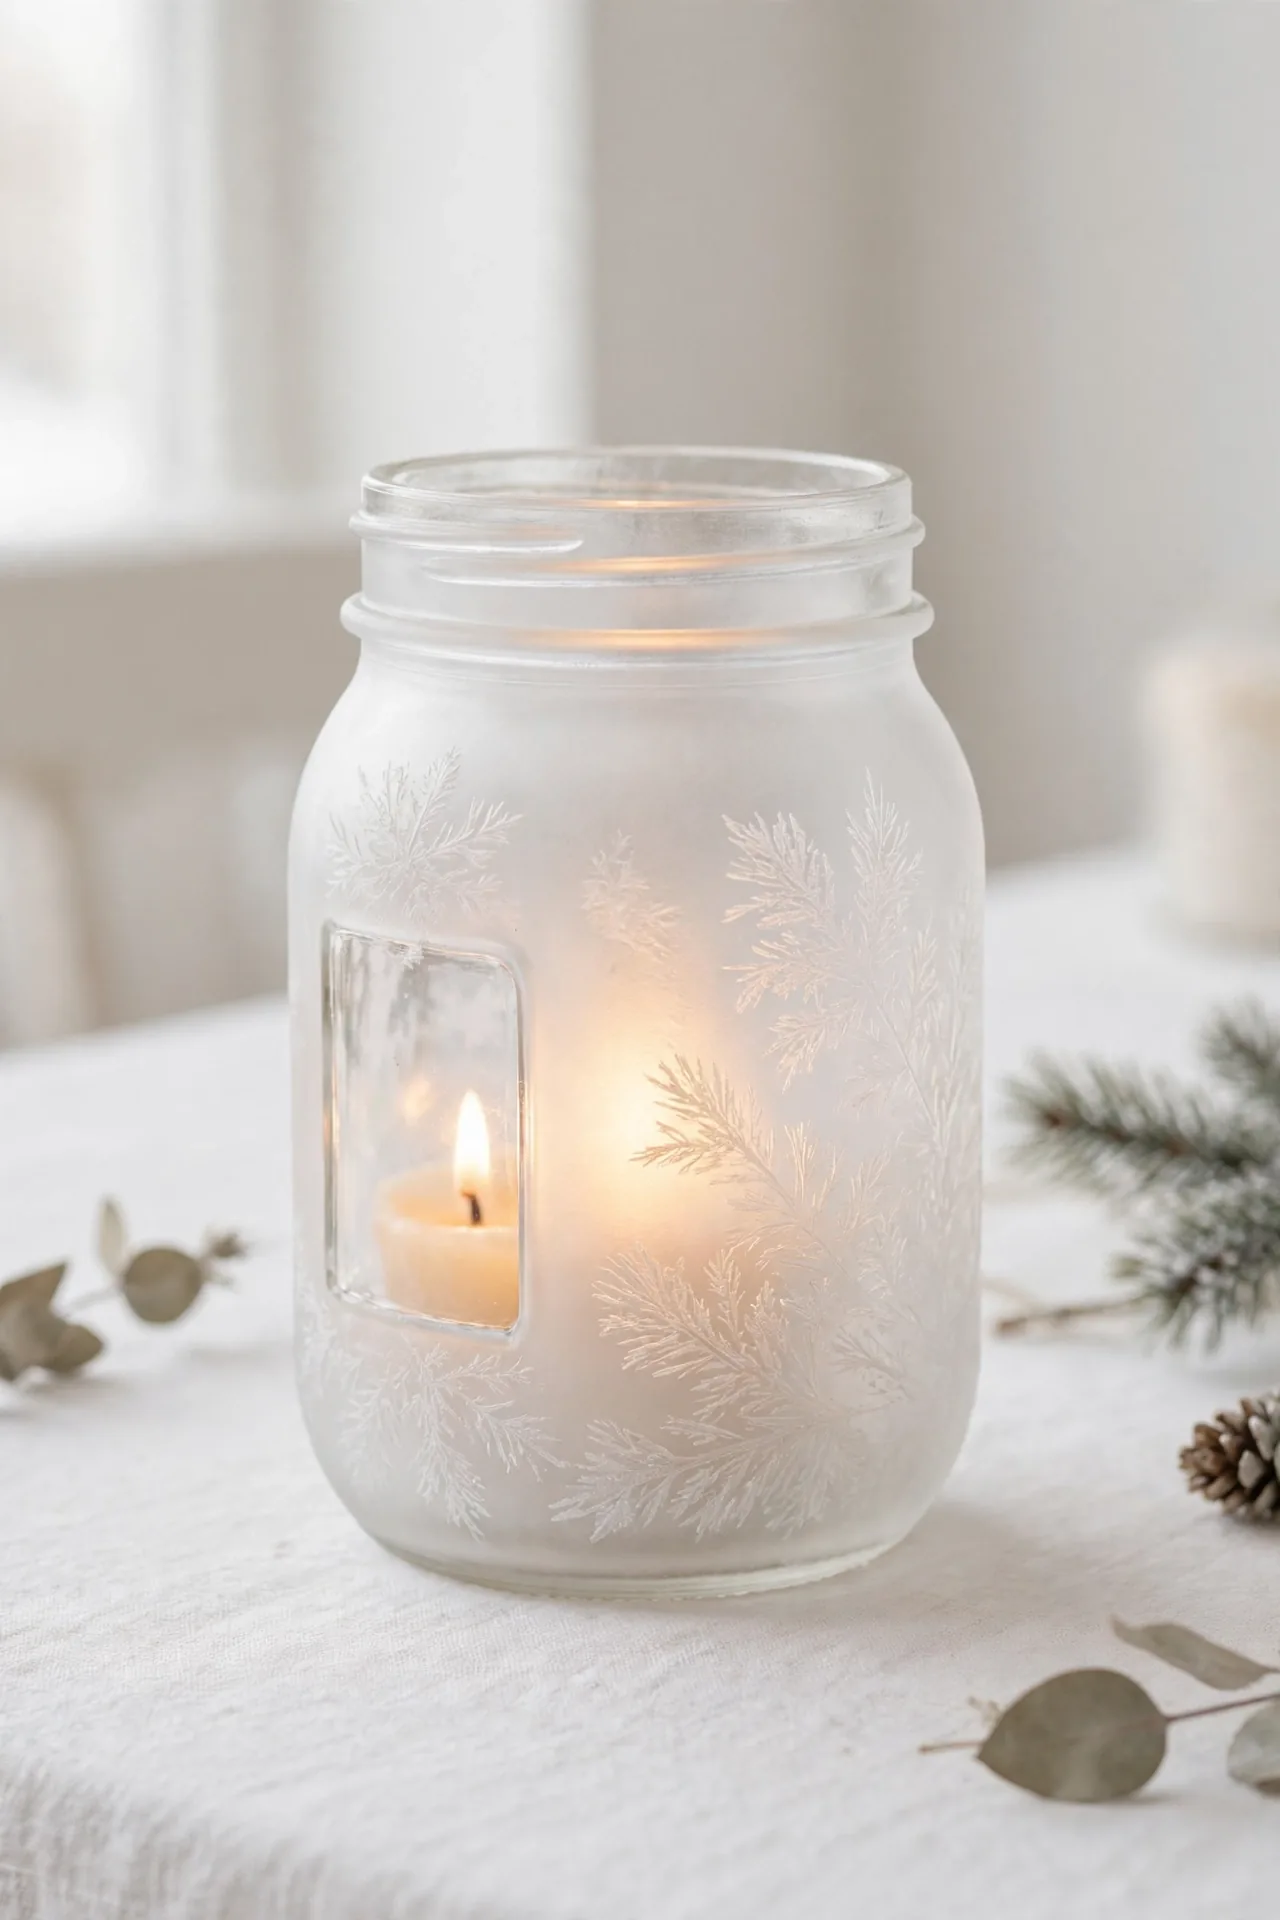
Frosted jars diffuse light into a soft halo that flatters every corner. Spray the outside in light passes, letting each coat dry before the next. A frosted jar with a candle inside looks like a block of glowing ice. I’ve noticed frosting also hides fingerprints, which keeps jars looking fresh through busy party weeks. Leave a small clear window unfrosted to peek at the flame inside. Once the season passes, hot water and a scrub return the jar to clear glass.
Conclusion
These christmas mason jar ideas prove that holiday magic does not need a big budget. A few jars, some candlelight, and natural touches can fill your home with warmth all season long. Start with the idea that caught your eye and build a small cluster this weekend. Save this guide to your holiday boards so the inspiration is handy when decorating begins. Then light a candle, pour something warm, and enjoy the cozy glow you created. Share your favorites with friends who love handmade holiday style. Small projects like these often become the most loved traditions of all.
3 Comments