21 Modern Craftsman Kitchen Design Ideas for Timeless Character
Warm wood, handmade tile and honest joinery give a kitchen a character that never dates. The strongest modern craftsman kitchen design inspiration starts with shaker cabinets in real timber, stone that can take a knock, and iron hardware with a soft matte finish. Cream walls keep all that richness feeling bright.
Every idea below pairs a photograph with practical notes on wood tone, tile finish and layout, so the look stays easy to build in stages. The warm woods and soft colours in dusty rose and brown living room ideas often sit one doorway away from these kitchens, and the same palette carries through beautifully. In my experience, choosing the cabinet timber first makes every later decision simpler.
Warm Shaker Wood Cabinets

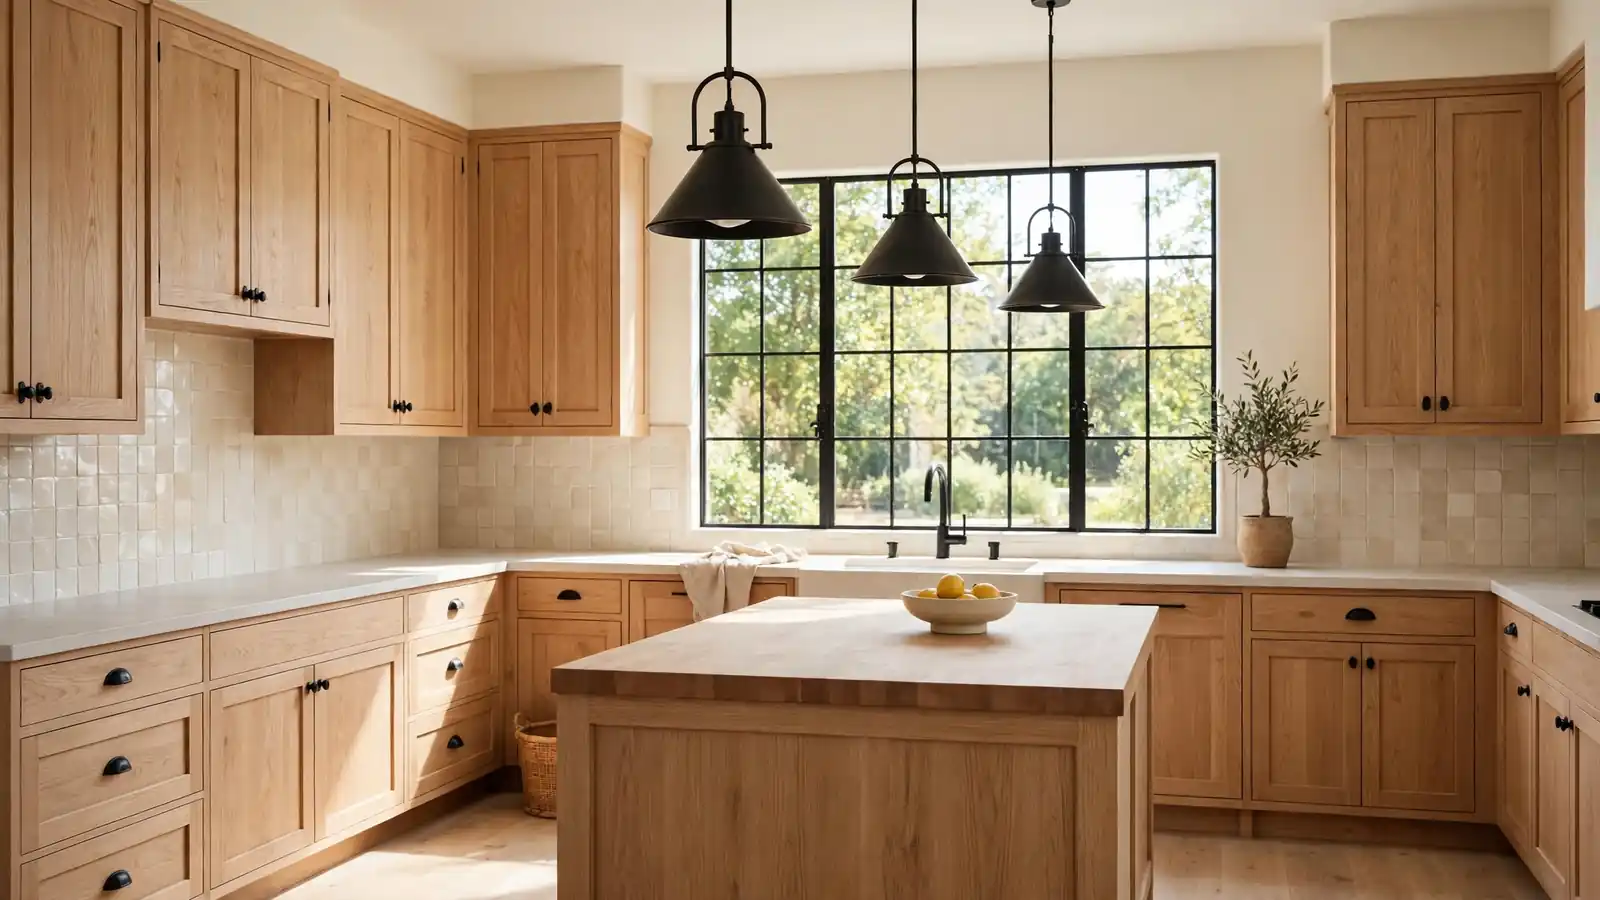
Shaker fronts in warm white oak set the tone for the whole room. The flat centre panel and square frame suit craftsman bones perfectly, and the timber grain shows through a clear finish rather than hiding under paint. Choose full overlay doors for a fitted look, and keep the run unbroken from wall to wall so the cabinetry reads like furniture built for the house itself.
Brass or iron cup pulls finish the fronts without fuss. I’ve noticed that one hardware finish repeated on every drawer keeps the wall of wood calm, while mixing metals makes it restless. Leave a small shadow gap at the ceiling and the run feels crafted, not crammed.
Handmade Tile Backsplash
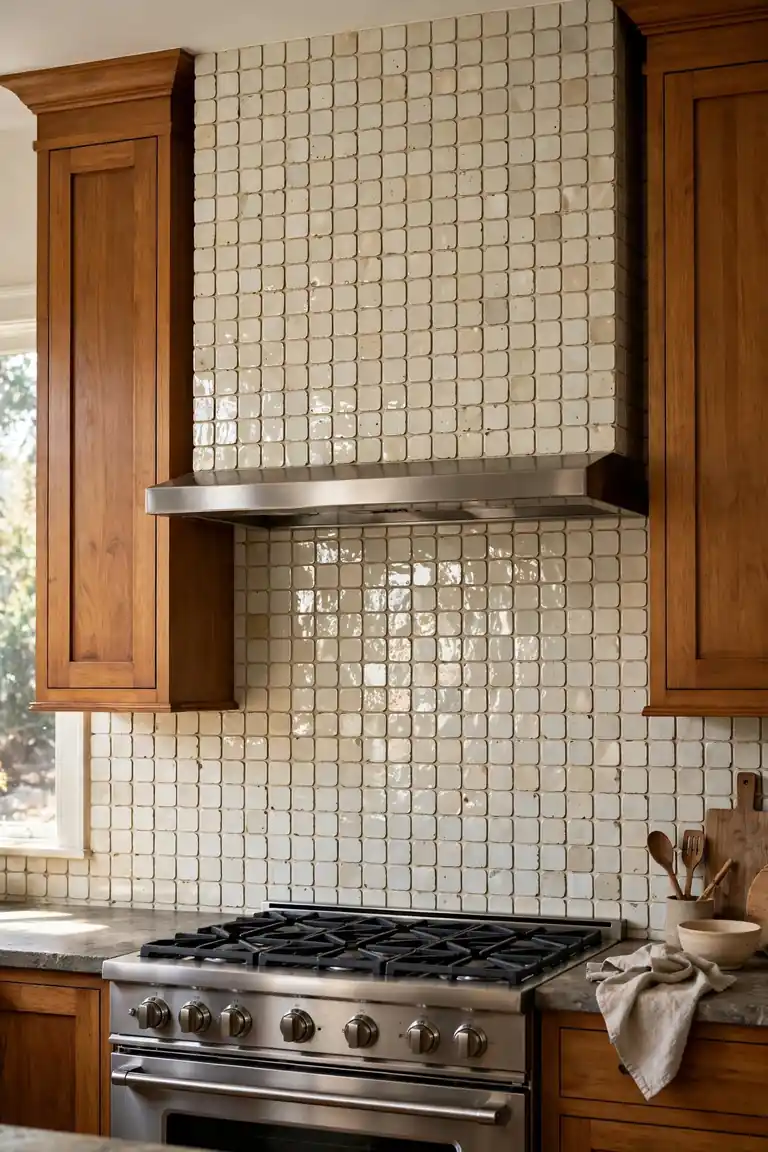
- Choose zellige or crackle glazed tiles whose edges catch the light unevenly.
- Run the tile from counter to ceiling behind the range for a chimney effect.
- Keep grout one shade deeper than the tile so the grid stays visible.
- Mix two tile sizes in one field to fake a century of small repairs.
- Seal handmade glaze twice, since kitchen splashes find every porous spot.
Handmade tile forgives a busy kitchen. Small waves in the glaze soften the geometry of the cabinets, and cream or sage tones keep the wall light even under cupboards. That’s why many experts recommend testing one square metre on board first, leaning it behind the hob for a week before the full wall is committed.
Matte Iron Hardware
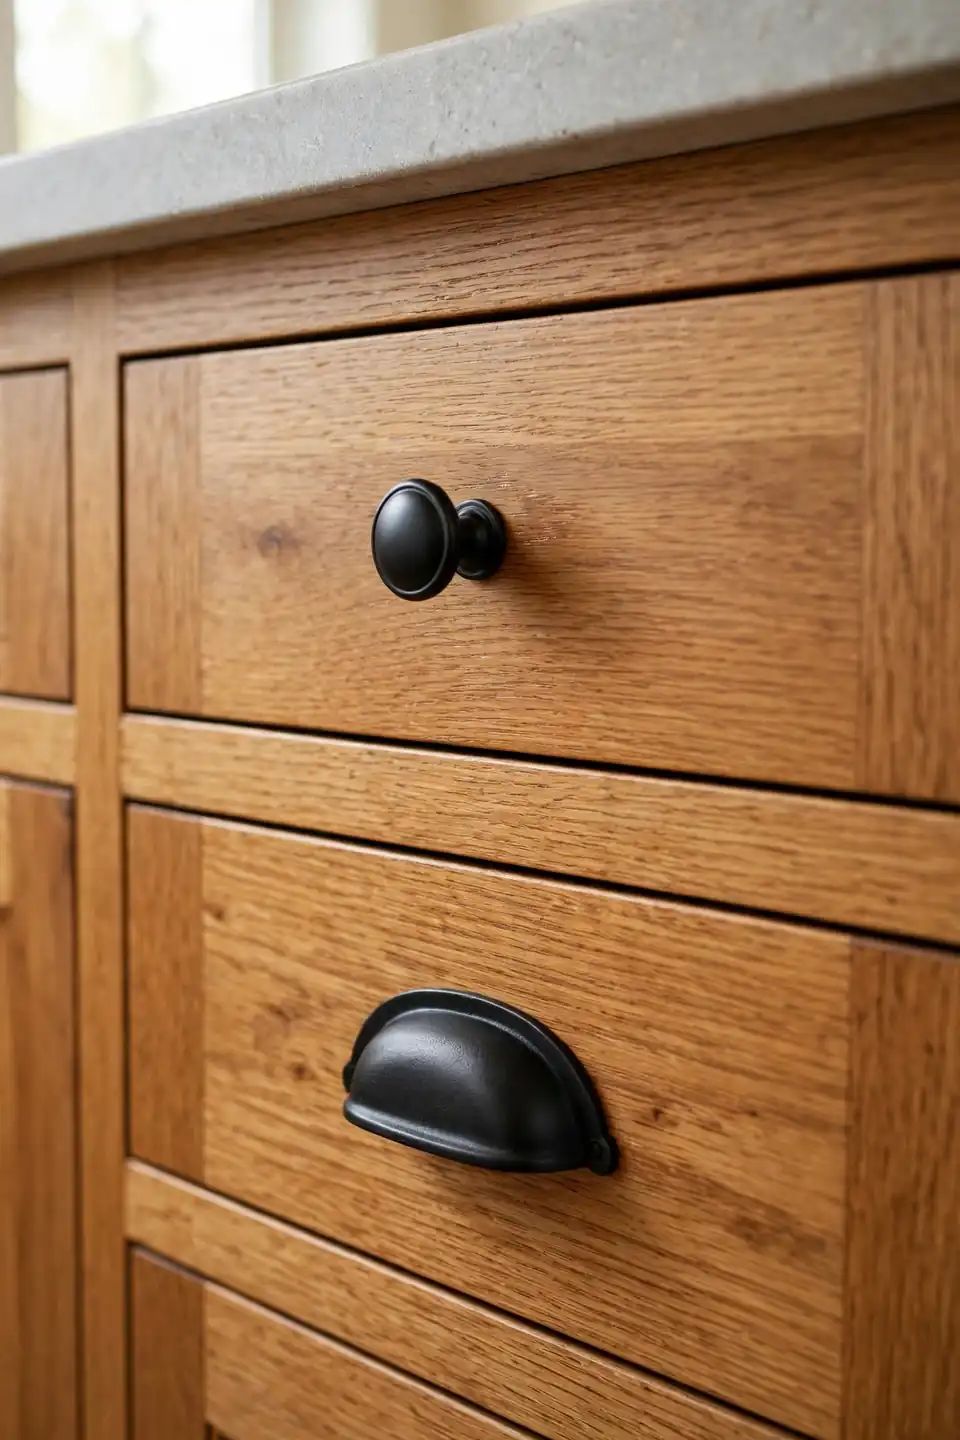
Quick Tip: Order one extra pull of each size and keep them in a labelled drawer. Iron finishes vary between batches, and a spare bought today will match far better than a replacement ordered years from now when a handle works loose on a busy drawer.
Matte black iron gives warm wood its outline. Cup pulls on drawers, simple knobs on doors and a chunky latch on the pantry door repeat one quiet shape language around the room. The finish hides fingerprints better than polished metal, and it deepens with handling instead of tarnishing unevenly, so high touch spots age gracefully together. Wipe marks away with a dry cloth only.
Honed Stone Countertops

BEFORE: The counters wore glossy black granite that showed every crumb and water ring. Under the bright ceiling lights the surface glared, and the warm cabinets beside it looked oddly orange by comparison.
AFTER: Honed quartzite in a pale stone tone now runs wall to wall. The matte surface swallows glare, crumbs disappear into the soft veining, and the wood beside it reads richer and calmer.
Honed finishes suit craftsman rooms because they feel quarried rather than polished. Ask the fabricator for a leathered or brushed texture if fingerprints drive you mad, and carry the same stone up as a short splashback behind the range. One continuous material keeps the worktop line quiet and lets the cabinetry stay the hero.
Apron Front Sink

- Pick a fireclay or cast iron sink at least 25 centimetres deep for roasting trays.
- Set the sink forward so its apron sits proud of the cabinet line by two centimetres.
- Pair it with a bridge faucet in unlacquered brass or matte black iron.
- Run a bead of clear sealant behind the apron to guard the cabinet below.
A deep apron sink earns its keep daily and anchors the room’s vintage heart. The exposed front adds a crafted panel of its own, echoing the shaker doors either side. Keep a folded linen towel over the edge and the whole washing up corner feels considered.
Stained Versus Painted Cabinets
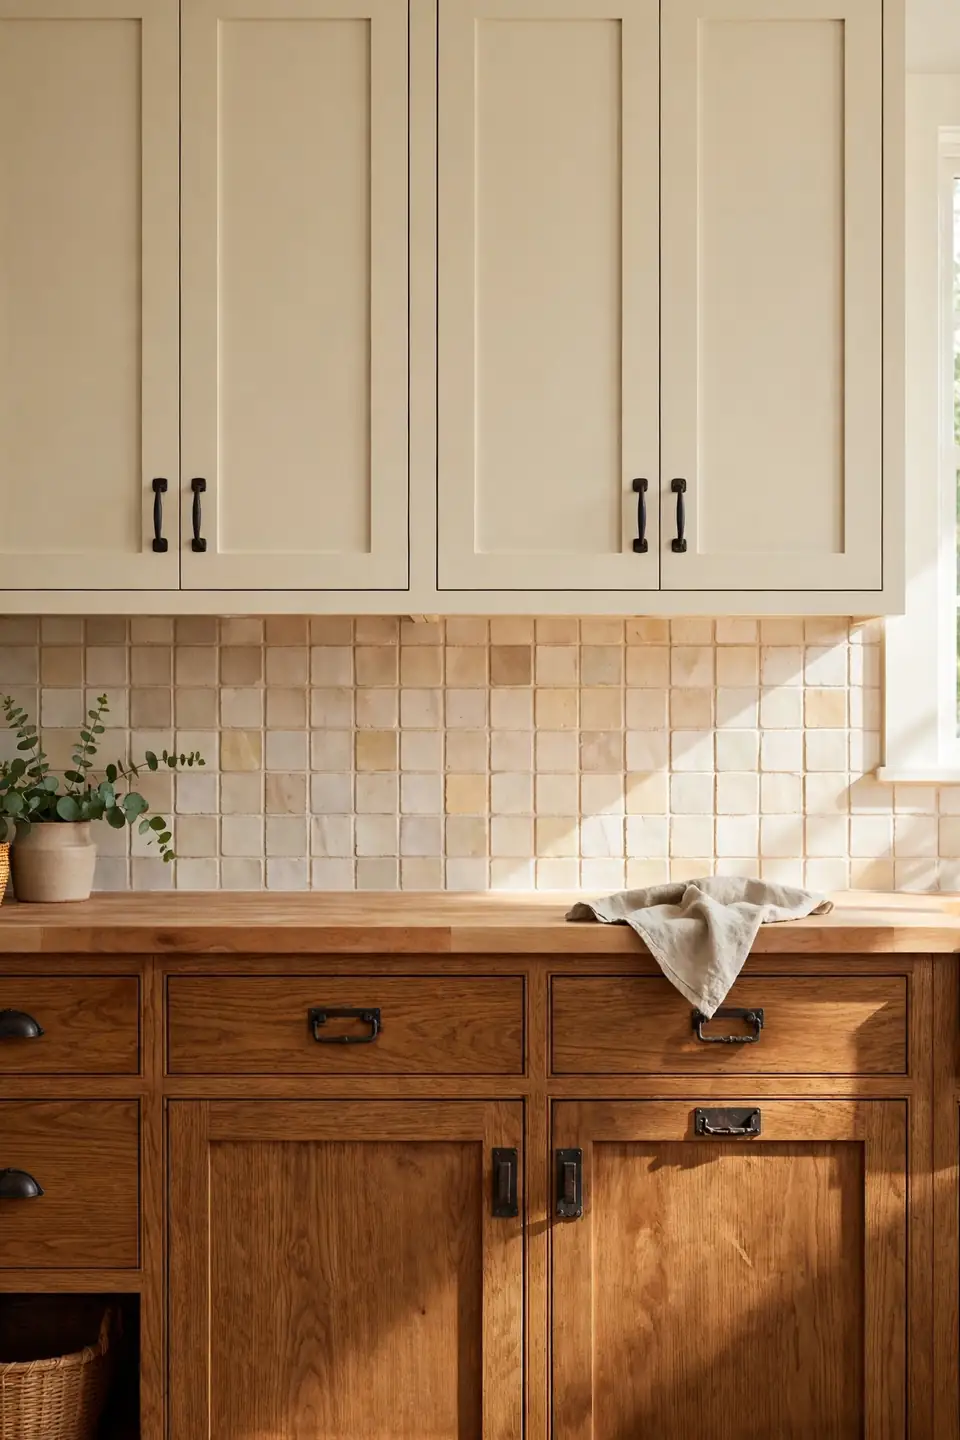
| Option | Stained Wood | Painted Finish |
|---|---|---|
| Character | Grain leads, room feels crafted | Colour leads, room feels tailored |
| Care | Scratches buff out with oil | Chips need touch up paint |
| Light feel | Warmer, deeper at dusk | Brighter, fresher at noon |
Neither route wins outright, so let the house decide. Stain suits rooms with good bones and plain walls, while paint rescues tired cabinets and small windows. Many craftsman kitchens split the difference, stained timber below and painted uppers in warm cream, and the room gains both depth and light. Sample both finishes on one door, live with them through a week of cooking, and the choice usually settles itself by Sunday.
Open Wood Shelving
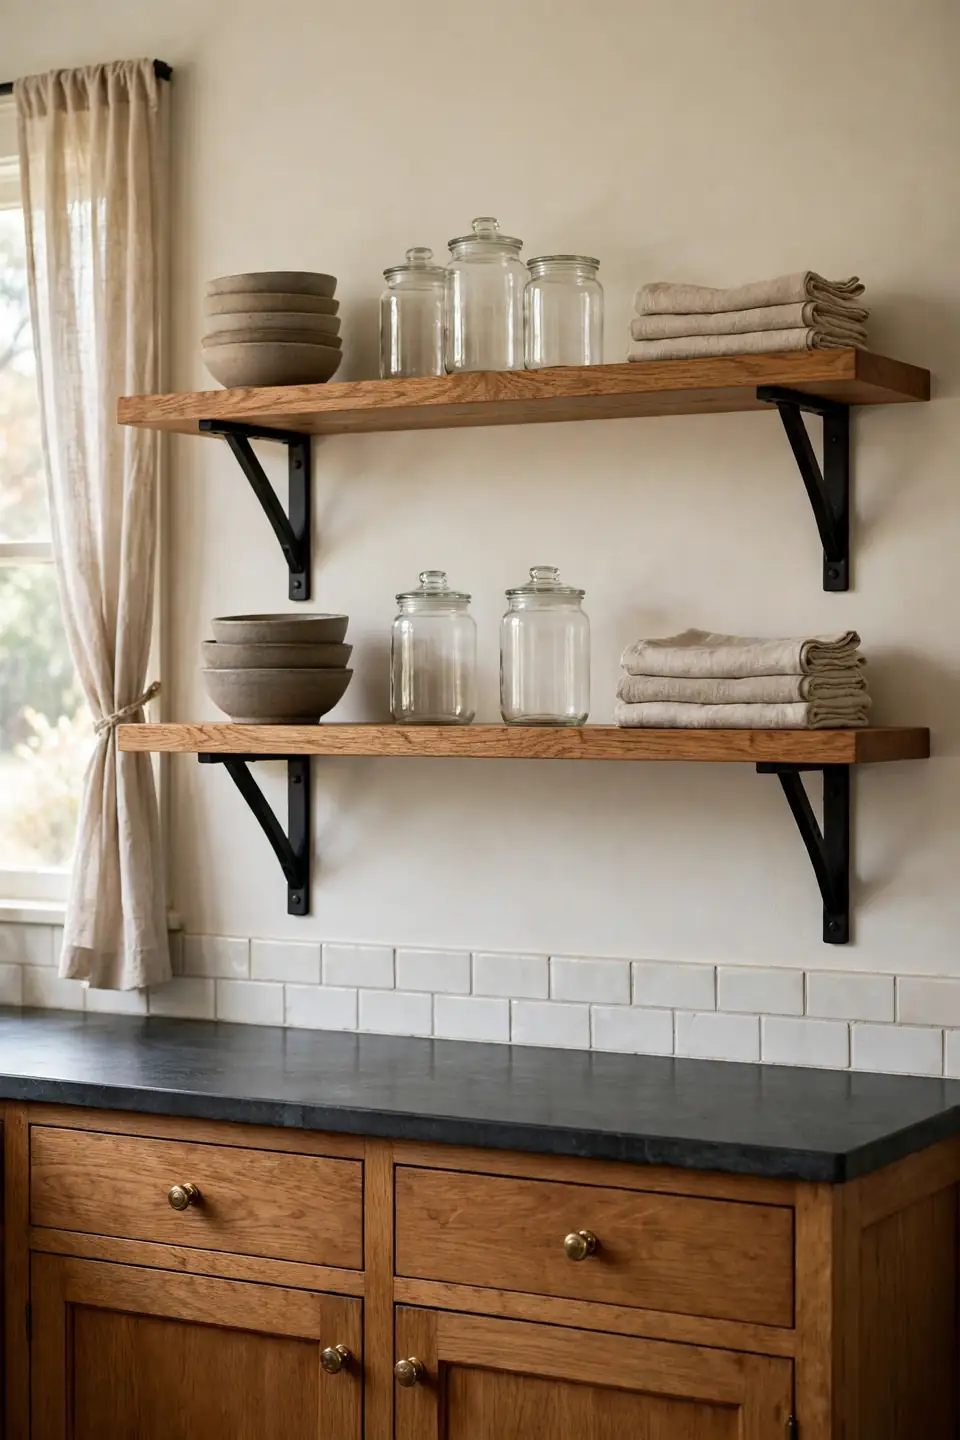
Do:
- Choose shelf boards at least four centimetres thick so they read as joinery, not planks.
- Bracket every 60 centimetres with black iron supports screwed into studs.
- Group daily dishes in threes and leave gaps so the shelf breathes.
Don’t:
- Line shelves with novelty signs or themed ornaments that fight the calm.
- Stack heavy cast iron beside fine glassware on the same board.
- Cram every centimetre, since open shelving shows clutter instantly.
Open shelves replace two wall cabinets and change how the room breathes. Everyday bowls and jars become the decoration, the wood tone repeats the cabinetry, and the wall feels lighter. Keep the arrangement honest and edited, and guests always comment on the shelves first.
Iron Pendant Lighting
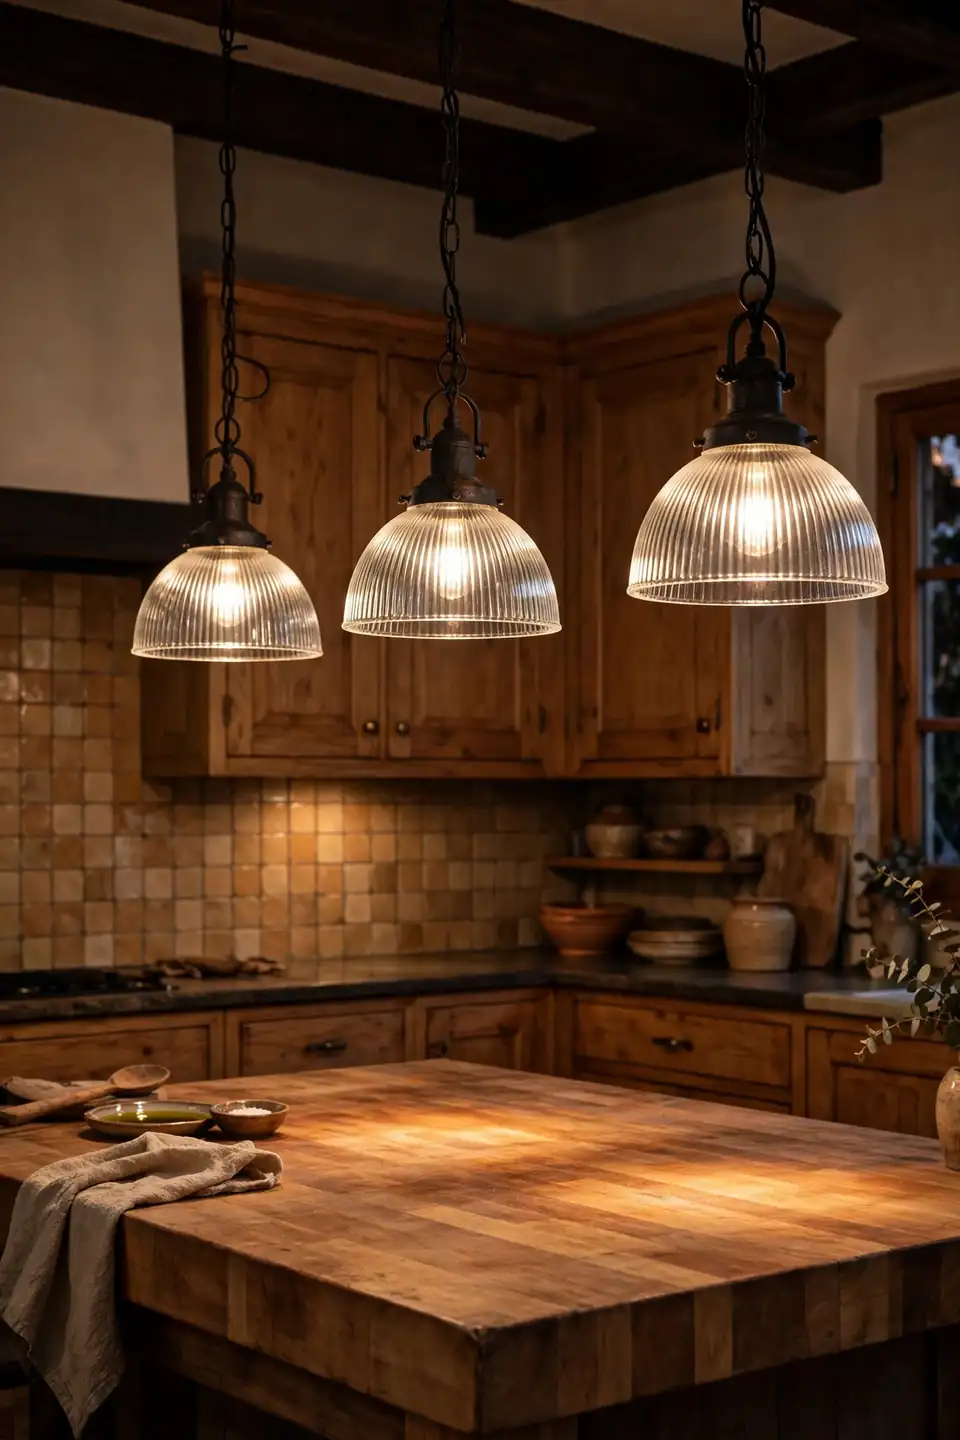
Cost: Medium, quality iron pendants repay years of service
Time: One morning to hang and level a pair
Skill Level: Confident beginner, an electrician for new wiring
Best For: Islands and sinks needing warm task light
Pendants carry the craftsman geometry upward. Ribbed glass shades over the island echo the handmade tile, while blackened iron stems repeat the hardware below. The same love of honest, hand finished pieces runs through antique French furniture living room decor, and mixing the two traditions keeps a home feeling collected rather than themed. Hang shades so the lowest edge sits about 80 centimetres above the worktop, and the light pools where hands actually work.
Butcher Block Island Top
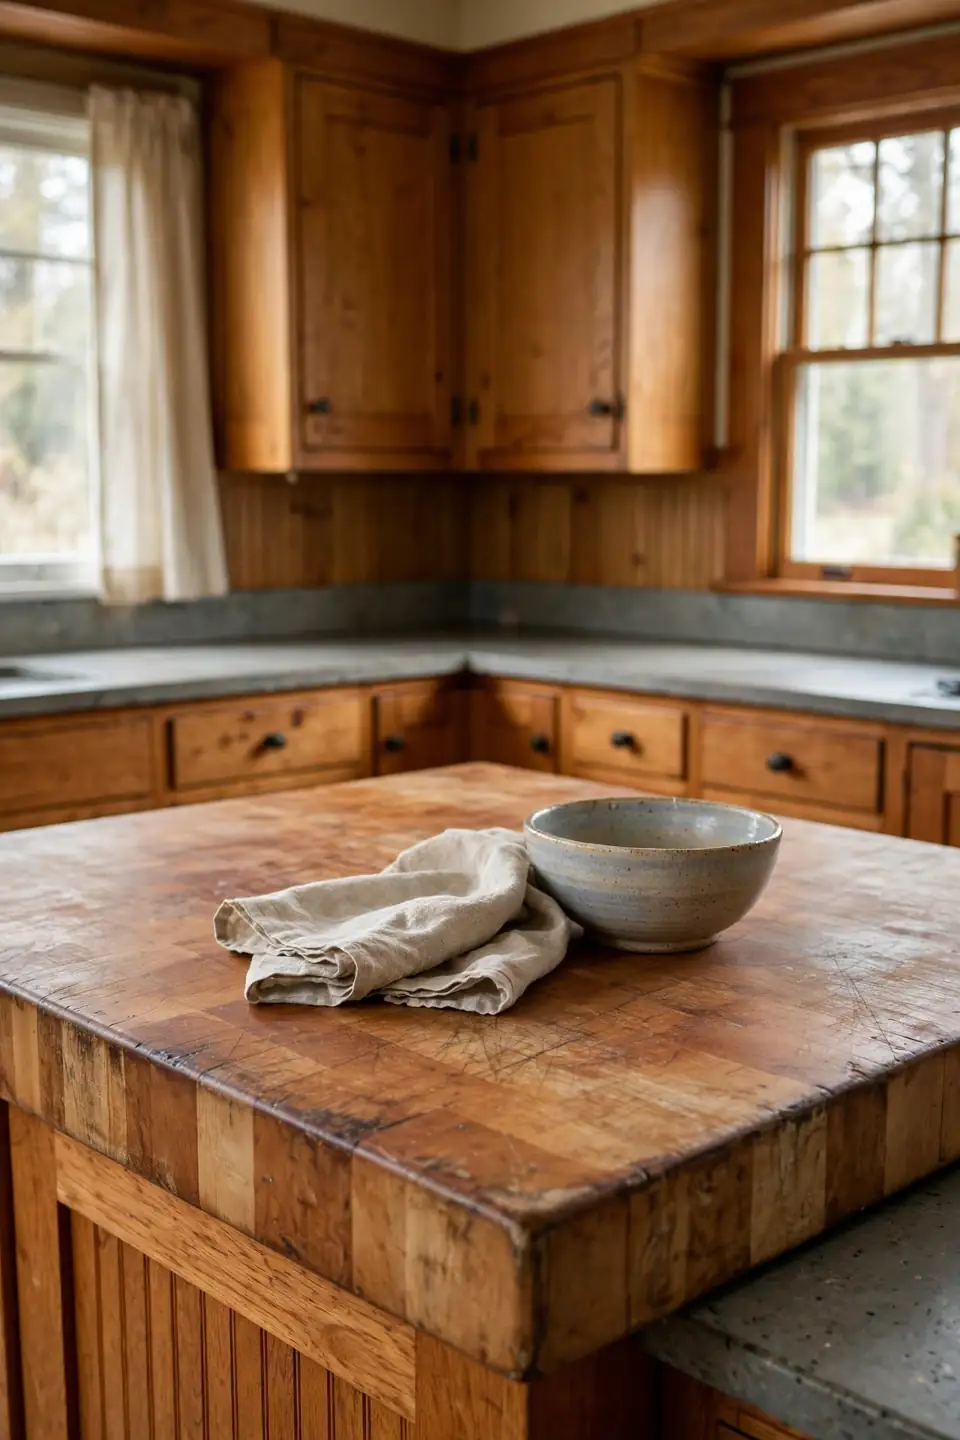
A thick butcher block top turns the island into a workbench in the best sense. Maple or walnut end grain takes knife marks, hot pans on trivets and years of rolling pastry, then sands back to fresh wood in one afternoon. The warmth also breaks up long runs of stone and painted cabinetry with honest texture.
Oil the surface monthly for the first season, then every few months once it settles. I’ve seen this work well in many cases where families cook daily, because small stains buff out instead of becoming permanent regrets. Keep one end clear as a serving board and the island earns its floor space twice.
Cozy Breakfast Nook

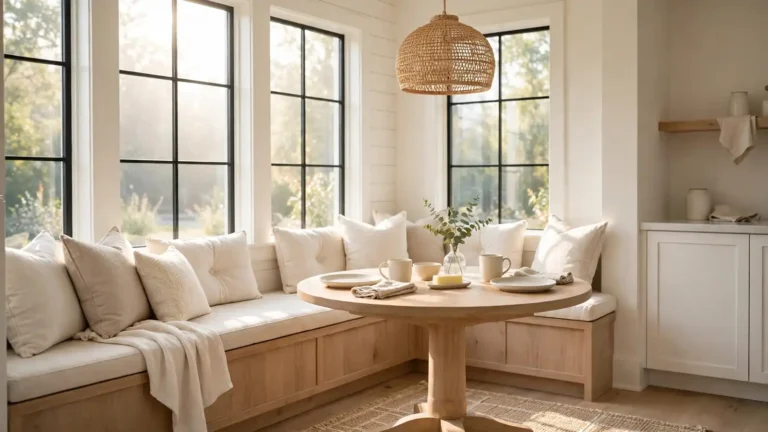
- Build a simple bench along the wall with a hinged seat for linen storage.
- Choose a pedestal table so knees and chair legs never fight under it.
- Hang one pendant low over the table to mark the nook as its own room.
- Layer washable cushions in cream and sage ticking stripe for easy care.
- Add a small rug beneath to quiet chair legs on hard floors.
A nook steals dead corner space and returns a daily ritual. Morning light, coffee and a bench seat beat a formal dining room for most breakfasts, and the built in carpentry echoes the cabinetry so the corner feels original to the house. Paint the bench the cabinet colour and let cushions carry the pattern.
Wide Window Trim

Quick Tip: Copy the trim profile from the oldest doorway in the house. Matching one original detail makes new kitchen woodwork look inherited rather than installed, and guests sense the continuity without ever naming it.
Craftsman windows wear their frames proudly. Flat boards twelve to fifteen centimetres wide, a slightly prouder head piece and a simple sill turn a plain opening into architecture. Paint the trim warm cream against wood cabinets, or stain it to match and let the glass glow inside a timber frame. Either way, skip fussy mouldings, since the honest rectangle is the whole point of the style.
Pantry Door Refresh

BEFORE: The pantry hid behind a hollow flush door painted the wall colour. It rattled on its hinges, offered no hint of the shelves beyond, and wasted the one tall surface the small kitchen had.
AFTER: A five panel door in stained oak now closes with a soft, weighted click. A small iron latch and hand painted house number finish it, and the pantry reads as a crafted piece of furniture.
Doors are the largest flat surfaces most kitchens own, yet they get styled last. Match the pantry door to the cabinet timber, repeat the kitchen’s iron hardware, and a forgotten slab becomes a feature. Frosted glass in the top panel borrows light for the shelves inside while keeping the contents politely blurred.
Custom Wood Range Hood

- Measure the hob width and plan the hood at least fifteen centimetres wider.
- Box the frame in the same timber as the cabinets for a built in line.
- Face the lower edge with a simple stepped trim that echoes the door frames.
- Vent outside wherever possible, since recirculating hoods struggle with real cooking.
A wood clad hood replaces a stainless box with furniture. The shape can stay simple, almost a tapered chimney, because the timber does the talking. Keep the underside washable with a satin finish, and the hood settles into the room like a mantel over the fire it serves.
Two Tone Cabinet Pairing
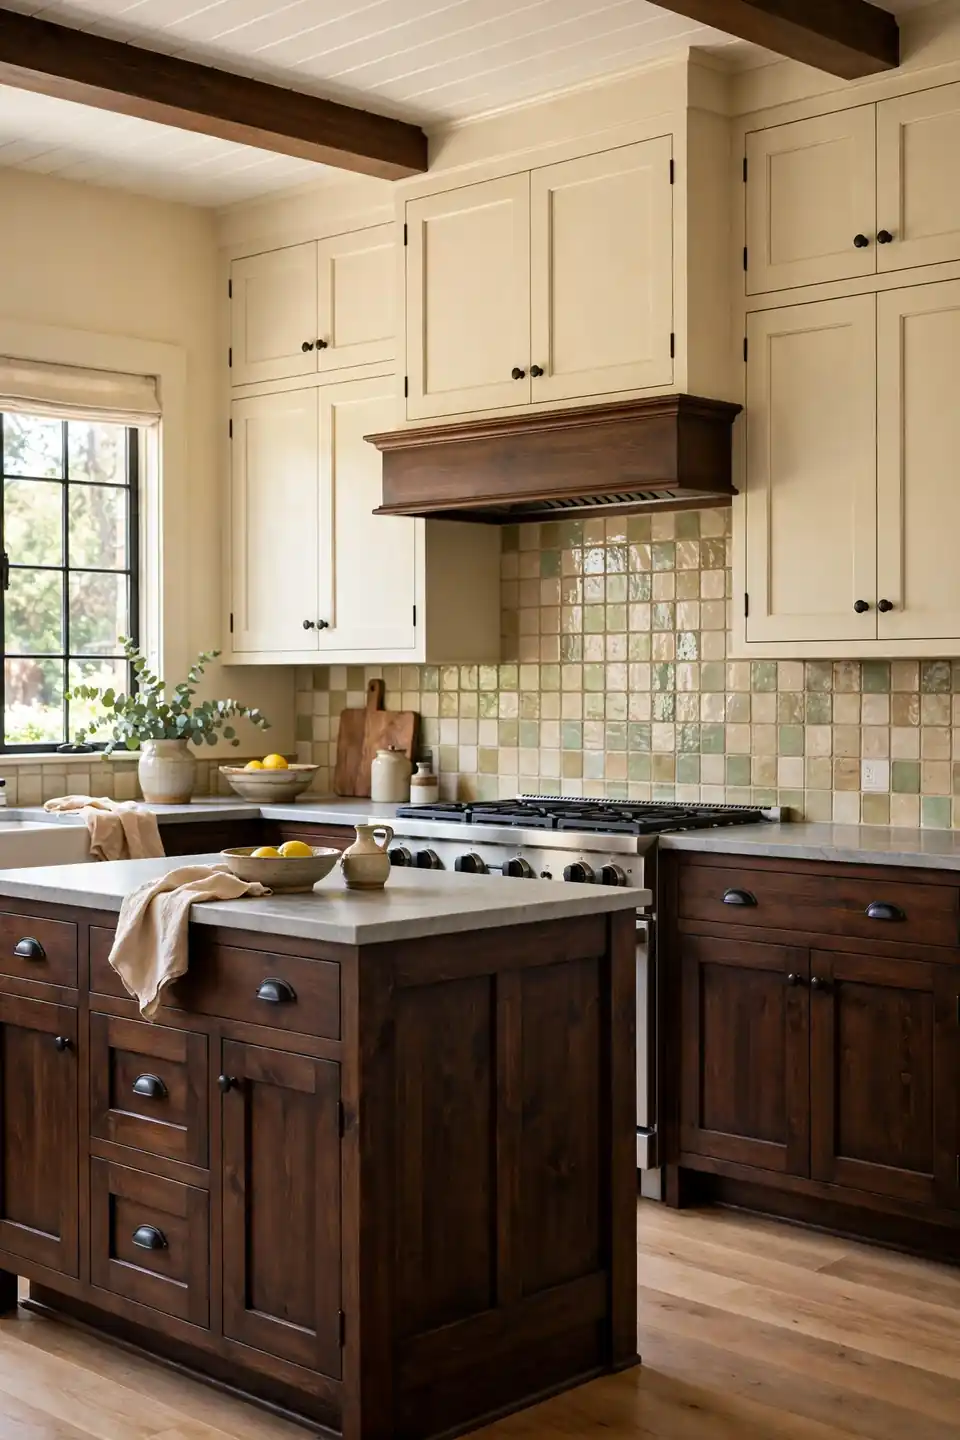
| Option | All Timber | Timber And Cream |
|---|---|---|
| Feel | Deep, traditional, moody at dusk | Balanced, warm yet bright |
| Light | Needs strong daylight to stay cheerful | Cream uppers bounce light back down |
| Budget | Full timber run costs most | Paint above saves a third |
Two tone schemes give modern craftsman kitchen design inspiration its flexibility. Dark timber below the worktop hides scuffs where life happens, while cream uppers lift the ceiling and reflect the window light. Repeat the base timber on the island or the hood so the lower colour feels anchored, not accidental, and keep the split line dead level around the room for a tailored finish.
Exposed Ceiling Beams
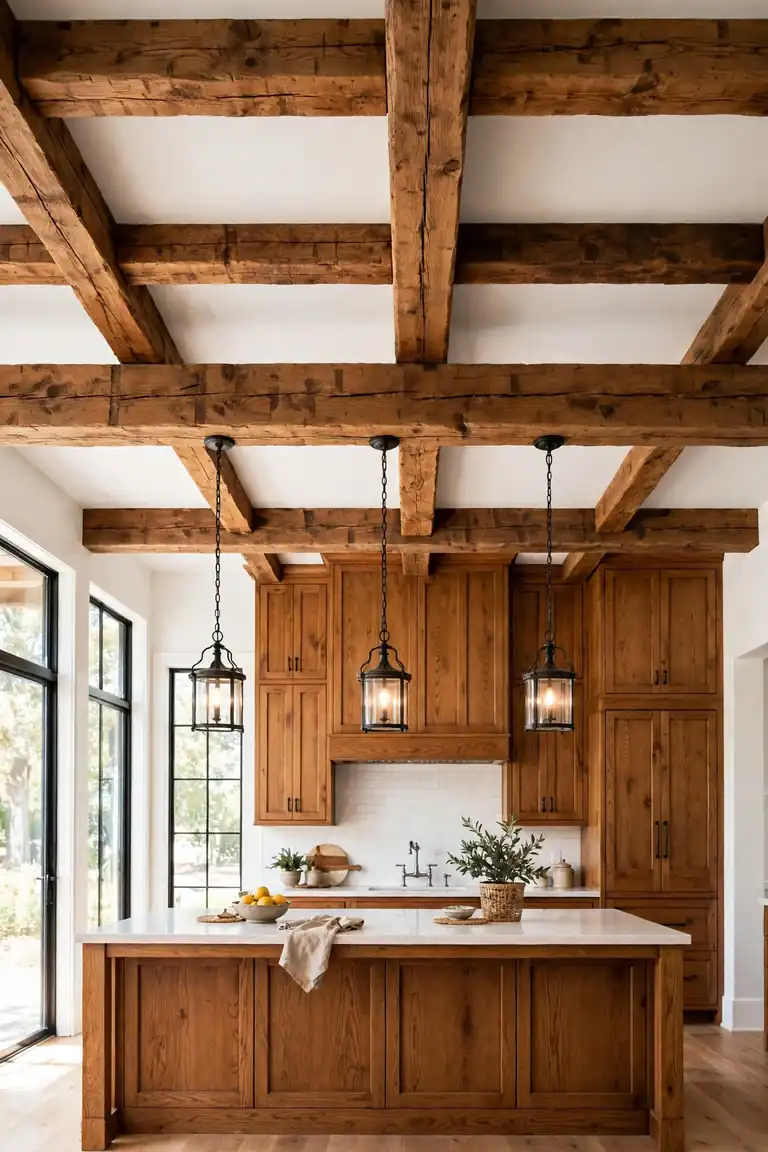
Do:
- Size beams honestly, around fifteen by twenty centimetres, so they read structural.
- Stain beams one shade deeper than the cabinets to anchor the ceiling.
- Run beams across the short span to widen a narrow kitchen visually.
Don’t:
- Fit beams where ceiling height drops below two point four metres.
- Add fake distressing with chains or stain tricks that fool nobody.
- Crowd beams around pendant lights until the ceiling feels busy.
Beams finish the craftsman envelope. Even hollow boxed beams in matching timber pull the architecture together, tying the tall cabinets to the ceiling with strong horizontal lines. Align one beam with the island centre and the room gains a quiet sense of order.
Wide Plank Wood Floors

Cost: Medium to high, solid oak repays decades of use
Time: Two to three days including acclimatising the boards
Skill Level: Professional fitting recommended for long runs
Best For: Open plan kitchens flowing into living space
Wide planks calm a busy kitchen. Fewer seams mean the eye rests, and boards around fifteen centimetres wide echo the scale of shaker doors and beams. A matte hardwax oil finish keeps the timber looking like timber, and scuffs blend in with a cloth and five minutes. Choose boards with some colour variation, since a perfectly uniform floor fights the handmade mood everywhere else in the room. Warmth underfoot seals the bargain.
Plate Rail Display Shelf
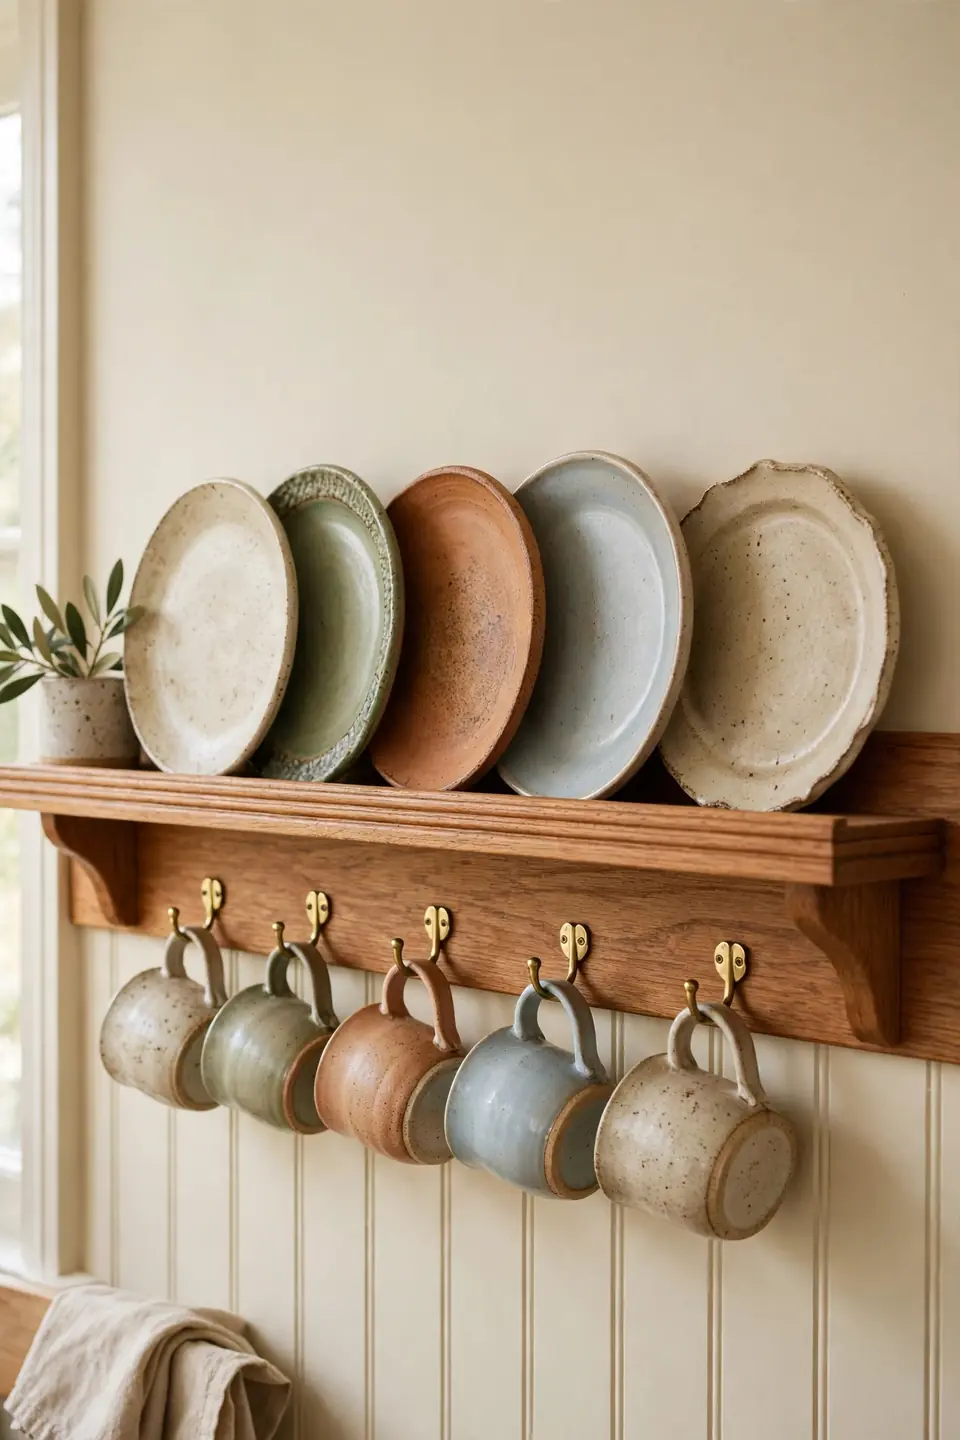
A plate rail along one wall puts handmade ceramics on show and frees a whole cupboard. Shallow shelves with a grooved ledge hold platters upright, while the rail below takes hooks for mugs and small jugs. The display changes with seasons and markets, so the kitchen never feels finished in a frozen way.
Build the rail from the same timber as the shelves and brackets. I’ve noticed that showing the plates you actually use daily keeps the display honest, while saving one end for a trailing plant softens the geometry. Dusting takes two minutes with a long brush, and the wall finally earns its keep.
Pot Filler Over Range

- Position the tap so it swings over both front and back burners freely.
- Choose a finish that matches either the faucet or the iron hardware.
- Fit a shut off valve inside the cabinet below for total peace of mind.
- Wipe the spout after filling, since drips mark hot enamel quickly.
A pot filler sounds like a luxury until the first pasta night with a full stockpot. It saves heavy carrying across the room and adds a sculptural hit of metal at the range. Keep the style plain and the joint action smooth, and it feels like equipment the house always owned.
Linen Curtains And Runners

Quick Tip: Wash linen before hemming, since natural flax shrinks a surprising amount on its first hot wash. Cut panels five centimetres long, wash, dry, then hem once, and the curtains will hang true for years without creeping up the window.
Textiles take the shine off a hardworking kitchen. Cafe curtains in unbleached linen soften the window without stealing light, and a flat weave runner warms the walkway between sink and range. Both wash easily, fade gracefully and bring the handmade note that tiles and timber start. Keep patterns to ticking stripes and checks so the cloth supports the joinery quietly. Choose simple rod pockets or plain rings for hanging.
Morning Coffee Station

BEFORE: The kettle, jars and machine crowded the worktop beside the sink. Cables tangled behind the toaster, mugs lived in three different cupboards, and every morning began with a small scavenger hunt.
AFTER: One shallow tray zone near the window now holds the machine, kettle and a lidded jar. Mugs hang from hooks below a short shelf, and the whole ritual fits inside one calm square metre.
A dedicated station protects the main worktop and gives the day a gentle start. Repeat the kitchen’s timber on the shelf and iron on the hooks so the corner blends in, and run the cable through a drilled grommet to keep the surface clean. Small discipline, daily pleasure.
Layered Finishing Touches
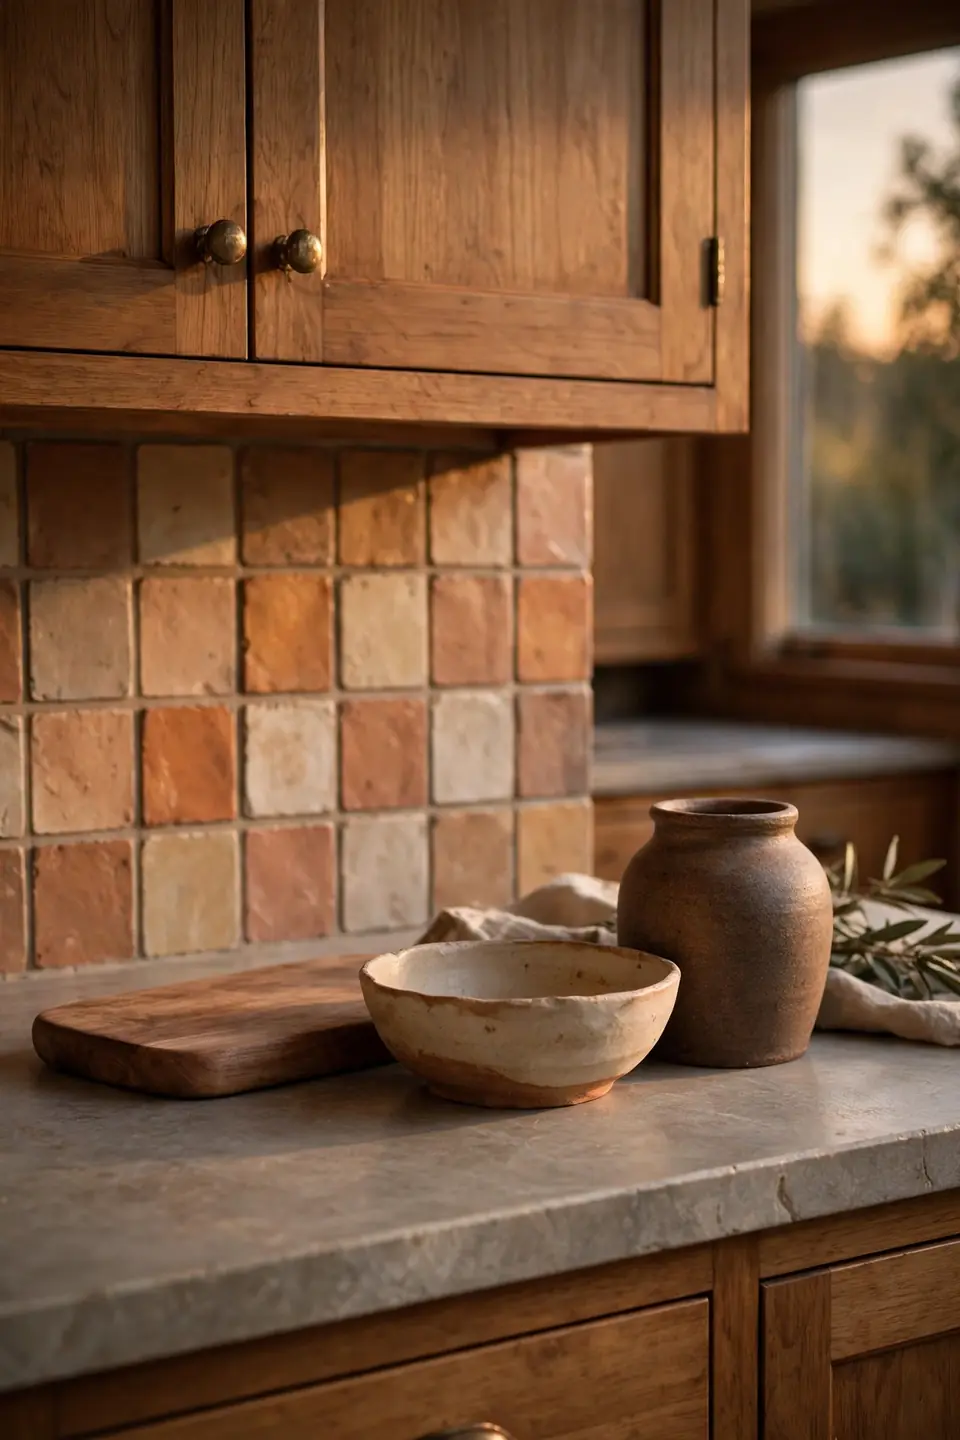
- Walk the room slowly and remove anything plastic, glossy or themed.
- Group three handmade pieces on each surface, bowl, board and jar.
- Swap one overhead bulb for warm light and check the room at dusk.
- Stand at the doorway and adjust until wood, metal and cloth all appear.
Finishing is editing, not shopping. The craftsman mood arrives when every object looks usable, repairable and honestly made, and nothing shouts for attention. Live with the room for a month before buying anything else, since real kitchens reveal their missing pieces slowly, usually at breakfast. That patience is the final layer, and it costs nothing but a little honest attention.
Conclusion
Kitchens built on wood, stone and handmade tile only grow better with age. Start with the cabinets, repeat your timber and metal choices around the room, and let cream walls hold the light. Save this modern craftsman kitchen design inspiration to your Pinterest board before the next showroom visit, then build the room one honest piece at a time and share the finished result with friends. I have seen how small changes like these can completely shift the way a space feels, and few styles reward patience like this one. Your timeless kitchen is closer than you think.