22 Kitchen Open Shelving Styling Ideas for Beautiful Display
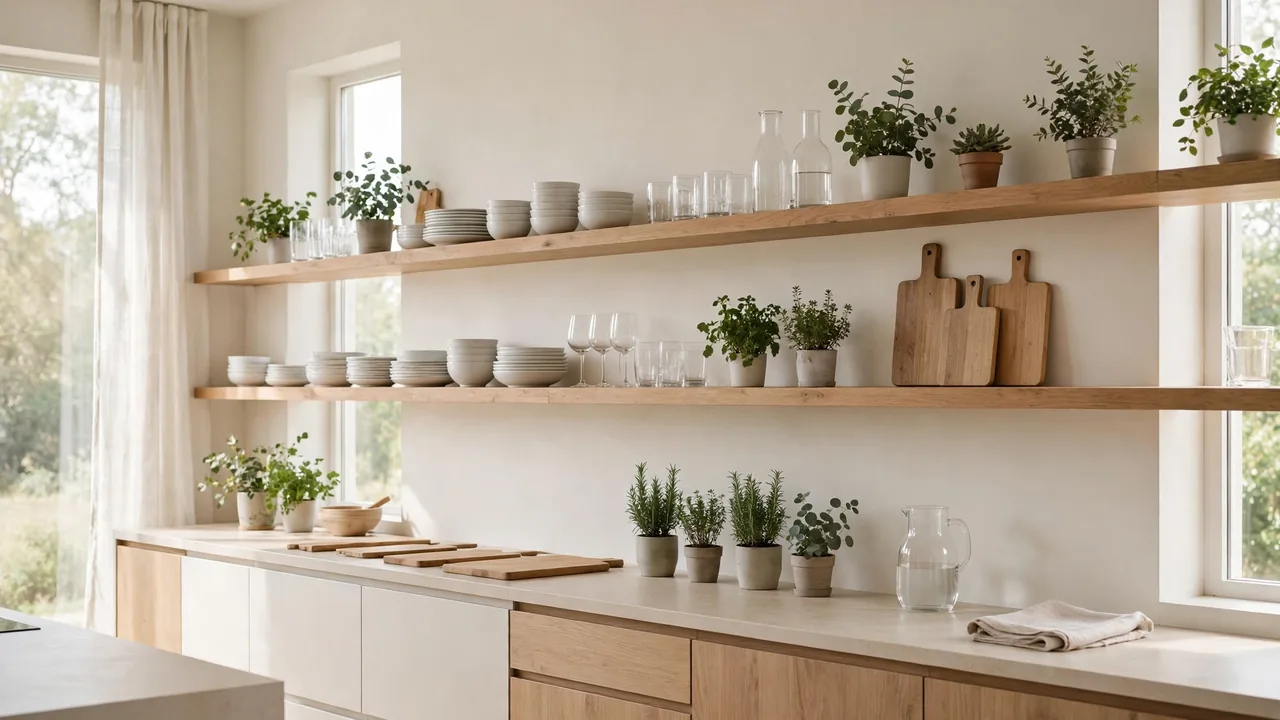
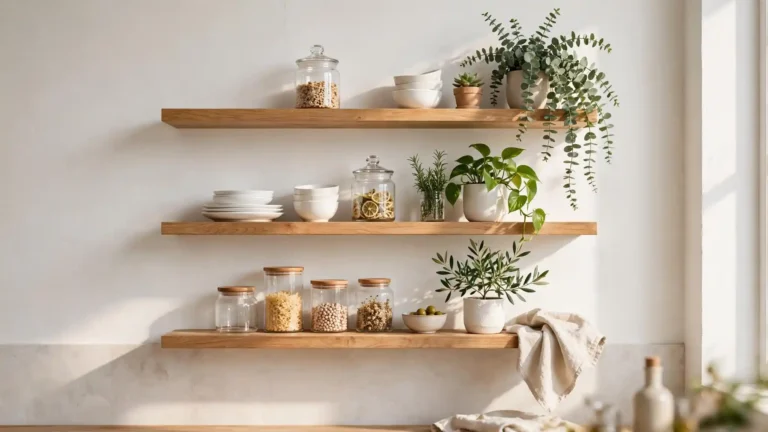
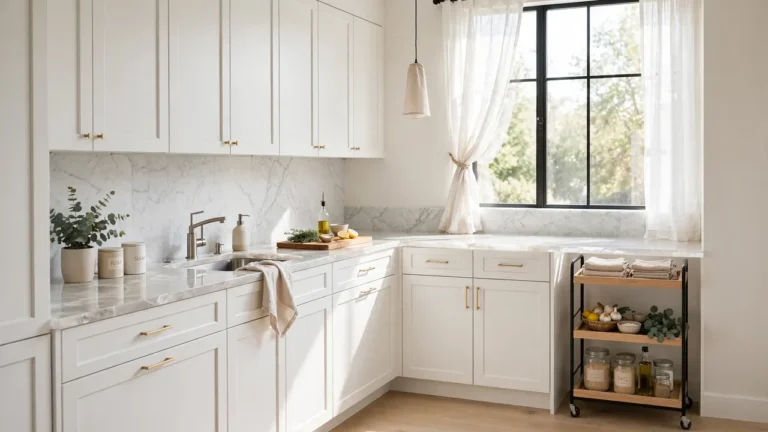
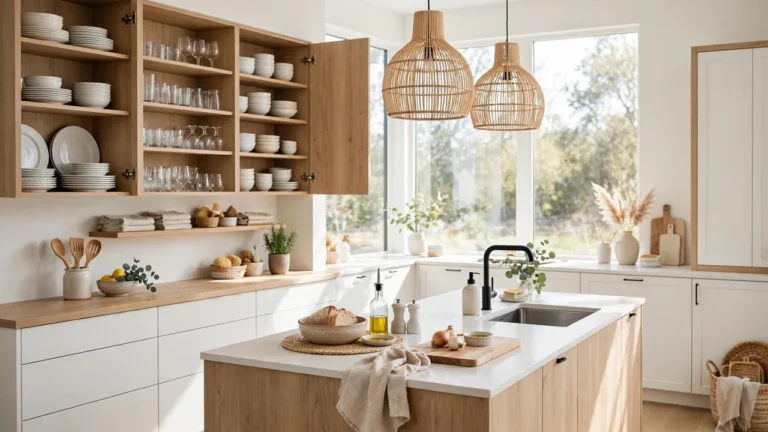
Open shelves have a way of making a kitchen feel larger, brighter, and more personal, and kitchen open shelving styling ideas turn that blank wall space into a design feature worth showing off. Instead of hiding every plate and glass behind doors, a few well-chosen pieces displayed with care can set the whole tone of the room. The secret is balance: a mix of everyday staples and pretty accents, arranged with breathing room between them.
Whether your shelves are short and sweet or run the full length of the wall, the same styling principles apply, and they borrow a lot from how other rooms get dressed. The layered approach used in vintage dresser styling ideas for bedrooms works beautifully here too, grouping items in odd numbers and mixing textures. Below you will find twenty two ideas, each with a simple method, so your shelves look styled rather than stuffed.
White Dish Stacks
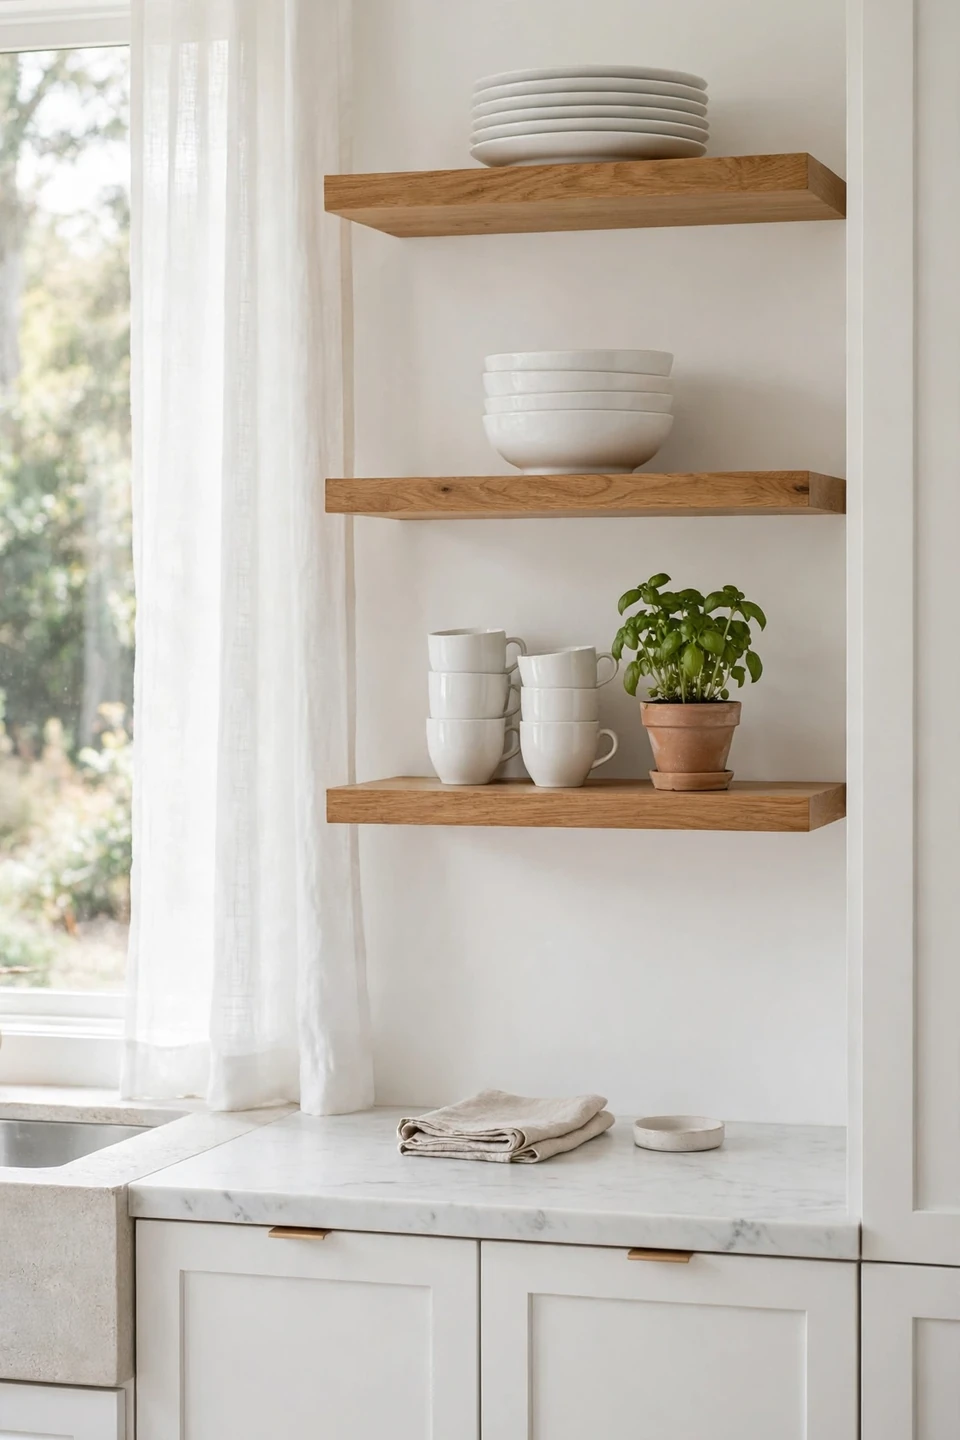
Stacks of crisp white dishes form the backbone of a calm, classic shelf. Group dinner plates, salad plates, and bowls in short towers of four to six pieces so everything stays reachable. White works with any wall color, and the repetition of round shapes brings a quiet rhythm to the display. Keep the stacks near the dishwasher side for easy unloading, since these are the pieces you will grab daily.
Mix in one slightly different texture, like a matte stoneware bowl among glossy plates, to keep the white from feeling flat. Leave a few inches of empty shelf on each side of the stacks so the arrangement breathes. In my experience, limiting each shelf to one main job, such as dishes only, keeps the look clean and the routine simple.
Wood and Brass Mix
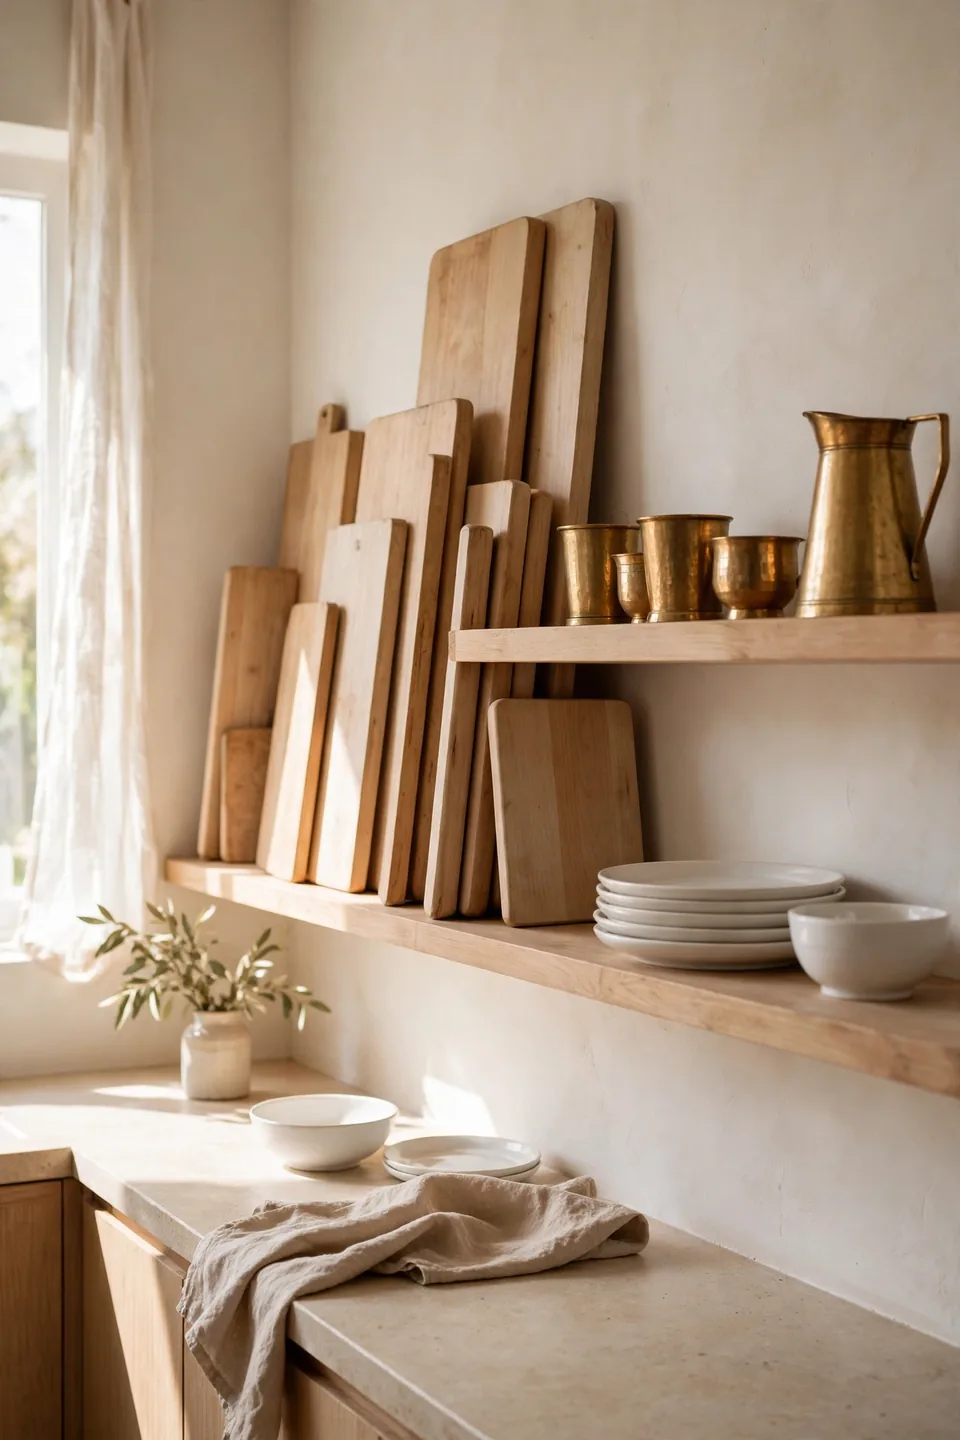
- Lean wooden cutting boards in light oak and walnut tones against the wall for warmth.
- Add small brass cups or a brass pitcher to catch the light and add shine.
- Repeat the wood-brass pairing on two shelves so the combination feels intentional.
- Keep metals polished lightly; a soft cloth restores the glow in seconds.
Wood and brass play beautifully together on open shelves, the matte grain of boards against the warm gleam of metal. This pairing suits both modern and farmhouse kitchens, since the materials sit comfortably in either style. Anchor the look with one larger board and let smaller brass pieces orbit around it.
Clear Glass Rows
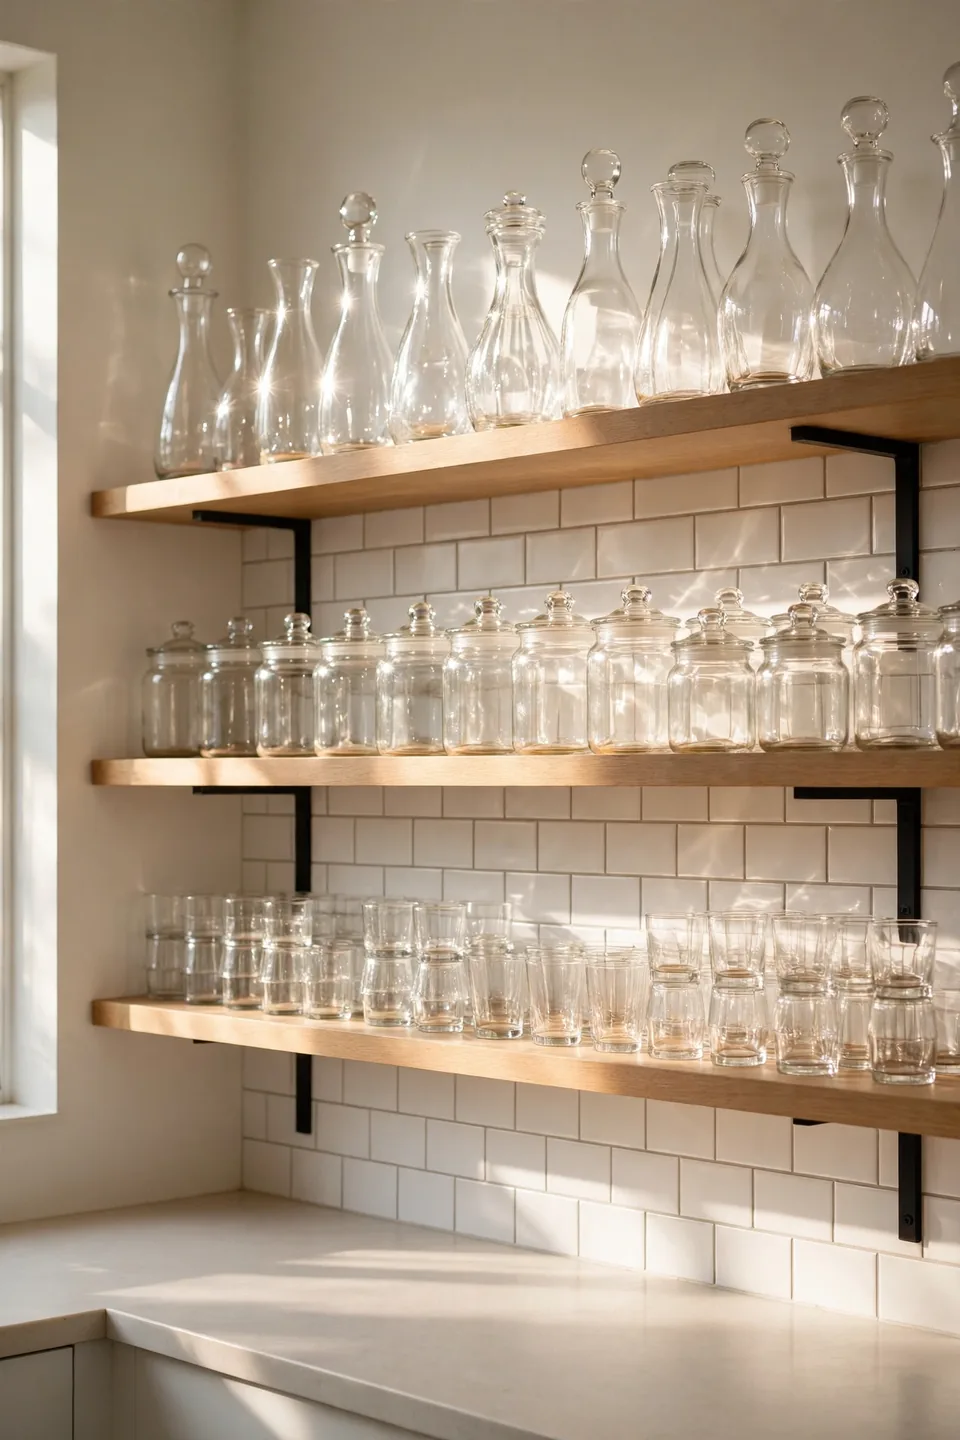
Quick Tip: Line up clear glasses in a single straight row with small gaps between them, and they will sparkle like a display case. Wash and dry them fully before shelving so no water spots dull the shine. Group tumblers together, then wine glasses, then jars, keeping each type in its own neat family.
Clear glass has a wonderful way of disappearing visually, which keeps shelves feeling light instead of crowded. A row of identical glasses reads as one calm unit rather than many small objects. If your shelves sit near a window, the light passing through the glass adds a glow no decor item can fake.
Everyday Mug Hooks
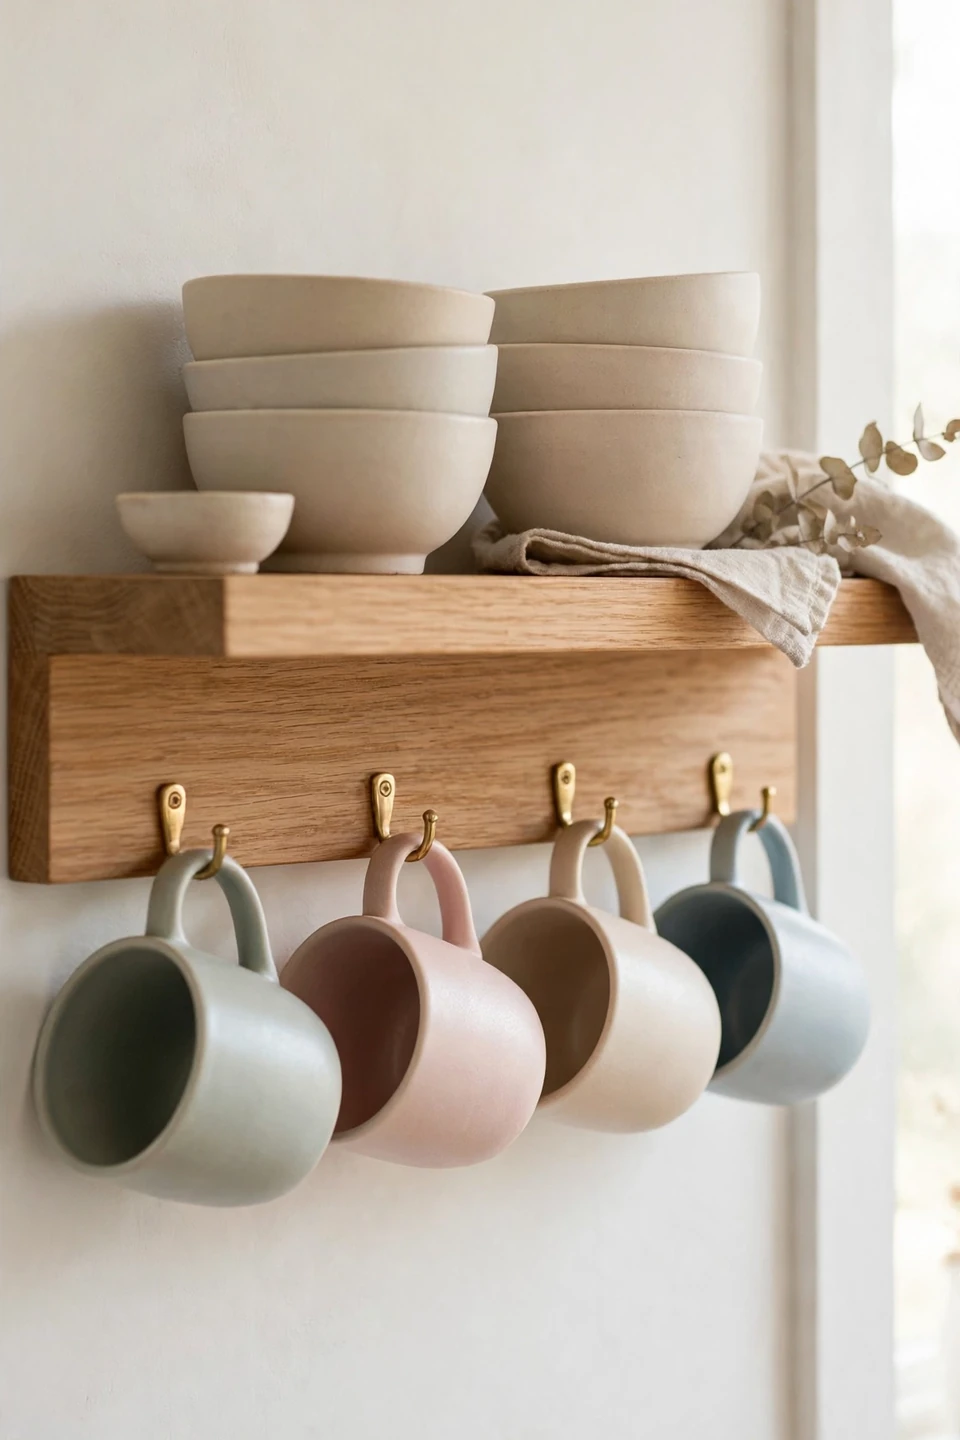
BEFORE: Mugs were crammed inside a cabinet, chipped and forgotten, while the shelf above the coffee station sat bare. Mornings meant digging through a crowded stack to find a favorite. The shelf looked empty and the cabinet felt chaotic.
AFTER: A row of small brass hooks under the shelf now holds the prettiest mugs at arm’s reach. Each one shows its color and shape, making coffee time a small pleasure. The shelf above holds bowls, and the whole corner finally feels finished.
Hooks under a shelf double the usable space without adding clutter. Space them a mug’s width apart so handles never knock. Reserve this spot for six to eight favorite mugs and store the rest elsewhere. The result looks collected on purpose, not like overflow storage.
Copper Pot Display
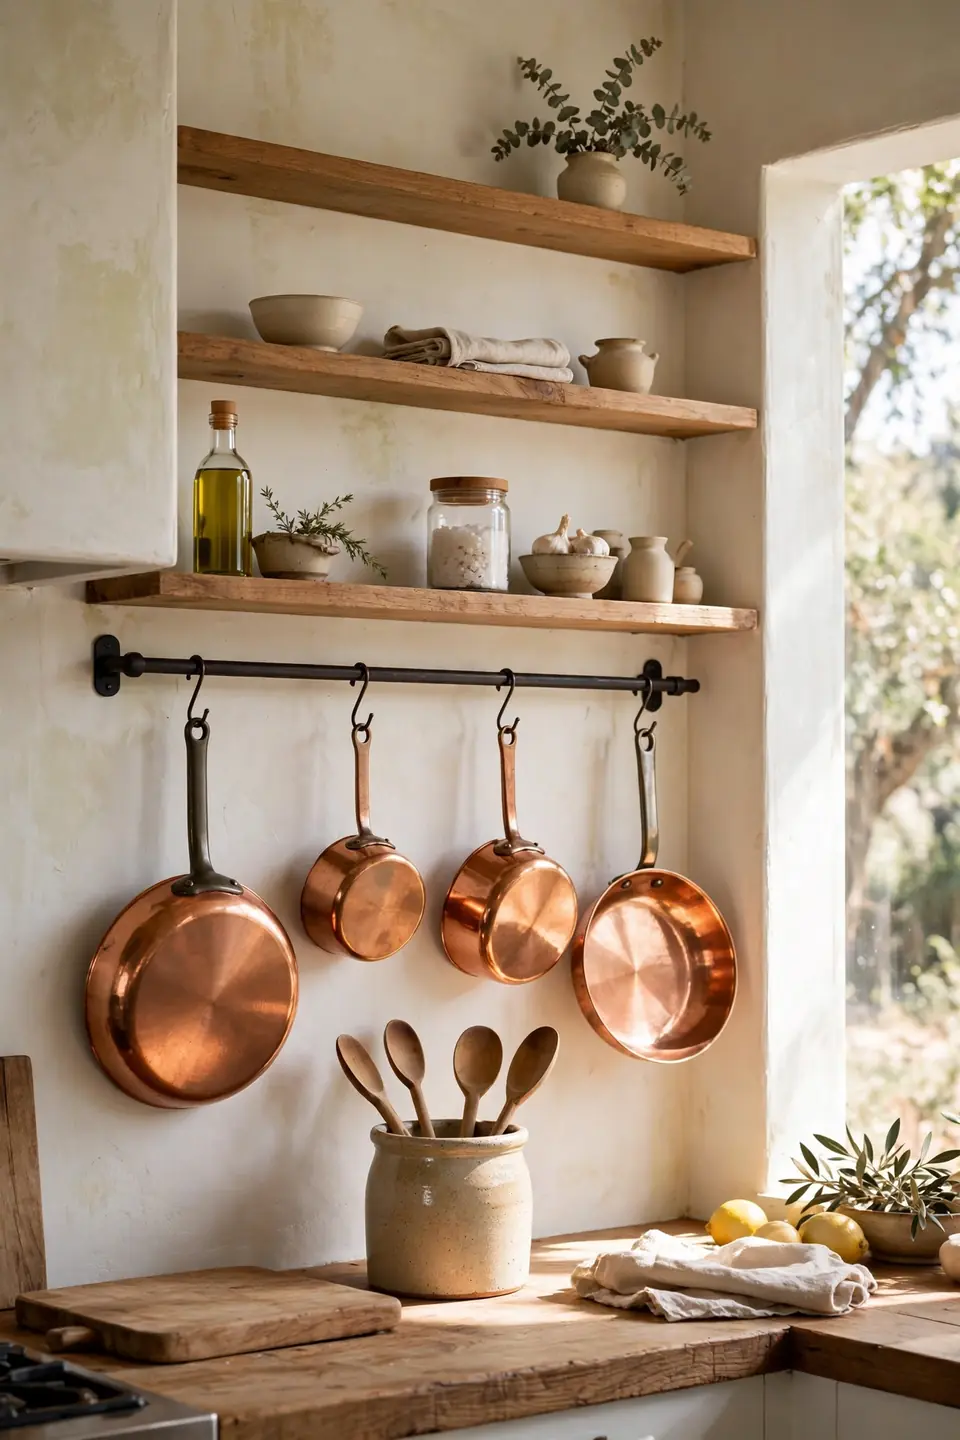
- Choose three to five copper pieces with similar warm tones for a cohesive display.
- Hang them from a sturdy rail or S-hooks so the copper catches the light.
- Polish the fronts lightly and let the backs develop a natural patina for character.
- Keep one wooden spoon crock nearby to soften the metallic shine with natural texture.
Copper brings instant warmth to open shelves and ages gracefully, which suits a well-used kitchen. Hang pans at slightly varied heights so the display feels relaxed rather than rigid. Because copper is heavy, mount the rail into studs and test the weight before loading every hook.
Herb Pot Lineup
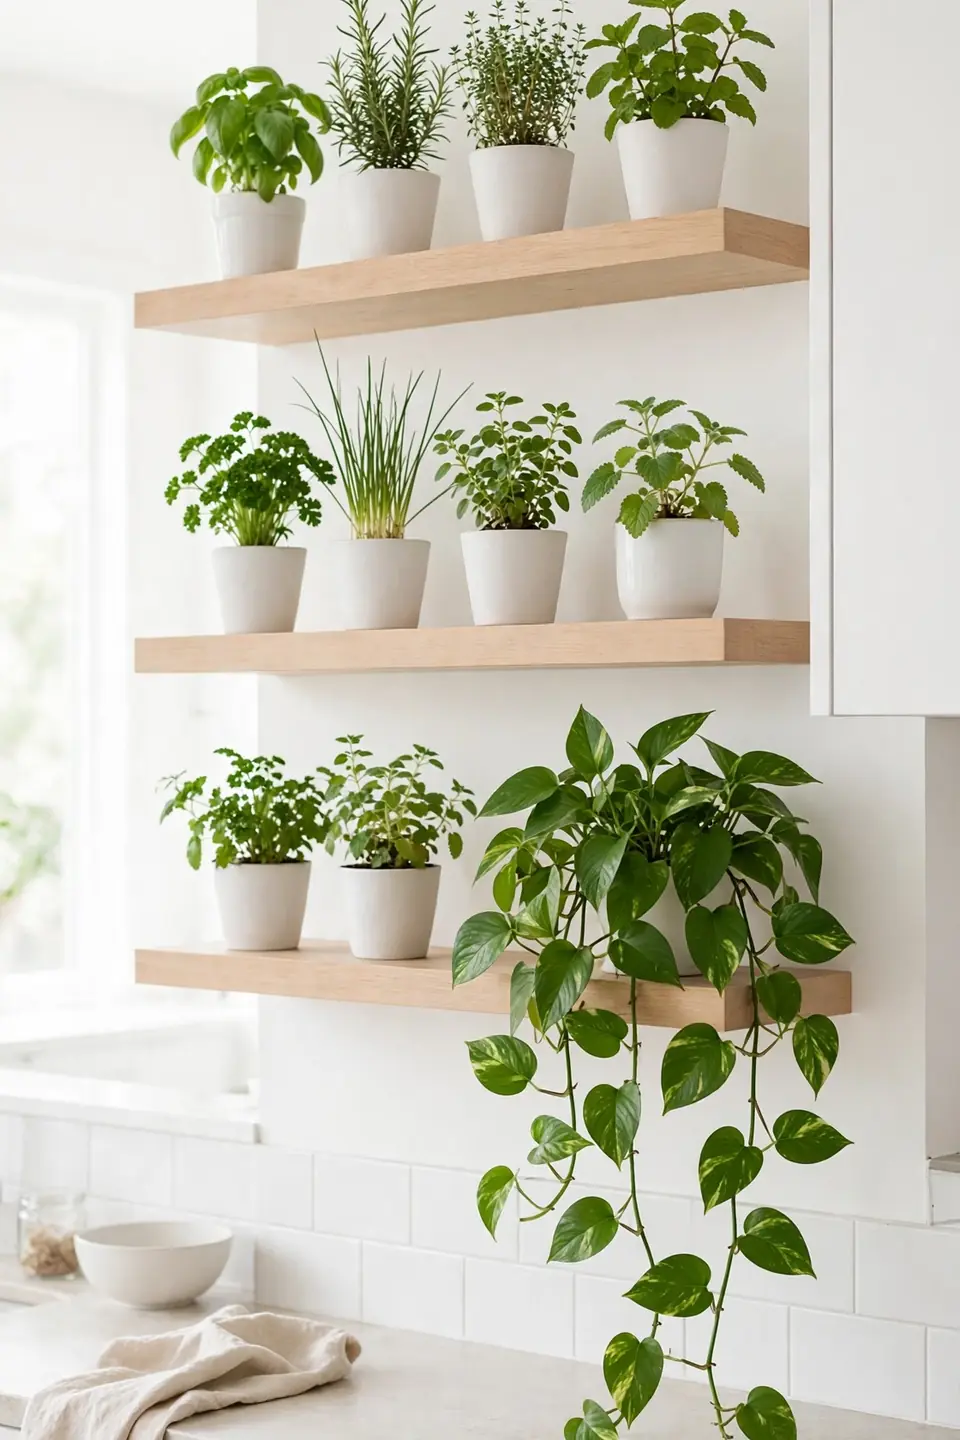
| Herb | Light Needs | Water |
|---|---|---|
| Basil | Bright direct | Often |
| Rosemary | Bright direct | When dry |
| Mint | Indirect | Often |
| Thyme | Bright direct | When dry |
A row of potted herbs turns a shelf into a living display that you can also cook with. Match the pots in white or terracotta so the green leaves stay the star of the show. Snip regularly to keep plants bushy, and rotate pots weekly so every side gets light. I’ve seen this work well in many kitchens, since the plants add life without adding visual weight. Place a small tray under the pots to catch drips and protect the wood.
Minimalist Single Shelf
DO:
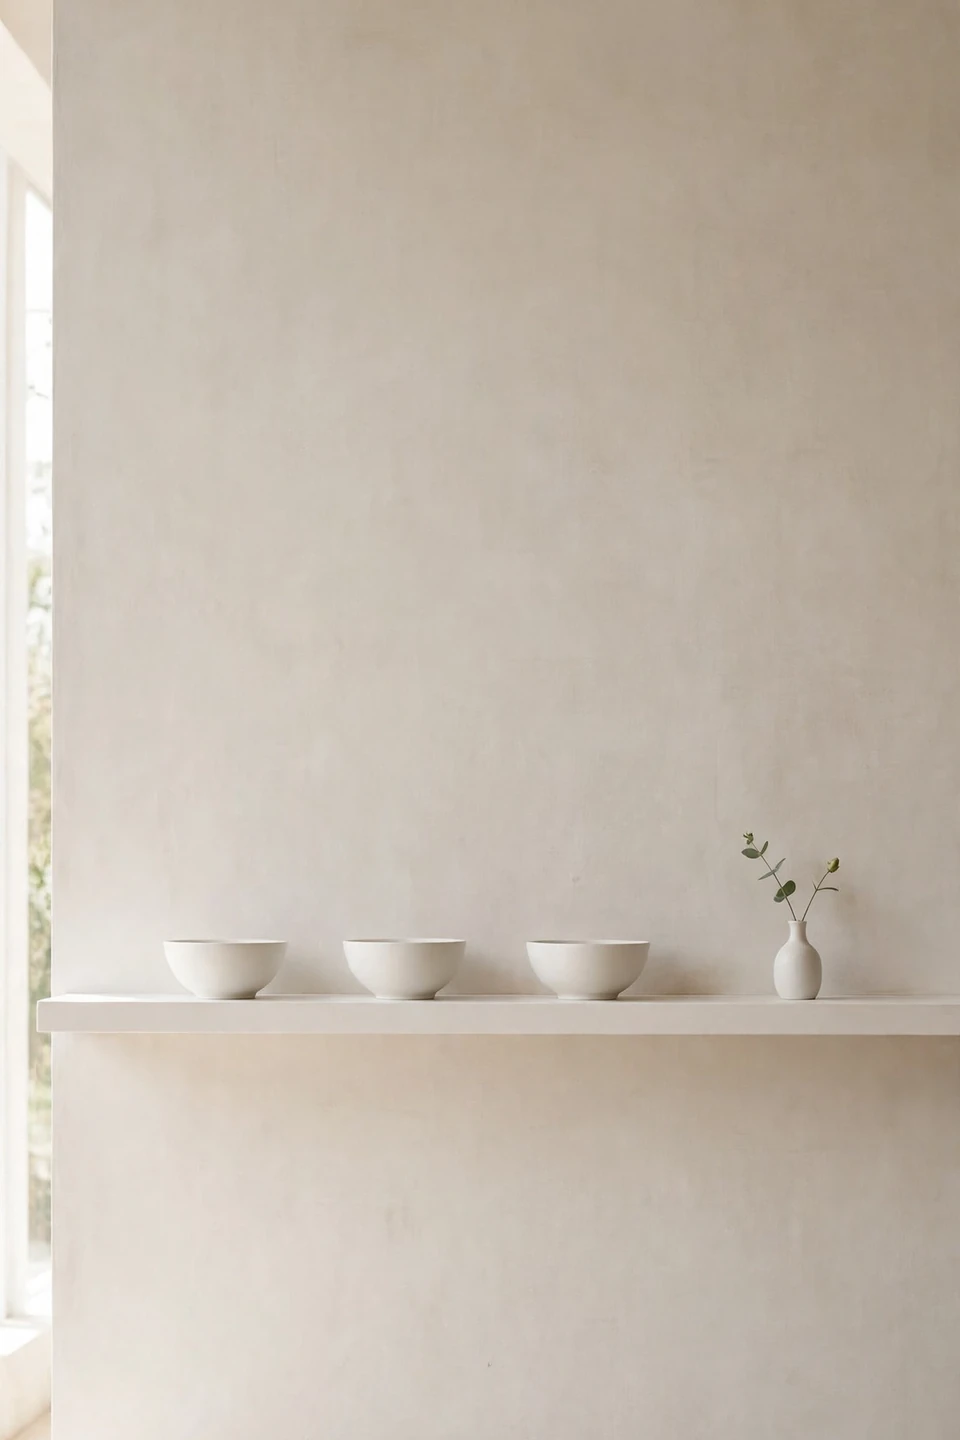
- Do leave generous empty space around each piece so the shelf feels calm.
- Do pick three to five items in one color family for a unified look.
- Do choose pieces with simple shapes that read well from across the room.
DON’T:
- Don’t fill every inch; crowding defeats the minimalist purpose.
- Don’t mix bold patterns with the simple pieces or the calm breaks.
- Don’t forget dusting, since sparse shelves show it more clearly.
One shelf styled with restraint can have more impact than three crowded ones. The empty space is part of the design, giving each object room to be noticed. This approach works especially well in small kitchens where visual calm matters most.
Vintage Plate Walls
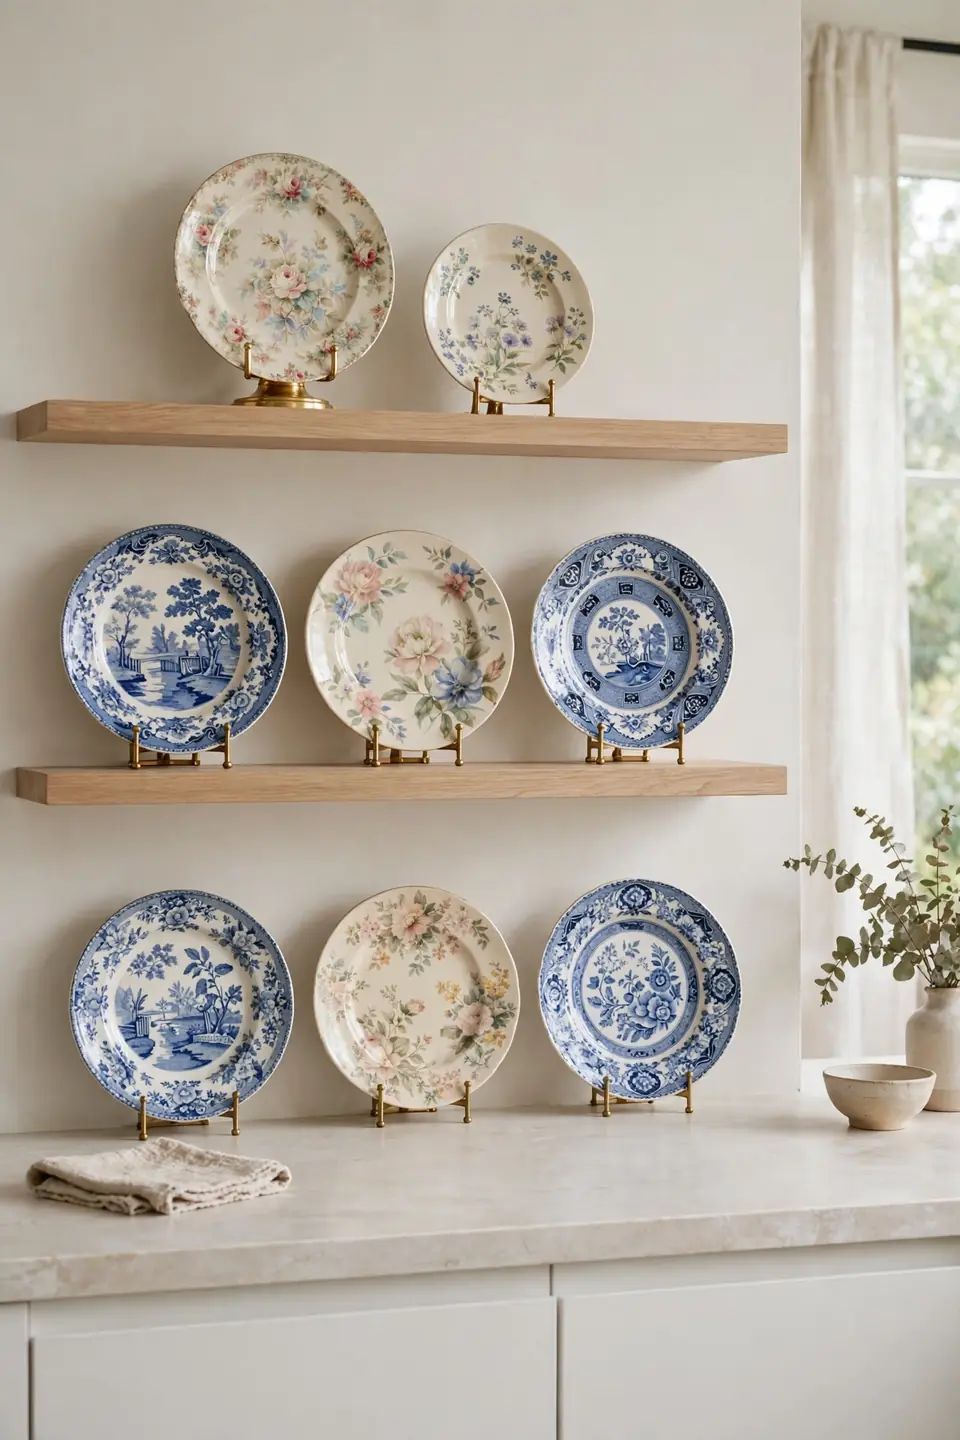
Cost: $15 to $40 for a small thrifted collection | Time: One afternoon to arrange | Skill Level: Beginner | Best For: Adding character on a budget
Vintage plates propped on small stands bring pattern and history to plain shelves. Hunt for two or three patterns in a shared color, like blue and white, so the mix feels collected rather than random. Lean larger plates at the back and smaller ones in front for depth. Plate stands in brass or clear acrylic disappear visually and let the china shine. Dust them with a soft cloth every few weeks, since upright plates catch more dust than stacked ones.
Stoneware Color Blocks
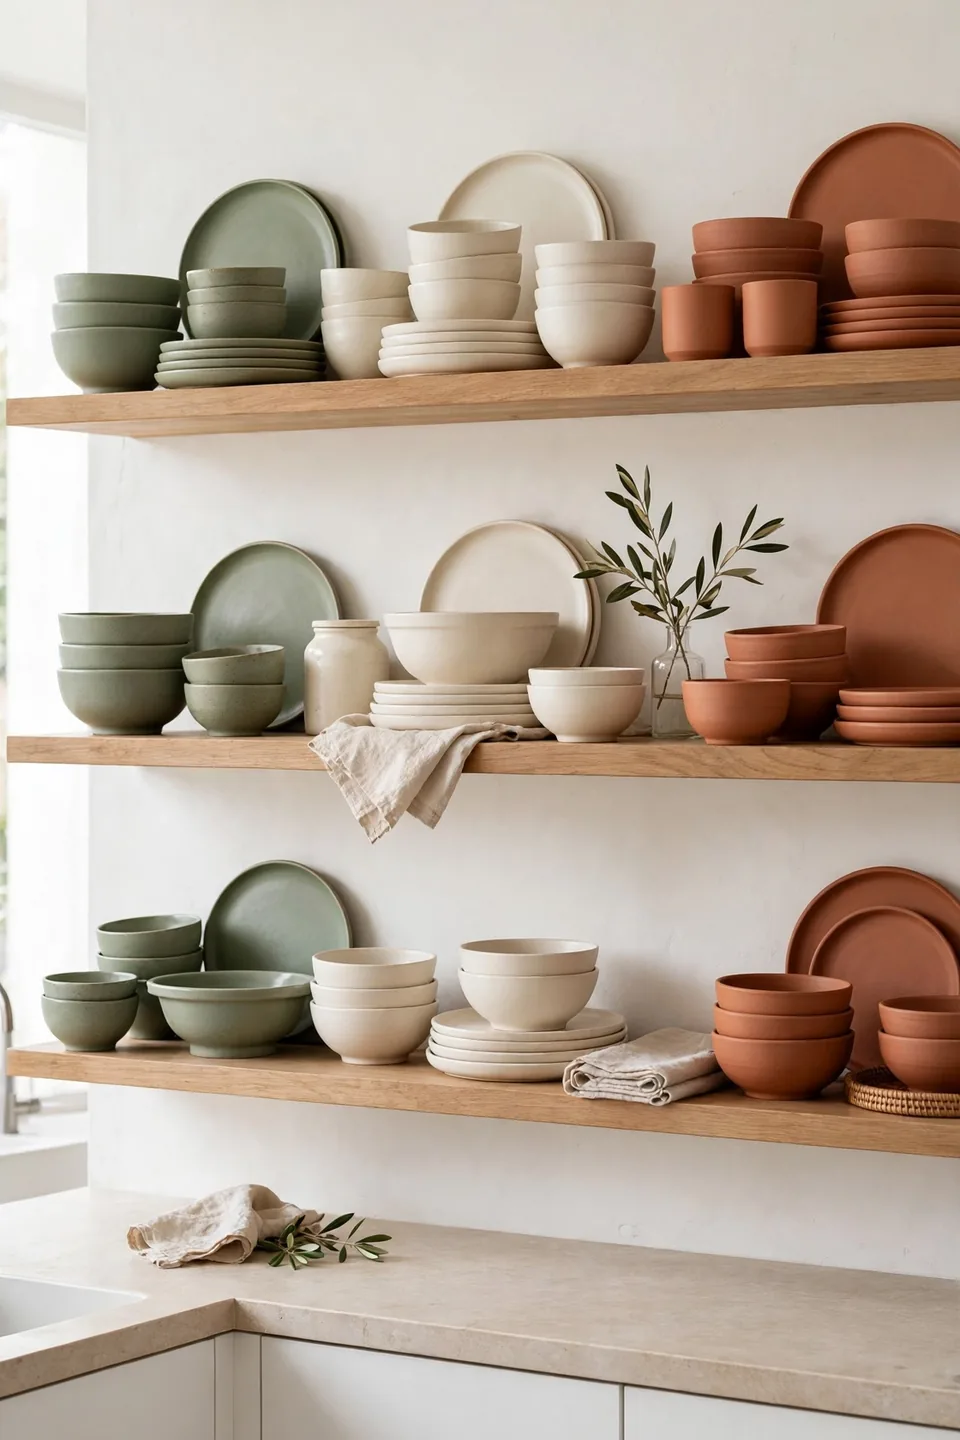
Grouping stoneware by color creates bold blocks that look like modern art. Gather all the sage pieces together, then the cream, then the terracotta, letting each color form its own zone. The strong color statements make even simple dishes feel designed. This trick works with any palette you already own, so shop your cabinets first.
Keep each color block to one shelf section and leave a little neutral gap between zones. The contrast between blocks gives the eye places to rest and the shelf a gallery feel. When a piece chips, replace it within its color family to protect the effect.
Hanging Rail Storage
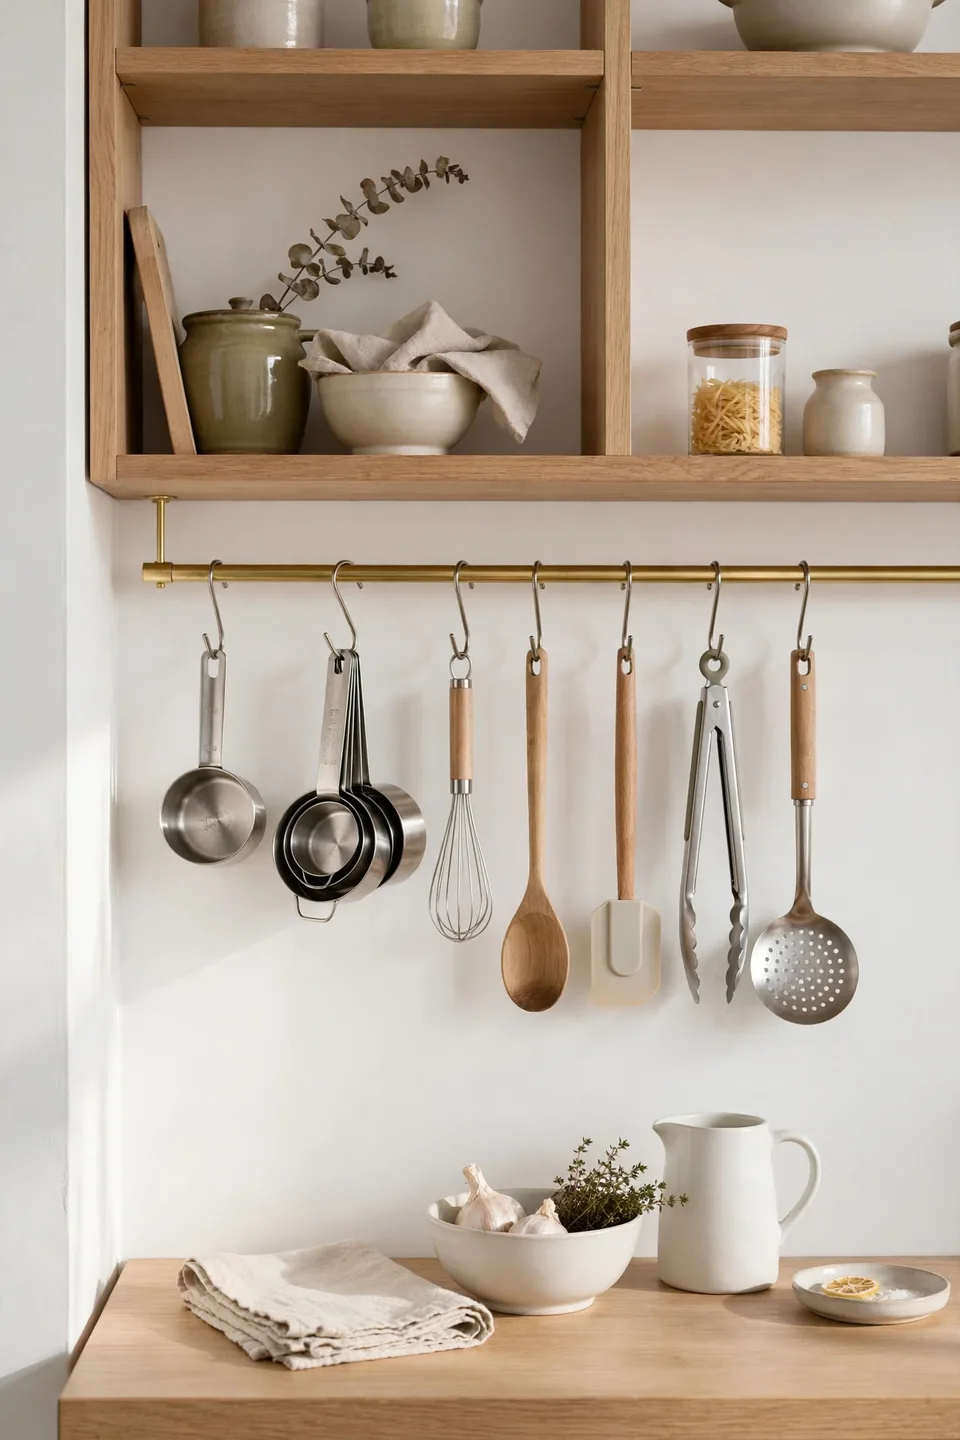
- Mount a slim brass or black rail under the lowest shelf for hanging tools.
- Use S-hooks for utensils, measuring cups, and small whisks you reach for often.
- Keep the hanging items to one metal finish so the row looks tidy.
- Leave the shelf surface above for dishes, keeping tools and plates in separate zones.
- Wipe hooks monthly so grease never builds up in a busy kitchen.
A rail turns dead space under a shelf into hardworking storage. The hanging tools stay visible and within reach, which speeds up cooking. Because everything hangs in a line, the look stays orderly even with daily use.
Cookbook Spine Rows
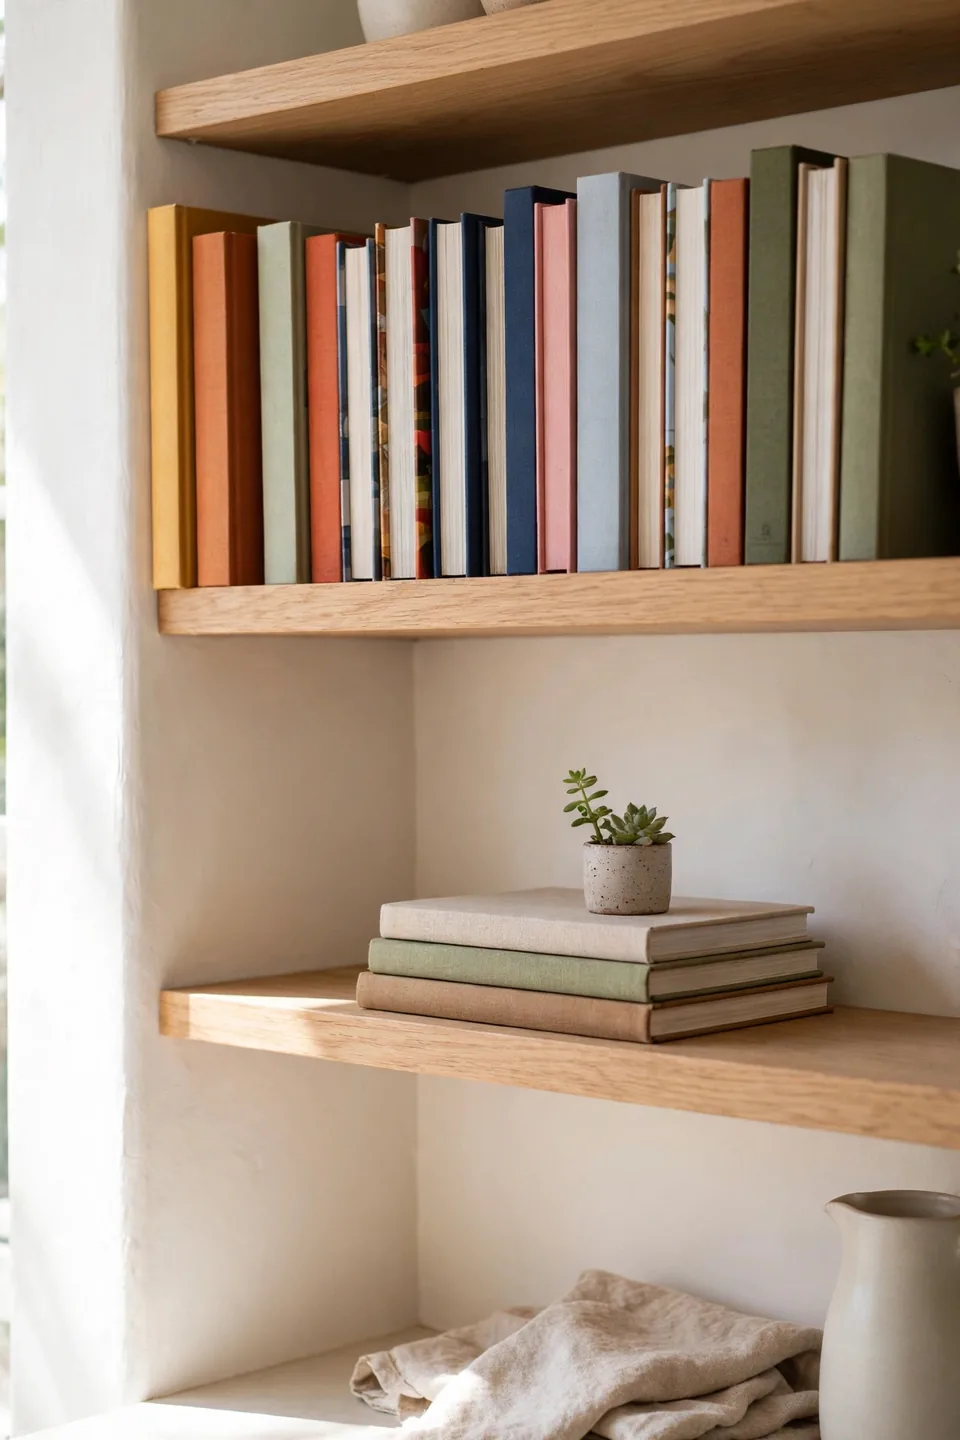
Quick Tip: Line cookbooks upright with spines facing out, tallest at the ends like bookends for your own collection. Tuck one small plant or a tiny framed print at the end of the row to break the line. When friends ask for recipes, you’ll actually find the book, since kitchen open shelving styling ideas work best when pretty and practical share the shelf.
Cookbooks add color and personality that dishes alone cannot. Sort them by height or by spine color, whichever looks calmer to your eye. Keep the everyday favorites at arm level and the rarely opened volumes higher up. A horizontal stack of two or three books makes a handy riser for a small plant.
Ceramic Vase Clusters
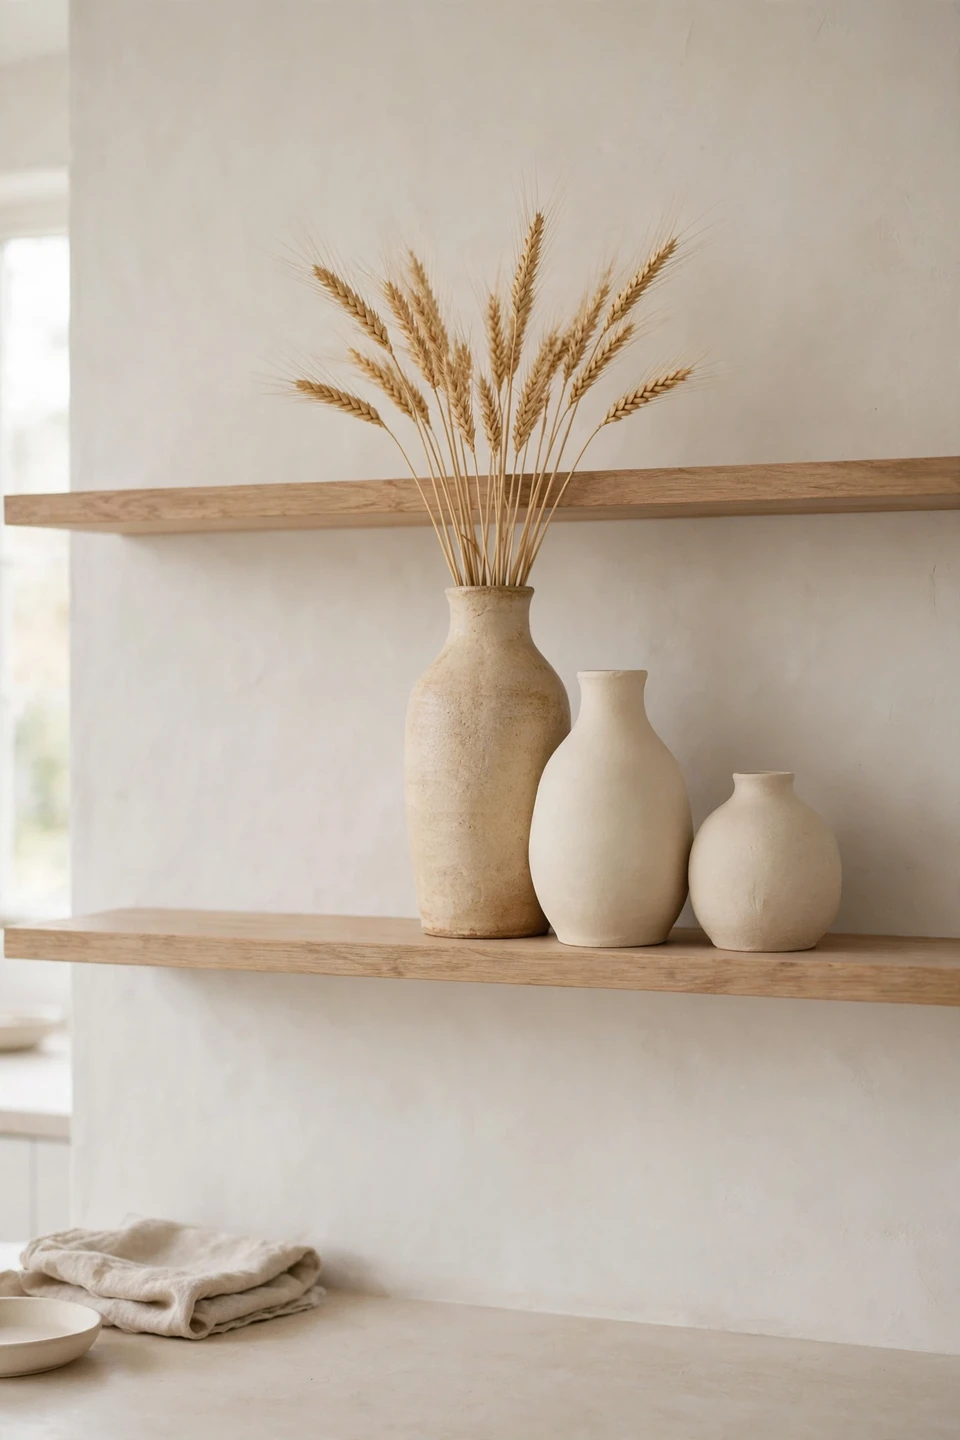
BEFORE: A single lonely vase sat on the middle shelf, looking lost among the dishes. The shelf felt half finished, like something was missing. Guests never noticed it, and the display had no focal point.
AFTER: Three vases in varied heights now cluster at one end of the shelf, and the grouping reads as a deliberate arrangement. Dried wheat in the tallest vase adds softness. The cluster draws the eye and gives the dishes beside it a sense of purpose.
Odd-numbered clusters of vases create instant focal points on busy shelves. Vary heights by a few inches and keep the glaze tones in one family. Dried stems last for months and need nothing but an occasional shake of dust.
Open Corner Shelves
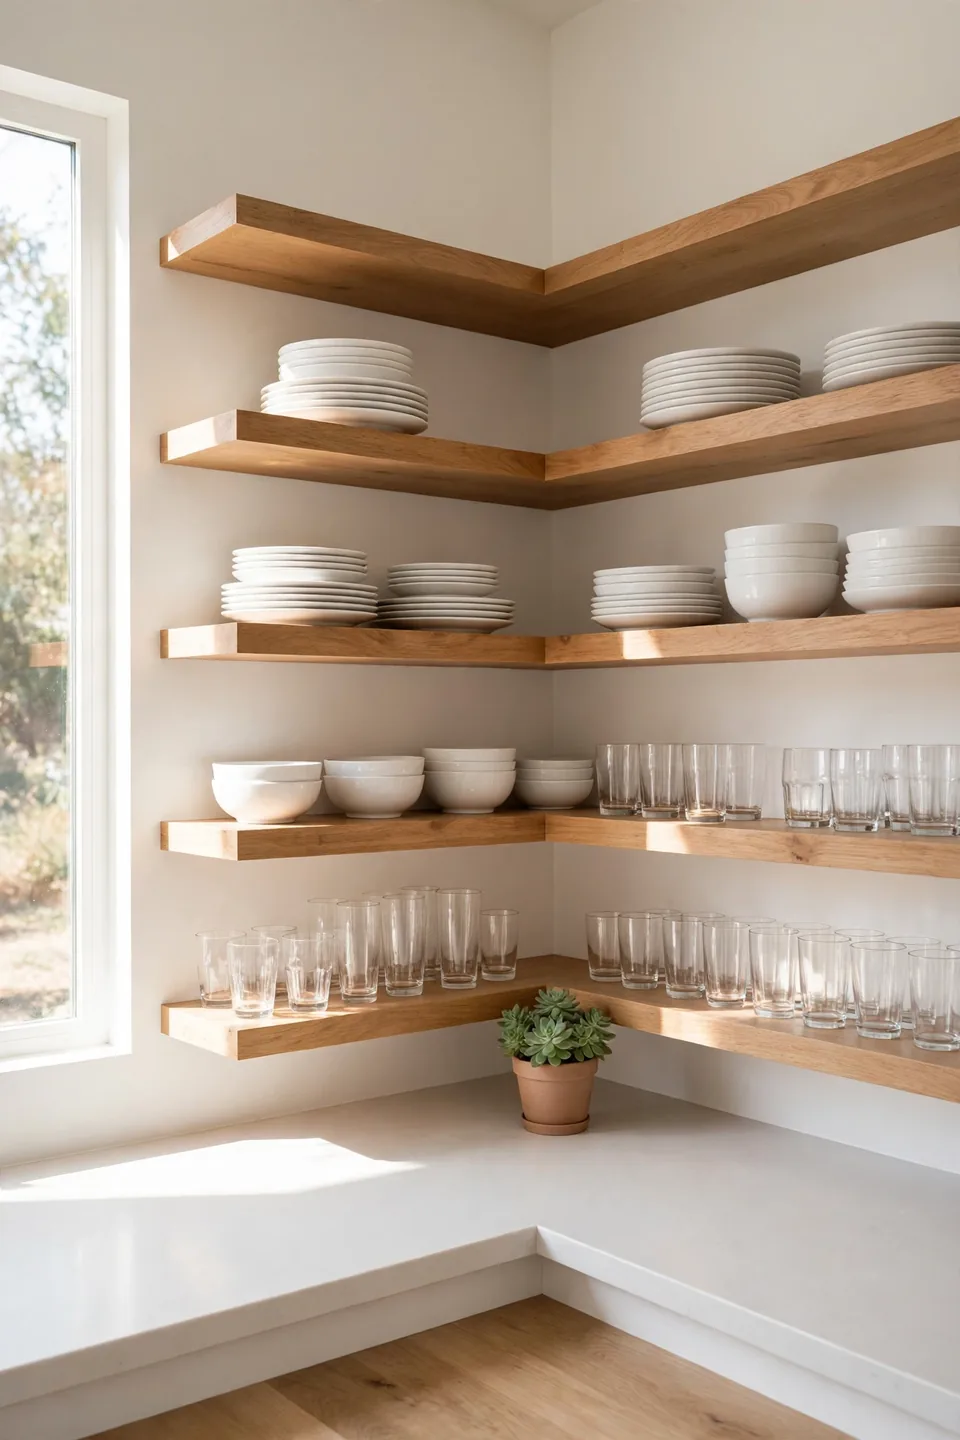
- Measure the corner and choose L-shaped brackets that support both runs of shelving.
- Place heavy stacks of plates on the sturdier wall and lighter glasses on the return.
- Style the corner joint as a feature with a plant or a tall vase that bridges both sides.
- Keep a step stool nearby so the deep corner stays usable.
Corner shelves wrap storage around awkward angles and turn them into assets. Treat the corner as the anchor and style outward from it. The L-shape creates zones, so give each arm a job like dishes on one side and glasses on the other.
Corners done well help small kitchens most, a lesson from small apartment dining nook decor where every inch earns its place. Keep weekly pieces within easy reach.
Floating Oak Beams
| Shelf Style | Best For | Price Range |
|---|---|---|
| Thick oak beam | Rustic warmth | $80 to $150 |
| Slim white shelf | Modern minimal | $30 to $60 |
| Reclaimed wood | Vintage charm | $50 to $120 |
| Metal bracket | Industrial edge | $40 to $90 |
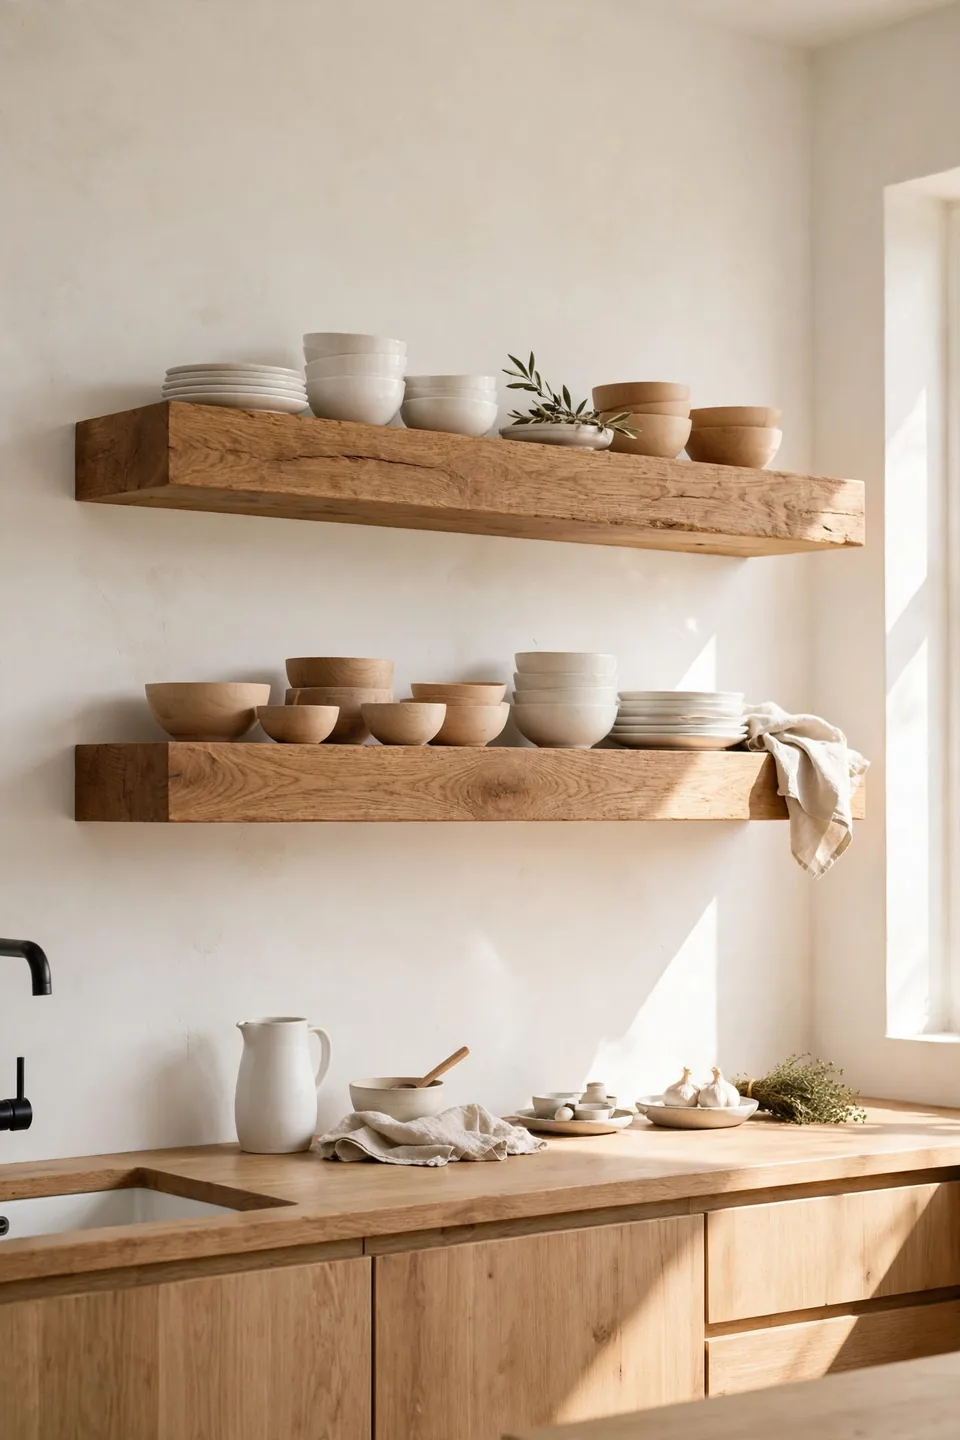
Thick oak beams bring a furniture-like presence to the wall, and their chunky profile suits heavier styling. The hidden brackets keep the look clean while the wood adds warmth that painted shelves cannot match. Style them simply, since the shelf itself is already a statement. White dishes and pale wood bowls let the beam stay the hero. That’s why many experts recommend sealing the wood against kitchen humidity so the finish lasts for years.
Tiered Tray Corners
DO:
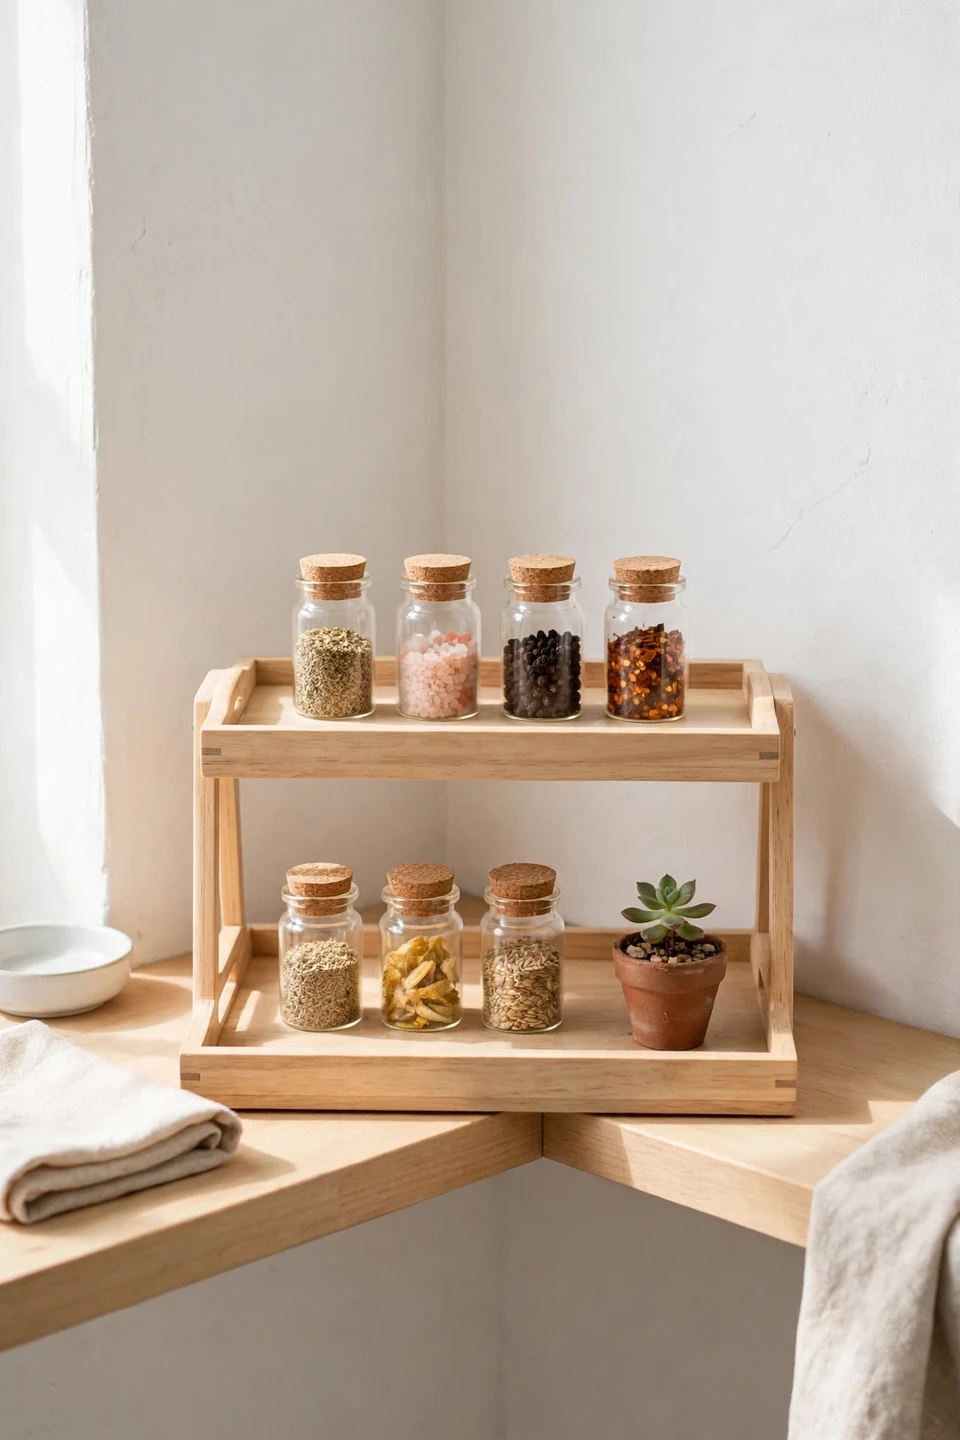
- Do use a two-tiered tray to lift small jars into view at the shelf corner.
- Do group spices or teas on the tray so tiny items read as one unit.
- Do pick a tray in wood or white that blends with the shelf.
DON’T:
- Don’t overload the tiers; leave air between items so it stays pretty.
- Don’t choose a wobbly tray, since corner shelves get bumped often.
- Don’t hide the tray behind tall items where its levels go unseen.
Tiered trays solve the classic problem of small items getting lost at the back. The raised levels bring everything into sight and make the corner feel styled. Refill the tray from your main pantry stock so it always looks abundant.
Glass Canister Lines
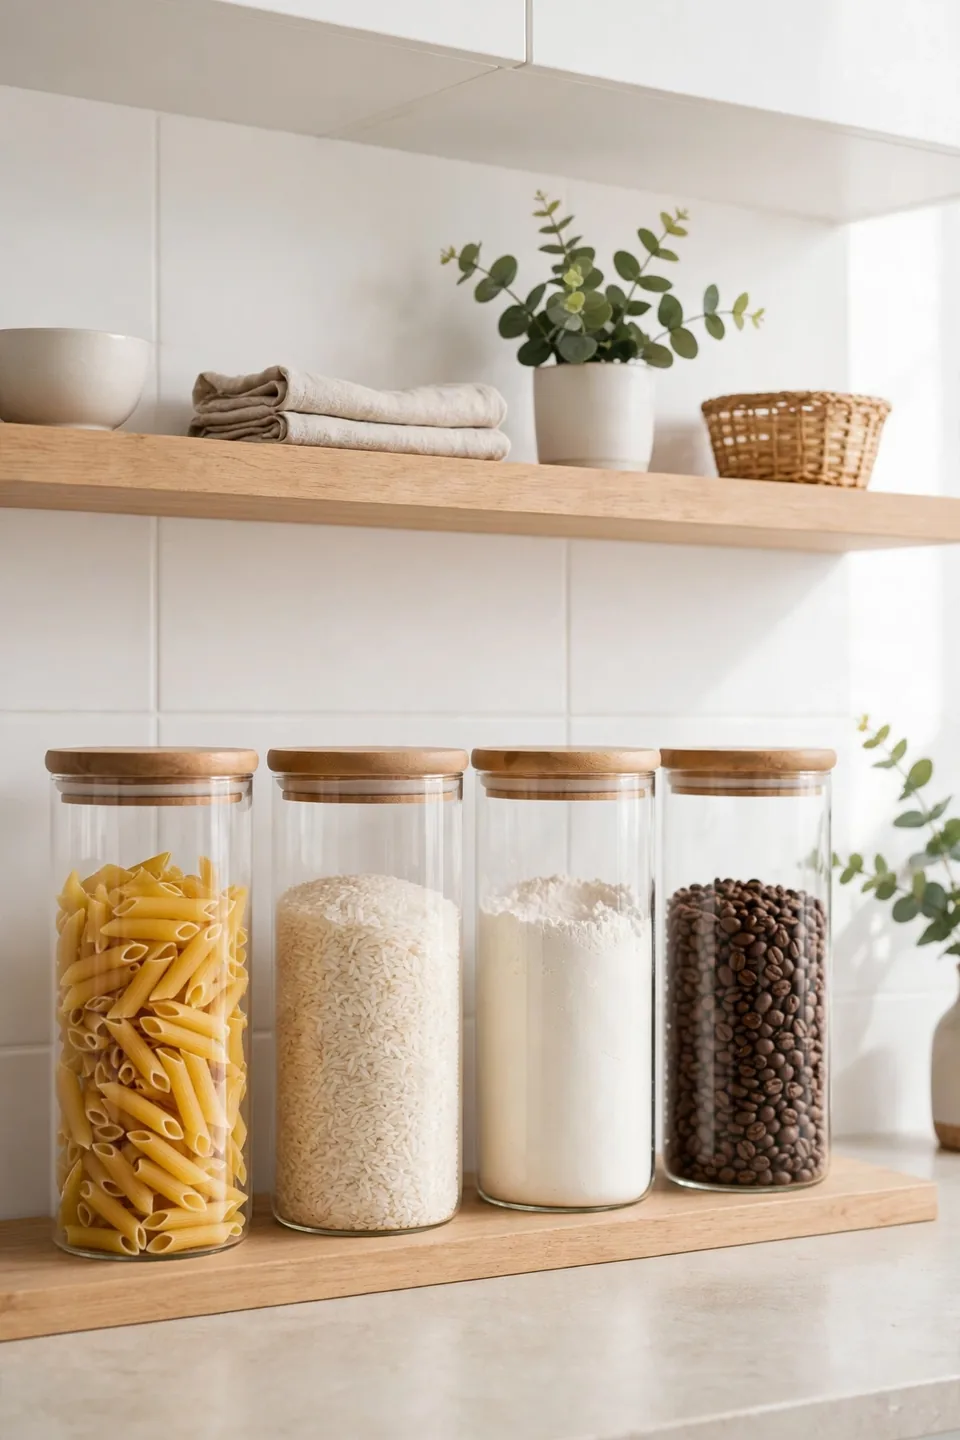
Cost: $25 to $60 for a matching set | Time: Under an hour to fill and label | Skill Level: Beginner | Best For: Pantry staples on display
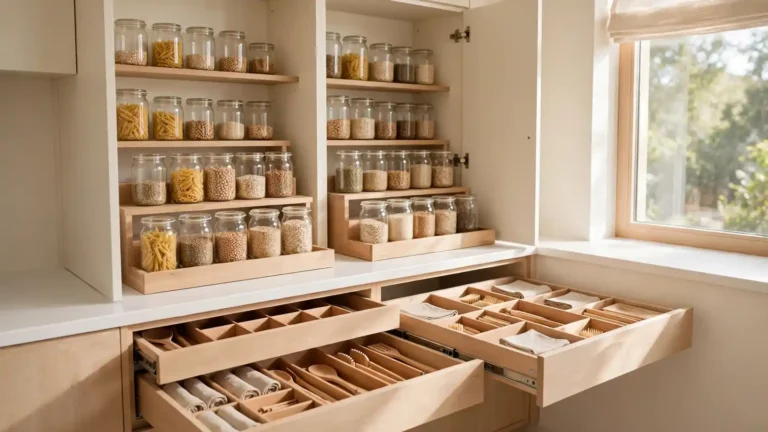
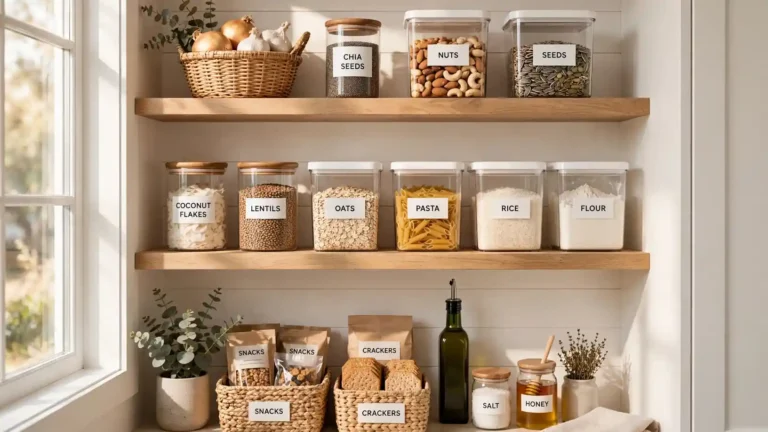
Glass canisters filled with pasta, grains, and beans turn dry goods into decor. Choose canisters in one shape with wooden or bamboo lids for a unified row. Fill them generously, since half-empty jars look sad, and keep labels small and simple. The natural colors of the contents add warmth without any extra styling effort. Decant a little at a time so the jars stay full, and wipe the glass monthly to keep every jar crystal clear.
Artful Cutting Boards
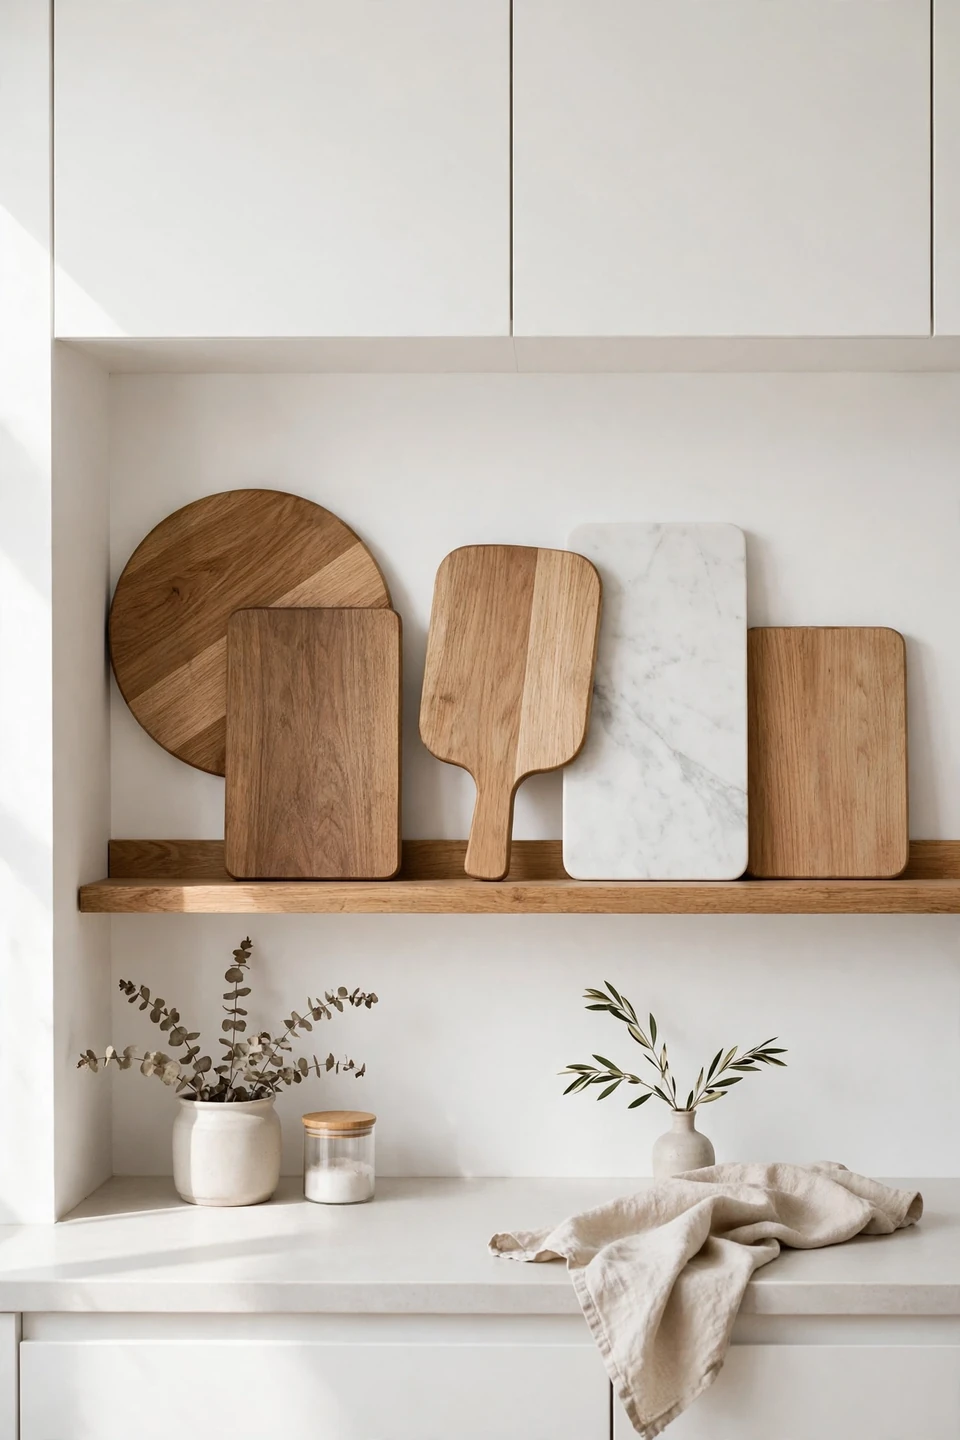
Cutting boards in varied shapes lean against the wall like a casual art gallery. Gather round, rectangular, and paddle shapes in light and dark woods for contrast. Overlap them slightly so the arrangement feels collected over time rather than placed all at once. Stand the tallest board at the back so every shape stays visible. The wood tones warm up white kitchens beautifully.
Keep the boards you actually chop on closest to the counter for easy grabbing. Reserve the prettiest, least-used boards for the upper shelves where they stay pristine. Wipe them with mineral oil twice a year to keep the grain rich and the display fresh.
Brass Rail Hangers
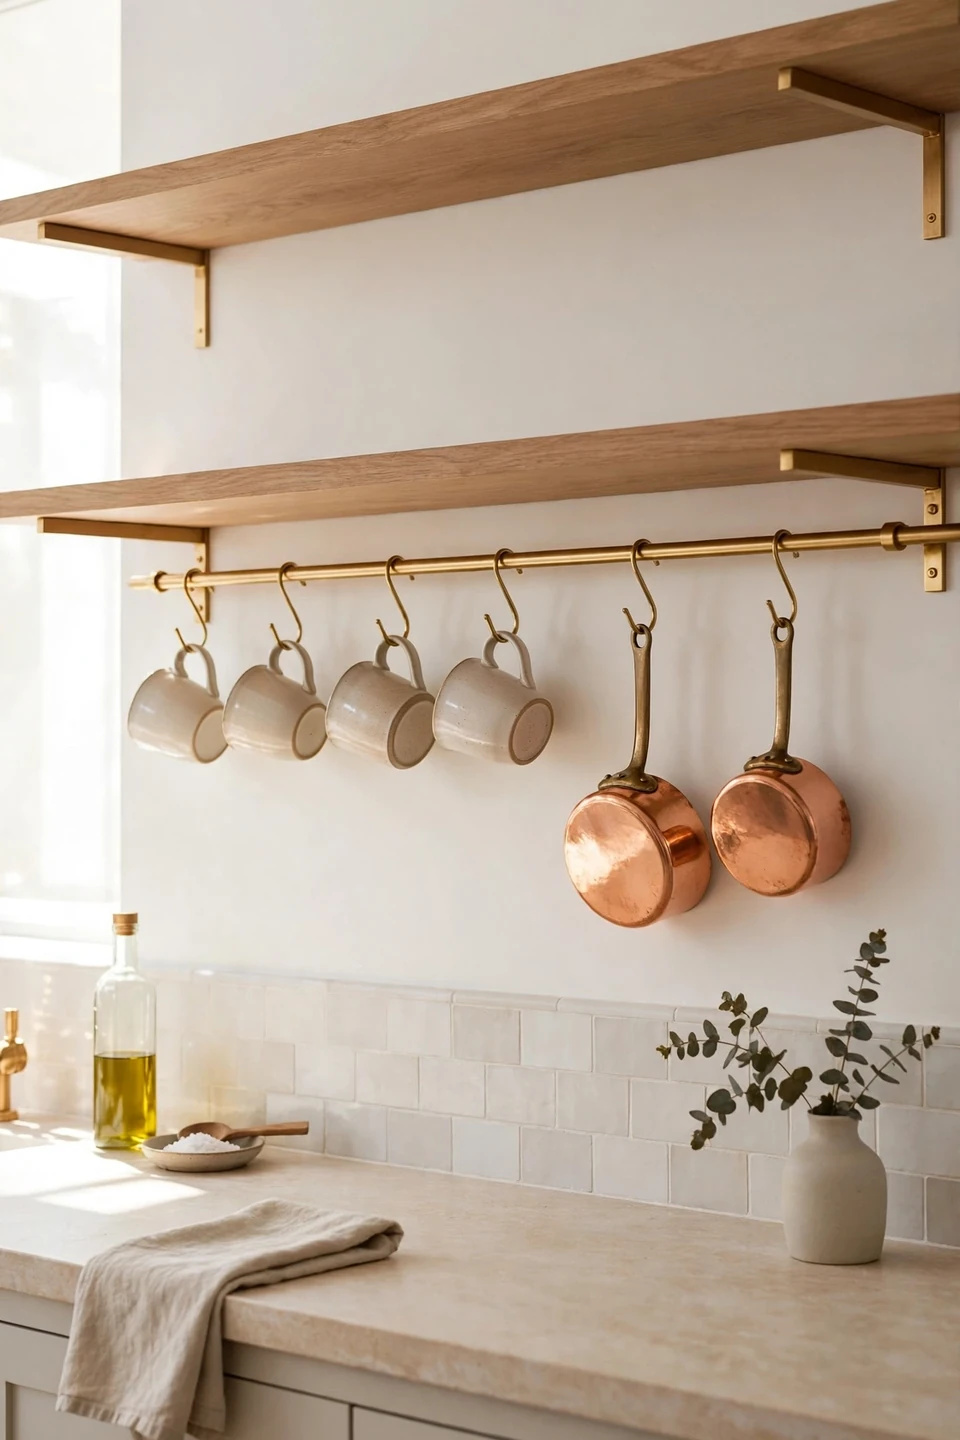
- Install a slim brass rail beneath the shelf for a warm metallic line.
- Hang mugs, small pots, and a whisk from matching brass S-hooks.
- Echo the brass with one or two shelf-top accents like a small pitcher.
- Polish the rail twice a year to keep the warm glow alive.
Brass rails add jewelry-like shine under plain shelves. The warm metal flatters wood tones and white dishes alike, tying the whole wall together. Keep the hanging pieces to a single row so the rail reads as a clean line rather than clutter. The rail also frees cabinet space, which small kitchens always appreciate.
Woven Basket Bins
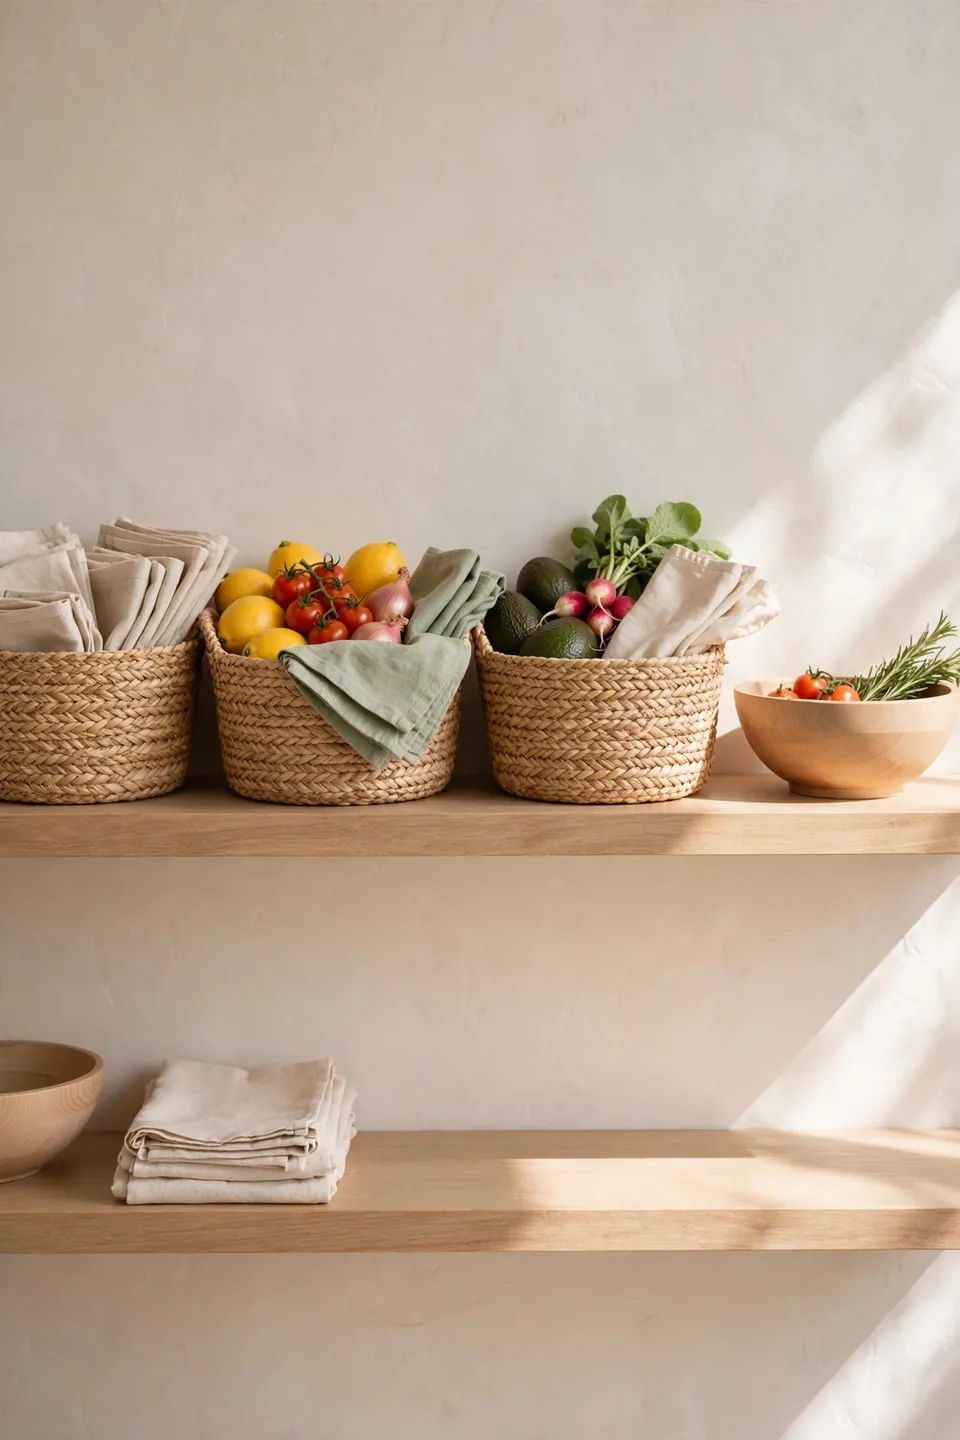
Quick Tip: Tuck cloth napkins, produce, or snack packets into woven baskets so the less-pretty necessities stay hidden in style. Choose baskets that fit the shelf depth with a little room to spare. Label the front discreetly if the whole family uses the kitchen.
Baskets add texture that hard dishes and glass cannot, softening the whole wall. Seagrass and rattan suit warm kitchens, while whitewashed weaves fit coastal looks. Keep one basket per shelf so the texture stays an accent rather than the theme. A basket of fresh fruit on the lowest shelf looks abundant and keeps healthy snacks where everyone sees them.
Pendant Light Pairing
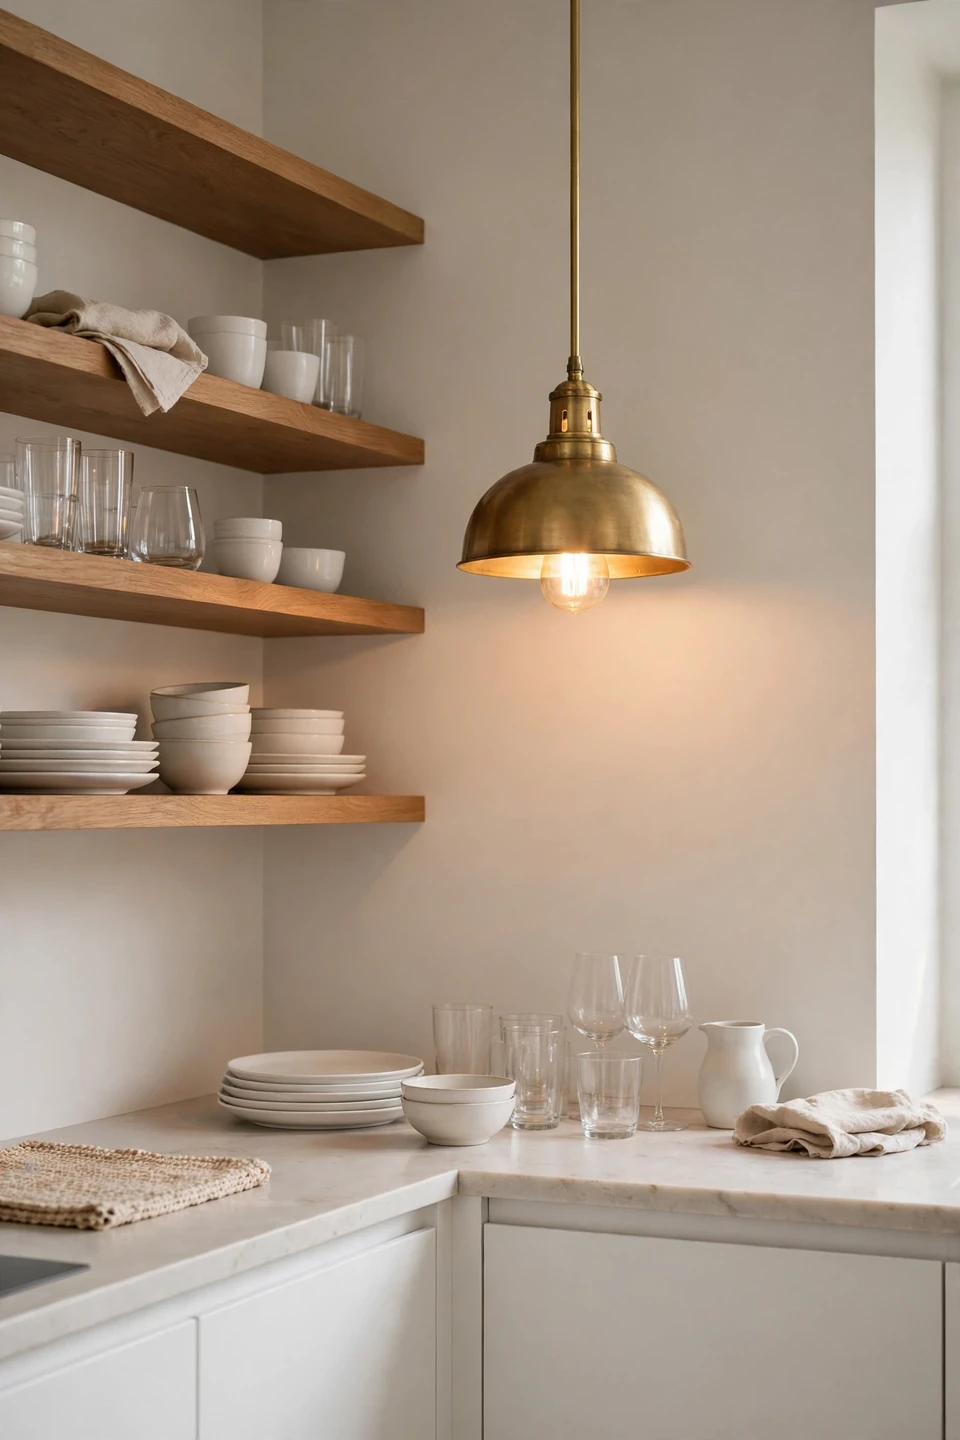
BEFORE: The shelves looked flat and shadowy, especially in the evening when the overhead light barely reached them. Pretty pieces disappeared into gloom after sunset. The wall felt like an afterthought once the daylight faded.
AFTER: A brass pendant now hangs beside the shelves, washing them in warm light every evening. Dishes glow, glass sparkles, and the wall becomes the prettiest corner of the kitchen. The whole room feels finished around the clock.
Light changes everything for open shelves, so pair them with a pendant or two. Hang the light a foot or so in front of the shelves to avoid harsh shadows. Warm bulbs around 2700K flatter wood and ceramics best. The glow turns your styled shelves into evening decor.
Seasonal Shelf Swaps
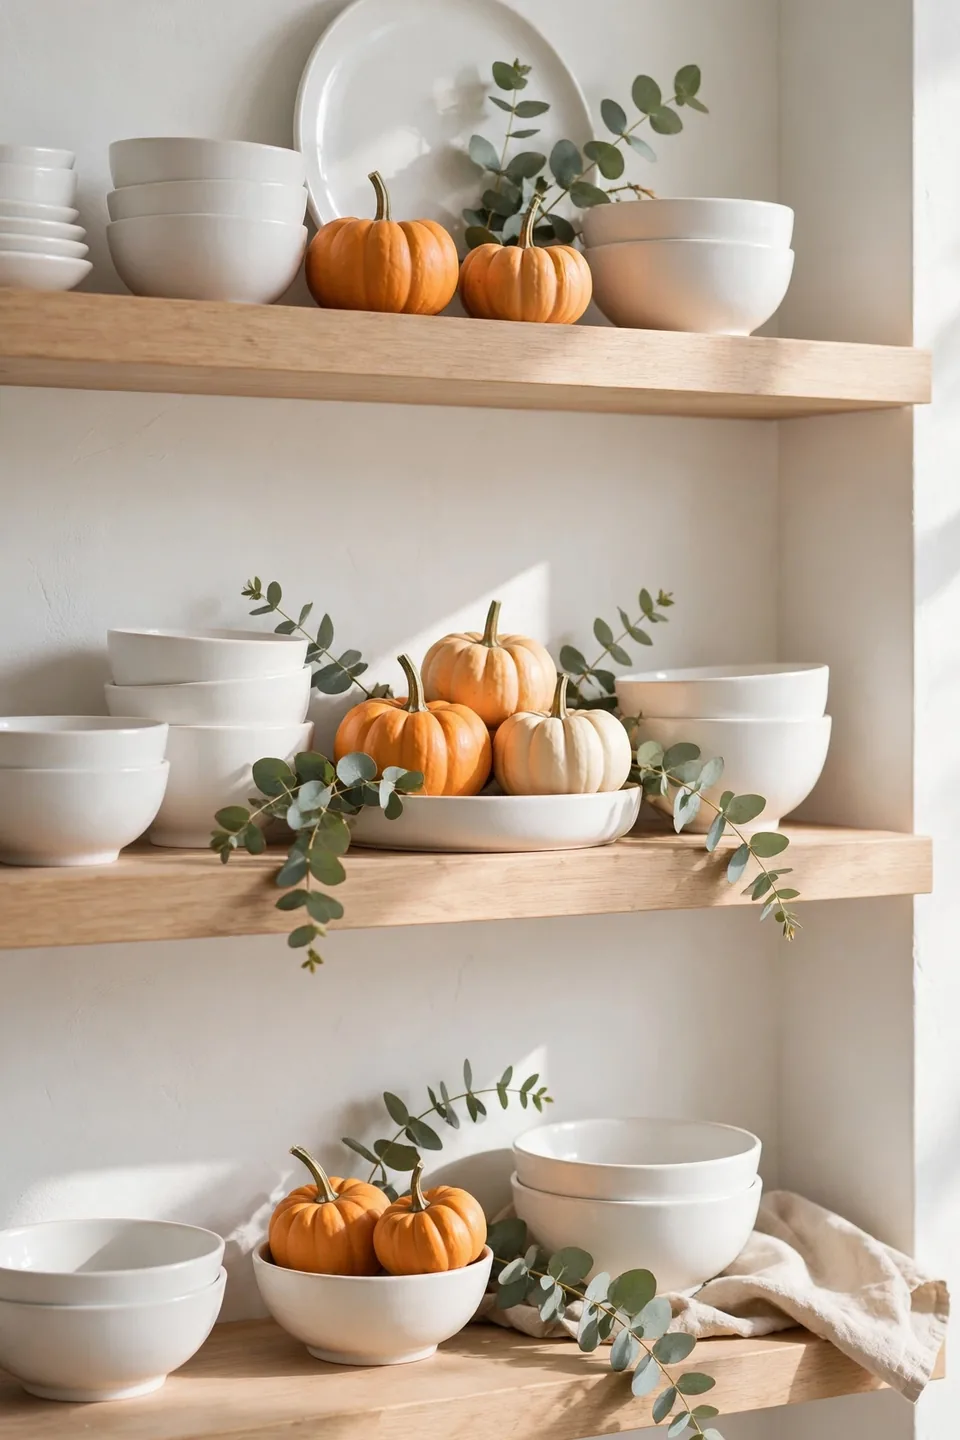
- Pick one small seasonal accent, like mini pumpkins or fresh eucalyptus sprigs.
- Tuck three to five of them among the everyday dishes, spaced apart.
- Keep the base styling the same so the swap takes ten minutes.
- Store the accents in a labeled box for easy rotation next season.
Small seasonal swaps keep shelves feeling fresh without a full restyle. A few sprigs of greenery in winter or citrus in summer signal the season instantly. Because the base stays constant, the shelf never looks chaotic between changes. This is the easiest way to keep open shelves feeling alive all year long.
Under-Shelf Lighting
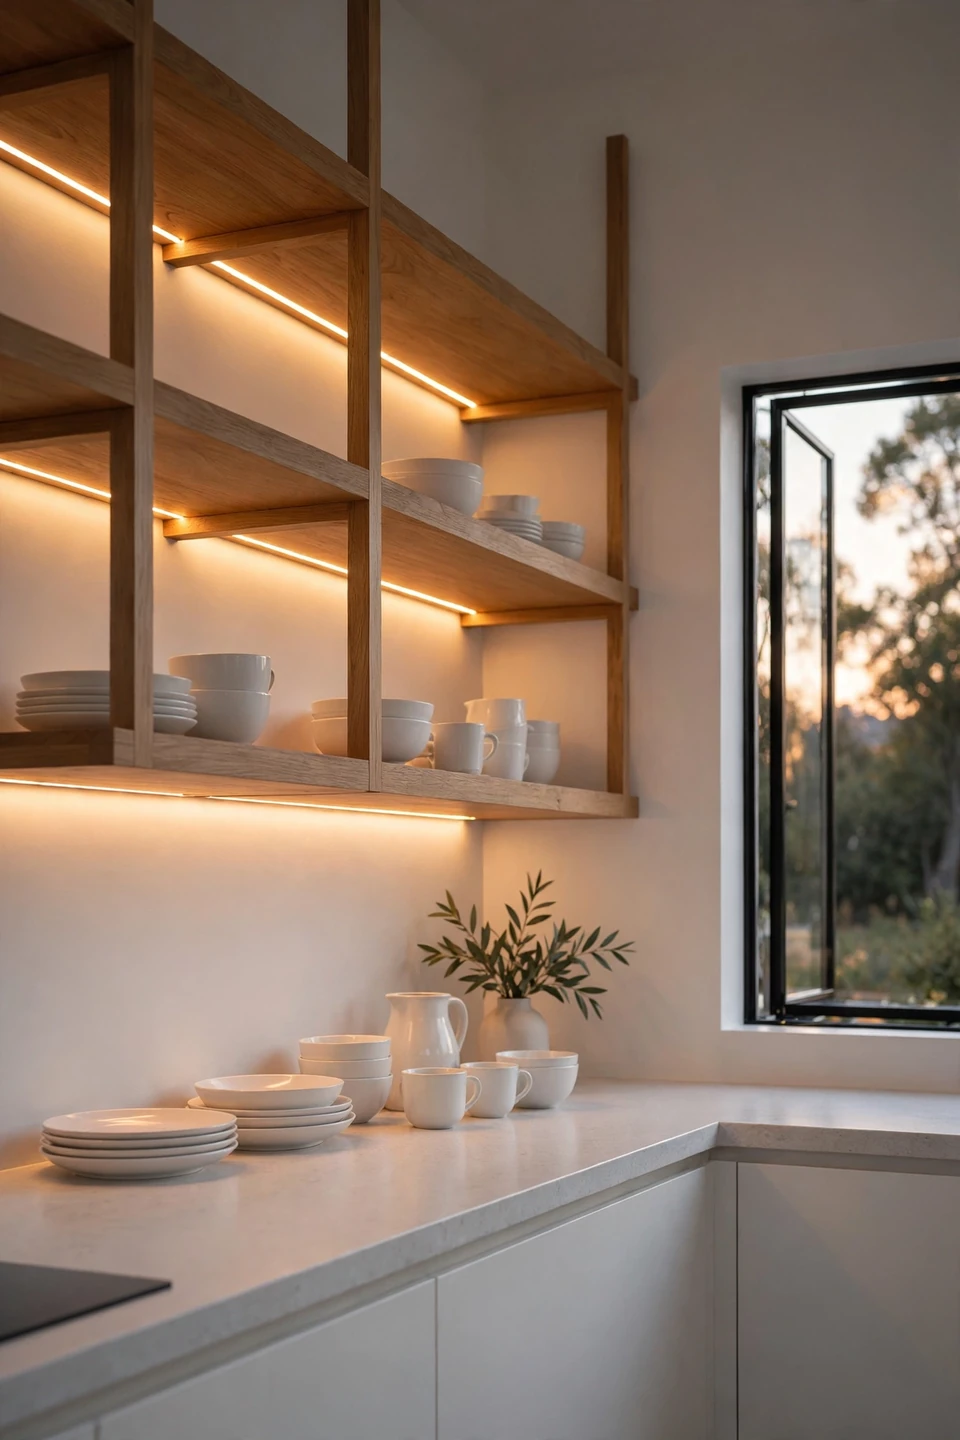
| Light Type | Install Ease | Best Effect |
|---|---|---|
| LED strip | Peel and stick | Even glow |
| Puck lights | Screw or magnet | Focused pools |
| Battery bar | No wiring | Quick upgrade |
| Hardwired | Needs electrician | Clean look |
Under-shelf lighting makes every styled shelf look twice as good after dark. A warm LED strip tucked near the front edge washes the shelf below in a soft glow. The light highlights textures in wood and glaze that daylight misses. Choose a dimmable option so the mood shifts from task lighting to evening ambiance with one touch. In my experience, this single upgrade impresses guests more than any new dish ever could.
Style Them Boldly
Your shelves are ready for their moment, and these kitchen open shelving styling ideas give you a full toolkit to make them shine. Start with one shelf, apply the balance of everyday pieces and pretty accents, and step back to see the difference. Small changes, like a row of hooks or a cluster of vases, often make the biggest impact. Snap a photo of the final look so you can recreate it after a deep clean. Keep dusting simple with a weekly wipe, and your open shelves will stay beautiful with very little effort. The prettiest kitchens are the ones that get used and loved every single day.
2 Comments