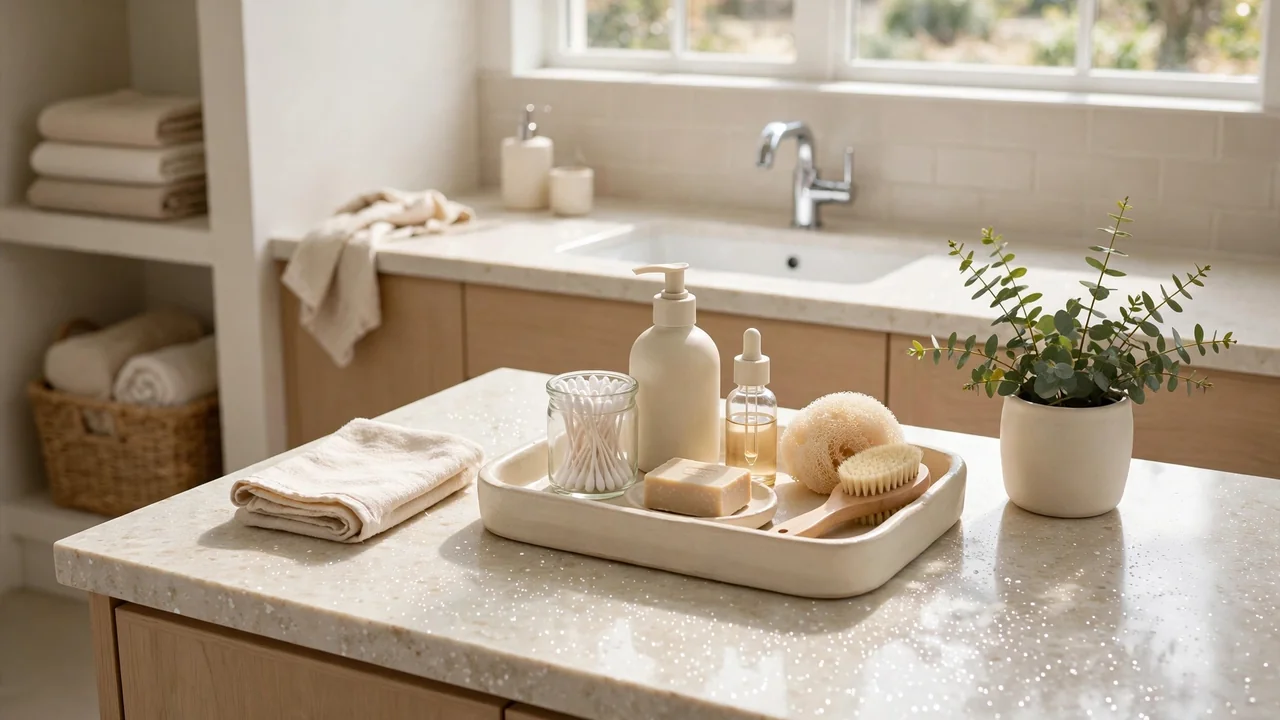
How to Organize a Small Bathroom Countertop
Your counter is buried under bottles and tubes, and every morning feels like a treasure hunt. In my experience, learning how to organize a small bathroom countertop changes the whole mood of the room. A clear counter makes a tiny bathroom feel twice as big.
This guide walks you through ten simple moves that work in rentals and owned homes alike. You will declutter ruthlessly, corral what stays, and use vertical space you never noticed. By the end, your mornings will run smoother and your bathroom will look calmer.
If clutter spreads beyond the bathroom, my guide on how to store blankets in a small living room shows the same tidy logic applied to soft goods. The principles overlap more than you would expect.
Why Small Counters Feel Chaotic
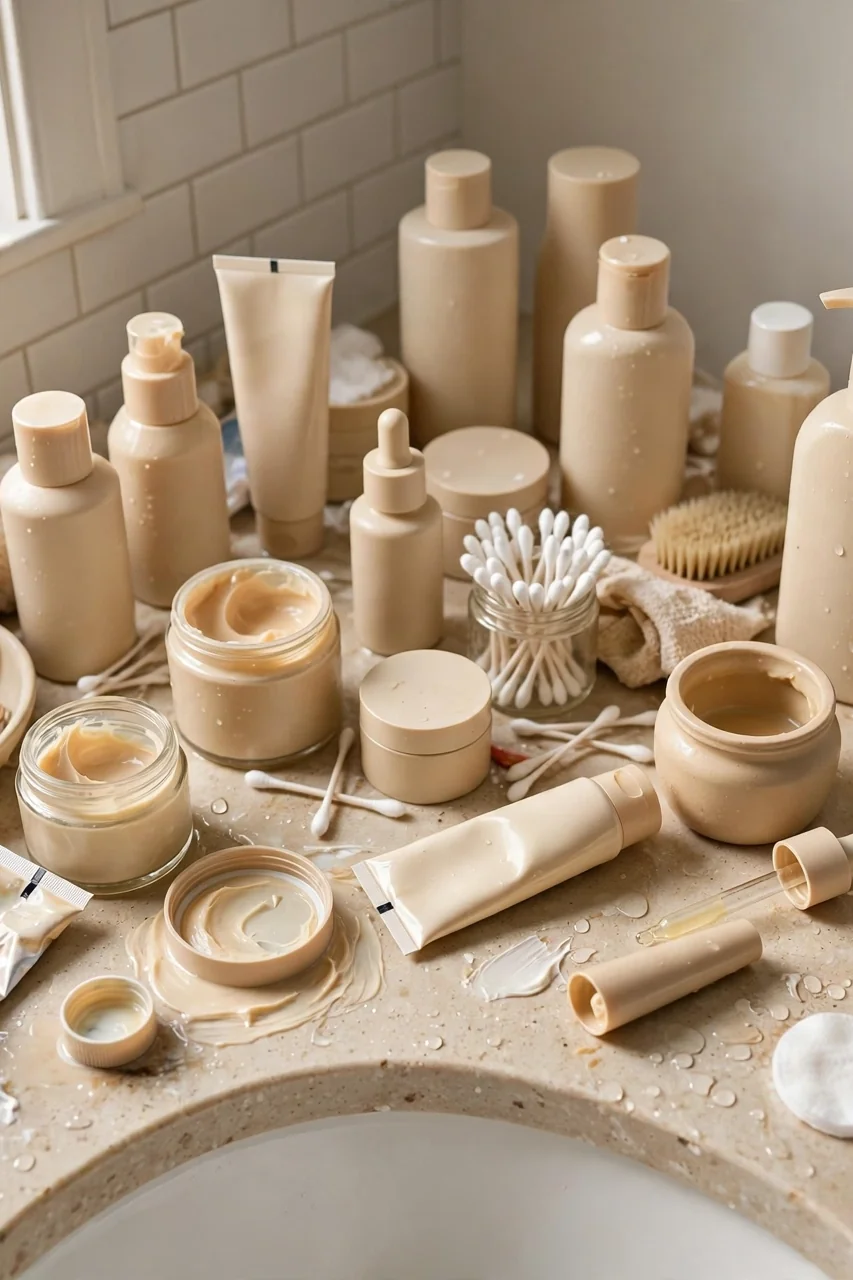
Small counters collect everything because they sit at the center of your daily routine. Toothpaste, vitamins, hair tools, and half empty bottles all land there by default, and each item feels harmless on its own. Together, though, they swallow the whole surface within days, leaving zero room for the things you actually use.
The chaos also slows you down every morning. You move bottles aside to brush your teeth, then knock something over reaching for deodorant. Once you treat the counter as prime real estate instead of a catch all shelf, the fix becomes obvious.
Clear Everything Off
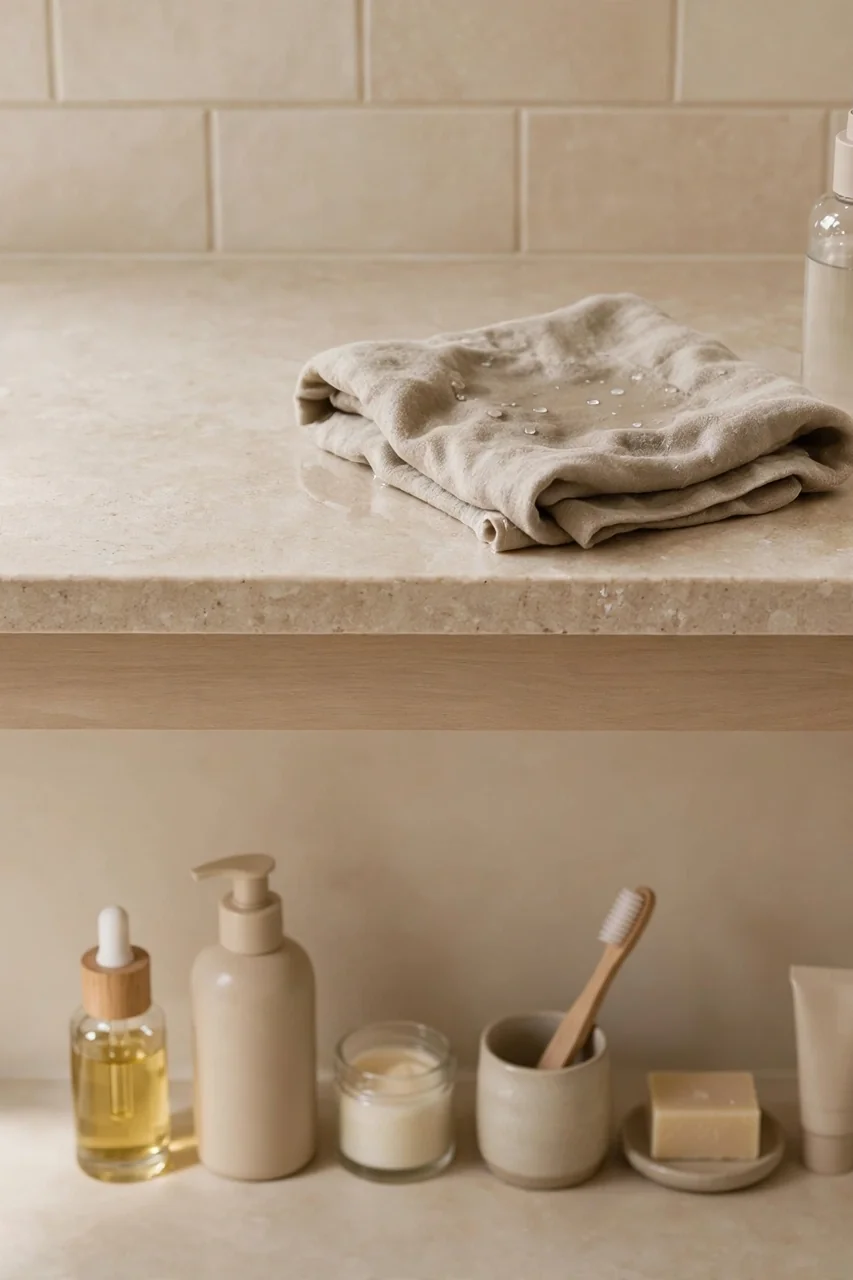
You cannot organize what you cannot see, so the first move is a full reset. Pulling everything off the counter gives you a blank slate and reveals exactly how much stuff you own. The shock alone motivates smarter choices. Most people underestimate the pile by half.
- Remove every single item from the counter, including the soap dispenser and toothbrush holder, and line them up on the floor or bed.
- Wipe the empty counter down with a damp cloth so you start truly fresh.
- Sort items into three groups: daily use, weekly use, and rarely or never.
- Toss expired products and anything you have not touched in three months.
Keep Only Daily Essentials
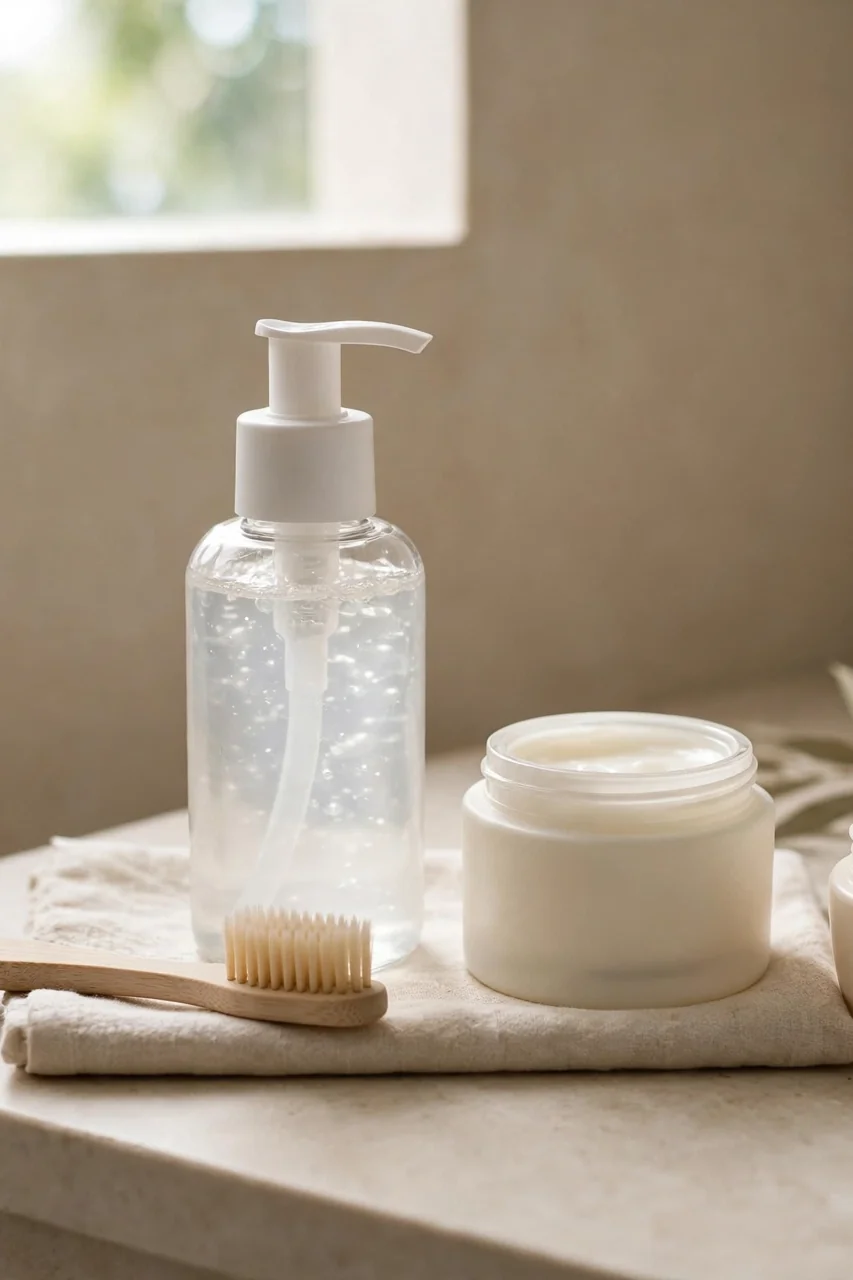
Quick Tip: The one in, one out rule keeps counters clear forever. Every time a new product arrives, an old one leaves. This single habit beats every organizer you could buy.
Daily essentials are the four to six items you reach for every single morning and night. Toothbrush, toothpaste, cleanser, moisturizer, and deodorant cover most people completely. Everything else earns a home inside a cabinet or drawer, not on the counter. Be ruthless here; borderline items live elsewhere.
Use Trays to Corral
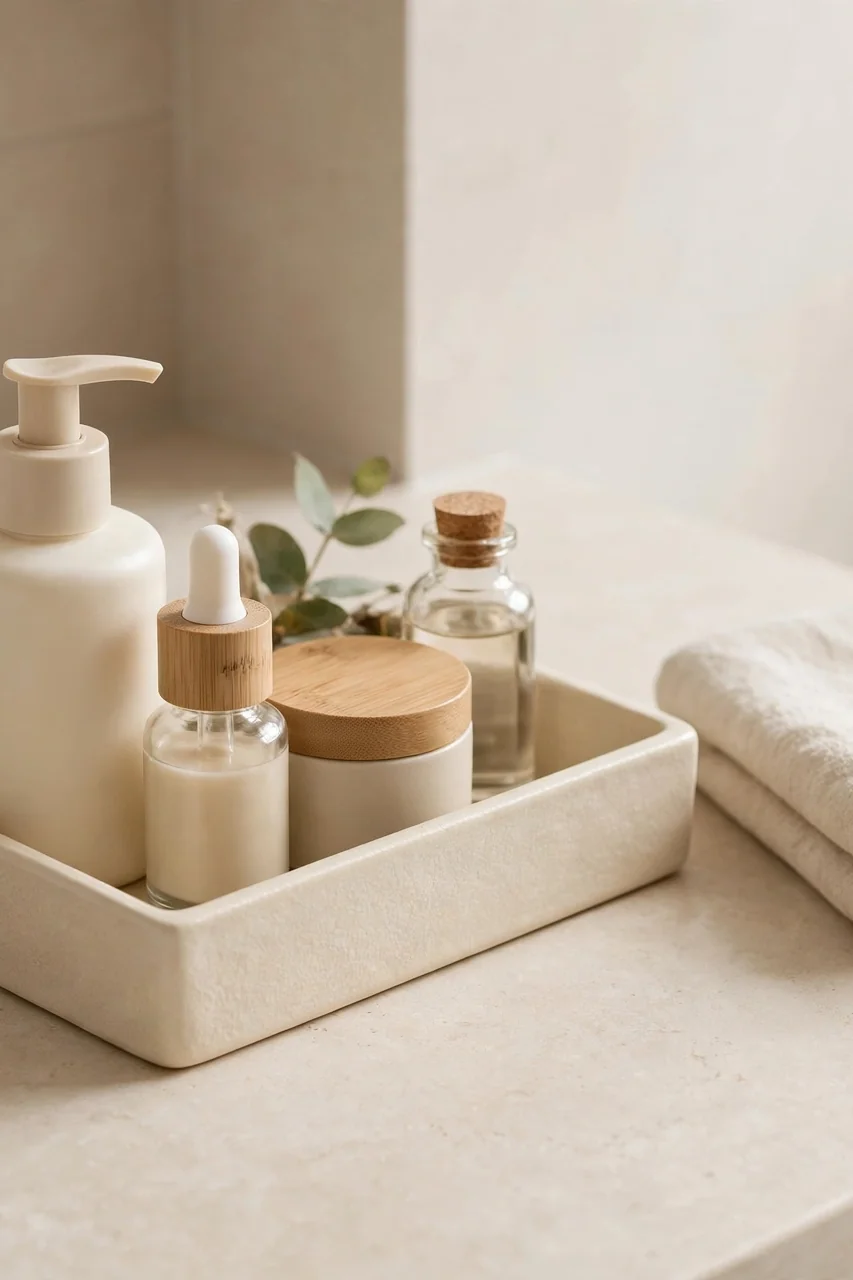
Common Mistake: Most people scatter bottles across the counter and call it organized because each item has a spot. Scattered items still look messy, collect dust, and make wiping the surface a chore.
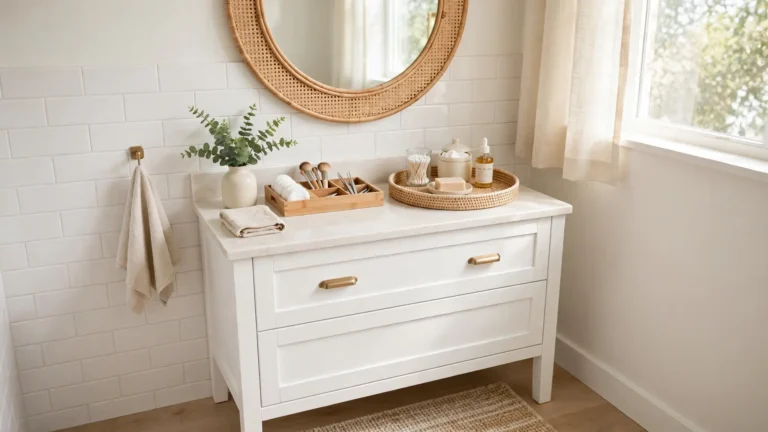
The Fix: Group daily items on one small tray or a shallow basket. The tray creates a visual boundary that reads as tidy, and you can lift the whole thing to wipe underneath in seconds.
Choose a tray that fits your style, ceramic, bamboo, or metal all work beautifully. Keep it near the sink but not blocking it, and resist the urge to let the tray overflow. One tray, one neat cluster, that is the whole system. Simple wins every time.
Go Vertical
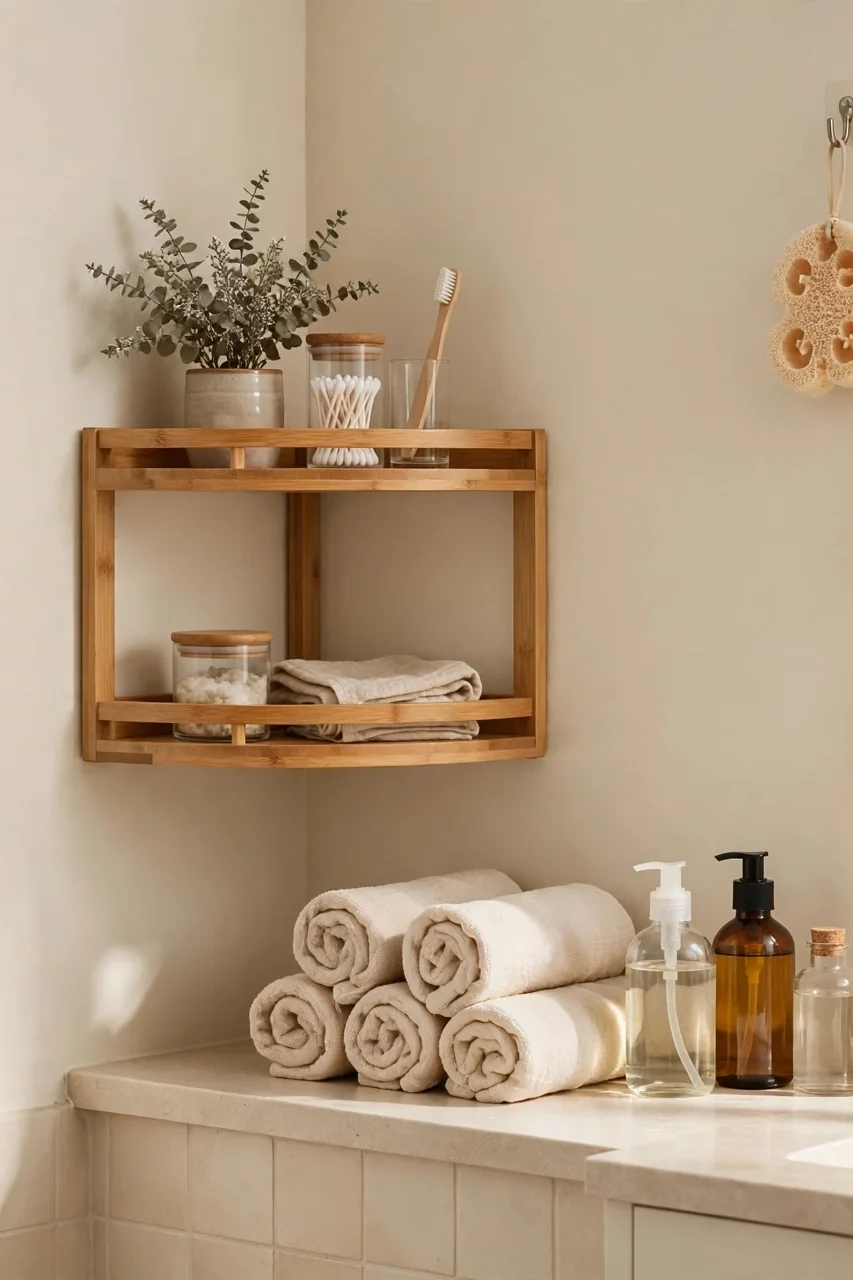
What You Need:
- A two tier corner shelf: lifts products off the counter while keeping them reachable.
- Small adhesive hooks: hold hair tools, loofahs, or washcloths on the wall or mirror edge.
- A magnetic strip: pins bobby pins, tweezers, and nail clippers neatly in one line.
- Stackable risers: double the storage inside deep cabinets for overflow items.
- A slim rolling cart: slides beside the vanity for extra supplies that miss the cut.
Vertical space is free real estate in every tiny bathroom. Once you move upward, you will find that learning how to organize a small bathroom countertop stops feeling like a battle. Walls, mirror edges, and the inside of cabinet doors all hold more than you think.
Maximize Wall Space
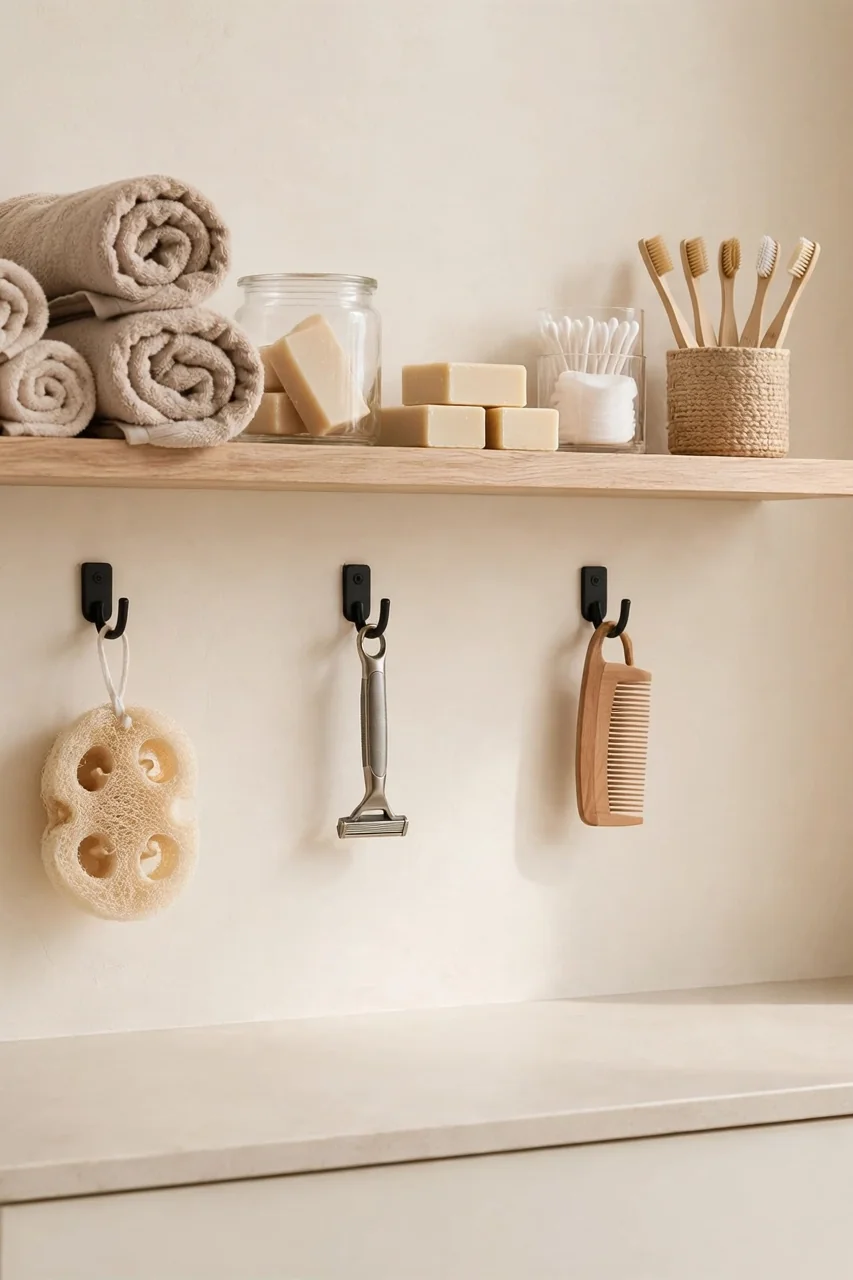
Before: The counter held every product, the mirror had nothing, and the walls sat completely empty. You bumped elbows with bottles every time you washed your hands.
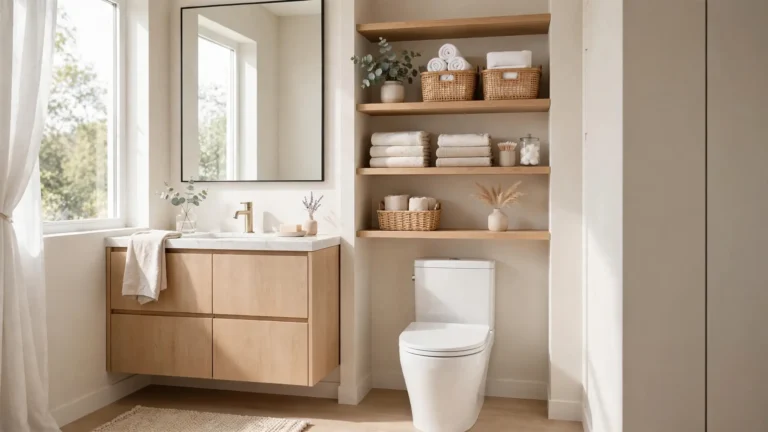
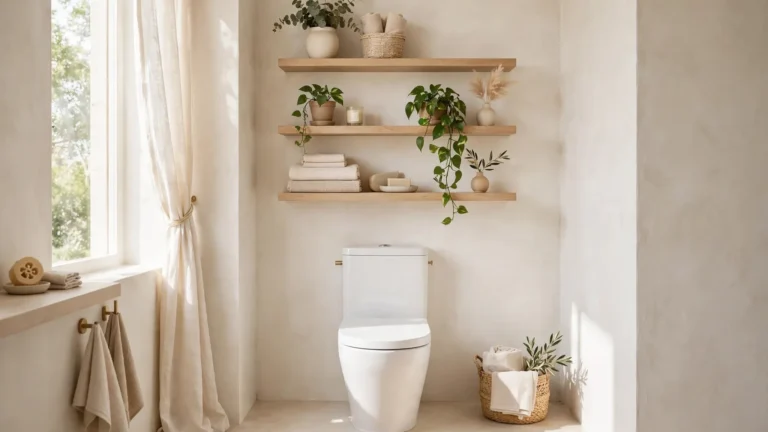
After: A floating shelf above the toilet holds backup supplies, hooks on the wall hold daily tools, and the counter breathes. The room looks twice as big with half the visual clutter.
Renters can use damage free adhesive strips and over the door hooks for the same effect. Measure before you mount anything, and keep heavy items low. Wall storage works best when it holds daily use items within easy reach. Reserve high shelves for backups you grab weekly.
Use Drawer Organizers
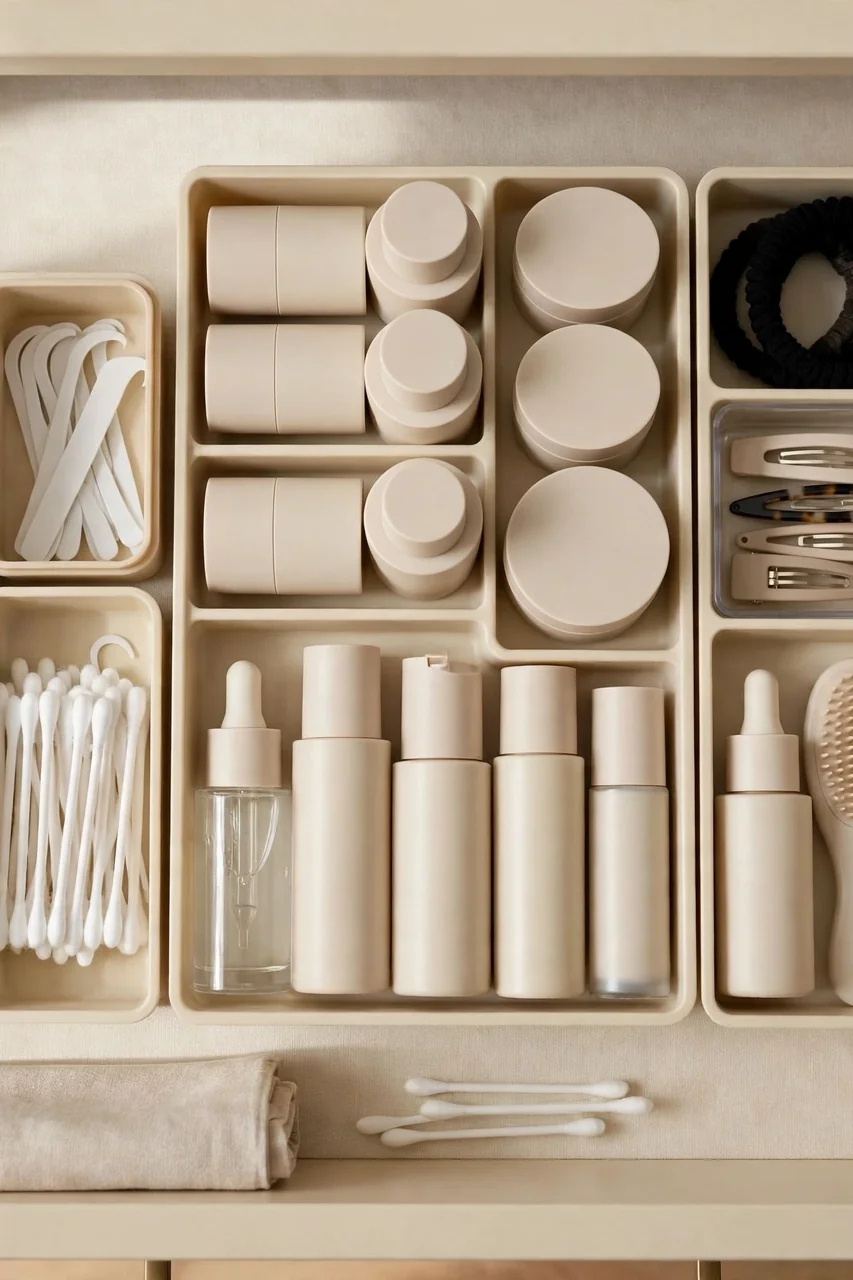
Do This:
- Measure the drawer before buying any organizer.
- Give every category its own compartment, dental, skin, hair.
- Decant bulky packaging into slim uniform containers.
- Label compartments so the system survives busy mornings.
Avoid This:
- Do not buy organizers before decluttering, or you will just store junk neatly.
- Avoid deep bins where small items vanish at the bottom.
- Never let the junk drawer mentality creep back in.
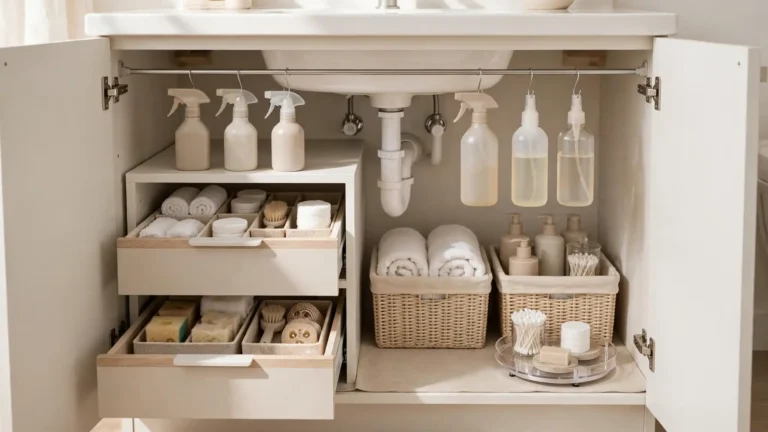
Drawers are the secret weapon of tiny bathrooms because they hide the visual noise completely. A ten dollar organizer set turns one chaotic drawer into five tidy zones. Keep the system simple enough that putting things back takes two seconds. Complexity kills every organizing system eventually.
If you love this kind of hidden storage thinking, see how I tackle bulky items in how to decorate around a wall mounted air conditioner without blocking airflow or access.
Maintain Daily
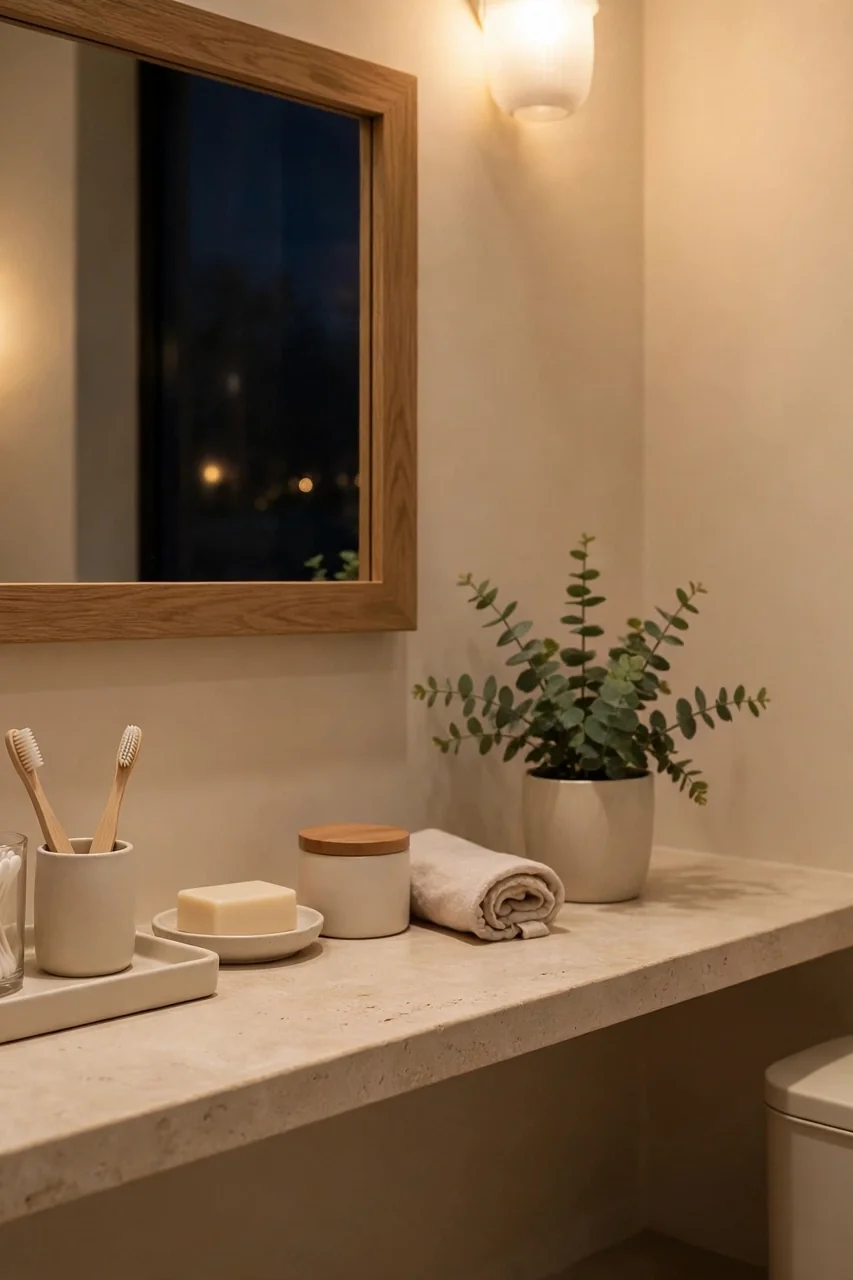
Time Needed: 2 minutes each night | Difficulty: Easy | Cost: Free | Best For: keeping the reset permanent
Maintenance is the step everyone skips and the one that matters most. Spend two minutes each night putting strays back where they belong. That tiny habit prevents the slow creep that rebuilds the chaos within a week. I have noticed that people who skip this redo the whole project monthly.
Common Countertop Mistakes
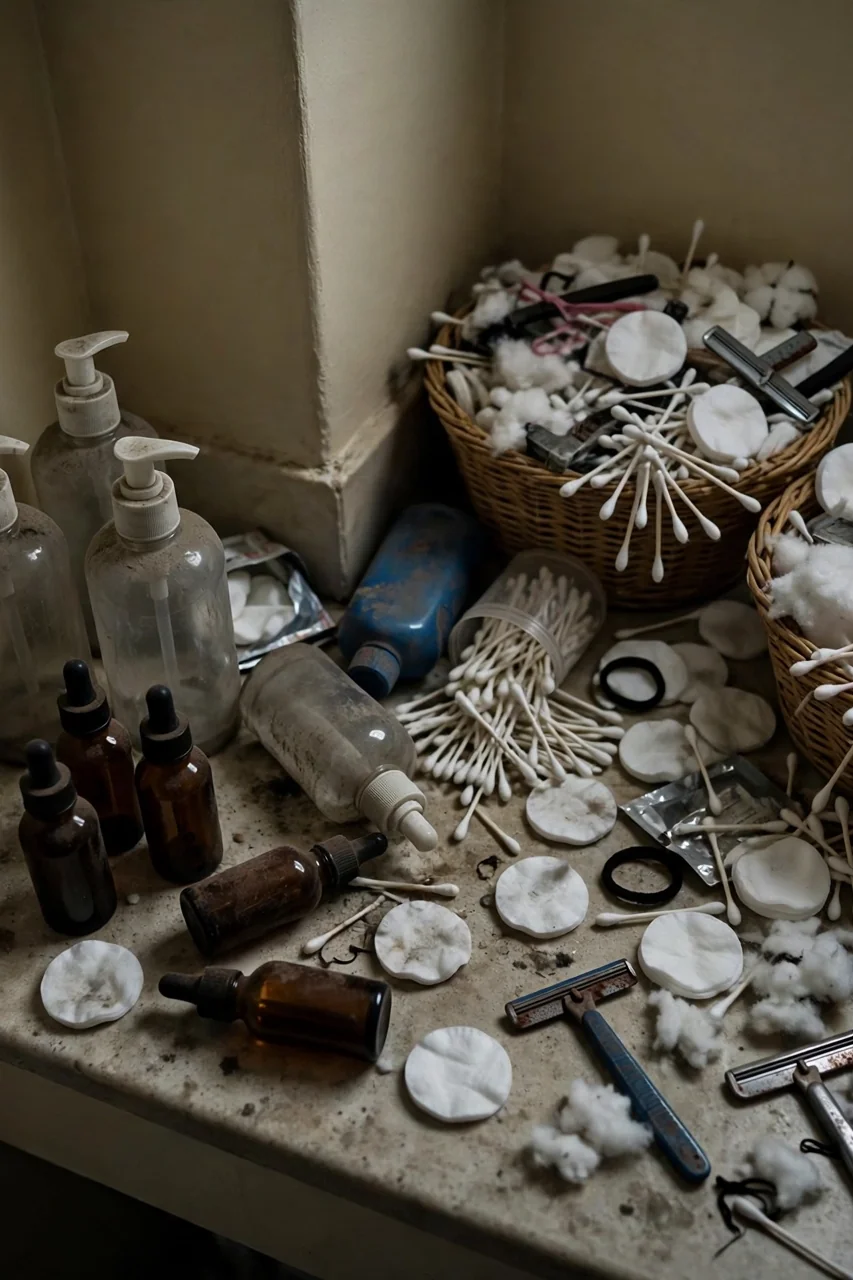
The biggest mistake is treating the counter as storage instead of workspace. Counters are for using, not for keeping, yet most bathrooms pile them with backups, duplicates, and products bought on sale. If you would not use it this week, it does not live here.
Another trap is buying organizers before decluttering. Pretty baskets full of expired sunscreen are still clutter, just better dressed. Declutter first, then buy exactly what the keepers need. Your wallet and your counter will both thank you. Start with less, add back only what earns its spot.
Pro Tips for Clear Counters
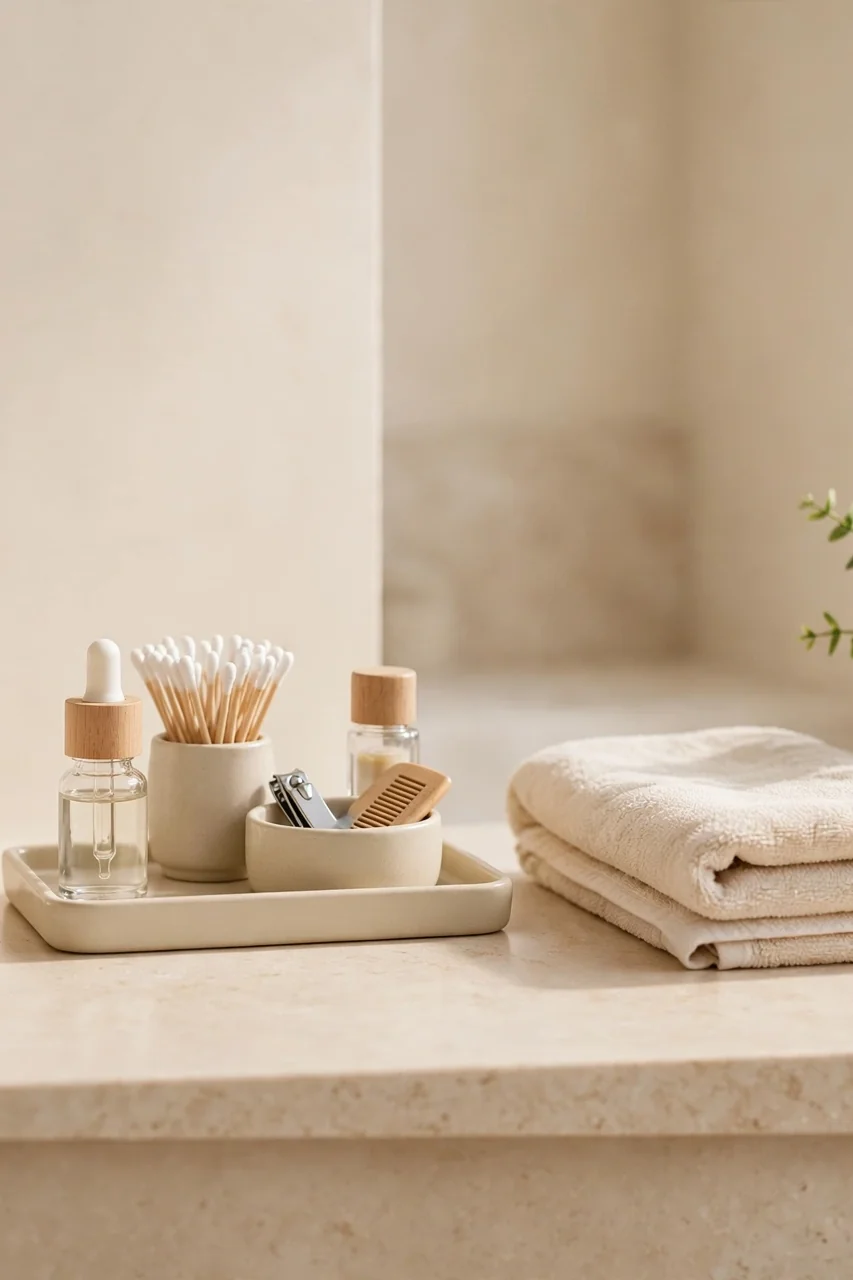
These finishing touches separate a good reset from a great one. Each tip takes minutes but compounds into a bathroom that stays clear for months. Pick the two that fit your space and start tonight. Small tweaks beat big overhauls every single time.
- Keep a small lidded trash bin within arm’s reach so empties never pile up.
- Store cotton pads and swabs in a lidded jar to cut visual clutter instantly.
- Wipe the tray and counter weekly while the products are lifted for cleaning.
- Photograph your tidy counter and use it as the reset target on lazy days.
Conclusion
A clear counter changes how your whole bathroom feels every single day. The ten moves above take one focused afternoon, and the daily two minute reset keeps the win permanent. Remember, mastering how to organize a small bathroom countertop is less about buying bins and more about deciding what earns its spot. I have seen how making this one change can completely shift the result from stressful to serene. Save this guide on Pinterest so you can redo the reset anytime, then enjoy your calmest mornings yet. Your future self will thank you every morning.
2 Comments