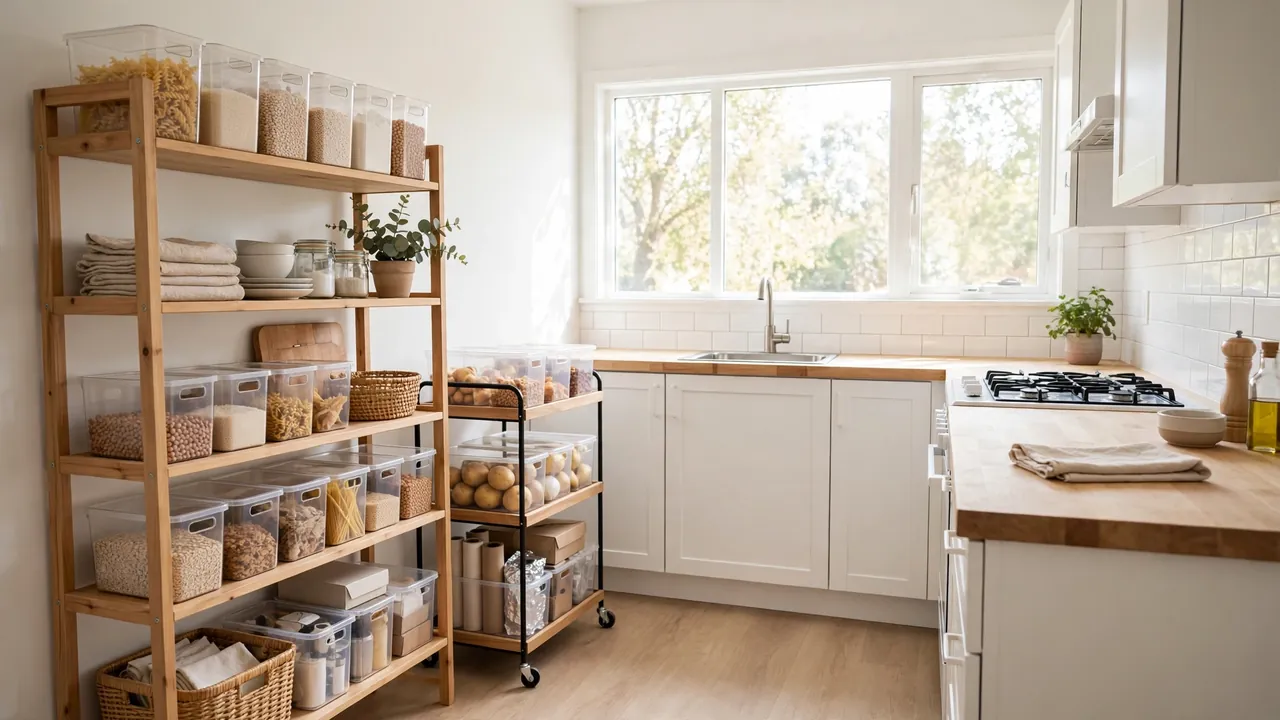
How to Create Storage in a Rental Kitchen
If your rental kitchen has you cooking around clutter, how to create storage in a rental kitchen is the question you need answered. Tiny cabinets, zero pantry, and a lease that bans drilling can make the space feel impossible. In my experience, though, the kitchens that work best are not the biggest ones. They are the ones with the smartest storage.
This guide walks you through renter-friendly ways to add serious storage without touching a wall. You will learn which freestanding pieces earn their keep, how to squeeze more from the cabinets you have, and which mistakes cost renters their deposits. If your living room needs help too, see our guide to how to decorate walls behind a sectional sofa next.
Why Rental Kitchens Lack Storage
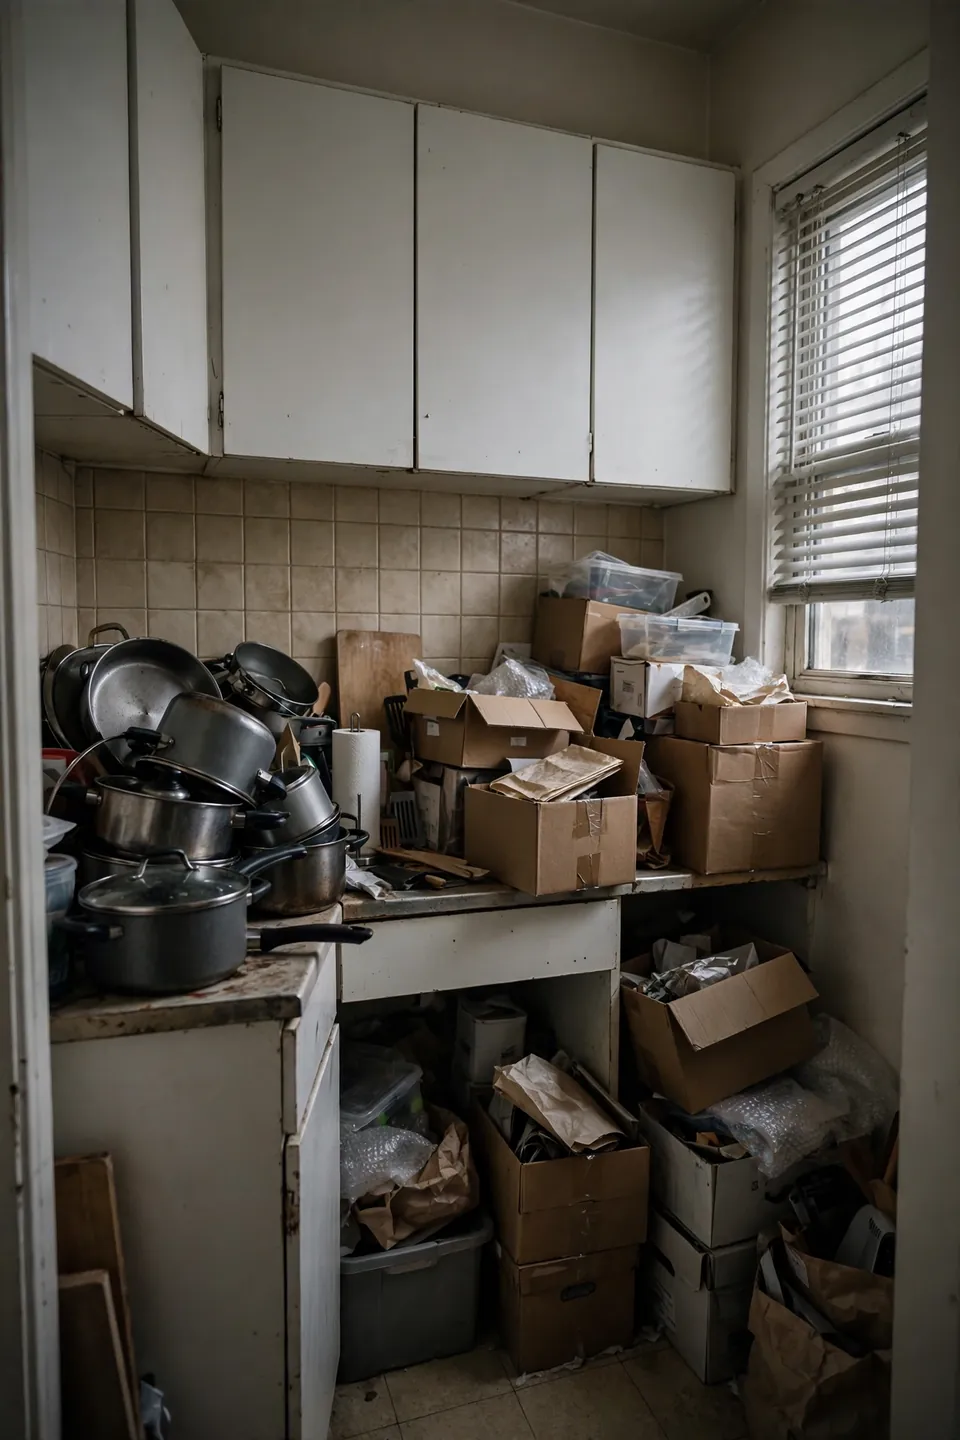
Most rental kitchens come with the bare minimum. A few upper cabinets, a couple of lower ones, and that is about it. Landlords design for durability and cost, not for your actual cooking habits. When you move in with a full set of pots, small appliances, and pantry staples, there is simply nowhere for it all to go.
The result is chaos. Counters get buried, cabinets get stuffed, and you waste time digging for basics. The good news is that renters have more options than ever. Removable, freestanding storage can double what your kitchen holds without touching a single wall.
Know Your Lease Limits
Before buying a single shelf or hook, find out what your lease actually allows. Most landlords permit freestanding and removable items but draw the line at drilling or painting. A quick check now saves you from losing your deposit later.
- Read your lease for any clause about mounting, drilling, or altering the kitchen.
- Ask your landlord directly if anything is unclear, and keep their answer in writing.
- Take photos of the kitchen on move-in day so the original condition is documented.
- Check for a tenant handbook, since some buildings have extra rules about fixtures.
Use Freestanding Shelves
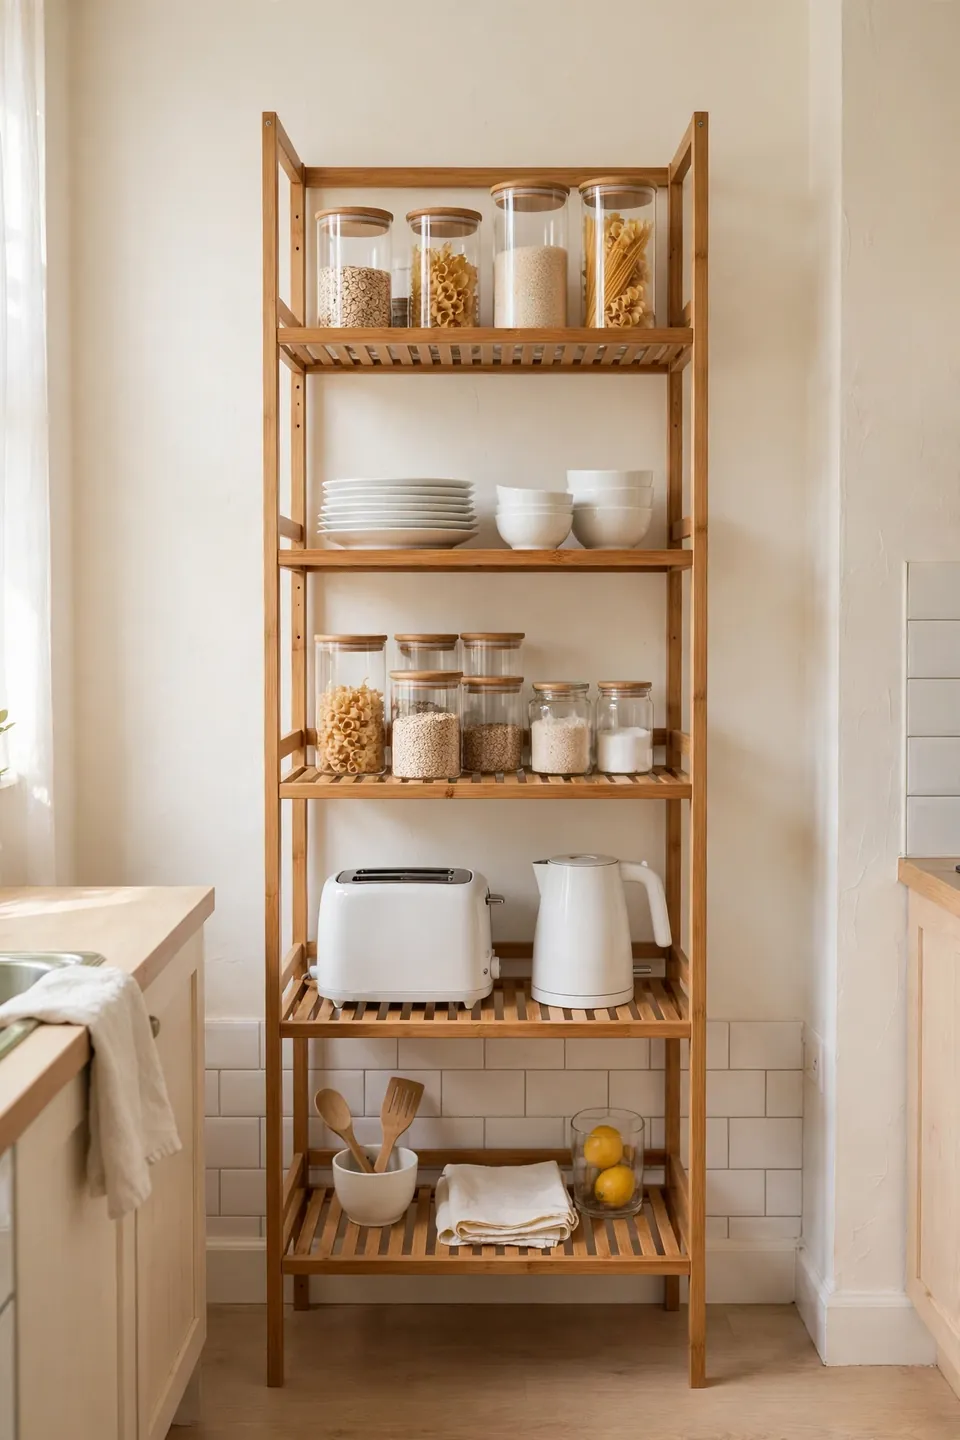
Quick Tip: Start with the biggest gap in your kitchen. For most renters that is an empty wall or an unused corner. One tall freestanding shelf there solves more storage problems than five small gadgets scattered around.
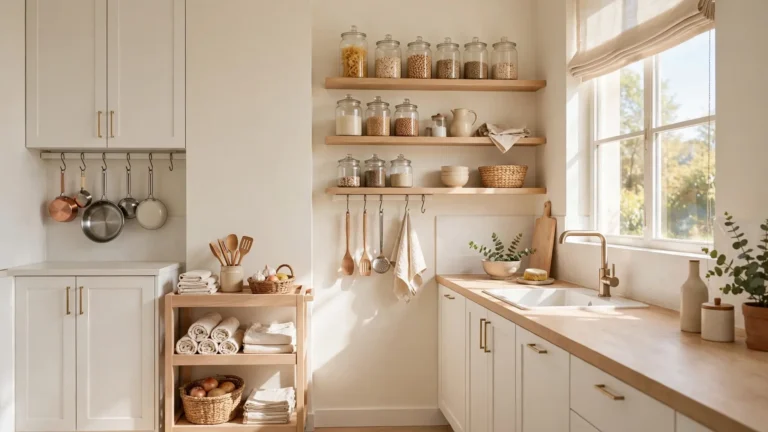
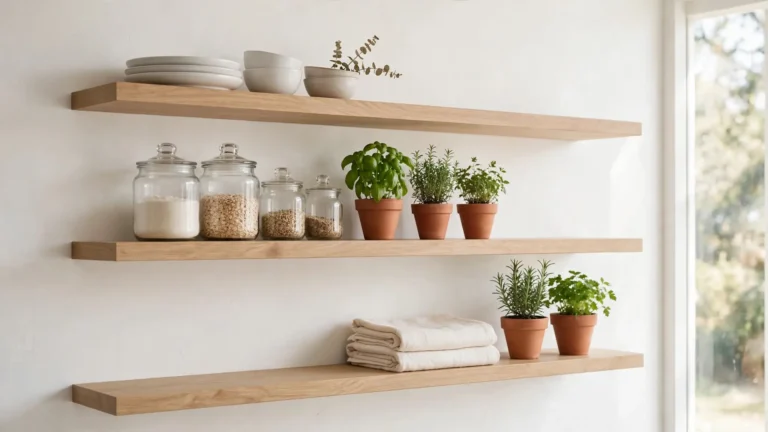
Freestanding shelves are a renter’s best friend because they hold a serious amount without a single screw. Choose a narrow unit that fits beside the fridge or against a blank wall. Anchor the top with a furniture strap if it feels wobbly, then load it with dishes, dry goods, and small appliances.
Add Over-Door Organizers
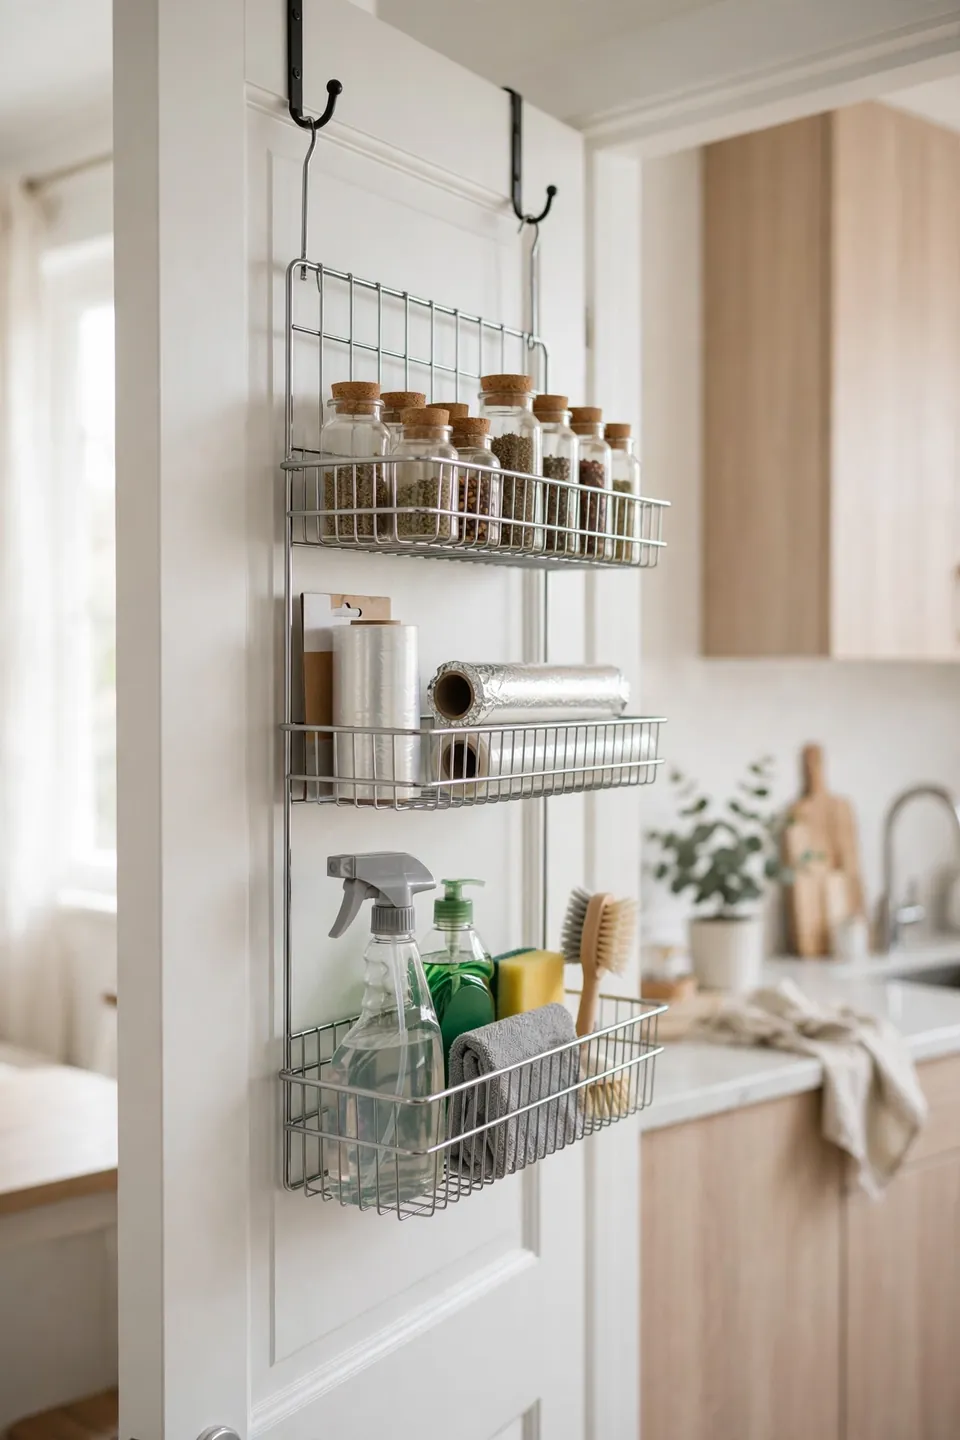
Common Mistake: Renters often buy tiny organizers that look cute online but hold almost nothing. A dozen small baskets scattered around just create visual noise. The kitchen feels busier instead of calmer.
The Fix: Invest in one or two large-capacity pieces instead of many small ones. A tall over-door rack or a wide rolling cart holds as much as ten small containers. Fewer, bigger pieces keep the kitchen looking calm.
Over-door organizers turn wasted space into real storage in minutes. The back of a pantry door can hold spices, wraps, and cleaning supplies that would otherwise eat counter space. Choose a rack with adjustable hooks so it fits your door thickness. Most designs lift off with no tools when you move out.
Try Rolling Carts
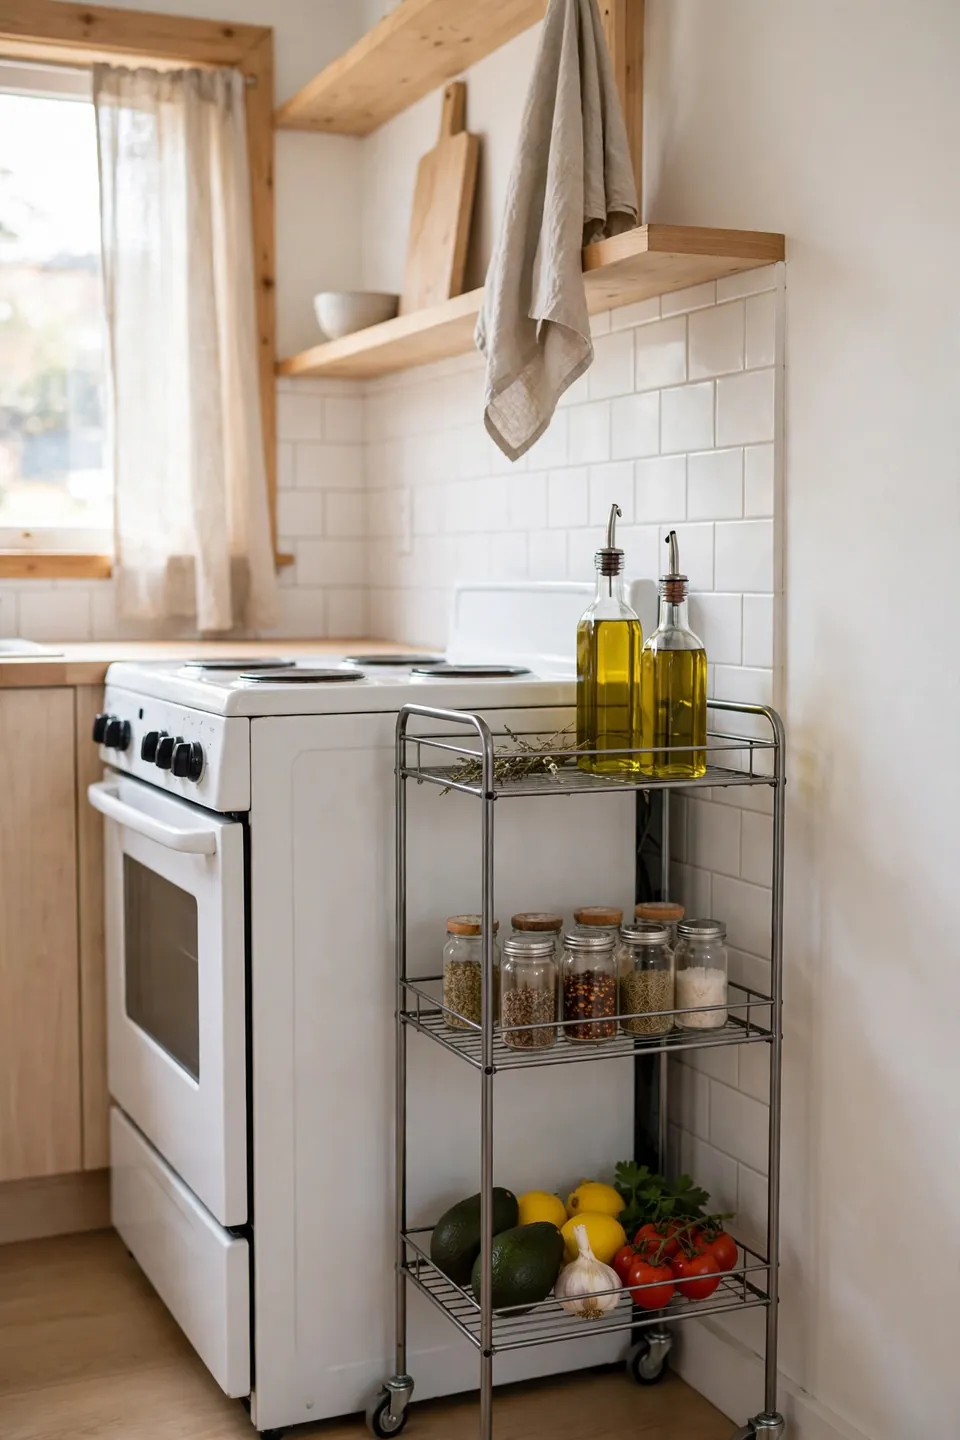
What You Need:
- Slim rolling cart: A 3-tier cart tucks into gaps as narrow as six inches and moves wherever you need it.
- Over-door rack: Hooks over any standard door and instantly adds a full shelf of vertical storage.
- Shelf risers: Double the space inside cabinets by stacking plates and cans on two levels.
- Stackable bins: Clear bins with lids keep dry goods visible and crumb-free on open shelves.
- Adhesive hooks: Heavy-duty removable hooks hold utensils and towels without leaving marks.
Once you decide how to create storage in a rental kitchen that truly works, a rolling cart is the smartest first buy. Park it beside the stove for spices and oils, or roll it out as extra counter space while you cook. Choose one with locking wheels so it stays put on slick tile floors.
Maximize Cabinet Interiors
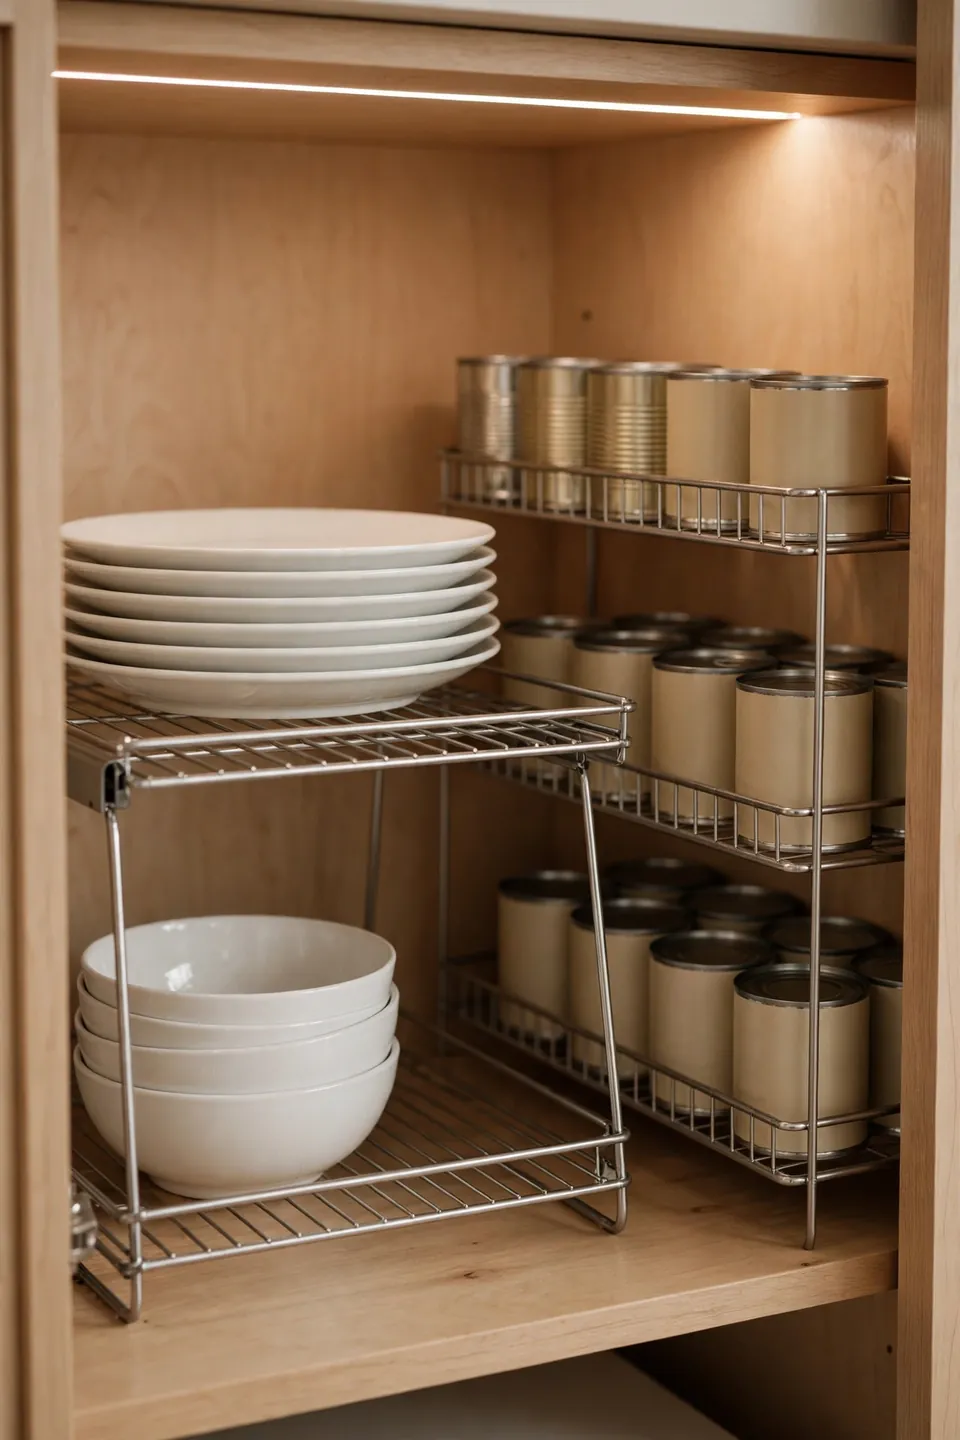
Before: Open any rental cabinet and you will see the same problem. One tall shelf wastes half its height while plates pile up and topple. Nothing is visible, so you buy duplicates of things you already own.
After: With a simple shelf riser in place, the same cabinet holds twice as much. Plates sit on the riser, bowls slide underneath, and everything stays visible. You can find what you need in seconds instead of digging.
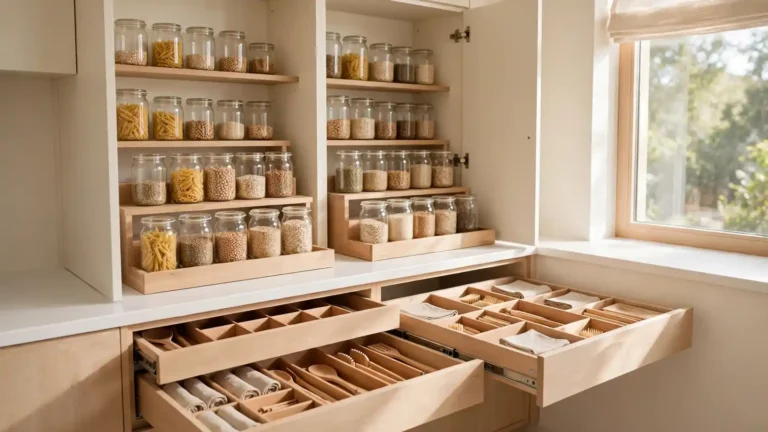
Cabinet interiors hide the biggest storage gains in any rental kitchen. Shelf risers, tiered can racks, and under-shelf baskets all use vertical space that is currently wasted. Measure your shelf height before buying so pieces fit without forcing. These small upgrades cost little but change how the whole kitchen functions.
Use Tension Rods
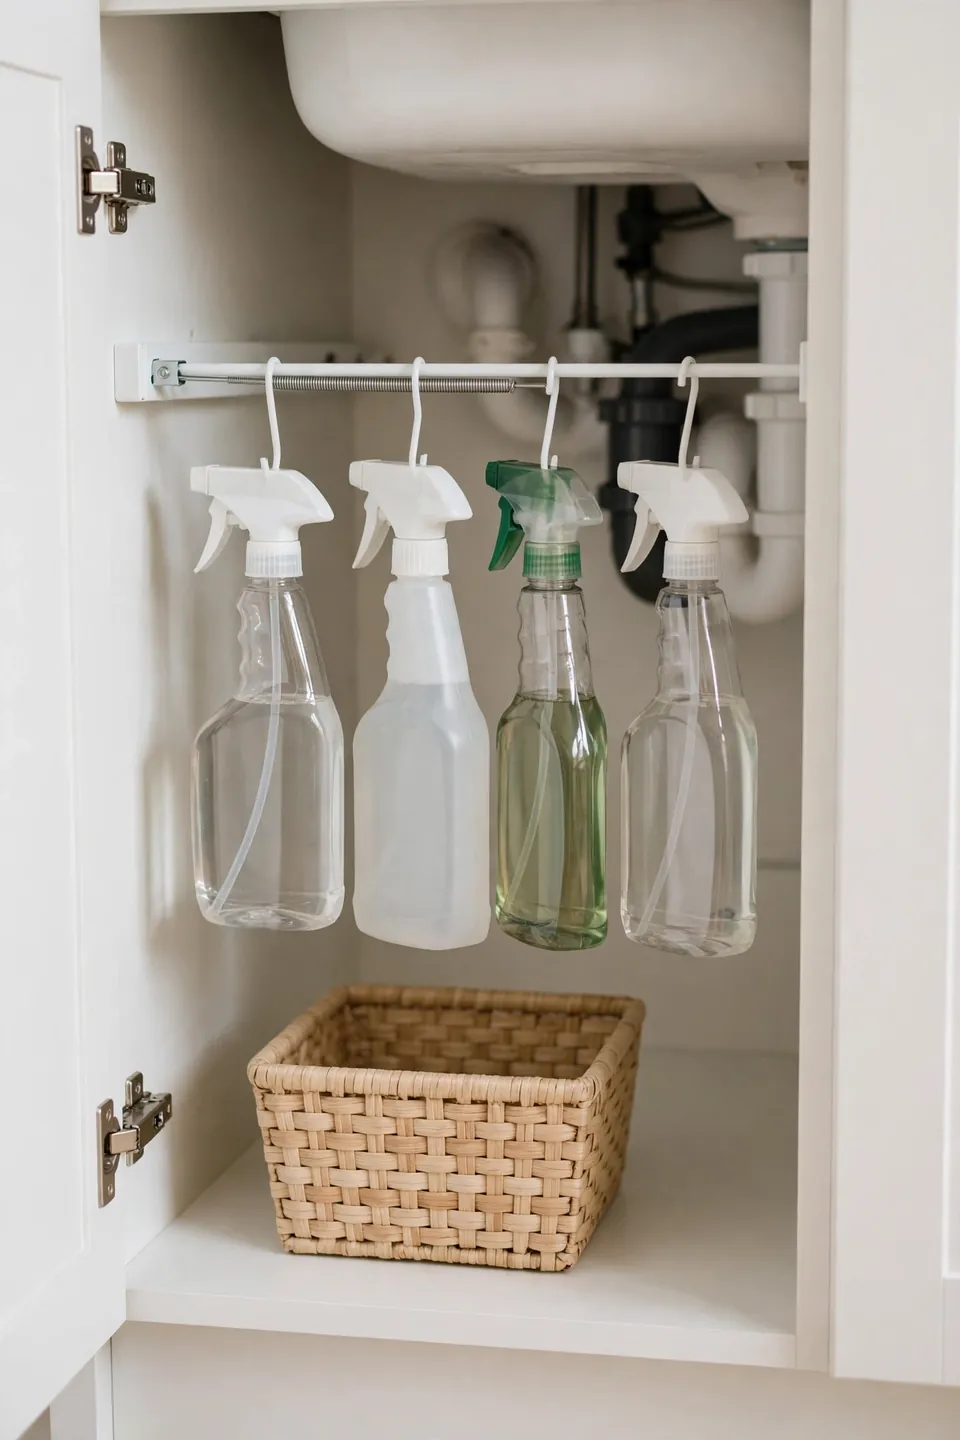
Do This:
- Slide a tension rod under the sink to hang spray bottles by their triggers.
- Stick a rod inside a cabinet to stand cutting boards and trays upright.
- Place a short rod above the sink to dry dish towels within reach.
Avoid This:
- Do not overtighten rods or they can dent cabinet walls.
- Skip cheap rods that collapse under weight; choose spring-loaded steel.
- Never use a tension rod where a child could pull it down.
Tension rods are brilliant because they install in seconds and remove without a trace. Under the sink they lift cleaning bottles off the cabinet floor, making space for a bin below. Inside cabinets they create instant dividers for trays and lids. It is a five-dollar fix that feels like a renovation.
For another renter-friendly project, read our guide to how to hide an ugly electrical panel.
Hang Things Temporarily
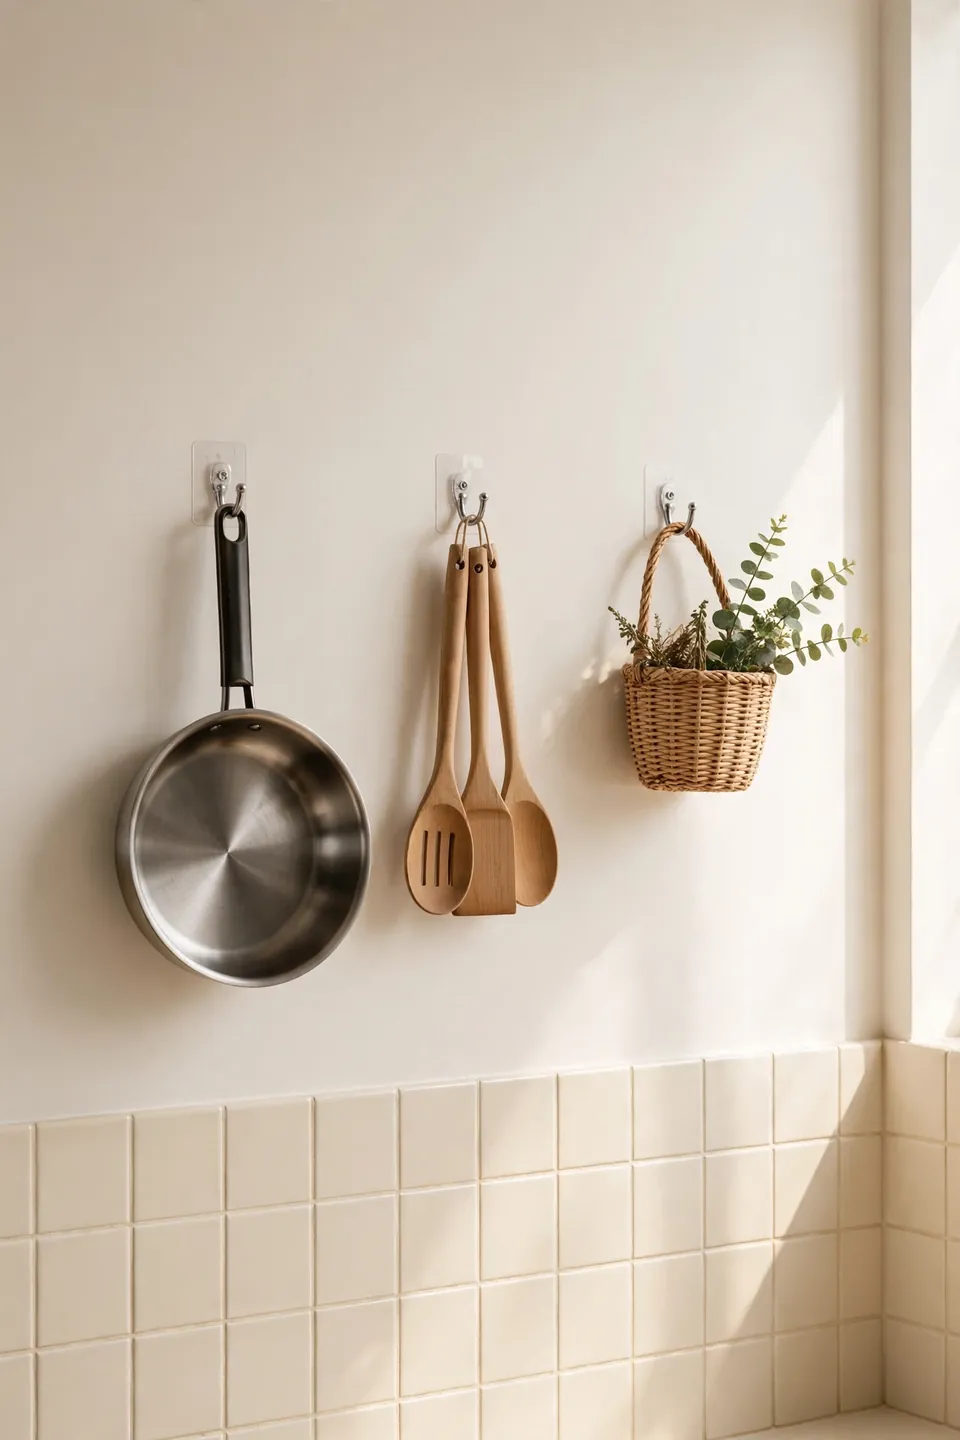
Time Needed: 30 minutes to hang a full set of hooks
Difficulty: Easy, no tools required
Cost: Low, most hooks cost under ten dollars
Result: Walls become storage without a single hole
Adhesive hooks let you hang pots, utensils, and even small shelves on any smooth surface. Clean the wall with rubbing alcohol first so the bond holds strong in steamy kitchens. Wait the full curing time on the package before loading them up. When you move, a pull tab releases them with no damage left behind.
Common Renter Storage Mistakes
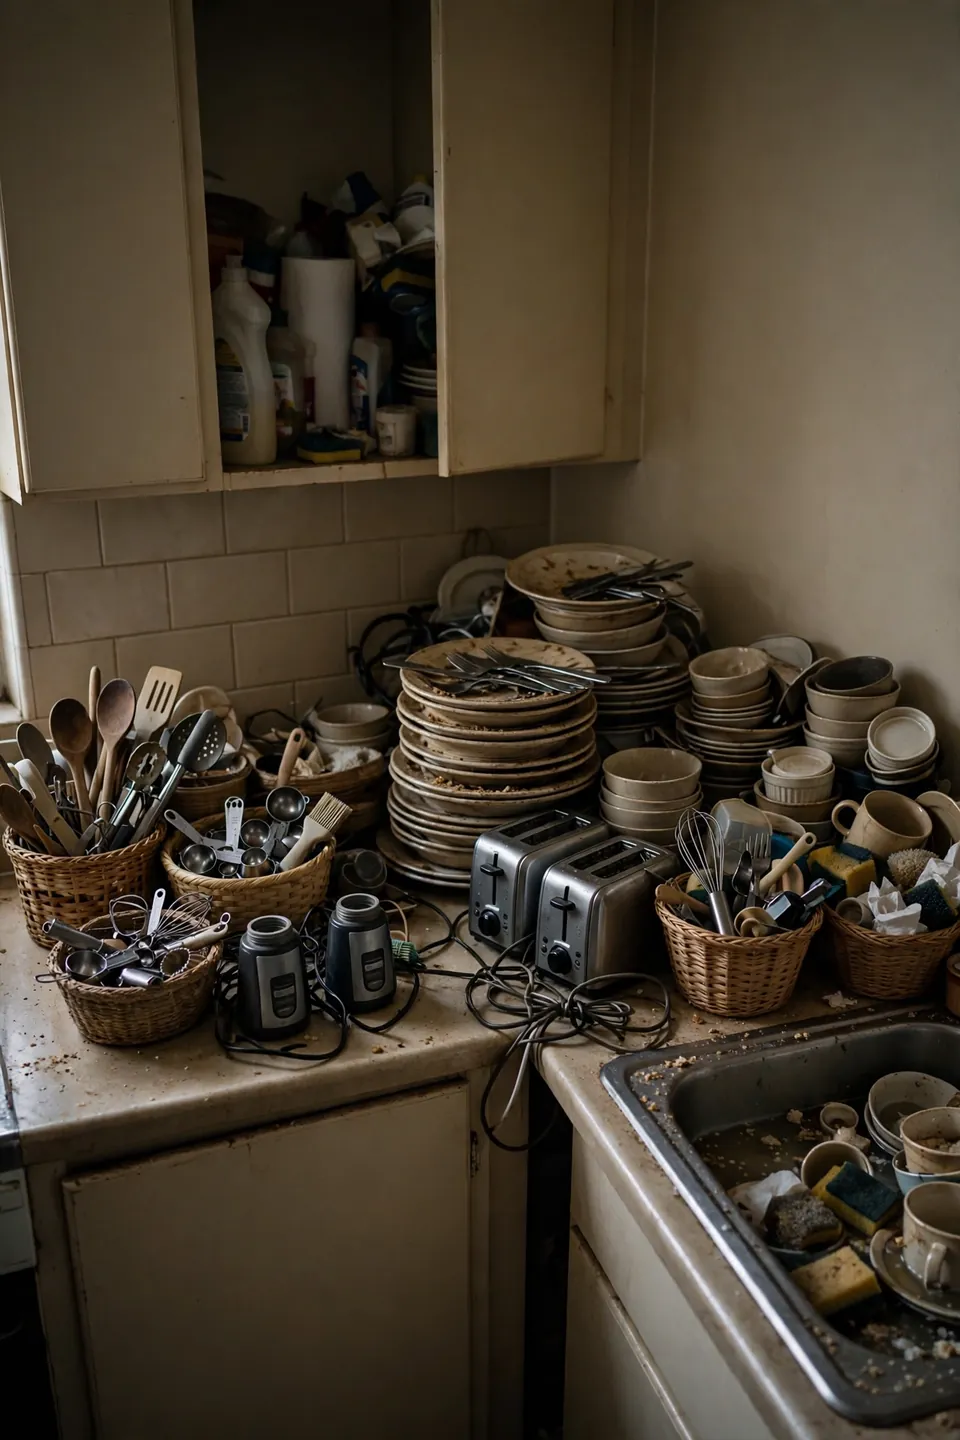
One of the biggest renter mistakes is drilling first and asking later. Even small holes can cost you part of your deposit, and patching textured walls is harder than it looks. Another common slip is buying storage that does not fit your actual space, like carts too wide for the gap or shelves too tall for the ceiling.
Measure every gap before you shop and keep a tape measure in your bag. Skip permanent-looking fixes like peel-and-stick tiles unless your lease clearly allows them. Stick with freestanding and removable pieces, and you will get every dollar of your deposit back.
Pro Tips for Rental Kitchens
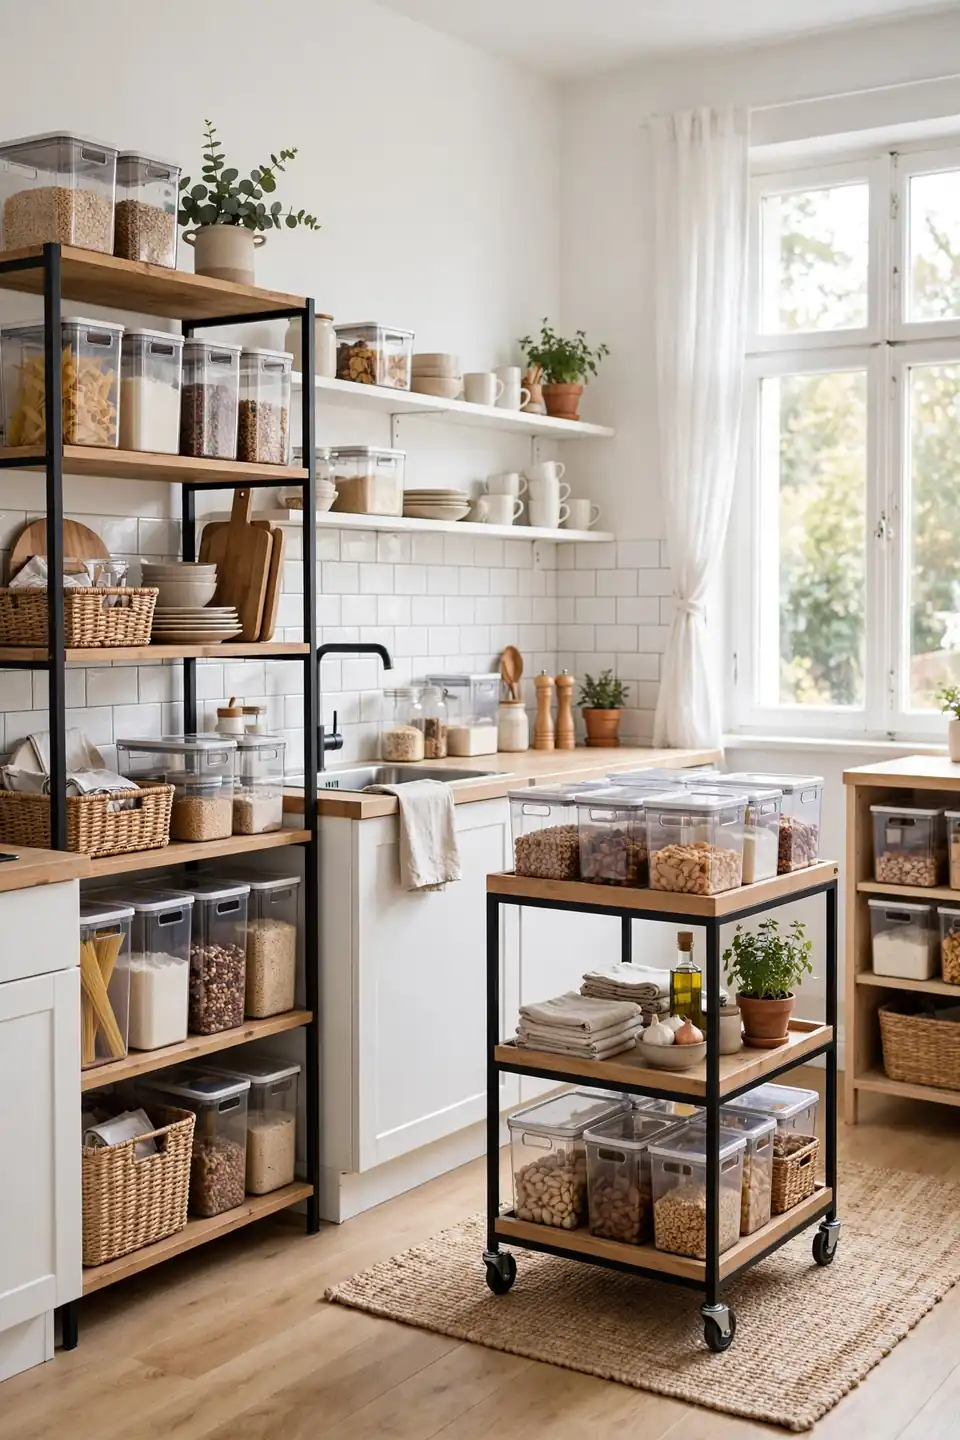
With the right pieces in place, a rental kitchen can work as hard as an owned one. These final tips help you keep the system running so your storage keeps paying off every single day. Small habits protect the setup you built.
- Do a five-minute reset each night so counters stay clear and carts stay tidy.
- Reassess every season and donate duplicates or gadgets you never touch.
- Label bins and shelf zones so everyone in the house keeps the system going.
- Photograph your setup before move-out so reassembly in the next kitchen is easy.
Conclusion
Your rental kitchen does not need a remodel to work beautifully. A few freestanding shelves, a rolling cart, and smarter cabinet interiors can double what the space holds, all without risking your deposit. Once you learn how to create storage in a rental kitchen the removable way, every future apartment gets easier too. Save this guide on Pinterest so you have it ready on your next move. Take it one corner at a time and enjoy the calm. I have seen renters turn the tiniest kitchens into spaces they genuinely love, and with these steps, yours can be next.
One Comment