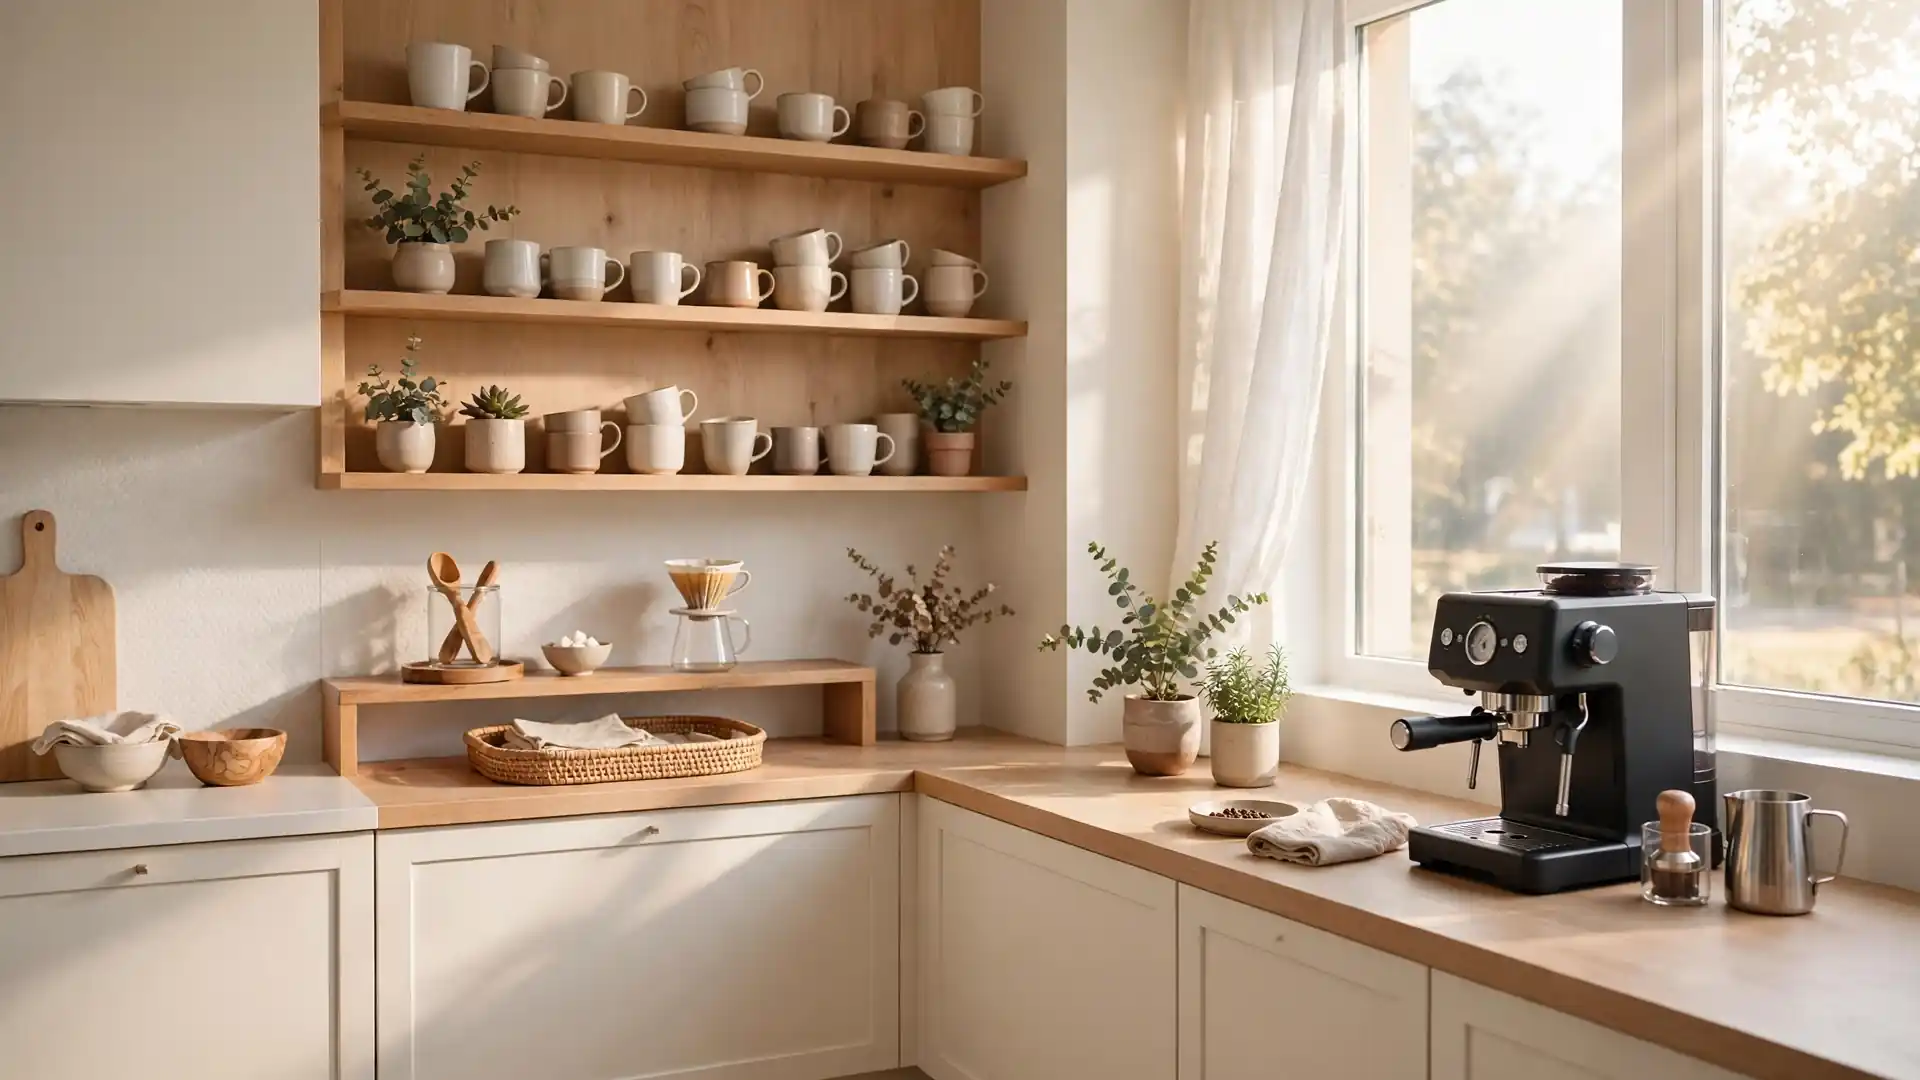
24 Coffee Bar Ideas for a Cozy, Café-Inspired Corner
Mornings feel different when your coffee corner looks like a tiny café. These coffee bar ideas turn any quiet spot into a cozy ritual worth waking up for. You do not need a big kitchen or a big budget to make it happen. A few thoughtful pieces and one free afternoon are enough to build a corner you will love.
Start with the pieces you already own, then add one or two special finds. Pair this setup with kitchen island decor touches so the whole space feels pulled together. I’ve noticed the best coffee corners grow slowly, one mug or tray at a time. Let’s walk through 24 looks you can copy this weekend.
Rustic Wood Shelves
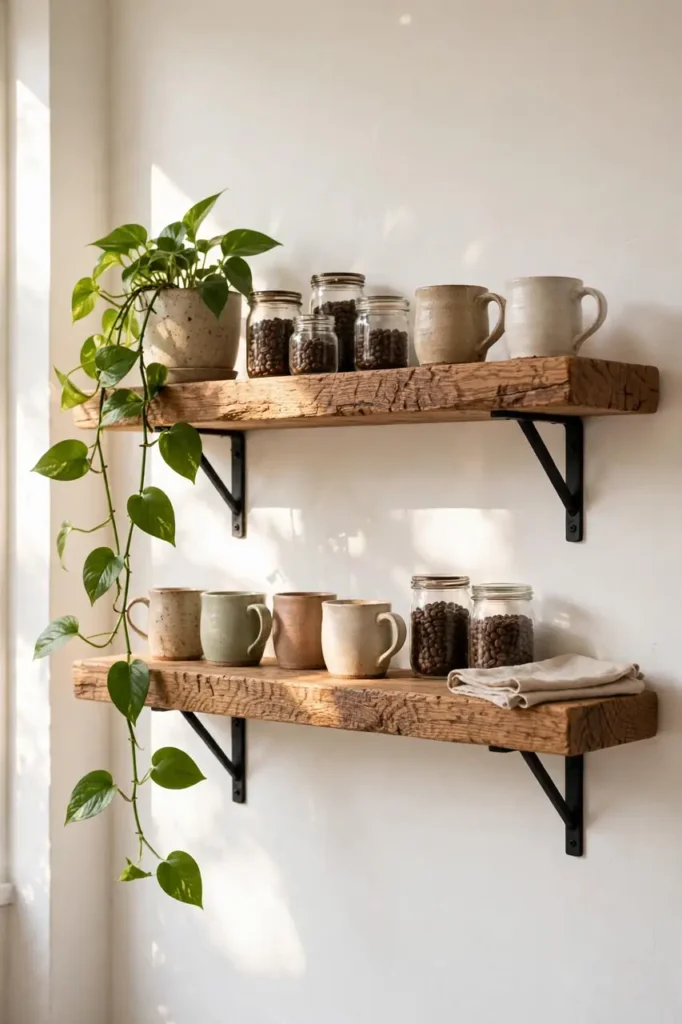
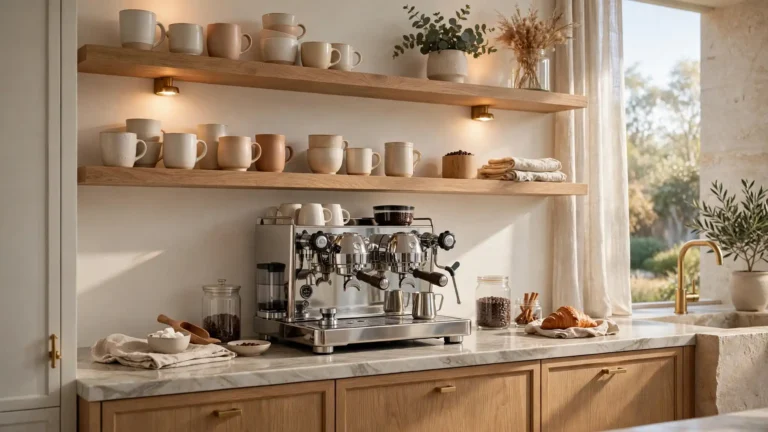
A blank wall above your counter is wasted potential begging for warmth. Thick rustic wood shelves turn it into the heart of your morning routine. Mount two planks with black iron brackets and you have instant display space for mugs, jars, and a small plant. The wood grain adds texture that flat painted walls simply cannot give. In my experience, this single change makes a kitchen feel custom and collected.
Style the shelves with everyday pieces you reach for each morning. Keep the top shelf for pretty extras and the lower one for daily mugs. Leave gaps between items so the wall still breathes. A small trailing plant softens the hard lines of the brackets. This look suits farmhouse, rustic, and modern kitchens when the wood tone stays warm.
Floating Mug Racks
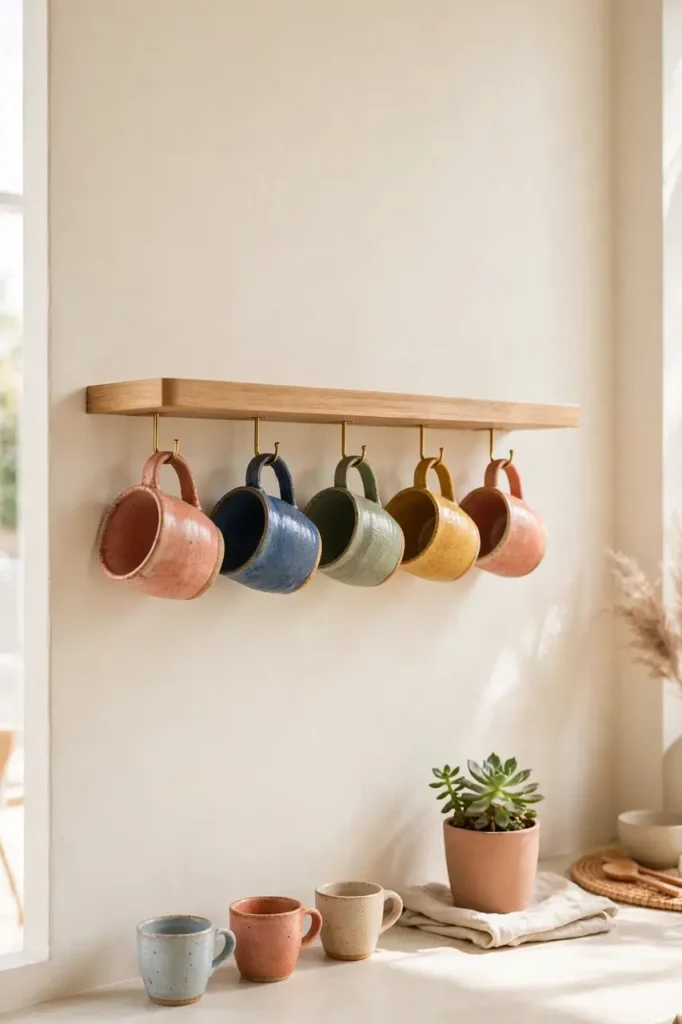
- Screw a slim floating shelf at mug height, about 45 inches from the floor for easy reach.
- Add small brass cup hooks underneath, spaced three inches apart so mugs never touch.
- Hang your prettiest mugs forward and stack everyday ones behind them.
- Finish the end of the shelf with a tiny succulent or a small framed print.
- Wipe the hooks monthly so they stay shiny and the mugs slide on easily.
This setup keeps mugs visible and reachable instead of buried in a cabinet. I’ve noticed guests always pick their favorite from a rack, which starts conversations. The whole project costs little and takes one afternoon. Choose hooks that match your faucet finish for a pulled-together look.
Tiered Tray Display
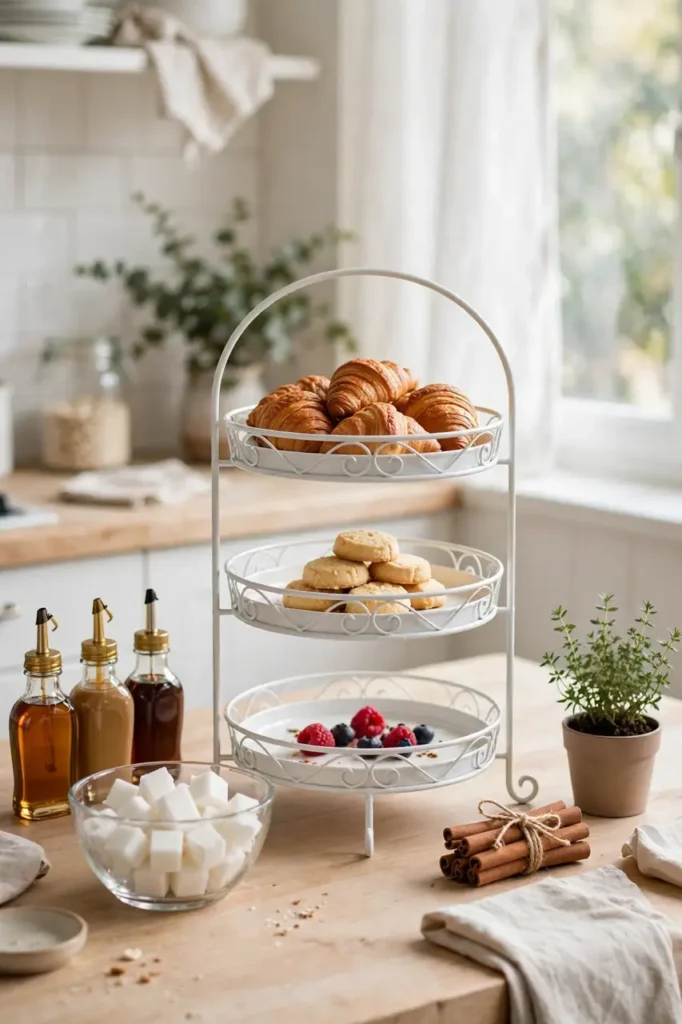
Quick Tip: Build your tray in height order. Put the tallest bottles at the back, medium pieces in the middle, and small extras like sugar cubes up front. Step back every few minutes to check the balance from across the room.
A tiered tray packs a full coffee station into one square foot of counter. It holds syrups, sweeteners, and stir sticks without spreading clutter. I’ve seen this work well in many cases where counter space is tight. Lift the whole tray to clean underneath in seconds. Swap the top tier with the seasons to keep the corner feeling fresh.
Farmhouse Cart Station
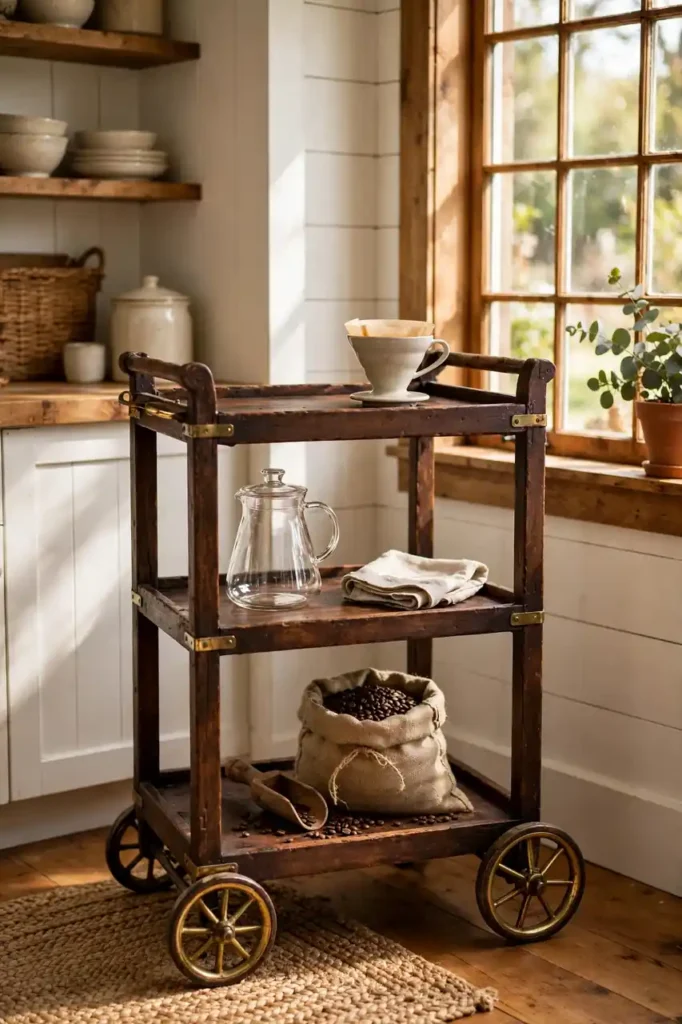
BEFORE: My coffee supplies lived in three different cabinets and the machine crowded the main counter. Mornings meant hunting for filters while the kettle boiled over. The whole routine felt scattered and slow.
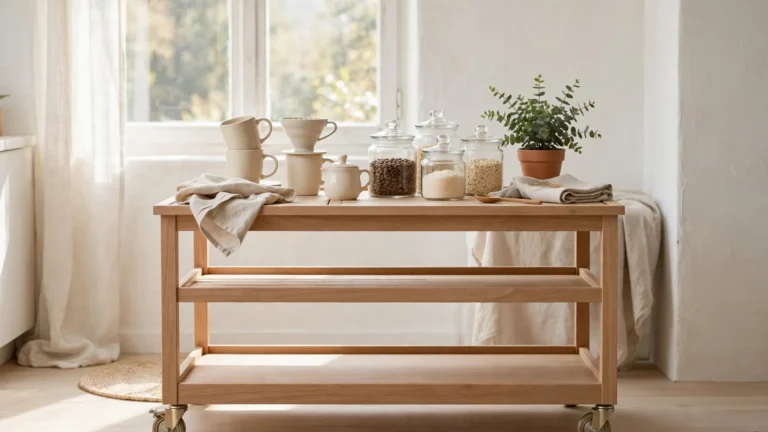
AFTER: A vintage-style cart now holds everything in one rolling station. The machine sits on top, mugs hang from side hooks, and beans live in jars below. These coffee bar ideas work best when every piece has a home. I wheel it near the table on slow weekends.
A cart gives you a coffee bar without giving up any counter. It tucks into a corner on busy days and rolls out when guests come. Look for solid wheels that lock so it never drifts. This is the easiest rental-friendly upgrade on this list.
Labeled Jar Rows
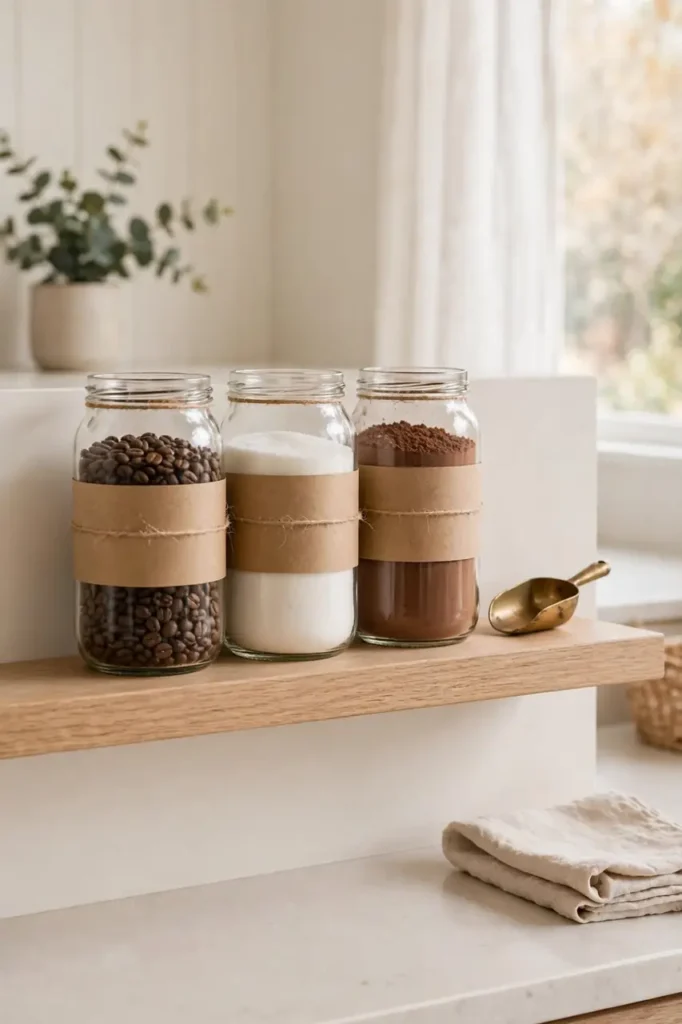
- Buy matching glass jars in two sizes so the row looks uniform.
- Fill them with beans, sugar, cocoa, and tea, leaving one empty for filters.
- Write simple kraft labels with a marker and stick them straight.
- Line the jars on a shelf with the tallest at the back.
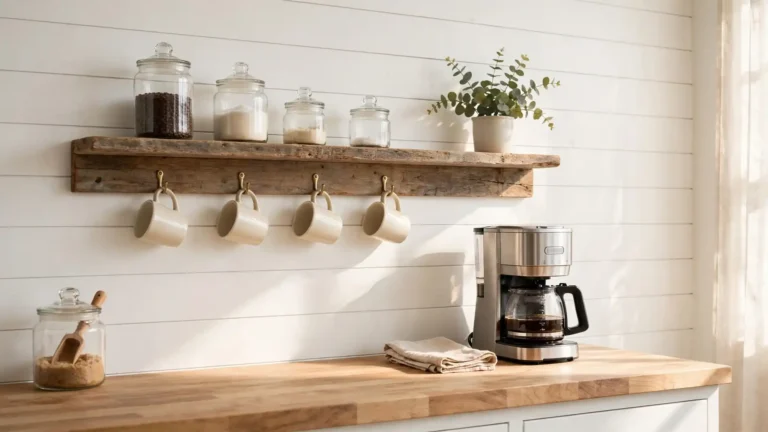
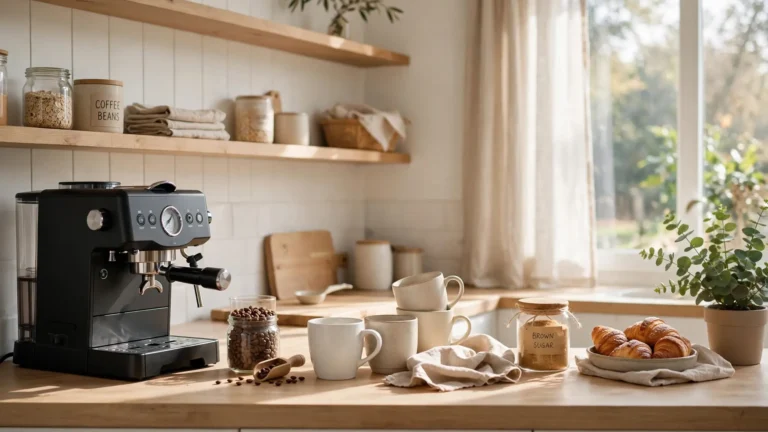
Matching jars turn random bags into a display worth showing off. You will always see when beans run low, which saves a morning panic. I’ve noticed labeled jars make guests feel welcome to help themselves. Keep a small scoop in the sugar jar for easy serving. Refill day takes ten minutes once a month.
Marble Tray Basics
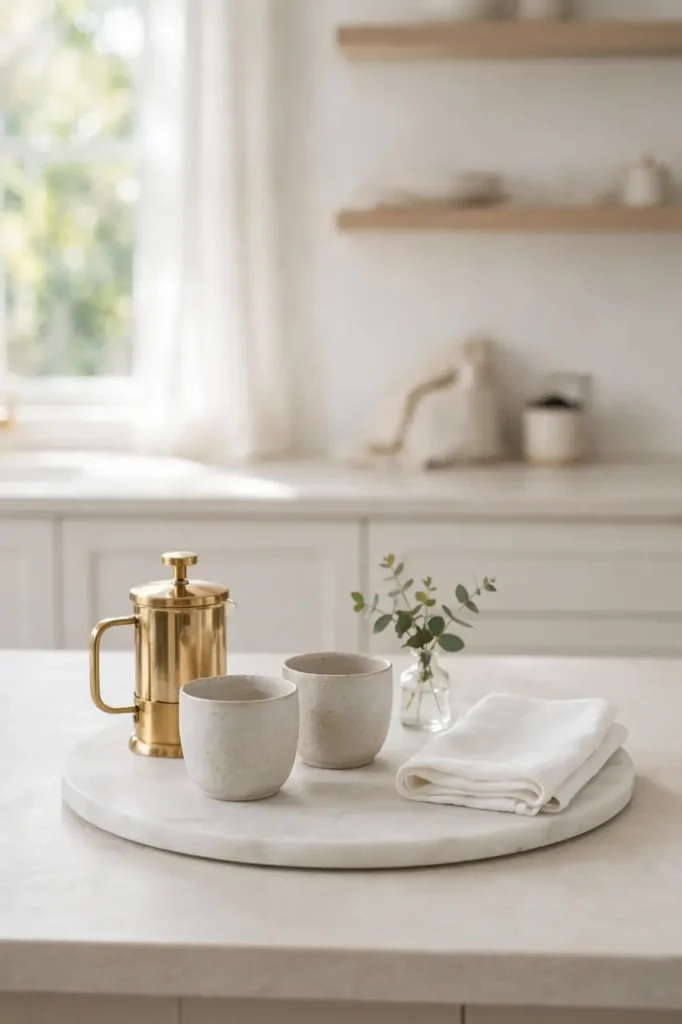
| Marble Tray | Wood Tray |
|---|---|
| Cool and sleek, suits modern kitchens. | Warm and rustic, suits farmhouse kitchens. |
| Heavy and steady, stays put on the counter. | Light and easy to move for cleaning. |
| Wipes clean; seal once a year. | Wipes clean; oil twice a year. |
A tray is the fastest way to make a coffee corner look finished. It gathers the machine, cups, and extras into one calm zone. That’s why many experts recommend starting with a tray before buying anything else. Pick the material that matches your counters. Keep just three or four pieces on it so the surface never feels crowded.
Charming coffee bar ideas
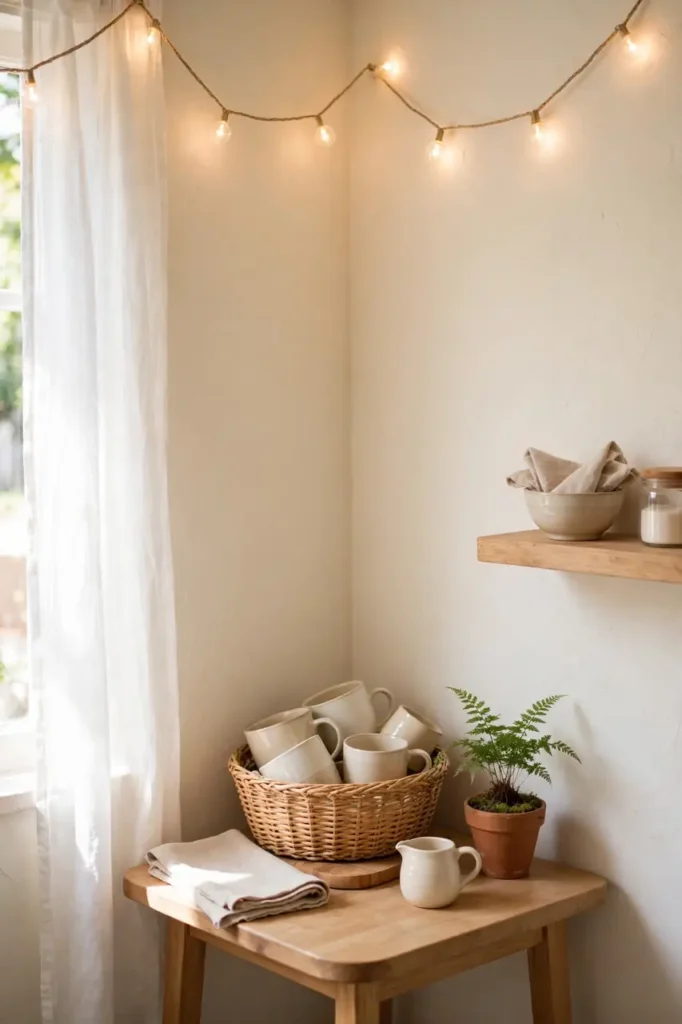
DO:
- Start with one hero piece, like a beautiful tray or vintage sign.
- Repeat one material, such as wood or brass, in every item.
- Leave empty space so each piece gets room to shine.
- Add one living thing, like a small plant or fresh flowers.
DON’T:
- Don’t crowd every inch; a packed corner feels messy.
- Don’t mix five styles at once or the charm disappears.
- Don’t hide pretty mugs behind bulky appliances.
- Don’t forget lighting; dark corners never feel inviting.
Charm comes from restraint, not shopping. Pick pieces that mean something and let them breathe. I’ve seen this work well in many cases: fewer items, better light, warmer feel. Step back for an hour, then return with fresh eyes.
Brass Hook Rails
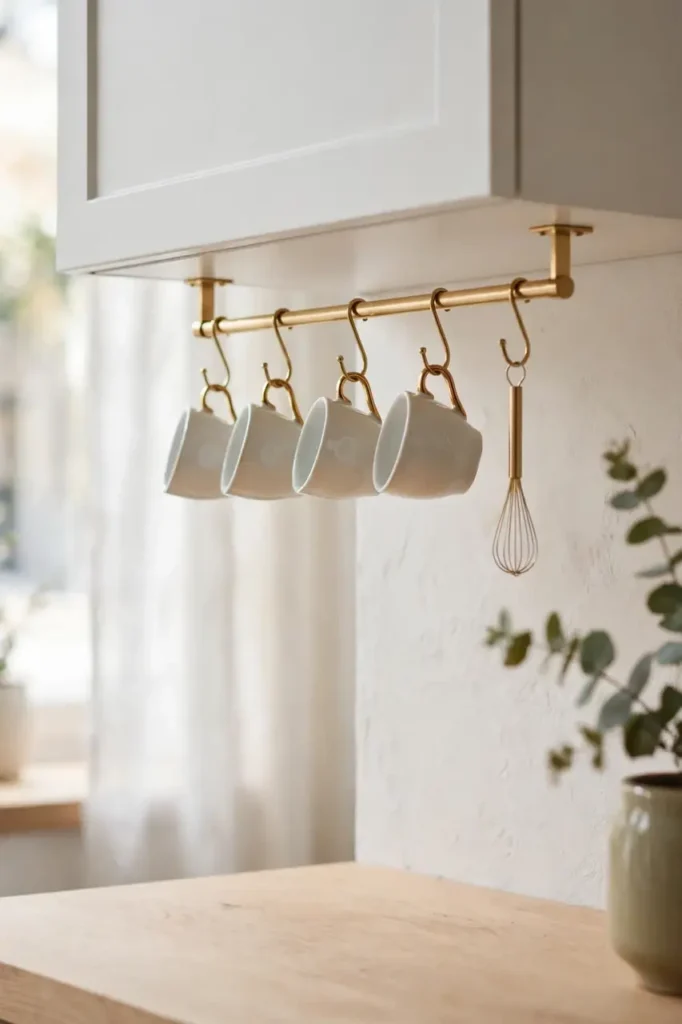
Cost: Under $30 | Time: One hour | Skill Level: Beginner | Best For: Small kitchens | Works In: Rentals and apartments
A slim brass rail under your cabinet turns dead space into hanging storage for cups and tools. It mounts with two screws and holds a surprising amount of weight. Match the brass to your faucet or cabinet pulls for a custom look. I’ve noticed this trick works in the tiniest kitchens because it uses vertical space. Keep the rail near the machine so everything stays within reach. Hang your two favorite mugs at the front where you see them first. Wipe it down monthly to keep the finish bright.
Corner Nook Setup
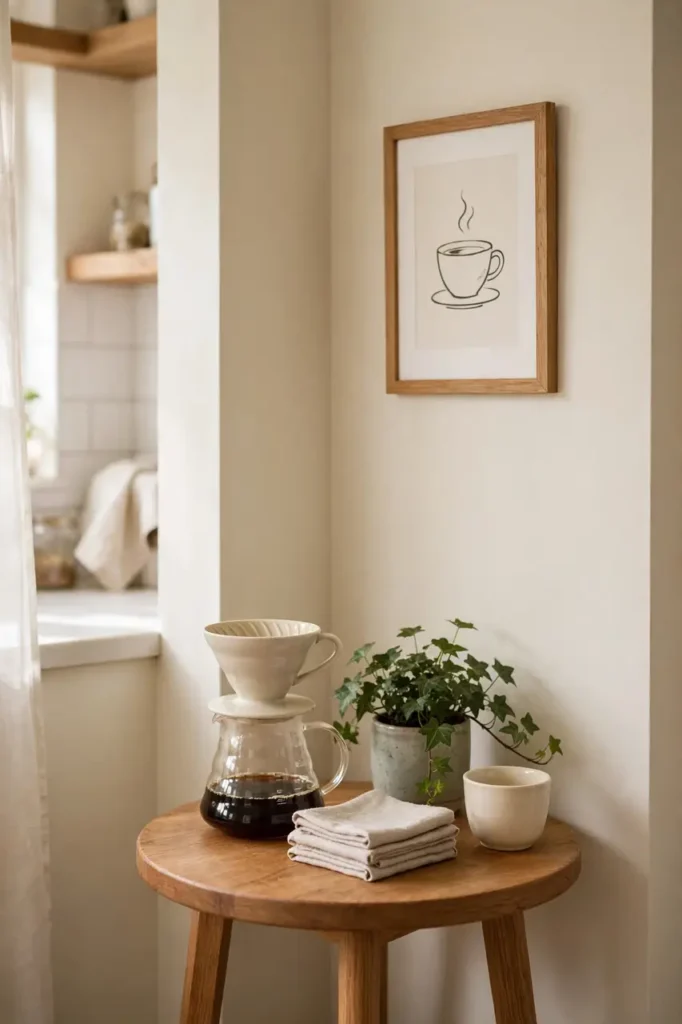
That awkward kitchen corner nobody uses is perfect for a coffee nook. A small round table fits where a full bar never could. Add your pour-over set, a stack of napkins, and one small plant. The round shape keeps traffic flowing around it. Suddenly the dead corner becomes the most-used spot in the kitchen.
Hang one small framed print above the table to mark the zone. Keep the styling to three pieces so the small surface never feels cluttered. A tiny rug underneath defines the nook even more. In my experience, corners styled this simply get used every single day.
Open Shelf Styling
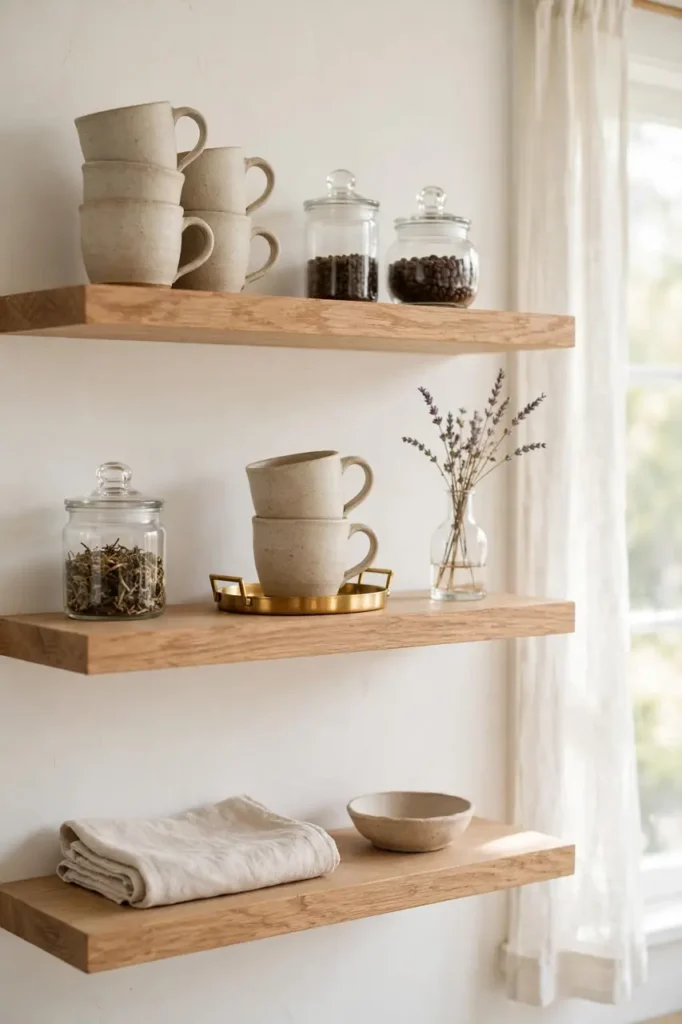
- Group mugs by color so the shelf reads as one calm collection.
- Stack bowls and plates on the lower shelf for easy daily grabbing.
- Tuck small canisters between stacks to fill gaps neatly.
- Add one trailing plant at the end to soften the straight lines.
- Leave the front edge clear so nothing feels ready to fall.
Open shelves work when they hold things you truly use. Style them like a shop display but keep everything reachable. I’ve noticed shelves styled too perfectly go unused from fear of messing them up. Let yours look lived in. Dust the shelves weekly since open storage collects it fast.
Chalkboard Menu Wall
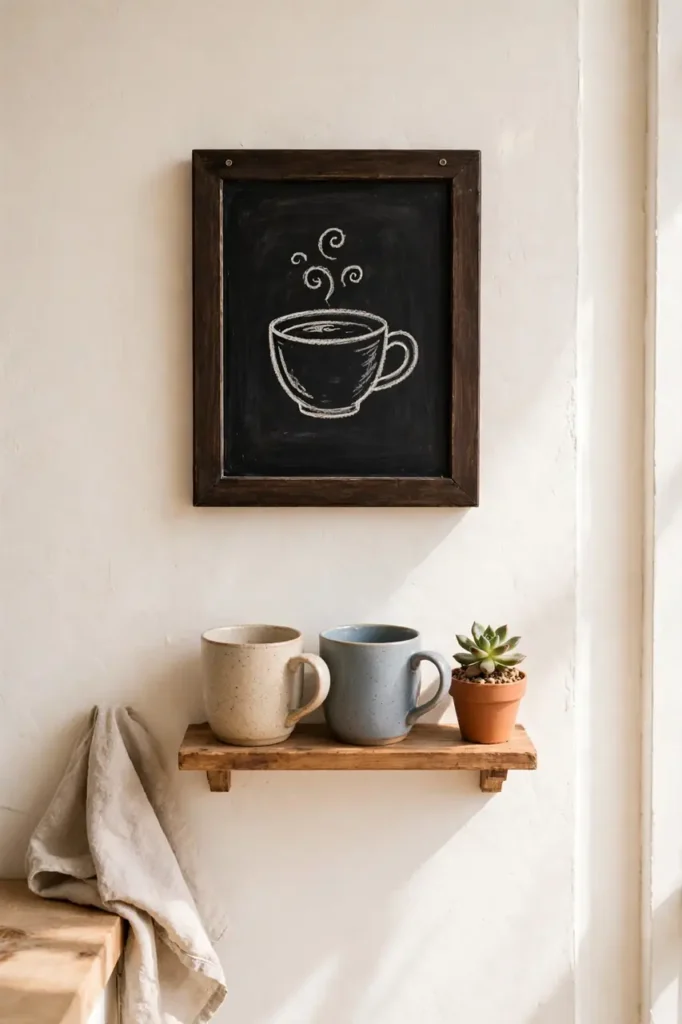
Quick Tip: Keep the menu simple with three or four favorite drinks. Update it with the seasons or for guests. Use chalk markers instead of real chalk for crisp lines that still wipe clean with a damp cloth.
A chalkboard menu gives your corner real café personality. These coffee bar ideas stay fun when you change the board with the seasons. Write your house specials, a funny quote, or the guest Wi-Fi password. Mount it at eye level where everyone sees it. I’ve seen this work well in many cases as a conversation starter. Keep a small eraser nearby for quick updates.
Vintage Crate Storage
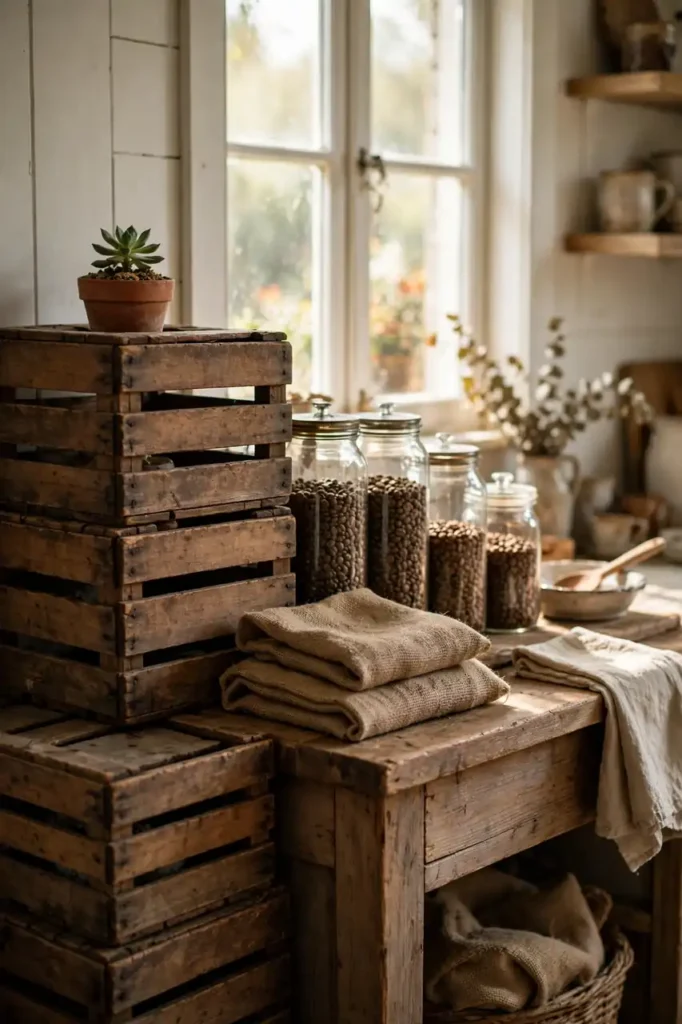
BEFORE: My extra mugs and bean bags piled up on the counter with no real home. The coffee corner looked cluttered no matter how I arranged it. Storage was the missing piece I kept ignoring.
AFTER: Two stacked vintage crates now hold everything with rustic charm. Jars line the top crate while extra mugs fill the lower one. A small plant on top finishes the look. For more inspiration, browse these kitchen coffee bar ideas next.
Crates add storage and character in one move. Look for solid wood boxes at flea markets or craft stores. Sand any rough edges and wipe them clean before styling. Stack no more than two high for safety.
Pull-Out Drawer Bar
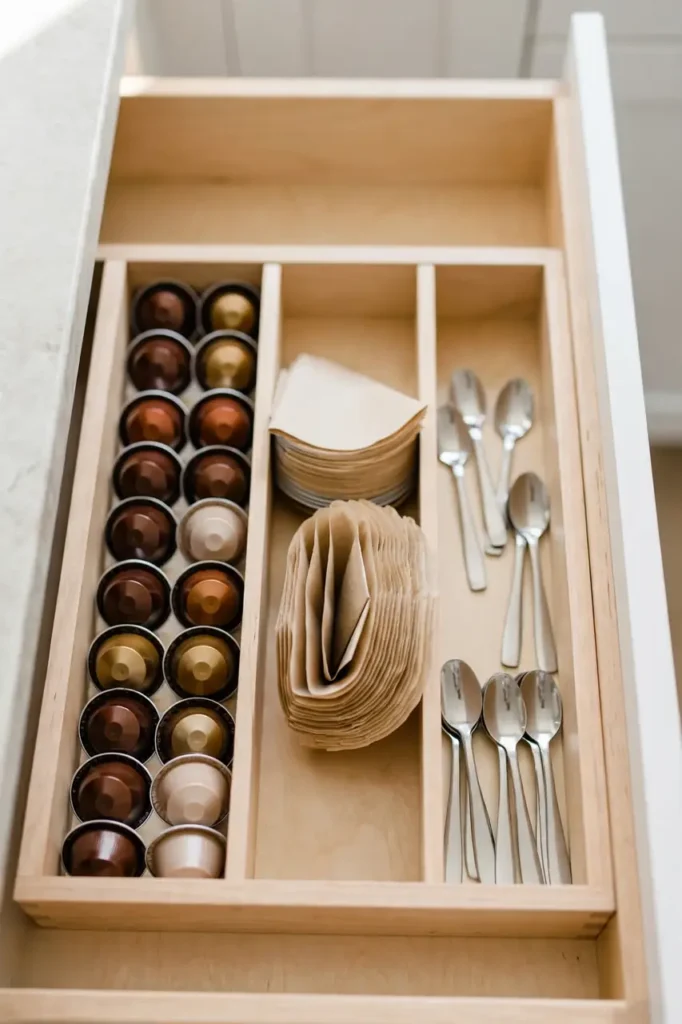
- Empty one deep drawer near your coffee machine completely.
- Add a bamboo organizer with compartments for pods and filters.
- Sort supplies by type so every item has a labeled spot.
- Keep daily spoons and measures in the front section.
- Place a small tray inside for loose packets and stir sticks.
A drawer bar hides the messy supplies while keeping them close. No more digging through cabinets mid-brew. I’ve noticed this setup speeds up mornings because everything sits in one place. Label the compartments if you share the kitchen. Wipe the organizer monthly since coffee dust settles everywhere. This hidden approach suits minimalists who hate counter clutter.
Glass Canister Sets
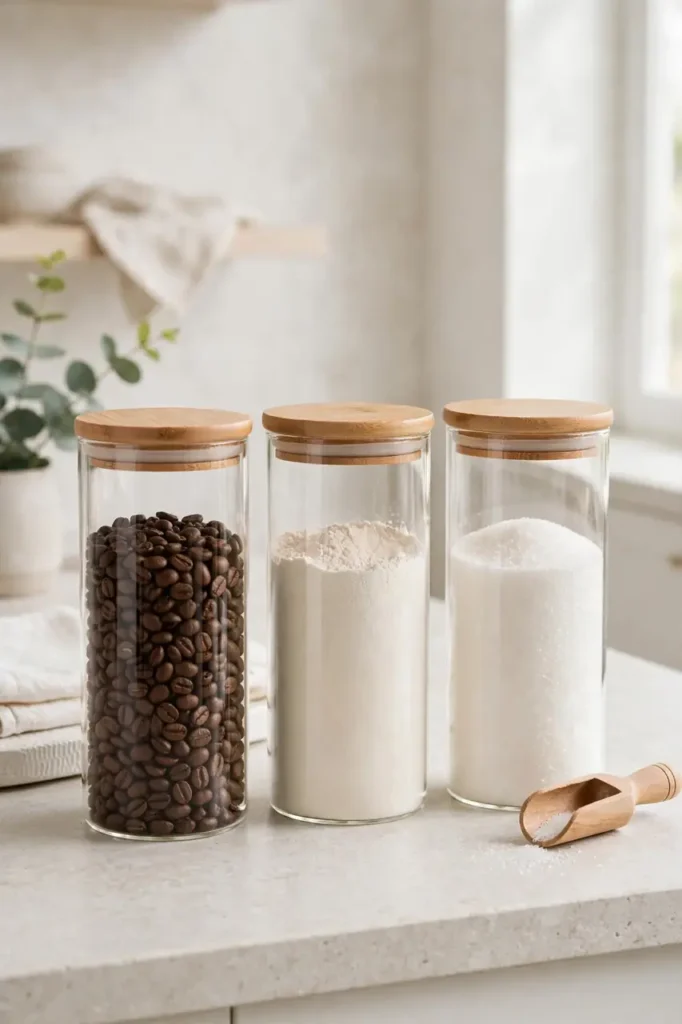
| Glass Canisters | Ceramic Jars |
|---|---|
| See contents at a glance, never run out. | Hide contents, cleaner visual look. |
| Airtight lids keep beans fresh for weeks. | Lids vary; check the seal quality. |
| Dishwasher safe and easy to clean. | Hand wash most; check the glaze. |
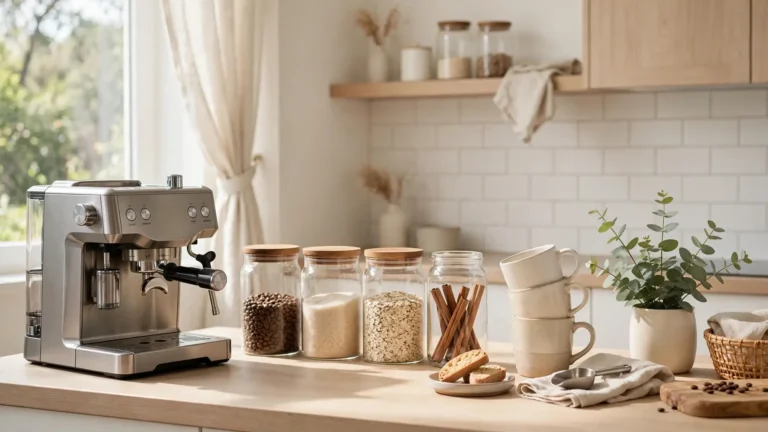
Matching canisters make any shelf look intentional. Buy one set in the same style and size family. Fill them with your most-used supplies first. That’s why many experts recommend glass for coffee corners: you see levels at a glance. Keep the lids tight so beans stay fresh. Refill all the jars on the same day each month. Label the fronts if several jars look alike.
Espresso Machine Zone
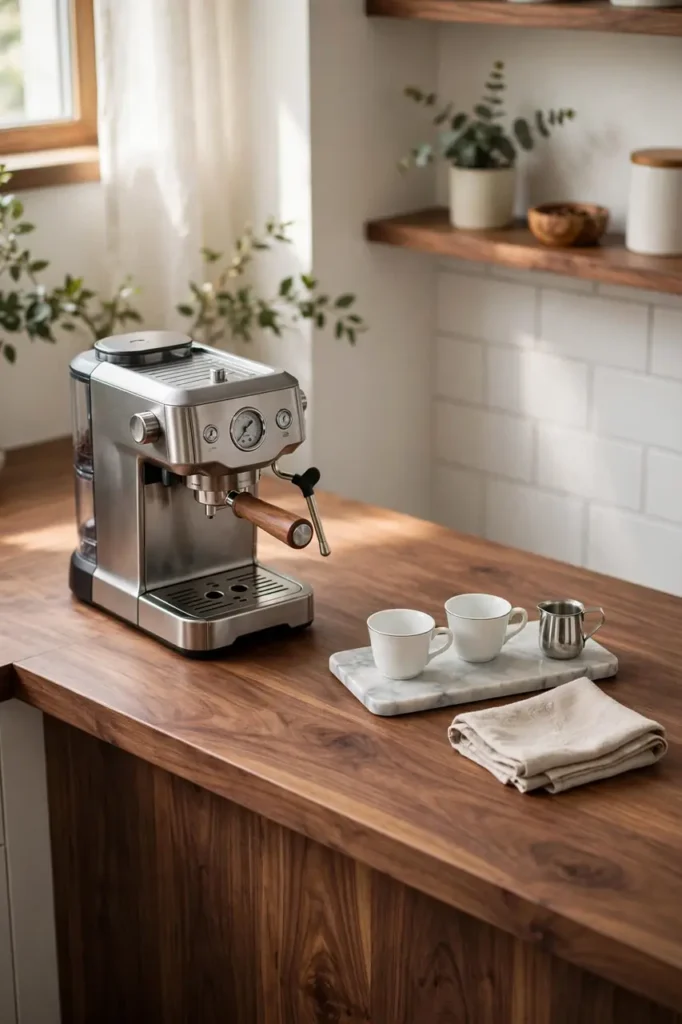
DO:
- Give the machine its own tray to catch drips and spills.
- Keep cups, tamper, and milk pitcher within arm’s reach.
- Store beans in an airtight jar right beside the grinder.
DON’T:
- Don’t crowd the machine against the wall; leave vent space.
- Don’t store milk far away or lattes become a chore.
- Don’t skip wiping the steam wand after every single use.
A dedicated zone makes the machine feel like a real café bar. Everything you need sits in one arm’s sweep. I’ve seen this work well in many cases for daily espresso drinkers. Clean the drip tray every evening so mornings start fresh. Your lattes will taste better when the setup invites you in.
Woven Basket Tucks
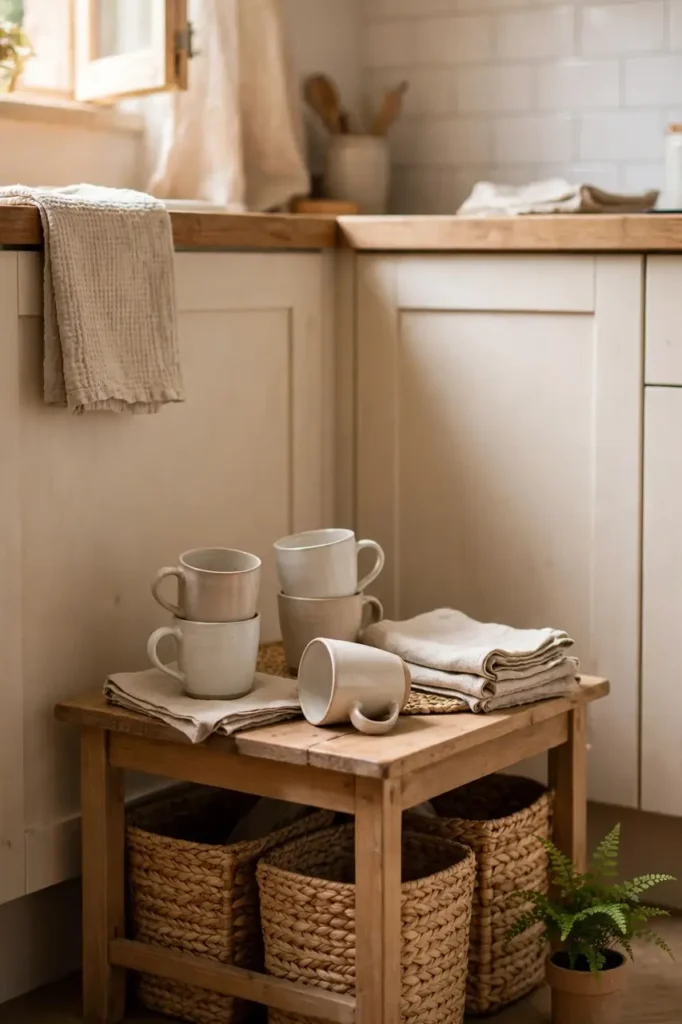
Cost: $15 to $40 | Time: 30 minutes | Skill Level: Beginner | Best For: Hiding clutter | Works In: Any kitchen
Baskets hide the extras that ruin a styled corner. Tuck napkins, packets, and backup mugs inside woven bins under the table. These coffee bar ideas feel calm because the clutter disappears. Choose baskets with lids for the tidiest look. I’ve noticed natural textures like seagrass warm up any kitchen. Label the inside rim if you share the space. Pull baskets out monthly and toss anything stale. Mix two basket sizes for a layered look that still feels neat. Keep one basket for daily items and one for backups. Slide them fully under so no handles poke out.
Mini Fridge Corner
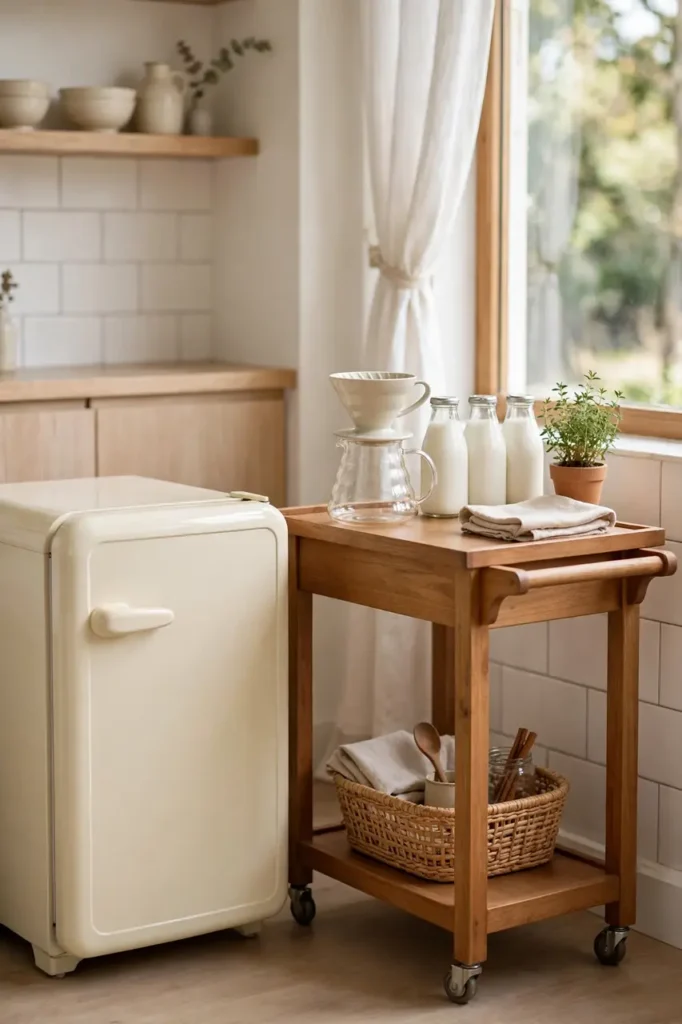
Cold milk and creamer deserve better than a trek to the main fridge. A mini fridge in your coffee corner keeps everything within reach. Pick a retro-style model in cream or black for charm. Stock it with milk, cold brew, and a few chilled glasses. The short walk you save adds up every single morning.
Top the fridge with a small tray for your pour-over set. The flat surface doubles as extra counter space. Keep the fridge stocked weekly so it never runs dry mid-week. In my experience, this upgrade turns casual coffee drinkers into daily ritual keepers. Wipe the top weekly since steam and splashes land there.
Under-Cabinet Lighting
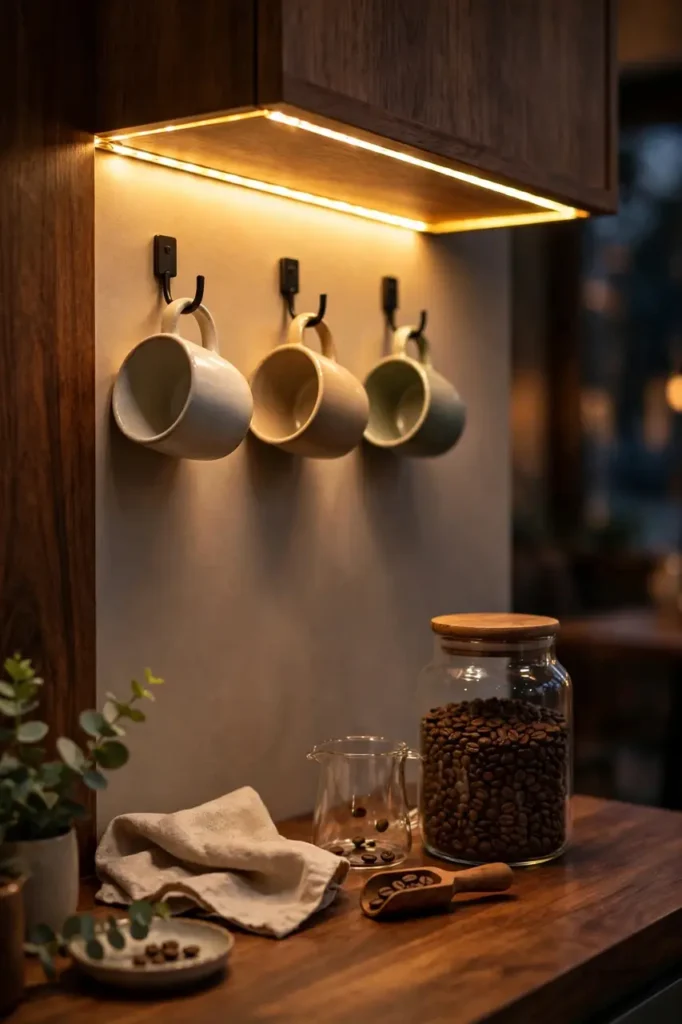
- Stick battery puck lights under the cabinet above your coffee corner.
- Choose warm white, around 2700K, for a cozy café glow.
- Space three pucks evenly so no dark spots remain.
- Use the remote or tap feature for easy on and off.
- Replace batteries every few months or switch to rechargeable.
Good lighting makes a coffee corner feel intentional after dark. Warm light flatters wood, brass, and ceramic beautifully. I’ve noticed lit corners get used for evening tea too, not just mornings. The install takes minutes with adhesive strips. Hide the strips toward the back so you see glow, not hardware.
Botanical Green Accents
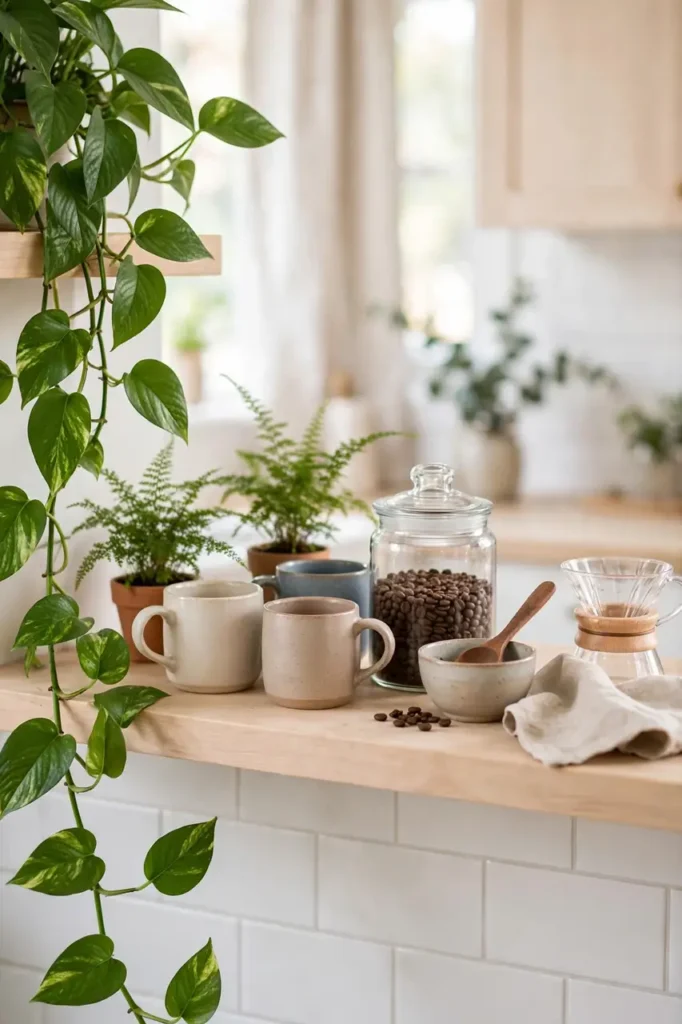
Quick Tip: Pick plants that tolerate kitchen heat and steam. Pothos, ferns, and herbs all thrive near coffee stations. Water weekly and wipe the leaves monthly so they stay glossy and healthy.
Greenery softens all the hard surfaces in a coffee corner. One trailing plant and one small fern are plenty for most setups. I’ve seen this work well in many cases where the corner felt too stark. Hang the trailing plant from a hook so it drapes beside the mugs. Keep plants away from direct steam to protect the leaves. Fresh green makes the whole corner feel alive each morning.
Rolling Cart Flexibility
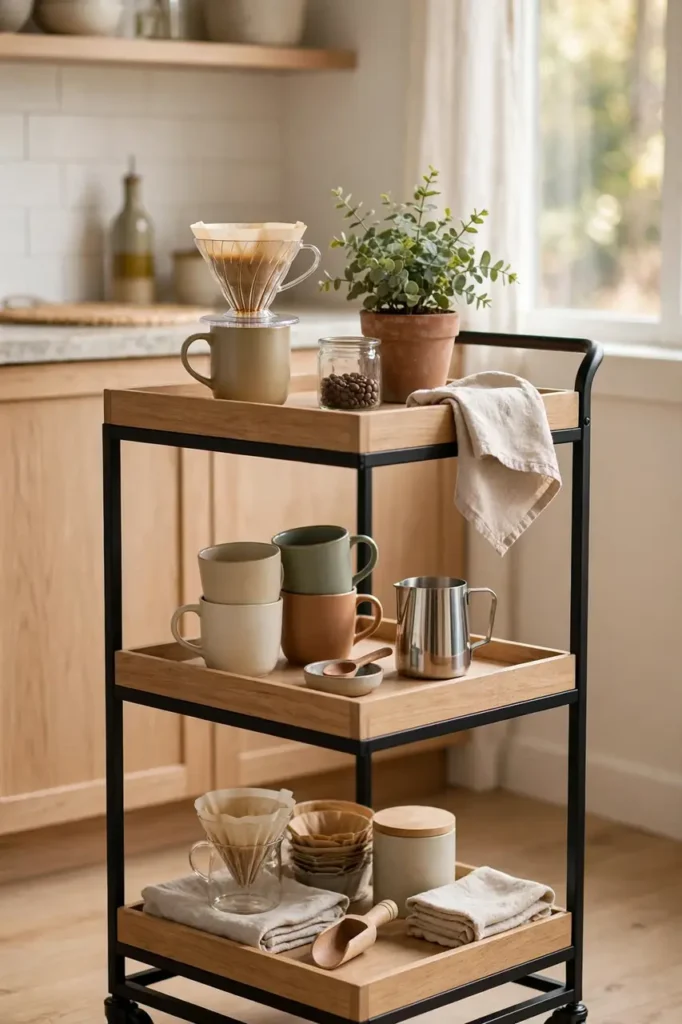
BEFORE: My coffee gear was stuck in one corner of the kitchen. On busy mornings the setup blocked the main prep space. I needed a station that could move with my day.
AFTER: A three-tier rolling cart now serves as my movable coffee bar. It parks in the corner daily and rolls to the dining table for guests. The top holds the machine while lower tiers store mugs and beans. Flexibility changed everything.
Wheels make a small kitchen feel twice as big. Lock them when brewing so nothing shifts. Choose a cart with a solid top shelf for the machine’s weight. This setup suits renters and small spaces perfectly.
Wall-Mounted Fold-Downs
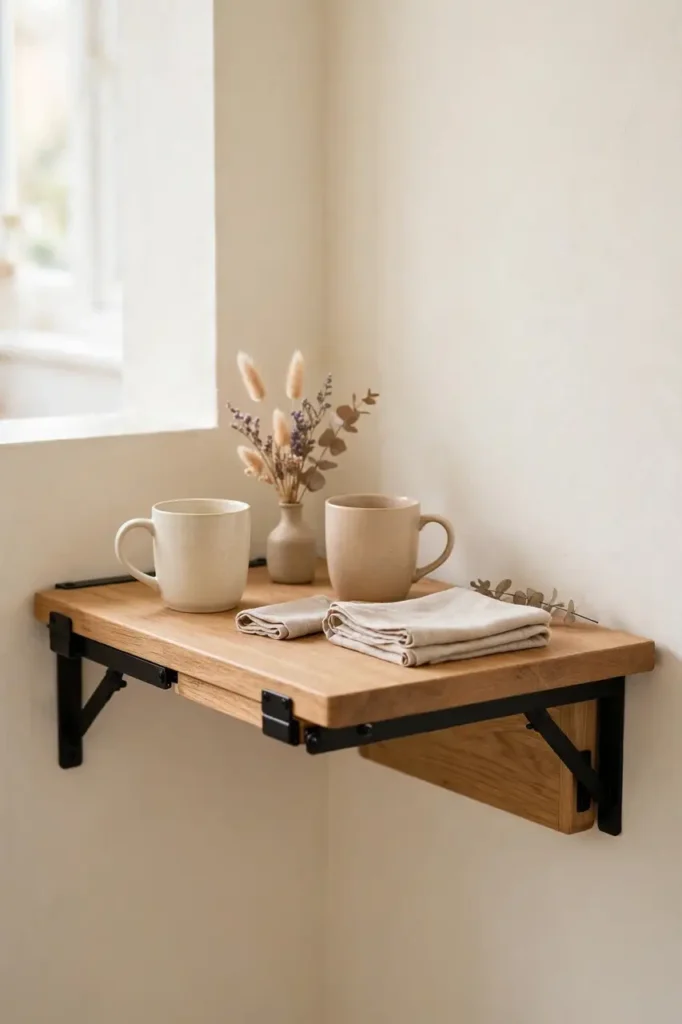
- Mount a fold-down bracket shelf at counter height on a free wall.
- Test the weight with your machine before styling anything.
- Add small raised edges so mugs never slide off.
- Fold it flat when guests need the walkway clear.
A fold-down table gives you a coffee bar that disappears. It works in hallways, tiny kitchens, and studio apartments. I’ve noticed renters love this trick because it needs only two screws. Keep the styling light so folding stays easy. Wipe the hinges twice a year to keep the motion smooth. When closed, hang a small print on it for double duty.
Seasonal Mug Swaps
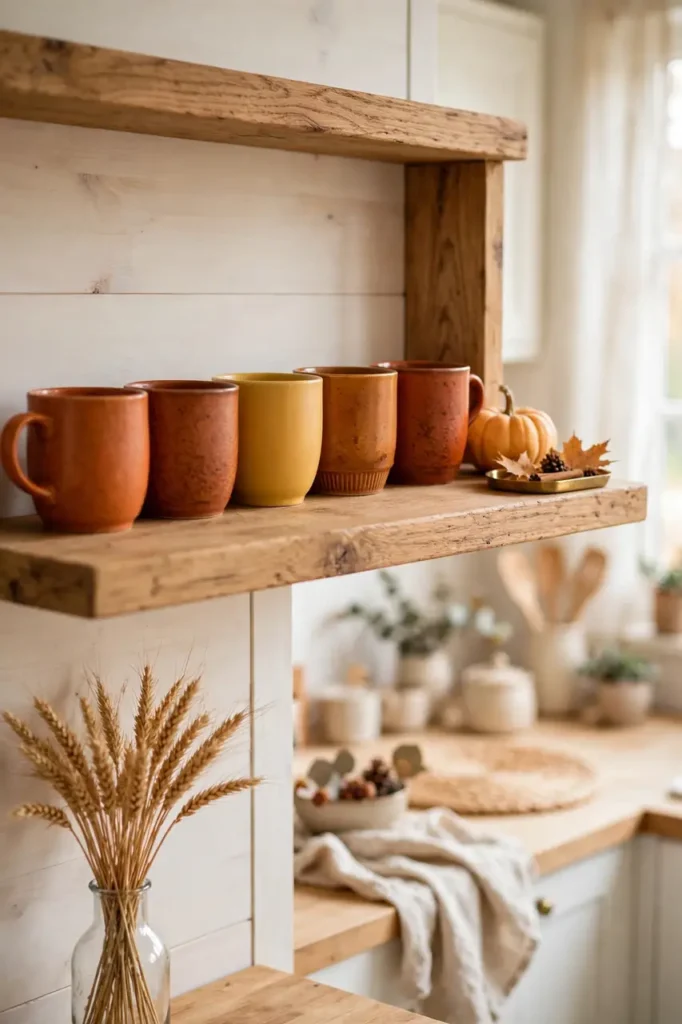
| Autumn Mugs | Winter Mugs |
|---|---|
| Warm rust and amber tones for cozy fall mornings. | Deep green and cranberry for holiday cheer. |
| Pair with small pumpkins and dried wheat. | Pair with pine sprigs and cinnamon sticks. |
| Store off-season mugs in a labeled bin. | Rotate the bin each season change. |
Swapping mugs with the seasons keeps your corner feeling fresh all year. You do not need a huge collection; eight seasonal mugs do the job. That’s why many experts recommend storing off-season pieces out of sight. The swap takes ten minutes and feels like a mini makeover. Your regulars will notice the change and smile.
Neutral Ceramic Collections
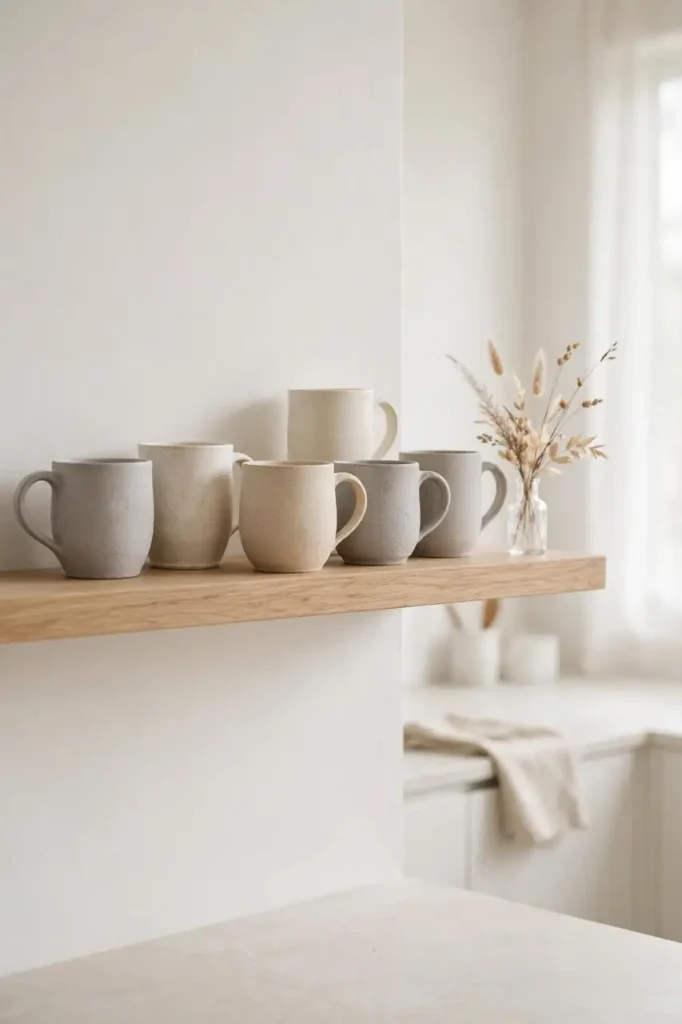
DO:
- Stick to three neutrals, like cream, beige, and soft grey.
- Mix matte and glossy finishes for subtle variety.
- Repeat the palette in trays and linens too.
DON’T:
- Don’t add bright colors that break the calm palette.
- Don’t mix more than three neutrals or it looks muddy.
- Don’t forget texture; smooth everything feels flat.
A neutral collection looks calm and high end without trying hard. Handmade ceramics in soft tones photograph beautifully too. I’ve seen this work well in many cases for small kitchens that need visual quiet. Add one wood piece to keep the neutrals from feeling cold. Let the shapes vary while the colors stay close.
Small Space Essentials
Cost: Under $50 | Time: One afternoon | Skill Level: Beginner | Best For: Tiny kitchens and studios | Result: Complete bar in 2 square feet
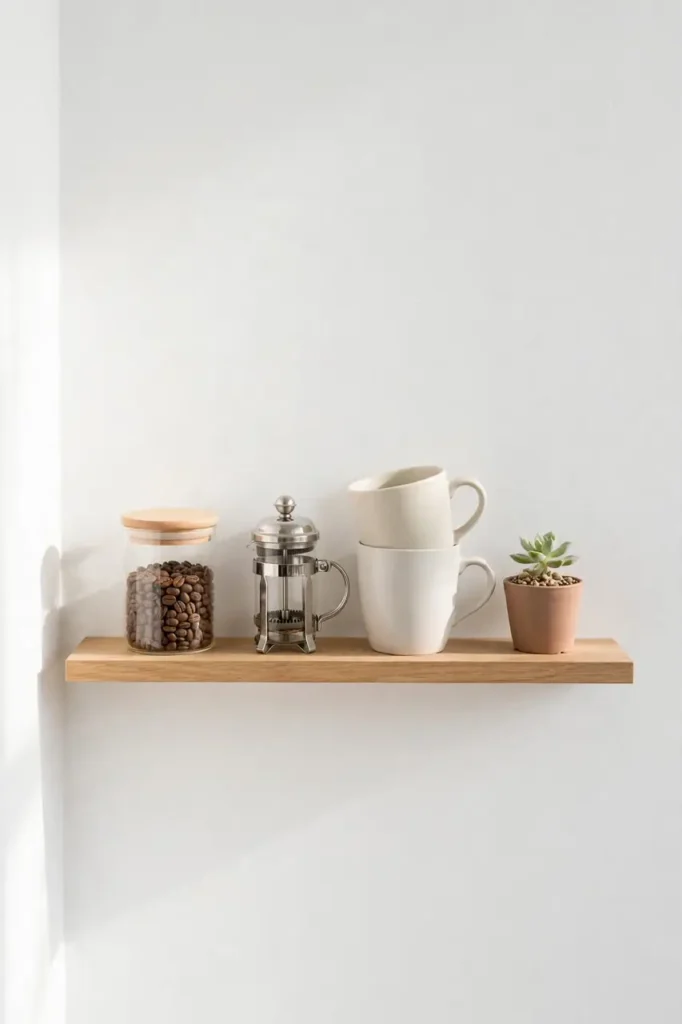
Small spaces need a coffee bar that does more with less. One narrow shelf holds the machine, two mugs, and a jar of beans. Mount everything you can and keep the counter clear. I’ve noticed tiny setups get used the most because every piece earns its spot. Choose a compact machine that fits the shelf depth. Keep extras in a nearby drawer, not on display. This lean approach proves you do not need much space for a great ritual.
Conclusion
Your coffee corner should make mornings feel slower in the best way. Pick the one idea that fits your space and start there today. These coffee bar ideas work because they mix beauty with daily function. Save your favorites on Pinterest, try one setup this week, and share the result with a friend. I’ve seen how small changes like these can completely shift the way a space feels. Keep it simple, keep it personal, and let the corner grow with your habits. A coffee bar is never really finished, and that is the fun of it. Cheers to slower mornings and better coffee at home.
One Comment