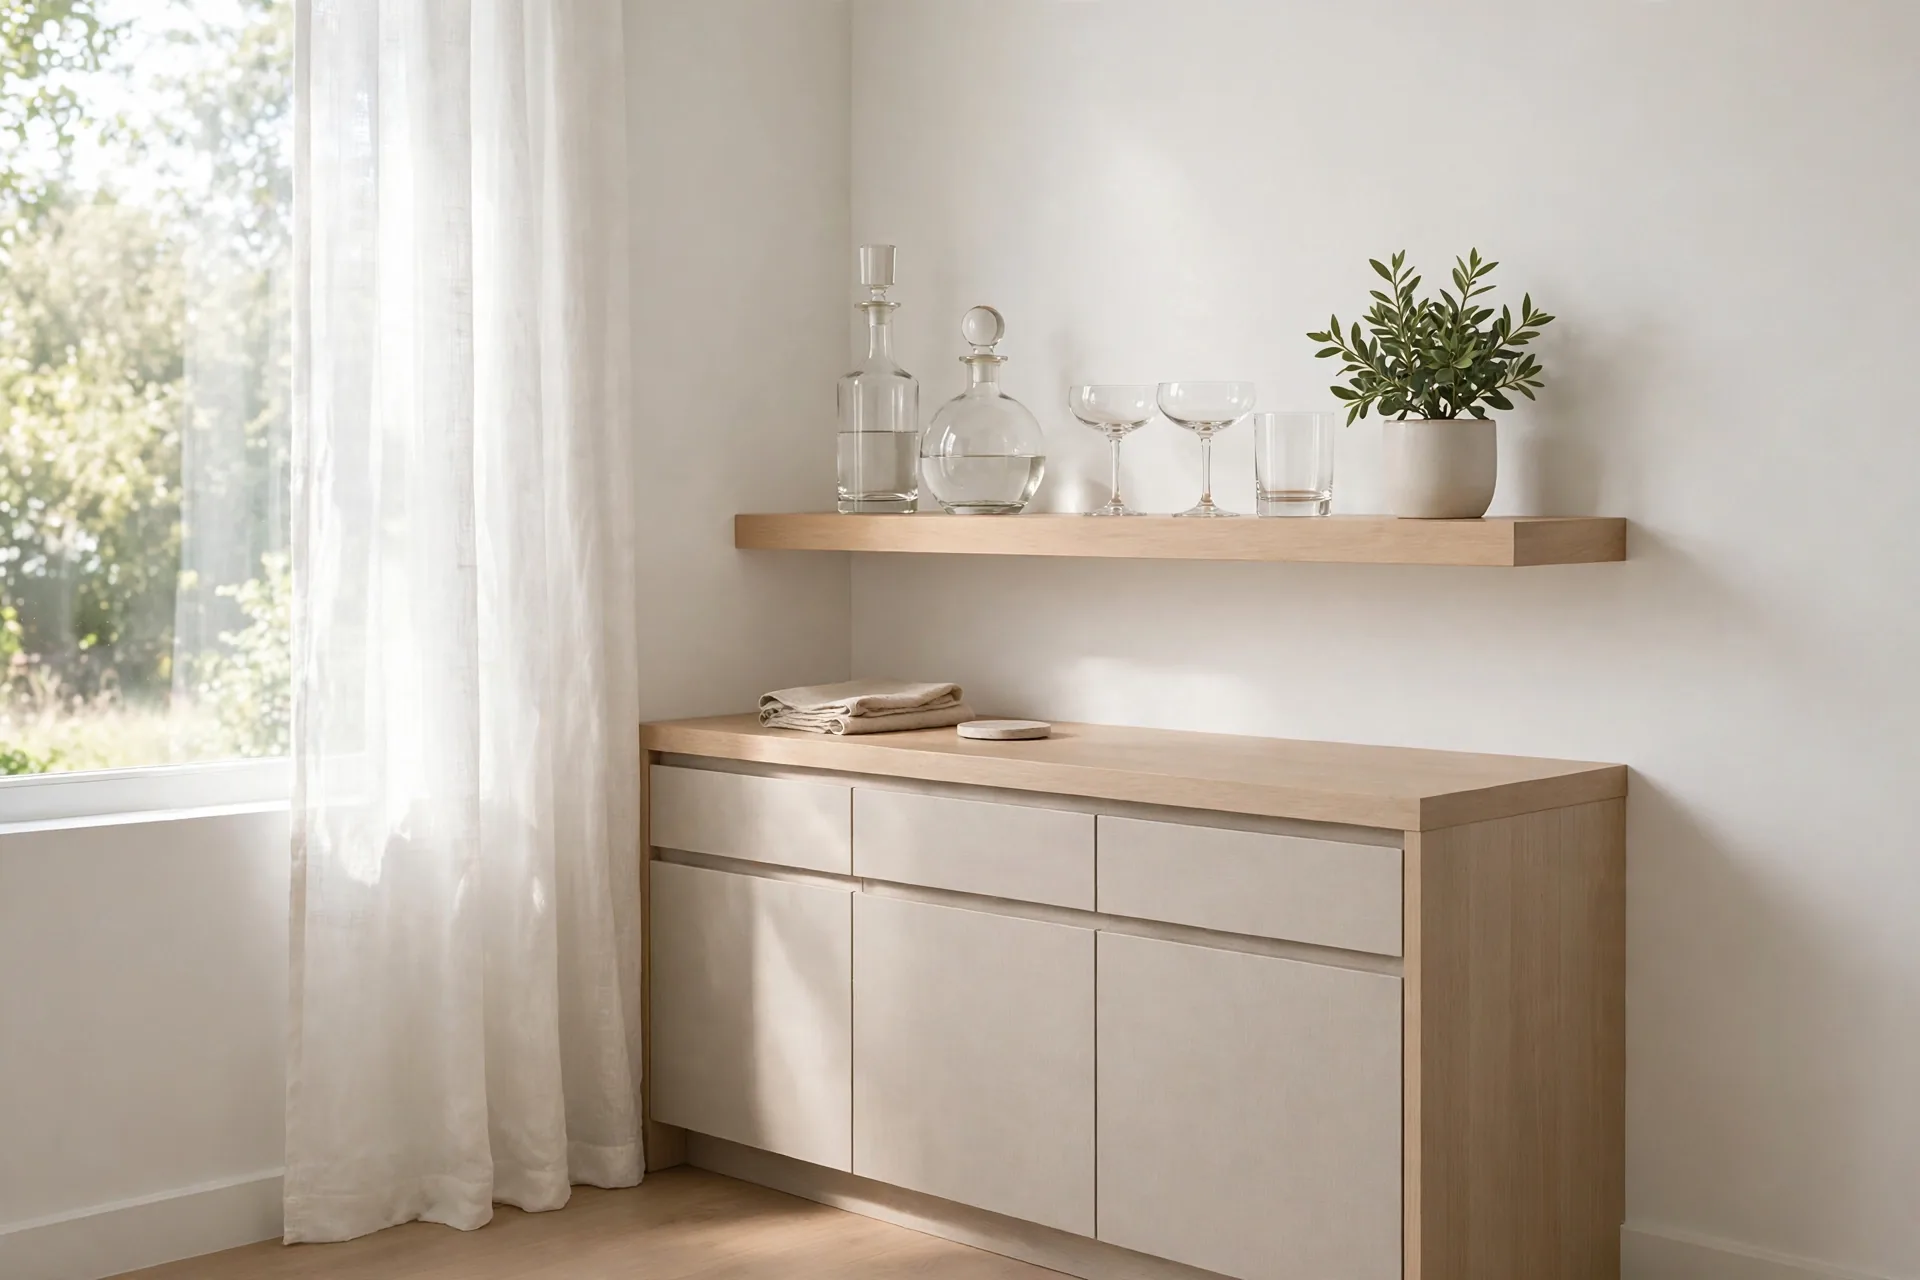
23 DIY Bar Shelf Ideas to Create a Stylish Drink Station
Your liquor bottles deserve better than a crowded countertop corner. These diy bar shelf ideas turn any empty wall into a stylish drink station using basic tools, a free weekend, and thrift-store finds. Every idea below costs less than a night out yet looks like a designer install.
A dedicated shelf also keeps entertaining simple and organized, so every bottle, glass, and garnish lives in one beautiful spot. I’ve noticed small-space styling wins like this spark bigger projects, and readers who finished a shelf often went on to refresh other overlooked corners with my toilet tank decor ideas for a fully pulled-together home.
Rustic Pallet Wood
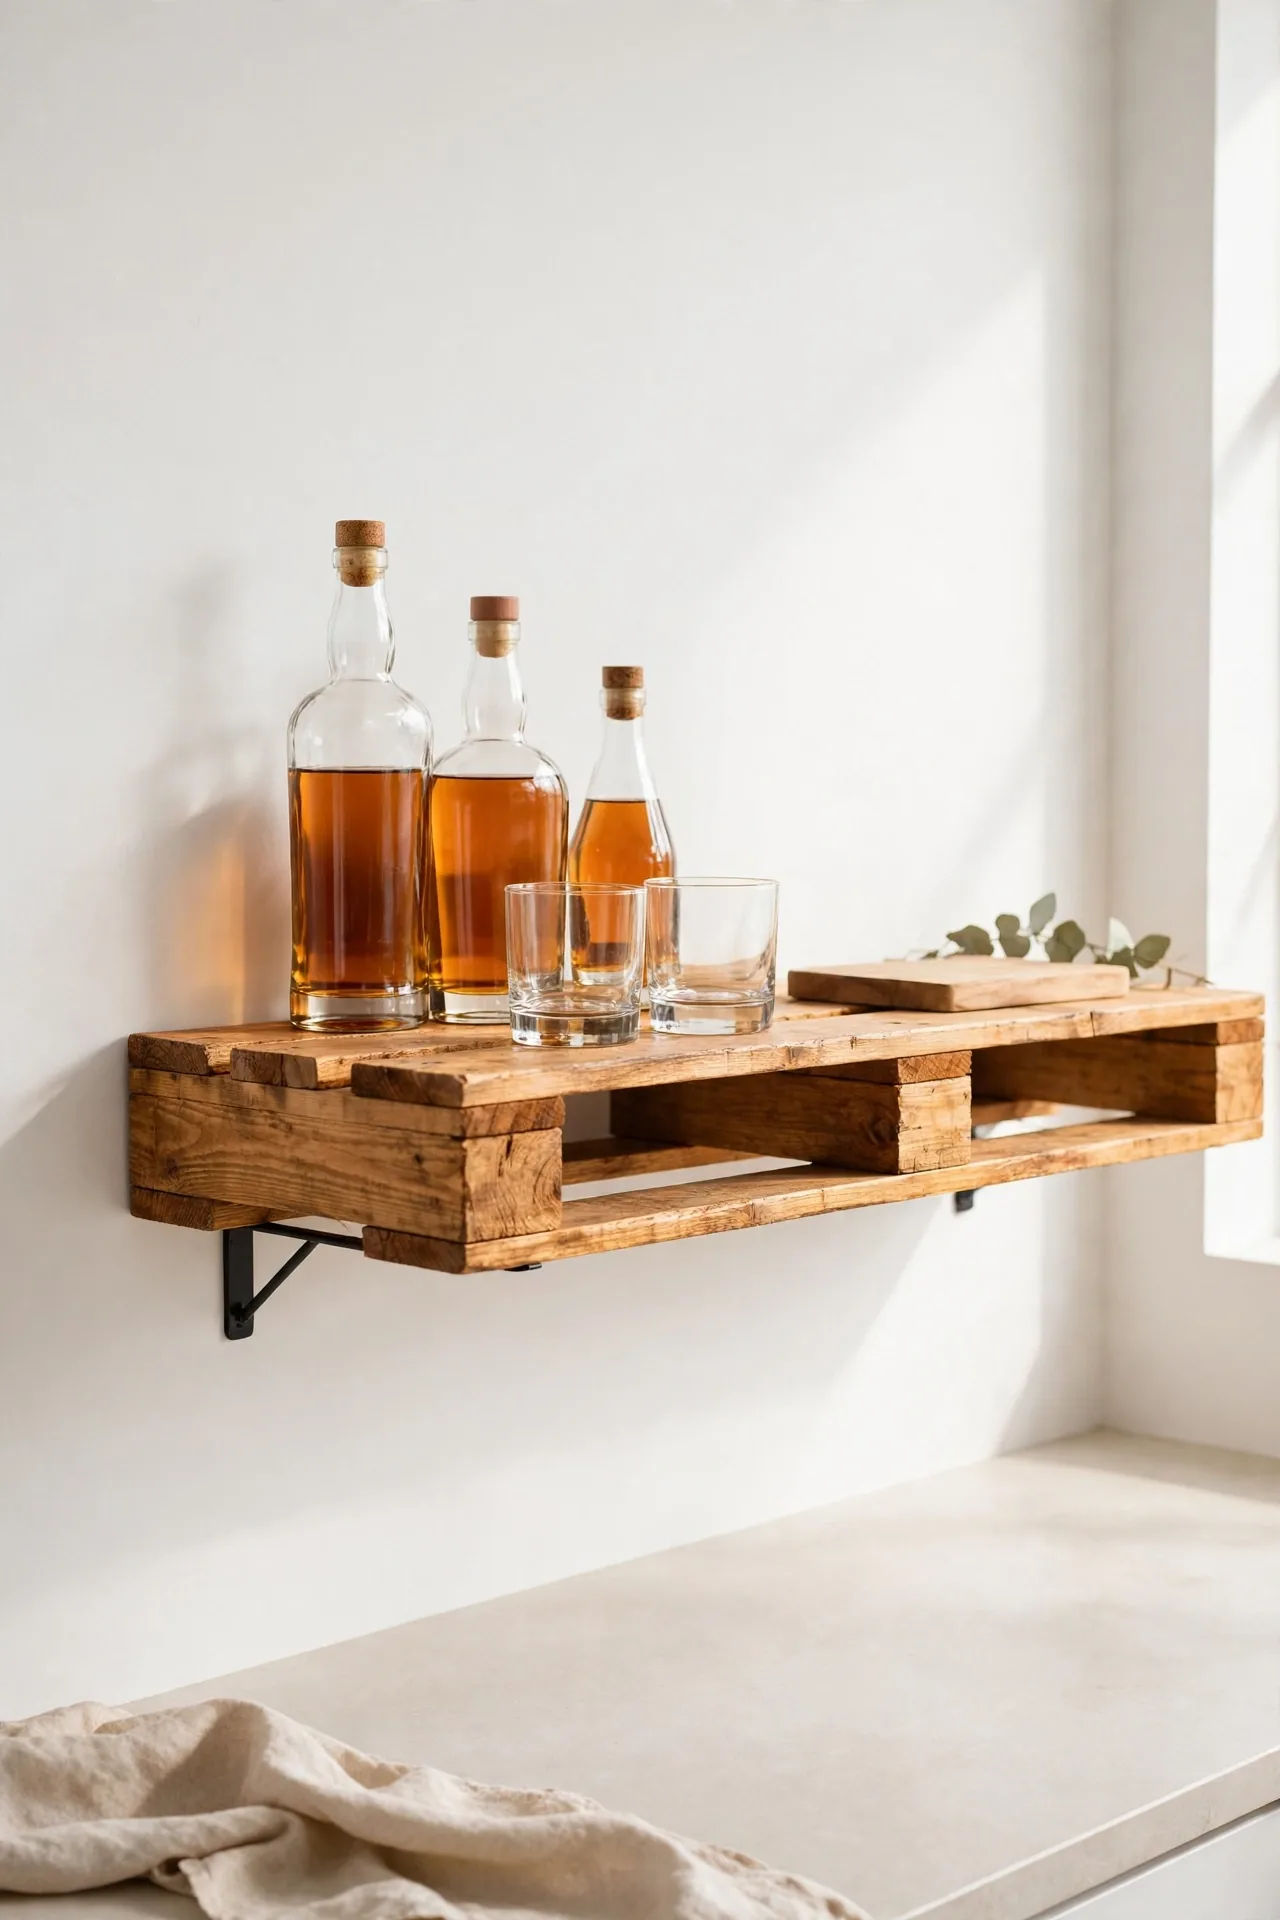
A weathered pallet leaning against a garage wall is basically a bar shelf waiting to happen. Sand it smooth, cut it to your wall width, and mount it on two sturdy L brackets rated for at least 20 pounds. The rough grain and old nail marks give instant character that new lumber simply cannot fake.
Style it with whiskey bottles, a small cutting board, and a couple of lowball glasses. In my experience, staining the pallet a warm honey tone makes the bottles glow against the wood. Keep the top shelf for daily pours and the lower one for mixers you grab less often. A quick coat of clear sealant protects against ring stains from sweating glasses.
Copper Pipe Chic
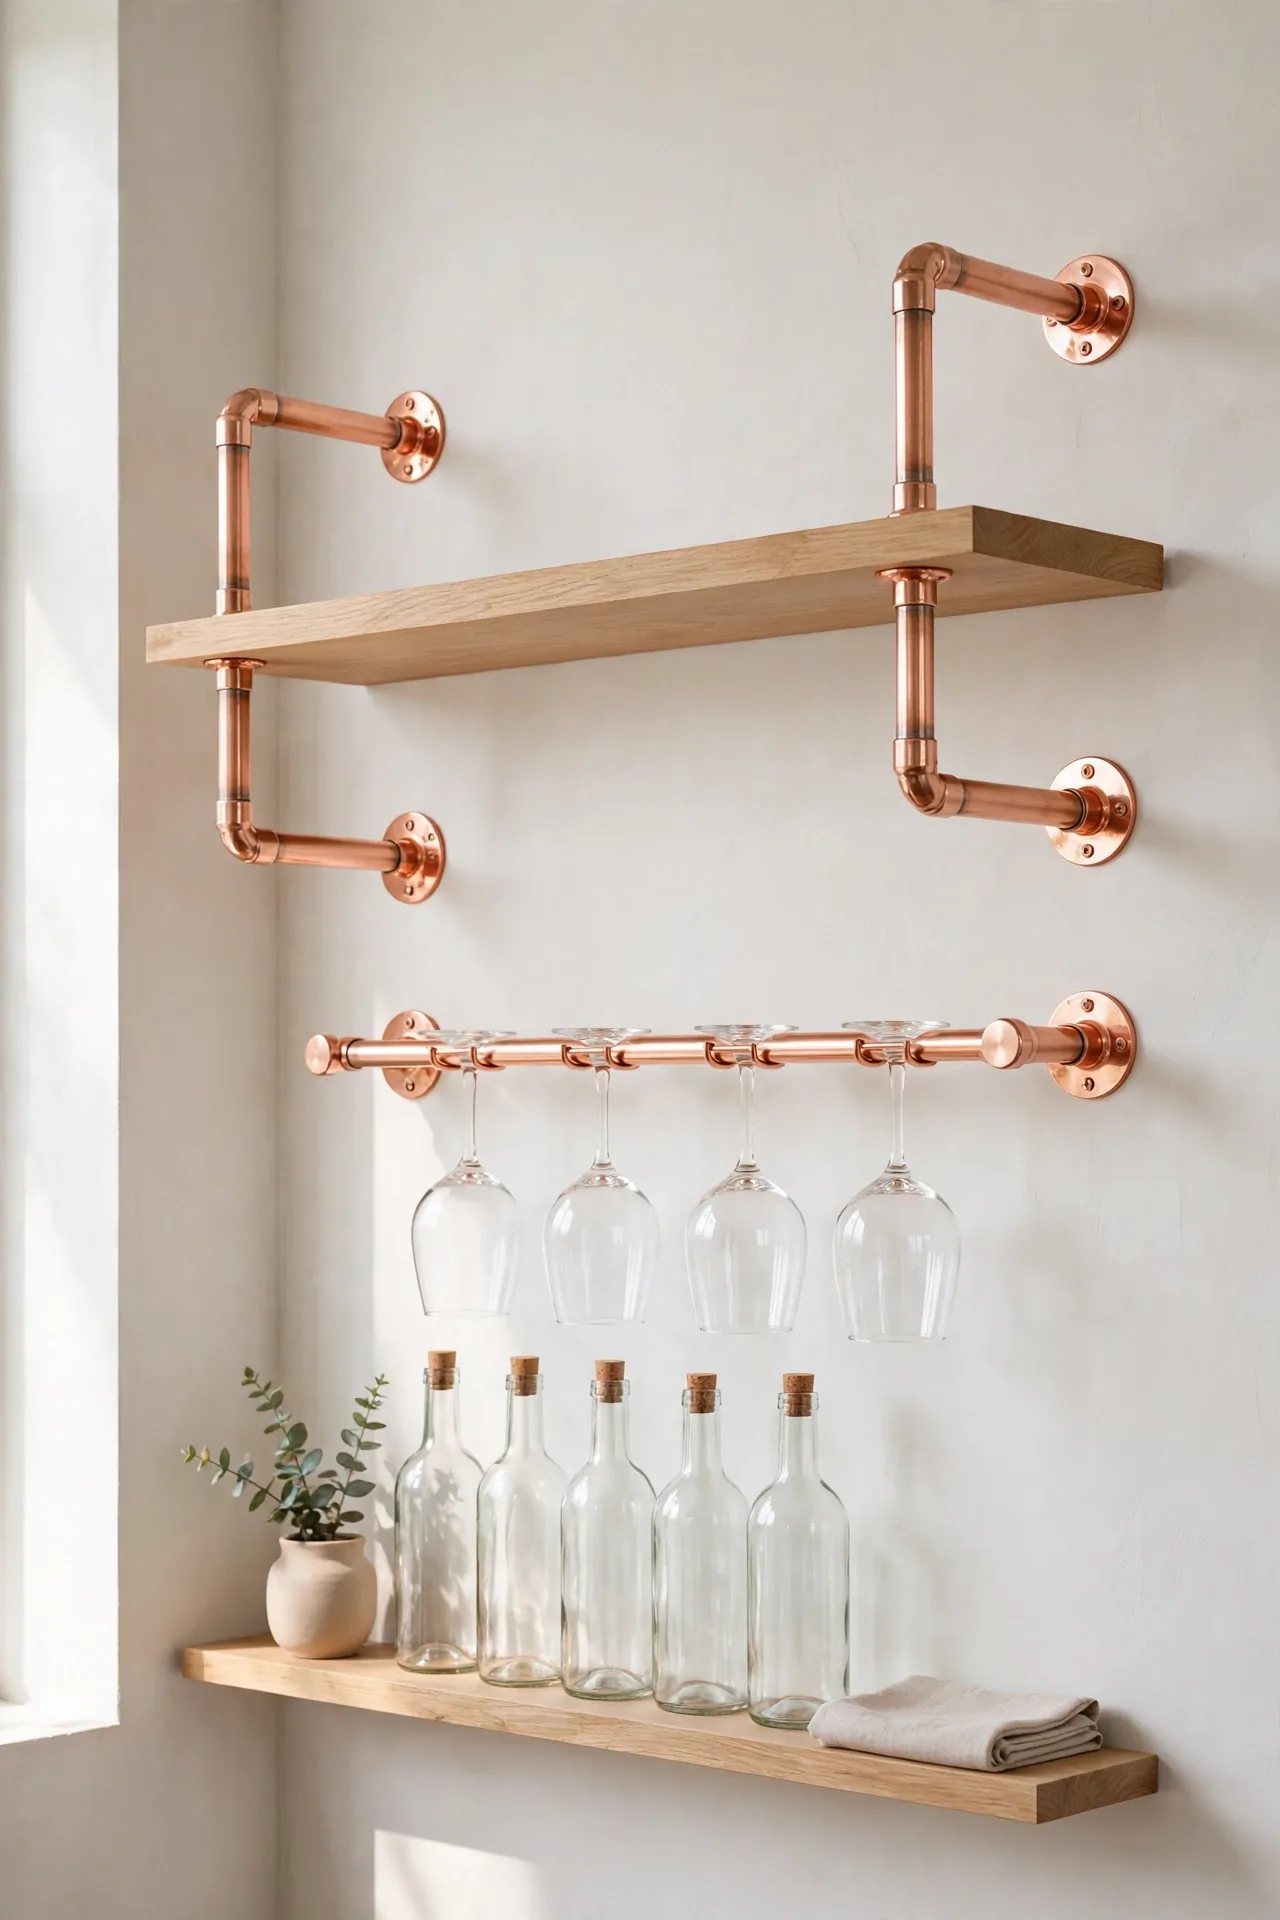
- Mount two flanges on wall studs and thread copper pipe through them for the shelf supports.
- Rest a 10 inch deep oak board on the pipes, securing it with small pipe clips underneath.
- Polish the copper with a vinegar soak so it shines against the pale wall.
- Add a lower pipe rail across the front to hang stemmed glasses upside down.
- Cap the pipe ends with copper end caps for a finished, intentional look.
Copper brings a warm jewelry-like finish that makes clear glass bottles look expensive. I’ve seen this work well in many cases where renters wanted a bar look without heavy woodworking. Wipe the pipes monthly with a soft cloth and they will keep their glow for years.
Floating Ledge Duo
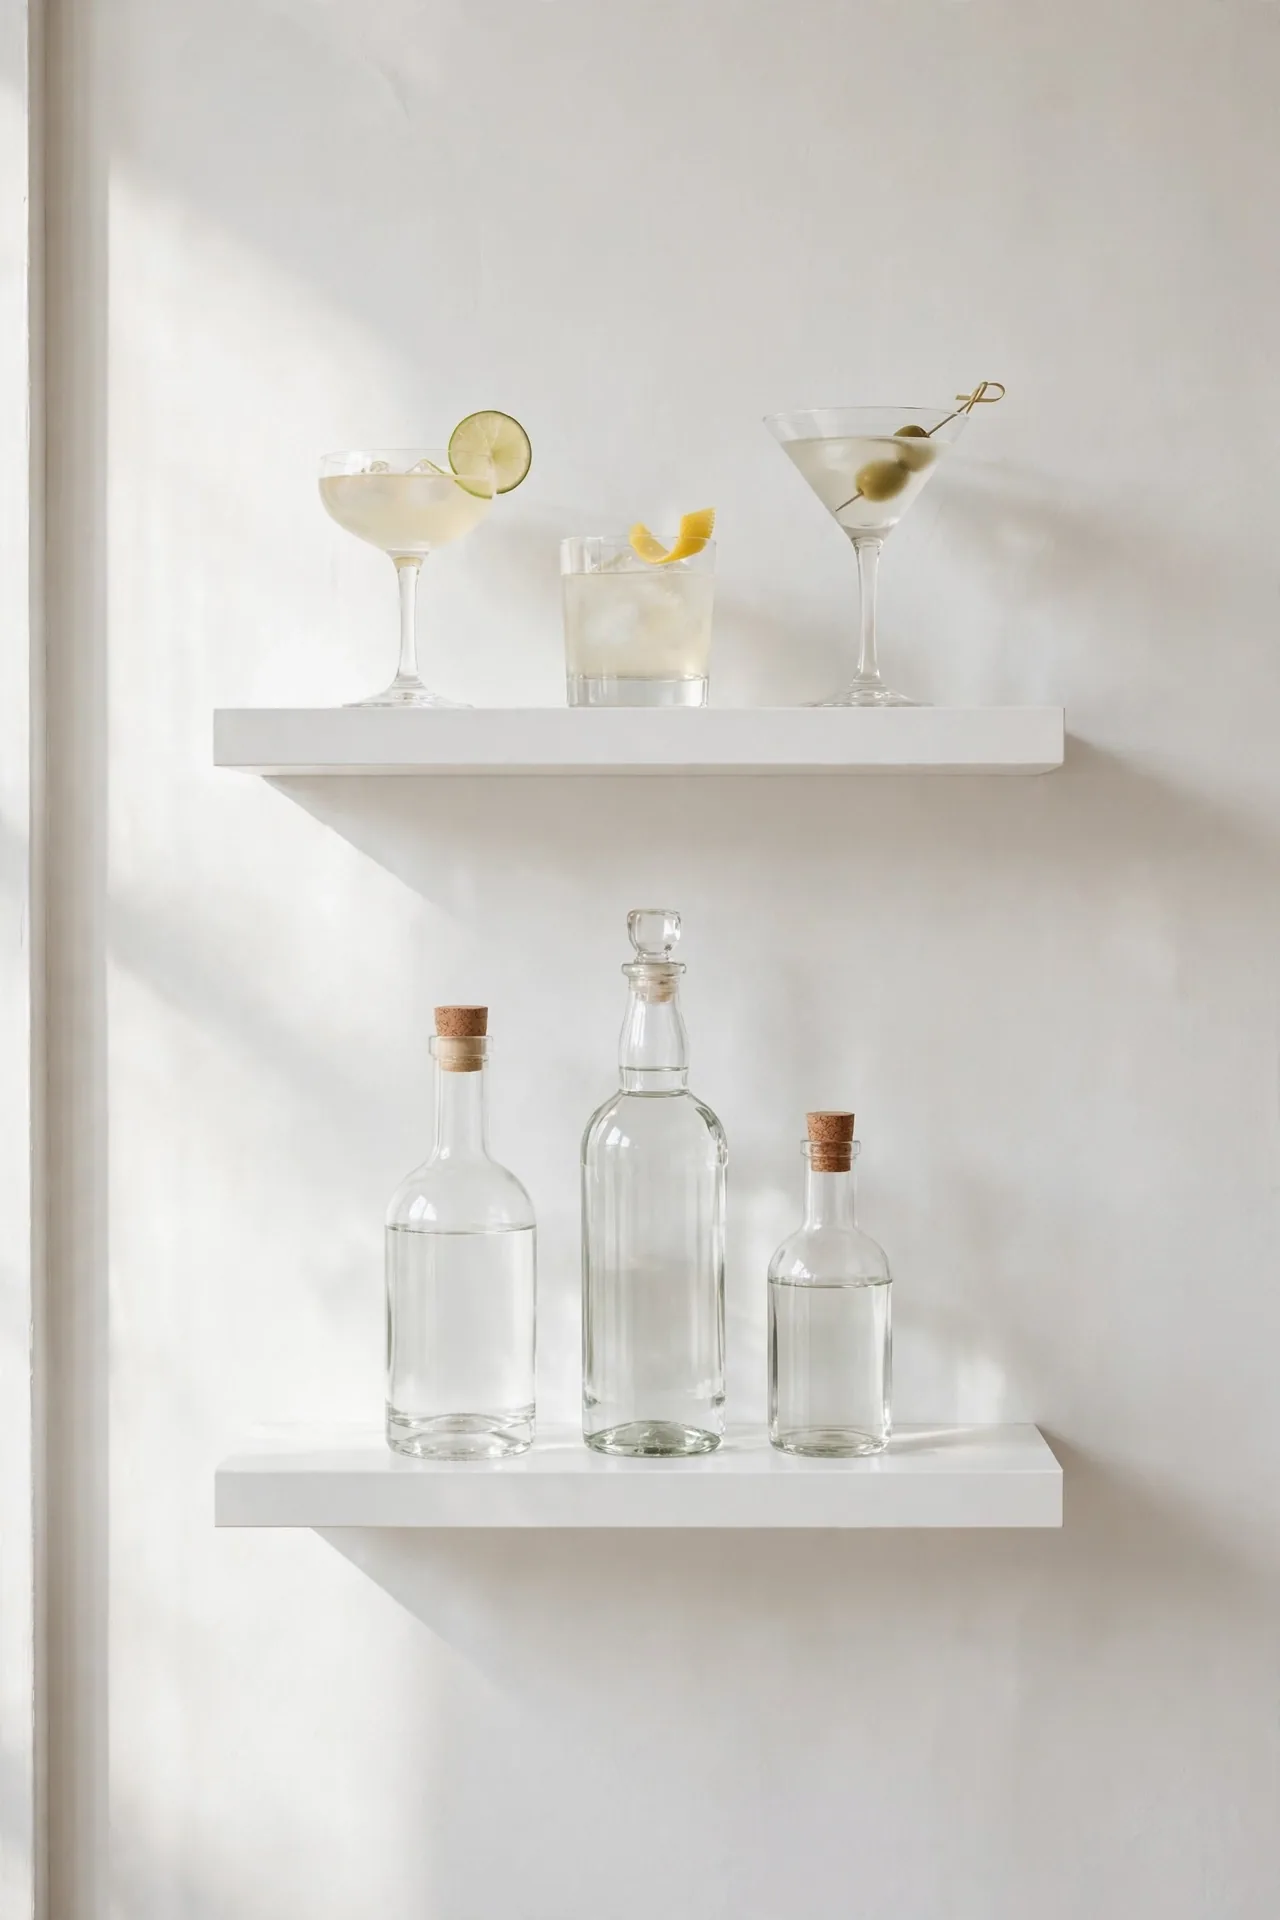
Quick Tip: Mount two 8 inch deep ledges 14 inches apart so tall bottles clear the upper shelf. Drive every bracket into a stud, since a loaded bar shelf can weigh 30 pounds. Use a level on each ledge separately, because walls are rarely as straight as they look. Mark bracket holes with painter’s tape to keep spacing exact.
Two floating ledges read as one designed unit when you space them evenly and style them as a pair. Keep cocktail glasses on top and bottles below, or mix both for a casual collected feel. In my experience, painting the ledges the same white as the wall makes the bottles appear to float.
Vintage Crate Stack
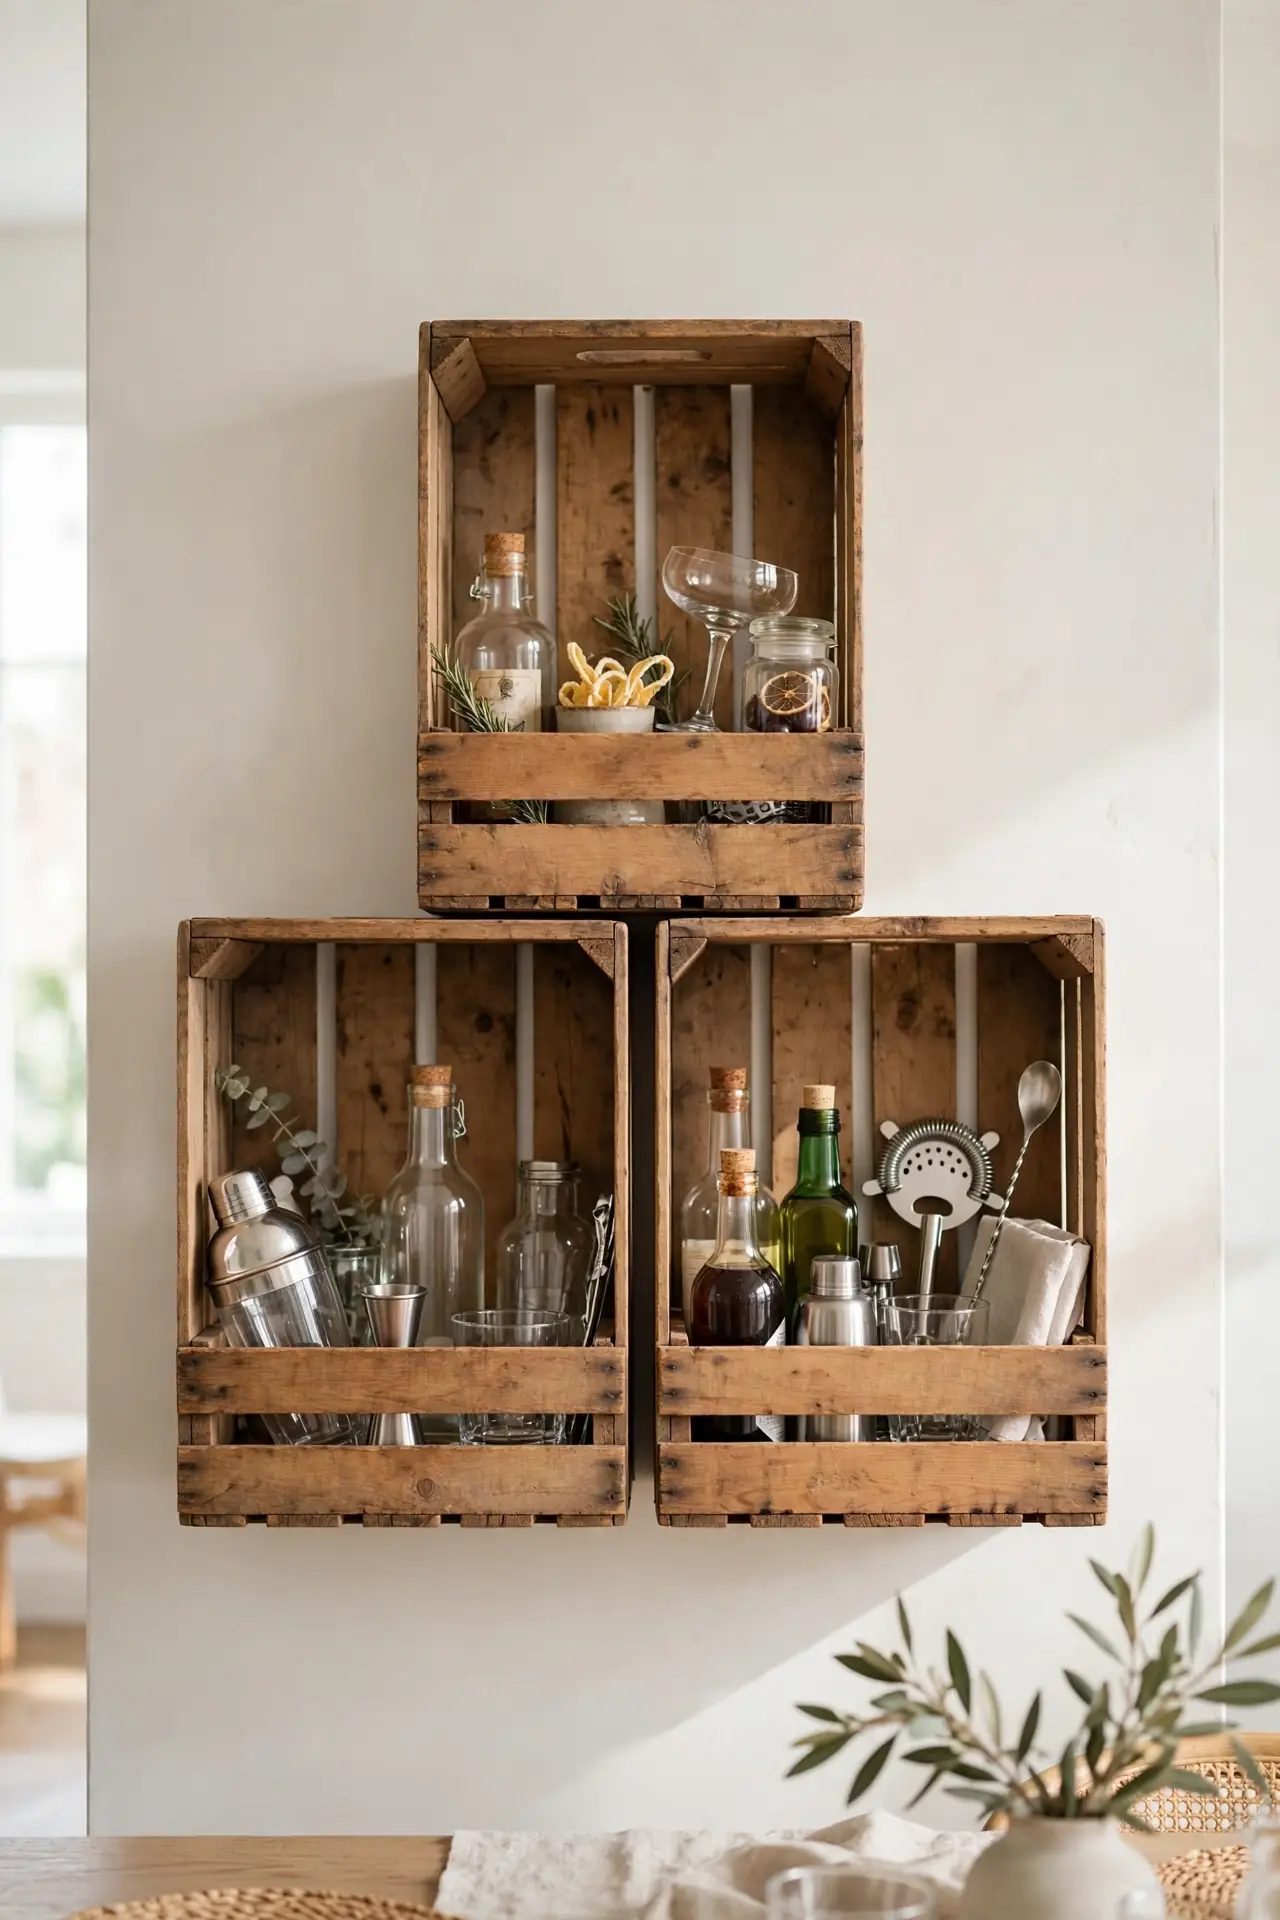
BEFORE: A blank dining room wall held nothing but a crooked picture frame and a layer of dust. The corner felt unfinished and every gathering crowded bottles onto the dining table.
AFTER: The crates are stacked sideways on the wall in a sturdy pyramid, each one holding bottles and barware. A quick sand and clear wax turned them into a rustic bar display guests ask about.
Stacked crates give you cubby storage without building a single box joint. Anchor the stack to the wall with L brackets so it can never tip. I’ve noticed pyramid stacks look best with the largest crate on the bottom, styled with tall bottles up top and short glasses tucked inside the cubes.
Corner Nook Bar
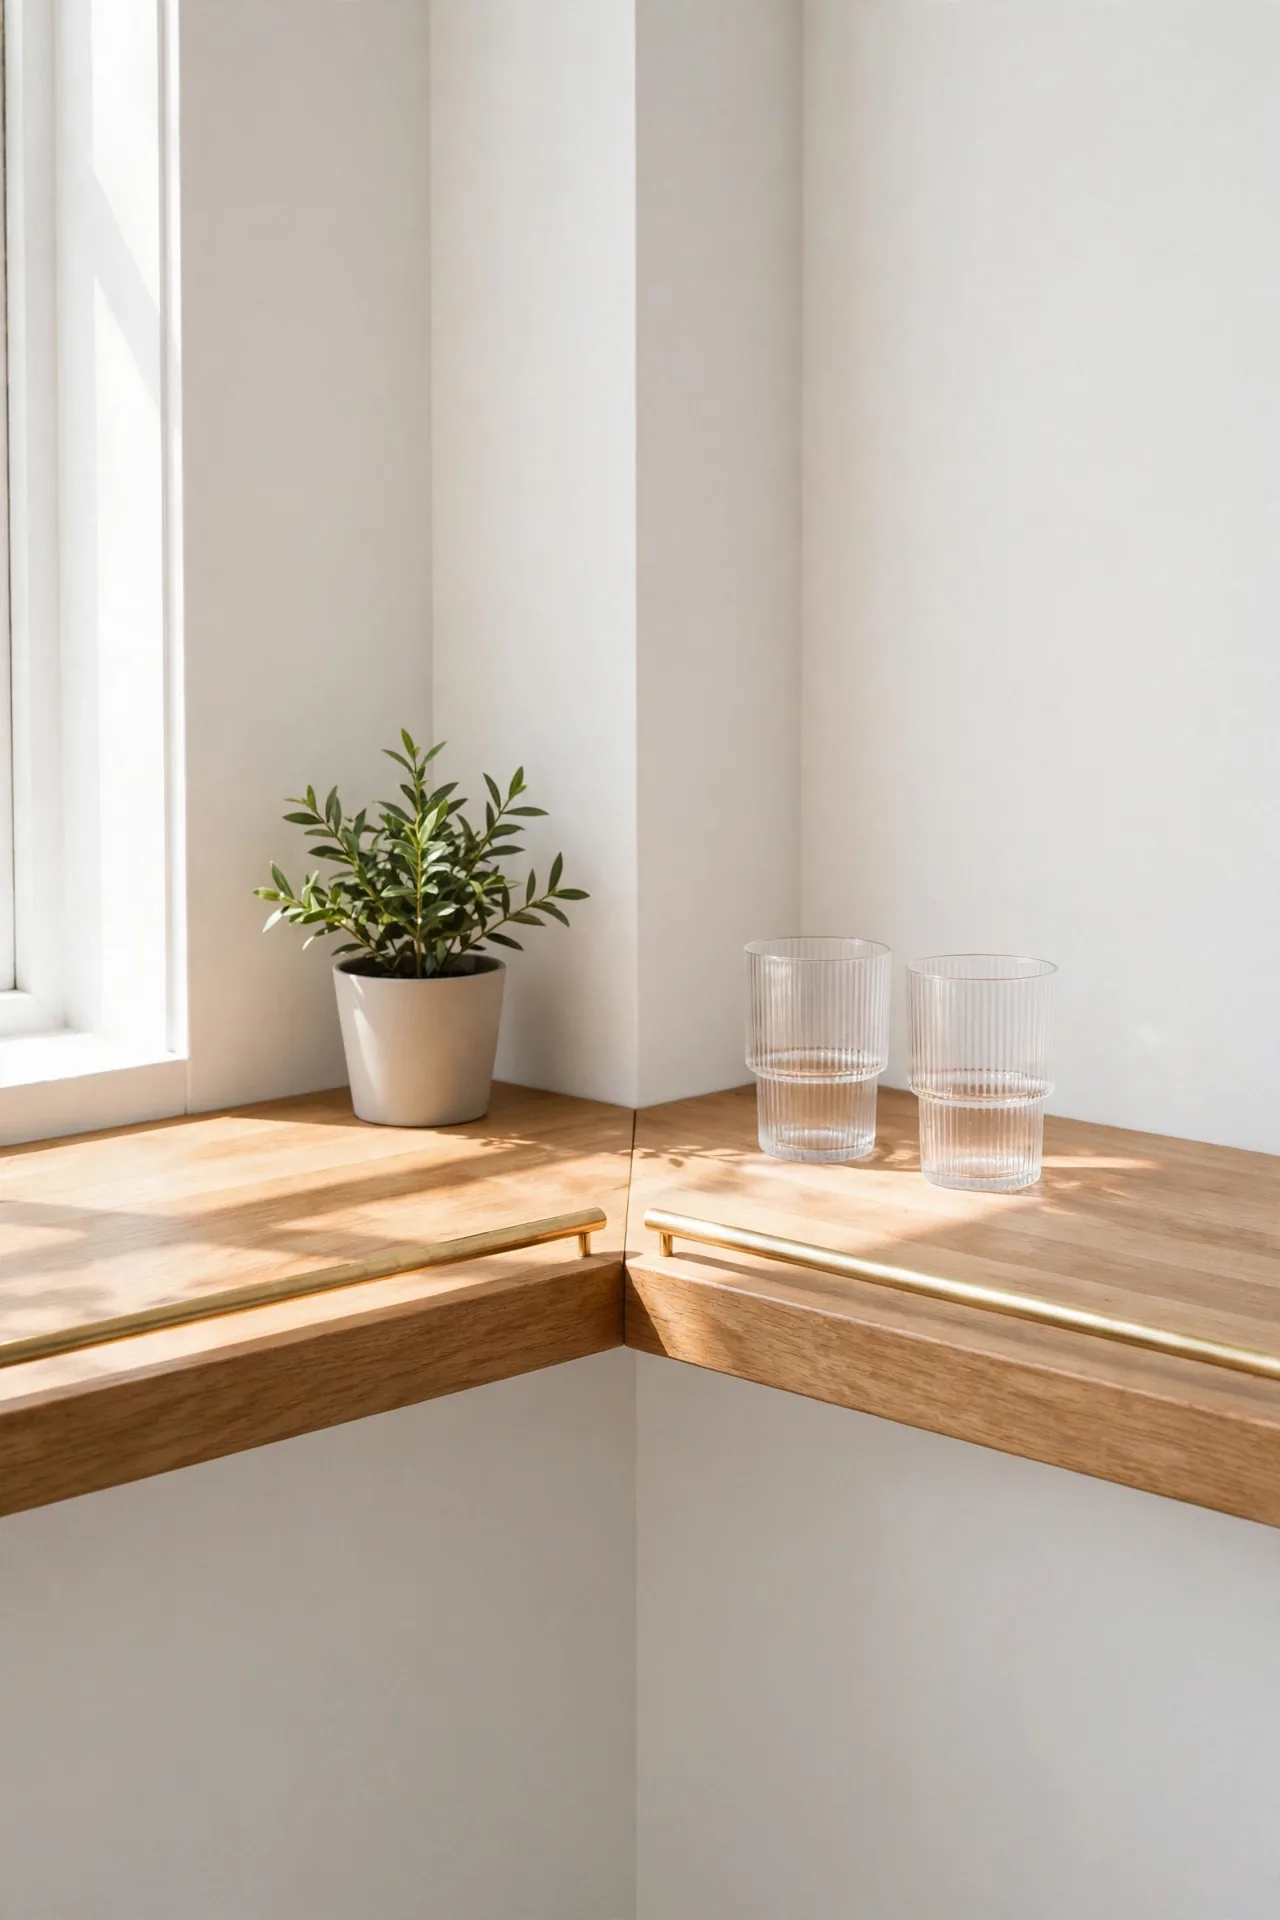
- Measure your corner and cut two boards so they meet at a clean 90 degree angle.
- Mount triangular brackets on both walls at the same height for a level joint.
- Rest the boards on the brackets and screw them together from underneath.
- Add a small brass rail along the front edge to stop bottles sliding off.
Corners waste more space than any other spot in a home bar setup. A wraparound shelf puts that dead zone to work and holds twice the bottles of a flat shelf. Keep the styling simple with a small plant and matching glassware, since the L shape already gives plenty of visual interest.
Live Edge Slab
| Feature | Raw Live Edge | Finished Slab |
|---|---|---|
| Cost | Cheaper, sold rough from sawmills | Higher, sanded and sealed for you |
| Look | Wild bark edge, rustic character | Smooth edge, refined natural shape |
| Maintenance | Needs sealing before first use | Wipe clean and ready to style |
| Best for | Bold statement walls | Calmer minimalist rooms |
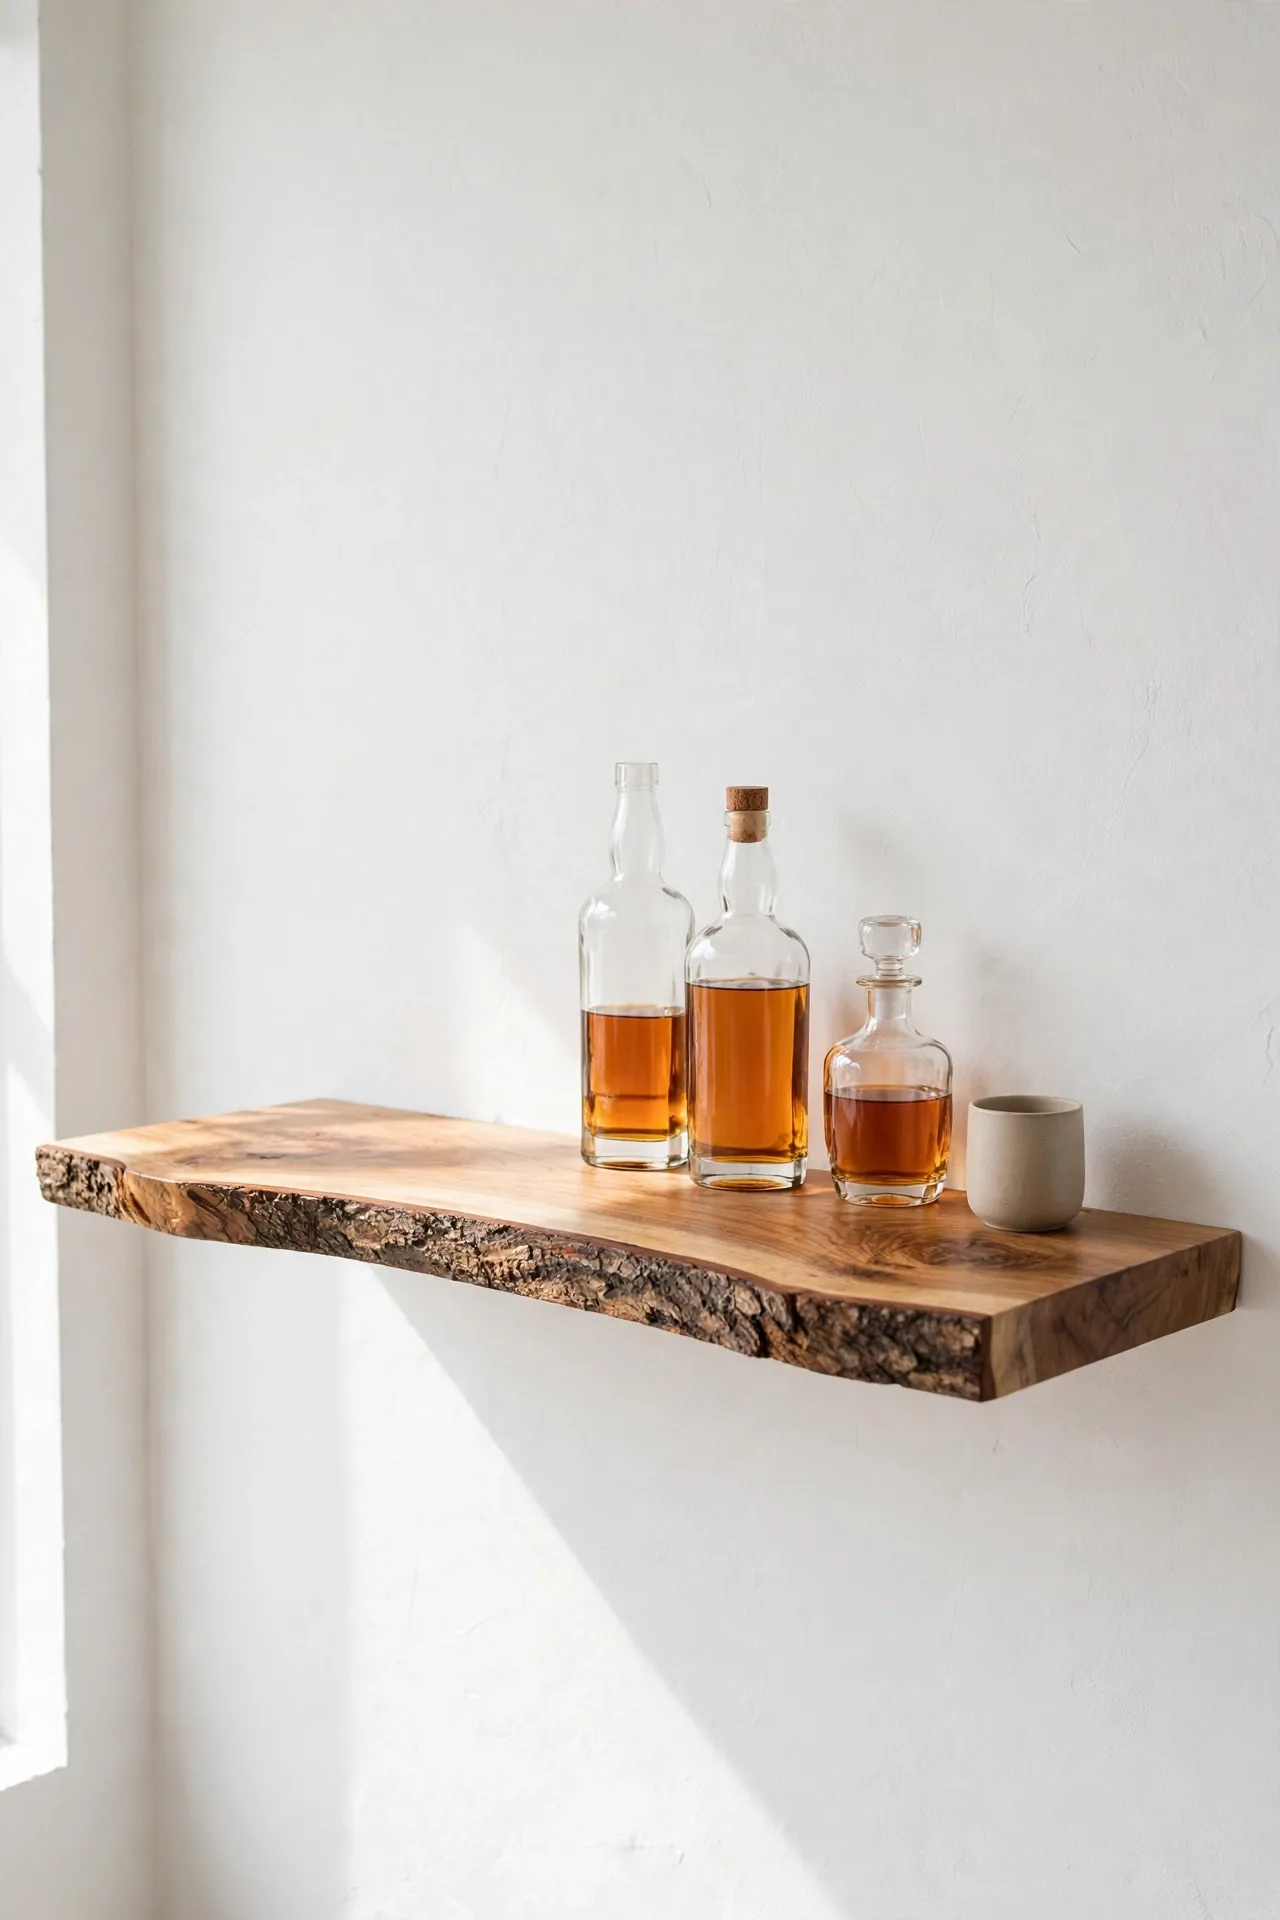
A live edge slab turns a plain wall into a gallery piece before you even style it. Mount it on hidden steel brackets so the wood looks like it floats. That’s why many experts recommend sealing both sides evenly; it stops warping and keeps the grain glowing for years. Rub the sealer in with a soft cloth for an even, streak-free coat.
Ladder Style Shelves
DO:
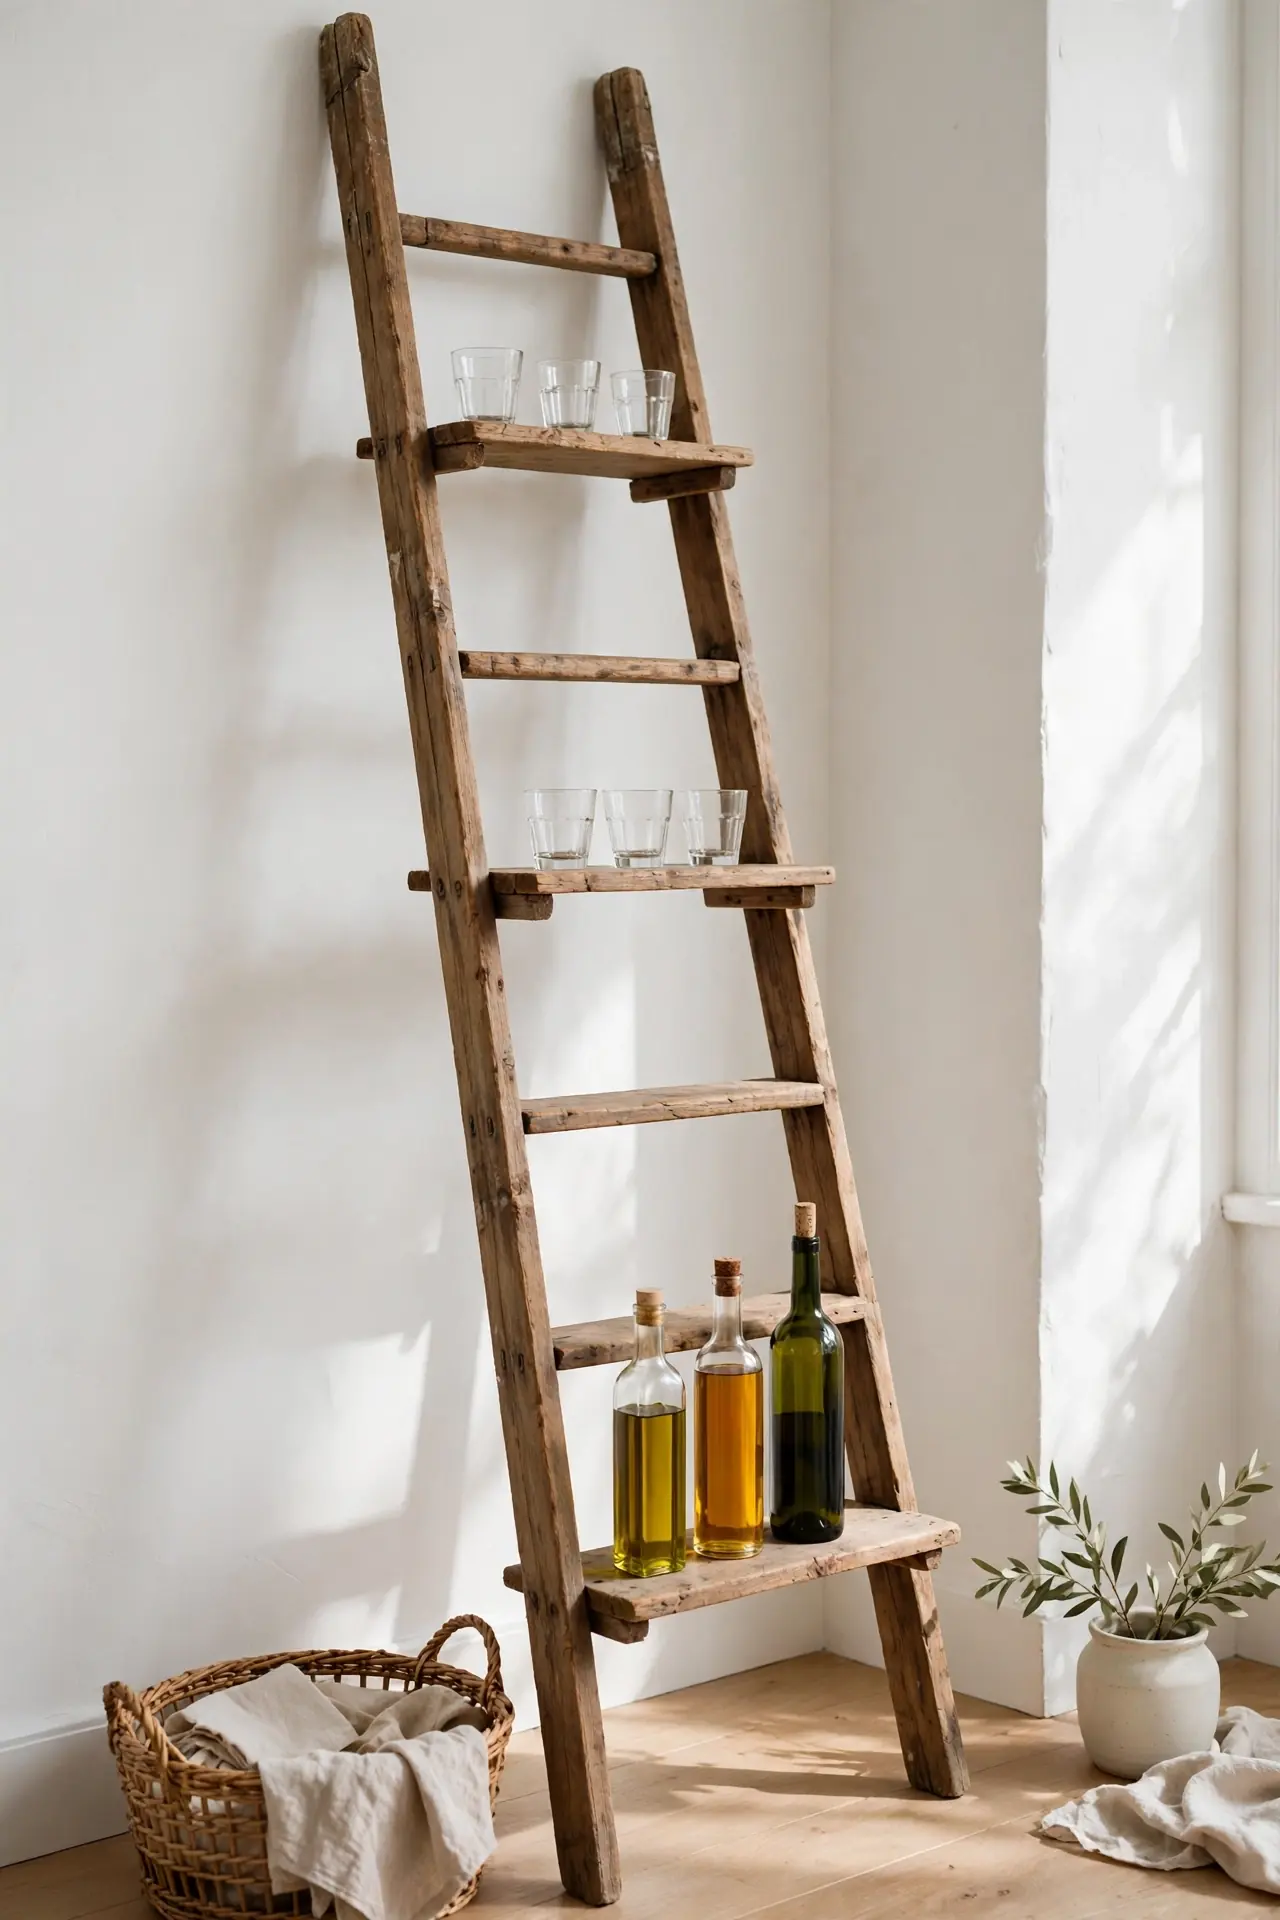
- Lean a wooden ladder at a slight angle and anchor the top to the wall.
- Lay planks across the rungs to create instant graduated shelves.
- Place heavy bottles on the bottom rungs for a stable base.
DON’T:
- Use a wobbly ladder without wall anchors, since loaded shelves can tip.
- Overcrowd the narrow top rungs with tall heavy bottles.
- Skip felt pads under the ladder feet on hard floors.
A ladder shelf brings instant height and farmhouse charm to a bar corner. The graduated depths naturally sort tall bottles below and small glasses above. I’ve tried this in a rental and the whole thing went up in under an hour with zero wall damage.
Under Cabinet Rack
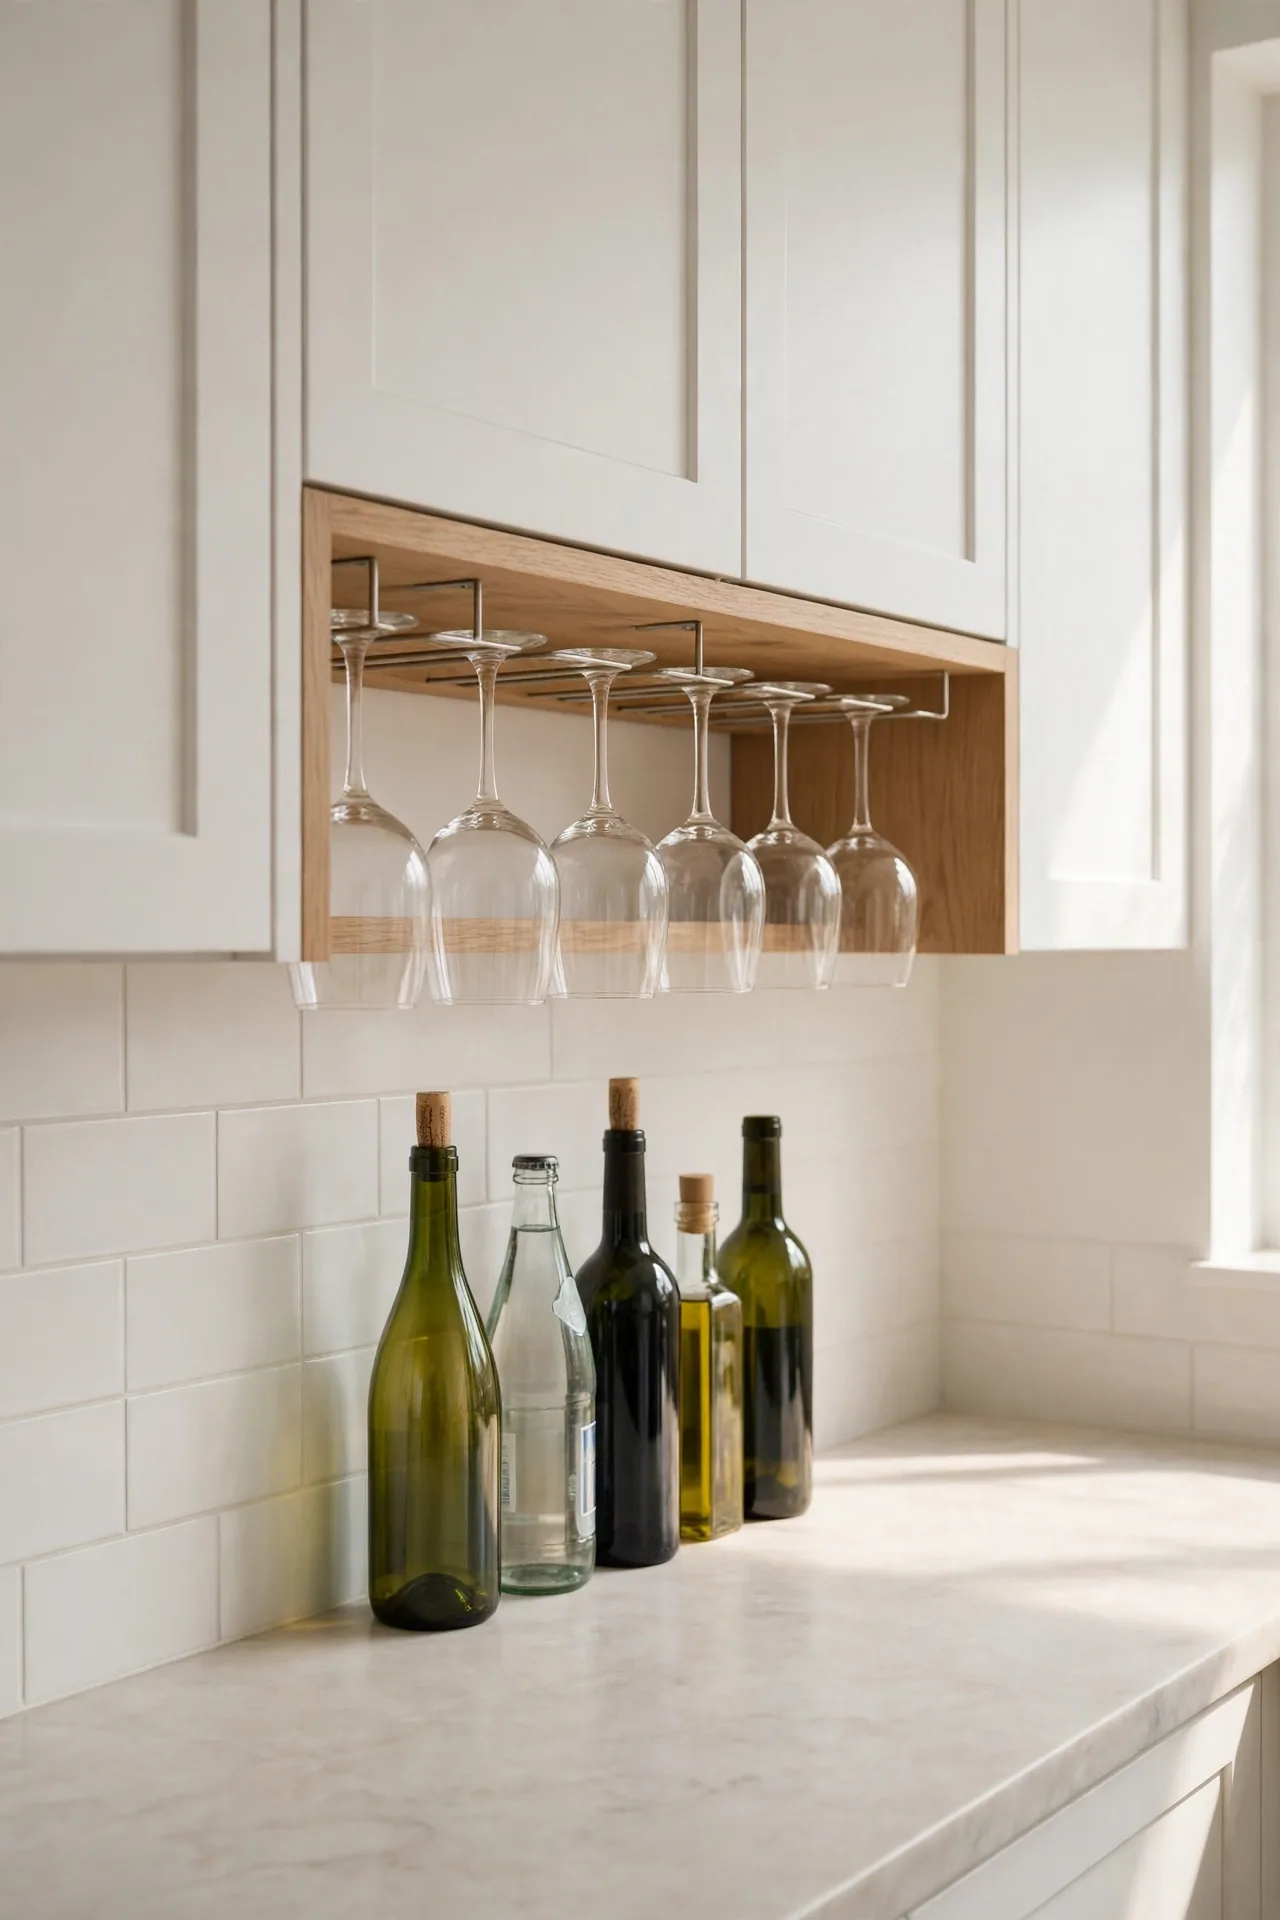
Cost: Under $40 for pine boards, hooks, and a stemware rack kit from any hardware store | Time: One afternoon from the first cut to fully styled and ready for guests | Skill Level: Beginner friendly, basic drilling and measuring only | Best For: Kitchen walls with open space beneath upper cabinets
The space under your cabinets is prime real estate for a hidden bar zone. Screw a slim shelf and a stemware rack beneath, and wine glasses hang ready while bottles line up above the counter. In my experience, this setup keeps the counter clear and turns dead air into the most-used corner of the kitchen for good.
Brass Rail Accent
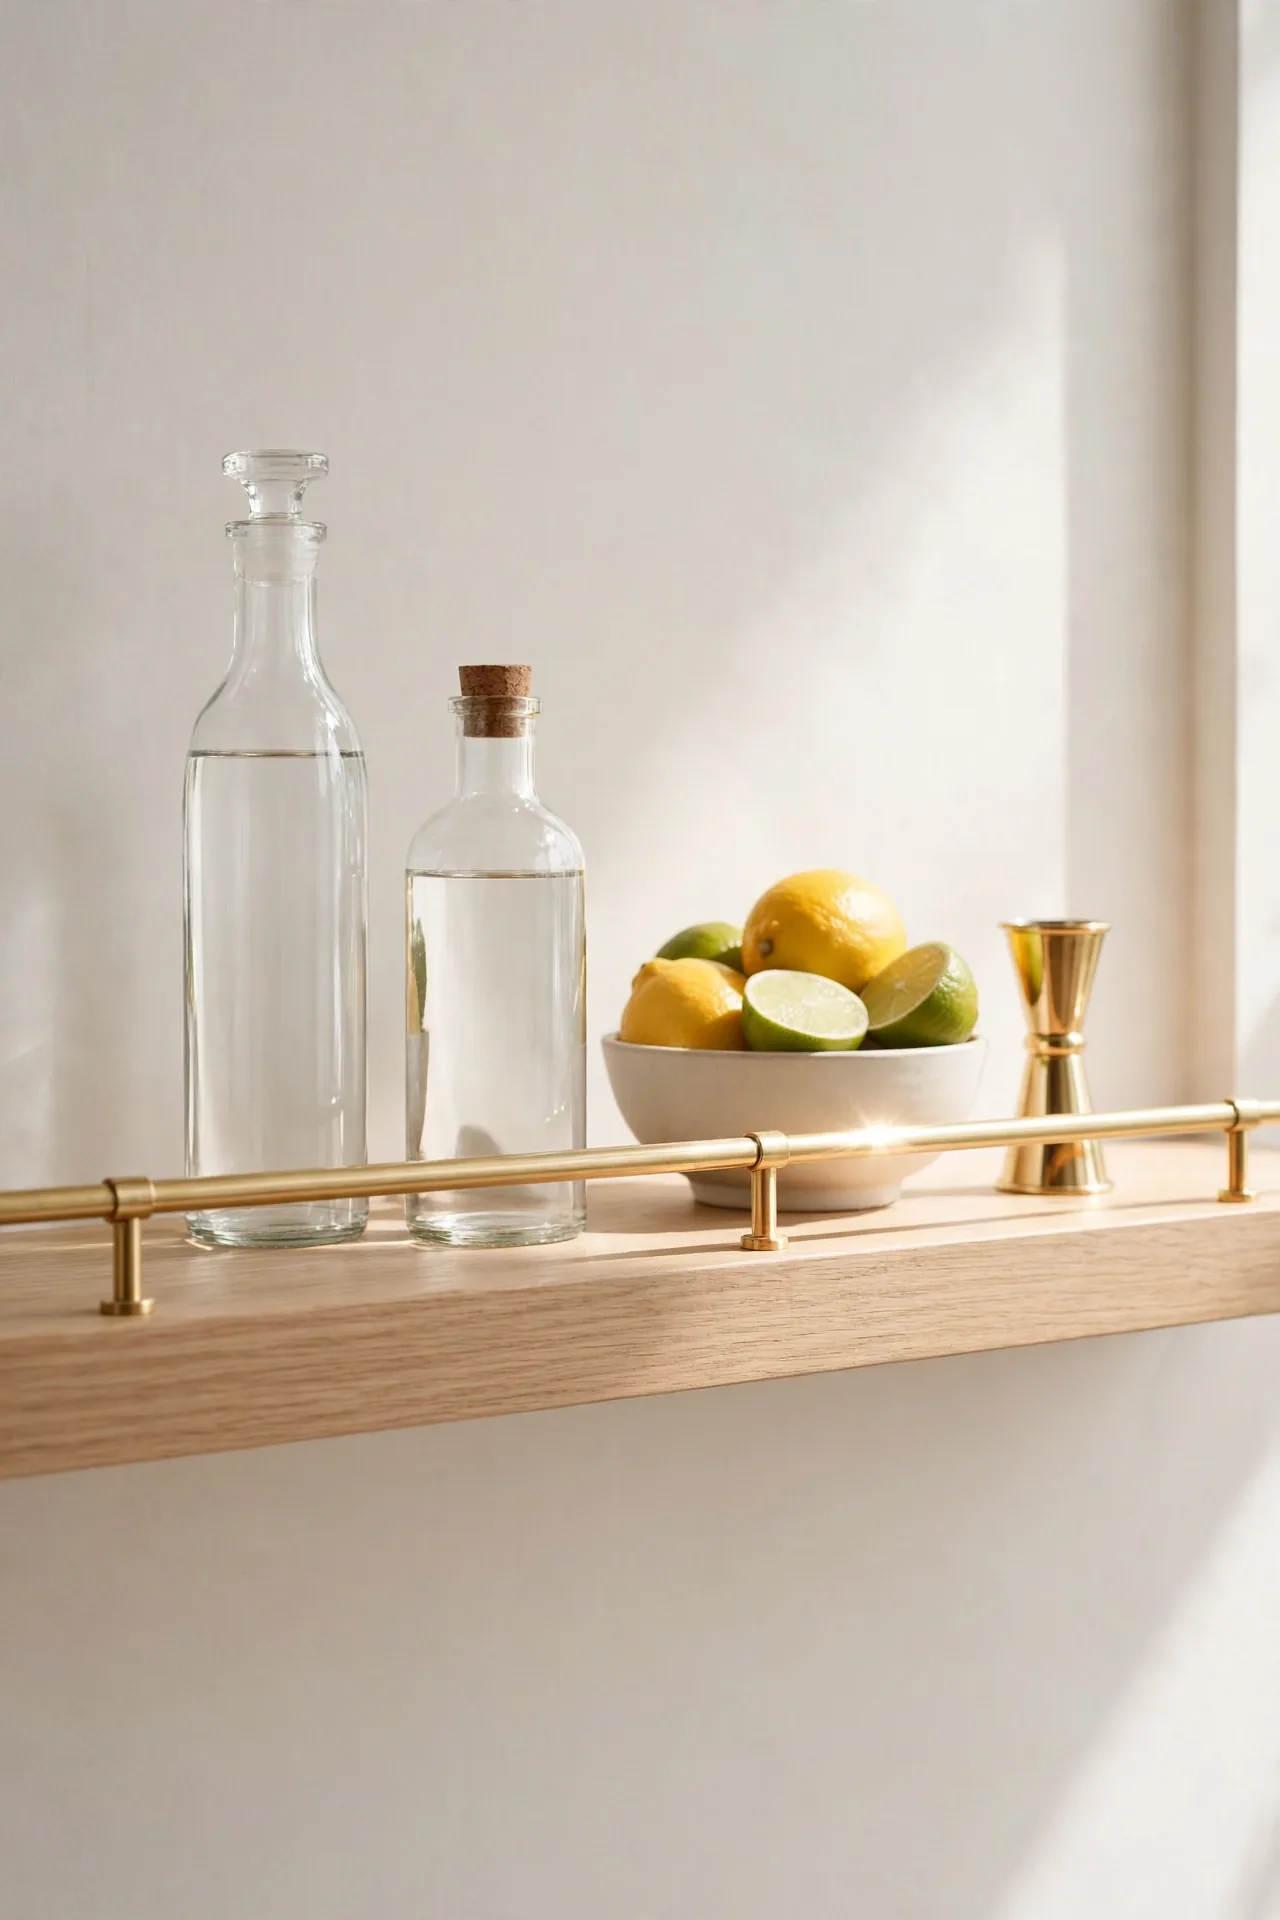
A slim brass rail turns a basic shelf into a bar that looks straight out of a boutique hotel. Mount the rail on short standoffs across the front of any wooden shelf, about 3 inches above the surface. The gold tone catches the light and makes even budget bottles look intentional and chic.
Pair the rail with a pale oak or whitewashed shelf for maximum contrast. I’ve noticed brass ages beautifully, developing a soft patina that adds character over time. Keep a small bowl of citrus and a brass jigger on the shelf to complete the hotel-bar look. Wipe it with a dry cloth weekly to keep the shine.
Painted Arch Backdrop
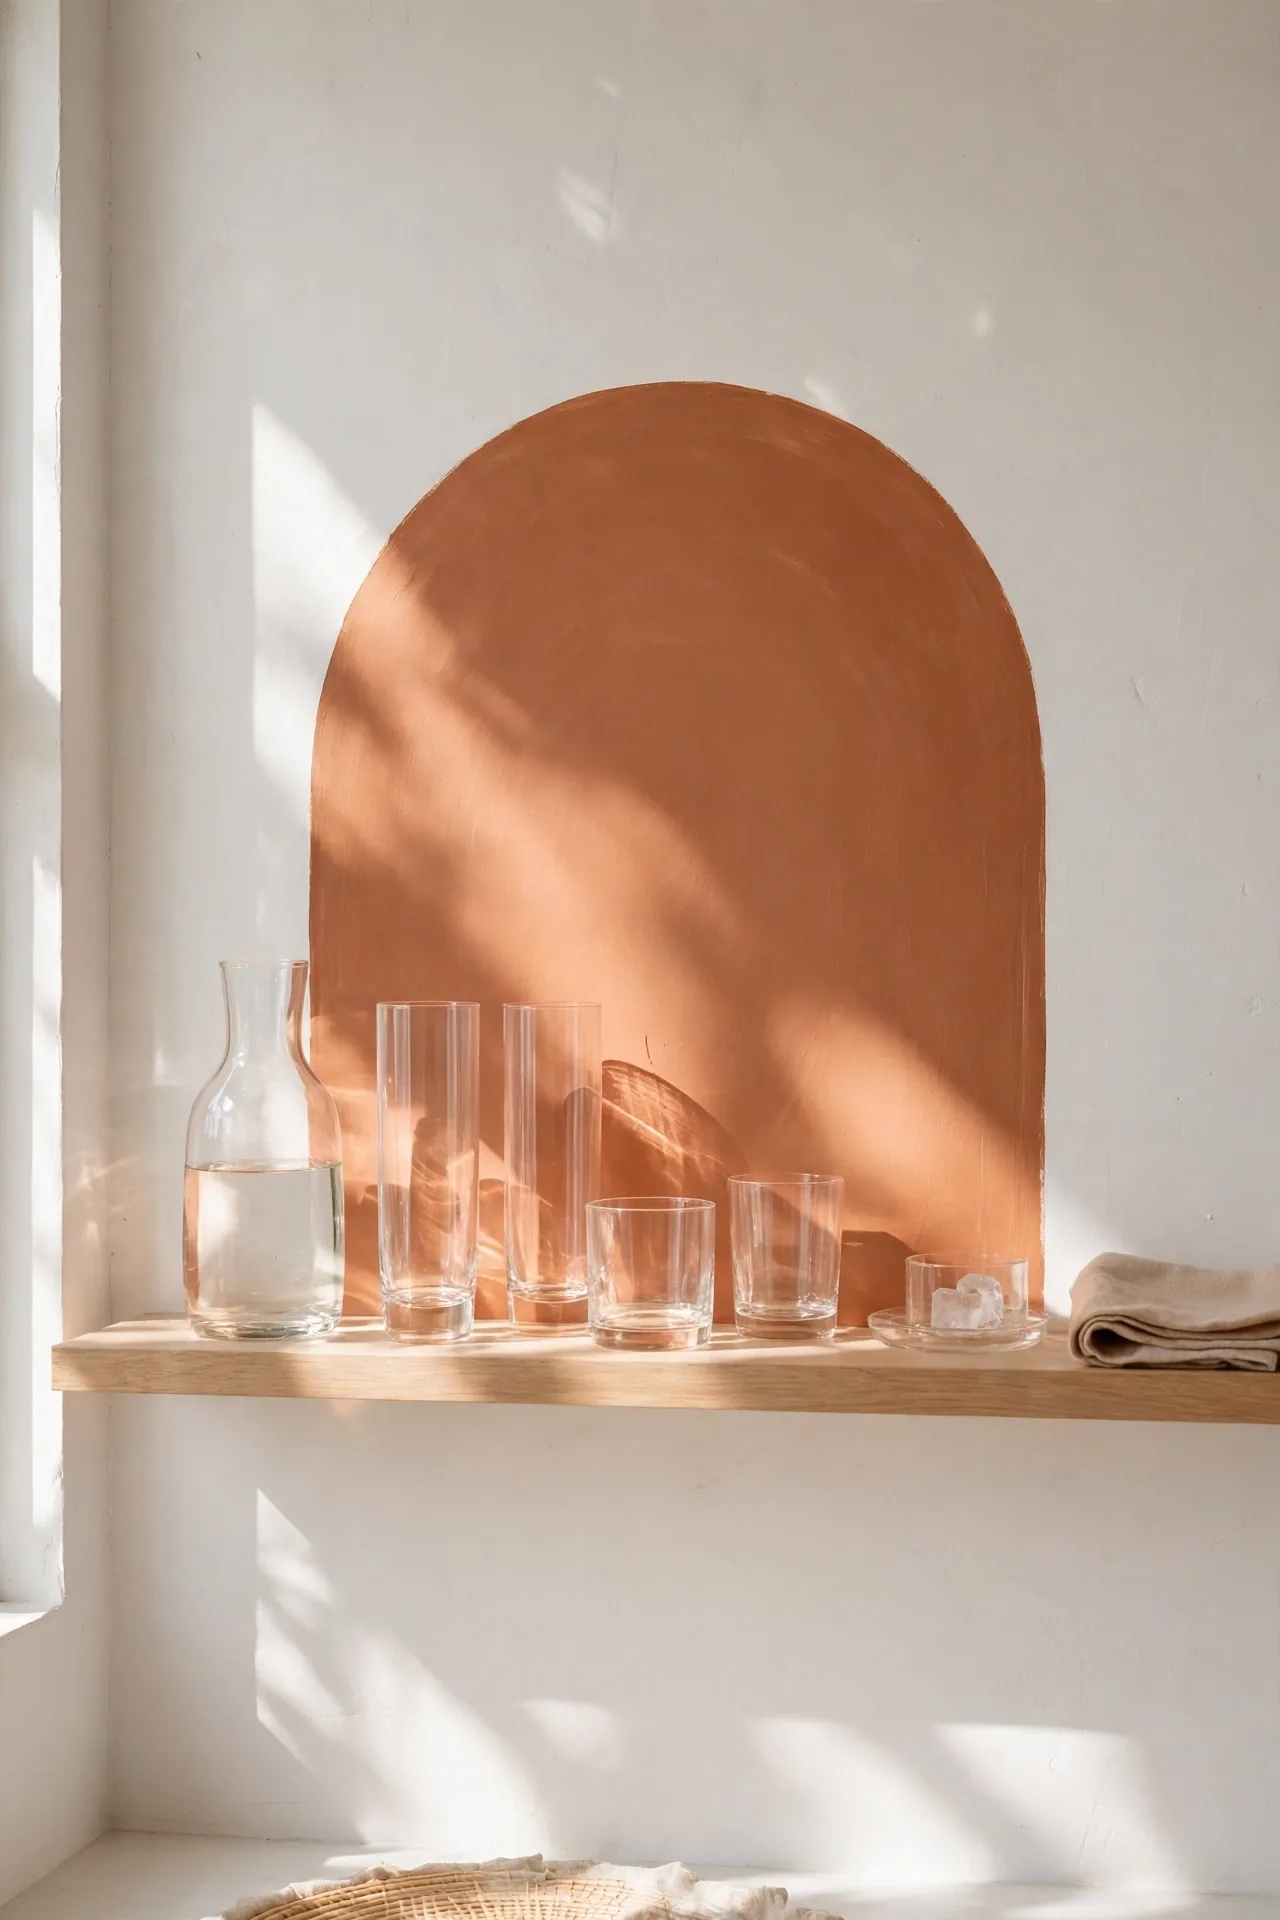
- Paint a wide arch on the wall behind your shelf in a warm clay or olive tone.
- Center a simple wood shelf across the middle of the arch for a framed look.
- Let the paint edge stay crisp with painter’s tape for a graphic finish.
- Style with clear glassware so the painted color glows through the bottles.
- Extend the arch to the floor if you want a full bar-zone statement.
A painted arch gives a plain shelf the look of a custom bar nook for the cost of a sample pot. It photographs beautifully, which matters if you share your home online. Keep the shelf itself simple, since the painted shape already does the visual heavy lifting.
Reclaimed Door Plank
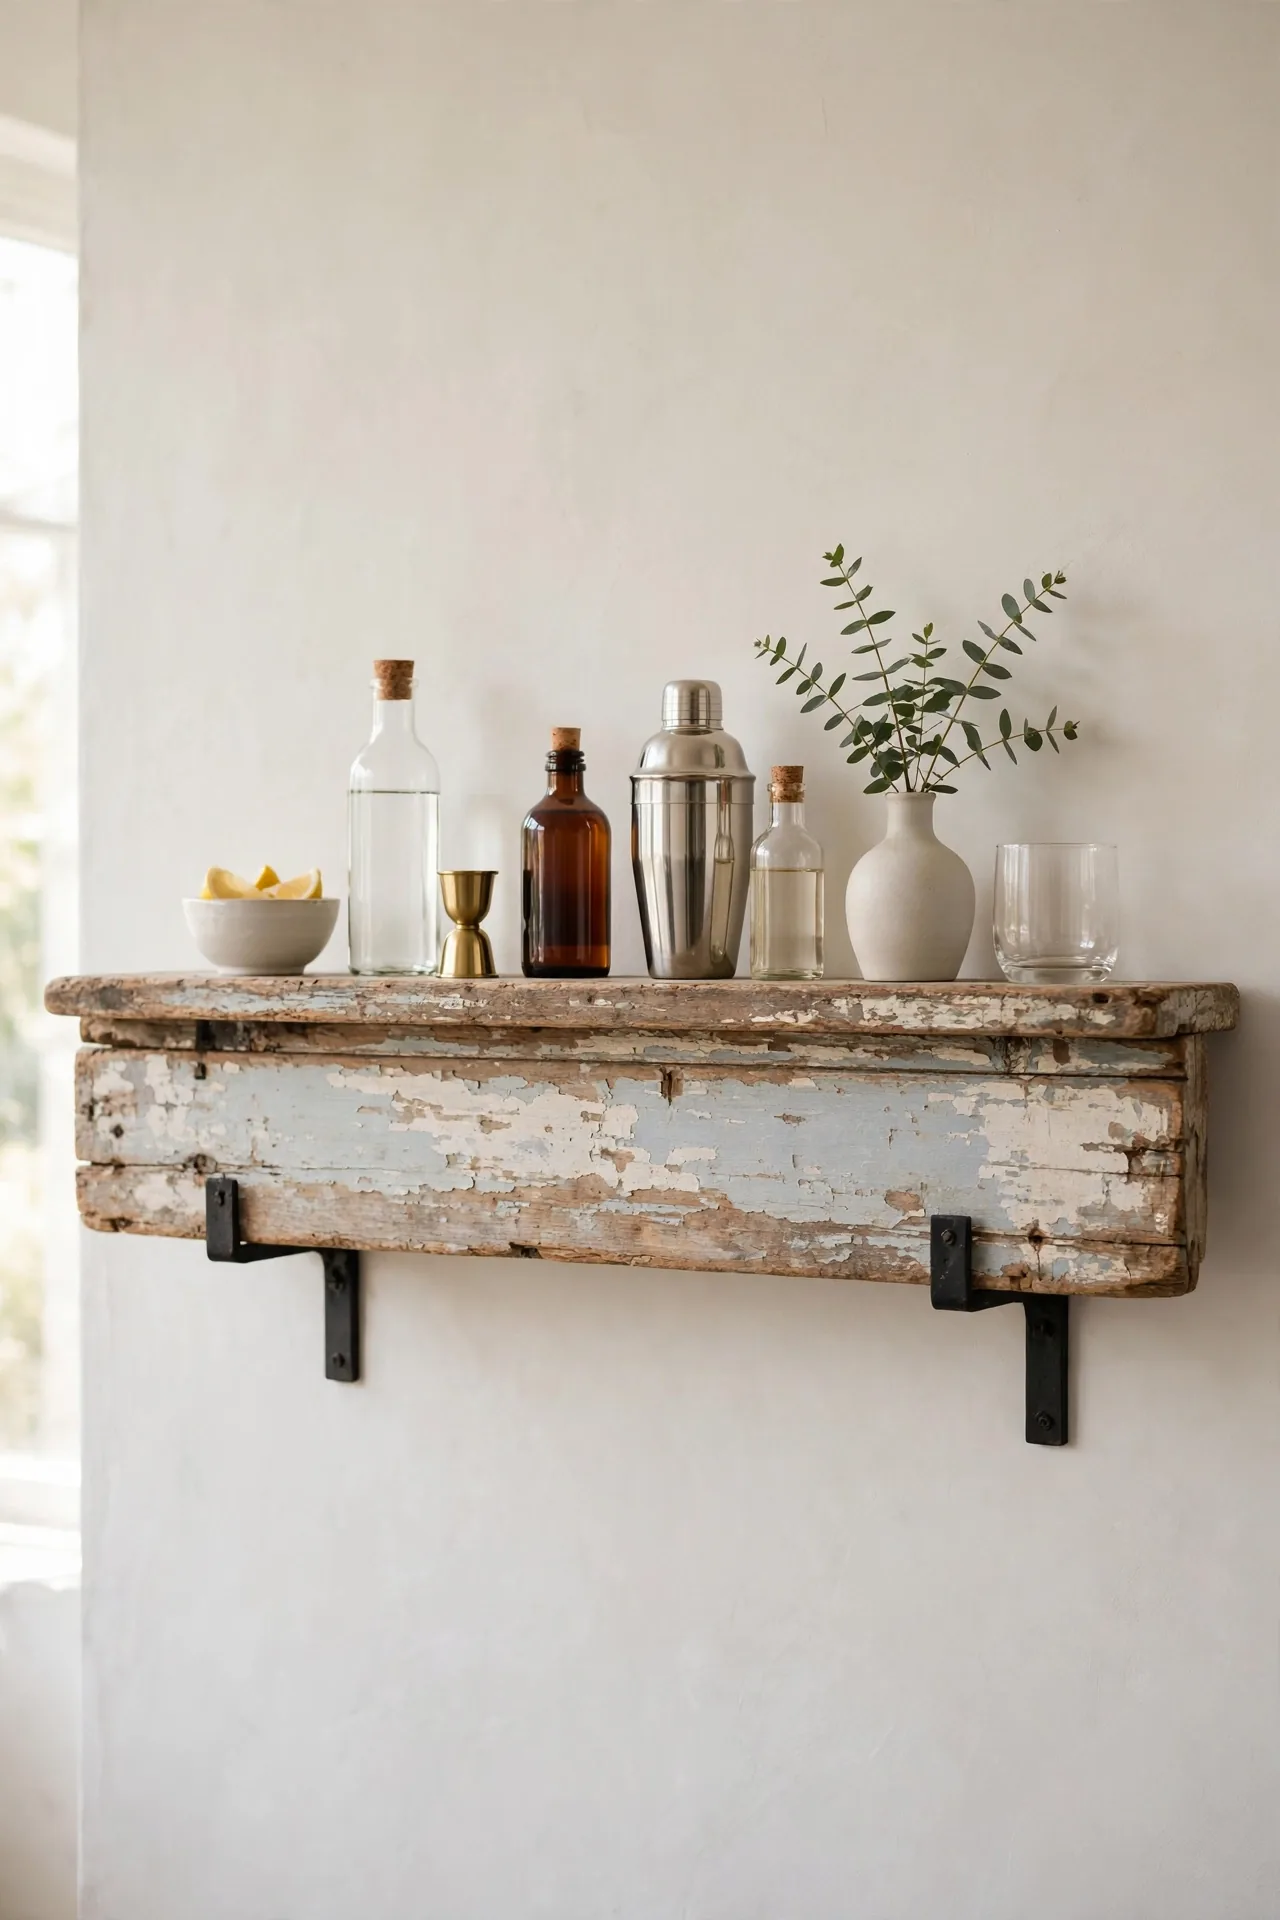
Quick Tip: Sand old paint down to bare wood in patches for a perfectly imperfect finish. Check the plank with a level before drilling, since reclaimed wood warps slightly over time. Seal with matte polyurethane so spills wipe up without staining the grain. Measure twice and mark bracket holes with painter’s tape to avoid splitting the aged wood.
A plank from an old door carries history that new wood cannot match, from worn edges to faded paint ghosts. Mount it on black iron brackets for contrast that suits the aged surface. That’s why many experts recommend testing brackets on the plank’s thickest section first for the strongest hold.
Industrial Pipe Frame
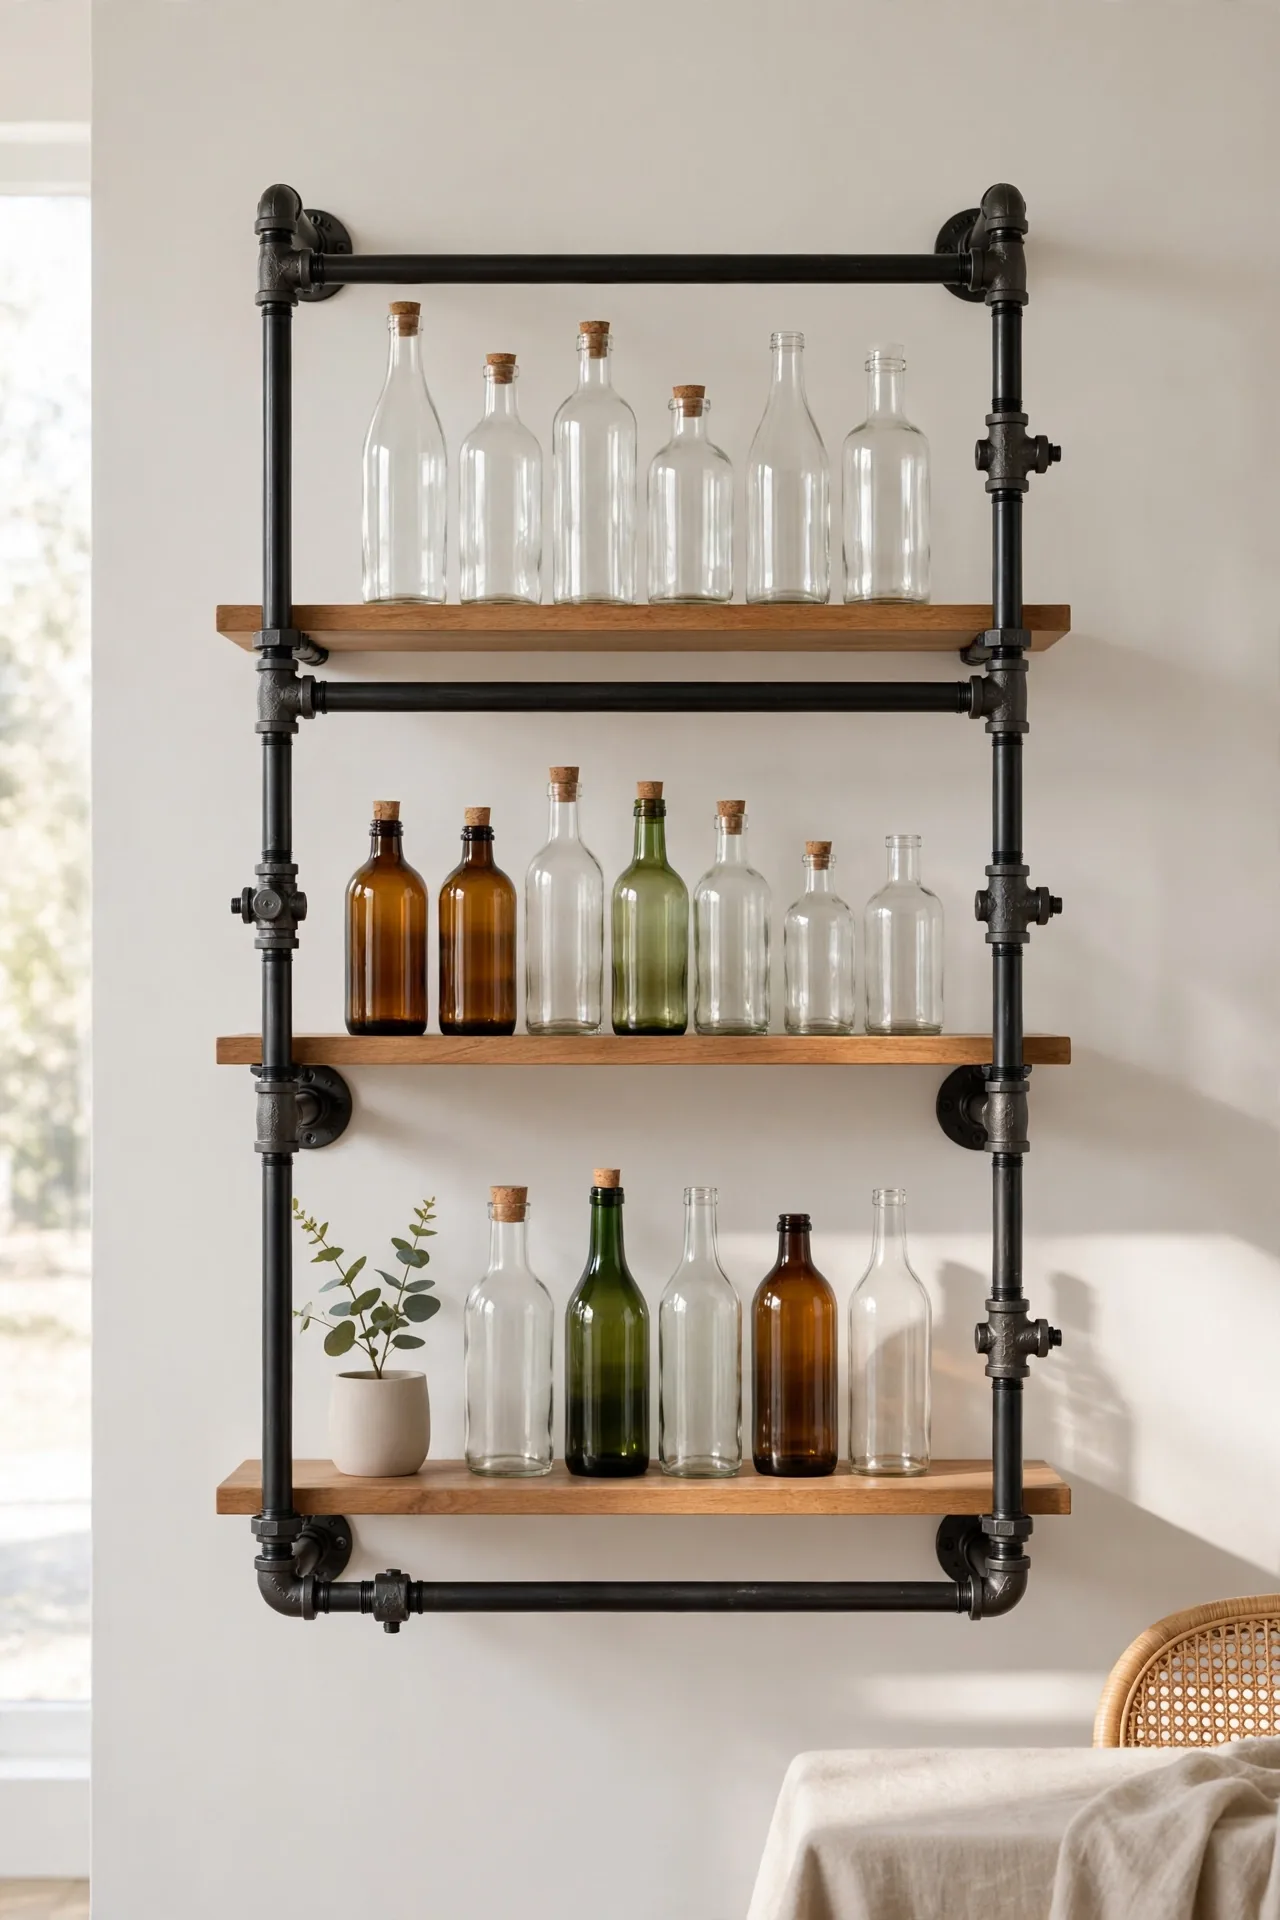
BEFORE: A blank dining room wall held nothing but a crooked picture frame and a layer of dust. The corner felt unfinished and every gathering crowded bottles onto the dining table.
AFTER: Black steel pipes now frame three sturdy wood shelves on that same wall. Bottles line up like a proper bar and the table stays clear for food and guests.
Pipe frames look complicated but assemble like adult building blocks with threaded fittings. Tighten every joint with a wrench and the frame holds serious weight safely. I’ve seen this work well in many cases where renters wanted industrial style without drilling dozens of holes.
Glass Shelf Glow
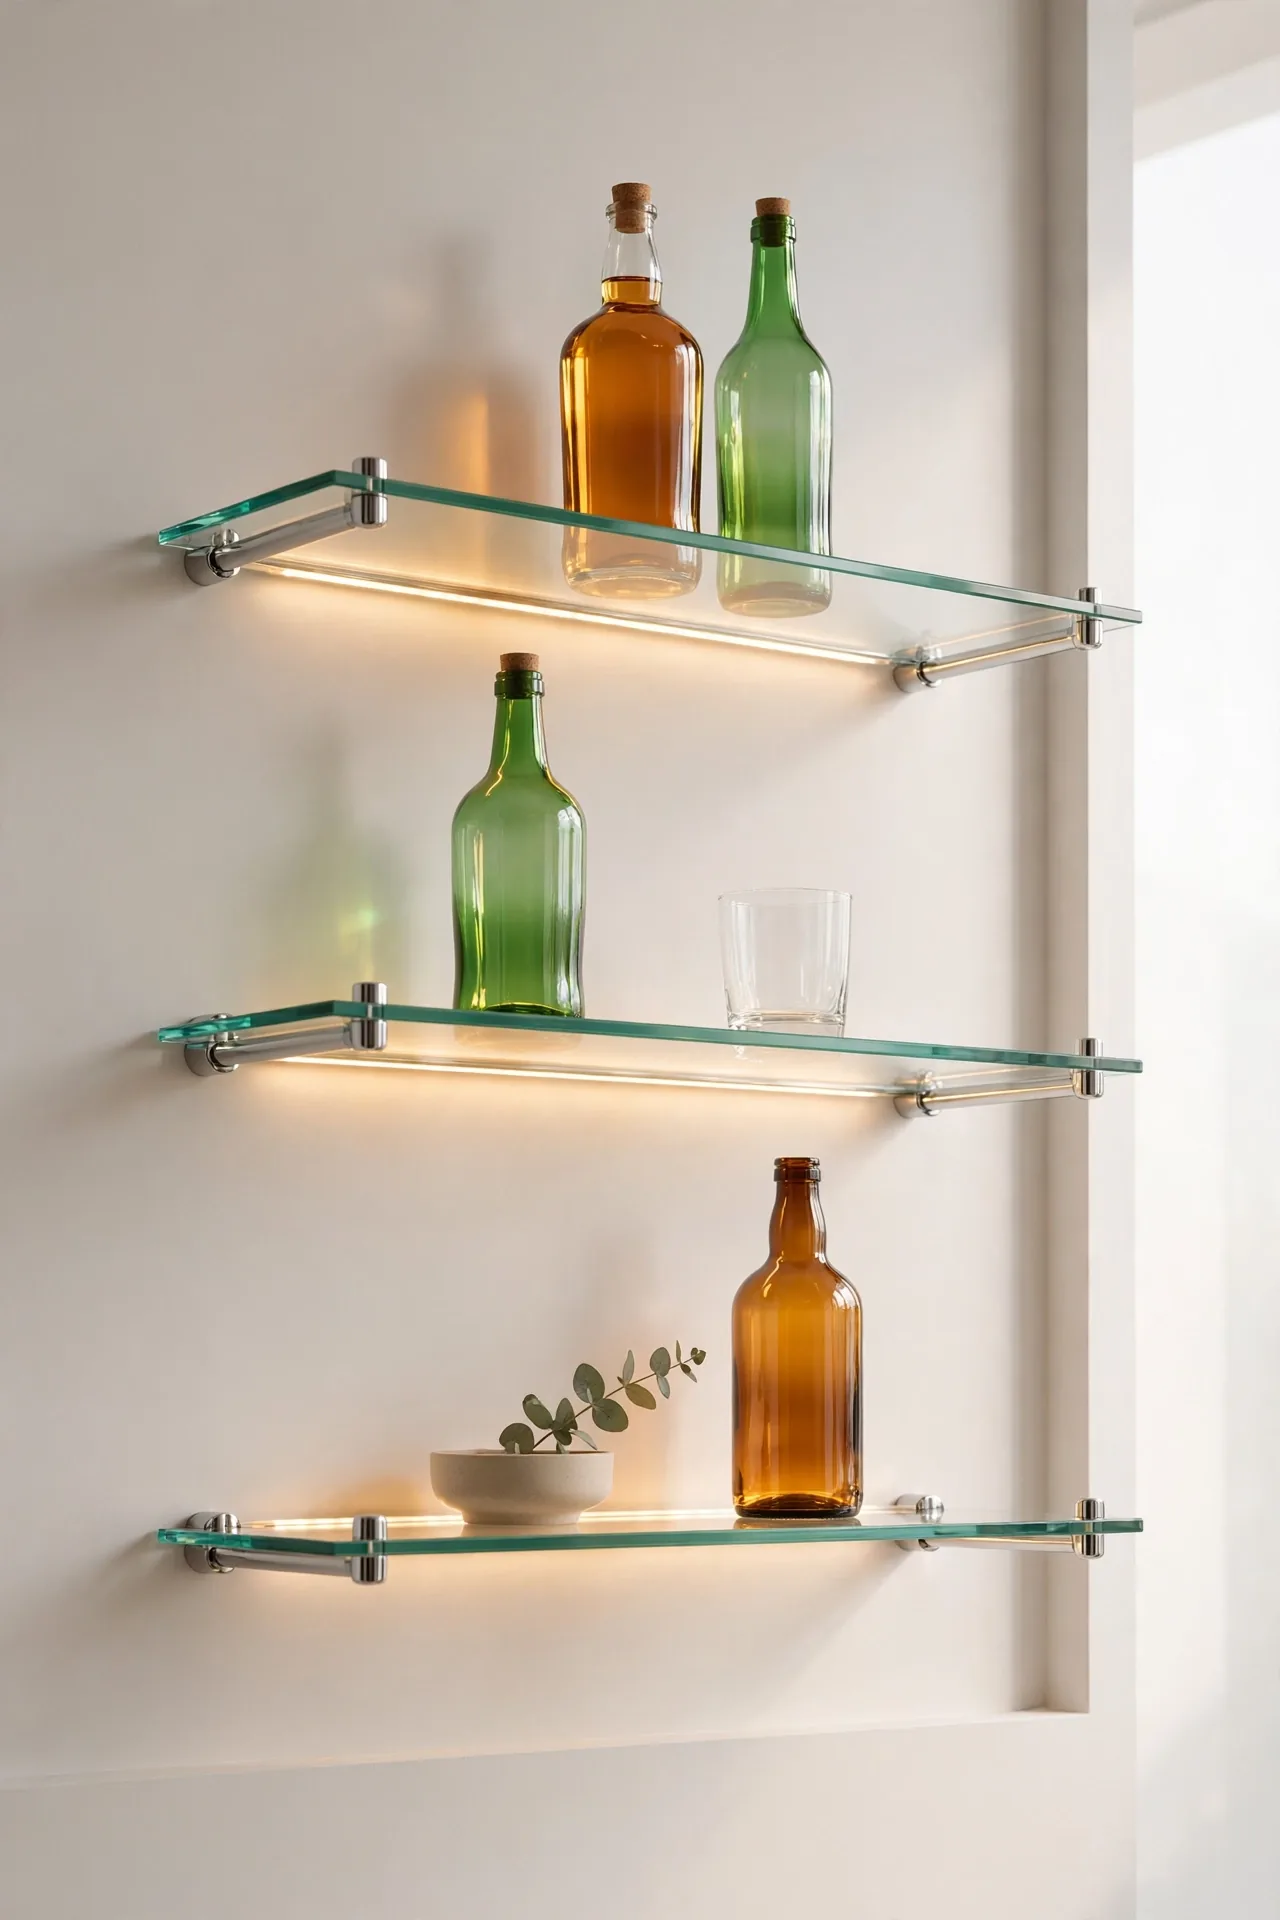
- Cut tempered glass shelves to size or order them cut at a local glass shop.
- Mount chrome standoff brackets deep into wall studs for a clean floating effect.
- Stick LED strip lights along the underside of each glass shelf.
- Style with clear and colored glass bottles that catch and scatter the light.
Backlit glass shelves turn an ordinary bottle collection into a glowing display after dark. The light shines through amber and green glass for a jewel-box effect. Keep the wiring hidden with a cable channel painted to match the wall, and put the strip on a timer so it glows every evening without fail.
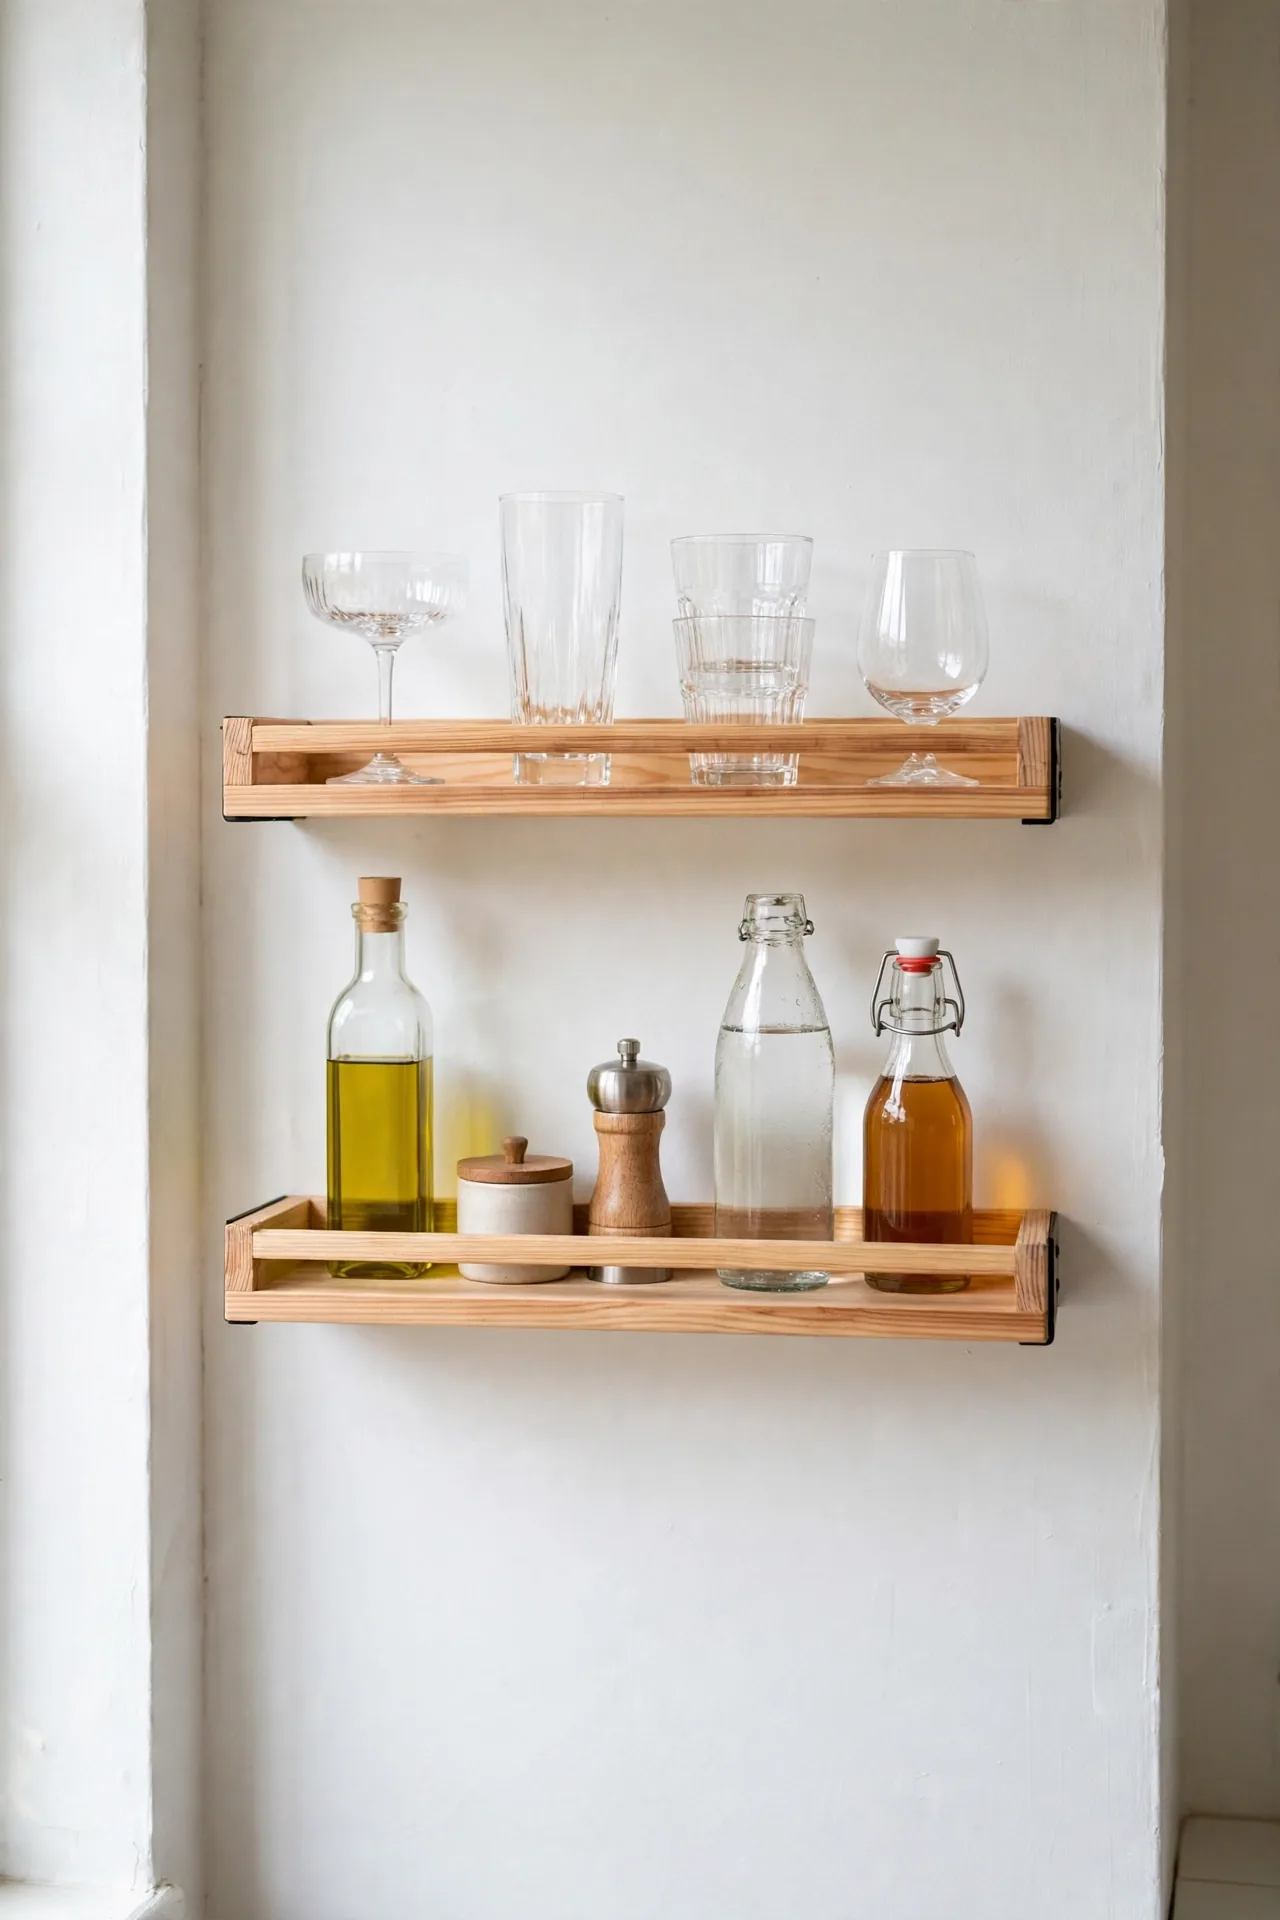
Two Tier Tray
| Feature | Wall Tray Shelf | Tabletop Tiered Tray |
|---|---|---|
| Cost | Around $25 in pine and stain | Around $20 using thrifted trays |
| Space | Uses zero counter space | Needs a clear table corner |
| Capacity | Holds 8 to 10 bottles | Holds 6 to 8 bottles |
| Best for | Narrow walls and rentals | Existing sideboards and consoles |
Two tiers double your display space without doubling the footprint. Place everyday bottles on the lower tier and pretty glassware up top where it catches the eye. A small raised lip on each tier stops everything sliding when someone bumps the wall. Paint or stain both tiers to match for one unified look.
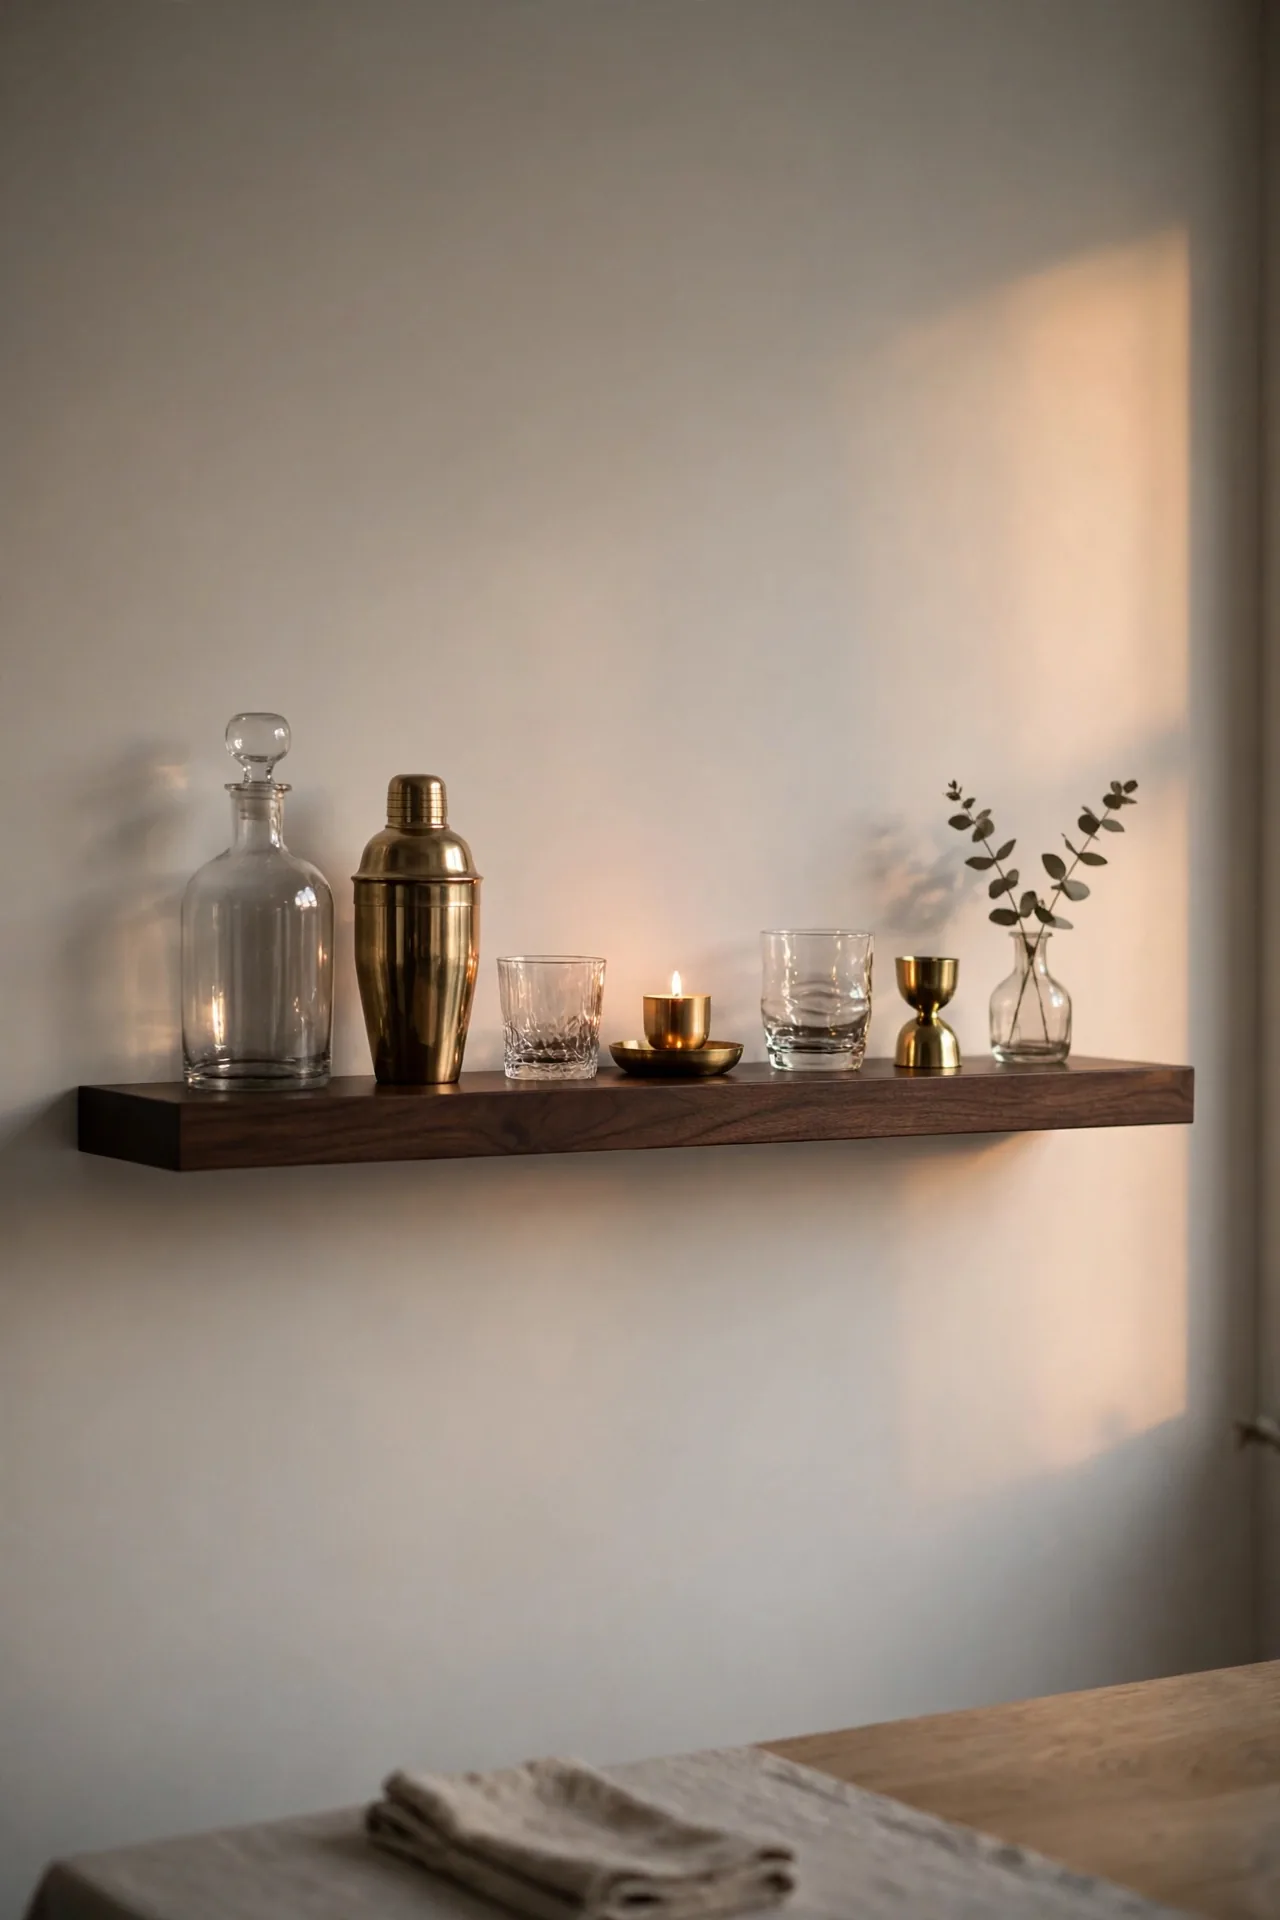
Dark Stained Timber
DO:
- Choose espresso or walnut stain to add depth against light walls.
- Sand between coats for a smooth professional finish.
- Style with brass and glass accents that pop on dark wood.
DON’T:
- Skip the wood conditioner, since dark stain blotches on raw pine.
- Place dark shelves in an already dark corner without lighting.
- Overload the shelf; dark wood looks best with breathing room.
Dark stained timber brings a moody, speakeasy feel that light wood cannot touch. It grounds a pale wall and makes labels easier to read from across the room. I’ve noticed this style suits dining rooms best, where evening light makes the stain glow.
Wall Mounted Crates
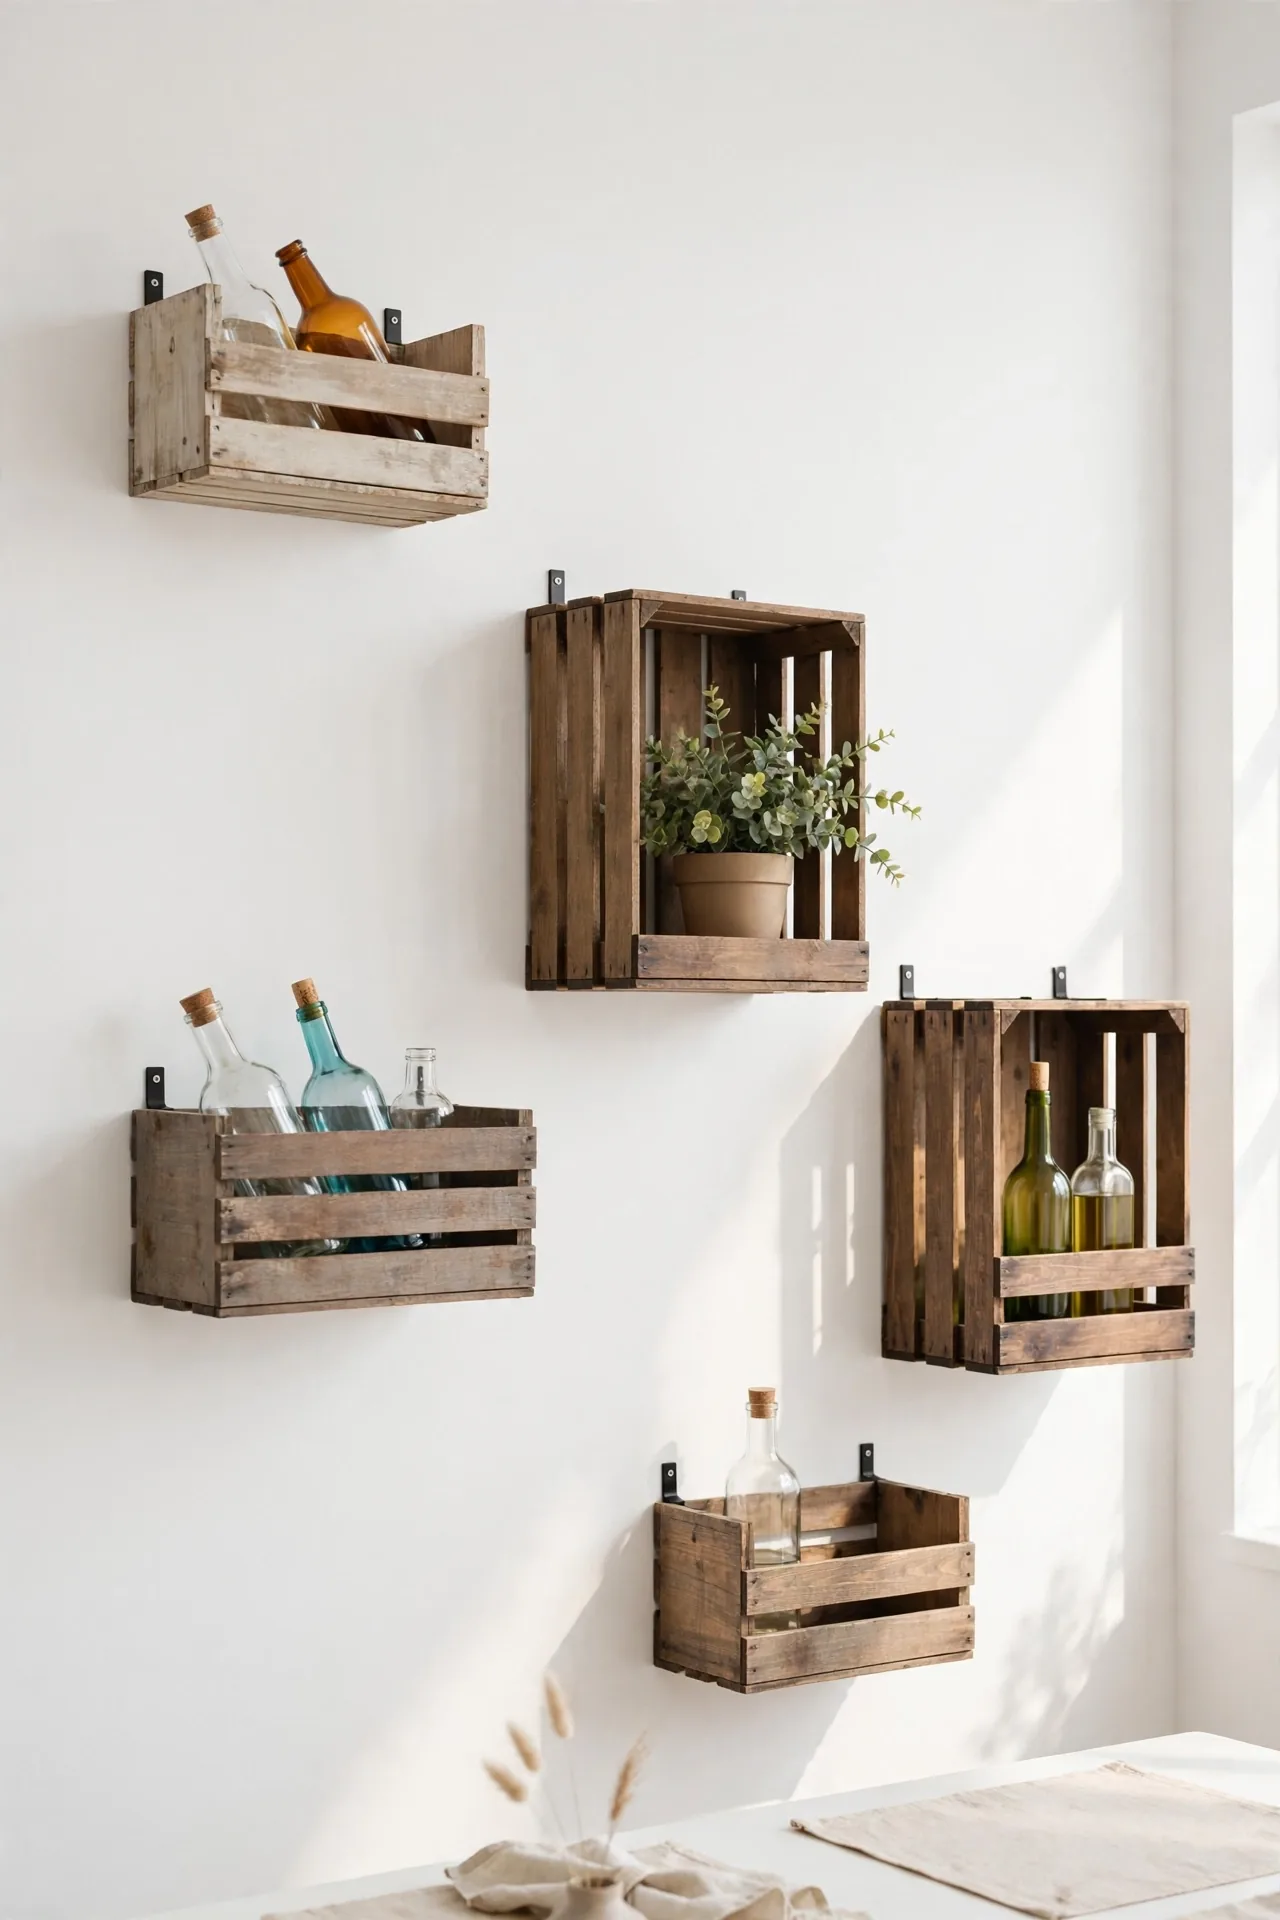
Cost: $15 to $30 per wooden crate from flea markets, thrift stores, and salvage shops | Time: Two hours to sand, stain, seal, and mount three crates on one wall | Skill Level: Beginner friendly, one drill and a basic stud finder suffice | Works In: Dining rooms, kitchens, covered patios, and home offices alike
Individual crates mounted at playful heights turn storage into wall art. Vary the depths and stains for a collected-over-time look that feels personal. Anchor each crate with two screws into studs, since a crate of bottles gets heavy fast. Leave one crate empty for a small plant or framed print, for a lived-in feel.
Marble Slab Elegance
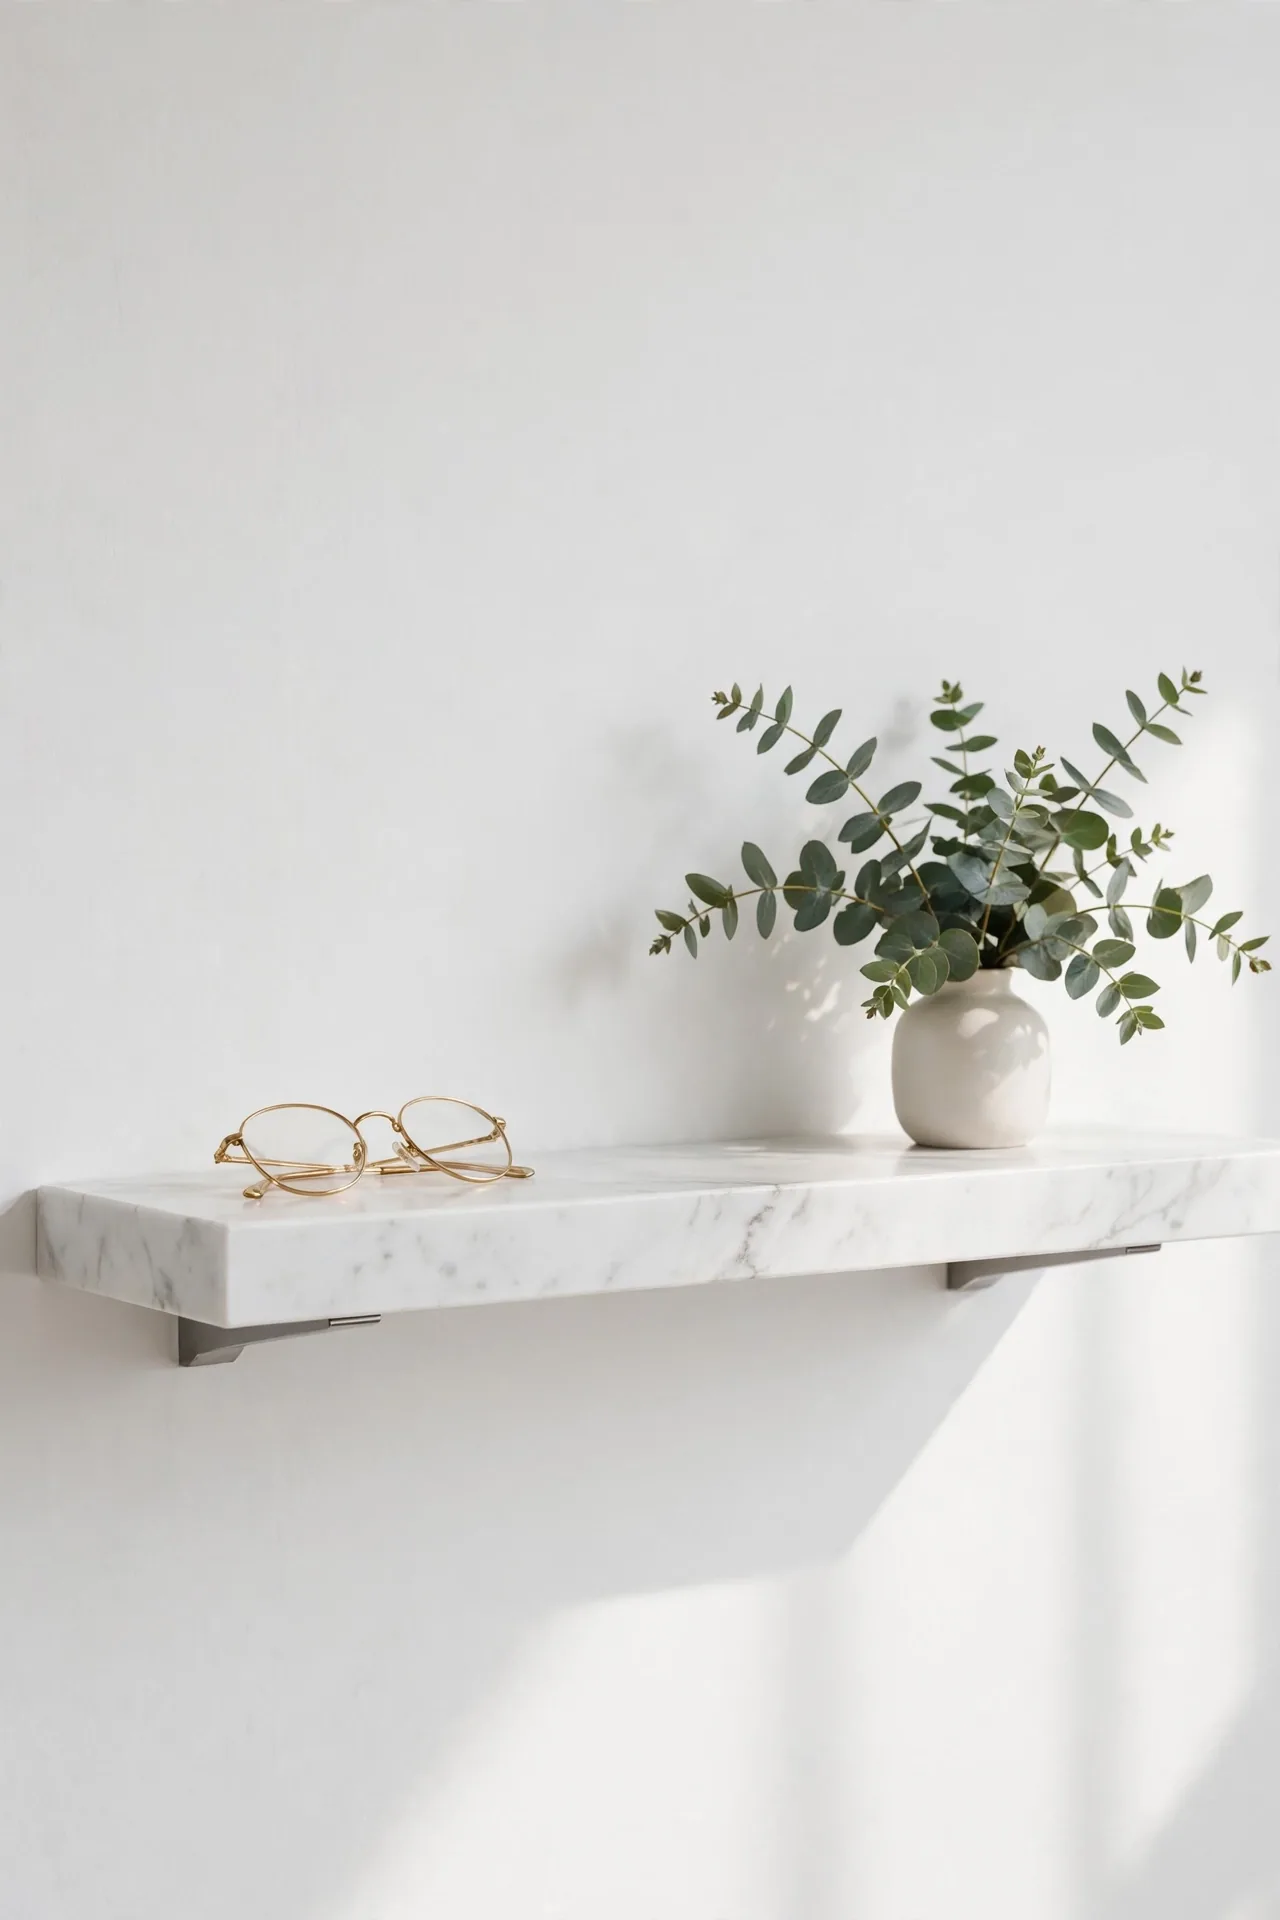
A marble slab shelf brings instant luxury that makes the whole bar corner feel expensive. Use a remnant piece from a stone yard to keep costs low, and mount it on hidden steel brackets. The cool stone surface also keeps white wine bottles chilled longer on warm evenings. Seal it twice a year with stone sealer to protect against ring marks and citrus splashes.
Style marble with gold-rimmed glasses and a small vase of eucalyptus for a soft contrast. Wipe spills quickly since marble stains, and use coasters under every bottle. In my experience, a honed finish hides fingerprints better than polished and suits busy households.
Rope Hanging Shelves
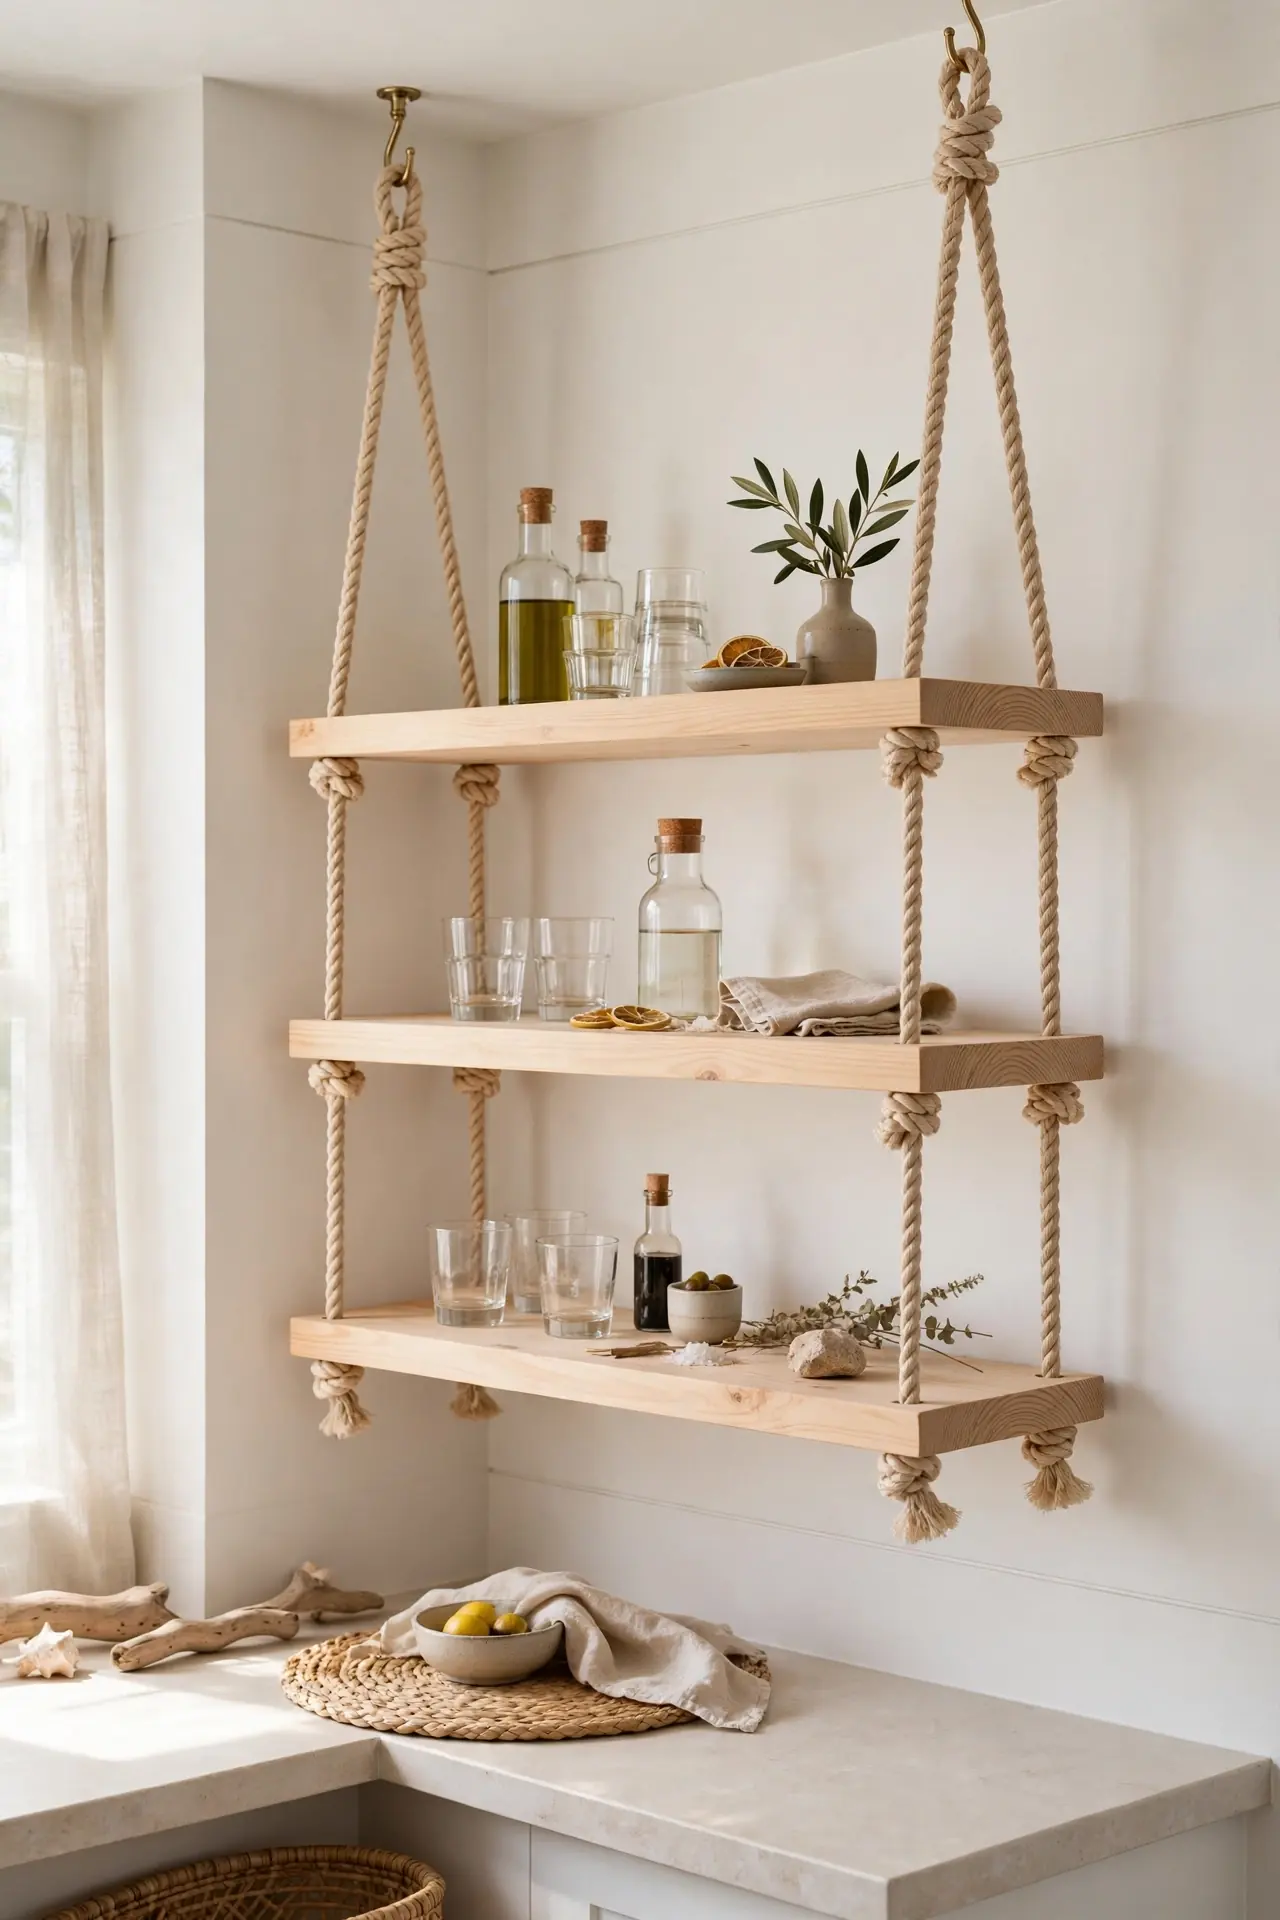
- Drill four corner holes in each board and thread thick cotton rope through them.
- Knot the rope beneath each board to set your shelf heights precisely.
- Hang the ropes from ceiling hooks or a single sturdy wall bracket.
- Use boards at least 1 inch thick so they never bow under bottle weight.
- Burn the rope ends lightly to stop fraying and keep them tidy.
Rope shelves sway gently and bring a relaxed coastal feel to any bar corner. They suit plant-filled rooms and casual spaces best. Keep heavier bottles on the lowest board near the knots for stability, and check the rope yearly for wear.
Mini Home Tavern
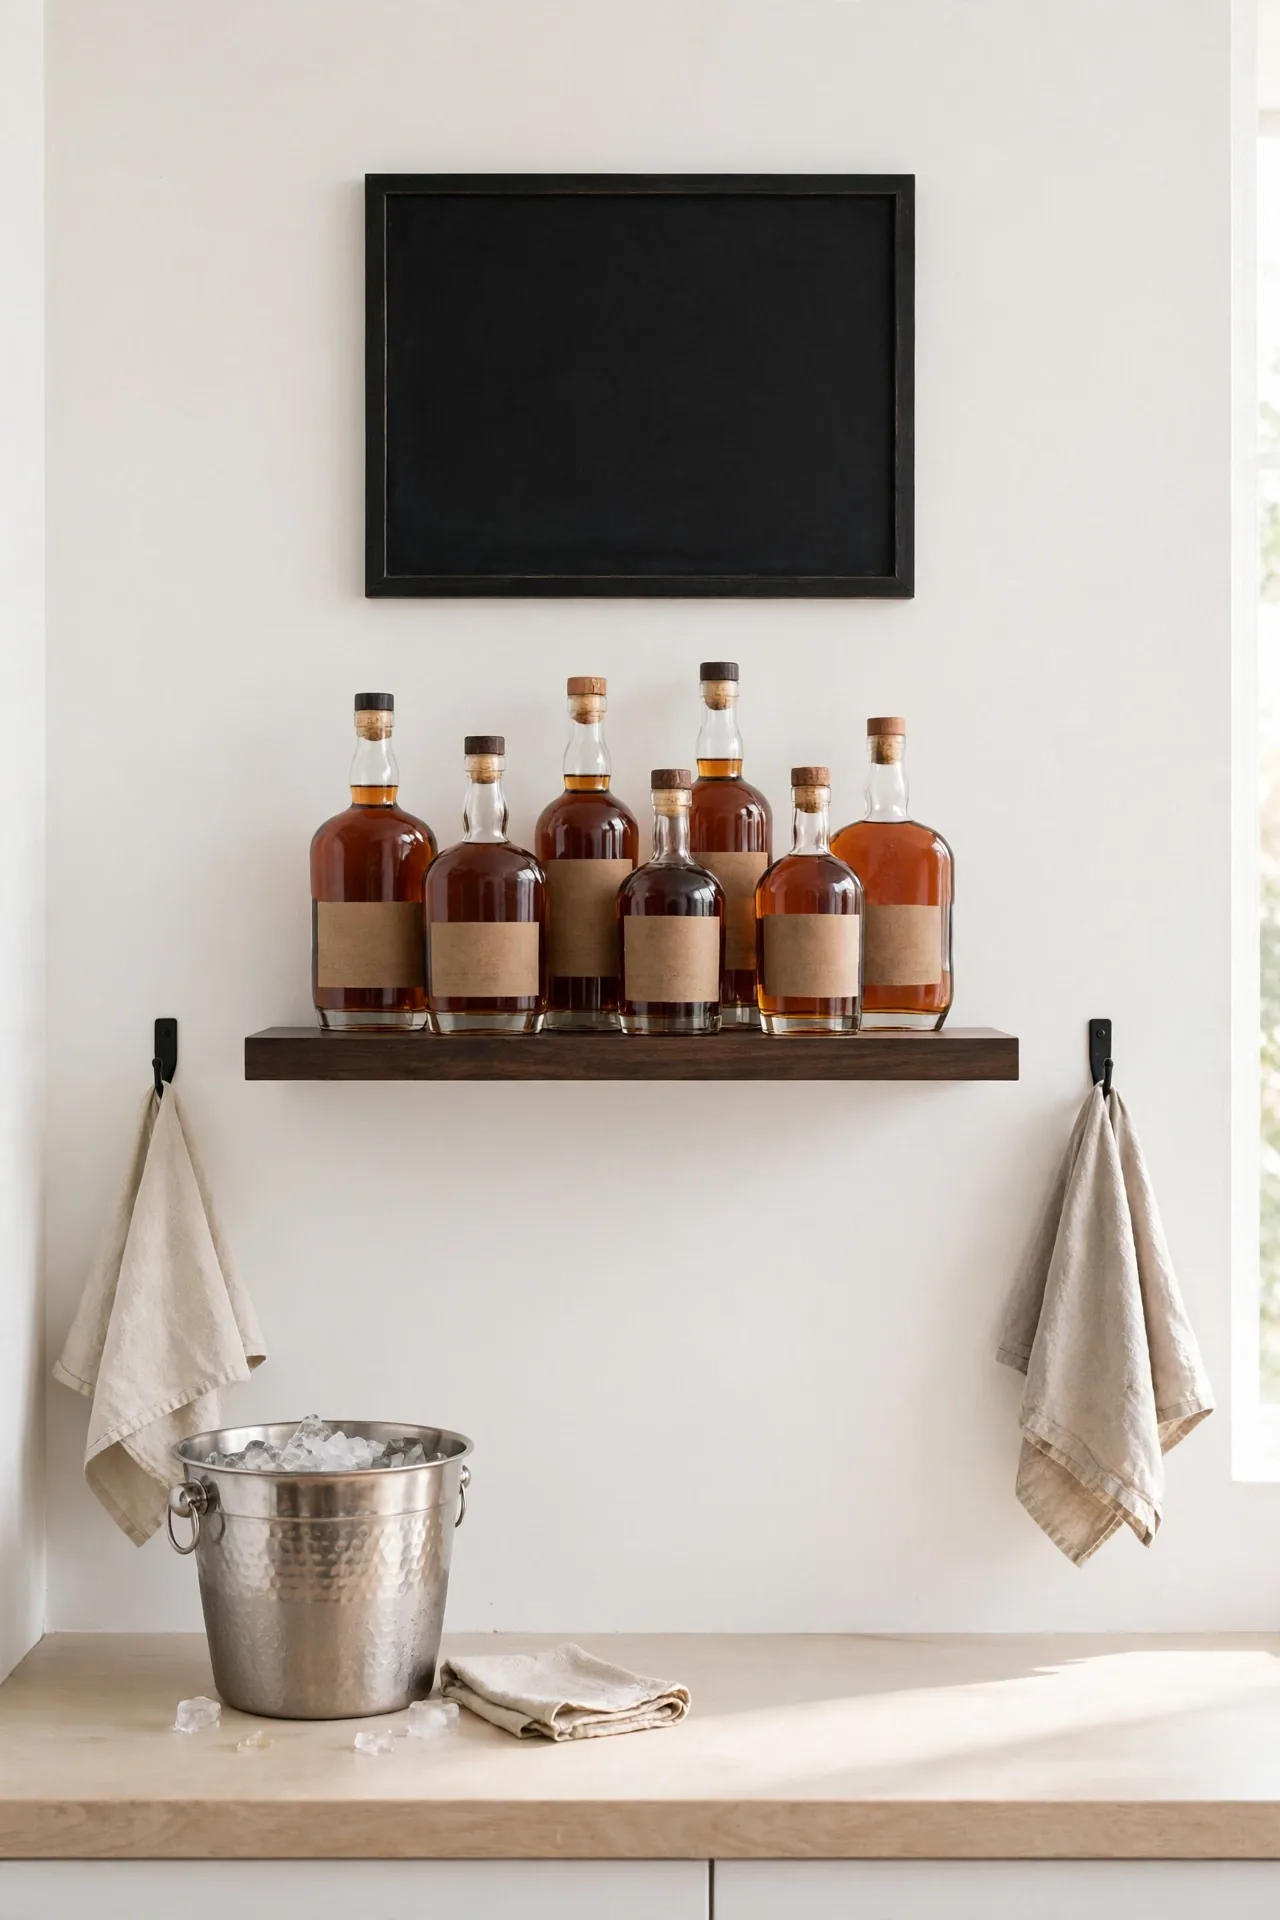
Quick Tip: Dedicate one shelf to a single spirit, like bourbon or gin, for a true tavern feel. Add a chalkboard label above it with your house drink name. Keep a small ice bucket and tongs on the counter below so everything pours in one spot. Hang two small hooks beside the shelf for bar towels and a bottle opener.
A tavern-style shelf turns Friday nights into an event without leaving home. If you also host weekend brunches, pair this setup with breakfast bar ideas for small kitchens for a full hosting station. I’ve tried combining both, and guests naturally drift between the two all evening.
Pegboard Bottle Wall
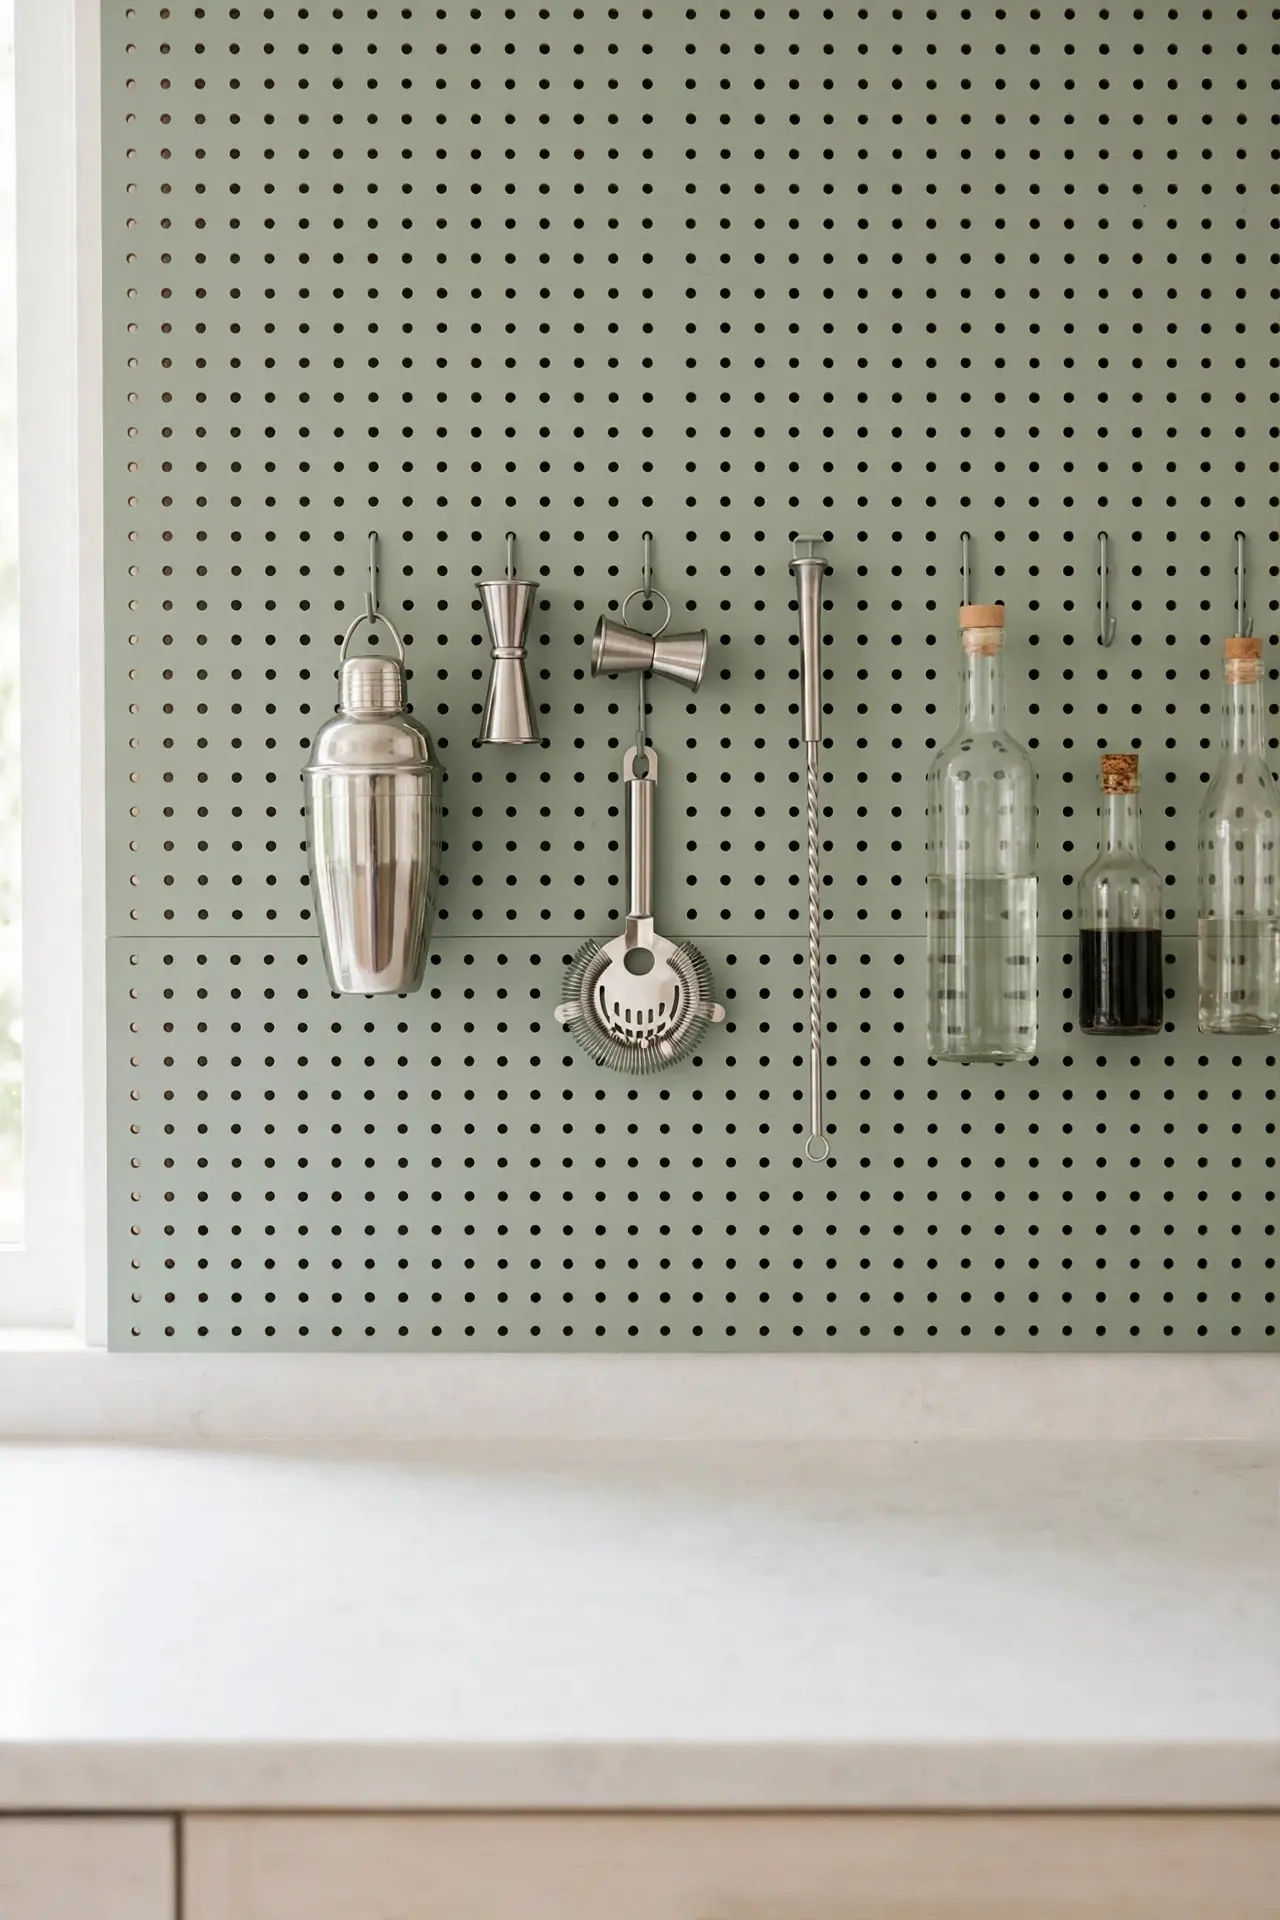
BEFORE: Bottles and tools crowded every inch of the countertop near the fridge. Nothing had a home and mixing a drink meant moving five things first.
AFTER: A painted pegboard now covers that wall with hooks holding bottles, shakers, and bar tools. The counter sits completely clear and every tool hangs within arm’s reach.
Pegboard is the most flexible bar storage you can build, since hooks move in seconds. Paint it a soft sage or warm white so it reads as decor, not workshop. That’s why many experts recommend standard 1 inch hole spacing; it fits every hook and shelf bracket sold in stores.
Rolling Bar Cart
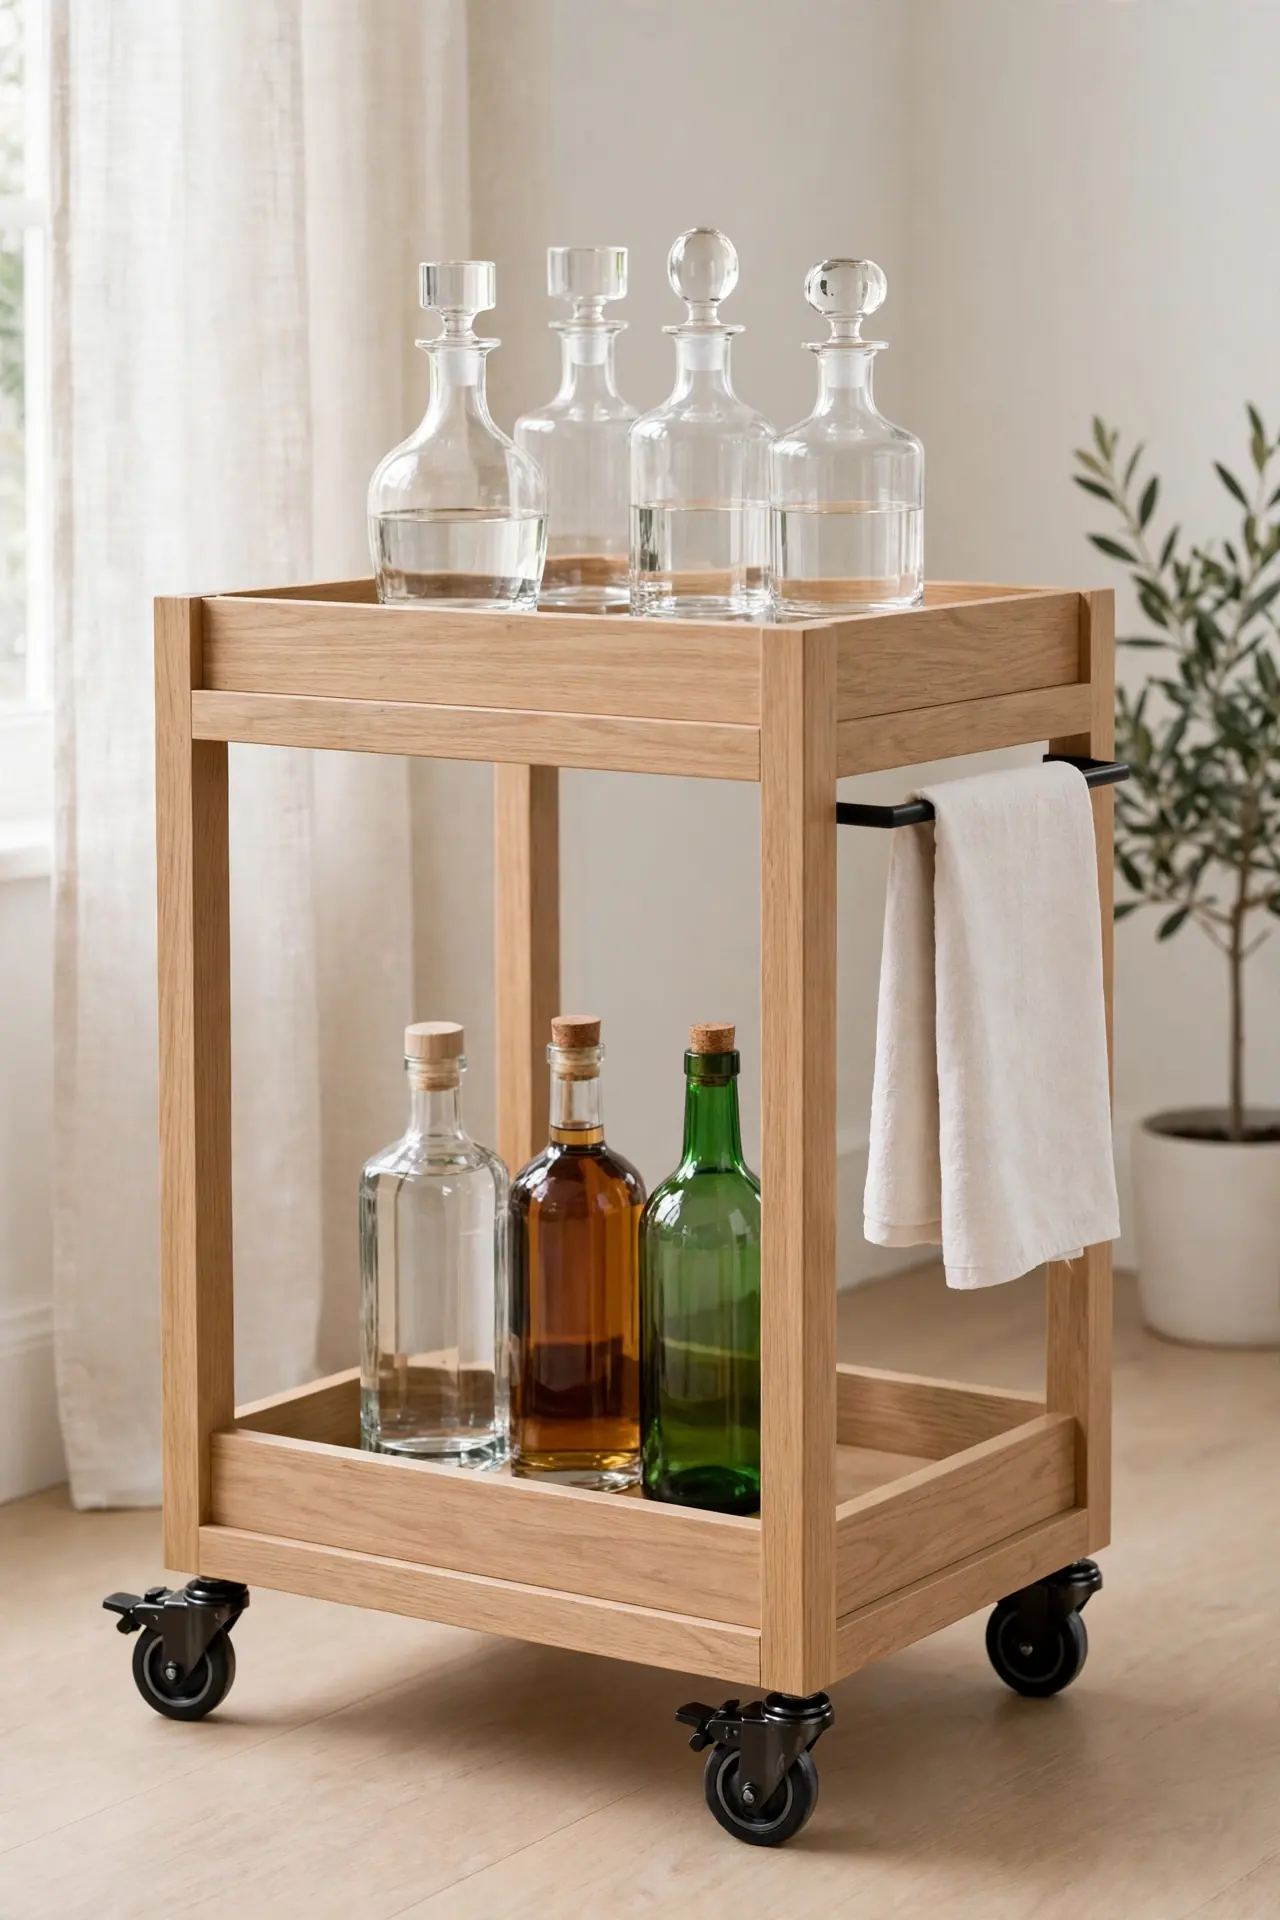
- Screw locking casters onto a sturdy wood base so the cart rolls and parks safely.
- Add two shelf boards with a raised lip to stop bottles rolling off.
- Mount a towel bar on one side for hanging bar tools and a small towel.
- Style the top with decanters and leave the lower shelf for backup bottles.
A rolling cart is a bar shelf with wheels, and it earns its keep at every party. Wheel it to the patio for summer drinks, then park it in the dining room for winter. Lock the casters before pouring, and keep the heaviest bottles low so it never tips.
Asymmetric Stagger
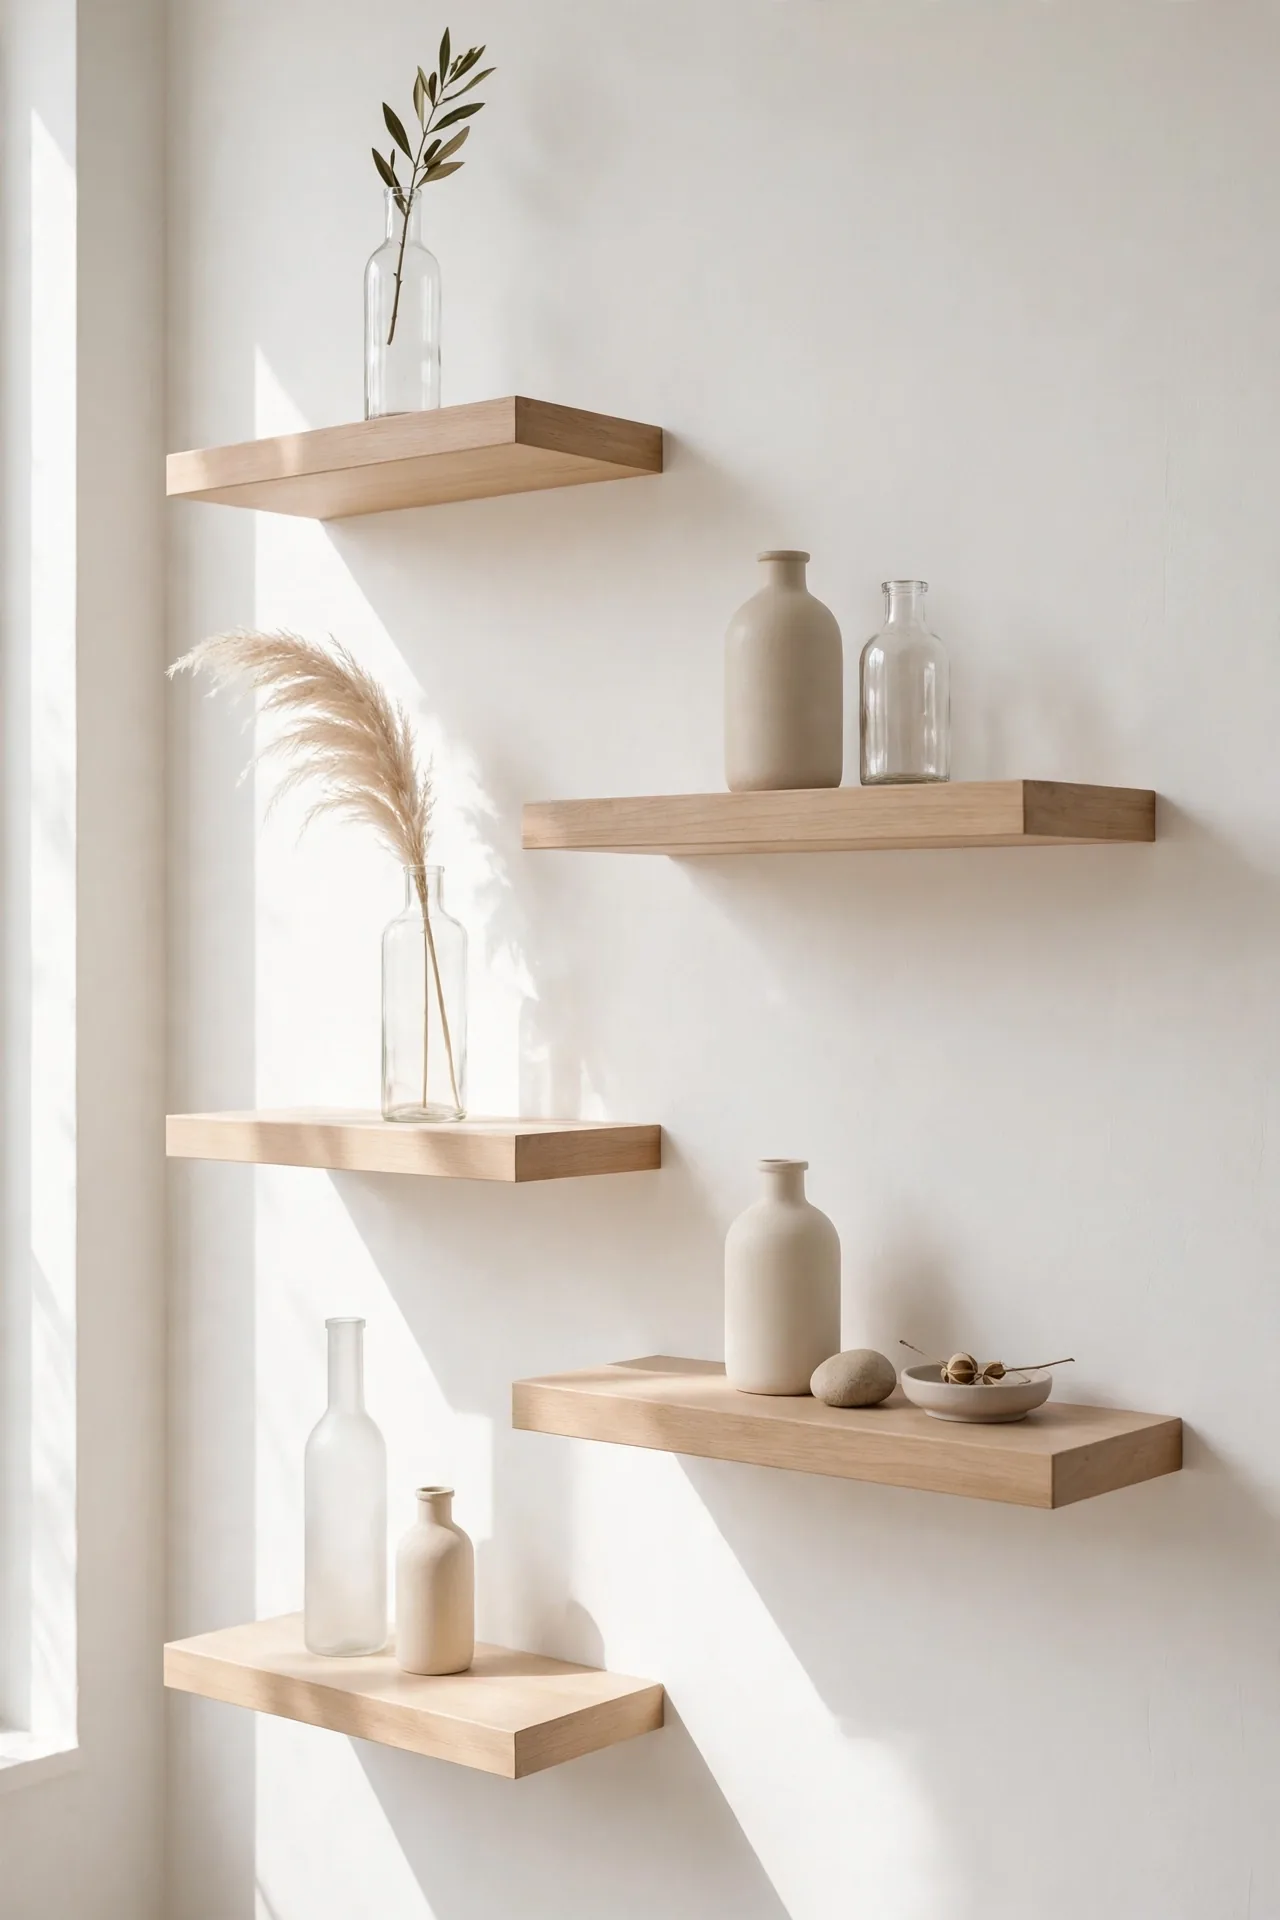
| Feature | Staggered Shelves | Even Shelves |
|---|---|---|
| Layout | Varied heights and offsets | Matching rows, same spacing |
| Look | Artistic and modern | Classic and tidy |
| Capacity | Mix tall and short pieces freely | Group matching sets together |
| Best for | Eclectic collectors | Minimalist decorators |
Staggered shelves break the rigid grid and make a wall feel designed rather than installed. Vary each shelf by 4 to 6 inches in height and offset them left and right. Step back often while mounting, since asymmetry only works when it looks intentional. Keep the color palette tight so the playful layout stays cohesive and calm. Start with the largest shelf at eye level, then build outward from there.
Gold Trim Luxury
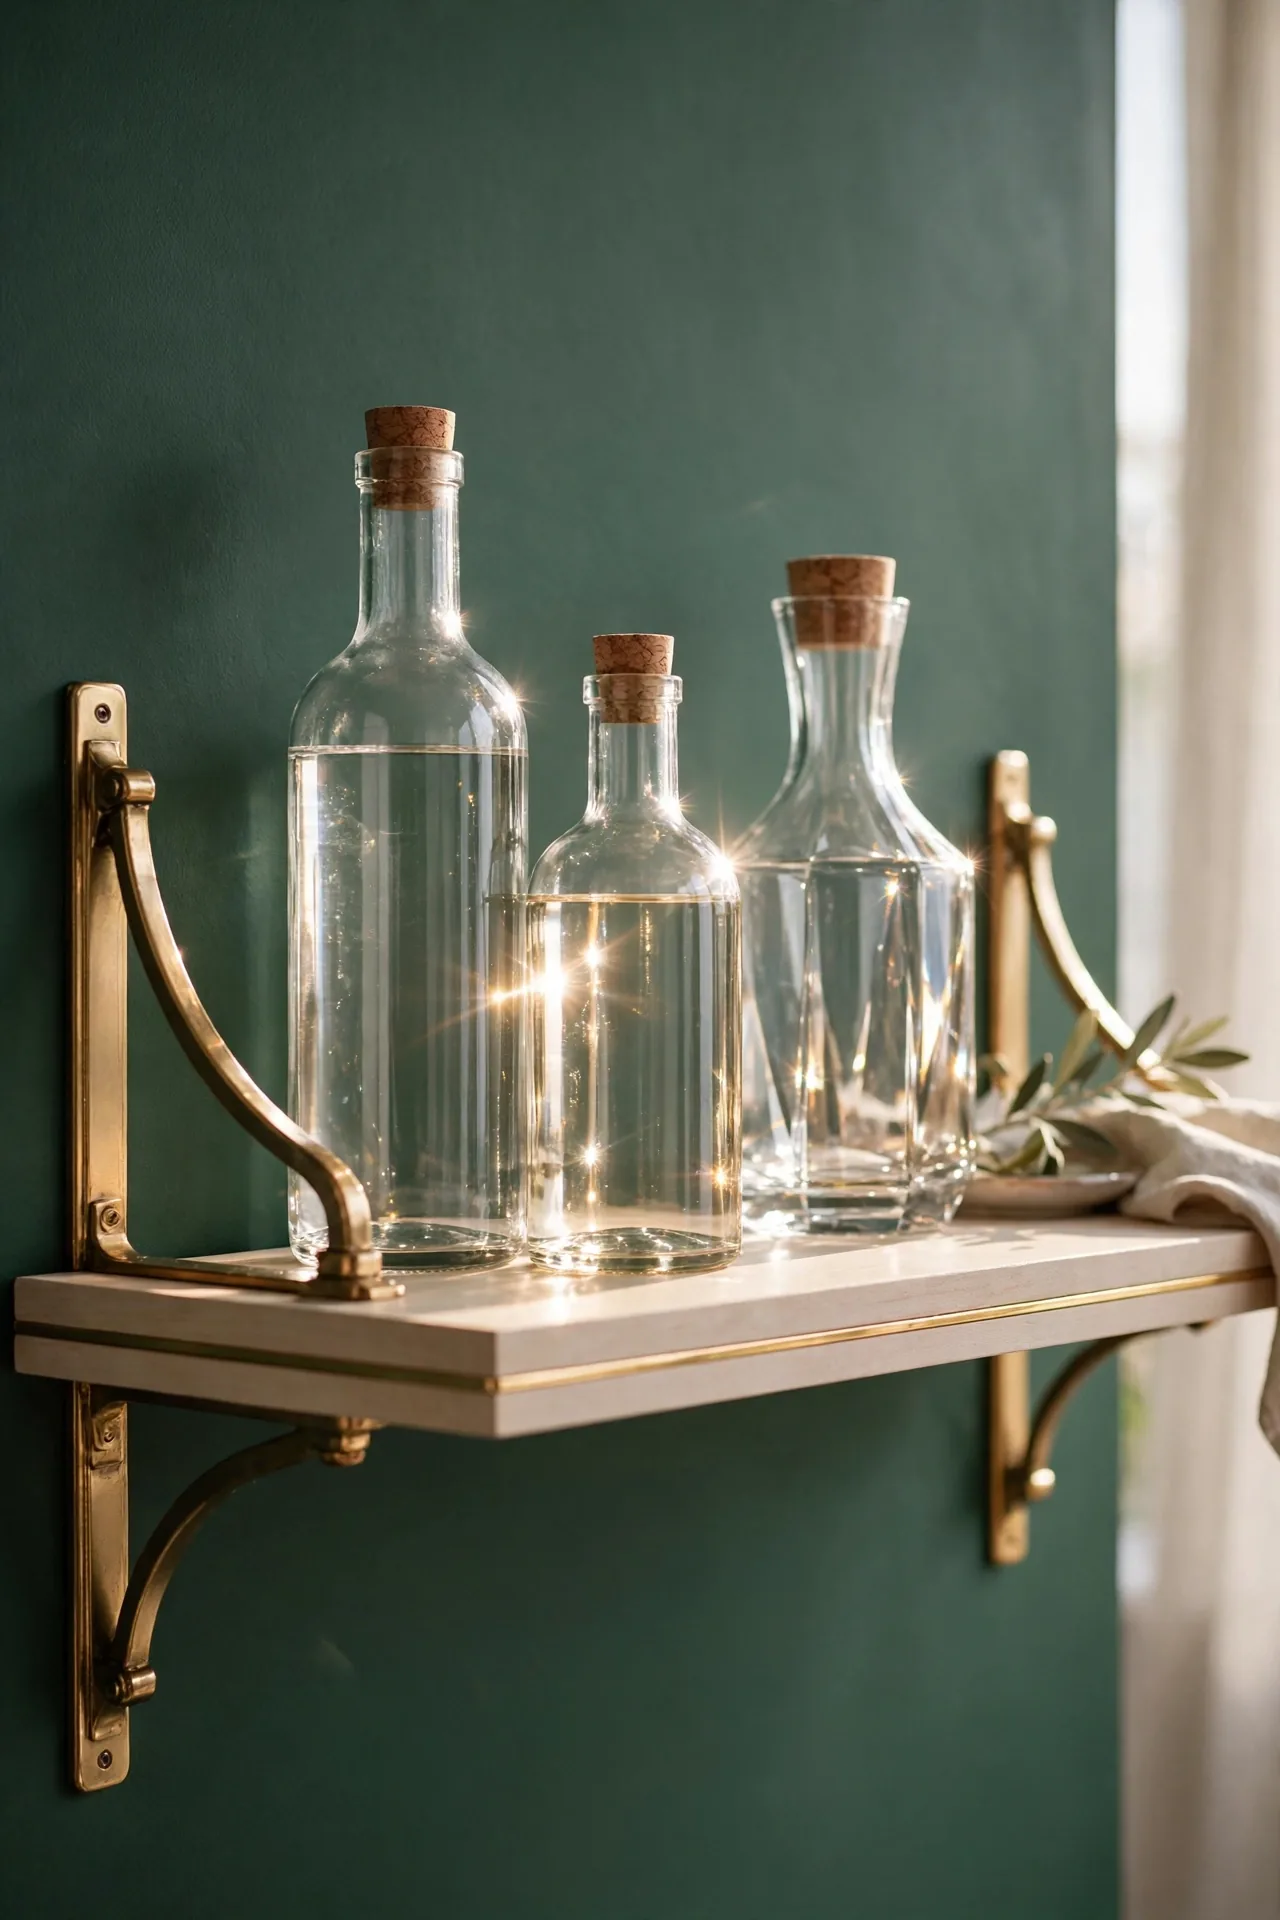
DO:
- Add thin gold trim along shelf edges for a jewelry-box finish.
- Pair gold with deep green or navy walls for rich contrast.
- Use real brass brackets that age gracefully over time.
DON’T:
- Mix gold with silver hardware on the same shelf unit.
- Choose flimsy plastic trim that peels within months.
- Overdo it; one gold accent per shelf keeps it classy.
Gold trim is the fastest way to make a DIY shelf look designer-made. It catches evening light and turns ordinary bottles into a display. Keep the surrounding styling neutral so the gold stays the star, and dust the trim weekly to hold its shine.
Conclusion
Your walls are full of untapped bar potential, and now you have 23 ways to use it. Pick the idea that fits your space and skill level, then start this weekend while the inspiration is fresh. These diy bar shelf ideas prove a stylish drink station needs creativity more than cash. Save your favorites to Pinterest, snap a photo when yours is done, and share it with a friend who loves hosting. I’ve seen how small changes like these can completely shift the way a space feels. Your home bar era starts with a single shelf.
One Comment