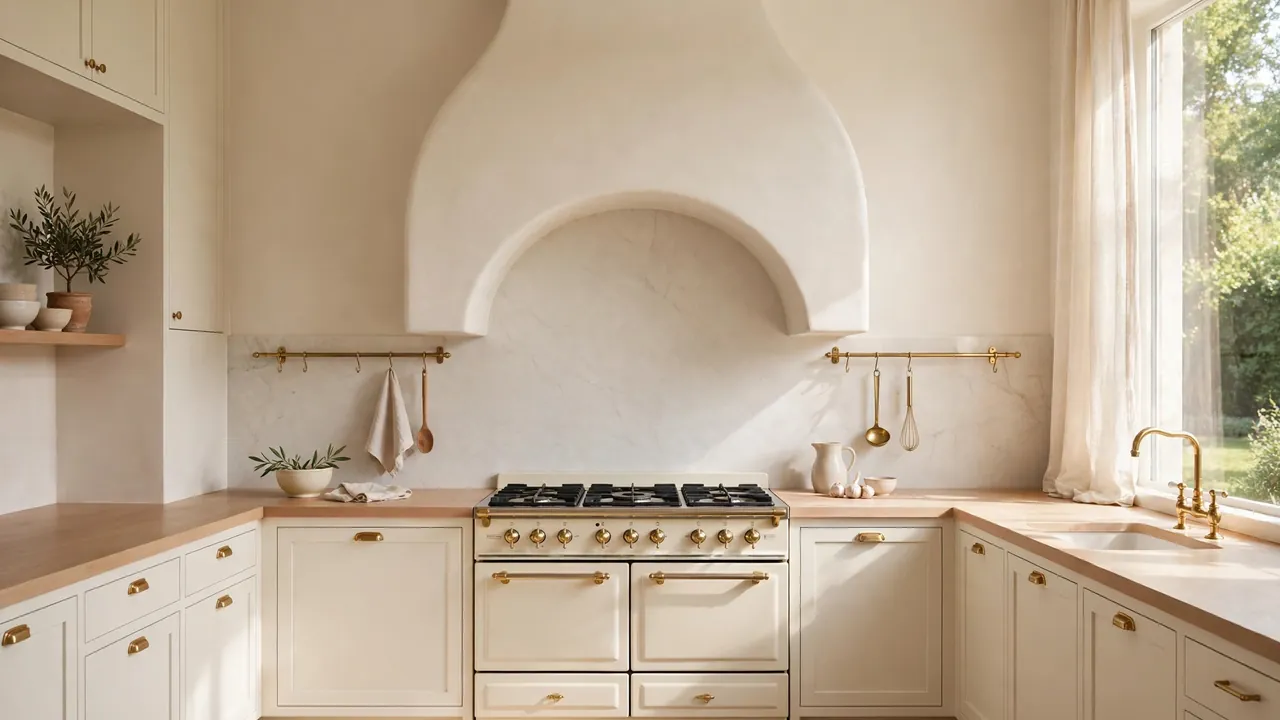
23 Arched Range Hood Kitchen Ideas for a Stunning Focal Point
Every kitchen needs one moment that stops the eye, and an arch over the range delivers it without shouting. Soft plaster curves, warm brass, and stone turn a wall into the prettiest one, and arched range hood kitchen inspiration starts with that single, confident shape.
The arch suits almost every style because it borrows from old European kitchens yet reads clean beside modern cabinetry. Soft color stories elsewhere in the home, like sage green and antique brass bathroom decor, prove how one curved or classic detail can carry a whole room. The twenty three kitchens ahead shape, clad, light, and style the hood in different strengths, so small galley layouts and wide open plans both find their version.
Plaster Arch Hood Statement
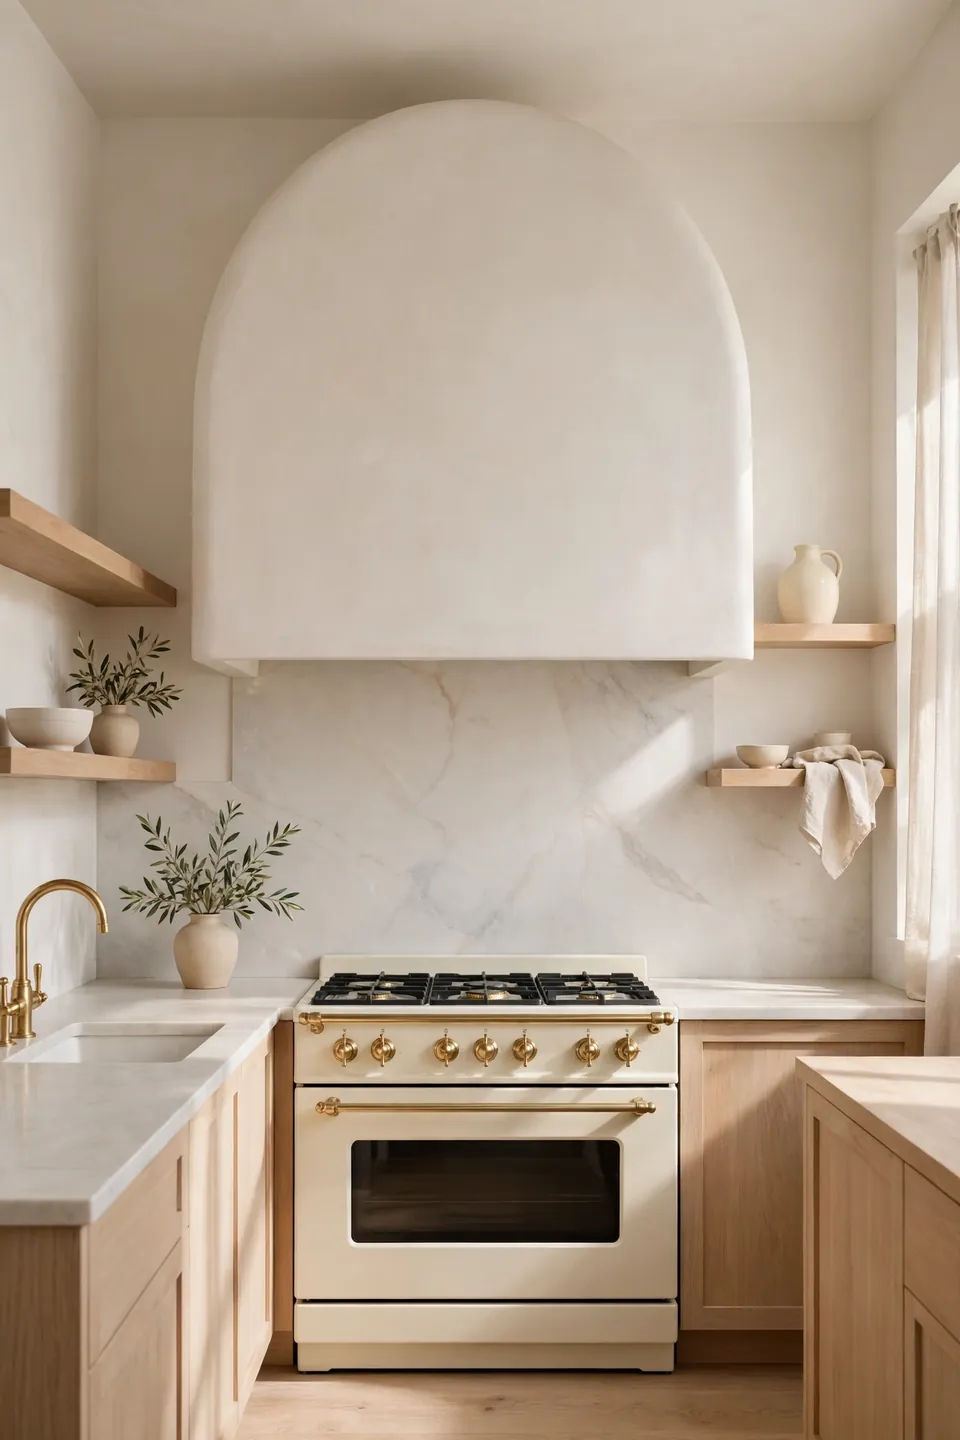
A smooth plaster arch over the range changes the whole mood of a kitchen. The curve softens hard cabinet lines, draws the eye straight to the cooking wall, and gives plain rooms one clear moment of architecture. No pattern competes with it, so the hood quietly leads everything else in the room.
Keep the plaster finish close to the wall color, a shade deeper at most, so the shape reads through shadow rather than contrast. A honed stone ledge or pale marble splashback adds one calm layer beneath it. In my experience, the simplest arches photograph best and age the slowest of all.
Whitewashed Brick Hood Surround
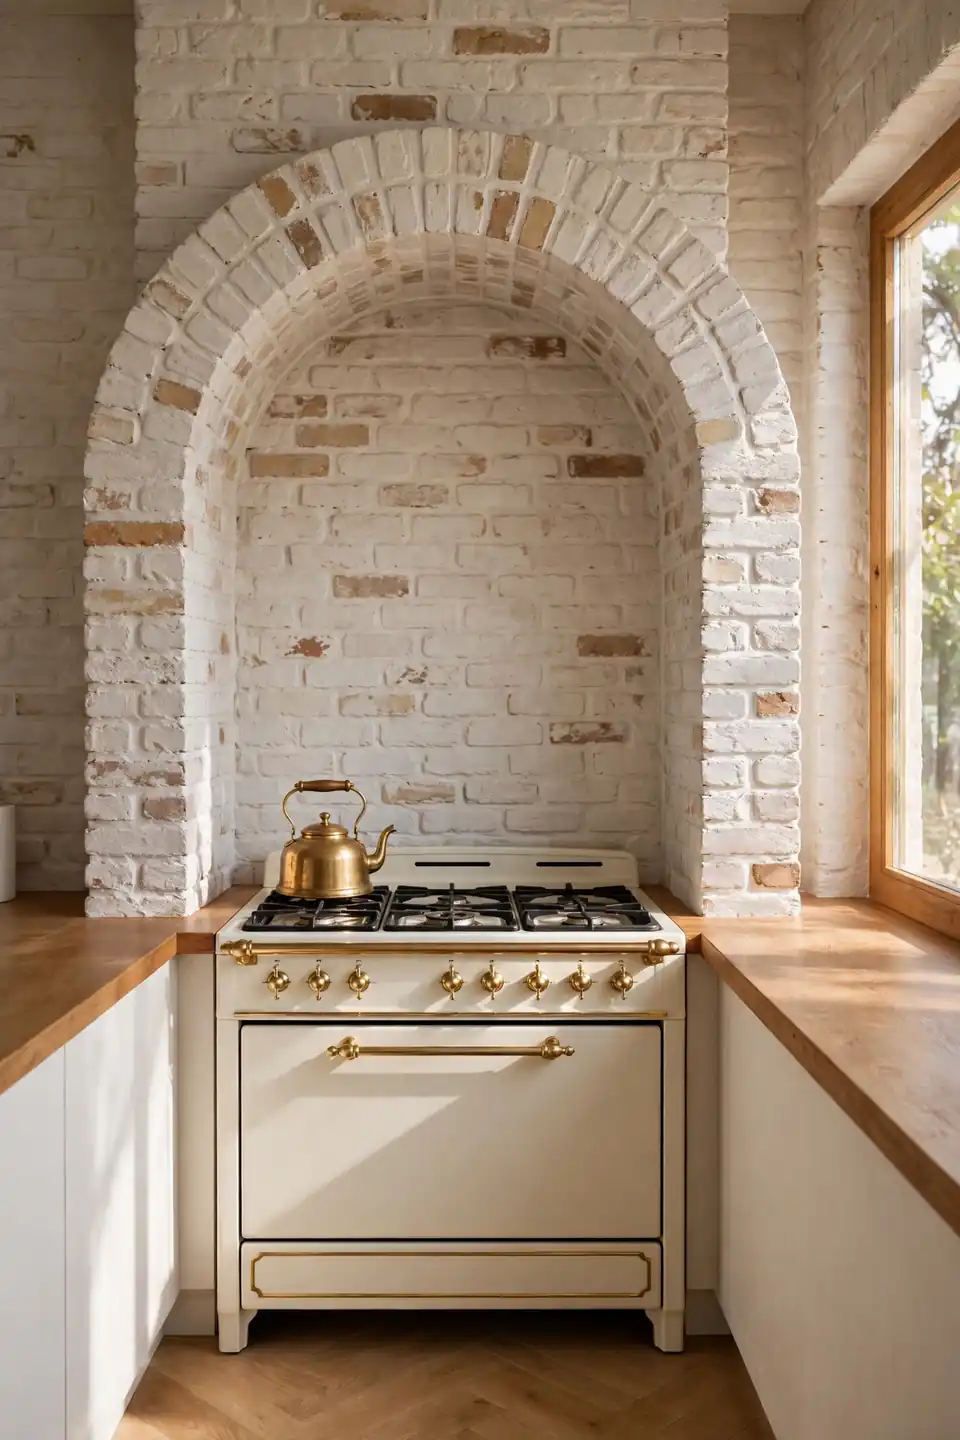
- Whitewashed brick keeps the arch rustic but light
- Thin mortar lines let the curve stay smooth
- A cream range blends quietly into the surround
- Warm wood counters echo the brick’s earthy base
- One brass kettle adds a small warm glint
Brick gives an arch a history that new plaster has to fake, yet the whitewash keeps it fresh enough for bright modern rooms. Wash the brick with diluted lime paint rather than full strength color, so the texture breathes through. The surround then reads as texture first and pattern never, which suits calm kitchens. Left unwashed, the same brick would drag the room darker, so the pale wash is doing real design work here.
Brass Rail Pot Storage
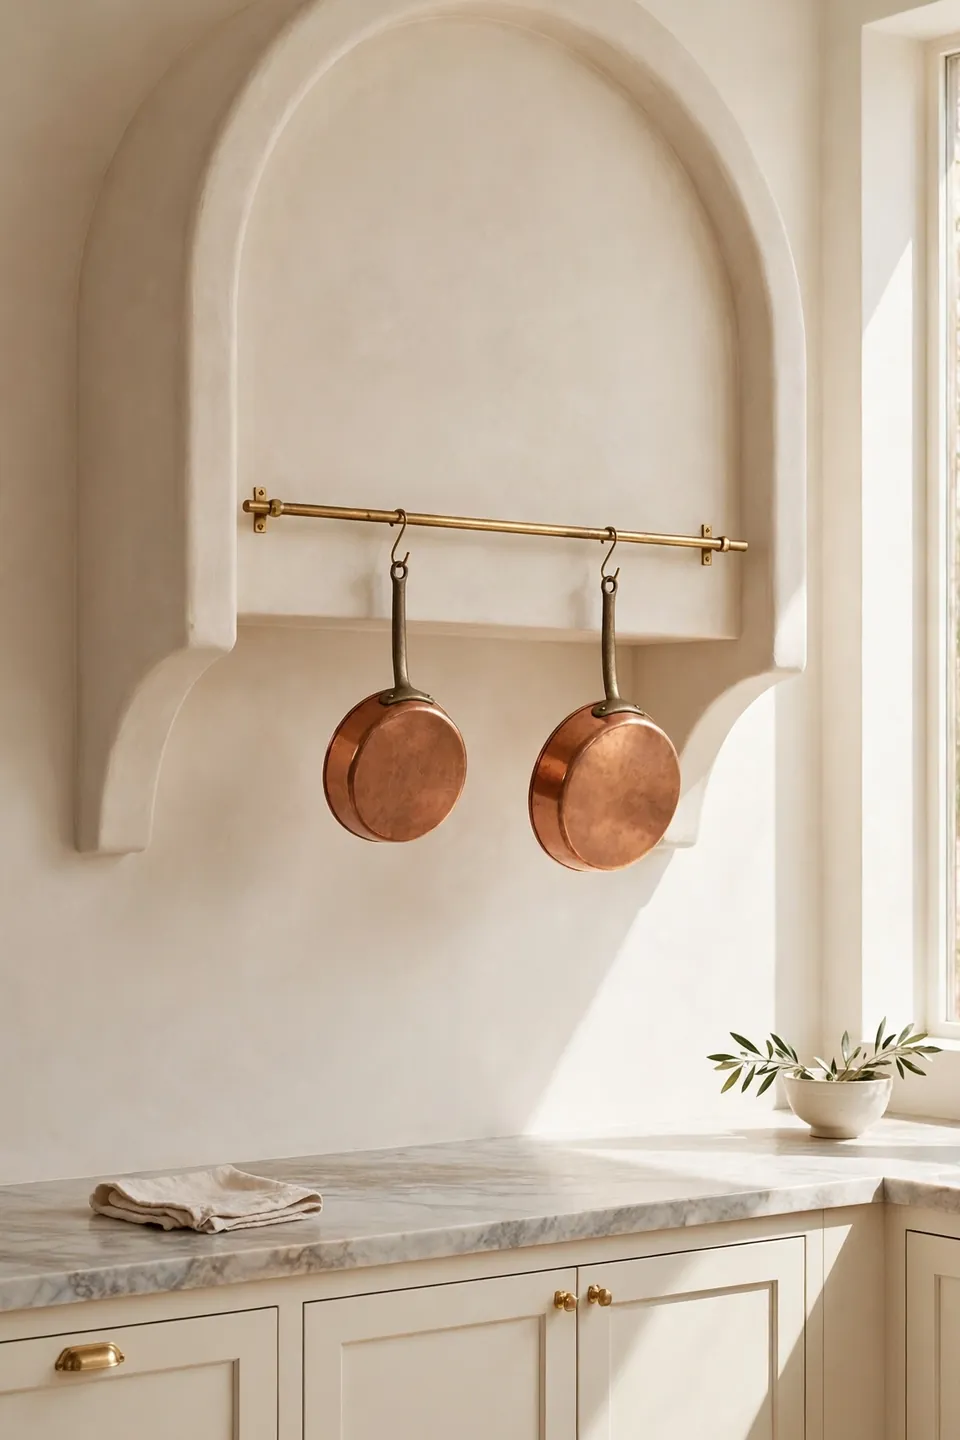
Quick Tip: Mount a slim brass rail across the hood face, low enough to reach yet clear of steam, and hang only the pans you use weekly. Two copper pans and one herb bundle look styled; a crowded rail just looks like storage. Polish the rail monthly so it keeps its glow.
A working rail turns dead plaster into daily storage and frees a whole cabinet for baking trays. Keep pan bottoms facing out for the prettiest line, and hang the heaviest piece nearest the rail’s mounting screws. The brass also repeats the cabinet hardware, tying the hood into the room’s metal story.
Dull Kitchen Bright Makeover

BEFORE: The cooking wall was the dullest part of the house: a flat steel hood, grey splashback tiles, and cabinets that stopped short of the ceiling. Nothing on that wall earned a second glance.
AFTER: A wide plaster arch now wraps the range, pale marble climbs behind it, and brass sconces flank the curve. The same wall feels designed, taller, and quietly grand.
No layout changed and no appliances moved, which makes this the smartest kind of makeover. The arch shell, one stone slab, and two lights did all the work across a single week. Guests now gather facing the range, and the cook finally works inside the room’s best view instead of its plainest corner.
Plaster Hood Build Steps
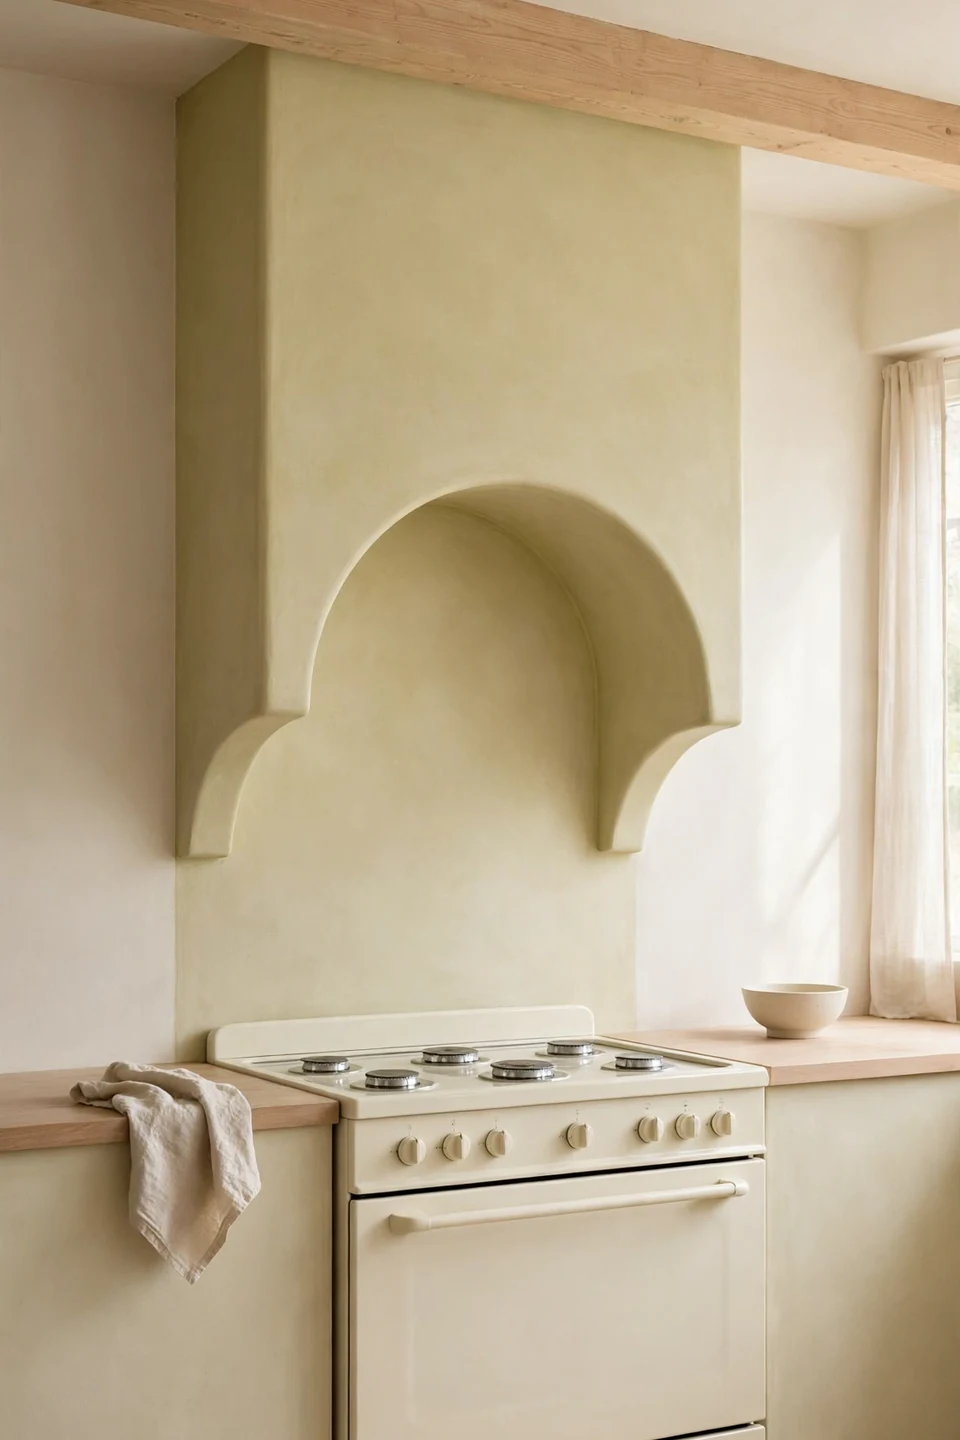
- Frame the arch shape in timber over the liner
- Fix metal lath tightly across every curve
- Apply a scratch coat and let it cure fully
- Build the plaster out in two thin passes
- Sand, seal, and paint in warm flat white
Thin coats are the whole secret of a plaster hood, because thick passes slump on curves and crack as they dry. Work one side at a time, keep the edges crisp with a corner trowel, and let each pass cure before judging the finish. Patience here buys the smooth, stone like surface that makes the arch feel carved rather than built.
Wood Beam Hood Trim
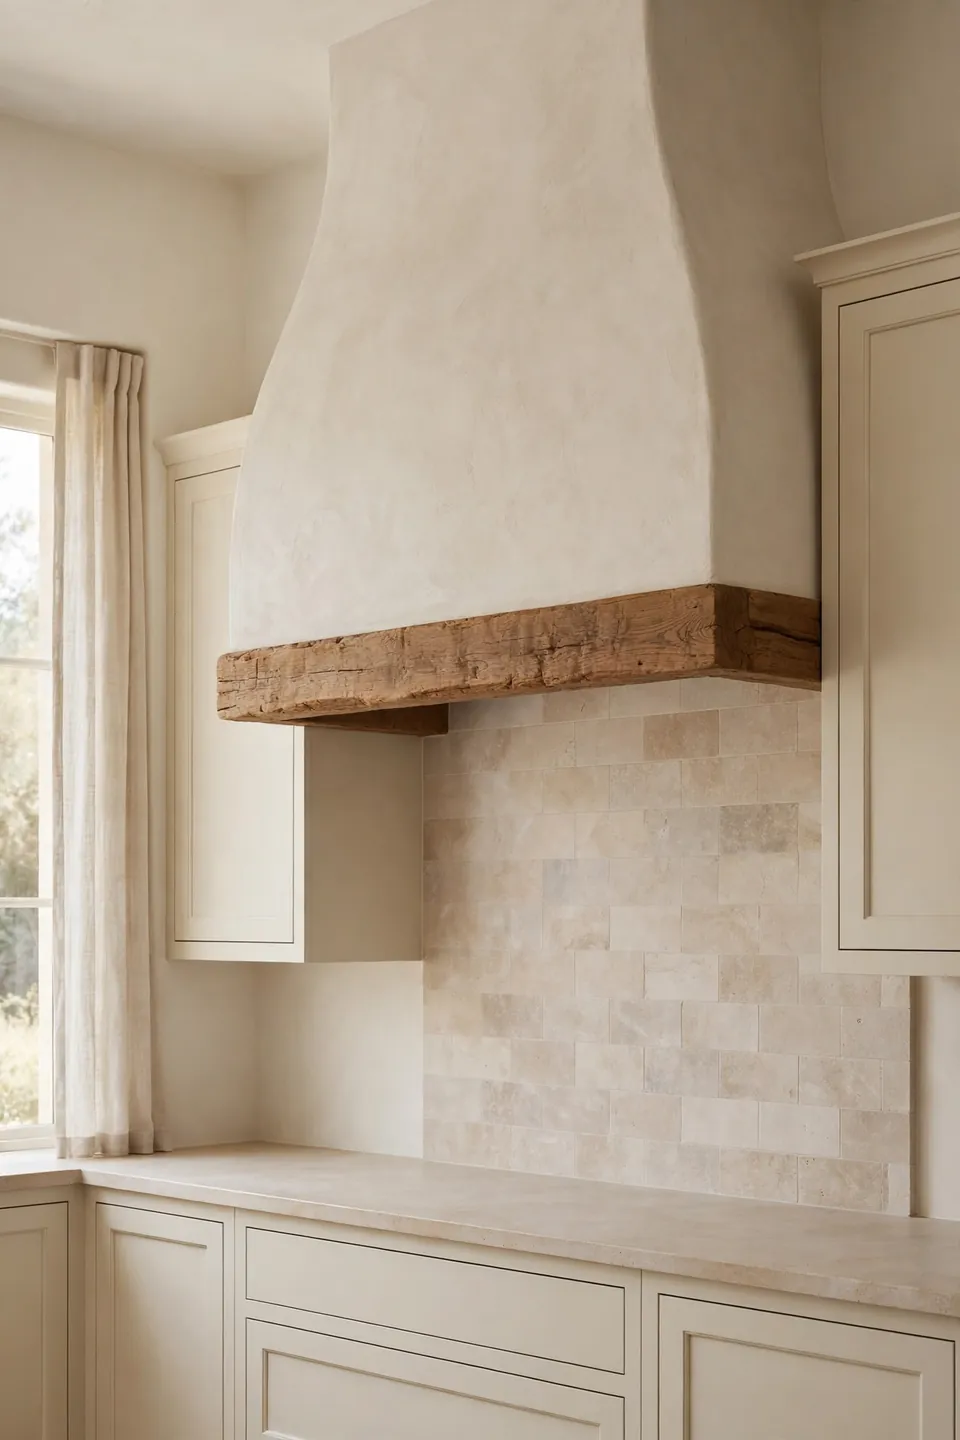
| Plaster Only | Beam Trimmed |
|---|---|
| Clean, minimal, and modern | Warm, rustic, and grounded |
| Curve carries all the detail | Beam adds a strong horizon line |
| Suits pale, quiet cabinetry | Suits wood counters and shelves |
| Lower build cost overall | Extra timber and fixing cost |
A beam across the base of the arch gives the plaster something warm to rest on, and it hides the join where hood meets splashback. Choose timber with visible grain but no deep cracks, seal it against steam, and repeat the same tone on one shelf so the beam never feels like a lone accent. One beam is enough; a second would start a theme.
Curved Lines Soft Edges

Do:
- Round every exposed corner of the arch
- Echo the curve in one nearby niche
- Keep handles and rails slim and simple
- Let shadow, not color, outline the shape
Don’t:
- Add sharp trim that fights the curve
- Hang busy decor across the hood face
- Mix several arch widths in one room
- Paint the arch a jarring contrast shade
Softness is a system, not a single shape. When the hood’s corners round off and one smaller curve repeats nearby, the whole kitchen relaxes into the same language. Keep every other line plain and straight, because contrast is what makes the few curves feel deliberate and calm rather than theme like.
Compact Kitchen Arch Fit
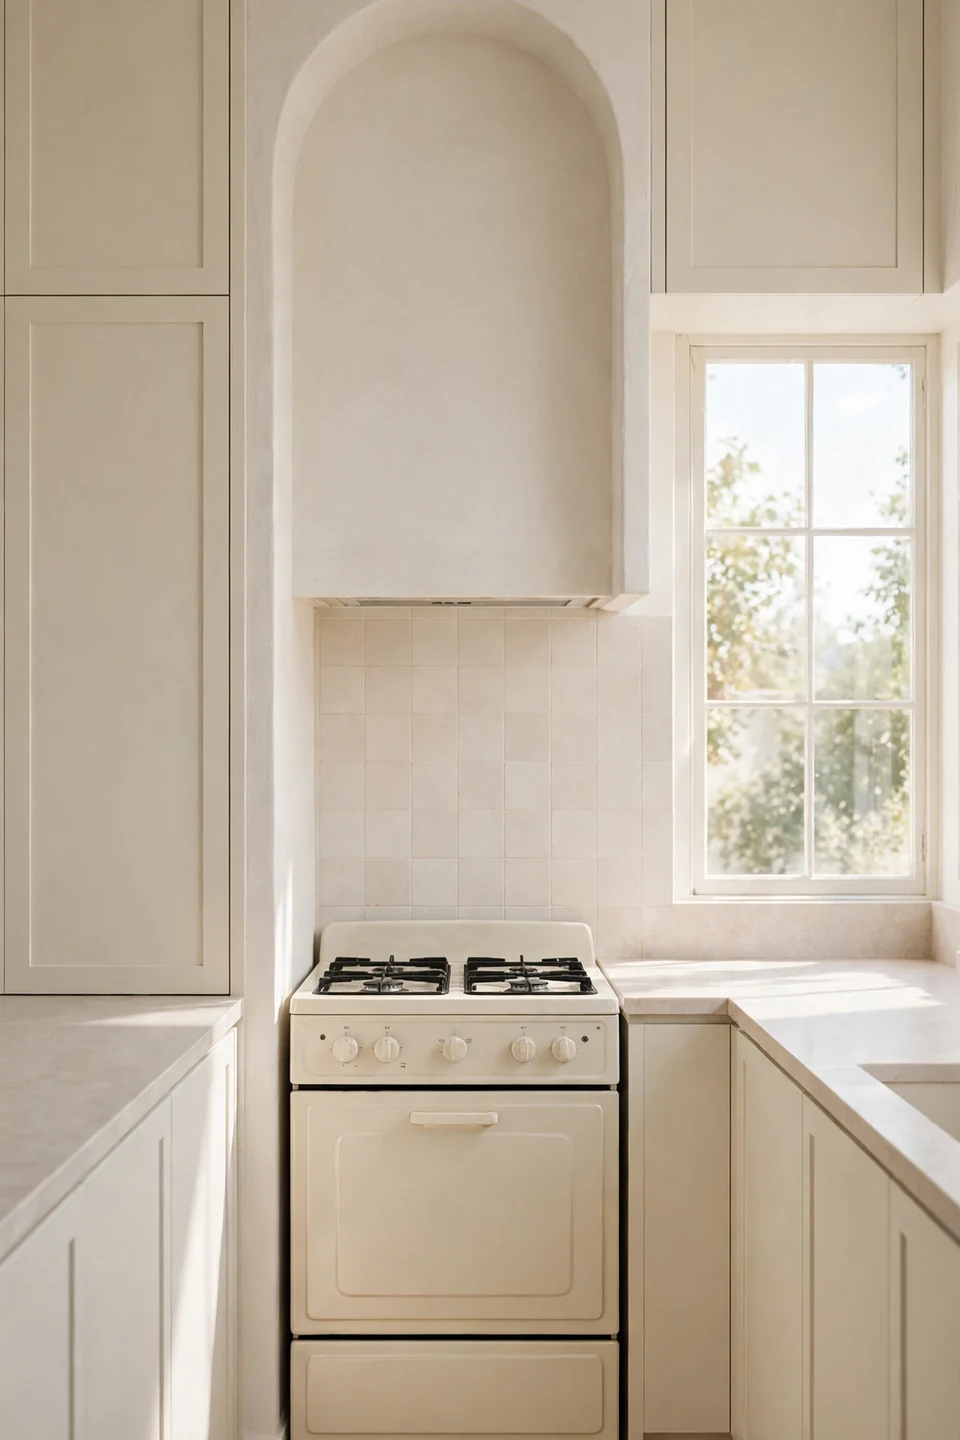
Cost: Moderate, a slim shell over a standard liner
Time: Three to four days including curing
Skill Level: Confident DIY or one hired plasterer
Best For: Galley kitchens and small apartments
A small kitchen gains the most from an arch, because the curve adds architecture the room cannot fit in furniture form. Scale the hood just wider than the range, keep its depth shallow, and stop the plaster at cabinet height so the ceiling still reads tall. The result feels bespoke rather than squeezed, and the cooking corner finally has a view worth facing. Even the kettle and fruit bowl should stay small in scale, so nothing fights the hood for the little wall it owns.
Marble Backsplash Seamless Flow
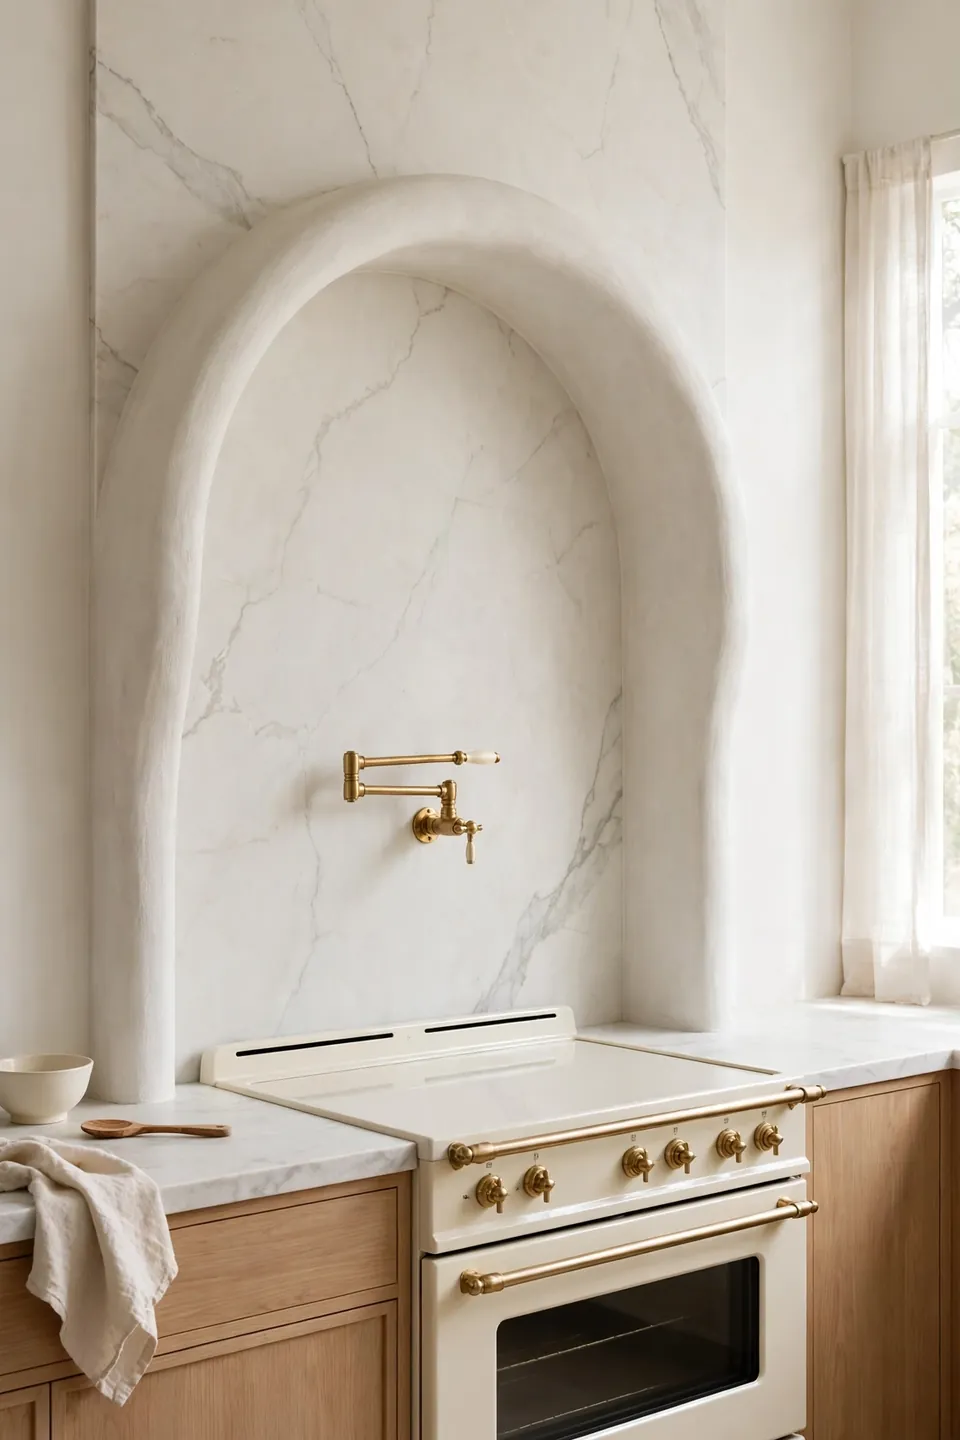
Marble behind an arch does something tile cannot: it removes every grout line, so the curve and the stone read as one carved gesture. Run the slab from counter to hood base and let the plaster begin exactly where the veining softens. The wall becomes quiet, expensive, and calm all at once.
Choose honed marble over polished, since the matte surface sits better beside flat plaster and hides cooking splashes with grace. Seal the stone twice a year and wipe tomato splashes the same evening. I’ve noticed honed slabs also reflect window light softly, which keeps the arch’s shadow gentle instead of stark.
Open Shelf Balance Act

- Match shelf depth on both sides of the hood
- Stack cream dishes low and keep jars tall
- Leave one shelf end empty for breathing room
- Repeat wood tone from the counter below
- Keep everyday items within easy reach
Shelves beside an arch need discipline, because the hood already owns the wall’s attention. Cottage kitchen layouts, like modern English cottage kitchen ideas, show how open shelves stay pretty when every stack earns its place. Edit monthly, keep colors pale, and let the curve remain the only real decoration on the wall. Restraint is the styling skill this wall rewards most.
Under Hood Lighting Glow
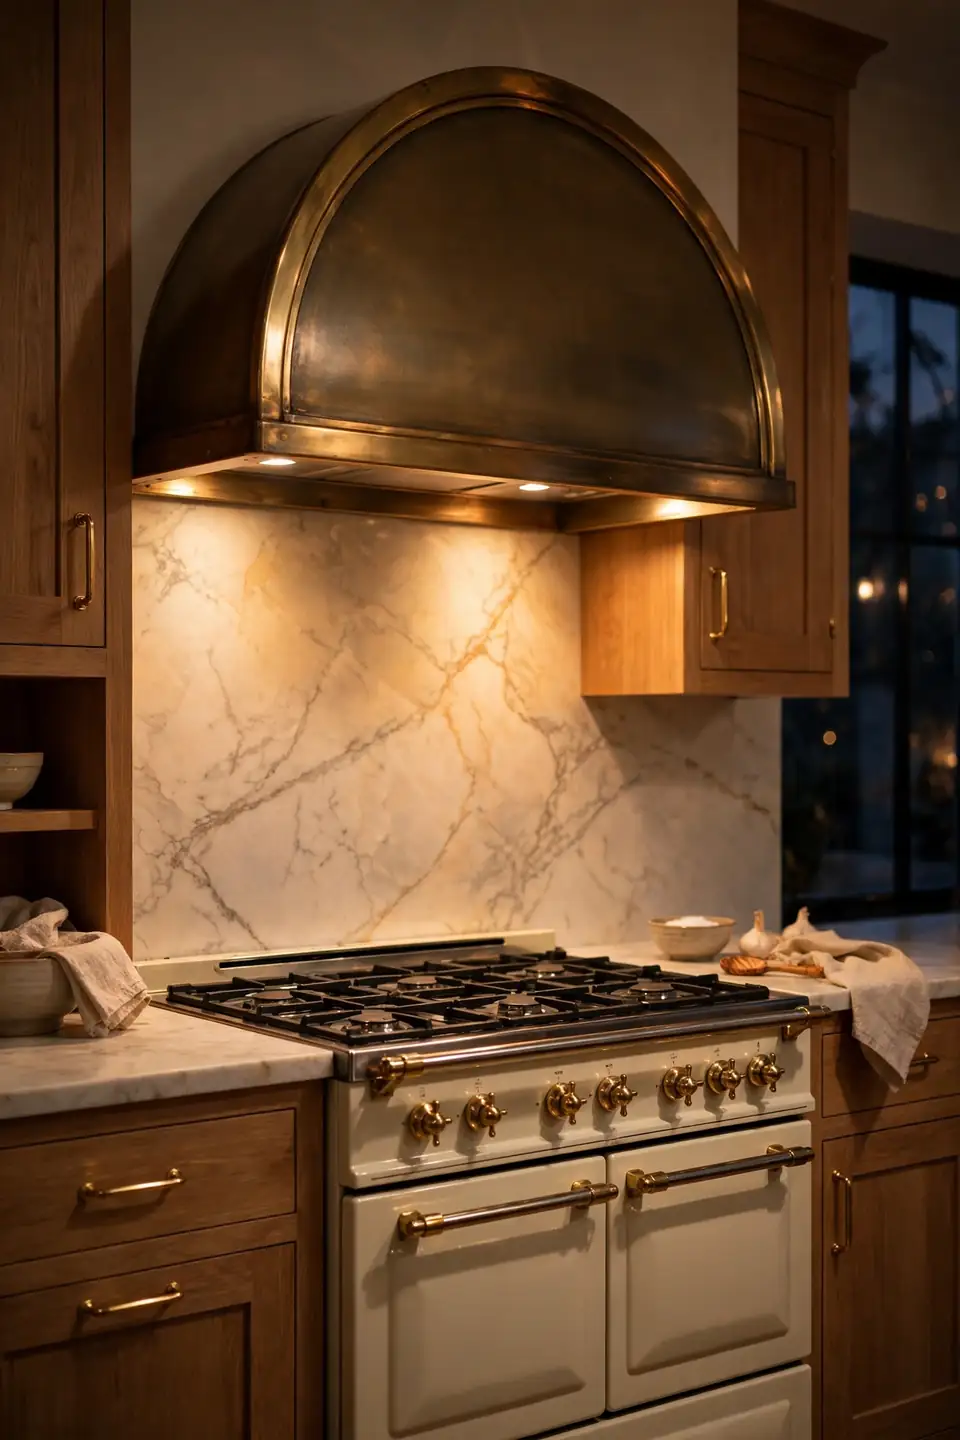
Quick Tip: Fit a warm white strip under the hood’s front edge, hidden behind a small plaster lip, and put it on a dimmer. Bright light handles weeknight cooking, while the lowest setting turns the arch into a soft evening lantern for the whole room. One fitting does both jobs beautifully.
Light decides whether an arch reads flat or sculptural after sunset. A hidden strip grazes the plaster and throws every gentle imperfection into relief, which is exactly the handmade look worth paying for. Keep bulbs warm, never blue white, so brass and wood tones stay rich under the glow.
Flat Hood Arched Refresh
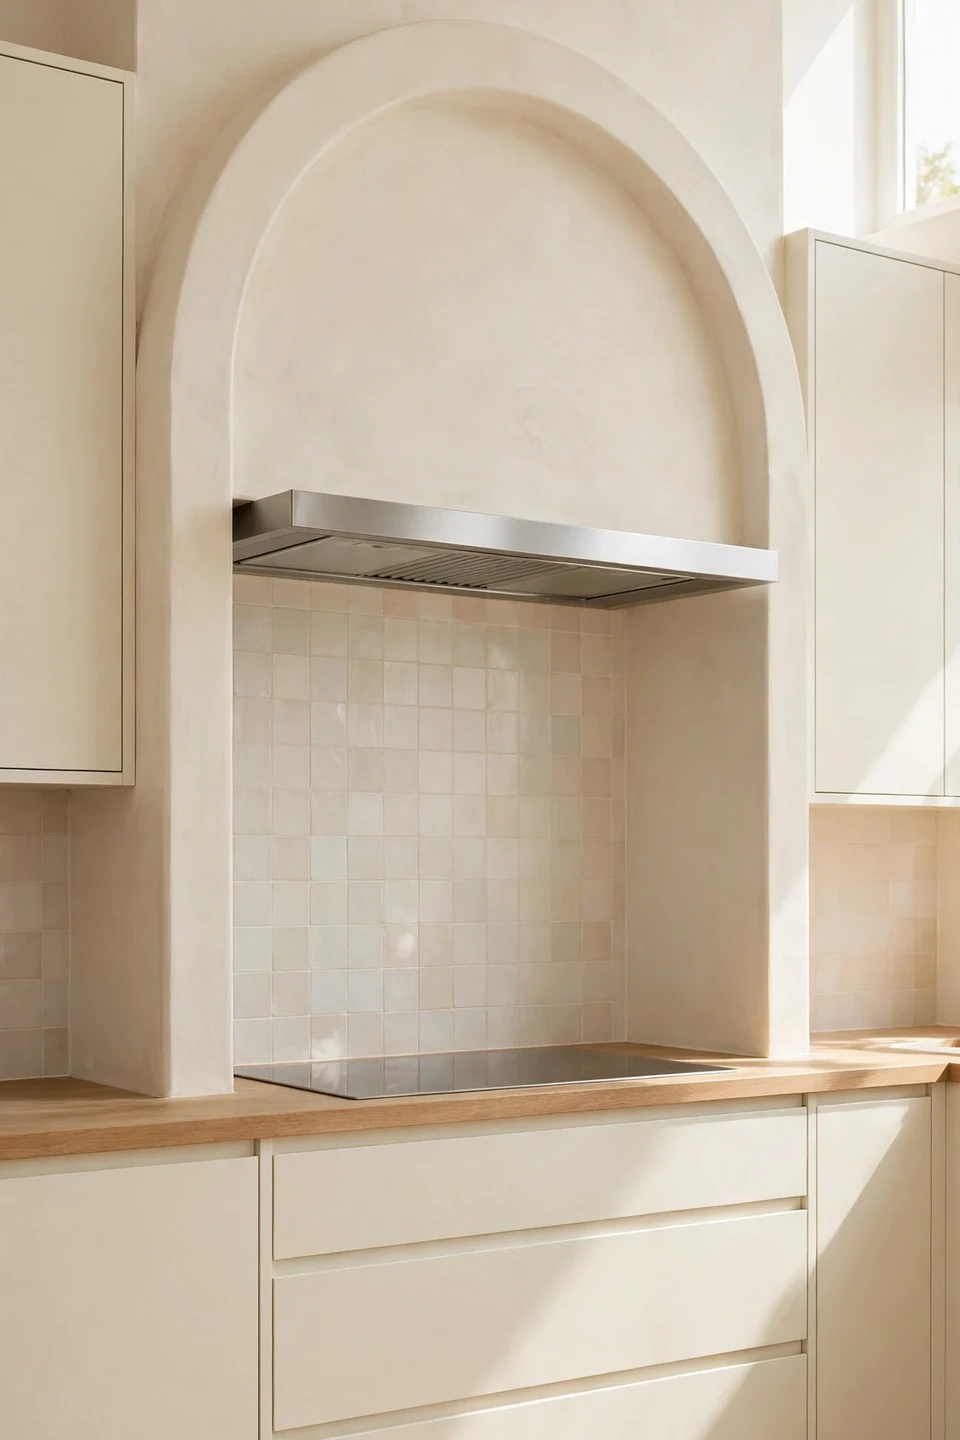
BEFORE: A builder grade steel hood hung over the range, all hard angles and fingerprints. It worked perfectly and pleased nobody, the plainest object on the kitchen’s most visible wall.
AFTER: A plaster arch now shells over the same liner, softening every line. Cream paint, a pale splashback, and one wood counter later, the wall feels custom built.
The refresh keeps the existing duct and liner, so the budget goes on shape instead of machinery. A carpenter frames the curve, a plasterer skins it, and paint unifies the whole wall. I’ve seen this work well in many cases where a full hood replacement would have eaten the entire kitchen budget.
Hood Proportion Measuring Steps
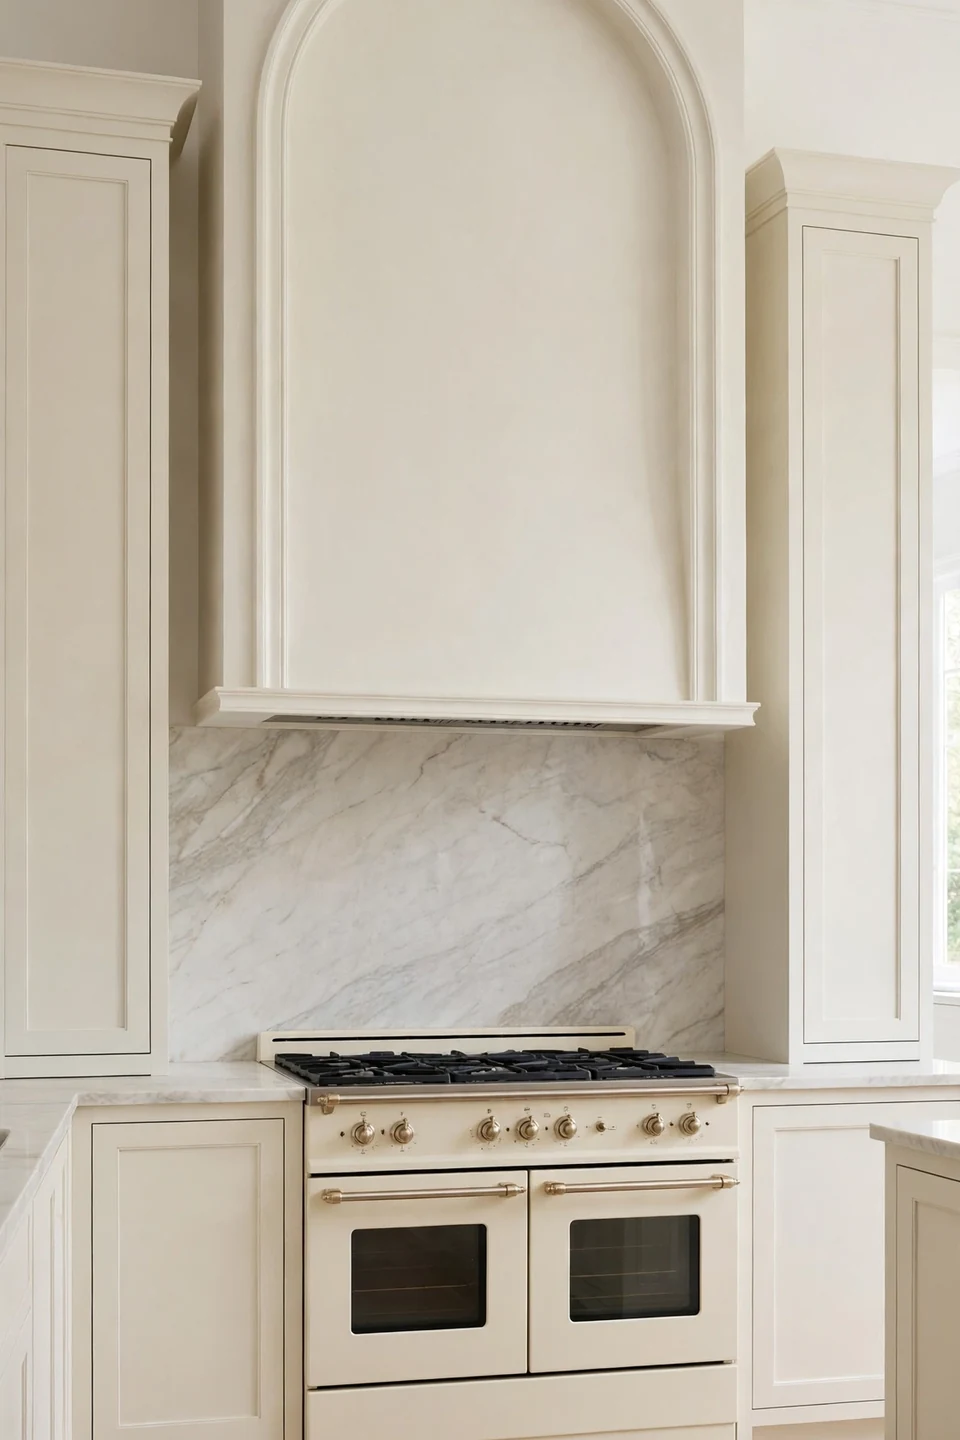
- Measure the range width and add ten centimetres
- Set the hood base above the tallest pots
- Let the arch rise one third of its width
- Check the curve clears tall cabinet doors
- Mock the outline in tape before building
Proportion is where arched range hood kitchen inspiration becomes a hood that actually suits your room. Too narrow and the arch looks squeezed; too wide and it swallows the wall. The tape outline test costs nothing and settles every argument, so live with it for two days before anyone cuts timber. Stand at the doorway while the tape is up, because that first view is the one guests get and the one worth perfecting.
Tile Clad Arch Texture

| Tile Clad | Smooth Plaster |
|---|---|
| Handmade texture and gentle sheen | Calm, flat, and sculptural |
| Small tiles bend around curves | One surface, no grout lines |
| Wipes clean after heavy cooking | Needs sealing against grease marks |
| Higher material and labour cost | Lower cost, faster to finish |
Tile earns its keep on busy family ranges, where steam and splashes land daily. Small format tiles follow the curve without cutting, and their uneven glaze scatters light so the arch shimmers slightly as you move. Keep grout pale and tight, or the grid will shout louder than the shape it covers. Choose handmade look tiles with soft edges, since machine perfect squares can read cold against a hand shaped curve.
Color Matched Cabinetry Blend

Do:
- Paint hood and cabinets one shared colour
- Use flat paint on the hood for contrast
- Repeat brass on handles and faucet
- Keep the splashback pale and plain
Don’t:
- Match the hood to the wall instead
- Add a second accent colour nearby
- Let glossy cabinets fight matte plaster
- Skip a sample board in daylight
Colour matching makes an arch feel inevitable, as if the kitchen was always built around it. The shape still shows through light and shadow, yet nothing jars when you enter the room. This is the safest route for open plan homes, where the cooking wall sits inside the living space all day.
Budget Faux Arch Finish

Cost: Low, timber board, filler, and paint only
Time: One weekend from frame to finish
Skill Level: Beginner friendly with basic tools
Best For: Rentals and first kitchen updates
A convincing arch does not need a plasterer. A shaped timber board fixed over the existing liner, edges softened with filler and two coats of warm cream paint, gives ninety percent of the look for a fraction of the cost. From the doorway, nobody can tell where the budget version ends and the bespoke one begins. Sand the filler twice and prime before painting, because a smooth skin is what sells the illusion at close range. Add a simple wood rail beneath it and visitors will assume a plasterer visited, not a paintbrush.
Rustic Stone Arch Surround

Real stone gives an arch a weight that plaster only imitates. Sandy, uneven blocks stacked over the curve make the cooking wall feel centuries old, and a thick wood shelf across the base becomes the place for salt, oil, and one small plant. The room smells of history even when dinner is simple pasta.
Balance the rugged surround with smooth company: flat front cabinets, a plain stone counter, and unadorned walls elsewhere. Stone is heavy, visually and literally, so confirm the wall and floor can carry it before ordering a single block. One strong material per room is a rule that rarely fails.
Black Range Sleek Contrast

- A black range anchors the pale arch firmly
- Keep the splashback light so contrast stays clean
- Brass knobs bridge the dark and pale tones
- Matte black shows fewer marks than gloss
- One dark stool repeats the accent nearby
Contrast gives a pale kitchen its backbone. The black range grounds the floating cream arch, and the pair read like a framed picture from the doorway. Keep every other surface quiet, and this single bold decision carries the whole room without a second accent colour asking for attention. The pairing also hides everyday life well, since black enamel shrugs off splashes that would mark paler ranges within a week of busy cooking.
Ventilation Power Quiet Trick
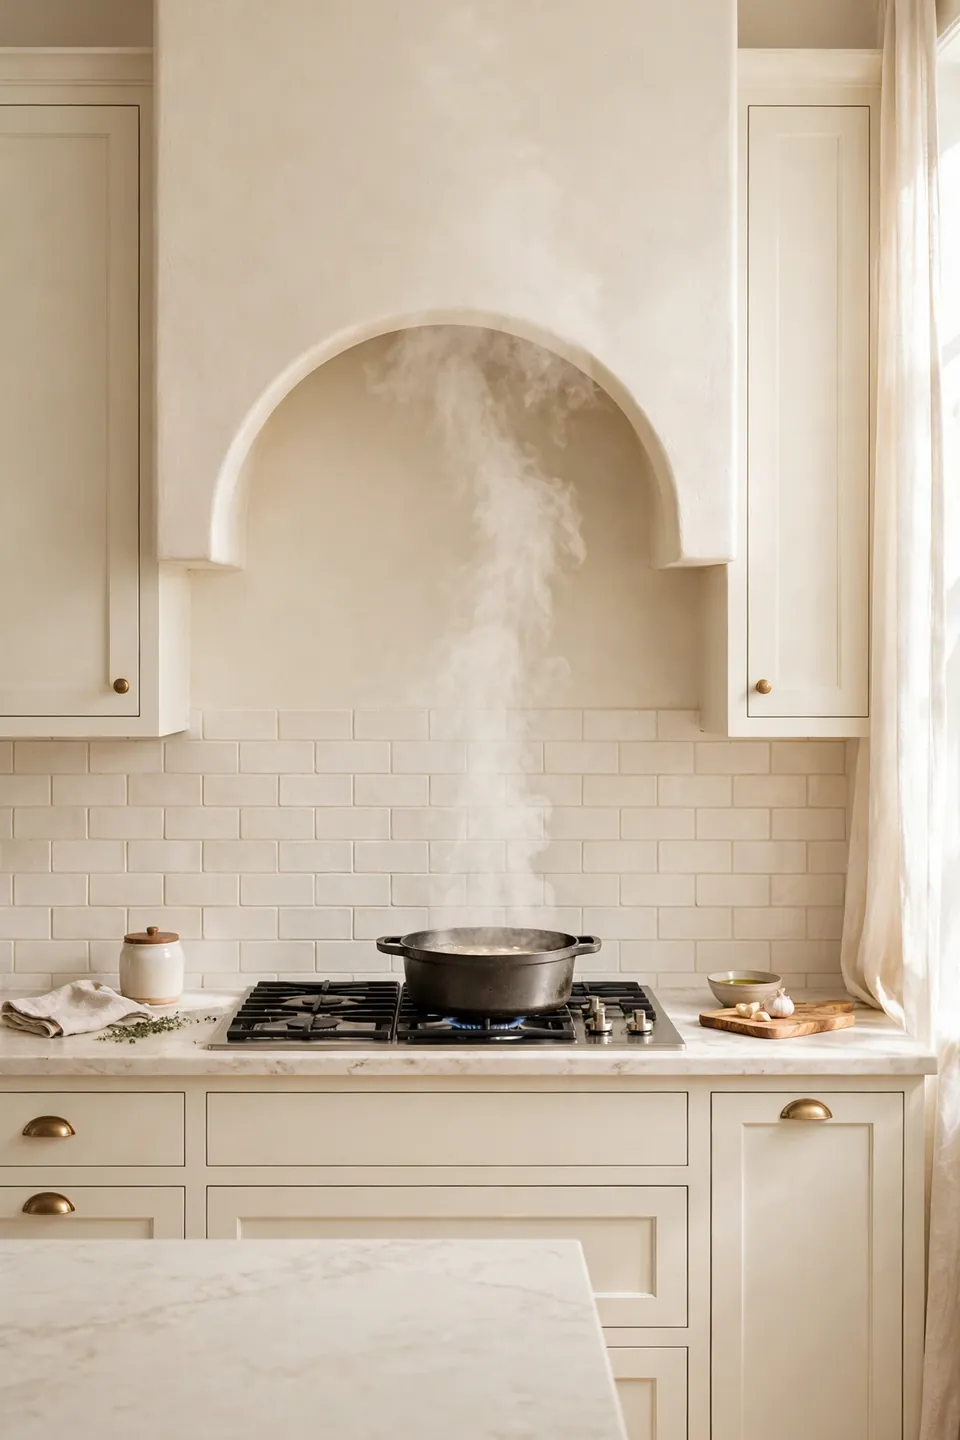
Quick Tip: Size the liner one step stronger than the range strictly needs, then run it on the middle setting. A bigger fan loafing along moves the same air as a small fan screaming, so the kitchen stays calm enough for conversation while dinner fries. Quiet power is the real luxury here.
An arch must work before it charms, because grease on plaster is nobody’s friend. Deep capture area matters more than headline power, so choose a liner that covers the front burners fully. Run the fan for ten minutes after cooking, and the plaster above stays clean for years.
Busy Kitchen Calm Focal
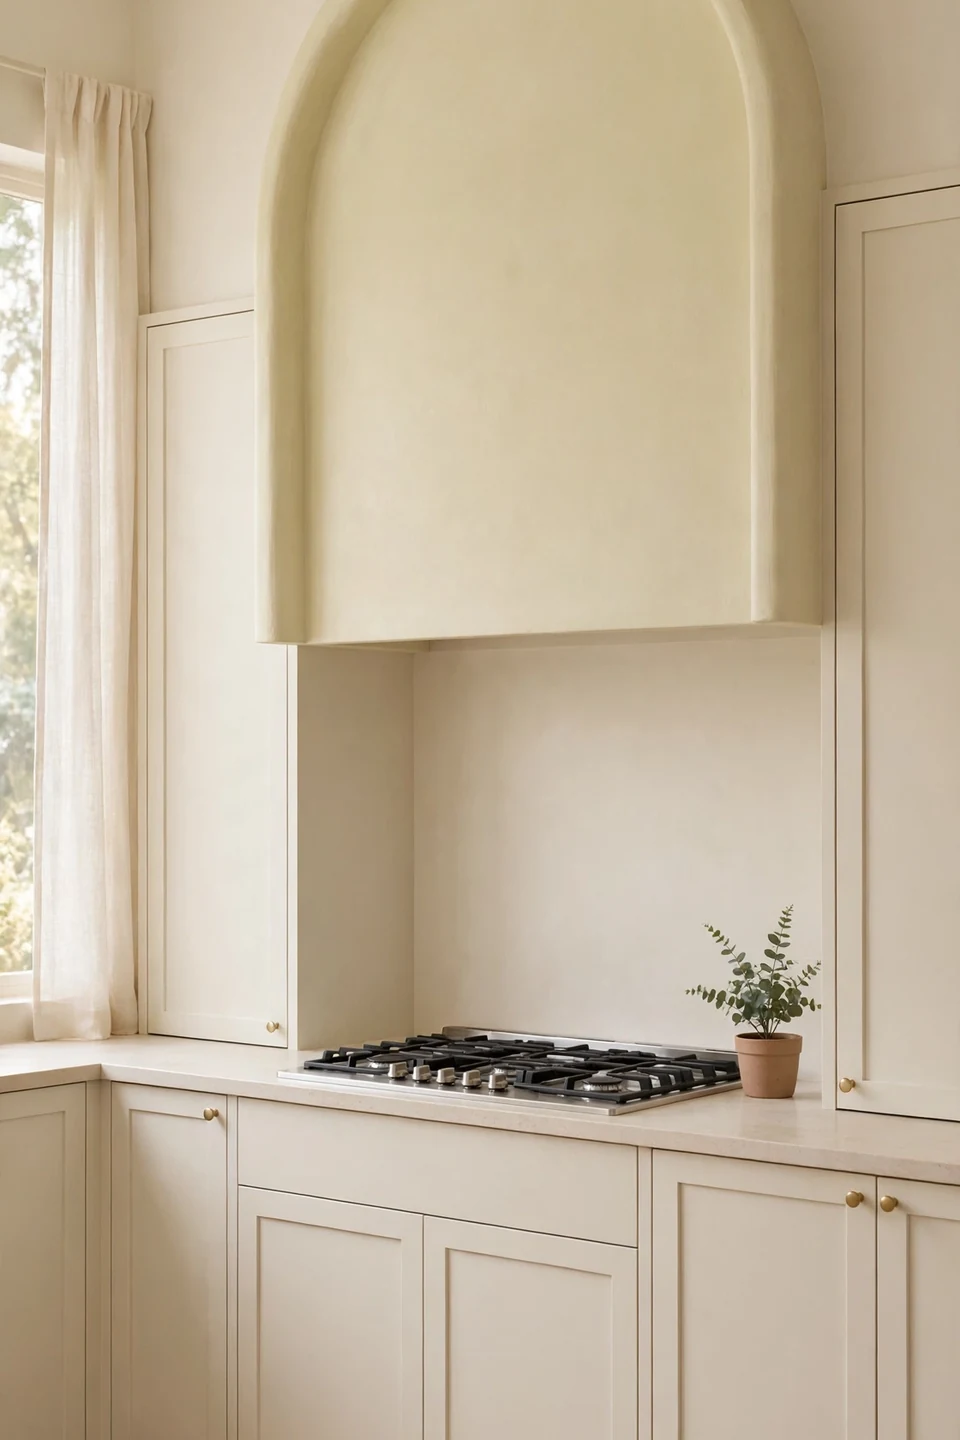
BEFORE: The kitchen shouted from every surface: open shelves of mixed jars, patterned tiles, three small appliances on show. The eye had nowhere to rest and cooking felt frantic.
AFTER: One large arch now leads the room, shelves gave way to closed cabinets, and counters hold a single plant. The same kitchen feels calm and twice as generous.
A strong focal point is really a permission slip to simplify everything else. Once the arch does the decorating, patterned tiles, busy shelves, and novelty handles can all retire quietly. The room gets quieter to cook in, quicker to clean, and far easier to photograph for the listing when life eventually moves on.
Seasonal Styling Simple Steps
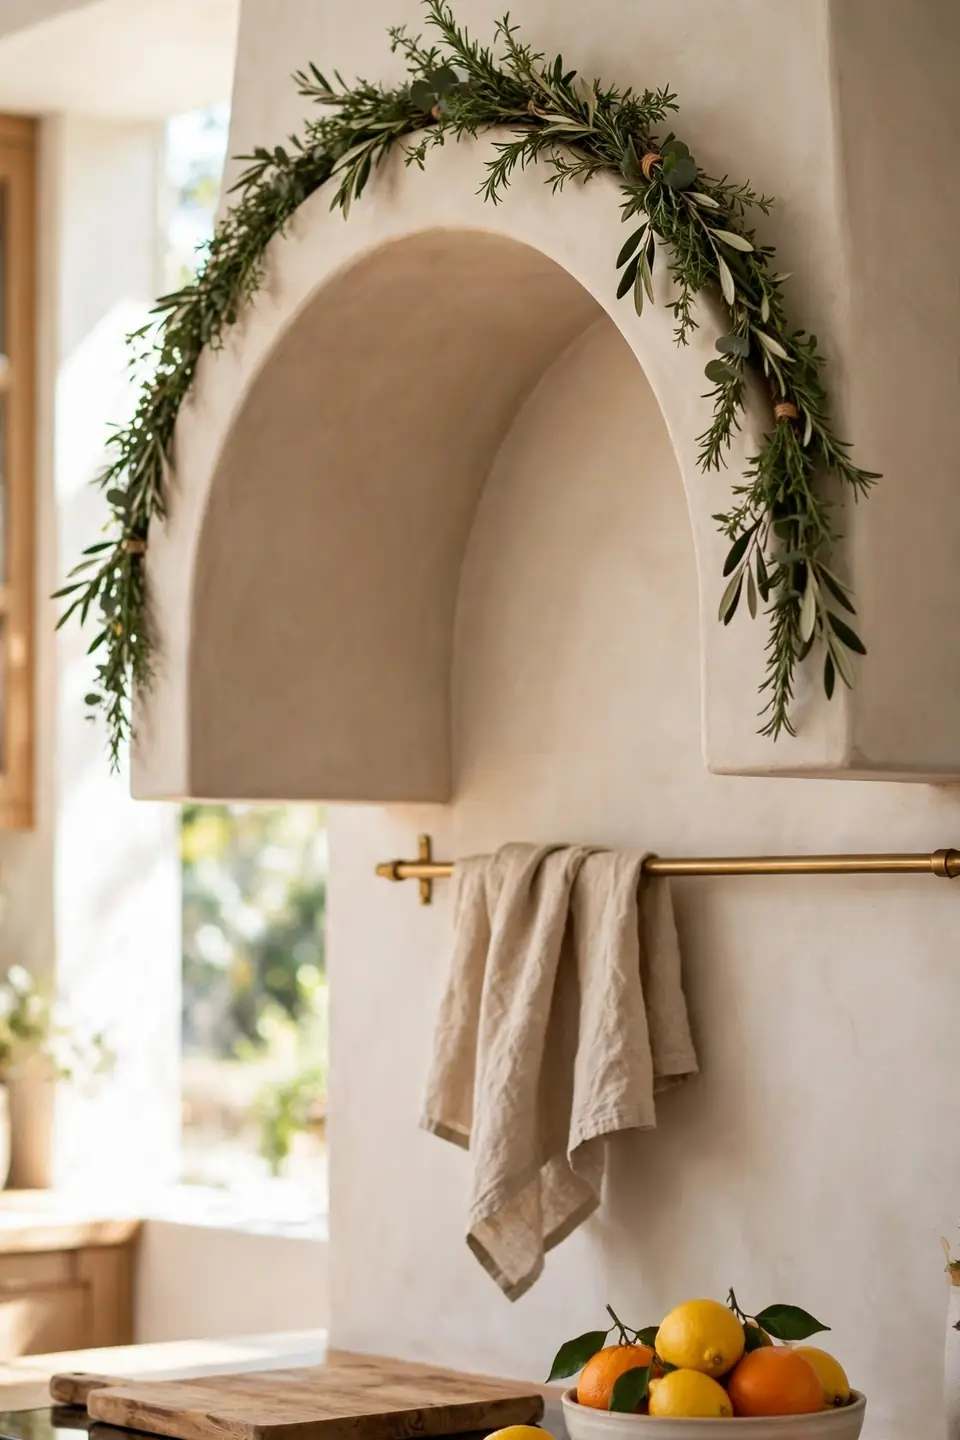
- Hang one small herb wreath on the rail
- Swap the rail towel for seasonal linen
- Set a bowl of citrus beside the range
- Rest one wood board against the splashback
- Remove one item for every item added
Seasonal styling should take ten minutes and cost almost nothing, because the arch already supplies the drama. Herbs in spring, citrus in summer, a linen swap in autumn, and one candle ledge in winter keep the cooking wall feeling current. The last step matters most: editing keeps the focal point clean. Photograph the result each season, and the small changes will remind you how little the prettiest kitchens actually need.
Double Arch Cooking Wall

| Single Arch | Double Arch |
|---|---|
| Suits one standard range | Suits twin ranges or range plus grill |
| One calm focal point | Symmetry becomes the feature |
| Lower build and liner cost | Two liners and double ducting |
| Fits most kitchen widths | Needs a wide cooking wall |
Twin arches suit serious cooks who run two ranges at once, and the symmetry turns a working wall into architecture. Keep both curves identical in rise and width, share one long marble splashback, and fit matching liners so the pair reads as one decision rather than two hoods that happen to match. Symmetry also helps resale, because buyers read a matched pair as planning rather than accident.
Daily Cleaning Easy Routine
Do:
- Wipe the arch weekly with a damp cloth
- Degrease the splashback after frying nights
- Wash liner filters monthly in hot water
- Touch up paint chips the same week
Don’t:
- Scrub plaster with abrasive pads ever
- Let grease build into a hard film
- Use blue cleaners that stain pale grout
- Ignore a rattling fan until it fails
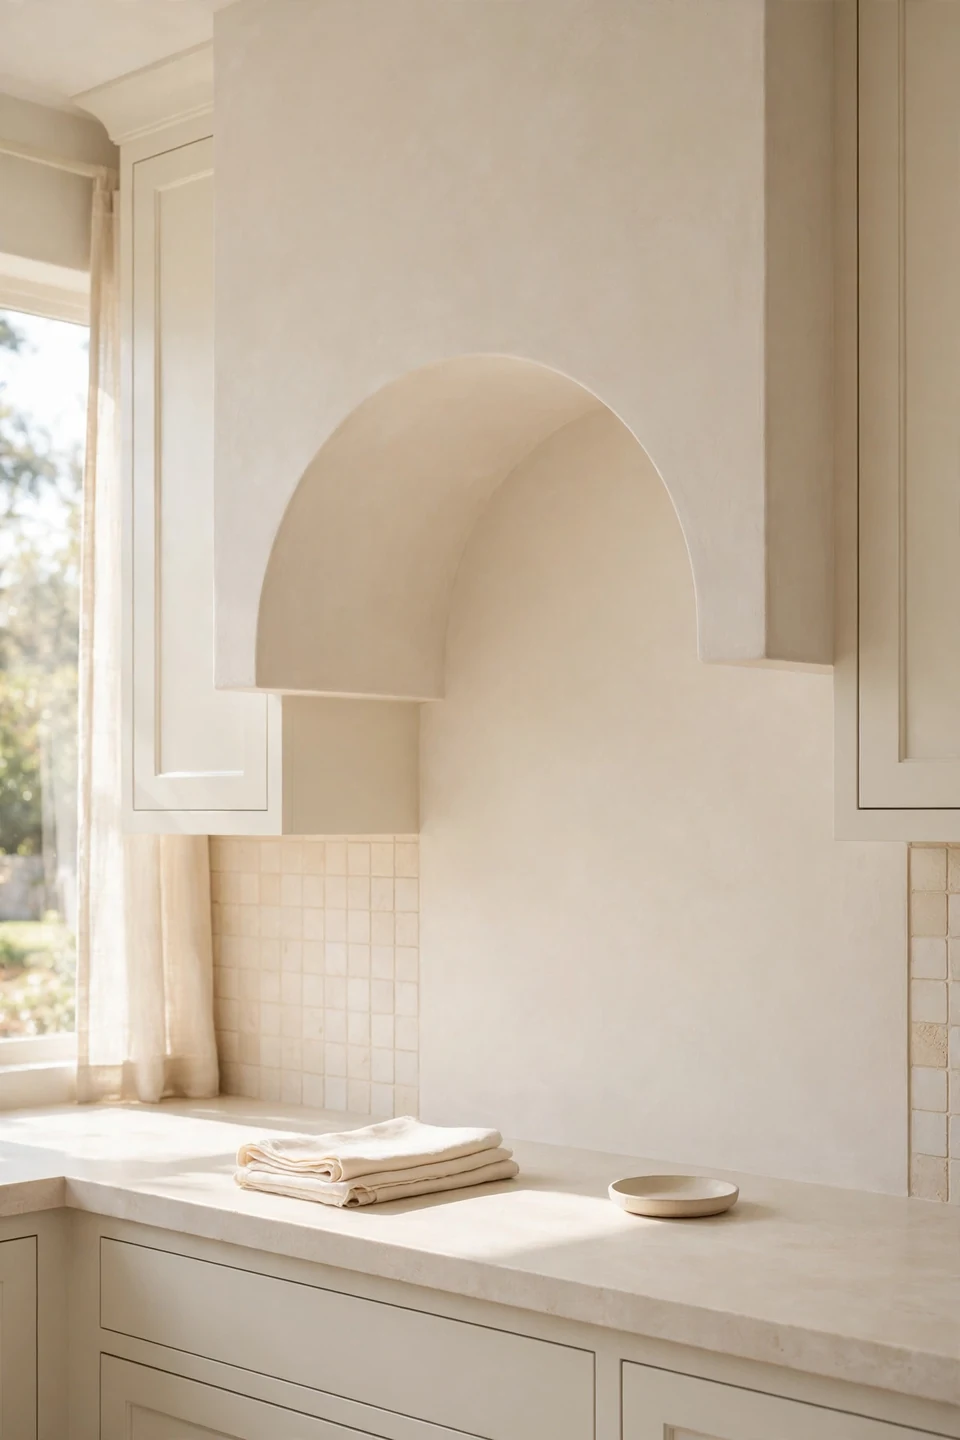
Plaster asks for little, but it asks regularly. A weekly wipe while the kettle boils keeps cooking film from ever setting, and the arch stays the bright shape you built rather than a dusty one. Small habits protect the one feature the whole kitchen leans on, so make them part of the morning rhythm.
Conclusion
Twenty three kitchens, one graceful curve, and a cooking wall that finally earns its place at the centre of the home. Whether your arch is carved plaster, washed brick, or a weekend timber build, the lesson stays the same: shape beats clutter every time. Start with the tape outline, trust the proportions, and let arched range hood kitchen inspiration guide the details from there. Save these ideas to Pinterest before you measure, share them with anyone planning a kitchen, and enjoy watching guests drift toward the range the moment they walk in. Pick your favourite three ideas, sketch them tonight, and let the build begin this weekend.