25 Kitchen Island Pendant Lighting Ideas for a Stylish Glow
A kitchen island earns its glow from the lights above it, and kitchen island pendant lighting ideas turn that one fixture choice into the warm heart of the room. Pendant lights do more than brighten a countertop, since they set the mood for morning coffee, evening prep, and late-night snacks while giving the island a finished, pulled-together look. The right pendant shape, finish, and height can make a plain island feel custom, and this guide walks through 25 ways to get that glow right, from clear glass globes to woven rattan shades. For ceiling inspiration that pairs well with pendant plans, take a quick look at bedroom ceiling design ideas before the first idea below.
Each idea below pairs a look with practical guidance on hanging height, bulb warmth, and spacing, so the finished result feels styled rather than improvised. Small choices add up fast: a warmer bulb softens a white kitchen, a trio of pendants balances a long island, and a dimmer lets one fixture serve both prep work and dinner parties. Read through the full list, note the styles that match the cabinets and hardware already in place, and pick the pendant plan that fits the way the kitchen gets used every day.
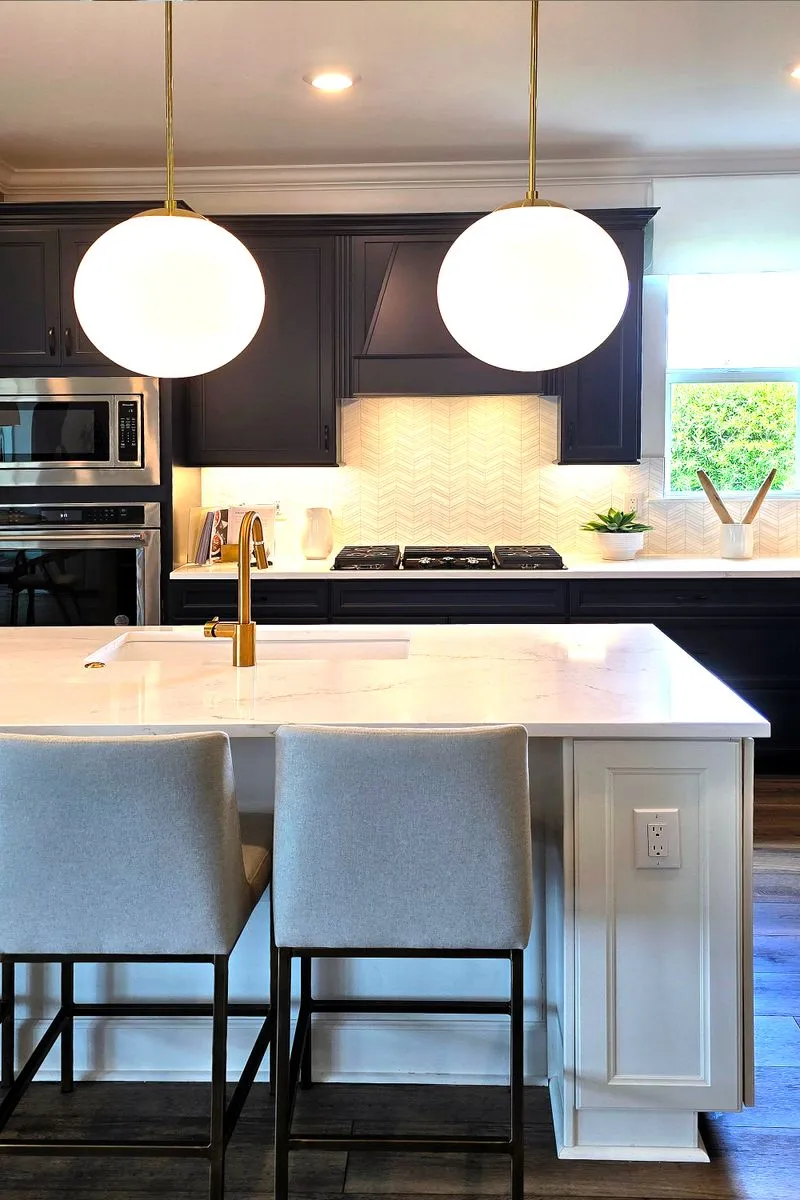
Glass Globe Glow
Credit: Christopher Moon
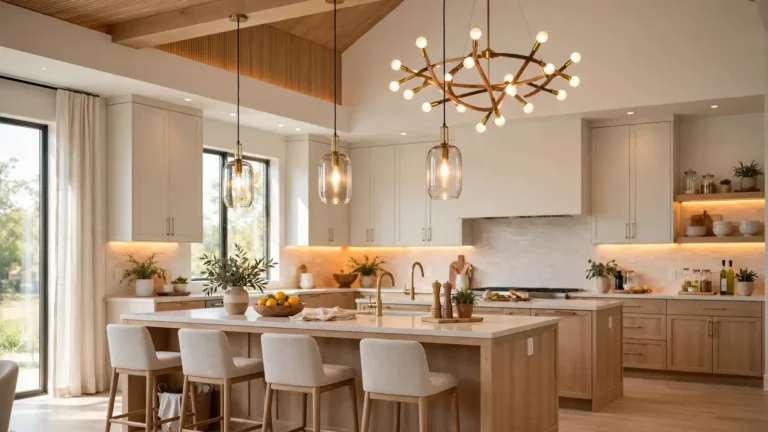
Clear glass globes scatter light in every direction, which makes them a natural fit above an island that doubles as a homework station and a breakfast bar. A single oversized globe suits a compact island, while a row of three smaller globes keeps a long island evenly lit without dark patches. Clear glass shows the bulb, so pick a warm-toned Edison-style bulb for a soft glow rather than a harsh white bulb that flattens the room.
Glass also keeps sightlines open, so the pendant never blocks conversation across the island. Hang each globe so its bottom sits about 30 inches above the countertop, then check the line from the doorway before final tightening.
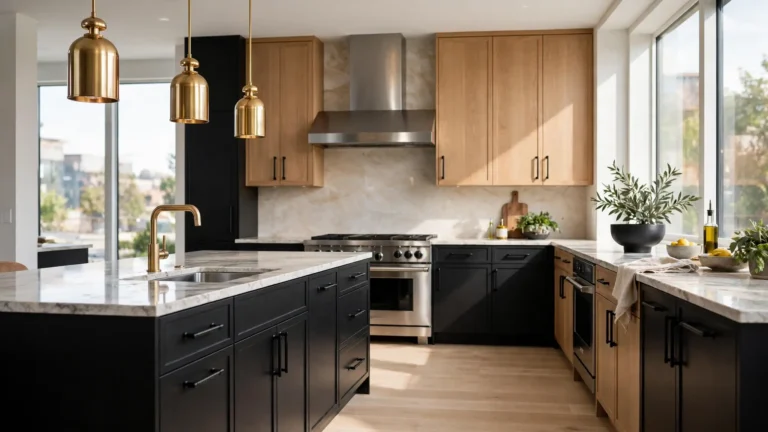
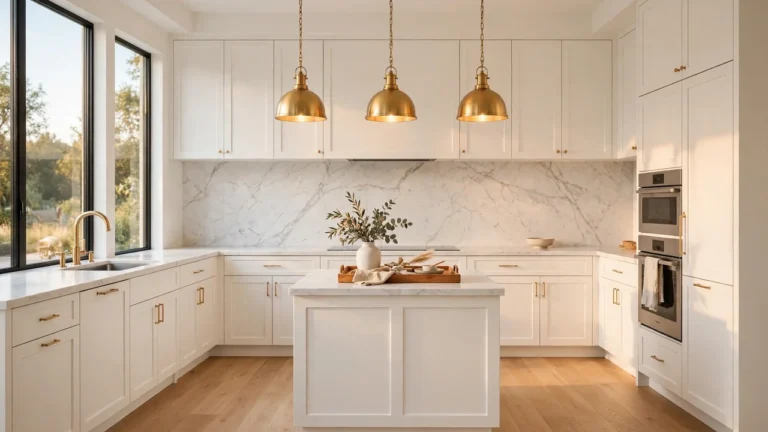
Brass Pendant Warmth

Credit: Curtis Adams
- Brushed brass reads softer than polished gold and hides fingerprints well.
- Pair brass pendants with matching cabinet pulls for a tied-together look.
- Warm white bulbs near 2700K keep brass glowing rather than glaring.
- Two medium pendants suit islands up to six feet long.
- Wipe shades with a dry microfiber cloth to keep the finish even.
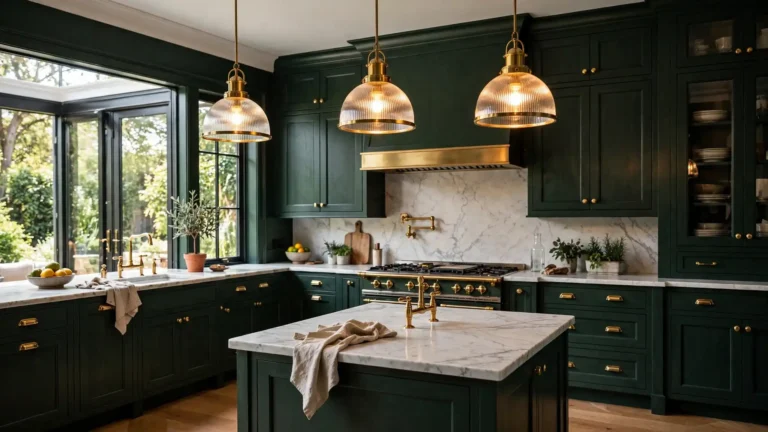
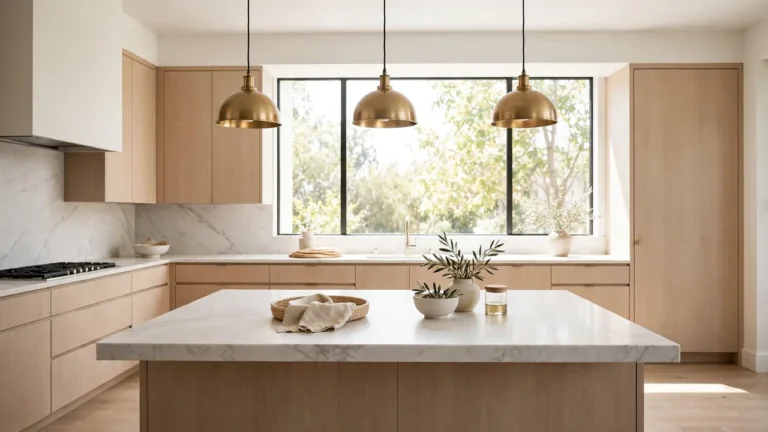
Brass brings instant warmth to white and gray kitchens, and the metal ages gracefully when the finish is lacquered. Avoid mixing brass with chrome in the same sightline, since competing metals can make the island feel unsettled. One consistent metal story across pendants, faucets, and pulls gives the whole kitchen a calm, collected feel.
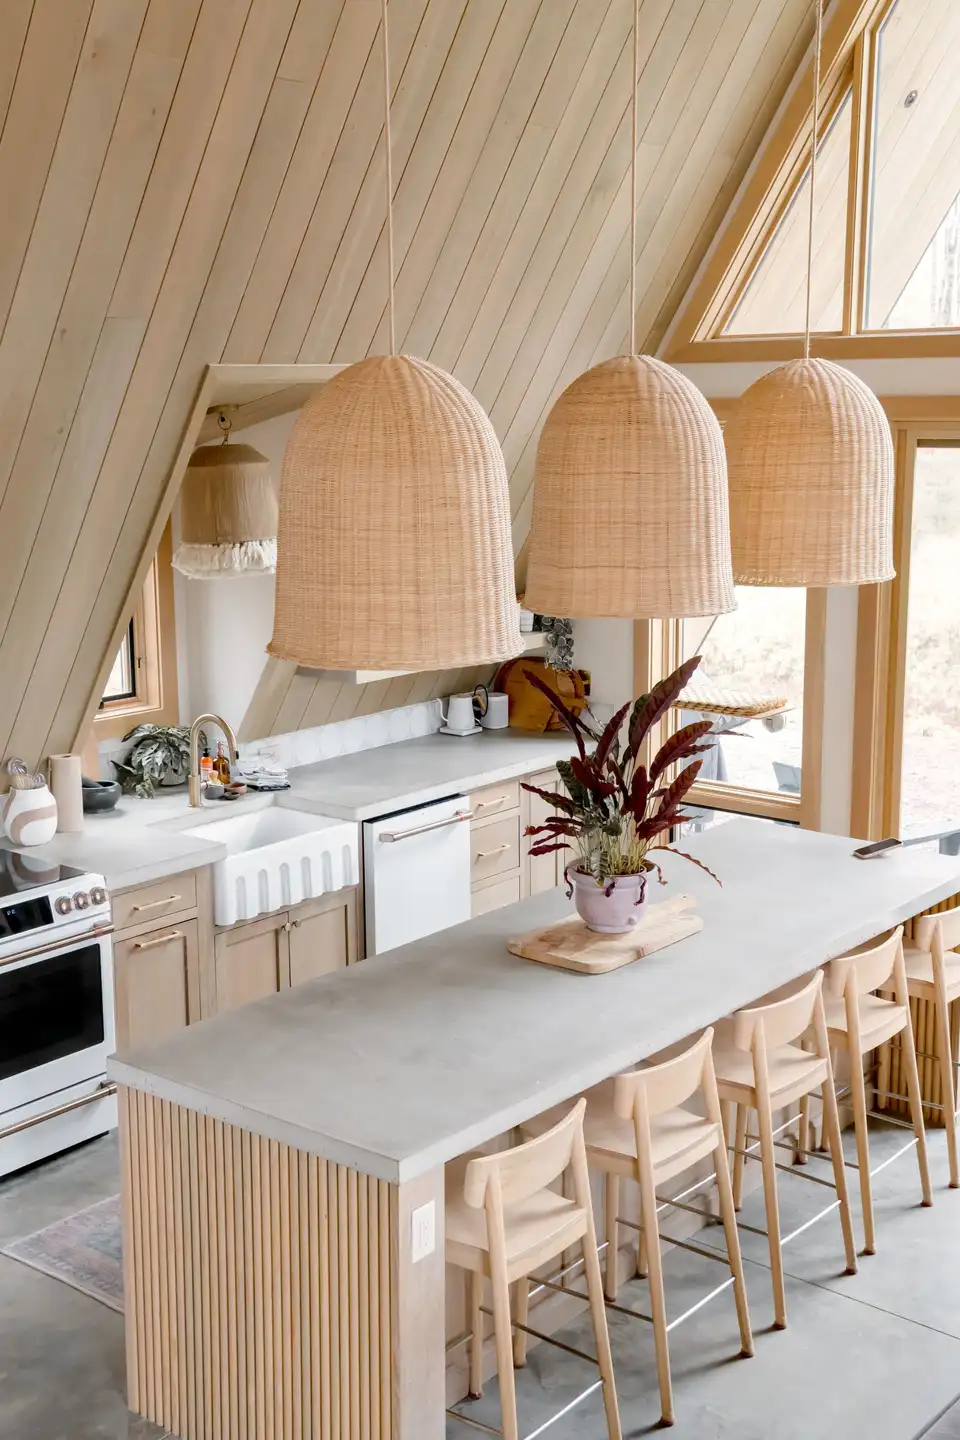
Rattan Island Charm
Credit: Andrea Davis
Quick Tip: Rattan shades cast lovely patterned shadows, so hang them slightly higher than glass pendants to let the pattern spread across the island surface.
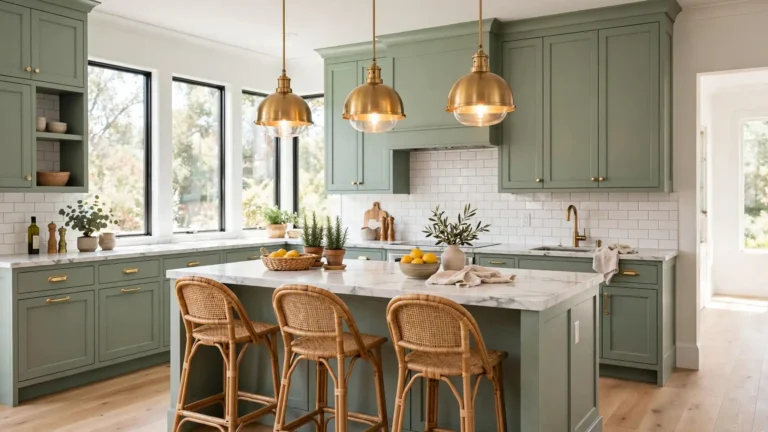
Natural rattan softens kitchens that lean hard into stone and steel, and its woven texture adds warmth without adding color. Rattan works best in rooms with some natural light, since the shade itself filters the bulb and lowers overall brightness. Pair rattan pendants with wood stools and a jute runner to complete the relaxed, coastal-leaning look, and keep the island styling simple so the woven texture stays the focal point rather than competing with crowded decor.
Bare To Beautiful

Credit: Curtis Adams
BEFORE: A bare island with a single flush-mount ceiling light feels flat and shadowy, and the countertop edge disappears into gloom after sunset.
AFTER: Three pendants hung at even intervals give the island a clear focal point, and the pool of warm light makes the whole kitchen feel welcoming.
The change costs less than a cabinet refresh yet shifts how the entire room reads. Start by marking pendant centers on the ceiling with painter’s tape, then check the spacing from every doorway before drilling. That one extra check prevents the most common regret, which is pendants that look centered from one angle and off-center from another.
Pendant Hanging Steps

Credit: Alef Morais
- Measure the island length and divide it into equal sections for each pendant.
- Mark the ceiling centers with painter’s tape and check them from every doorway.
- Hang each pendant so its bottom sits 30 to 36 inches above the countertop.
- Level all pendants with a laser level or a long straight board.
- Install a dimmer so one fixture can serve both prep work and dinner parties.
Careful measuring beats expensive fixtures every time, since even a beautiful pendant looks wrong when it hangs crooked or off-center. Work slowly through the marks, and have a second person stand back and confirm the line while the first person adjusts. That simple habit saves patching holes later.
Glass Versus Metal

Credit: Curtis Adams
| Feature | Glass Pendants | Metal Pendants |
|---|---|---|
| Light spread | Wide and even | Focused downward |
| Cleaning | Shows dust fast | Wipes clean easily |
| Best room | Small or dark kitchens | Large, bright kitchens |
| Bulb visibility | Bulb on display | Bulb hidden inside |
Glass suits kitchens that need every bit of brightness, while metal suits rooms where directed task light matters more than ambience. Many cooks mix the two ideas by choosing glass pendants with a metal cap, which gives open light plus a finished silhouette. Either way, match the bulb warmth across all pendants so the island glows evenly from end to end every single evening.
Pendant Decor Rules
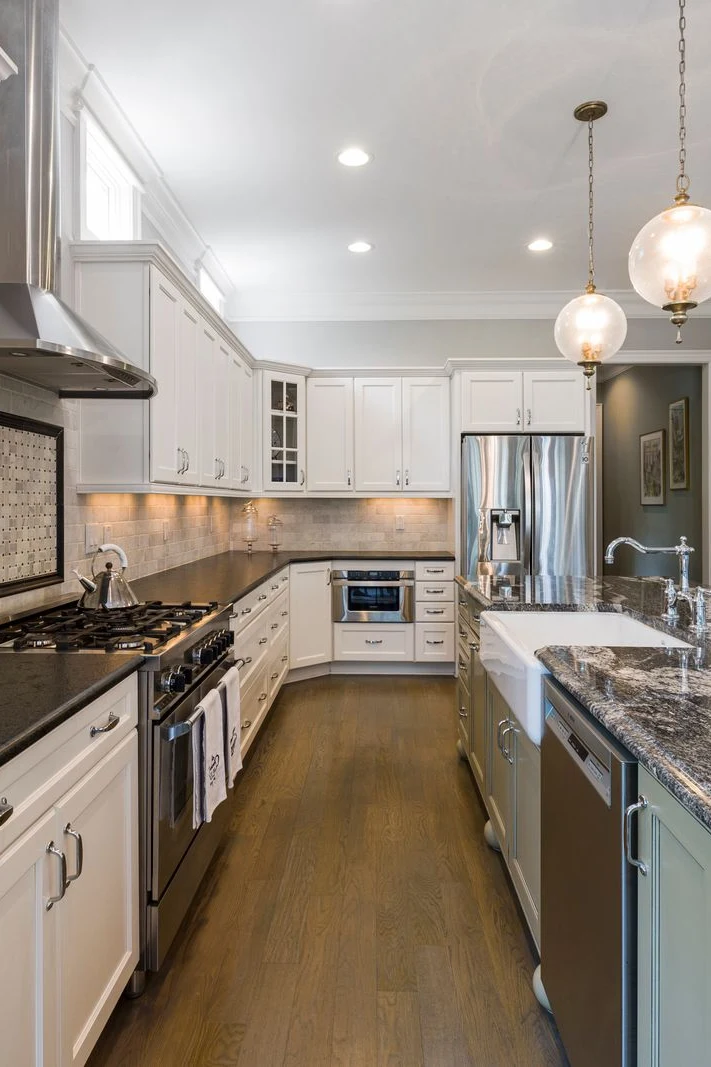
Credit: Curtis Adams
Do:
- Match pendant finish to cabinet hardware for a cohesive look.
- Keep all pendants at the same height across the island.
- Use a dimmer to shift from task light to evening ambience.
Don’t:
- Mix three different pendant styles over one island.
- Hang pendants so low that they block sightlines across the room.
- Skip measuring island length before ordering fixtures.
Consistency matters more than price for pendant style, since matching fixtures read as intentional while mixed fixtures read as leftover. That rule holds even in eclectic kitchens, where one repeated finish can tie very different elements together. I’ve seen this work well in many cases where a single brass or black finish calmed a busy room.
Small Island Facts

Credit: Maria Lucia Sampaio
Cost: A single quality pendant often costs less than a trio of budget fixtures.
Time: Most single-pendant installs finish within two hours.
Skill Level: Beginner-friendly when a junction box already exists above the island.
Best For: Apartments, galley kitchens, and islands under four feet long.
Small islands need only one strong pendant, and a single statement shade often looks better than two cramped fixtures fighting for space. Choose a shade with some visual weight, such as ribbed glass or woven rattan, so the lone pendant holds its own against cabinets and appliances. Then keep the surrounding decor minimal so the light stays the star.
Lantern Light Style

Credit: Curtis Adams
Lantern pendants bring a structured, almost architectural shape to the kitchen, and their open frames keep the light airy rather than heavy. Black metal lanterns suit farmhouse and industrial rooms, while brass or gold lanterns lean traditional and pair well with marble counters. The cage shape also makes bulb changes easy, since most lanterns open from the bottom or side without tools.
Scale matters with lanterns more than with globes, because a lantern that looks right in a showroom can overwhelm a low ceiling at home. Measure ceiling height first, then choose a lantern whose height leaves at least seven feet of clearance beneath it. That rule keeps the fixture dramatic without turning it into a head-height obstacle.
Farmhouse Pendant Ideas

Credit: Curtis Adams
- Enamel dome shades in cream or sage read instantly farmhouse.
- Galvanized metal pendants add rustic texture without darkening the room.
- Wood bead chandeliers soften long islands with a handcrafted feel.
- Mason jar pendants suit casual kitchens but need frequent dusting.
- Pair farmhouse shades with open shelving and shiplap for a full look.
Farmhouse pendants work because they feel gathered rather than ordered from a catalog, and small imperfections in enamel or wood only add to the charm. Keep the palette quiet, with whites, creams, and soft greens, so the island feels calm rather than themed. A little restraint keeps the farmhouse look fresh instead of costume-like.
Black Metal Pendants

Credit: Max Vakhtbovych
Quick Tip: Matte black pendants ground a white kitchen beautifully, but they absorb light, so pair them with bulbs one step brighter than the ones used in glass shades.
Black metal pendants act like punctuation above an island, giving the eye a clear anchor in an otherwise pale room. Dome, cone, and cylinder shapes all work in black, and the finish pairs naturally with black faucets, cabinet pulls, and window frames. For balance, repeat black in at least one other spot, such as bar stools or a faucet, so the pendants feel connected to the room rather than floating alone above the island.
Dated To Dreamy

Credit: Alex Tyson
BEFORE: A single builder-grade flush mount washed the island in flat light, and the dated brass finish clashed with the newer stainless appliances.
AFTER: Three slim black pendants with warm bulbs give the island definition, and the room suddenly feels designed rather than assembled.
Swapping pendants is one of the fastest kitchen upgrades, since most installs reuse the existing junction boxes and finish in an afternoon. Before ordering, photograph the island from the main doorway and note the cabinet color, countertop tone, and hardware finish. Those three details narrow the choices fast and prevent a return trip to the store.
Style Matching Steps
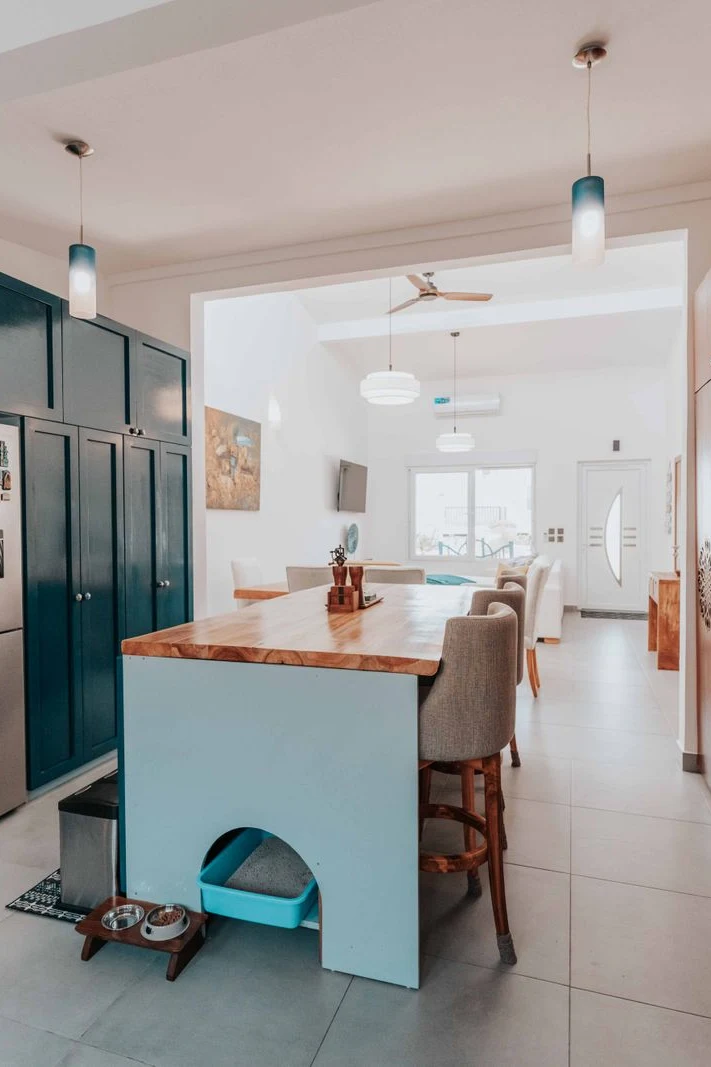
Credit: Keegan Checks
- Photograph the island from the main doorway to see the room as guests see it.
- List the dominant finishes: cabinet color, countertop tone, and hardware metal.
- Pick a pendant finish that matches one existing metal in the room.
- Choose a shade shape that echoes another shape nearby, such as arched doorways or round stools.
- Test one pendant before committing to a full row.
Matching pendants to the room beats chasing trends, since a fixture that echoes existing finishes looks settled from day one. Many homeowners find that kitchen island pendant lighting ideas feel easiest to choose once the room’s own palette does the narrowing. In my experience, that palette-first approach prevents the most common mistake, which is falling for a showroom pendant that fights the kitchen at home.
Single Versus Trio

Credit: Max Vakhtbovych
| Feature | Single Pendant | Trio of Pendants |
|---|---|---|
| Island length | Under four feet | Six feet or longer |
| Light coverage | One central pool | Even across the island |
| Visual impact | One bold statement | Rhythm and repetition |
| Install effort | One junction box | Three boxes, more wiring |
Short islands shine with one oversized pendant, while long islands need a trio to avoid dark gaps between pools of light. Islands between four and six feet can go either way, and the deciding factor is usually ceiling height and shade size. When in doubt, mock up the layout with paper templates taped to the ceiling before committing to wiring.
Vintage Find Rules
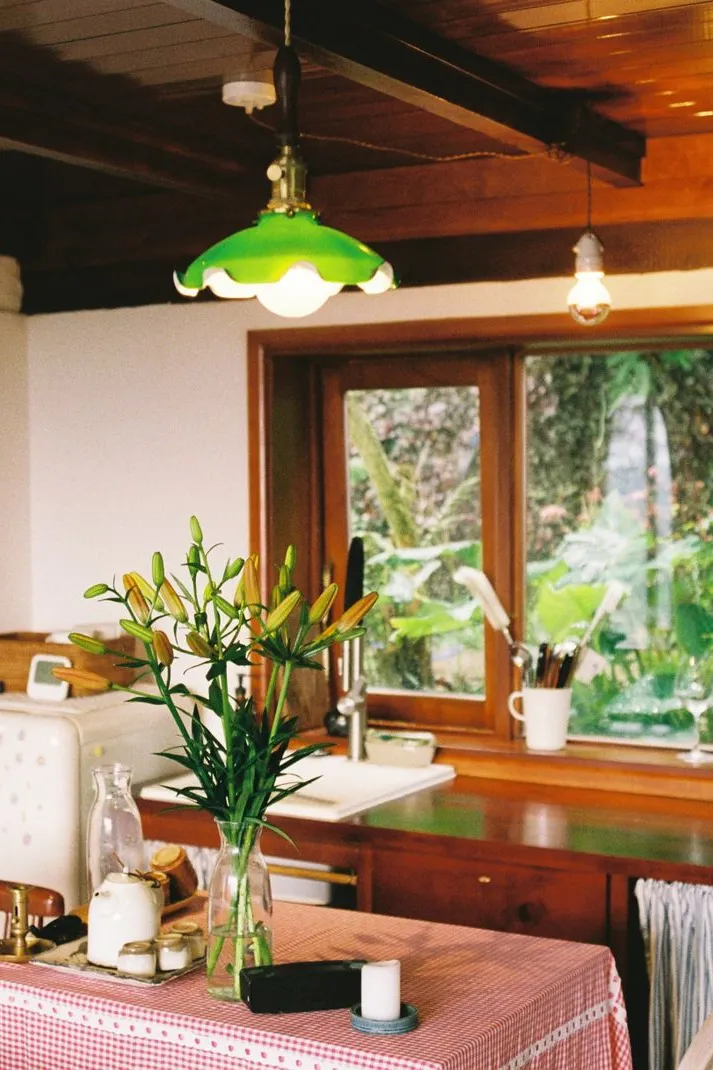
Credit: Dương Nhân
Do:
- Check old fixtures for frayed cords and cracked sockets before installing.
- Rewire vintage pendants with modern cords for safety.
- Use LED Edison bulbs to keep heat low inside old shades.
Don’t:
- Install a vintage fixture with damaged wiring to save money.
- Mix one vintage pendant with two modern ones over the same island.
- Ignore weight limits on older ceiling boxes.
Vintage pendants add character that new fixtures struggle to fake, and a little patina tells a story that polished metal cannot. Safety comes first, though, since old wiring and heavy shades can turn a bargain into a hazard. A quick electrician check costs little and keeps a beautiful find safe for daily use.
Budget Pendant Facts

Credit: Get Lost Mike
Cost: Stylish pendants start near thirty dollars each at home stores.
Time: A full trio swap usually takes one weekend afternoon.
Skill Level: Beginner-friendly with basic wiring knowledge and the breaker off.
Best For: Renters and first-time renovators testing a new look.
Budget pendants prove that good lighting does not require a designer price tag, especially when the shade shape is simple and the finish is consistent. Spend the savings on a dimmer switch and warm bulbs, since those two upgrades change how any pendant feels at night. That’s why many experts recommend budgeting for controls first and fixtures second.
Woven Shade Corners
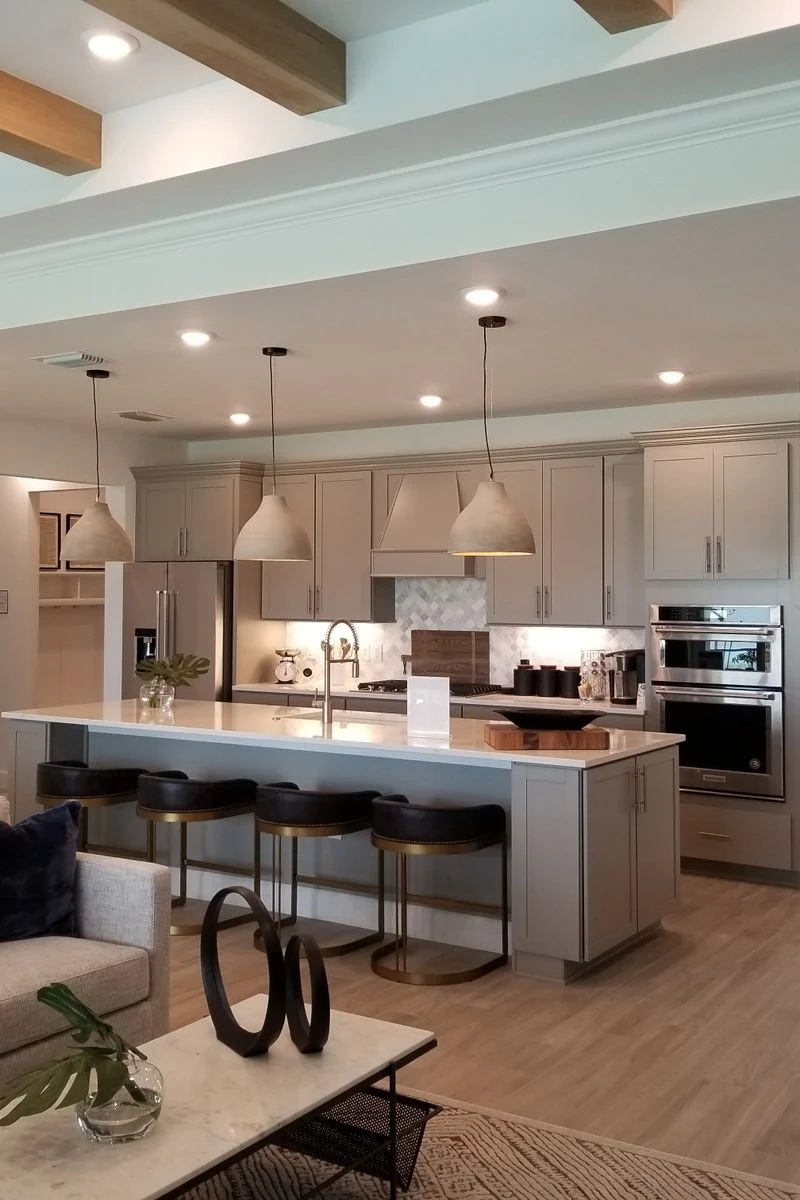
Credit: Christopher Moon
Woven shades bring texture to kitchens that otherwise lean smooth and hard, and seagrass, jute, and bamboo each filter light a little differently. Seagrass gives a tight, even weave with a soft glow, while open bamboo weaves throw livelier shadows across the countertop. Both materials suit coastal and boho kitchens, and both pair naturally with wood stools and open shelving.
Dust woven shades gently with a dry brush every few weeks, since trapped dust dulls the glow over time. Avoid hanging woven shades directly above a steamy cooktop, where moisture can warp natural fibers. A spot over the seating end of the island keeps the texture visible without exposing it to constant steam.
Industrial Edge Ideas

Credit: Max Vakhtbovych
- Caged metal shades give an industrial look without blocking light.
- Exposed Edison bulbs complete the factory-inspired feel.
- Blackened steel pairs well with concrete counters and brick walls.
- Pipe-style mounts add height drama in rooms with tall ceilings.
- Keep one warm wood element nearby to soften the metal edge.
Industrial pendants suit lofts and modern farmhouse kitchens alike, since their honest materials sit comfortably beside both brick and shiplap. The trick is restraint: two or three industrial fixtures make a statement, while a full set of cages, pipes, and chains can tip the room into theme-park territory. Balance metal with wood and the look stays grounded.
Small Kitchen Tricks

Credit: Hakim Santoso
Quick Tip: Slim cord pendants with small shades keep a compact kitchen feeling open, since bulky shades can crowd the sightline in tight rooms.
Small kitchens benefit most from pendant discipline, because every fixture competes for visual space. Choose one slim pendant per four feet of island, hang it a touch higher than usual, and let the light do its work without a heavy shade stealing attention. For wall and ceiling ideas that complement a compact kitchen, browse dining room wall decor ideas and borrow the gallery-style tricks that make small rooms feel layered rather than crowded and cramped at dinner.
Cluttered To Calm

Credit: Derwin Edwards
BEFORE: Tangled cords, mismatched bulbs, and a crooked shade made the island feel chaotic, even when the counters were clear.
AFTER: Matching cords, identical warm bulbs, and level shades give the island a calm rhythm that makes the whole kitchen feel tidier.
Cord management is the unglamorous secret behind polished pendant rows, and a few cable clips plus matching bulb temperatures can transform a messy install. Check cord lengths with a level before final tightening, since cords stretch slightly over the first weeks. A ten-minute recheck a month after install keeps the row straight for years and preserves the calm, tidy look.
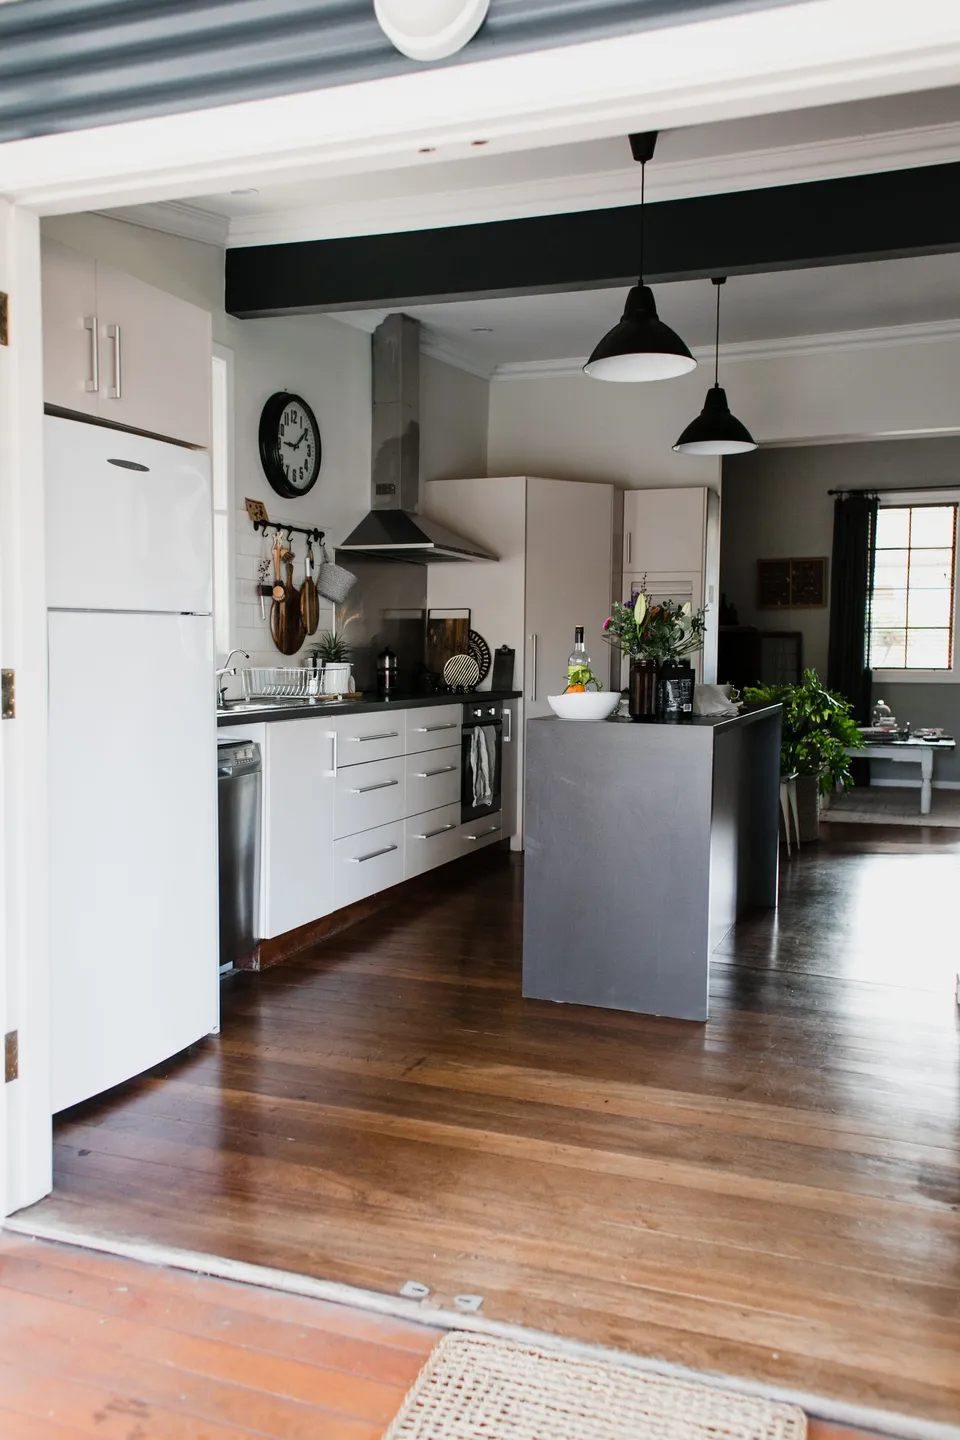
Refresh Seasonally Steps
Credit: Rachel Claire
- Swap cool white bulbs for warm ones as days shorten in autumn.
- Add a small seasonal garland along the island edge, clear of the shades.
- Change shade accessories, such as rattan wraps, with the season.
- Wipe shades and cords during each seasonal swap.
- Re-check dimmer settings so evening light stays soft.
Seasonal refreshes keep pendant lighting feeling current without new fixtures, since bulb warmth alone can shift a kitchen from summer bright to winter cozy. Keep changes small and reversible, such as a garland or a bulb swap, so the island never feels over-decorated. That light touch preserves the clean look that made the pendants appealing in the first place.
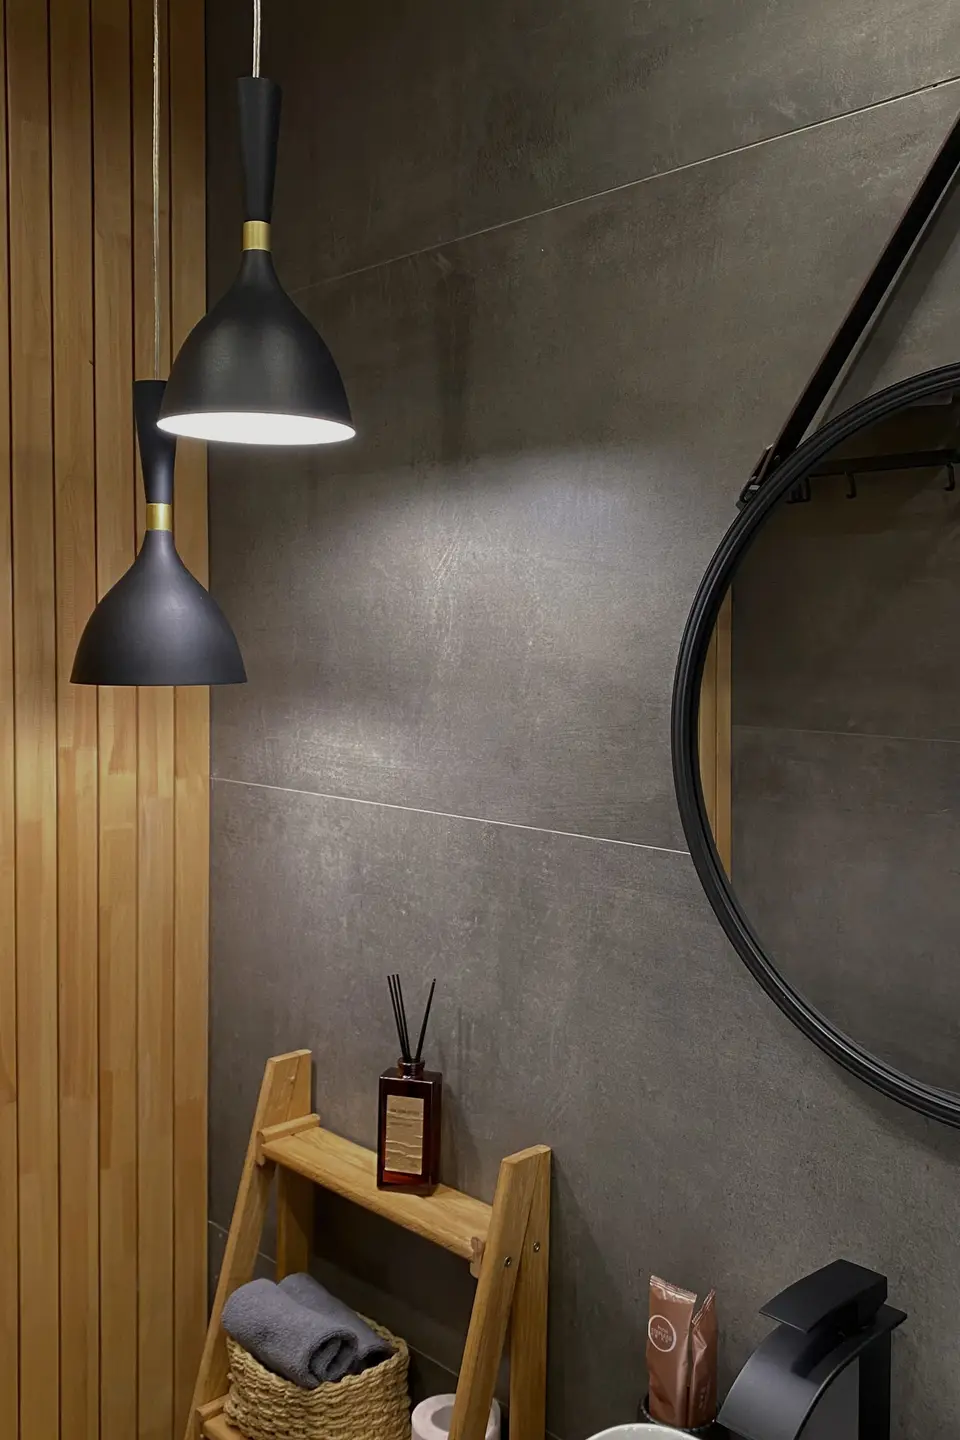
Matte Versus Gloss
Credit: #artdjartem
| Feature | Matte Finish | Gloss Finish |
|---|---|---|
| Fingerprint visibility | Hides smudges well | Shows every touch |
| Light reflection | Soft, diffused glow | Bright highlights |
| Best pairing | Matte cabinets | Glossy counters |
| Cleaning effort | Simple wipe-down | Needs polishing |
Matte finishes forgive daily life, while gloss finishes reward careful upkeep with extra sparkle. Match the pendant finish to the dominant finish nearby: matte pendants with matte cabinets, gloss pendants with glossy stone. That simple pairing rule keeps the island looking deliberate rather than accidental, and it also makes future touch-ups easier, since matching finishes age in similar ways and show wear at a similar pace across the room.
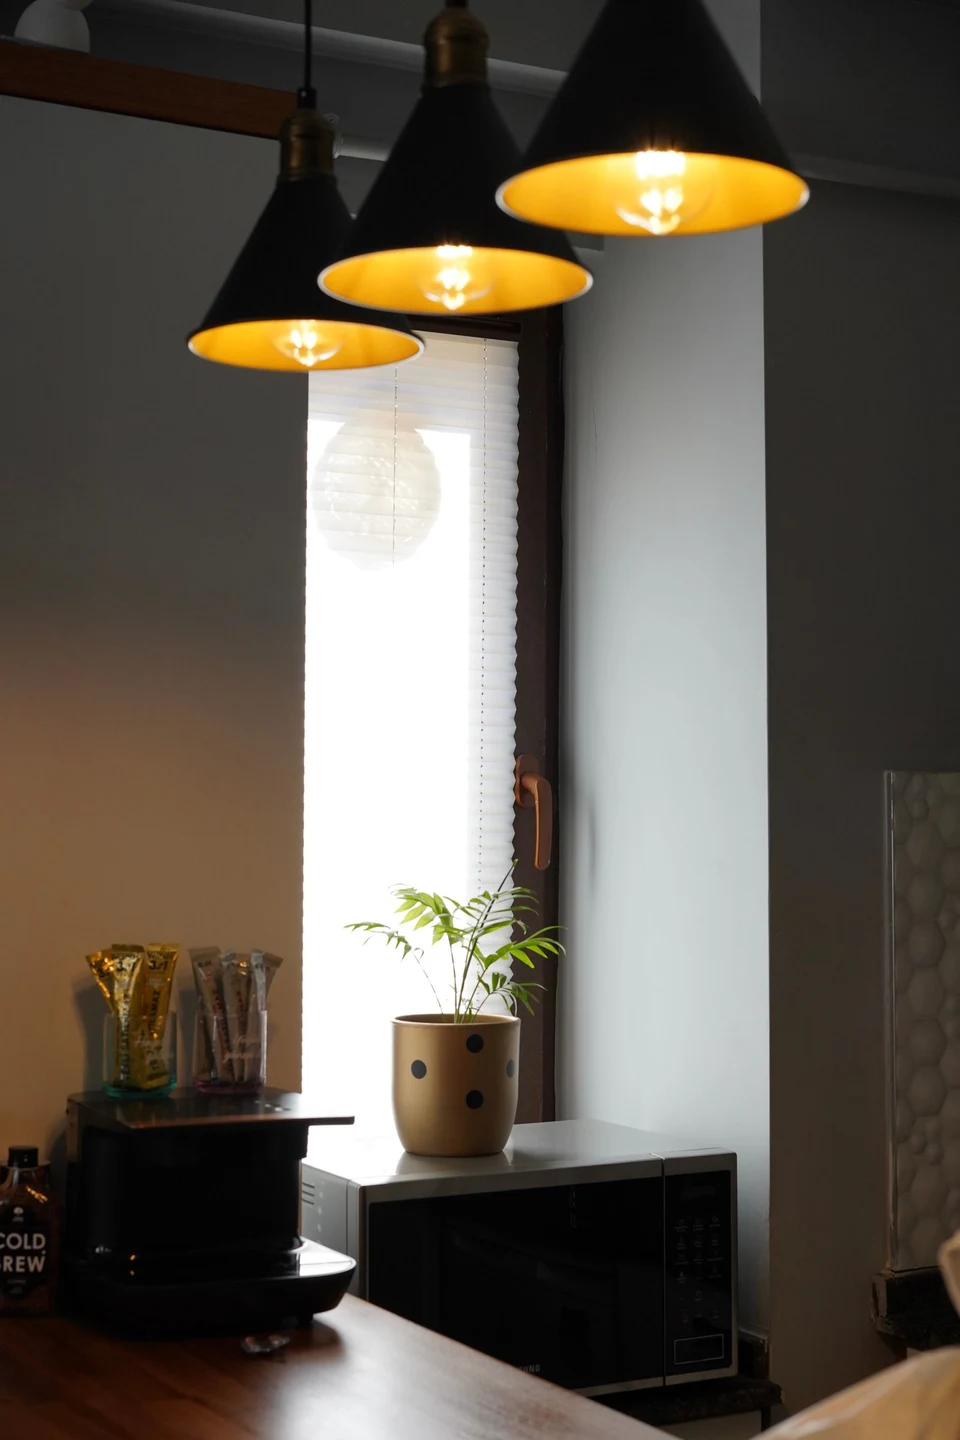
Mixing Metal Rules
Credit: Beyza Oruk
Do:
- Limit mixed metals to two finishes across the whole kitchen.
- Repeat each metal at least twice so the mix looks planned.
- Let one metal dominate and use the second as an accent.
Don’t:
- Combine brass, chrome, copper, and black in one sightline.
- Match pendants to appliances while ignoring cabinet hardware.
- Assume all warm metals blend together automatically.
Two metals can enrich a kitchen, but three or more usually fragment it, since the eye reads each new finish as a separate decision. A reliable pairing is black plus brass, which balances cool structure with warm glow. Anchor the dominant metal in the pendants and repeat the accent in pulls or faucets for a finished feel.
Morning Glow Facts

Credit: Curtis Adams
Cost: Smart bulbs with adjustable warmth cost only slightly more than standard LEDs.
Time: Swapping to smart bulbs takes under fifteen minutes for a full row.
Skill Level: No wiring needed, just a phone app and a Wi-Fi connection.
Best For: Early risers who want bright mornings and soft evenings from one fixture.
Morning light should feel crisp without feeling cold, and tunable bulbs let one pendant row serve both moods across the day. Set a bright, cool scene for breakfast prep and a warm, dim scene for evening wind-down, then let the schedule handle the shift automatically. That small automation makes the kitchen feel thoughtfully lit around the clock.
Statement Island Lighting

Credit: Stephen Tilmon
A single oversized pendant can carry an entire kitchen, and the drama comes from scale rather than ornament. Look for a shade at least twenty inches wide for islands over six feet, and hang it dead center so the statement reads as confident rather than accidental. Oversized shades suit rooms with nine-foot ceilings or higher, where the fixture has room to breathe.
Balance a statement pendant with quiet surroundings, keeping stools simple and counters mostly clear so the light stays the hero. When the rest of the island stays calm, even a bold fixture feels elegant rather than loud. That restraint is what separates a showpiece from a distraction, and it costs nothing at all.
Conclusion
Pendant lights shape how a kitchen island feels from the first coffee of the day to the last snack at night, and kitchen island pendant lighting ideas give every island a path to a warmer, more polished glow. Start with the room’s own finishes, pick a shade shape that fits the island length, and hang every fixture at a consistent height with warm, dimmable bulbs. Small habits like measuring twice, matching metals, and rechecking cord levels turn a simple fixture swap into a lasting upgrade. Save this guide to the Pinterest board for the next kitchen refresh, and share it with anyone planning an island update of their own.