24 Checkerboard Floor Kitchen Ideas for Bold, Timeless Charm
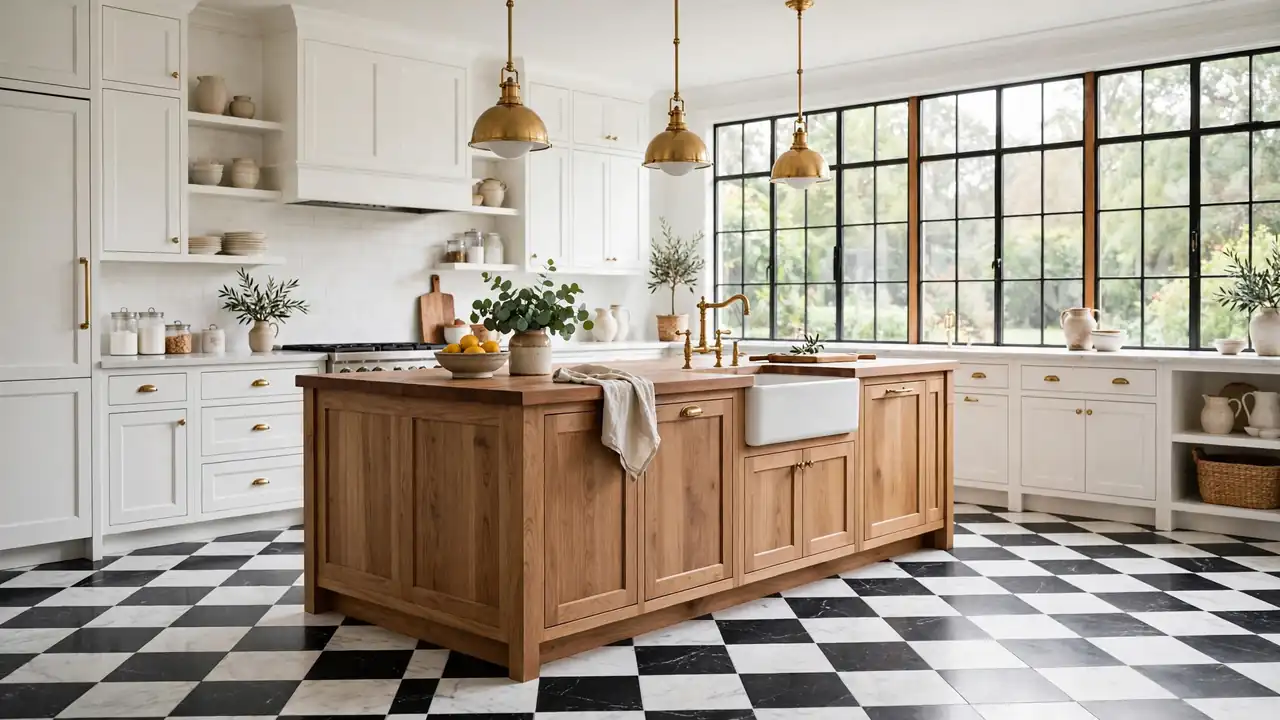
Few floors change a kitchen’s mood faster than a bold checkerboard, and these checkerboard floor kitchen ideas prove the pattern suits far more than grand farmhouse homes. Black and white checks ground white cabinets, warm up wood, and give even a rental sized galley a sense of ceremony. In my experience, the floor is the one surface guests remember after the meal ends.
The twenty four kitchens ahead cover marble and porcelain tiles, painted shortcuts, peel and stick options, and softer sage and cream variations, with honest notes on cost, layout, and cleaning. Where the kitchen opens into the living room, the pattern sets the tone for both spaces; carry the rhythm through with textured walls like the ones in these fluted wood accent wall ideas, where warm timber slats echo the floor’s strong lines. Pick the tile size that fits your room first, and the rest follows.
Classic Black White Marble
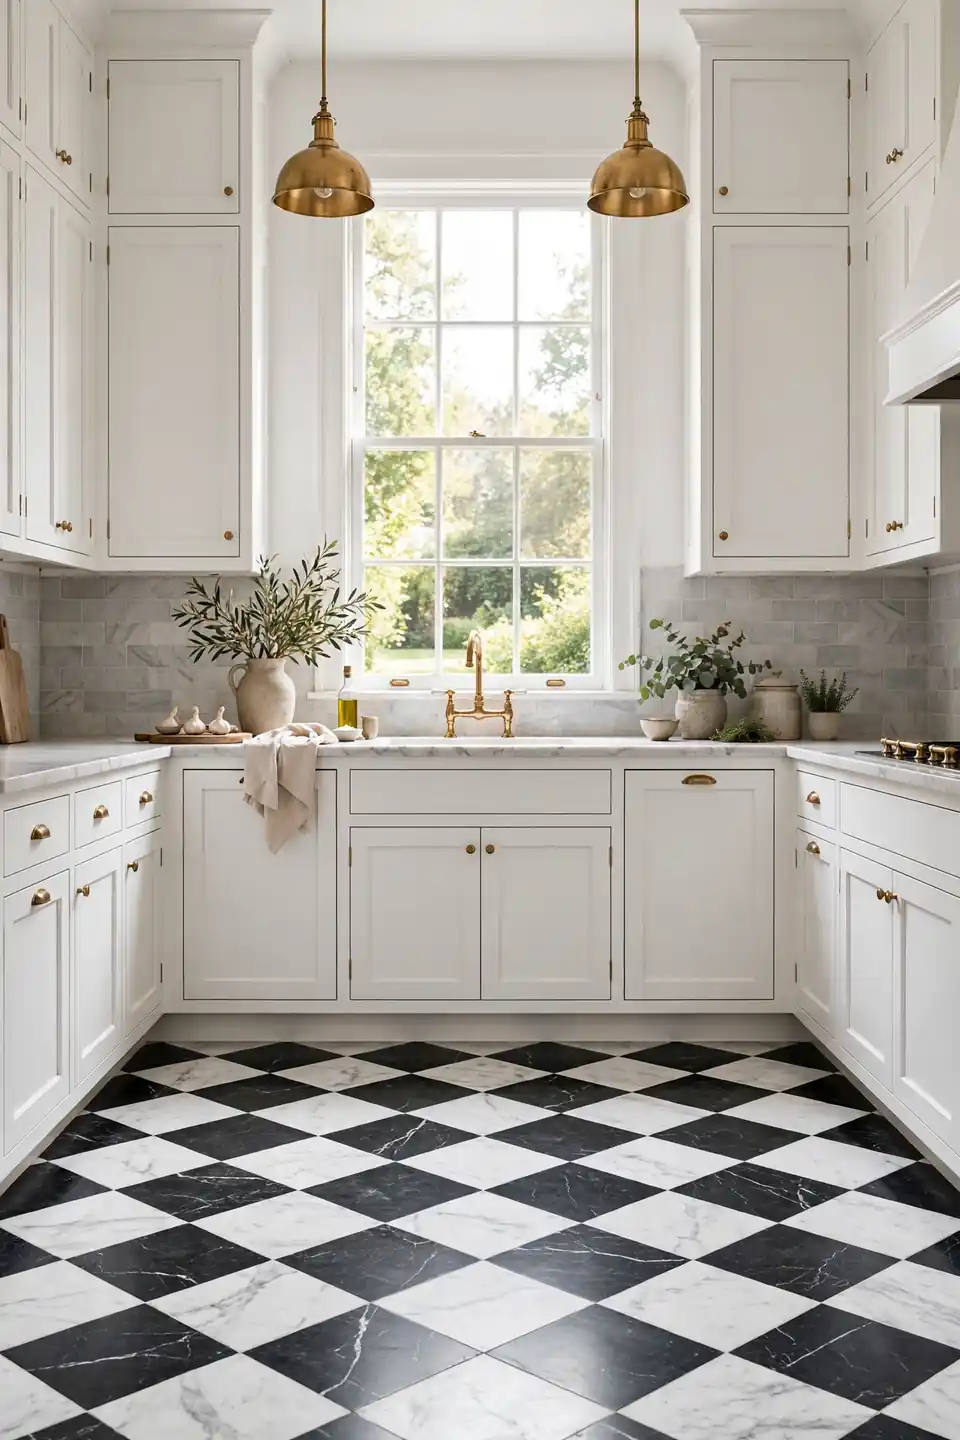
Real marble laid in black and white squares is the original version of this floor, and it still sets the standard. The stone’s grey veining softens the contrast, so the pattern reads elegant rather than stark. White shaker cabinets above it keep the room feeling calm and tailored.
Choose honed marble over polished if the kitchen sees heavy traffic; the matte finish hides crumbs and softens reflections from pendant lights. Seal the stone twice a year and wipe spills quickly, especially wine and tomato sauce. The upkeep is real, but so is the payoff: a floor that looks better after a decade than the day it was laid.
Warm Wood Cabinet Pairing
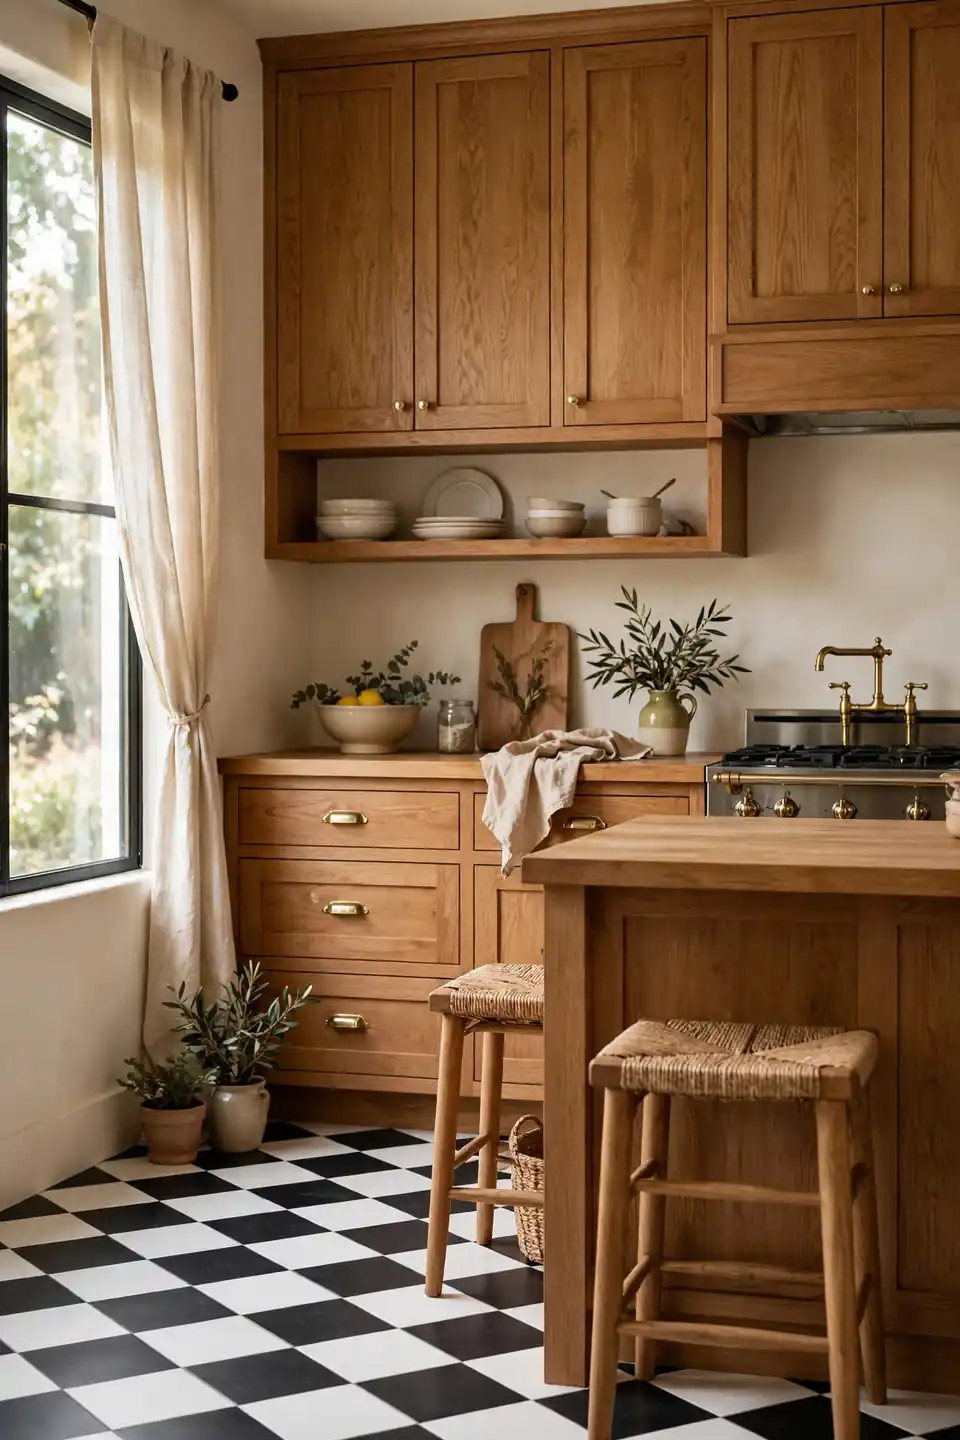
- Honey oak cabinets warm the cool contrast of black and white tiles instantly.
- Walnut lowers the mood a notch, pairing well with brass hardware and leather stools.
- Painted wood in cream keeps the checks graphic without a cold edge.
- Open grain oak needs a matte finish so it does not fight the floor’s pattern.
- Repeat one wood tone in stools or shelves so the pairing feels deliberate.
Wood is the peacekeeper between a graphic floor and stainless appliances. The grain breaks up the grid, and its warmth keeps the room from reading like a diner. Match the wood’s undertone to your tile: warm oak with creamy whites, cooler ash with blue grey marble.
Brass Fixtures Finishing Touch
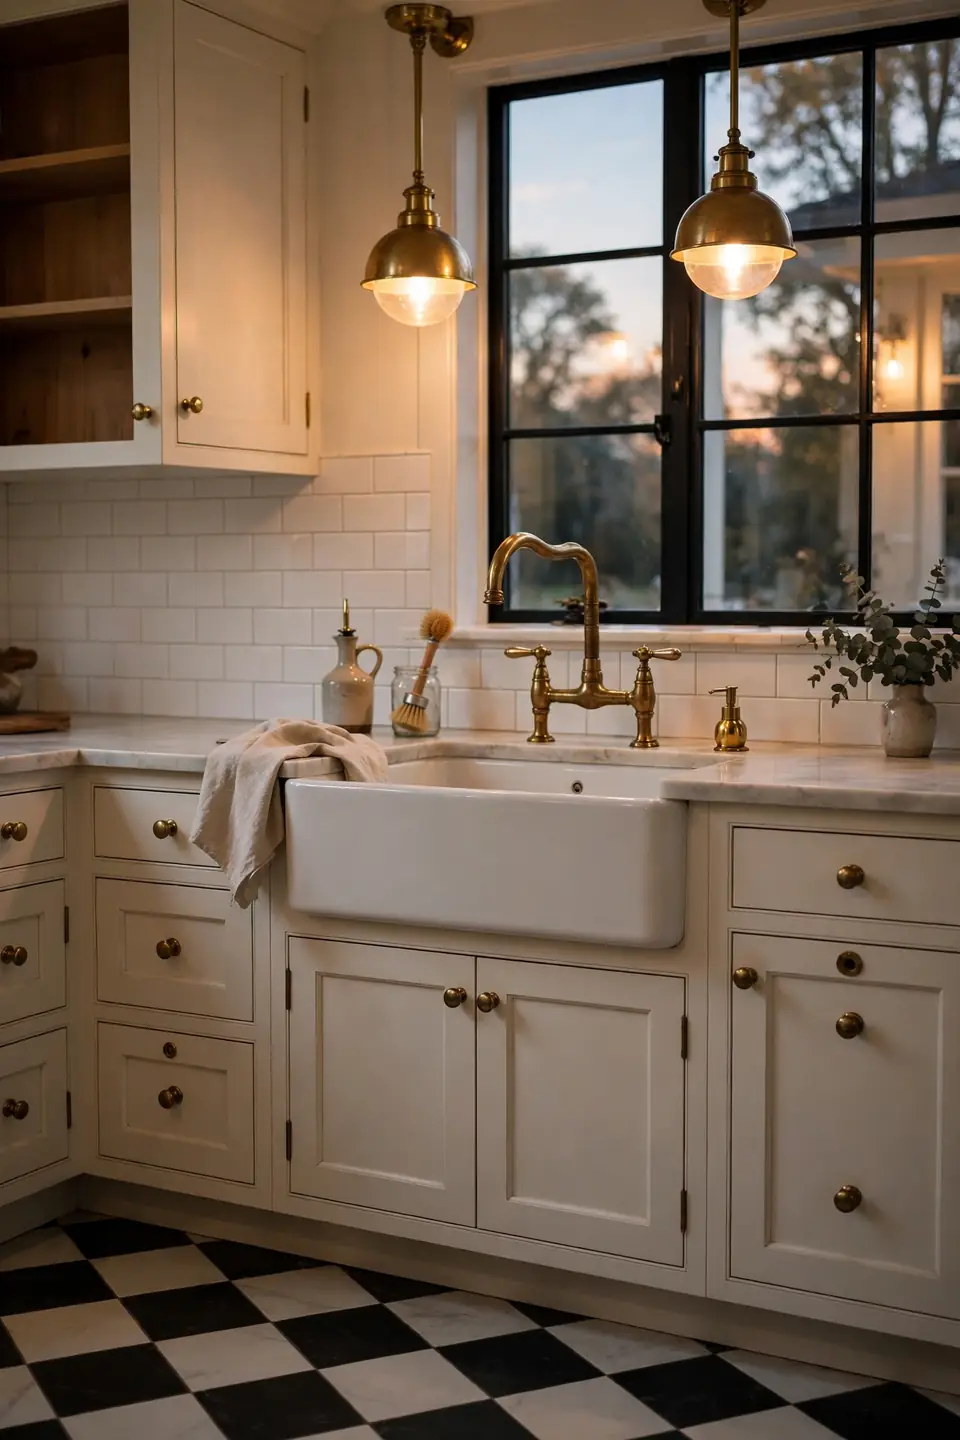
Quick Tip: Repeat brass at three heights: cabinet knobs, the faucet, and pendant lights. The triangle of warm metal pulls the eye around the room, and the black tiles make each brass piece glow a little brighter against the contrast.
Unlacquered brass develops a soft patina that suits the timeless mood of a checked floor. It will darken near the sink and stay bright on the pendants, and that gentle unevenness is part of the charm. Brass also bridges warm cabinet woods and cool stone without clashing with either. Polish only if you prefer a formal look; most farmhouse and bistro kitchens wear the lived in finish better.
Farmhouse Checkerboard Makeover
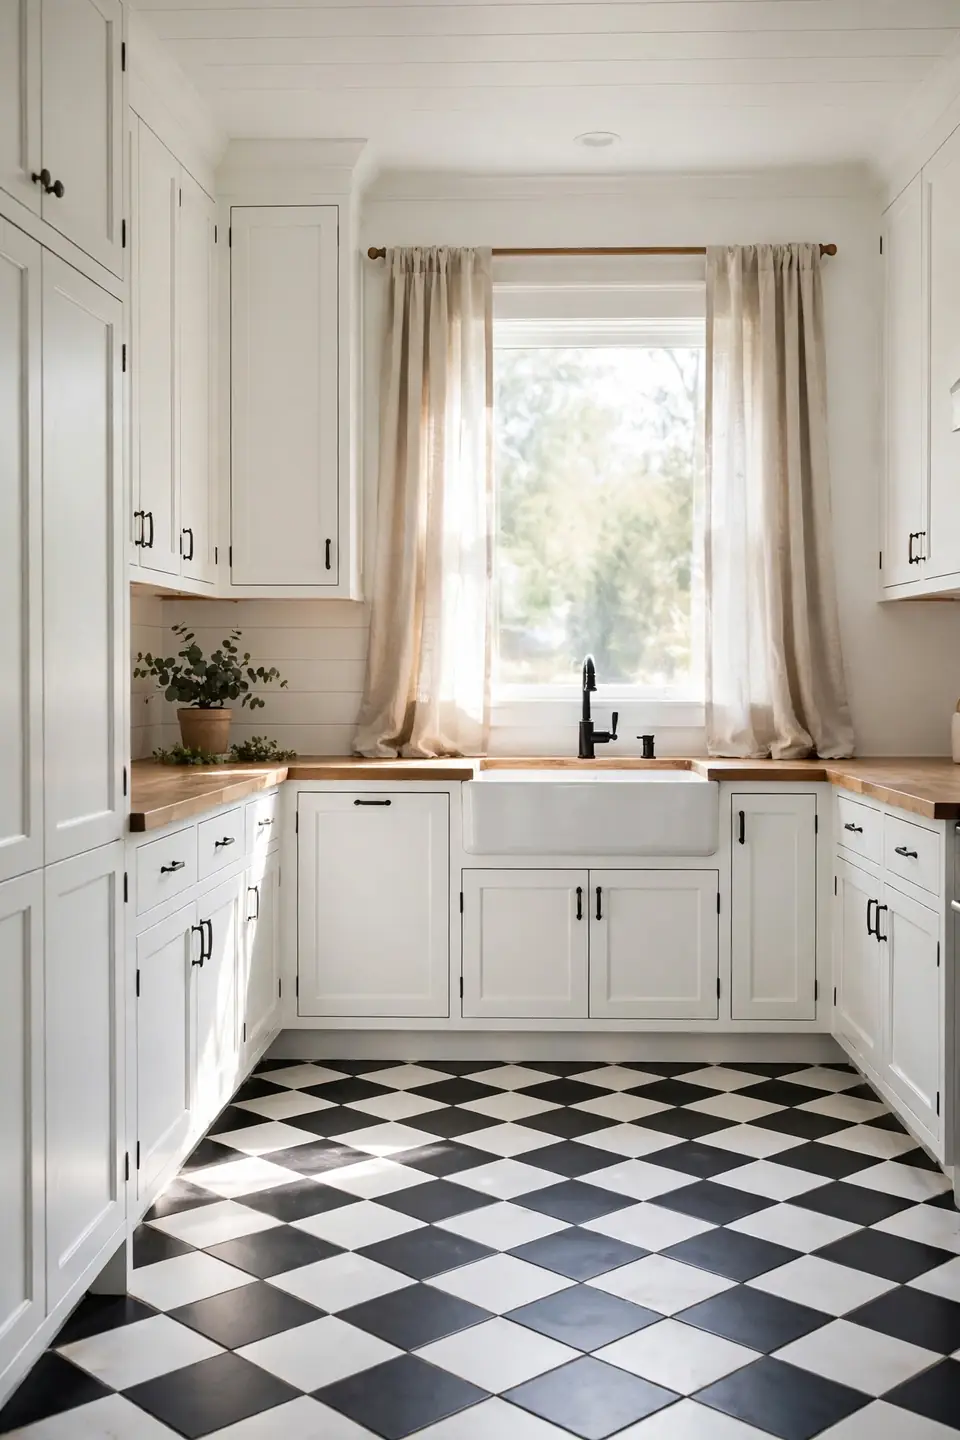
BEFORE: The farmhouse kitchen had worn vinyl sheet flooring in a faded beige swirl. White cabinets looked washed out against it, the room felt tired by noon, and every scuff showed on the pale surface.
AFTER: Black and white porcelain checks went down in a straight lay, sealed with charcoal grout. The cabinets read crisp again, a farmhouse sink finally looks at home, and the floor hides daily crumbs between weekly mops.
Porcelain makes this makeover practical as well as pretty. It shrugs off dropped pans, muddy boots, and the drips under a farmhouse sink. Keep the rest of the room quiet while the floor settles in; plain linen curtains and unadorned counters let the pattern carry the room on its own.
Laying The Checkerboard Pattern
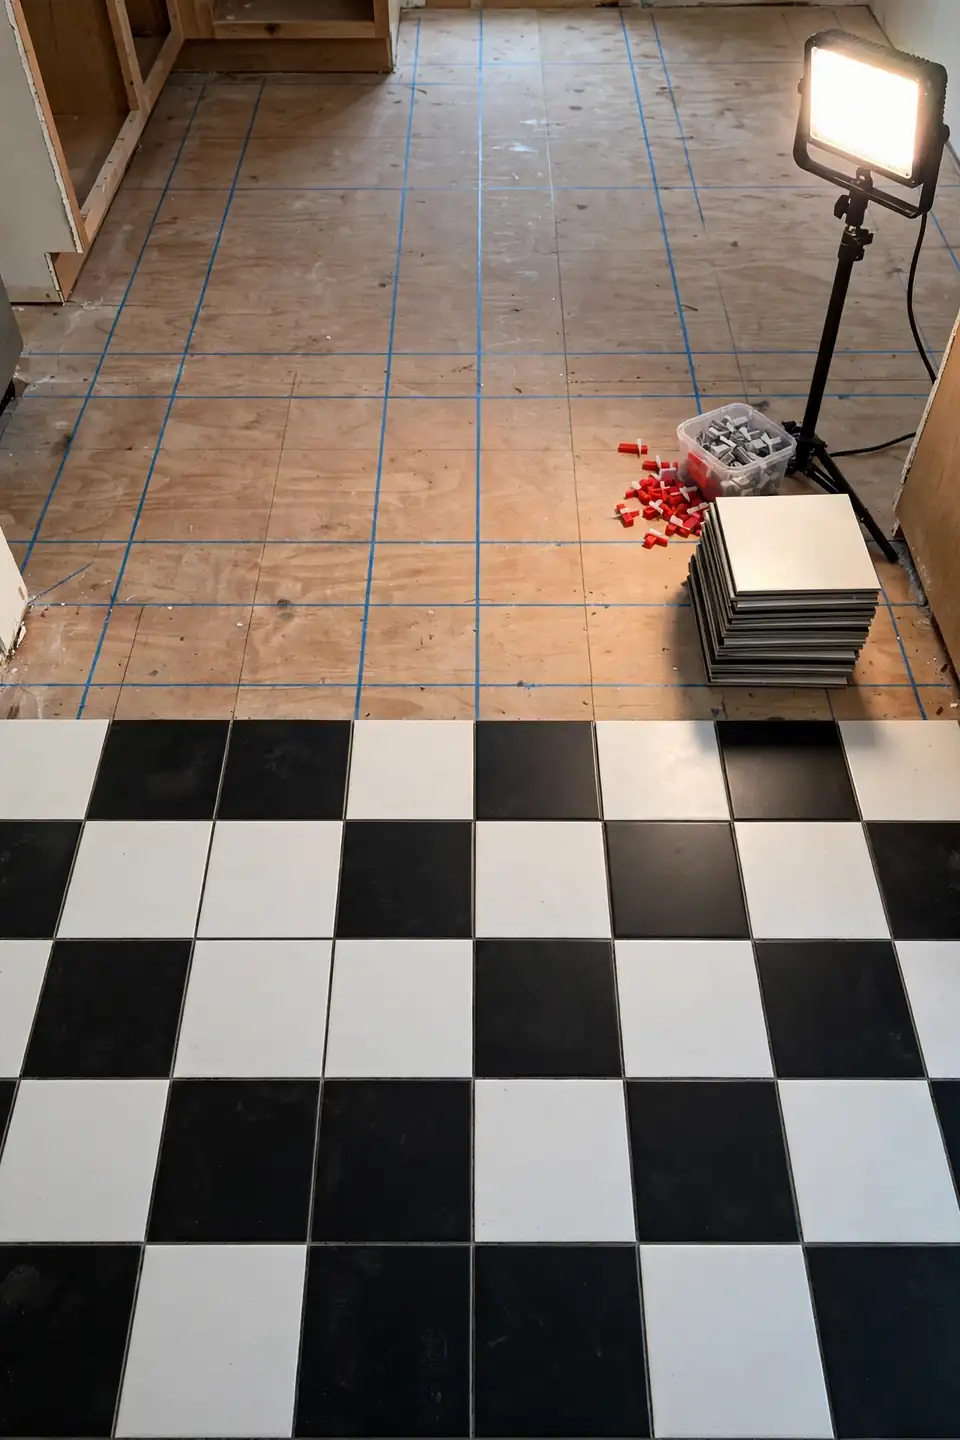
- Measure the room and sketch the grid so full tiles land at the doorway.
- Snap chalk lines from the room’s center, not from one wall, to keep the pattern square.
- Dry lay a row in both directions and check the border cuts look balanced.
- Set black and white tiles in alternating order, tapping each level with its neighbor.
- Grout in charcoal or mid grey; bright white grout shows every crumb line.
Straight lay suits most kitchens and reads calmer than a diagonal. Diagonal layouts widen narrow rooms visually but cost roughly fifteen percent more in cuts and waste. Walk the dry lay in socks before mixing adhesive; your feet will find the lippage your eyes miss.
Marble Versus Porcelain Tiles
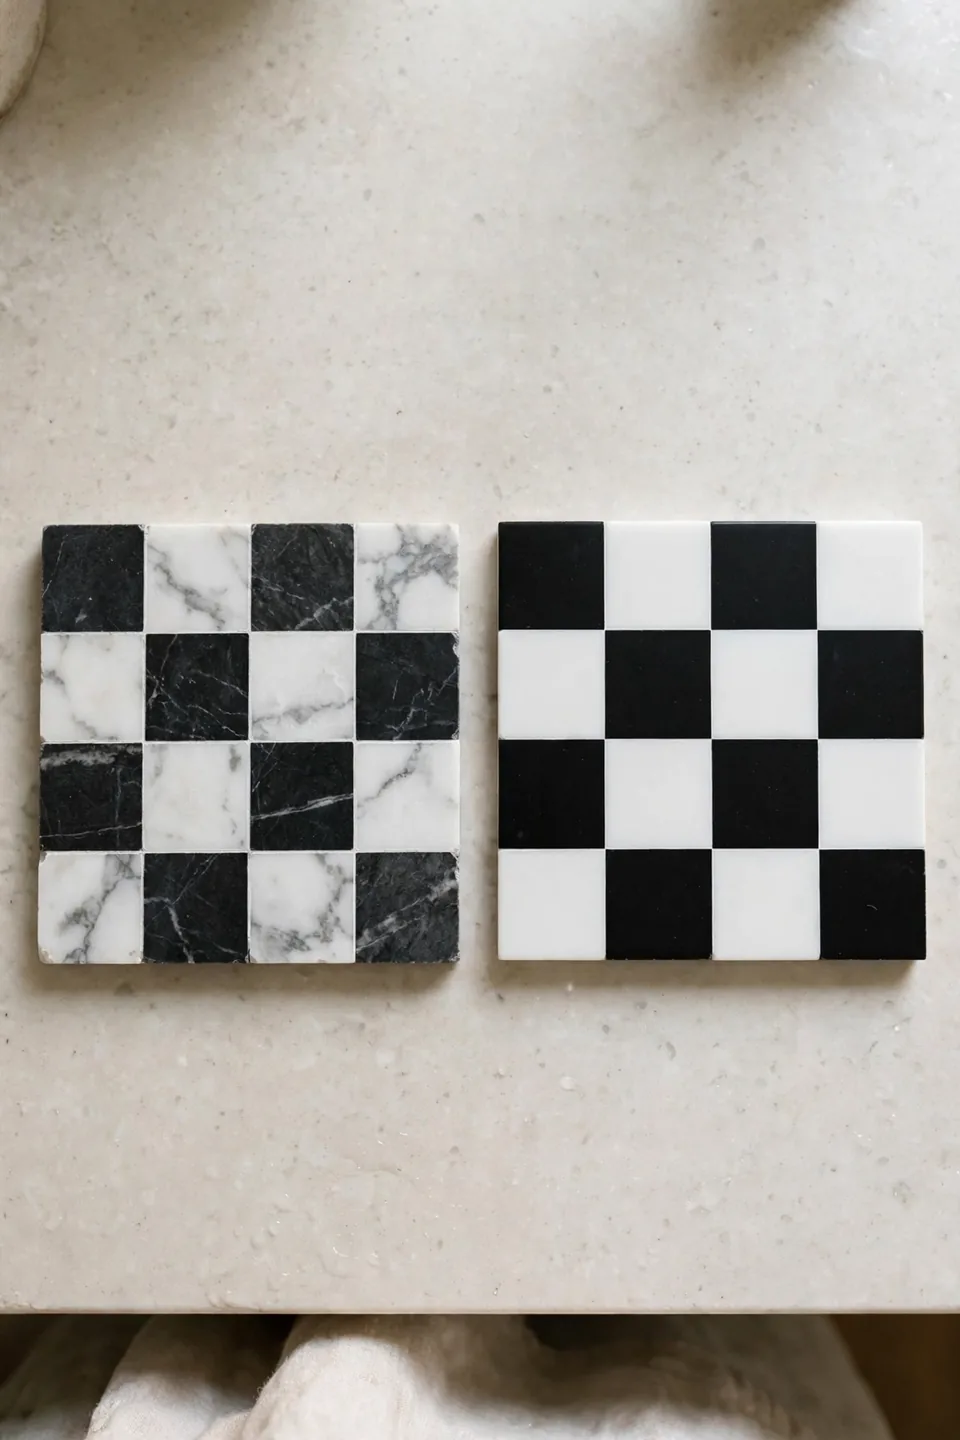
Both materials deliver the classic look, but they ask very different things from your budget and your weekends. The table below sums up the trade offs that matter most at home.
| Feature | Marble | Porcelain |
|---|---|---|
| Cost | High, plus sealing | Moderate, no sealing |
| Care | Wipe spills fast | Mop and forget |
| Look | Natural veining, unique | Printed veining, uniform |
| Lifespan | Generations with care | Decades, very tough |
Most checkerboard floor kitchen ideas start with this exact trade off. Pick marble for a forever home where the patina will be loved, and porcelain for a busy family kitchen that needs forgiveness. Either way, order ten percent extra tile; a discontinued dye lot is the one surprise no checkerboard needs.
Small Kitchen Checkerboard Rules
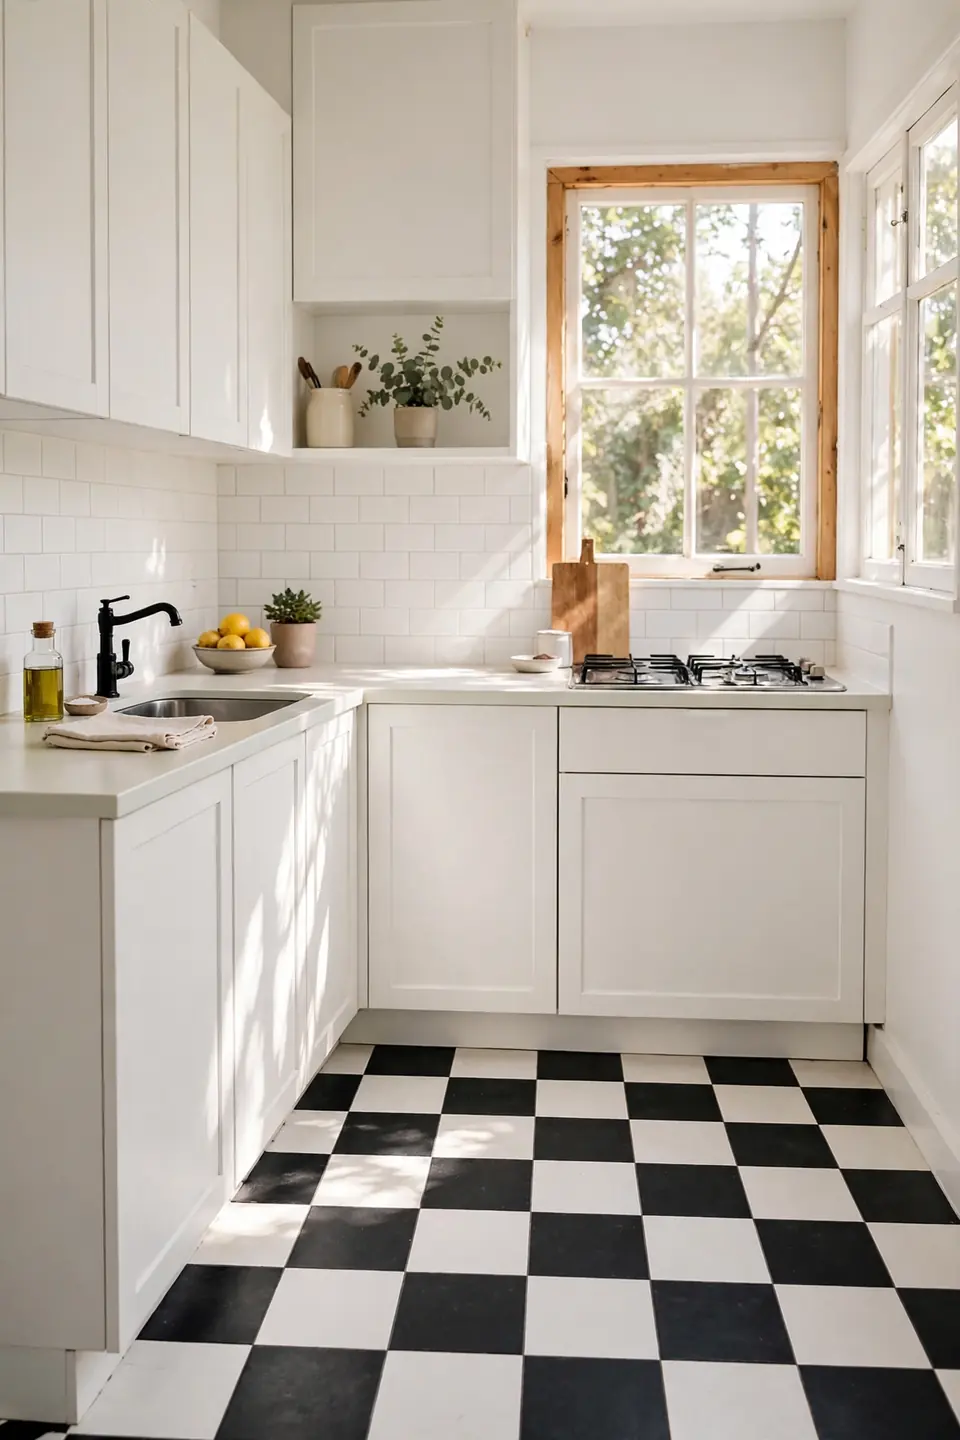
Do:
- Choose twelve inch tiles or smaller so the grid fits the room.
- Keep cabinets plain and light to balance the busy floor.
- Run the pattern wall to wall; borders shrink small rooms.
- Pick a matte finish that hides the daily dust.
Don’t:
- Avoid oversized tiles that leave awkward half checks at edges.
- Skip dark grout lines that turn the floor into a cage.
- Never pair the floor with patterned curtains or busy wallpaper.
A small kitchen gains confidence from a strong floor. The checks give the eye a rhythm to follow, so the room reads planned instead of squeezed. Hold every other surface quiet, and the little room will feel like a bistro built on purpose.
Painted Checkerboard Floor Shortcut
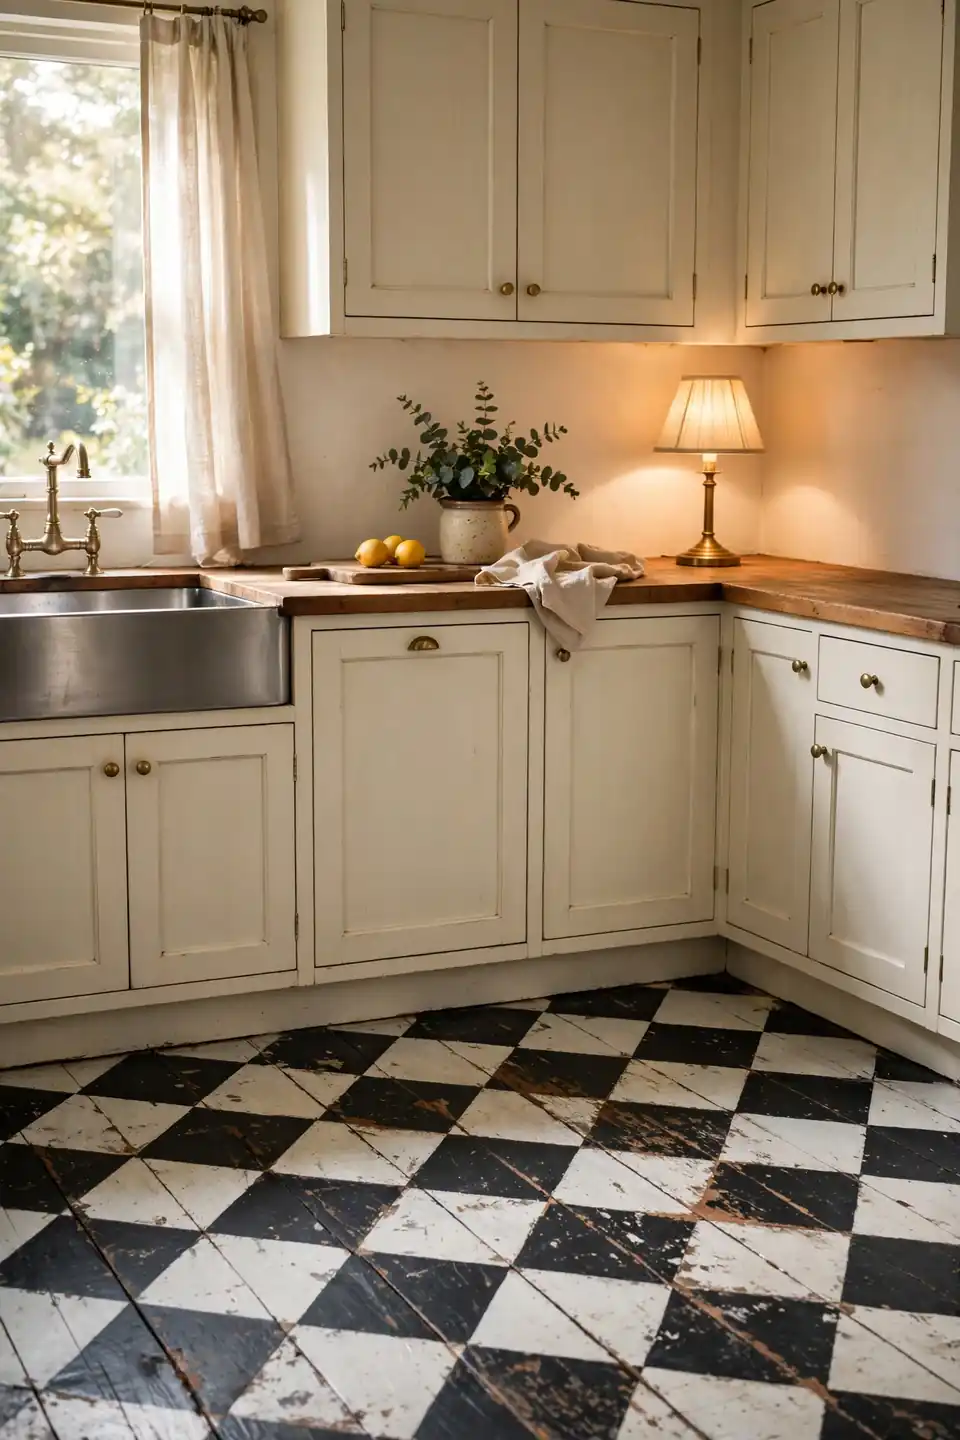
Cost: Paint and primer for the price of two takeaway pizzas
Time: Two days including drying between coats
Skill Level: Patient beginner with painter’s tape
Best For: Worn wood or concrete floors that need character fast
Paint turns a tired floor into a checkerboard for the cost of a weekend. Sand, prime, paint the light squares first, then tape and paint the dark ones. Two coats of floor paint plus a matte sealer stand up to chairs and dog claws surprisingly well. Charcoal instead of true black keeps painted checks softer in small rooms. Touch ups take minutes when a square eventually chips.
French Bistro Kitchen Style
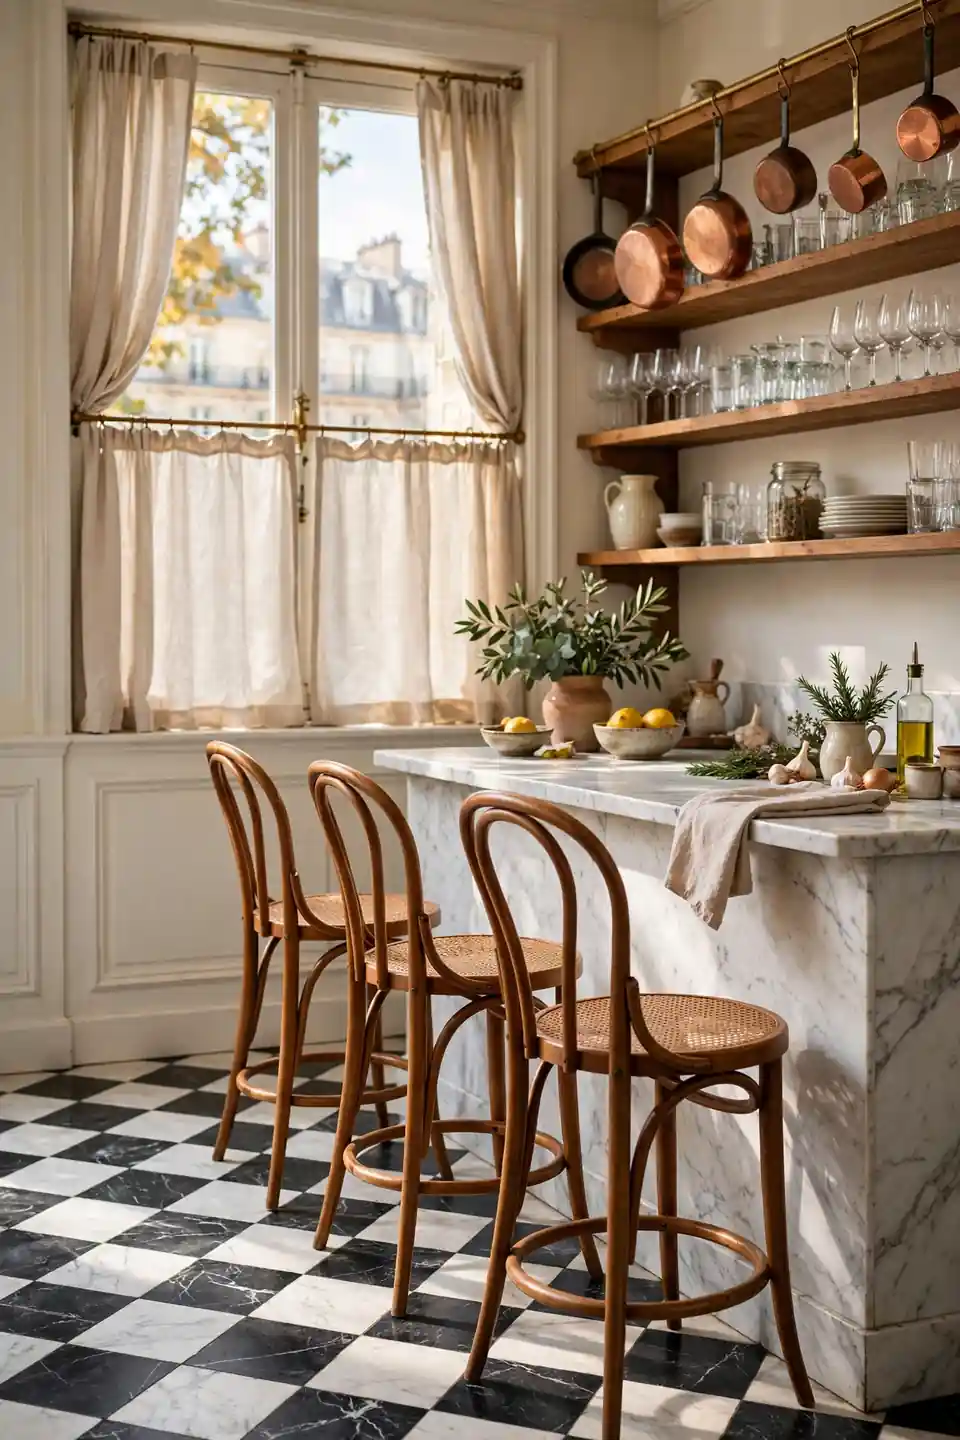
Parisian bistros have run black and white floors for a century because the pattern flatters everything around it. Marble topped counters, bentwood stools, and a chalkboard menu wall all feel at home above the checks. Cafe owners also prize how the pattern hides crumbs between services. The floor does the decorating; everything else can stay simple.
Borrow the bistro formula at home with a marble or butcher block counter, cafe curtains at half height, and open shelves for everyday glasses. Keep the palette to black, white, and one warm metal. The result reads collected rather than themed, and the floor keeps its graphic punch from breakfast to midnight.
Sage Green Checkerboard Twist
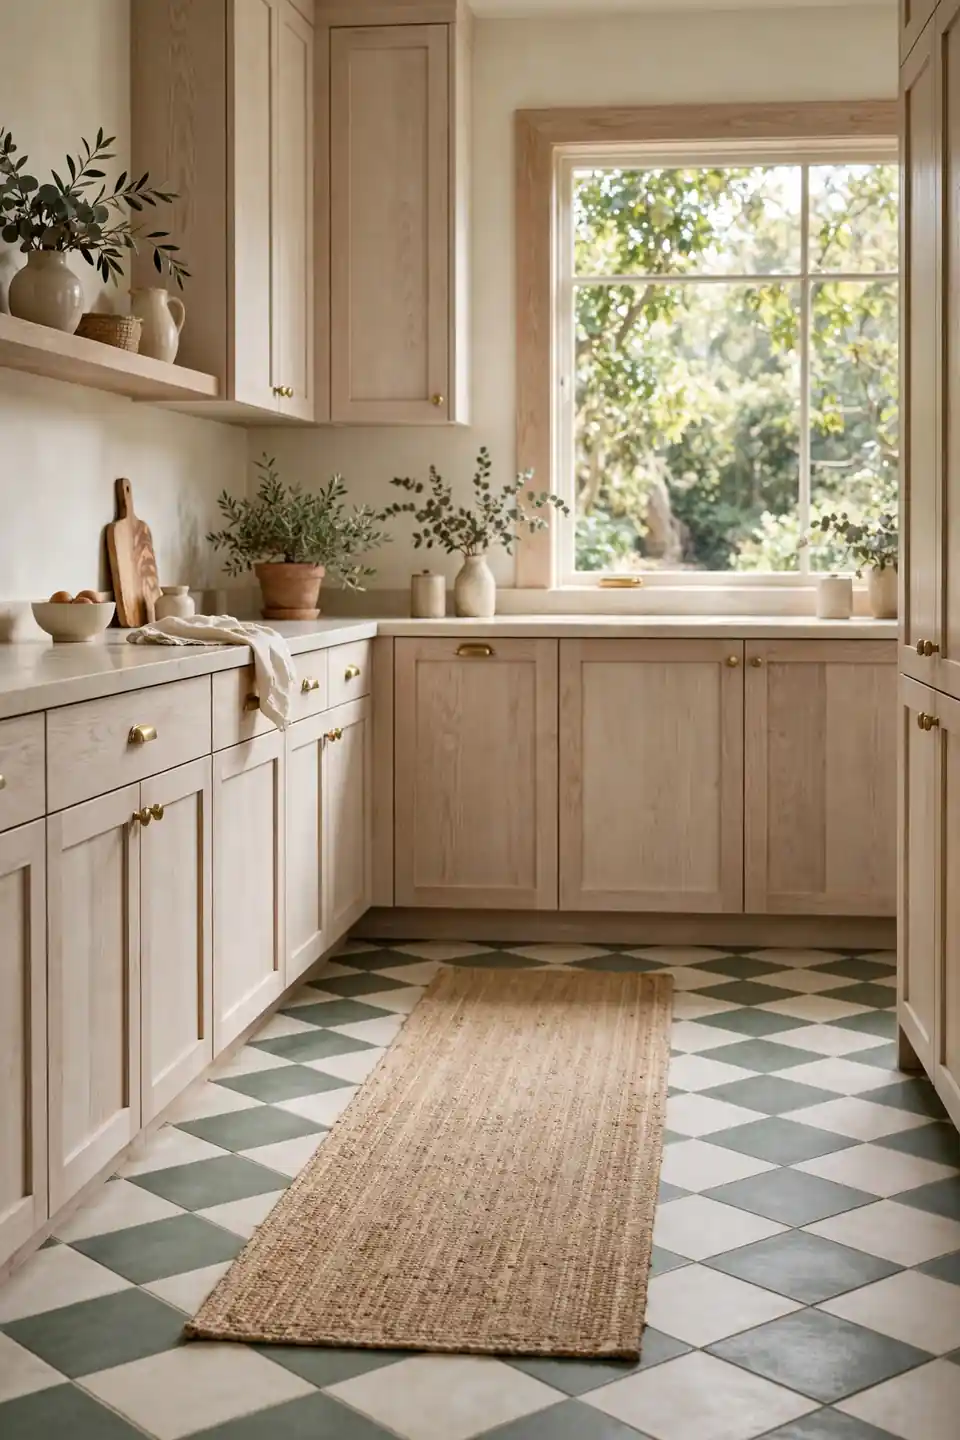
- Sage and cream checks soften the classic contrast for calm, leafy kitchens.
- Pair with white oak cabinets and brushed nickel or unlacquered brass.
- Porcelain tiles in matte sage read almost like aged stone.
- Keep counters pale so the gentle pattern stays the feature.
- Woven runners in natural jute bridge the green and cream tones.
Green checks suit kitchens that open onto gardens, carrying the view indoors without a literal leaf print. The softer contrast also forgives more: crumbs and paw prints disappear into the pattern. It is the gentlest way into the pattern. Choose the greener tile for the dark squares and let cream carry the light.
Checkerboard With Open Shelves
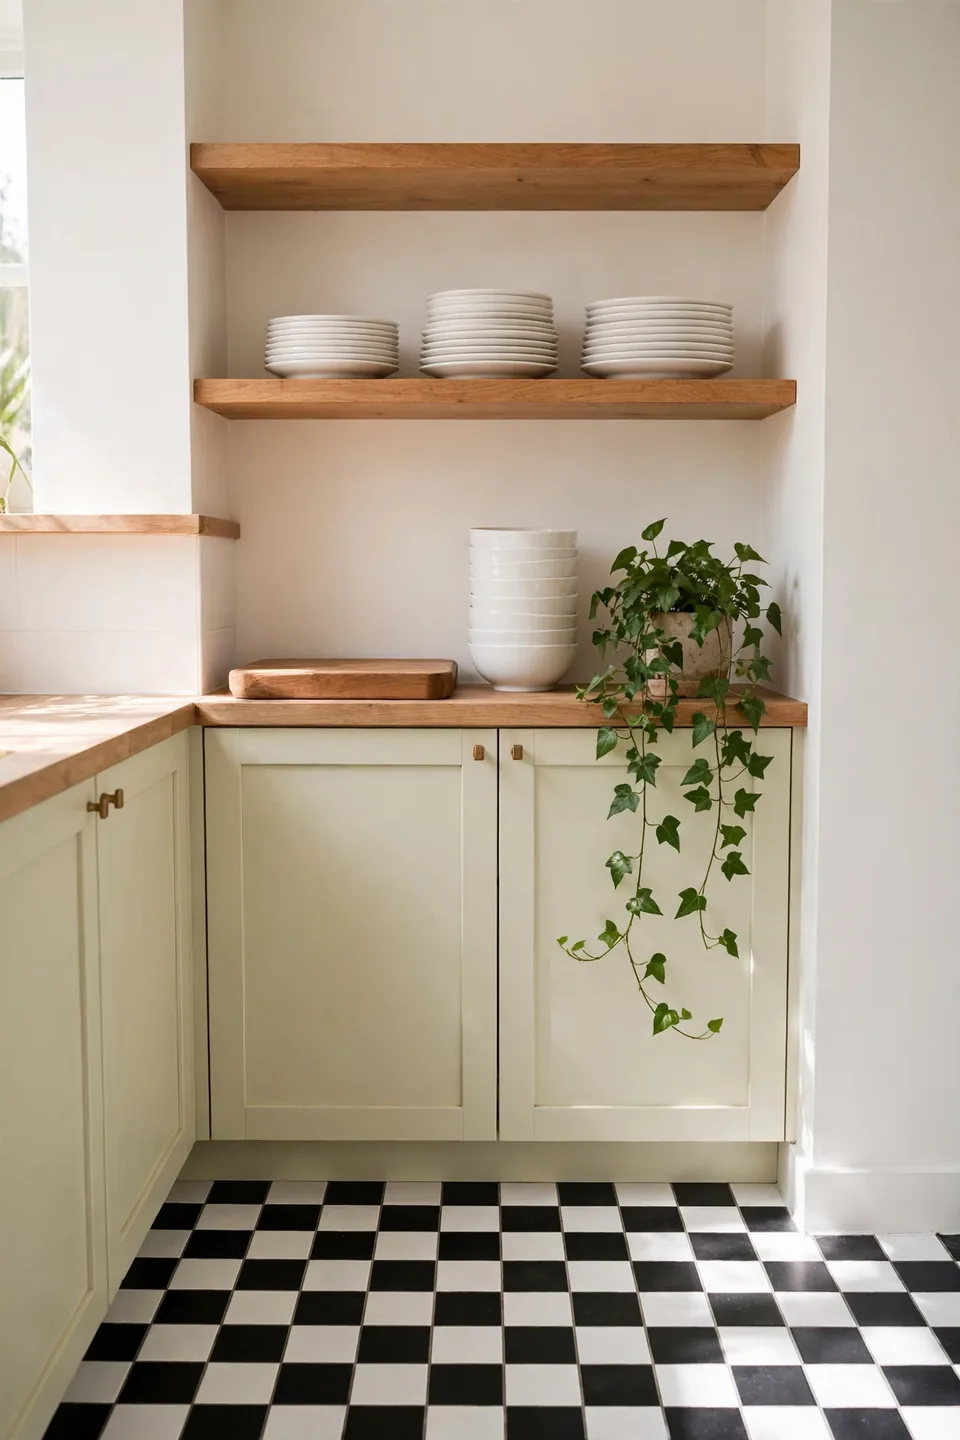
Quick Tip: Style open shelves in a strict rhythm above a checked floor: stacks of white dishes, one wood board, one plant, repeated. Group items in odd numbers and stop adding pieces sooner than feels natural. The floor already supplies the pattern, so shelves should supply calm. Anything busier turns the whole wall into visual noise.
Open shelving and checkerboard floors both earn their keep in small kitchens, but together they need discipline. Limit shelf colors to white, wood, and glass, and leave breathing room between groups. The floor’s grid will organize the view from below while the shelves float quietly above it.
Dark Cabinets Checkerboard Contrast
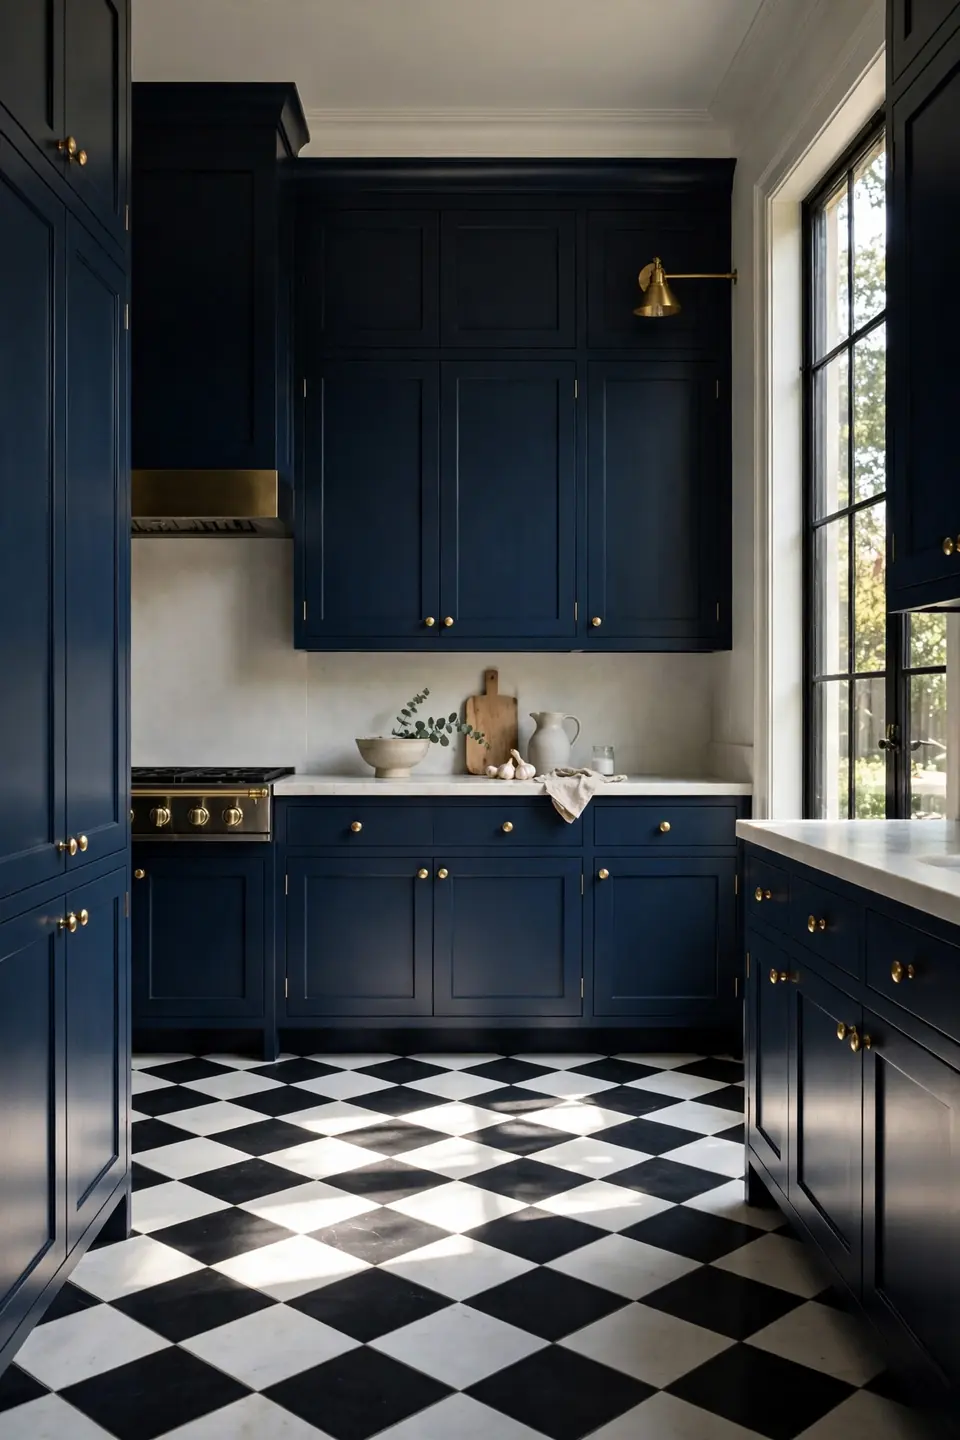
BEFORE: The kitchen paired navy cabinets with a plain grey vinyl floor. The cabinets looked heavy, the floor looked apologetic, and the room felt darker than its windows promised.
AFTER: Black and white checks now run beneath the navy, and the white squares bounce daylight back up into the room. The cabinets read rich instead of heavy, and brass knobs finish the tailored mood.
Dark cabinets need a floor with enough contrast to hold its own, and checks answer perfectly. Keep the black squares slightly softer than true black if the cabinets are very deep; charcoal tiles prevent a hard, cold edge. Counters should stay pale to bridge the two.
Balanced Styling Around Checks
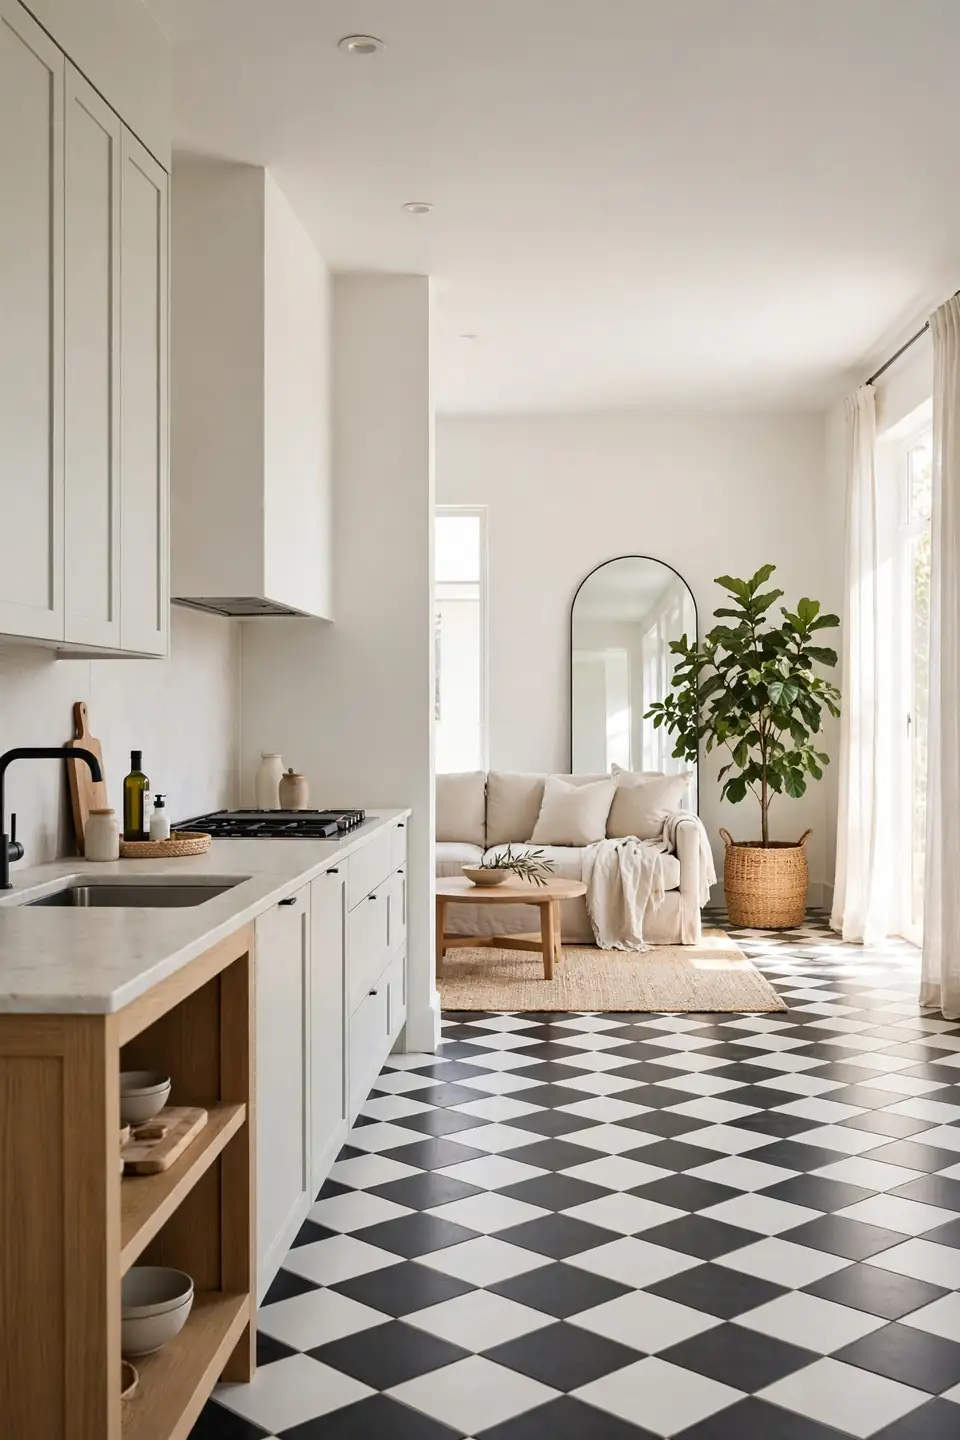
- Count the pattern as one bold element and budget the room around it.
- Choose plain fabrics for stools, curtains, and towels in two colors only.
- Add texture through wood, linen, and woven baskets instead of more print.
- Place one large plant or pendant to give the eye a resting point.
- Edit weekly: remove one small item until the counters feel calm.
Open plan rooms need the same discipline across both zones. The checks set a graphic beat in the kitchen, and the living area answers best with calm shapes and one strong silhouette; the tall arches in these arched mirror living room decor ideas show how a single curve can balance a whole grid. Echo one color, then stop.
Large Versus Small Tiles
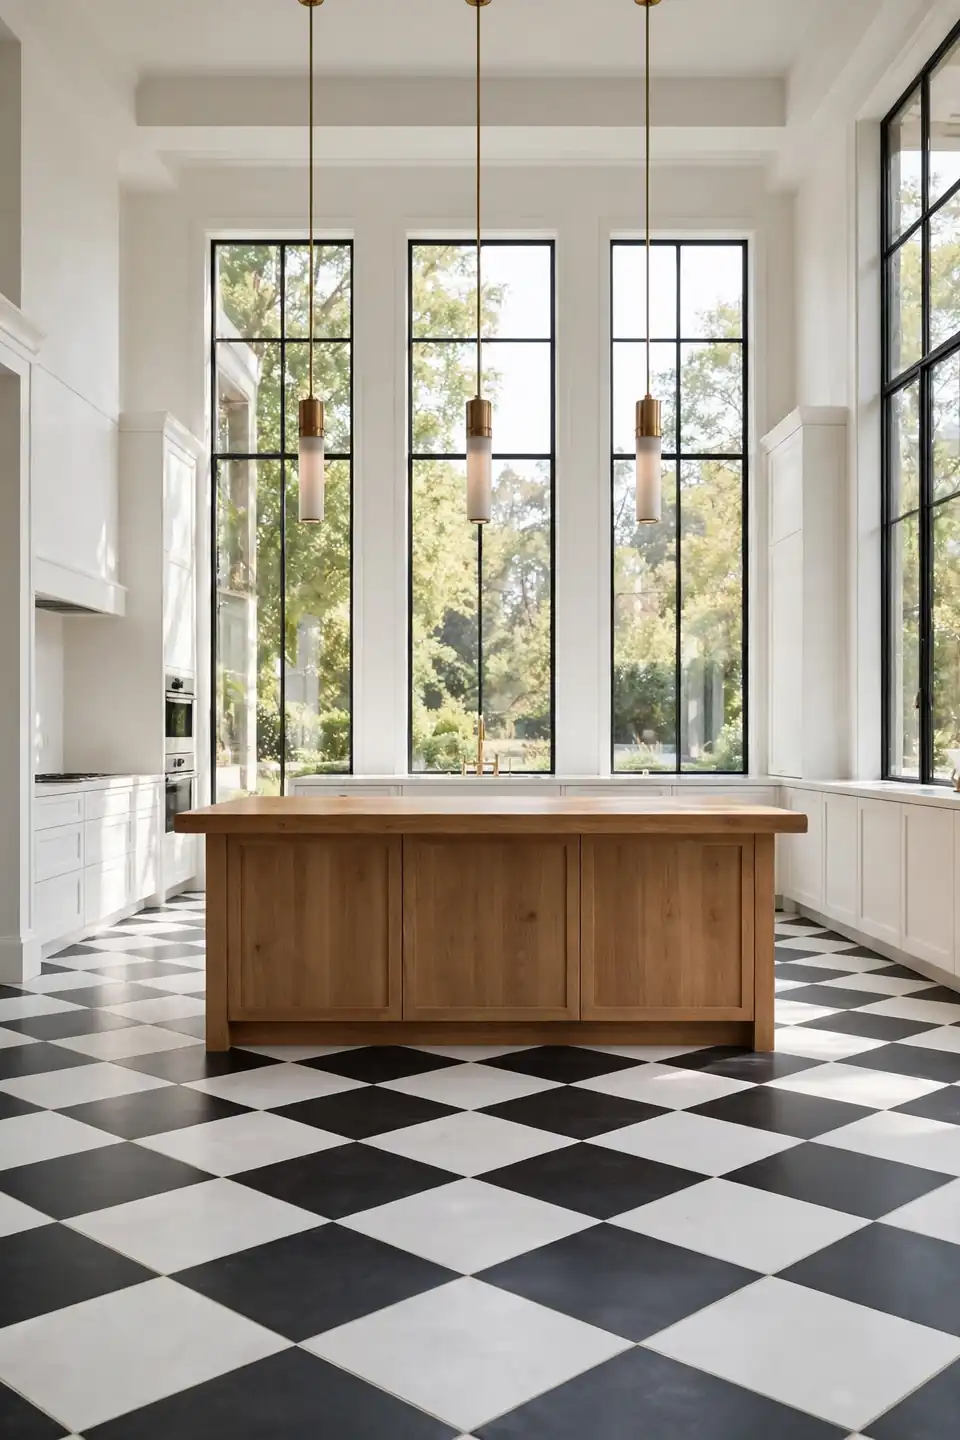
Tile size changes the whole personality of a checked floor, from dollhouse neat to grand and calm. I’ve noticed most people choose by habit, not by room size, and the grid punishes that guess.
| Feature | Large Tiles | Small Tiles |
|---|---|---|
| Room Fit | Spacious kitchens | Galleys and nooks |
| Pattern Feel | Calm, few grout lines | Busy, many grout lines |
| Cleaning | Faster mopping | More grout to scrub |
| Cost | Fewer tiles, faster lay | More tiles, slower lay |
Match the tile to the room’s longest sightline. If you can see ten feet of floor from the door, large tiles will read serene; in a galley, small checks keep their rhythm without being chopped at the edges.
Checkerboard In Galley Kitchens
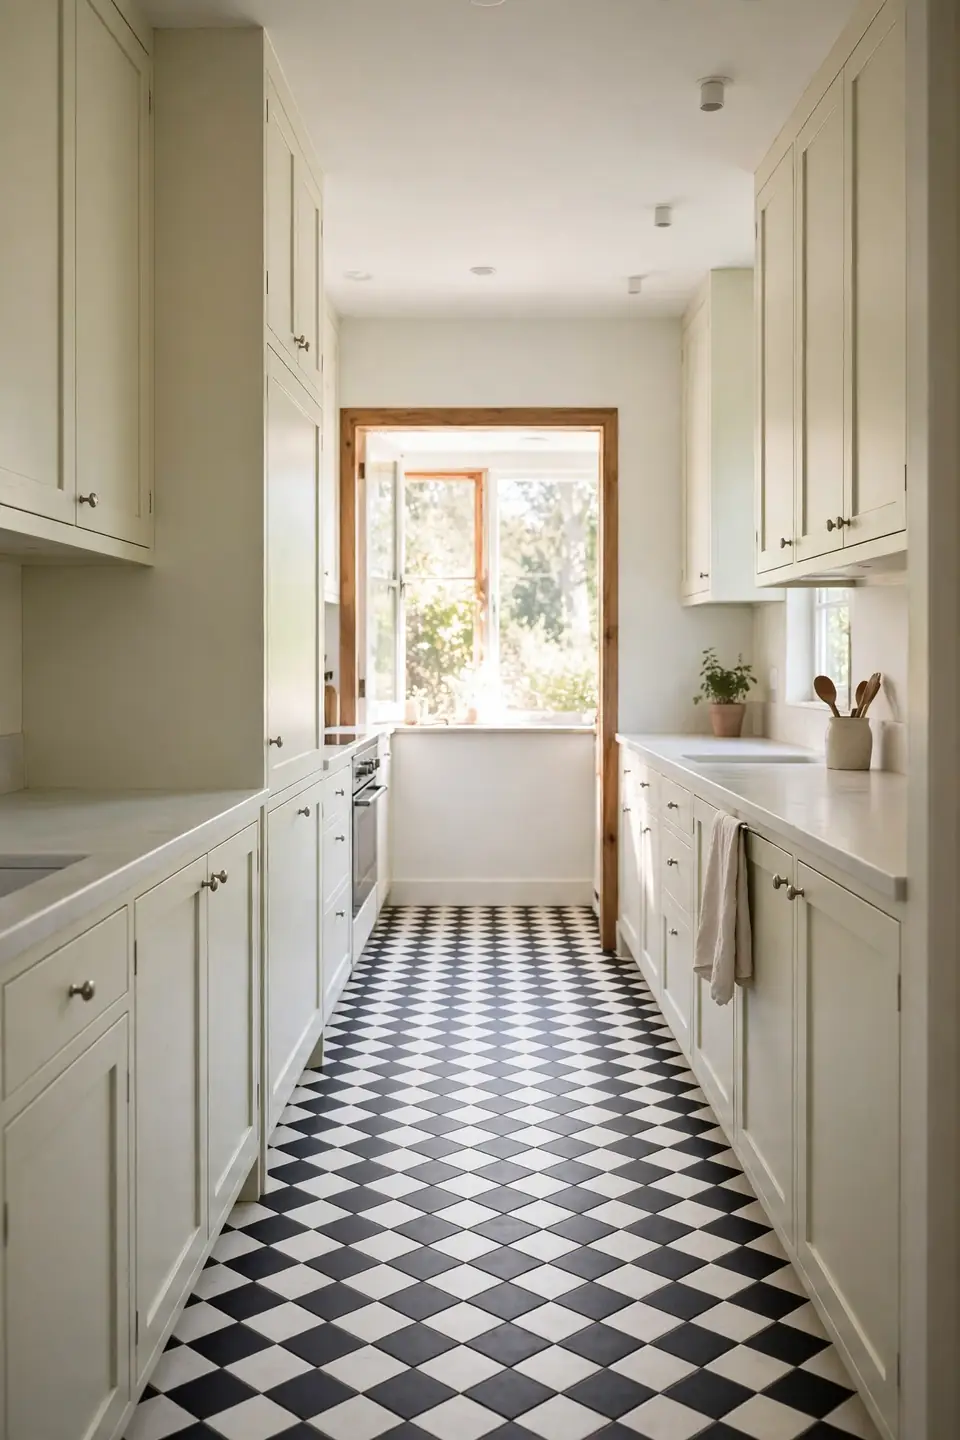
Do:
- Run the checks lengthwise to stretch the corridor visually.
- Pick smaller tiles so borders stay whole at both ends.
- Keep the palette strict: counters pale, hardware simple.
- Light the floor well; galleys collect shadows at the far end.
Don’t:
- Avoid diagonal layouts that make narrow walls feel crooked.
- Skip rugs that cover the pattern you paid to install.
- Never mix a second bold pattern on the backsplash.
A galley rewards a confident floor more than any other layout. The long grid pulls the eye to the window at the end, so the corridor feels like a destination. Keep the end wall bright and the trick doubles.
Rental Friendly Peel Stick
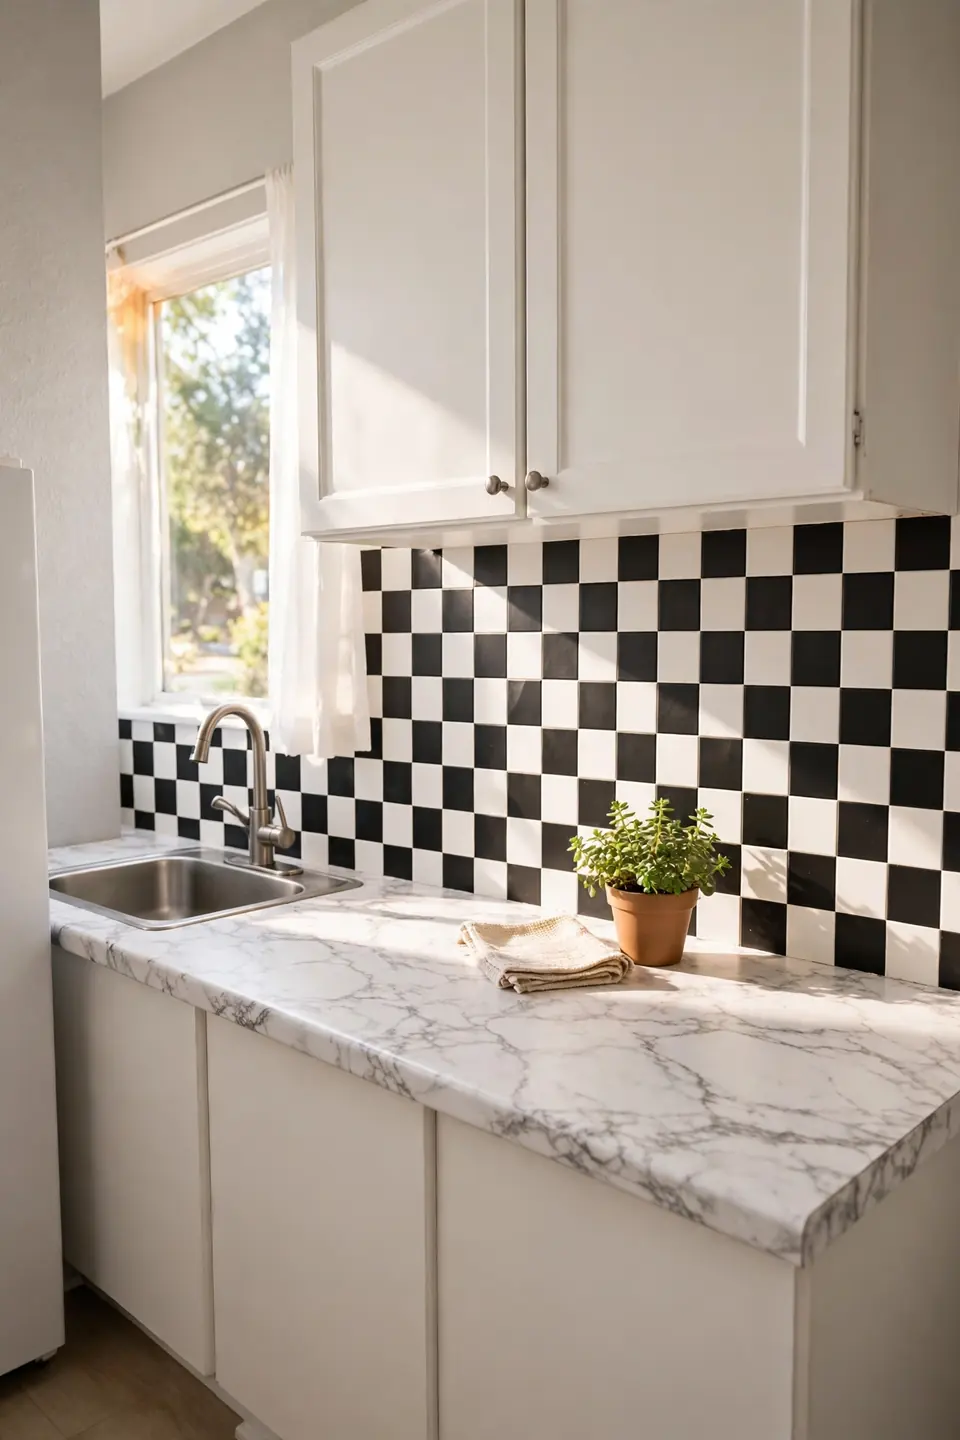
Cost: Often under two dollars per square foot online
Time: One afternoon for a standard galley
Skill Level: Beginner; a utility knife and straight edge
Best For: Renters who need to hand the floor back untouched
Peel and stick vinyl has improved beyond recognition; the better tiles carry printed veining and a matte finish that photographs like stone. Warm the tiles before laying so edges seal flat, and keep a few spares in a drawer. Order one extra box, since dye lots shift between print runs. Start at the doorway so any cut tiles hide under the stove. Landlords get their floor back, and the kitchen keeps its confidence meanwhile.
Cream And Terracotta Checks
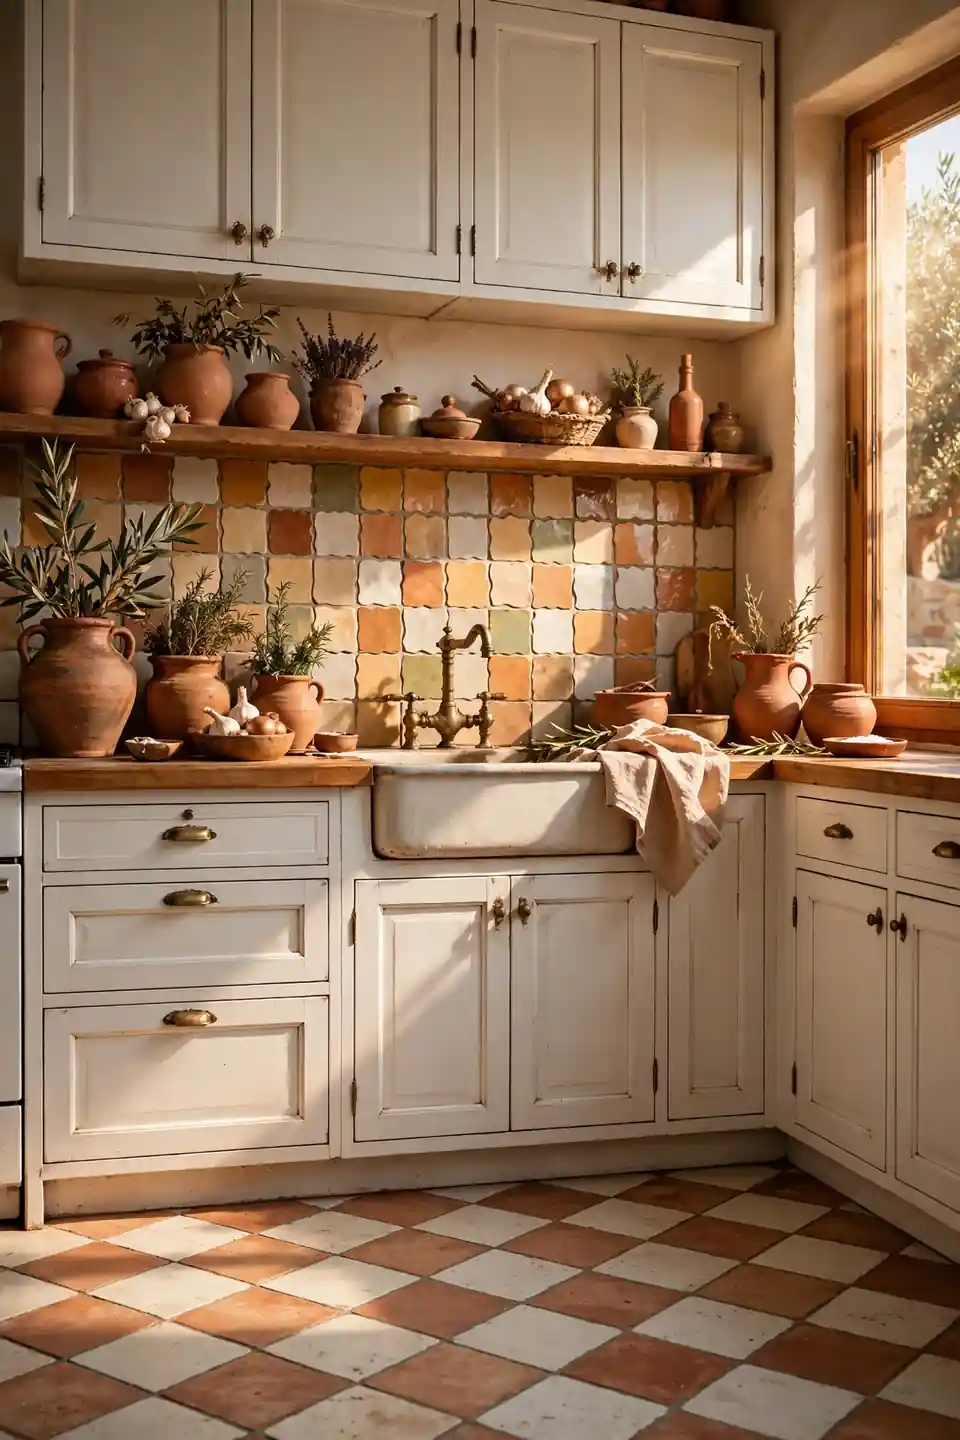
Swap black for terracotta and white for cream, and the checkerboard turns Mediterranean. The warm squares echo clay pots, aged brass, and sun baked plaster, so the kitchen feels collected over decades rather than decorated in a weekend. White cabinets still work; warm woods work even better.
Keep grout sandy rather than white to hold the aged mood, and choose tiles with varied edges so the grid feels handmade. A woven runner in cream softens the center without hiding the pattern. Terracotta also hides flour dust and paw prints gracefully. This palette flatters north light and candlelight equally, which few kitchen floors can claim.
Checkerboard Breakfast Nook Corner
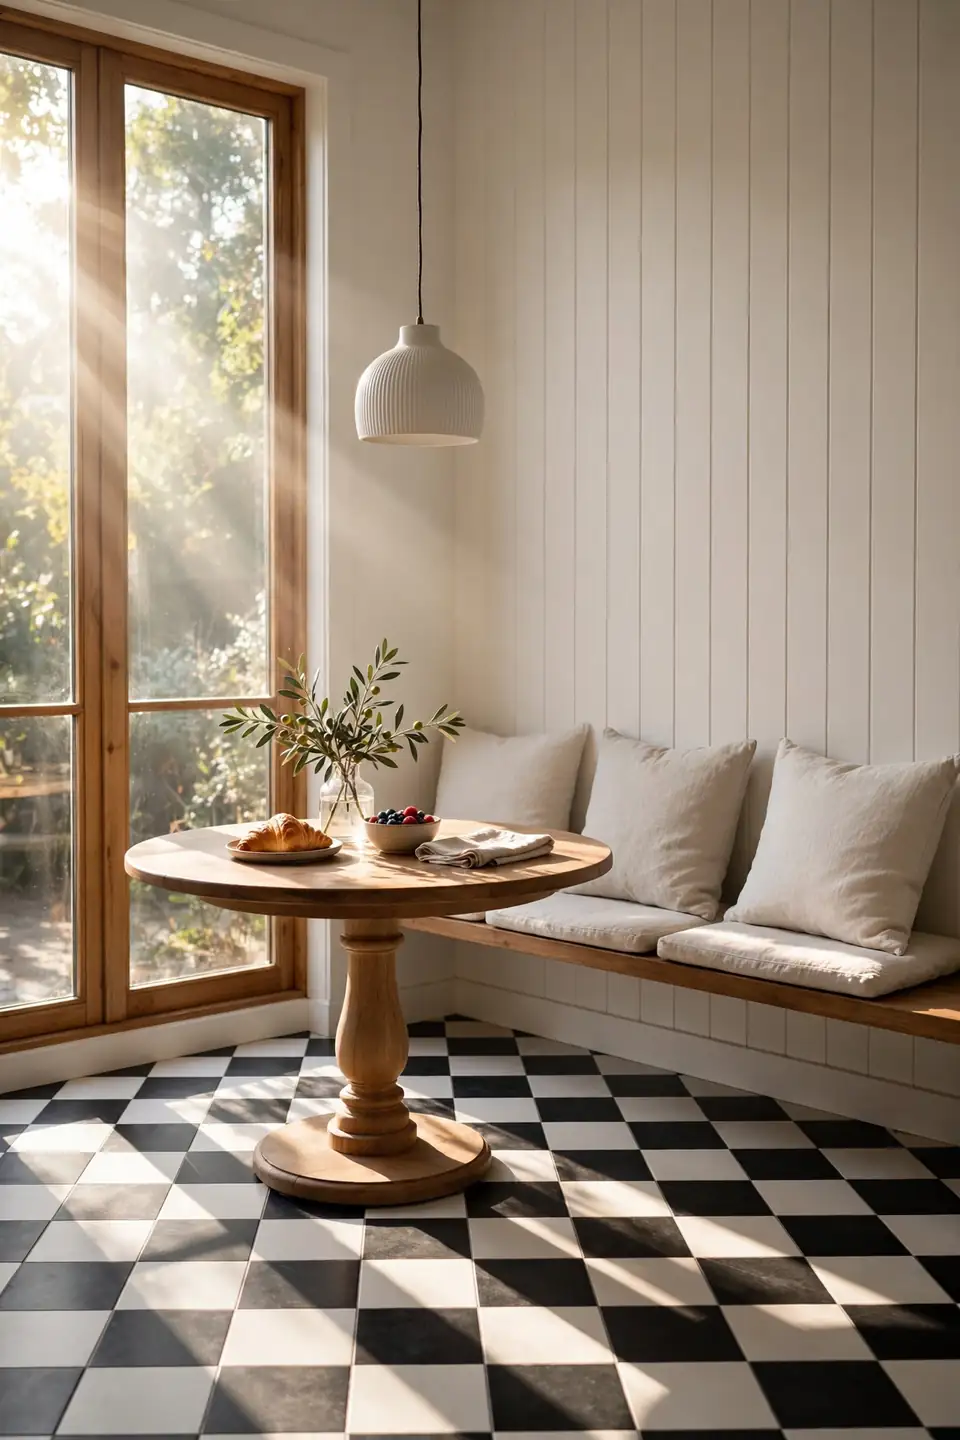
- Let the checks run under the table to define the nook zone.
- Choose a round pedestal table so no legs fight the grid.
- Hang a single pendant low to mark the eating corner.
- Bench seating along one wall keeps the pattern visible.
- Cushions in plain linen or ticking stay quiet against checks.
A breakfast nook over a checkerboard feels like a cafe corner built into the house. Morning light crosses the squares at an angle, and even weekday cereal feels a little ceremonial. Paint the nook walls the cream of the light tiles to blend the zone. Keep the table small and the chairs light; the floor supplies all the drama this corner needs.
Honed Versus Polished Finish
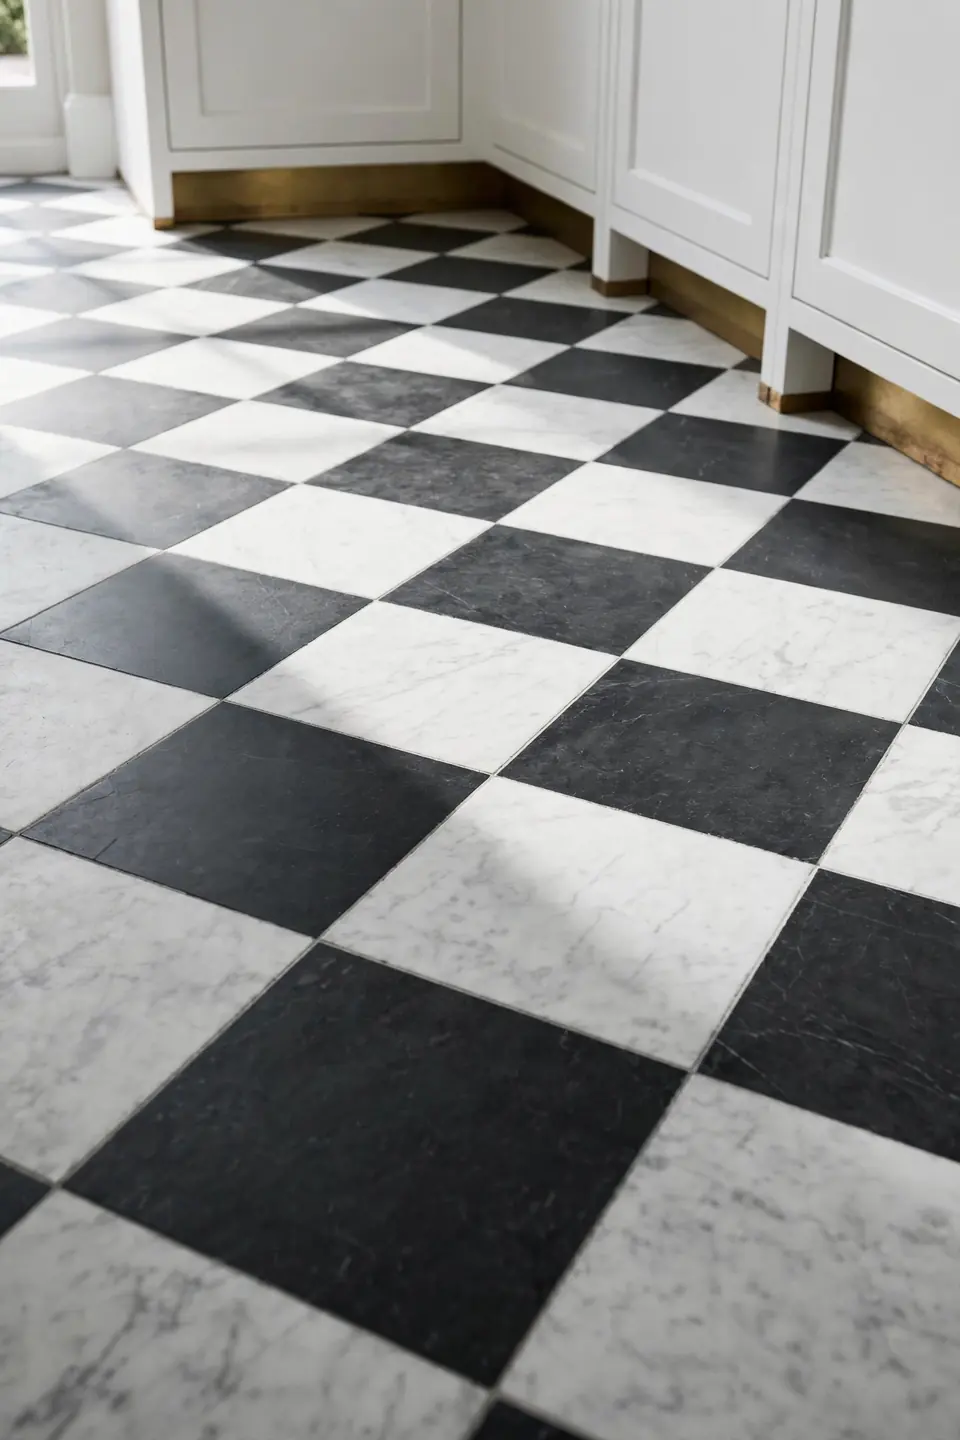
Quick Tip: Test finishes with a wet footprint. Polished marble shows every wet mark and turns slippery, while honed stone hides both. Bring both samples home and judge them under your own evening light. In a working kitchen, honed wins on safety and on looks by the end of a busy Sunday.
Polished floors belong in entrance halls where shoes come off at the door. Kitchens deal in water, oil, and dropped glasses, and a honed or matte finish forgives all three. Seal honed stone once a year and the finish stays calm. If your heart is set on shine, confine it to smaller tiles; more grout lines mean more grip underfoot.
Vintage Farmhouse Revival Look
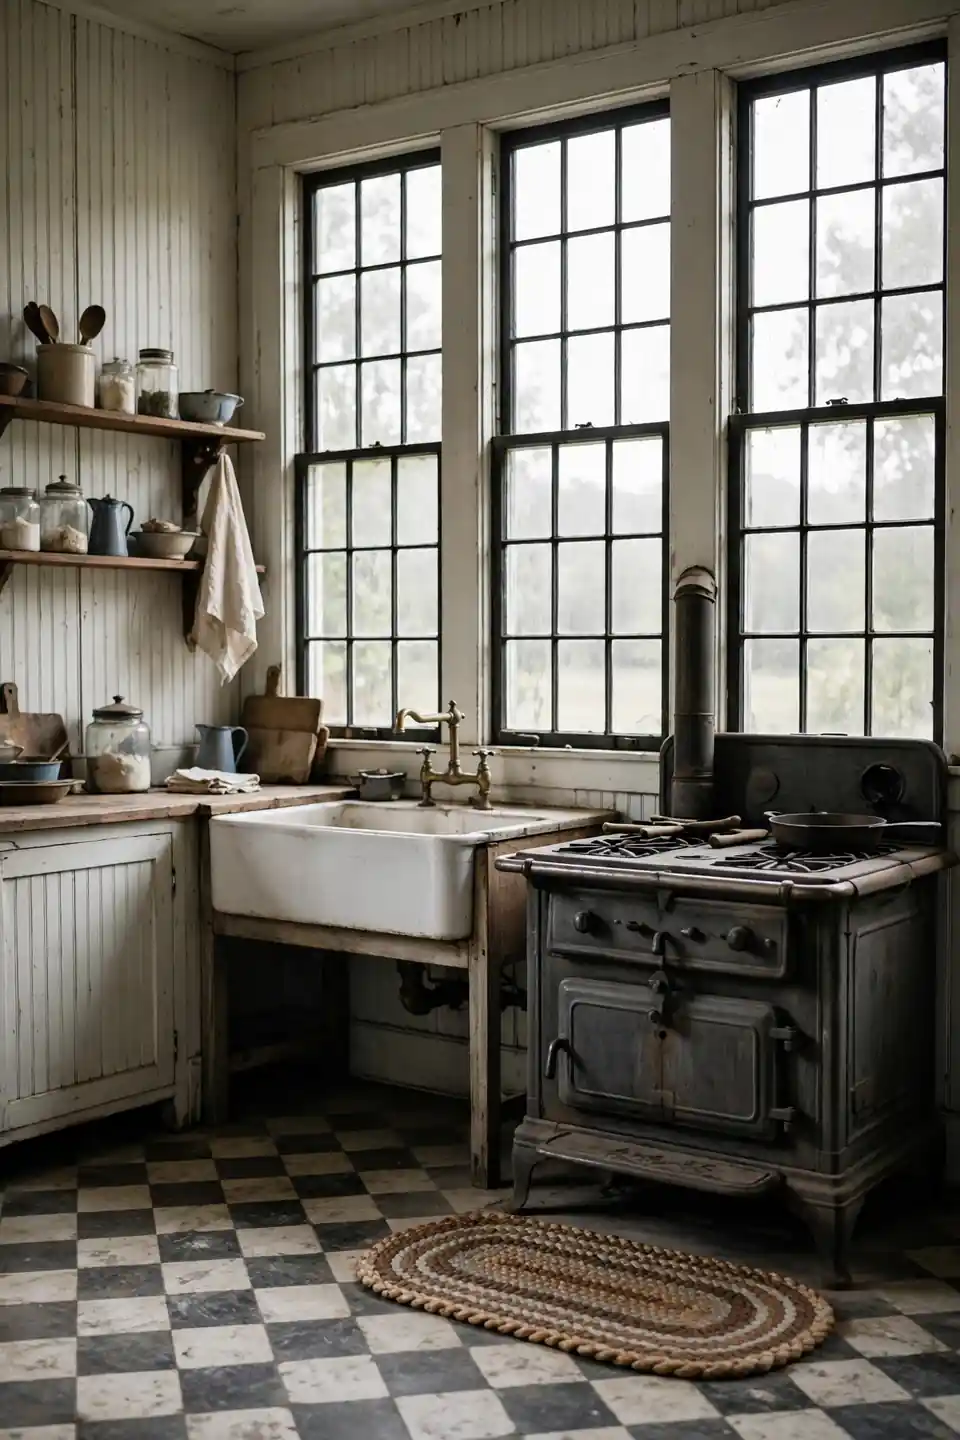
BEFORE: The 1930s kitchen still had its bones: a deep farmhouse sink, beadboard walls, and tall windows. But a 1990s laminate floor in fake oak had flattened every one of those charms.
AFTER: Worn look porcelain checks in charcoal and chalk white now anchor the room. The sink looks original again, the beadboard reads crisp, and a braided rug by the stove softens the whole revival.
Vintage revivals succeed when the floor looks older than everything above it. Choose tiles with softened edges and slight color variation, never perfect printer uniform squares. The gentle flaws let new cabinets and old sinks share the room without either one looking out of place.
Mixed Metal Accent Plan
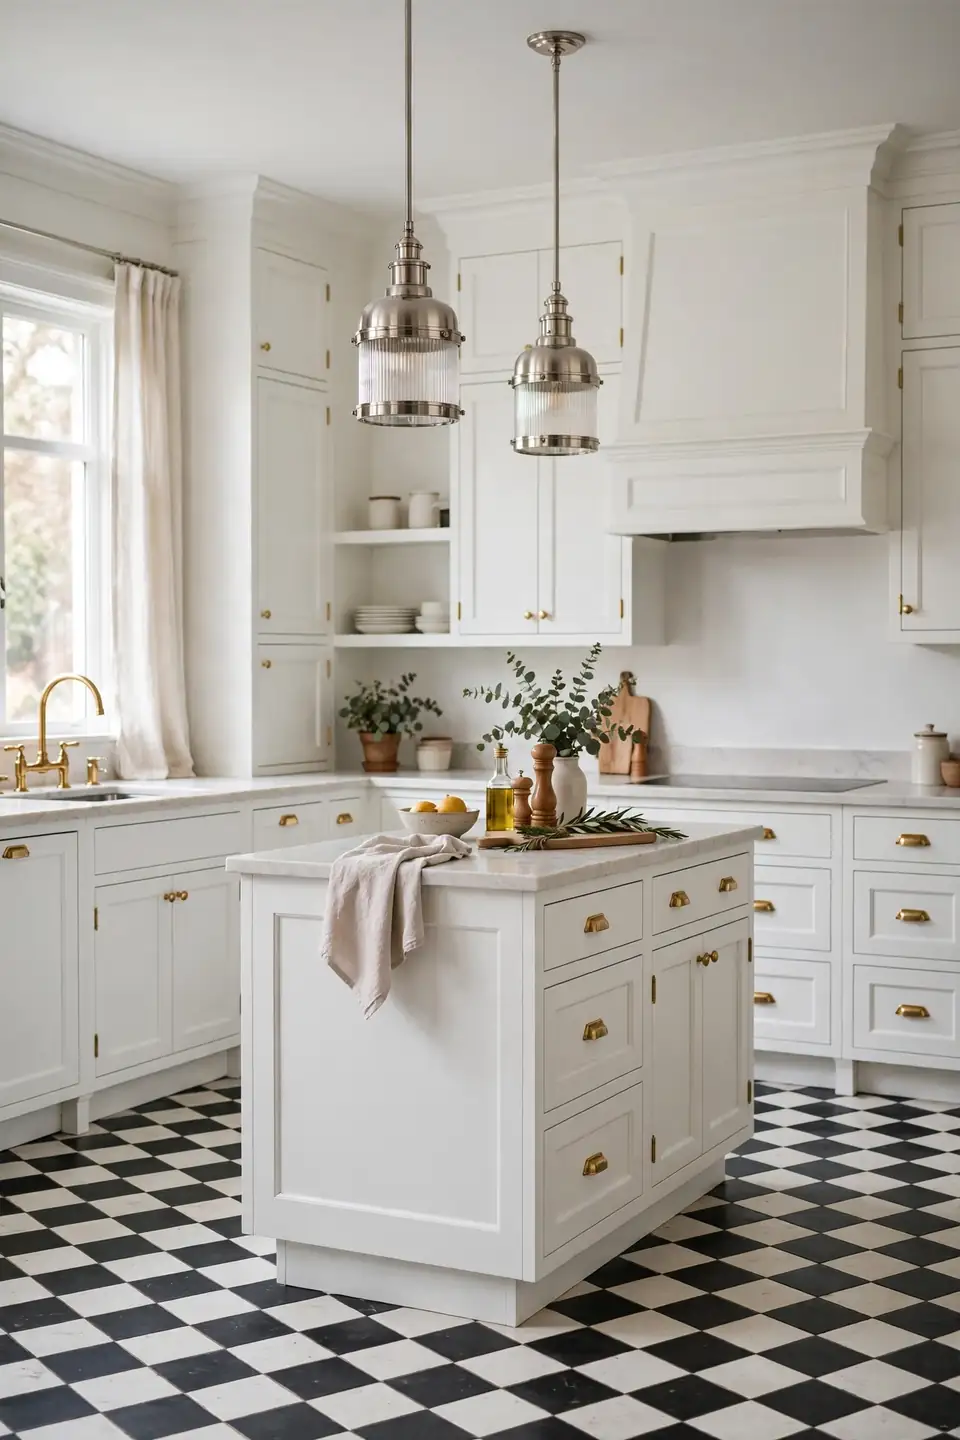
- Pick one dominant metal for hardware and the faucet, usually brass or nickel.
- Repeat that metal in at least three places so it reads as a decision.
- Add a second metal only in lighting, kept at one finish per fixture.
- Let black appear in the floor and one appliance or stool set.
- Stand at the doorway and check the metals balance left to right.
Mixed metals keep a checked kitchen from feeling like a showroom set. The black squares give every metal a stage, and warm brass against cool nickel reads layered rather than matched. Two metals are plenty; a third turns the room into a hardware display.
Vinyl Versus Real Stone
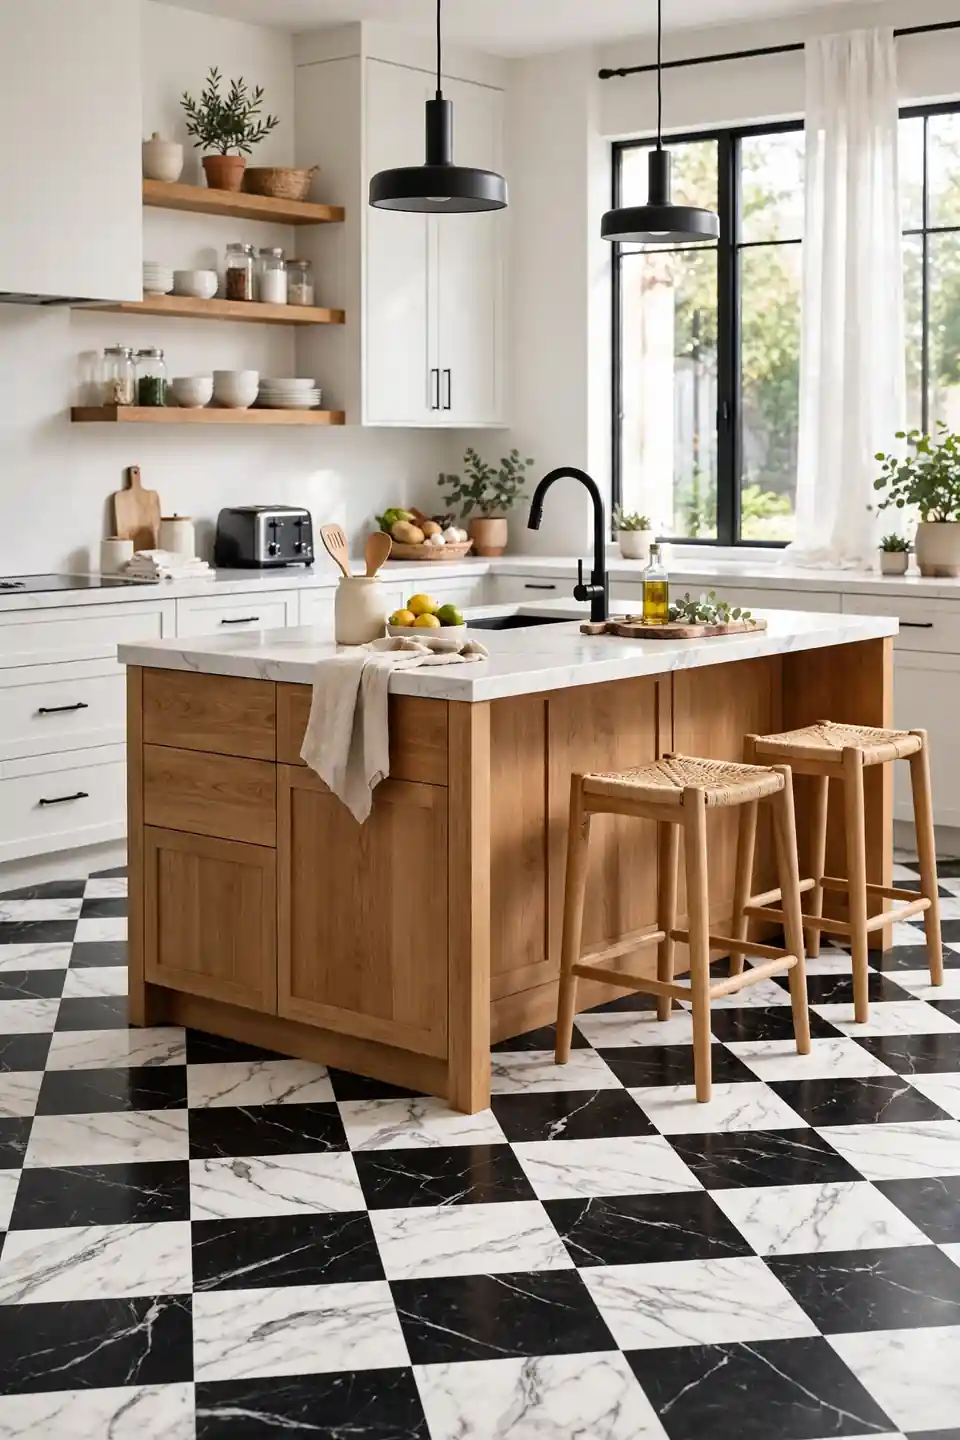
Modern luxury vinyl has learned to imitate checkerboard marble so well that guests often bend down to touch it. The honest differences live in feel, sound, and resale. Price and patience decide most of these choices in the end.
| Feature | Real Stone | Luxury Vinyl |
|---|---|---|
| Underfoot | Cool, solid, quiet | Warm, soft, cushioned |
| Install | Mortar, grout, sealing | Click or glue, no grout |
| Cost | Highest, plus upkeep | Lowest, minimal upkeep |
| Repair | Chip repair is specialist work | Swap a plank in minutes |
Choose stone for the house you plan to keep, and vinyl for the house you plan to enjoy right now. Both carry the pattern honestly; only the budget and the timeline truly disagree.
Checkerboard Care And Cleaning
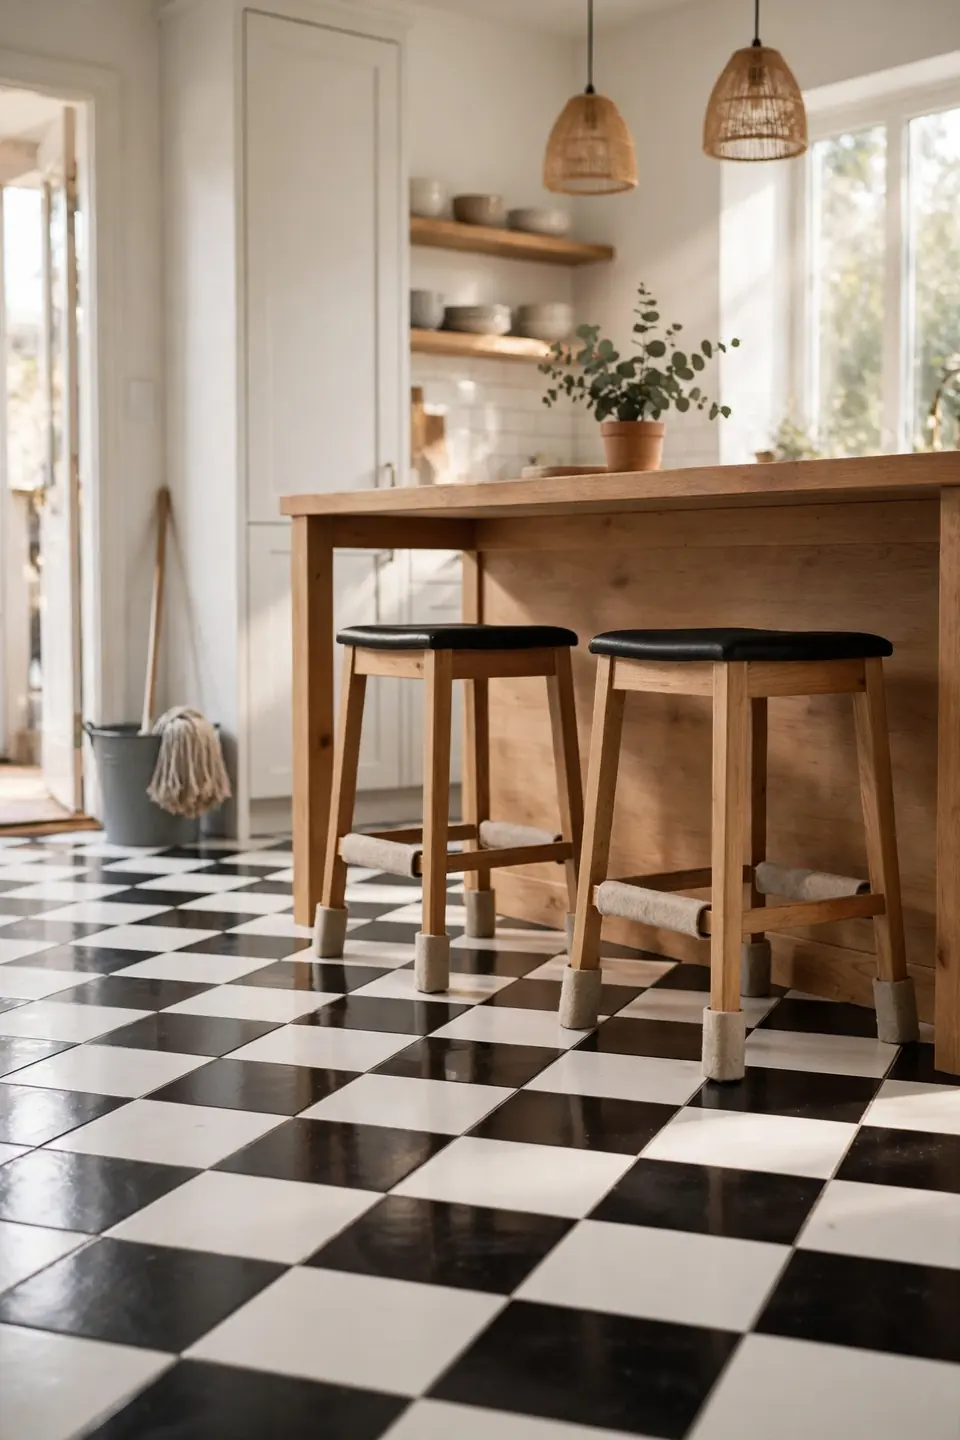
Do:
- Sweep daily; grit under shoes is sandpaper on any finish.
- Mop with warm water and a drop of pH neutral cleaner.
- Felt pads under stools and chairs protect grout and stone.
- Reseal stone and grout lines once a year in busy homes.
Don’t:
- Avoid vinegar and bleach, which etch marble and dull vinyl.
- Skip steam mops on sealed stone and painted floors.
- Never drag appliances across checks without a board beneath.
A checkerboard hides crumbs brilliantly but shows dust on the black squares, so a quick daily sweep earns its minute. The pattern rewards light, regular care far more than heroic weekend scrubbing. Ten calm minutes beat one harsh hour every time.
Checkerboard Pattern Size Guide
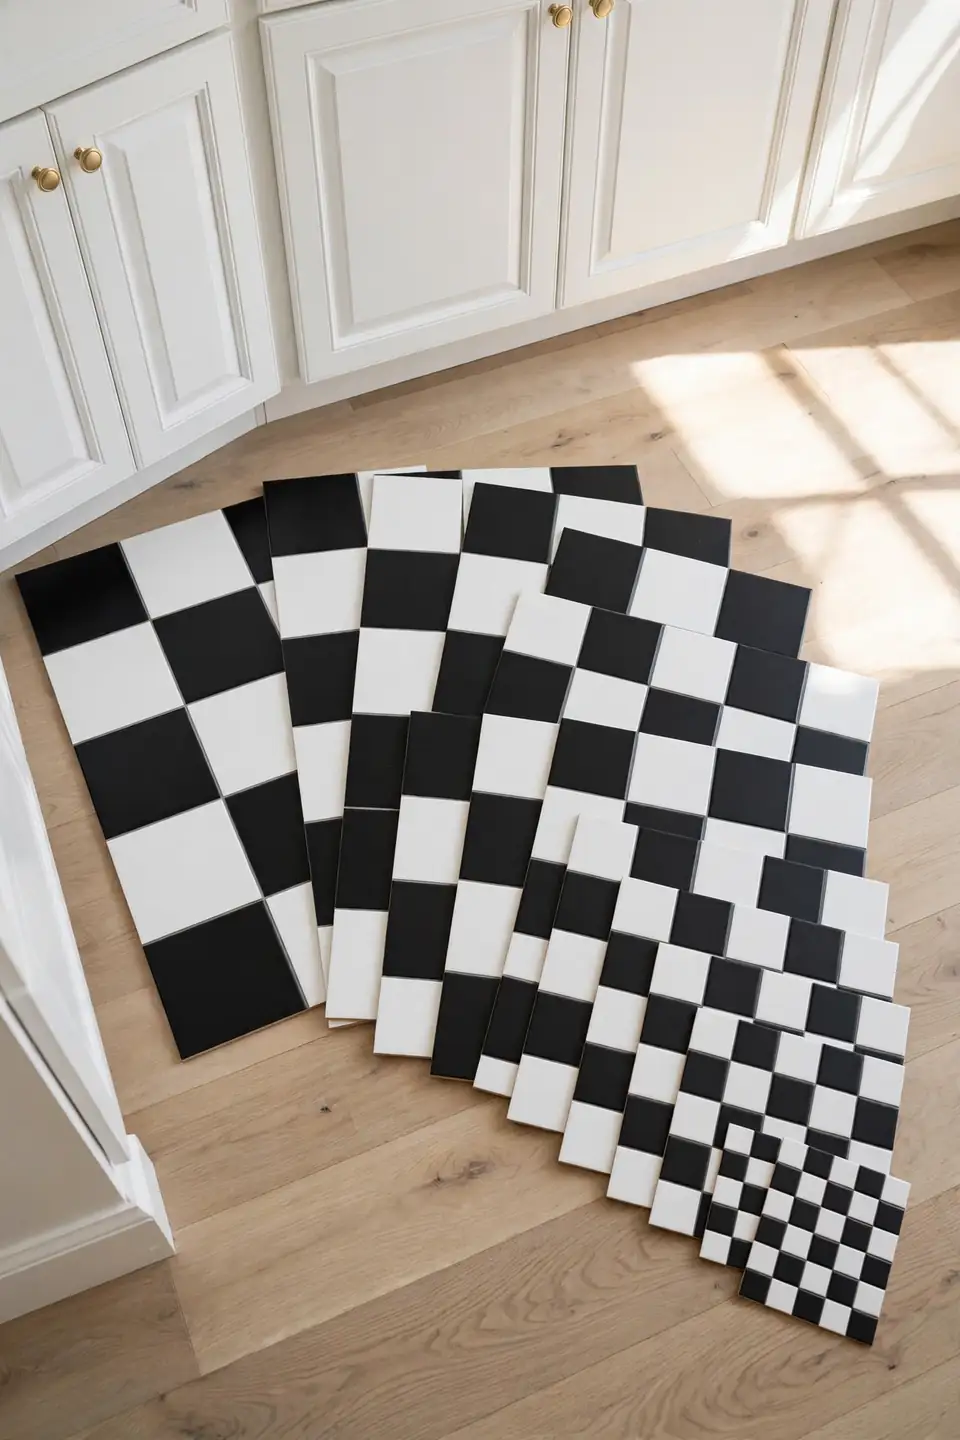
Tile Size: Eight to eighteen inches suits most kitchens
Grout Color: Charcoal or mid grey hides daily life
Layout: Straight for calm, diagonal for width
Best For: Farmhouse, bistro, and vintage revival kitchens
Keep this guide beside your samples and the decision makes itself. Measure the room, count how many full checks fit across it, and let that number choose the tile. Border cuts should land whole or near whole at the doorway. I’ve seen this simple count settle more arguments than any design rule. A floor that fits its room never needs defending, and guests feel the rightness before they can name it.
Conclusion
A checked floor is a commitment, but it is the friendly kind: bold on day one and kinder every year after. Marble, porcelain, paint, or peel and stick all lead to the same pleasure, a kitchen that greets you with rhythm. Start with honest measurements, pick the material your life can maintain, and let the squares do the styling. These checkerboard floor kitchen ideas work in farmhouses, galleys, and city rentals alike. Your kitchen deserves a floor with a heartbeat, so save this guide on Pinterest, order your samples, and share it with a friend planning a kitchen refresh.