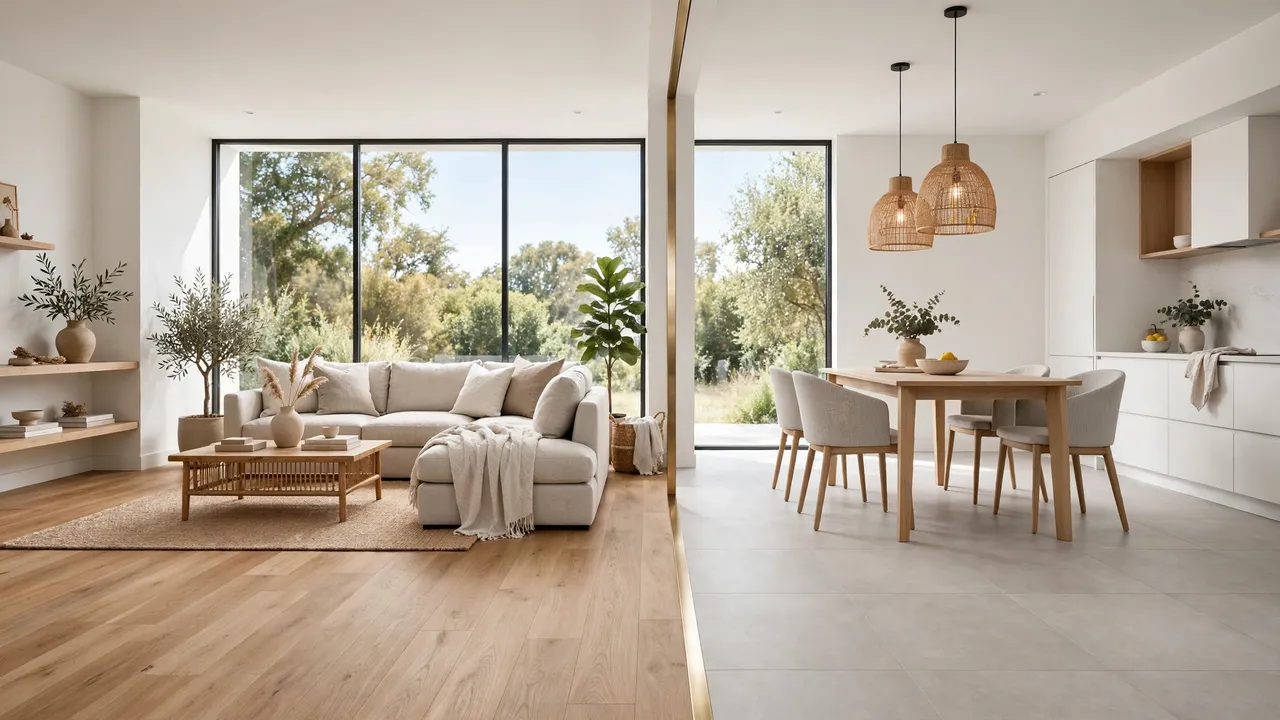
How to Decorate a Room With Two Different Flooring Types
Learning how to decorate a room with two different flooring types can feel overwhelming when the wood meets tile and nothing seems to match. I’ve noticed that most people either ignore the transition or overthink it completely.
This guide walks you through ten practical steps to make mixed flooring look intentional. You will learn to define zones, pick a unifying palette, and style transitions that feel seamless. For more ideas on opening up tight spaces, see how to make a small bedroom feel more spacious without renovating.
By the end, your room will feel cohesive instead of chopped up, and you will know exactly which rugs, colors, and layouts tie everything together.
Why Mixed Flooring Feels Hard to Style
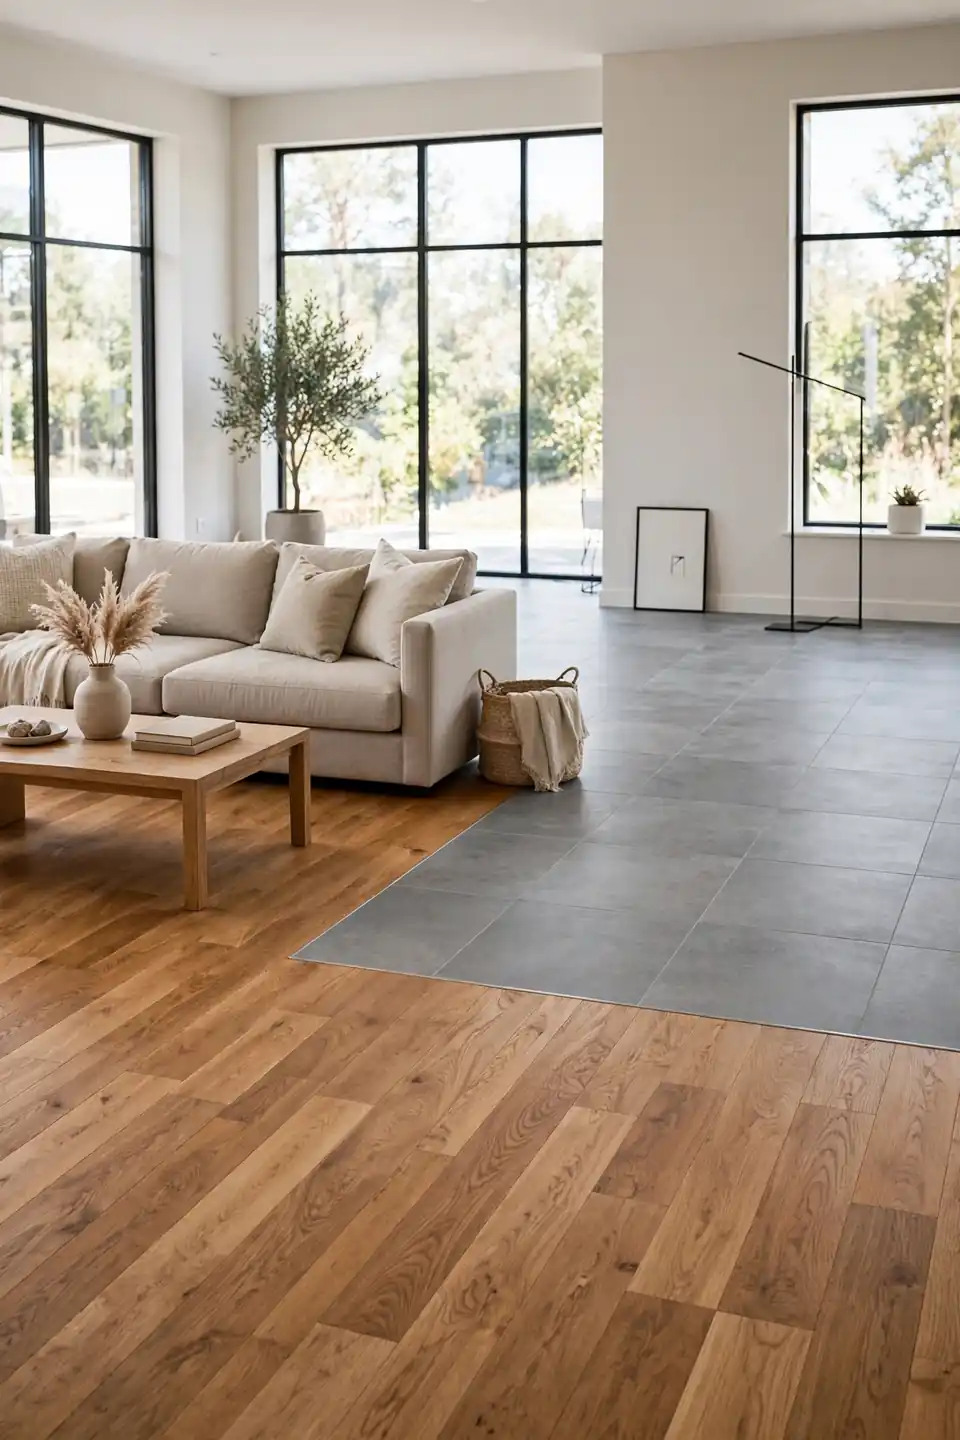
Two flooring types in one room create a visual stop sign. Your eye hits the line where wood becomes tile and the space suddenly feels smaller and busier than it really is. Many homeowners assume the fix requires replacing one floor, which feels expensive and disruptive.
In my experience, the real issue is not the floors themselves but the lack of a plan connecting them. Without intentional color links or zone definitions, each surface fights for attention. The good news is that a few styling moves can turn that harsh line into a design feature.
Assign a Clear Purpose to Each Zone
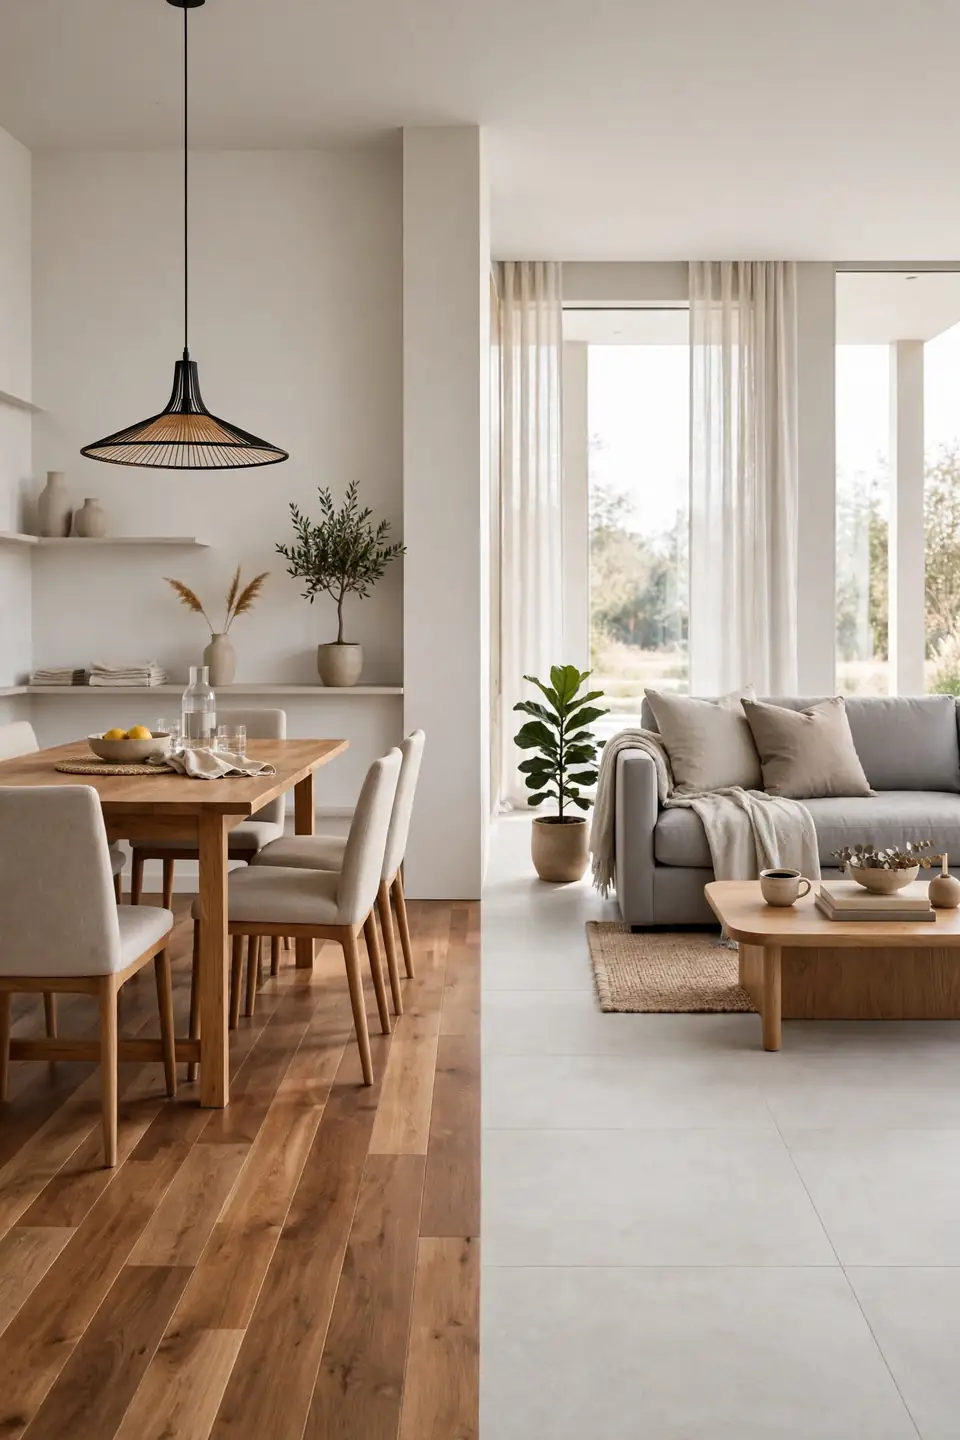
Every flooring change signals a clear shift in how the space gets used daily. Naming that purpose gives you a styling roadmap and stops the room from feeling random. When each zone has a job, your decor choices become obvious.
- Stand in the doorway and note where the flooring changes, then write down what happens on each side (dining, lounging, cooking).
- Choose one anchor piece per zone, like a dining table or sofa, to visually claim that territory.
- Keep traffic paths clear across the transition so movement feels natural, not blocked.
- Repeat one material or color in both zones to whisper that they belong together.
Choose One Color Story for Both
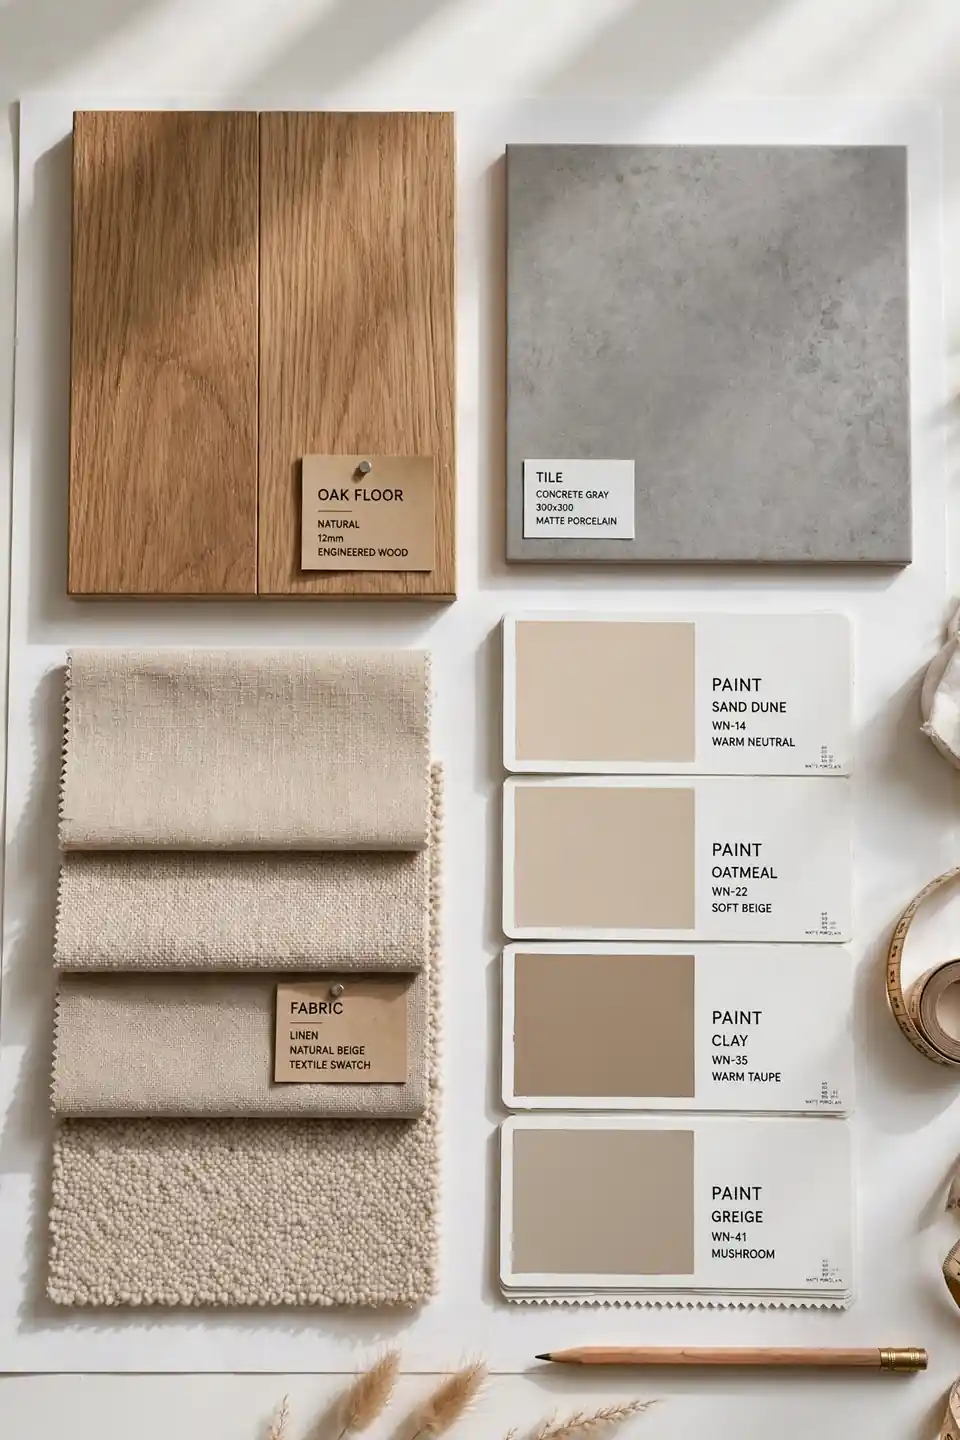
Quick Tip: Pick three colors total: one dominant neutral, one supporting tone pulled from the warmer floor, and one accent. Use all three on both sides of the transition so the eye reads one room, not two.
Start with the flooring you like least and pull a soft tone from it for textiles. If the tile runs cool gray, add warm wood tones through furniture to bridge the gap. I have seen this palette trick calm even the clashiest combinations. Keep patterns small so they do not compete with the floor lines.
Chasing Perfect Color Matches
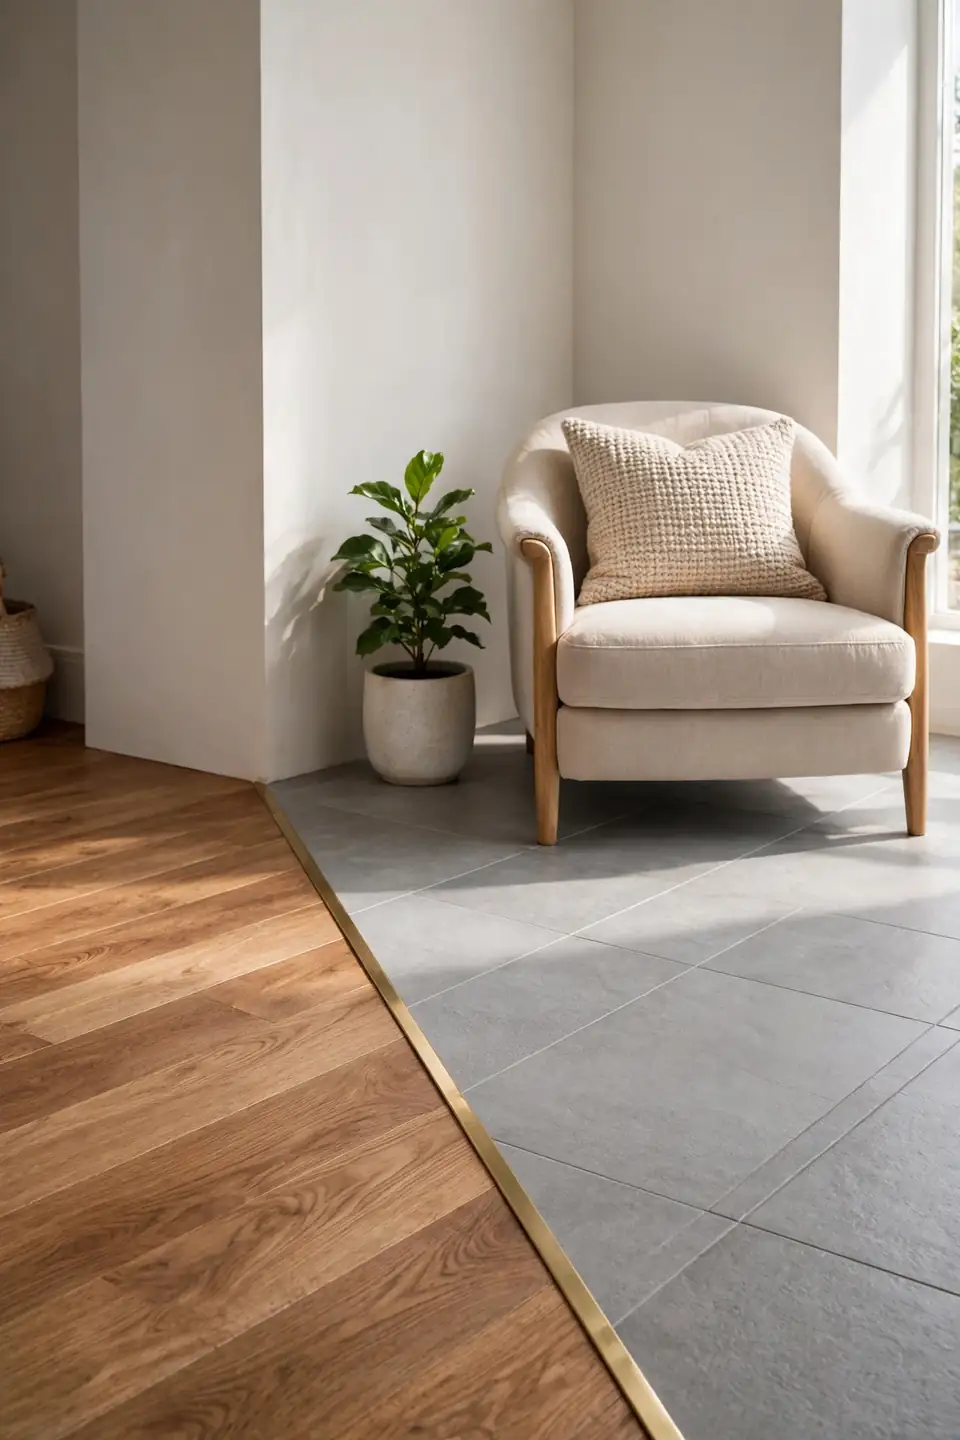
Common Mistake: Most people try to match the wood stain exactly to the tile grout or vice versa. This almost never works and the near miss looks more off than a bold contrast would.
The Fix: Aim for harmony in undertone instead. If both floors lean warm, they will sit happily together even when the shades differ. Let the floors be cousins, not twins.
Hold paint swatches against both floors in daylight and look for shared warmth or coolness. Choose wall colors and large textiles that echo that shared undertone. The result feels layered and collected rather than forced. Your room gains depth without the stress of perfect matching.
Gather Your Transition Essentials
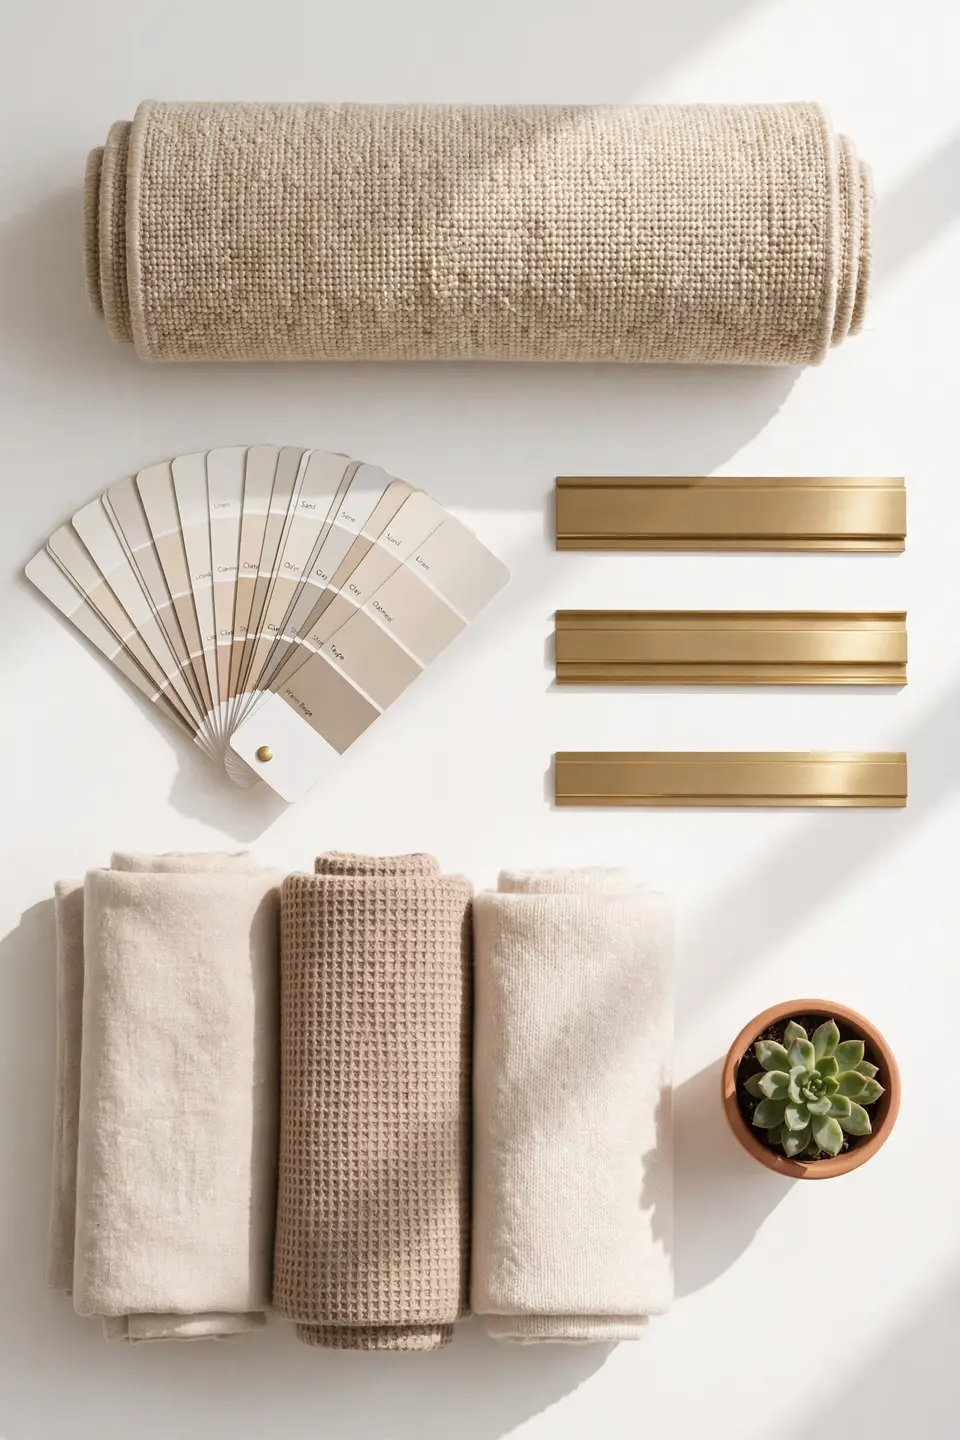
What You Need:
- Transition strip or threshold: bridges the height gap cleanly and finishes the raw edge.
- Large area rug: anchors the main seating zone and softens the flooring switch.
- Runner rug: defines a hallway style path across the change in open plans.
- Paint swatches: test wall colors against both floors before committing.
- Coordinating textiles: pillows and throws that repeat tones from each floor.
You do not need a full renovation budget to make this work at home. Most of these items cost less than a single flooring quote and deliver instant visual calm. Lay everything out in the room before buying to confirm the tones play nicely together.
From Divided to Unified
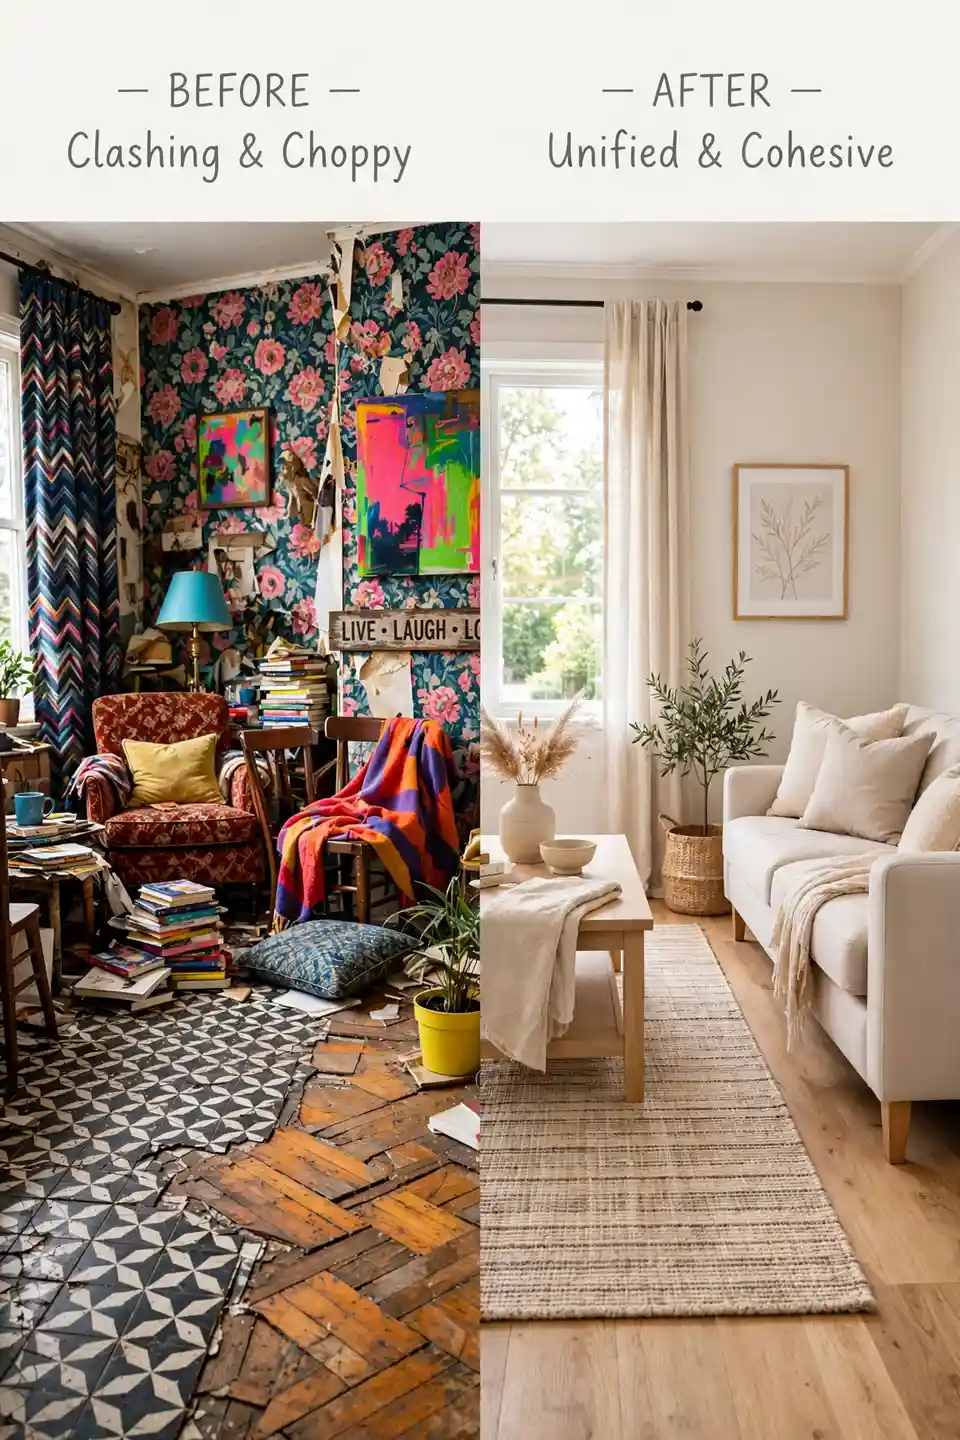
BEFORE: The room felt like two separate spaces awkwardly pushed together. The wood side looked warm and inviting while the tile side felt cold and disconnected, and the harsh line between them drew every eye.
AFTER: A runner rug now flows across the transition, wall color pulls warmth from the wood into the tile zone, and matching wood tones in furniture tie both sides. The line is still there but it reads as intentional design.
The transformation takes a weekend, not a month. Focus on the three connectors: color, texture, and repetition. When those three show up on both sides, the flooring change becomes a feature instead of a flaw. For vertical drama that pairs well, explore how to decorate a living room with high ceilings.
Smart Choices and Costly Errors
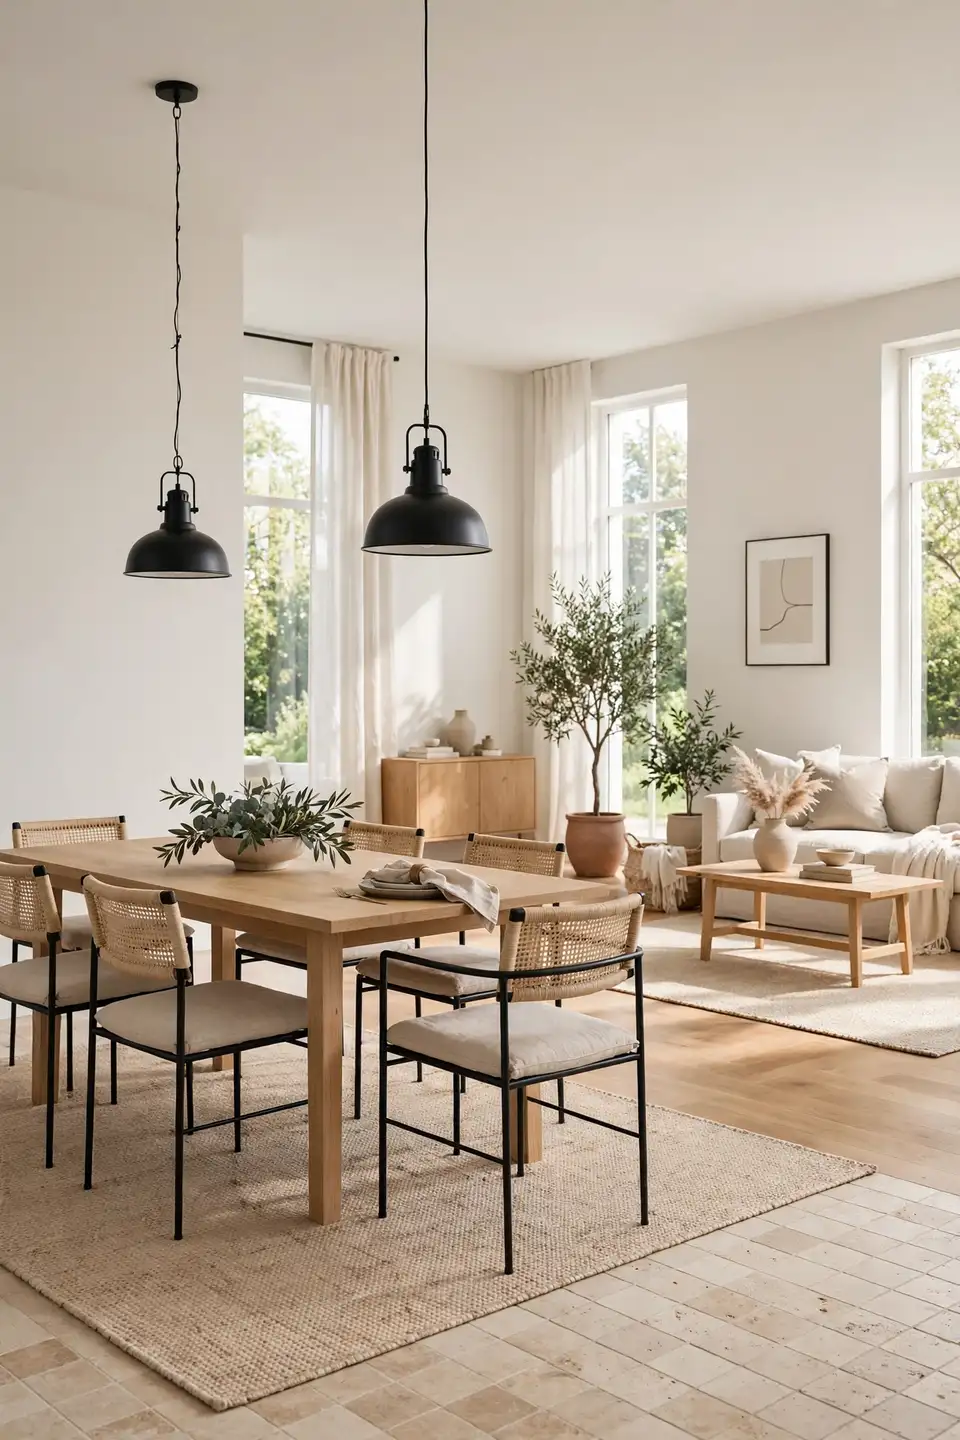
Do This:
- Run the same wall color across both zones for continuity.
- Use rugs to define seating areas that straddle the transition.
- Repeat metal finishes in lighting and hardware on each side.
- Keep the transition strip slim and neutral so it disappears.
Avoid This:
- Do not place small scattered rugs that chop the floor into more pieces.
- Do not paint each zone a different bold color.
- Do not ignore the undertone clash between warm wood and cool tile.
- Do not let furniture float without anchoring to a rug or zone.
Consistency beats creativity here every single time you style a mixed floor room. The goal is calm flow, not a showcase of every idea at once. Edit ruthlessly and let the floors be the interesting part while everything else supports them quietly in the background.
Key Details at a Glance
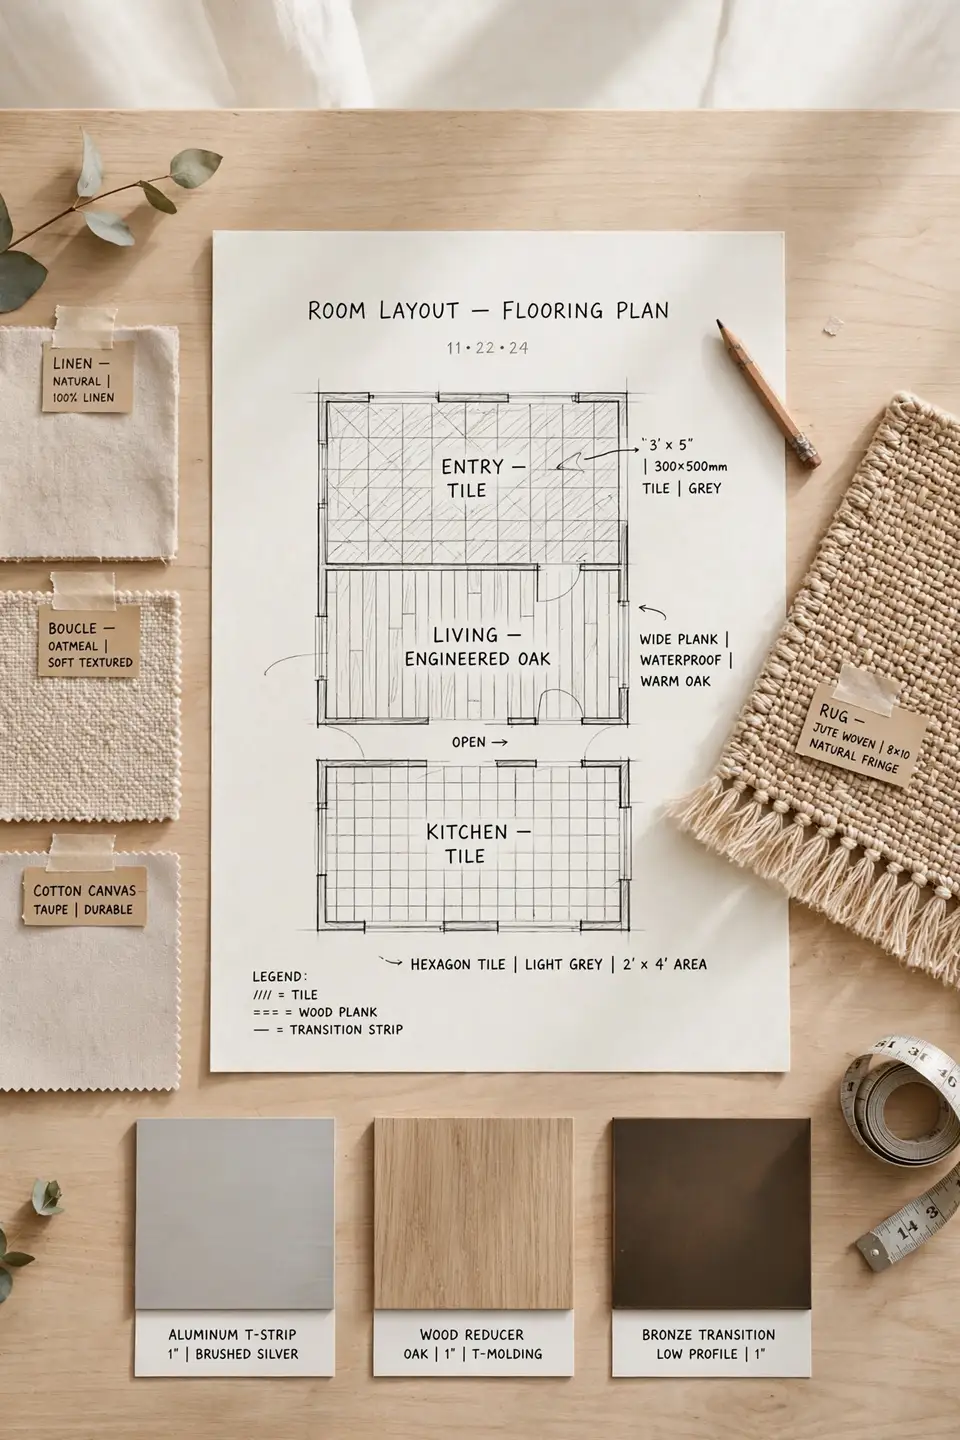
Quick Facts:
Time Needed: One weekend | Difficulty: Beginner friendly | Budget: Low to medium | Best For: Open plan living, kitchen dining combos
Most of this project is really styling, not construction. The only tool you might need is for installing a transition strip, which takes under an hour. Everything else is simply arranging, layering, and thoughtfully editing what you already own for a truly cohesive finished result.
Craft a Thoughtful Threshold
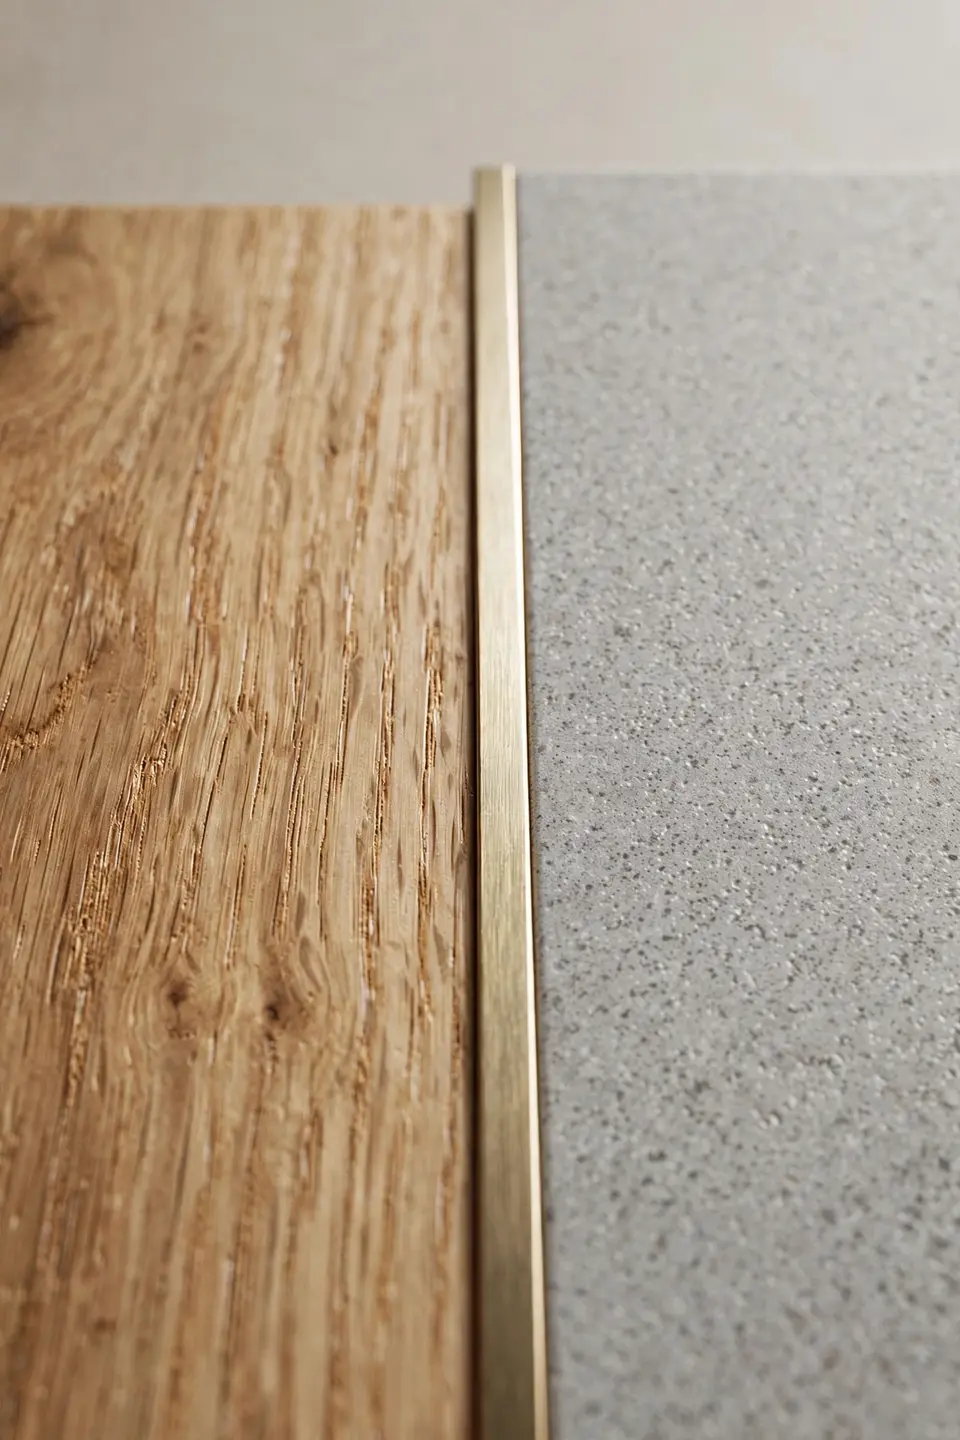
The strip where two floors meet deserves as much attention as any furniture piece. A bulky or mismatched threshold screams afterthought, while a slim metal or wood transition in a neutral finish quietly does its job. Measure the height difference first so the profile sits flush.
If the floors are level, a flat T-molding in a tone between the two works beautifully. For slight height gaps, choose a reducer strip that slopes gently. I have found that brushing the metal to match your cabinet hardware pulls the whole room together in a subtle, satisfying way.
Let Rugs Bridge the Divide
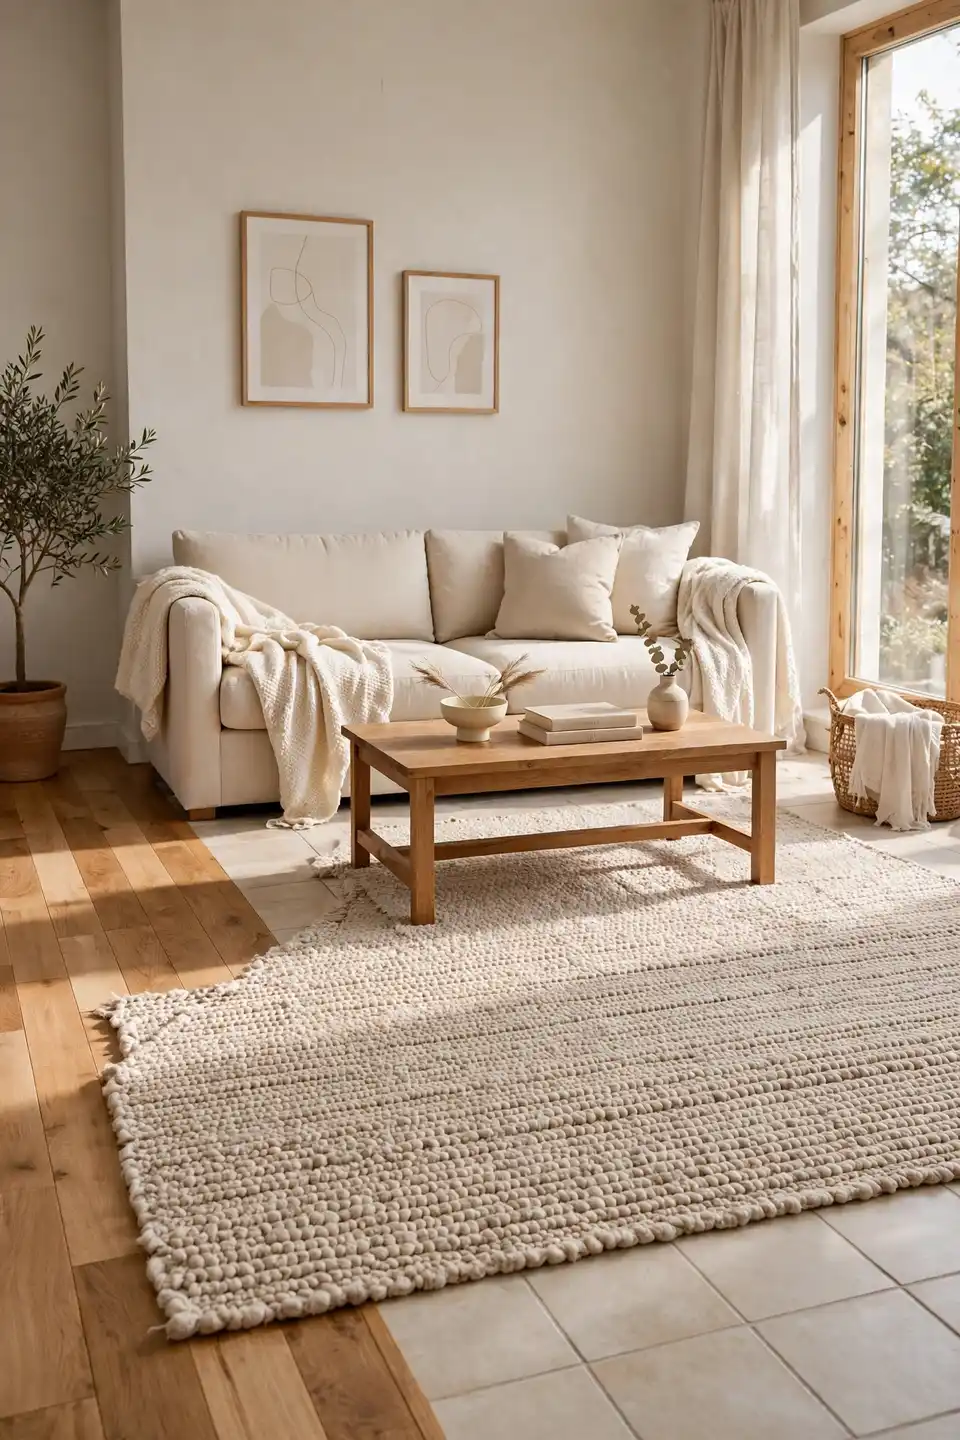
Rugs are the fastest way to make two floors feel like one intentional design. They add softness underfoot, define zones clearly, and give your eye a smooth inviting path right across the transition instead of a really hard visual stop.
- Choose a rug large enough that front legs of all main furniture sit on it.
- If one rug cannot span the transition, layer two with a shared color.
- Pick low pile near doorways so the transition strip stays accessible.
- Echo the rug’s border color in curtains or pillows on the opposite floor type.
Conclusion
Mastering how to decorate a room with two different flooring types comes down to intention: define each zone, unify with color, and treat the transition as a design moment. I have seen how making this one change can completely shift the result from chaotic to calm and pulled together. Save this guide on Pinterest so you have the steps handy when you start styling. Try one zone this weekend and watch how quickly the room starts feeling like it was always meant to look this way, welcoming and beautifully complete.
One Comment